 BERNINA Corporate Blog -
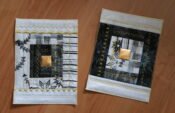
Now and then I have the honor to make one or multiple quilts on commission – mostly landscape quilts, always my own design. This client wanted me to make ‘another’ Jungle quilt, after I succesfully made Jungle Quilt I and Jungle Quilt II for her, and a pillow. Her request was: Jungle Quilt III, long and narrow, to be displayed on the front side of a wall.
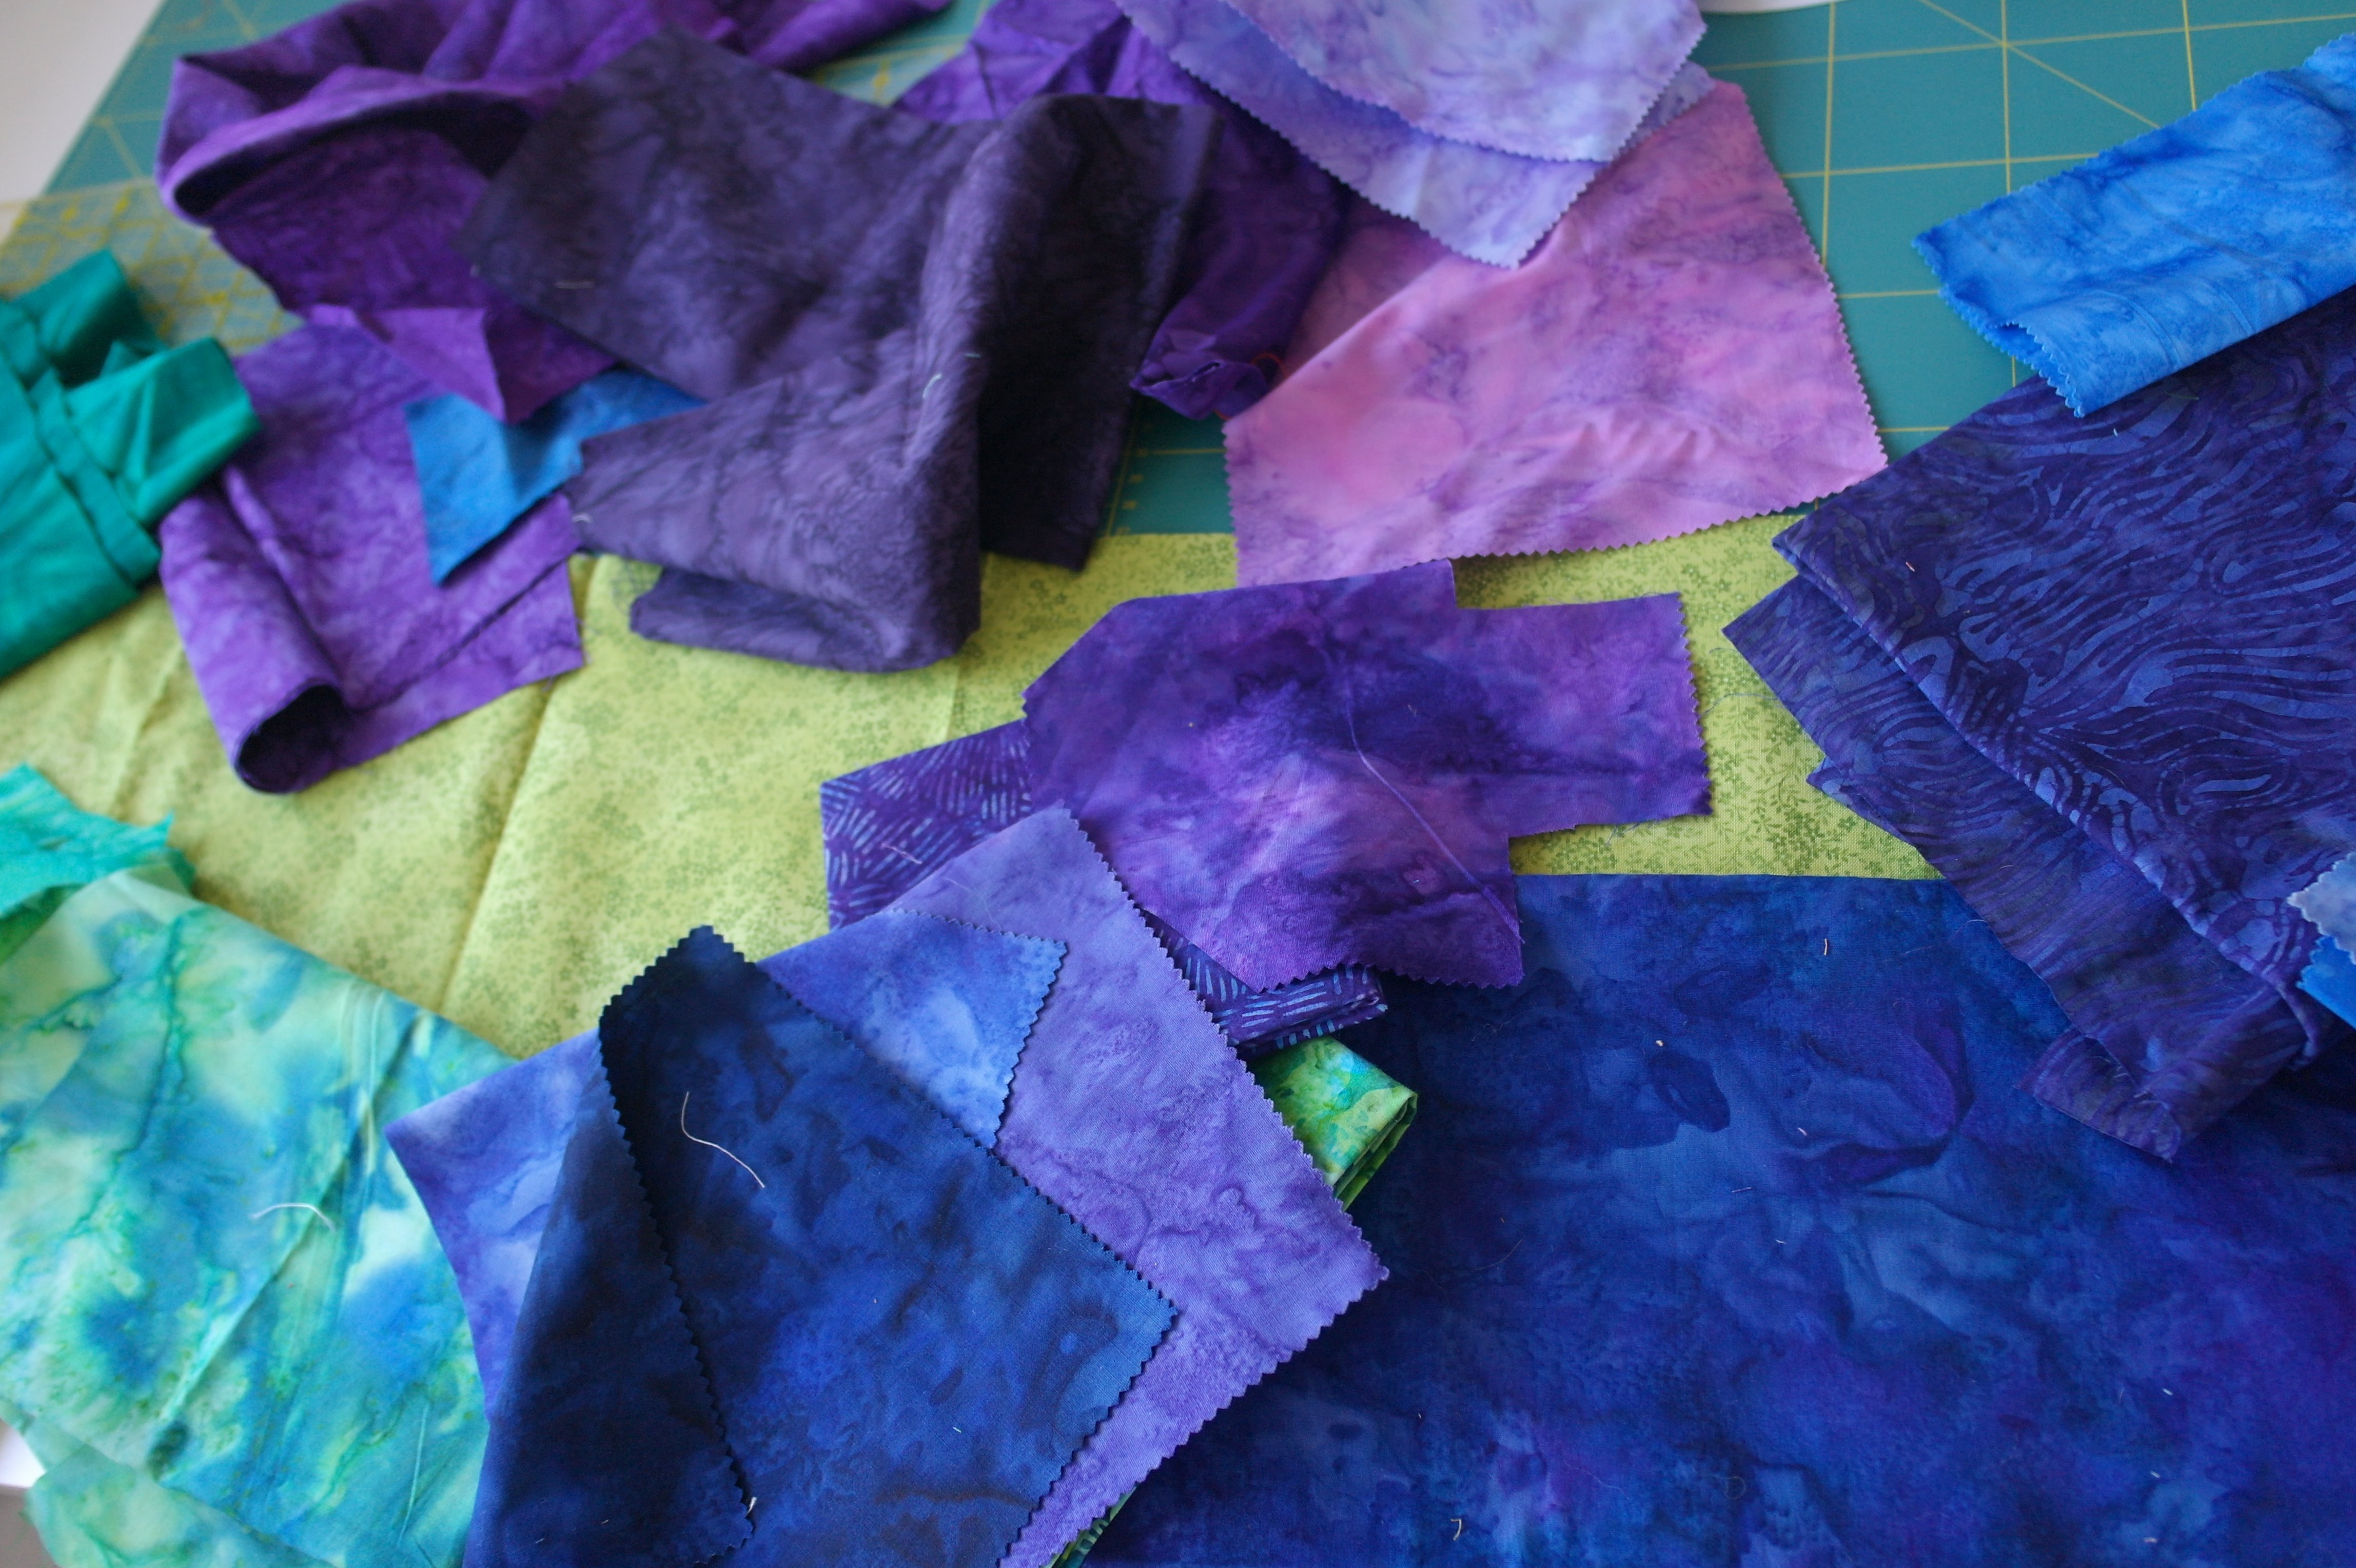
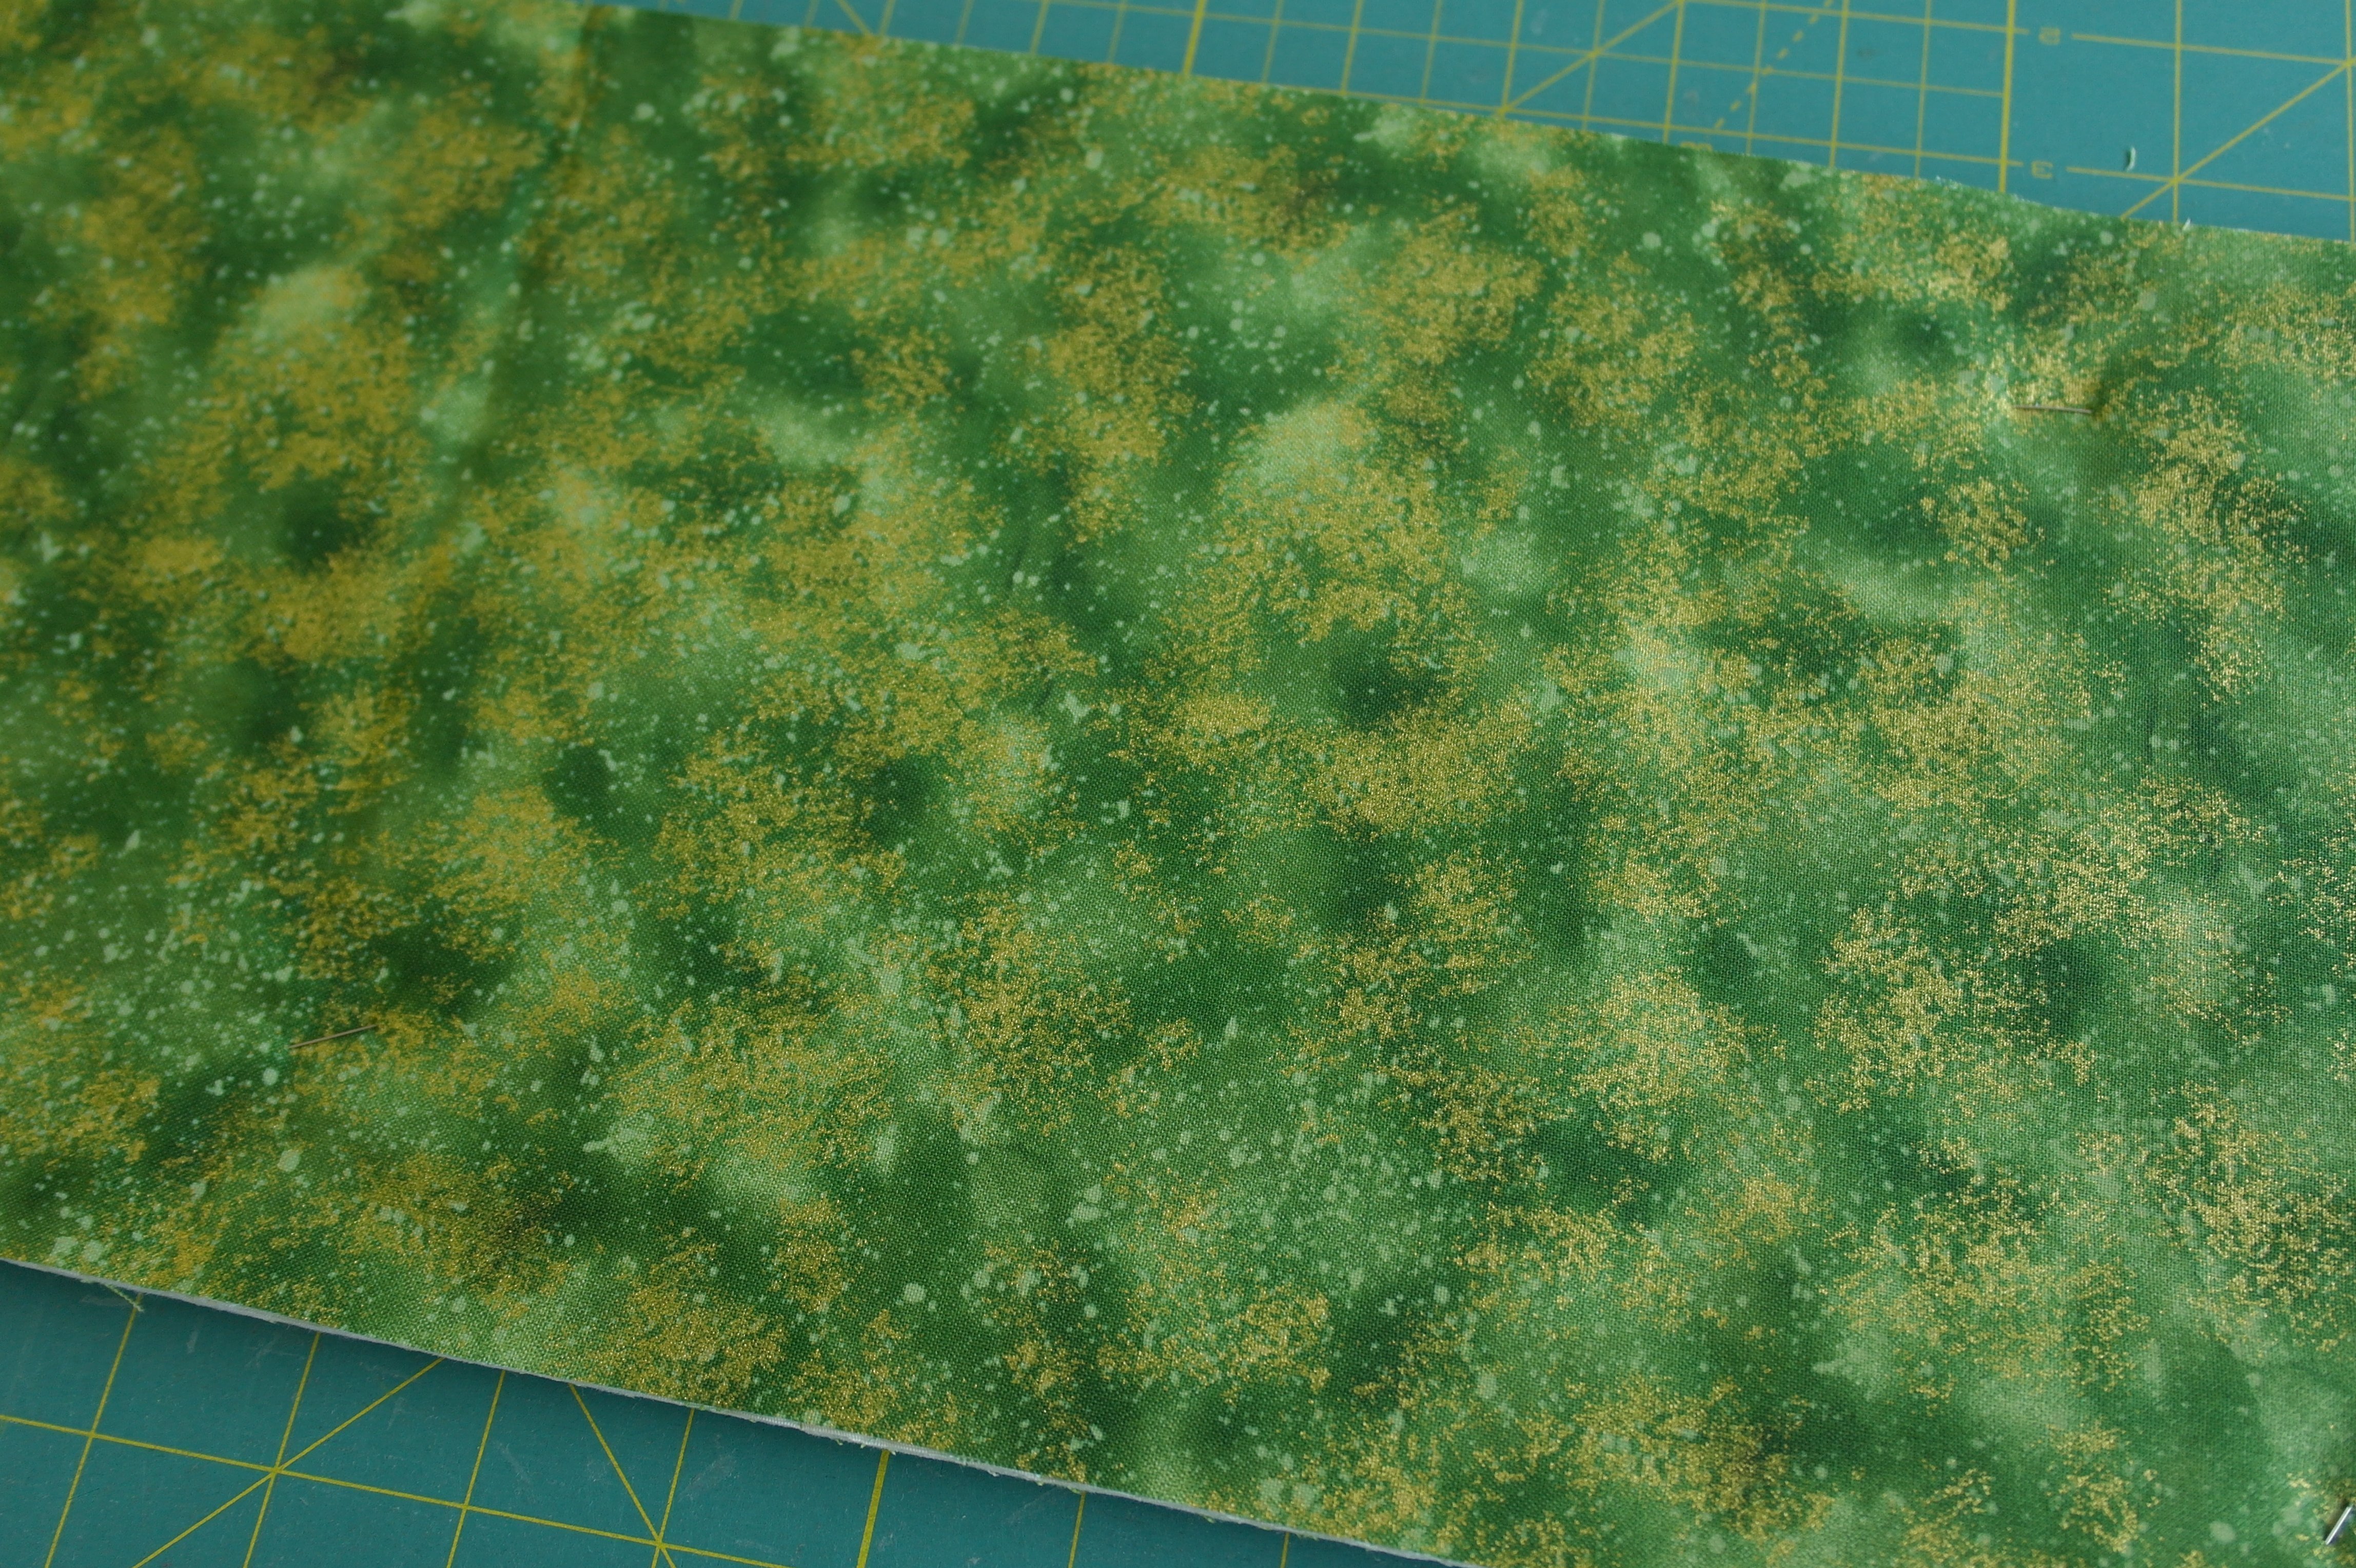
I’ve made the design a while ago: leaves with frogs… I already knew her choice of colors – they had to be the same as with the other two Jungle quilts. So I just had to find fabrics like two bright greens for the background and multiple blues, turquoises and purples for the main design.
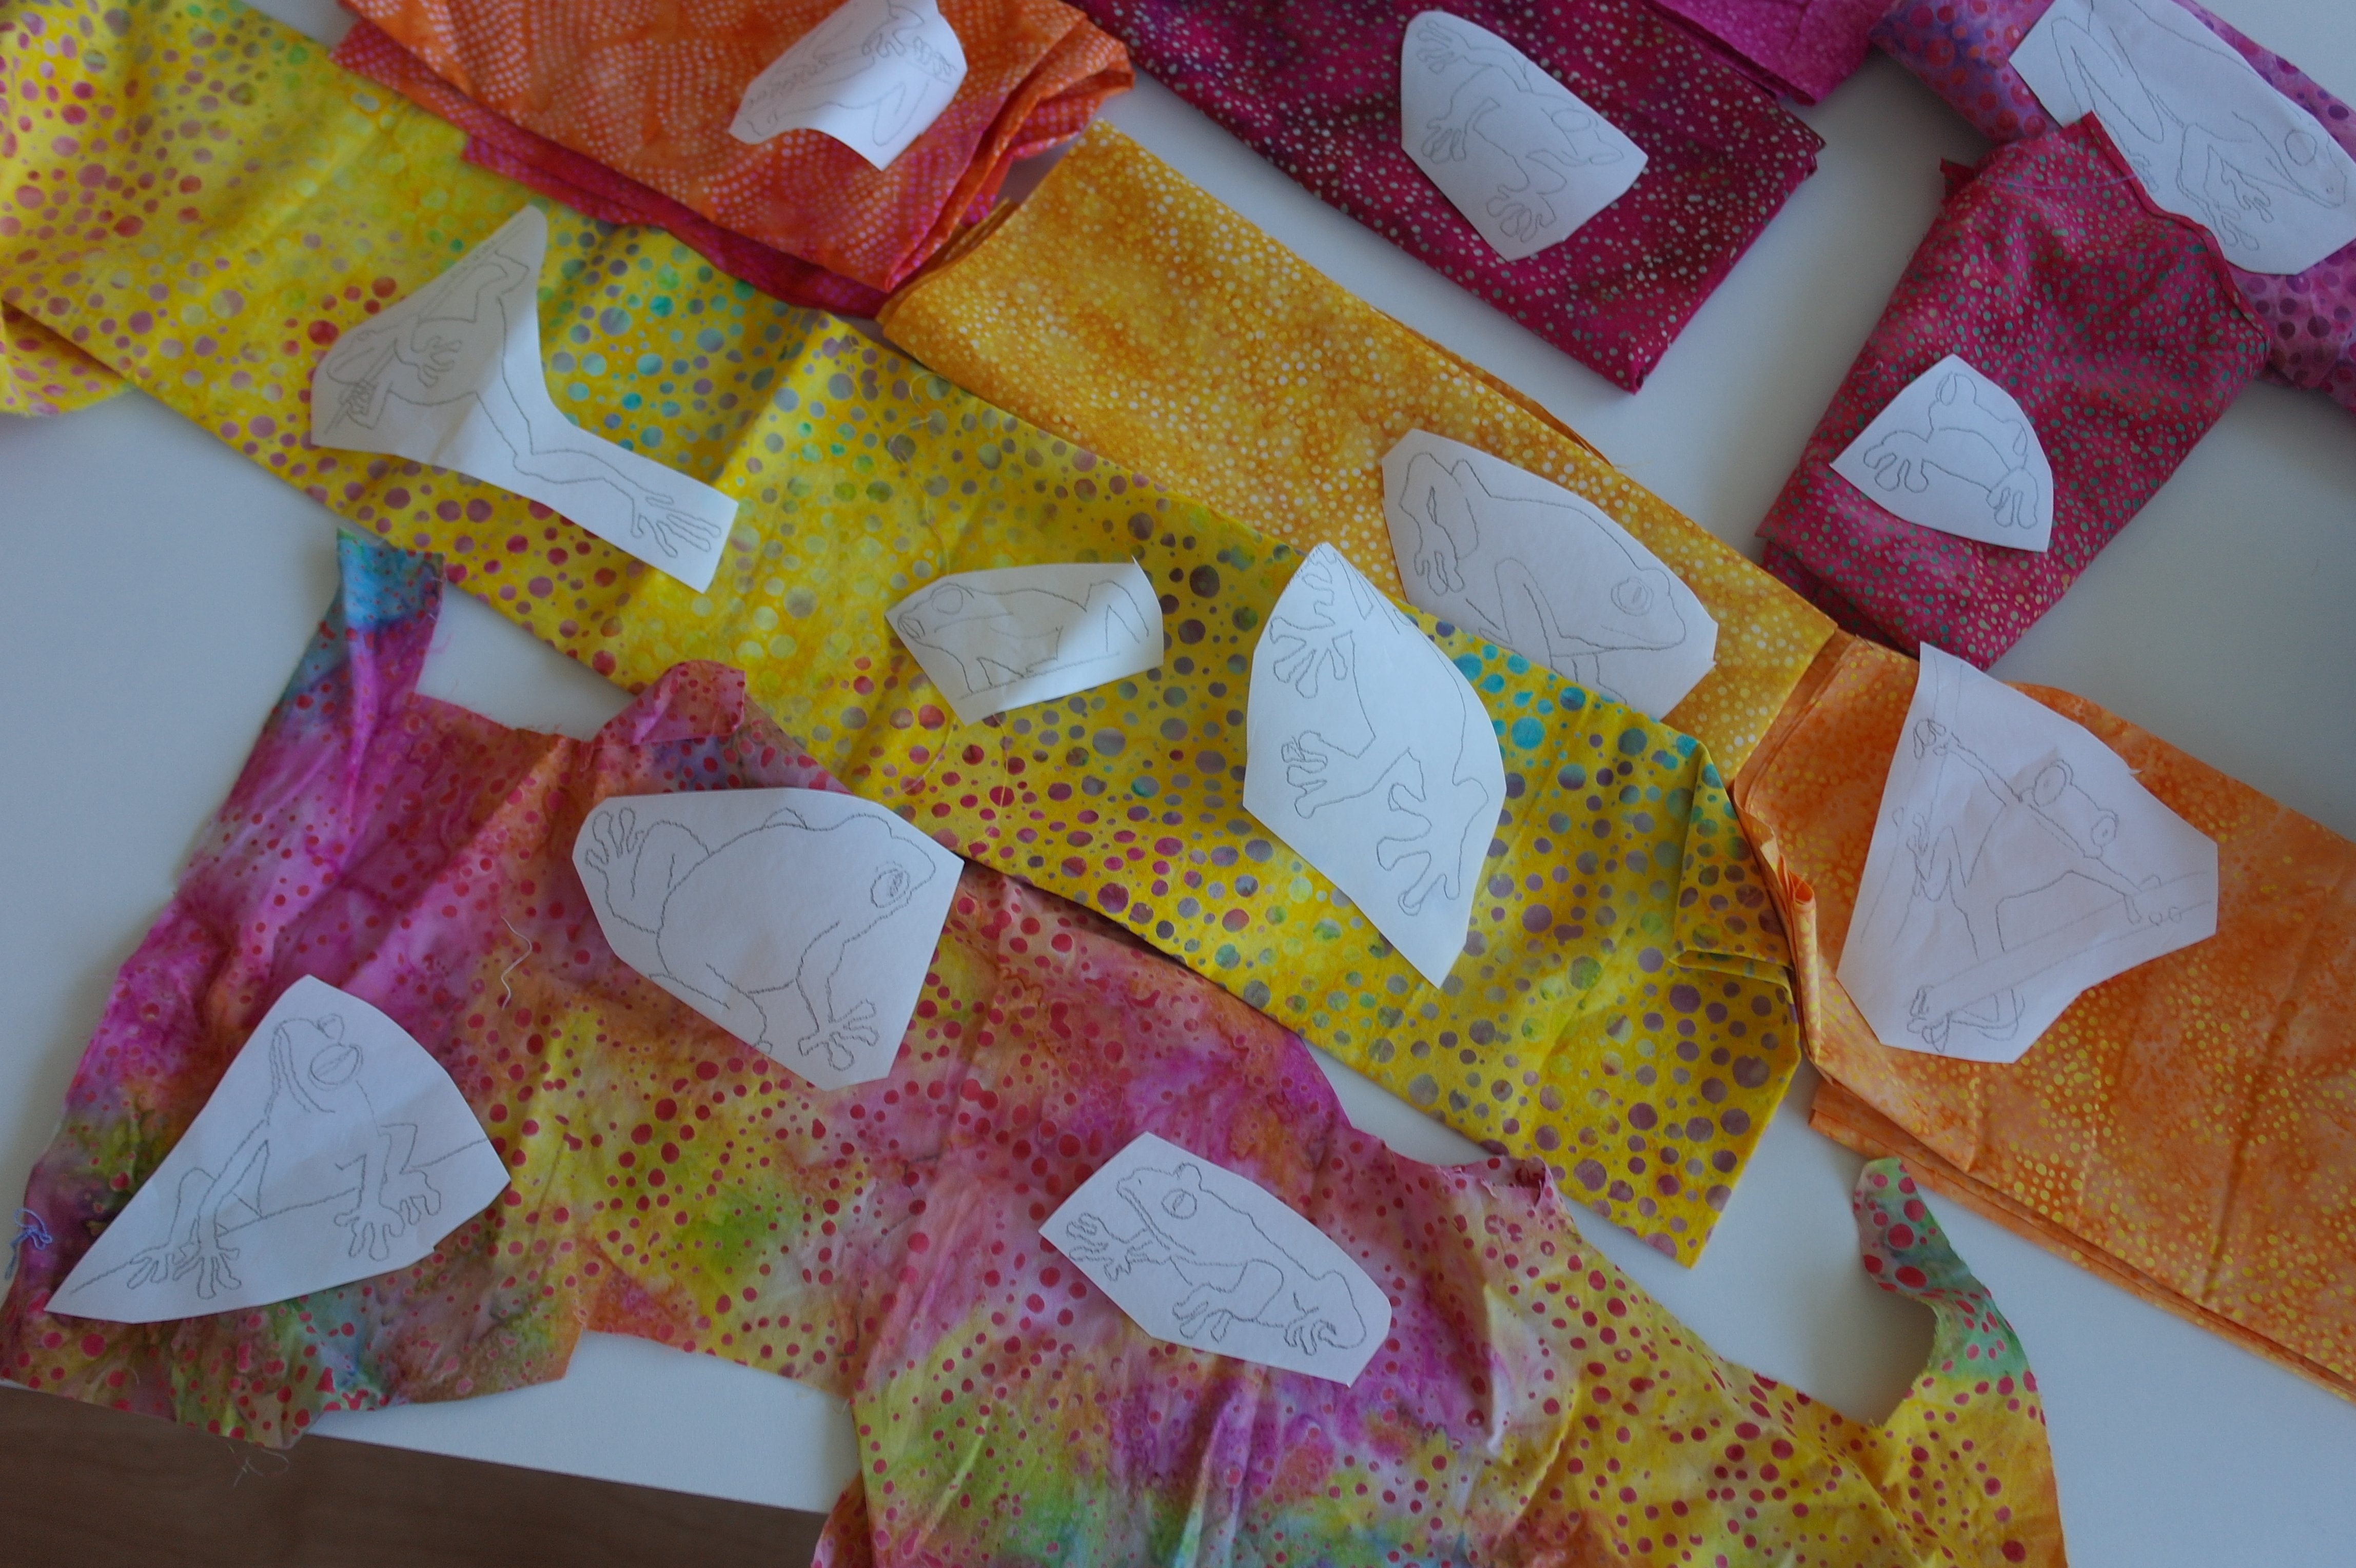
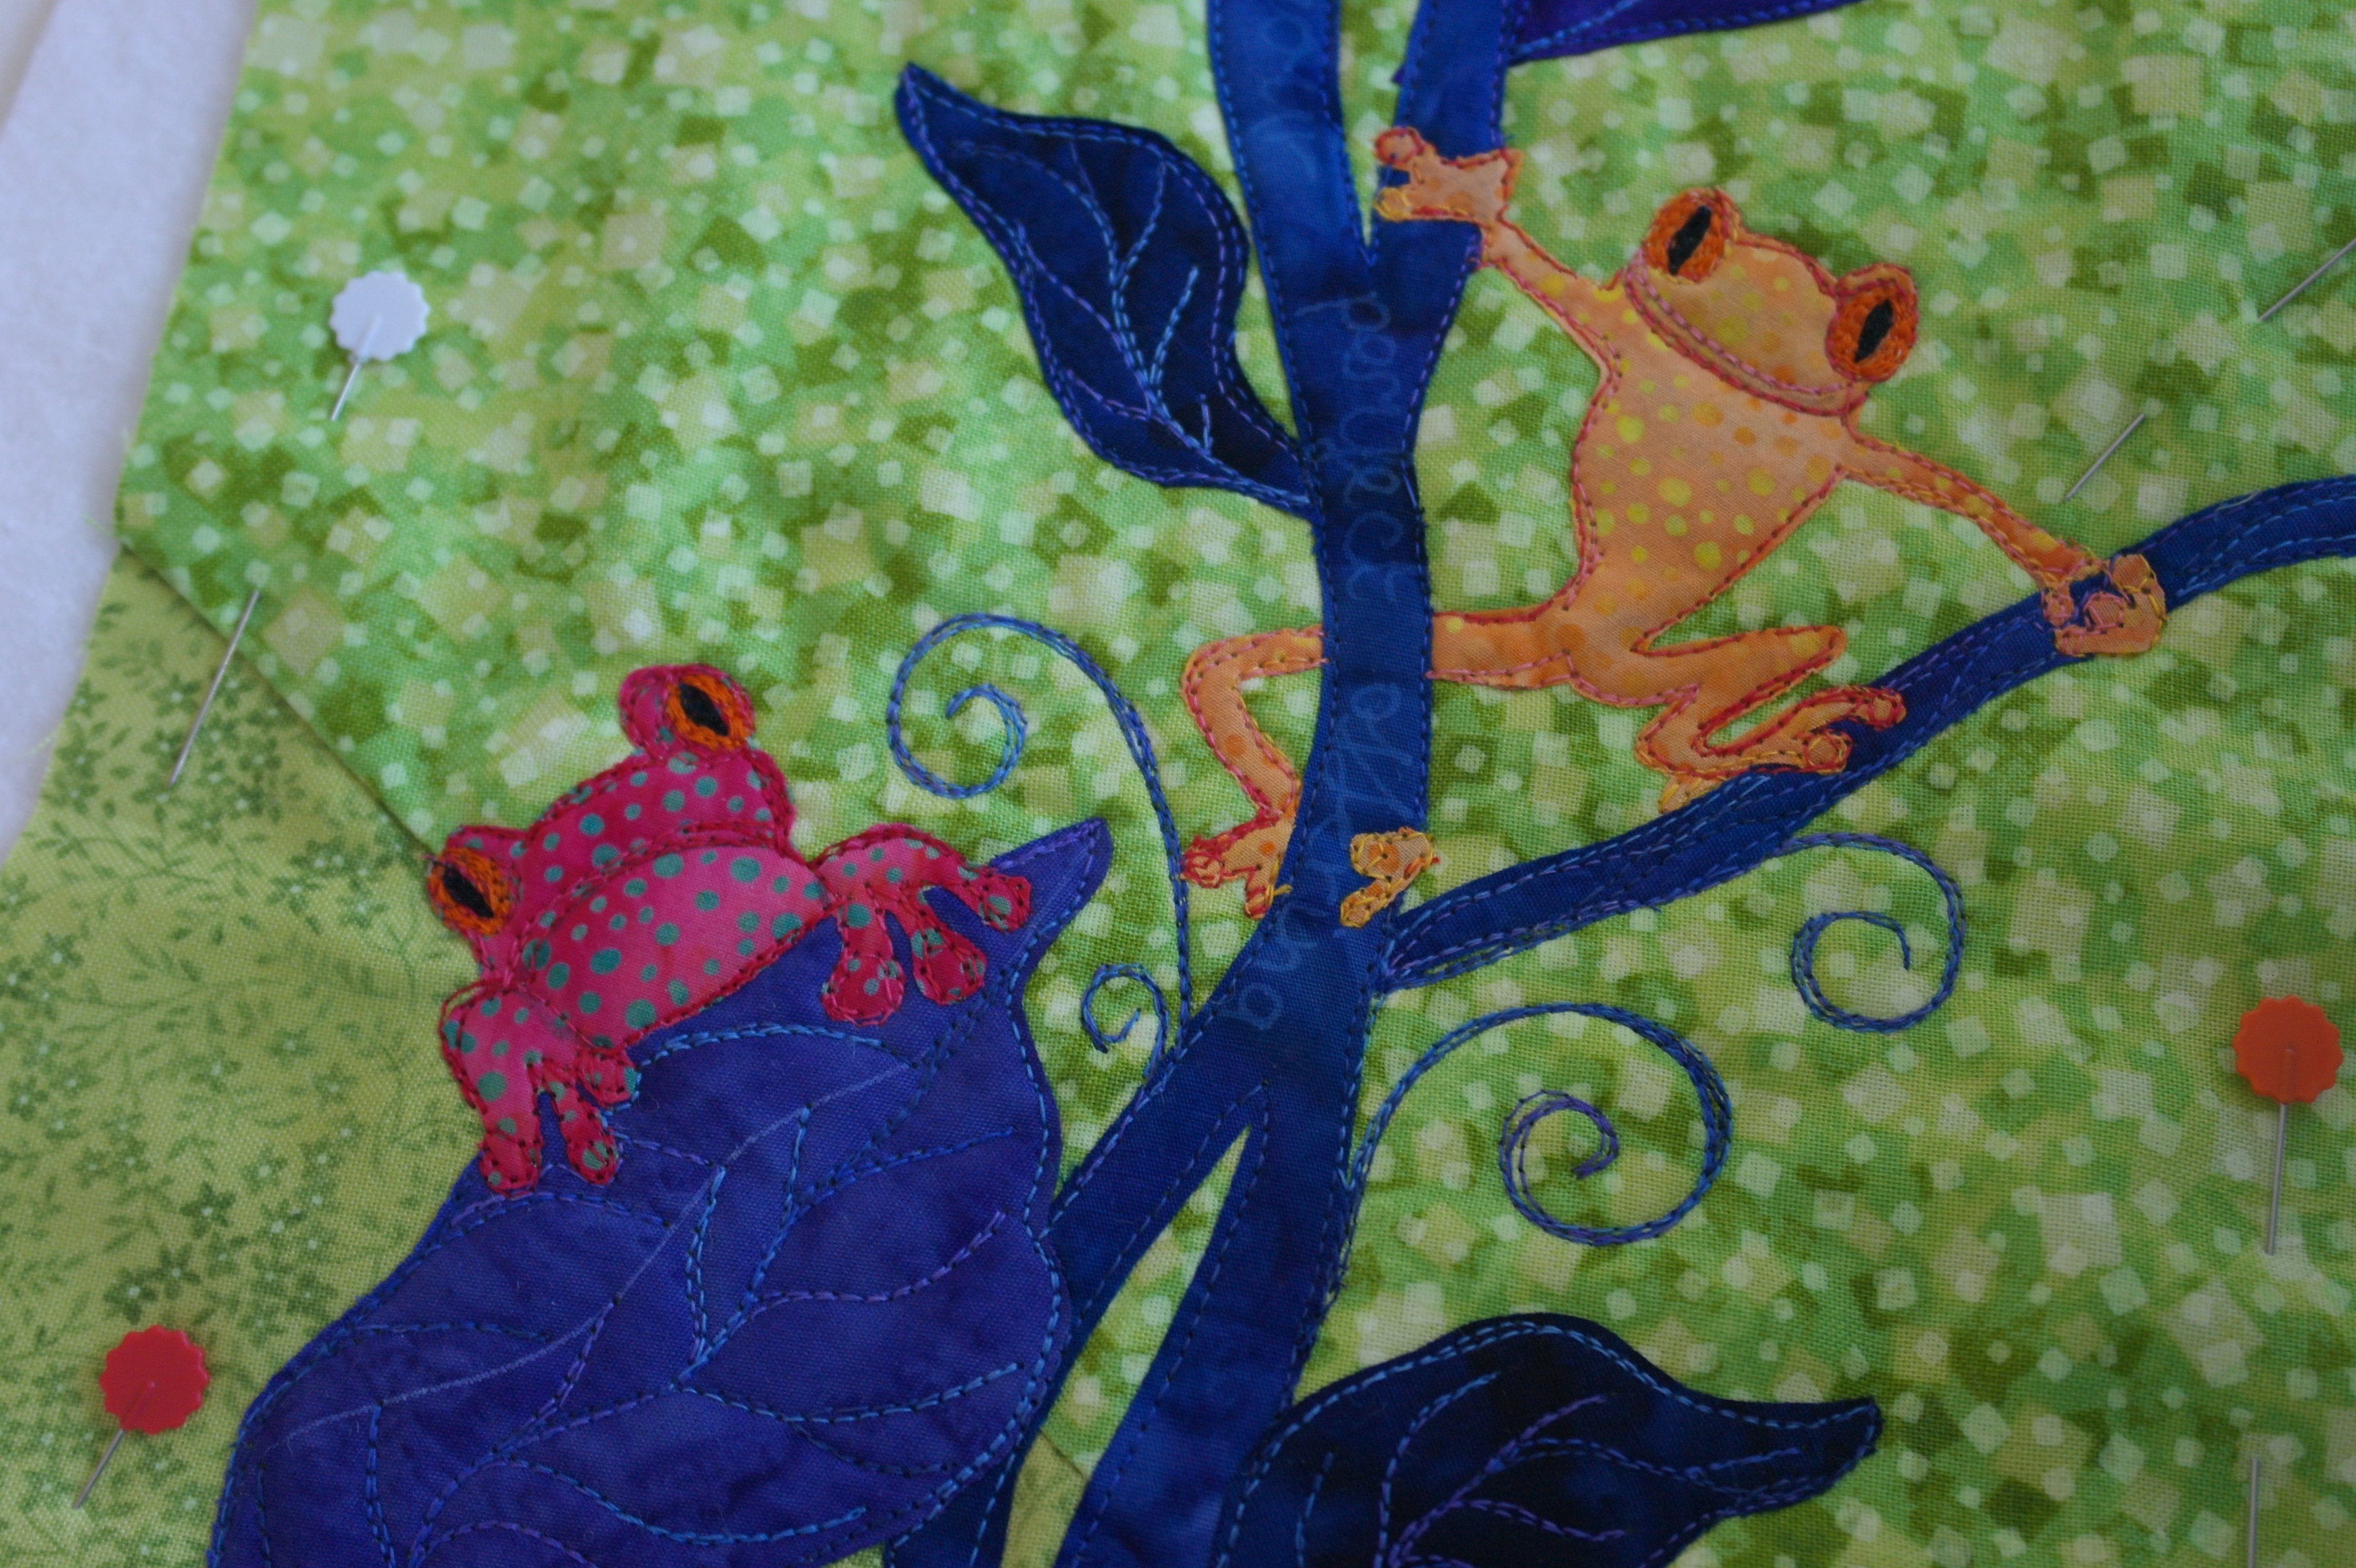
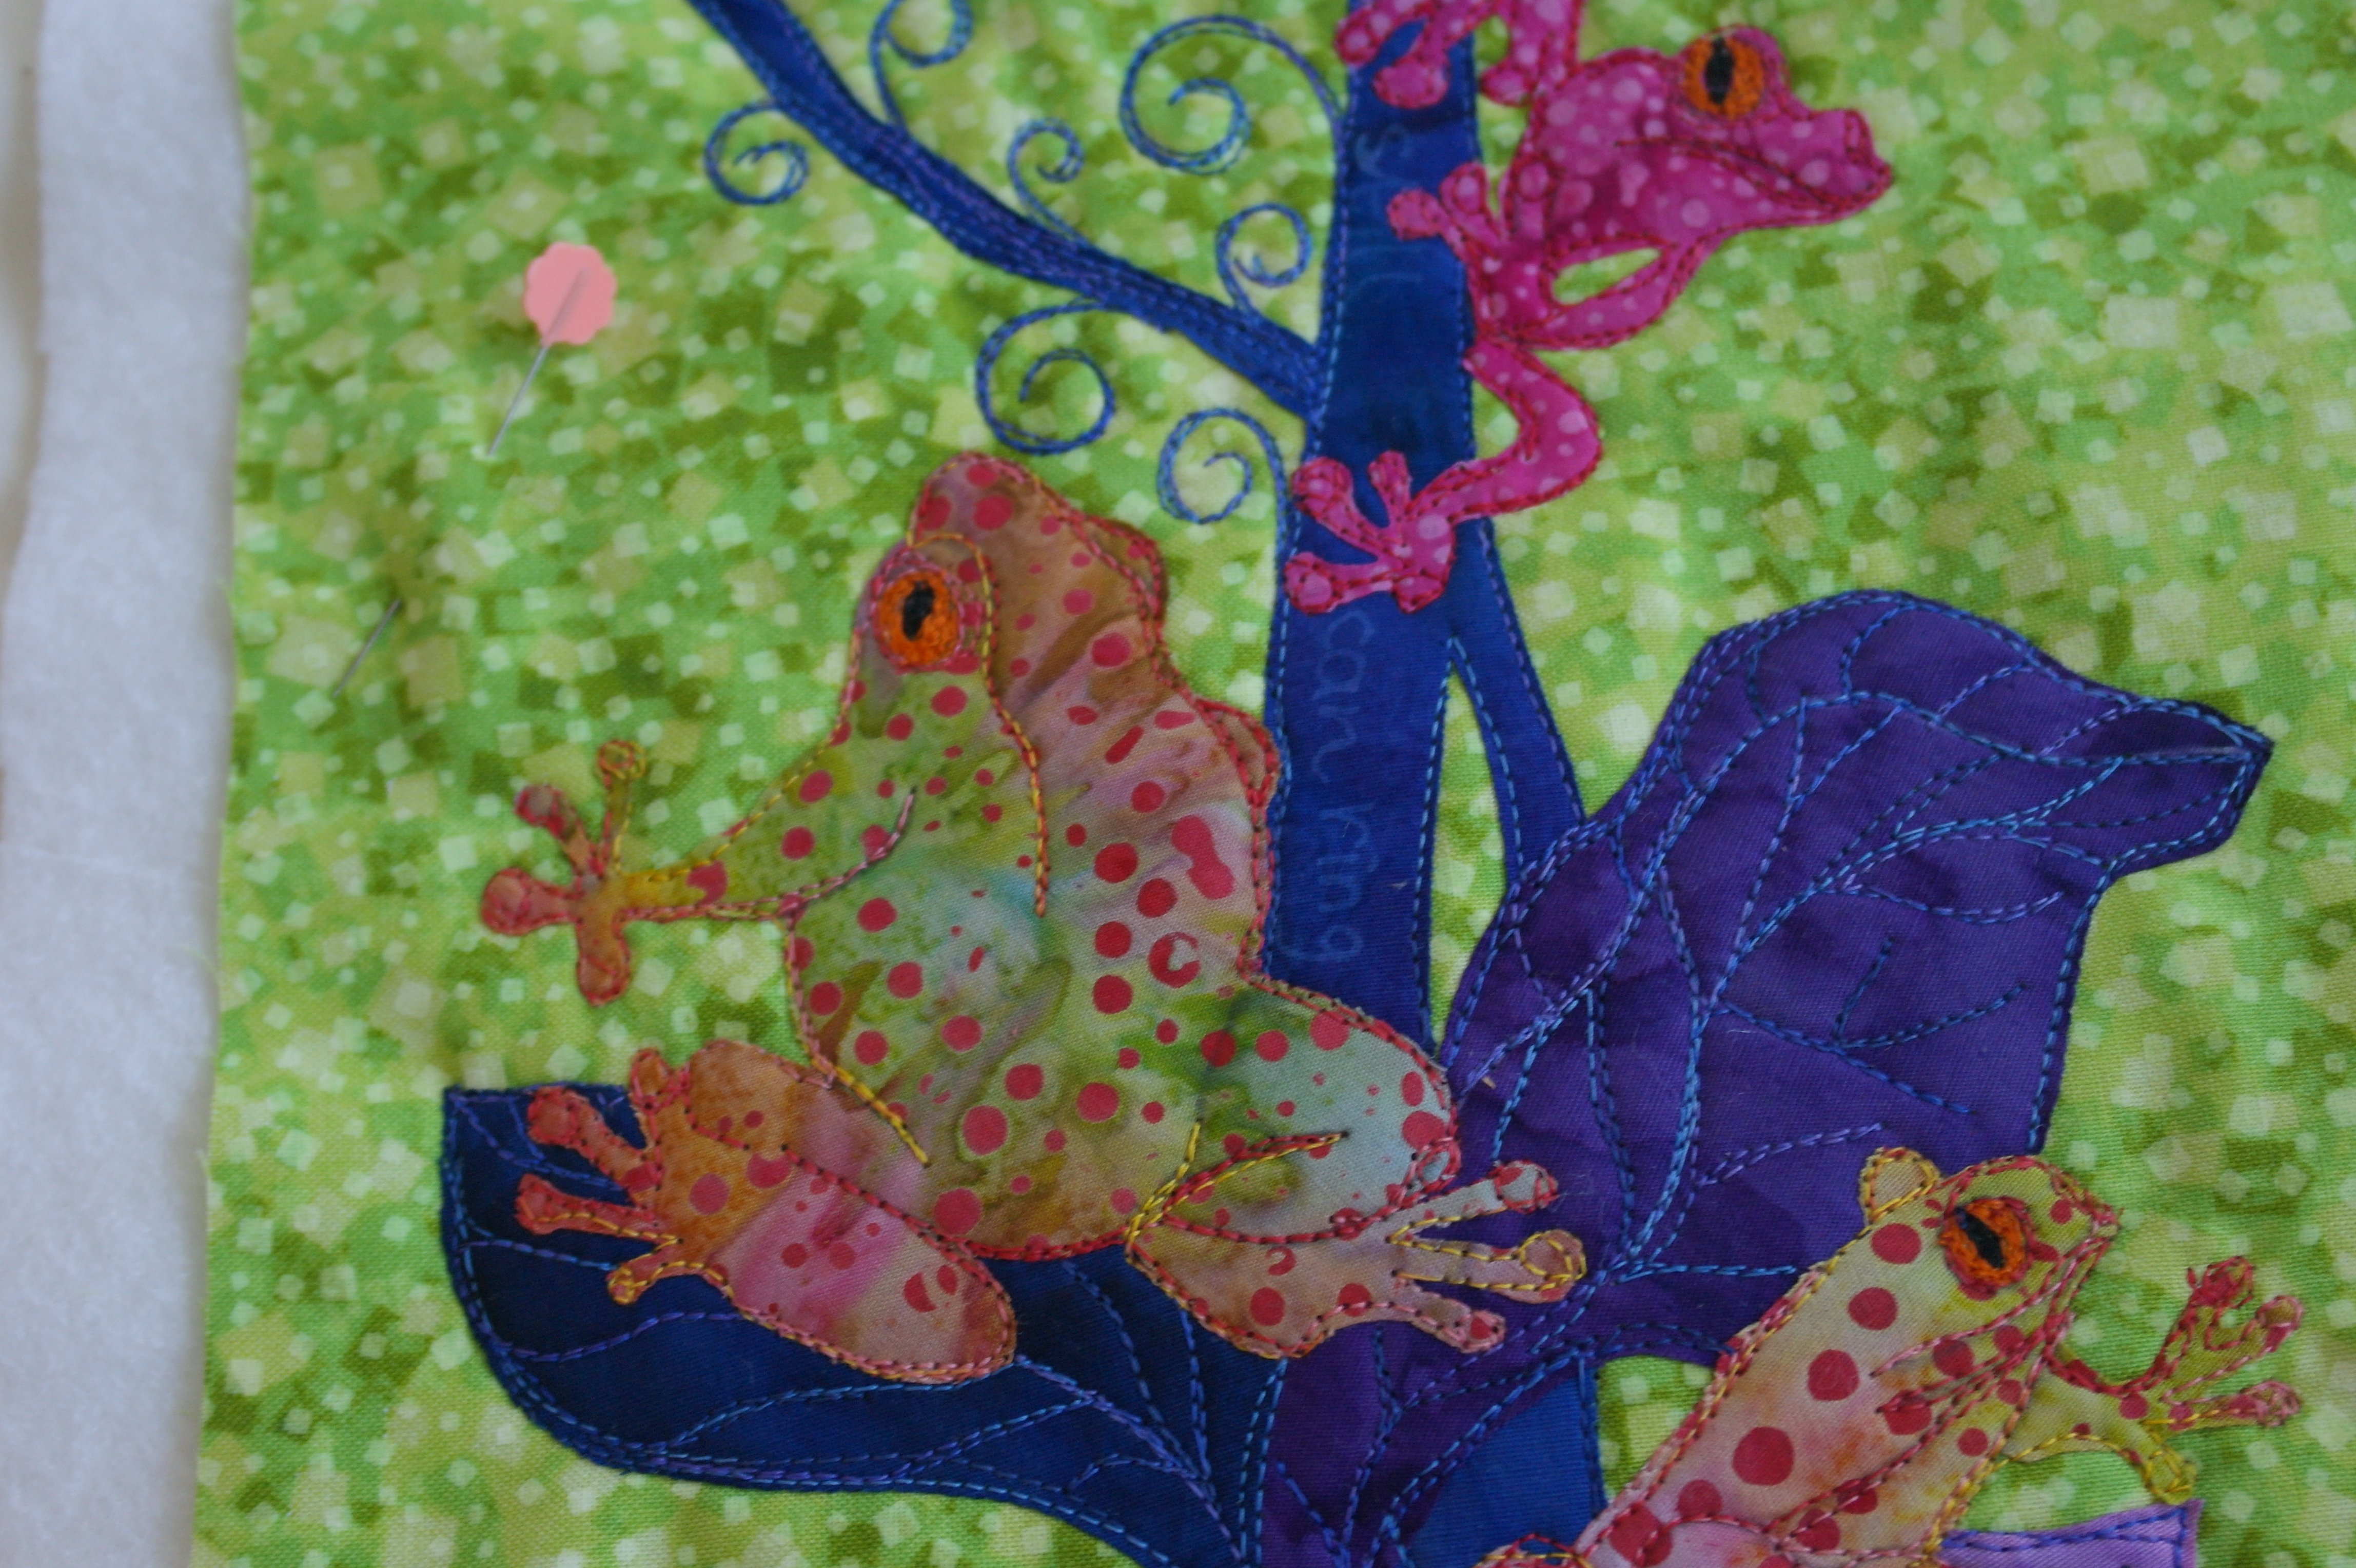
I wanted to make a lot of different tree frogs, drew them on Heat’n Bond Lite, and placed them on batiks with dots in yellow, orange, pink and red.
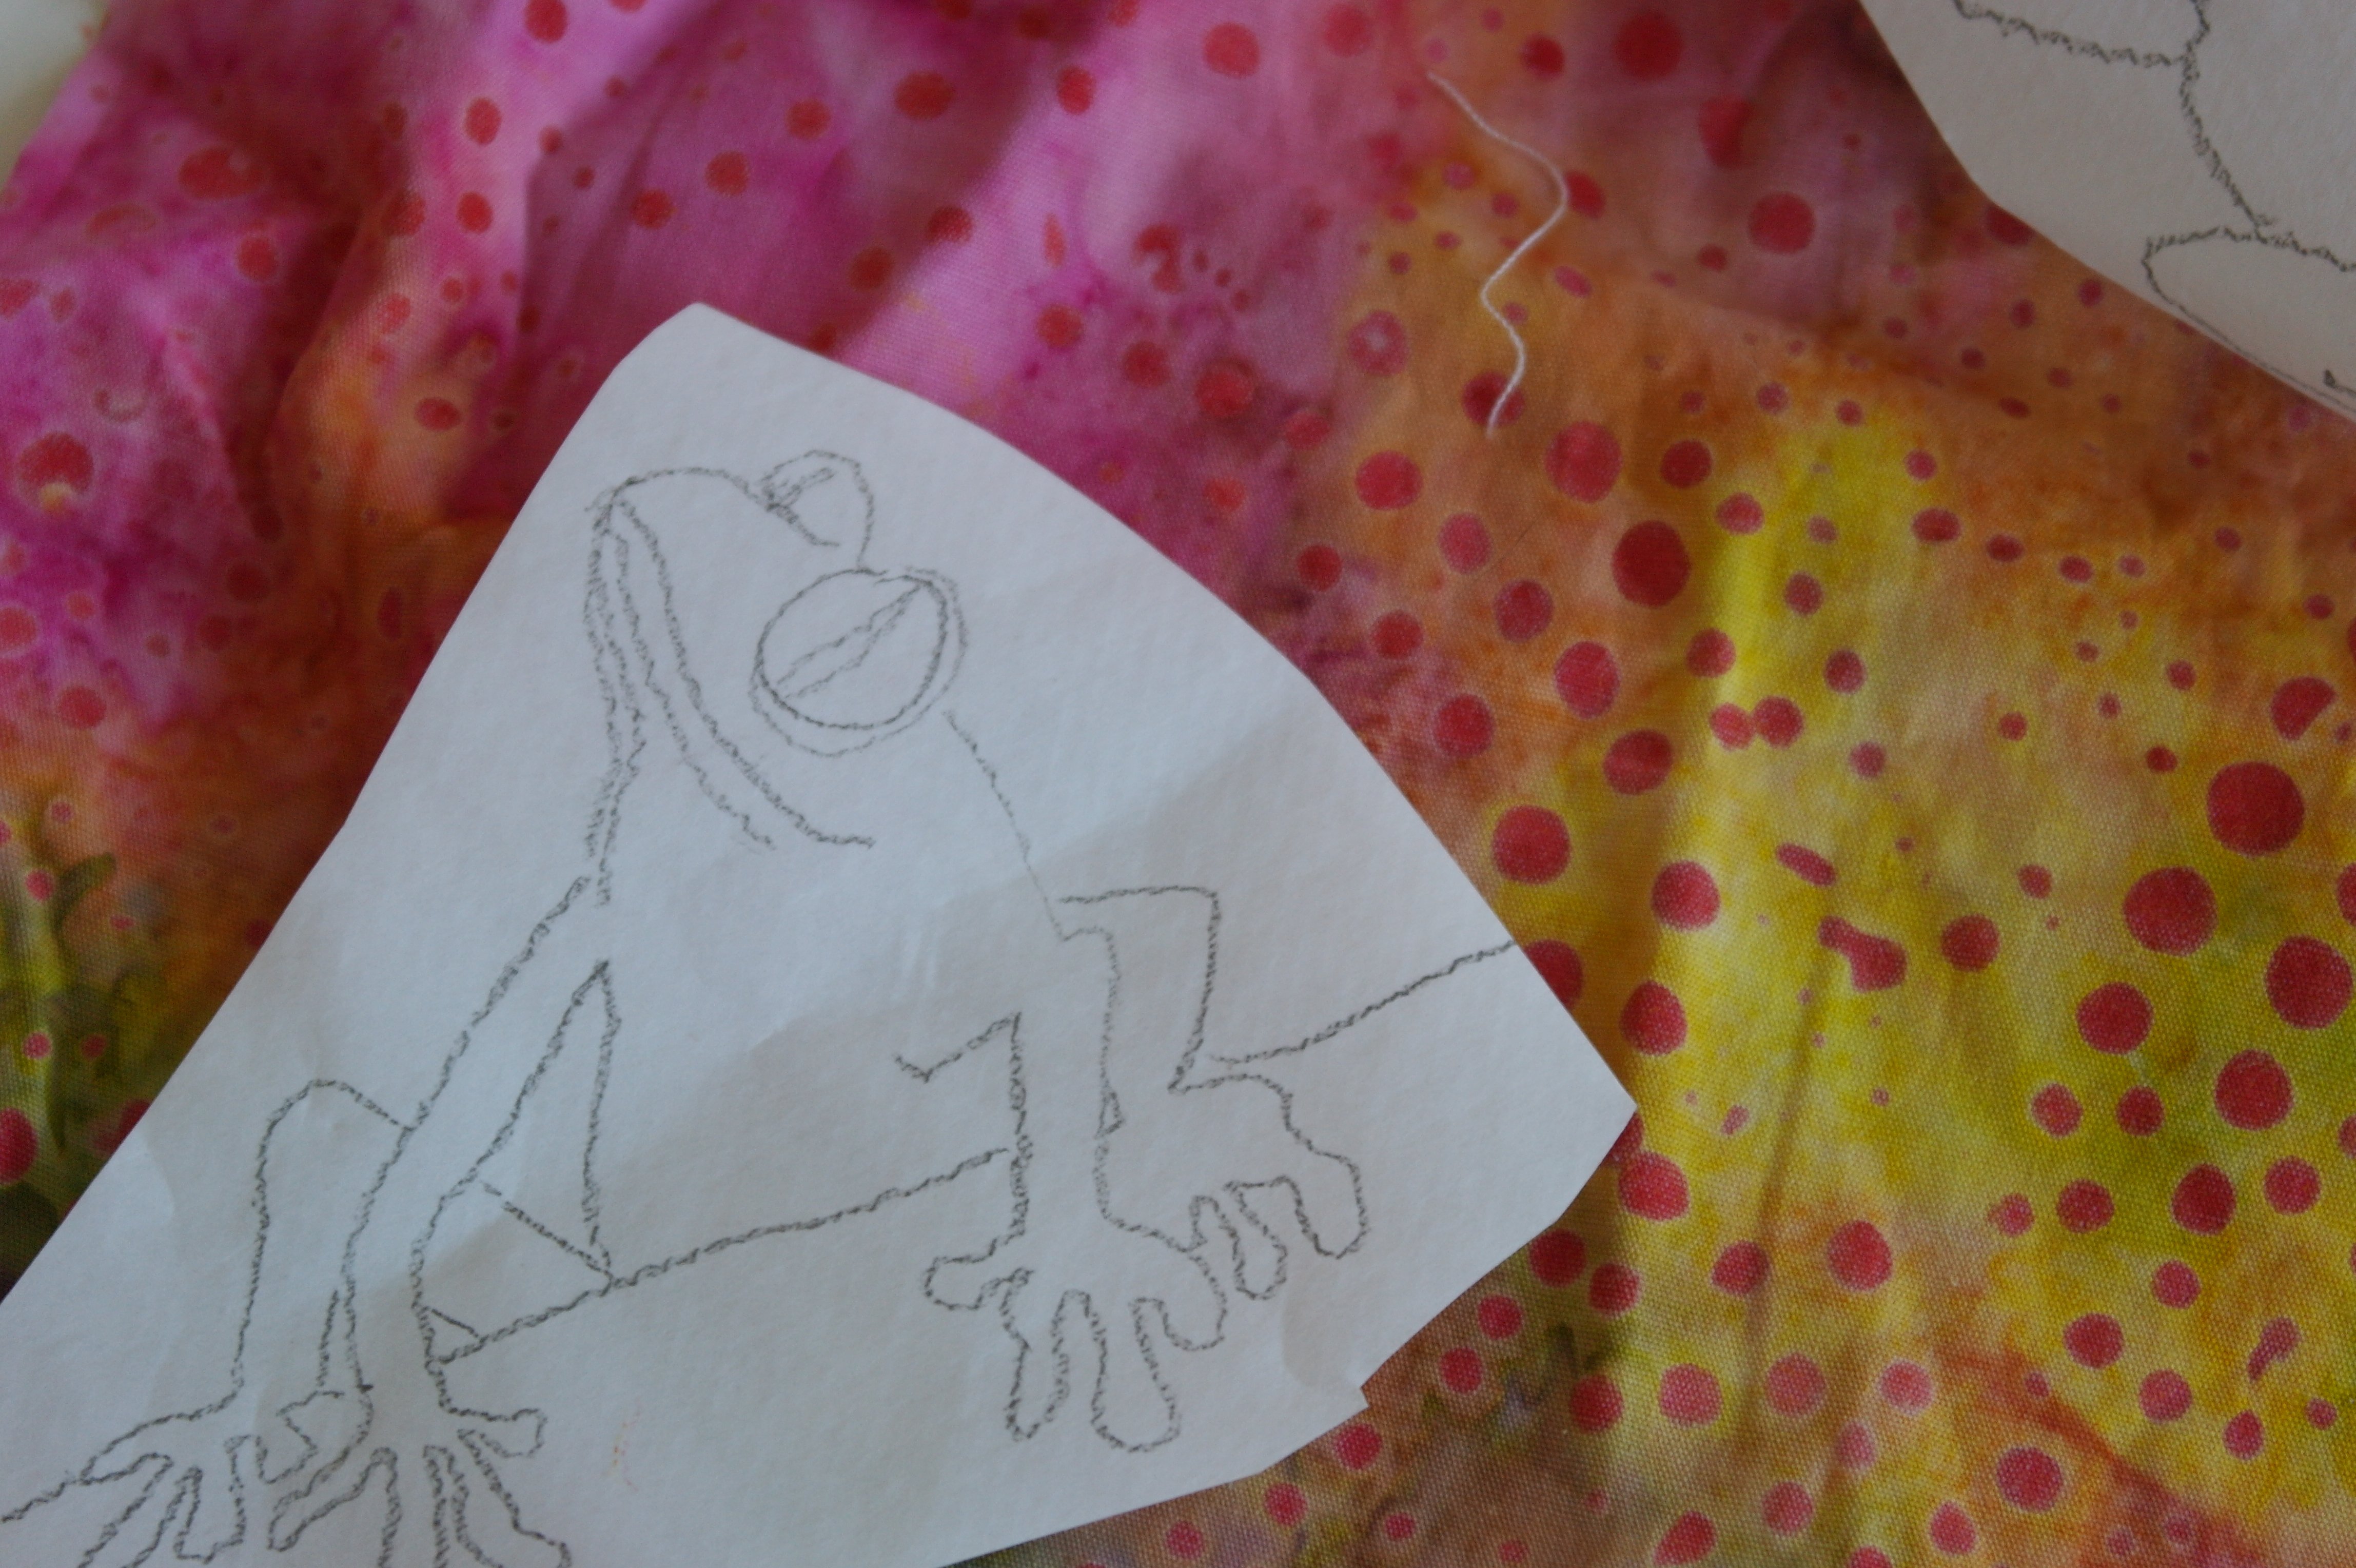
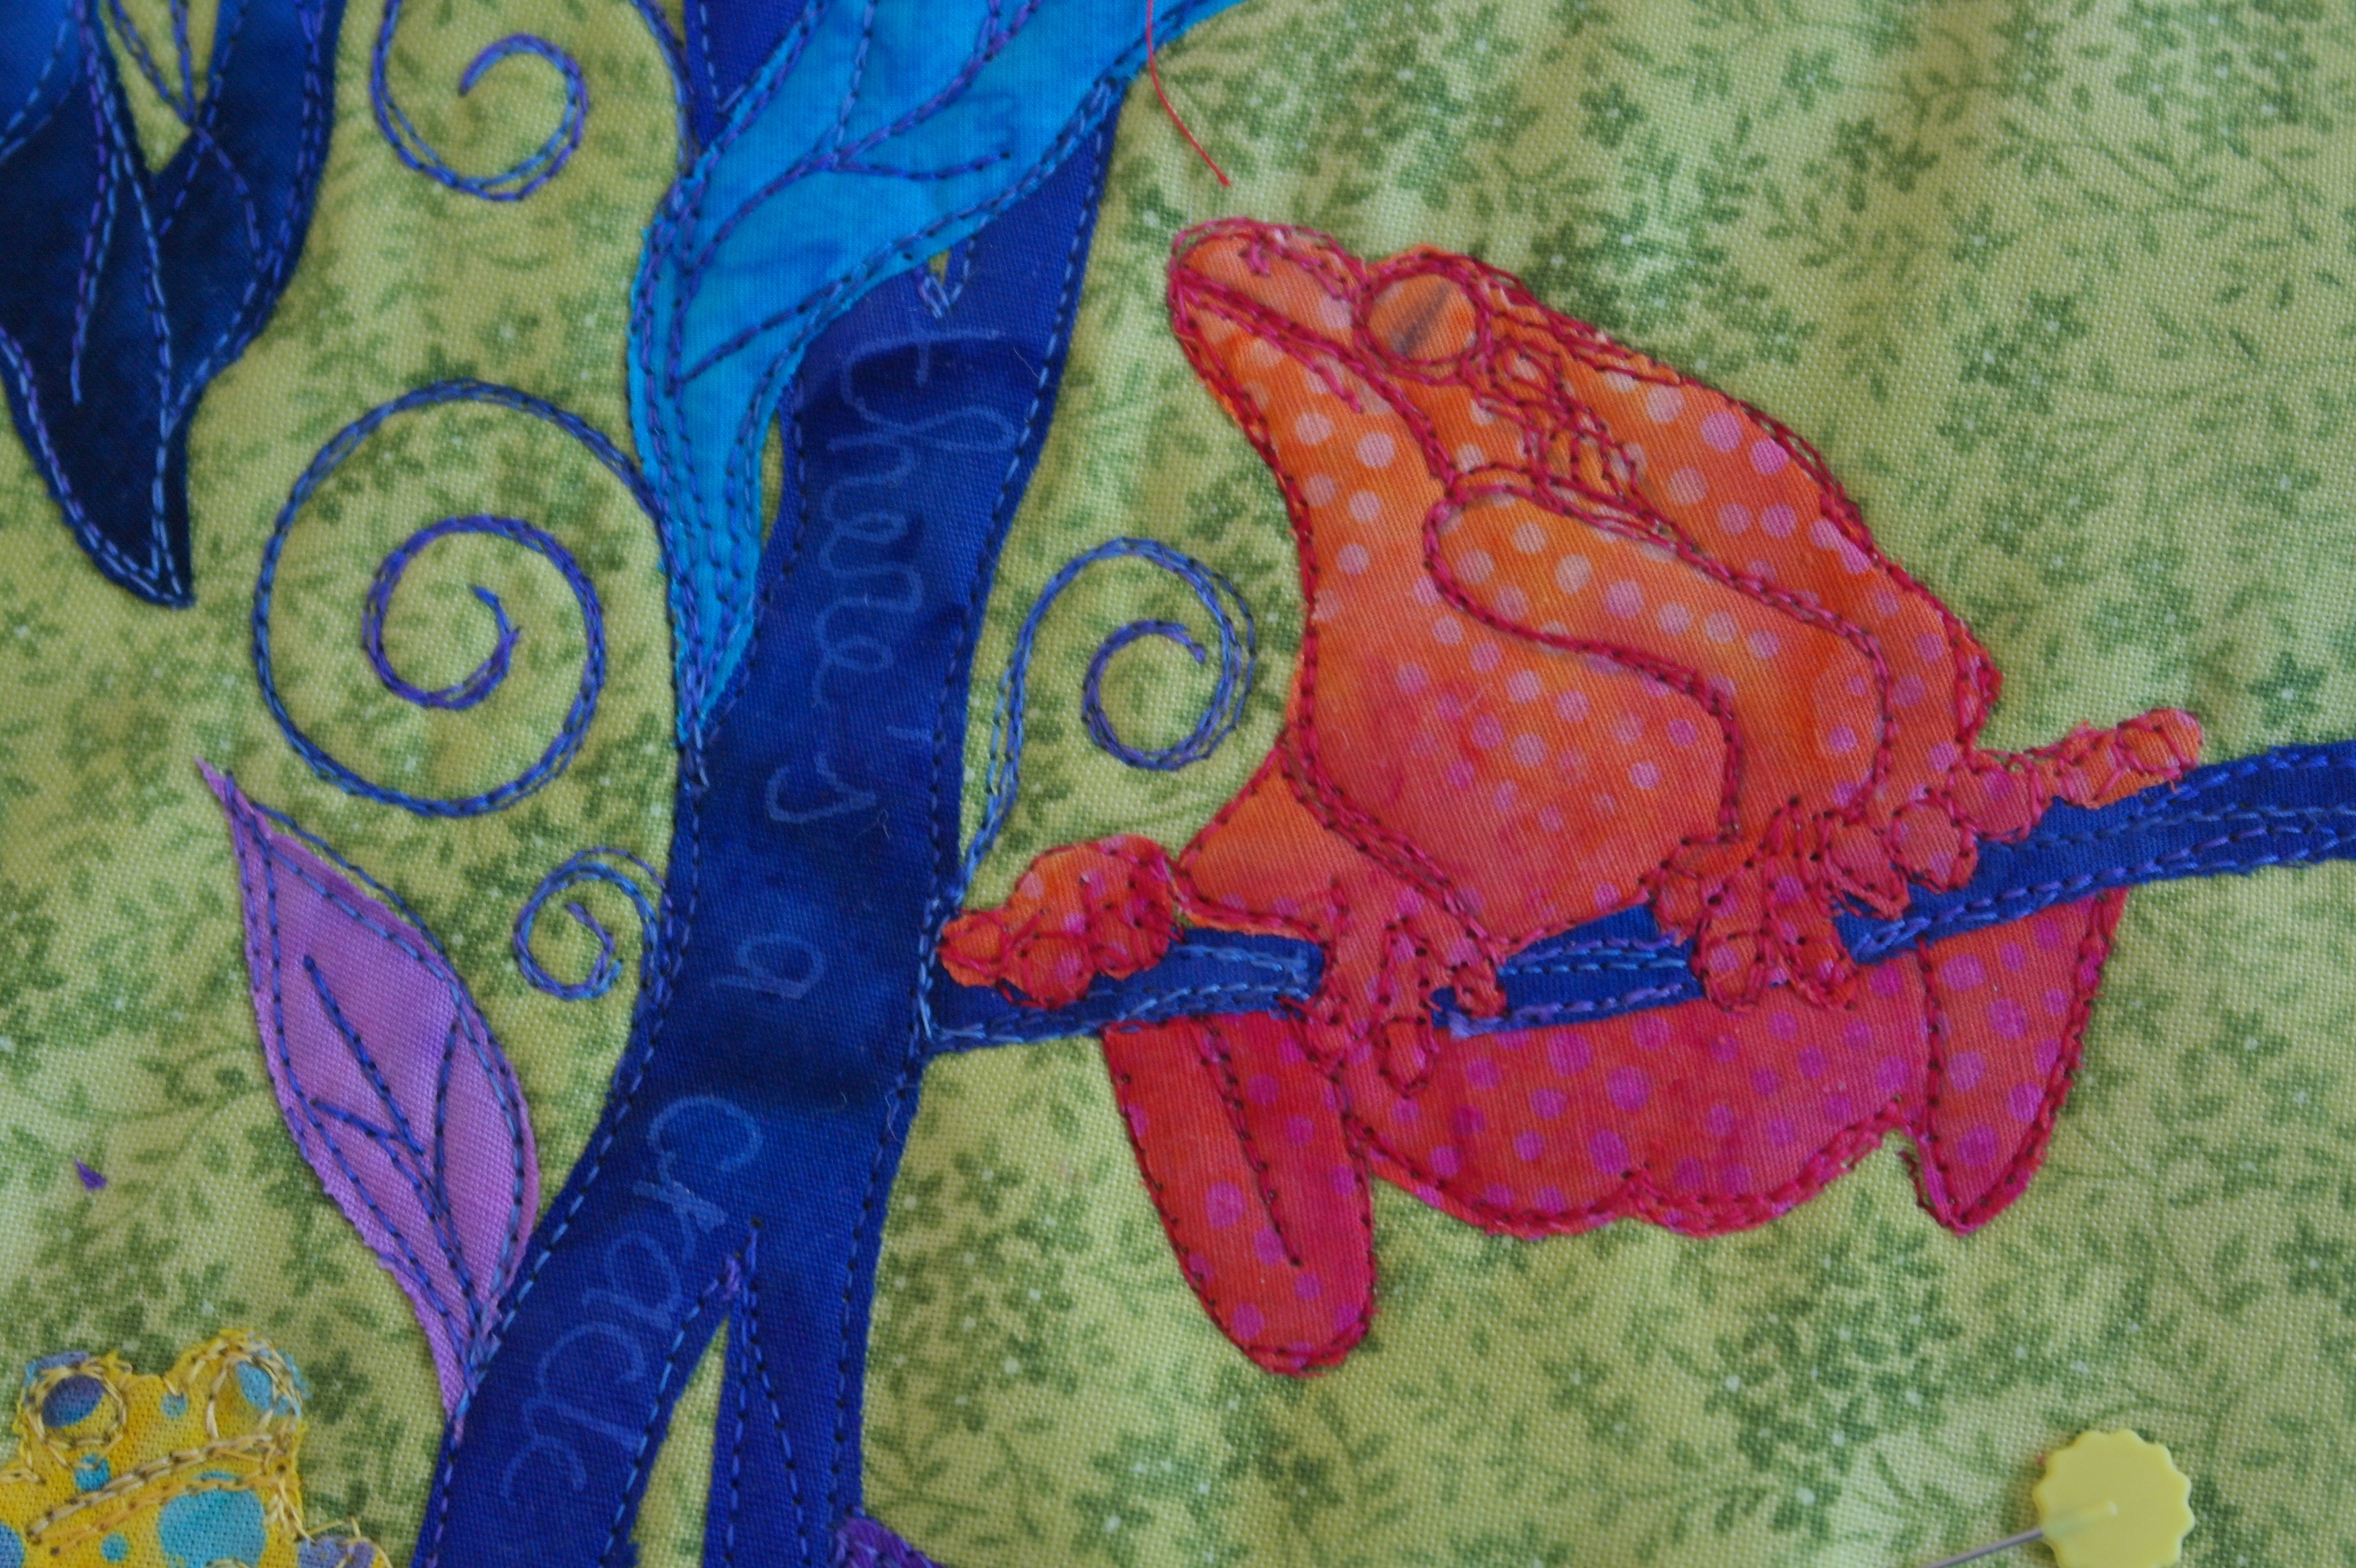
This is how a drawing of a frog looks in detail – I have found a beautiful batik with yellow, orange and pink for this one. The dots will enhance the skin of the frog, to make it look more natural.
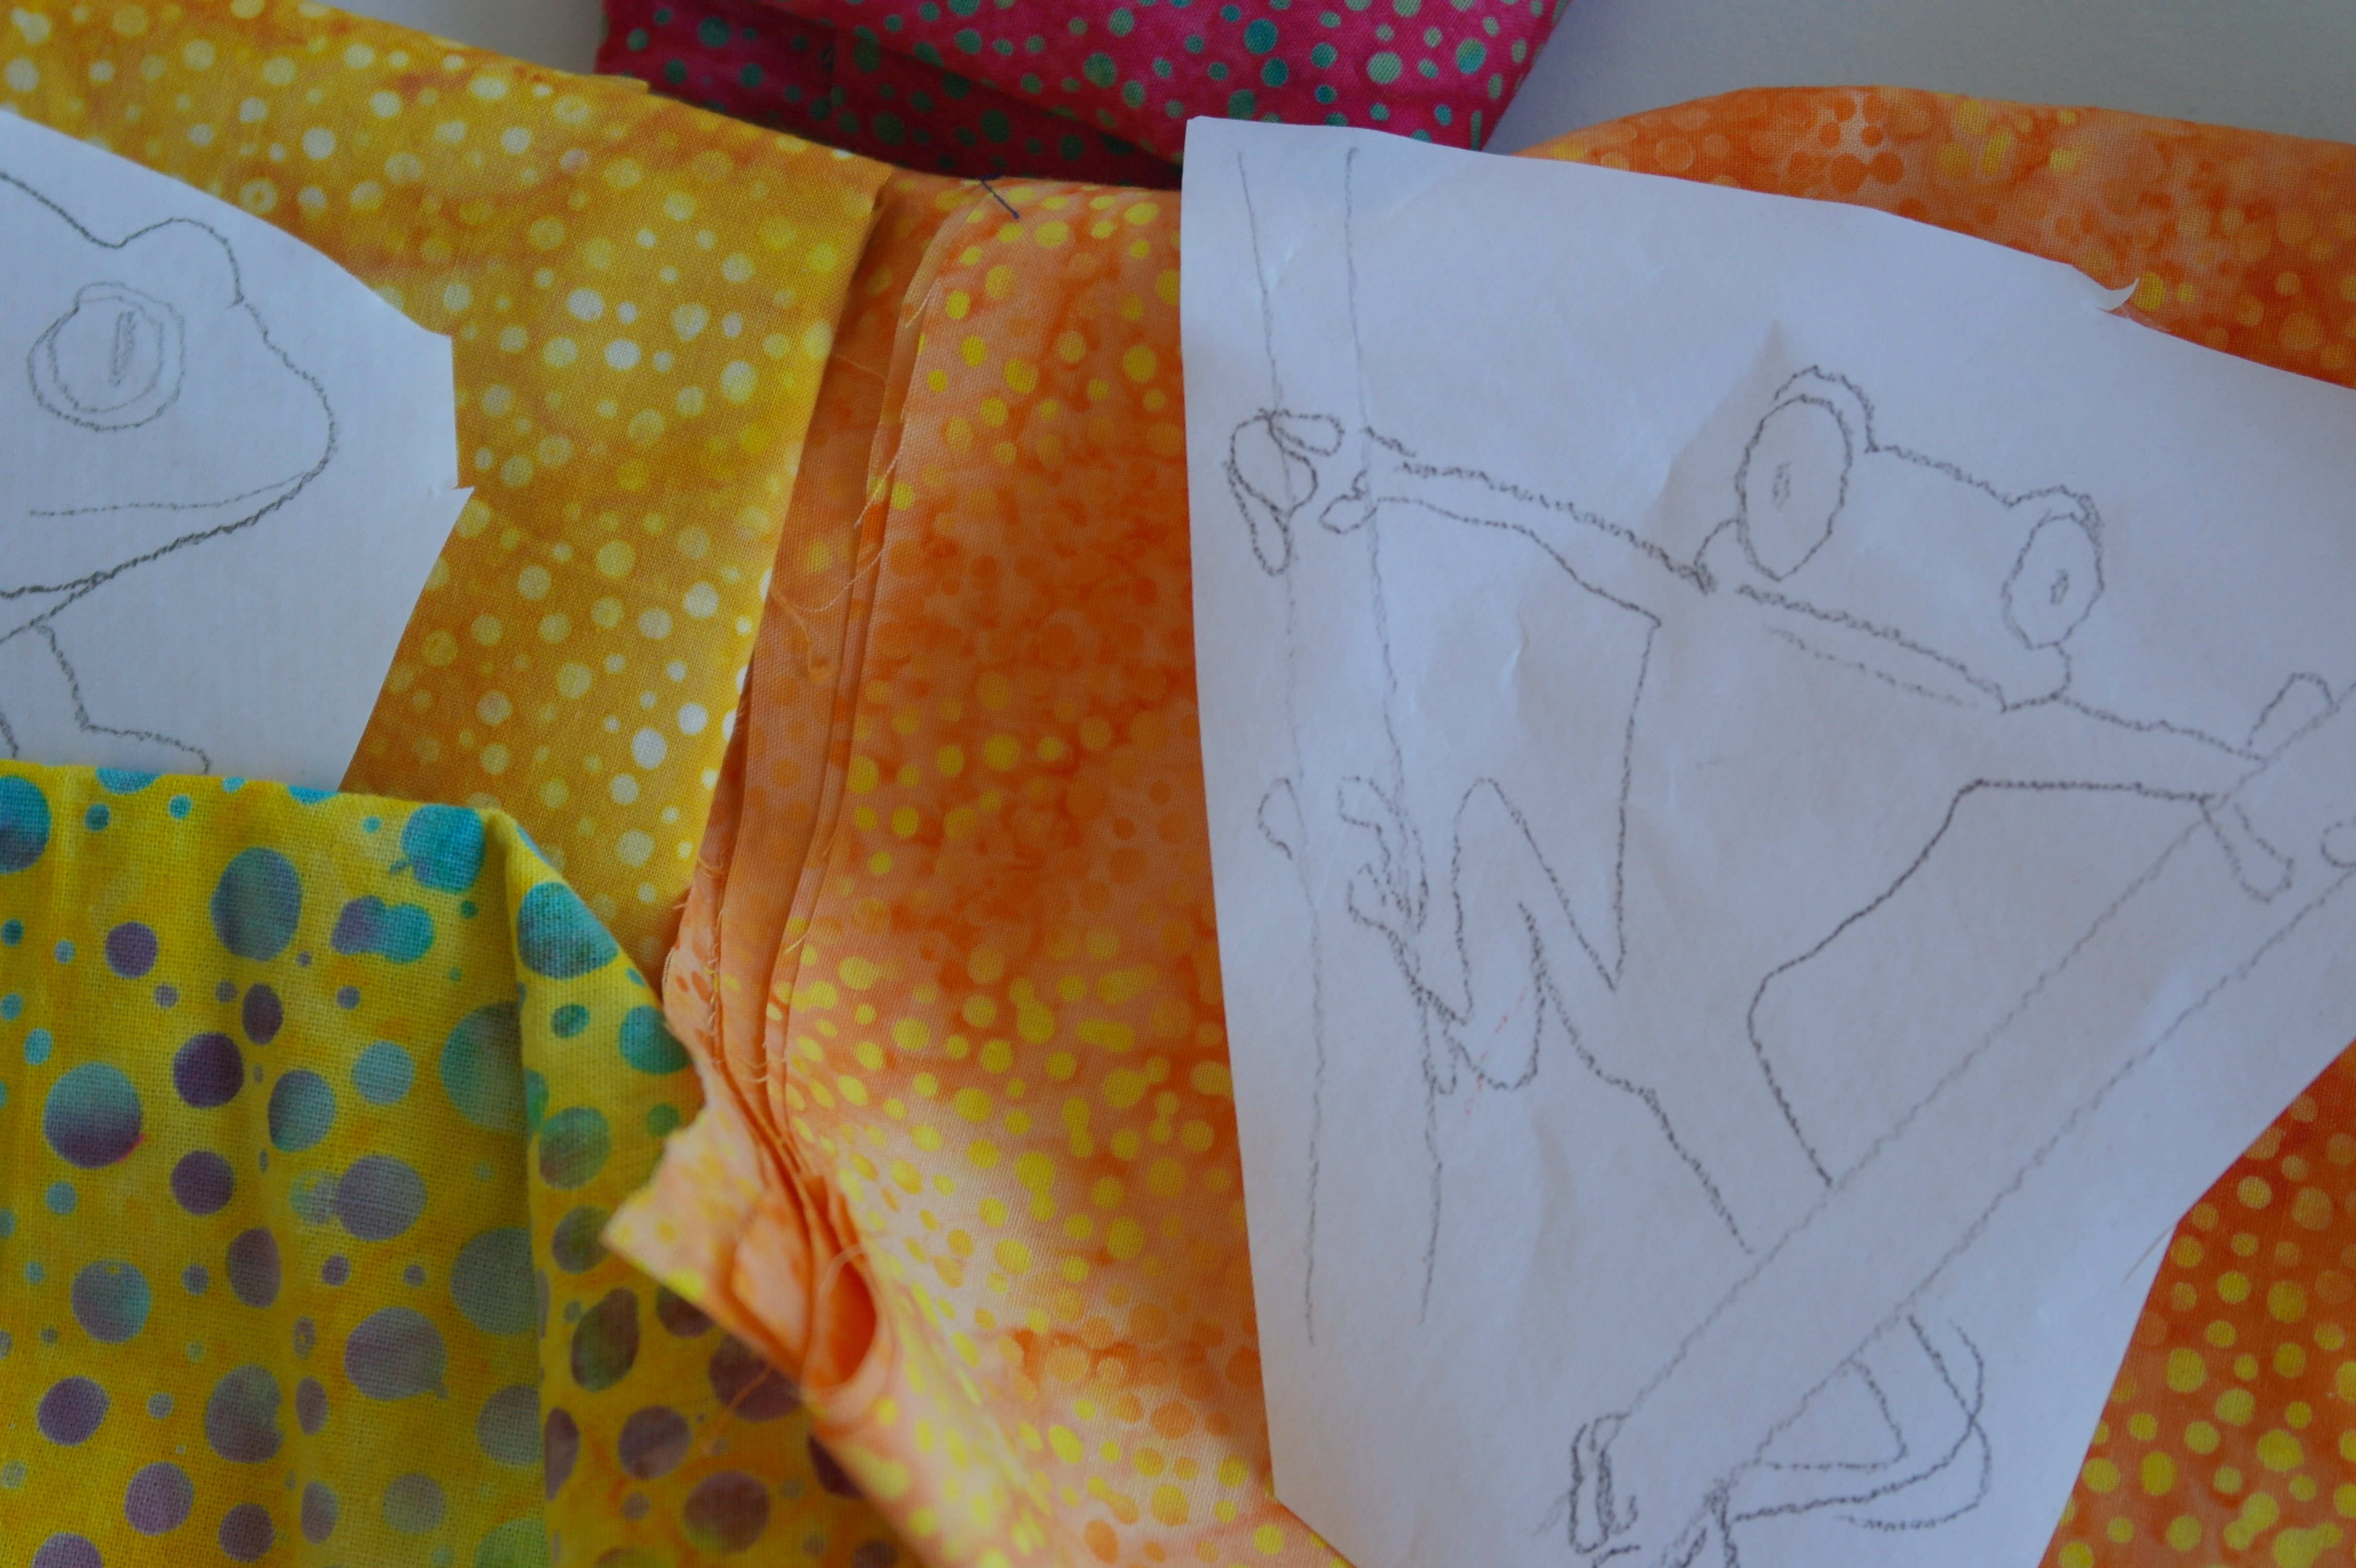
Here’s another frog: one who’s hanging on between two branches. I drew these frogs after looking at many, many pictures of frogs to see how they sit on leaves and twigs, and made my own frogs with my own fabrics/colors.

This is the same frog, ironed in reverse on the background. I have placed 13 frogs on the green fabric.
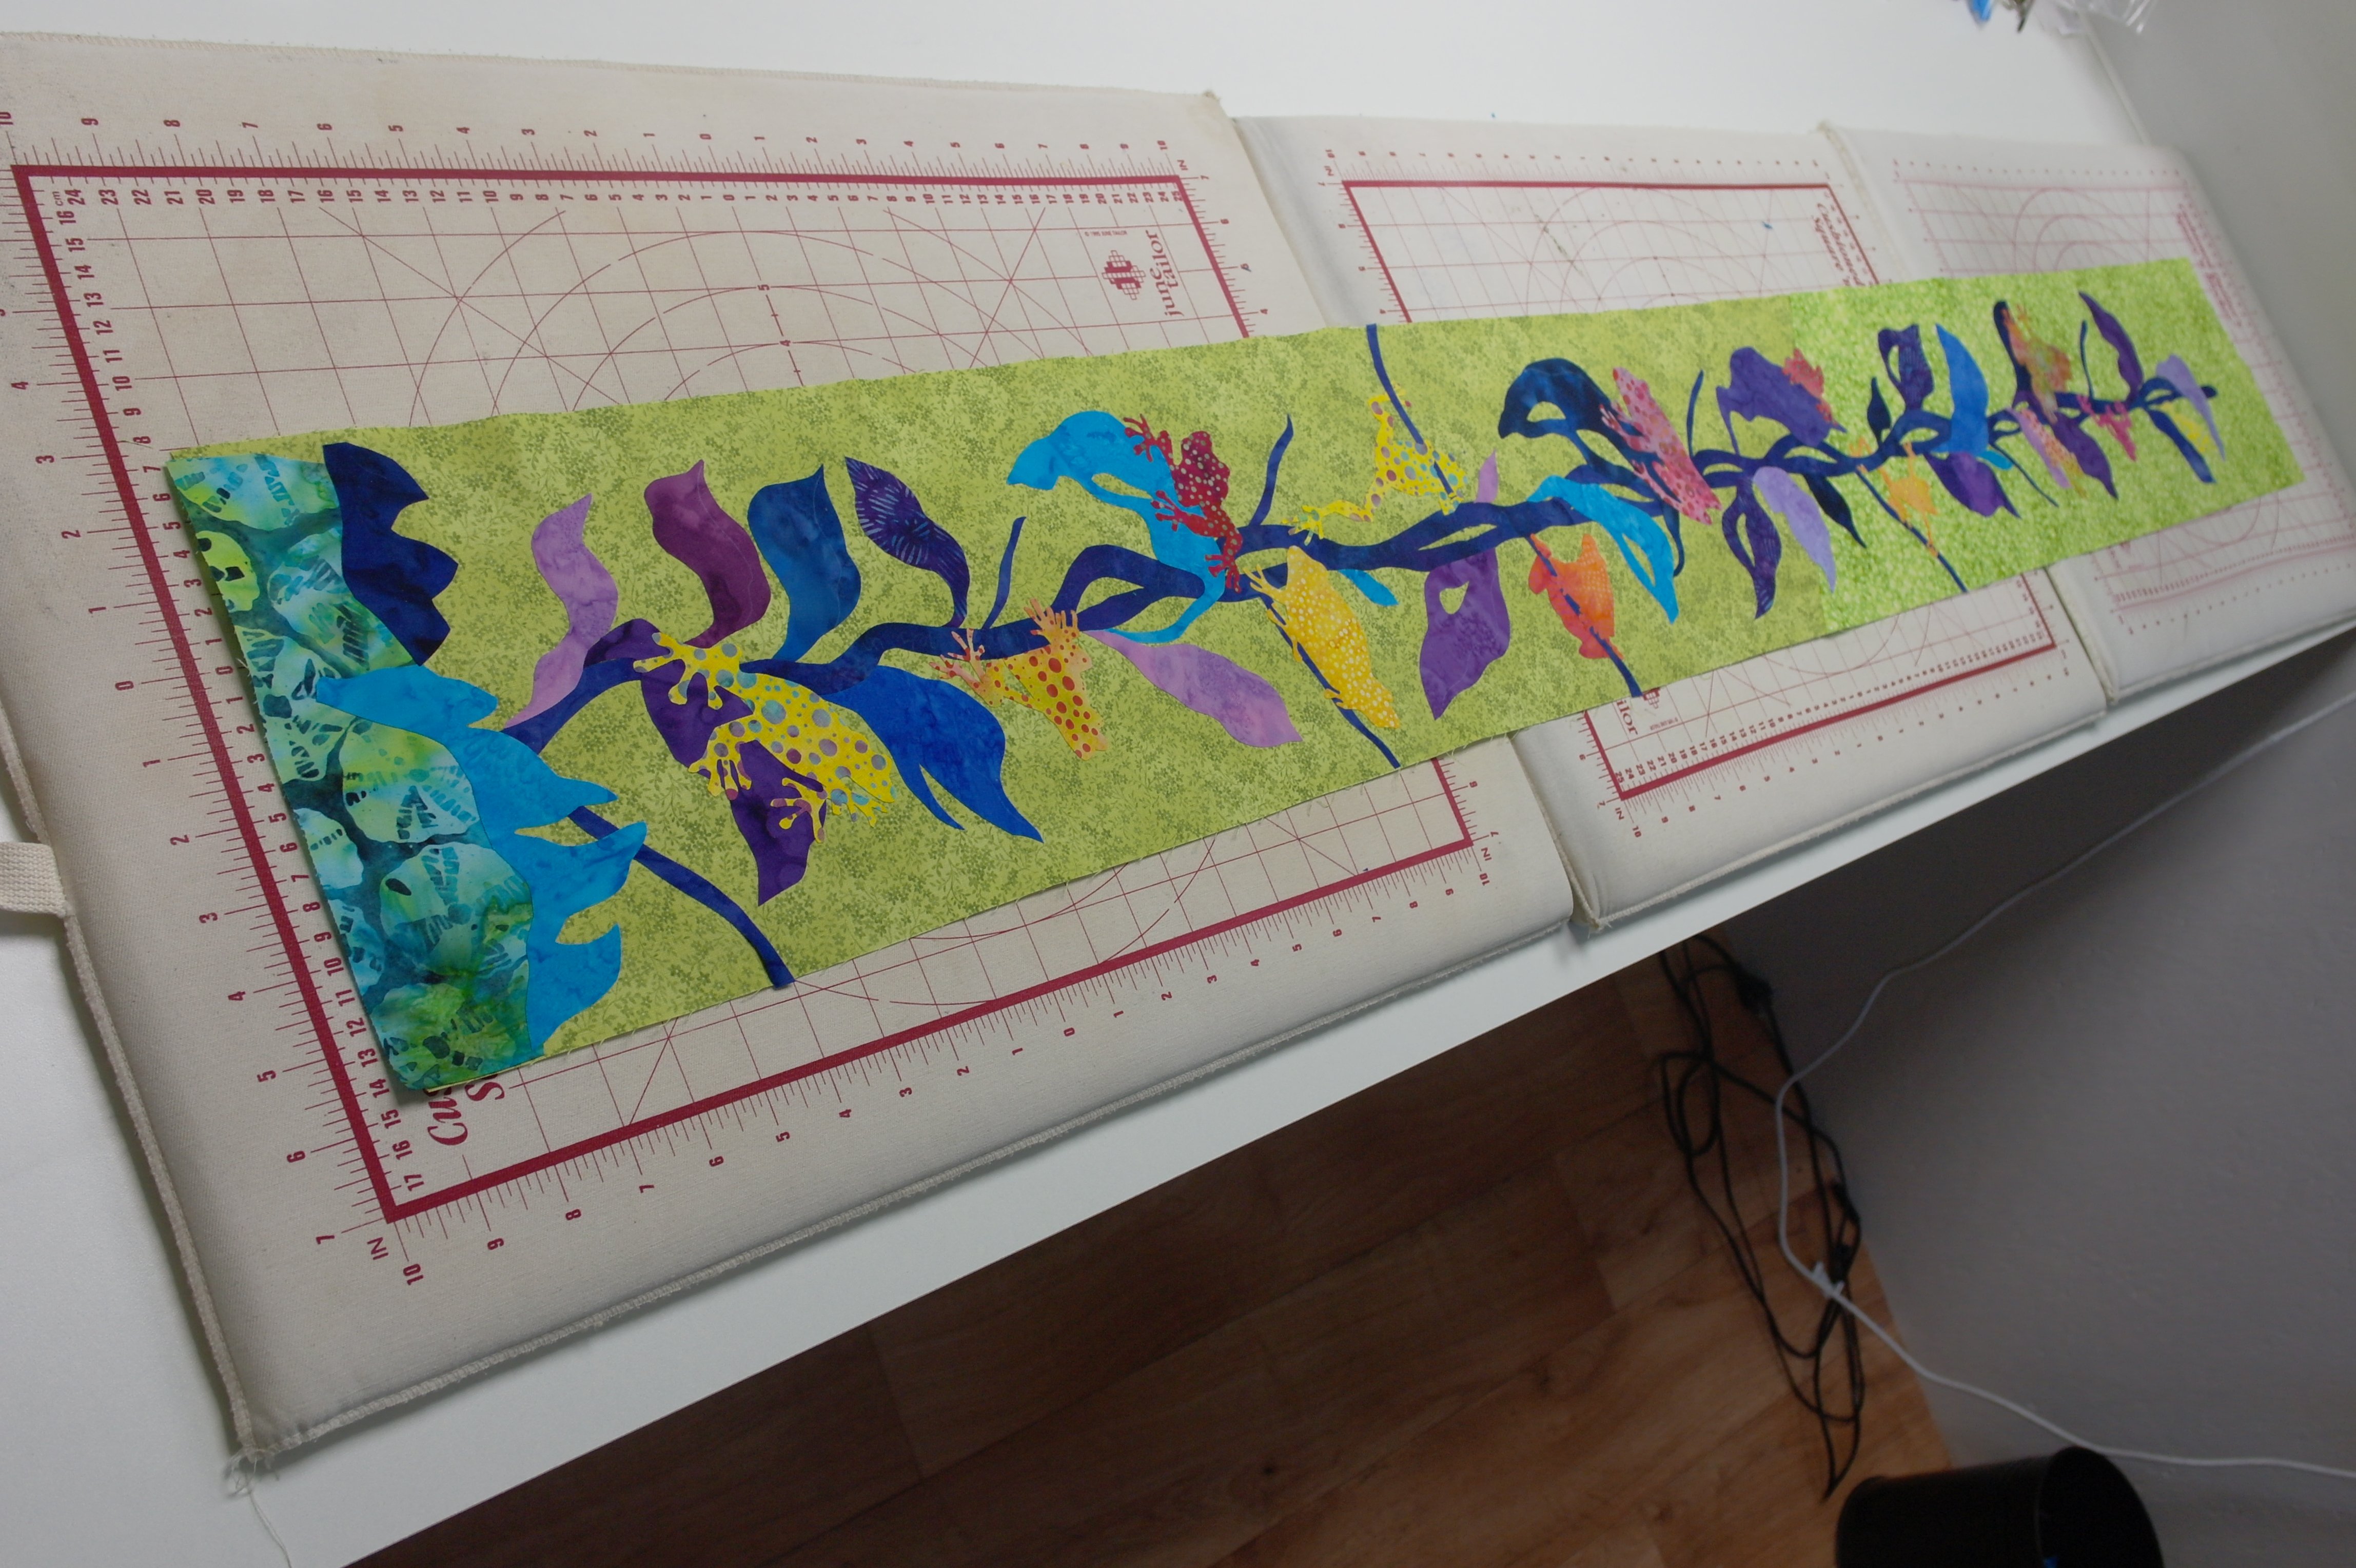
Because this will be a long quilt (size 20 x 160cm), I have placed my three ironing mats in a row. That was the only way to place such a long quilt to be ironed at once. Every object is placed on the green background and ironed.
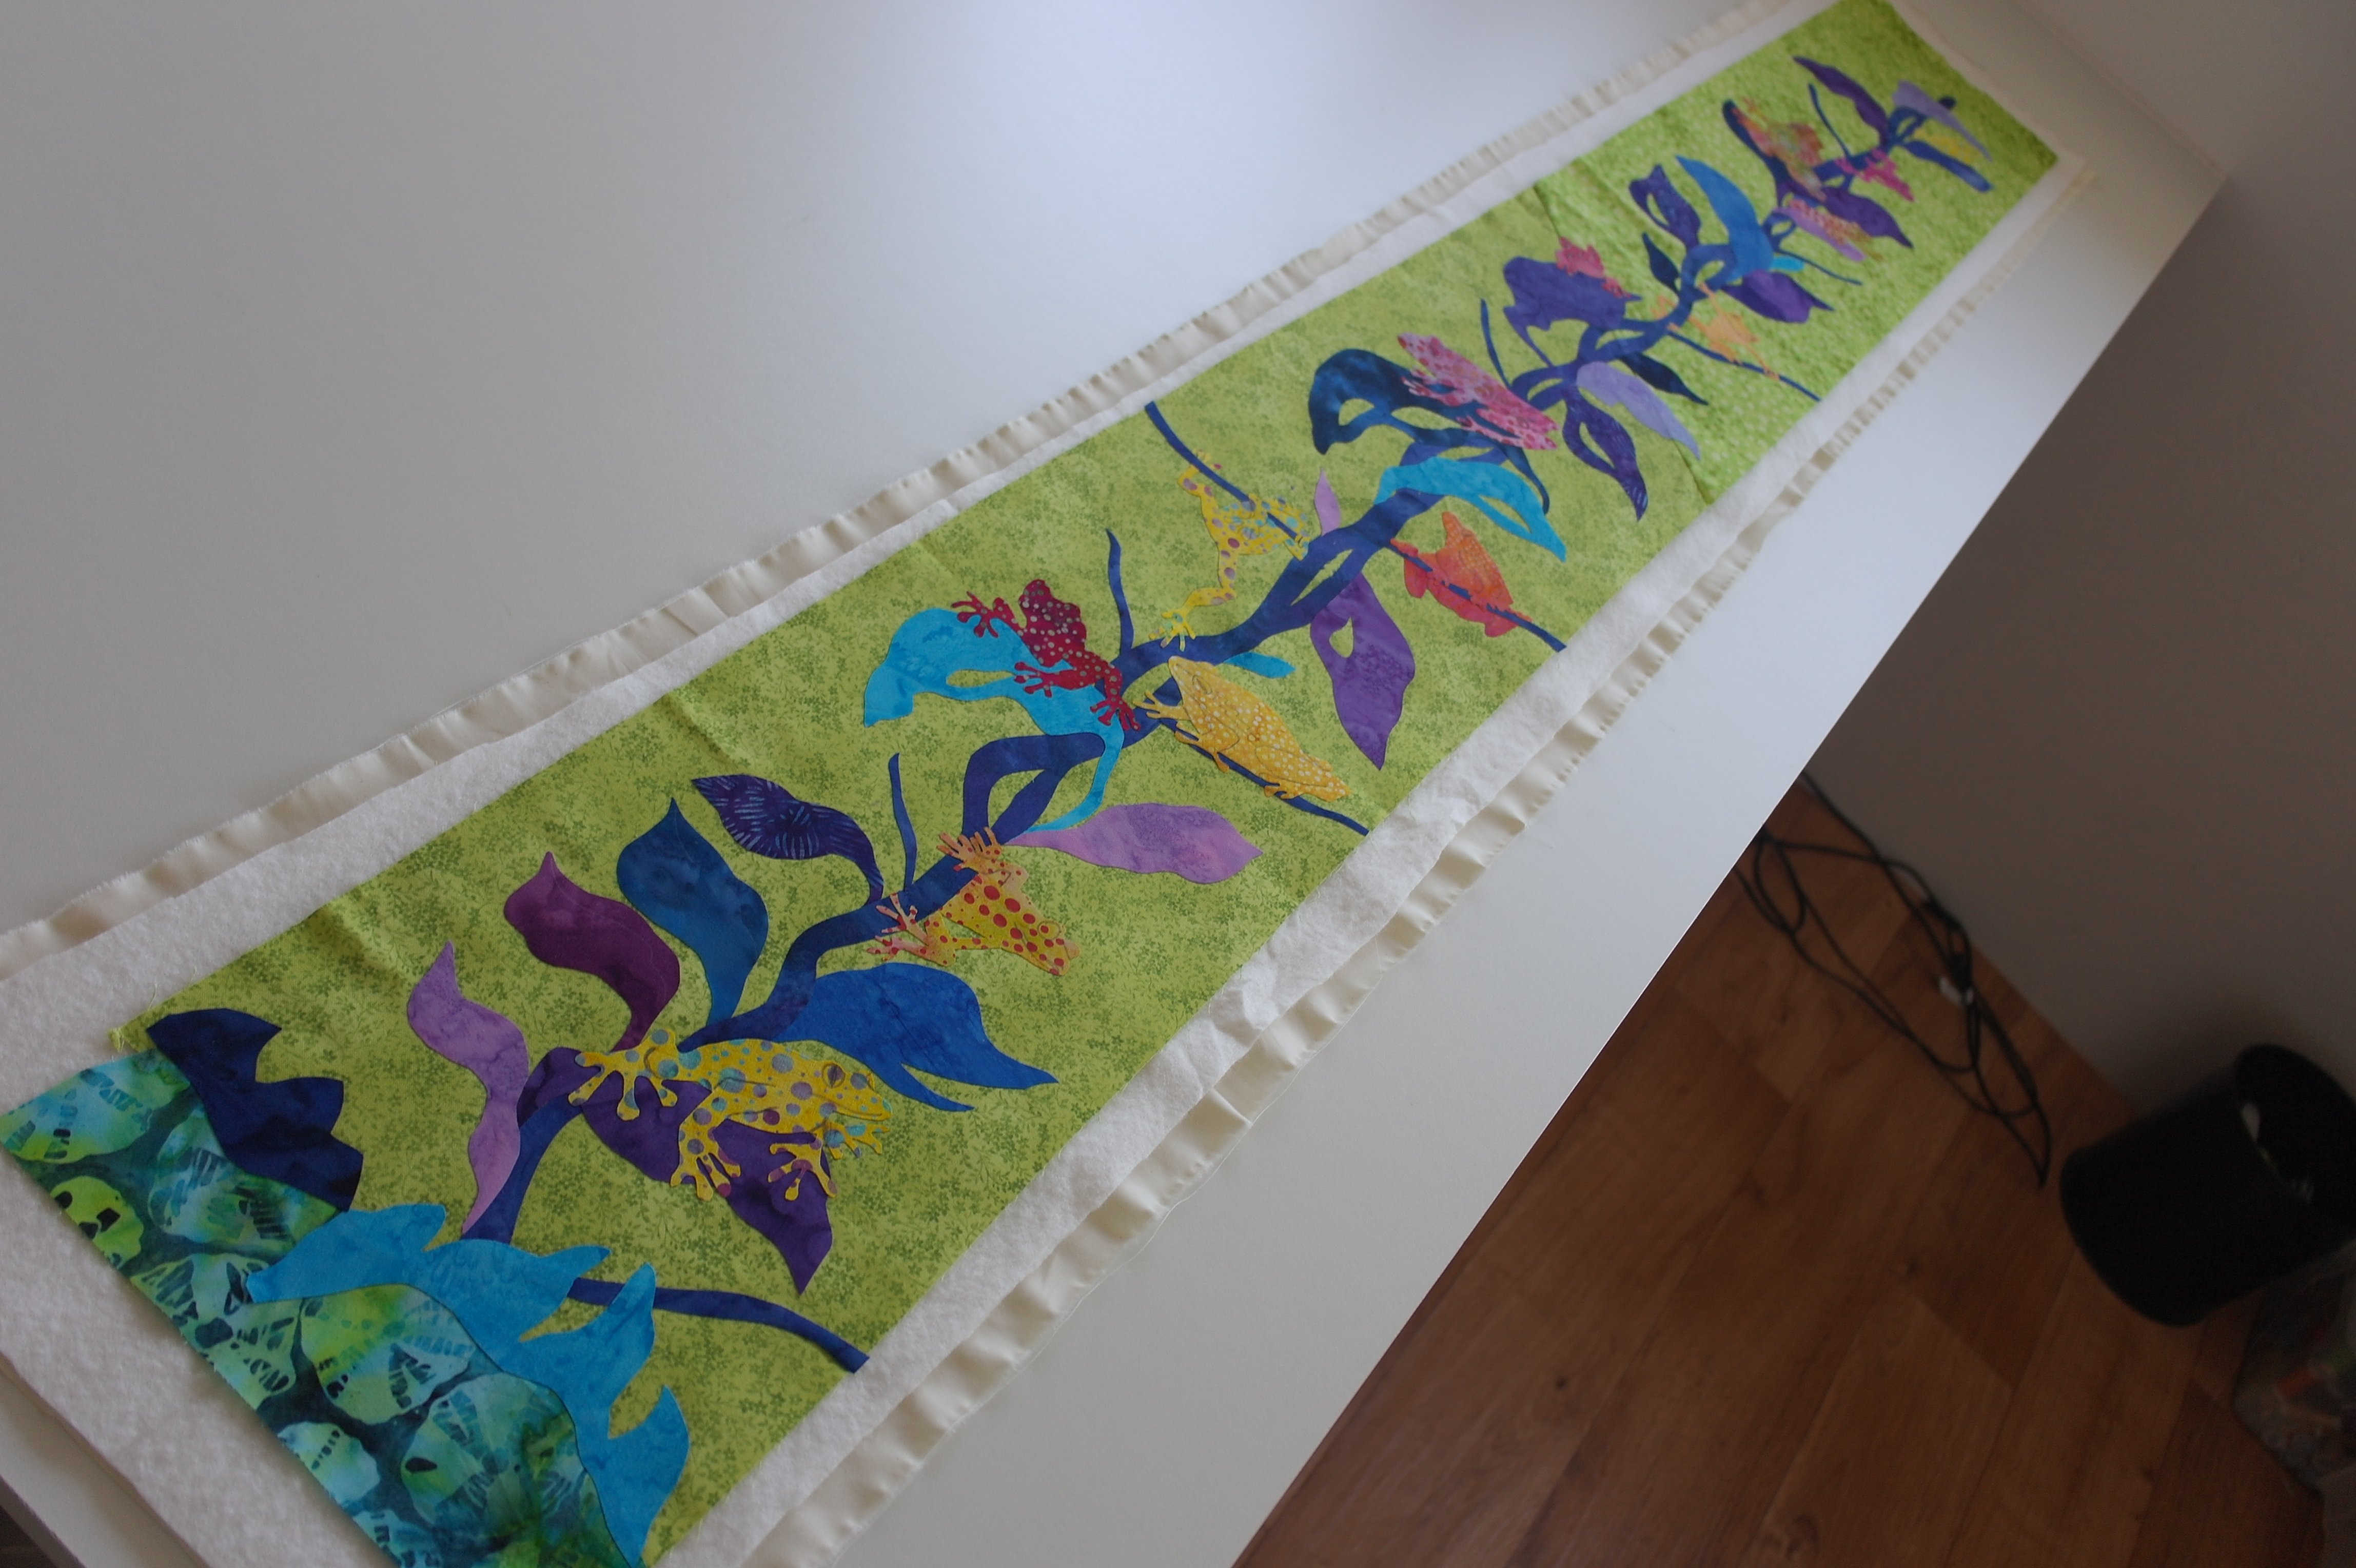
The sandwich is also made on the large table: a thin off-white fabric (not the actual backing fabric: that one will be added later), a batting – Matilda’s Own, 100% bamboo) and the strip with applique’s on top.
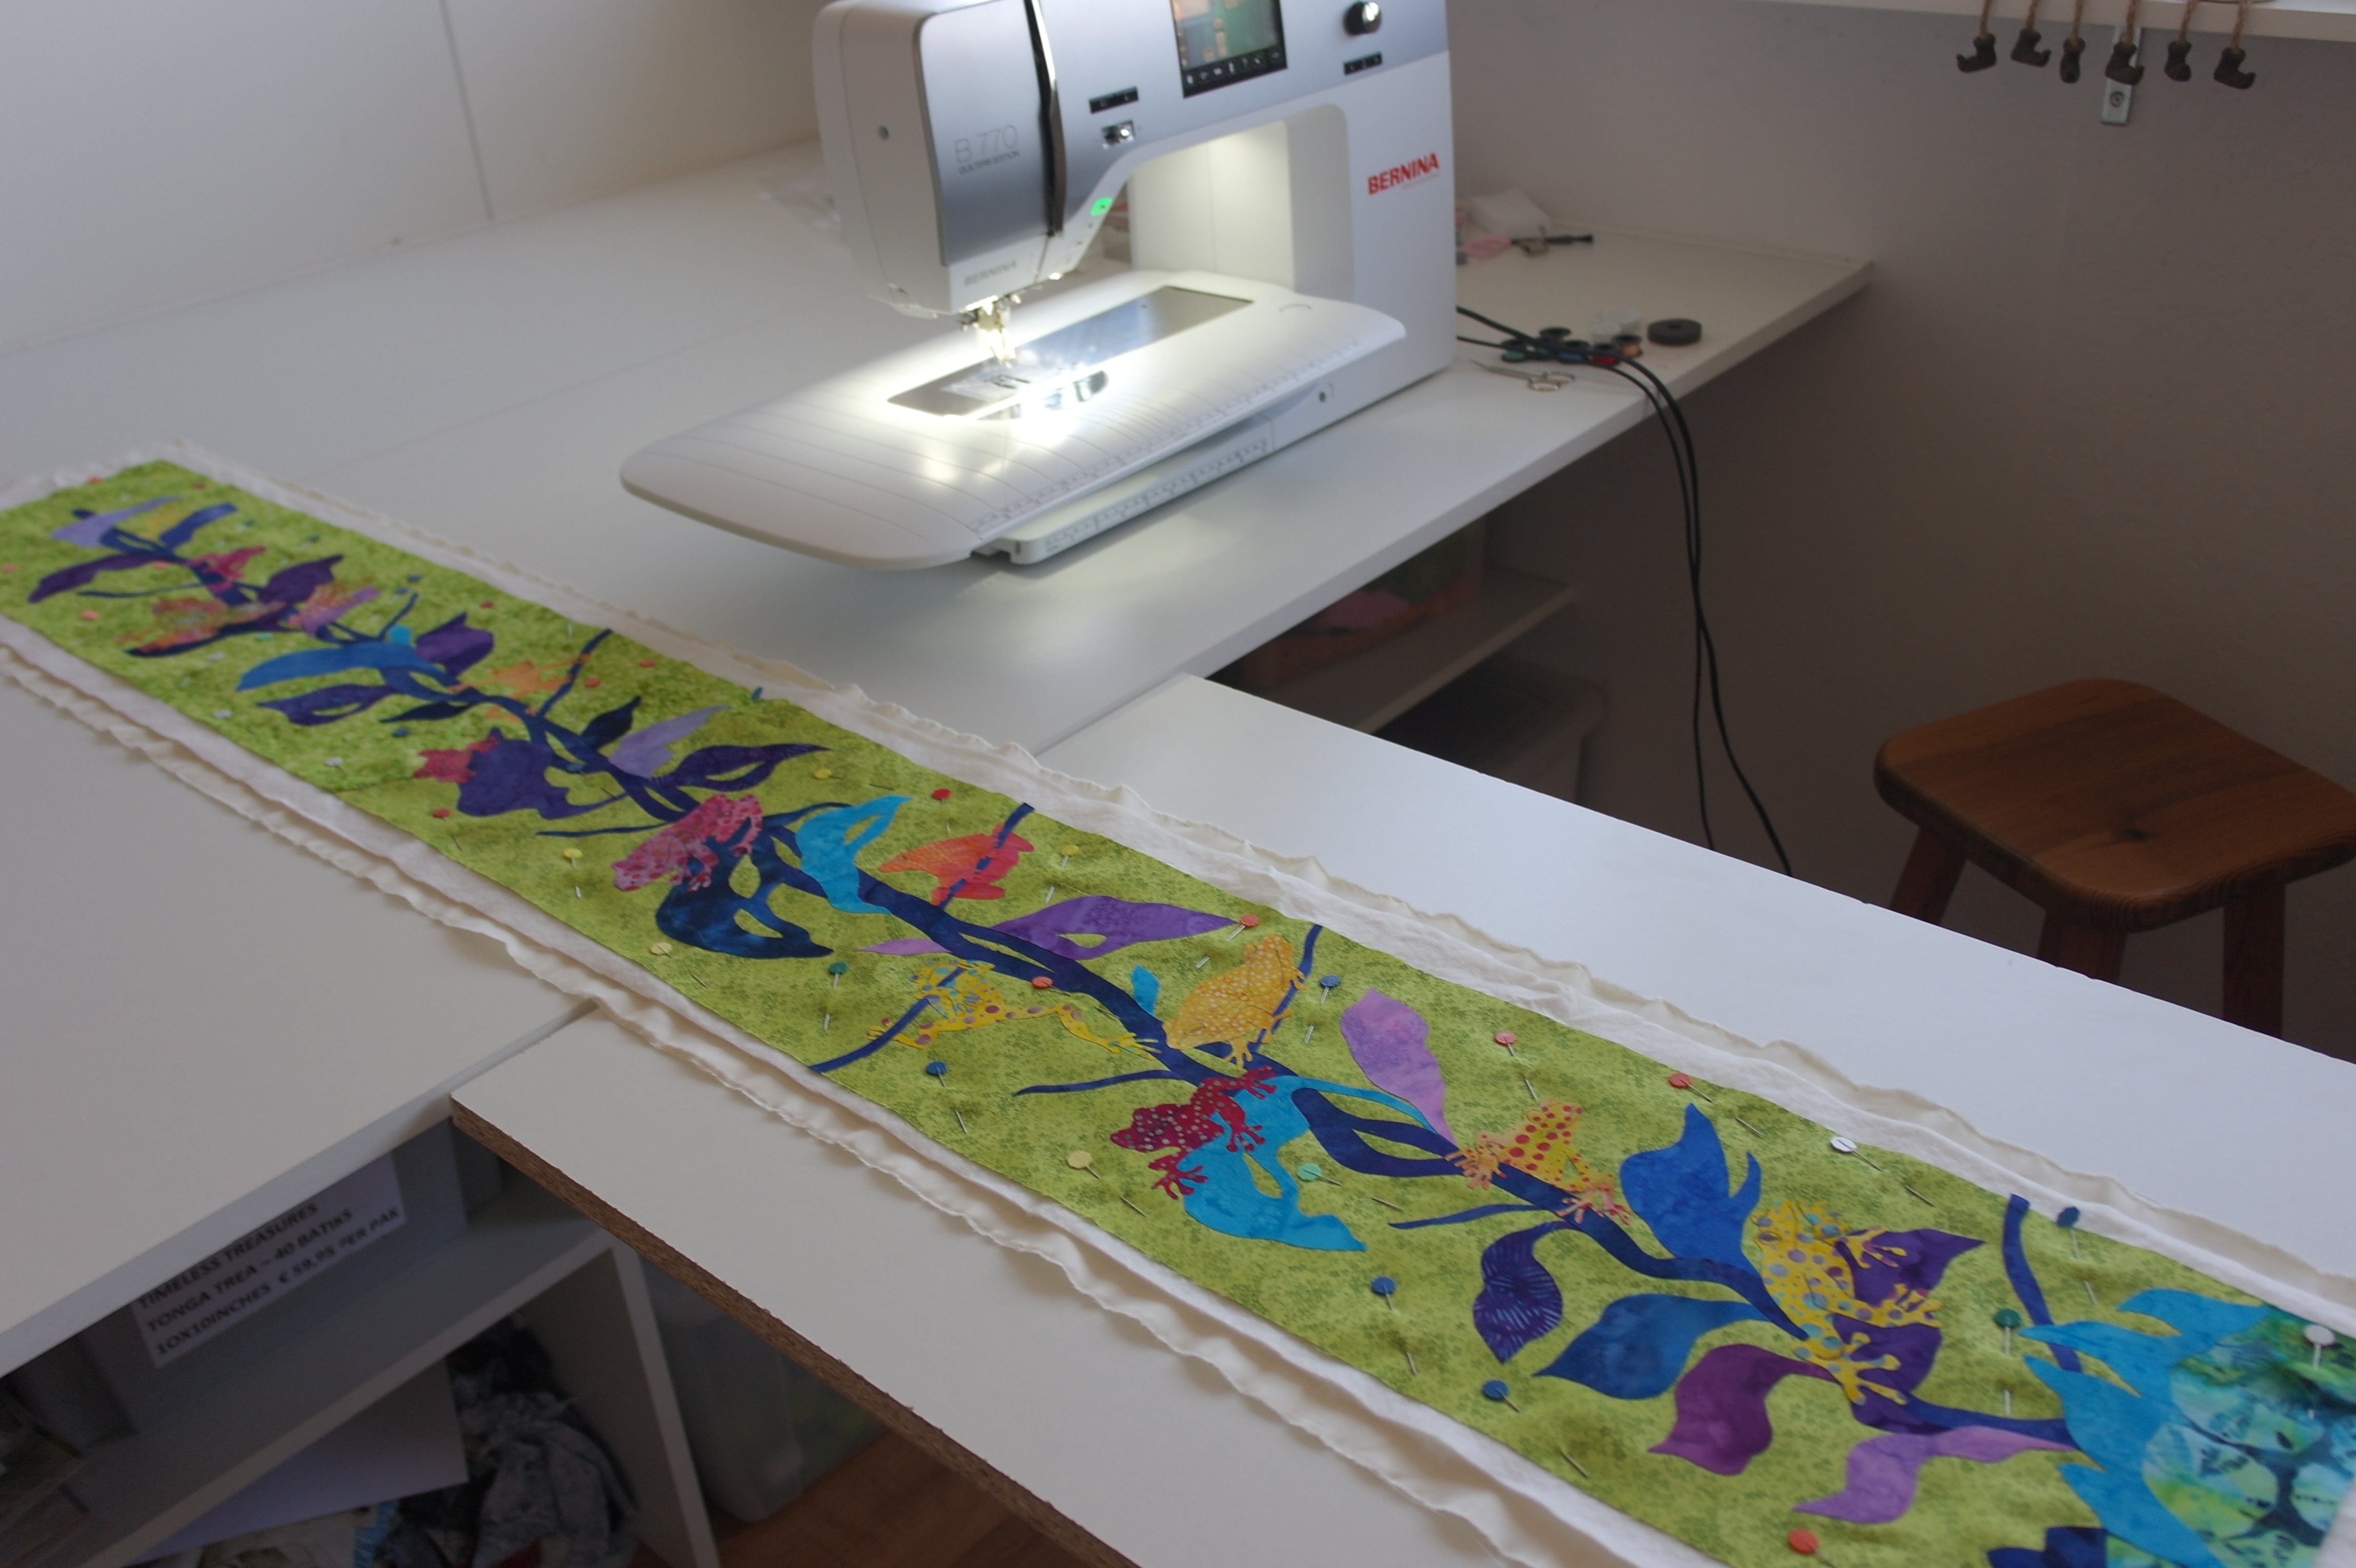
Of course I have quilted everything on my BERNINA 770QE – with the BSR, for freehand quilting. I’ve used a Topstitch needle with beautiful machine threads. U have added an extra table on the left of my machine, to place the long side of the quilt during quilting.
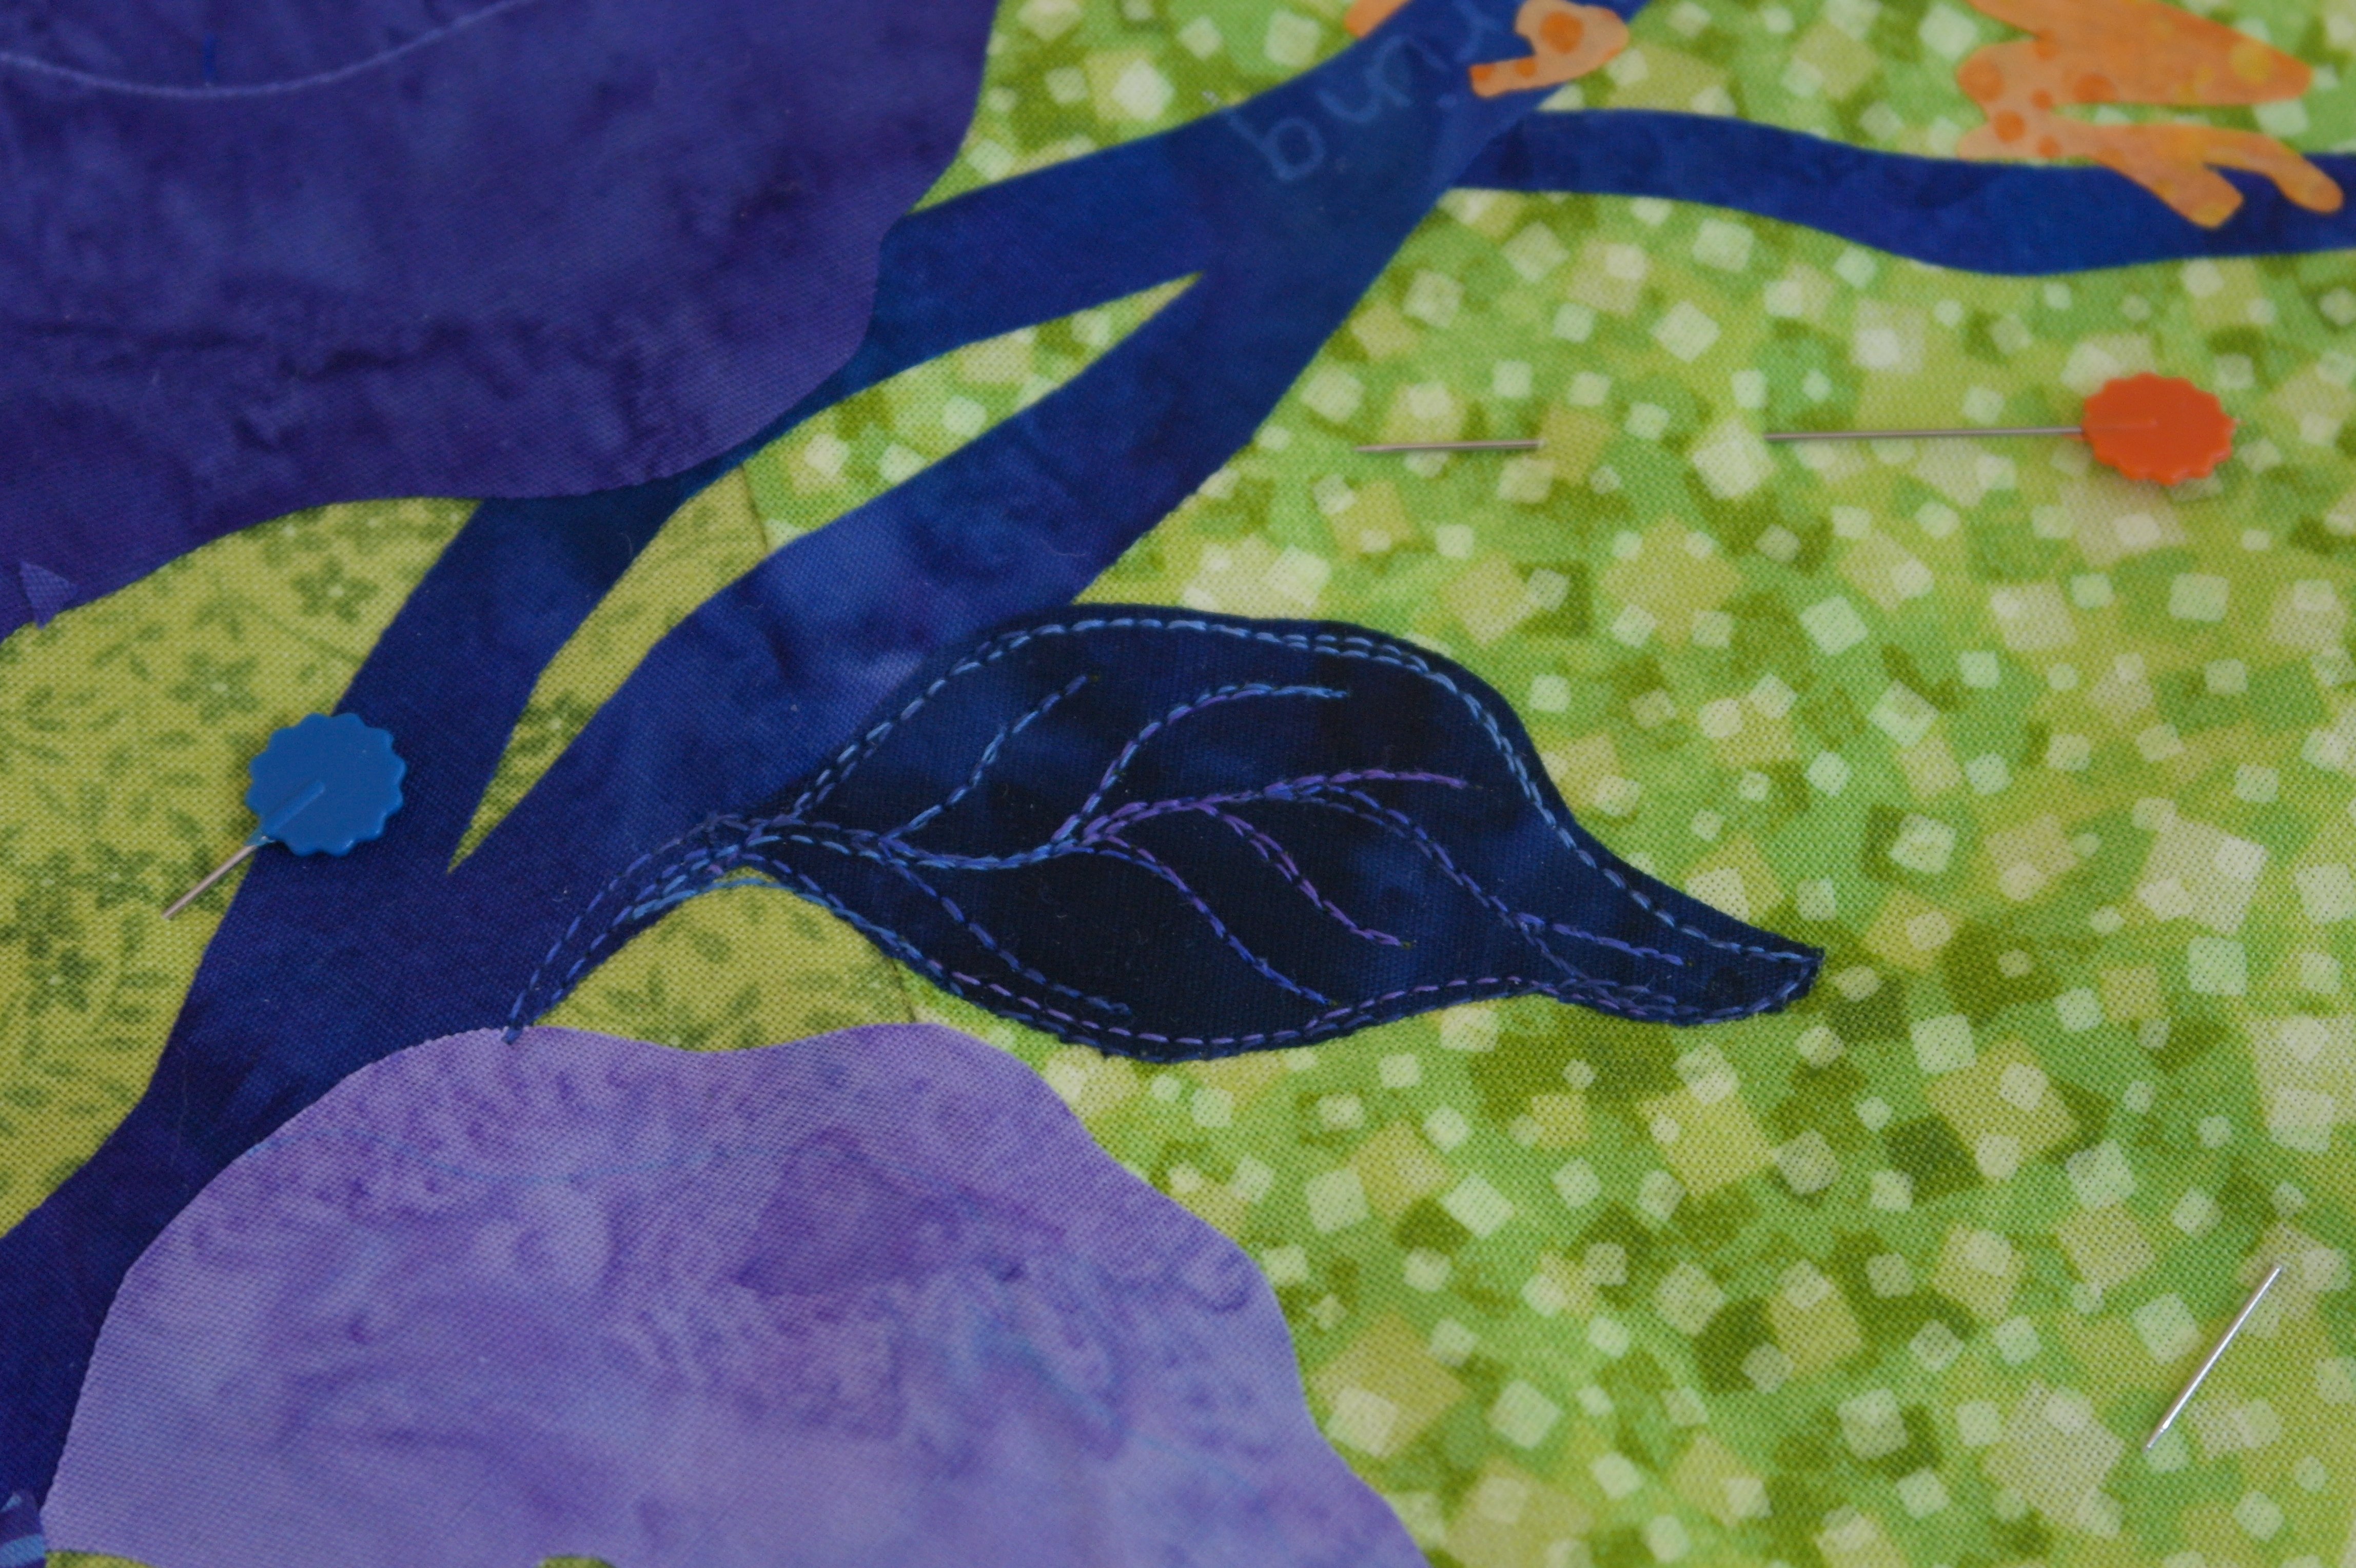
Let the quilting begin! Here’s the first leave with quilting stitches. I always use DecoBob/Wonderfil in the bobbin, matching the color to the upper threads. Tutti/Wonderfil and King Tut/Superior Threads were used on top – both are multicolor and give a wonderful effect after quilting.
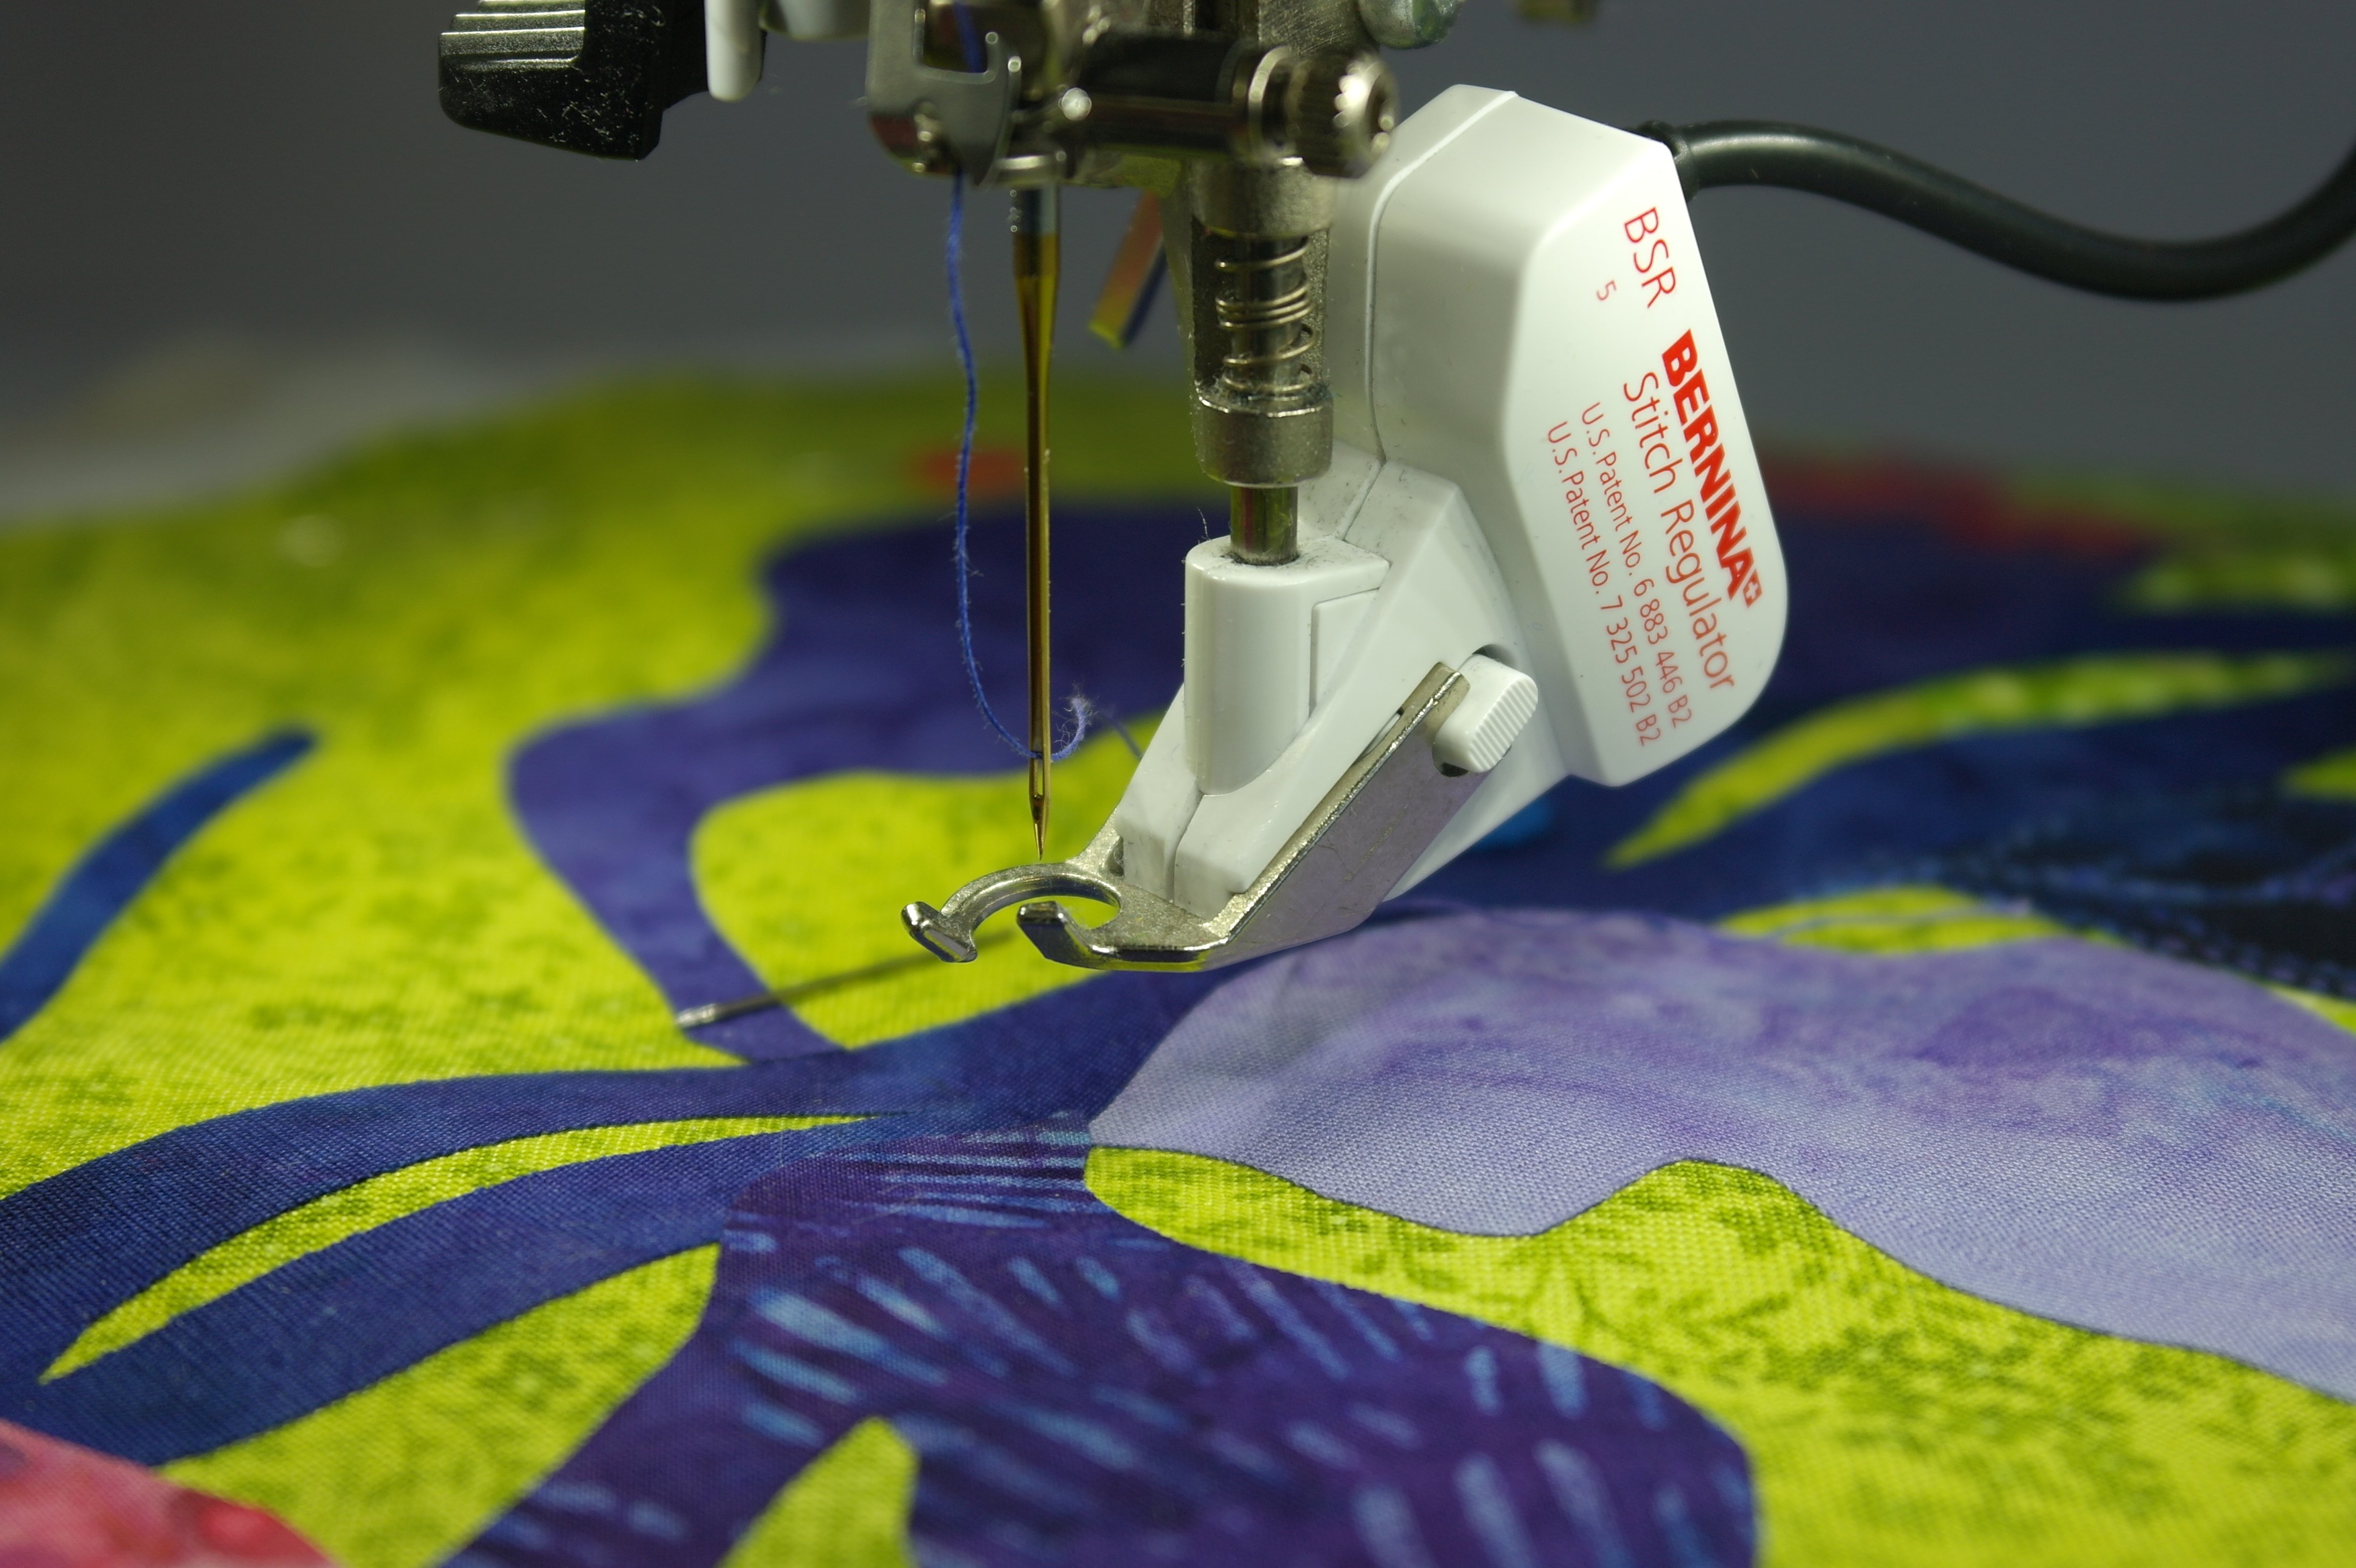
This is the BSR: a wonderful device for making more regular freehand quilting stitches. They will be neat and more of the same length with the BSR, allthough you still have to move the sandwich in a consistent way too, so no pulling or pushing.
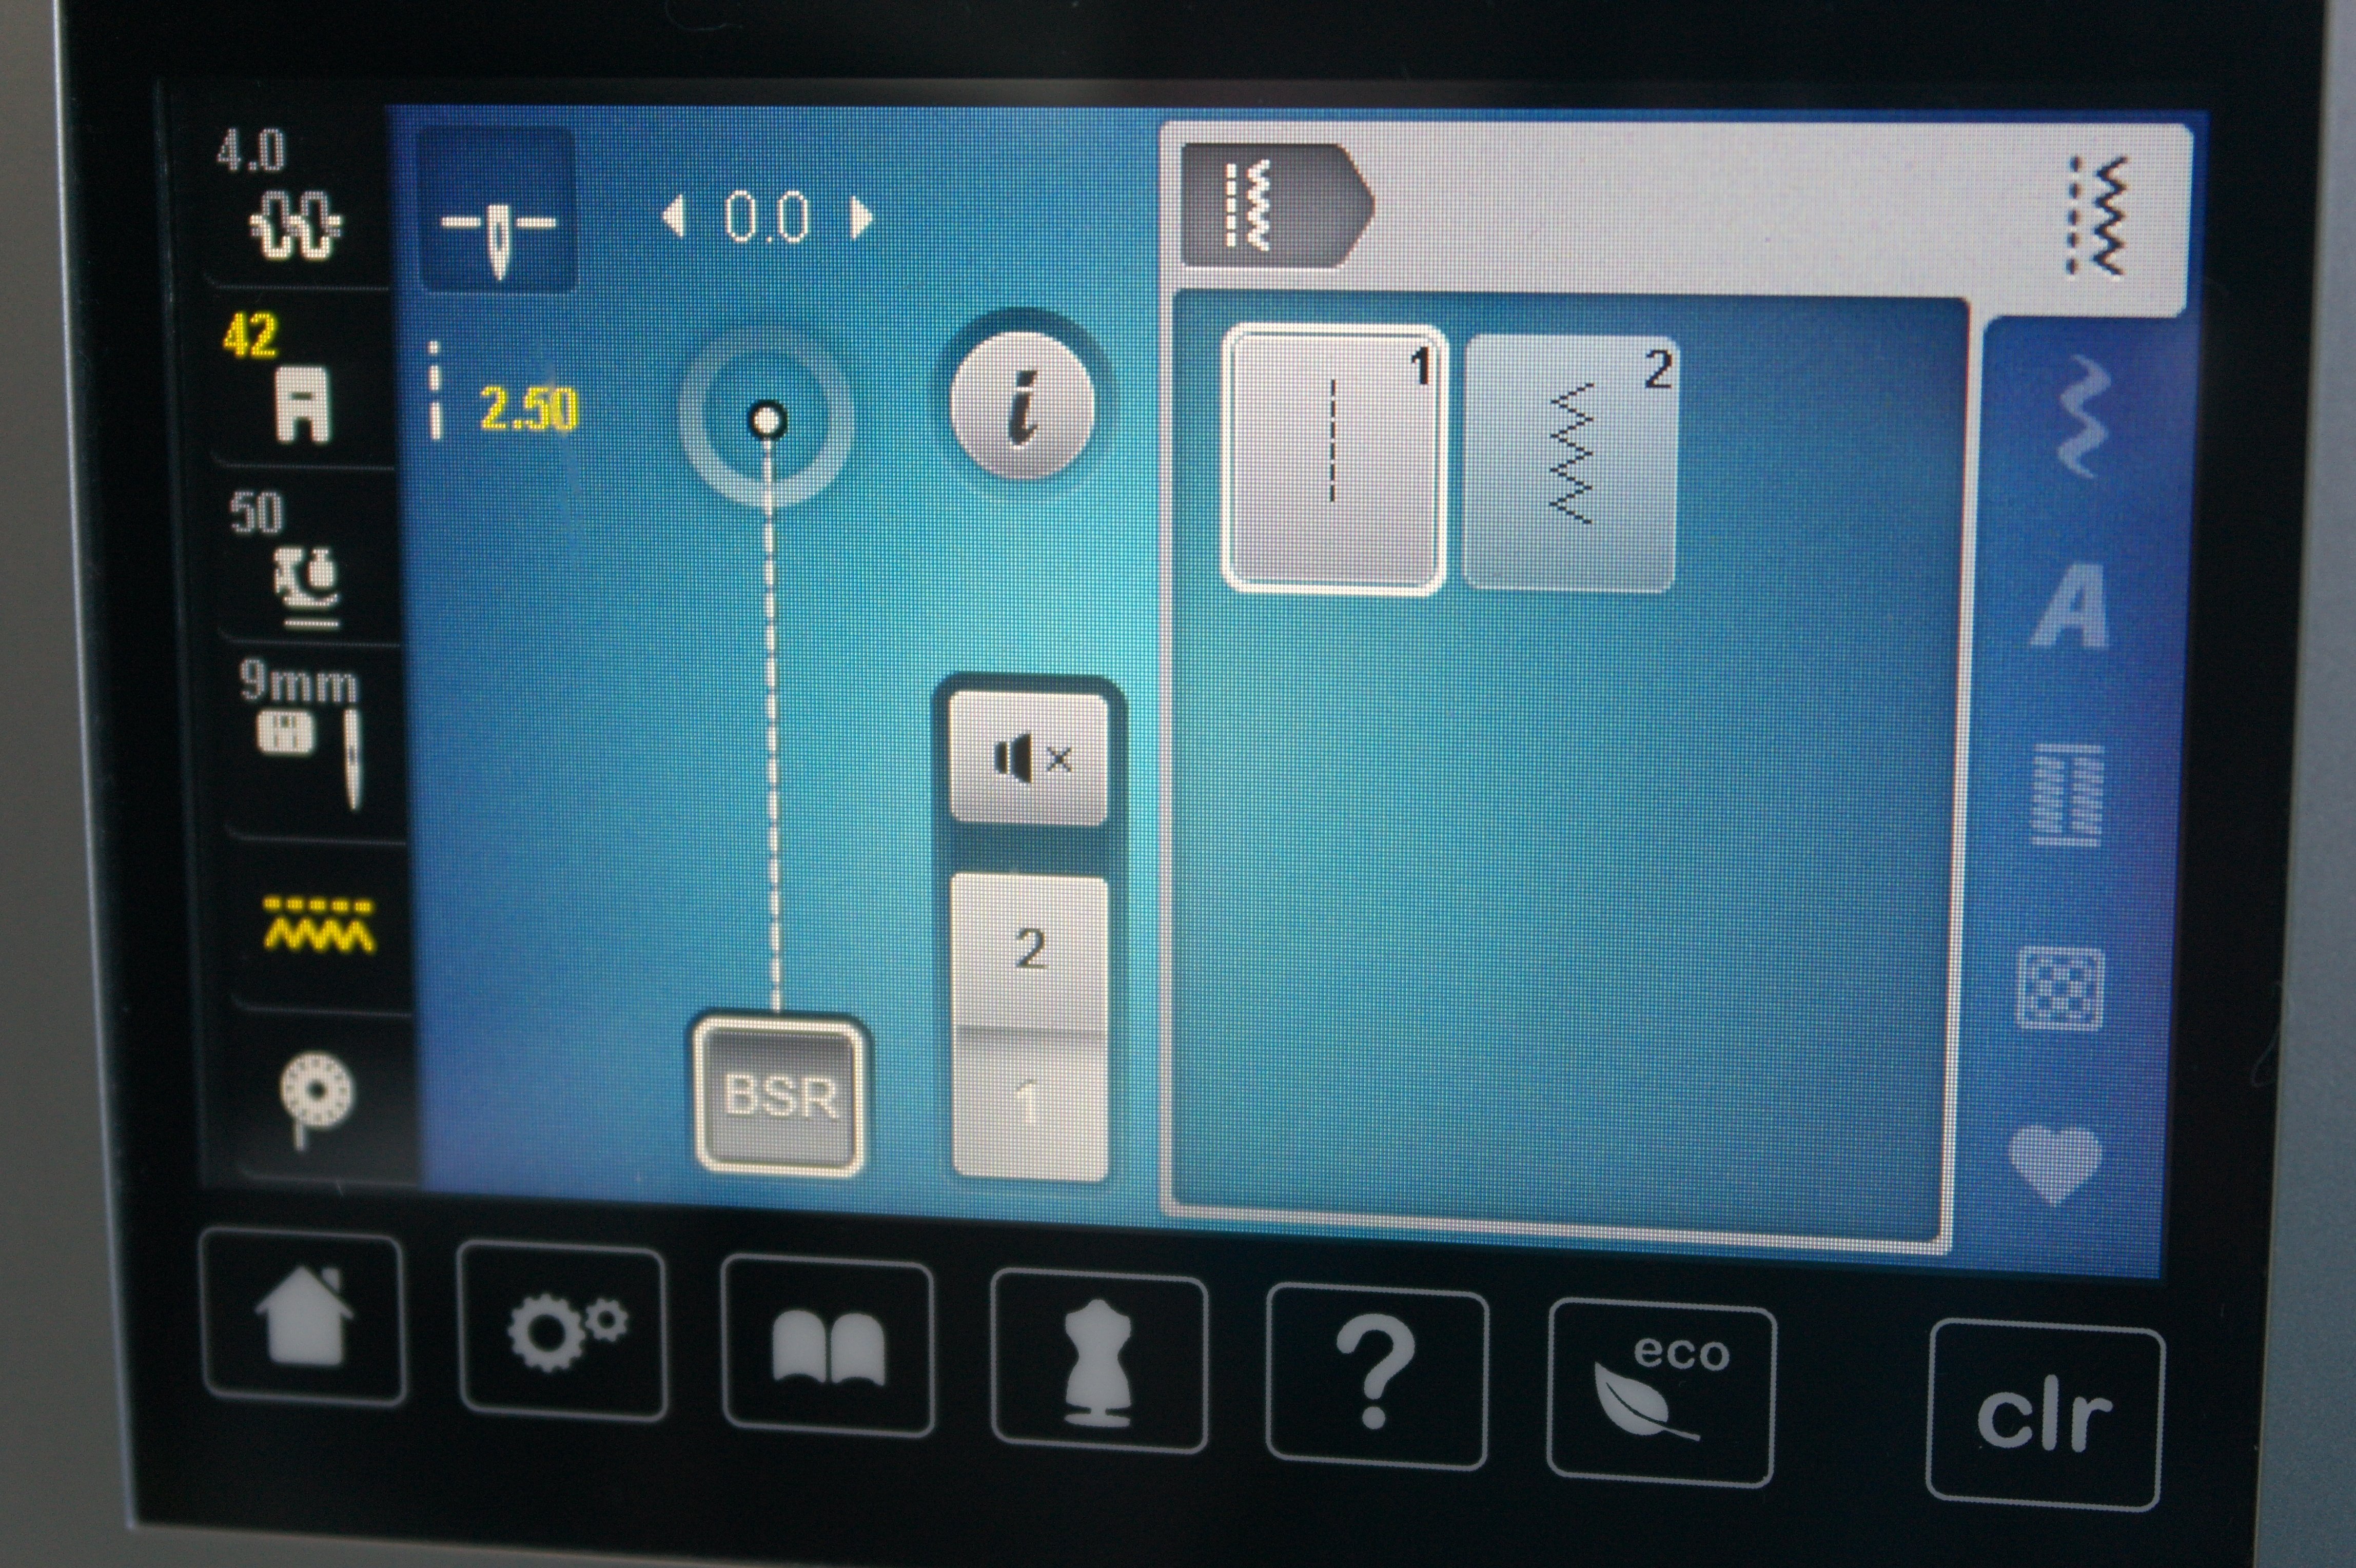
The display shows that everything is already set for working with the BSR, once you have placed this device on your machine, lowered the feed dogs and turned on the machine. I have increased the stitch length a bit – you can see this because the number for stitch length ‘2.50’ shows up in yellow. When it’s in white, it is a default setting.
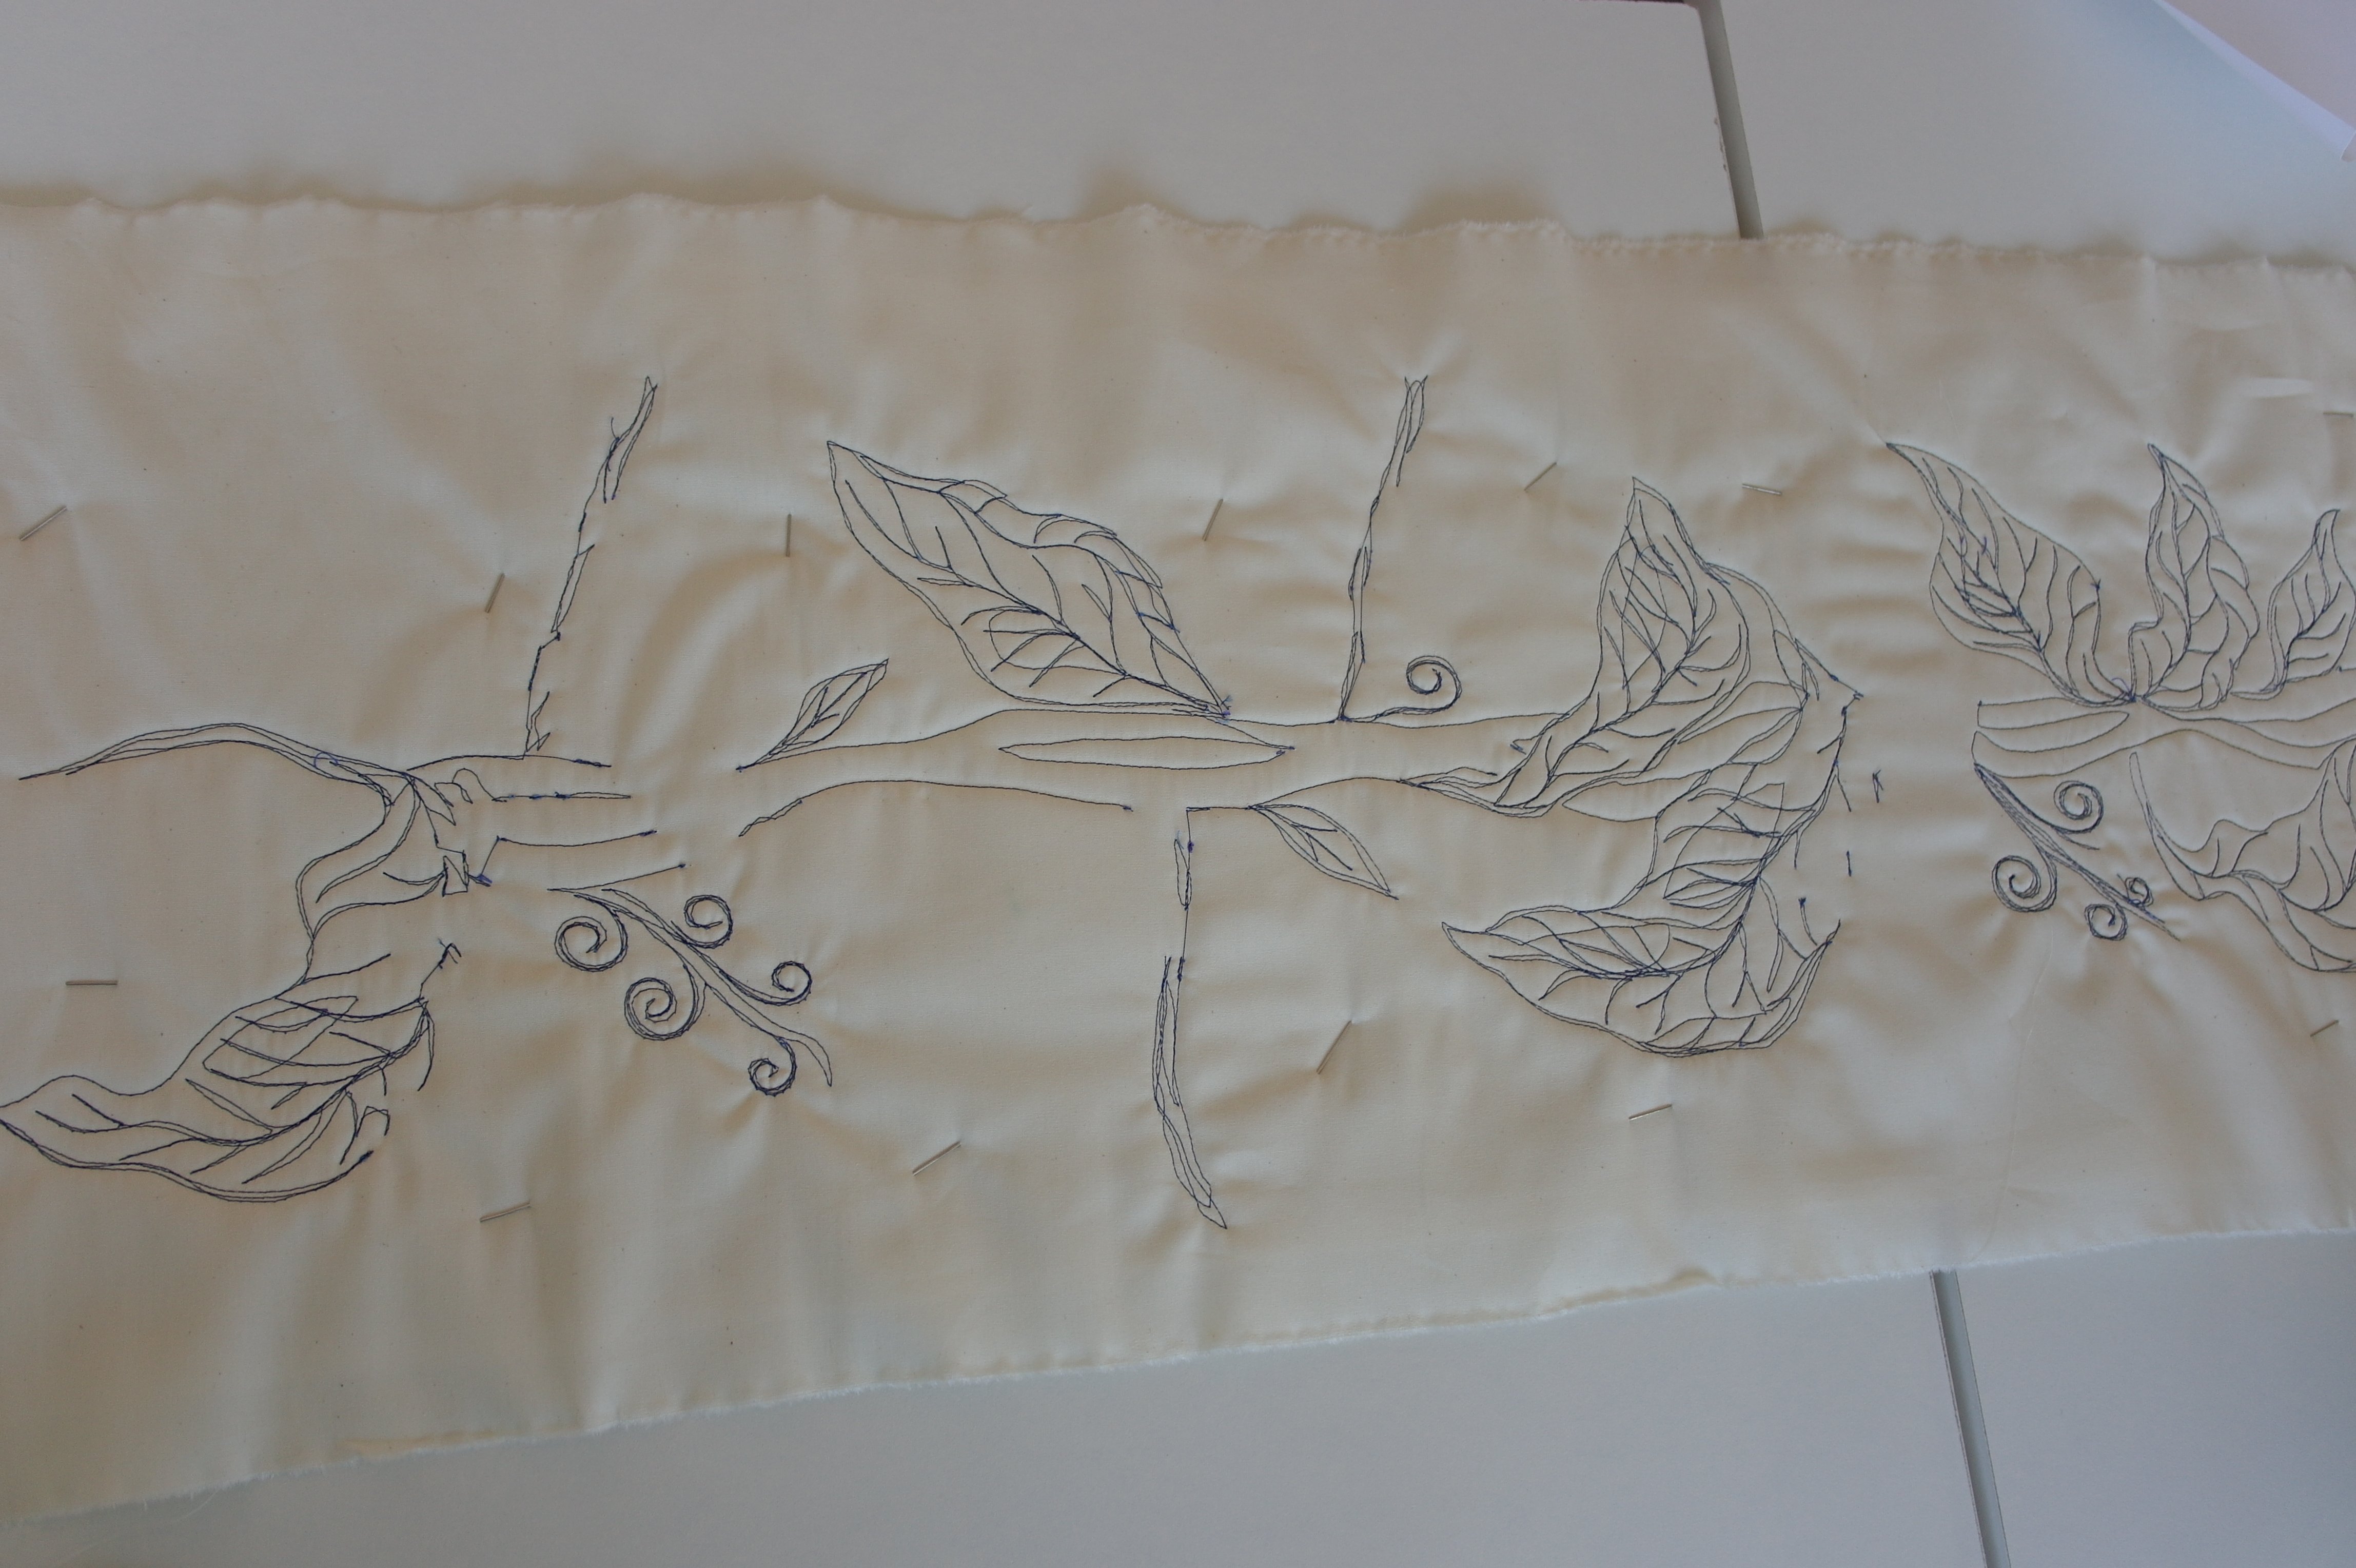
After quilting a couple of leaves and part of the stem, I have checked the back of the quilt: it looks like a drawing… that is what I am telling people all the time: when you quilt, you draw, and when you can draw, you can quilt….
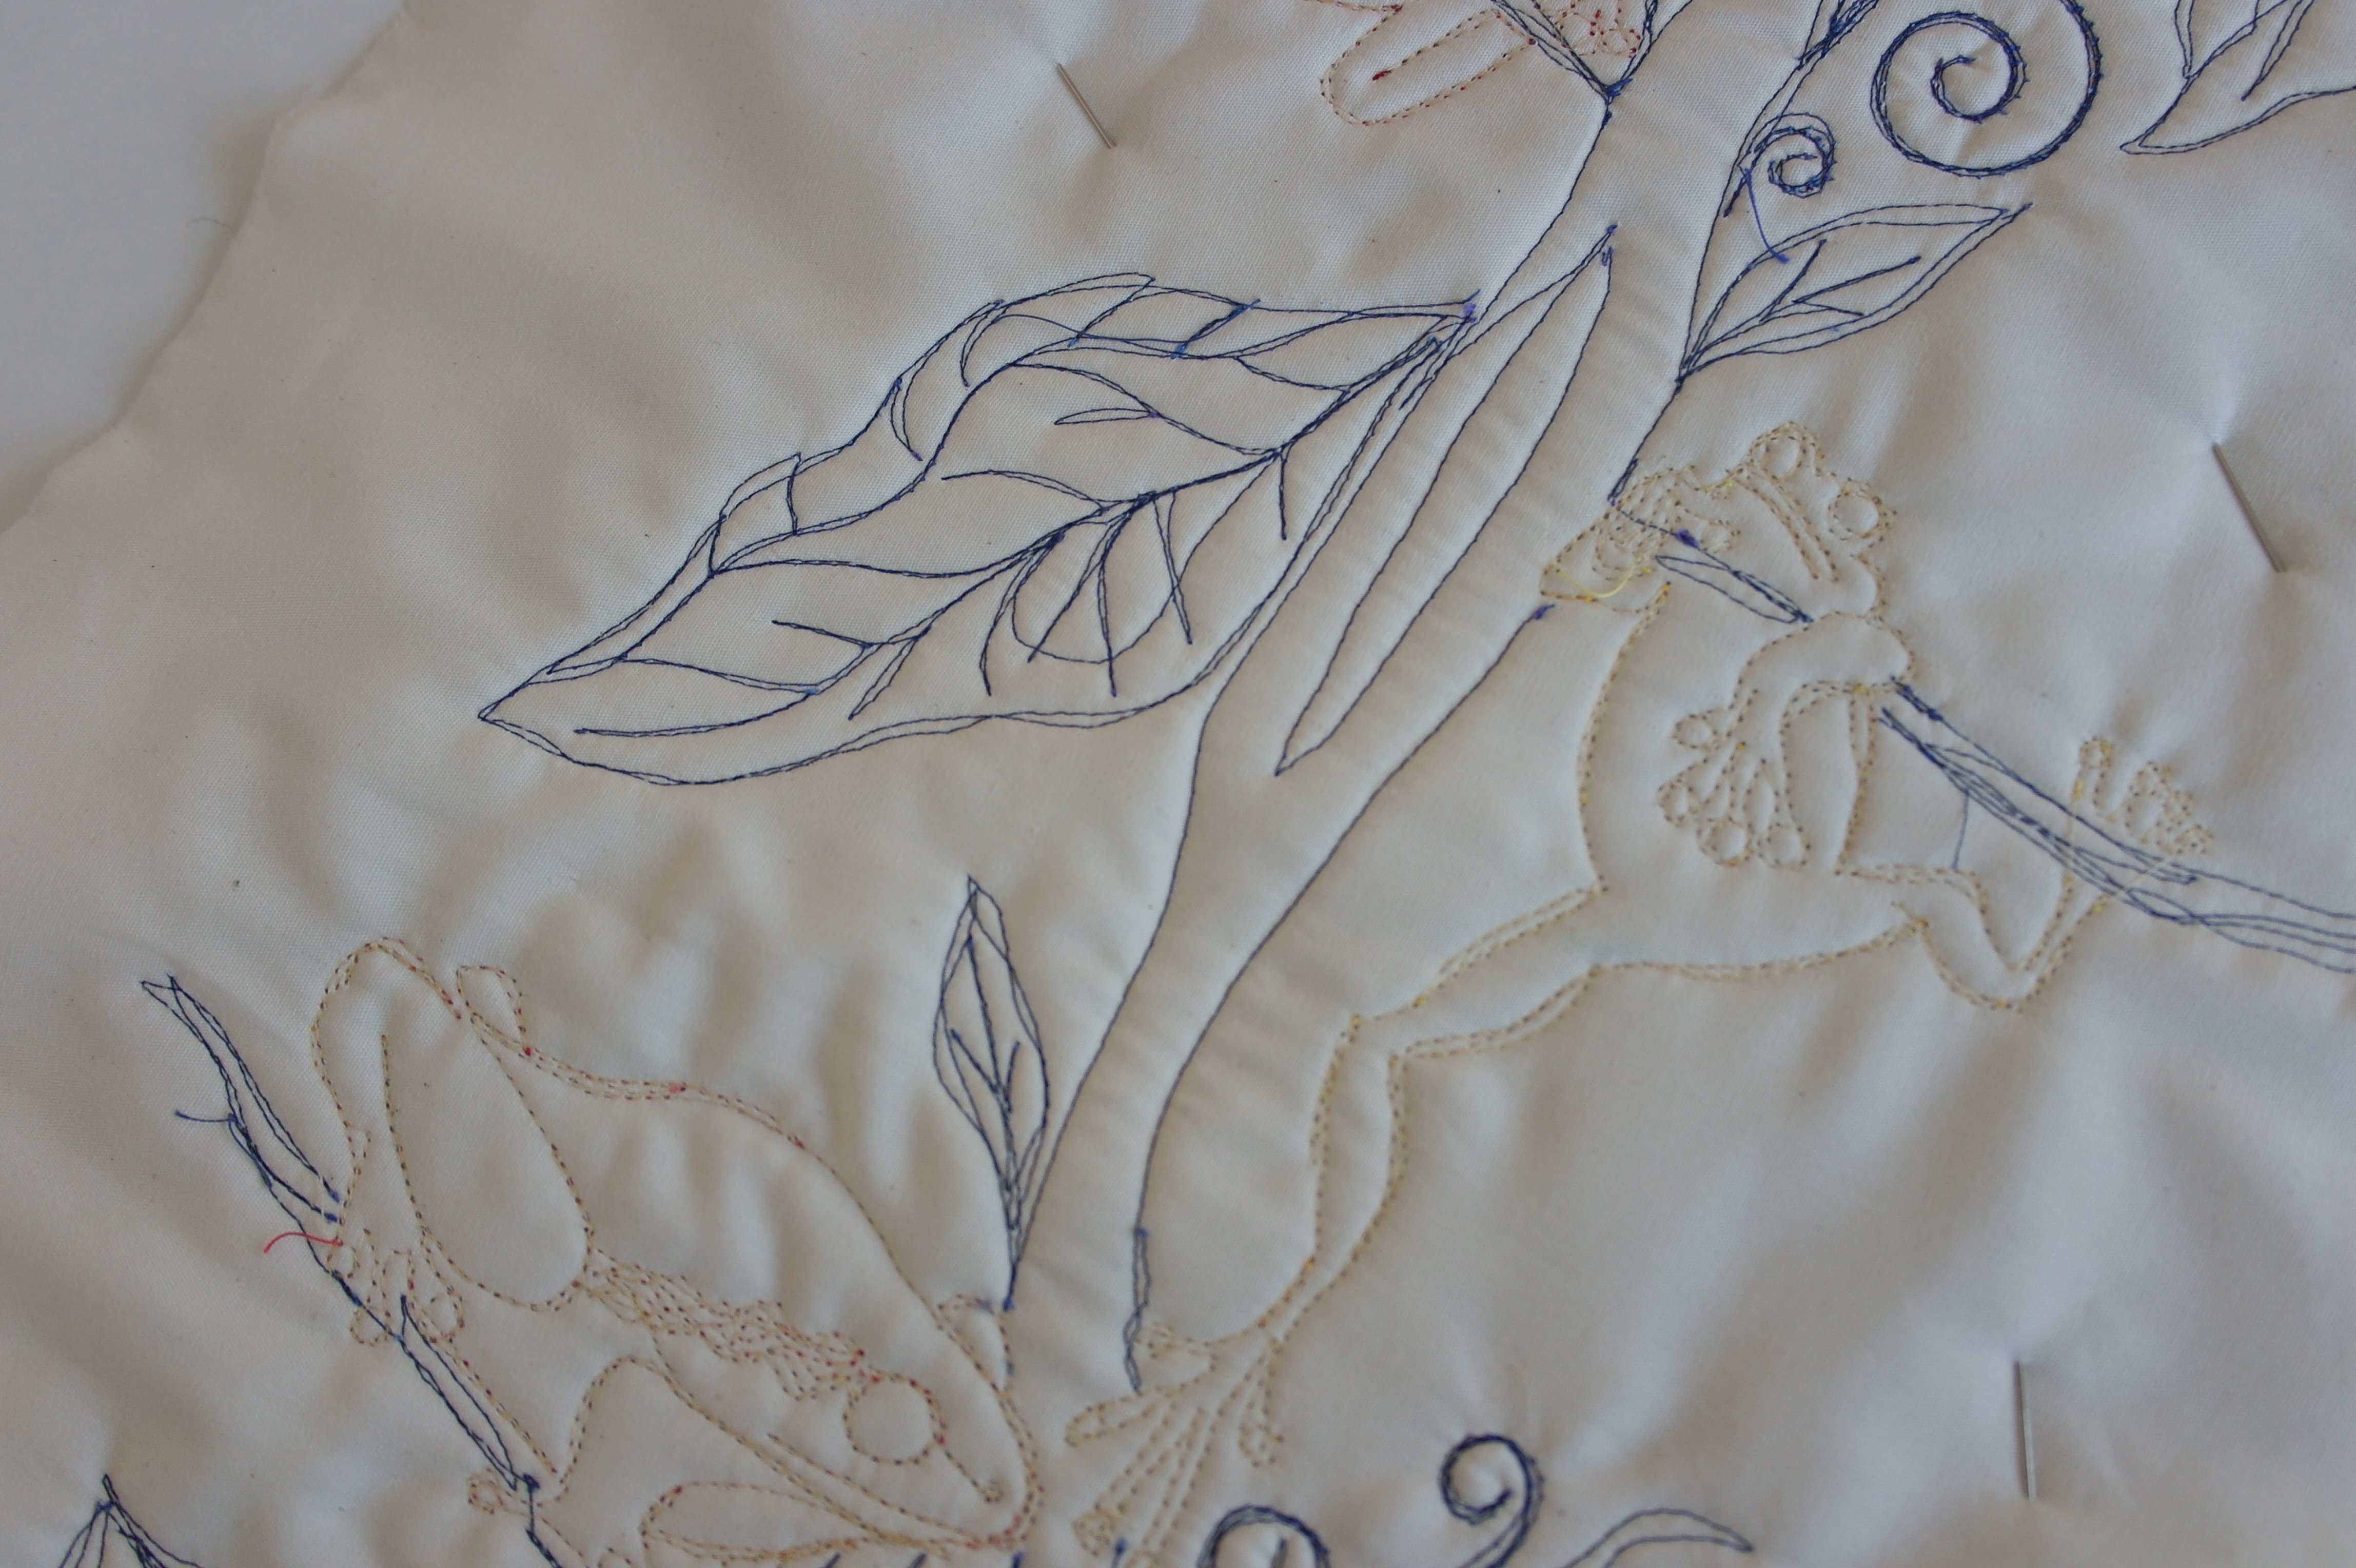
And here are the first frogs, seen from the back. One frog looks like he can only just hold on to the twig…
Another quilted frog… only the eyes have to be quilted (I have drawn them before with pencil, knowing I would cover this with thread).
Quilting the eyes: I have used a bright orange sewing thread and black for the pupil. Don’t they look real? Now they can see you….
The frog on the left looks up.. what is it that he sees? Nothing yet, but later I’ve added…

a fly, also with this frog. After all, you have to give them something to look at, isn’t it.? In the end I have made 7 flies with different frogs, just for fun.

This is how the bottom of the quilt looks like. The bottom fabric is a batik with a large print: I’ve used that print as guidance for quilting. Somethimes fabric with large prints can be used in one piece, to use a specific print in a design. Quilting these details is fun.
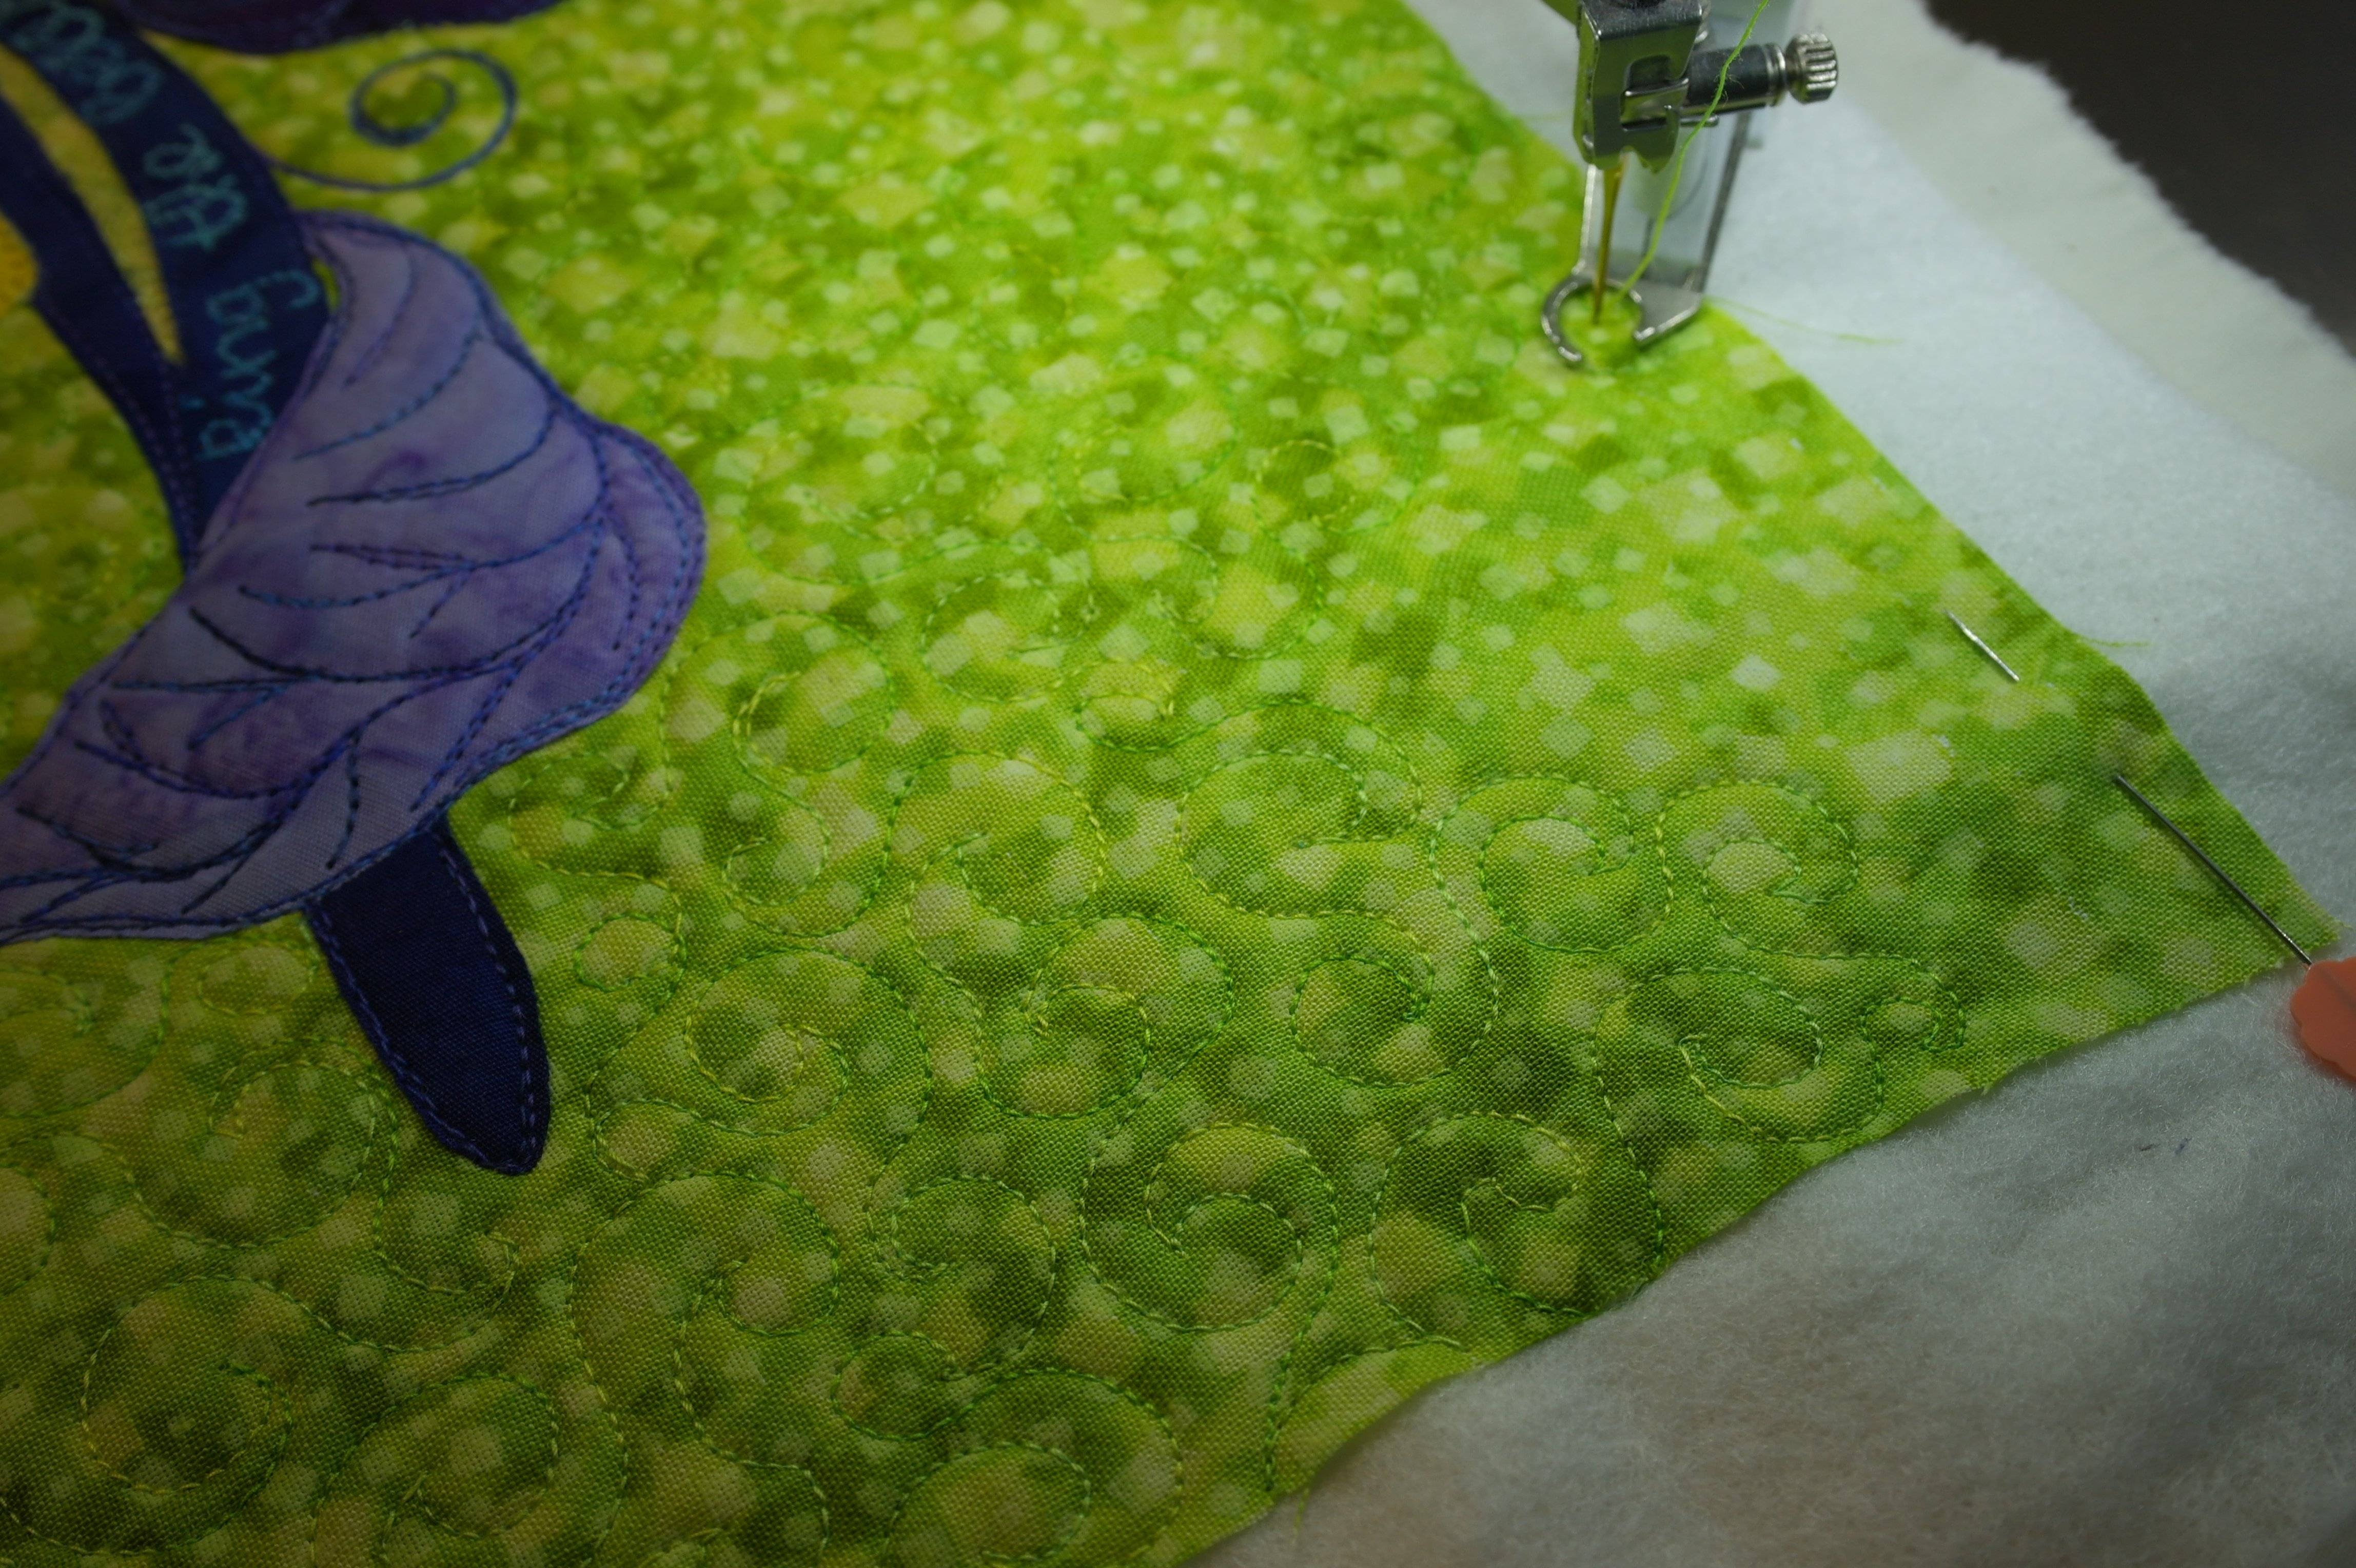
The green background is quilted with bright green thread, making curls. The multicolored thread blends in, which I wanted. After all, a background should be a background.

This is how the back of the quilt looks like, after quilting everything. Different figures like stem, leaves, twigs and curls… and 13 frogs. I’ve tilted my camera, and the picture, to give you a better view of the length of the quilt.

For sizing up the quilt, I have used multiple cutting boards, again placing them on my large table.
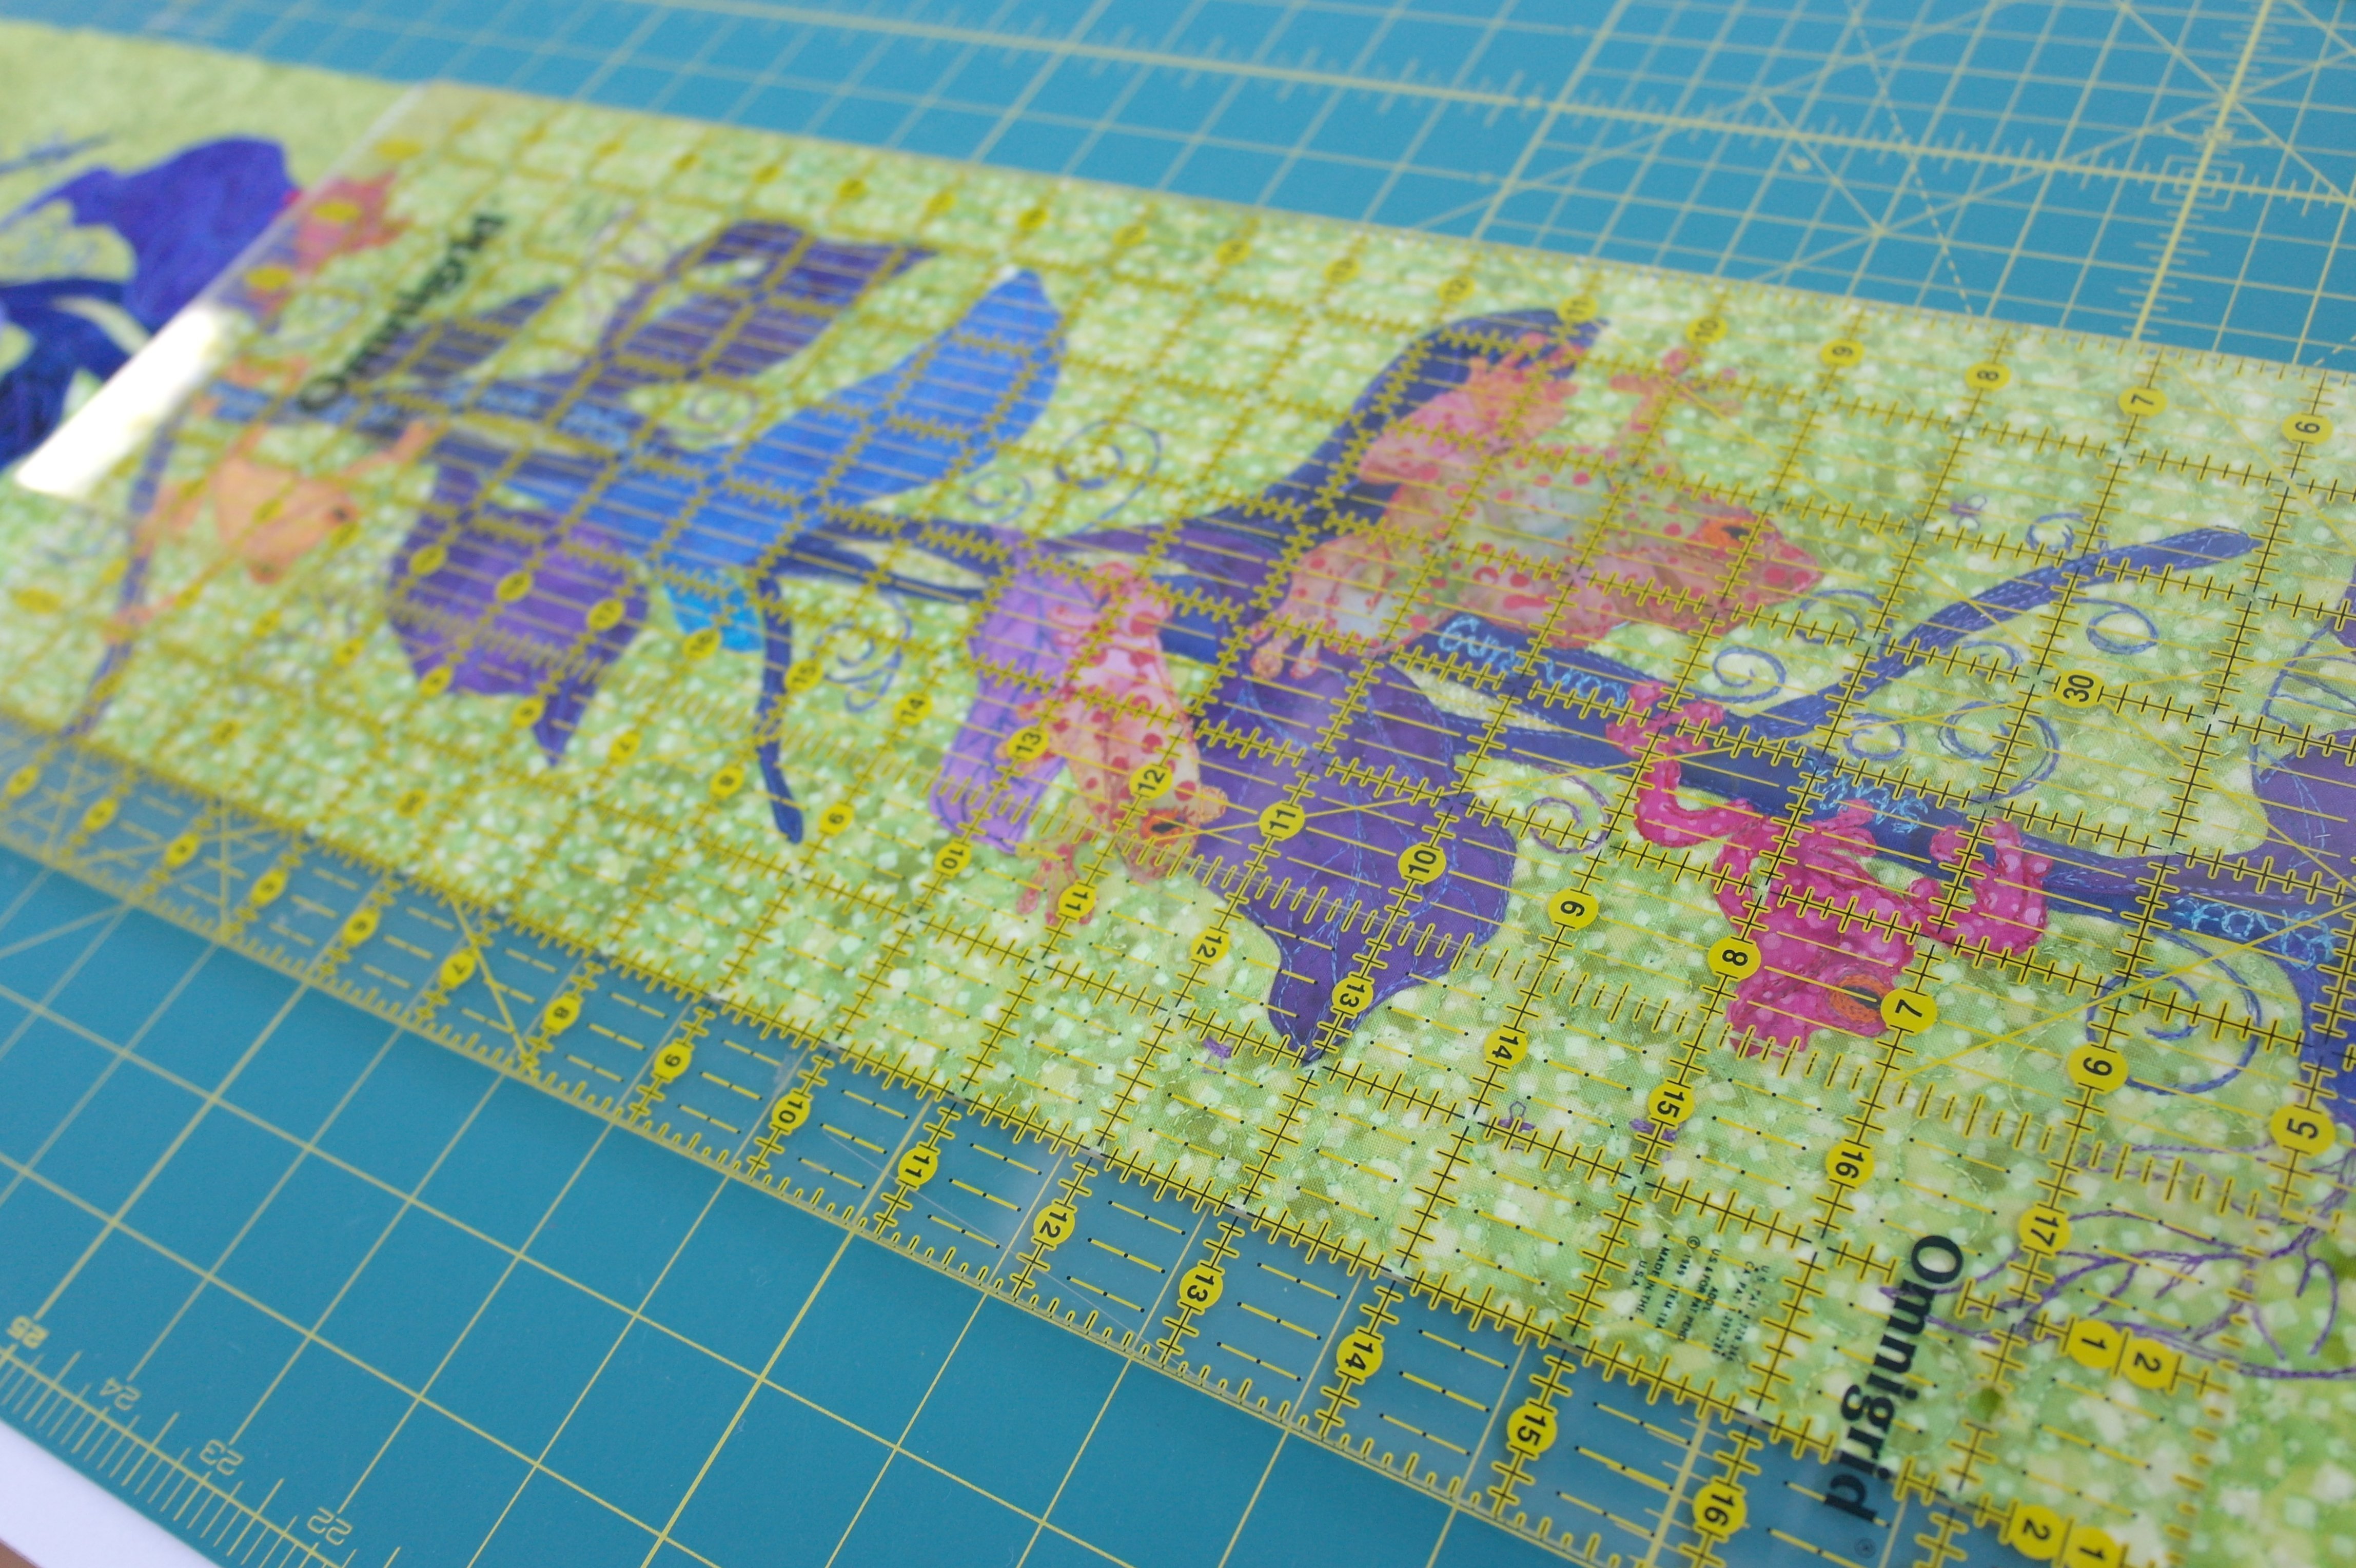
Also multiple rulers, both in length and width, to cut the sides in one time. I always use the lines of cutting mats, but also the lines of rulers – check, check, double check, before the actual cutting.
This is the fabric for the backing, which is cut and placed behind the quilt. What’s left to do: making a label for the back, check…putting on sleeves to the back, one on top and the other on the bottom, check… making multiple strips cut for the binding, from different colors, matching the background fabric of the front of the quilt, check….
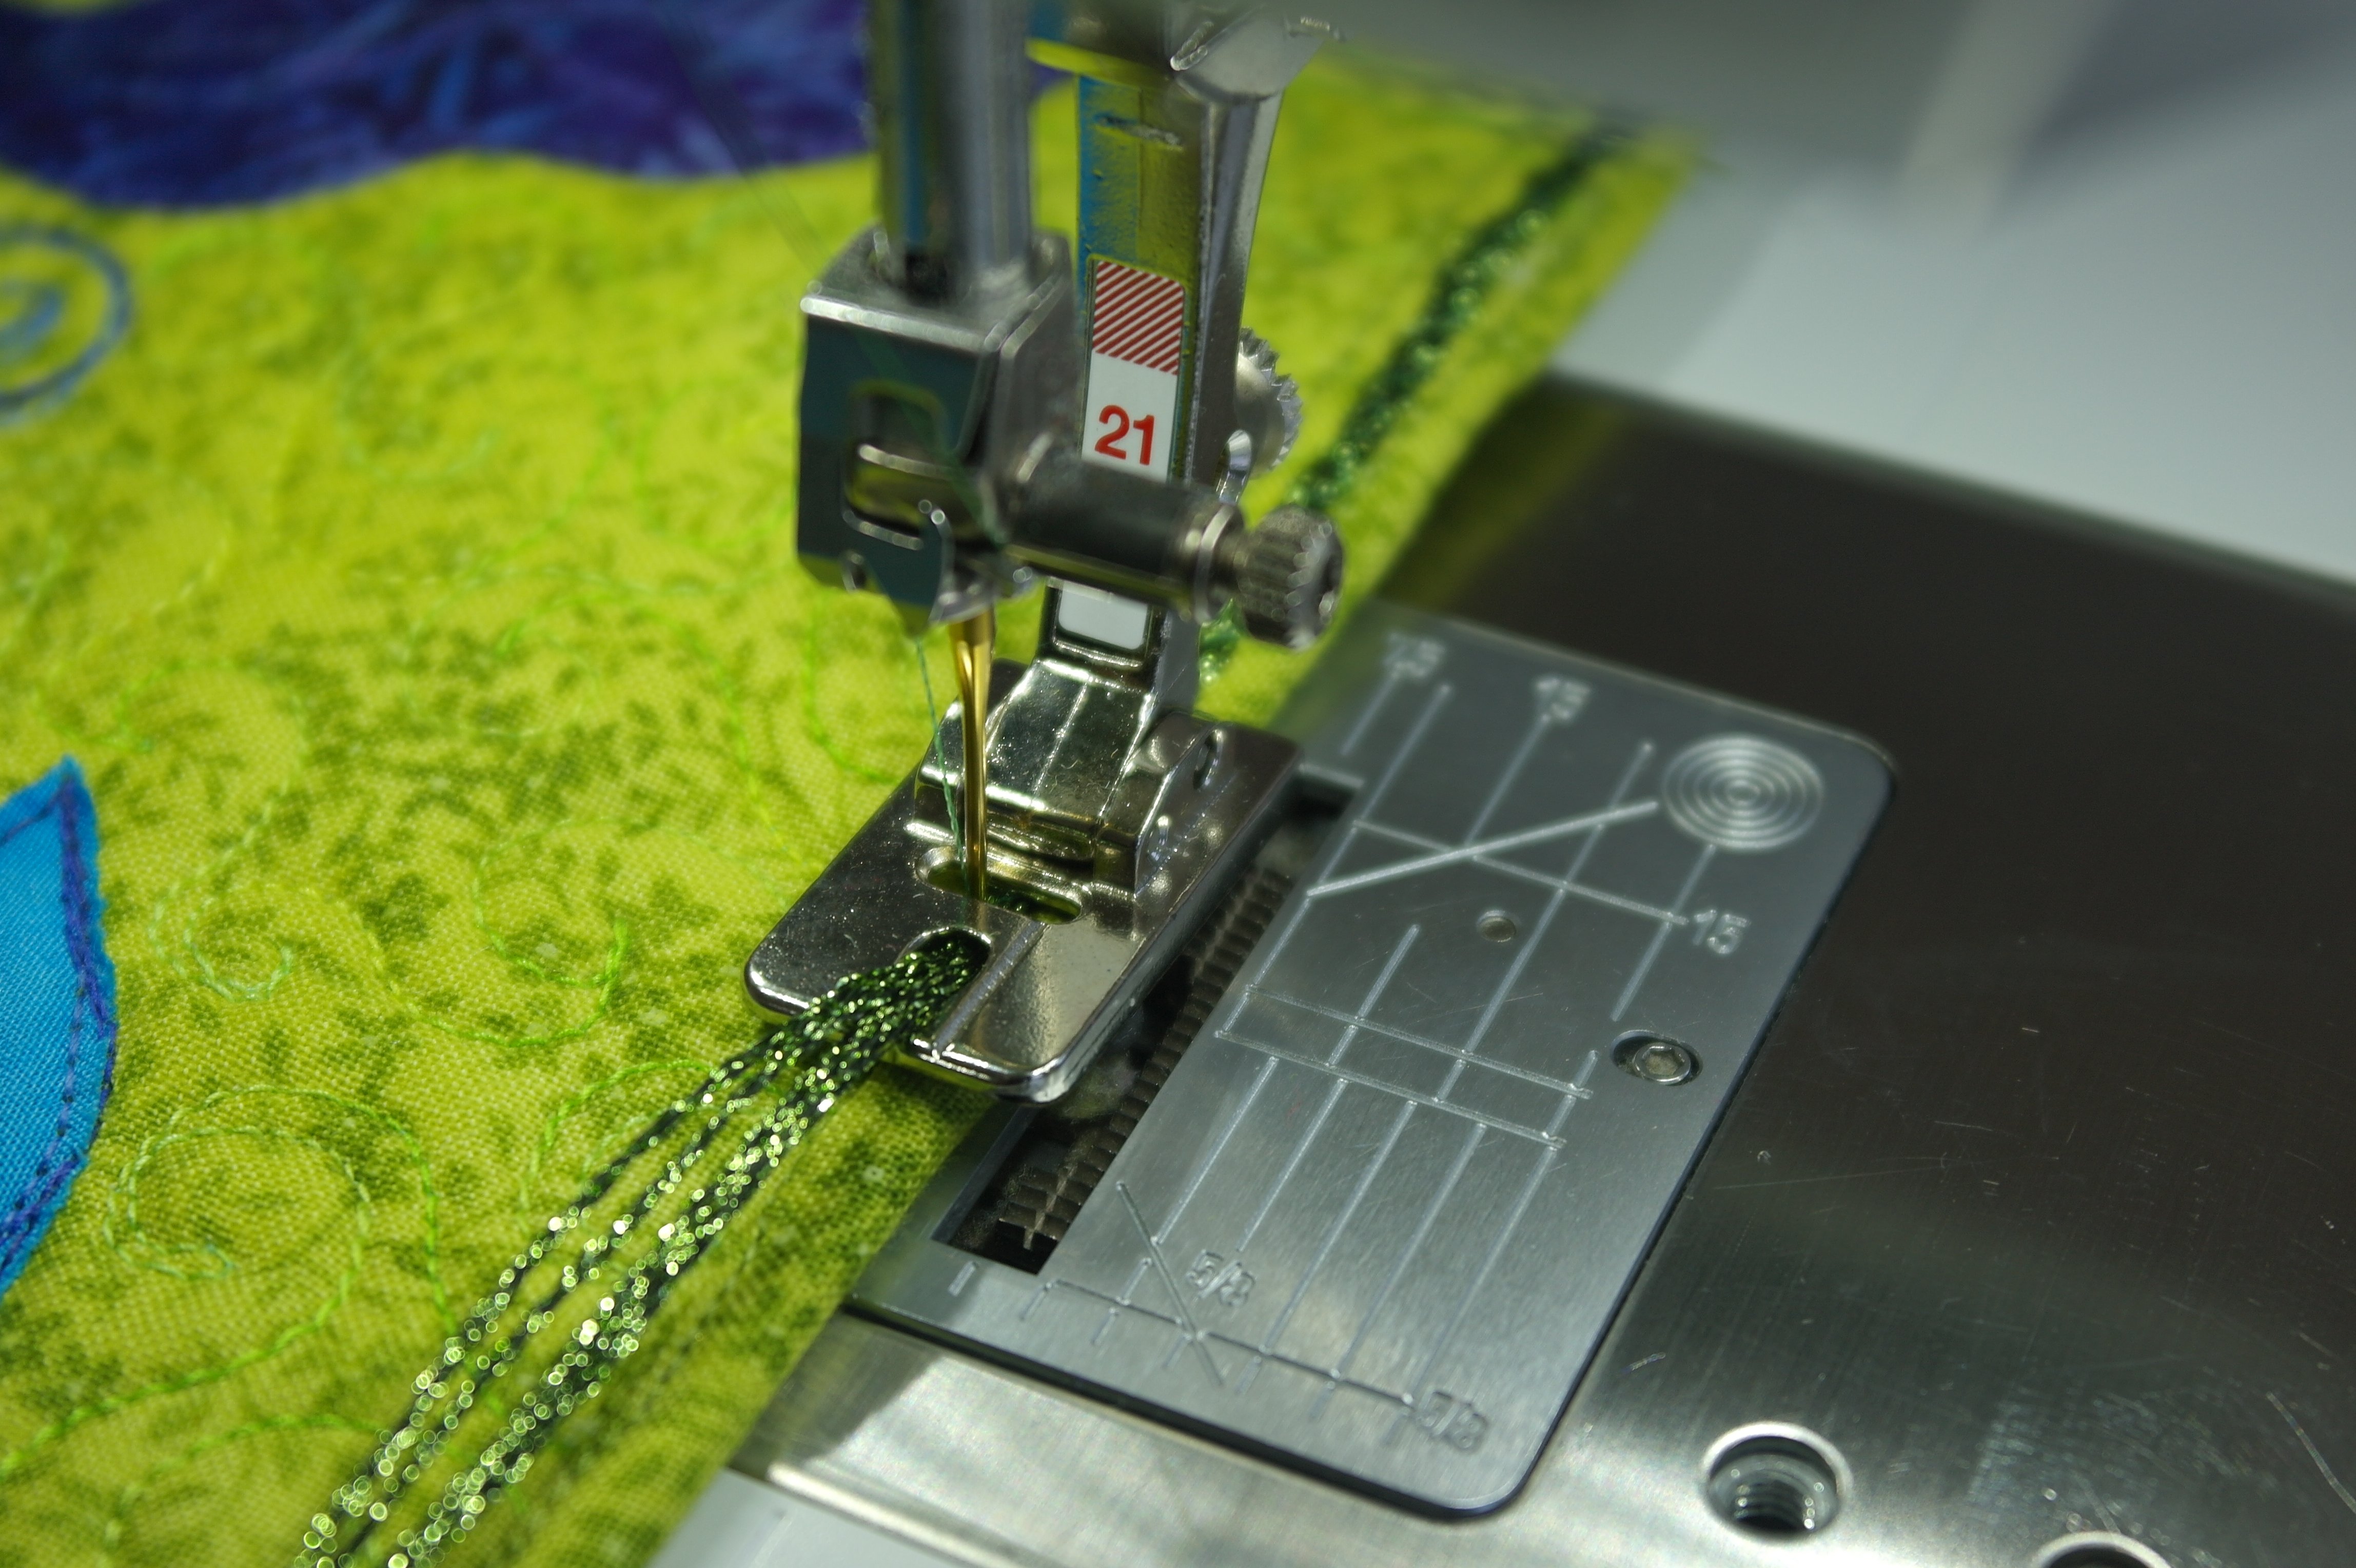
After putting on the binding of the quilt, I have added an extra detail to the left side of the quilt: I’ve couched with 5 thick, metallic threads, using braiding foot #21 on the edge, DecoBob for making the zigzag stitch on top, and DecoBob – same color – in the bobbin, And voilà, an eyecatcher…
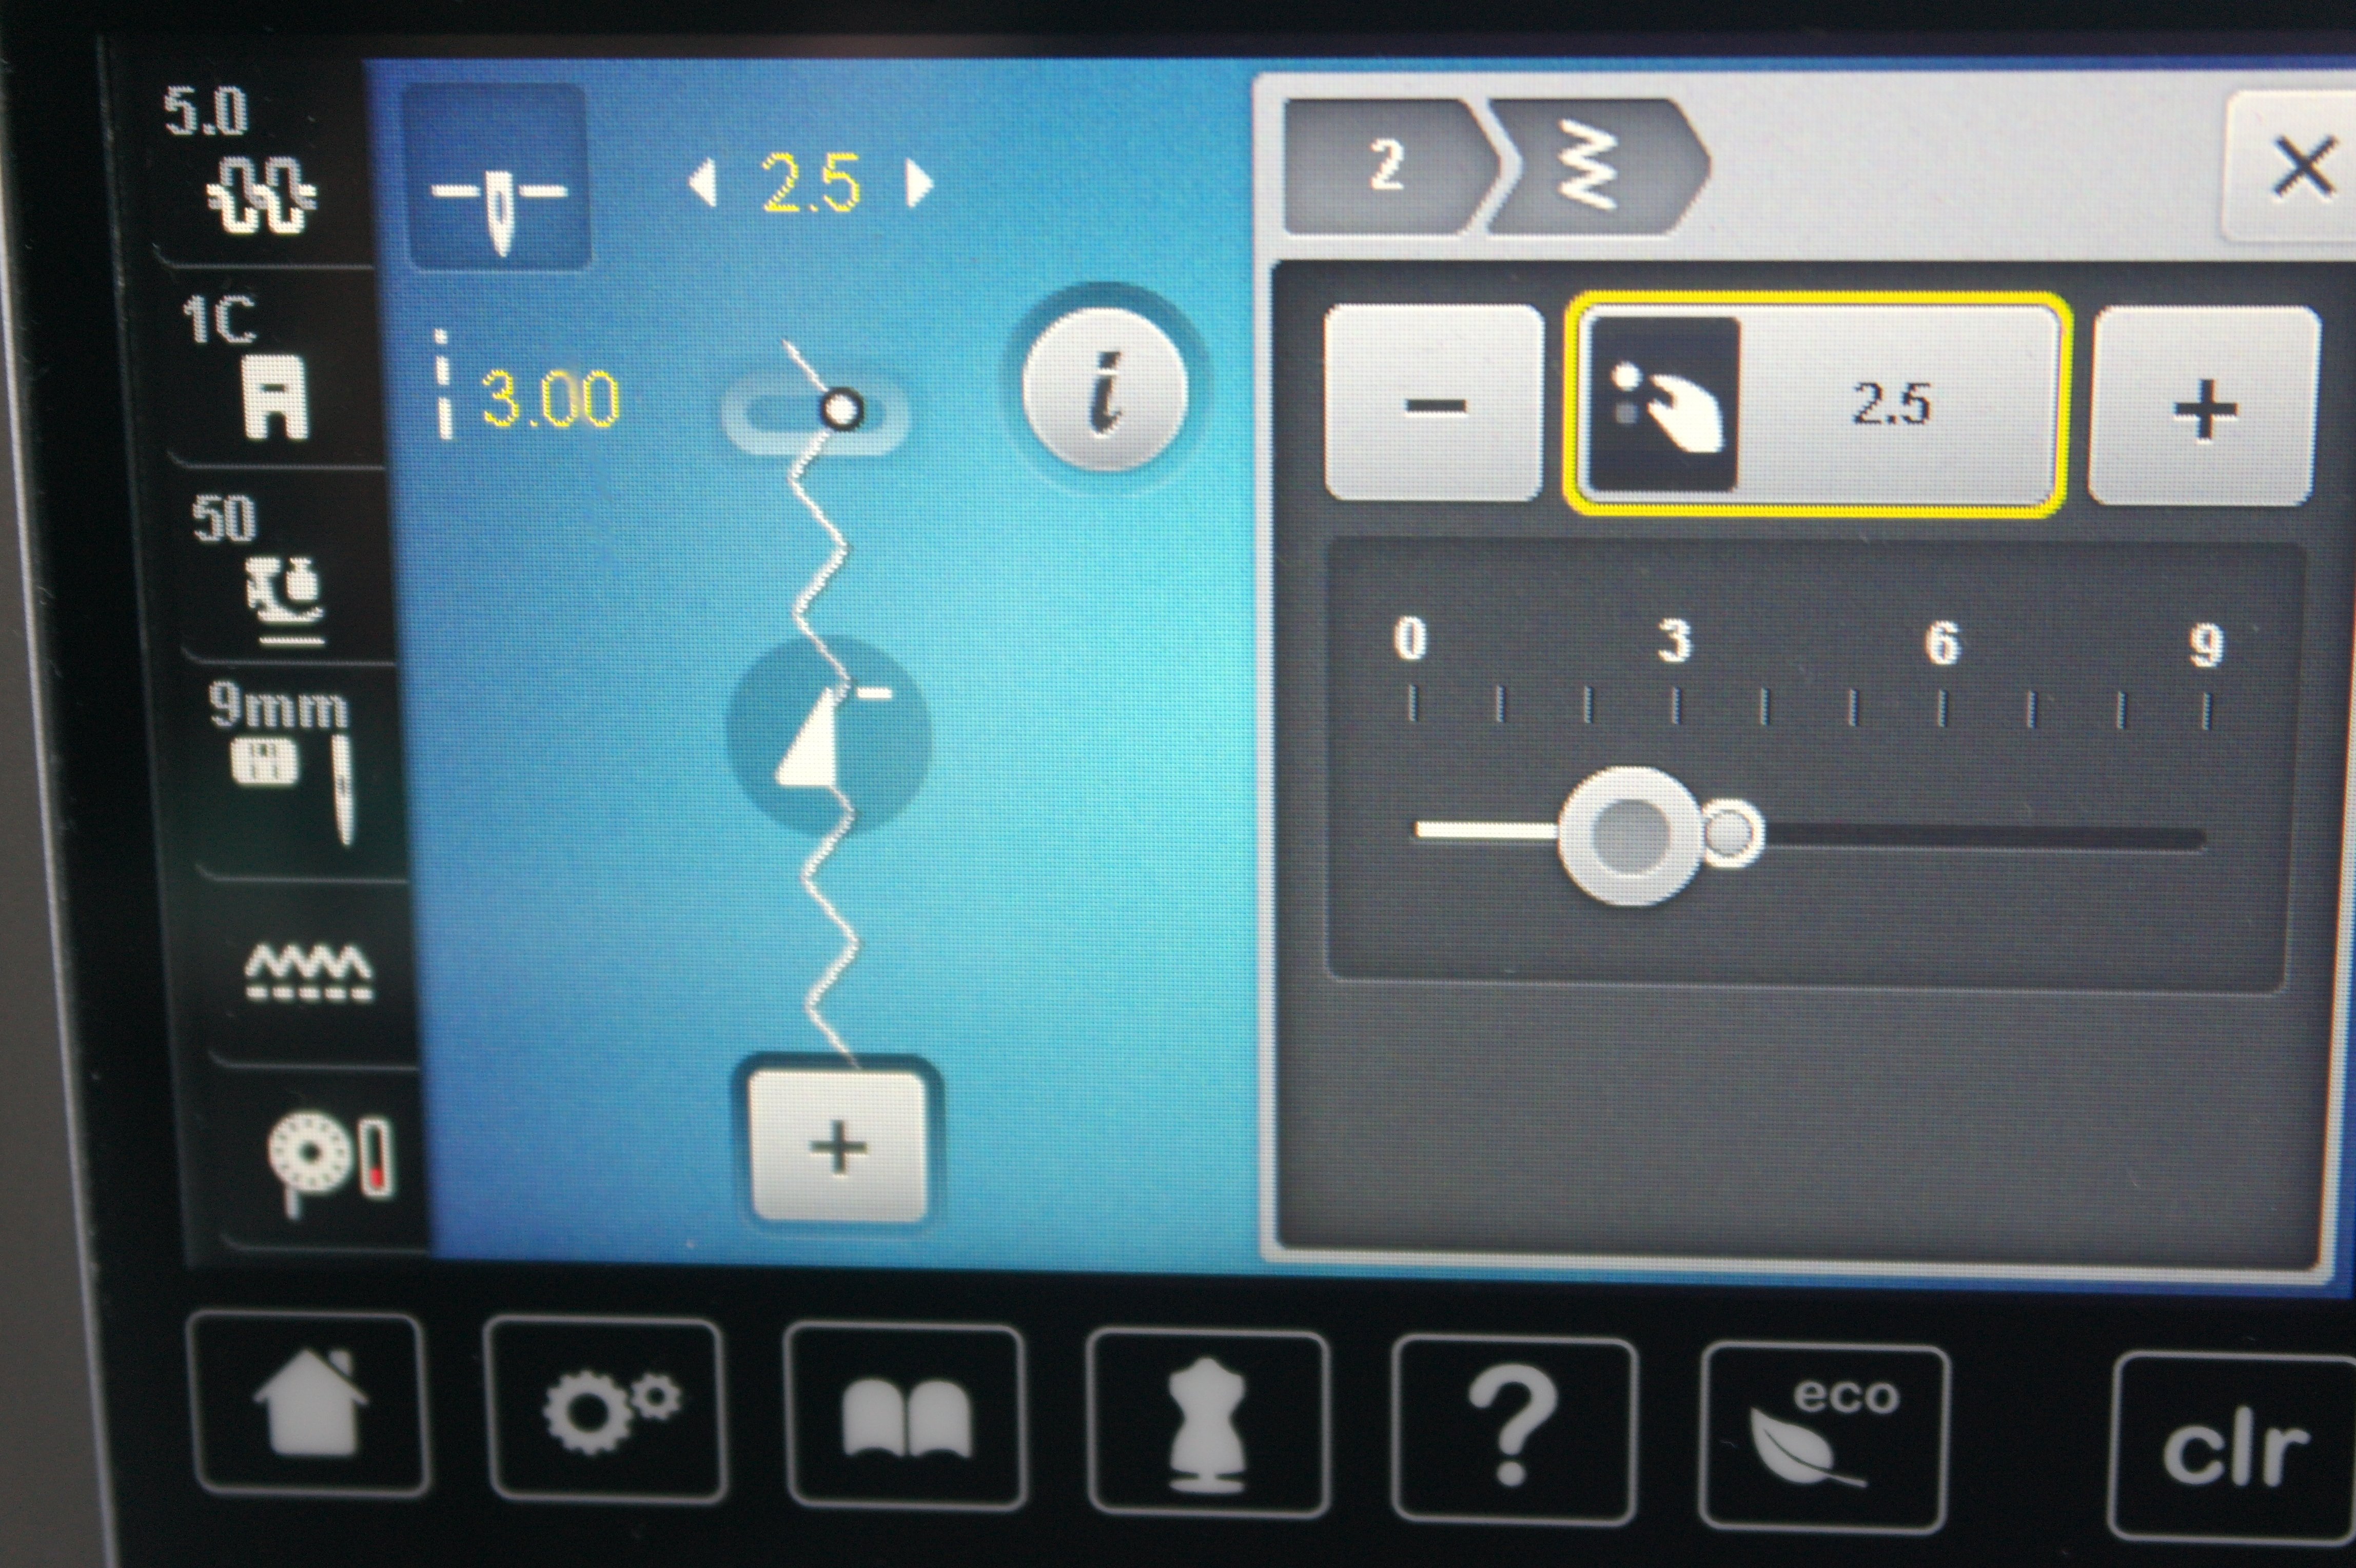
These ajustments are made when using the braiding foot #21: the display of the 770QE show that I have changed the width and length of the zigzag stitch (both numbers are yellow), because I have tried it out on a sample before working on my actual quilt, and this gave the best result.
And after this, the quilt was ready. A couple of pictures will follow, to show you the details of the quilt…
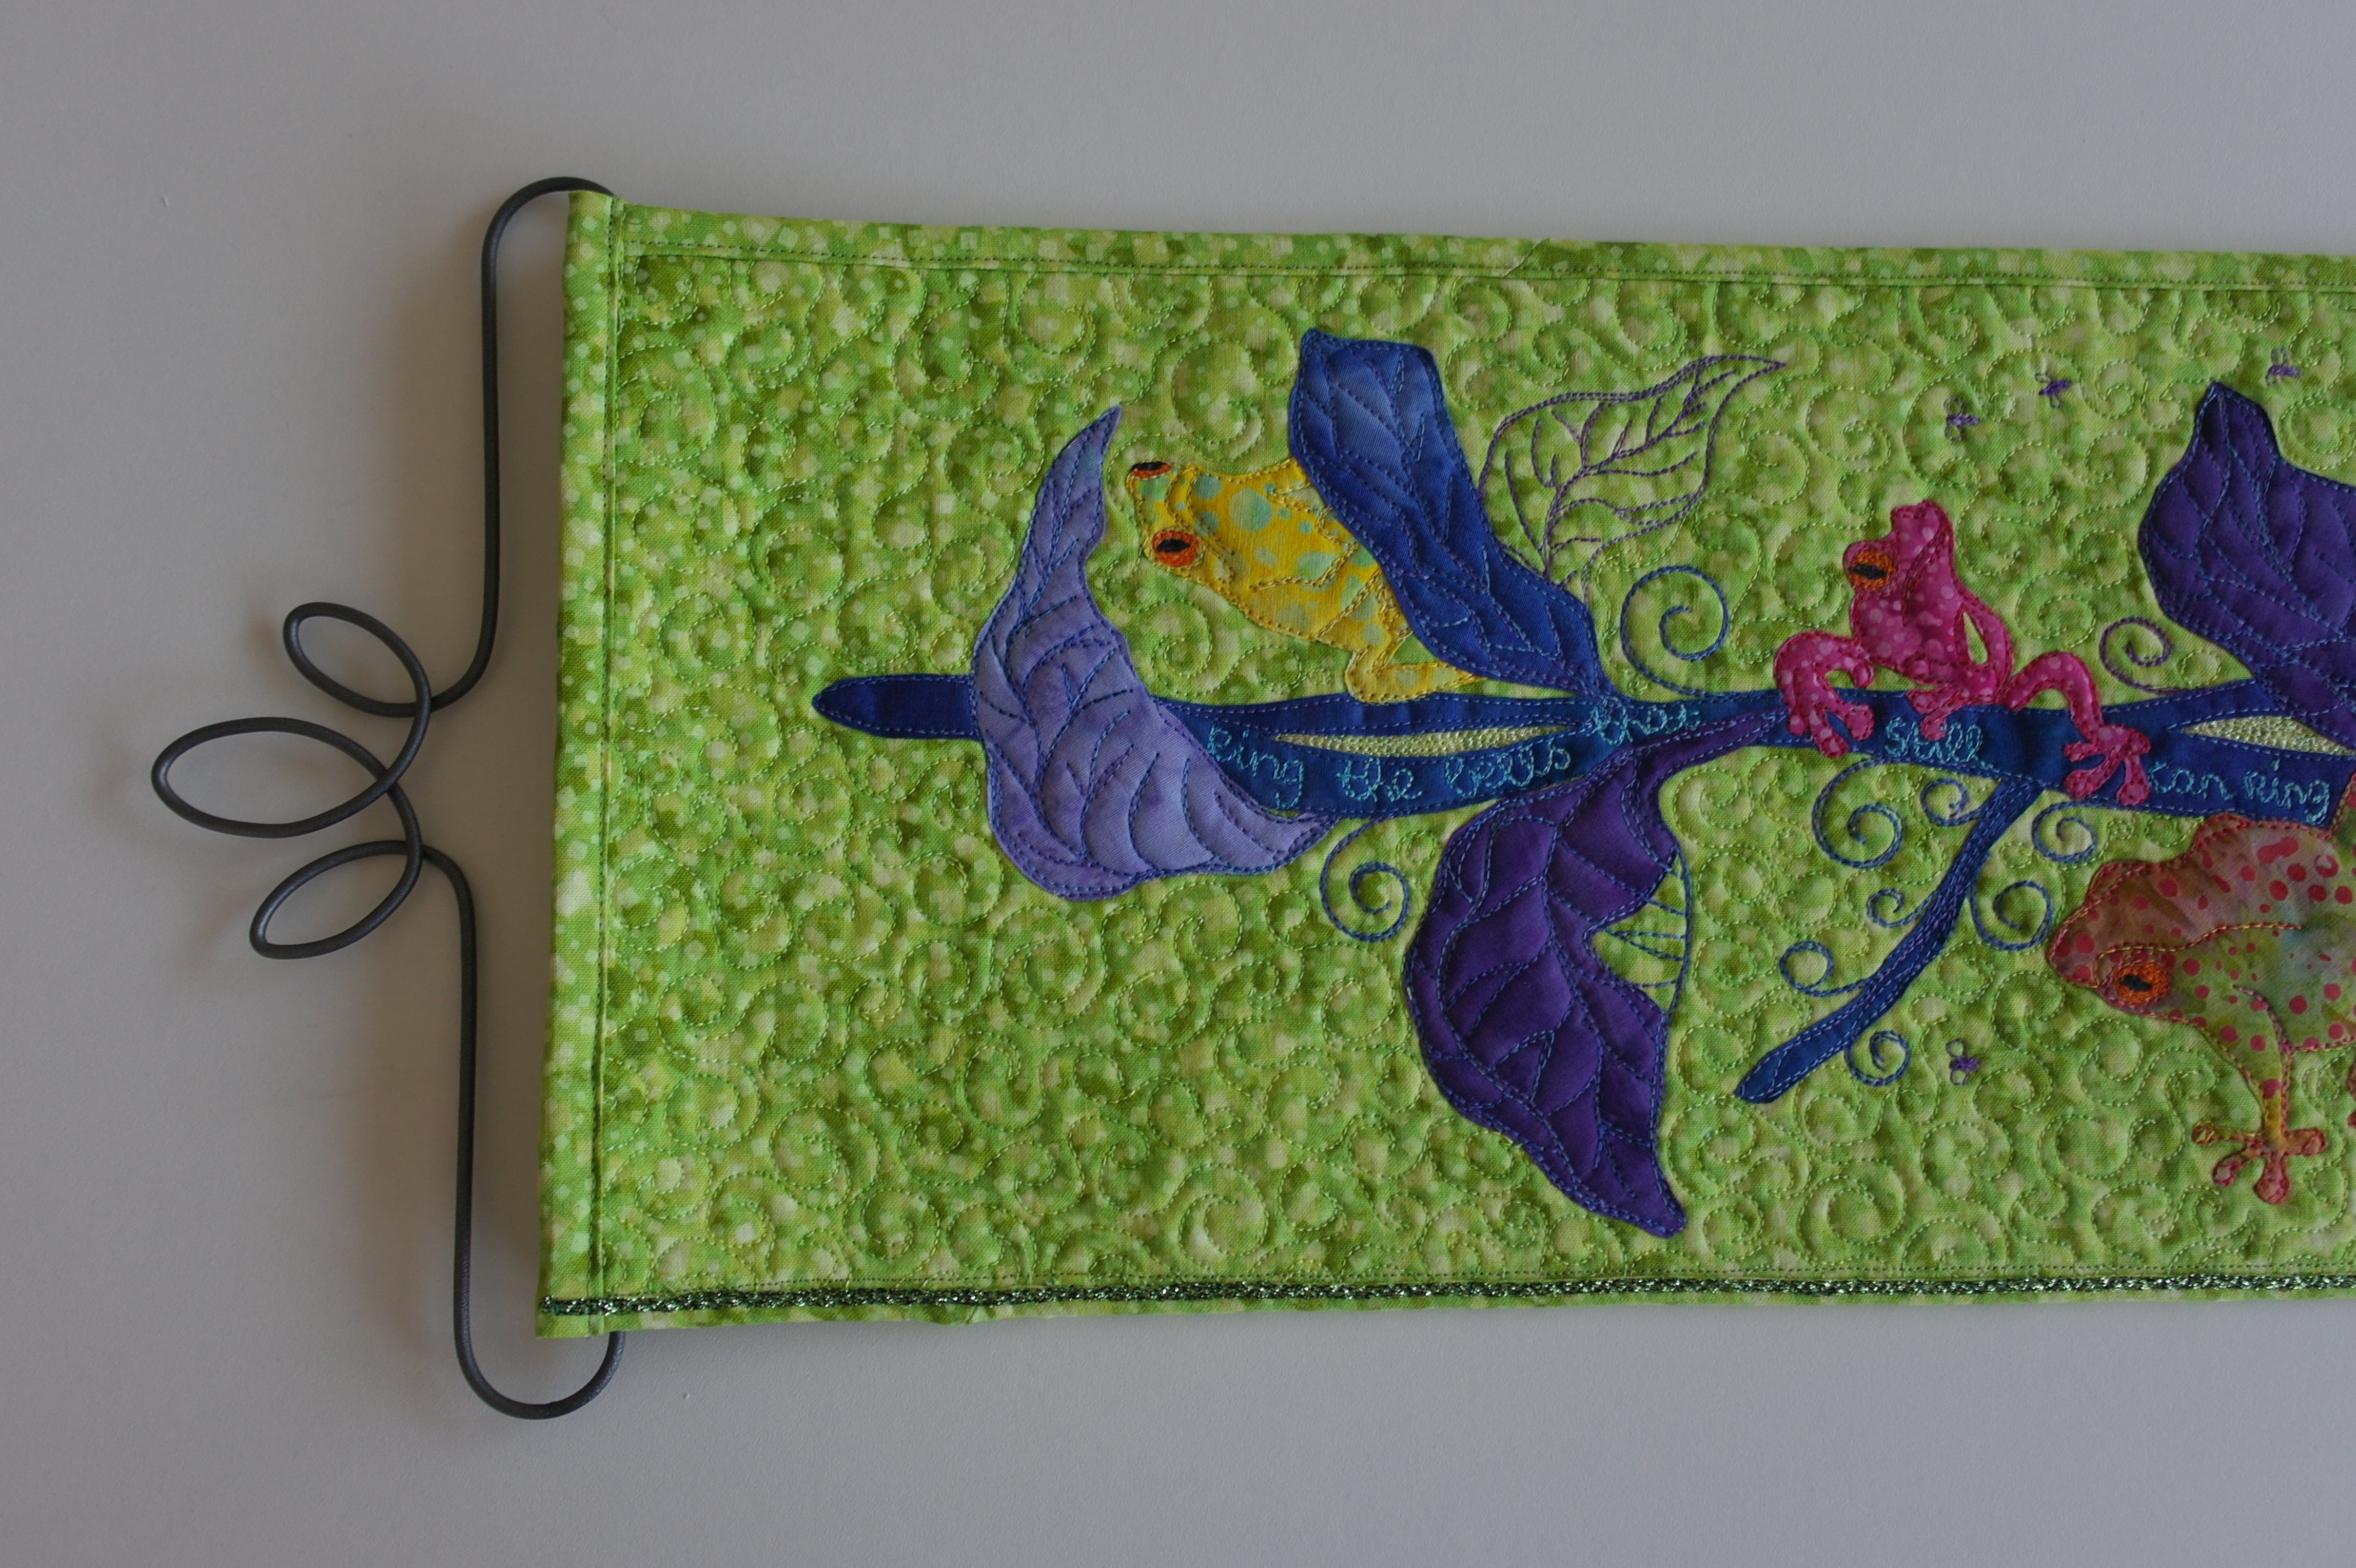
The top of the quilt, with a special quilt hanger.
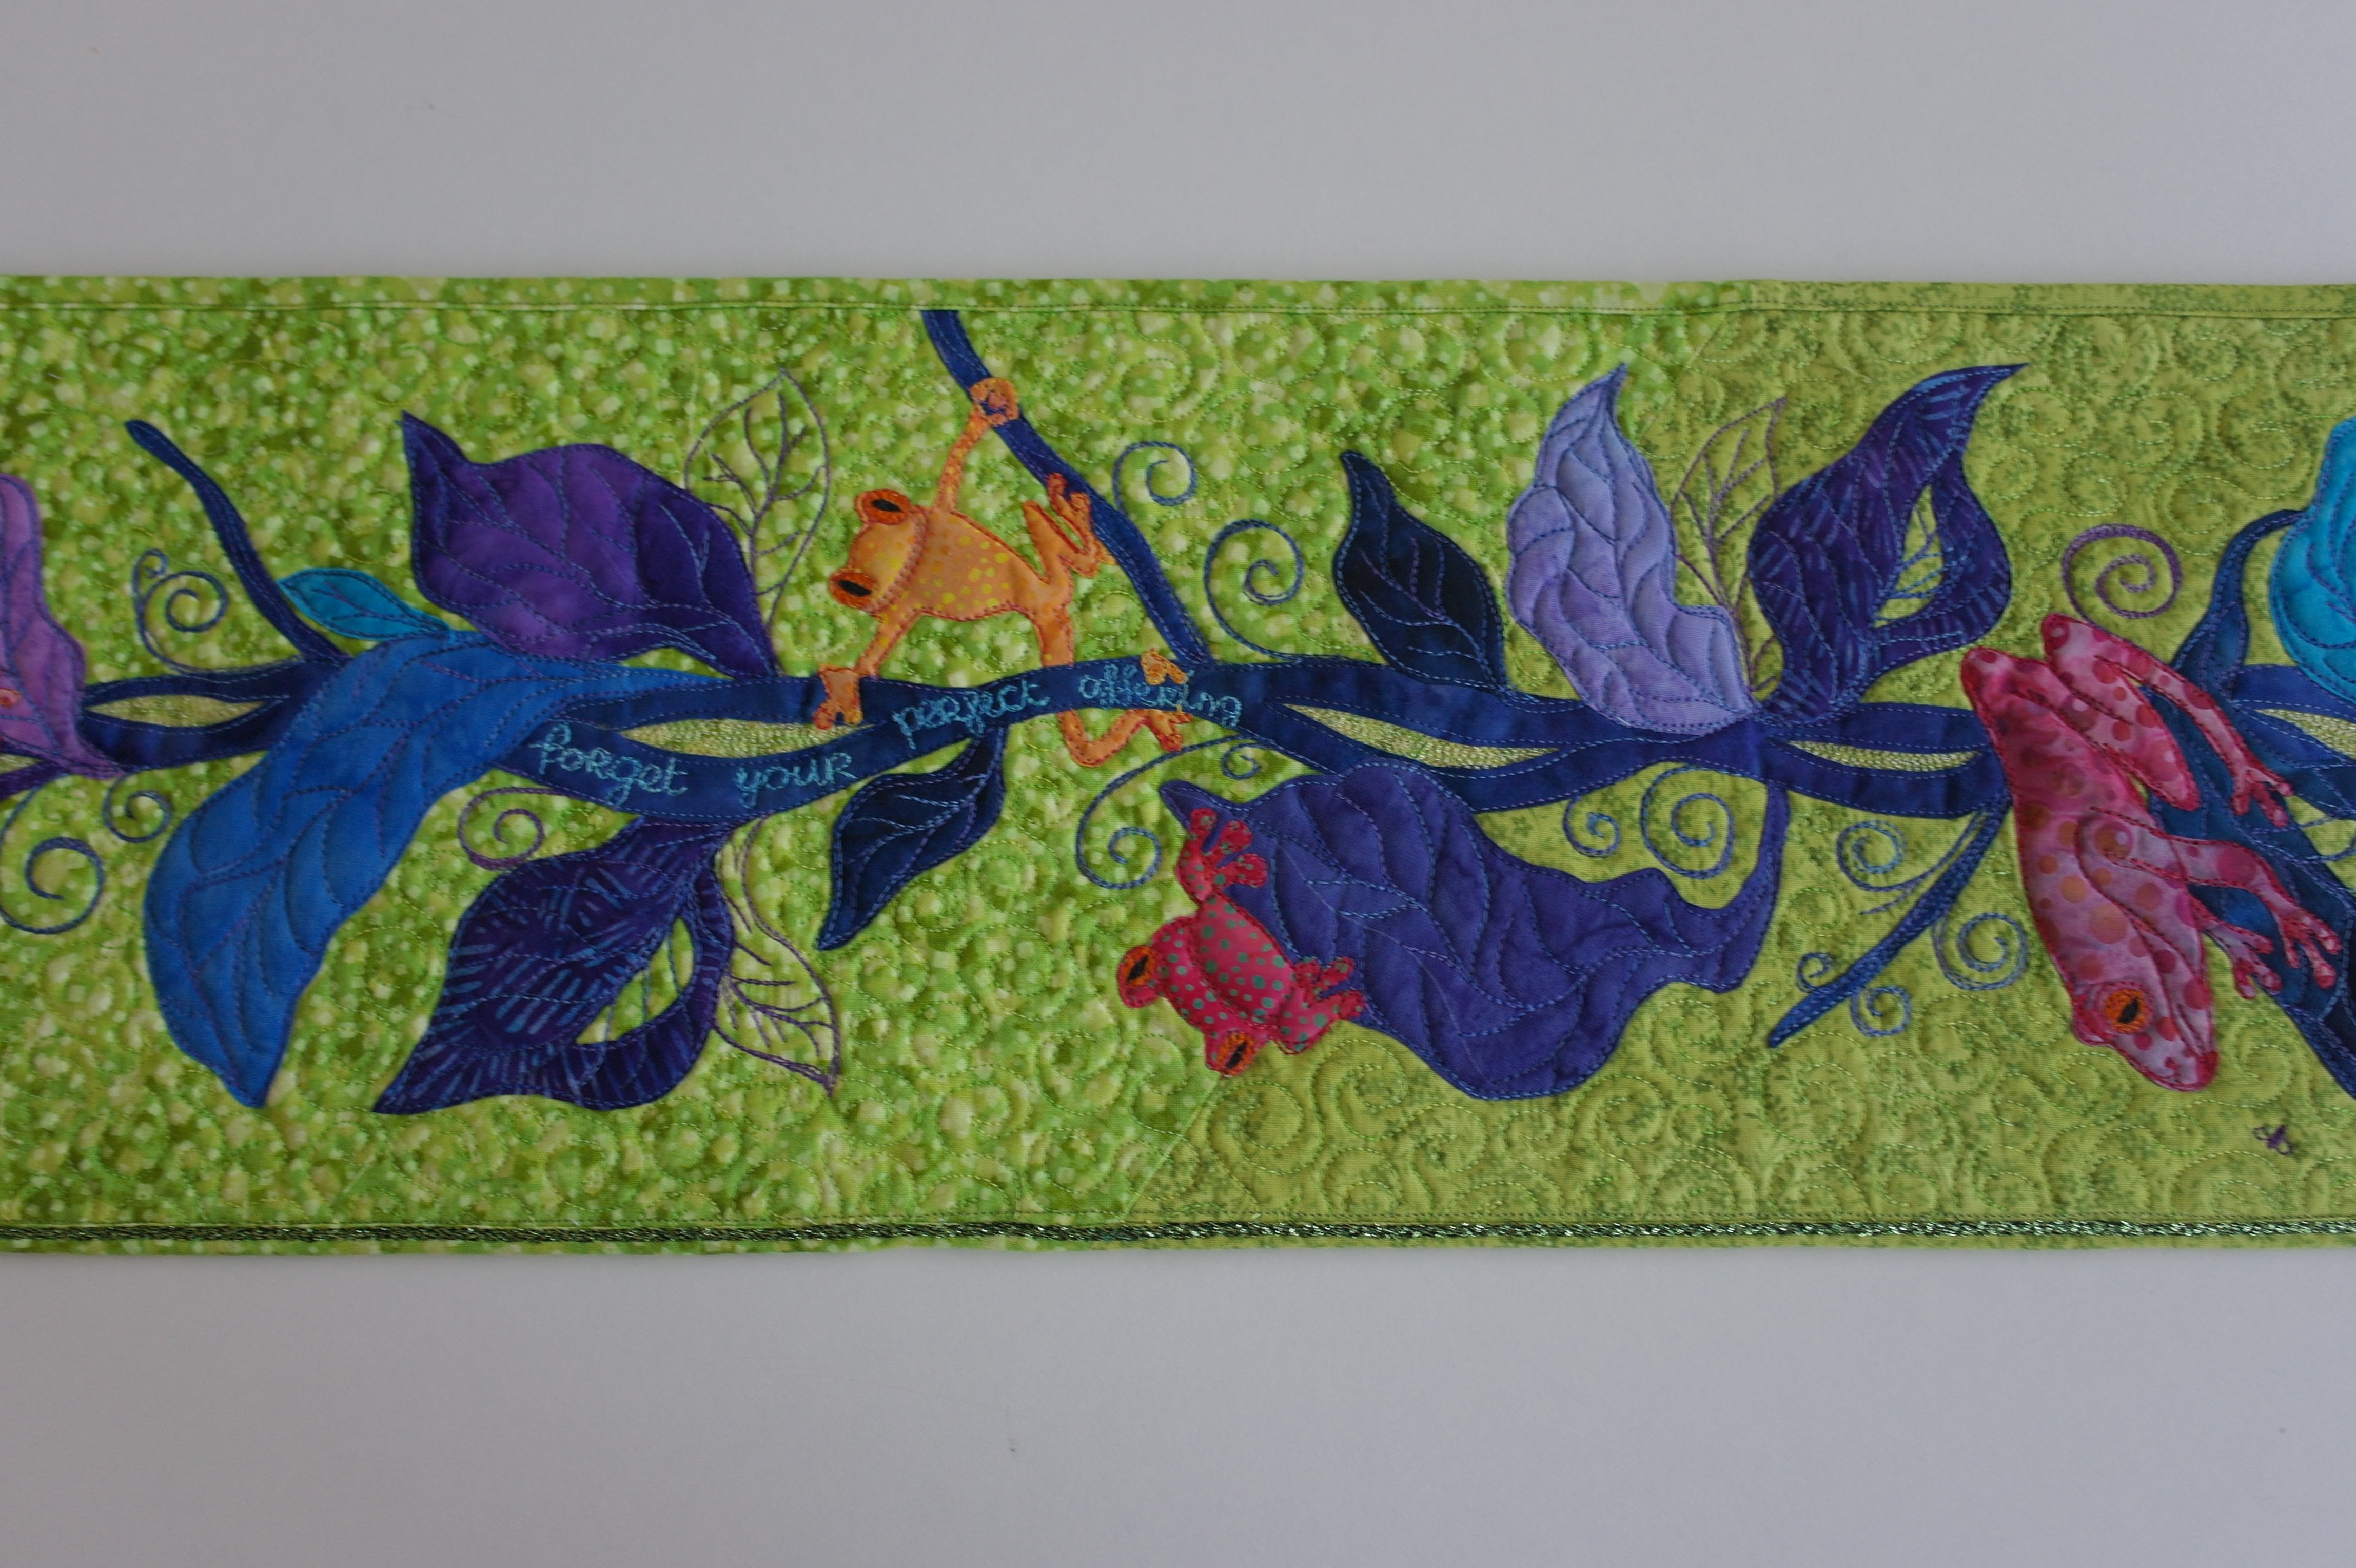
The next part, below the top…
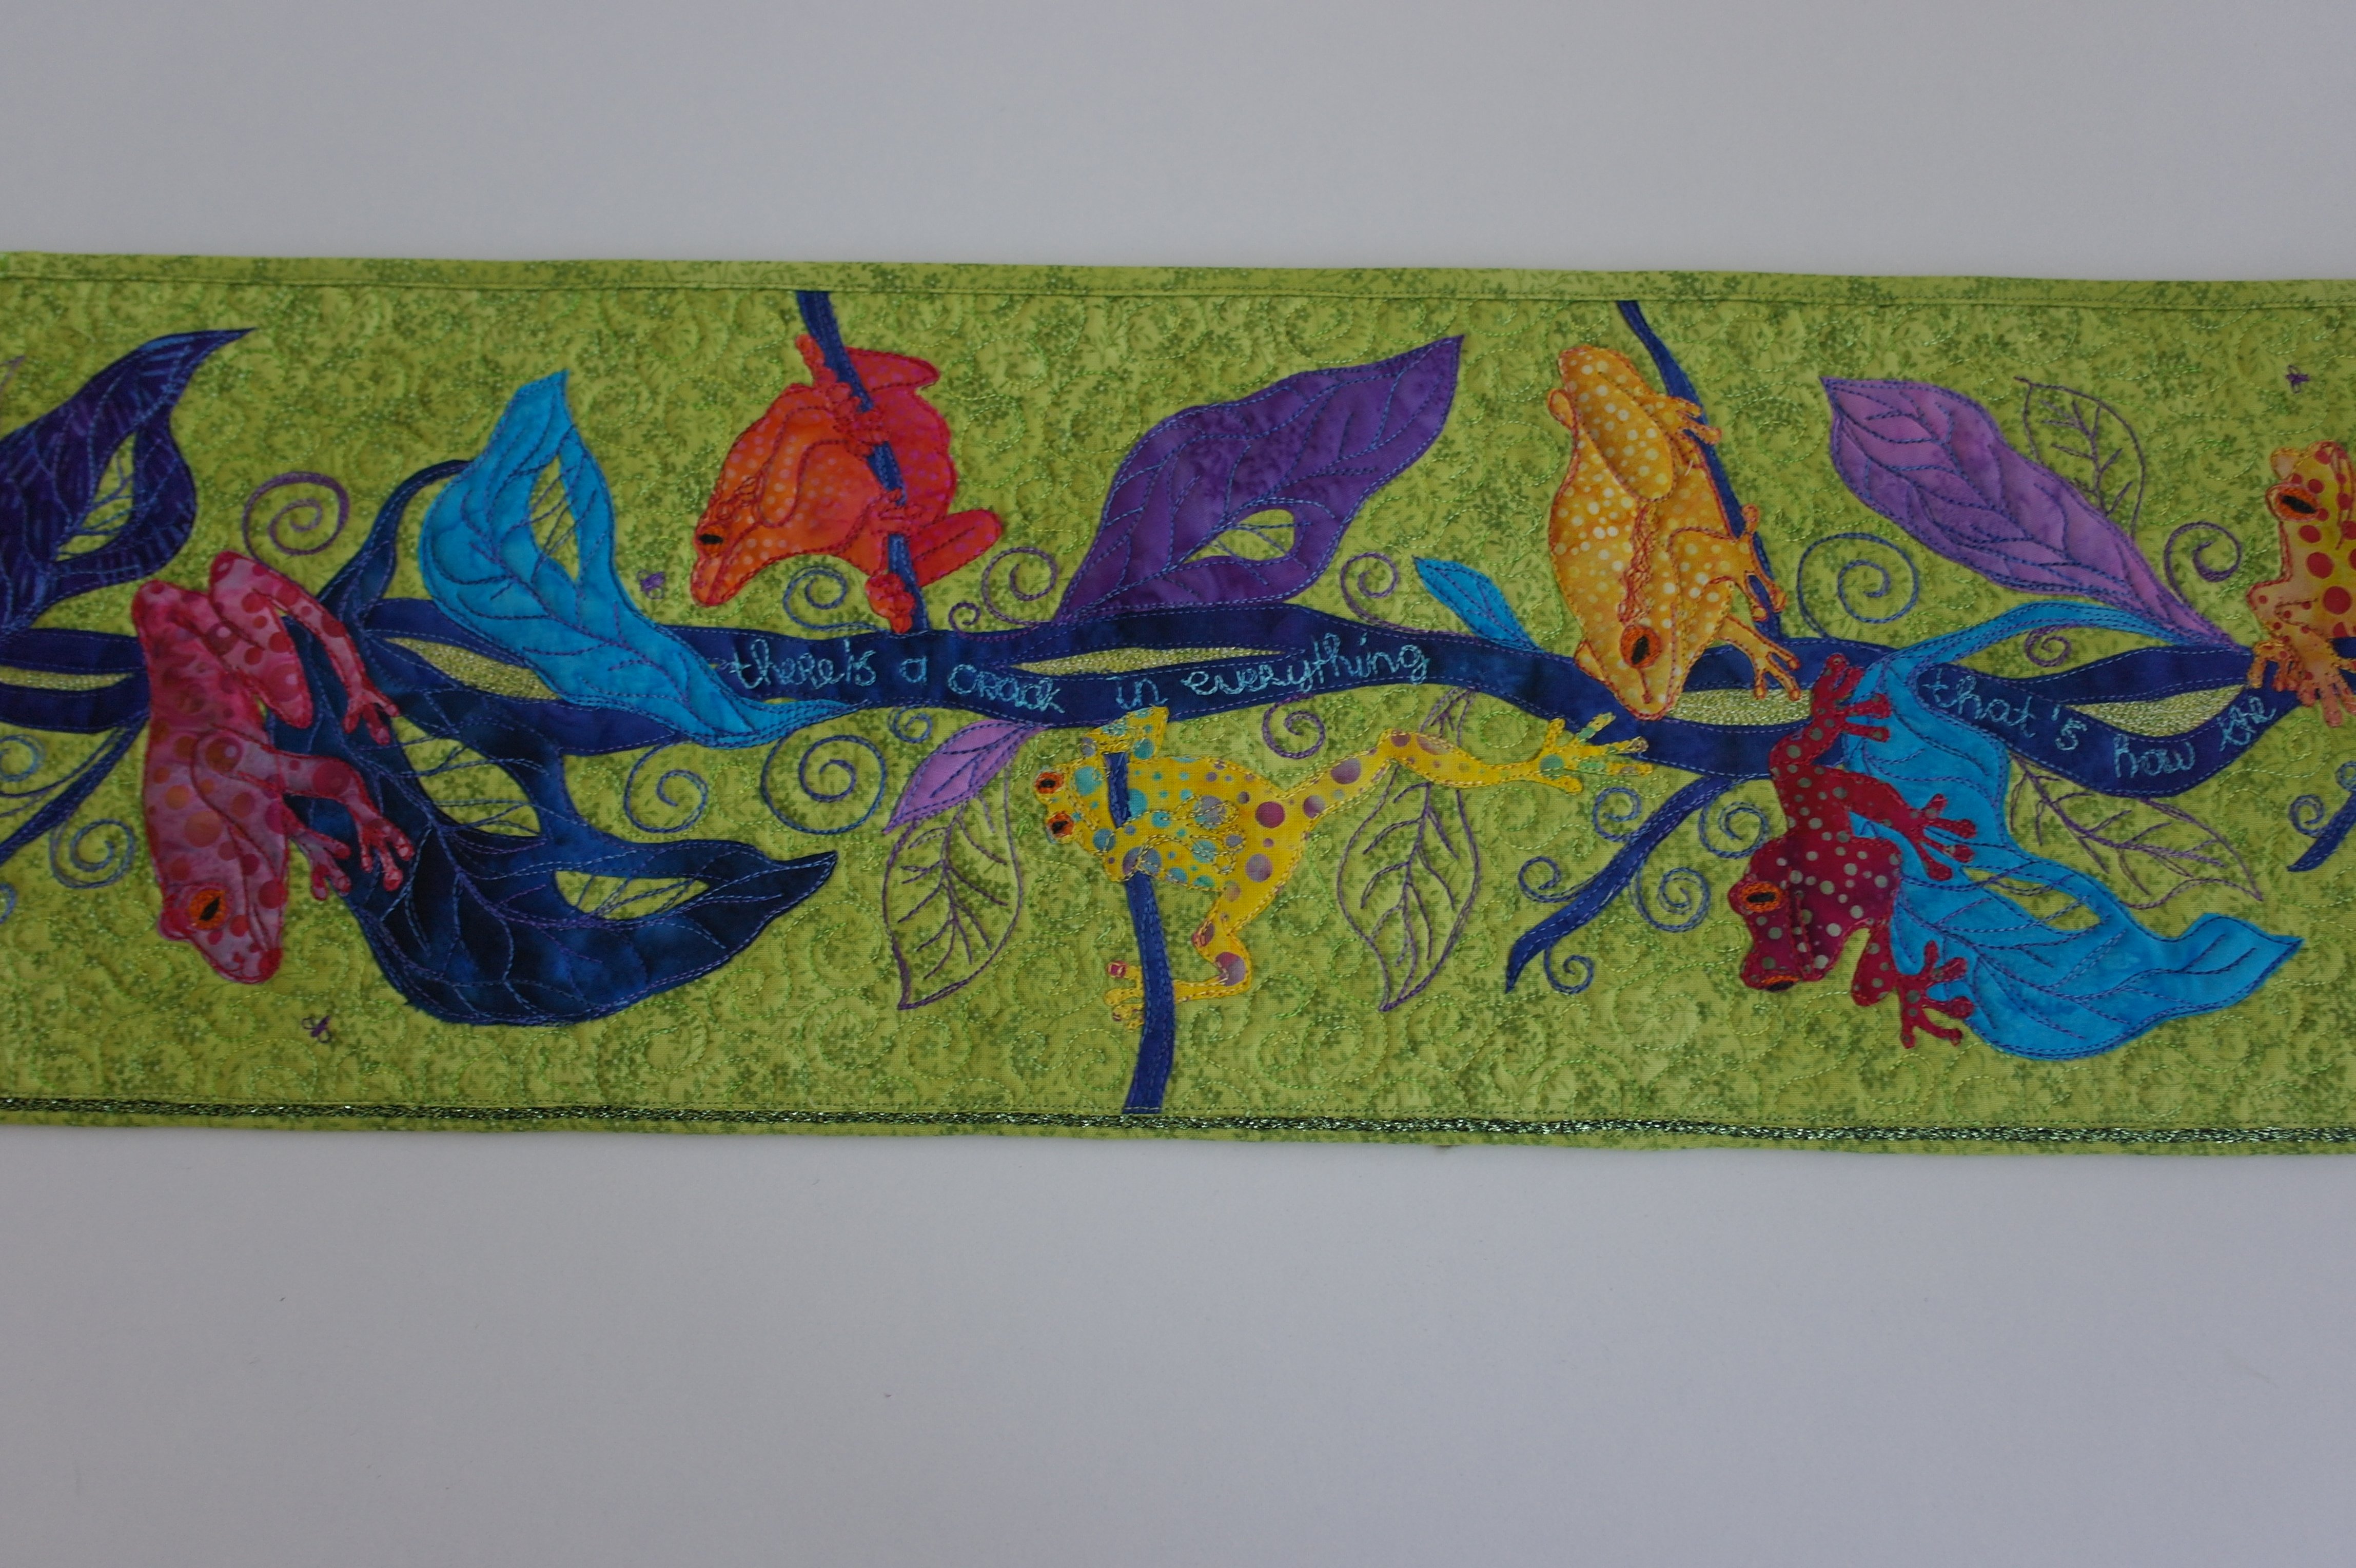
Going down….

And the bottom of the quilt, with another quilt hanger, but this one upside down, for weighting the narrow quilt down.
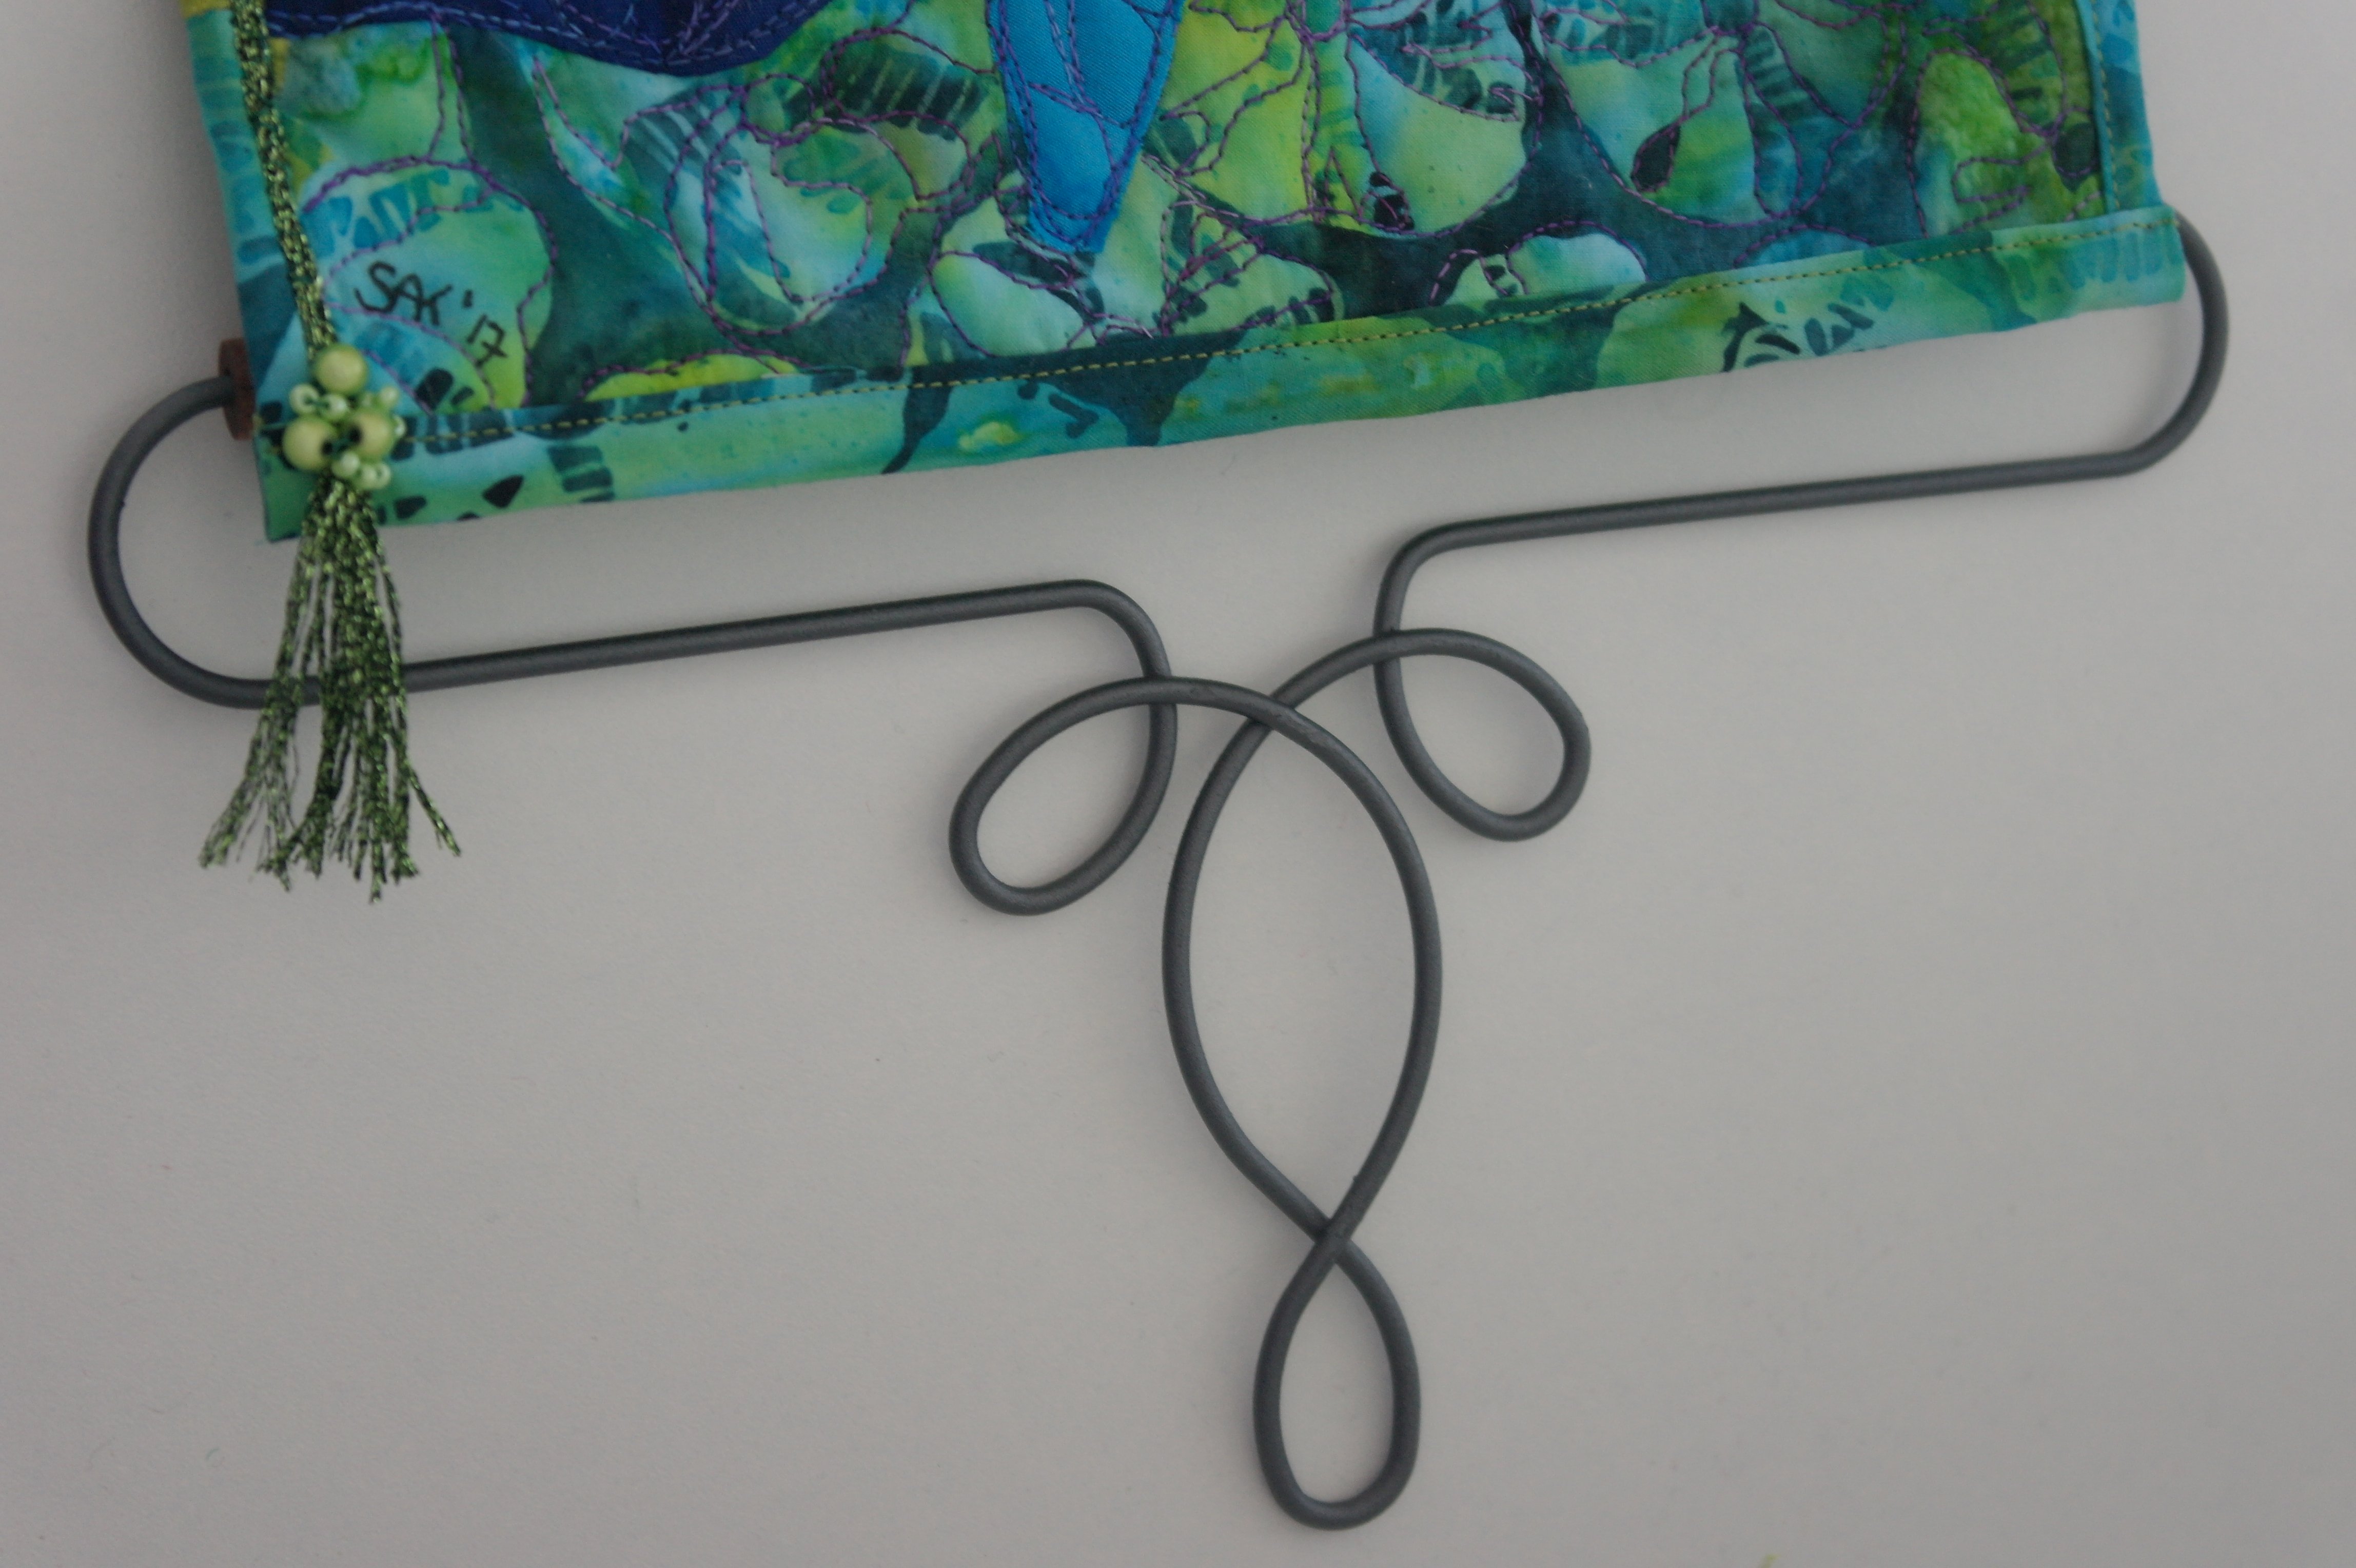
As ‘finishing touch’ I always sign my quilts, with my initials and the year of finishing, on the front, bottom left of the quilt. This is proof for the client that this quilt is designed and made by me, with her personal theme and colors. Do you notice the tassel? I’ve made it from the tails of the thick metallic threads after couching: added a couple of beads too, to make a special detail.
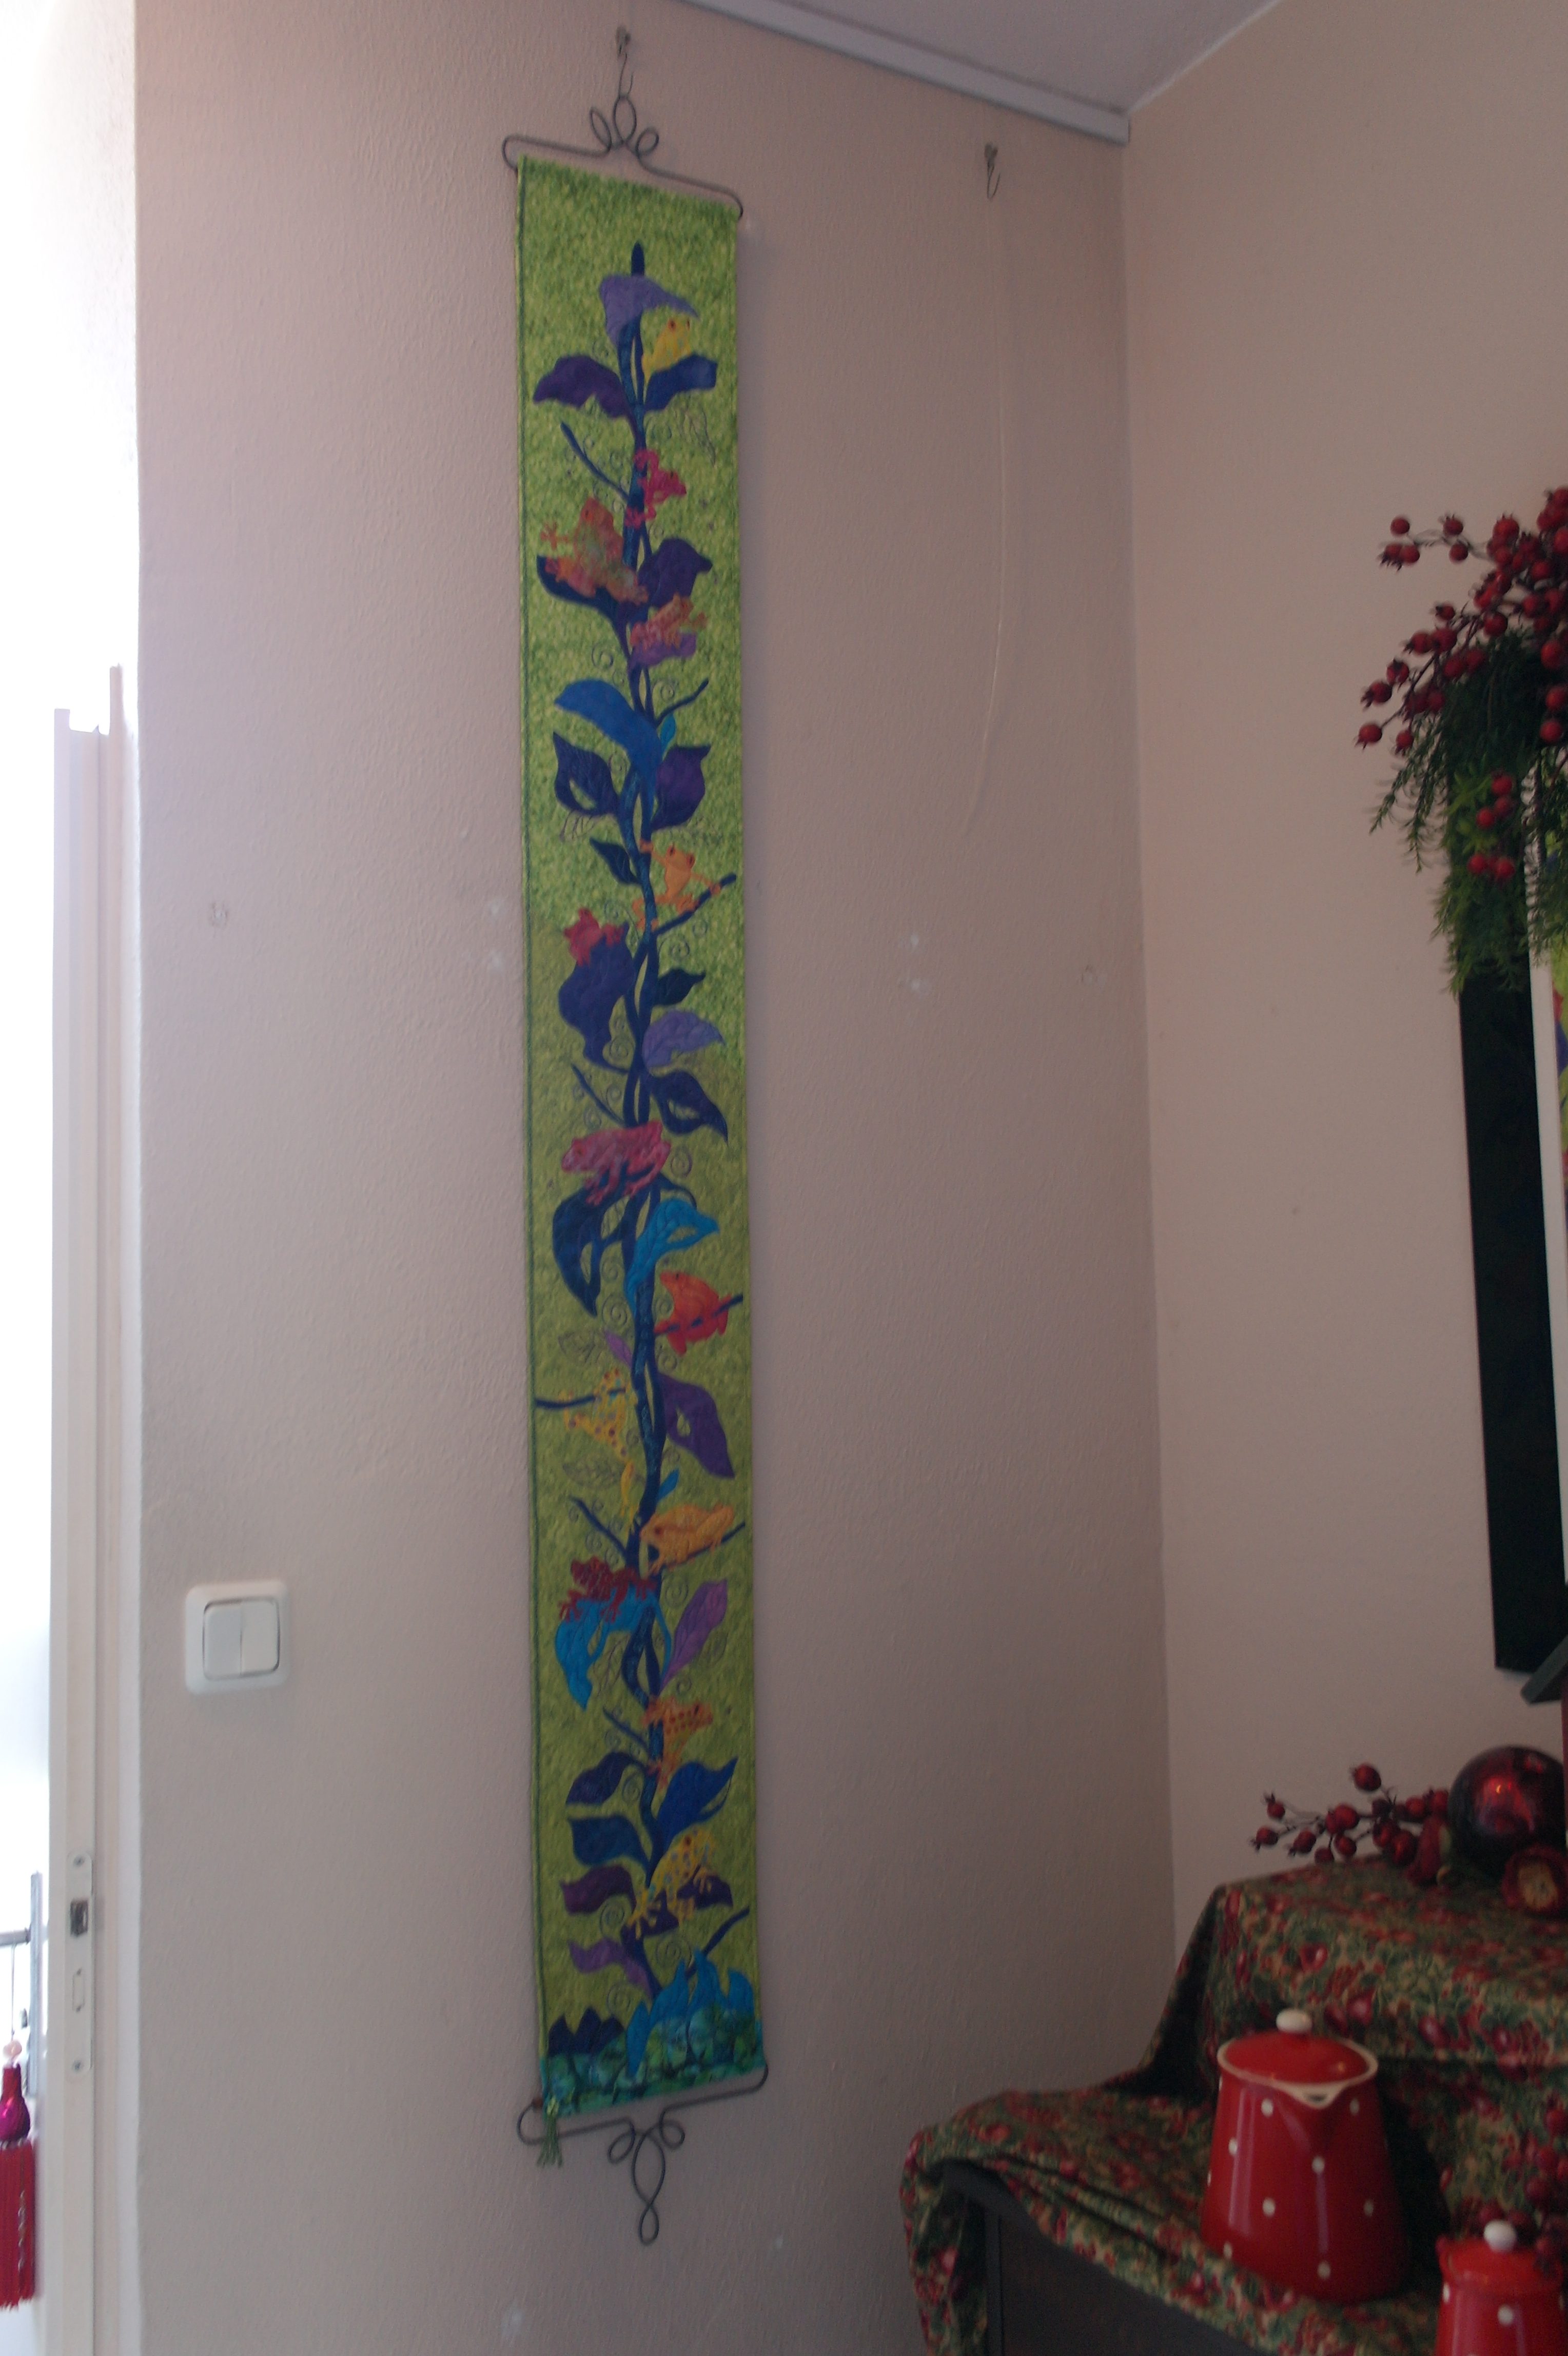
I have placed the quilt on a wall in our hall, just for the photo. I know the quilt will look better where it belongs, with the client on her wall.
It is always an honor to make a quilt on commission: if you want me to make one for you, please mail me via [email protected]. We will talk about your wishes and how you want me to make the quilt. Personal idea’s for theme and colors, will make it a unique quilt (check the Jungle Quilts I’ve made for my client, before this one, by clicking on the link of my website below) for yourself, in your home or office, or as a gift.
Making such a quilt shows that you can personalize ideas, and make a unique project.
Happy quilting!
Sylvia Kaptein
Sylvia’s Art Quilts Studio
www.sylviasartquilts.nl
[email protected]
0 Responses