 BERNINA Corporate Blog -
It is almost Mothers Day! So if you want to make something personal, you have to be quick. If you are following my Crazy Colors Mystery Quilt 2017 project, which can be found at this Bernina Blog on the 15th of each month, you know I will keep you busy. But also with other projects there is no time to make a large gift, so here’s a small project to make in one day.
What do you need?
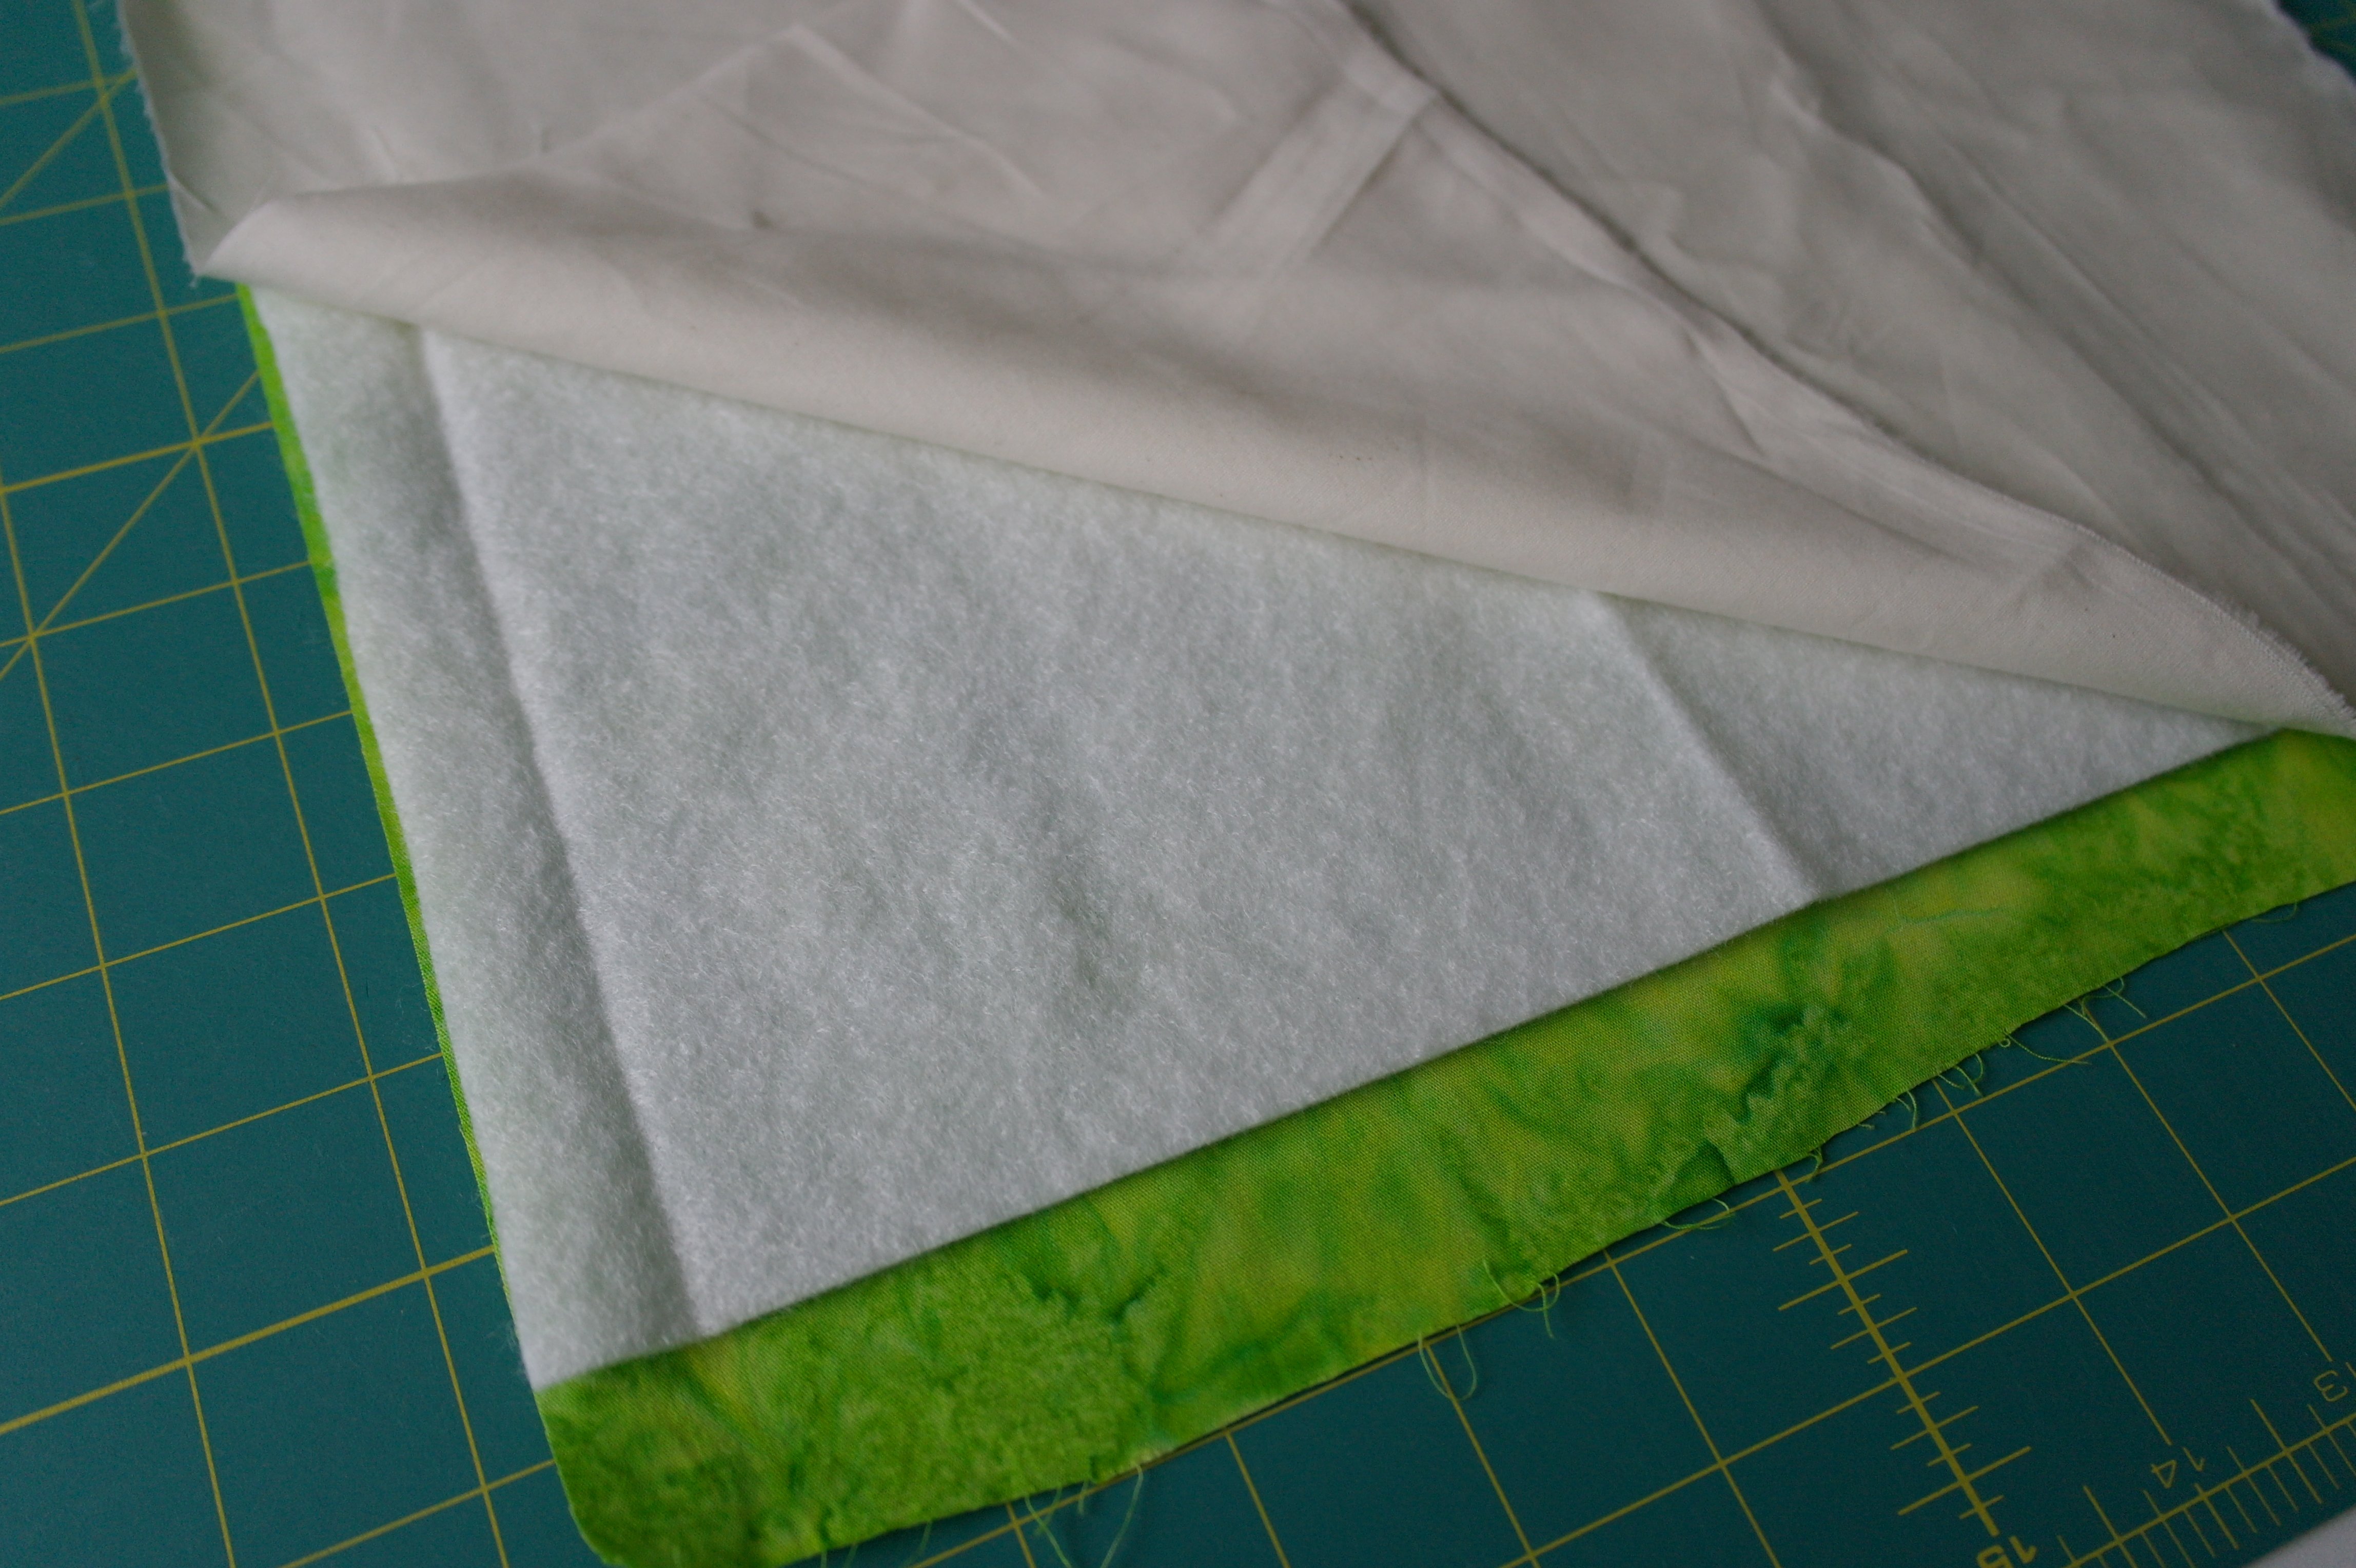
1) A sandwich, or 3 small sandwiches (aprox. 12 x 17 cm) – make them from an off-white backing a thin batting and a nice fabric on top – I have choosen a bright green batik.
2) A shiny decorative thread for making decorative stitches. I have used a blue Magnifico/Superior Threads: a 100% polyester, shiny machine thread, Weight 40.
3) Matching bobbin thread. Mine was DecoBob/Wonderfil.
4) Topstitch needle 90/14
5) Bohin Glue pen – glue which works temporarely, aprox. 30 to 60 seconds. You will use this instead of pins.
6) A small piece of pattern paper
7) A package of paper tissues.
So lets start! My sandwich was already there… you can see I had three layers ready.

And this is the pack of tussues: I have used them to measure what size of material I needed.
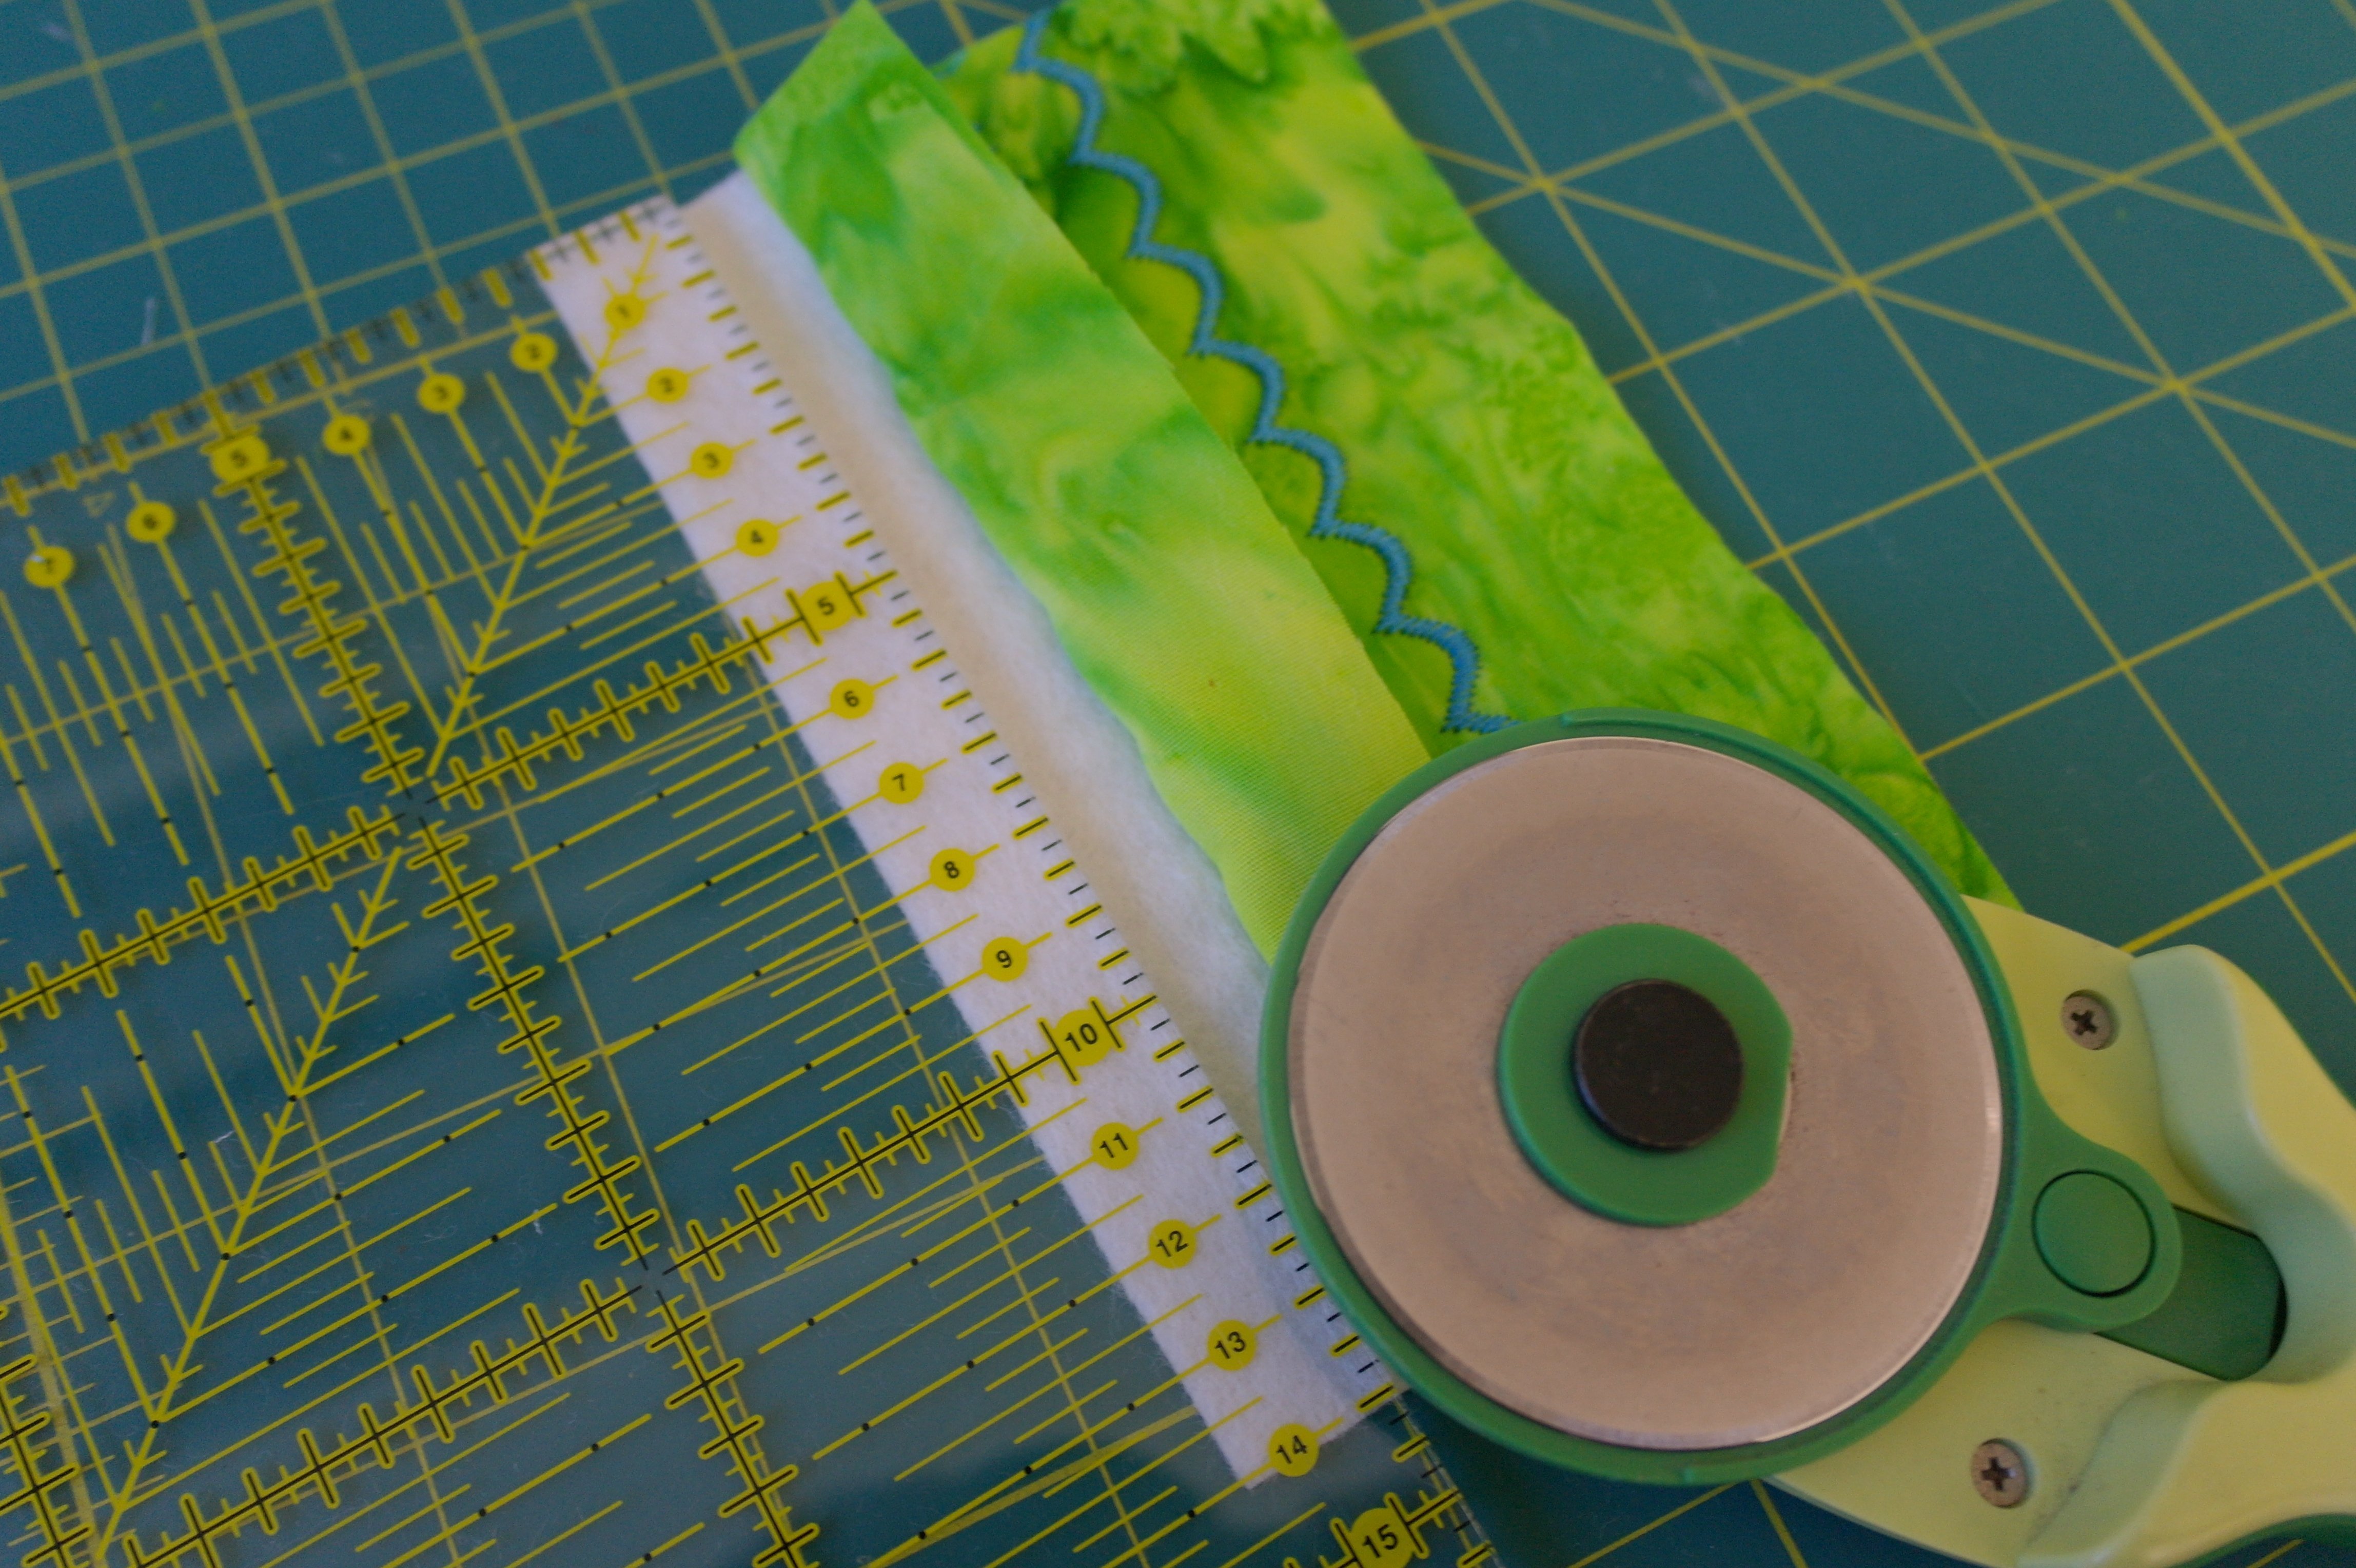
I have calculated that I need 3 sandwiches, each aprox. 11 x 16 cm (this is not the finished size!). But it is better to cut them a bit larger, aprox. 12 x 17 cm. A larger size of relative small sandwiches is better to have grip on them while you are making the decorative stitches. Also because of shrimpage. I have cut them with a rotary cutter and used a quilt ruler.
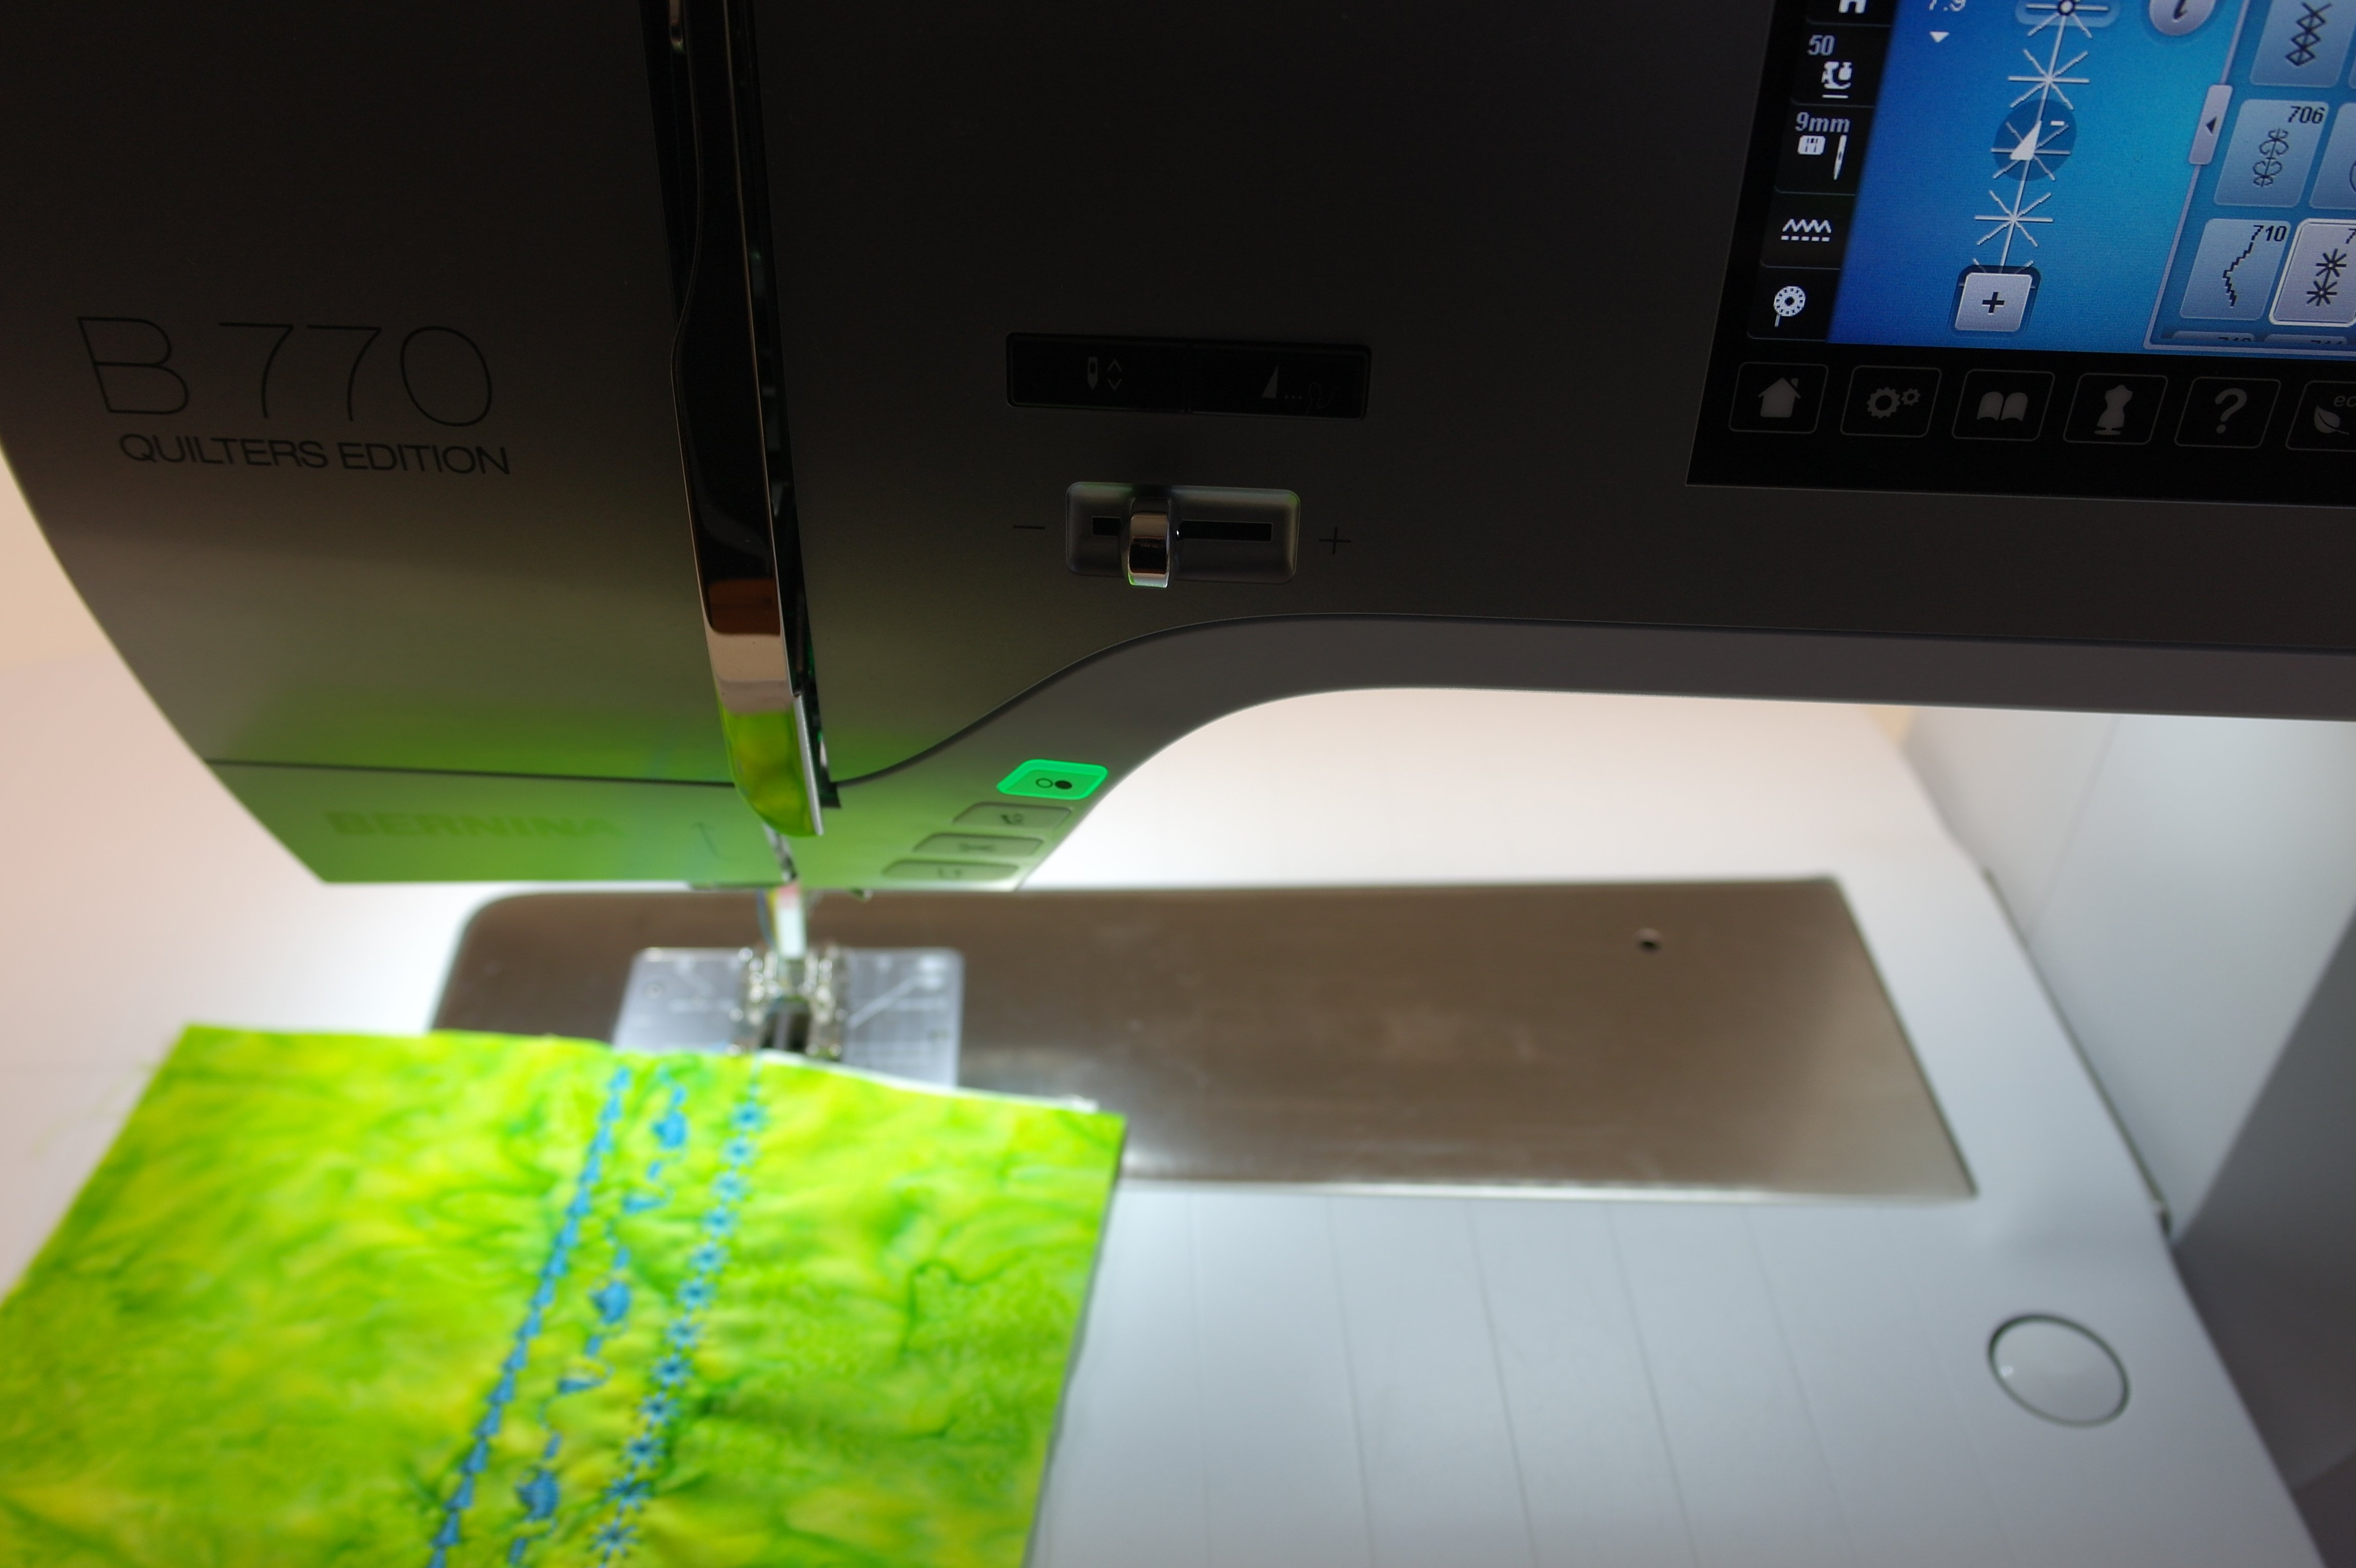
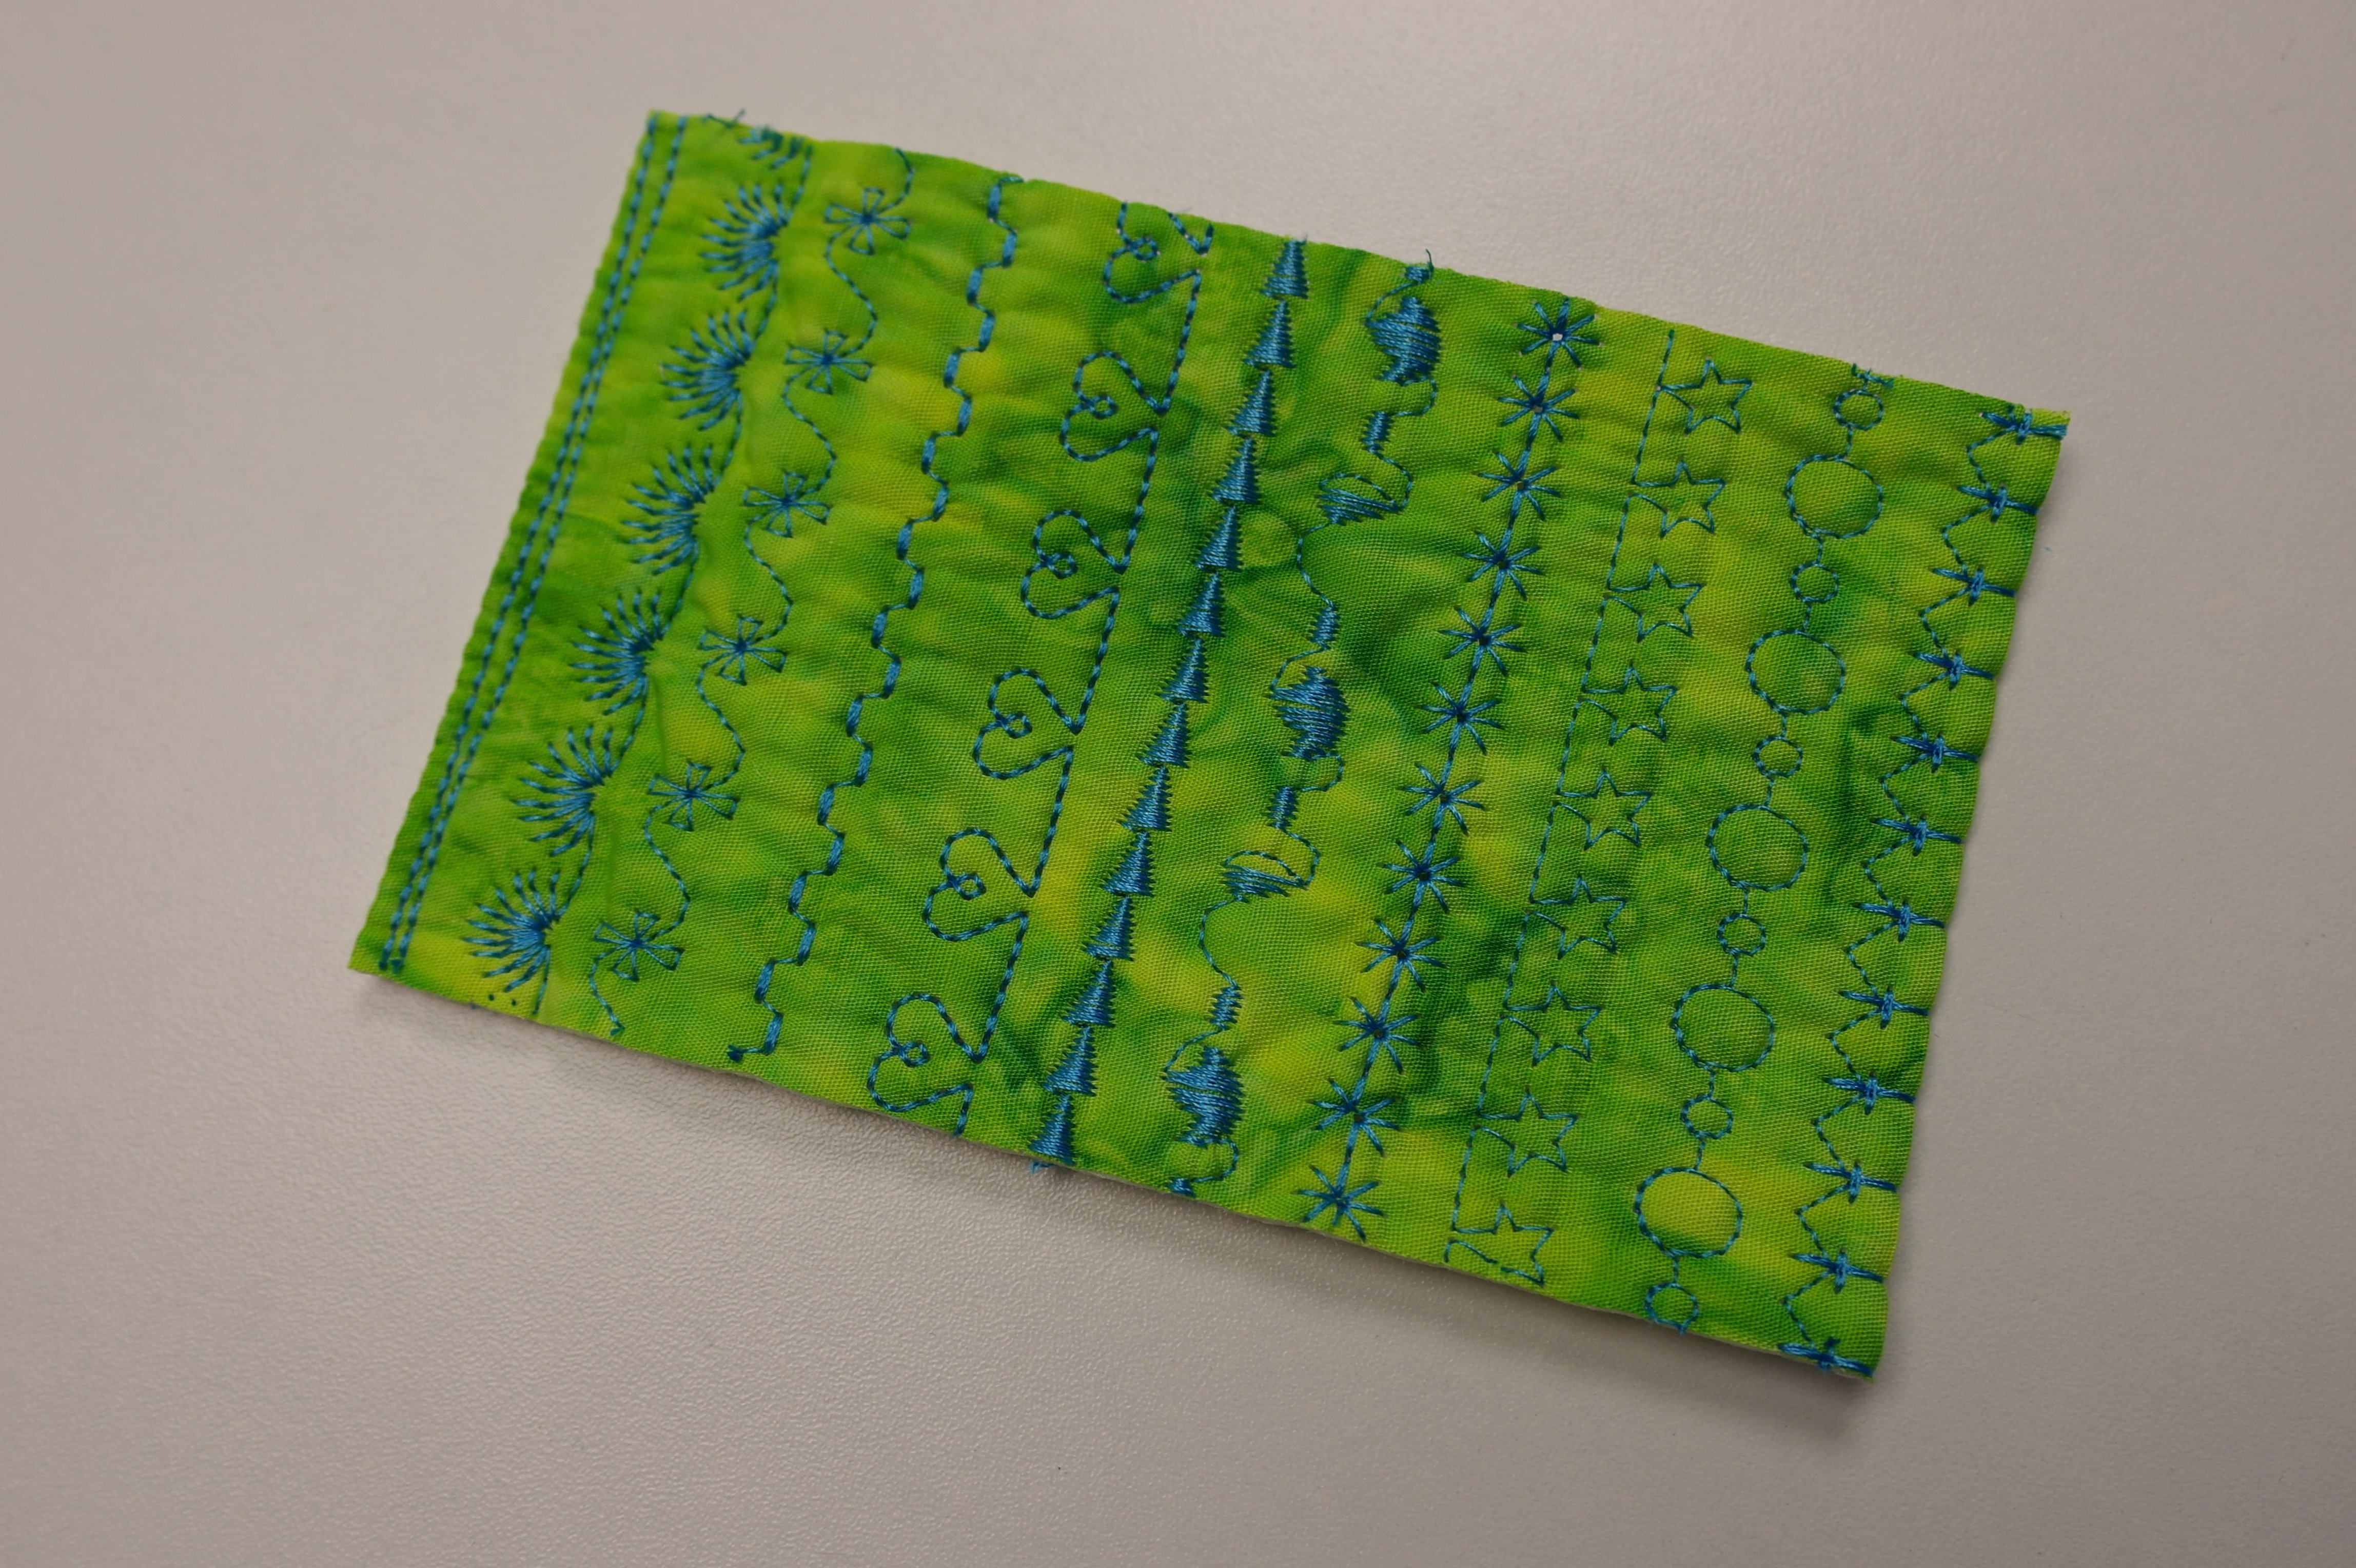
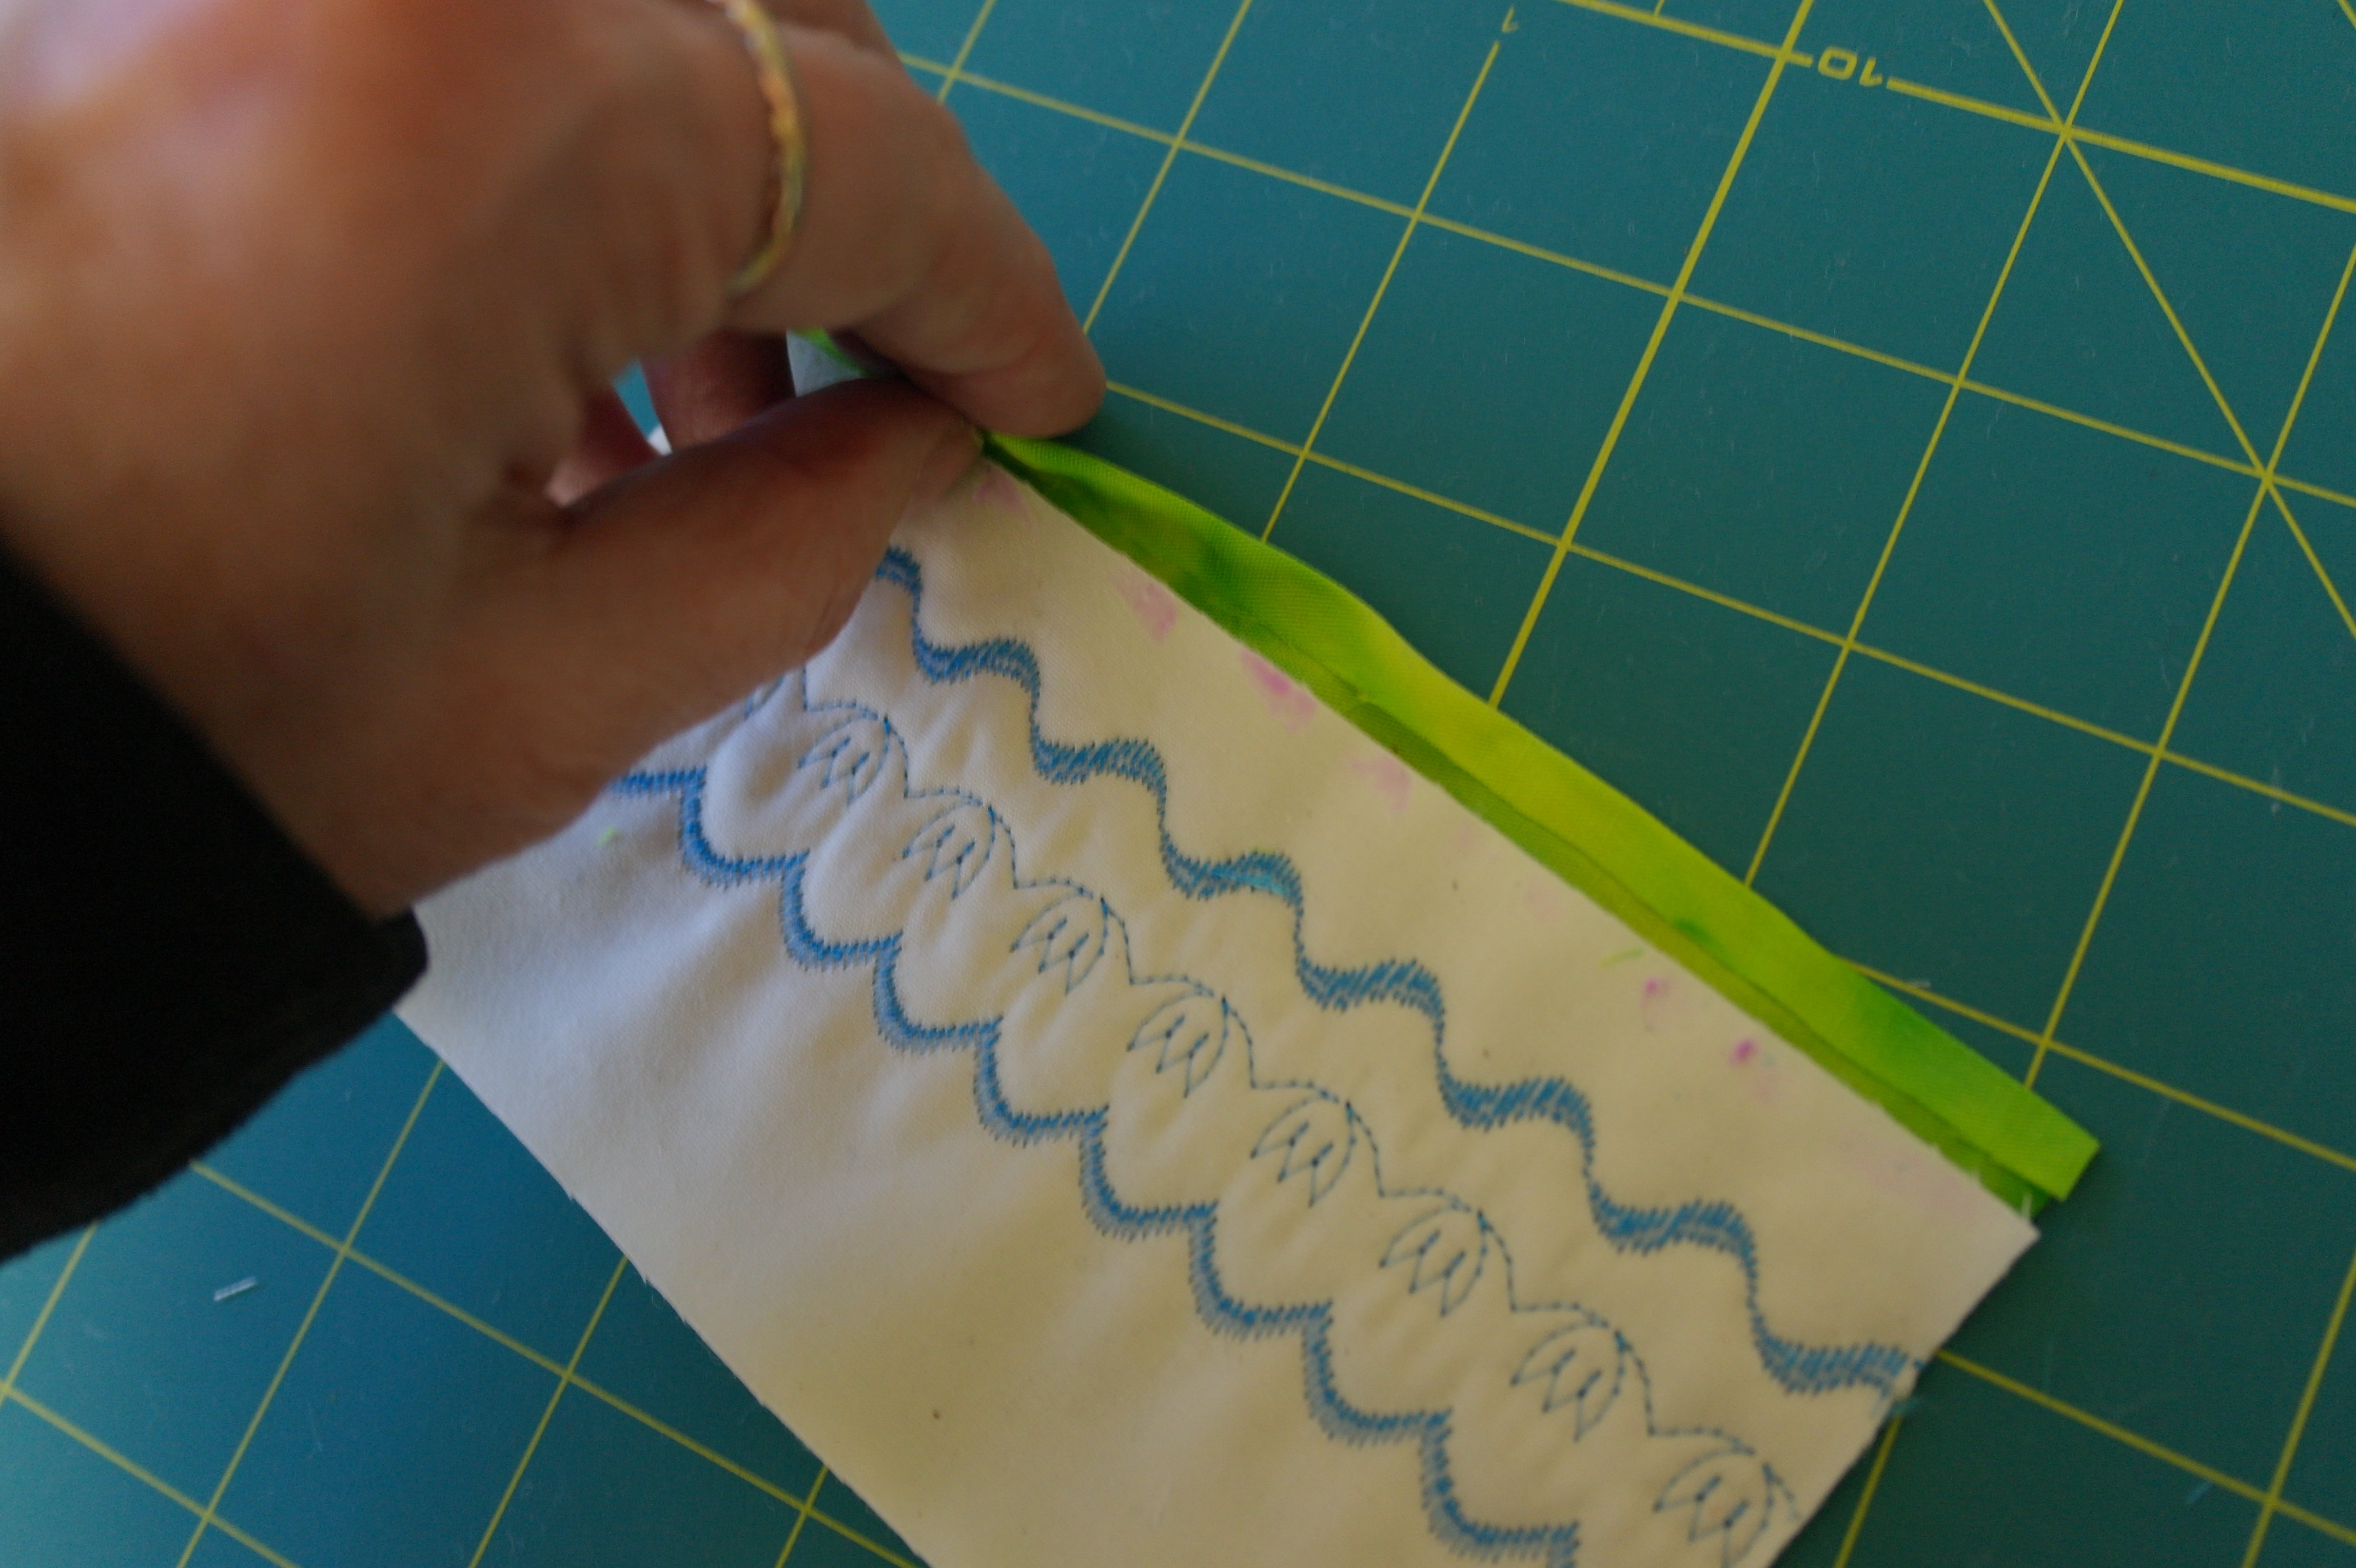
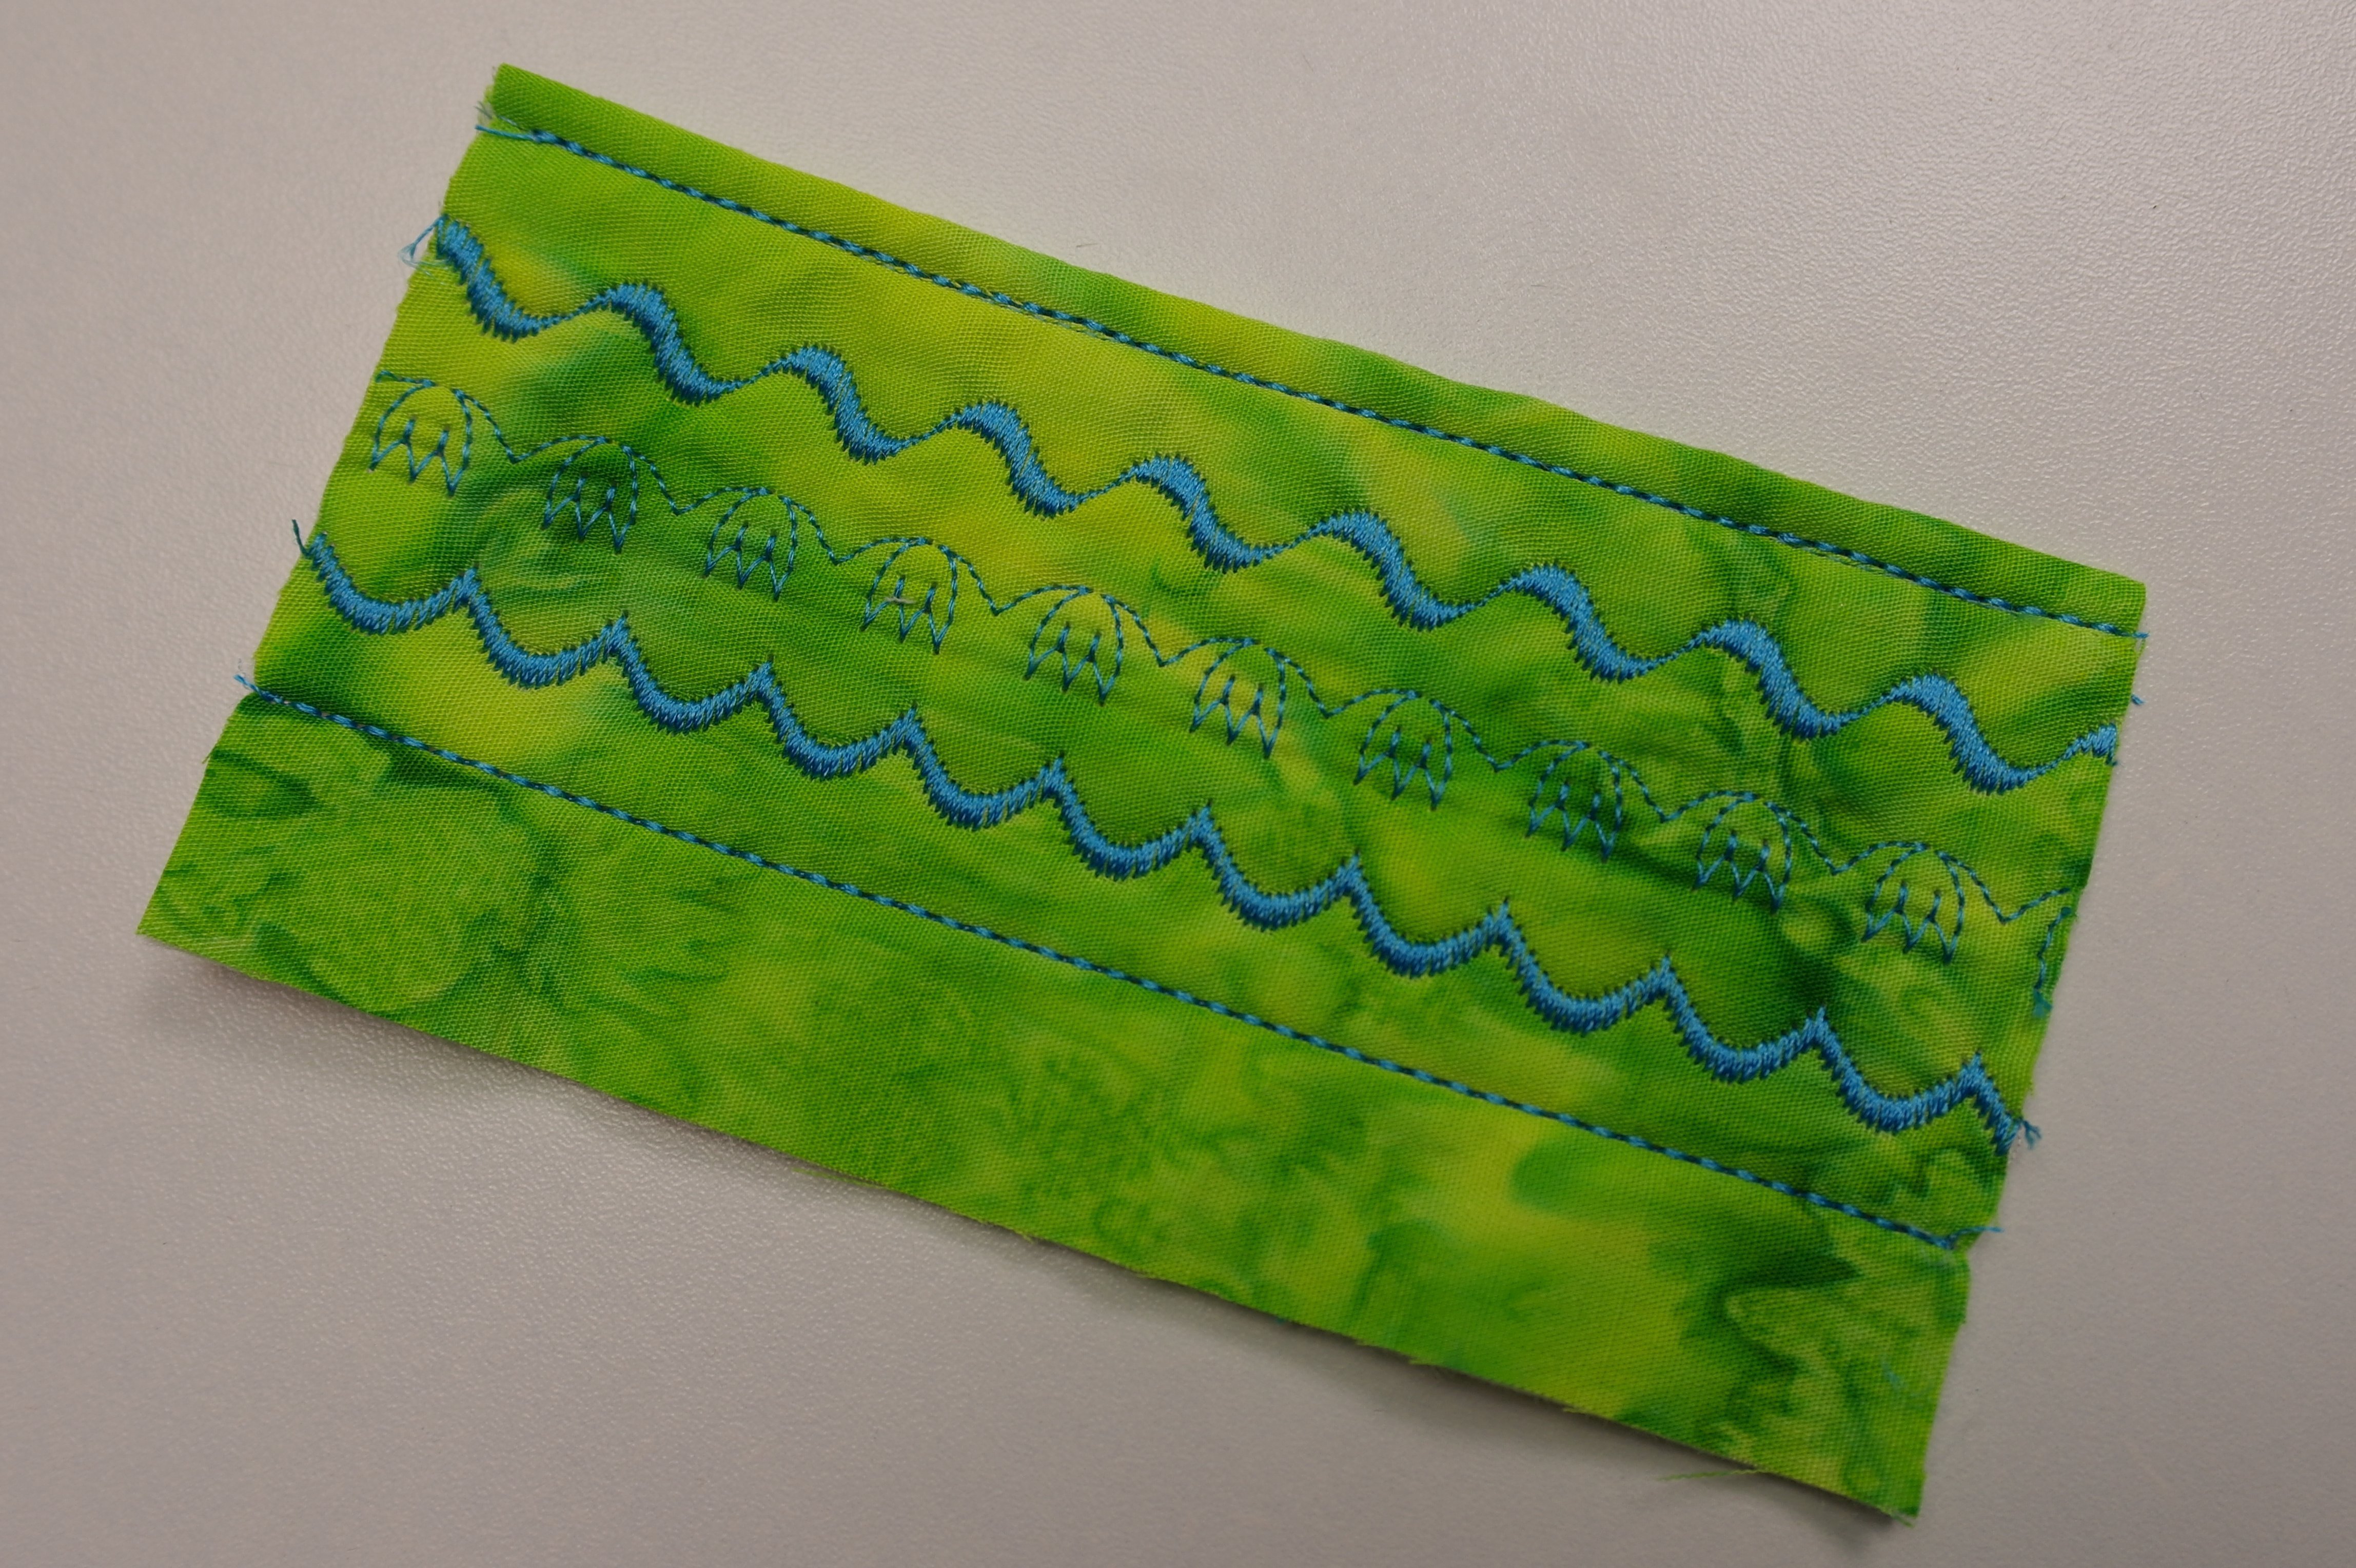
I will work on the BERNINA770QE , using the Open Embroidery foot #20C, because I will make decoratie stitches. I will use Magnifico on top, DecoBob in the bobbin, a Topstitch needle 90/14 and picked some nice stitches (which is difficult, because almost all the stitches are nice!). I will work on the small side of the first sandwich, starting on a middle line, working my way to both sides. That way you can smooth out the sandwich to the sides, if there are any irregularities.

The entire sandwich must be full of stitches – and now you can see why the sandwich itself has to be bigger than the finished size, because it shrunk. I don’t need to make stitches at the sides, because the sandwich will be cut back.
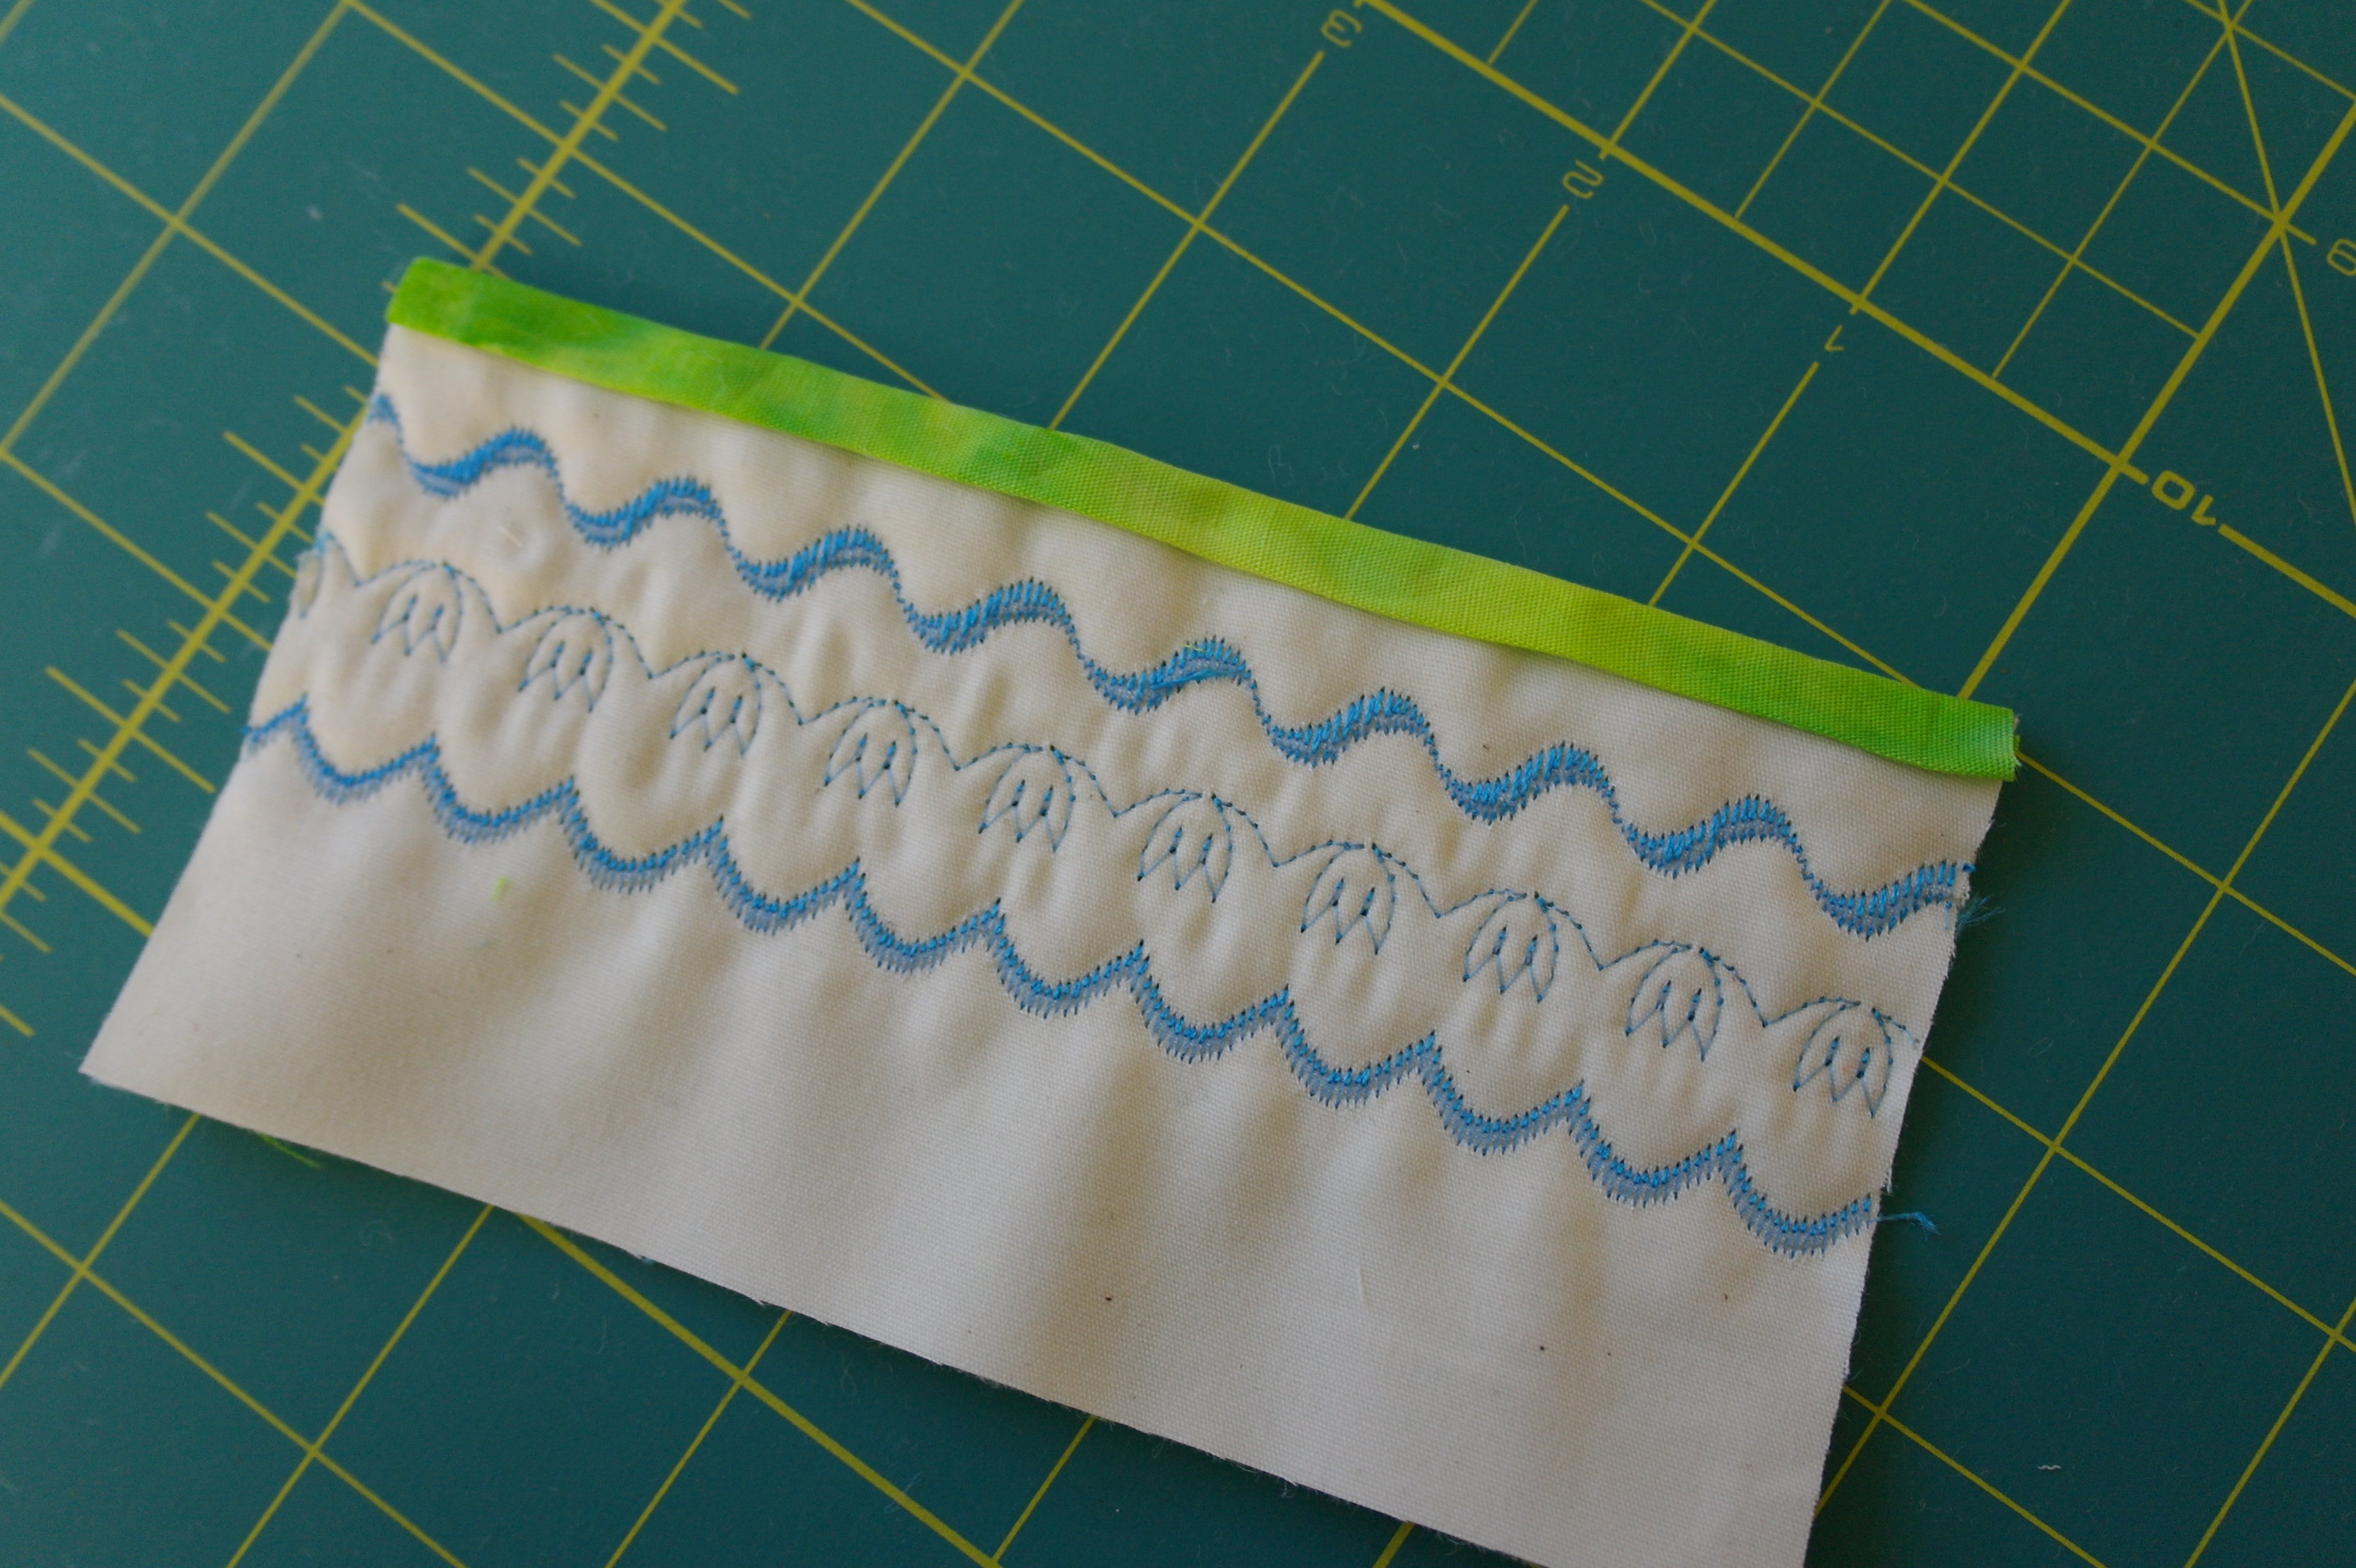
It will be cut back to a finished size of 10 x 15 cm. This sandwich will be the bottom of the pouch.

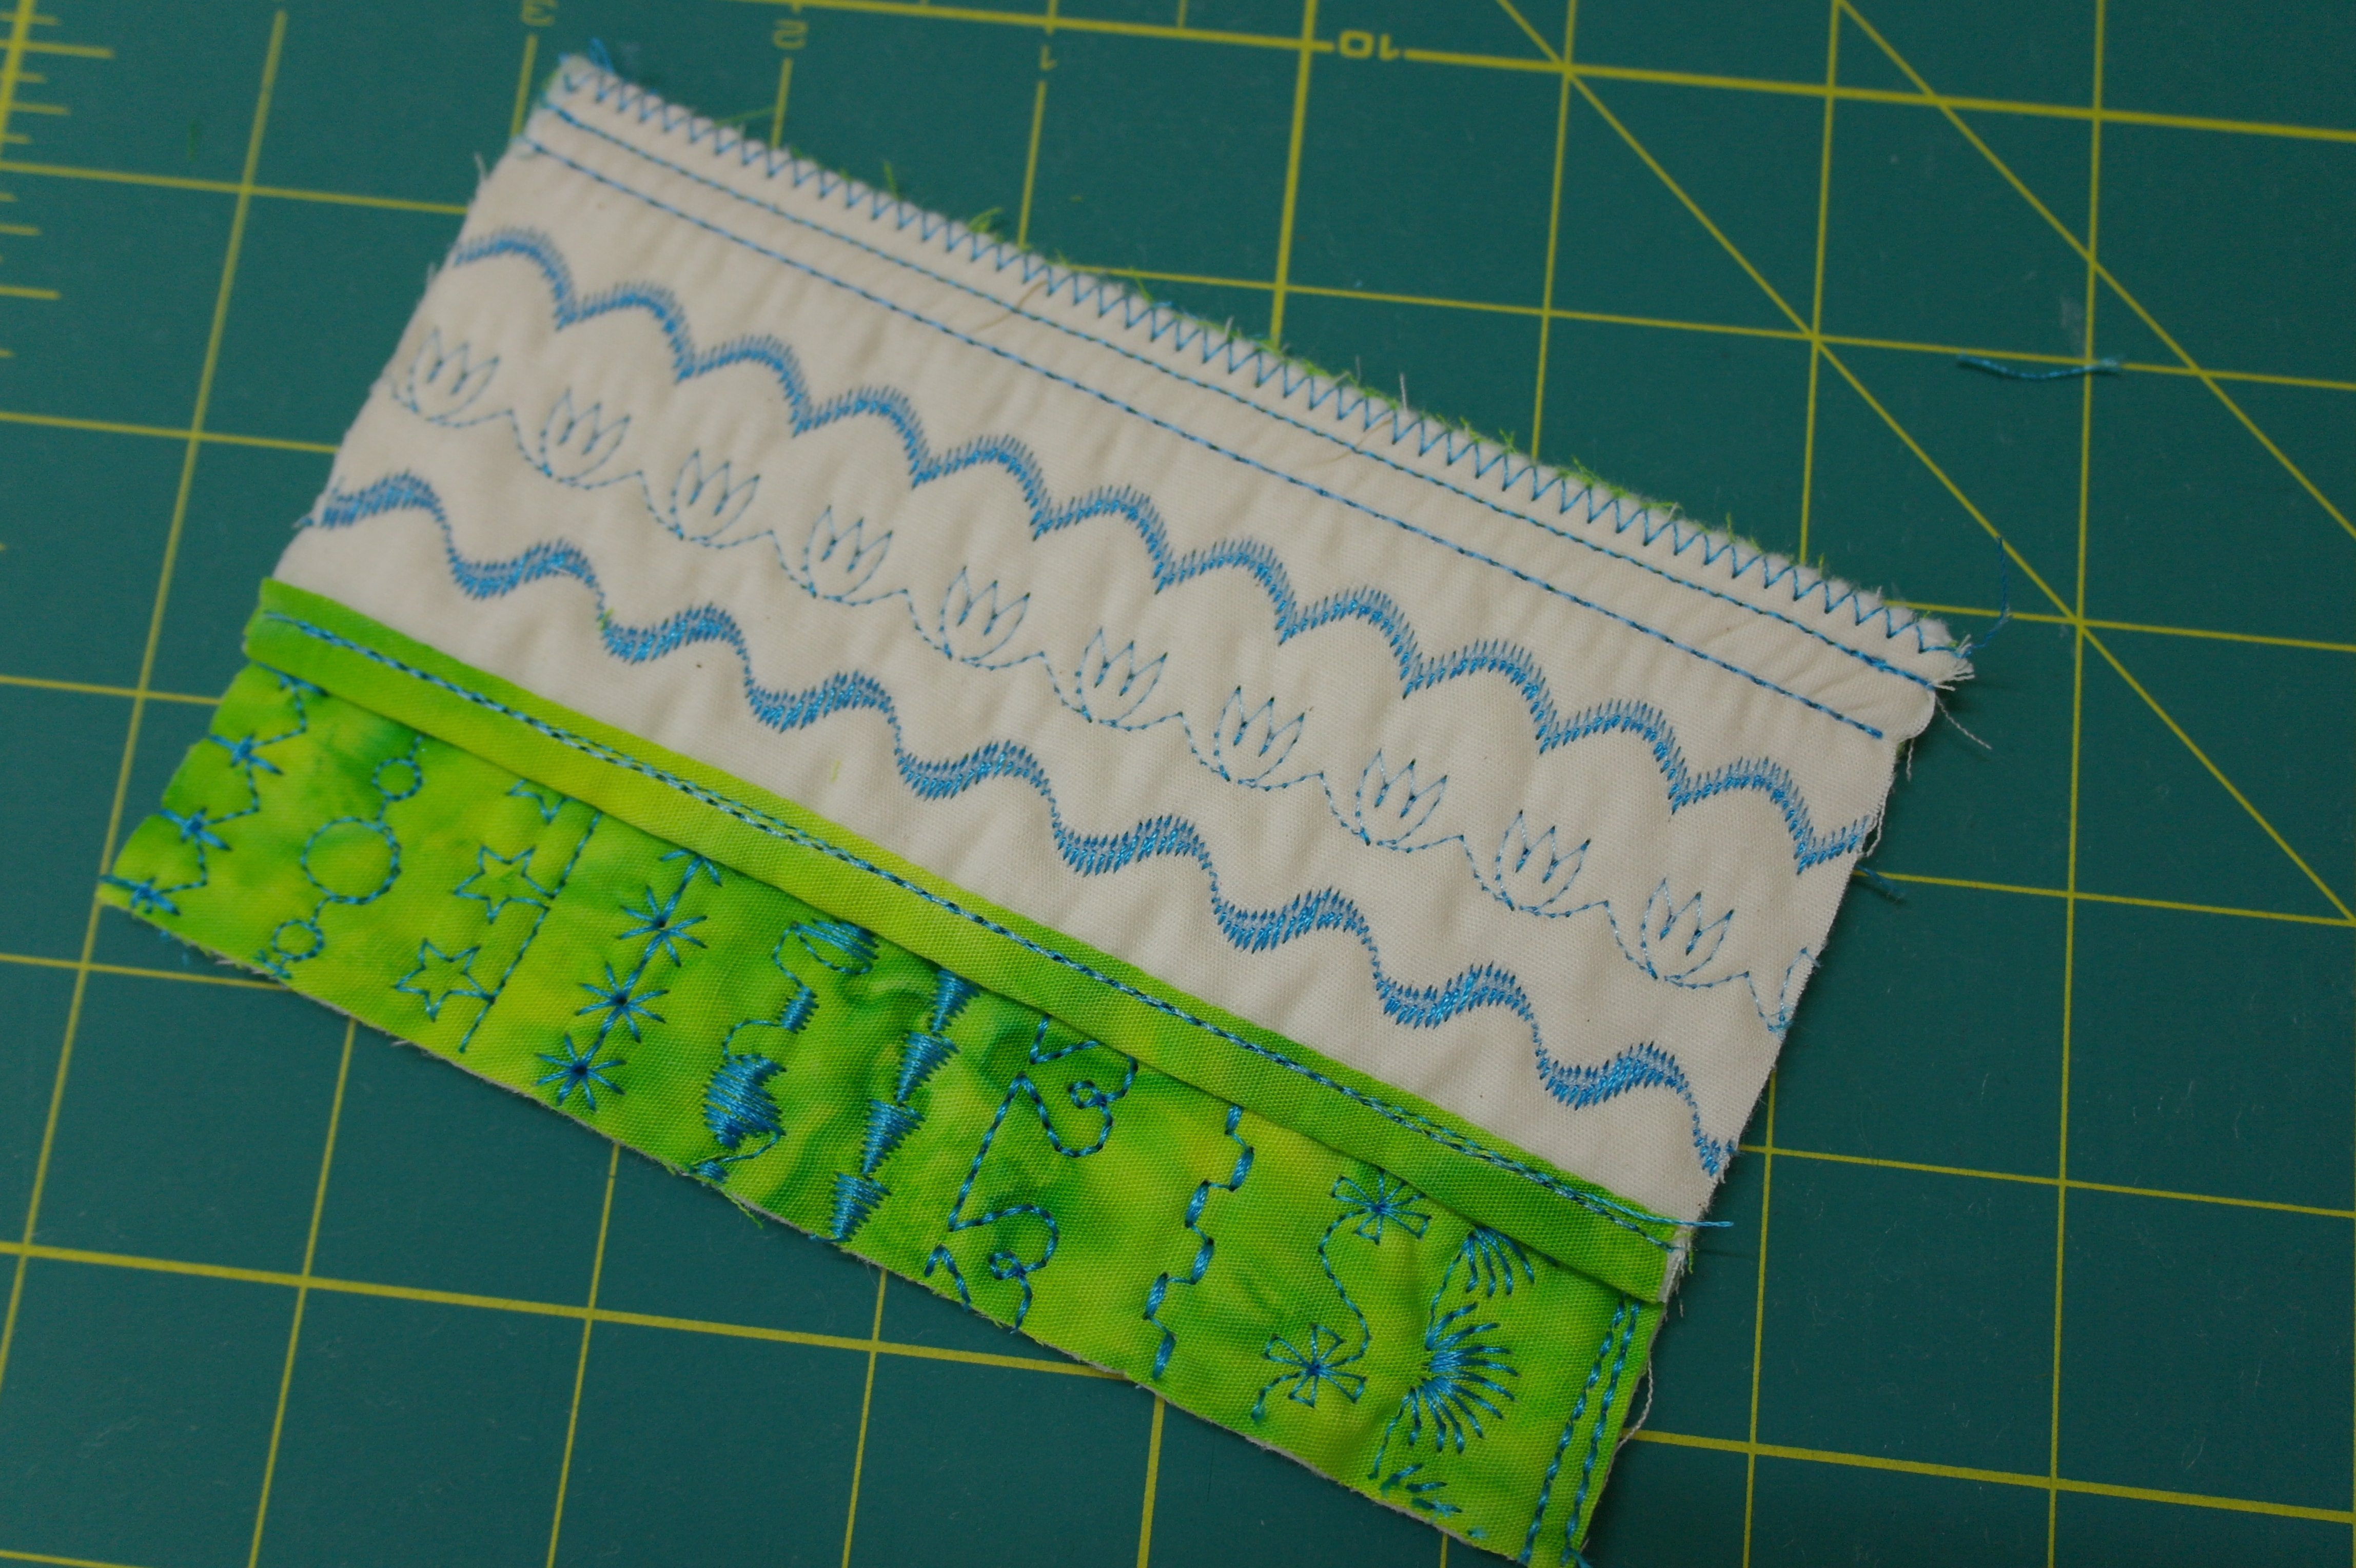
For the top of the pouch, I will use the two sother andwiches. I will make stitches in the lenght, just to do something different. Again, working from the middle to the sides, but just a few rows. I have to cut back a part of the sandwich, which you will see below.
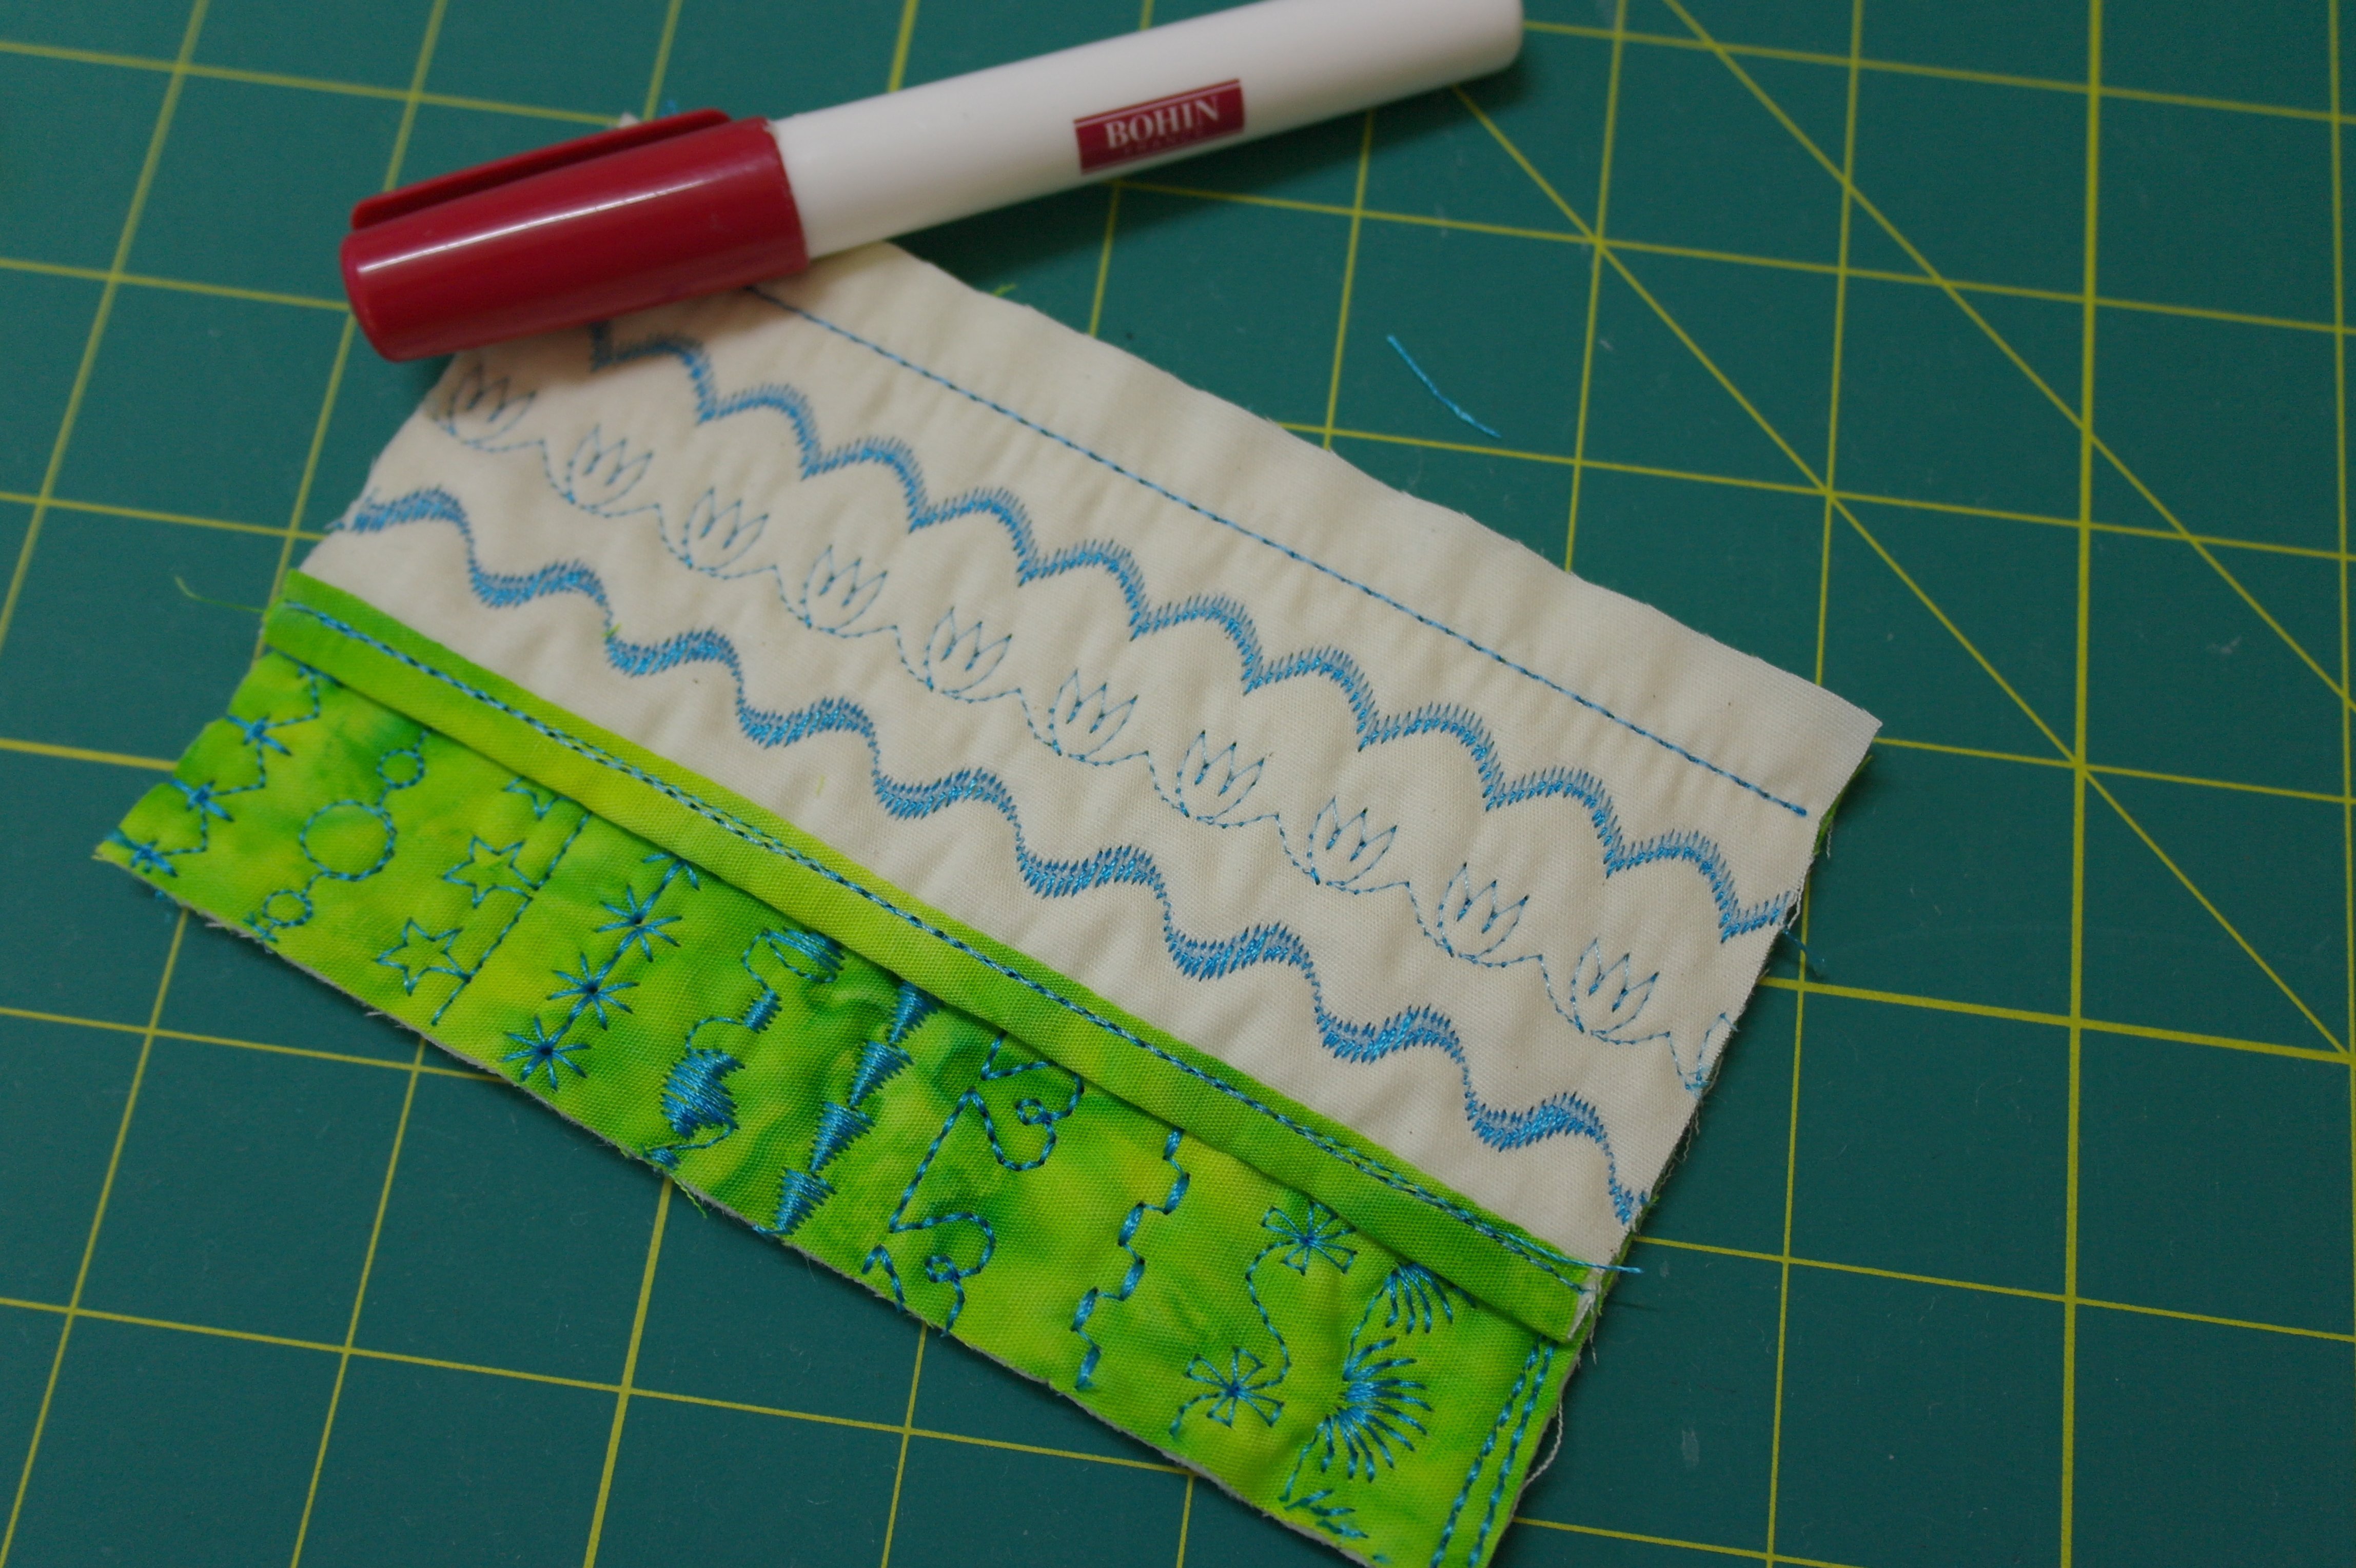
For the overlap, I will need one side of both sandwiches to be finished, but without a seperate binding. I will use the batik fabric as a binding. To do so, I have cut back the off-white backing and the batting at aprox. 1,5 cm (or 2).

I have put tips of glue with the Bohin Glue pen on the back of the sandwich, directly ON the seam allowance (which is always aprox. 0,5cm), so the needle won’t touch the glue, and also put glue on the inner side of the now protruding green batik.
I’ve folded the green fabric to the inside, and folded it again, over the sandwich. It will stick for a short while, so I can sew with a straight stitch (without pins).
Can you see how easy this is? No pins that will make your sandwich wobble…
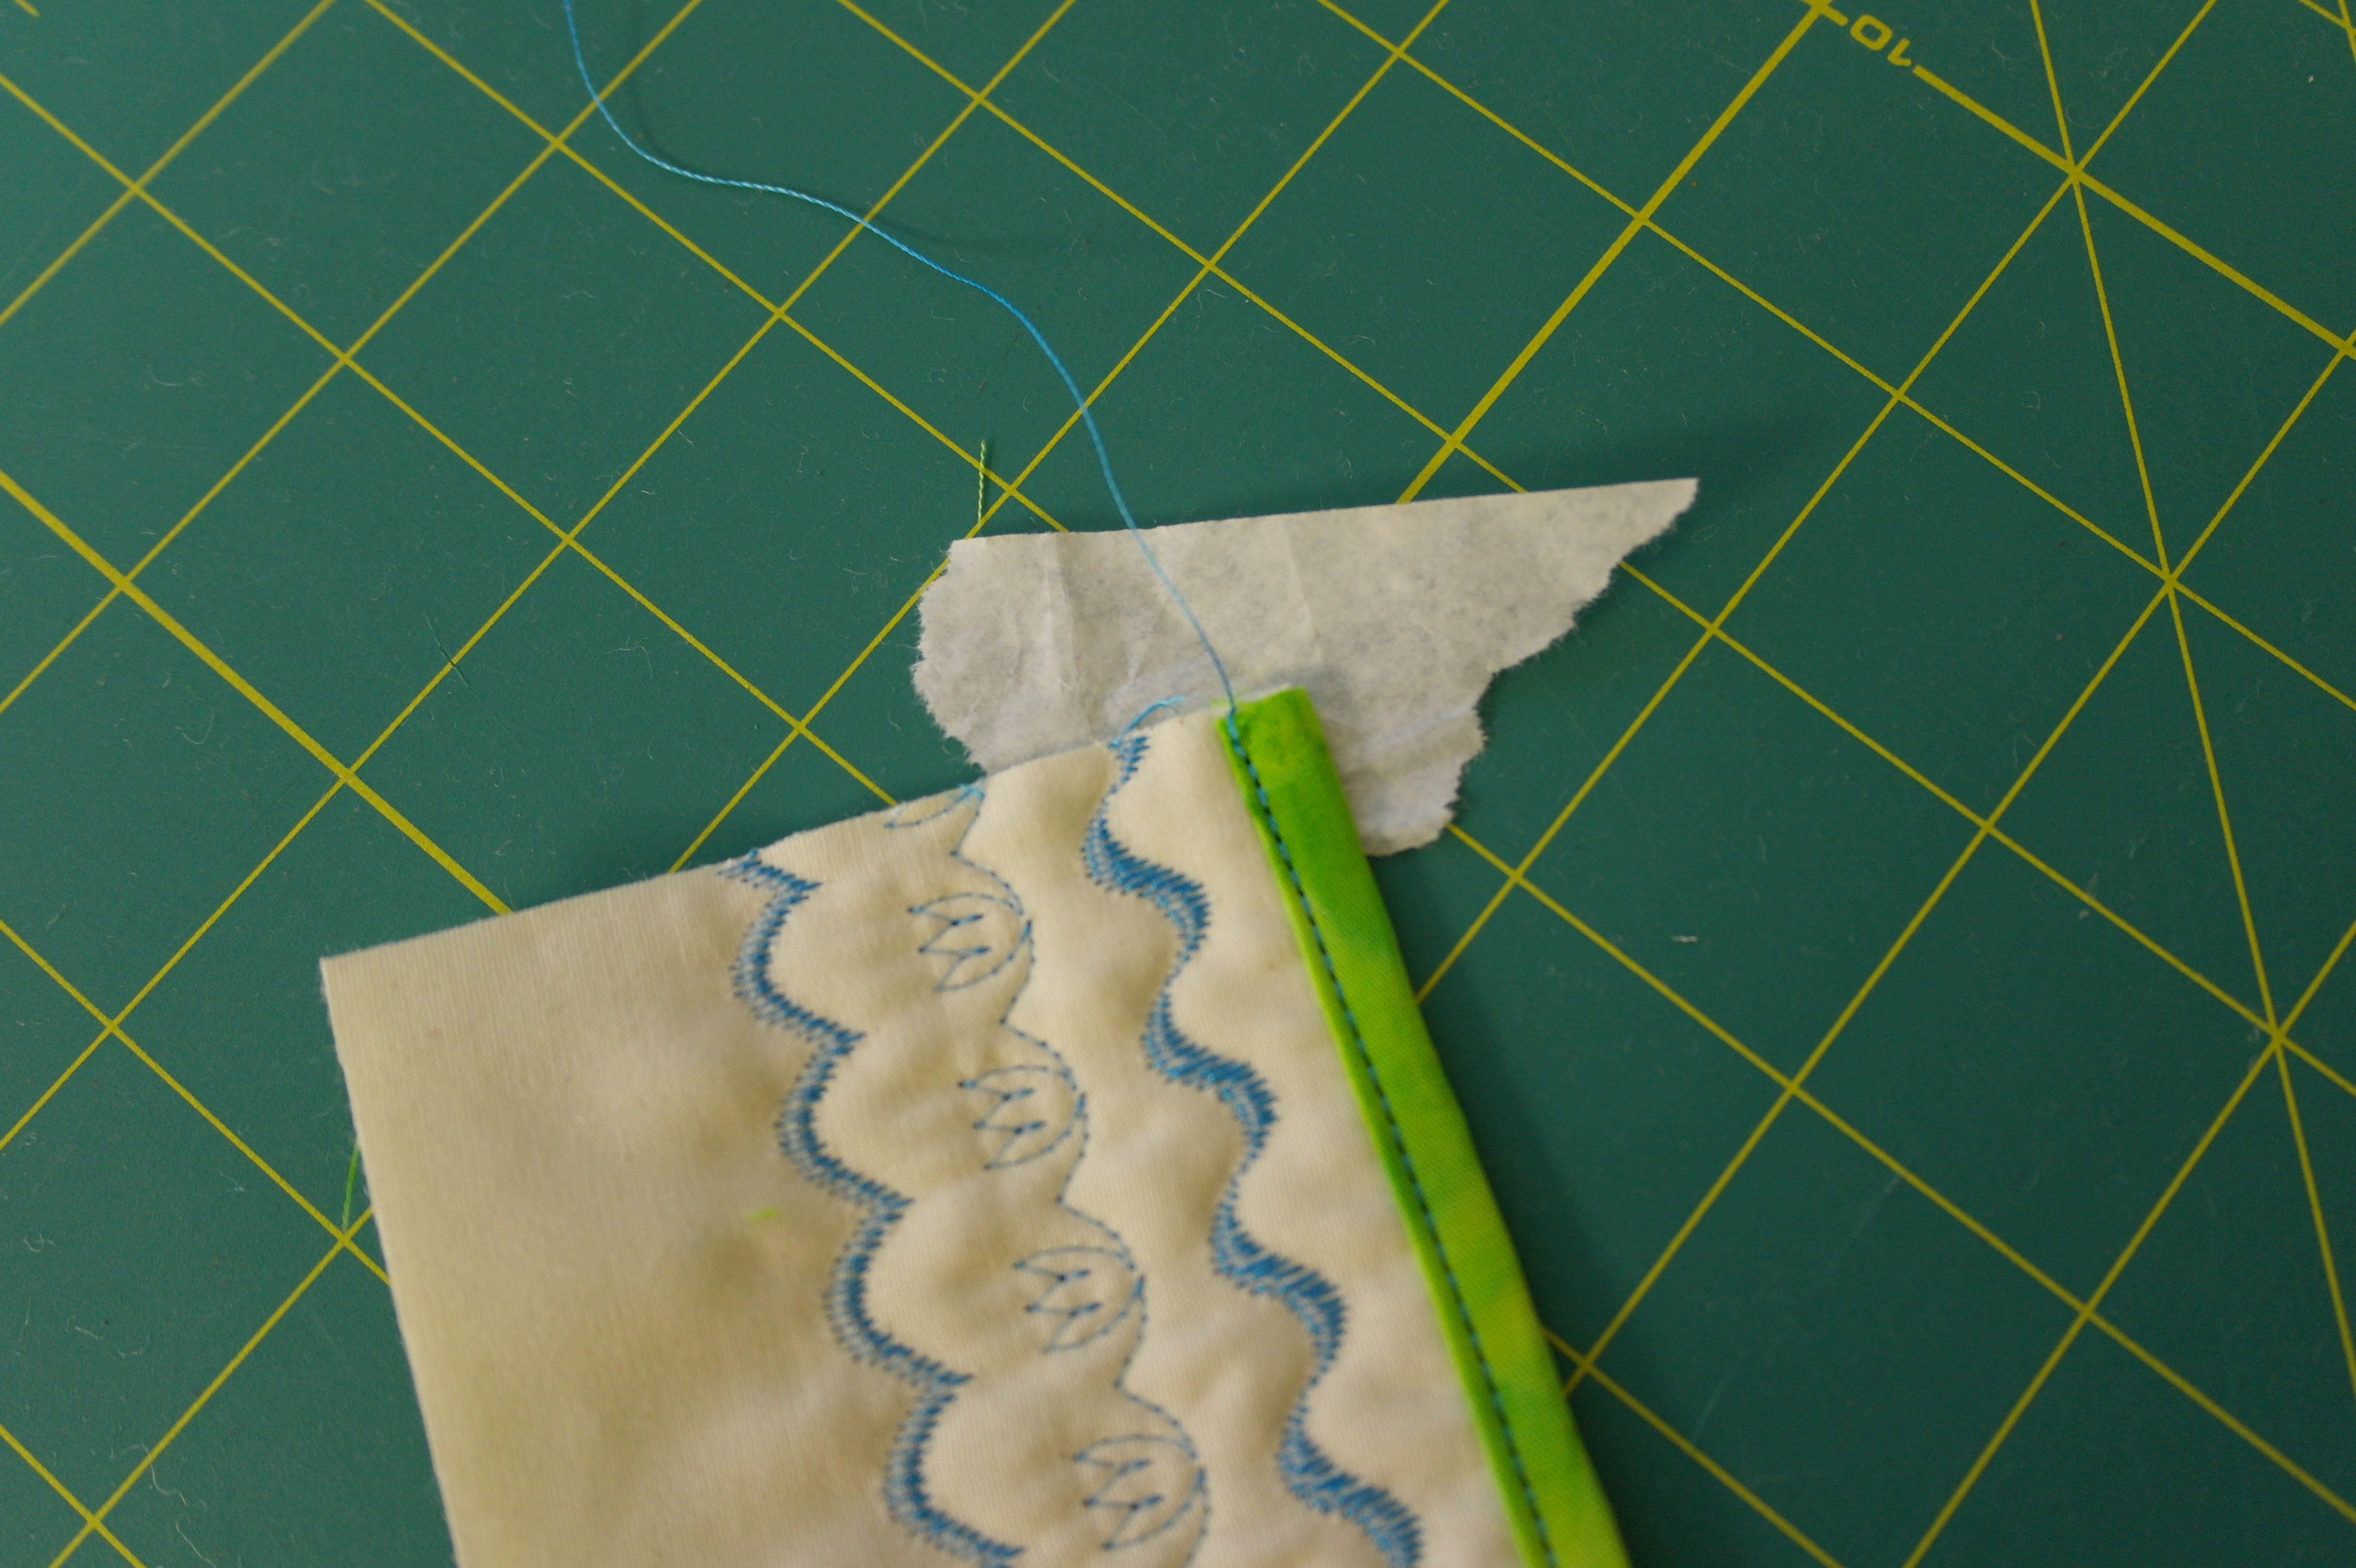
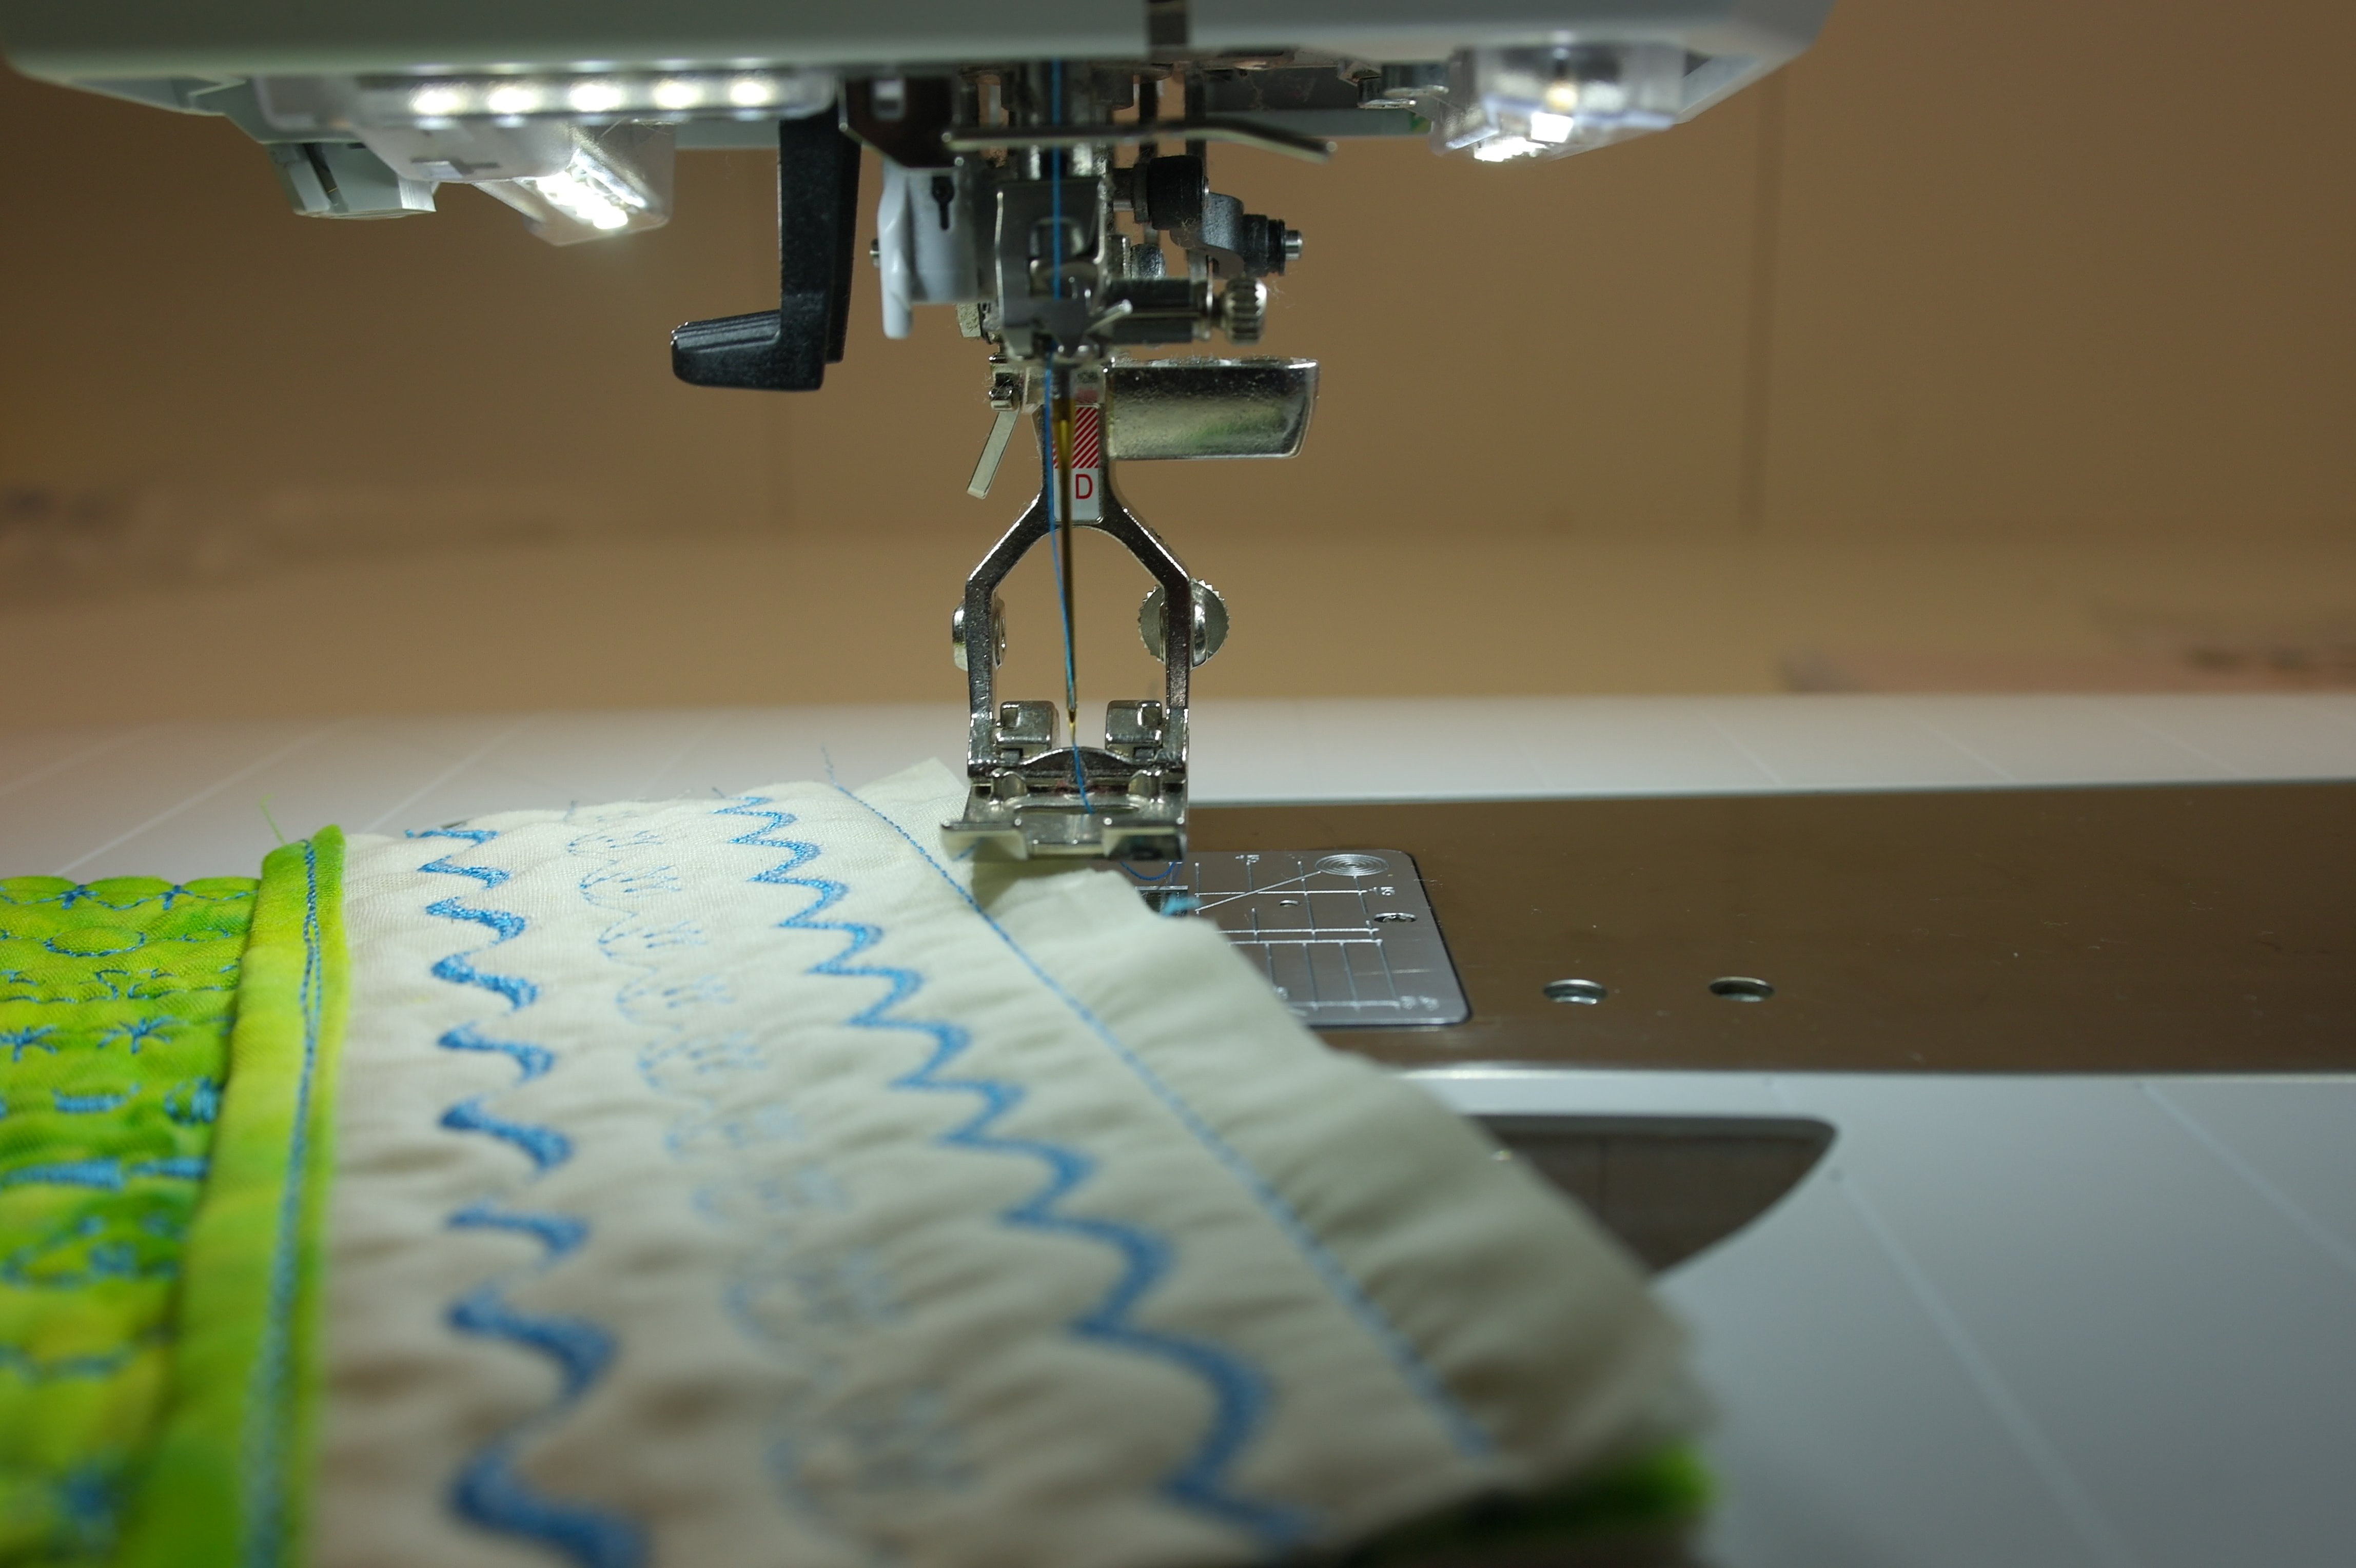
To prevent ‘birdsnests’ on the underside of the beginning, I have placed a smal piece of pattern paper underneath, and made the straight stitches. The paper can be torn off very easy. I am using the Reverse Pattern foot #1D , with Dual transport, so everything can be sewn even if the layers are thick.
Now the edge of one side of this part is finished properly, and I will do the same with the other part.

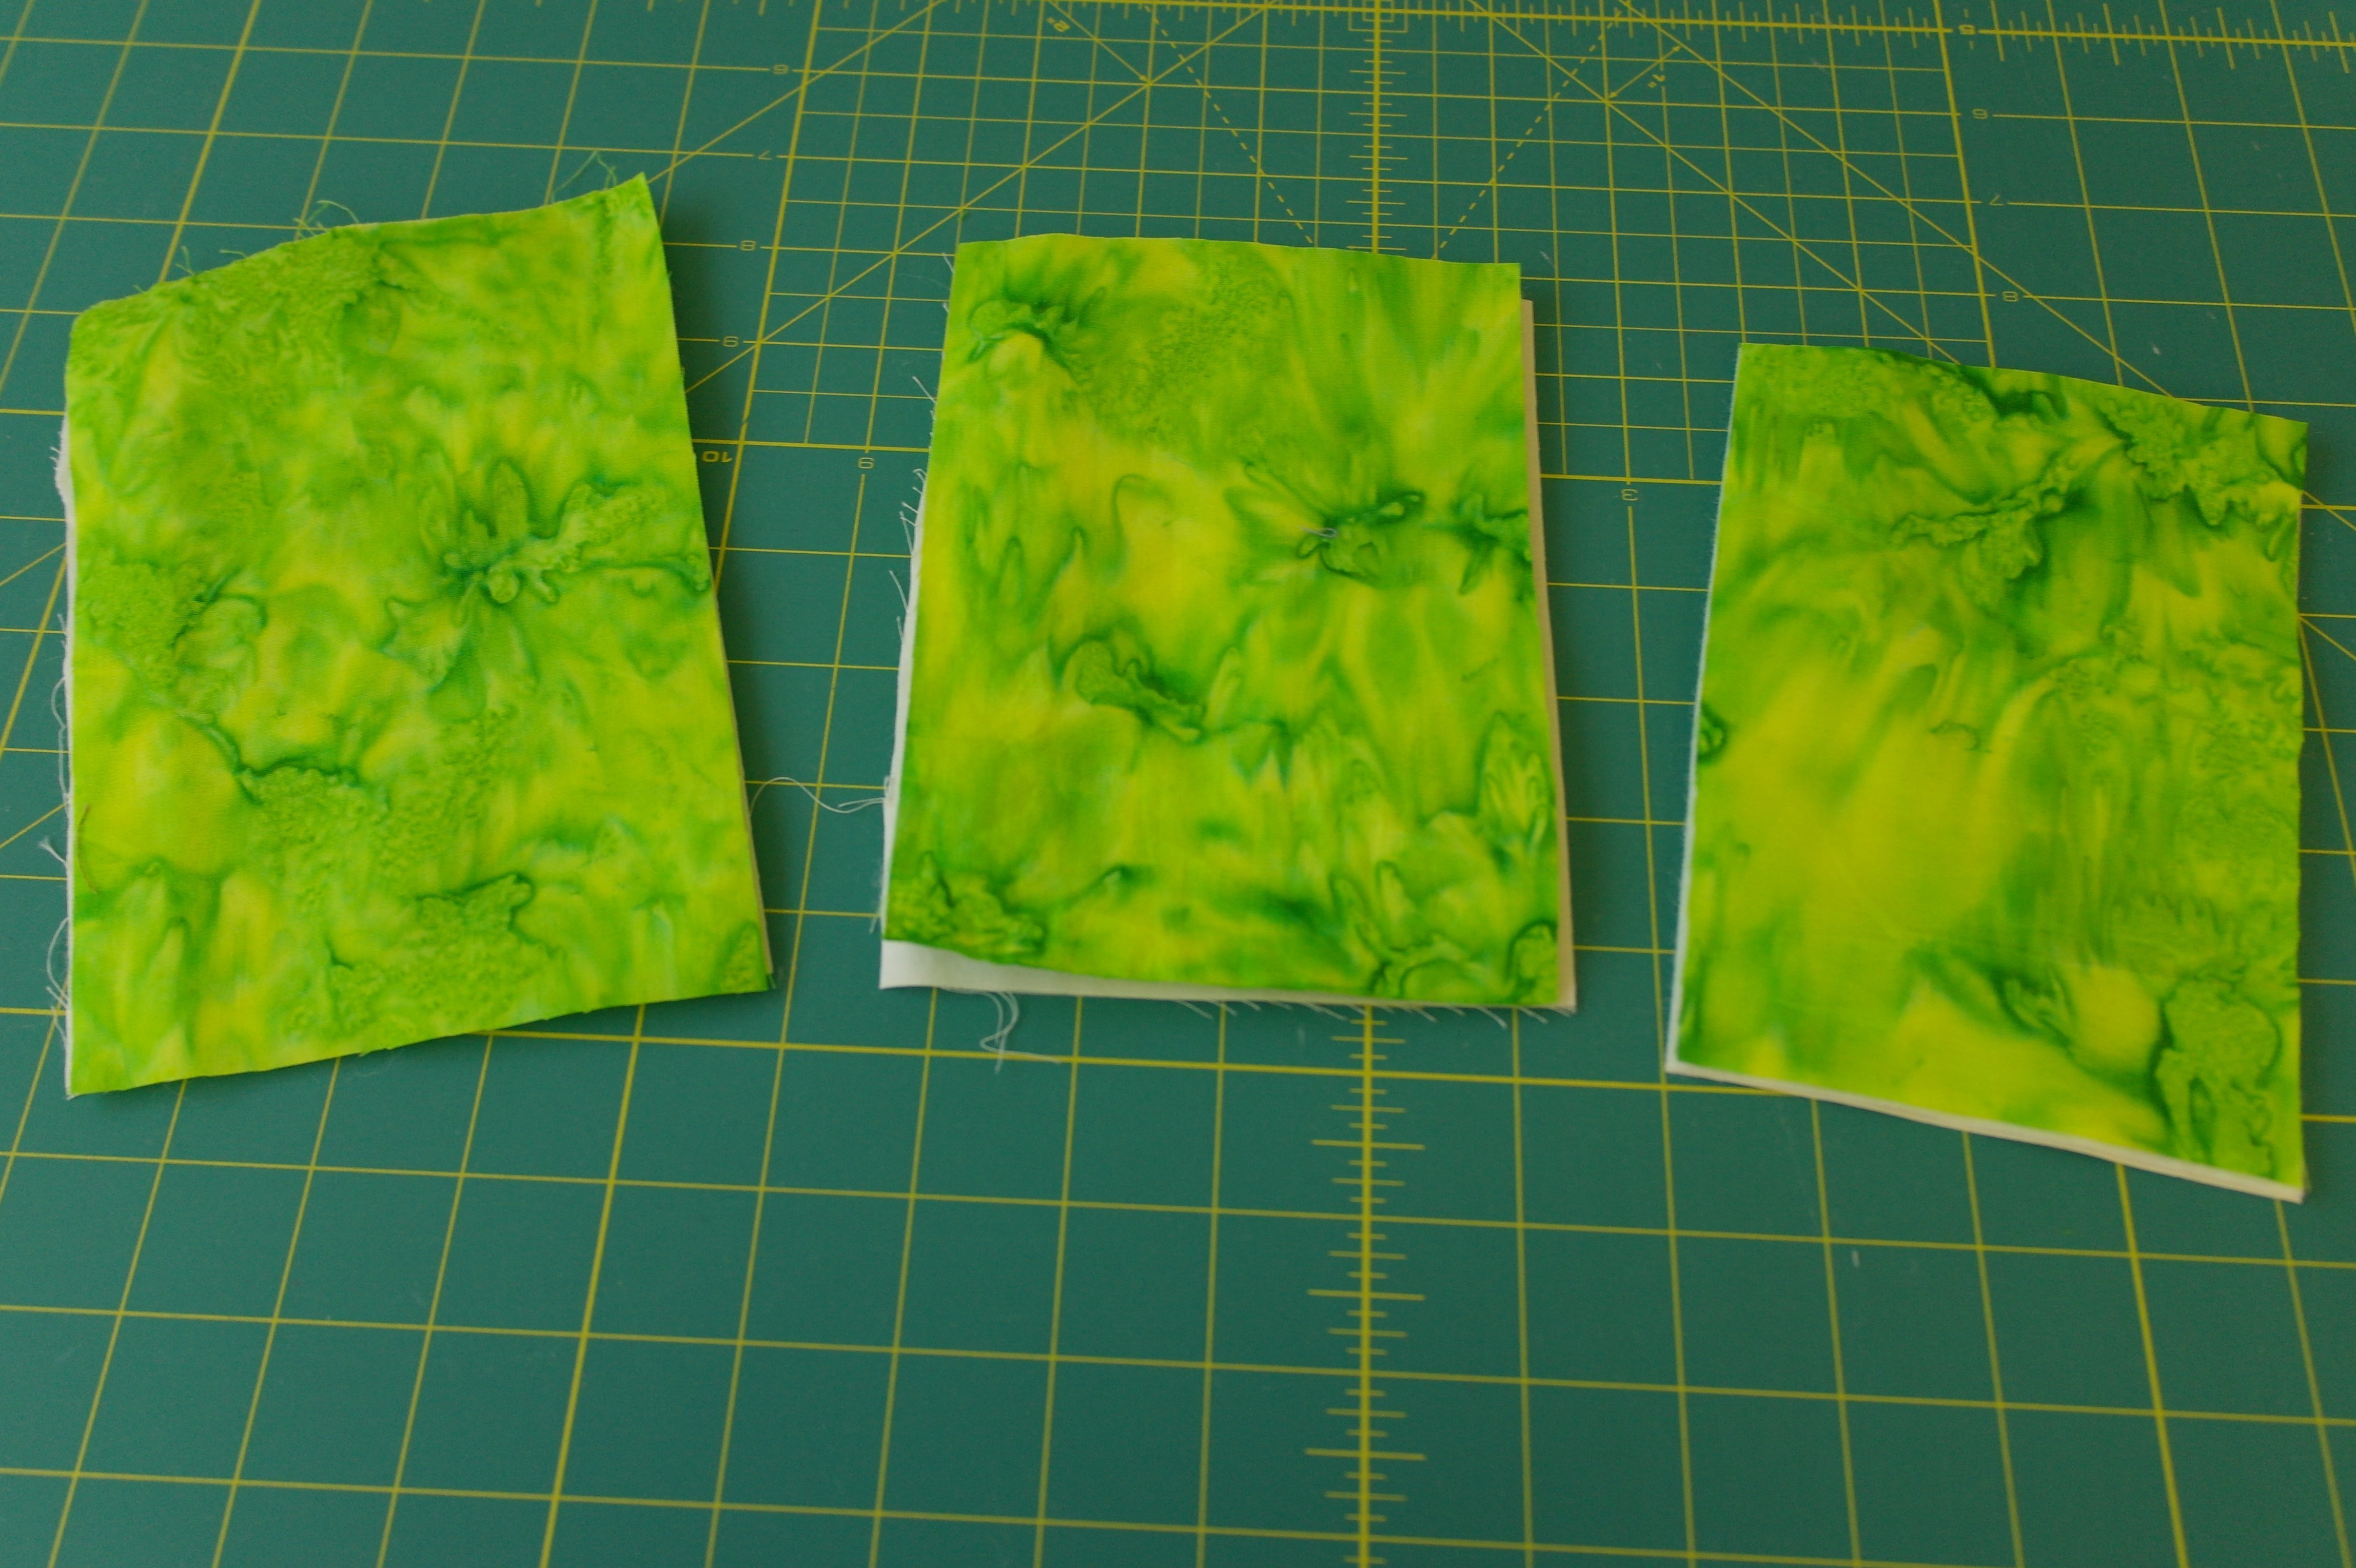
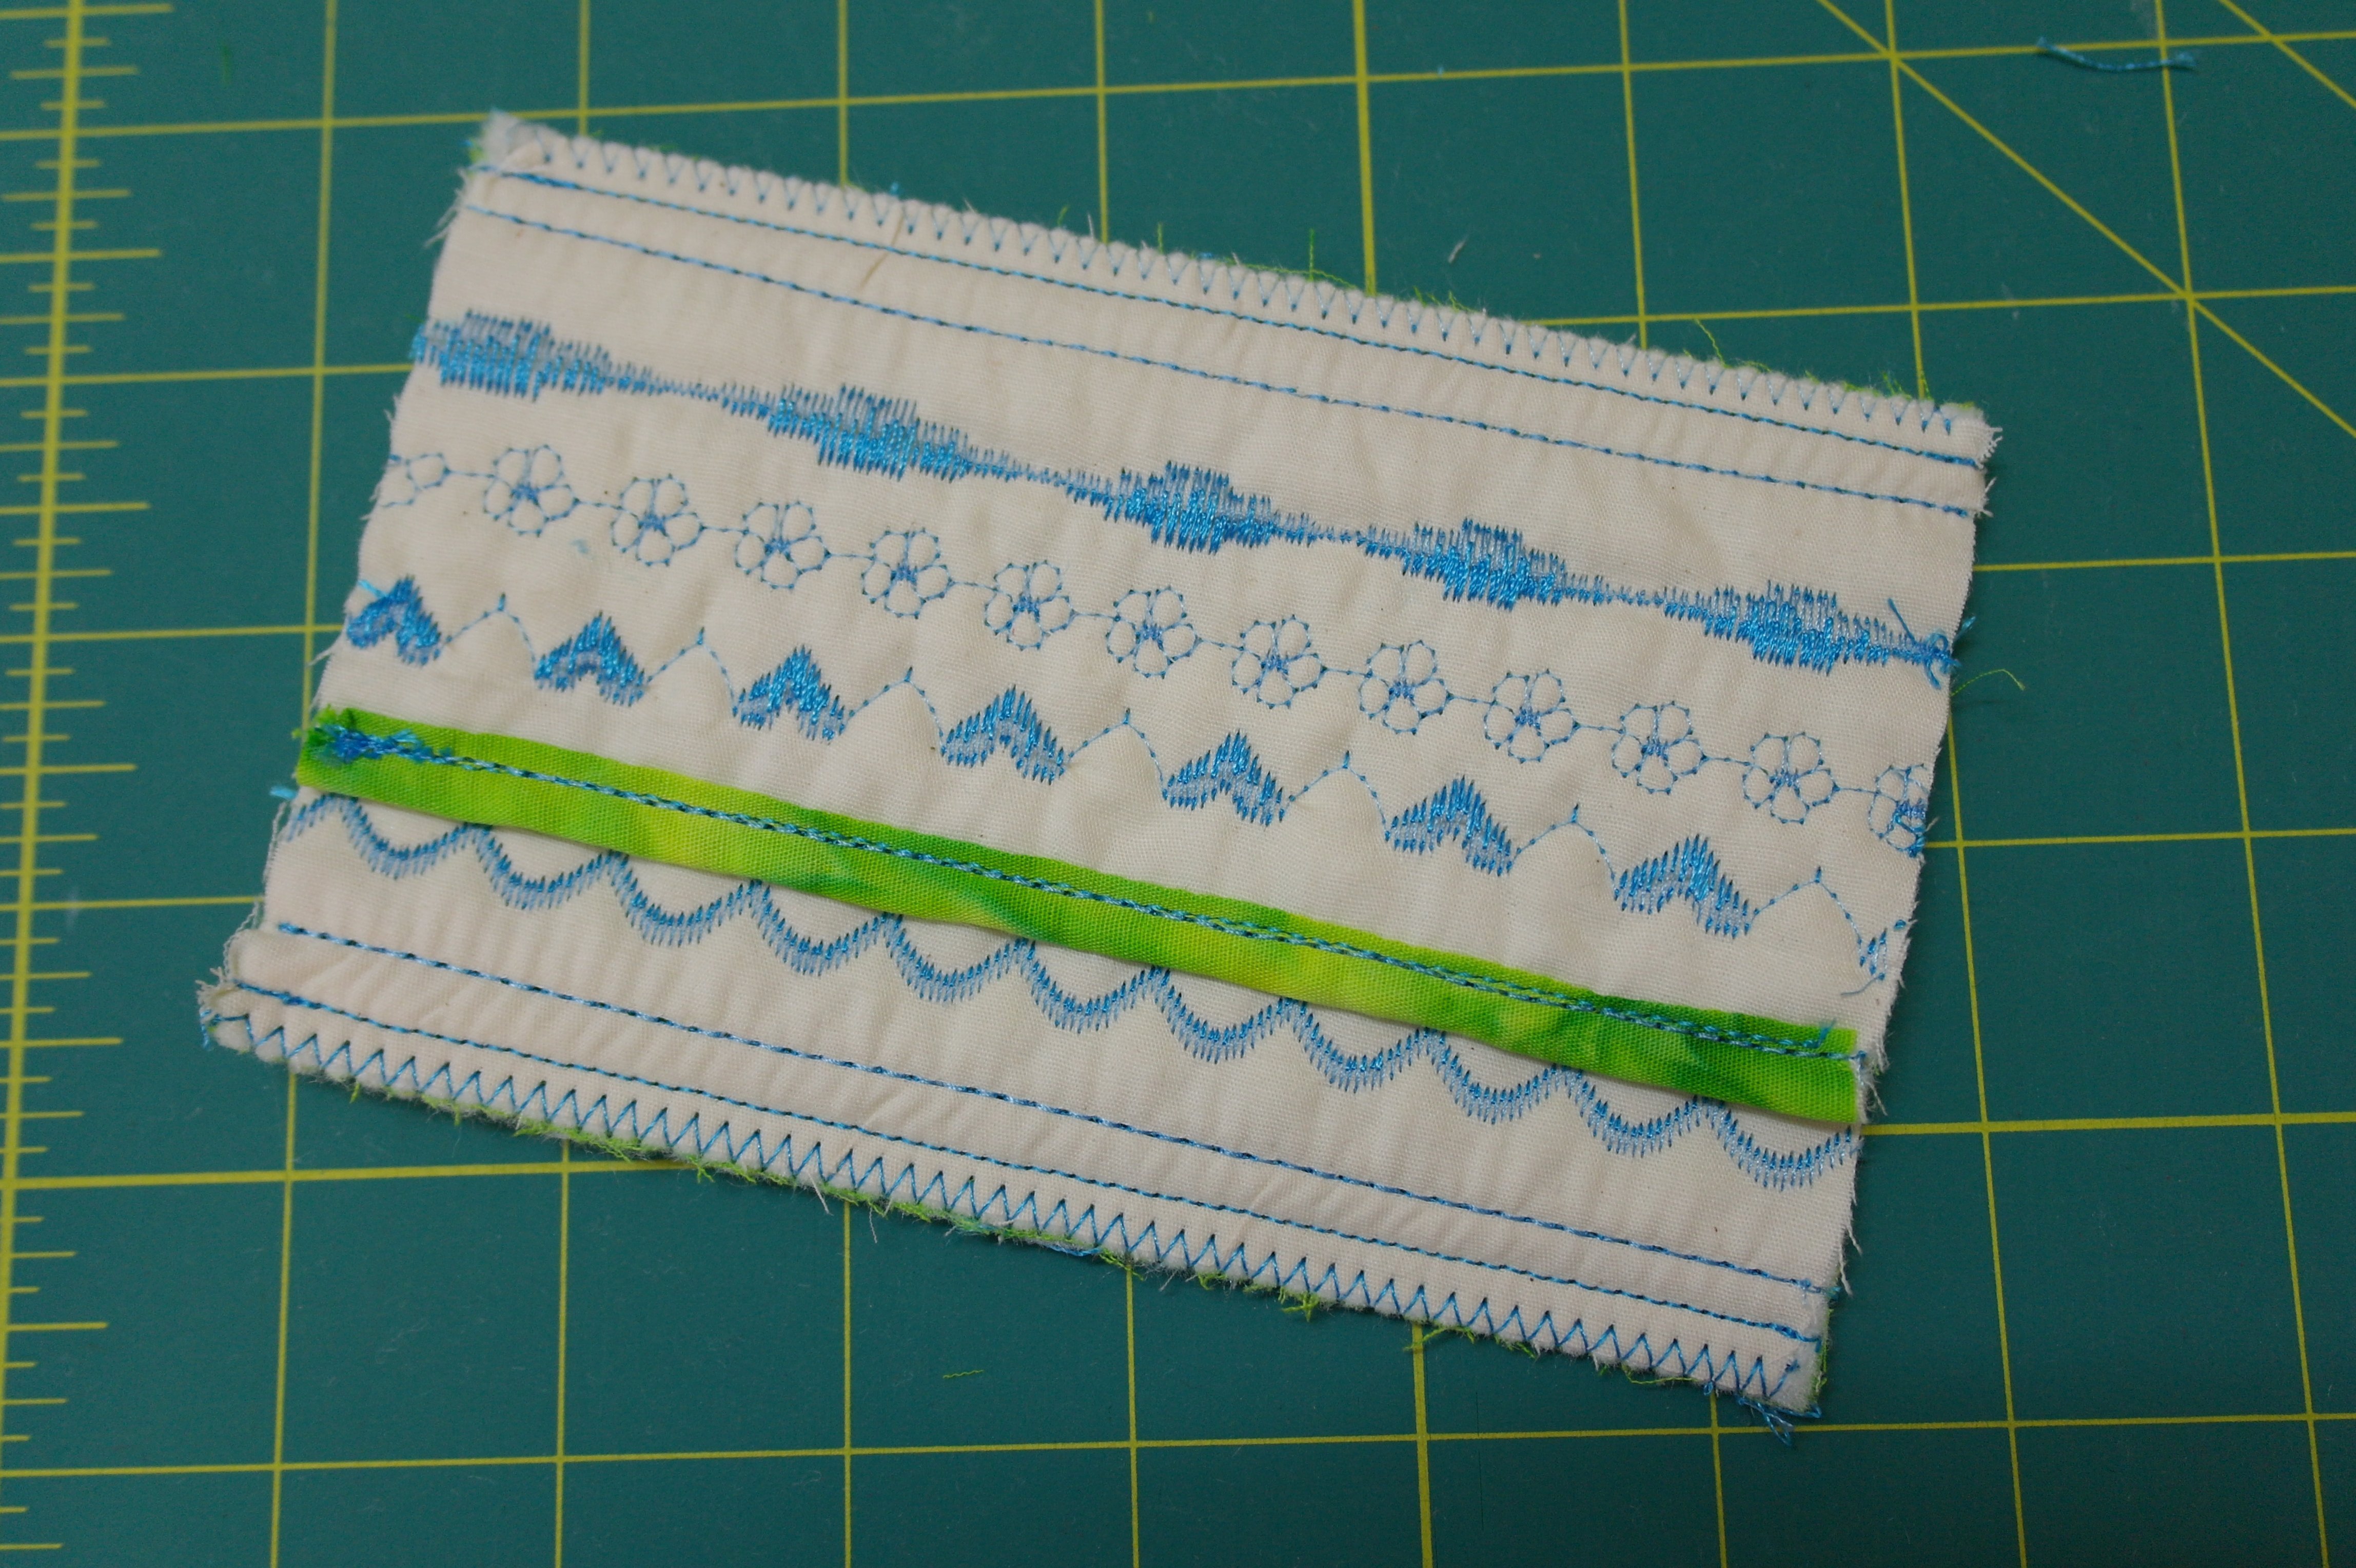
These are the three parts for the pouch. But when looking at them, I think both parts for the top are still to wide…
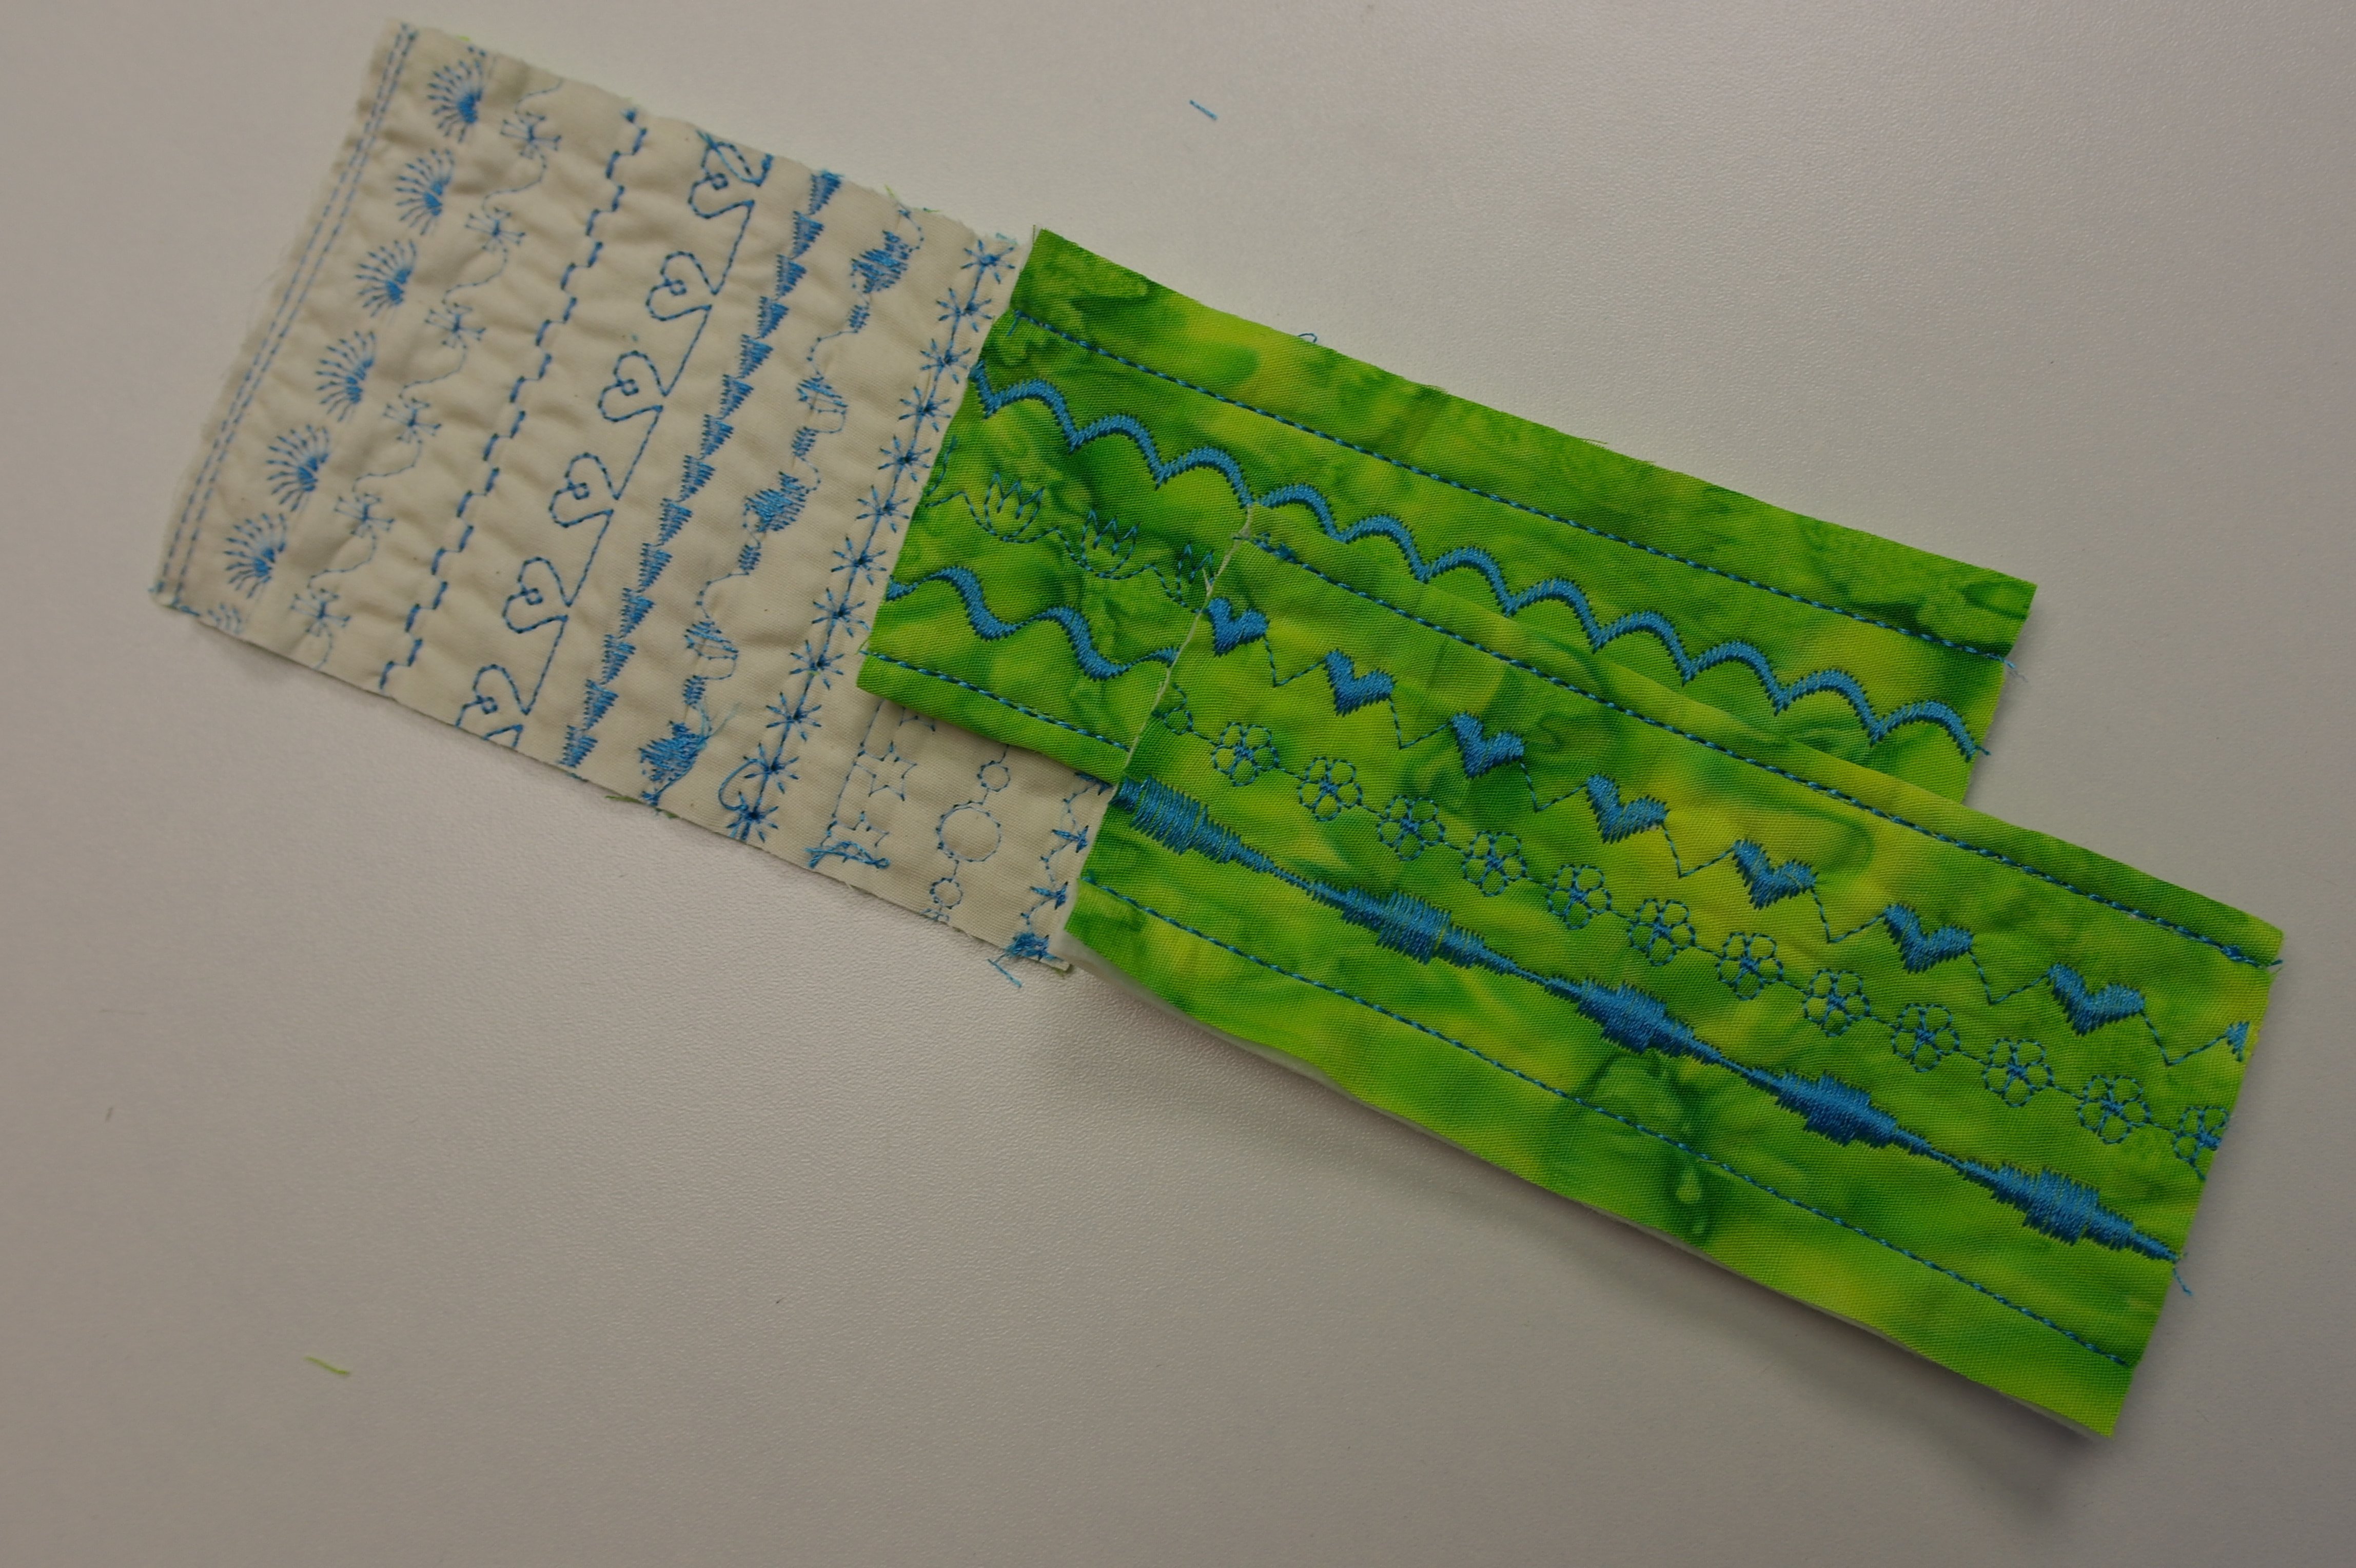
Just to check this, I have placed the parts on top of each other… and yes, they are to wide. I will cut a small piece off the long side to get the right measurement.
Now the pieces can be sewn together. I have placed one part for the top with the right side on the bottom. Glued them together, again only ON the seam allowance.
Everything will be sewn with presserfoot #1D (if you look closely, you will see I haven’t put the Dual transport on yet, but I will), so even if these are thick layers, they will be stitched just fine.
After sewing them together, I have finished the edges with a zigzag stitch.
and did the same with the other part.

After this the short sides were sewn together, first glued to hold all layers, and finished with a zigzag stitch.
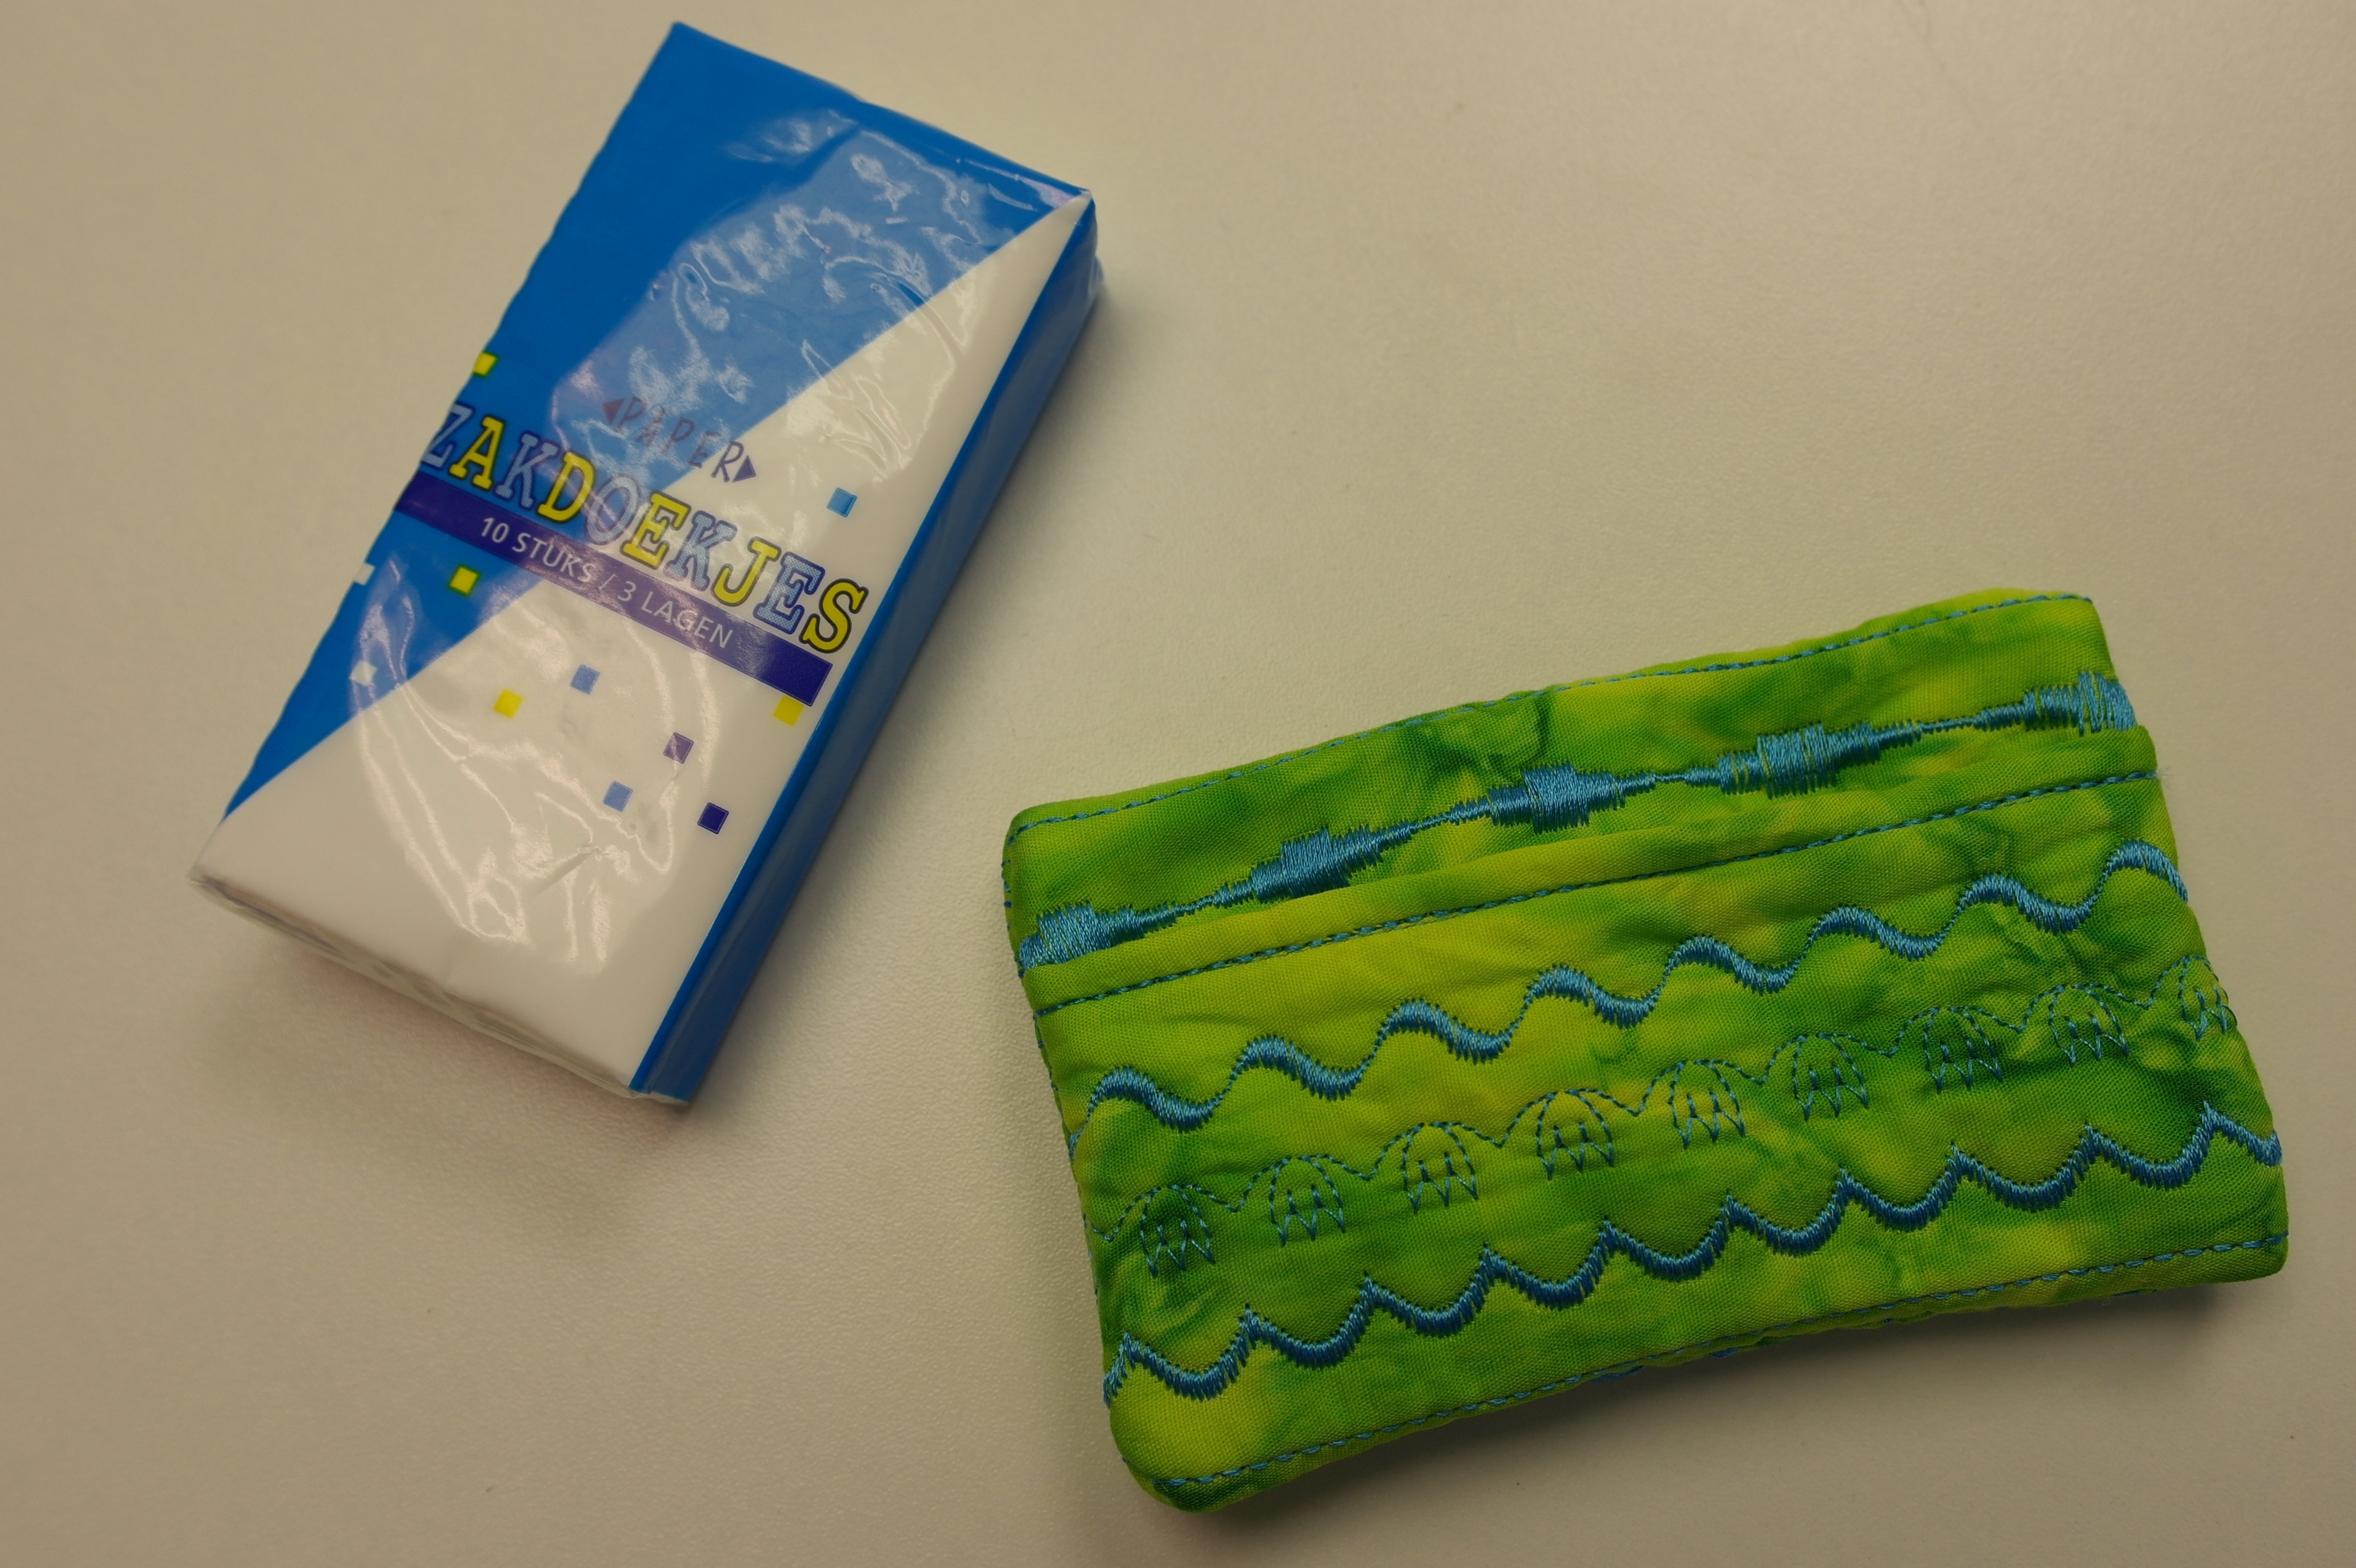
Now the pouch can be turned. Normally you would cut of the corners before turning, but I didn’t do that: I don’t mind if the corners look a bit round. Now, is this a fast and lovely gift? Each mother will be happy receiving this!
Happy Mothers Day to you all!
Sylvia Kaptein
Sylvia’s Art Quilts Studio
www.sylviasartquilts.nl
[email protected]
0 Responses