 BERNINA Corporate Blog -
I feel like french seams aren’t that popular today, now that sergers are very affordable. Nonetheless, they are a great way to finish seams. You don’t even need a serger or overlock stitch. All you need is a standard straight stitch and an iron.
French seams are well suited for sheer and lightweight fabrics like organza. They look way better than a serged seam that would be visible through the fabric. They enclose the raw edge of the fabric and look nice inside and out, so they are also great for unlined garments, especially jackets or coats. If worn open, the inside still looks very nice and high-quality.
For some fabrics, serging the edges isn’t a good idea. If they are too delicate, like a silk chiffon, or tend to fray a lot, it might be better to use french seams.
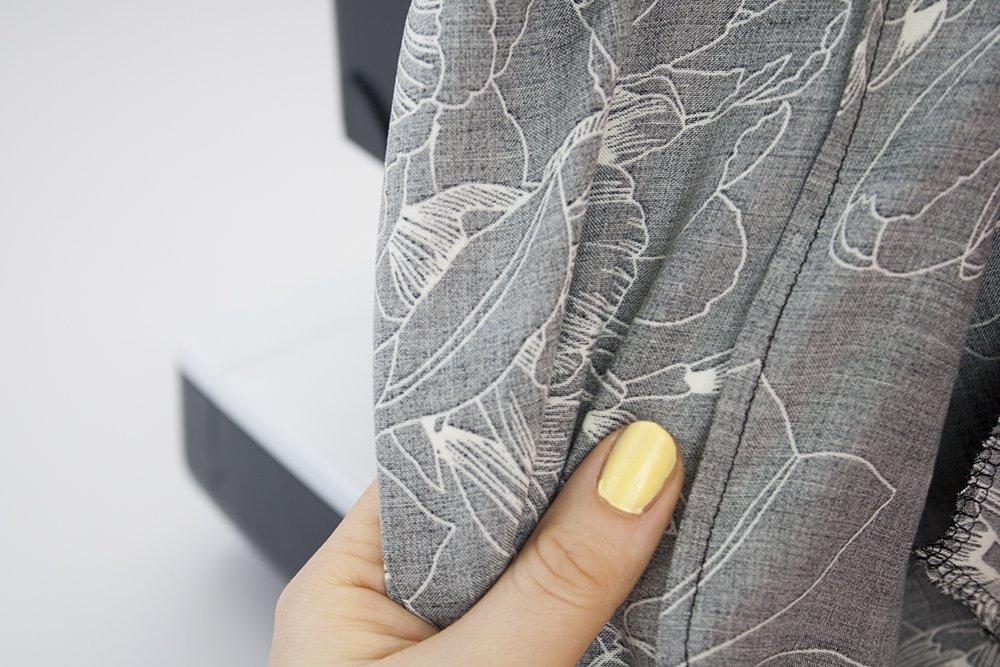
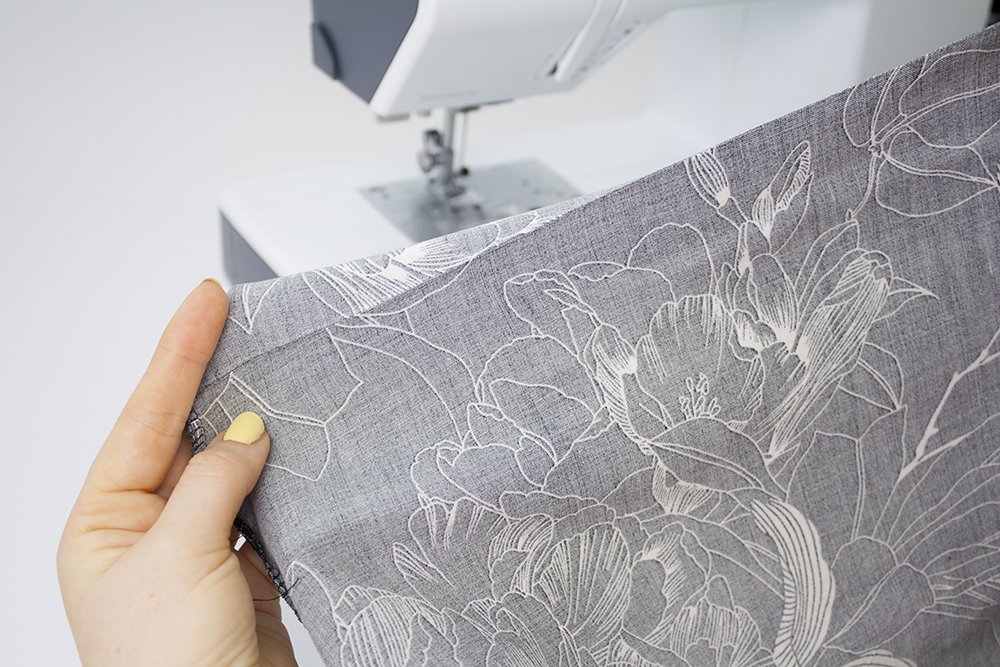
From the left side of the garment, a finished french seam looks like this:
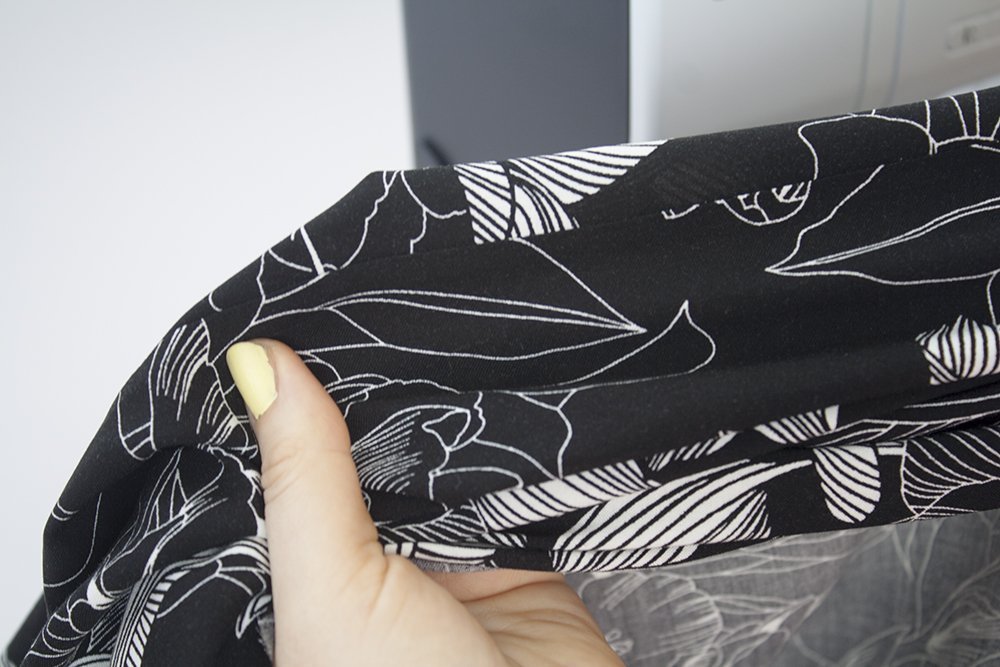
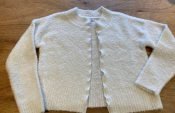
From the outside/right side, it looks like a regular seam:
If you’re totally confused right now, don’t worry! After reading the tutorial, you’ll know what french seams are about and I promise, they are super easy.
How to sew french seams
You can use french seams for straight or curved seams. If you haven’t done them before, I’d advise you to stick to the straight seams until you get the hang of it.
Lay your fabric pieces together, wrong sides facing each other. The right side of the fabric is on the outside.
I know, this seems weird at first, because it contradicts the “normal” way to sew a seam with the right sides facing. It will all make sense in a moment.
Now is the time to think about your seam allowance. I always do it like this: I subtract 0.5 cm / 0.19″ from my seam allowance and use this amount as the seam allowance for the first seam.
Close the seam using you “new” seam allowance. If you have a loosely woven fabric that tends to fray, I’d use a smaller stitch length.
I like to press the seam allowance apart, but you can also press it to one side. Both works, it’s just a personal preference.
Now, fold your fabric on the seam and press it, so the seam is on the edge of your fabric pieces.
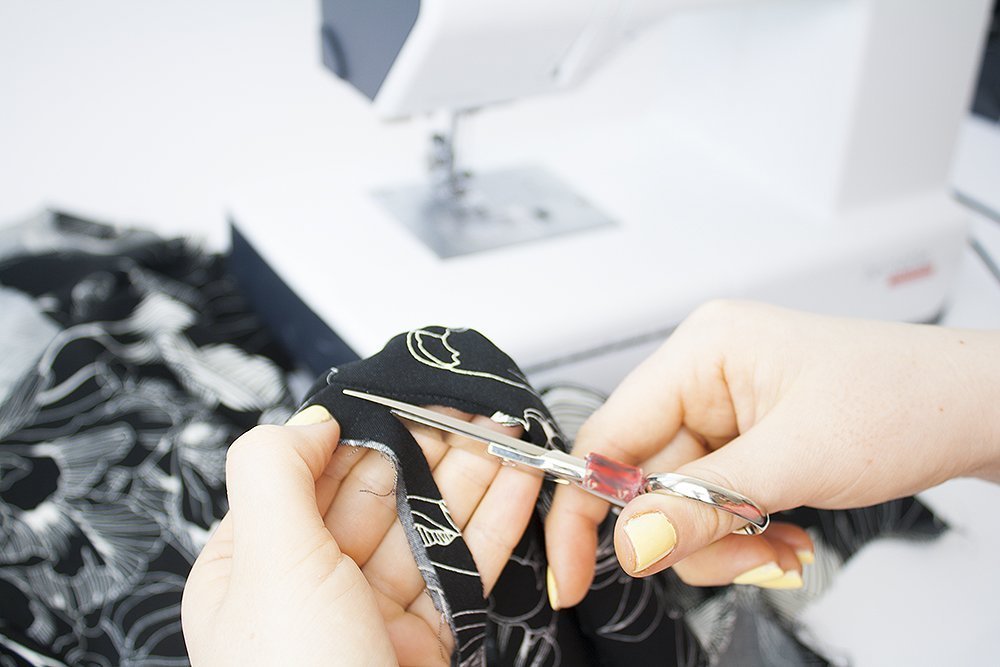
After pressing the seams, I trim the seam allowance to about 0.4 cm / 0.11″. Be careful and don’t cut into the fabric or the seam.
I like to trim the seam allowance after pressing. I found that when I trim it first, I have trouble pressing the seam allowances. For me, it’s easier to press first. You might find it the other way around, so don’t hesitate to try a different approach.
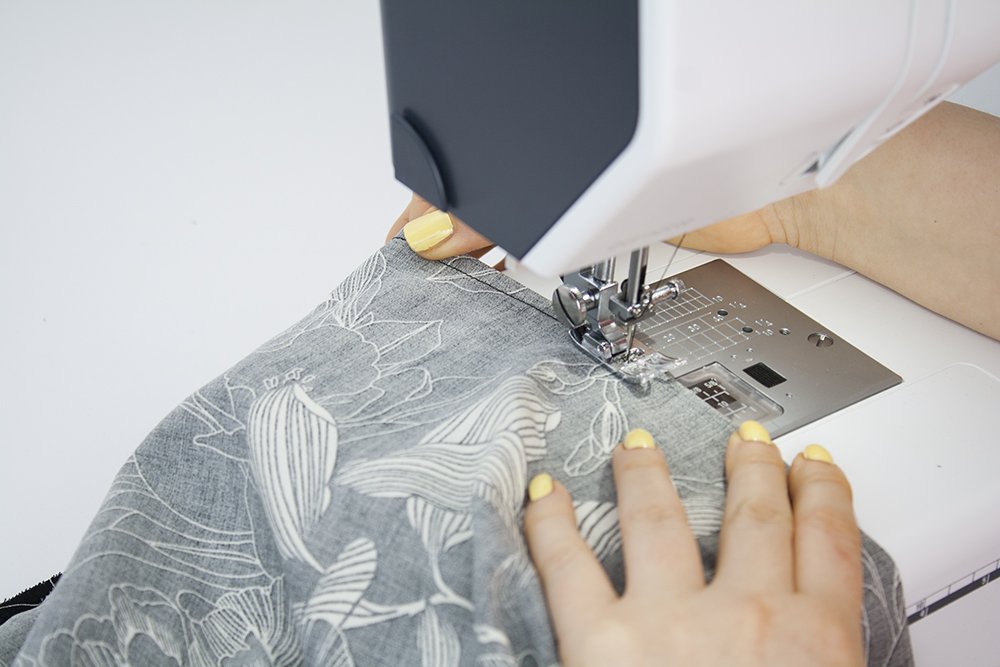
After trimming, lay the fabric pieces down, right sides facing this time. You should have a clear edge where the seam is from pressing it.
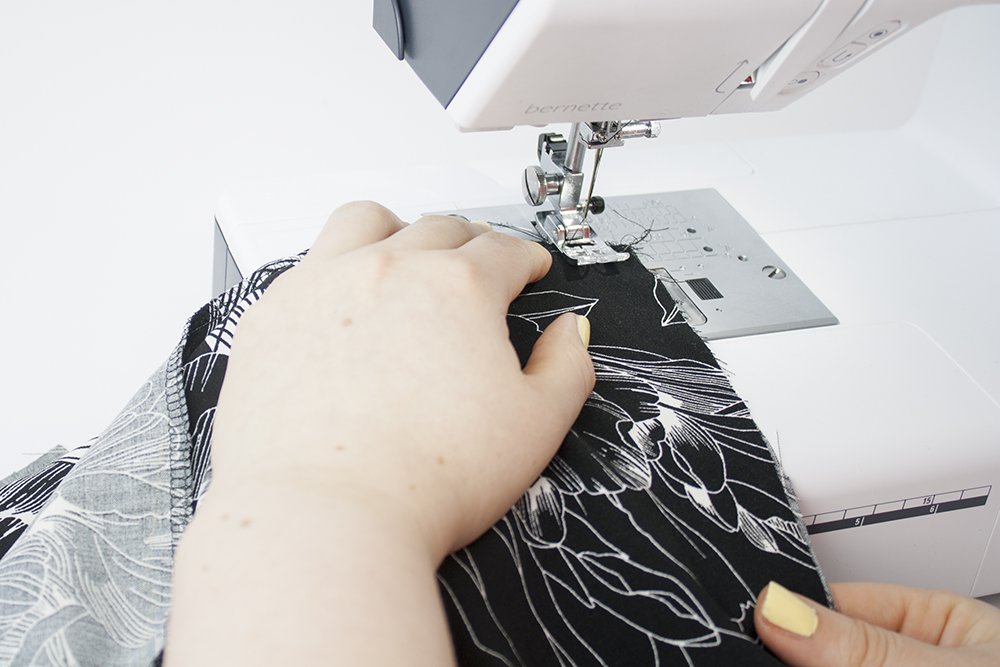
Sew on the wrong side with a seam allowance of 0.5 cm / 0.19″, enclosing the raw edges.
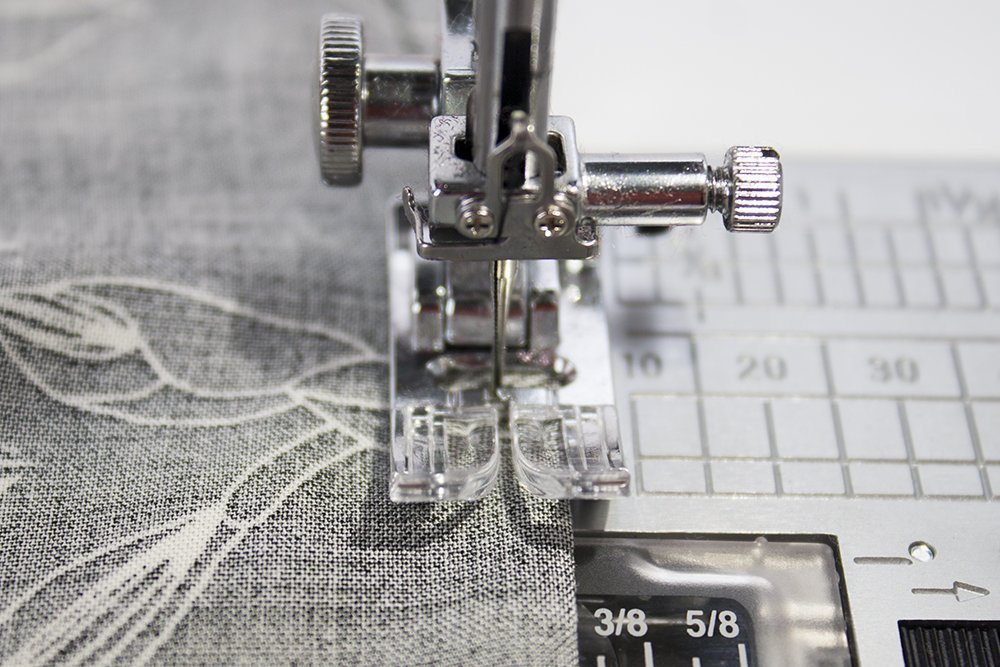
I used my standard bernette sewing foot as a reference: the clear plastic part is 0.5 cm wide, so I aligned the edge of the fabric with the edge of the plastic part of the sewing foot while sewing.
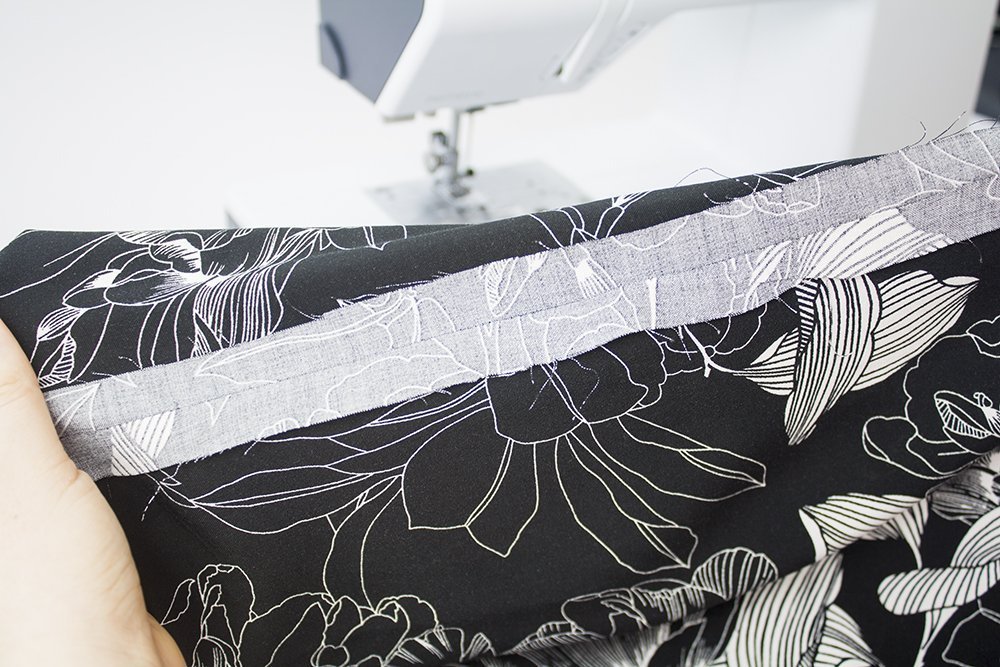
After finishing the seam, press the french seam to one side. This defines the seam on the right side and makes a great finish.
Because I subtracted 0.5 cm from my seam allowance and closed the final seam with 0.5 cm seam allowance, I used my initial seam allowance in the end. This way, I can always use the seam allowance that is given on the pattern piece and don’t have to cut away some of the fabric first.
Are there parts of the raw edge showing on the right side of the garment? Then you didn’t trim away enough of the fabric after sewing the first seam and pressing it. You can try to carefully trim the showing edges as close to the final seam as possible.
One last note: I recommend using french seams with patterns or pieces that you know have the size you want. It’s possible to alter a piece with french seams and make it tighter, but it’s certainly more work than working with serged seams. Also, it’s not really possible to let out the french seams if a garment is too tight.
Have you used french seams before? What have been your experiences?


Hi! I found this information very useful. It is well worded for me to follow all the steps. Thanks so much! I look forward to your next tutorial.
Karen