Would you like to make a fast and colorful summer tote bag? It’s really easy, just with a couple of fabrics and a batting. It doesn’t have to be complicated: you can even use large remnants from you quilts, otherwise you will need the following:
Fabric for straps, binding lining and binding top side tote bag: Batik, turquoise, 0.25×1.10m – cut 2 strips, each 50 x 10 cm, one of 110 x 5 cm and 2 strips, each 11 x 4,5 cm.
Fabric for outer bag, bottom pieces: light fabric with flowers, 0.50×1.10m – cut 2 pieces, each 40 x 30 cm.
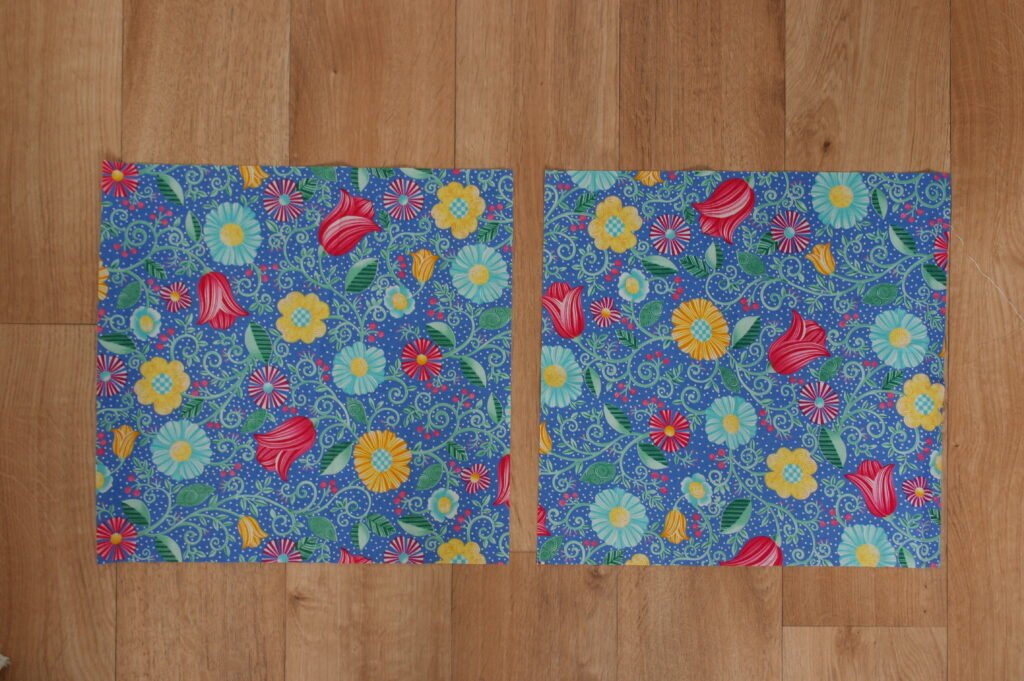
Fabric for outer bag, top pieces, and lining: dark fabric with flowers (preferably of the same print), 0.50×1.10m – cut 2 pieces, each 40 x 12 cm, and 2 pieces, each 40 x 40 cm.
Batting 100% Bamboo (I have used Matilda’s Own): 2 pieces, each 40 x 40cm for the bag, and 2 pieces, each 58 x 4 cm for the straps.
Bohin Glue Pen
Matching sewing thread and machine quilting thread.
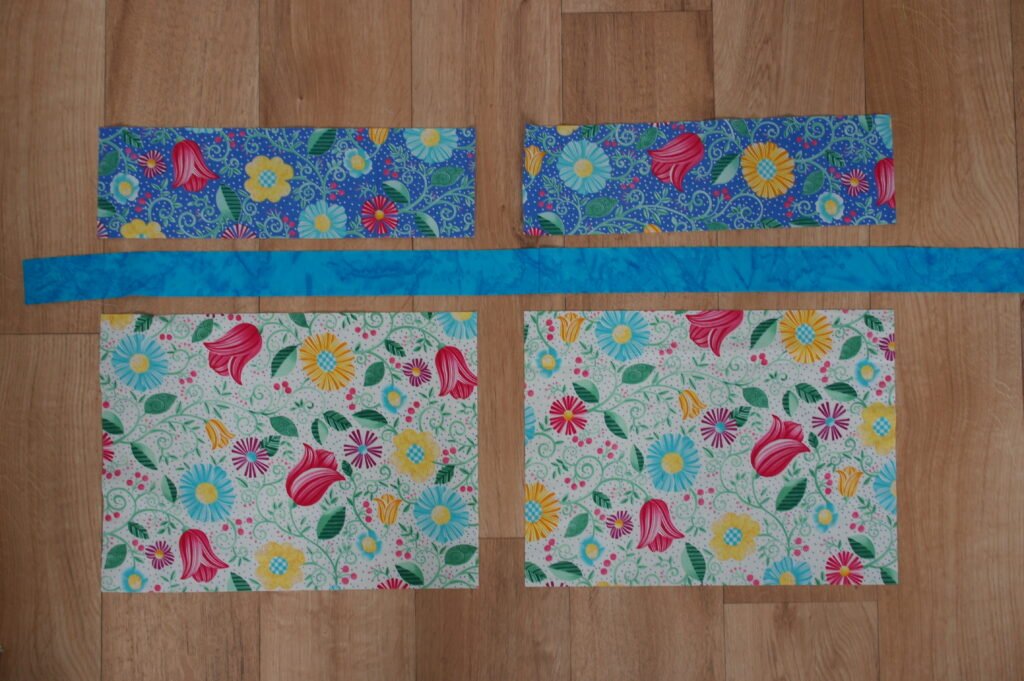
Press the fabrics en layout these following pieces: 2 fabrics for the bottom, outer bag, 2 fabrics for the top, outer bag and the strip for the binding t0p bag.
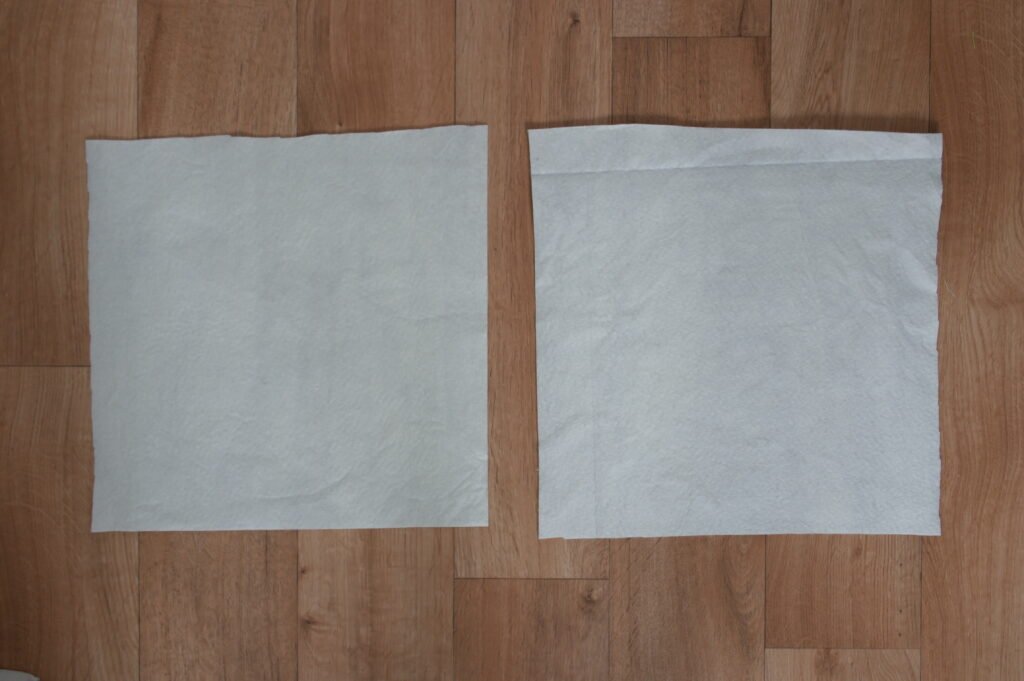
2 Pieces for the batting of the tote bag.
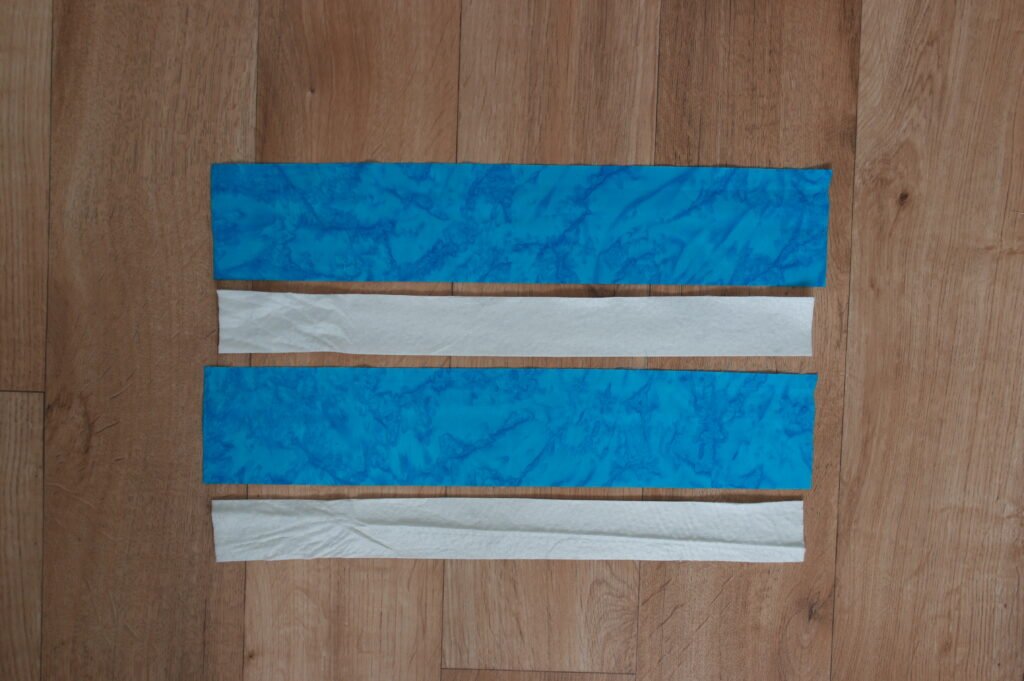
2 Fabric strips and 2 strips batting for the straps
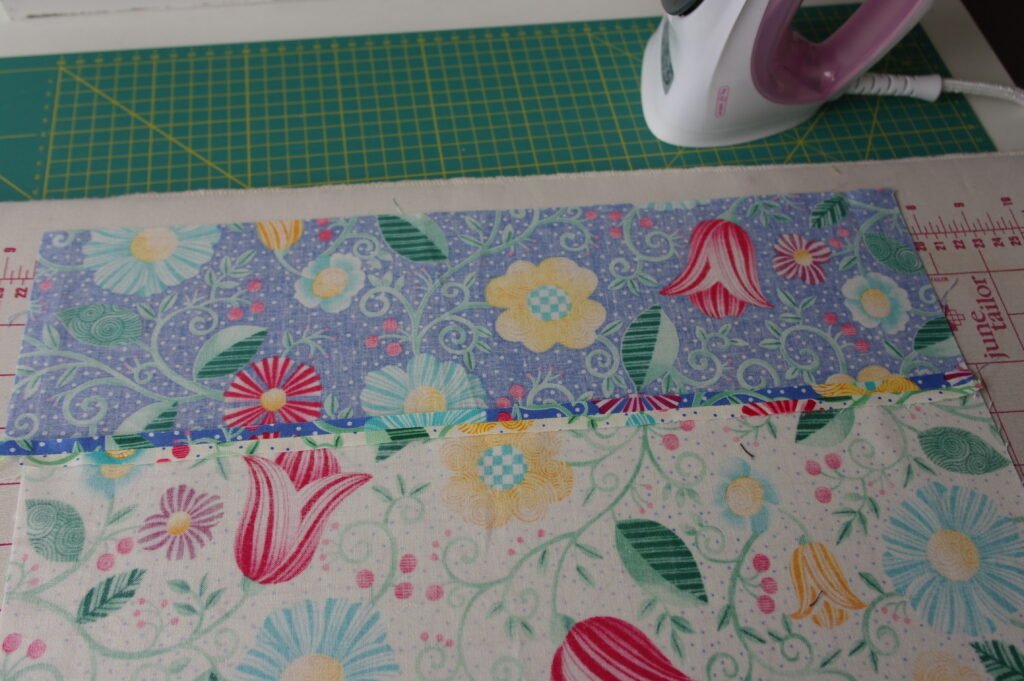
Sew the first fabrics for the outer bag (40 x 30 bottom pieces and 40 x 12 top pieces) together, make 2 new pieces. Press the seams open.
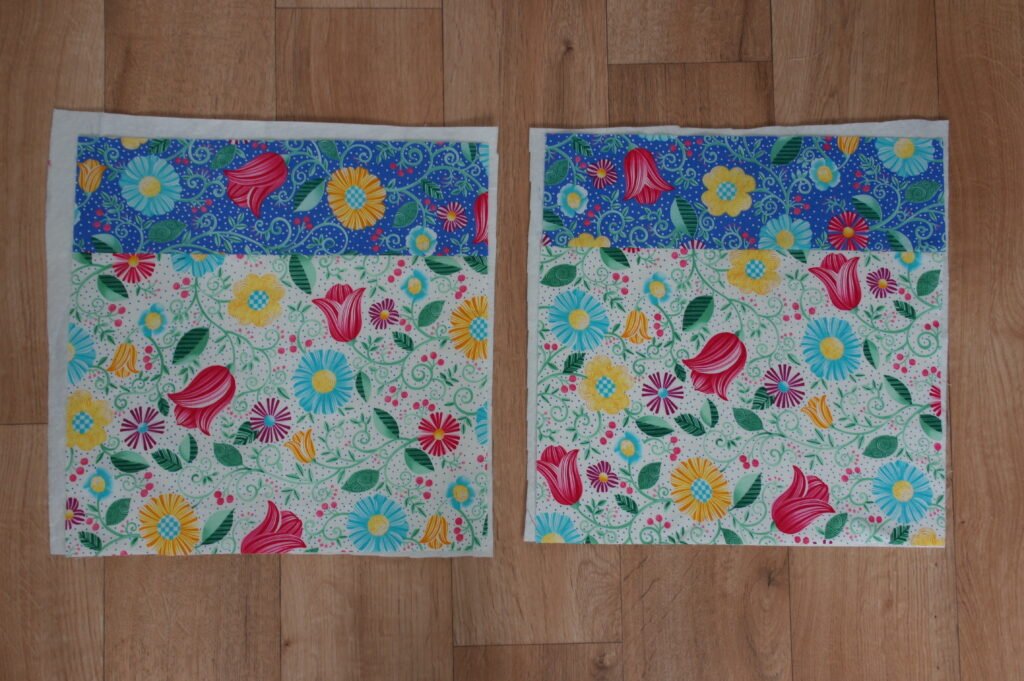
Make 2 x a sandwich of the lining (40x40cm), batting (40x40cm) and outer bag (2 fabrics, sewn together, 40x40cm).
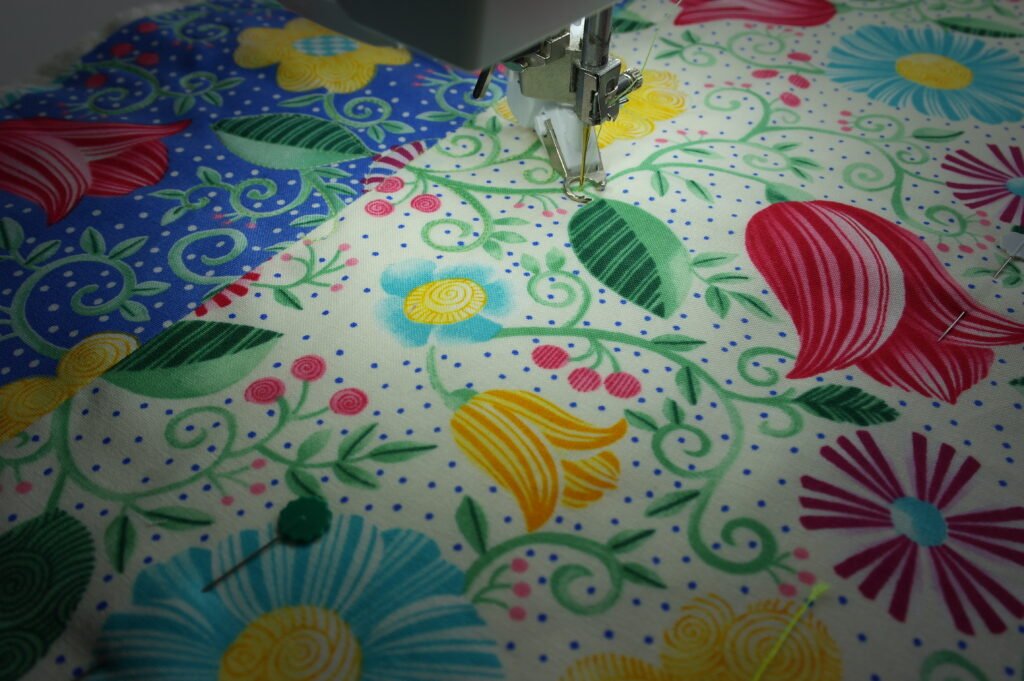
Quilt as you like: I have quilted around all the flowers, leaves and stems, with light green machine quilting thread and matching bobbin thread, with my BSR of my BERNINA770QE.
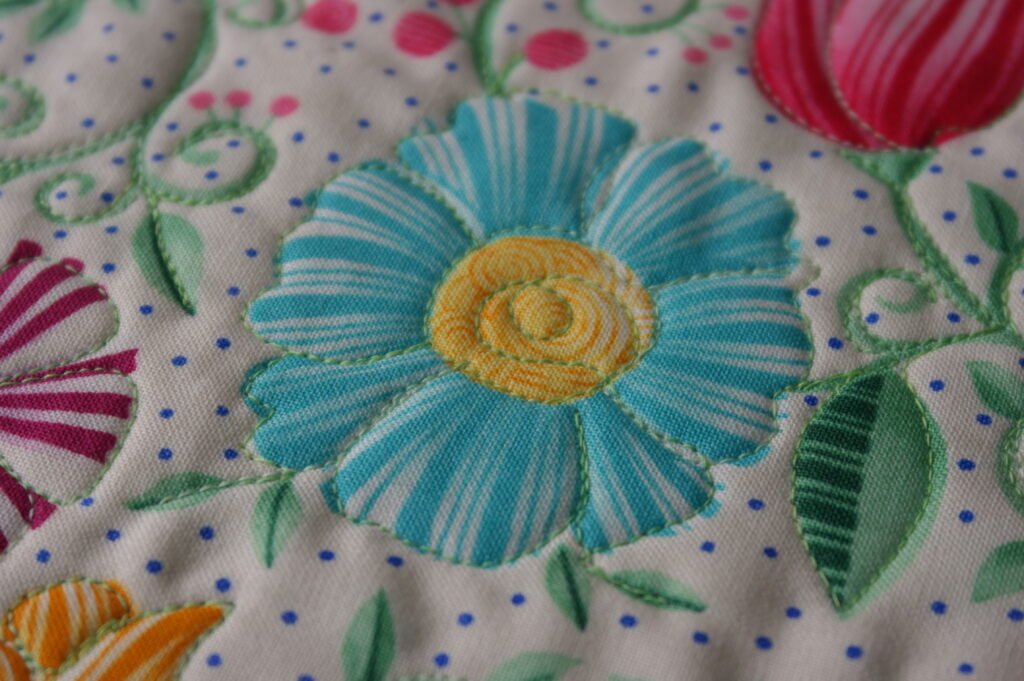
Work this way untill the entire sandwich is quilted. Do the same with the second sandwich.
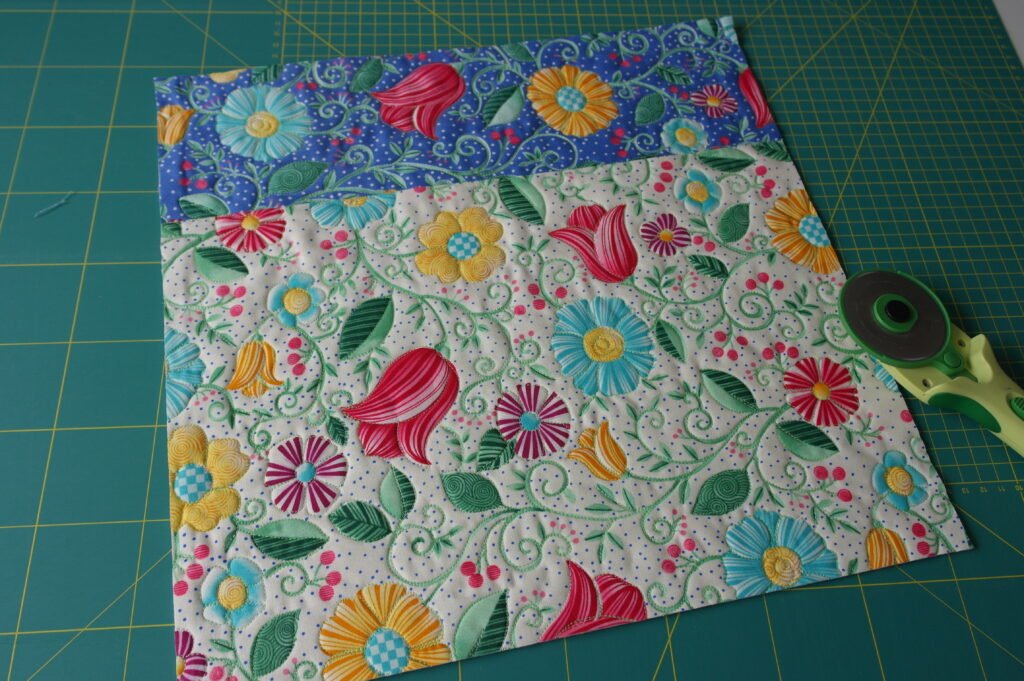
Cut both sandwiches to a measurement of 38x38cm – be careful that the seams of the fabrics of the outer bag will match later on, so be sure to cut the upper piece of both sandwiches the same.
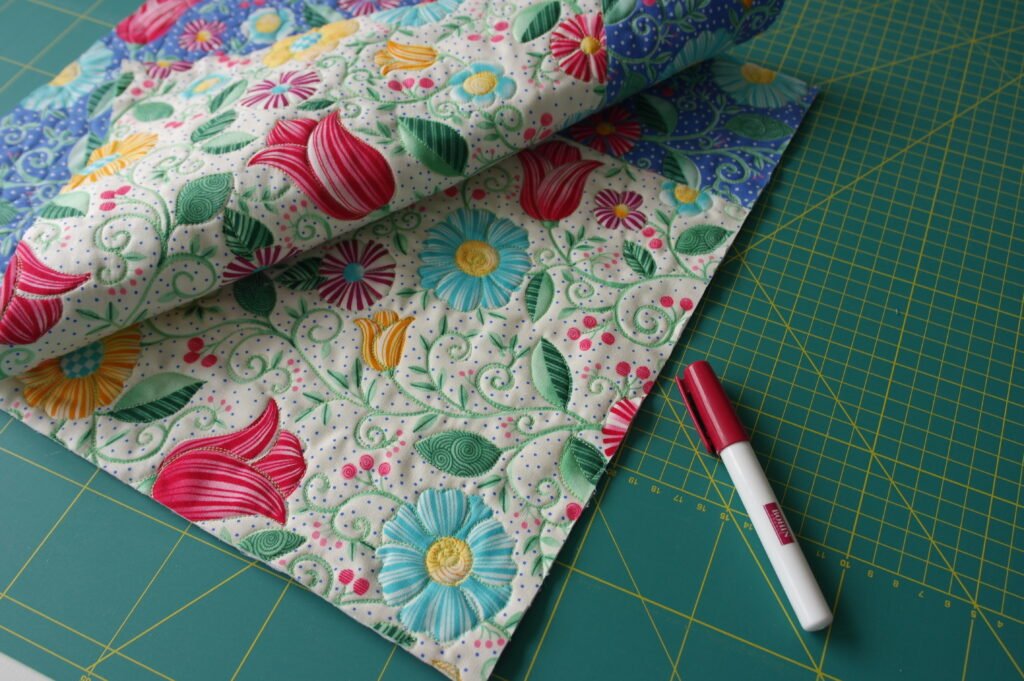
Place both quilted sandwiches right sides together – matching the seam of the outer bag, And glue both sides and the bottom with Bohin Glue pen only on the seam allowance itself (not beyond, so the needle will not touch the glue when sewing it all together), up to 1 cm seam allowance.
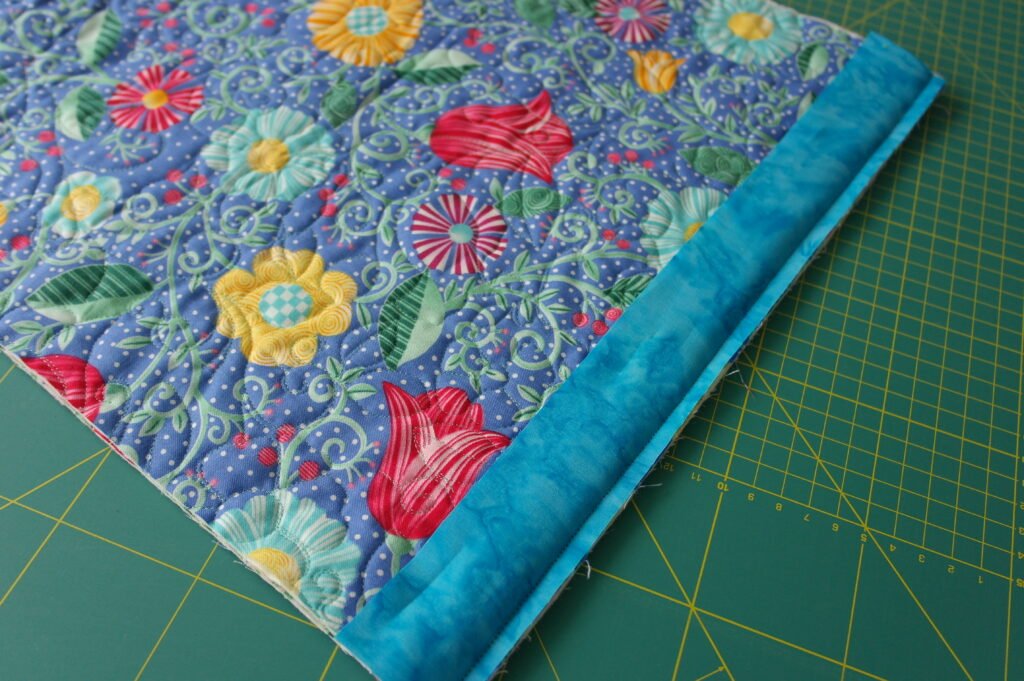
Stitch both sides together, 1 cm from the sides. After this, attach the strips of 110x4cm to the sides, and sew the neccesary lenth to both sides, at aprox 1.2 cm from the sides (be sure you will not see the first stitches after sewing the strip of fabric). Cut the length needed from the batik strip,
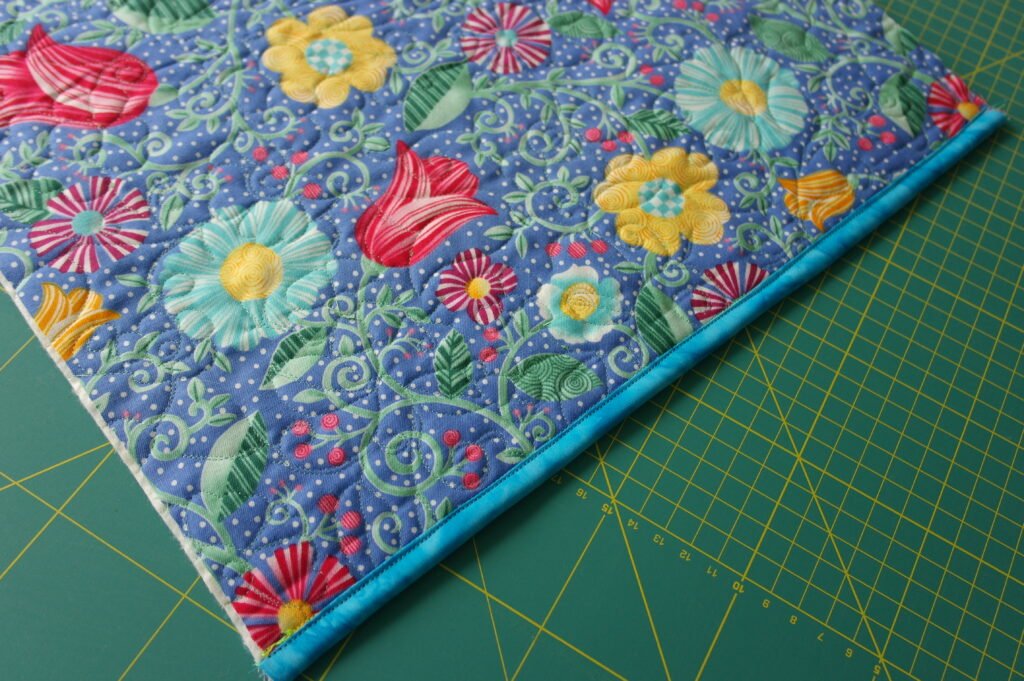
fold the strip to the other side, fold 1 cm seam allowance in length down and sew the strip to the other side. Do this with both sides of the tote bag.
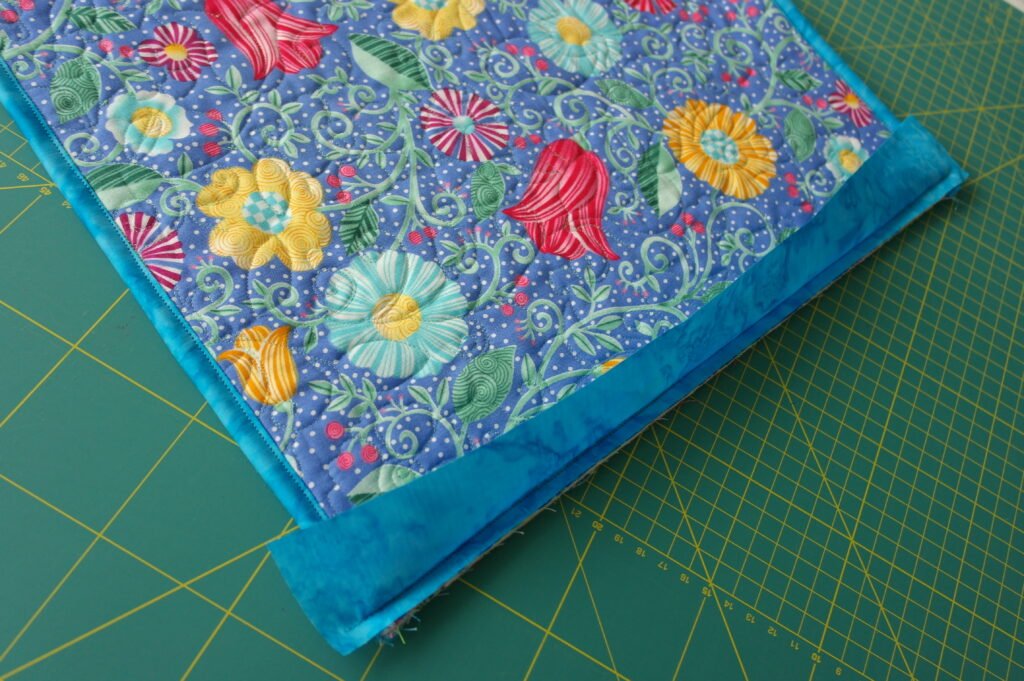
For the bottom: do the same as with the sides. Leave the tails of the strips as they are, because they will be cut after this anyway.
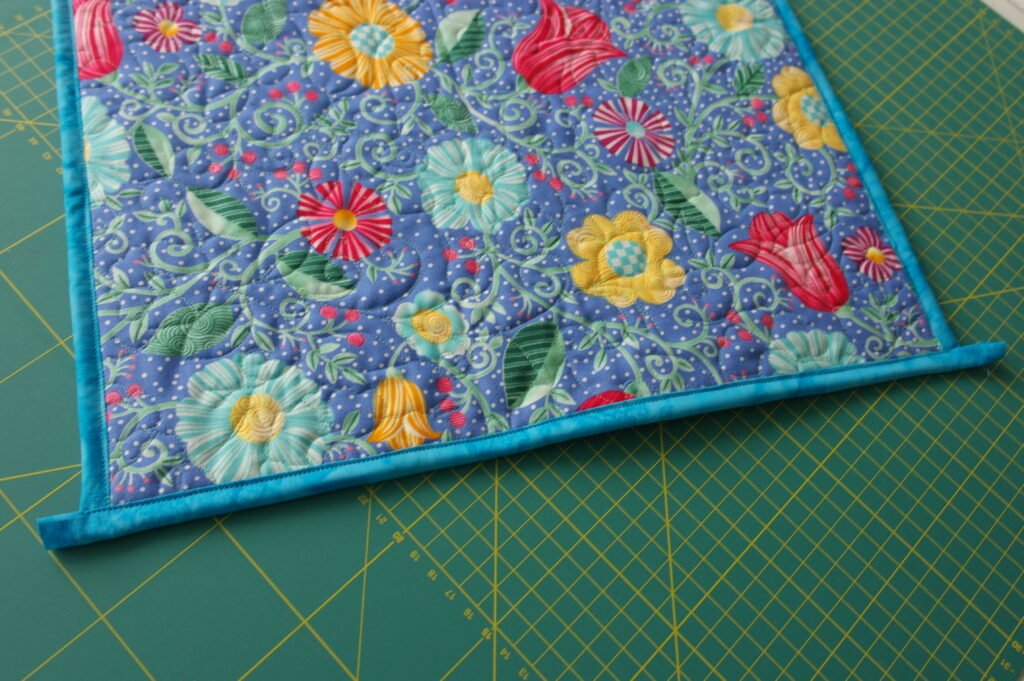
The picture above shows the tails at boths ends of the bottom: leave them like this, because…
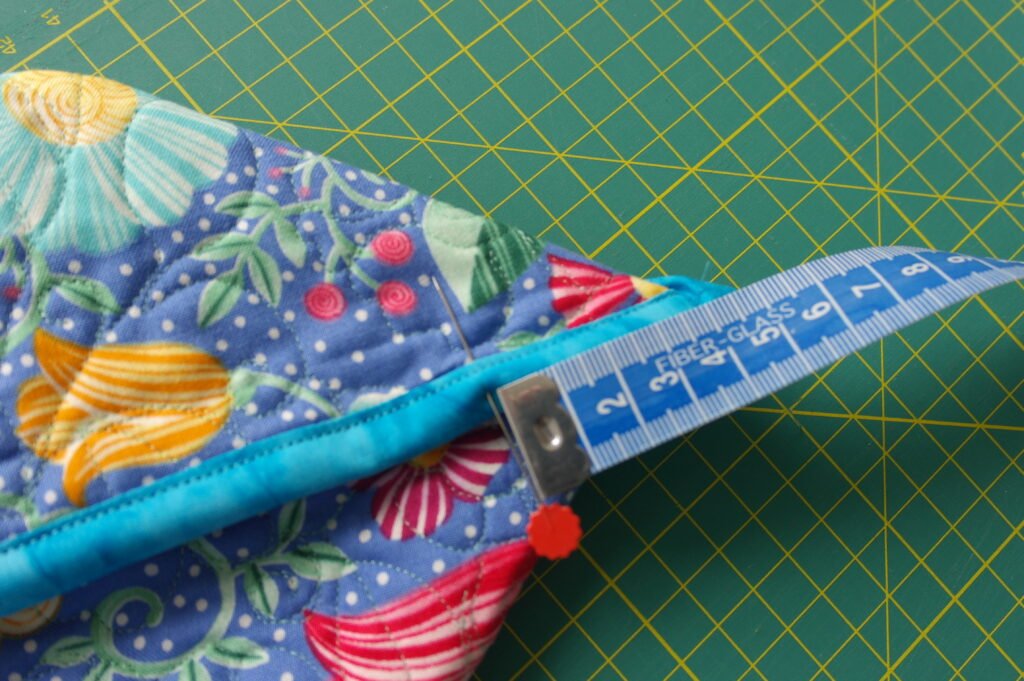
now the bottom has to be fromed. To box out the bottom of the bag, match both side seams together and measure 4 cm from the point of the corner: sew this side down.
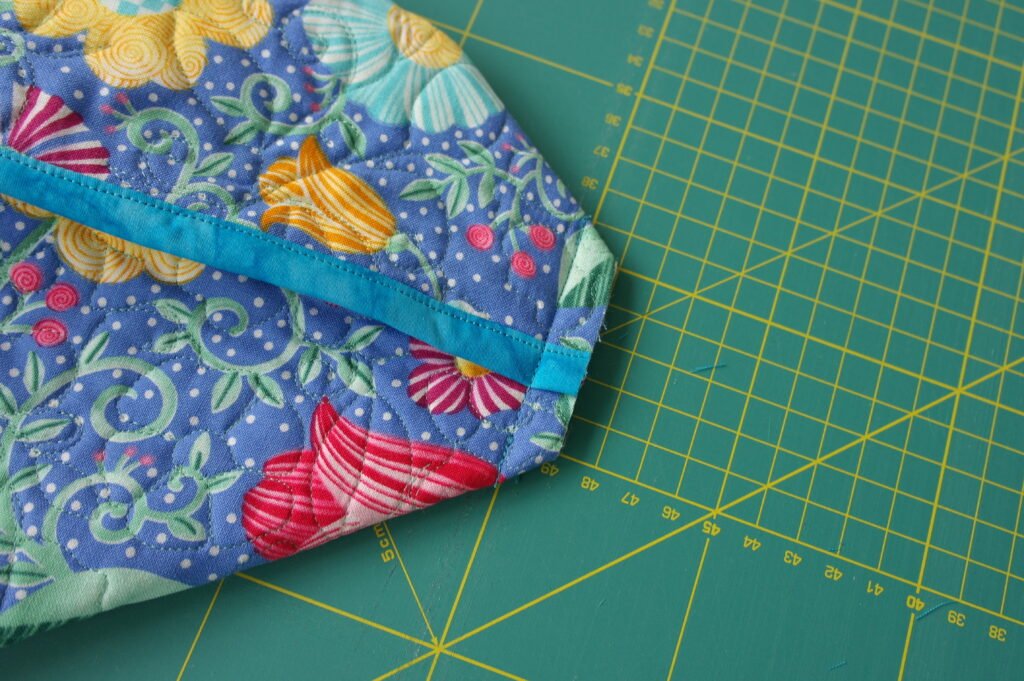
Be sure the binded seams are in opposite directions from each other, otherwise this part will be too thick to sew through. After sewing, trim the seam allowance down to 1 cm. Be sure when you are sewing the other bottom corner, to place the binded seams in the other direction than the first one.
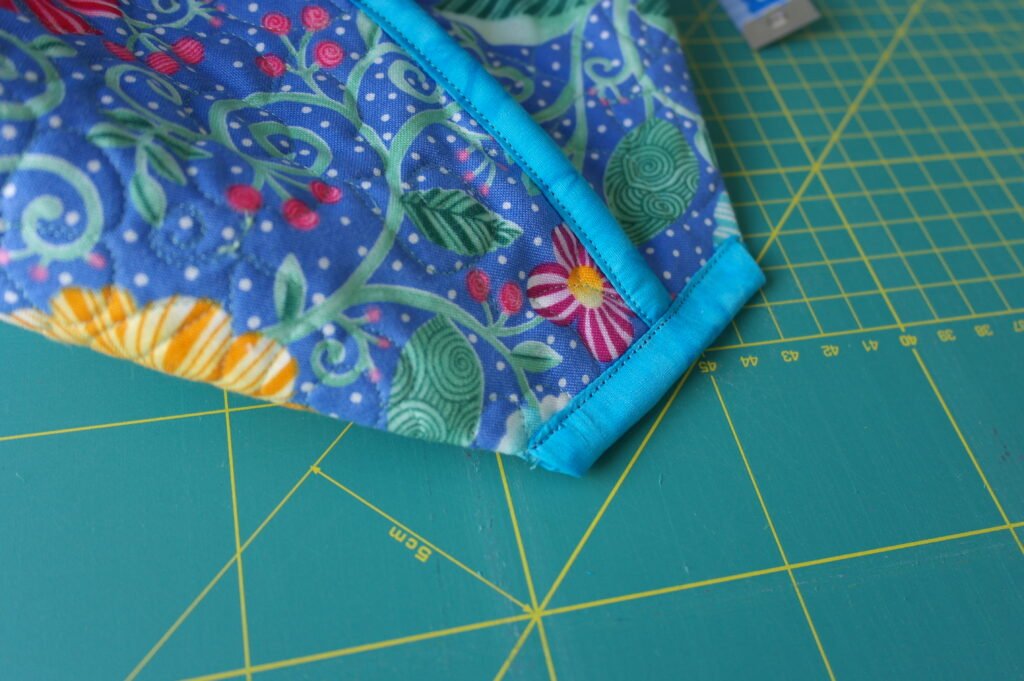
Use the remnant pieces of the 110x4cm strip to bind these corners, the same way you did with the sides and bottom. Be sure to use the Bohin Glue pen often, to glue the ends down. If you want to, you can slose the sides by hand (just where the binding pieces meet).
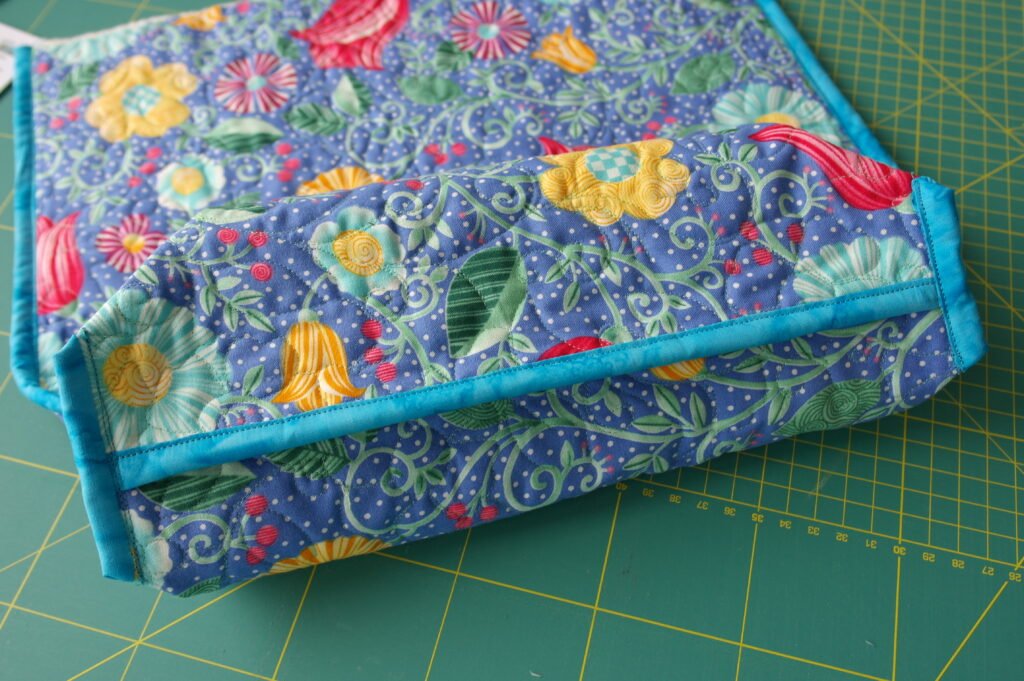
Work this way with both corners. Sew slowly, because your needle will be going through thick layers. If all is sewn and binded, the lining/inside of the bag looks like this!
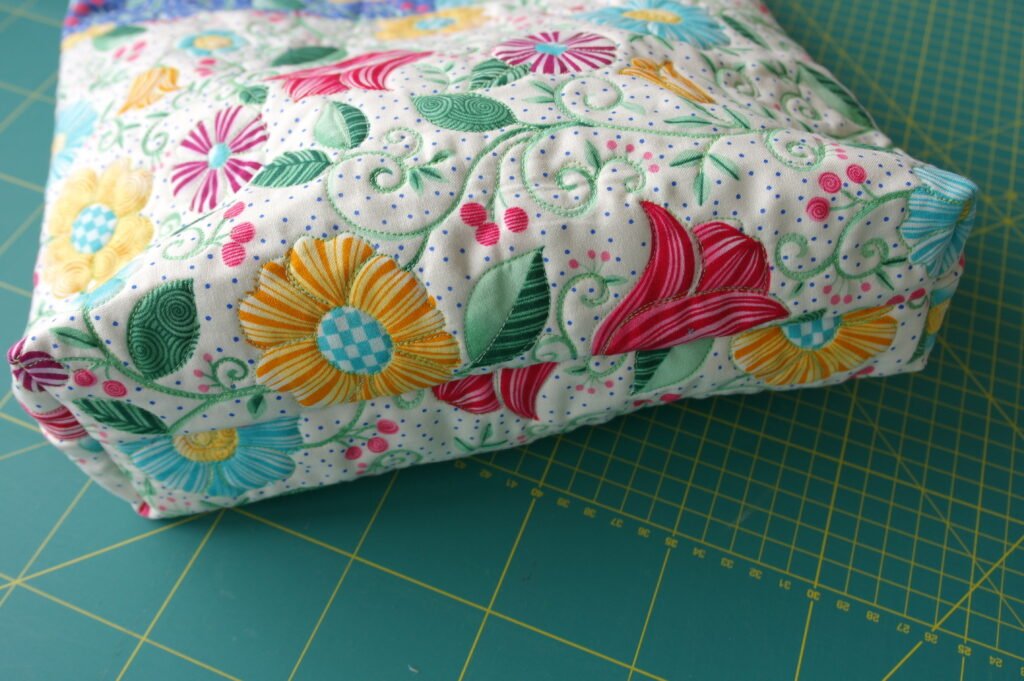
Turn the toe bag. Push the corners so that the bottom is formed. You can see that the tote bag has been given a square bottom this way.
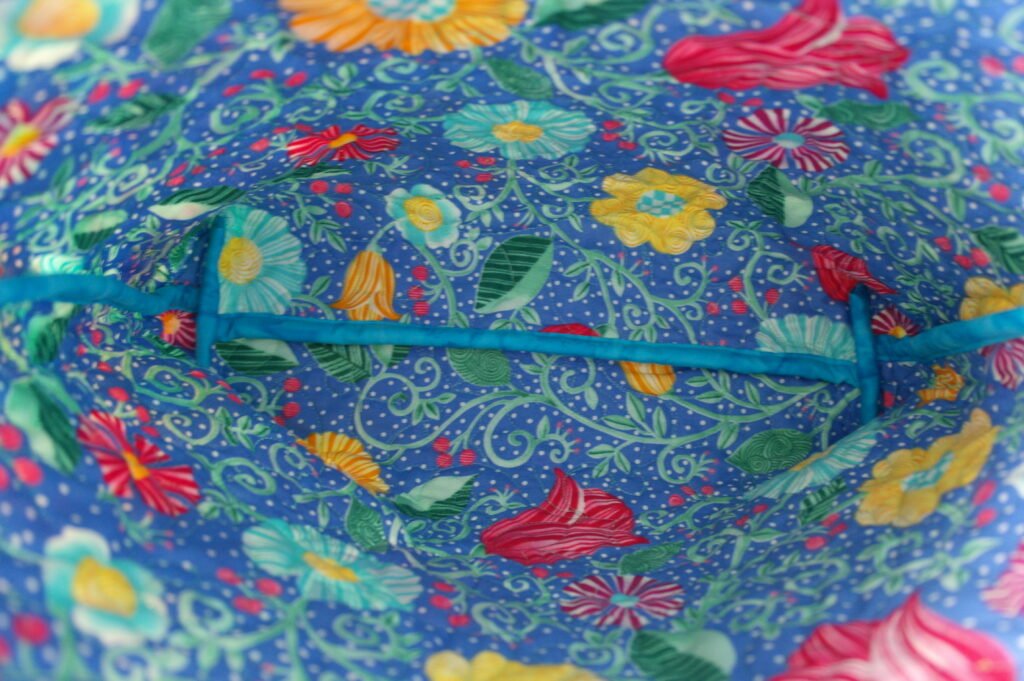
Because of the thickness of the binding of the seams, there will be ridges on the inside of the bag, but that is no problem when using the bag – you could even turn the bag inside out and use it with the seams showing! After all, they are very decorative!
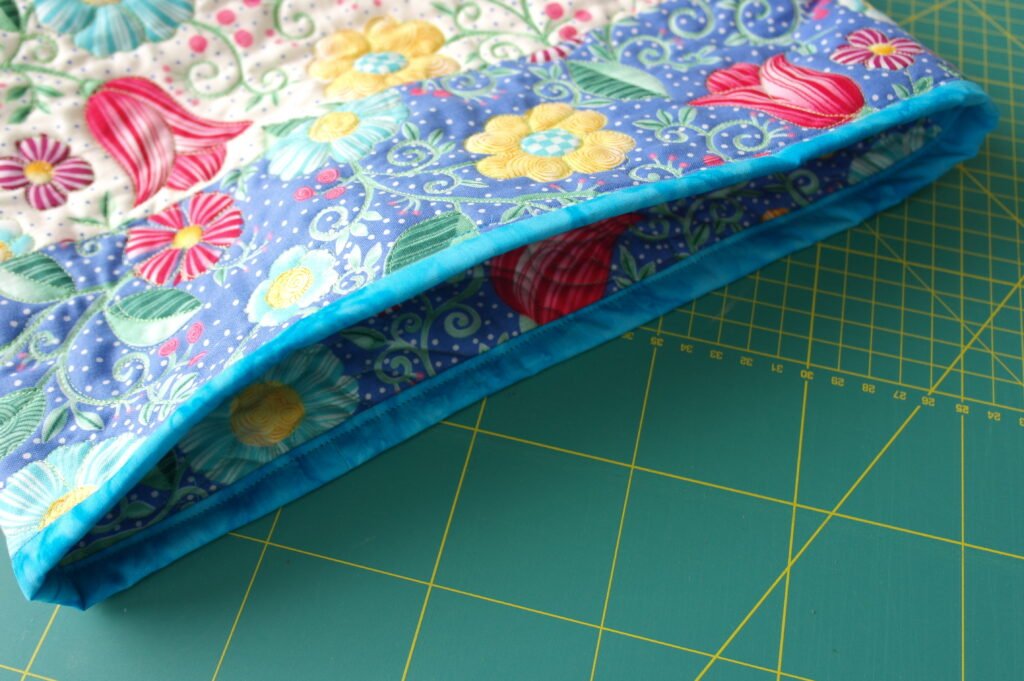
Bind the top of the tote bag the same way as you have did with the other seams: use the turquoise batik strip – 110x5cm. Be sure to use a wider seam – aprox. 1,5 cm – because of the decorative effect of the strip.
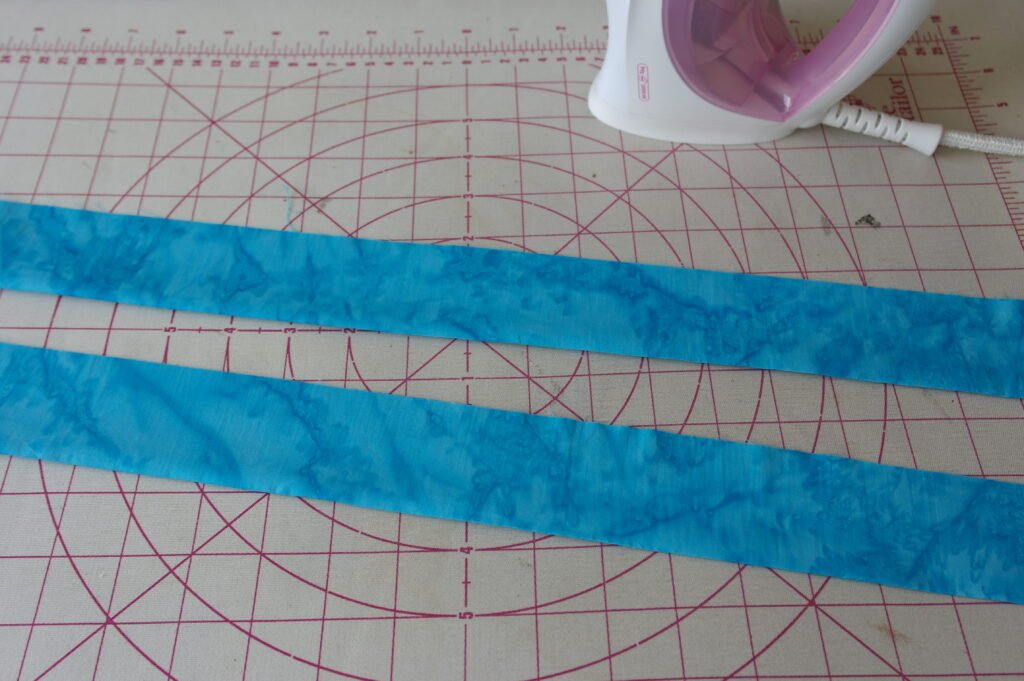
Straps: place one strip of the turquoise batik – 50x10cm – on your ironing board. Fold it lengthwise and iron this fold. Do the same with the other strip.
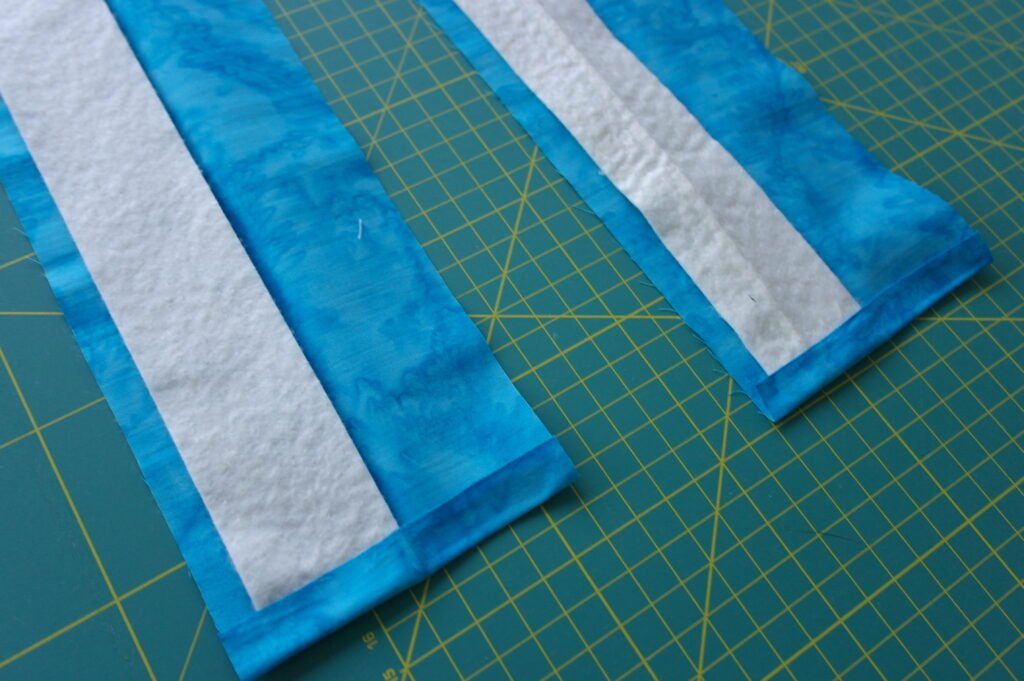
Open both strips. Place a piece of batting – 48x4cm – to each fold. Now fold the seam of the short sides of the fabric strip over the fabric/batting – glue this with Bohin Glue Pen.
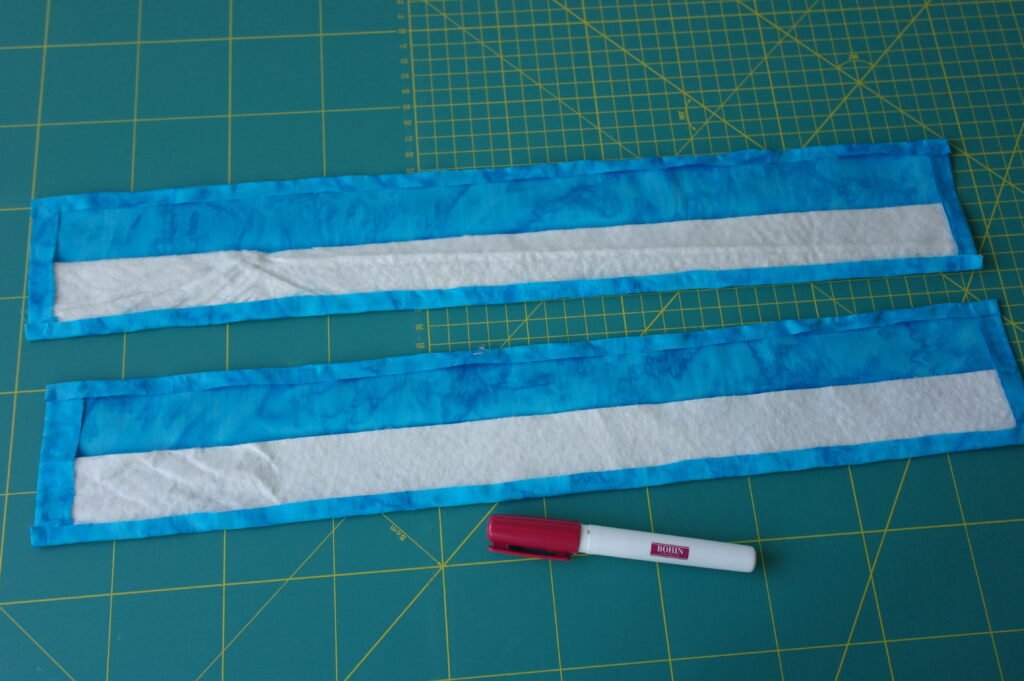
Fold a seam of 1 cm in lengh over the binding – glue this. Fold a seam of 1 cm with the fabric on the opposite side and glue this too.
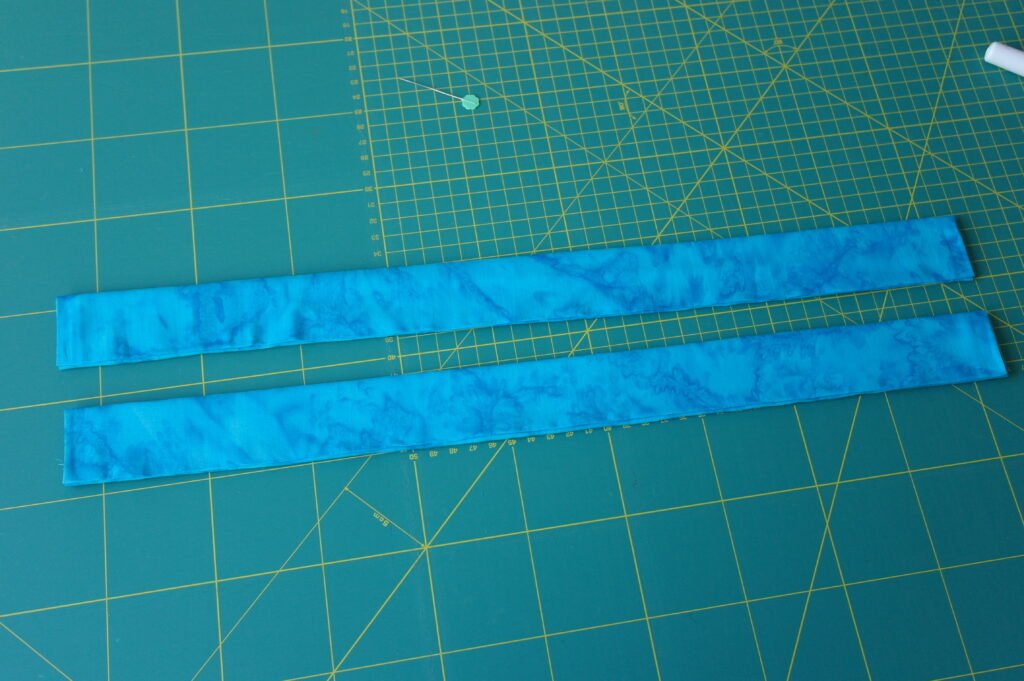
Fold both seams over each other, glue them, so you will have pieces for the straps, each 4 cm wide.
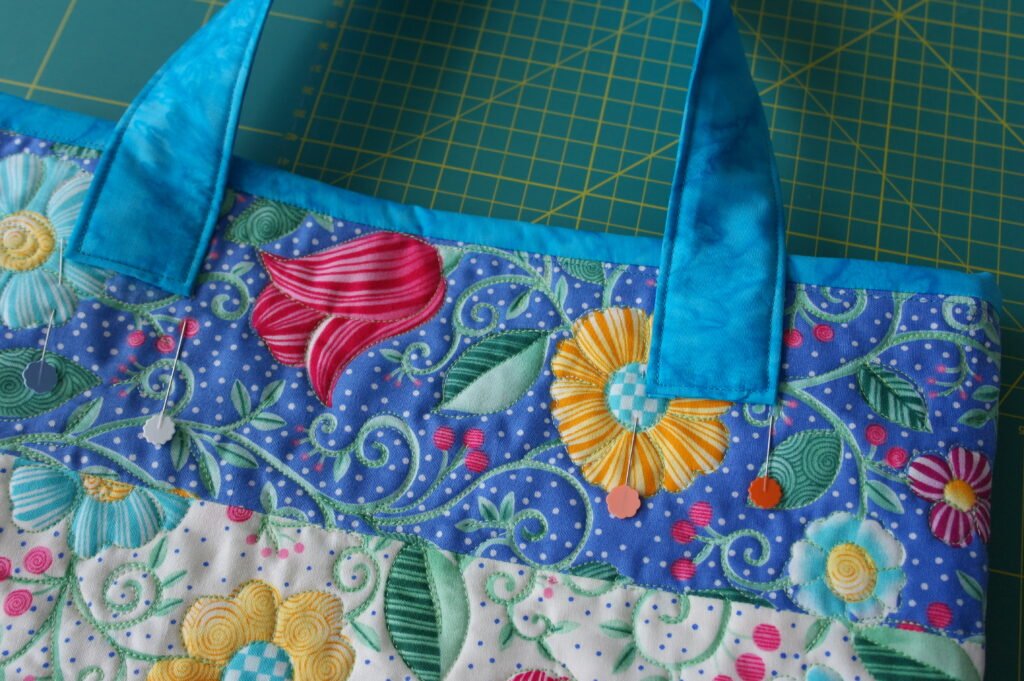
Stitch these straps, sew close to all sides (long and short). Place the straps to the outside of the tote bag – aprox. 7 – 9 cm distance from each side (or you can choose the distance yourself),
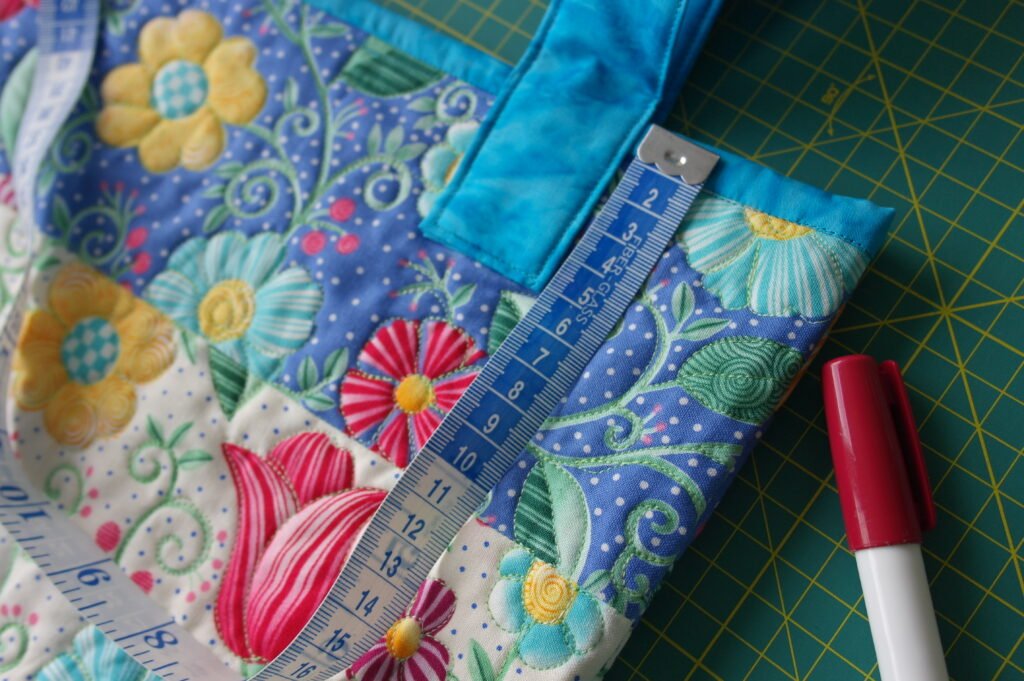
and at aprox. 5 cm from the top of the tote bag.
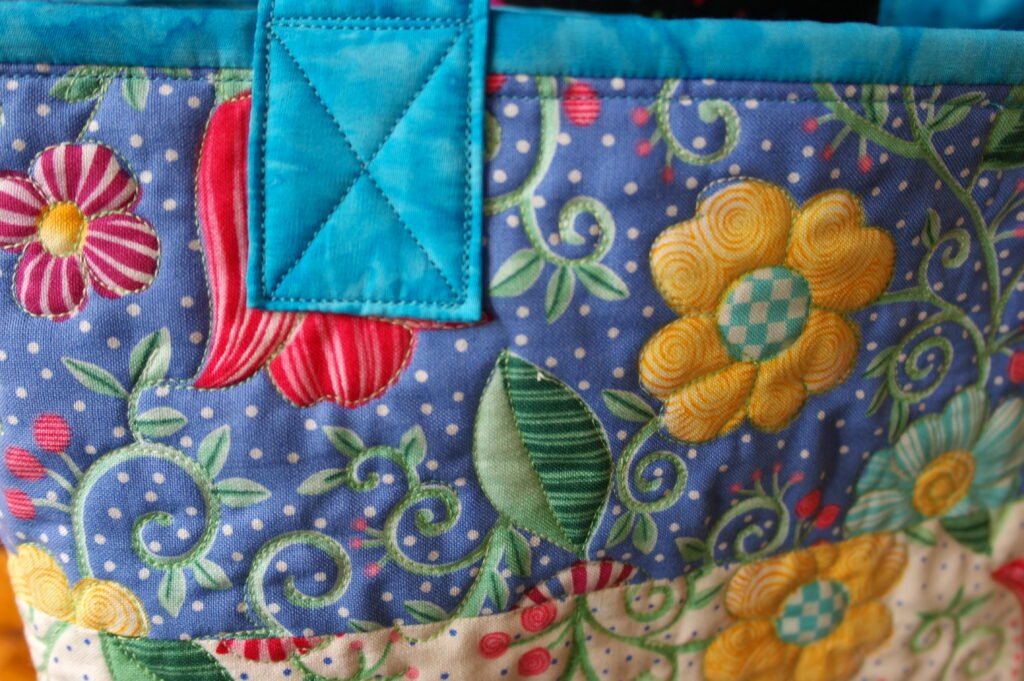
Make a traditional X-ed box for decorative effect, but also to give strength to the straps.
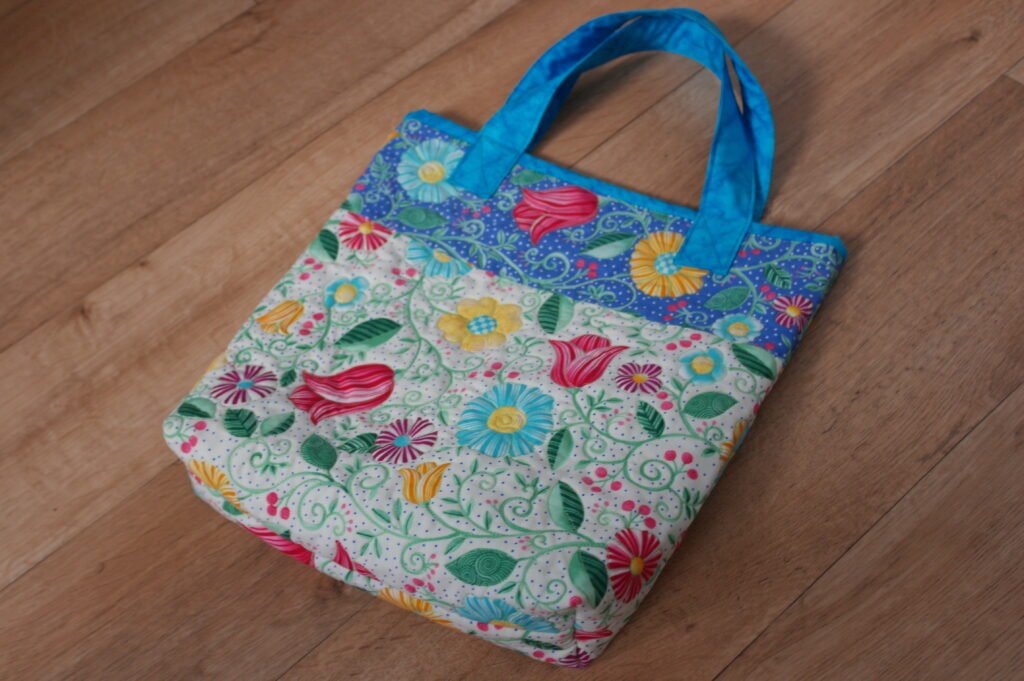
And there you have your summer tote bag! You can take it to the beach to hold your books, sun lotion, water bottle etc, but also a small embroidery or quilt. This bag is not very big (bag itself aprox. 36 x 36 cm), but nice enough to take it anywhere you go.
Have fun!
Happy quilting!
Sylvia Kaptein
Sylvia’s Art Quilts Studio
www.sylviasartquilts.nl
[email protected]
 BERNINA Corporate Blog -
I love the fast, easy, uncomplicated, making of this tote bag for gifts and for my self.
Love the materials in the bag and your work Sylvia. I love sewing clothes but this has inspired me to try quilting.