 BERNINA Corporate Blog -
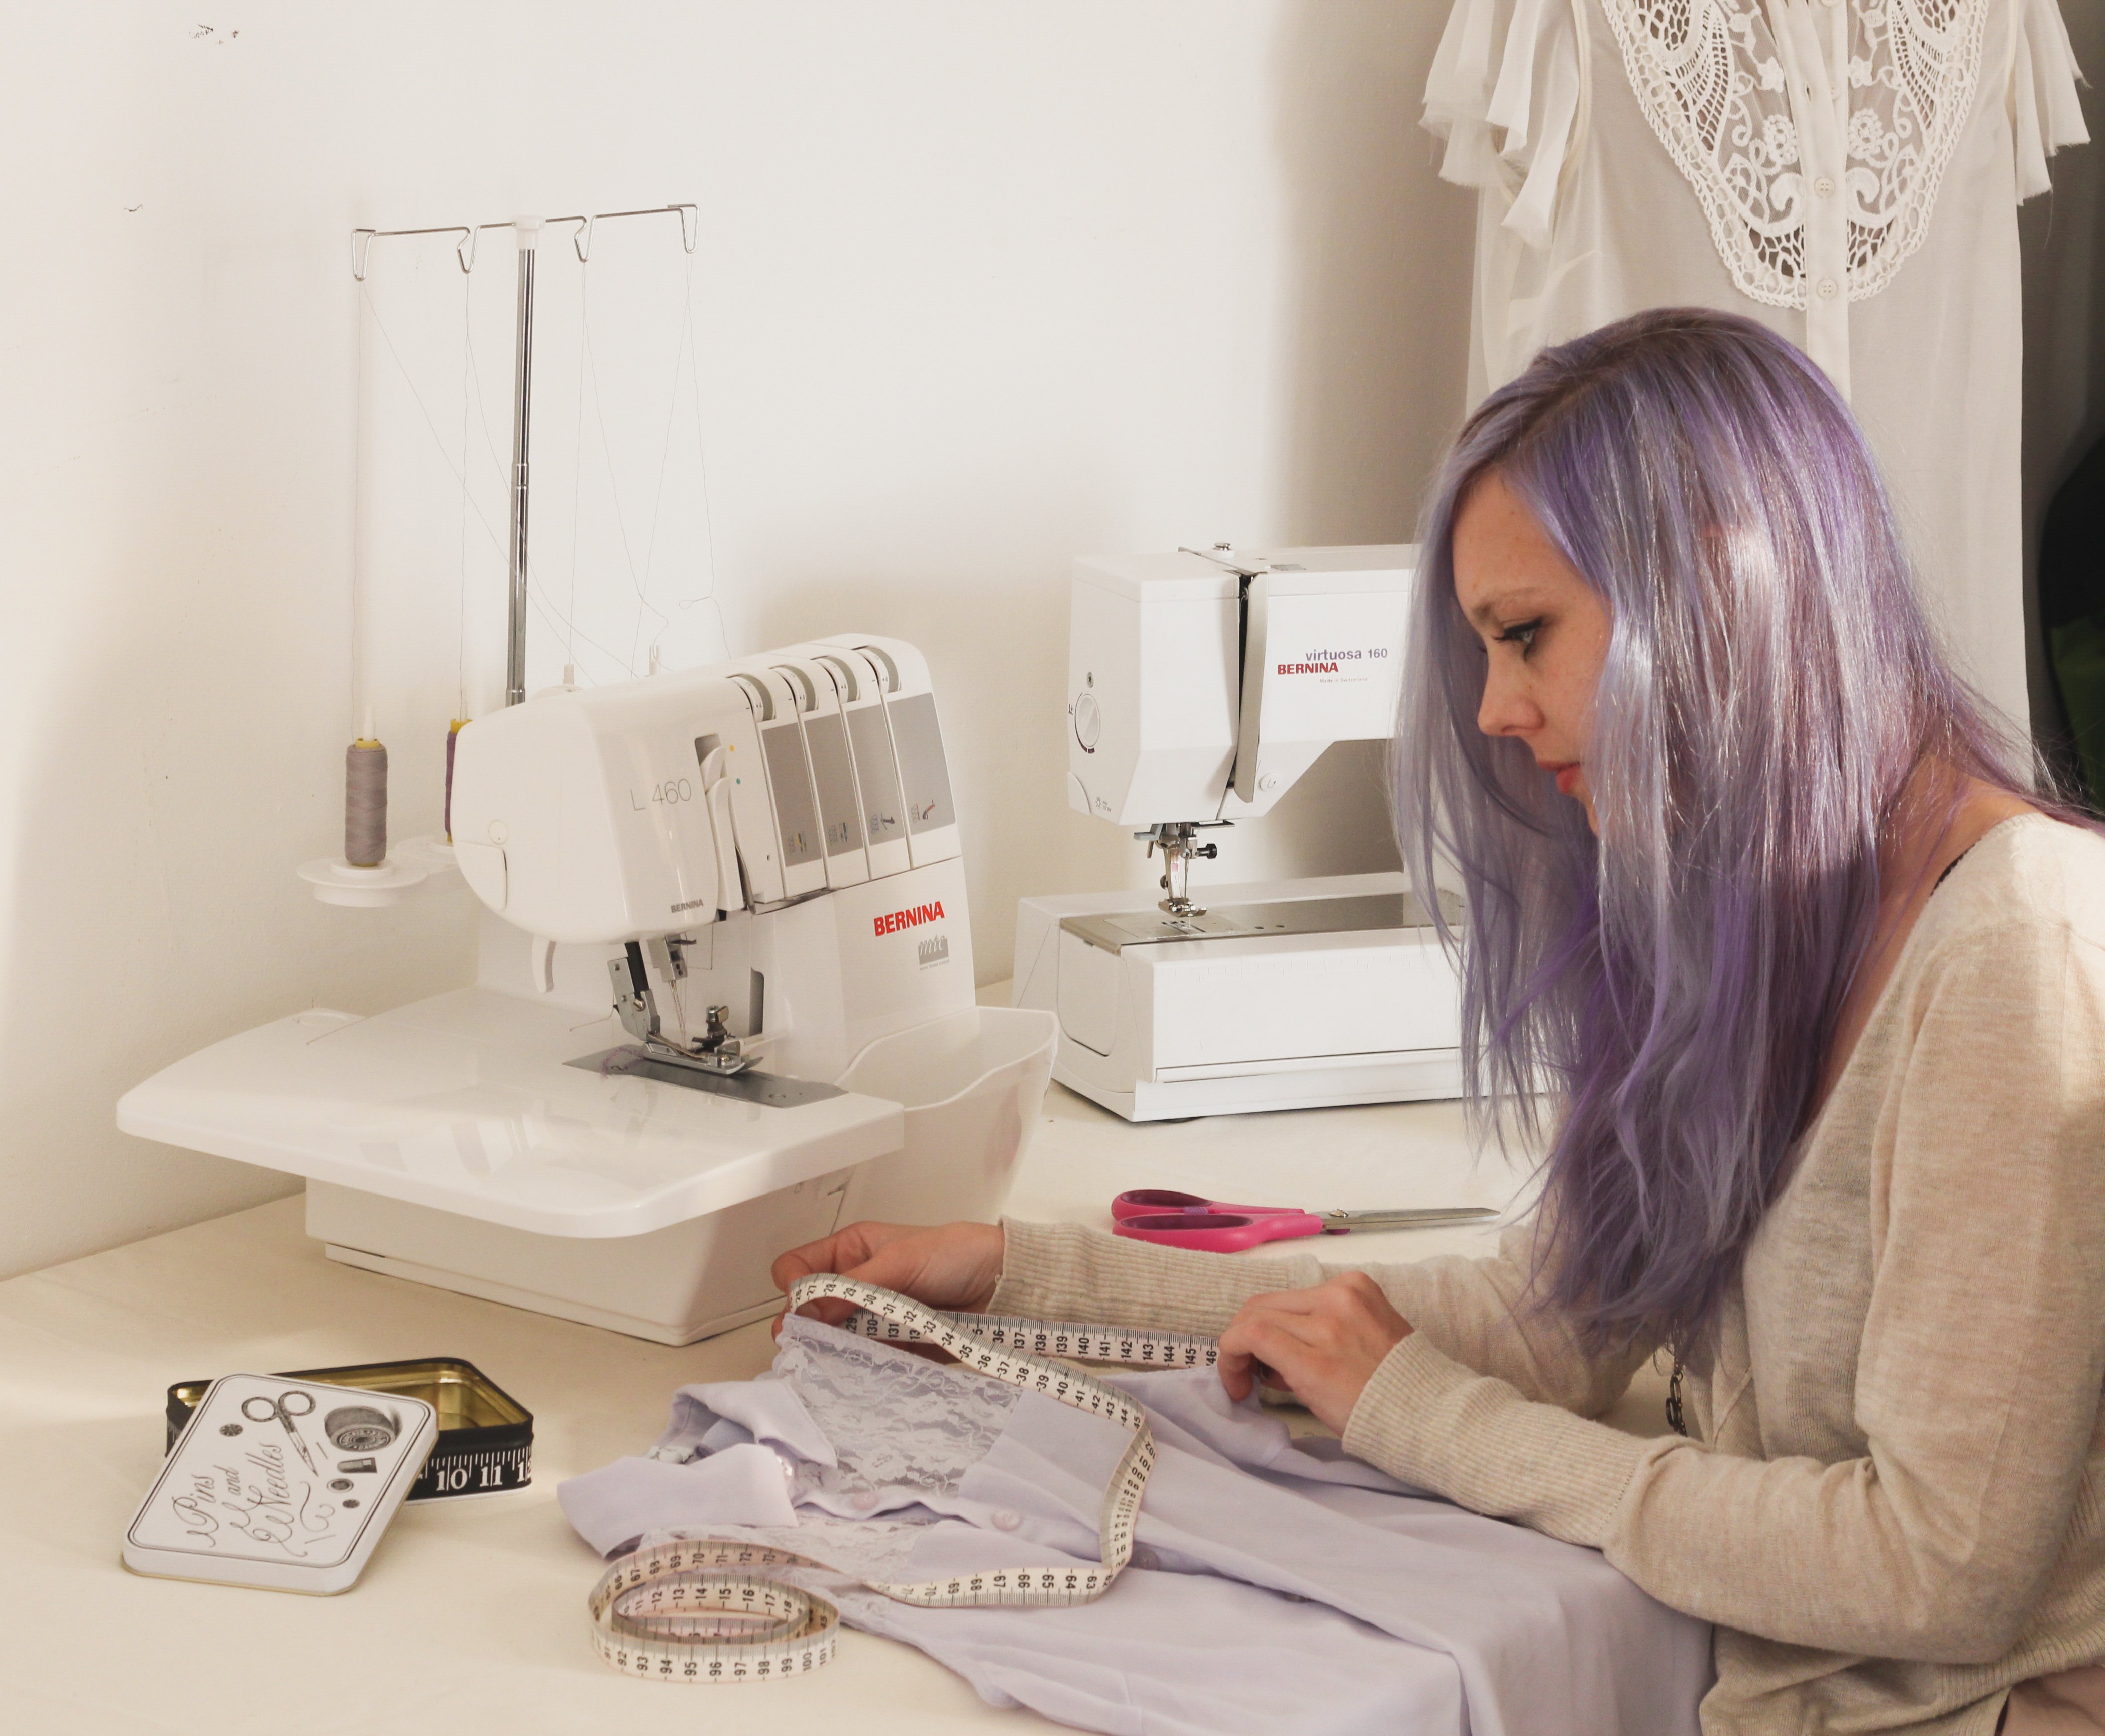
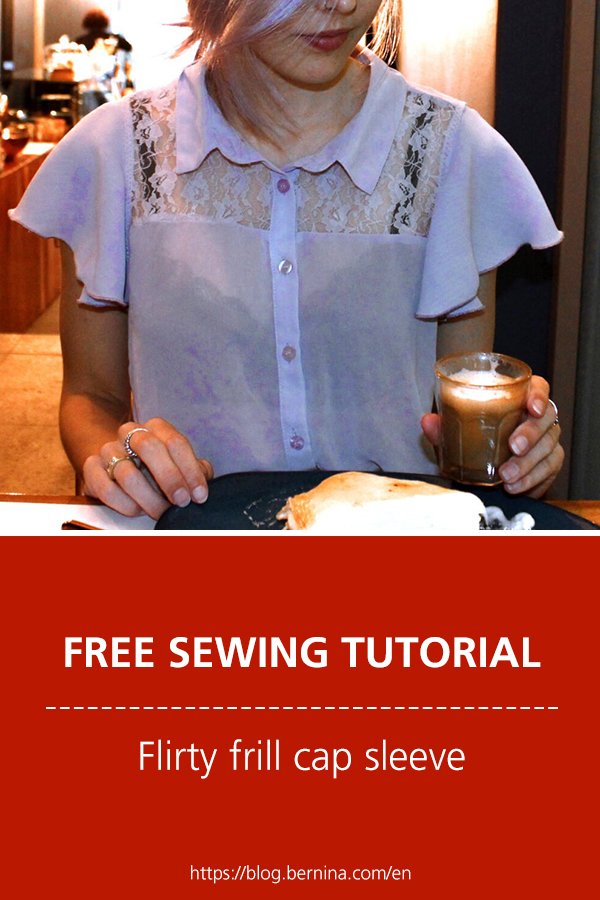
I’ve had these 2 tops for a while and felt they needed to be updated to suit my style.
I wanted the update to look effortless, feminine and be easy to do.
The fabrics I used are large off-cuts that have also been sitting in my cupboard but please feel free to buy yourself some fabric that will best suit your garment.
I have provided the pattern I made for you to use in your projects.
Since completing this project I’m now thinking that I’ve got some dresses that need these frilly sleeves too…
Needed:
-Top/Garment you want to customise
-Fabric for the sleeves
(the pattern uses about 30cmx120cm of fabric, keep in mind if you alter the pattern more fabric will be needed)
-Measuring Tape
-Pins
-4 or 3 preferably matching threads
-Sewing Machine
-Overlocker
Steps:
 1. Print out provided pattern (requires 2 x A4 paper) Click here: Frill cap sleeve Pattern
2. Measure the armhole of your garment.
3. Choose the respective pattern size.
Keep in mind that the sleeve doesn’t have to join at the side-seam under the arm.
Due to the cut and grain line of the pattern, the fabric of the sleeve will stretch a bit too.
You can make the pattern bigger at the point where you join the 2 A4 pages of the pattern. Increase the amount the same at the inner edge and outer edge of the sleeve pattern.
 4. Lay the pattern on your chosen fabric, secure and cut out.
Remember to cut 2 sleeves.
Mark the notches for the front & back as this will help when you attach the sleeves to your garment.
5. Fold the sleeve in half to find the mid-point.
Mark this notch to later match to the shoulder seam or mid-point of your garment’s armhole.
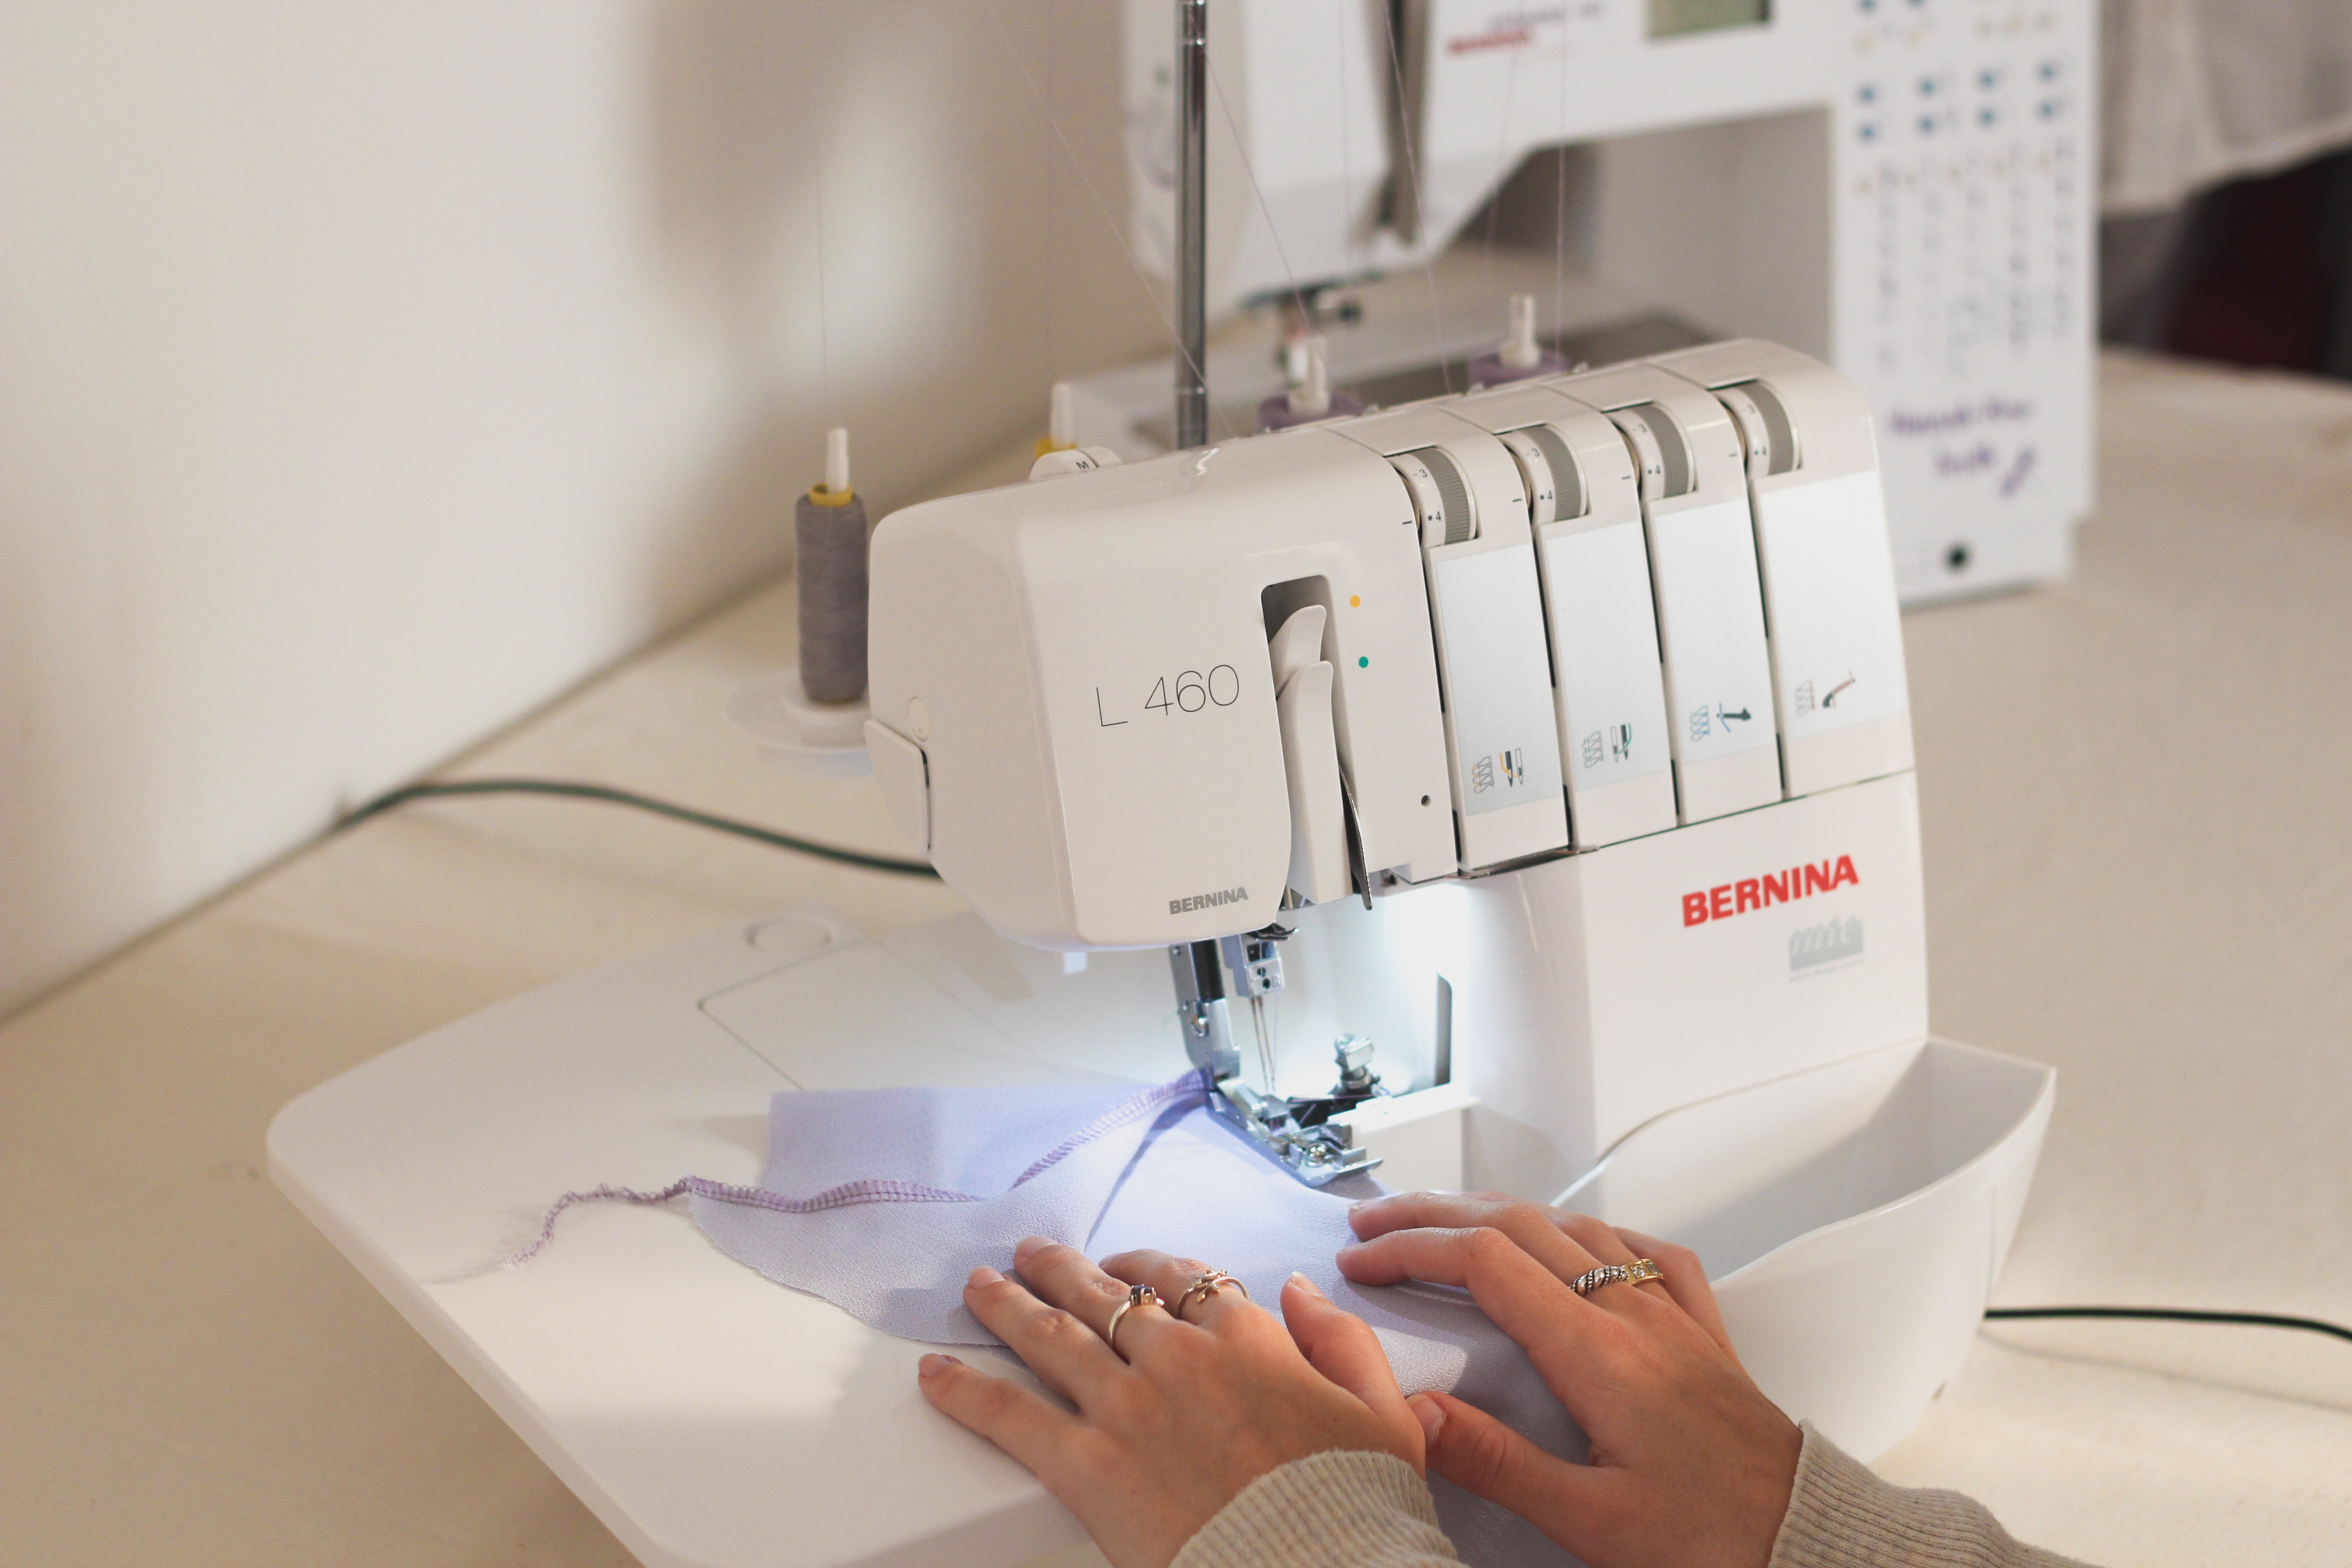 6. Set up your overlocker for the 4-thread Flat stitch.
You can do the 3-thread flat stitch but I find the width of the 4-thread flat stitch works well when doing a lapped seam.
Overlock the inner edge of the sleeve, this part will join to the armhole.
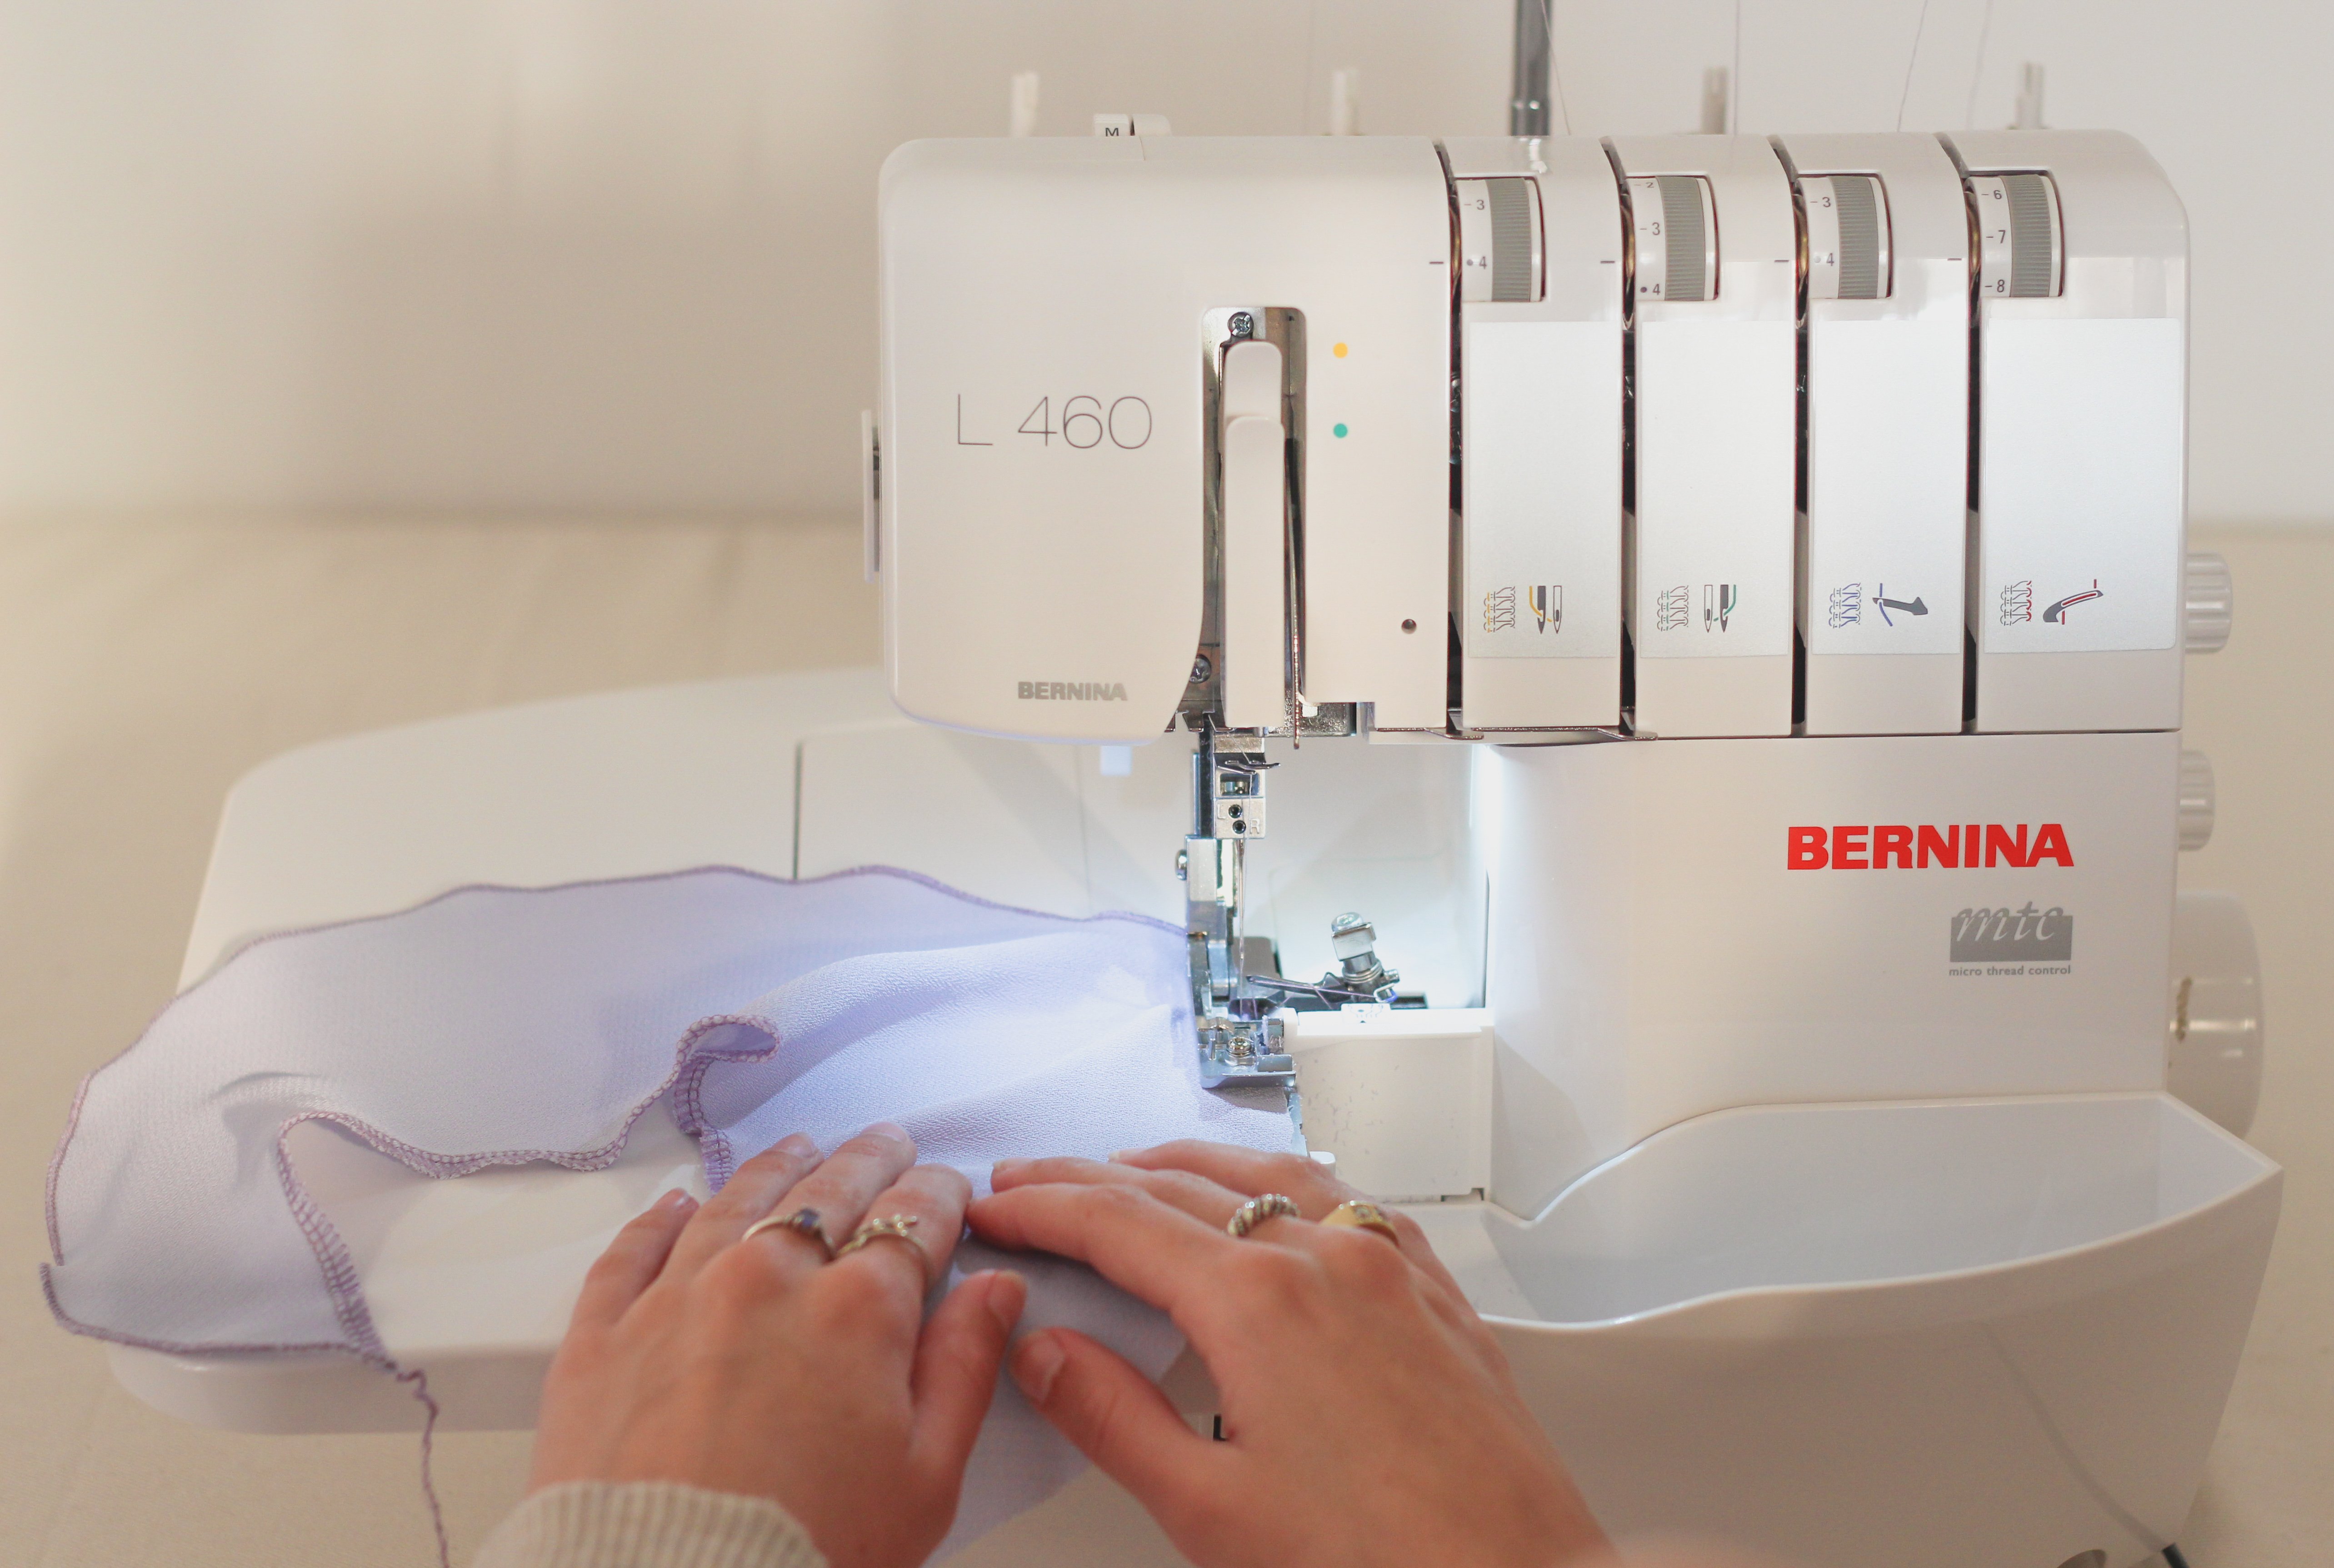 7. Now set up your overlocker for the 3-thread rolled hem.
Overlock the outer edge of the sleeve. Be careful around convex corners, because the stitches are narrow sometimes they don’t catch on the very curved edges.
 8. Pin the sleeve to your garments armhole.
Take note of your notches: 1 notch is the Front of the armhole, 2 notches is for the Back and the mid-point notch is to match up to the armhole’s mid-point.
Because my garment’s armhole is already finished off/bound, I am did a lapped seam.
This means that my garments armhole edge overlaps the sleeves edge.
 9. Set up your sewing machine. I chose to do a large zigzag stitch (width 4, stitch length 3) as it will secure the overlocked edge of the sleeve neatly under the armhole edge of your garment.
Stitch the sleeve in place along the armhole edge.
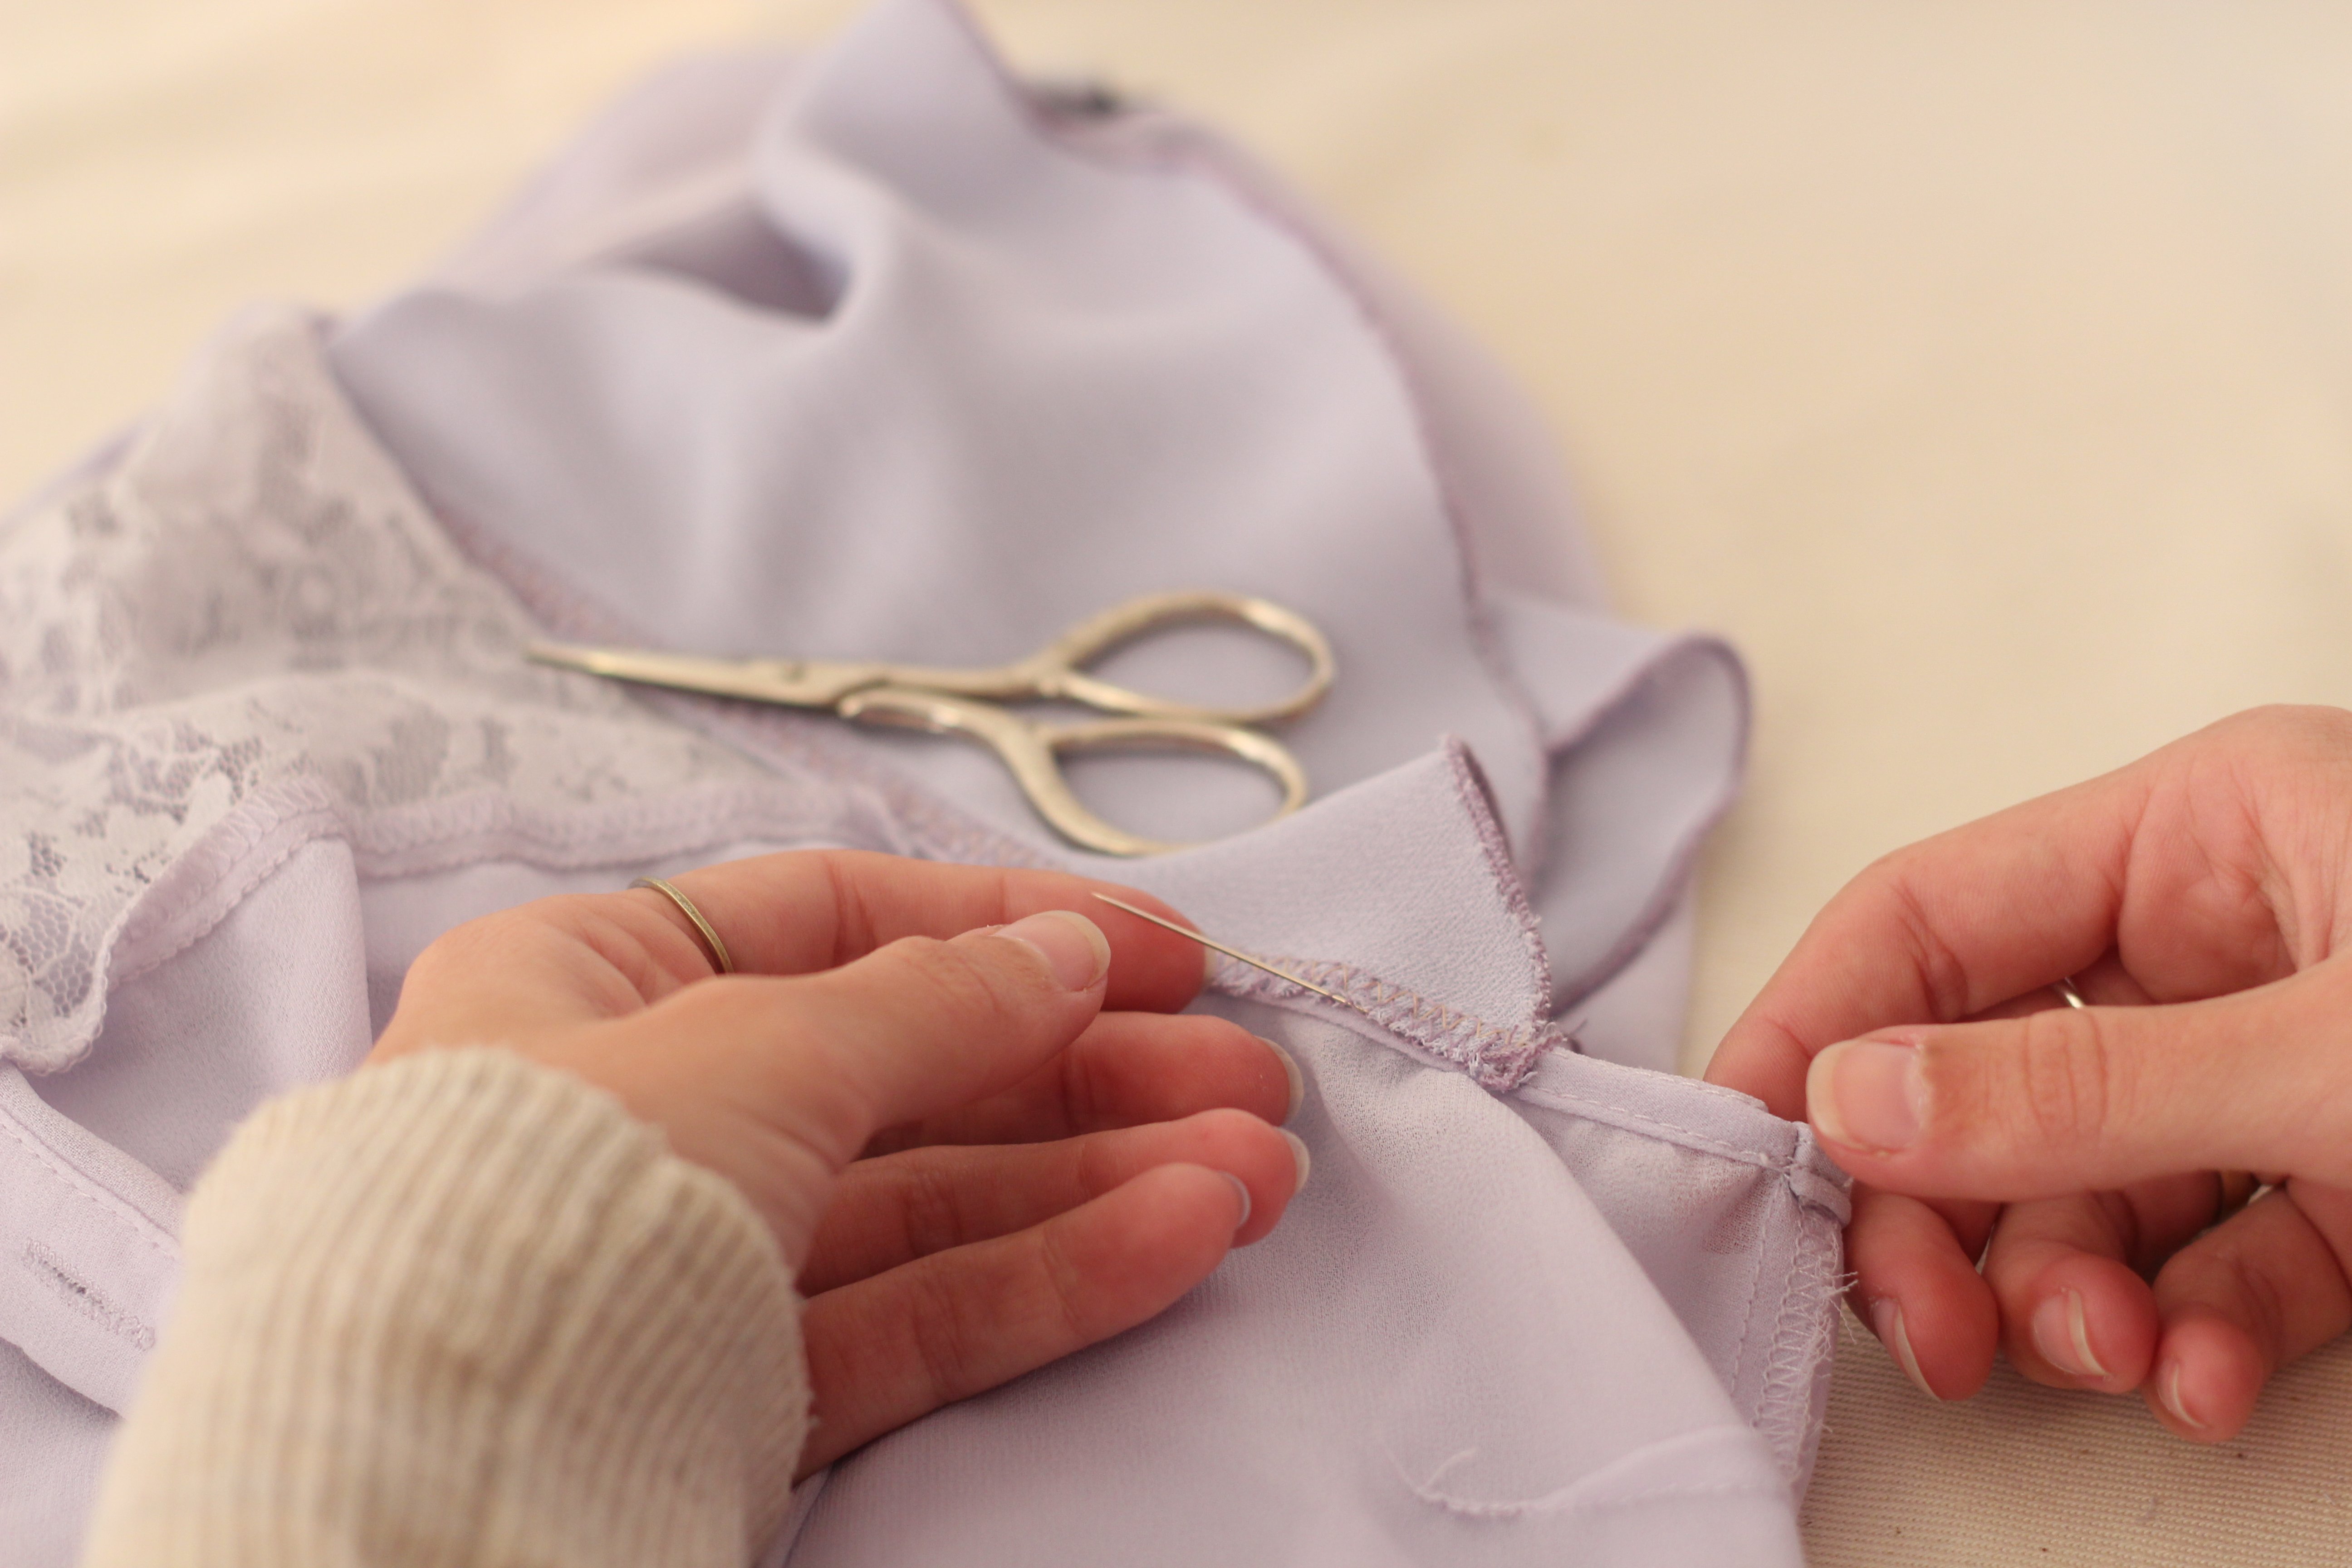 10. Thread in the overlocked ends to prevent unravelling.


Tips
- You could go without a rolled hem for a frayed edge.
- The weight of the fabric will affect the drape of the sleeve.
- A rolled hem could help give a heavier fabric some bounce.
- You could add a thin trim onto the outer edge of the sleeve… So many possibilities!
- Check out my other post for a different way to use this sleeve pattern.
I hope you have fun with this pattern and that you feel inspired!
I would love to see your makes, please feel free to share them with me!
Instagram
Facebook
-Hannah-Rose
All patterns designed by me are for personal use only.


0 Responses