Merrily continuing along in our BERNINA Triangle QAL. By now you are already familiar with the FPP technology from block 4 and block 5 . Block 6 uses this technique too. Perhaps you can think of an unique name for this block?
TRIANGLE no. 6
First, please print out four pages of the attached paper template (for 4 finished blocks).
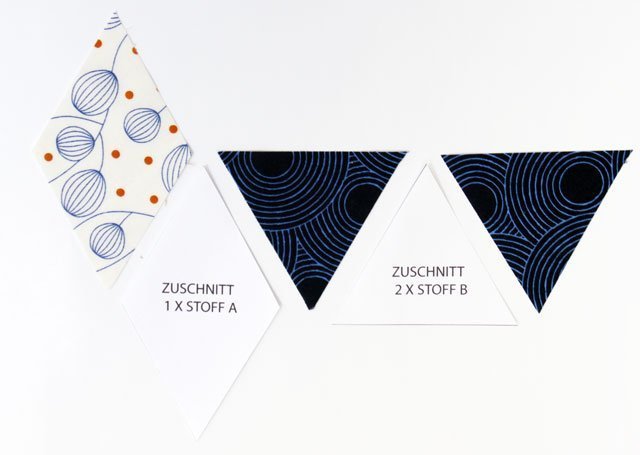
Then use the rhombus template to cut out the rhombus for area 1 and use the small triangle template to cut out two triangles in the contrasting fabric (the templates come already with the necessary seam allowances).
Following the numerical sequence, sew onto the printed side of the paper with the fabric on the blank side (back) of the paper.
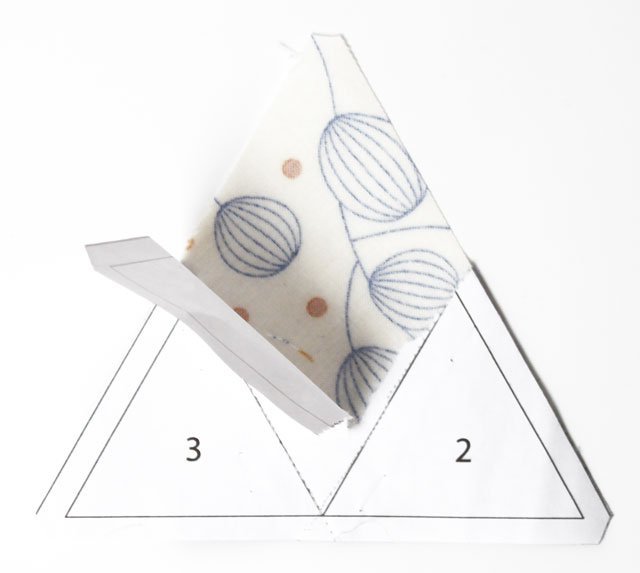
Place the rhombus on area 1 with the right side on the blank side of the paper, so that it completely covers the middle rhombus of the graphic. You may check this by holding the paper against light.
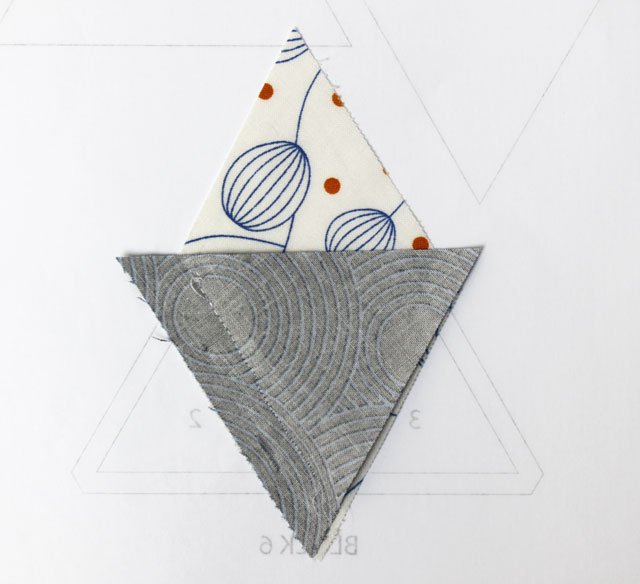
Once the rhombus is placed correctly, place one small triangle on top for area 2, on that edge of the rhombus adjacent to the 2, right sides together, with edges matching, pin. Then sew from the printed side of the paper, again with a stitch length of 1.5.
After the triangle has been sewn on, you can fold the paper on the seam and trim off the excess fabric to ¼”.
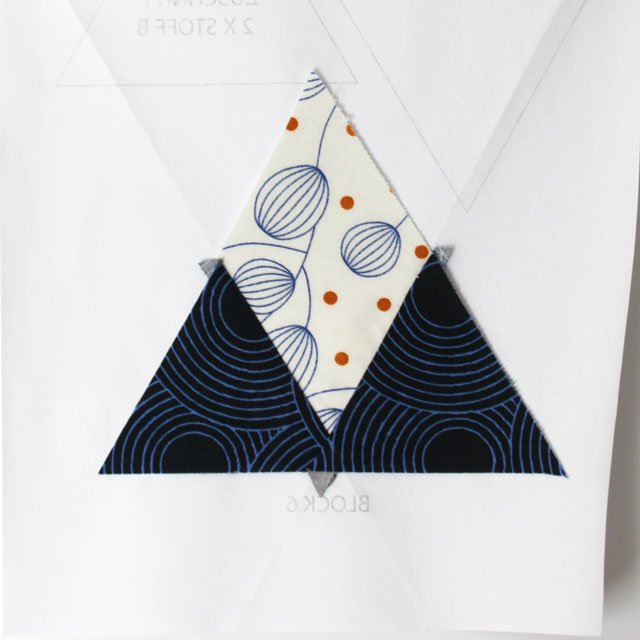
Using the same technique, sew on the triangle for area 3.
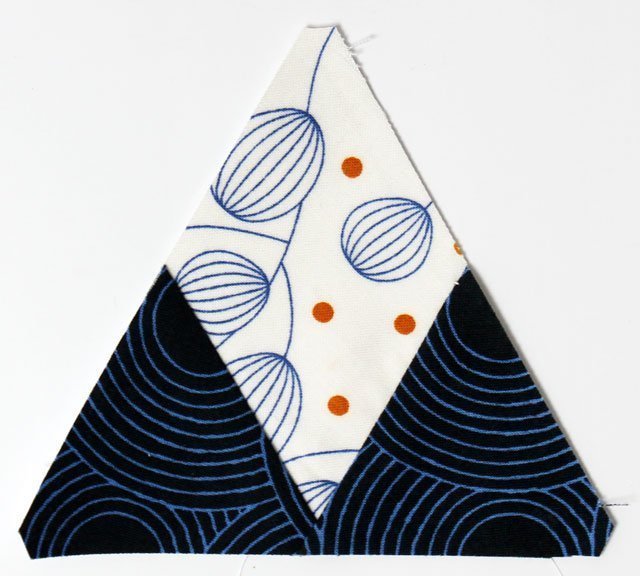
Then cut out the triangle shapes precisely (with shortened corners), tear the paper off, and you have the finished triangle.
We need a total of 4 of these triangles.
By now, the FPP technique is already second nature and you can do it in your sleep, right? And…
…congratulations!
If you have been keeping up so far, that’s half the battle! We already sewed half of the extra blocks. How easy was that??
So many wonderful results in the Community or on Instagram ! I can’t wait to see all the different ways you will inspire each other!
 BERNINA Corporate Blog -



0 Responses