 BERNINA Corporate Blog -
Hello everyone,
There are only four days to go until Christmas Eve – time to think about a stylish outfit.
Unfortunately, there’s not enough time to make an entire Christmas wardrobe. But it would be nice to have something original and unique.So I had the idea of taking a finished item of clothing and turning it into a designer gown.But how do you do that? It’s really quite simple! With the help of a BERNINA with an embroidery function and Toolbox, it can be achieved in a day. I have created a Christmas wardrobe that is beautiful and straightforward, so to demonstrate this, here is a 6-panel dress and shrug.
6-panel dress with matching shrug – instructions
You will need:
- 6-panel dress, plain-coloured
- Shrug, plain-coloured
- Embroidery thread in 2 colours matching the dress and shrug (Mettler Poly Sheen 0020 and 1912)
- Bobbin thread
- Water-soluble, self-adhesive embroidery stabiliser
Other tools and accessories, such as:
- A BERNINA with embroidery function
- Embroidery module
- Medium embroidery hoop
- Oval embroidery hoop
- Toolbox embroidery software
- Embroidery foot #26
- Chalk
- Cutting ruler for marking
- Scissors

Open Toolbox and select your chosen embroidery motif. (In my case it is from Collection 12288 Cutwork Bouquet FB450_48.)

When you click on “Open”, you will be asked if you want to save it under the same name or give it a different name.
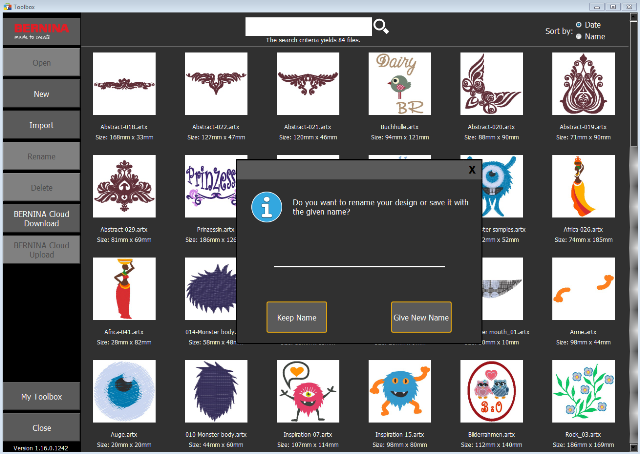
I give it a different name because I want to edit it. The file is never overwritten anyway.

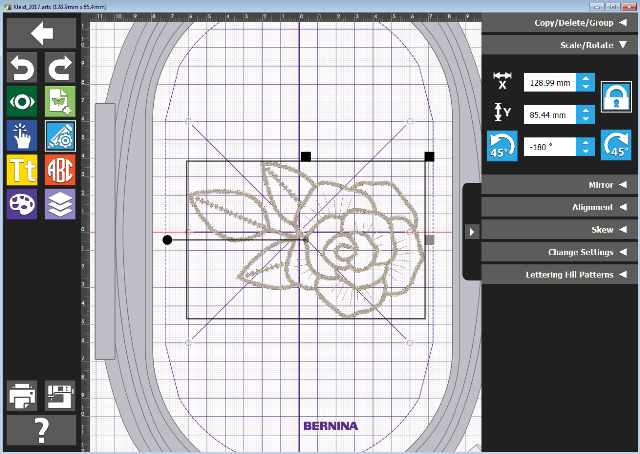
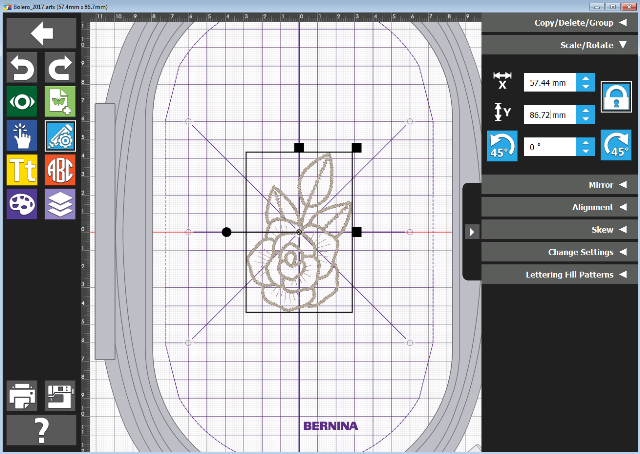
As the motif is a bit too small for me personally, I enlarge it slightly. However, please make sure you don’t increase it by more than 20%, as this affects the embroidery quality.

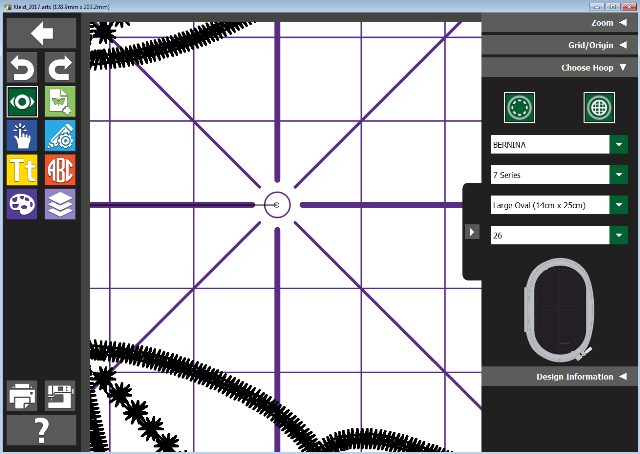
I want to arrange two embroidery motifs in the hoop, so I turn the motif. This means that both now fit perfectly into the hoop.
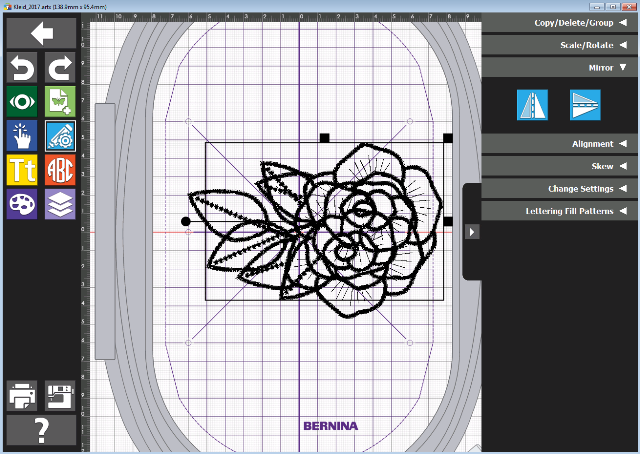
But before I copy the motif, I change the embroidery thread colour. In my case, to black.

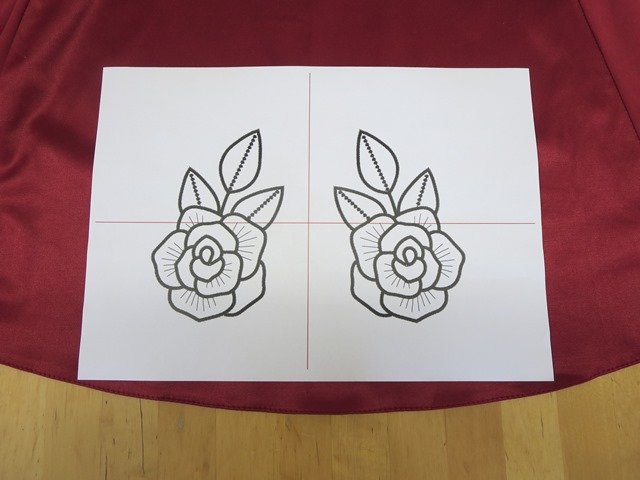
Select and copy the embroidery motif again. Then make the copy mirror-image.
Now align the embroidery motifs so the two are exactly parallel with each other. The embroidery designs should be almost half the width of a skirt panel. Please note: It cannot be the full half-width because there should be about the same distance between the embroidery motifs that are applied as between the ones in the file. For example, if the skirt panel is 47 cm wide, half of this is 23.5 cm.The single embroidery motif is 8.5 cm wide, so both embroidery motifs together should be 20.3 cm wide. The distance between the two motifs in my case is around 3.2 cm.
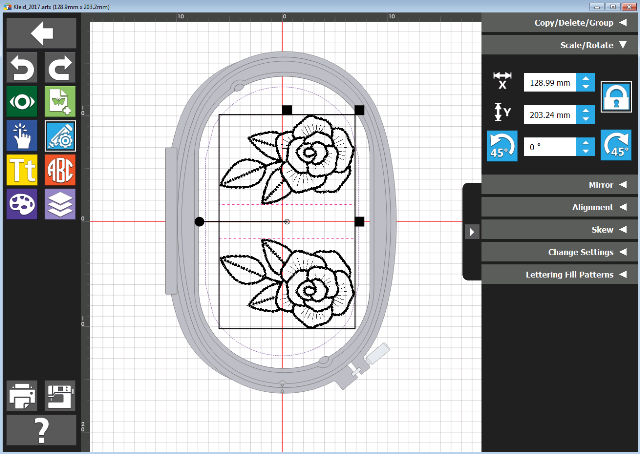
The centre of the embroidery motif should be exactly in the grid of the hoop before you start printing.
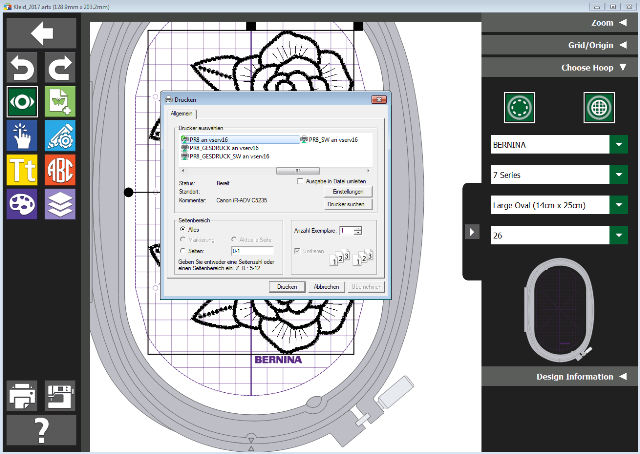
Print out the embroidery motif.
For the shrug, import the embroidery motif again and reduce the size by 20%.
Change the colour and print it out.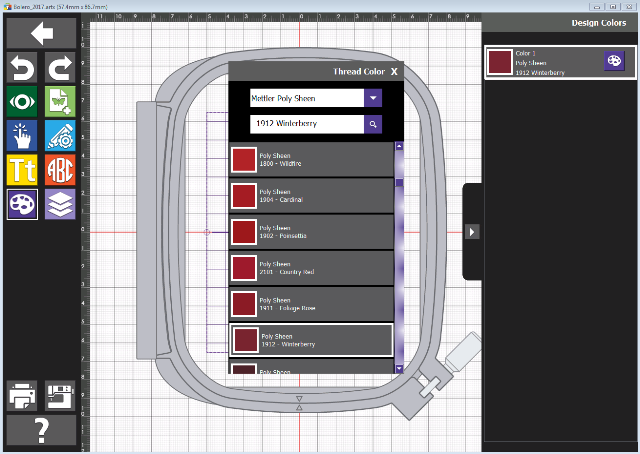
Save the two embroidery motifs onto a USB stick.

To get a rough idea of what the skirt will look like, just put the printout onto a skirt panel.
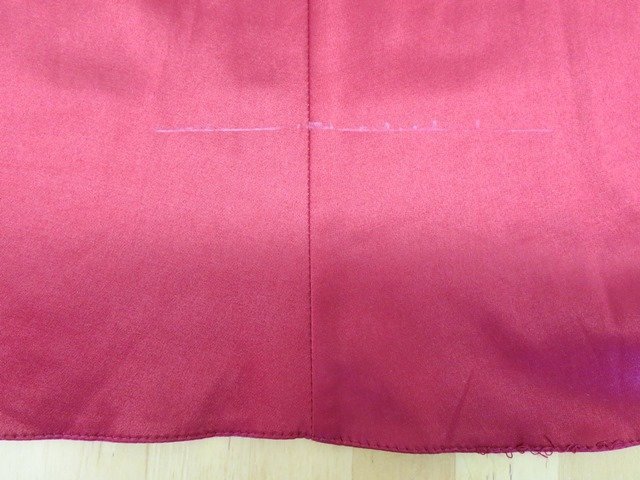
Fold the skirt panel so the side seams are on top of each other to find the middle of the panel. Mark with chalk.
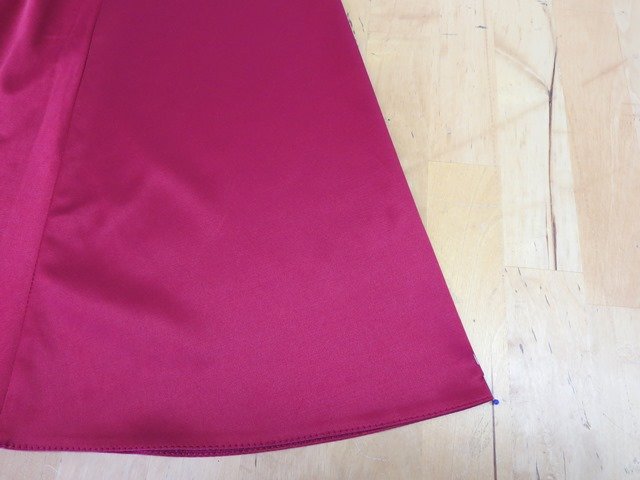
Mark a cross about 11 cm from the hem of the skirt. The length marks are made at the panel seams. Make the marks on all 6 panels.
Clamp water-soluble, self-adhesive stabiliser into the oval hoop and remove the backing paper. Place the skirt panel into the hoop precisely using the template.
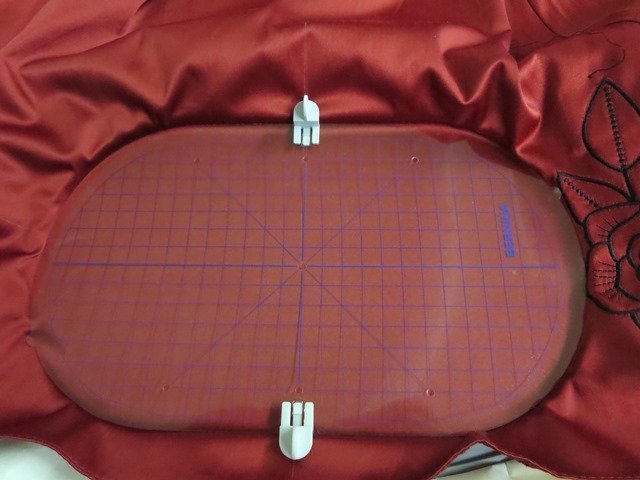
Open the embroidery motif on the machine, thread the embroidery thread and attach the hoop. Check it is placed in the centre using the check function and start embroidering. After embroidering, cut the stabiliser down around the edges of the design. Do all the other panels in the same way.
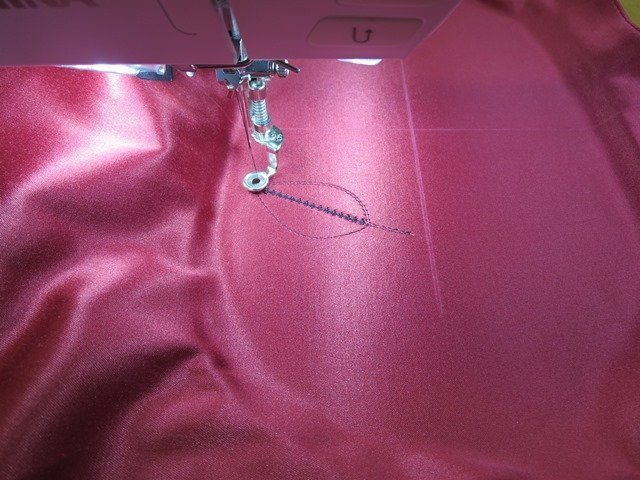
And you’re done!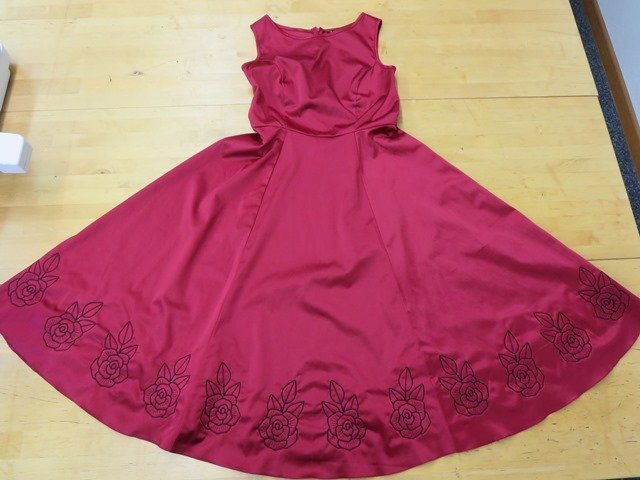
Cut out the embroidery motif for the shrug just around the motif and place it on the shrug to work out where you want to position it.
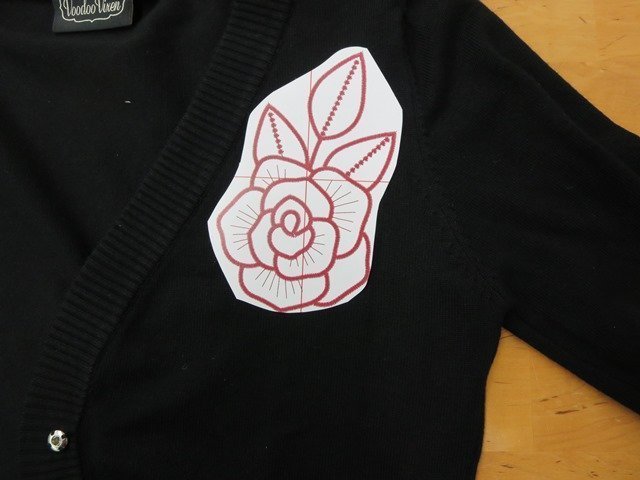
Mark the position.
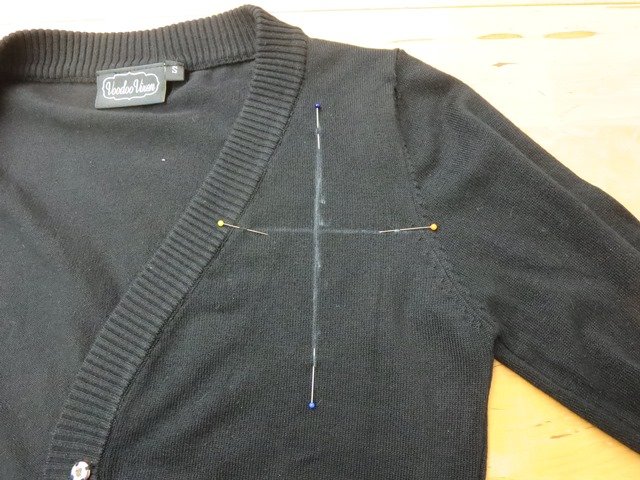
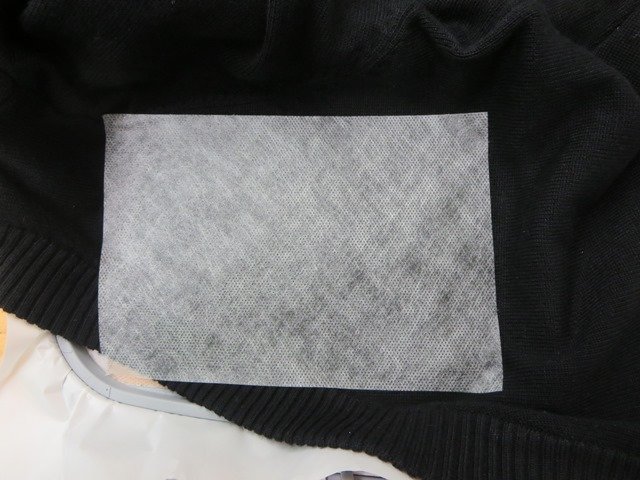
Change the embroidery thread. Open the embroidery motif for the shrug. Put some water-soluble, self-adhesive embroidery stabiliser into the medium hoop. Remove the backing paper. Position the shrug using the template. Stick a piece of water-soluble, self-adhesive stabiliser onto the right side of the shrug where the motif is to be embroidered.
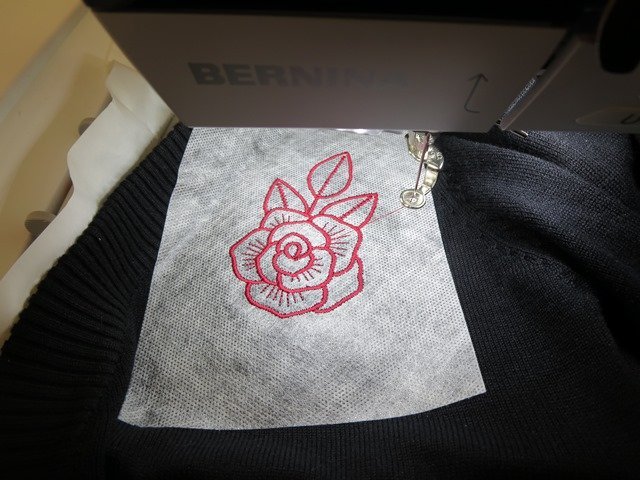
Embroider.
To remove the water-soluble fleece, I washed the dress and the shrug in the washing machine on a short cycle.
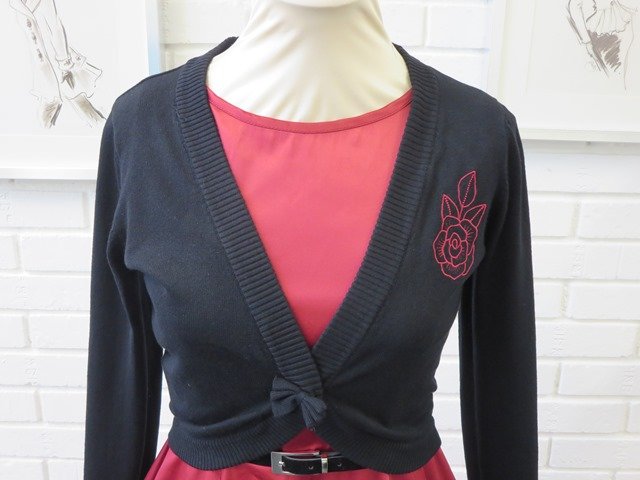
This is what the finished shrug looks like:
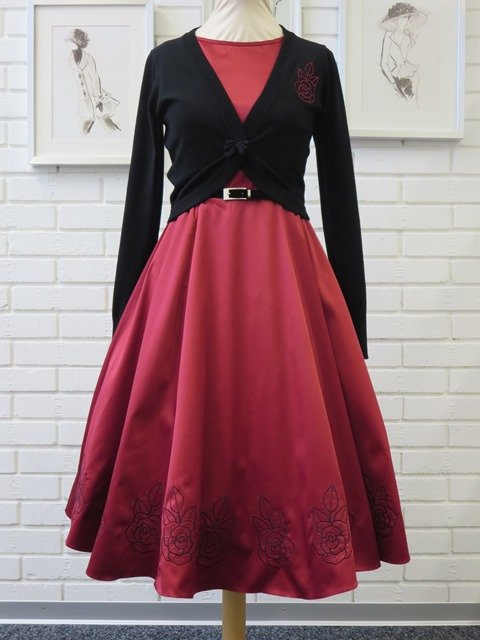
And here is the complete outfit:
I wish you a wonderful and peaceful Christmas and a happy New Year!
Birgit

0 Responses