 BERNINA Corporate Blog -
Dear community,
in this blog post you can find iipps & instructions for sewing festive shirts – perfect for Christmas and New Year’s Eve.
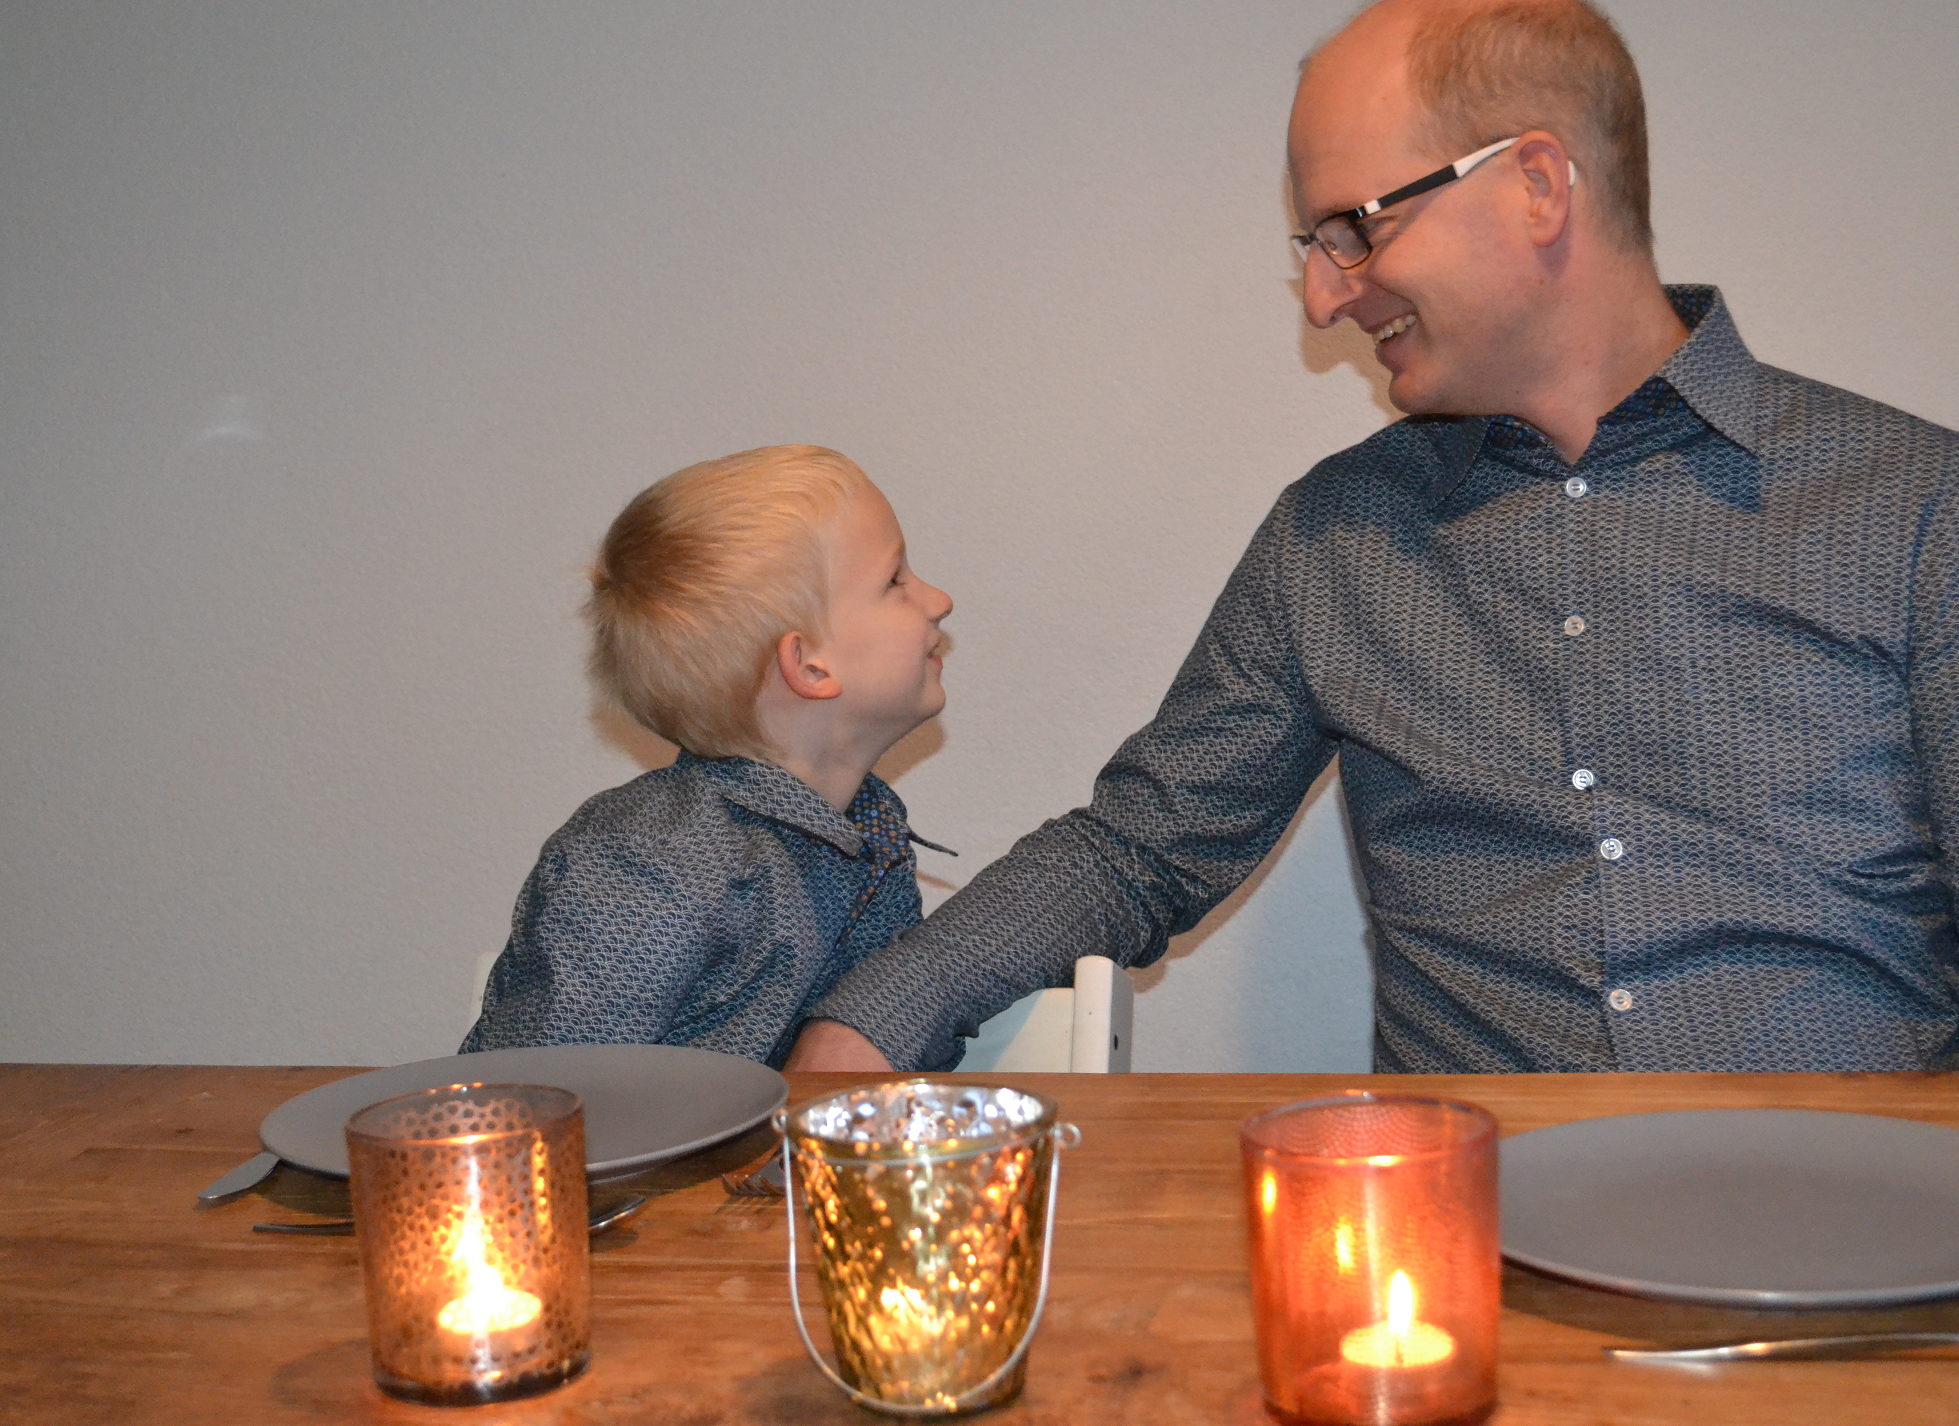
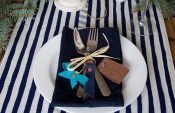
Festive dining
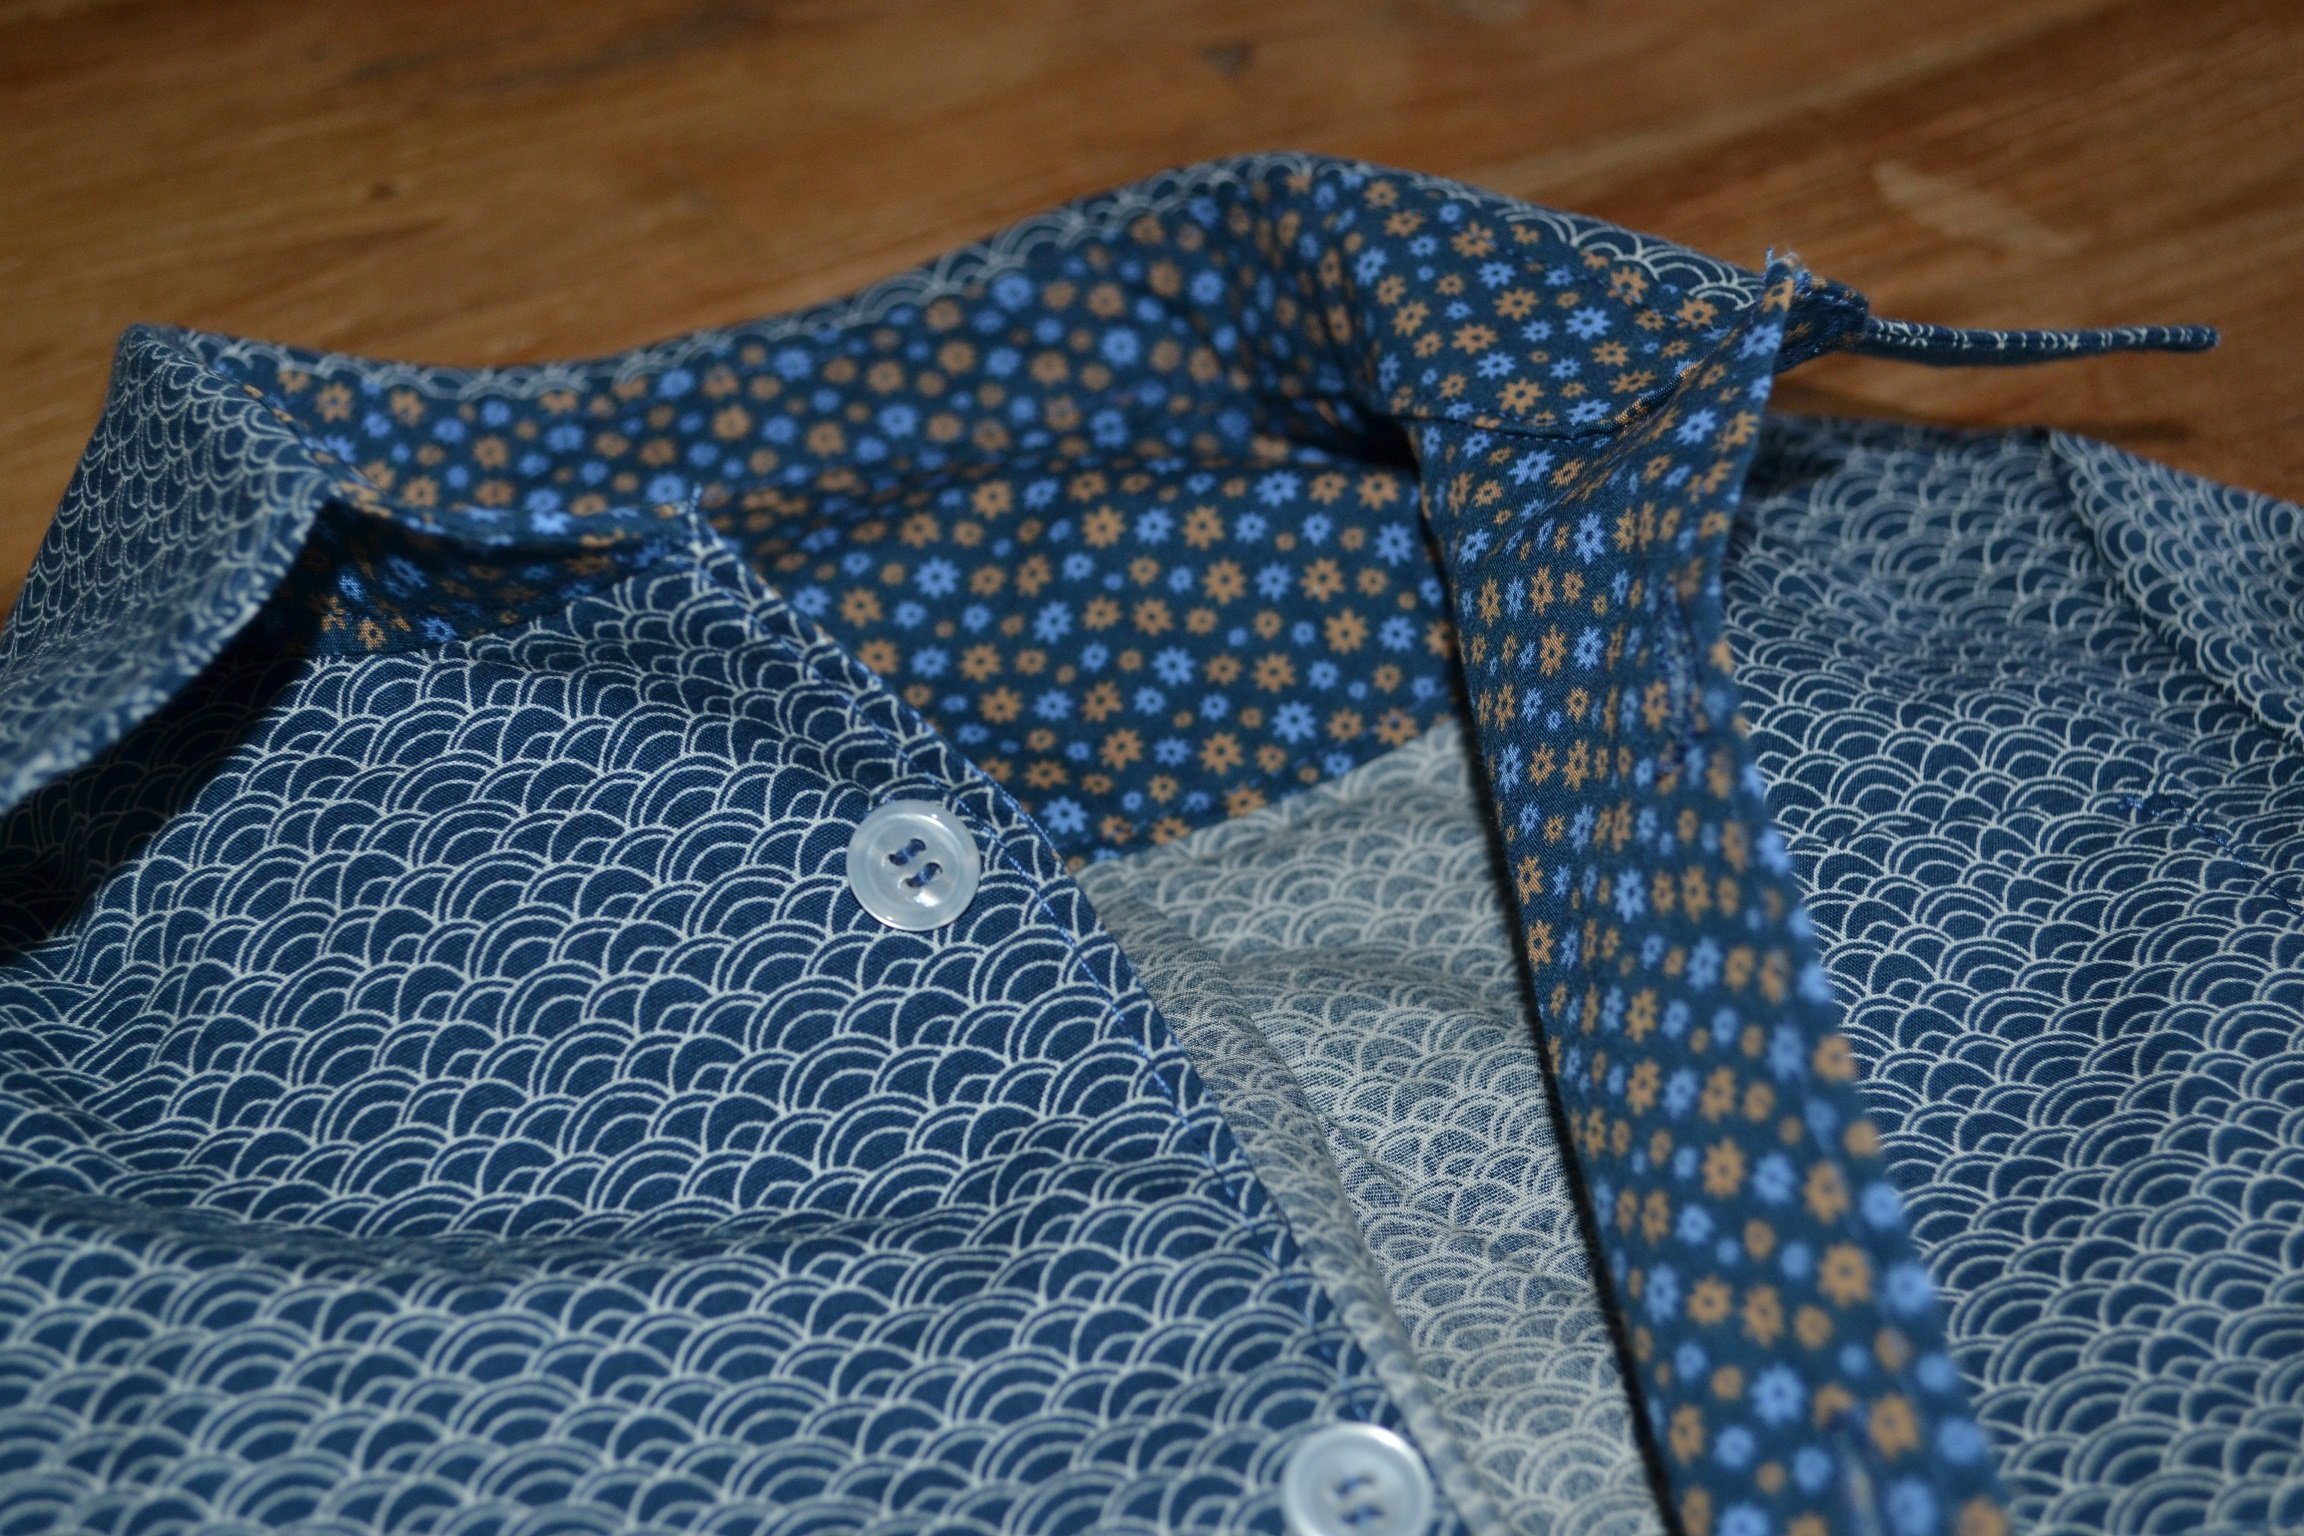
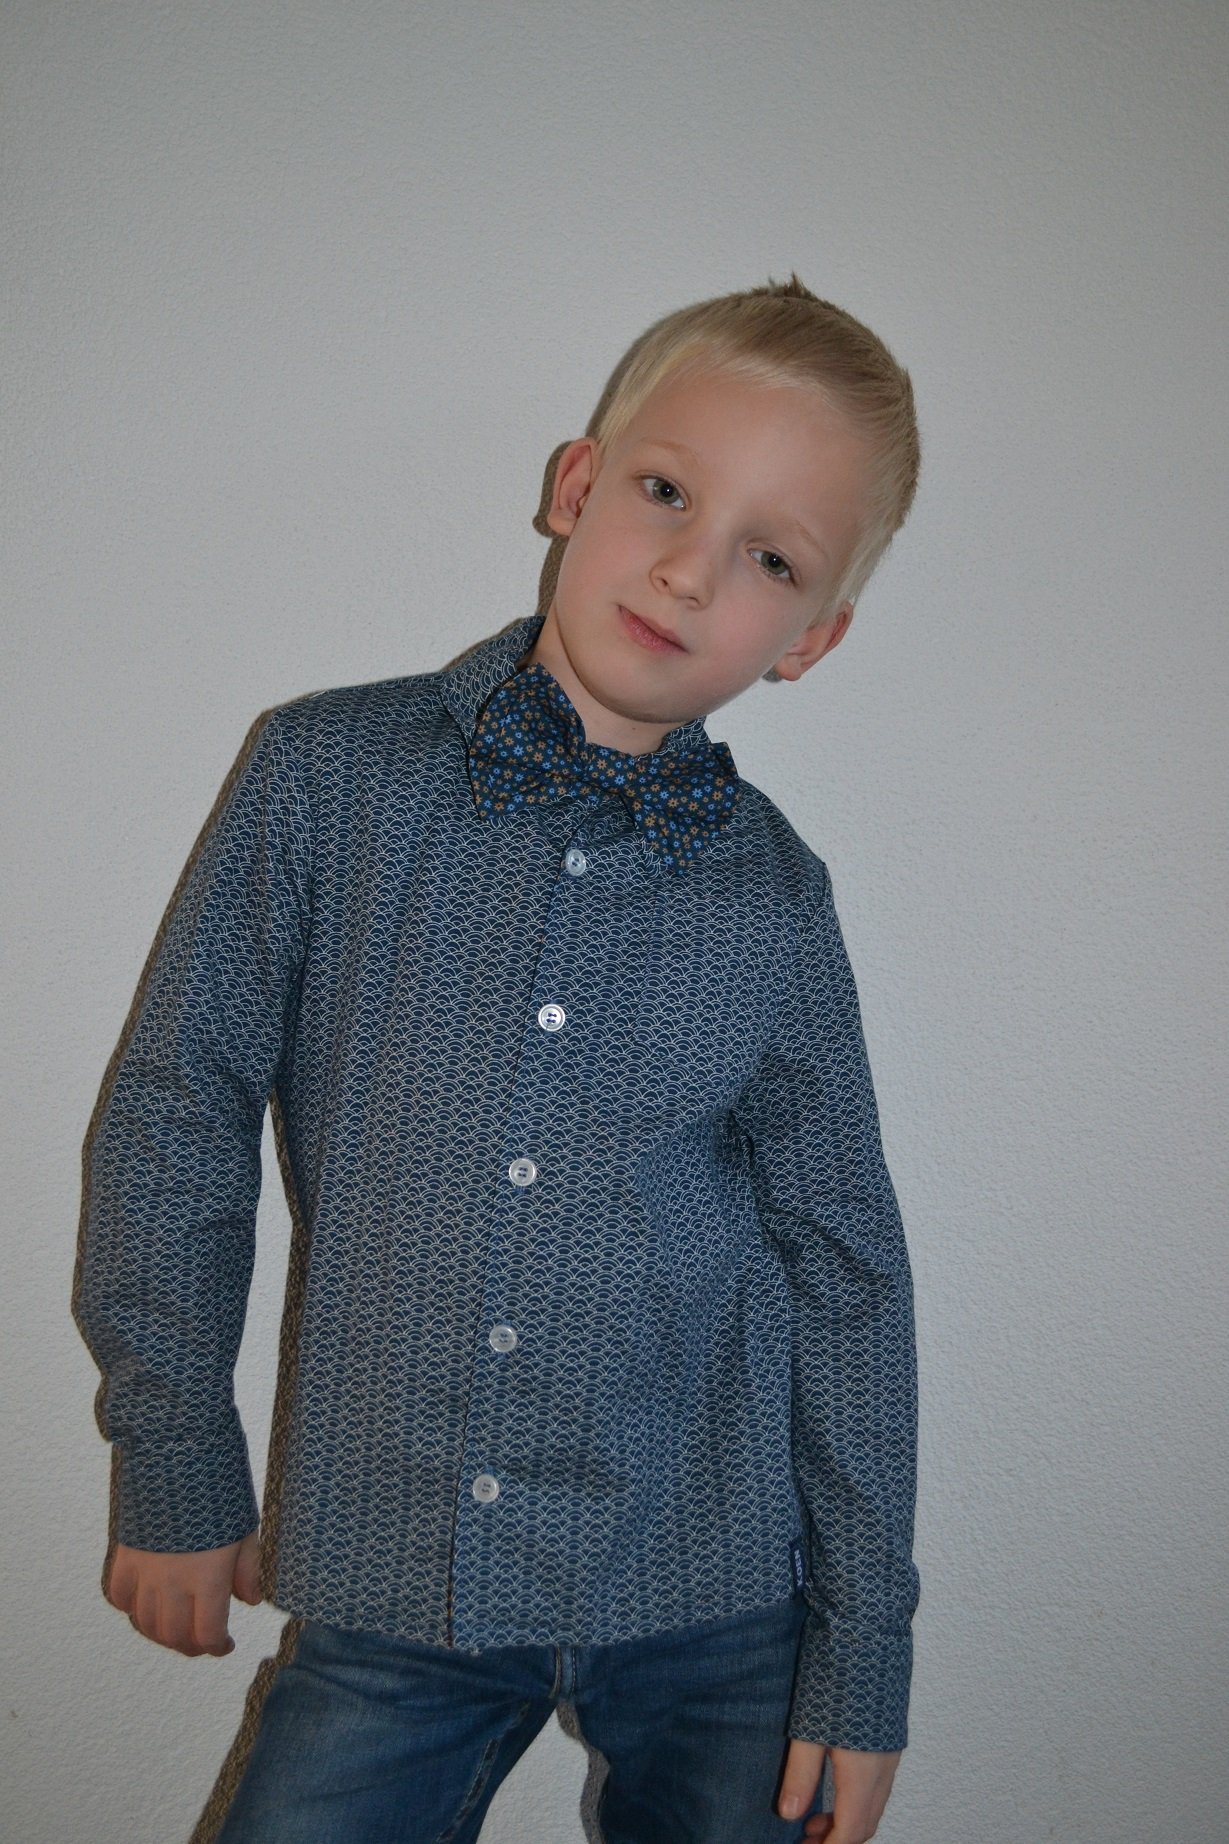
This year, the theme of the BERNINA advent calendar is ‘festive dining’. A perfect theme for the month of December. It makes me think of a beautifully-set table with candles, good food, music in the background and, of course, festive clothes. You have typical Christmas clothes, such as those ‘ugly’ Christmas jerseys with reindeer, Santas, snowmen, etc. And then you have smart party clothes. Both extremes can only be worn at Christmas. The rest of the year they are useless to you. And I think that’s such a shame. That’s why I decided to sew two new shirts for my boyfriend and our eldest son for Christmas. I chose a fabric that looks smart and can also easily be worn after the holidays.
Sewing a shirt
I have sewn shirts for my two sons on a number of occasions. But I had never sewn one for my boyfriend. I used the Theo shirt pattern from Zonen09 for both. This pattern is available for children, teenagers and adults. The patterns are available in Dutch, English and French. All the Zonen09 patterns have step-by-step photo instructions, making them easy to follow. This was the first time I had made a man’s shirt, but I managed! The hardest part for me was the classic sleeve split, but fortunately this was explained step by step with the help of photos and text.
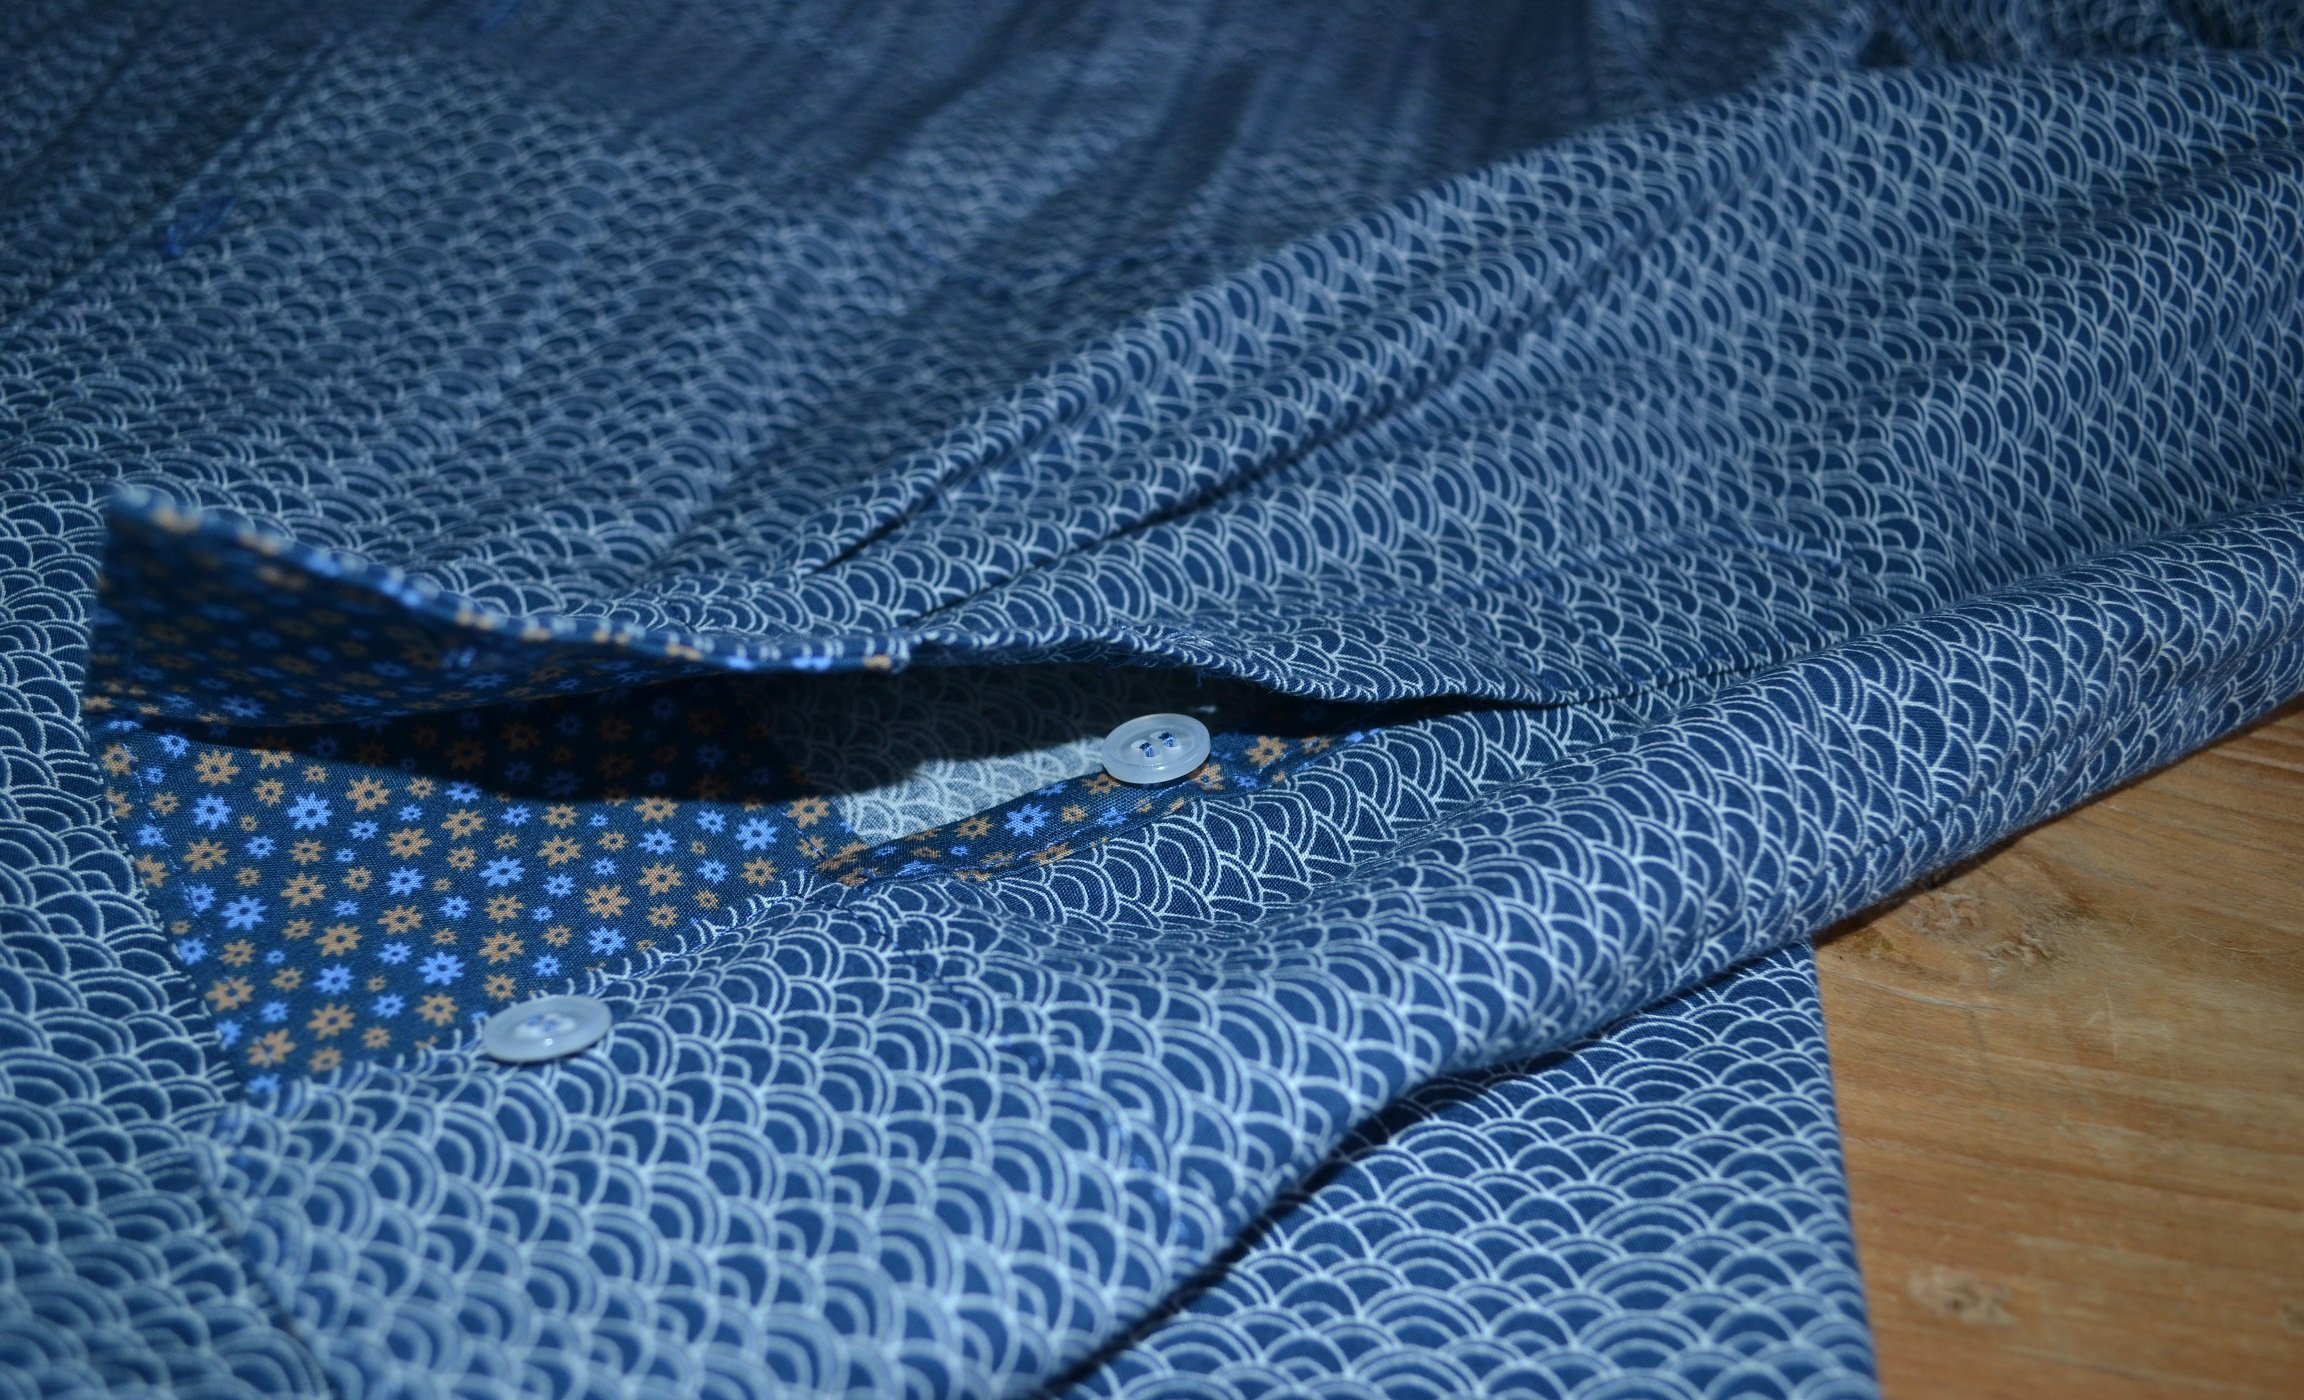
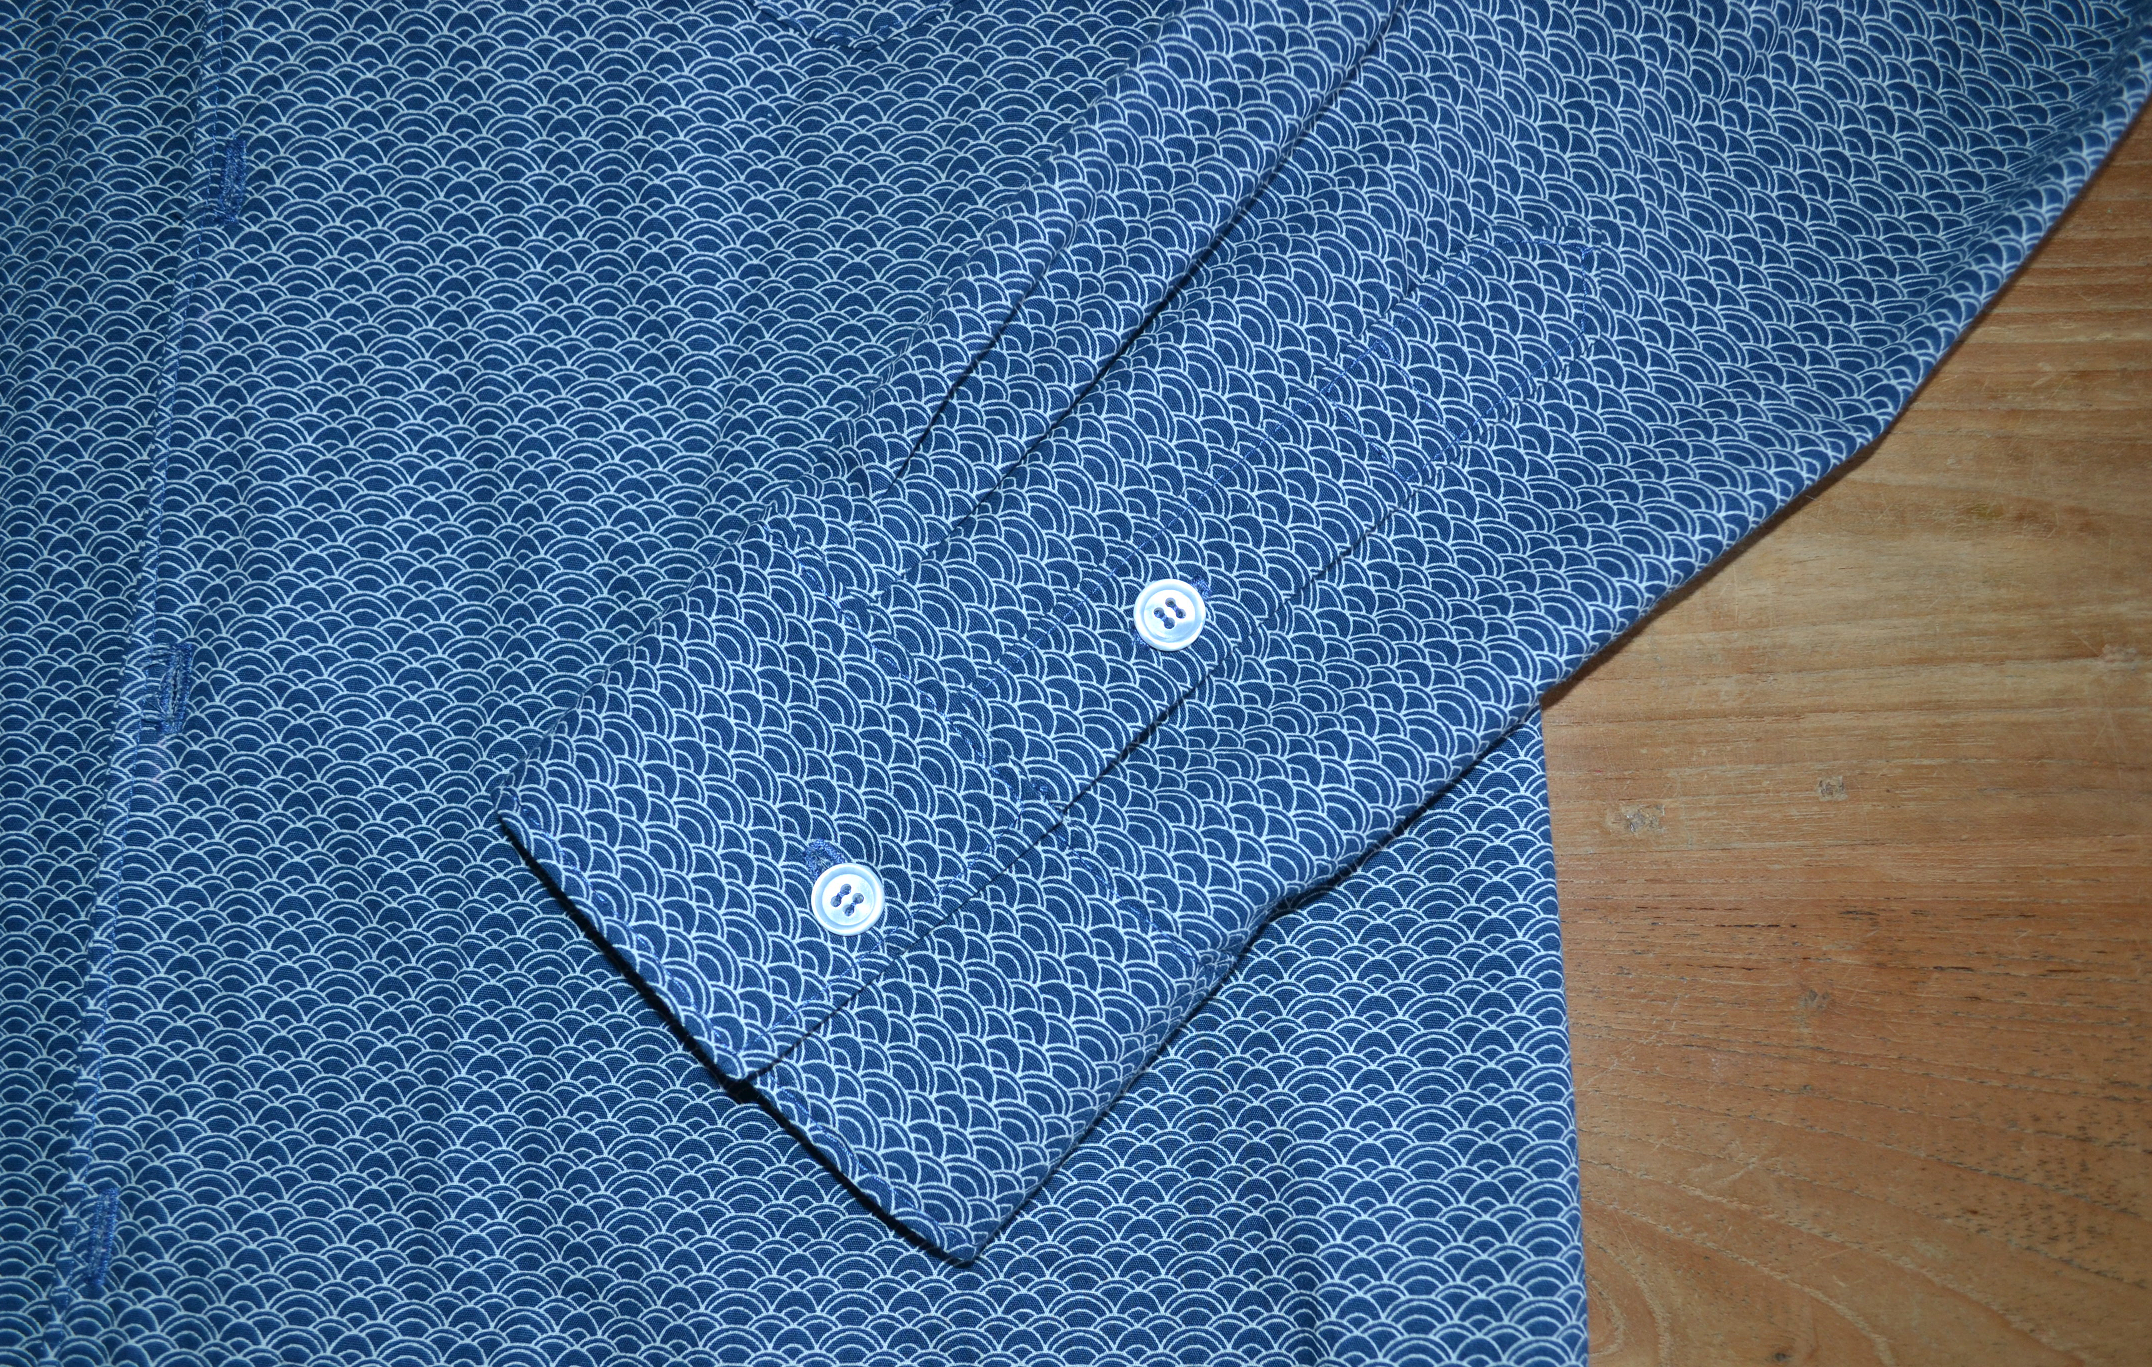
Classic sleeve split
Materials:
- shirt pattern
- 1 basic fabric and 1 contrast fabric. I bought 3 metres of the basic fabric and 60 cm of the contrast fabric
- sewing and overlocker thread
- buttons
- interfacing
- sewing machine
- overlocker
Finish the edges
I usually make clothing from tricot or jersey fabric. So I often use the bernette 48 overlocker/coverstitch machine. With the overlocker, you can quickly assemble a t-shirt, hoodie or legging Maar ook voor katoenen stoffen kun je gebruik maken van de lockmachine. After all, cotton must always be finished to prevent fraying of the edges. You can use the zigzag stitch on your normal sewing machine for this, but you can also finish the edges with the overlocker. To me, finishing with the overlocker looks much nicer and is also a lot faster. For the finishing of the edges I used stitch number 4 on the bernette 48. This is the narrow 3-thread overlock stitch.
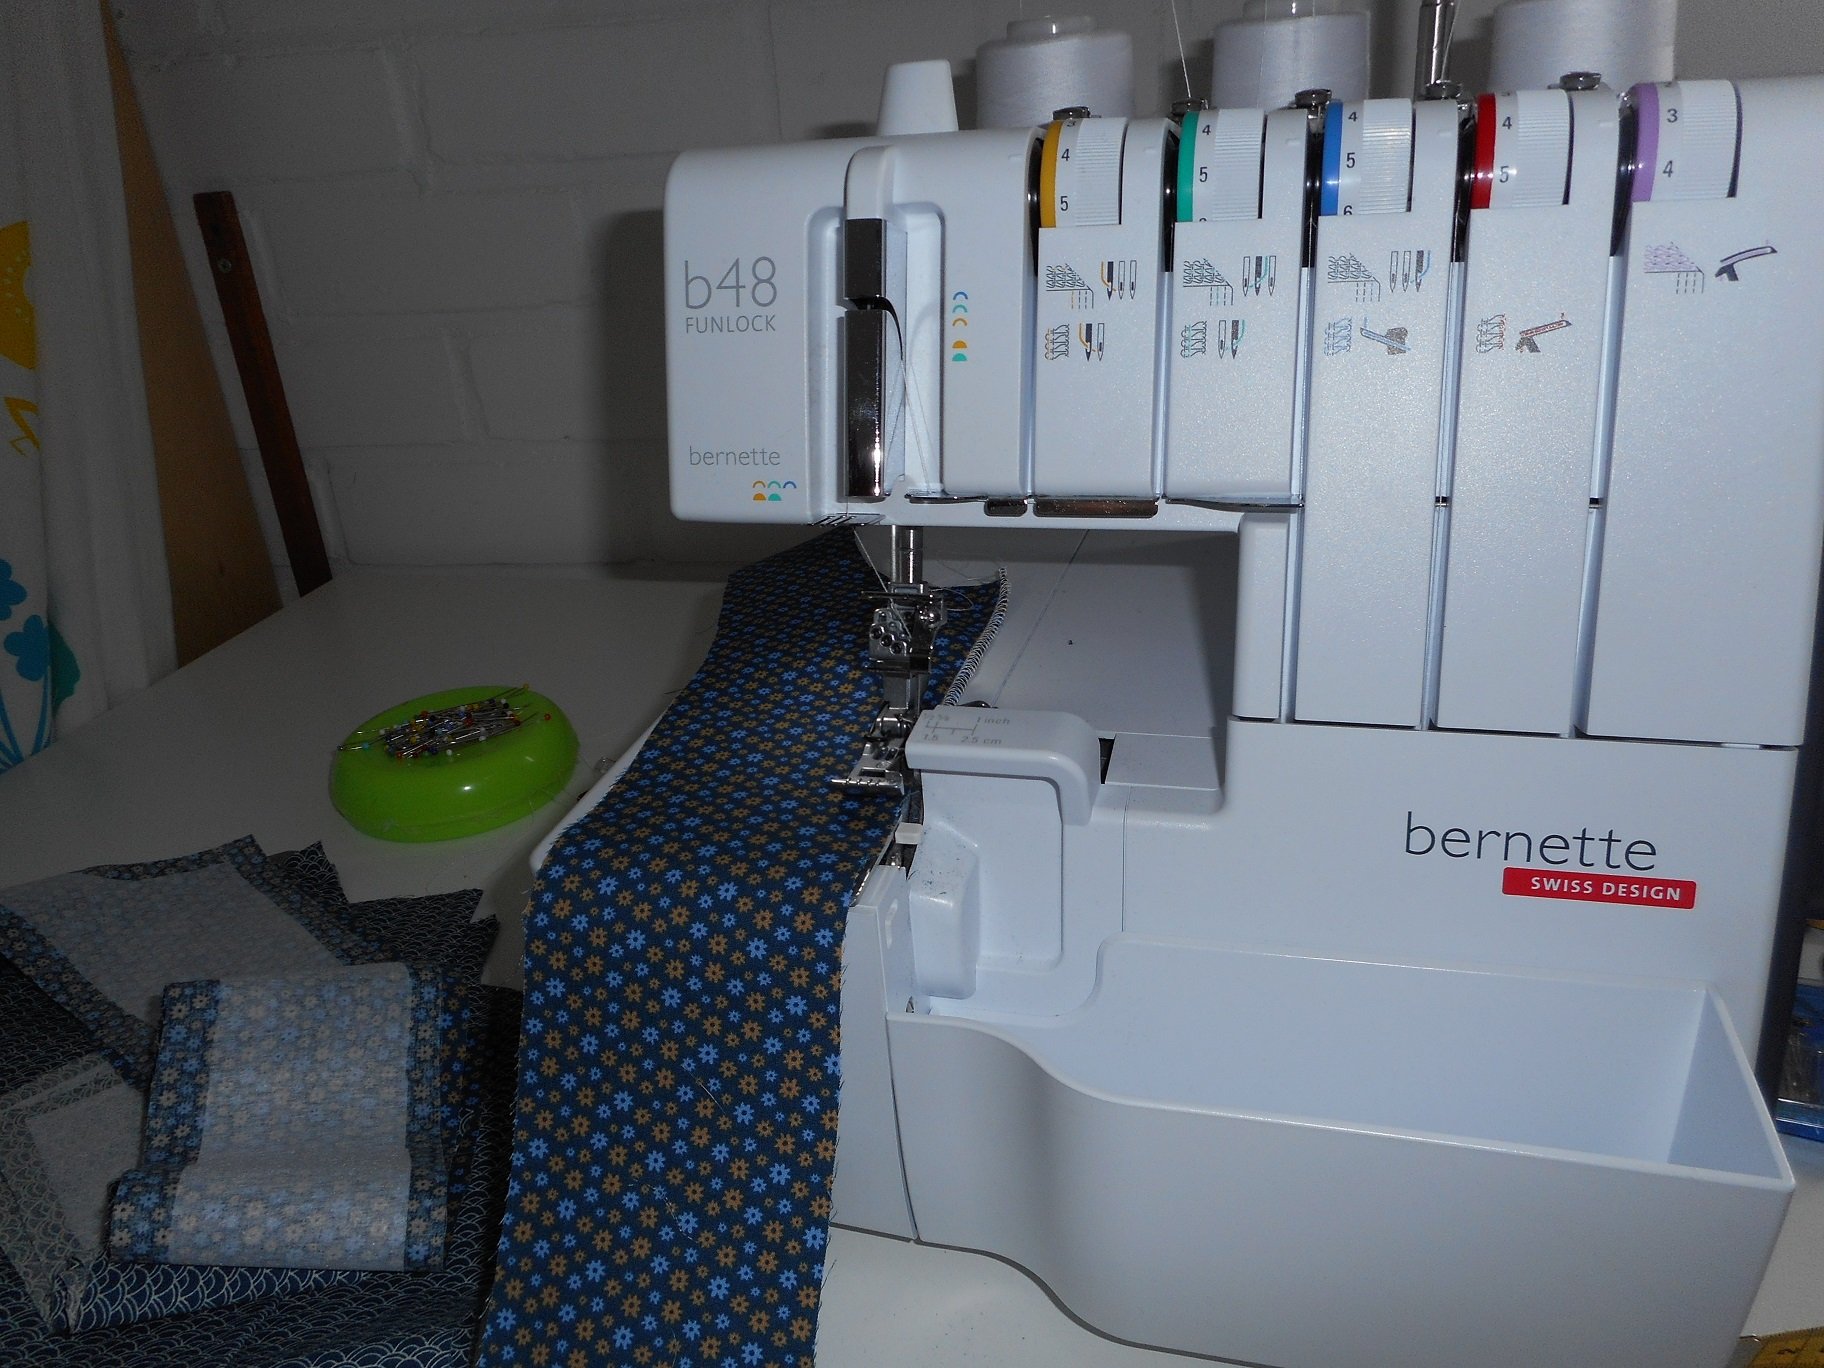
You only use 1 needle for the 3-thread overlock stitch. To make the narrow stitch, place the needle in the right needle position.
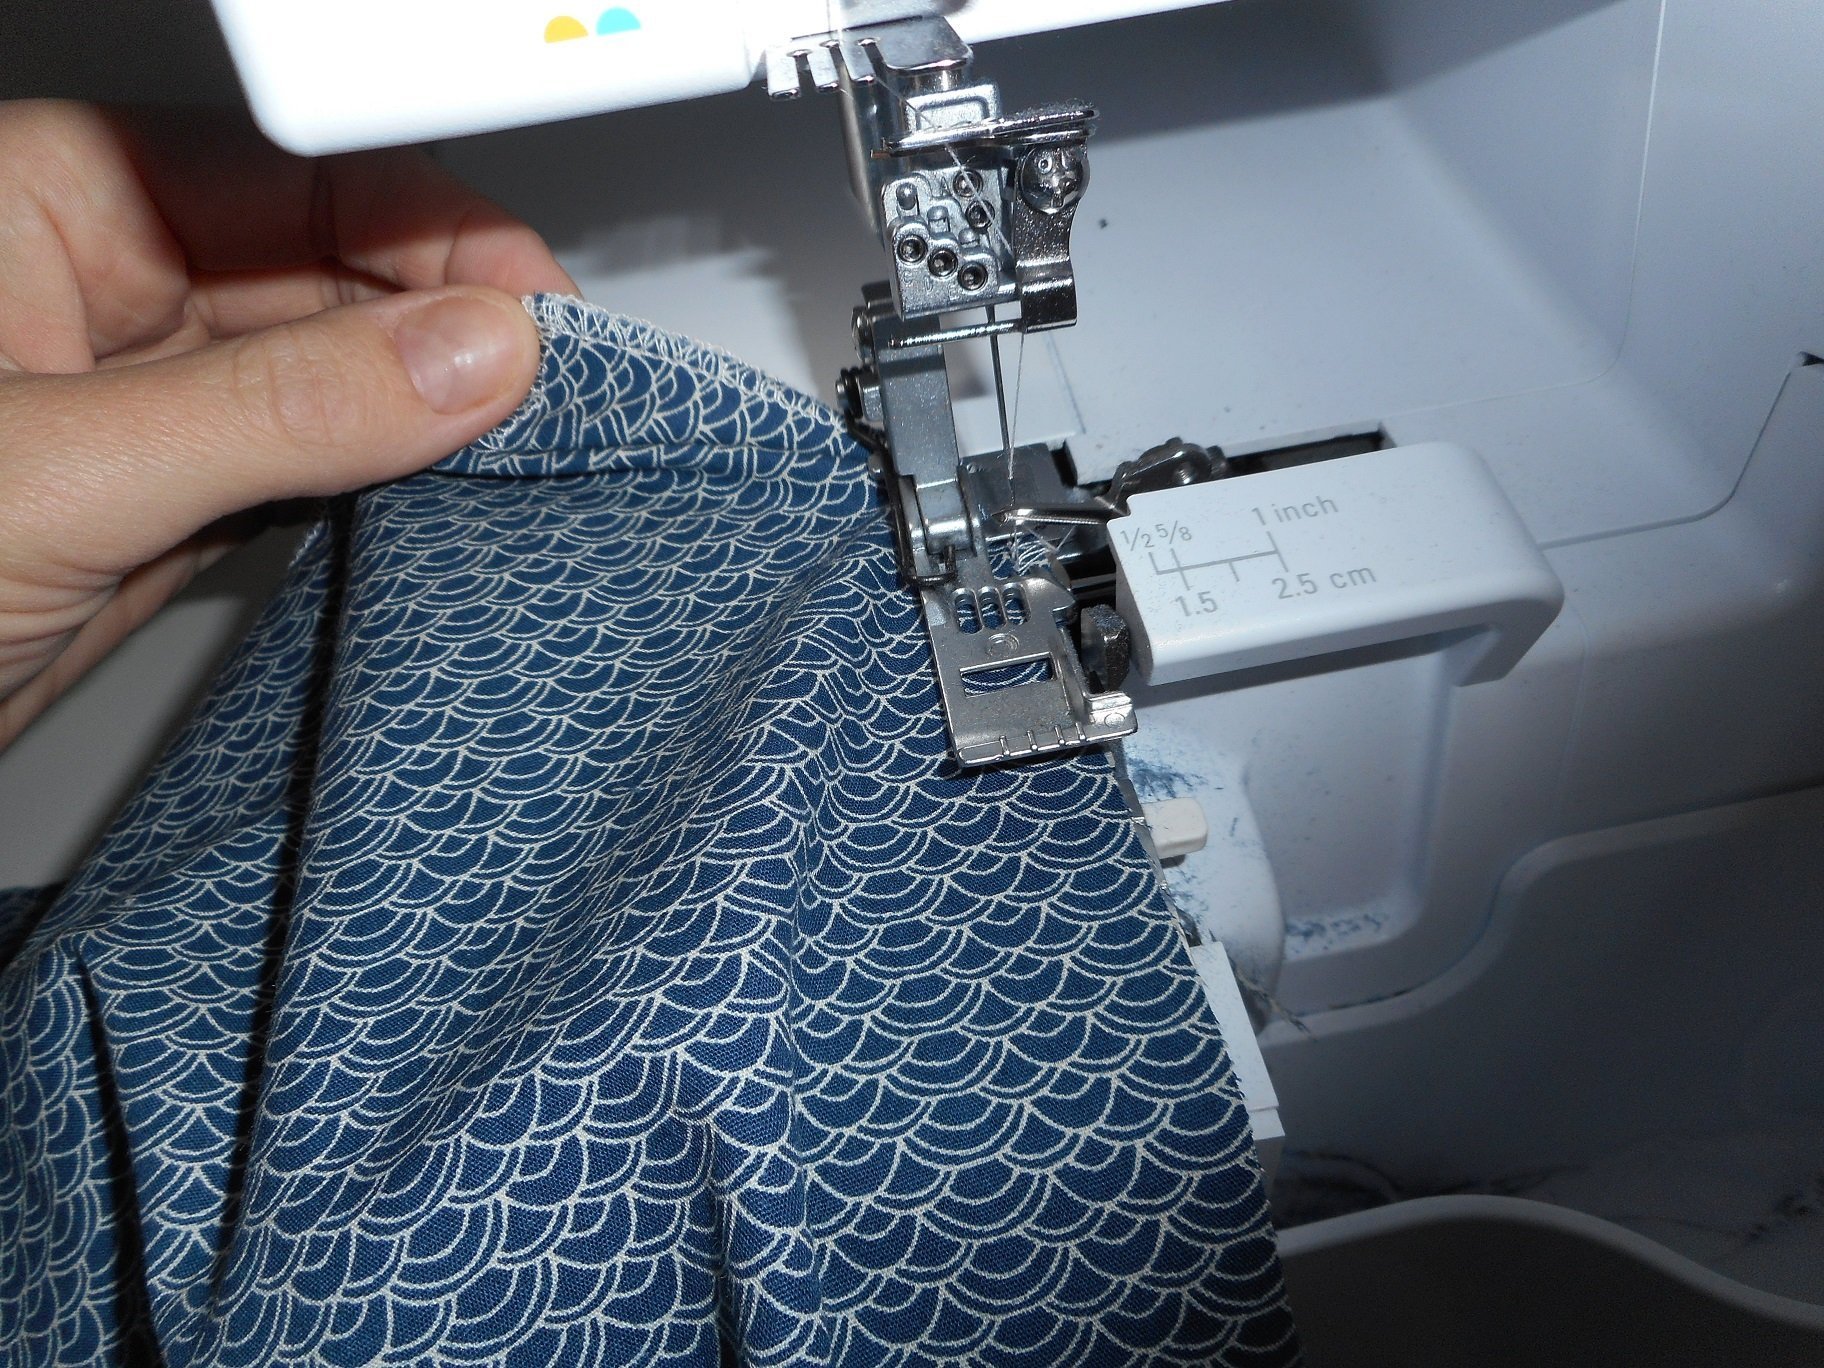
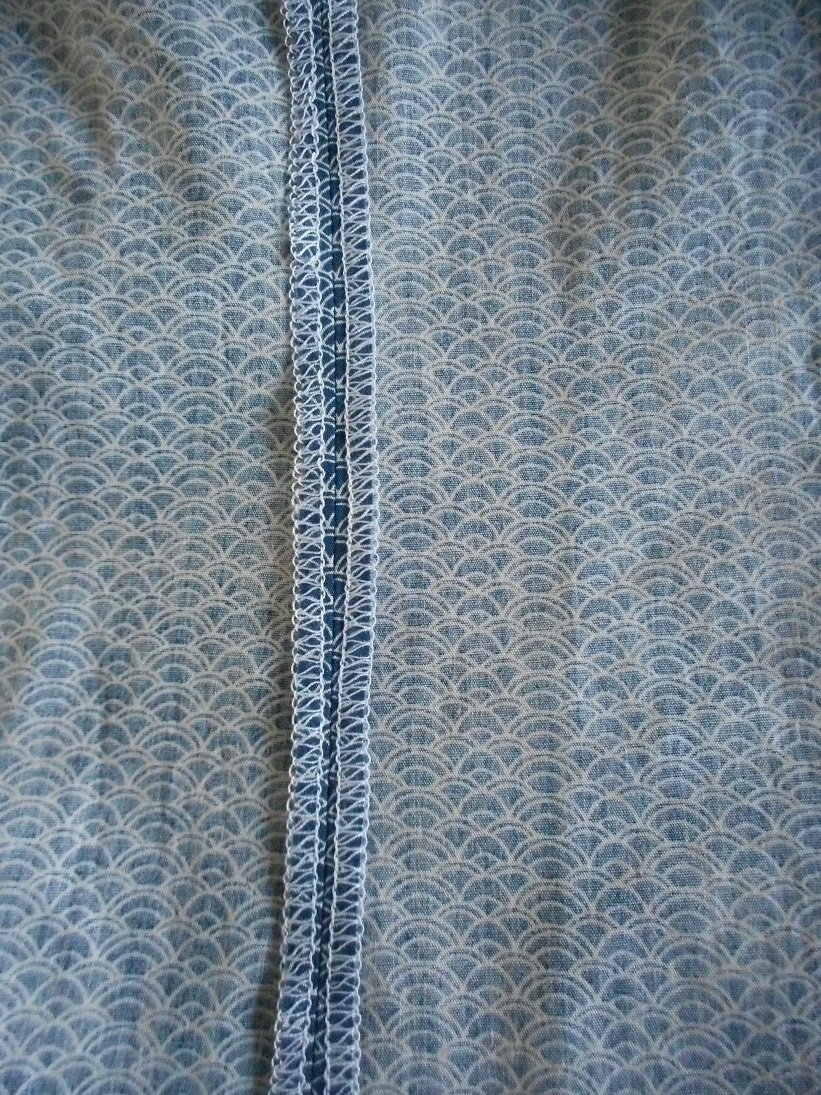
In the picture below you can see what the narrow lock stitch looks like. I think this finish is neater than the zigzag stitch made with a sewing machine. The zigzag stitch scrunches up the fabric slightly, and the lock stitch keeps the fabric flatter.

Once the sideseams have been stiched and the seams ironed open, it looks like this on the inside:
Hemming
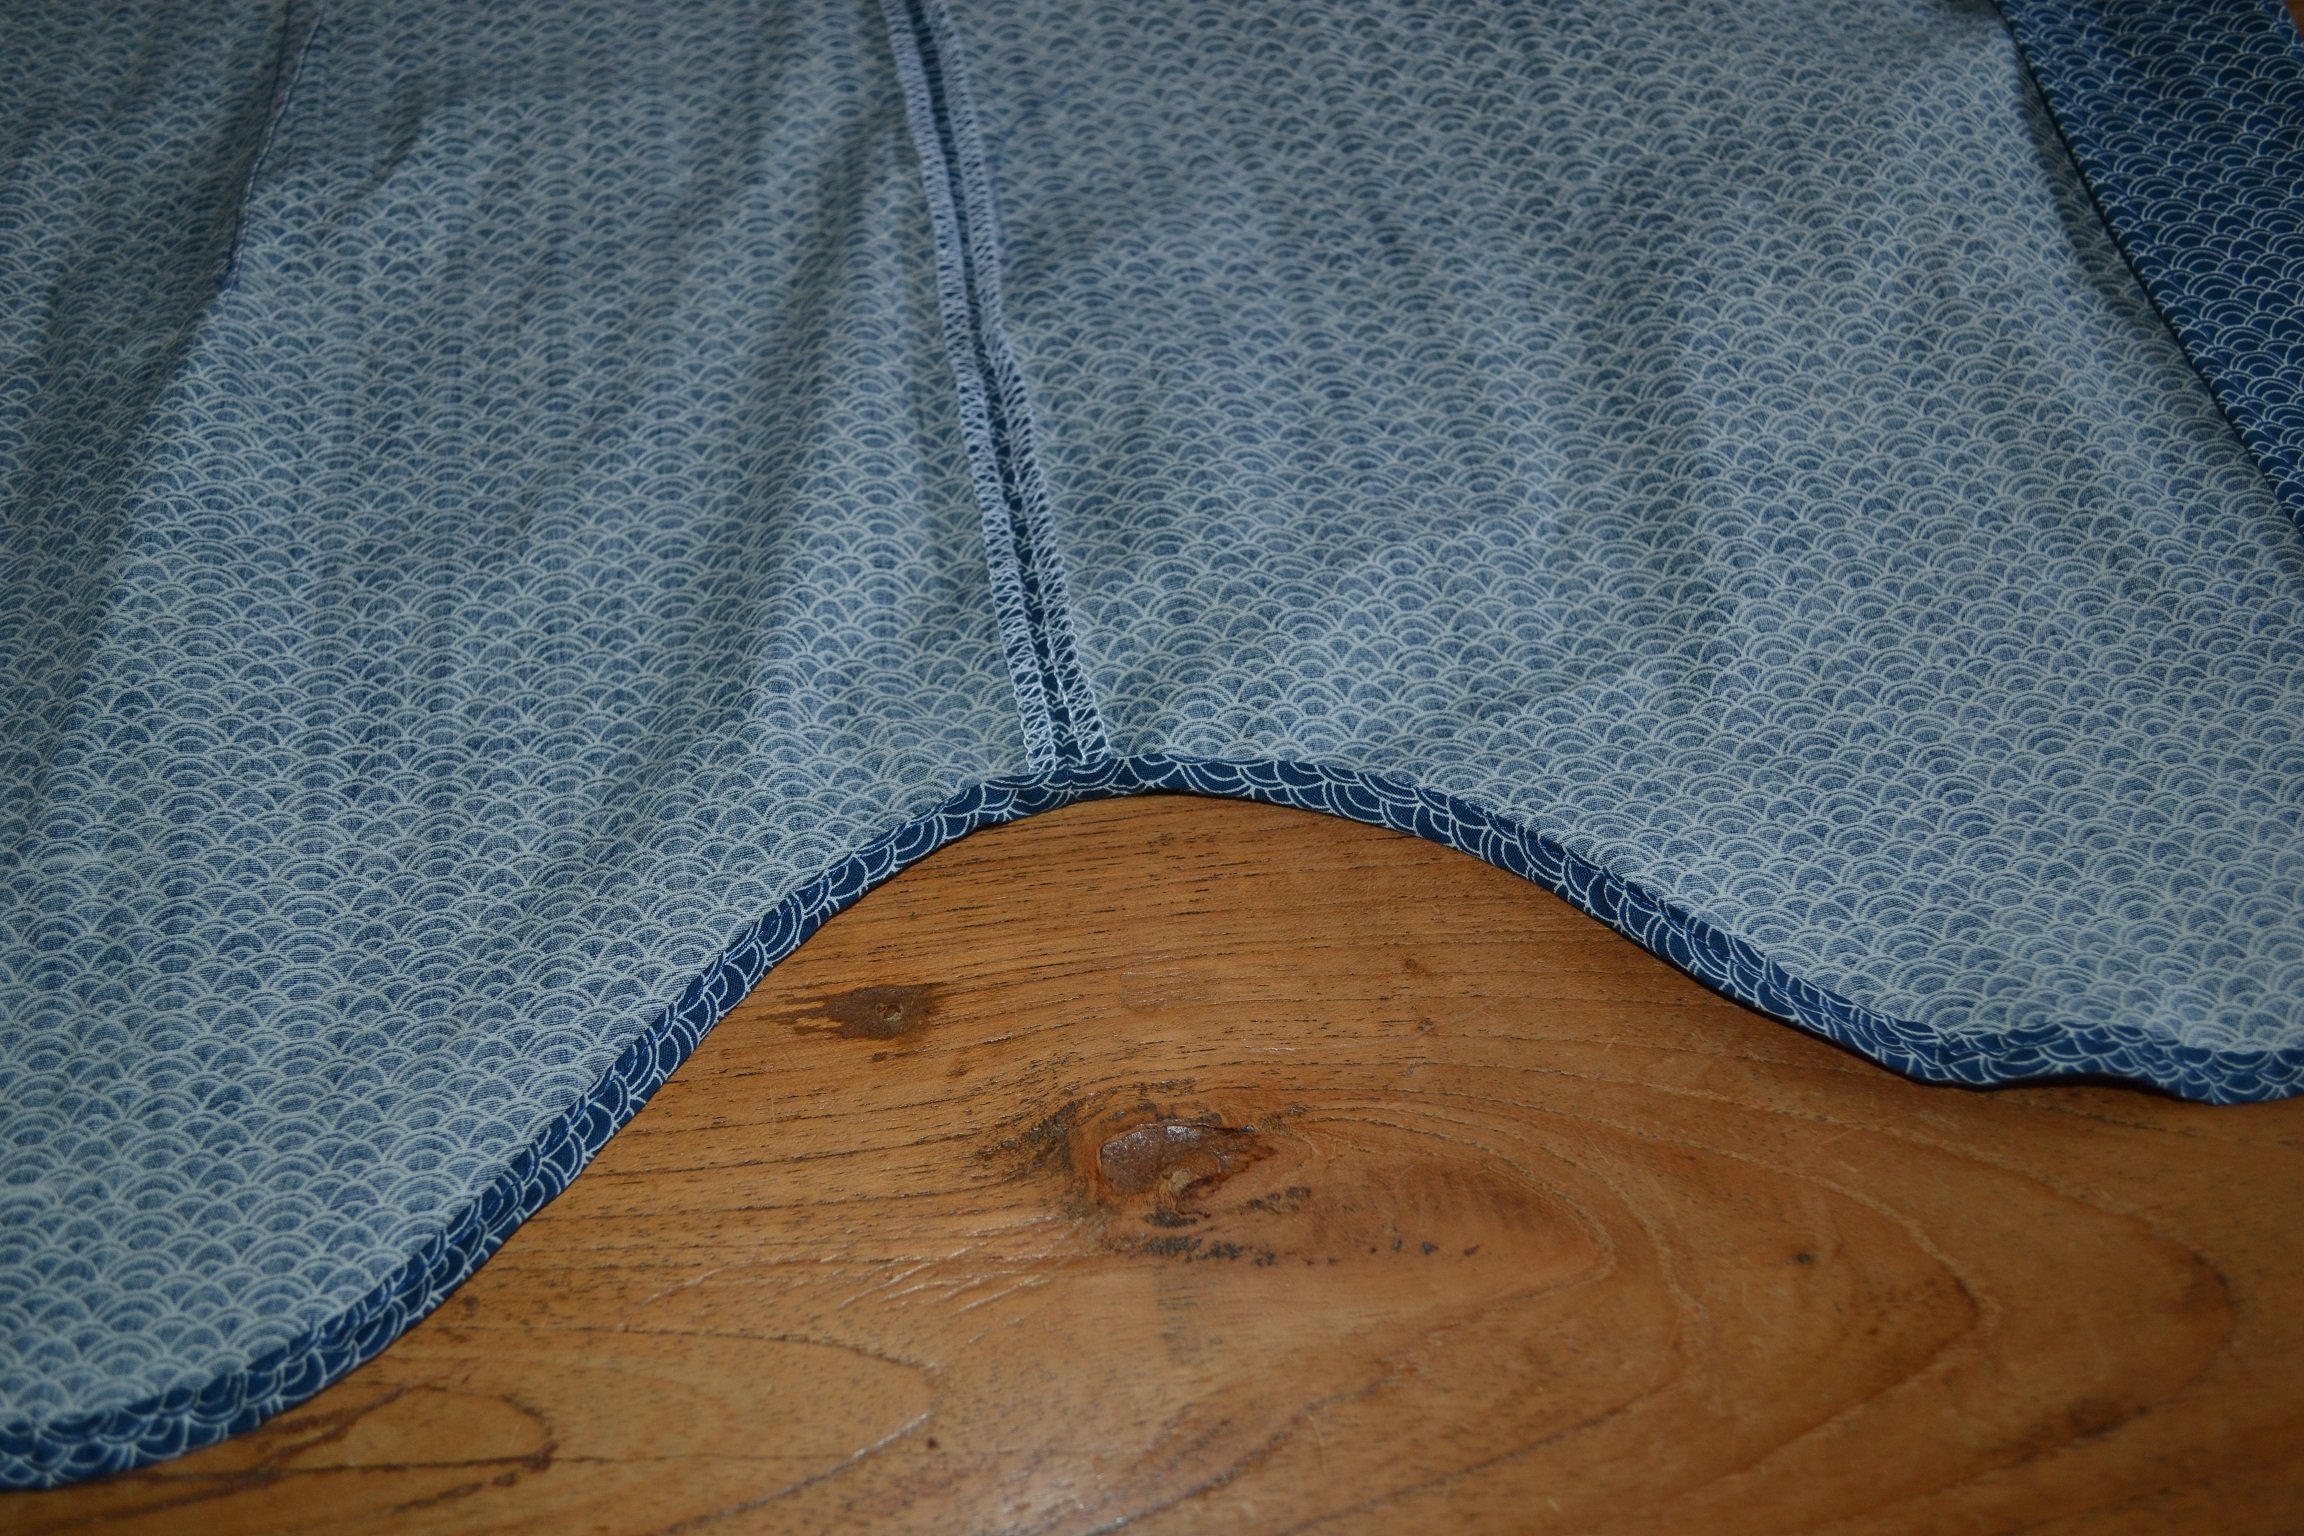
The lower edge of the children’s shirt is straight as standard. You can make a straight hem for the men’s shirt, too, but the pattern also has an option to round off the hemline. In the picture below you can see that this is what I did with the men’s shirt. You can download a manual for this on the Zonen09 website. You then have to place a template on the pattern, which you can use to draw the curves on the front and back panels. Adjusting the pattern is not difficult, but hemming such a rounded hem is slightly more difficult.

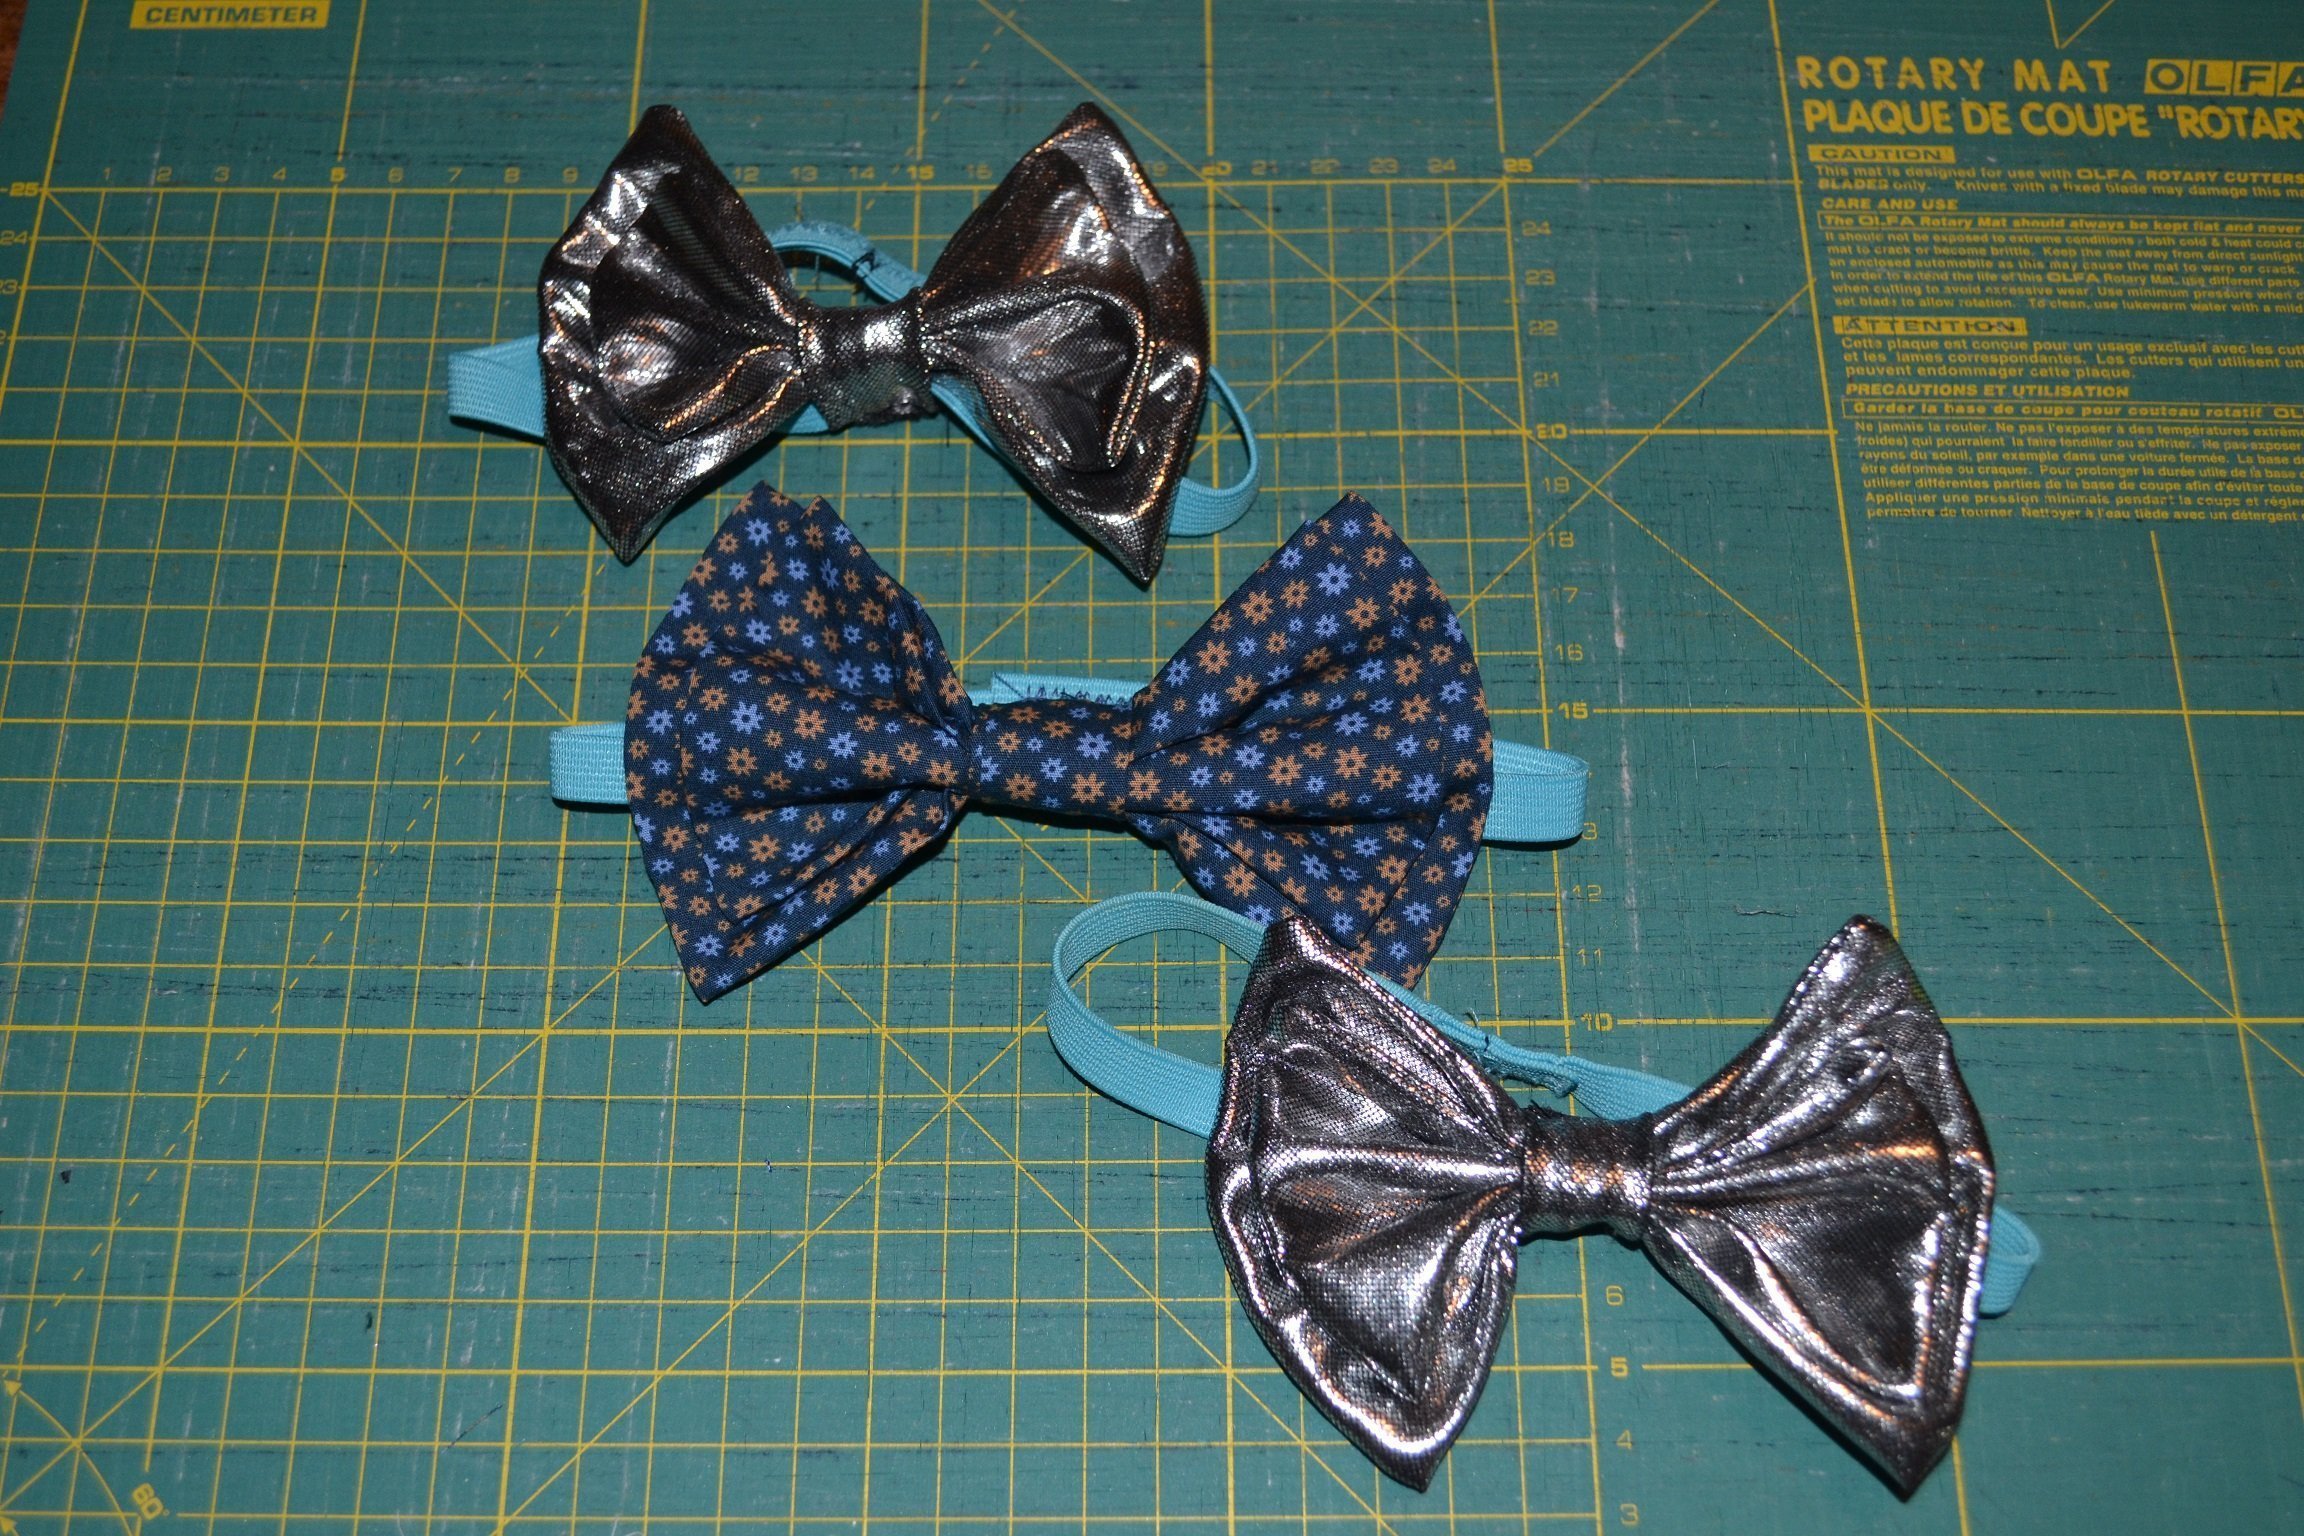
Tutorial for bowtie
During the festive season, it’s nice to wear a bowtie with the shirt. You can easily make your own bowtie.
What you need:
- A small piece of fabric
- Elastic (or sew a nice strap to attach the bow)
- Interfacing (optional)
- Sewing thread
- Needle
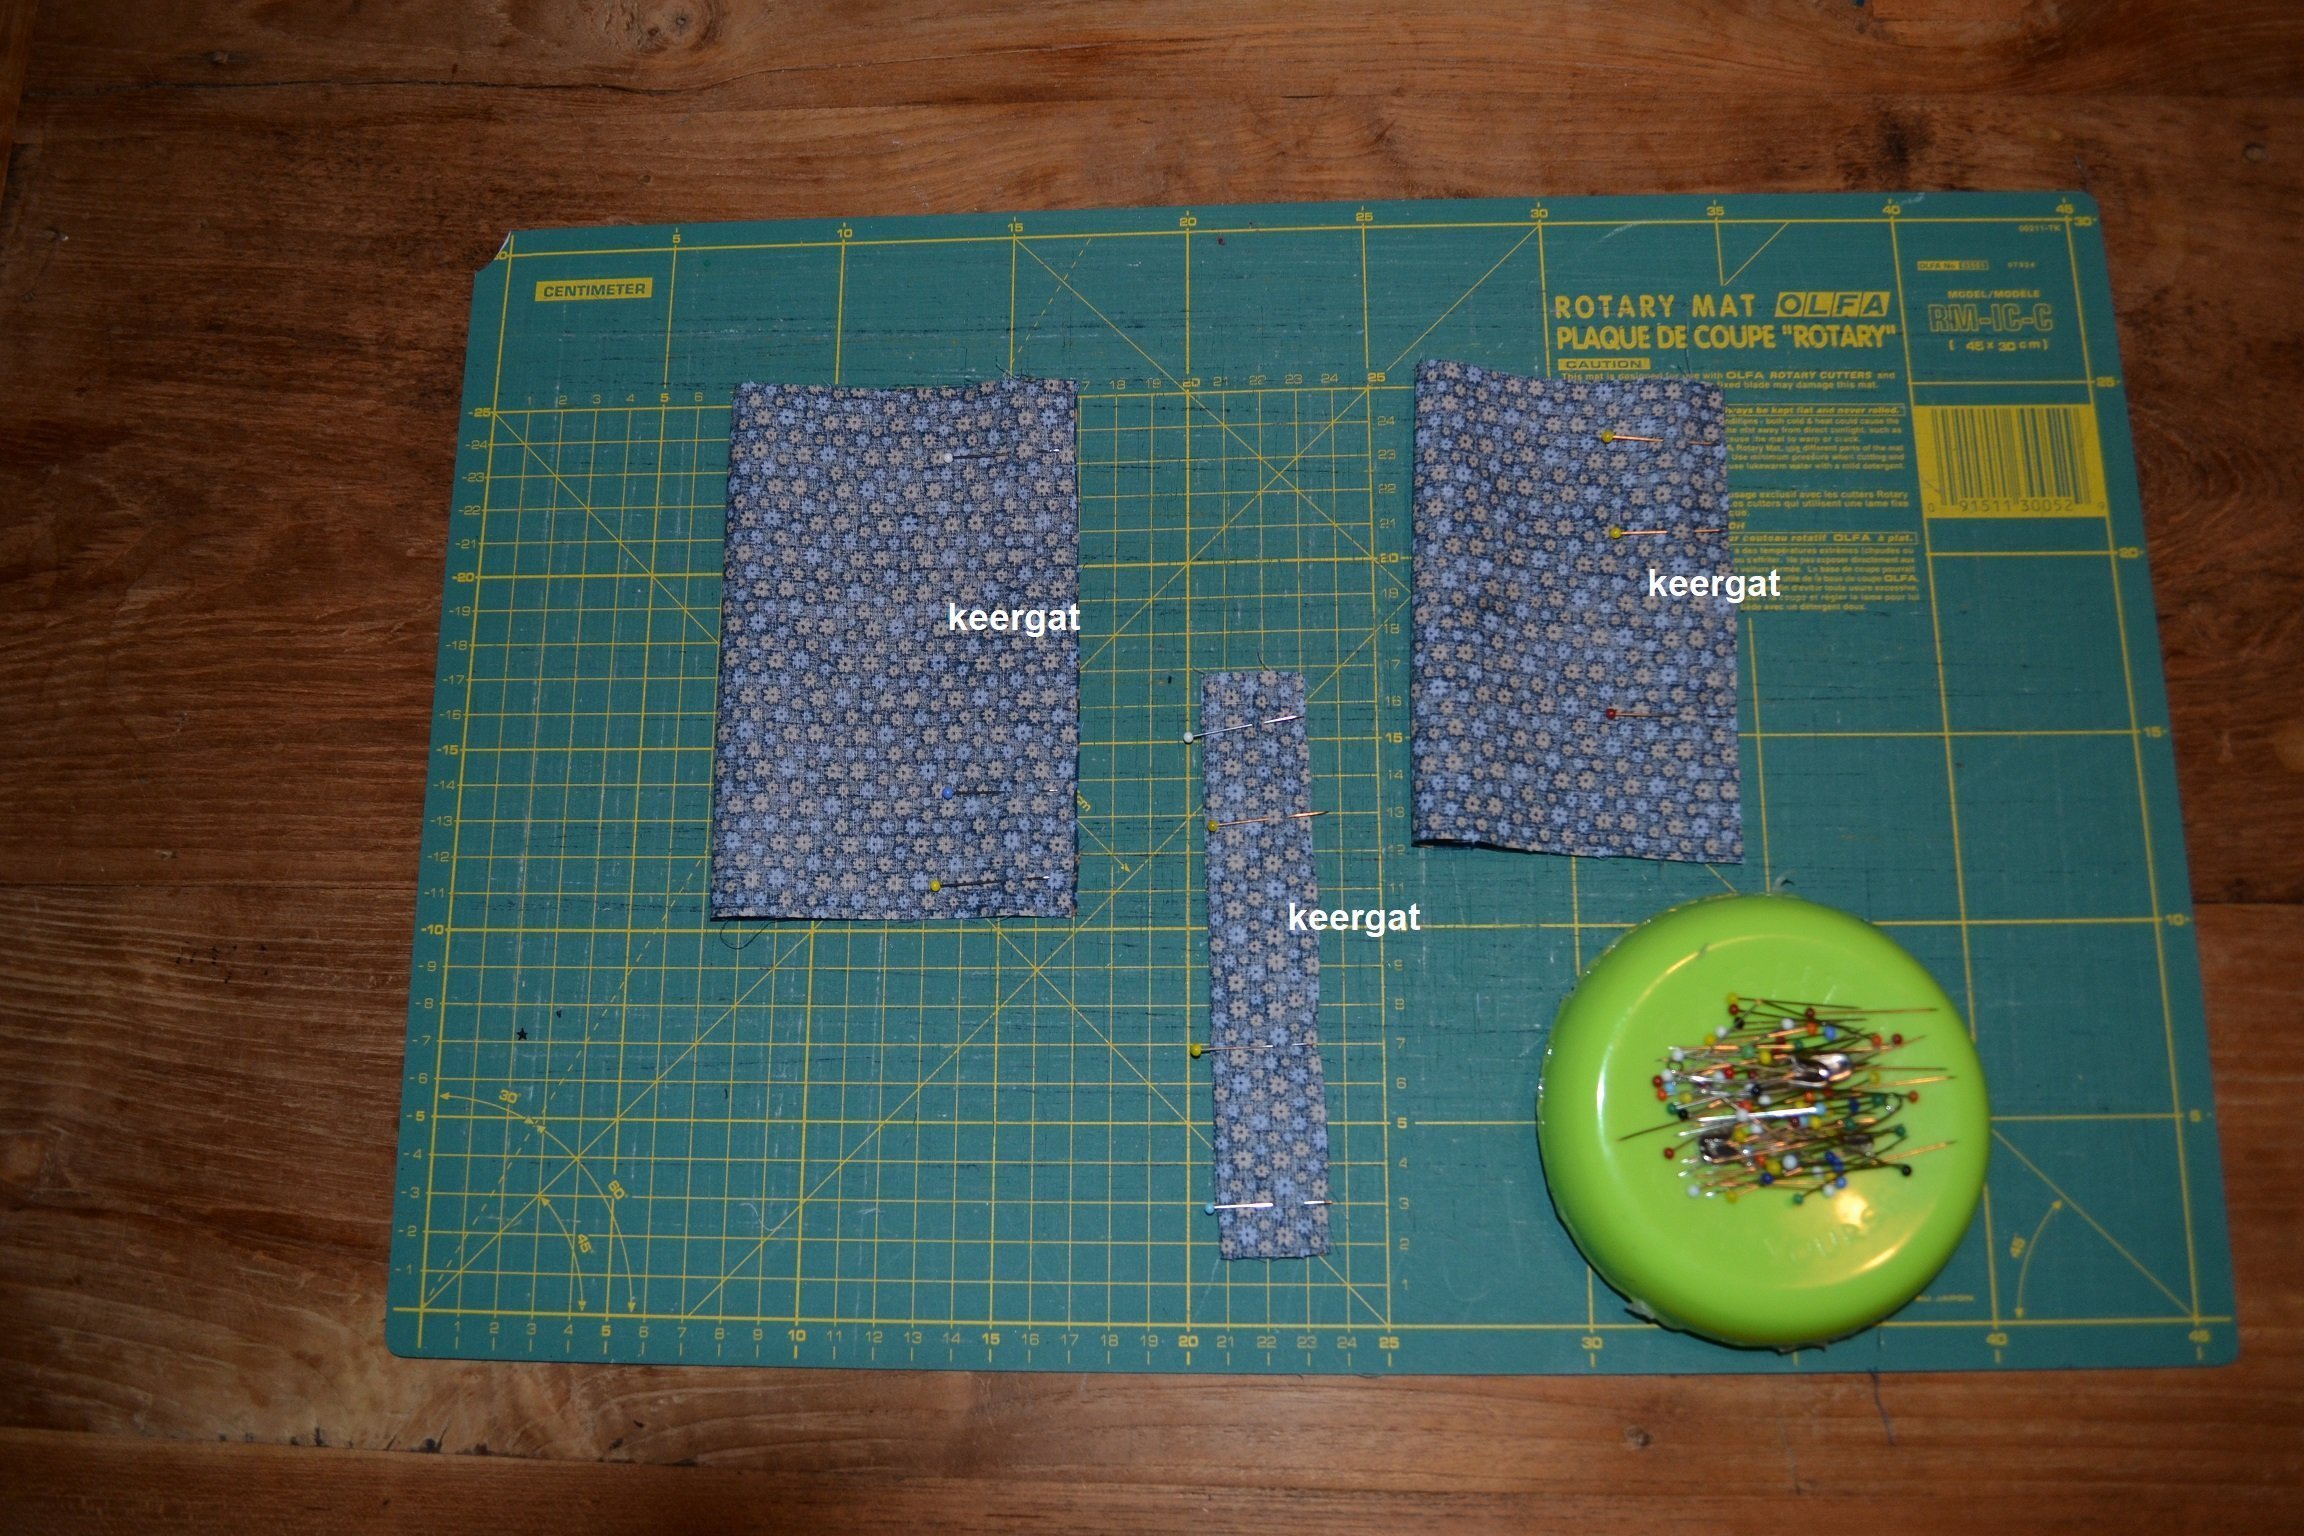
- Cutting mat, cutting ruler and rotary cutter (optional)
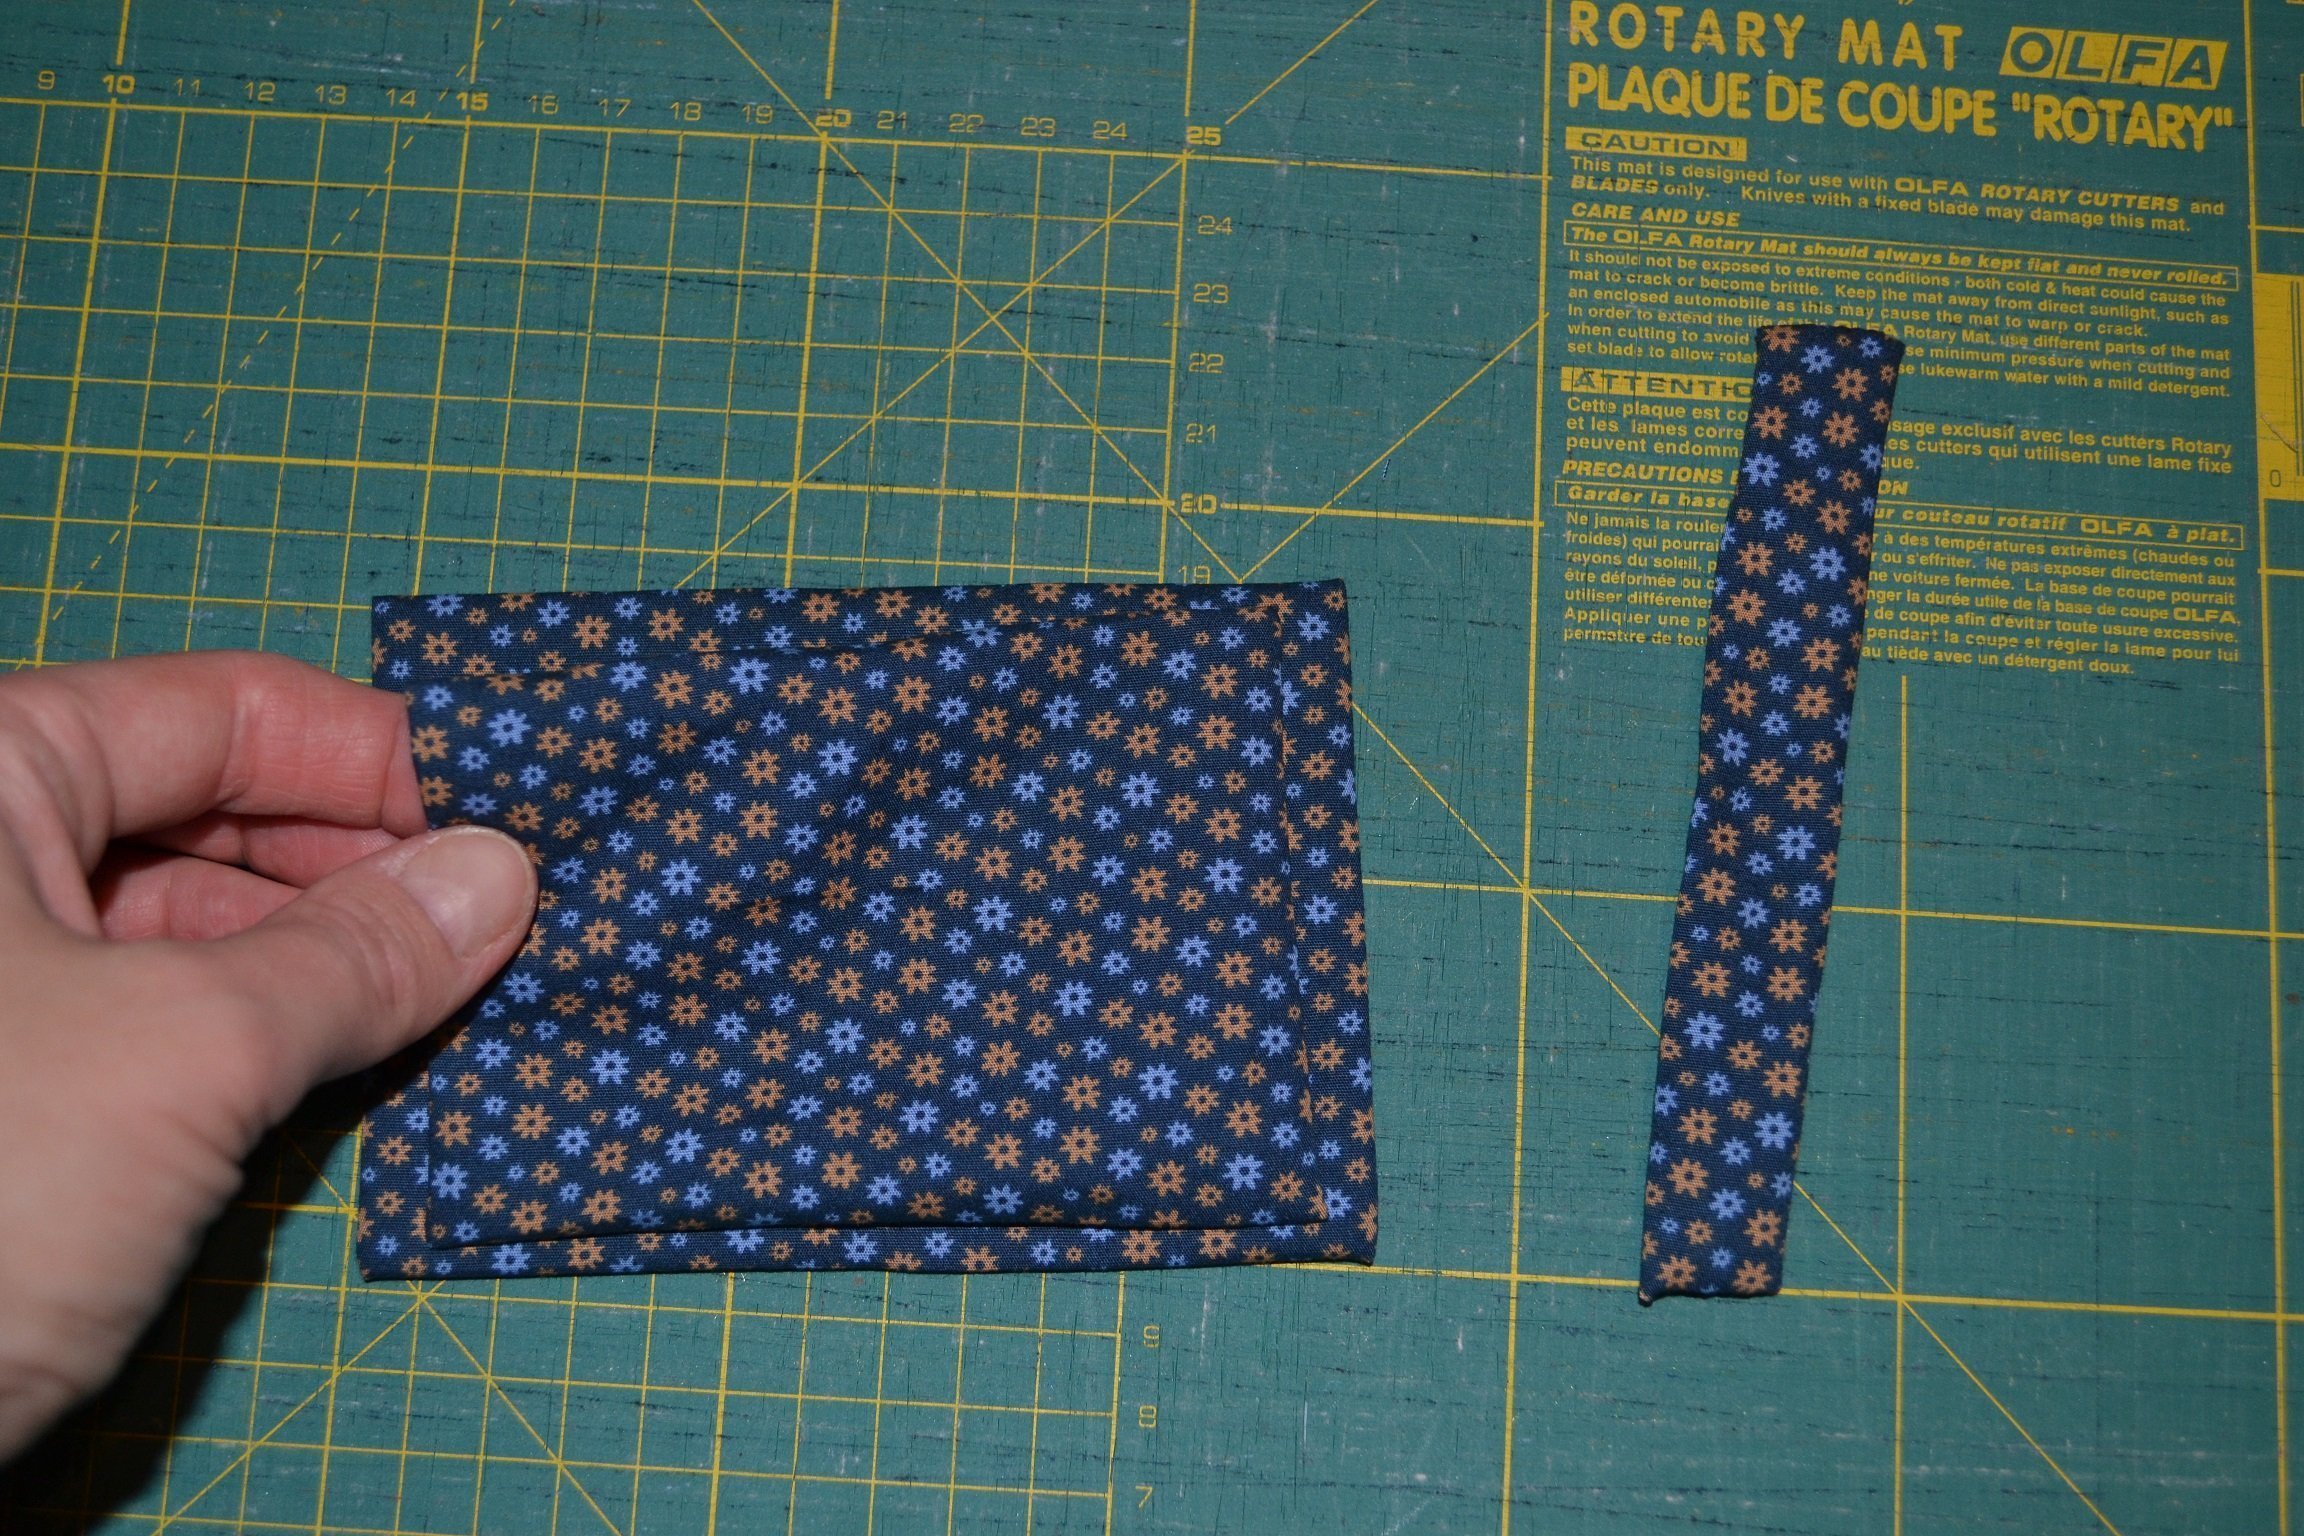
Cut 3 pieces of 20 by 15 cm, 18 by 13 cm and 15 by 4 cm. Iron the pieces and reinforce them with interfacing if desired.

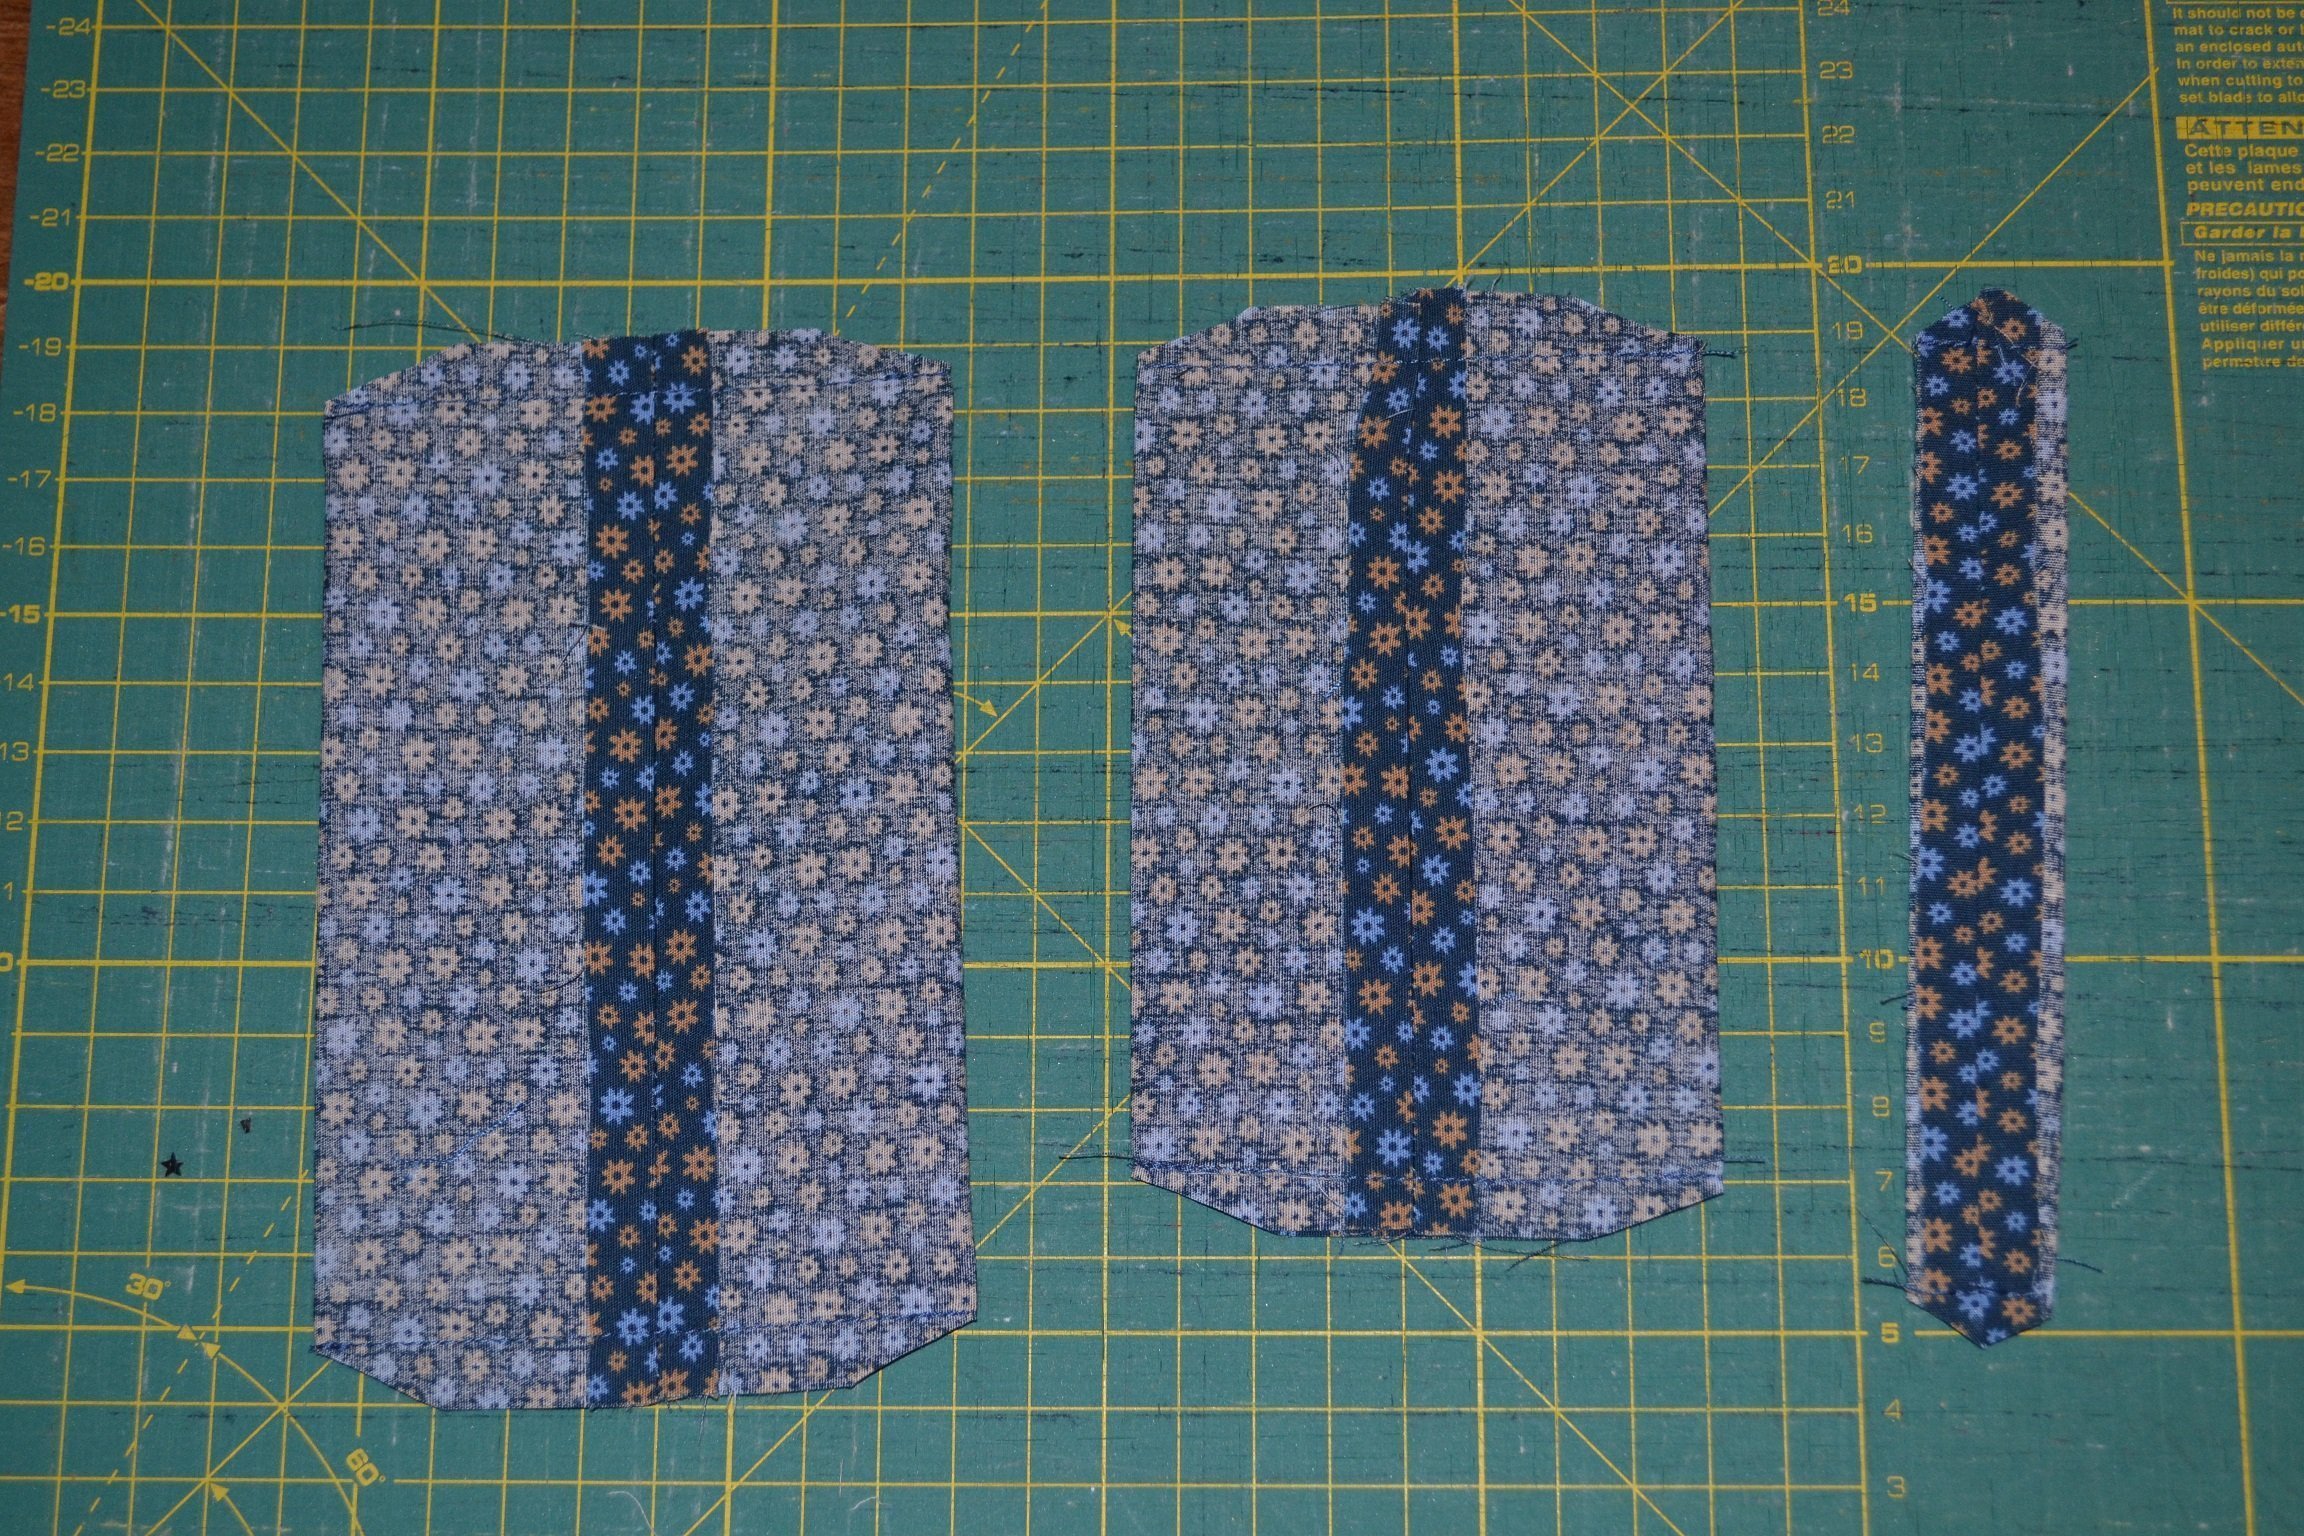
Fold the three pieces together, right sides facing. Pin and stitch the long side closed. Leave an opening in all three sides for turning out.
Iron open the stitched seams and ‘move’ the seams to the centre. Trim the corners diagonally.
Turn everything so that the right sides face out and stitch the openings closed by hand.
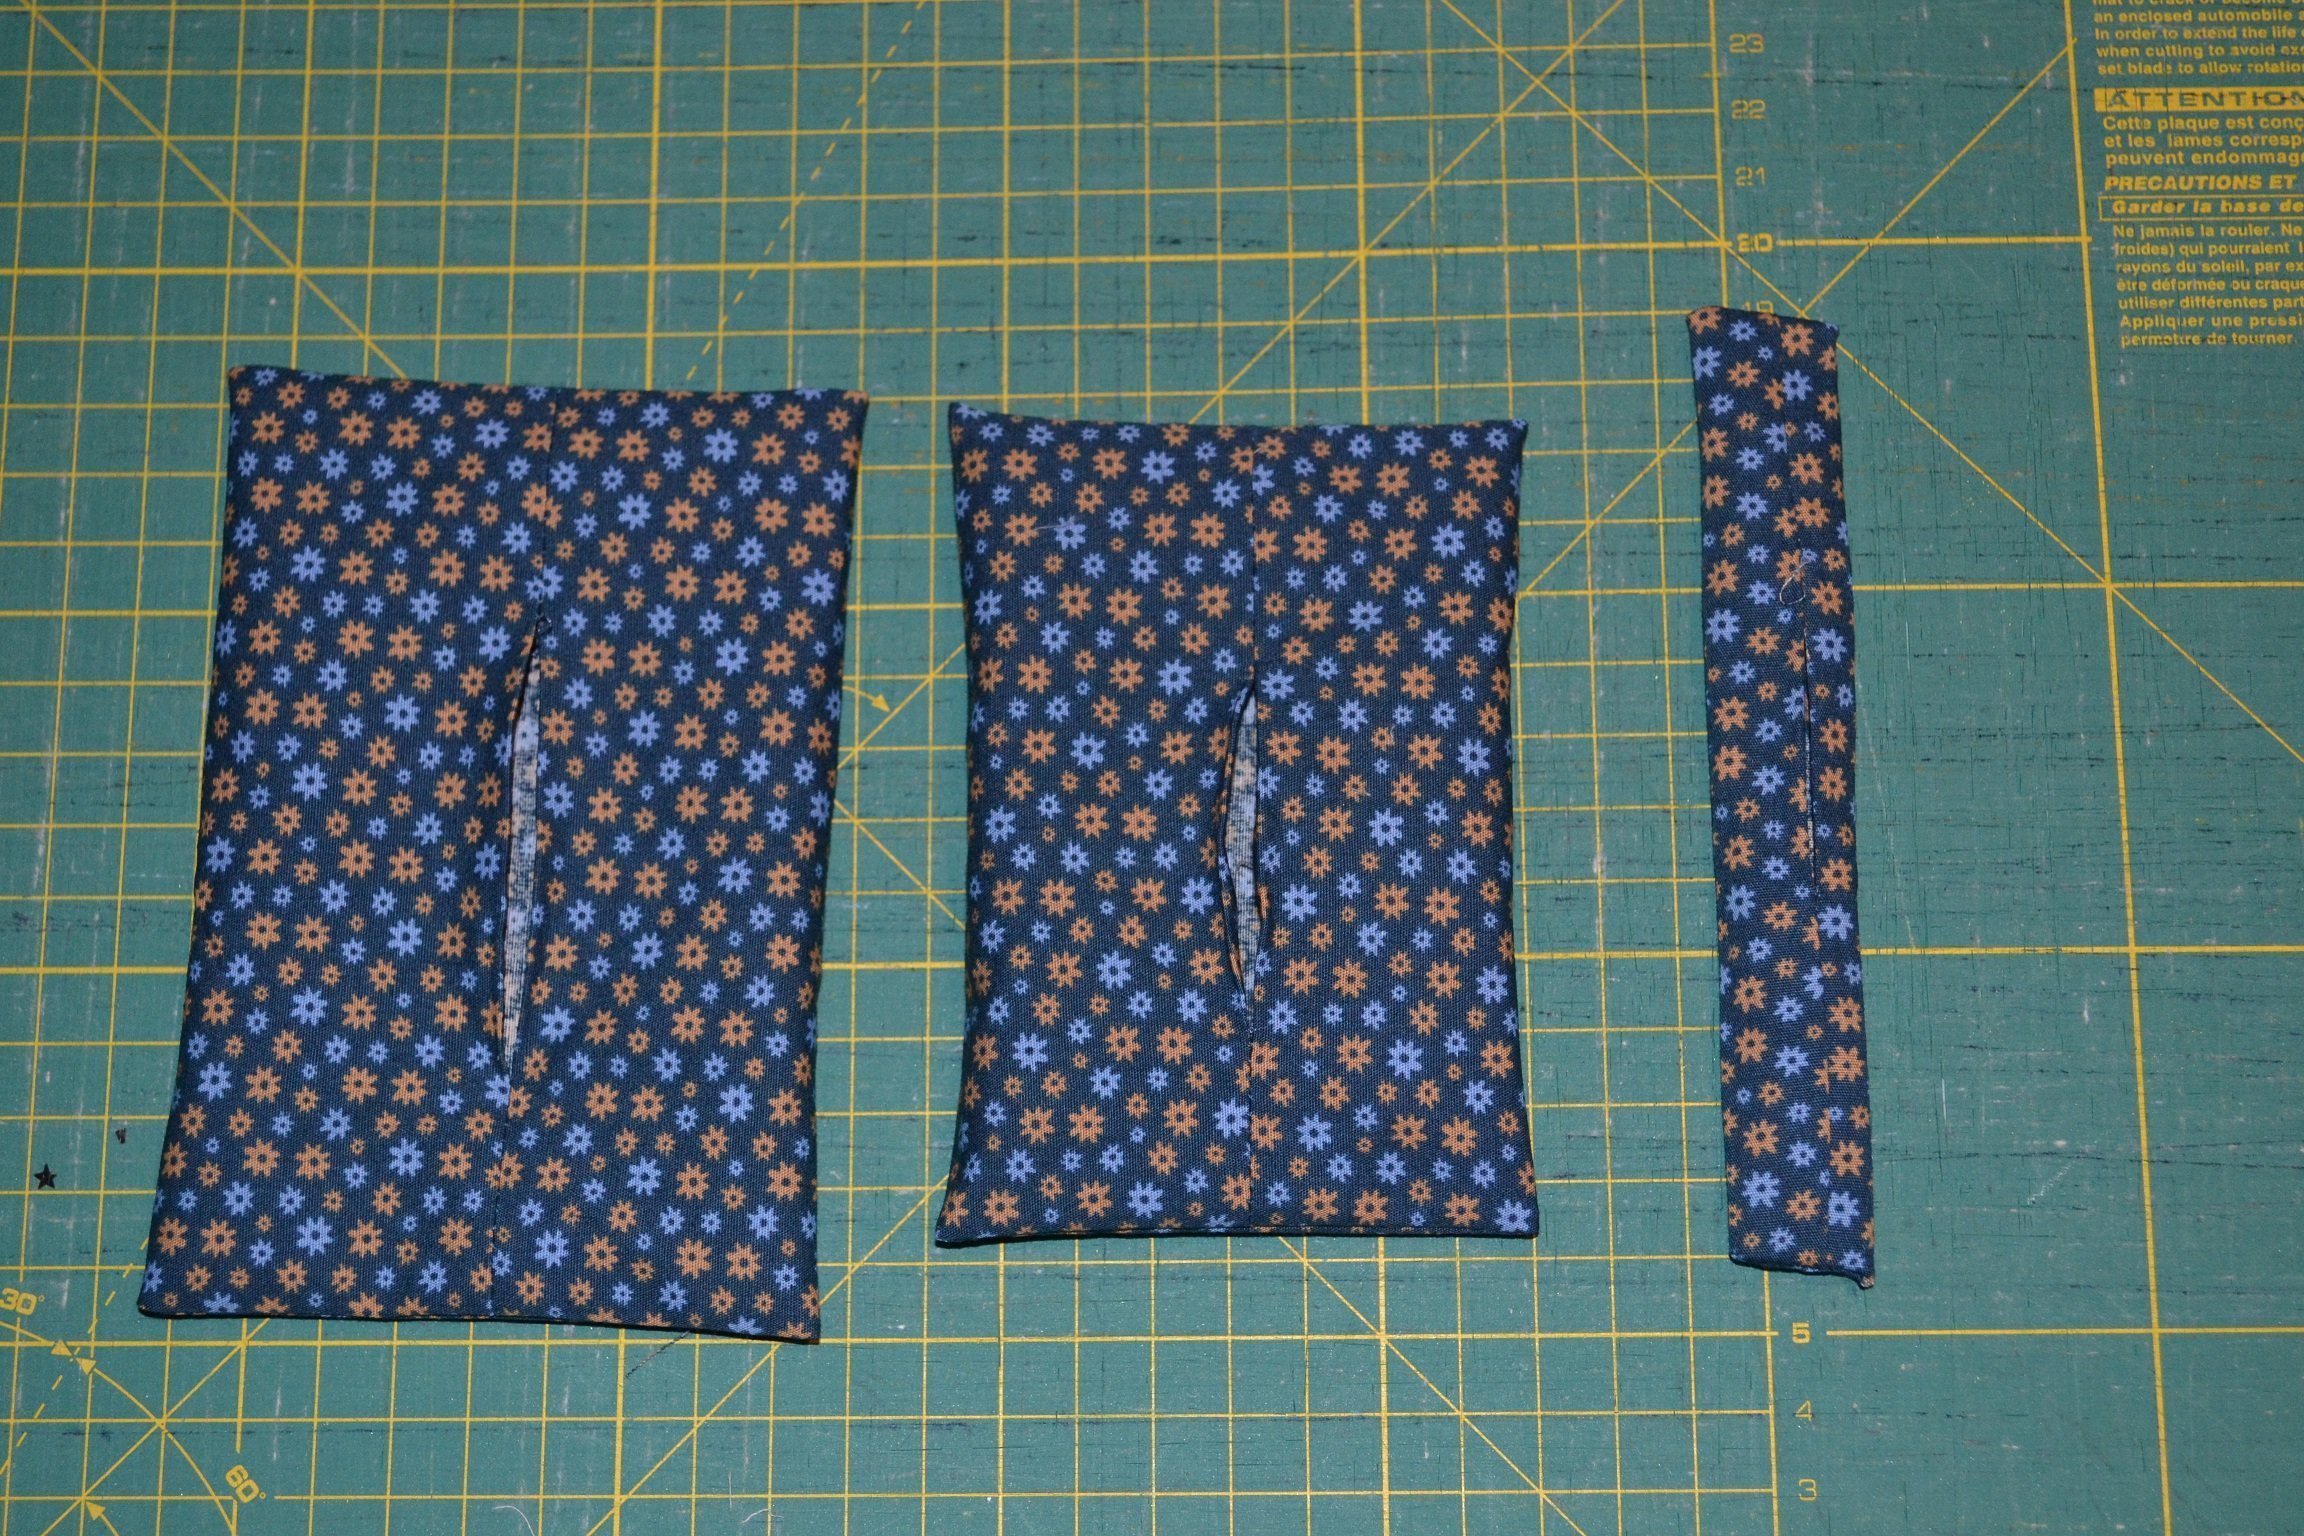
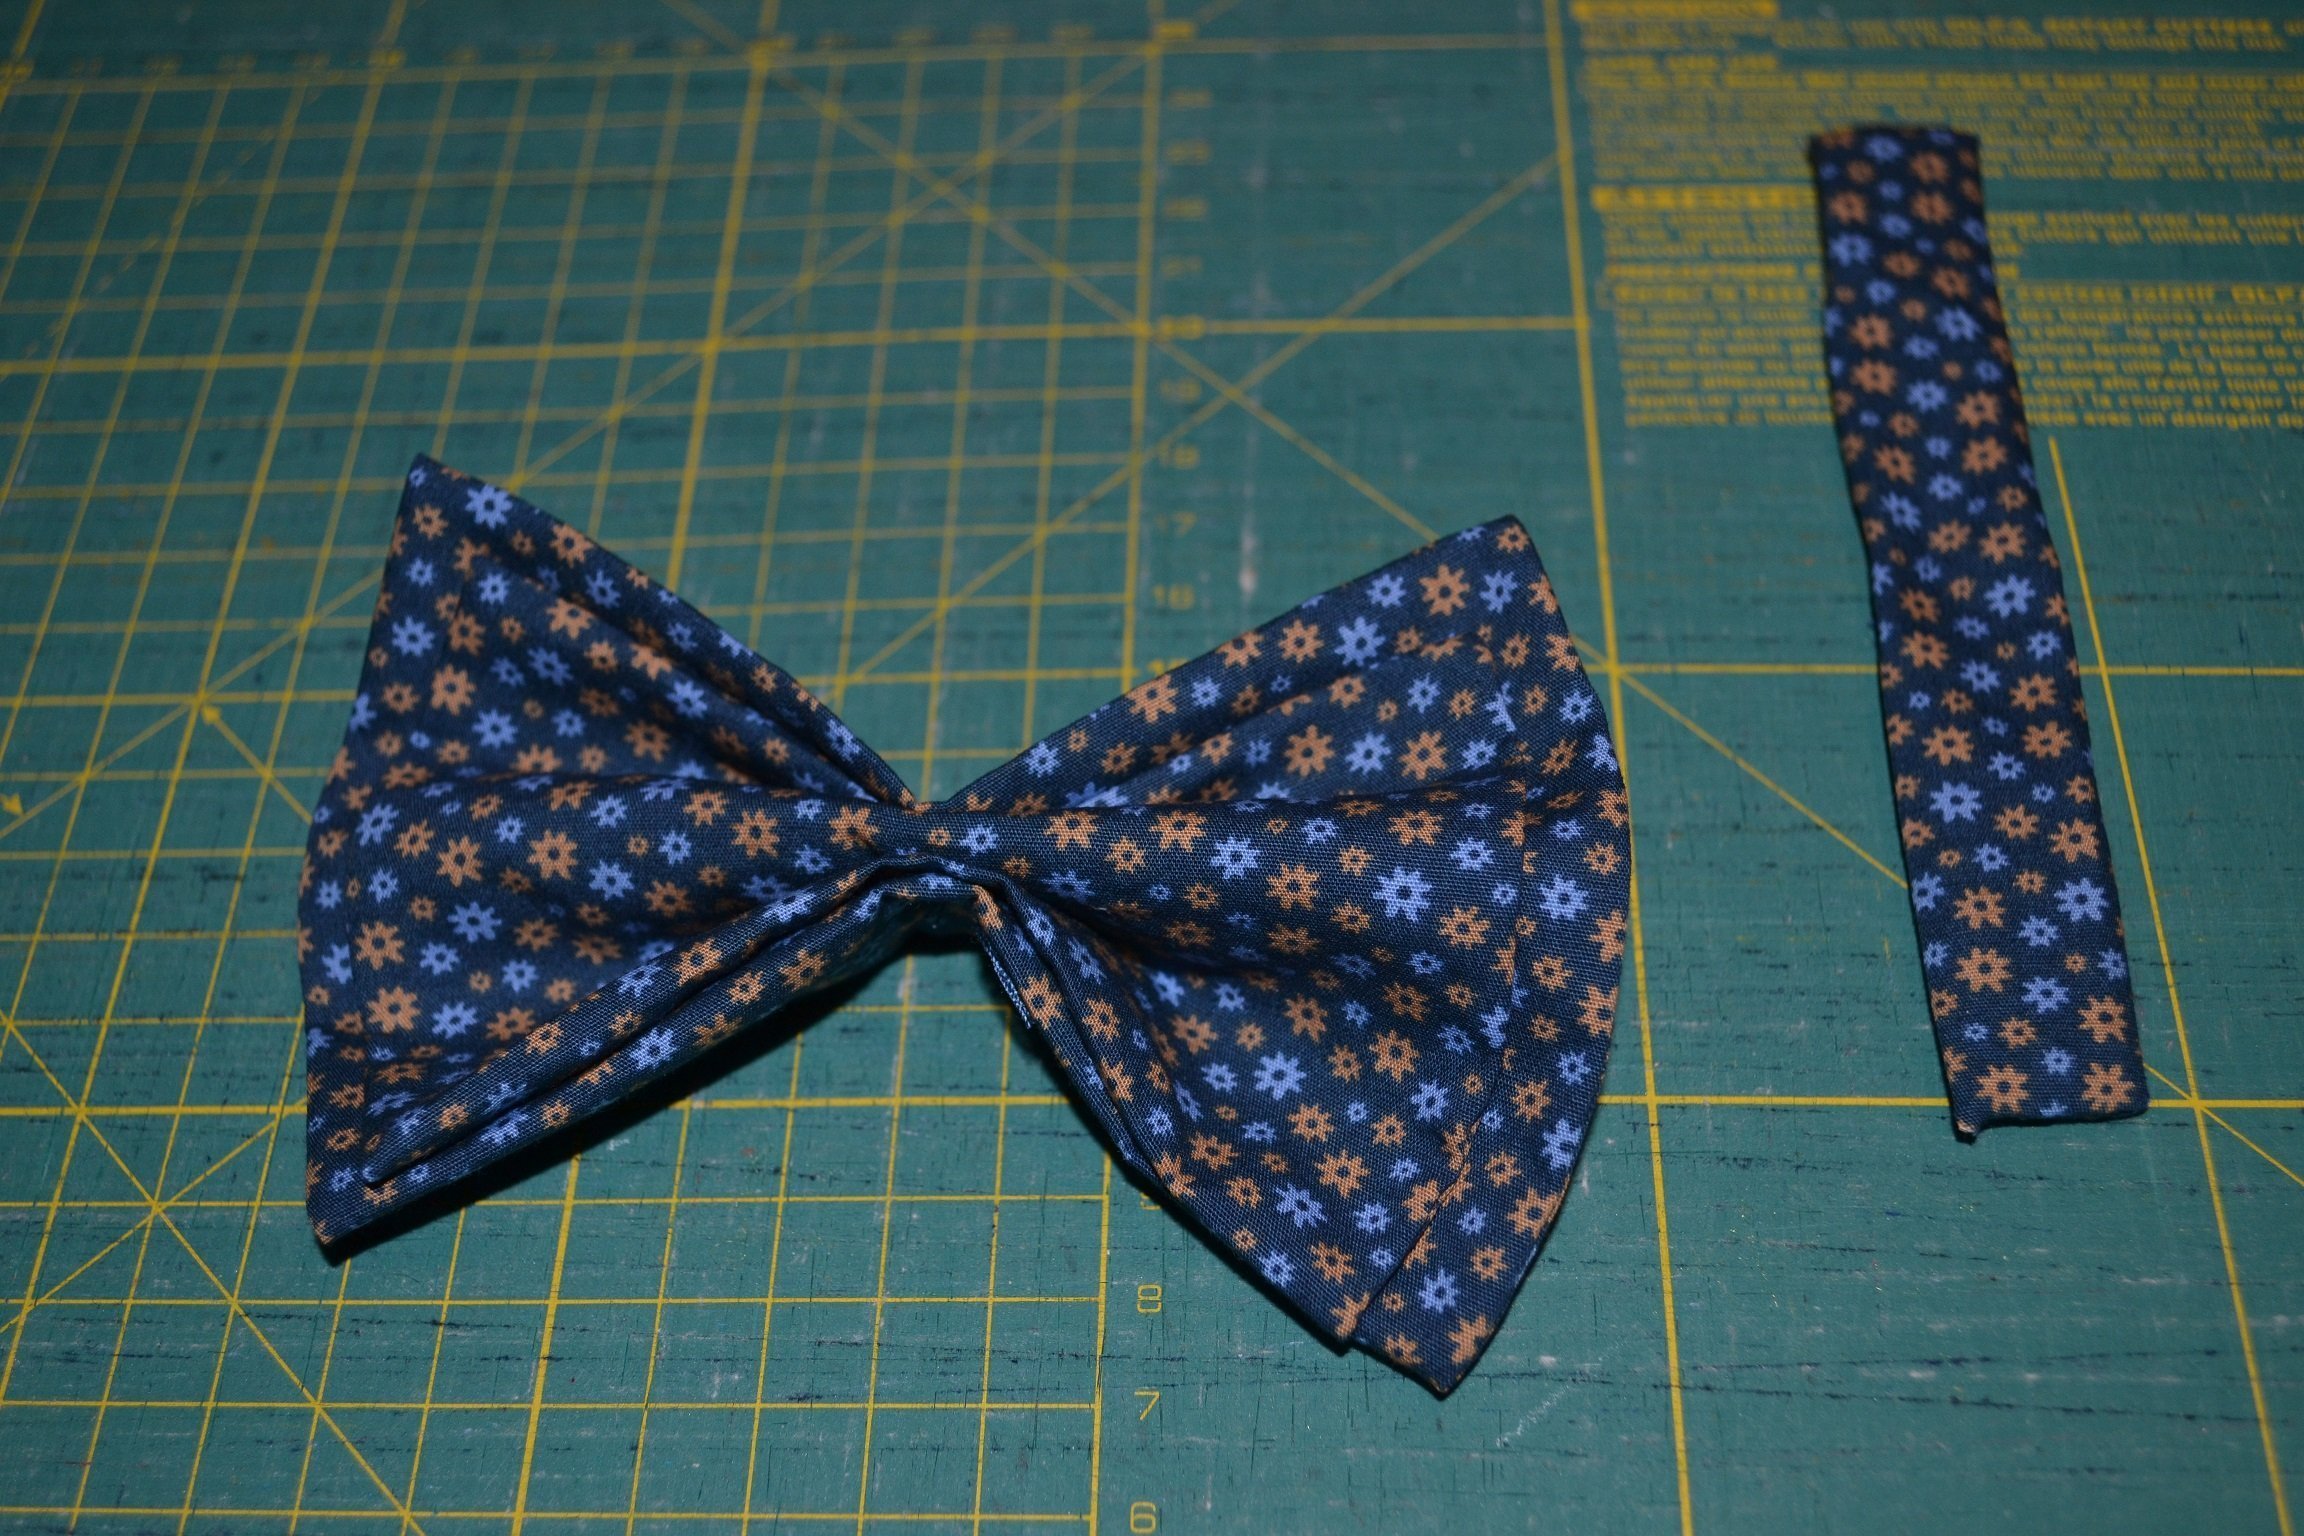
Place the smaller rectangle on the larger rectangle.
Fold the long sides together. Try this in different ways to see which you like best.
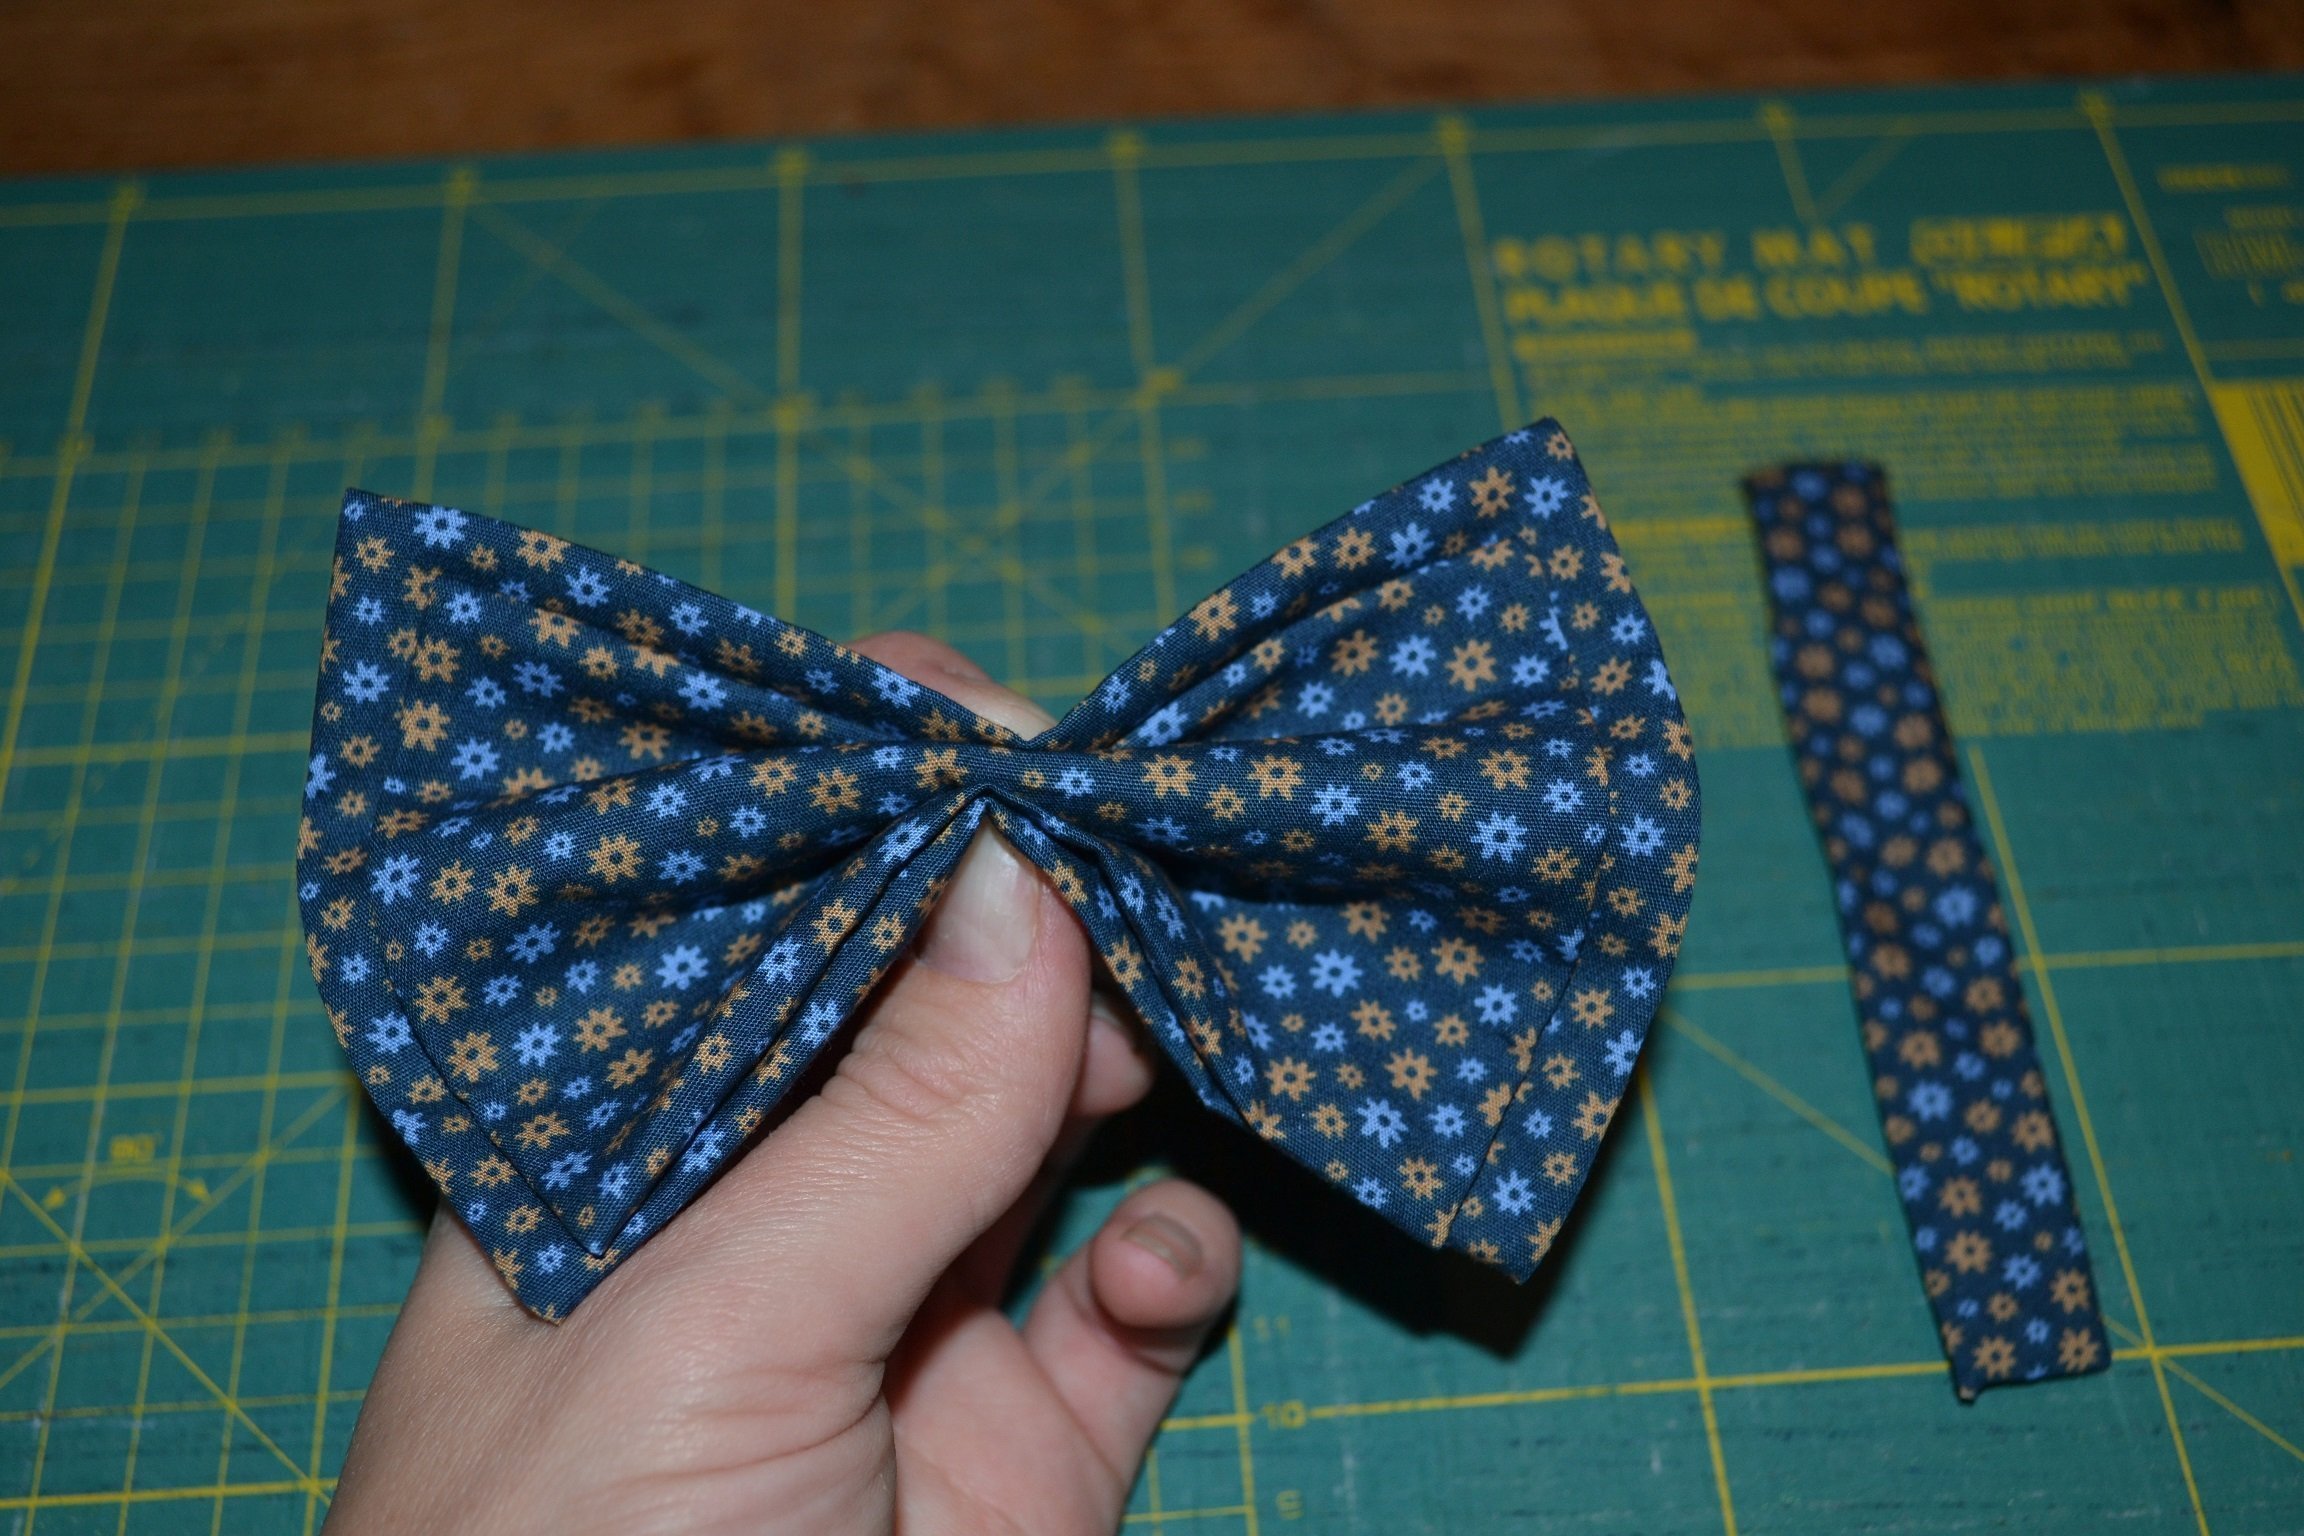
Secure the bow with needle and thread so that the bow stays nicely in shape.
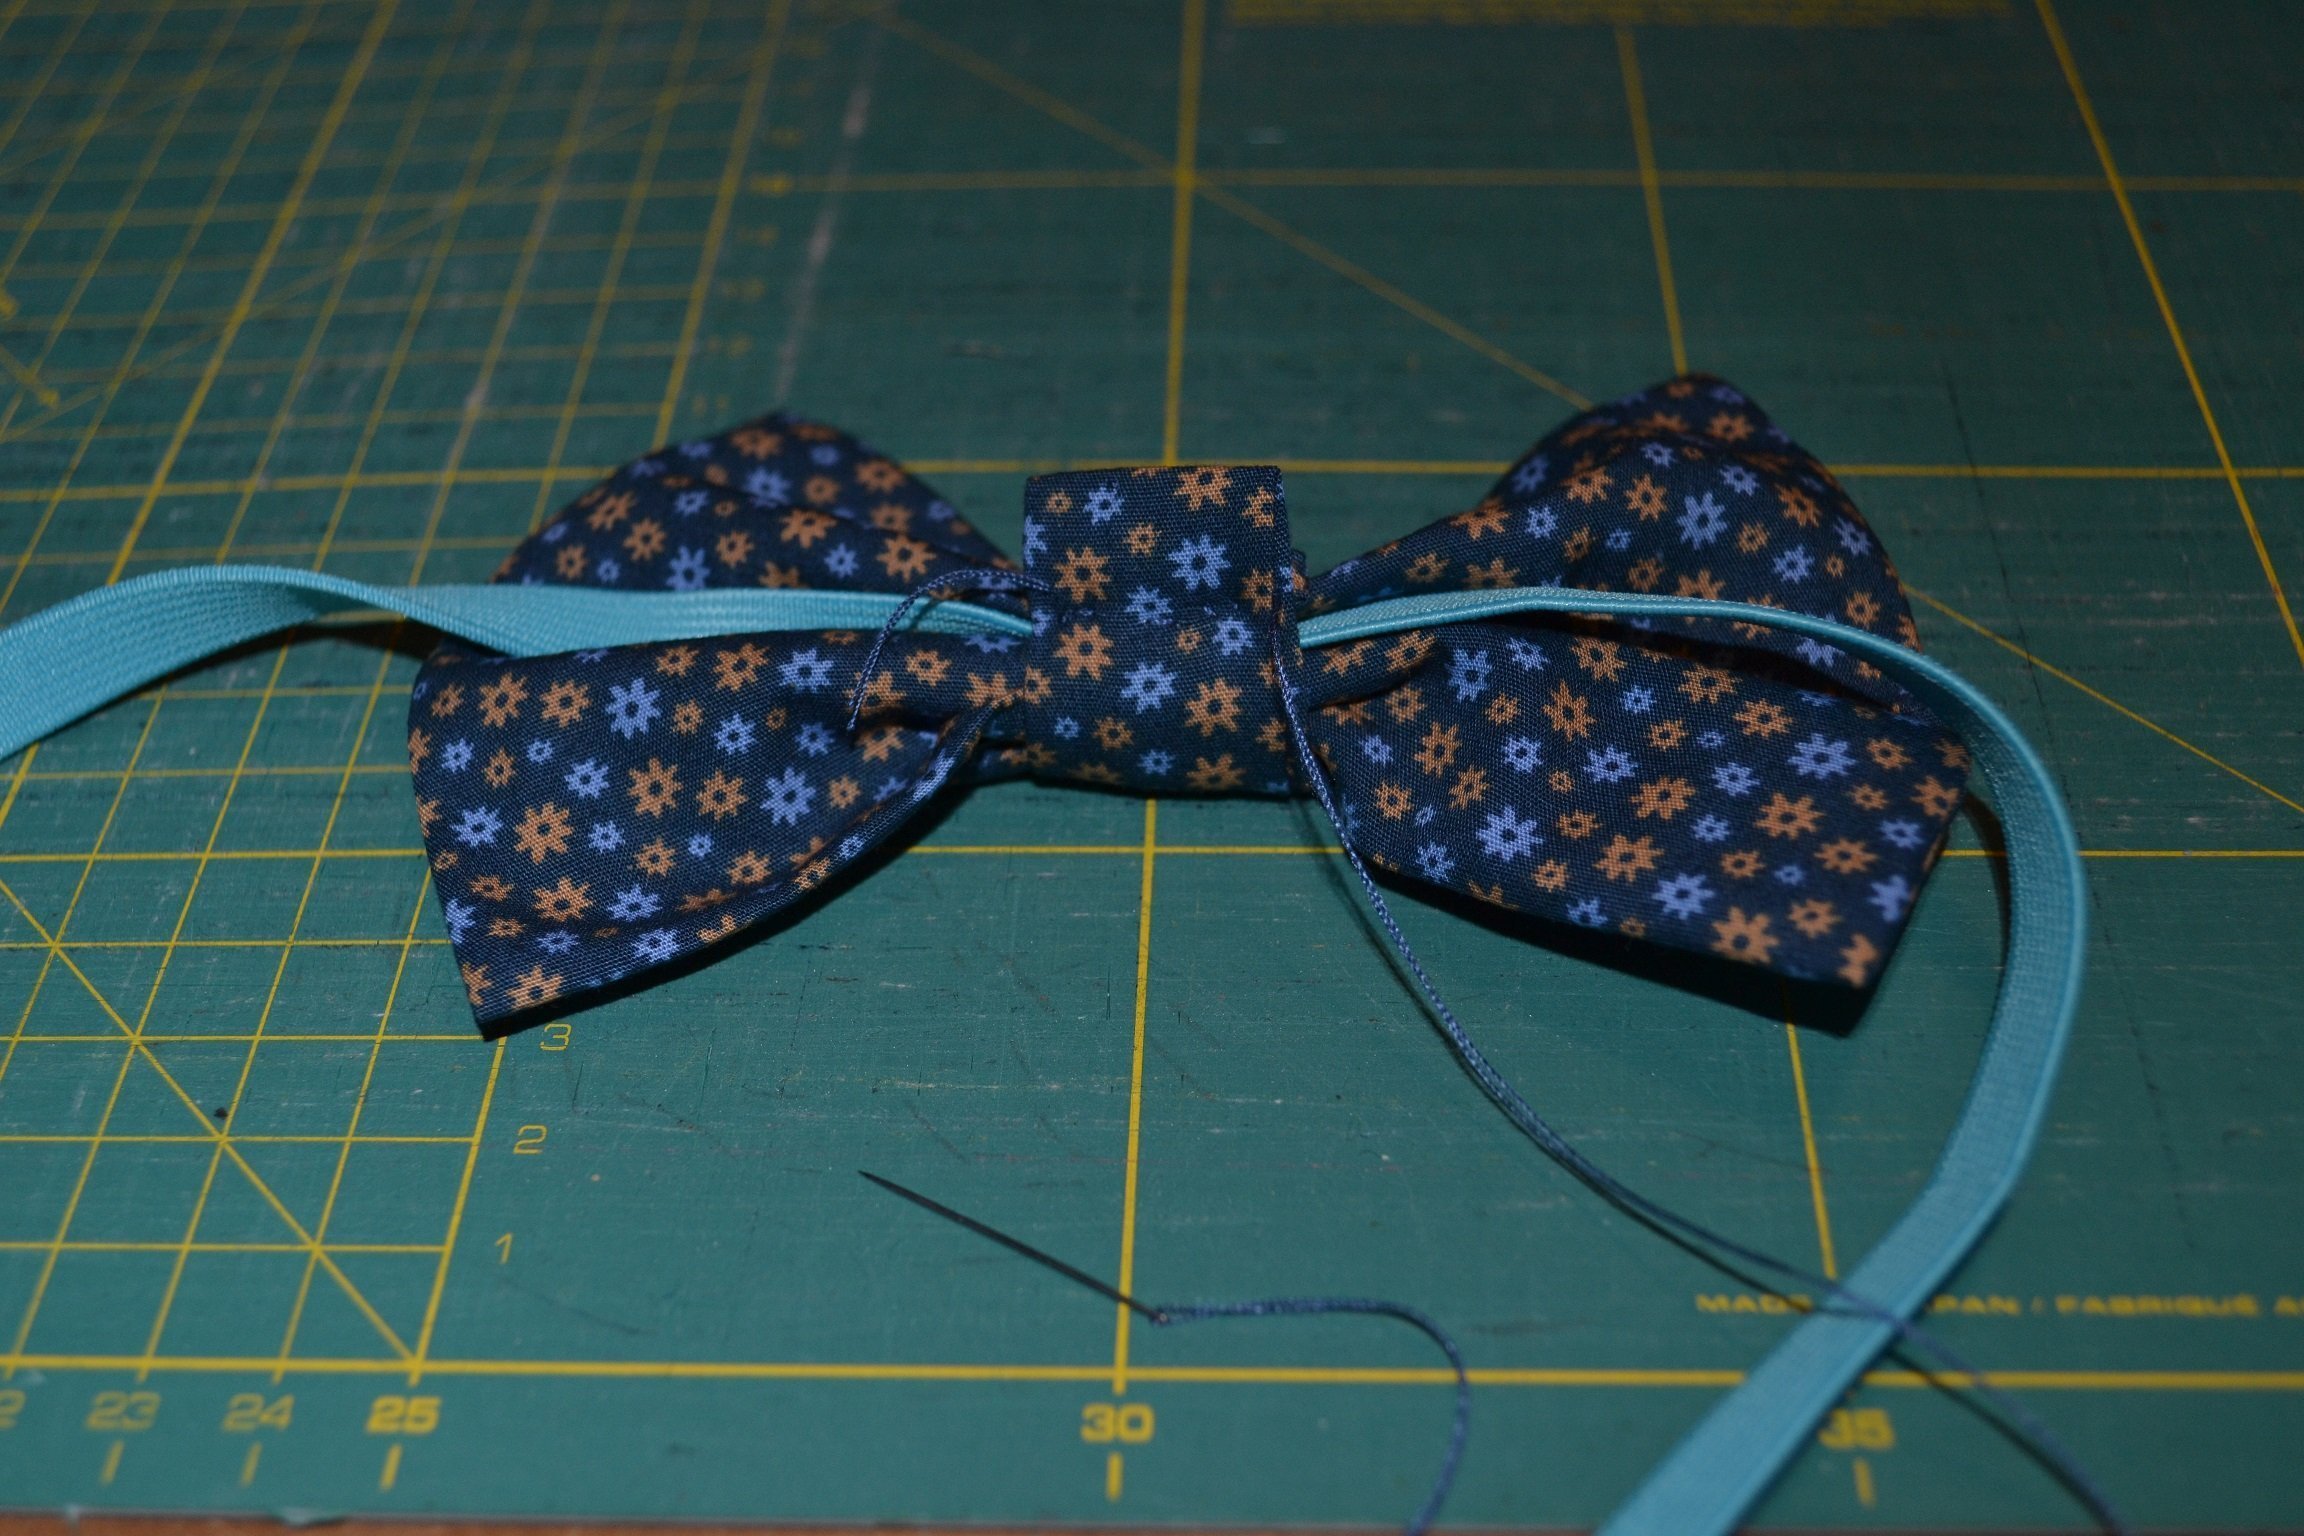
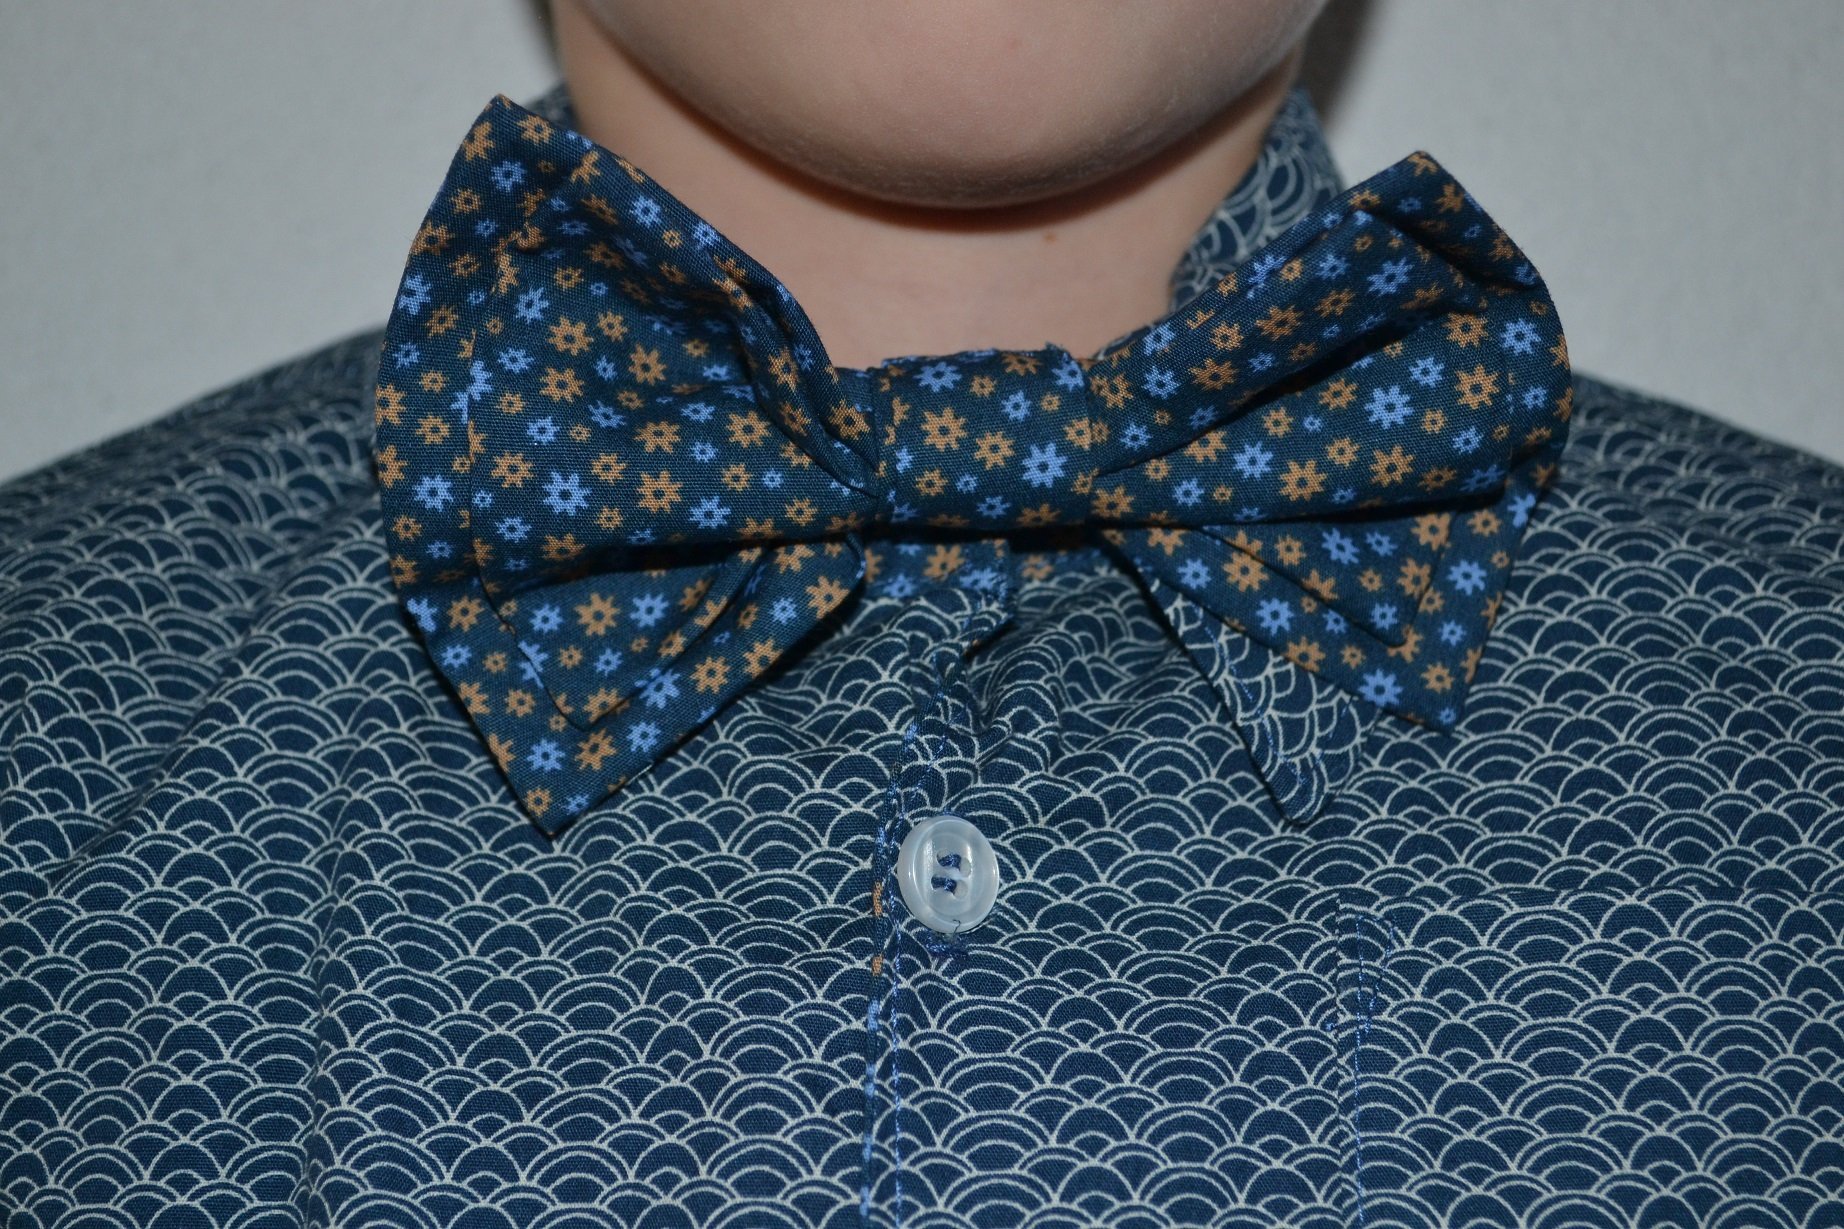
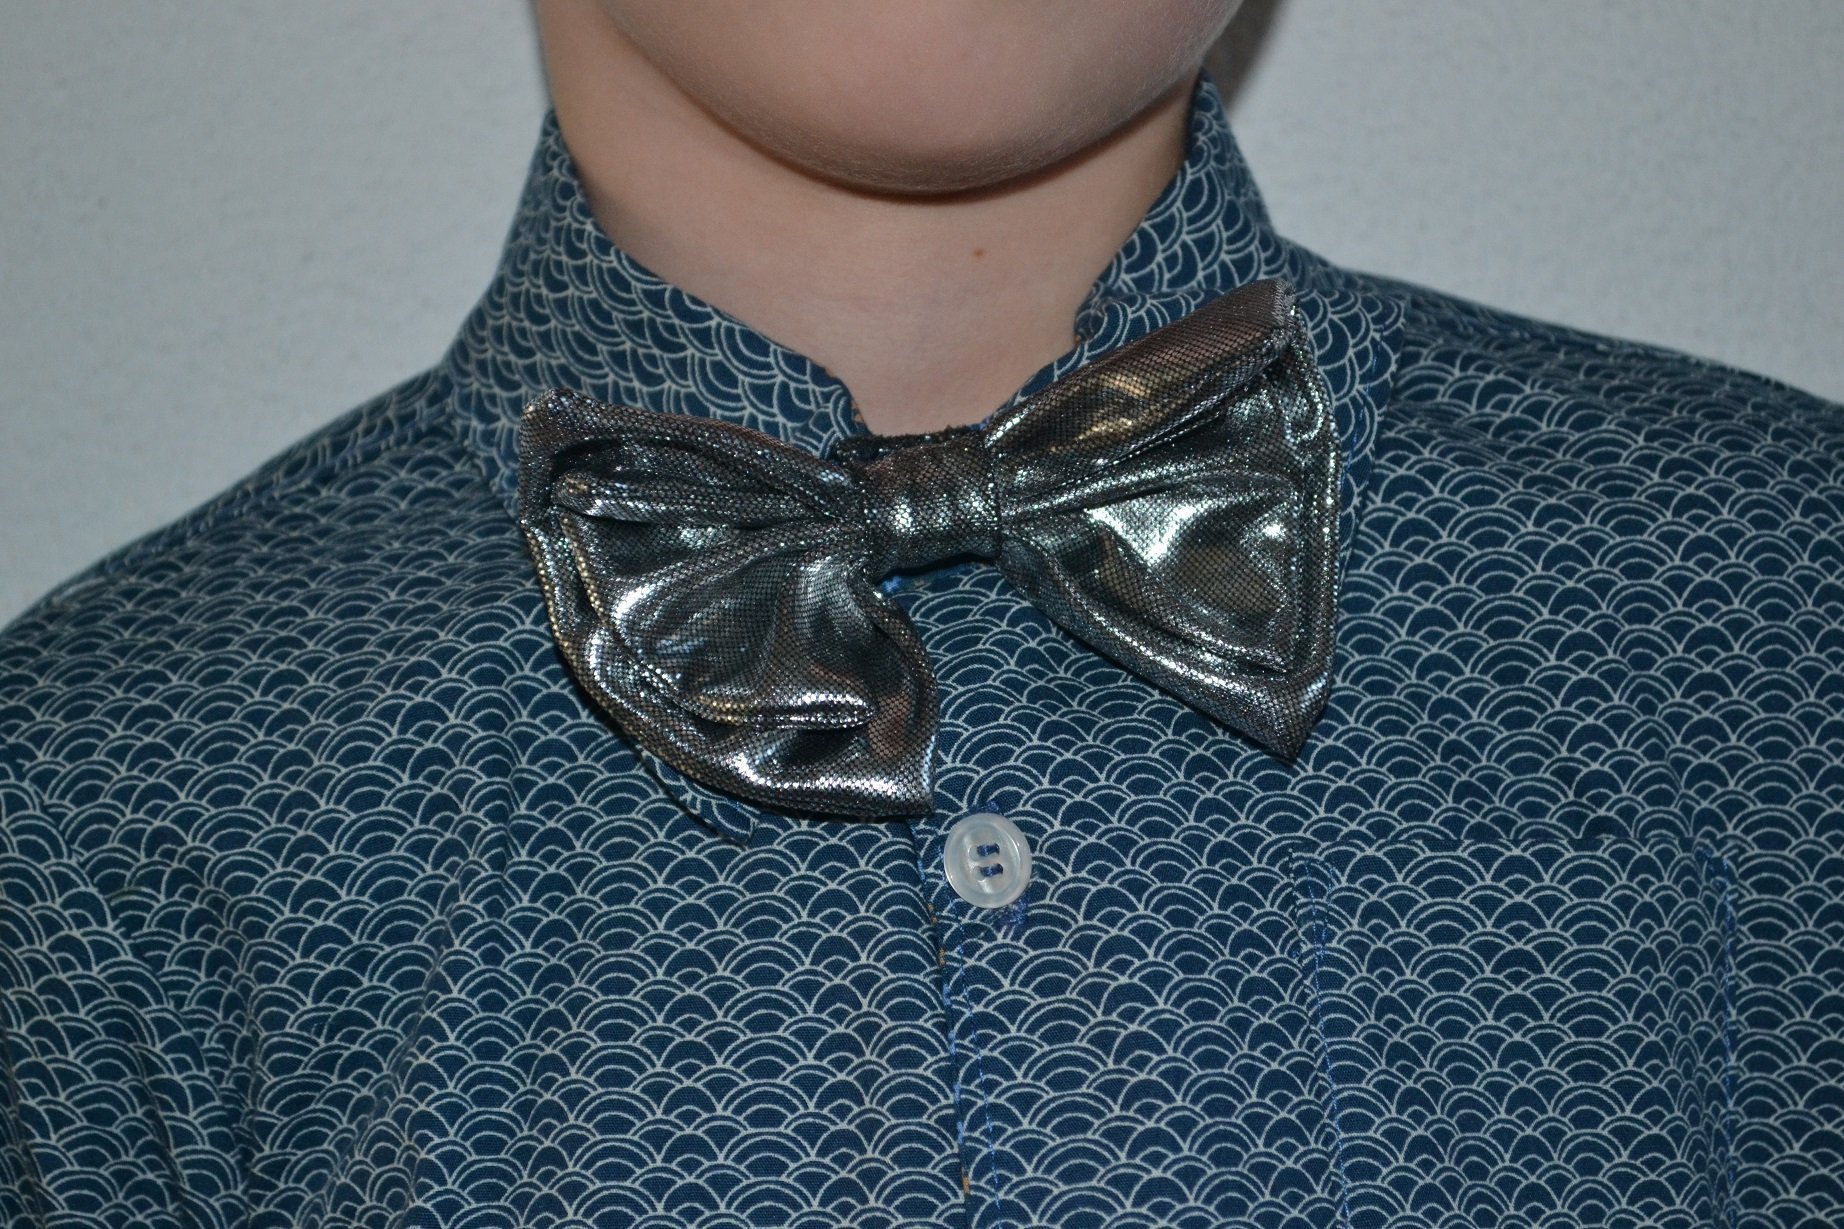
Now it’s time to attach the bow to the elastic. I’m using elastic because I’m making the bowtie for a child. Otherwise, you can also make a nice strap and put a press stud on it. I prefer elastic for small children. If a child pulls on it, the elastic stretches and won’t hurt the neck or throat.
Put the elastic on the bottom, followed by the bow and above that the strap, which you wrap around the bow and the elastic (unfortunately I didn’t have any elastic in a nice matching colour. As the bowtie will be worn with a shirt, however, you shouldn’t be able to see the elastic). I ended up folding the strap double and then folding around it. A double strap just looked that little bit nicer. But I forgot to take a picture of it.

Secure this strap at the back with needle and thread. You can fold over the excess piece (if it’s not too large) and secure it.
A bowtie can be made quickly, so you can make a whole series while you’re at it.
Good luck!


0 Responses