 BERNINA Corporate Blog -
Dear community,
in this blog post you can find easy instructions for sewing a Christmas kitchen apron, with free pattern and embroidery file.
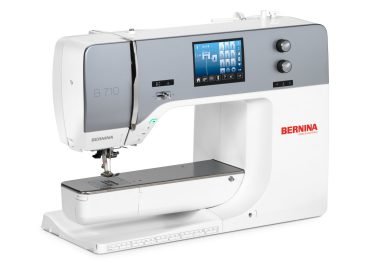
I made them on the BERNINA 710 and BERNINA 700

With thanks to Bloemen Rosa, Zillebeke – Ypres (B) for the photo location.
Sewing kitchen apron, incl. pattern and embroidery file
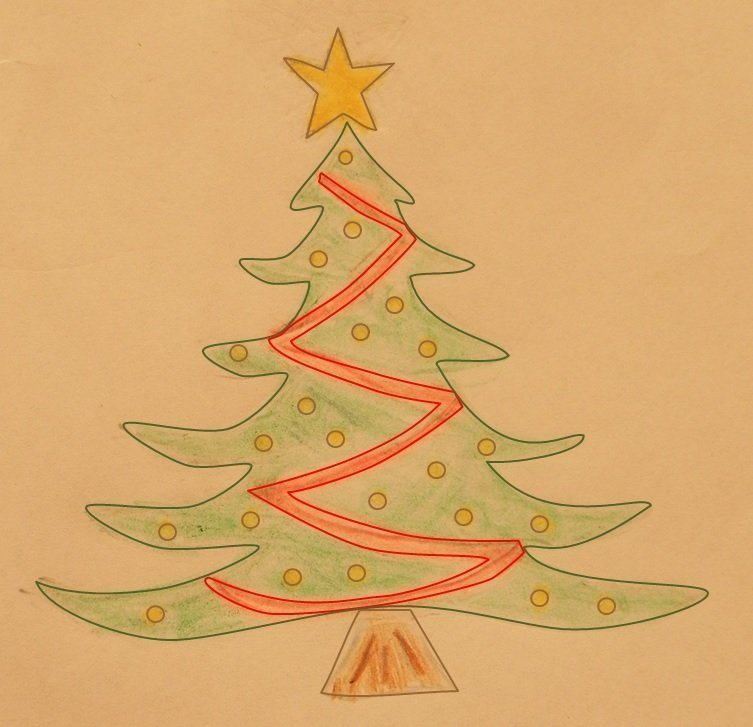
Isn’t it wonderful when Lara helps Mummy prepare for the festive dinner! And, of course, she has to be dressed in the Christmas spirit! Lara is 10 years old (150 cm tall) and can draw nicely. She drew a Christmas tree and a star, all by herself, for her kitchen apron.
Lara made these drawings:

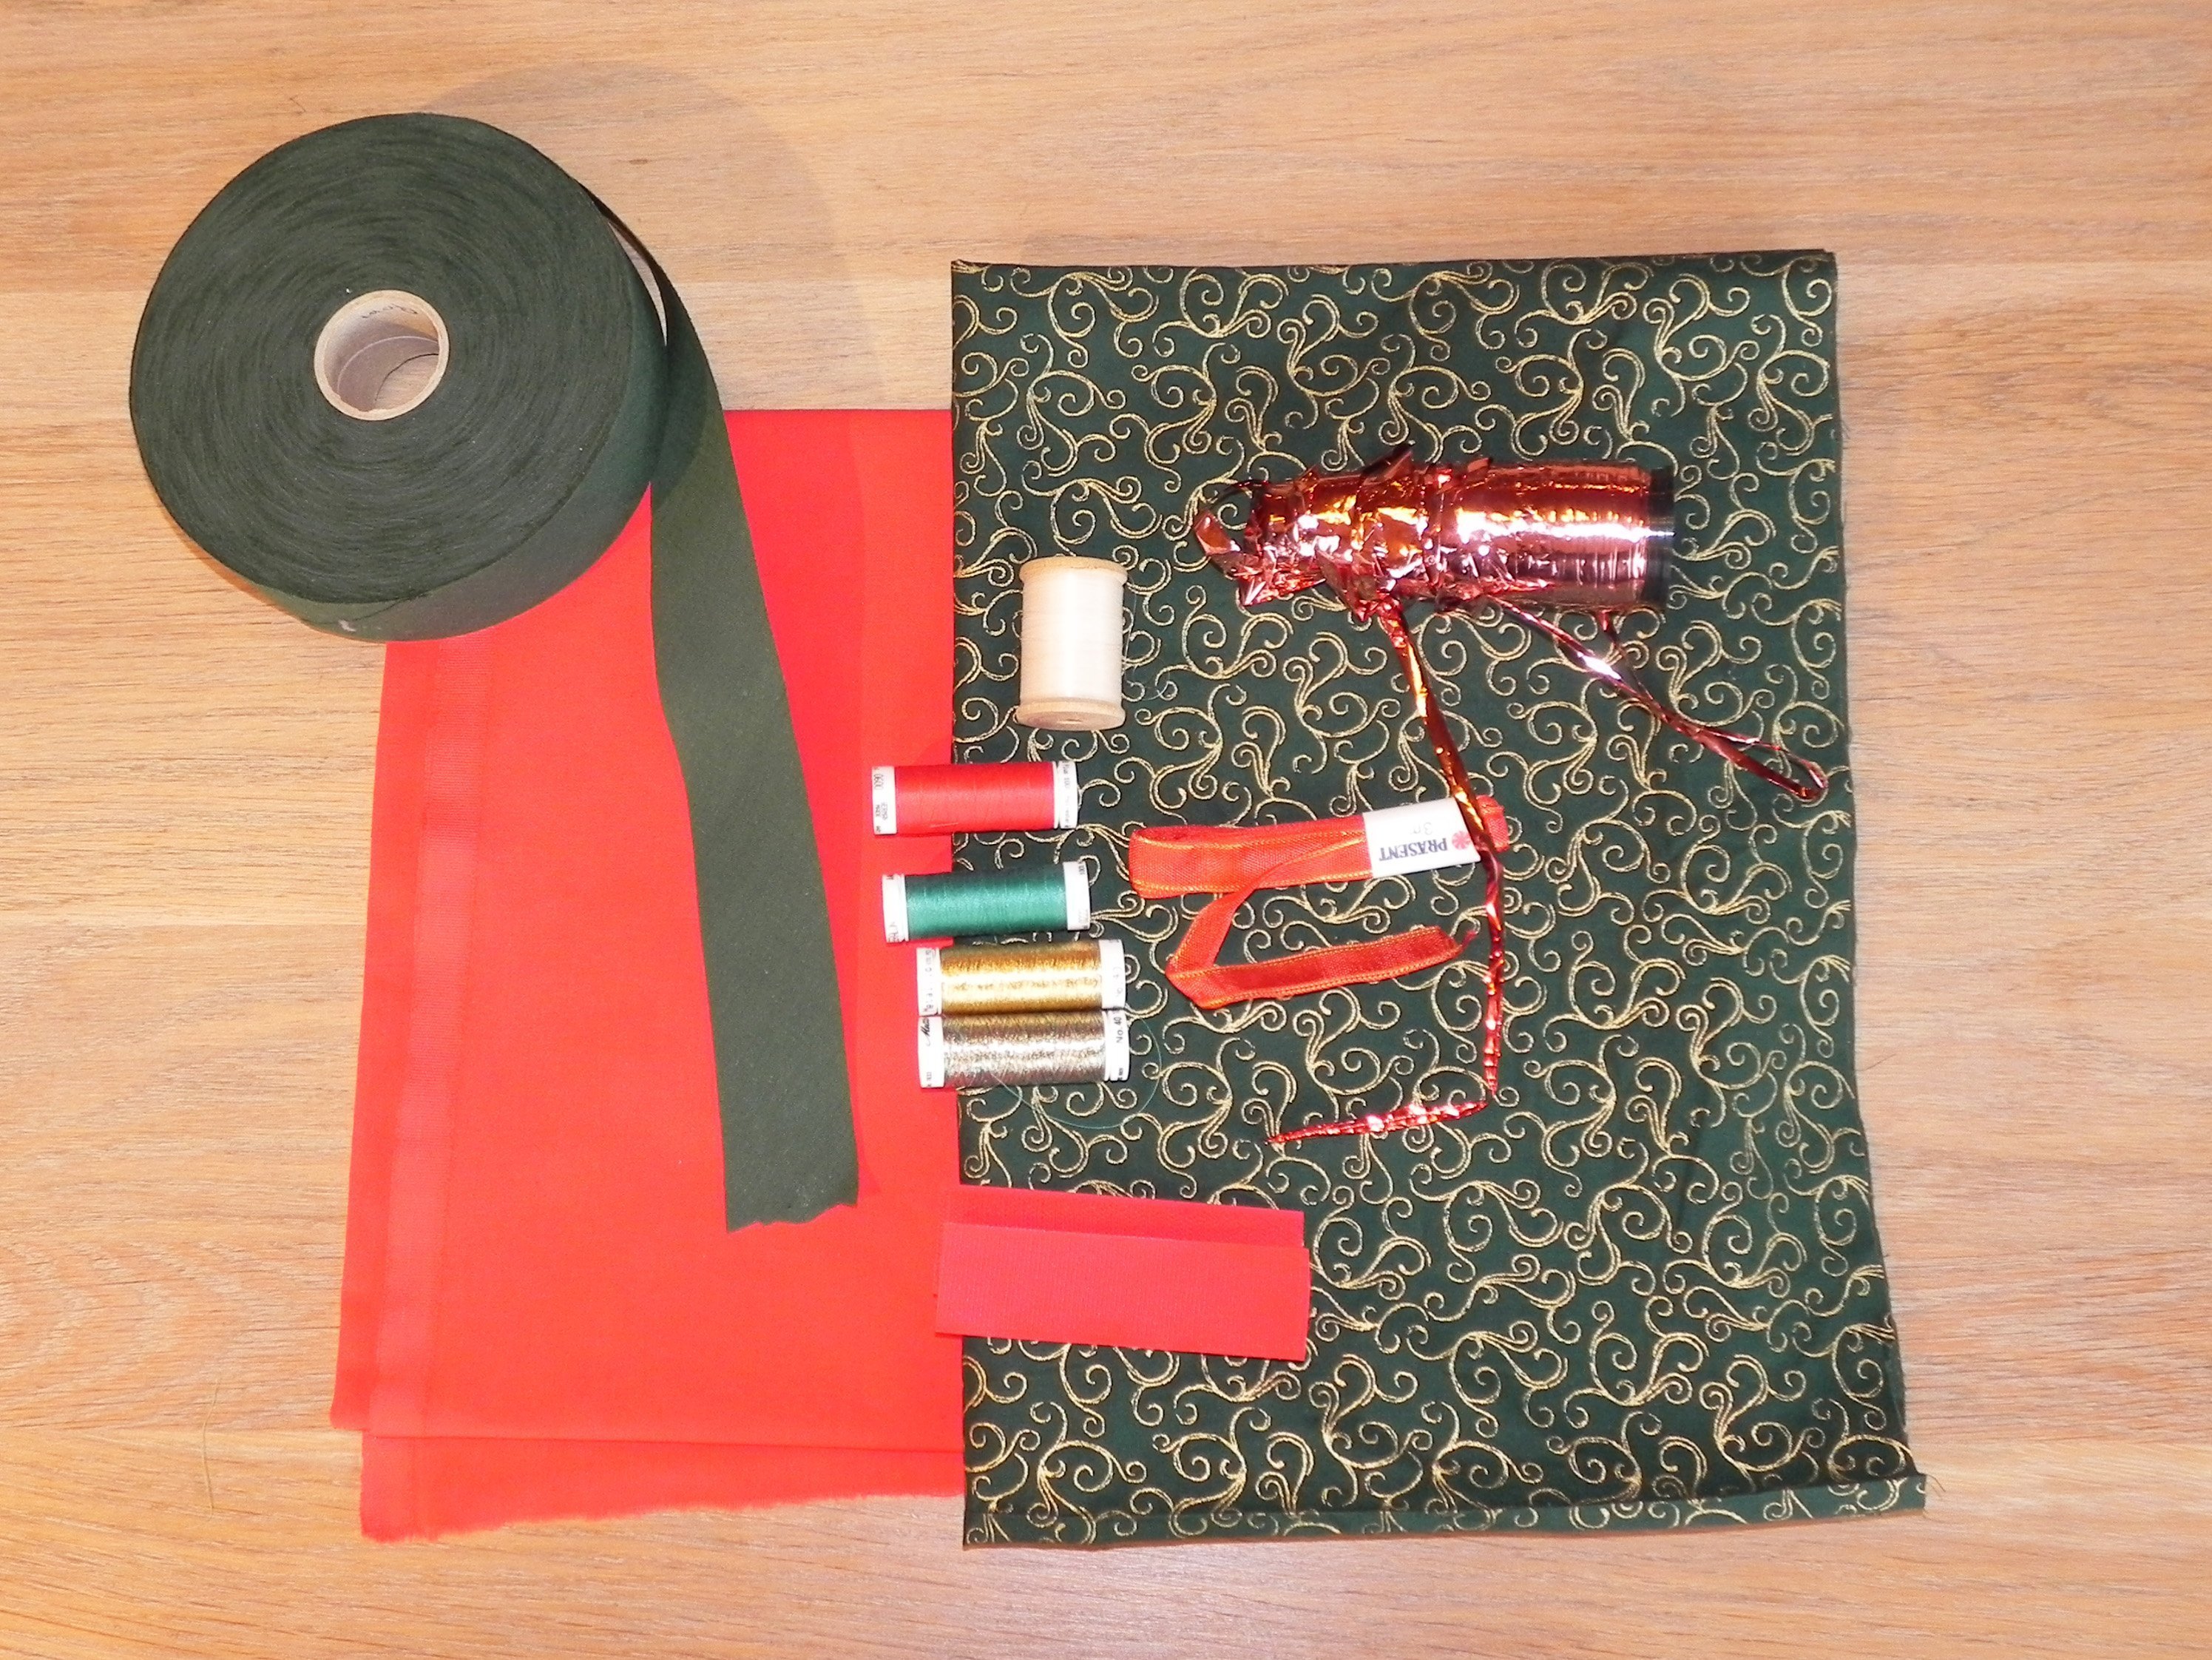
What do you need?
- Red fabric (70 cm, standard fabric width) and green fabric (40 x 40 cm)
- Green bias binding
- 10 cm red Velcro
- A matching ribbon as a garland
- Shiny gold ribbon to put around the Christmas tree (Bart and Francis web-shop with international shipping)
- Mettler PolySheen embroidery thread (metallic gold, red ‘Poppy’ 1902, brown ‘Autumn leaf’ 940, brown ‘Redwood’ 933)
- ‘Cutaway’ as reinforcement
- Red and green sewing thread
- Invisible nylon thread
- The embroidery pattern and the pattern pieces for the apron and the Christmas tree can be downloaded free of charge at the bottom of this blog post.
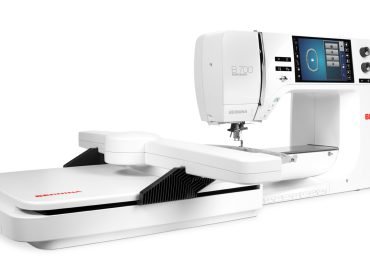
Machines and accessories:
- BERNINA 710 sewing machine, BERNINA 700 embroidery machine (or similar), Maxi (or Jumbo) embroidery hoop.
- Bias binding device (optional), edgestitch foot no. 10, open embroidery foot no. 20
The pattern pieces:
Print the pattern piece for the apron full size (possibly in a copy shop) and extend the parts as indicated. After extending the lines, the lower edge is 29.5 cm wide. Cut the outside corner round. Thanks to the bias tape finish, you don’t have to add a seam value.
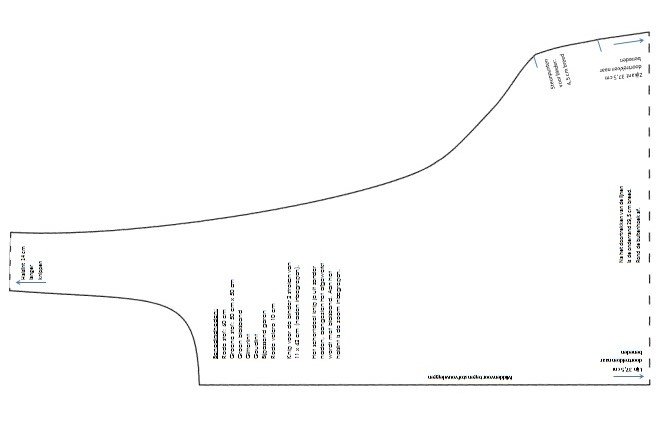
Print out the pattern piece for the Christmas tree, too.

Start with the kitchen apron:
Place the pattern piece in the centre of the fabric fold so there is room for the binders and cut out the pattern. Mark the centre of the apron. Stitch bias binding around the edges, both around and at the neck. Stitch the pieces of Velcro onto the neck ties (from the right side, just next to the bias binding).
Fold over the hem of the neck straps and stitch. Stitch the binders, cut out the corners and turn around.
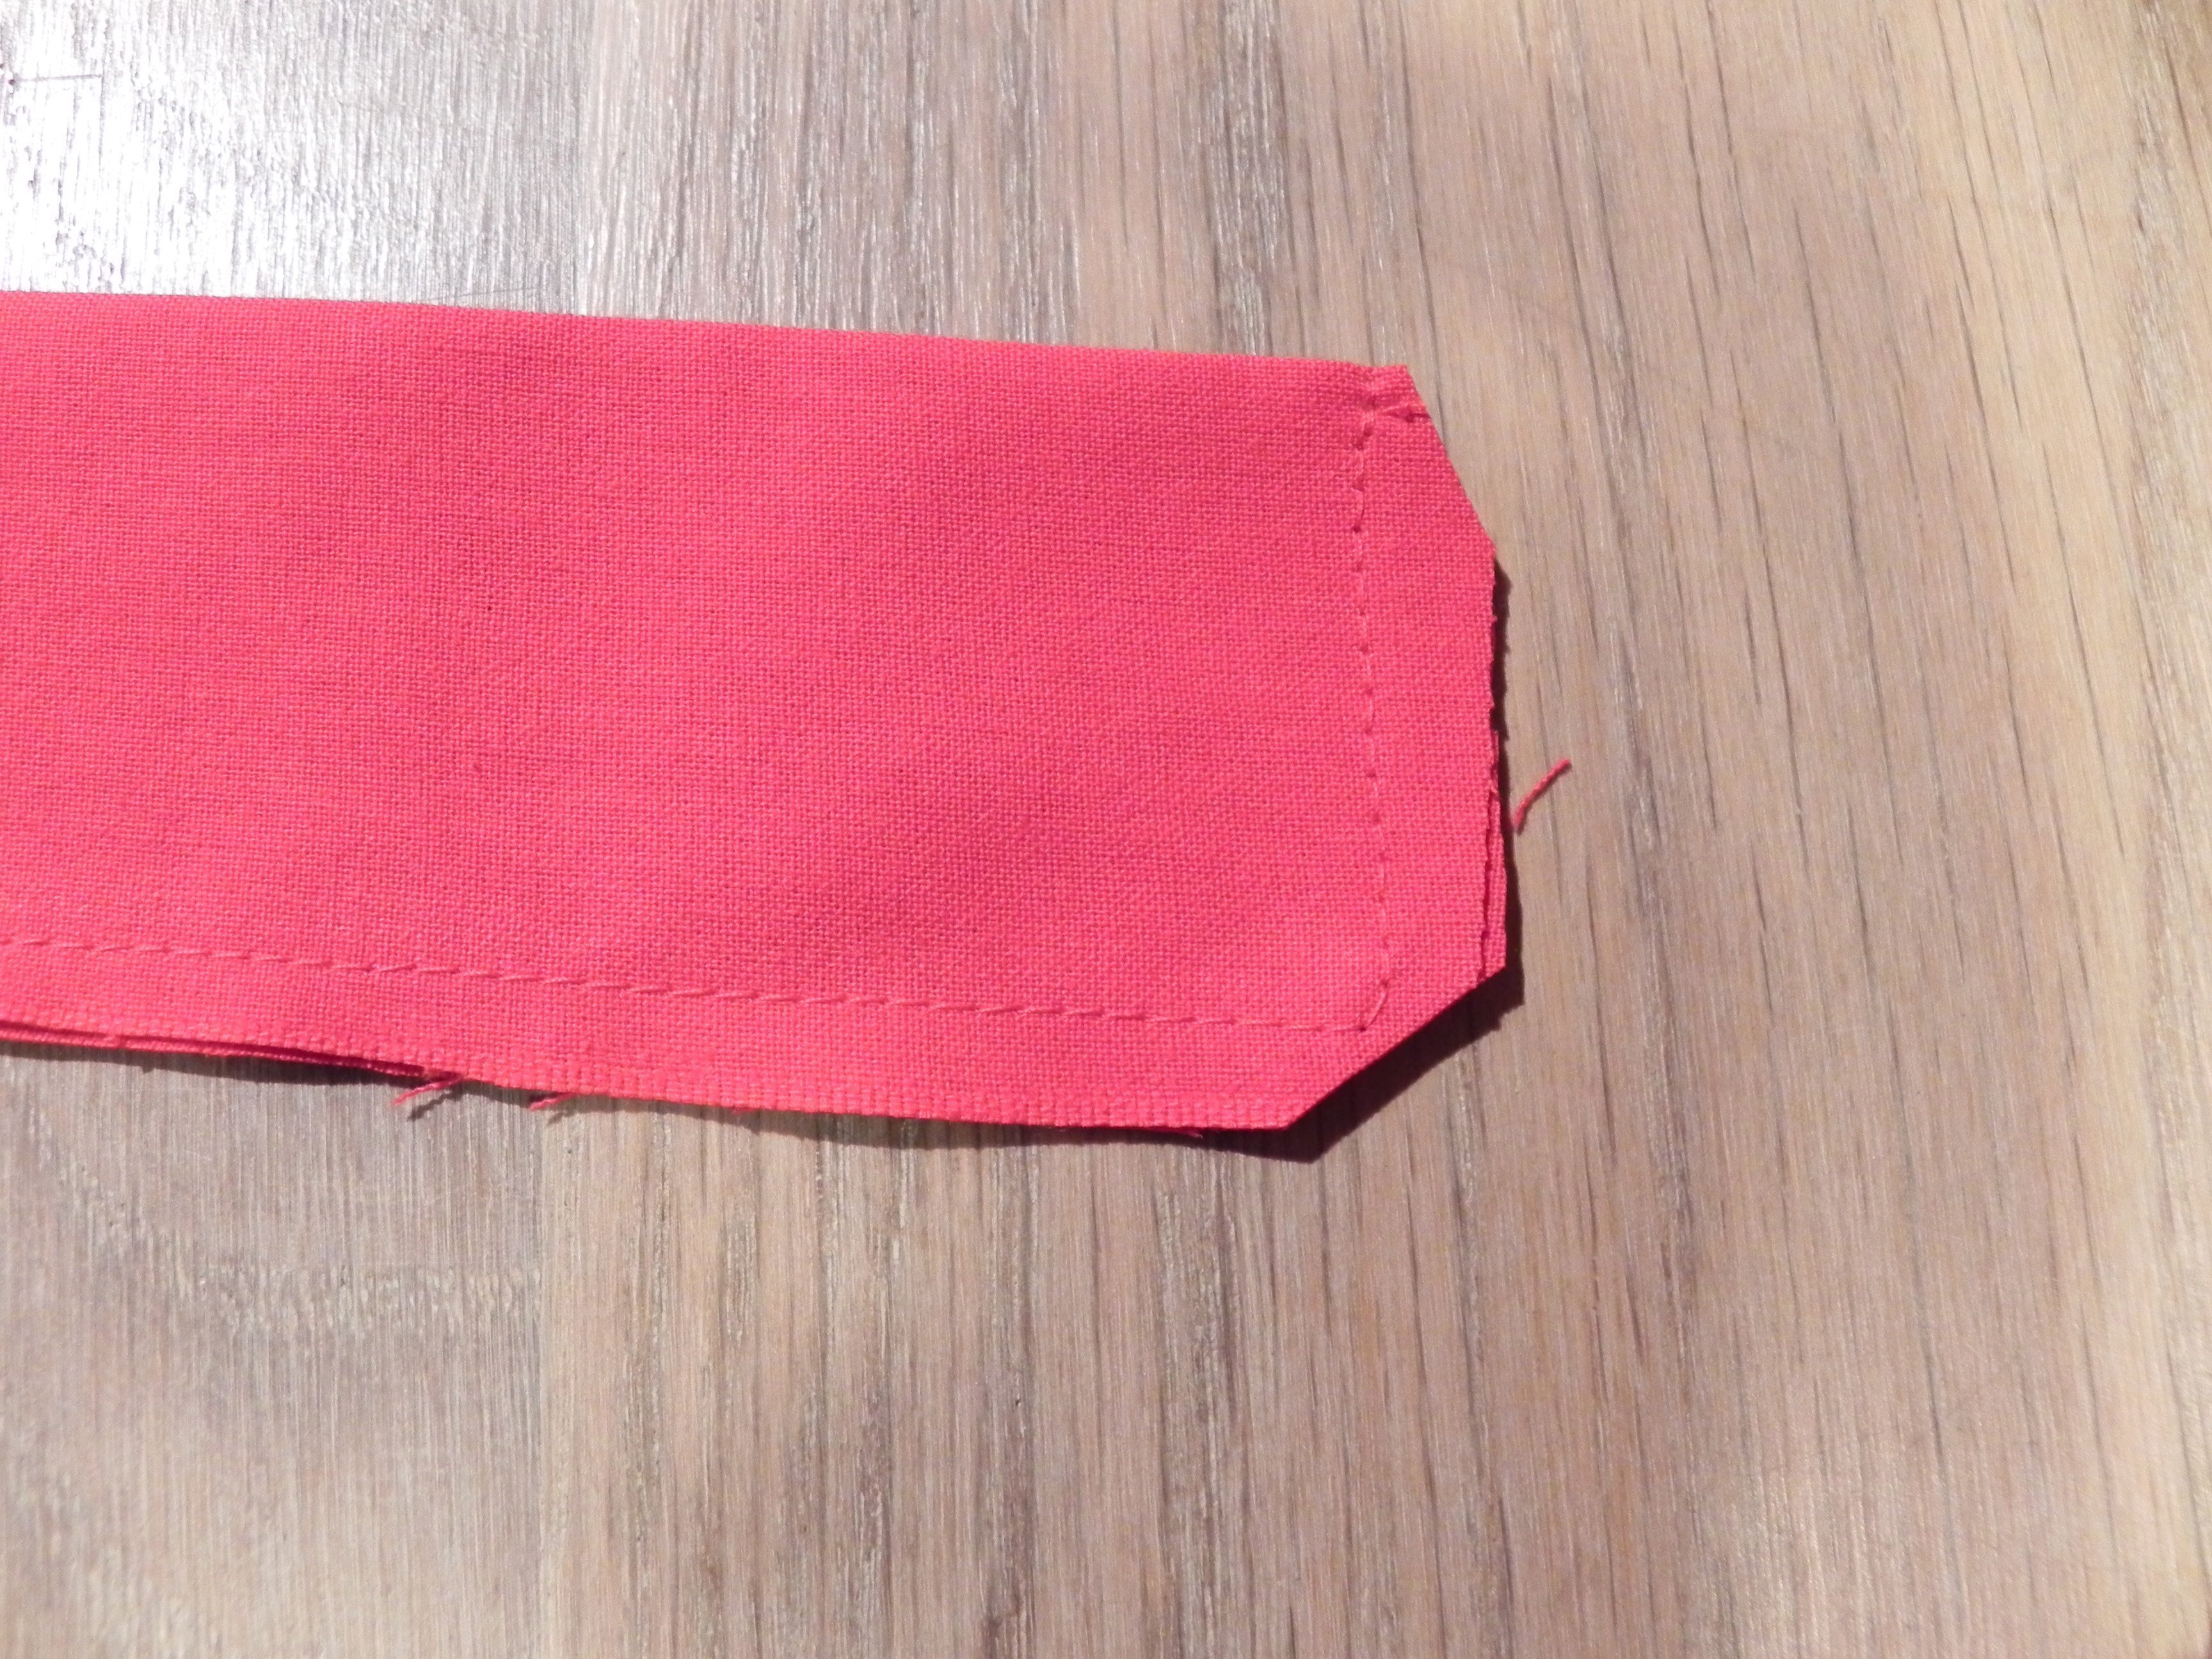
Then stitch them around once again at 1 mm. Stitch the ties to the back of the apron part.

Turn the binder over and stitch again, so that the frayed end is hidden between the stitching.

Stitching on the Christmas tree:
Place the pattern piece of the Christmas tree with the fabric on the apron, position it as desired.

Reduce the tension of the sewing machine. Stitch just next to the pattern piece around the outline of the Christmas tree (without the star and the trunk).
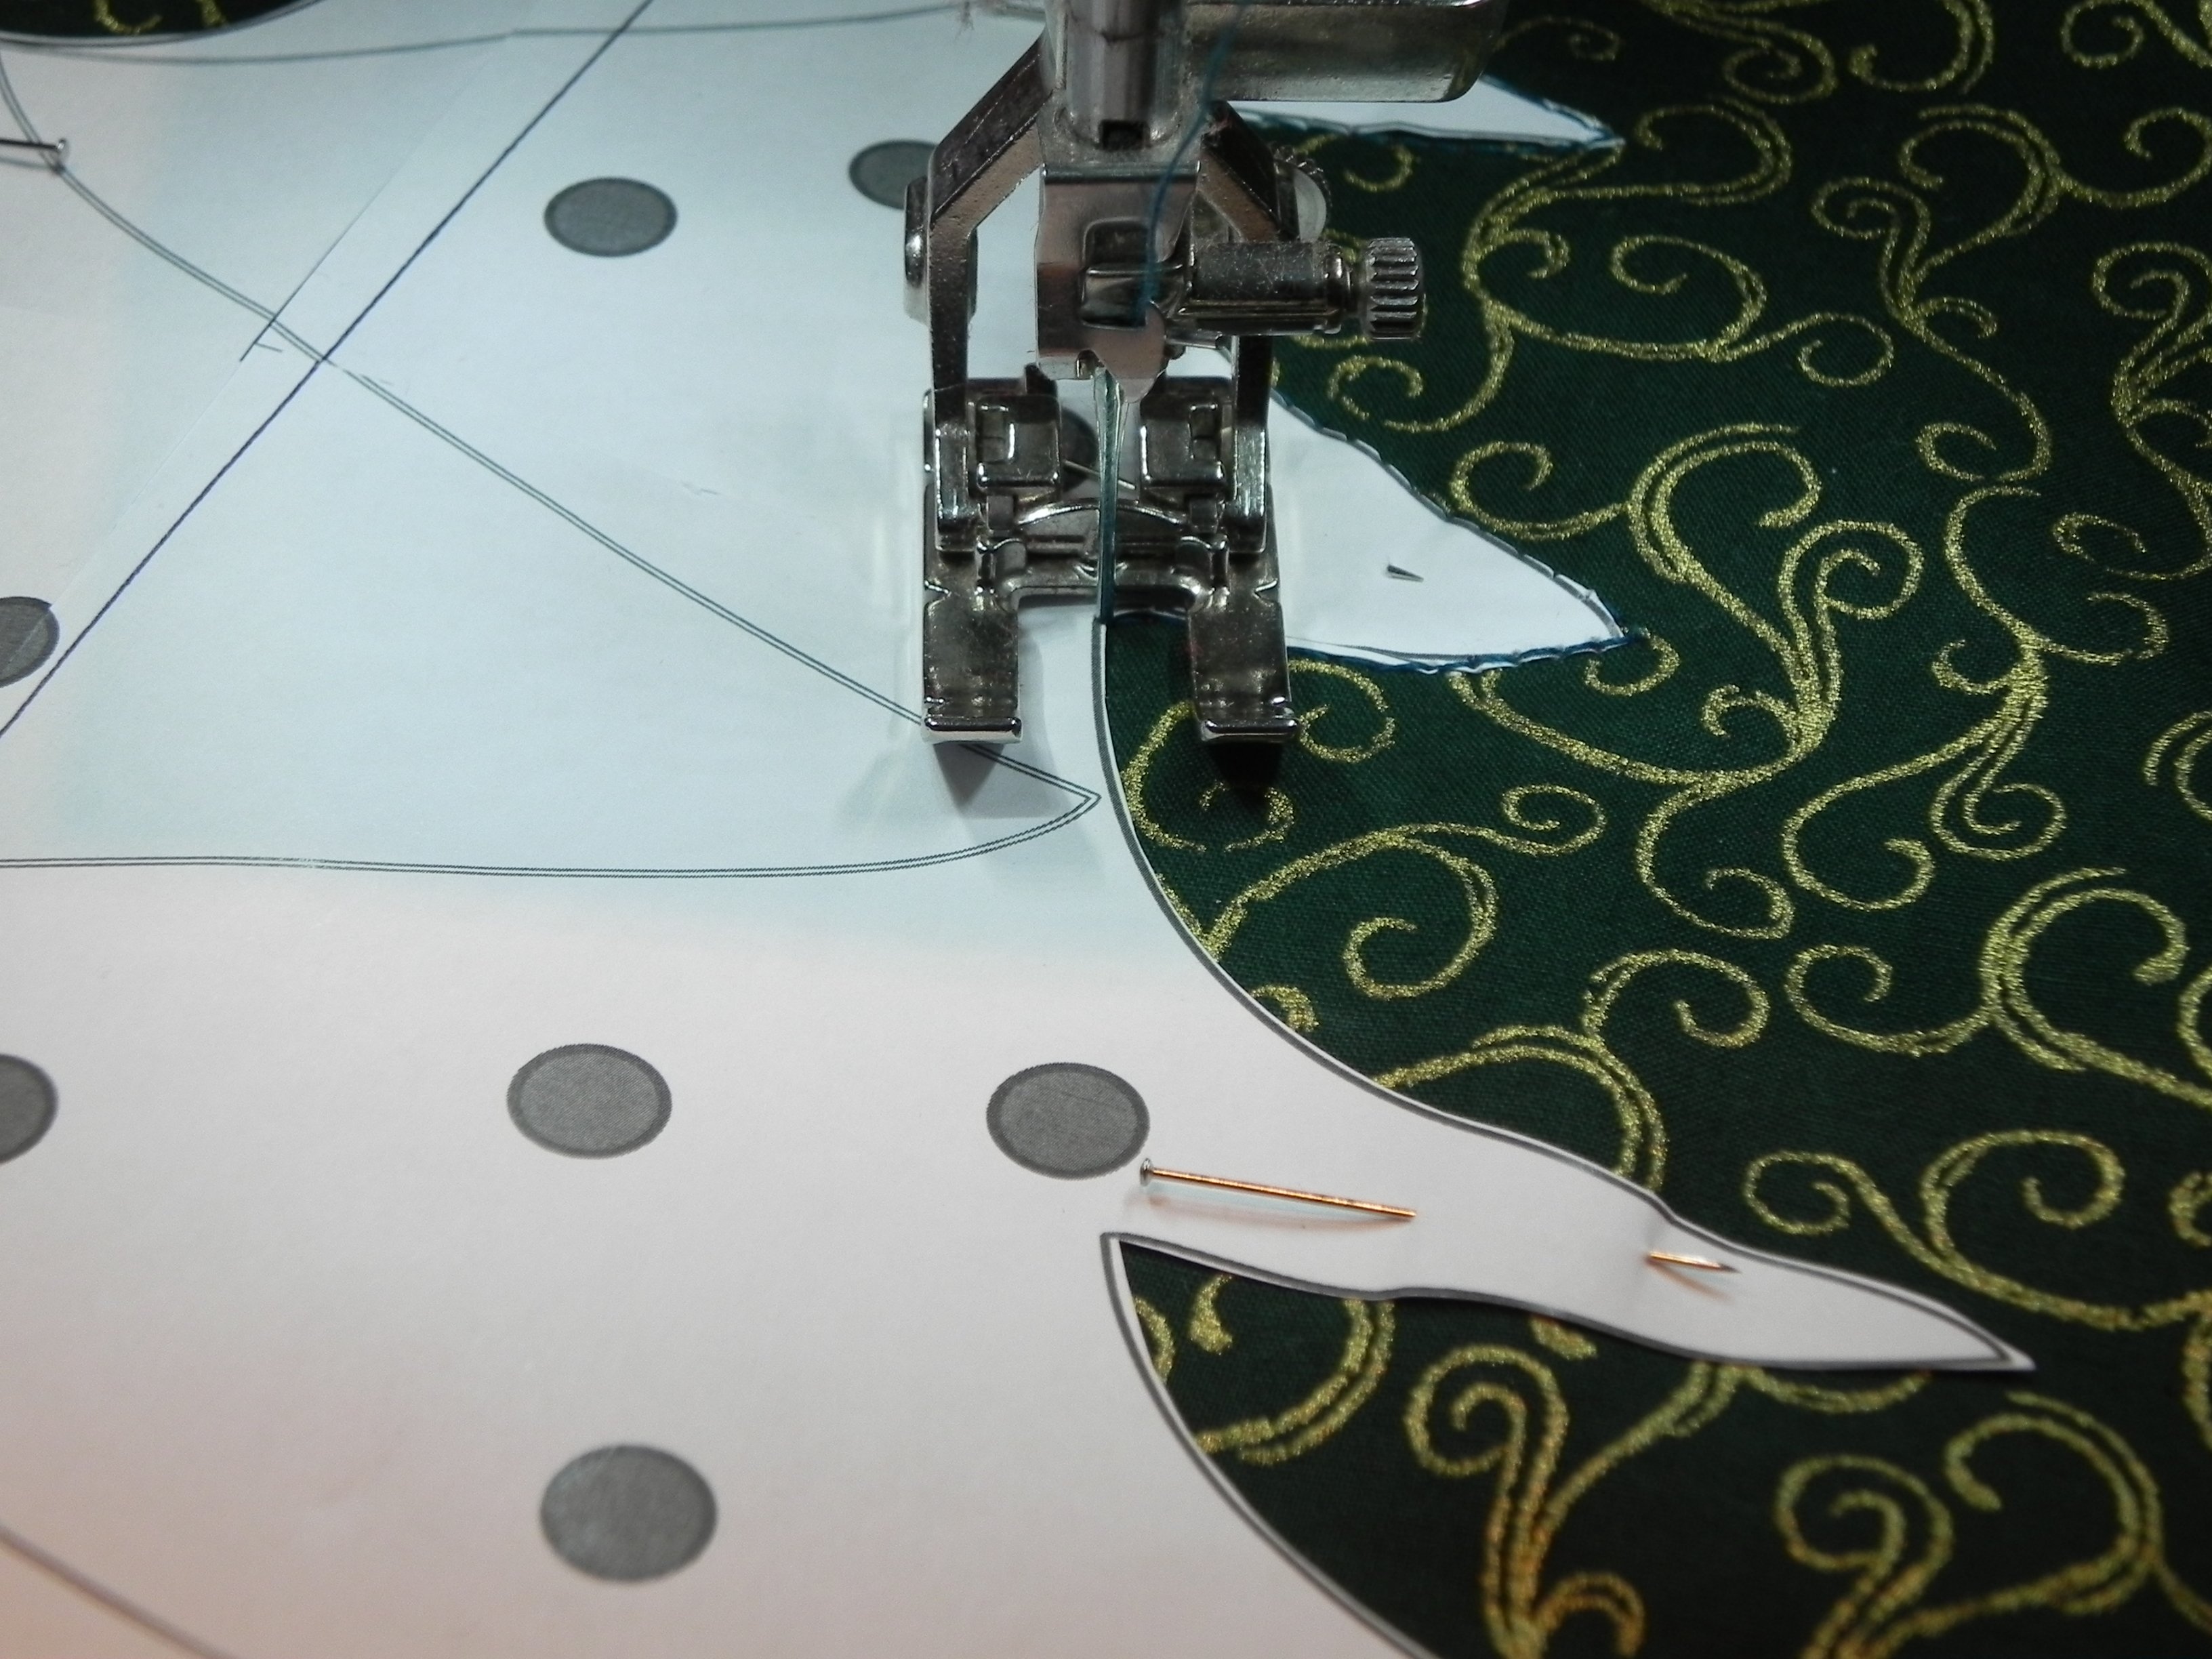
Trim the edge of the fabric just next to the stitch line. Now stitch around the edge again with a narrow zigzag line.
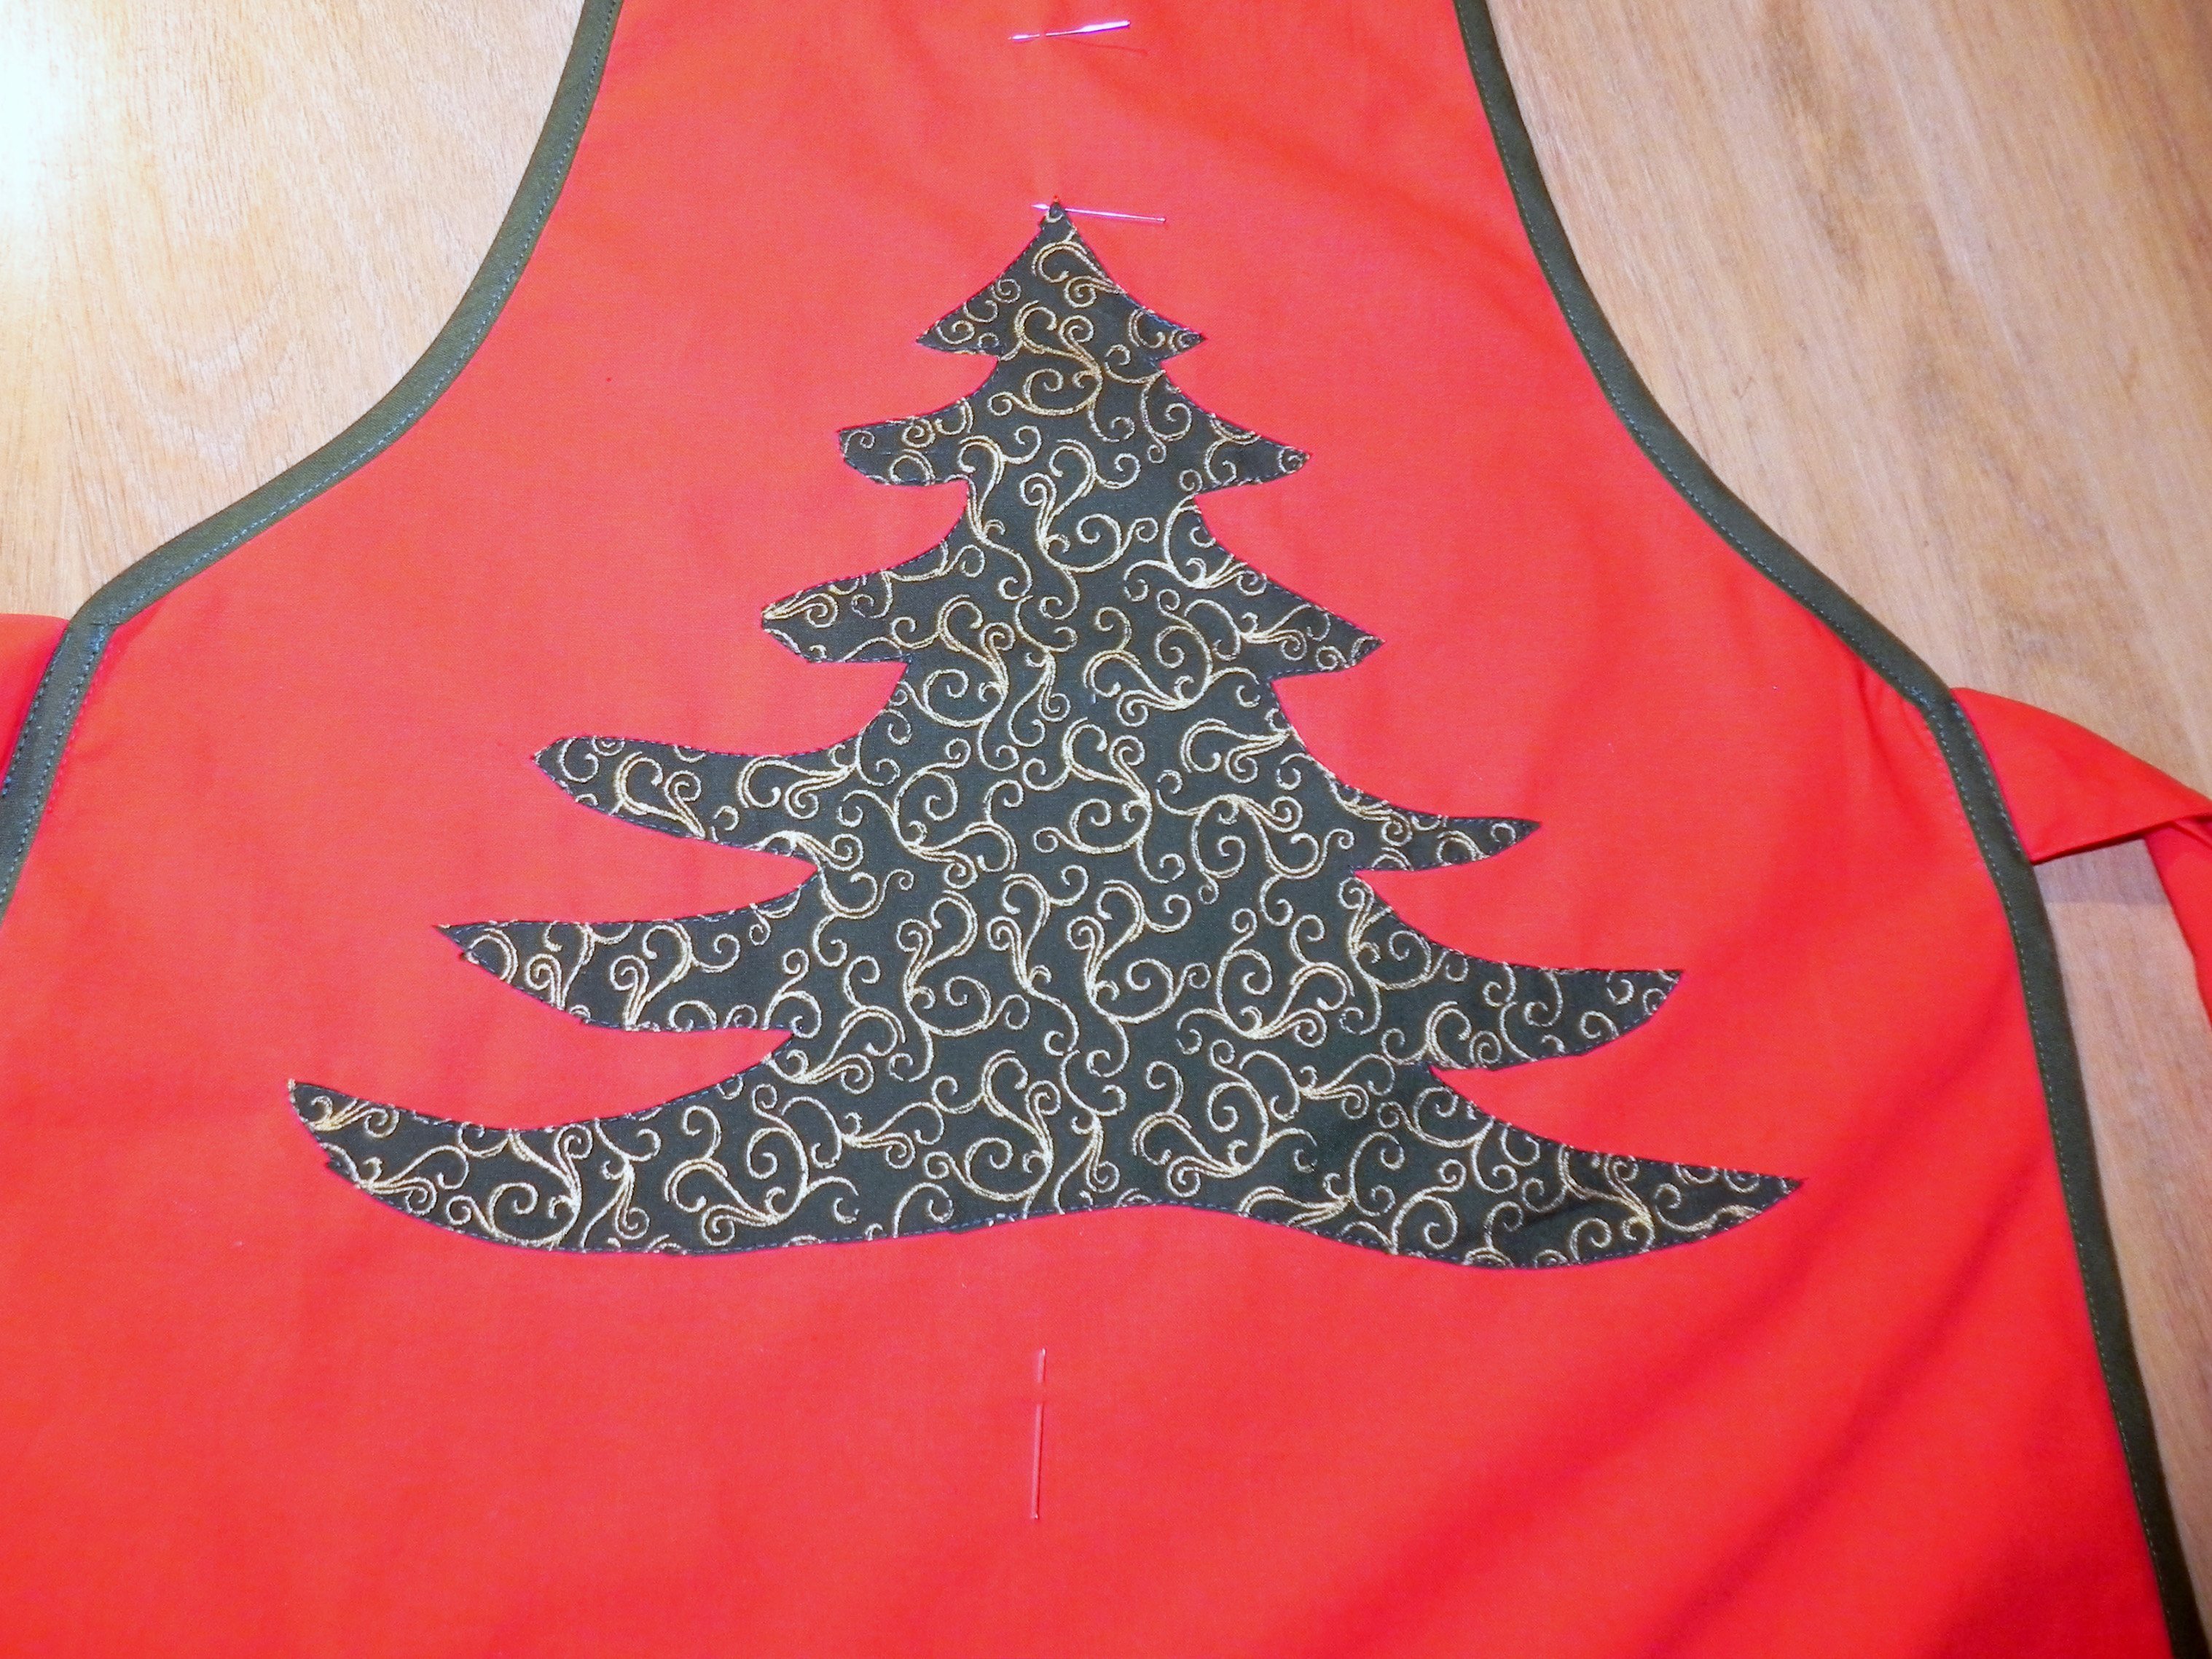
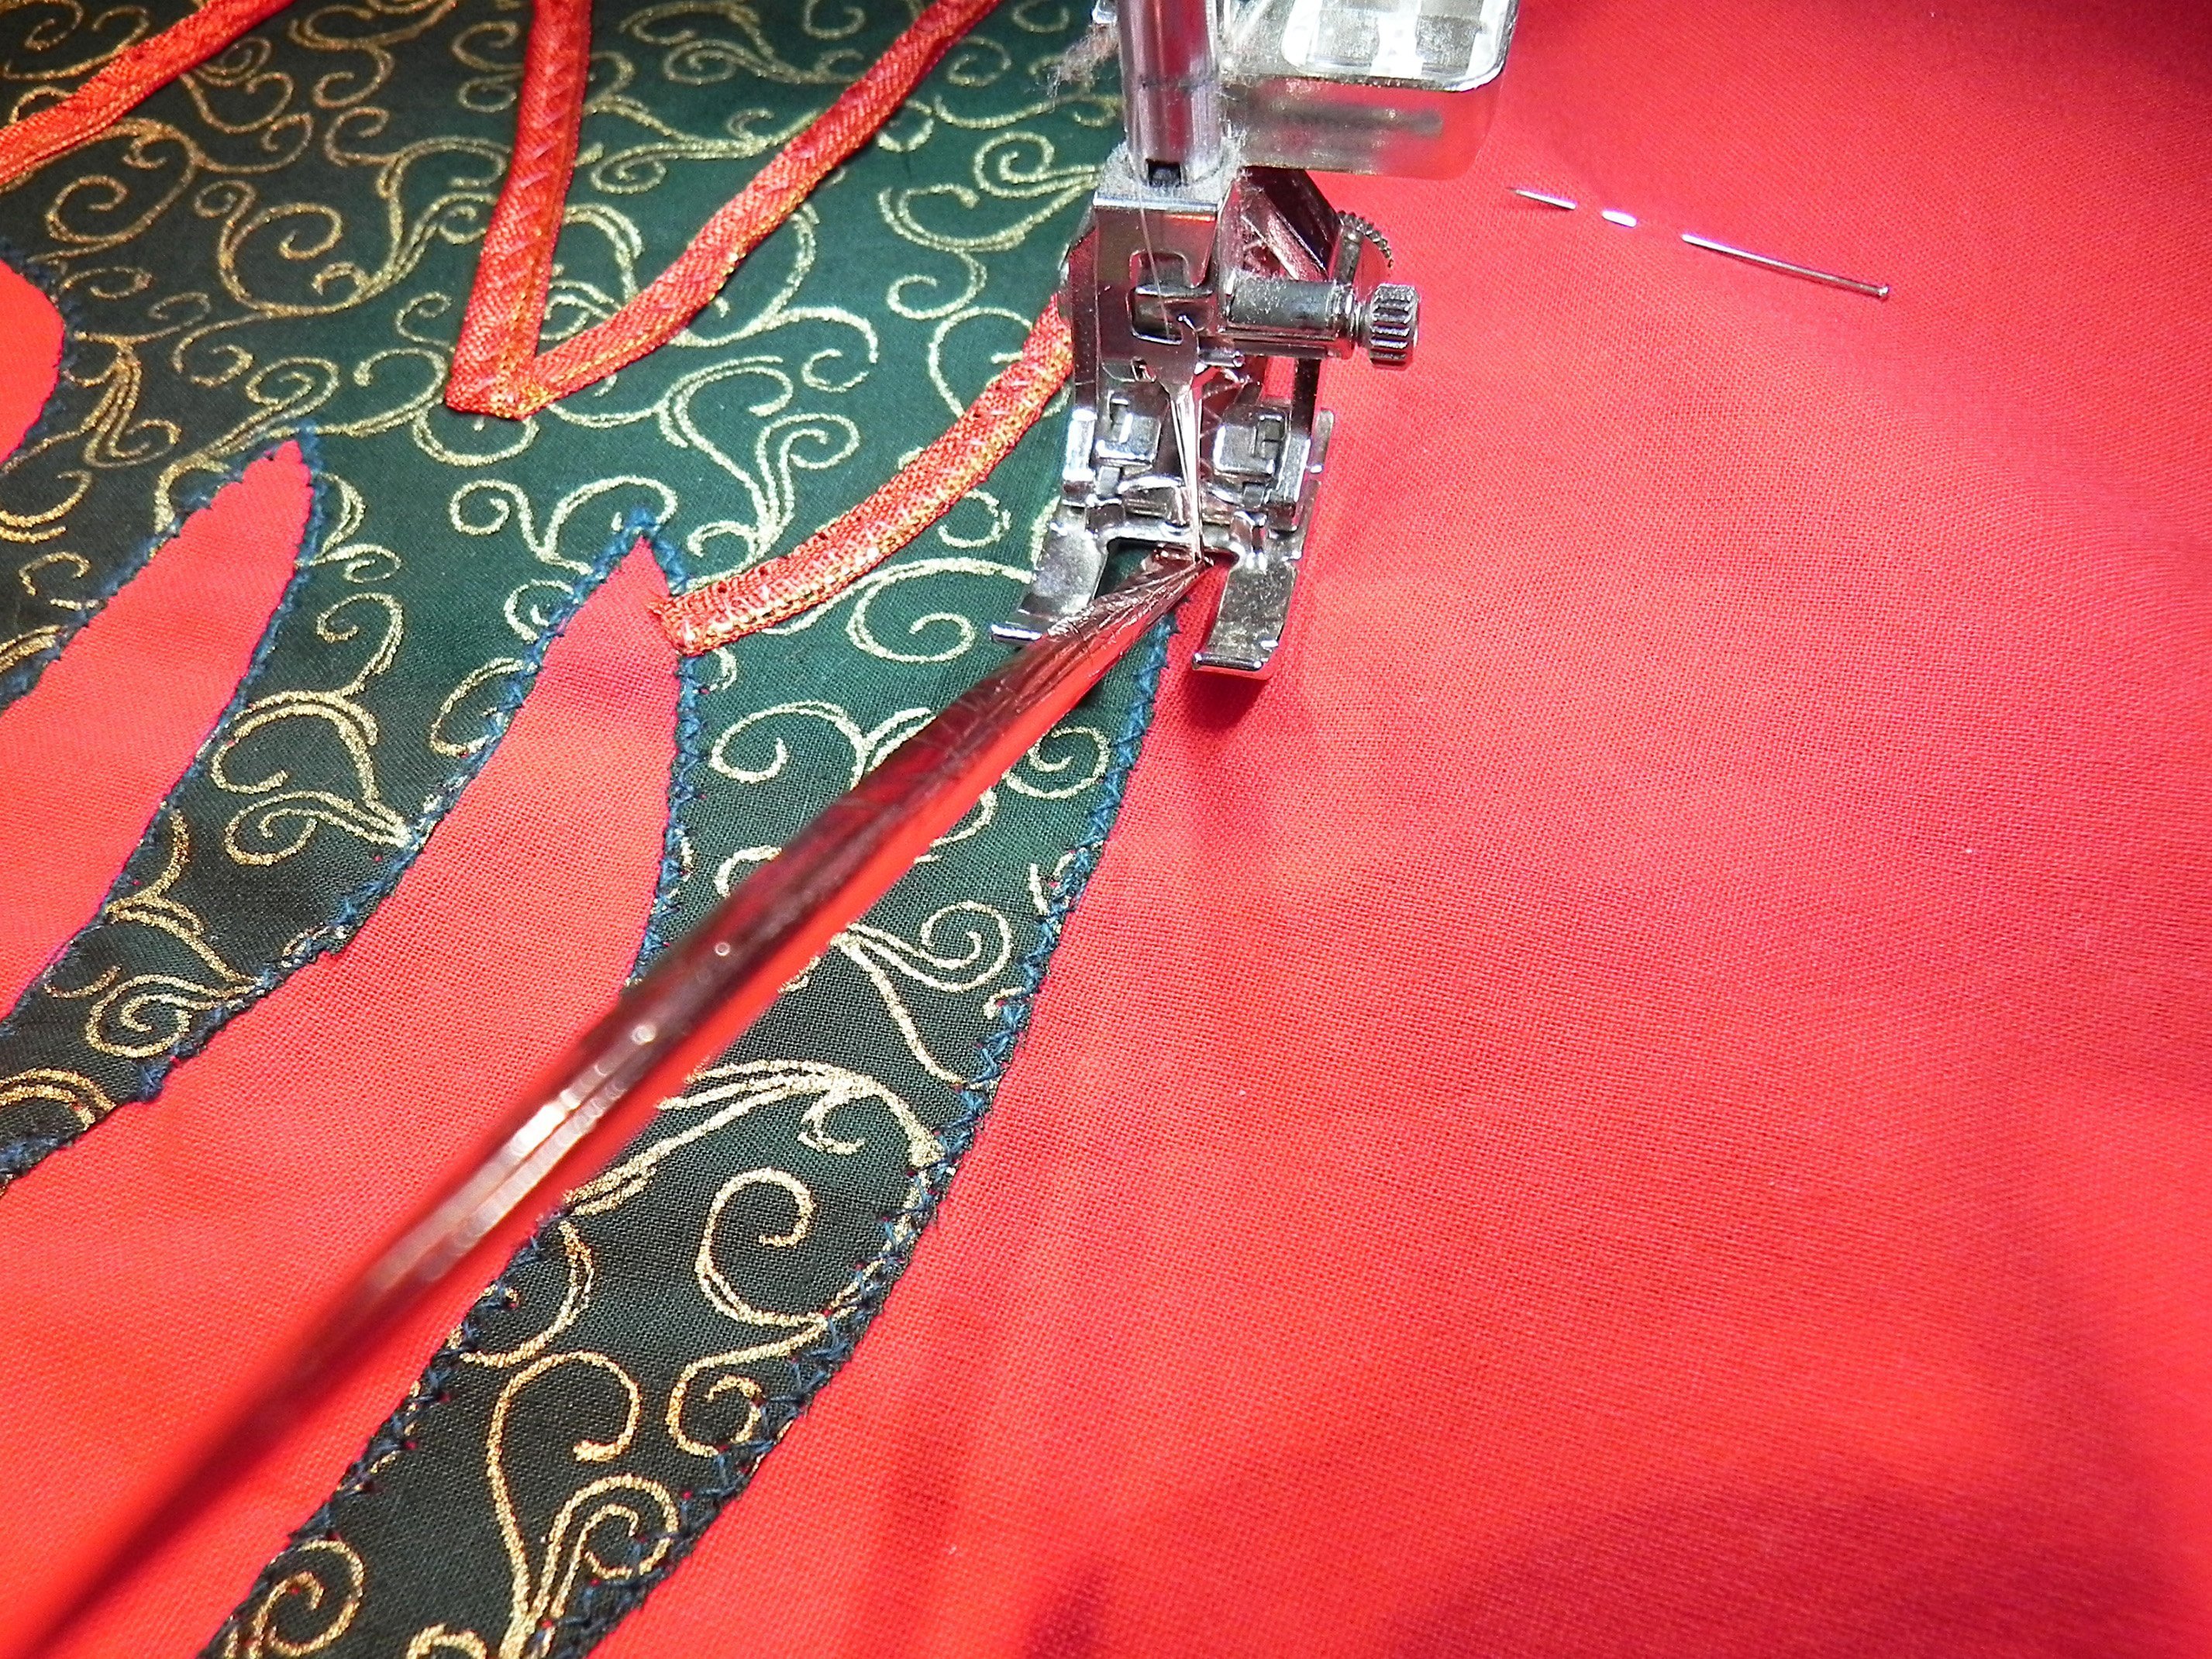
Stitch the garland onto the Christmas tree, following the example on the pattern, using the invisible nylon thread.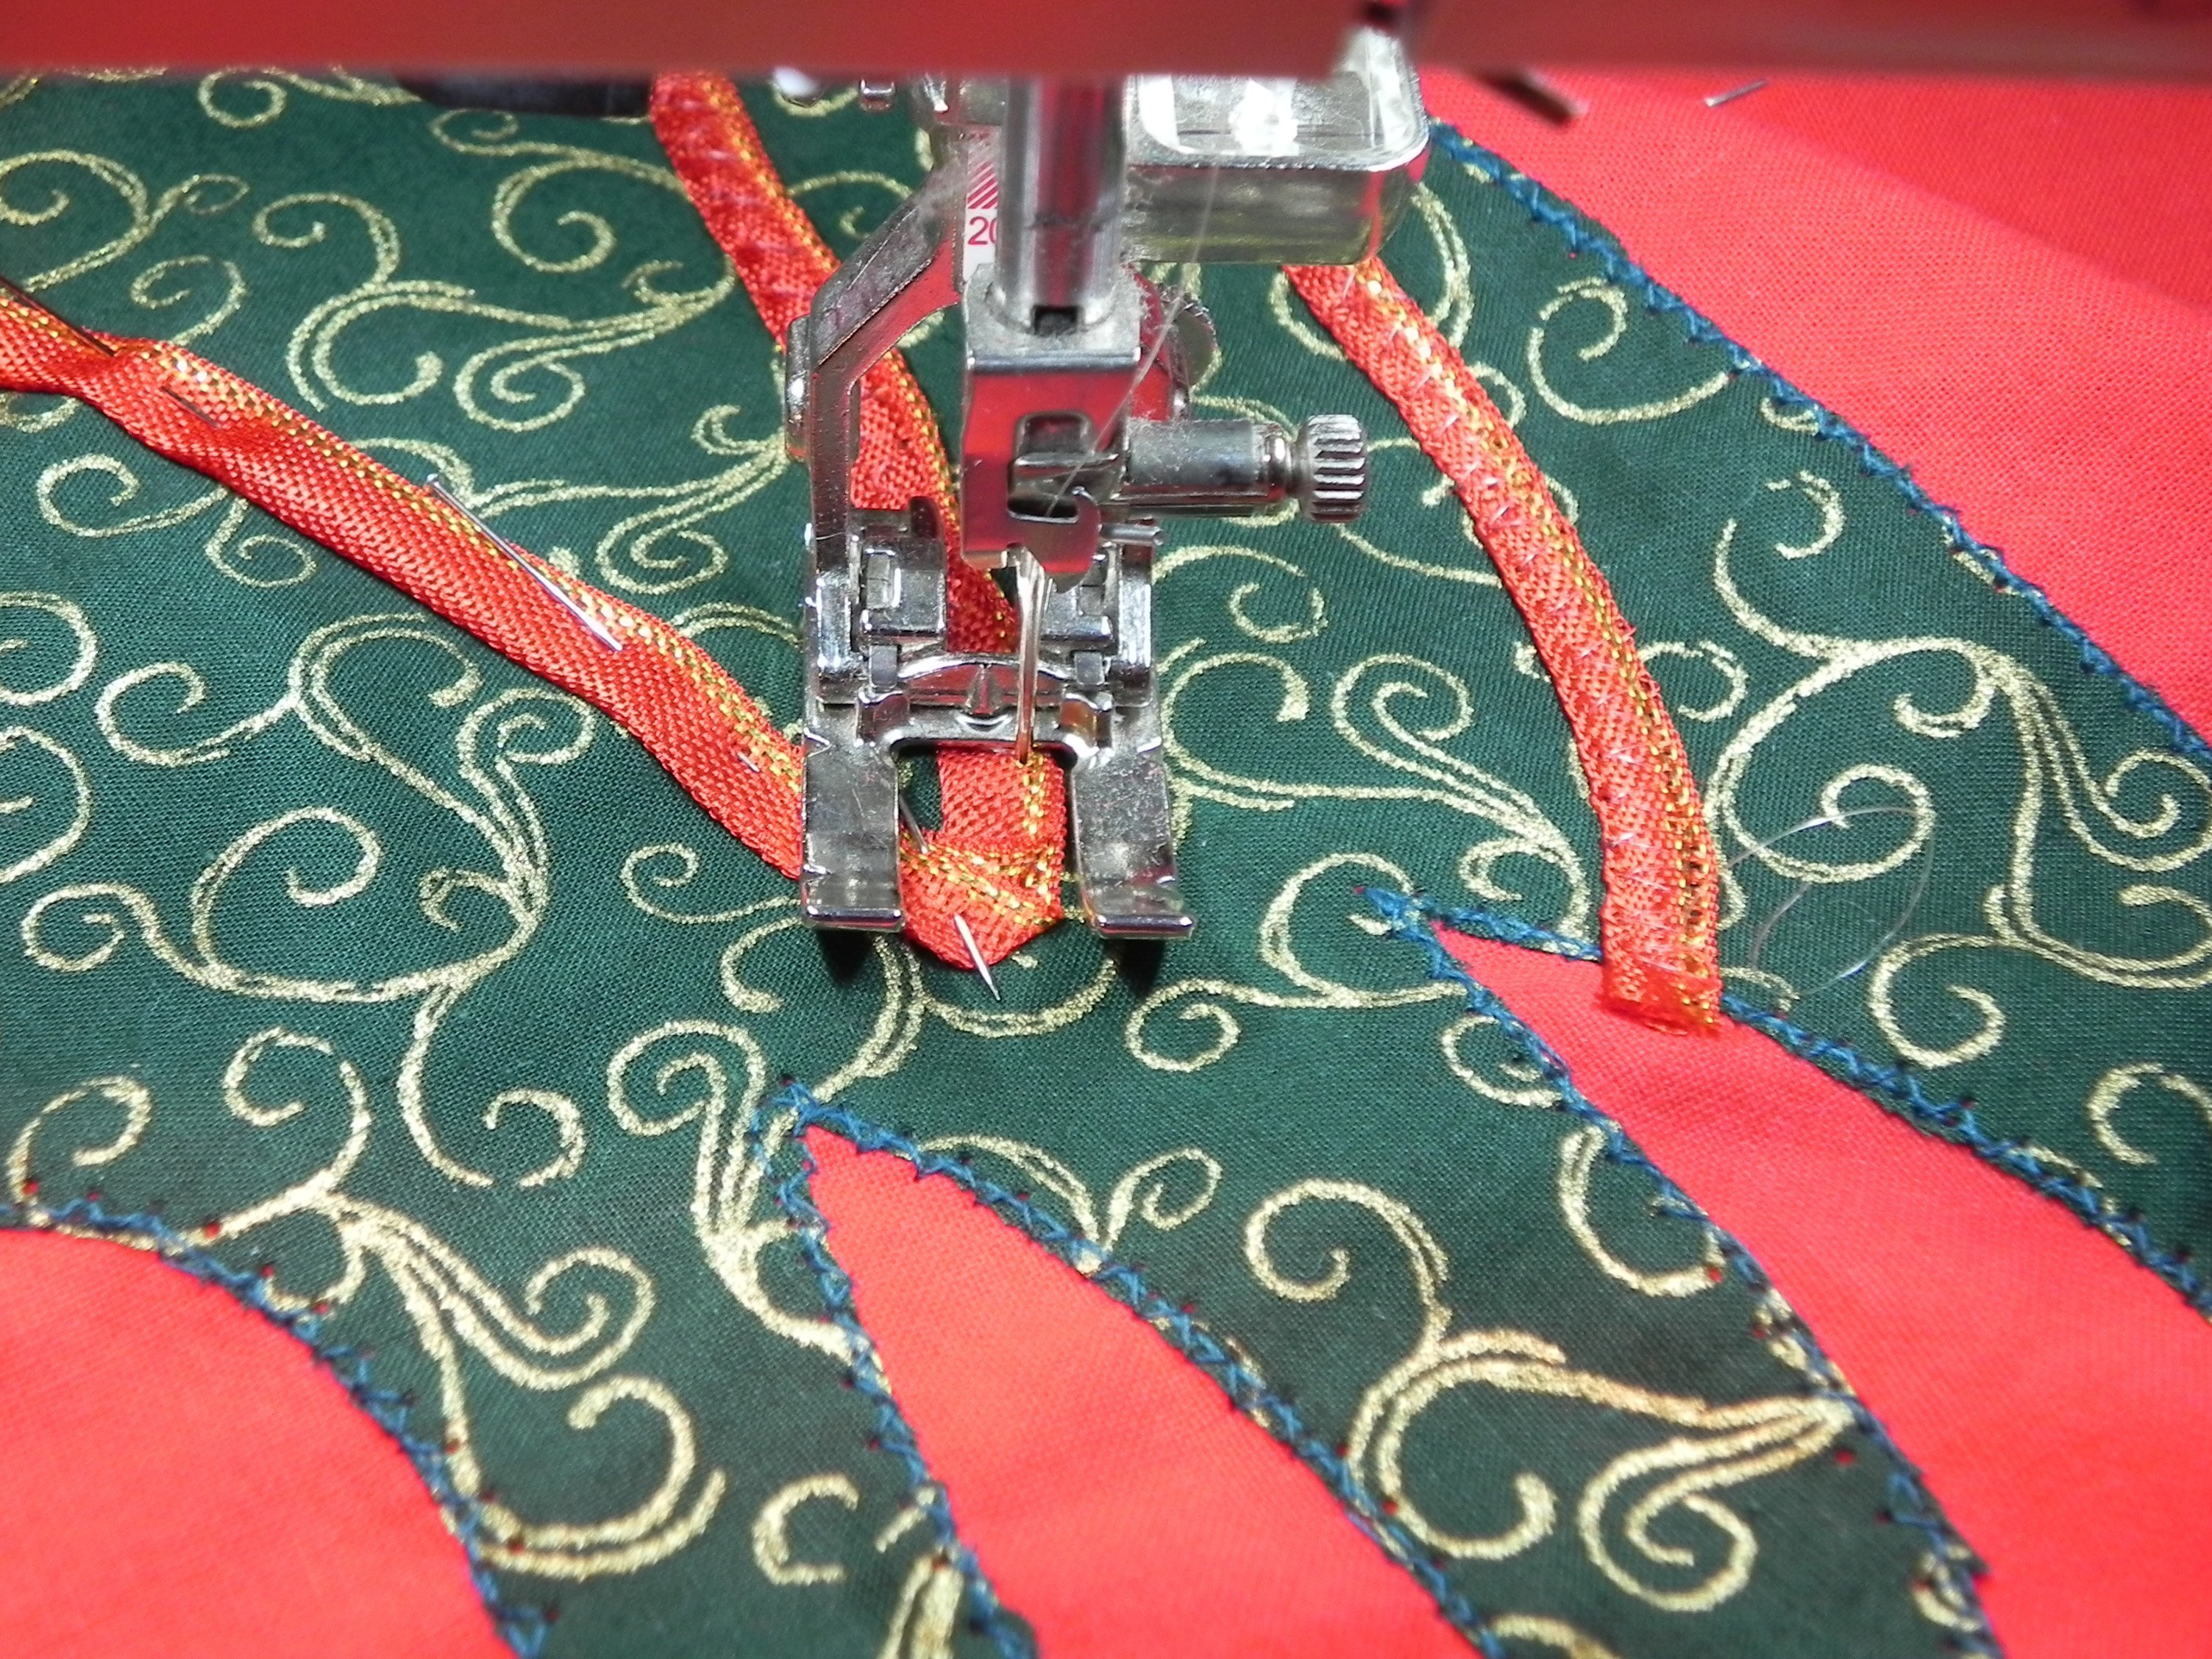
Stitch the gold ribbon around the contour of the Christmas tree with a wide zigzag stitch (again with the invisible thread).
Embroidering the star, baubles and trunk:
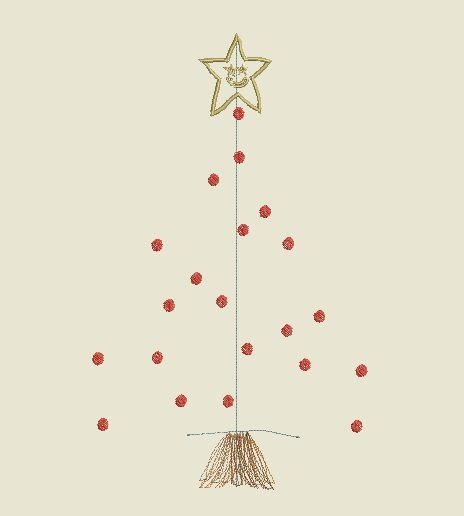
Stretch the cutaway in the embroidery frame. Embroider the first colour on the cutaway. This is the shape of the star, the centre line and the bottom of the Christmas tree. These help you position the apron on top of the embroidery frame. Now insert a pin in the uppermost point of the Christmas tree and place it on the corresponding spot in the embroidered line of the star.

Pin in place all around. Embroider the complete file (gold for the star, red for the baubles and brown for the trunk). Remove the cutaway with the apron from the embroidery frame, but do not yet trim off the cutaway. Stitch gold ribbon for the outline of the trunk; the cutaway prevents the fabric puckering. And there we are. Now all the excess cutaway can be cut away.
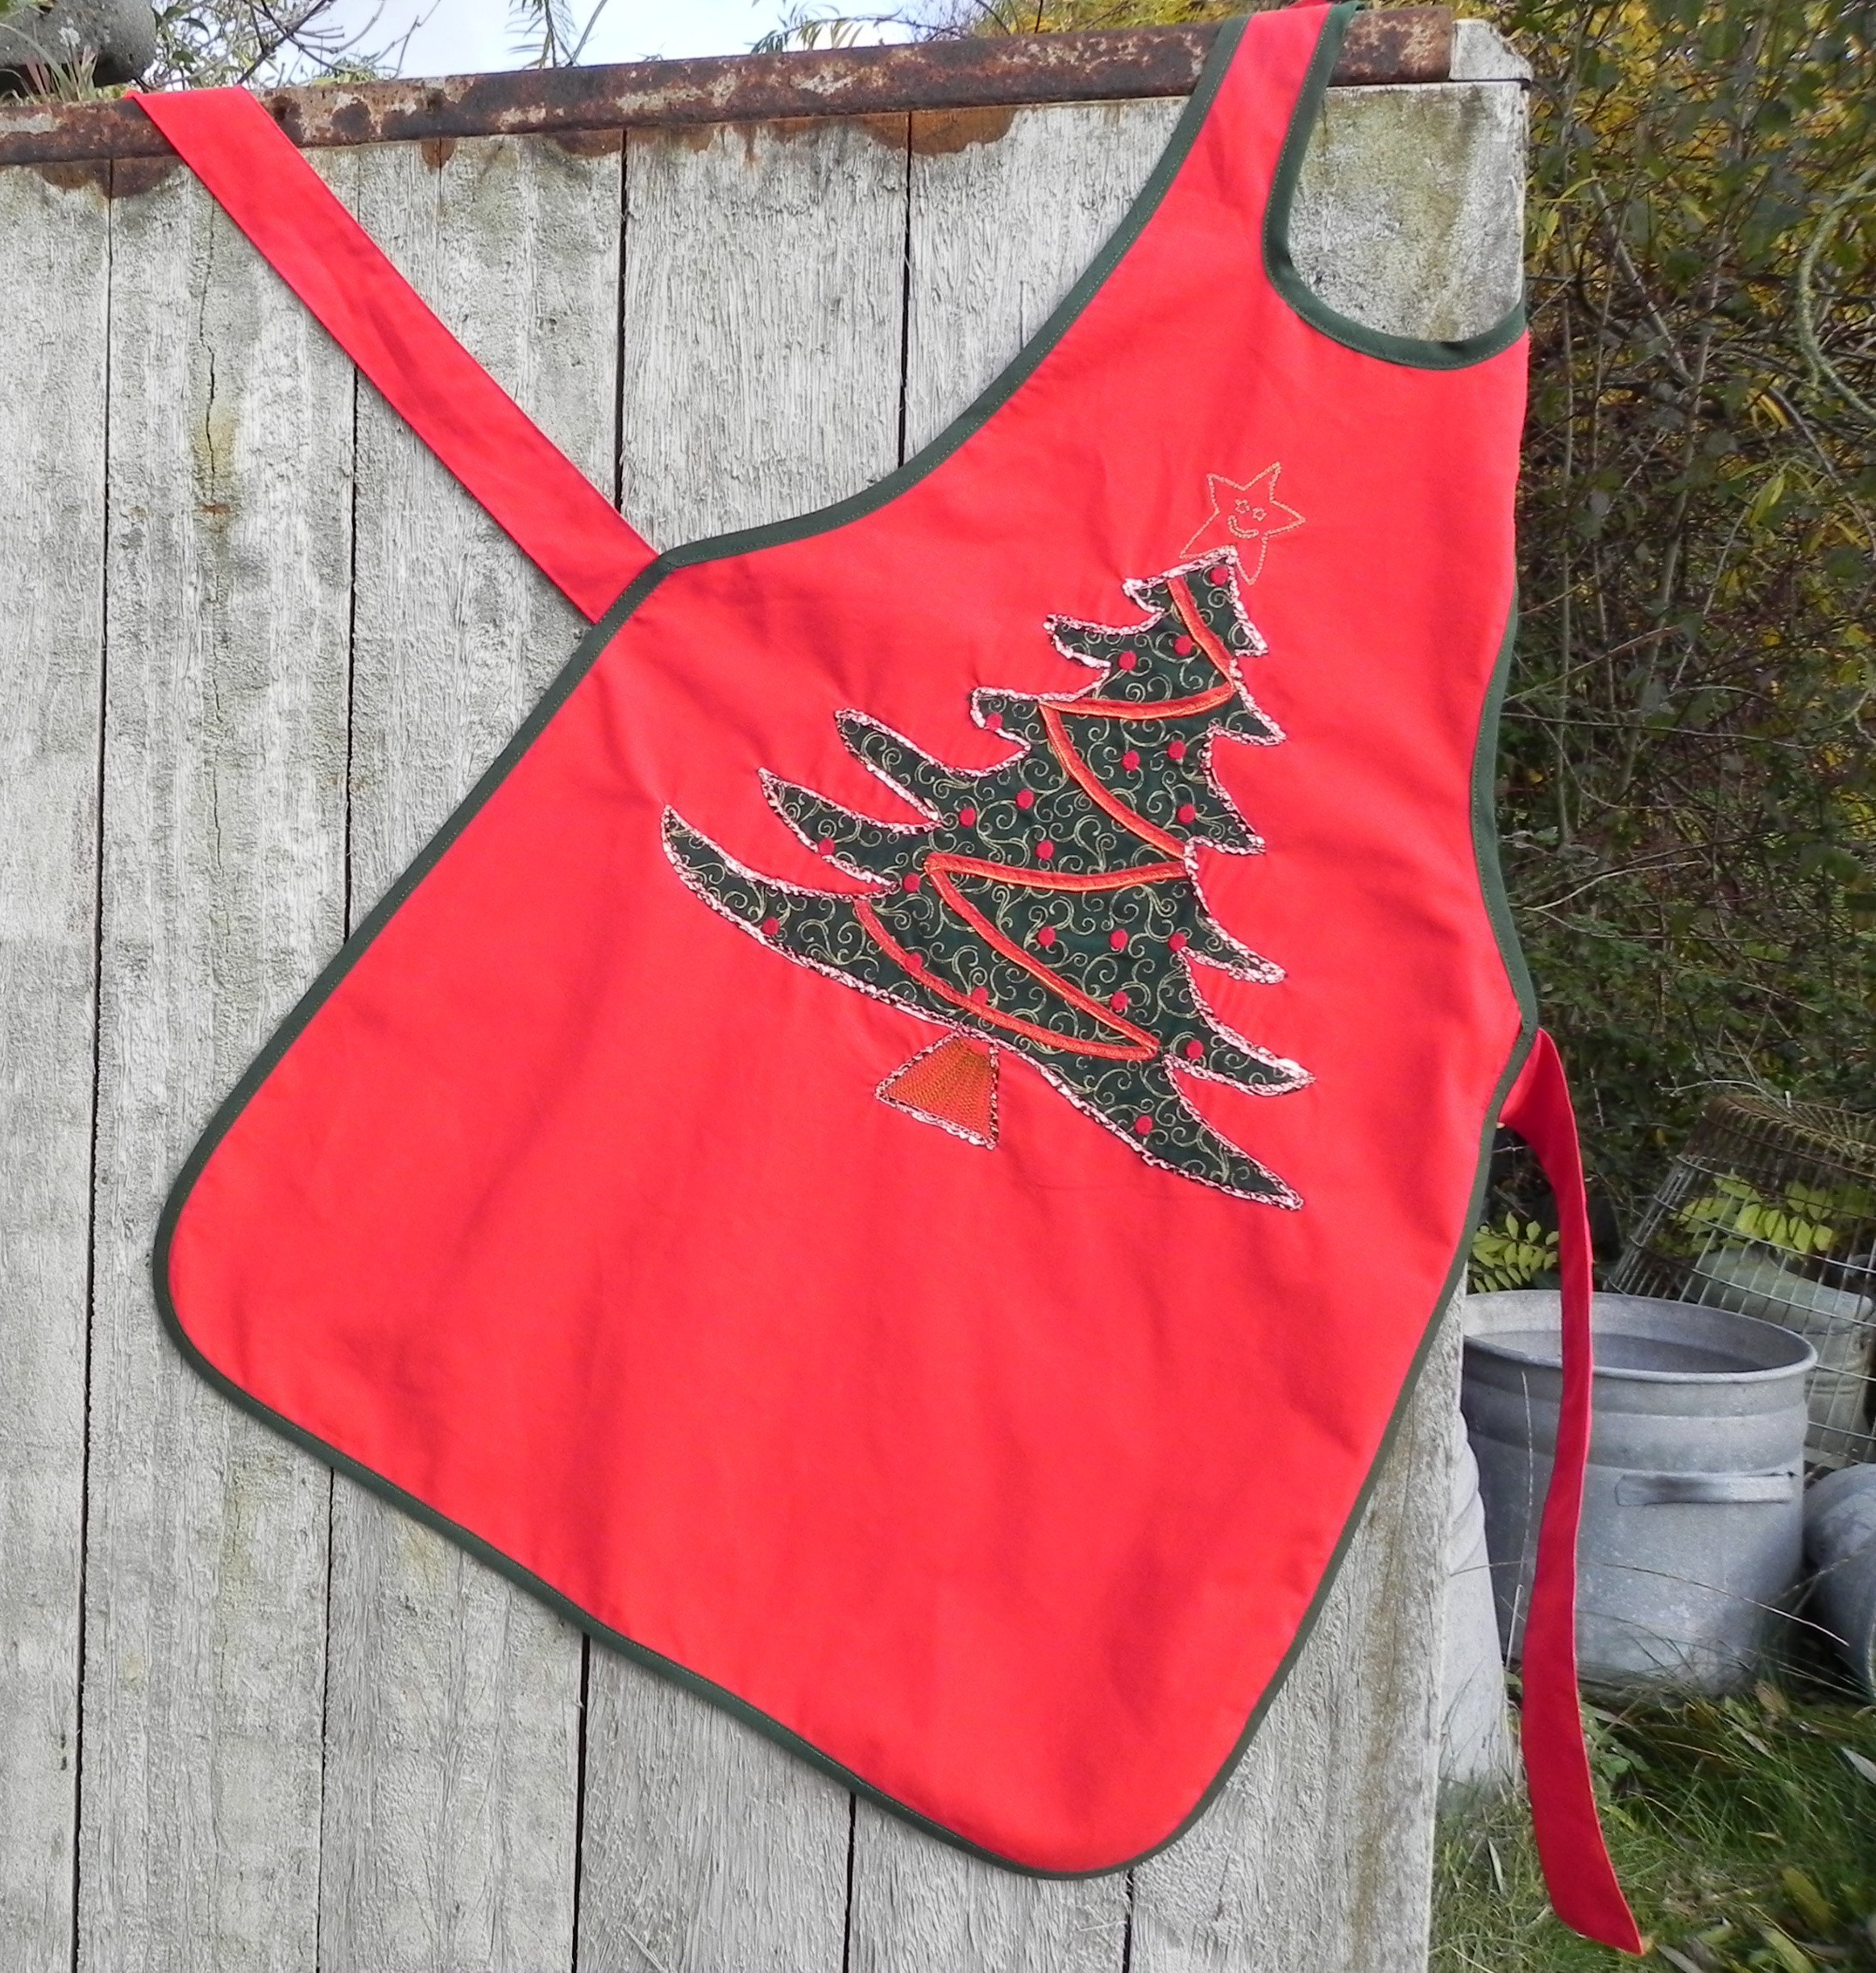
Now Lara is all set to help Mummy!
Download the patterns and embroidery files:
Pattern for kitchen apron & embroidery files
Sewing a Christmas kitchen apron is fun to do!


0 Responses