 BERNINA Corporate Blog -
Dear community,
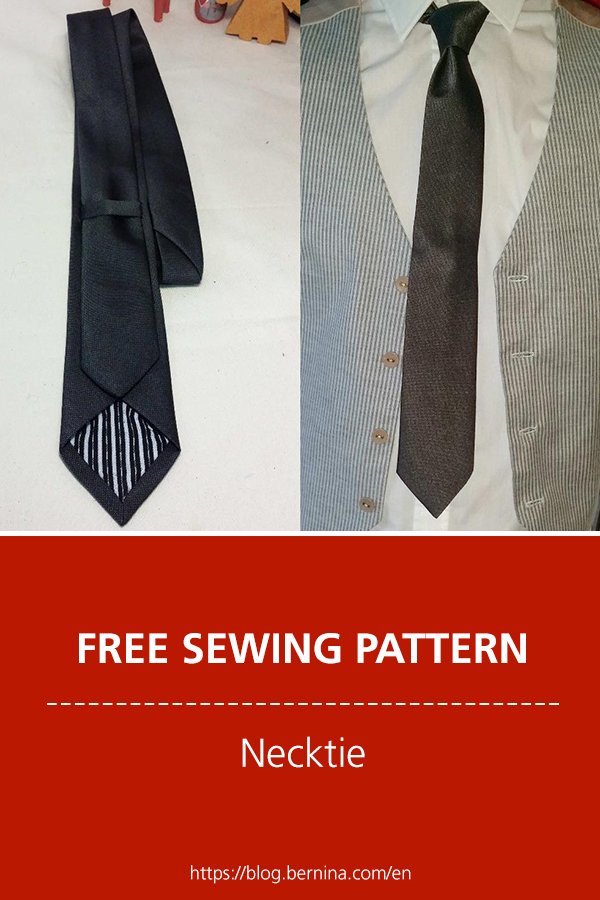
in this blog post you can find easy instructions for sewing a necktie – perfect for weddings, Christmas eve and other festive occasions.
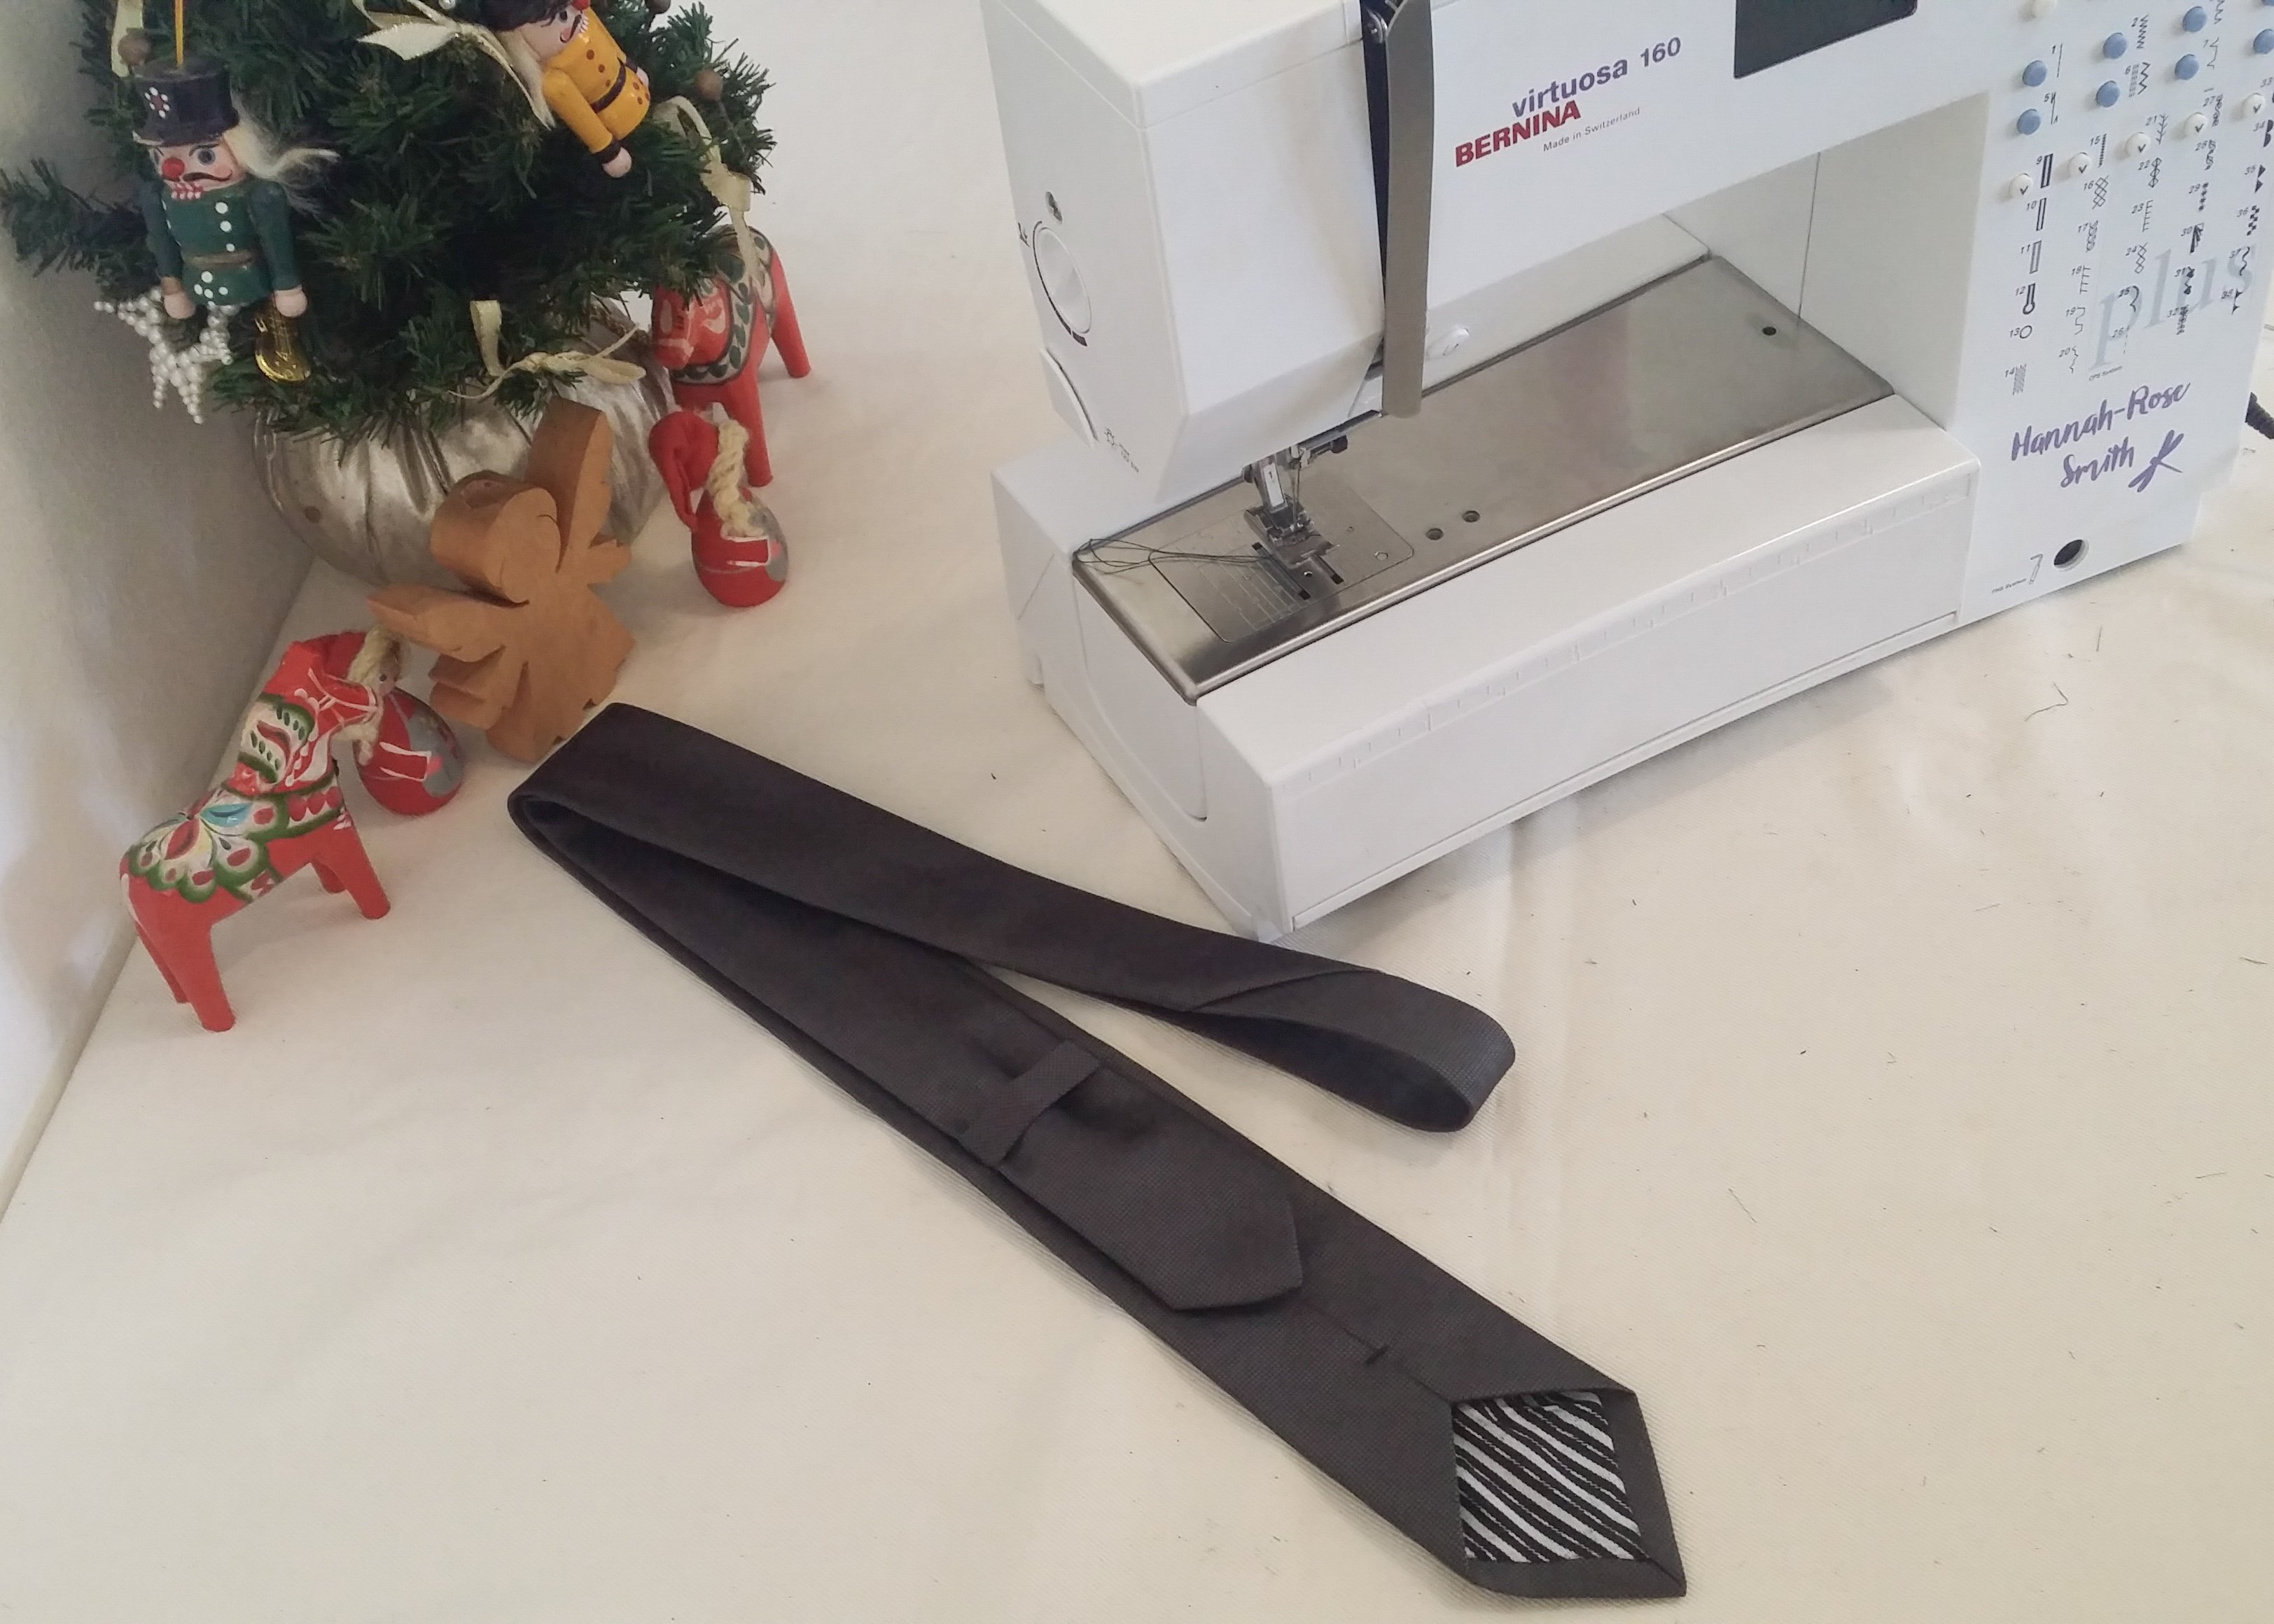
Tutorial: Sew a necktie in time for Christmas dinner
Not all of us have the luxury of time or patience to hand sew a men’s necktie as per tradition.
By following my tutorial you can whip up a tie to smarten up your husband’s outfit for Christmas dinner or make a gift for someone special while still having time to complete your Christmas party preparations.
In this tutorial I use the Blind Hem stitch to give the effect of hand stitching. The slight zigzag of the stitch also allows the fabric to stretch when one ties a knot, without straining the thread.
I made a slim tie (about 7cm at its widest part when finished) as that is the style my brother likes but there is an option for a wider tie (9.5cm, the standard normal tie) in the pattern provided. The length of the tie is roughly 1.45m (the standard length.)
Needed
- Pattern: Christmas Tie pattern
- 70cm x 70cm Fabric for the tie
- 25cm x 40cm Fabric to line the tips of the tie
- Iron-on Vilene/ Fusing (preferably for knits/stretch, refer to Tips below)
- Sewing Machine
- Thread to match your fabric
- Blind Hem stitch (#7)
- Straight stitch foot
Steps
Cutting Out
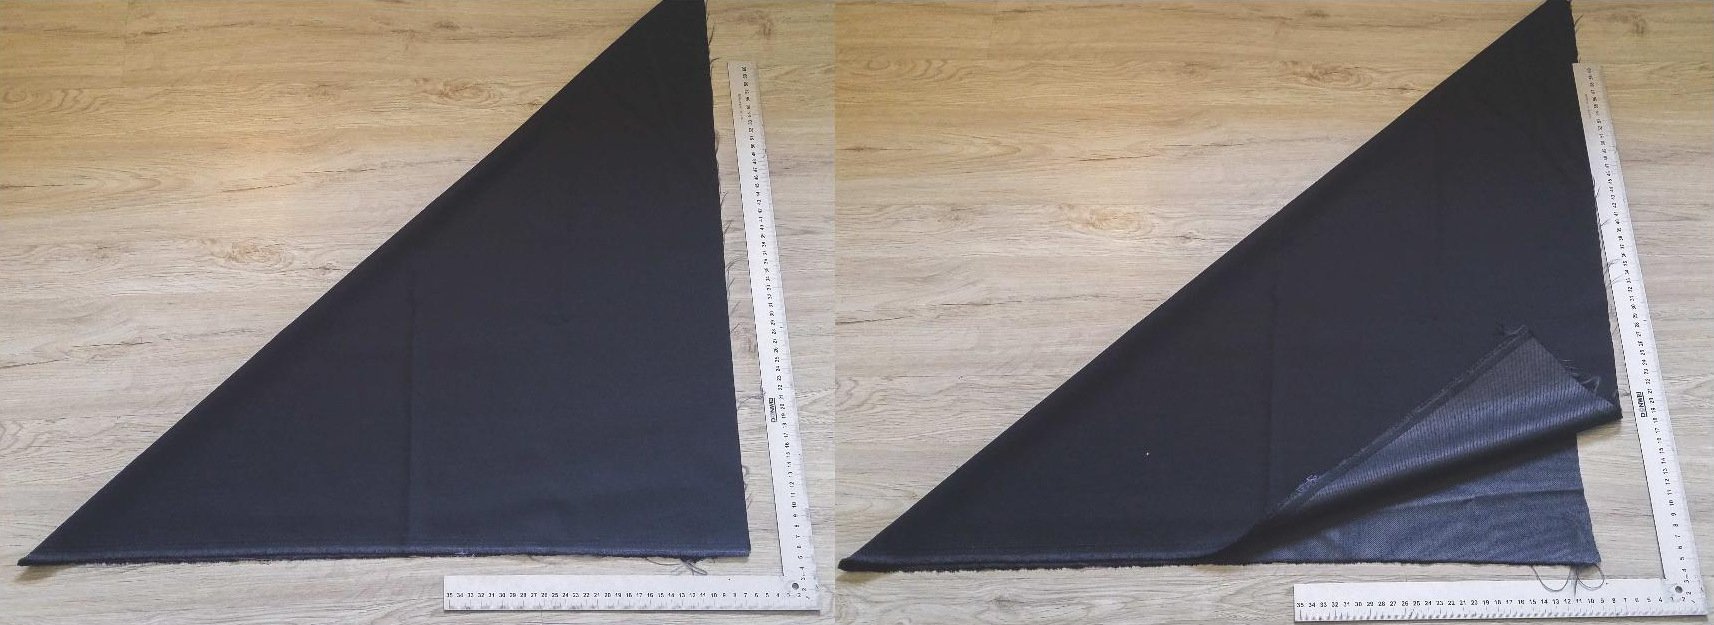
- Lay your fabric on your cutting surface.
Fold your fabric in half diagonally with the right side facing out.
The fold line is on the bias, this going to be your grainline.
I would recommend pressing this fold.
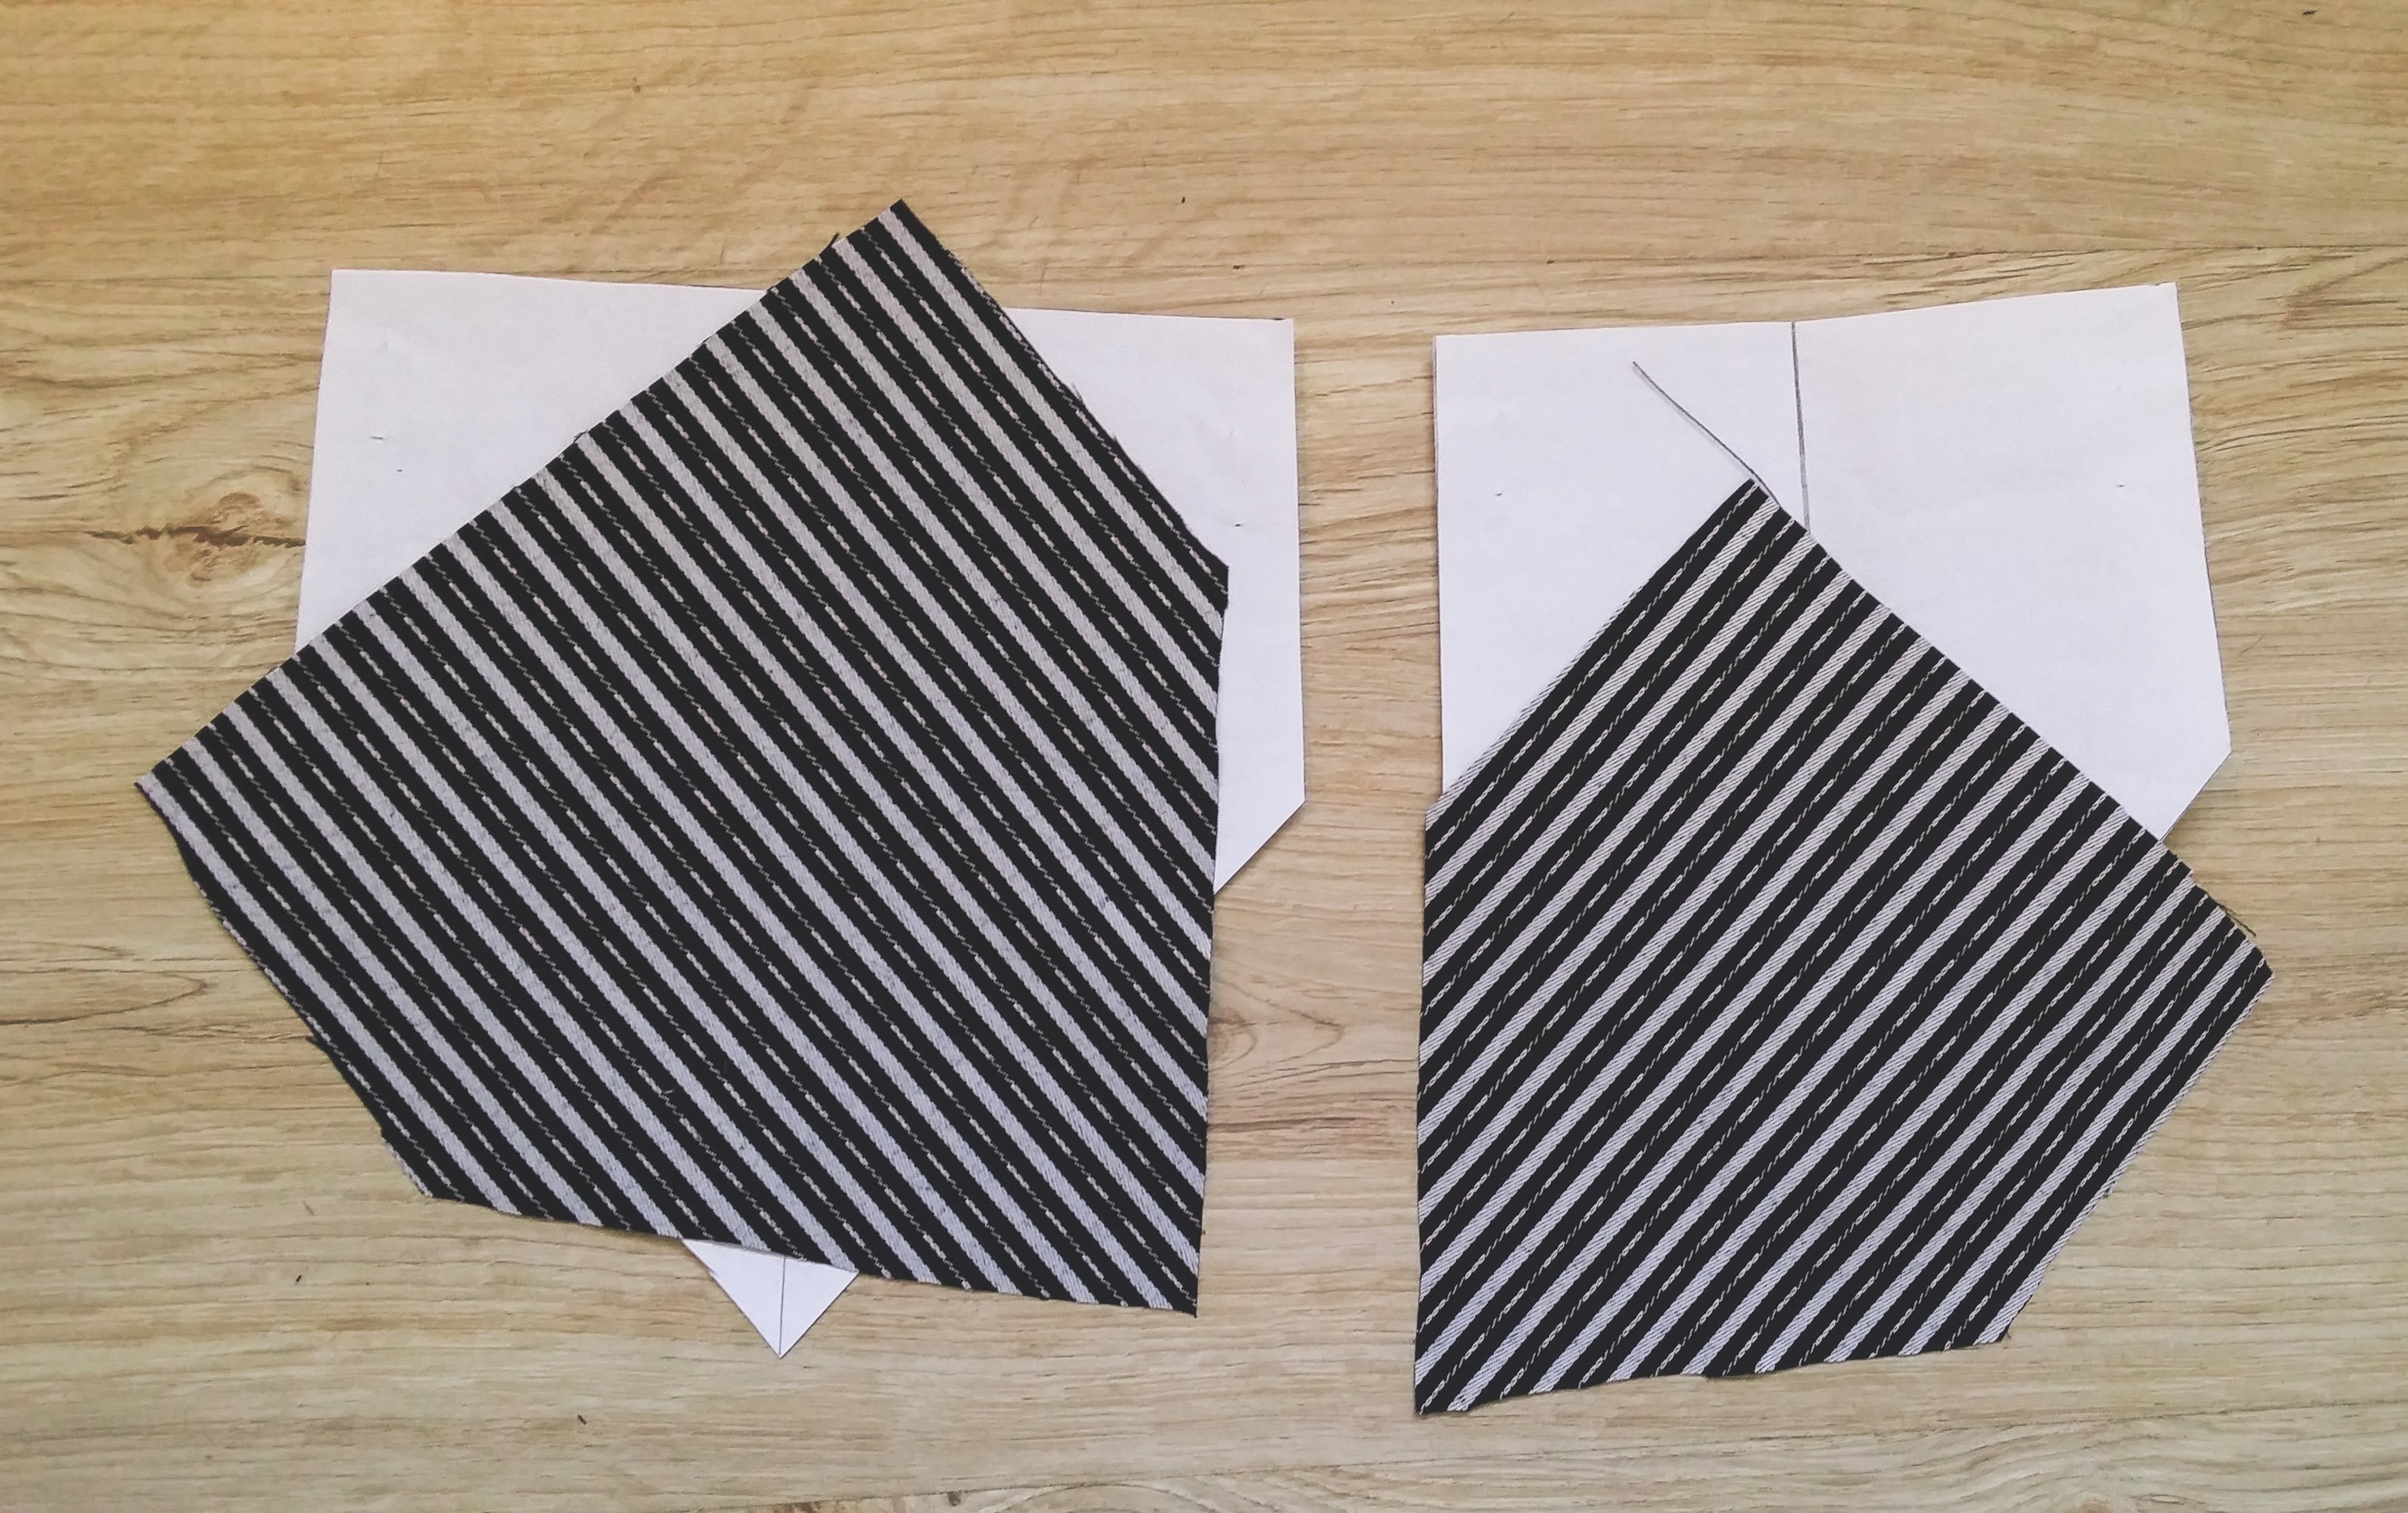
- Place your Front pattern piece on the fold and pin in place.

- Place the Back pattern piece next to it.
Measure from the bias fold line to the Centre Line on this pattern piece.
The measurements must be the same all the way along the Centre Line to ensure that the piece is also on the bias.
- Do the same for the Middle pattern piece.
- Cut out the 3 pieces of the tie.
When cutting the Back and Middle pieces, try to not cut through both layers of fabric.
You only need one of each piece. But, remember to cut the Front piece on the fold.
- Cut out the Keeper piece on the straight grain (not on the bias.)
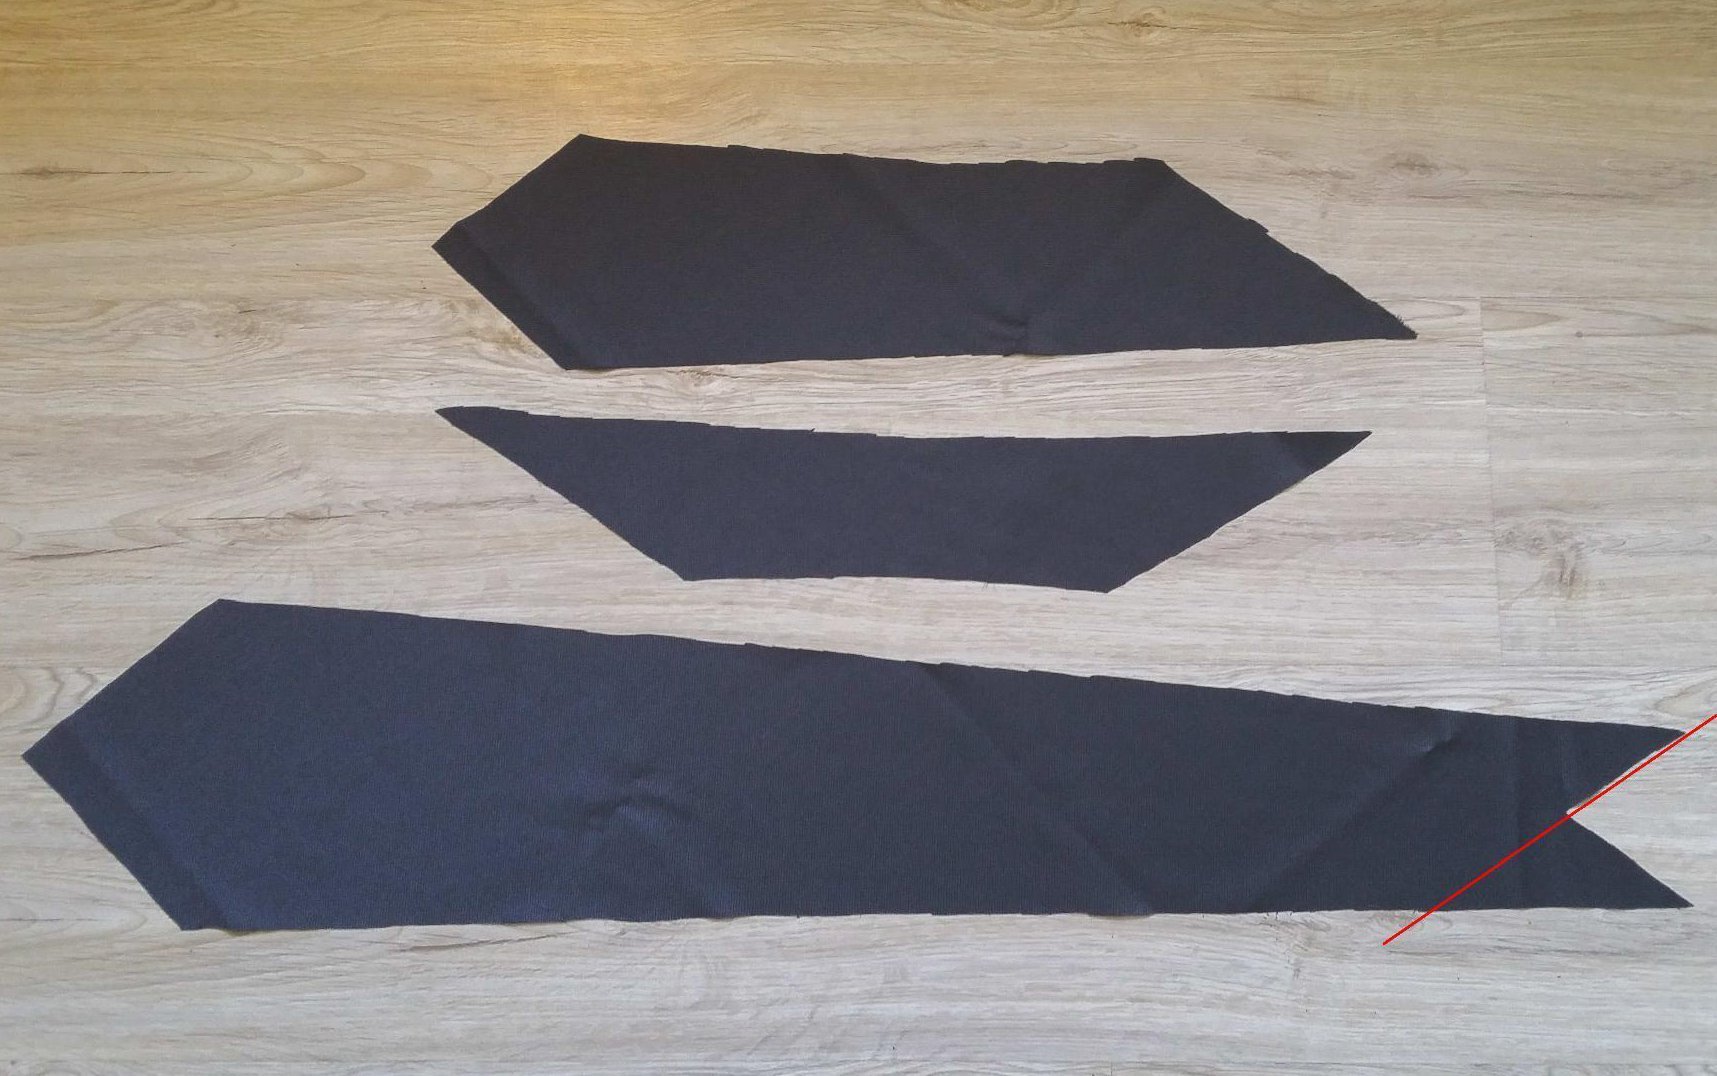
- Now that the pieces are cut out you will notice that the front piece has an ‘M’ shape at the one end, using a ruler cut as indicated.
- With the non-fusable side facing down, cut out your iron-on fusing (refer to Tips below if not using knit iron-on fusing.)
- Use only the 3 Tie pieces, the 2 Lining pieces don’t have to be fused.
Iron on to the wrong side of the tie pieces.
- Out of your lining fabric, cut the Front and Back Lining pieces on the bias.
Sewing up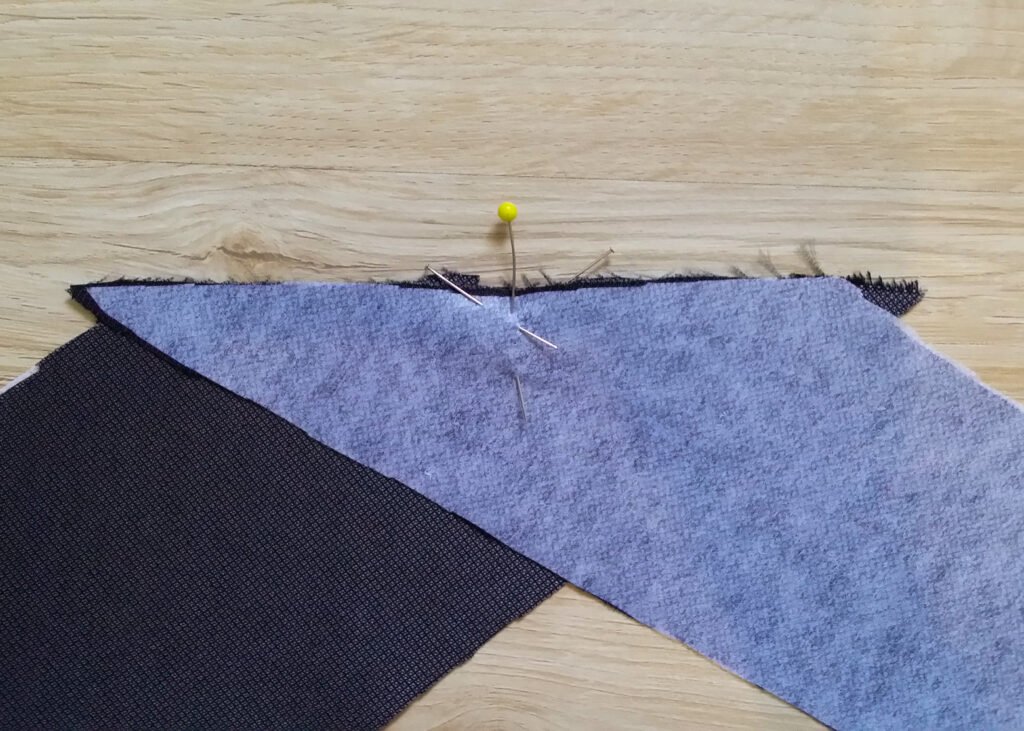

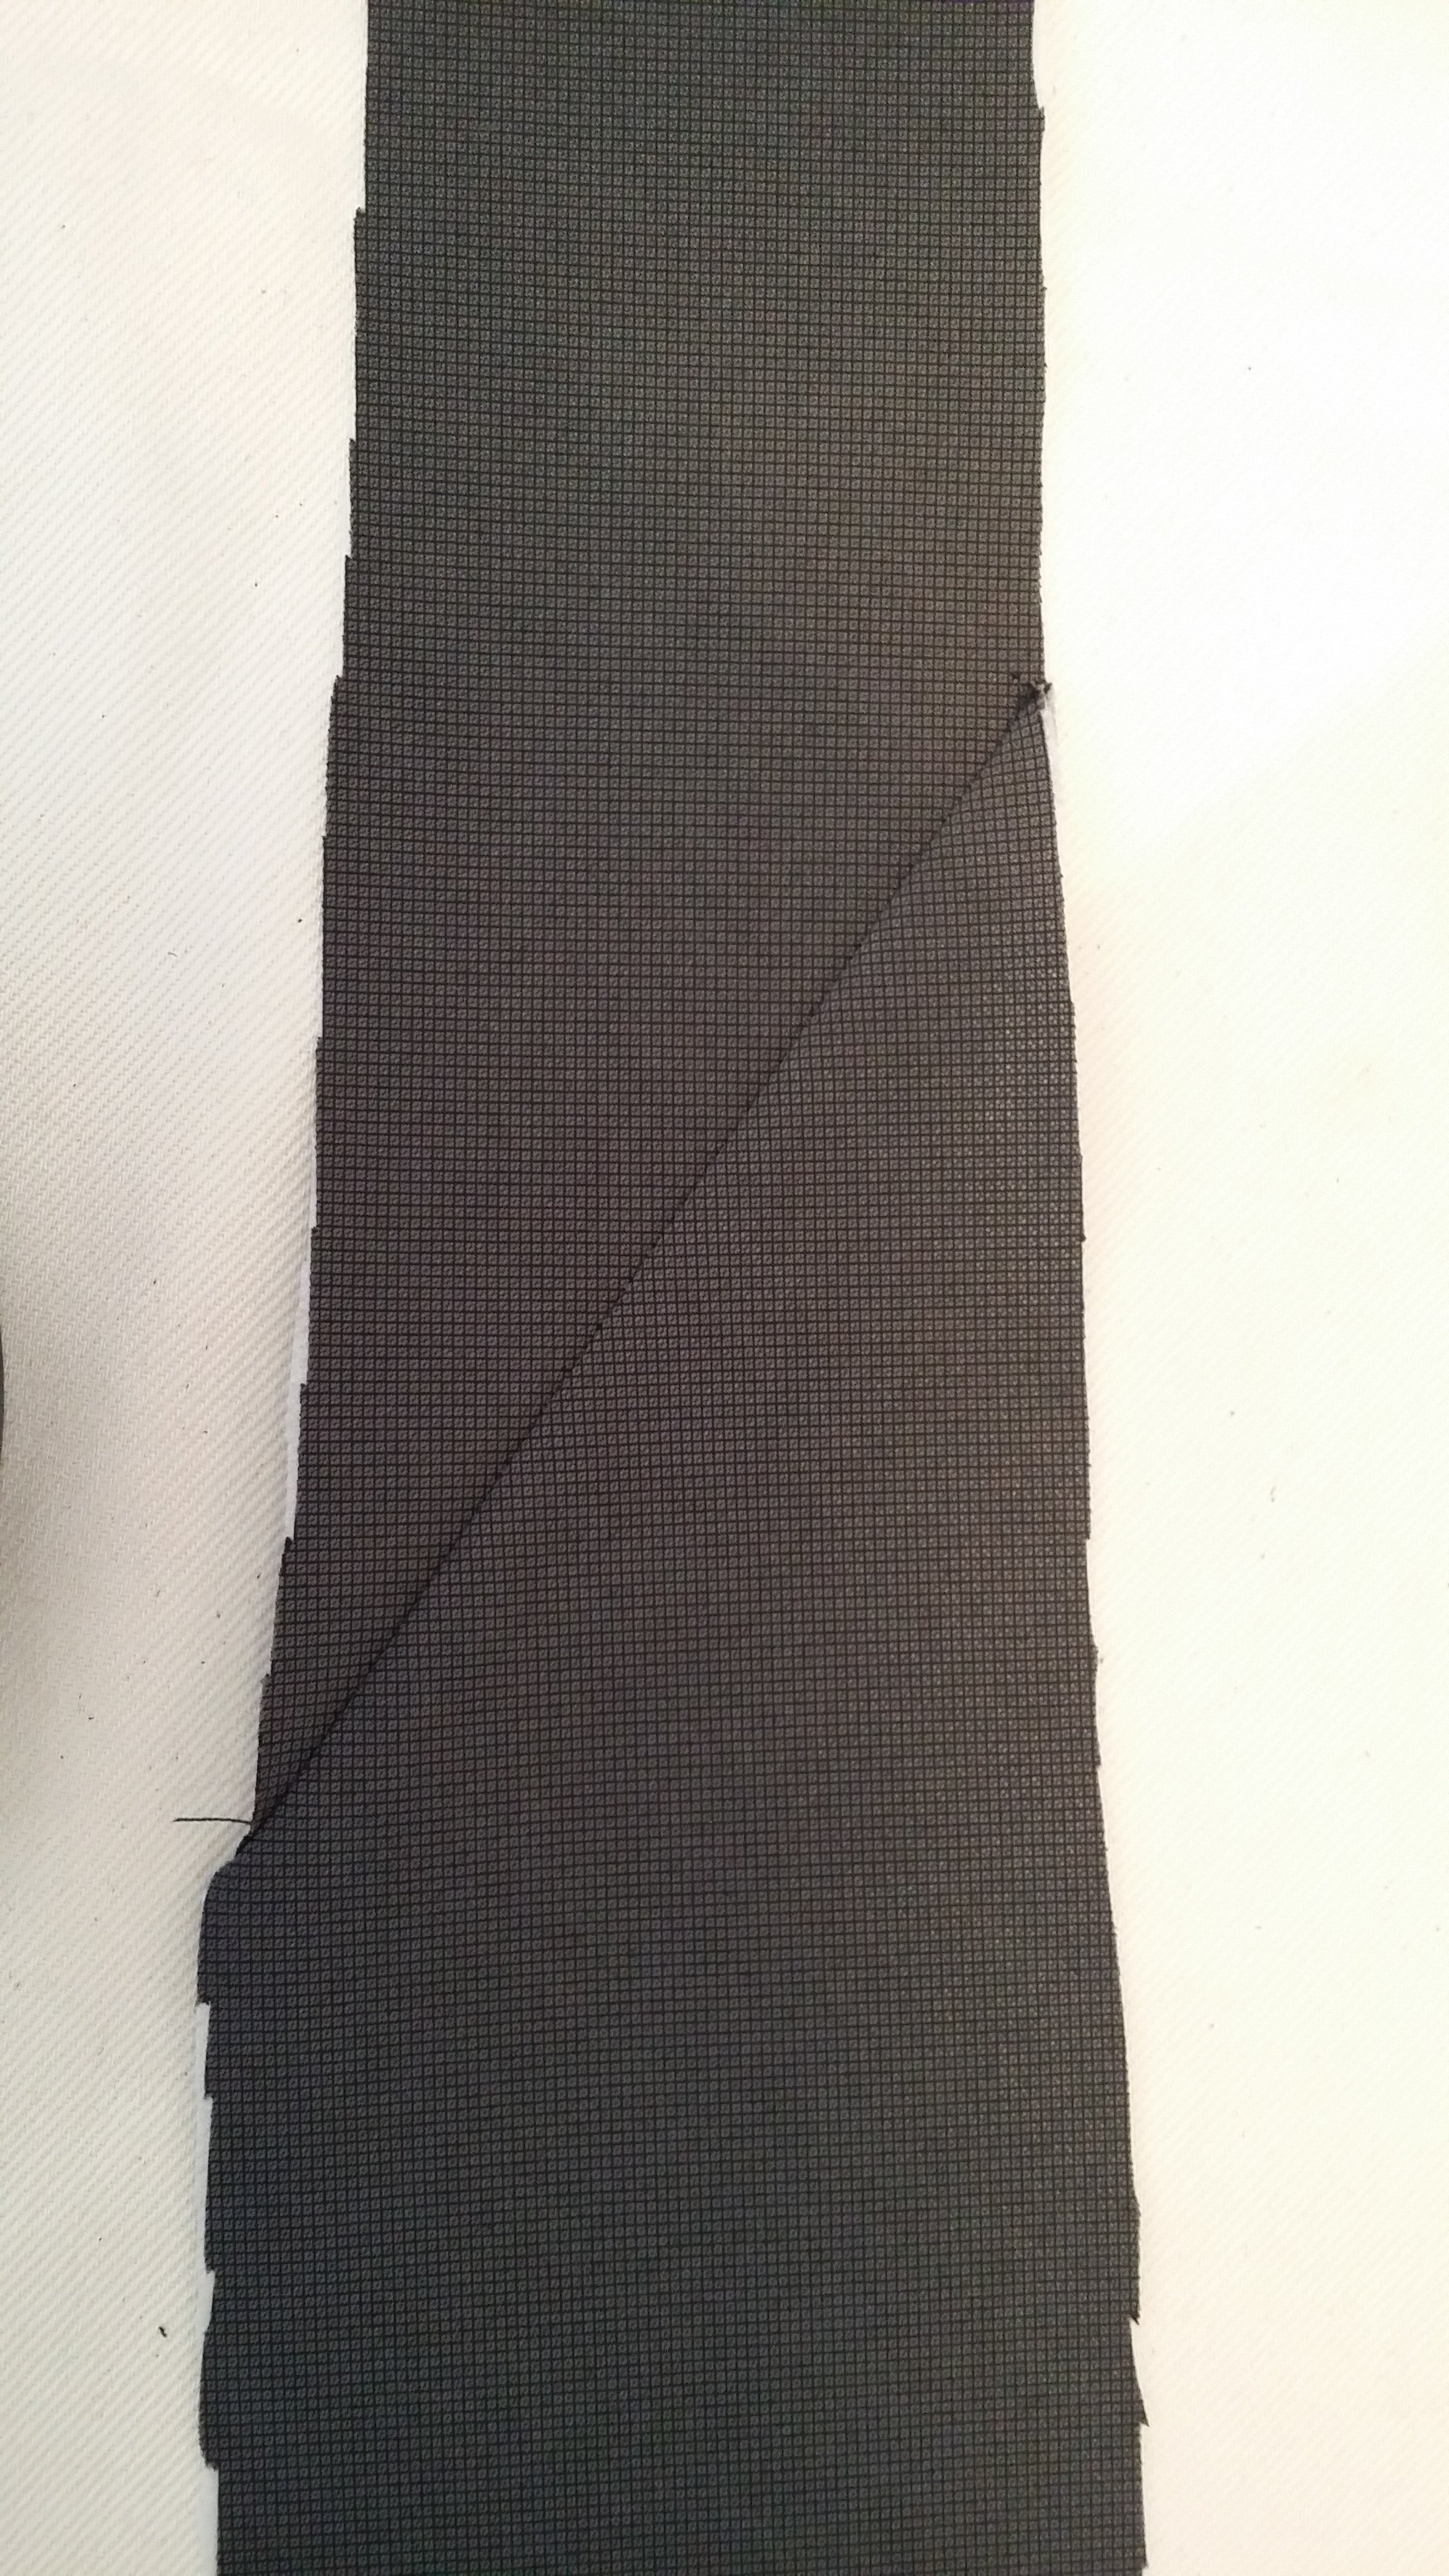
- Pin the Front to the Middle piece and then the Middle to the Back piece.
The points of the seam should overlap about 1cm at each end.

- Straight stitch with a 1cm seam allowance.
- Press the seams.
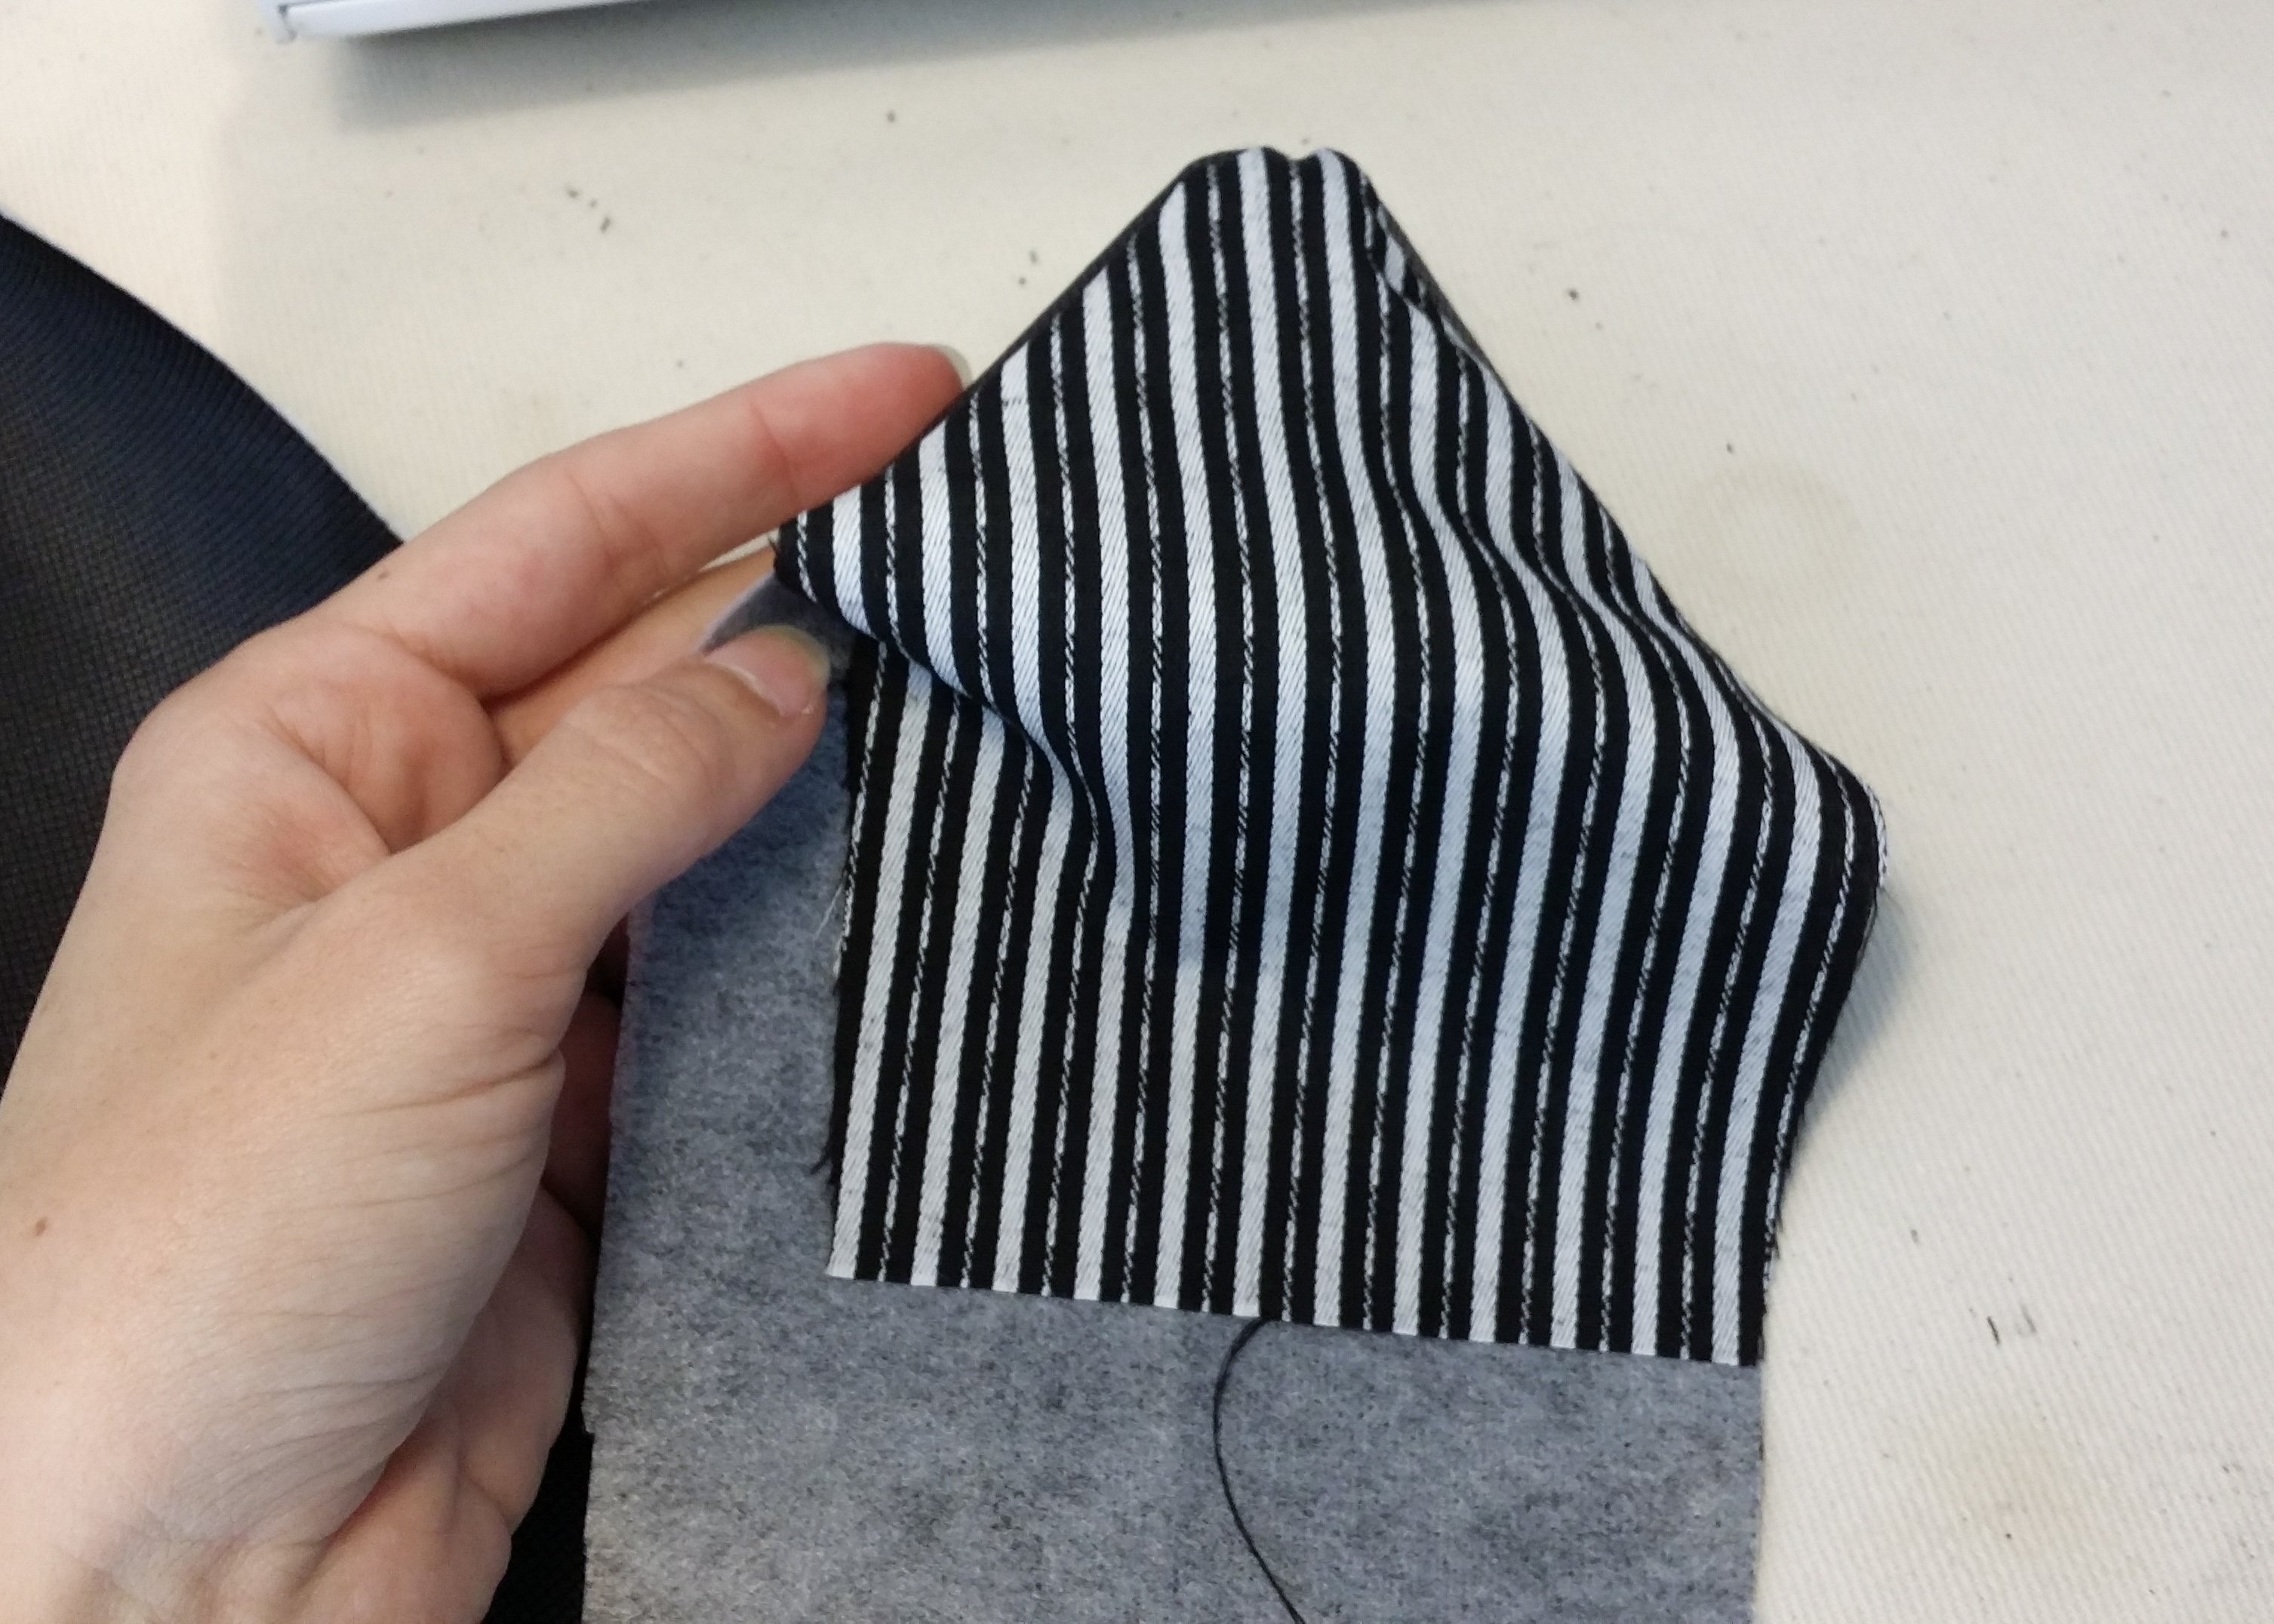
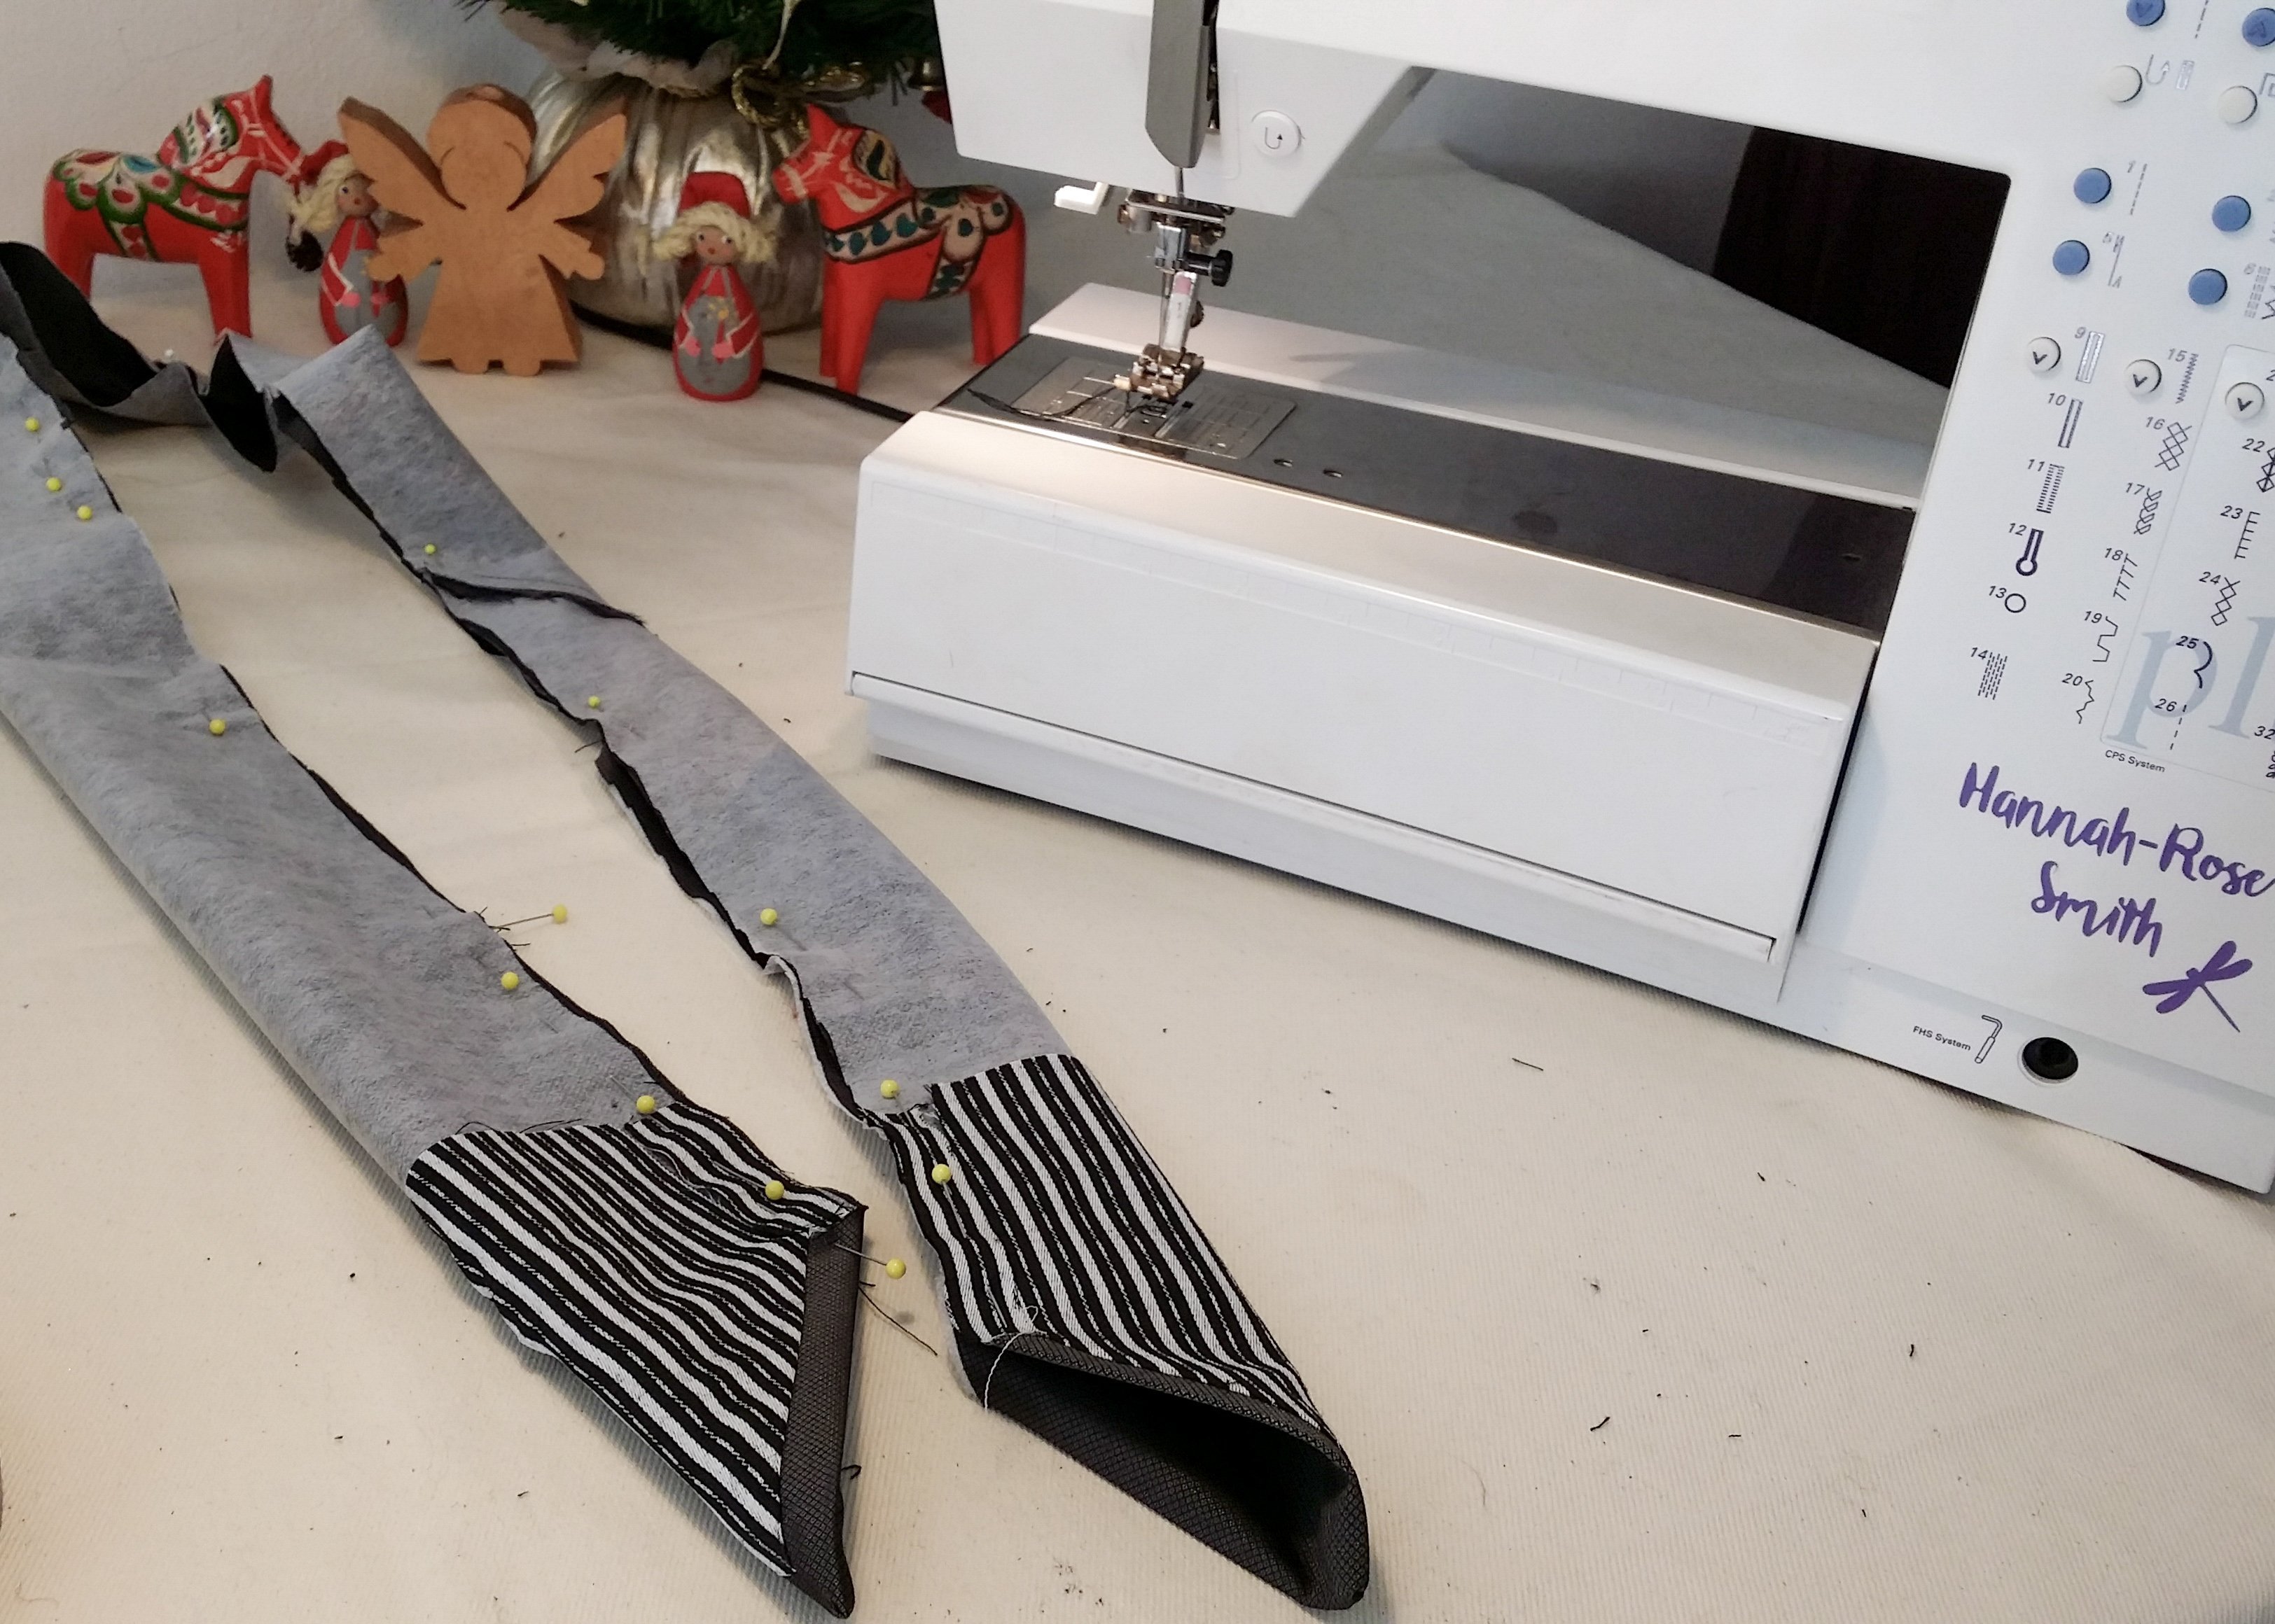
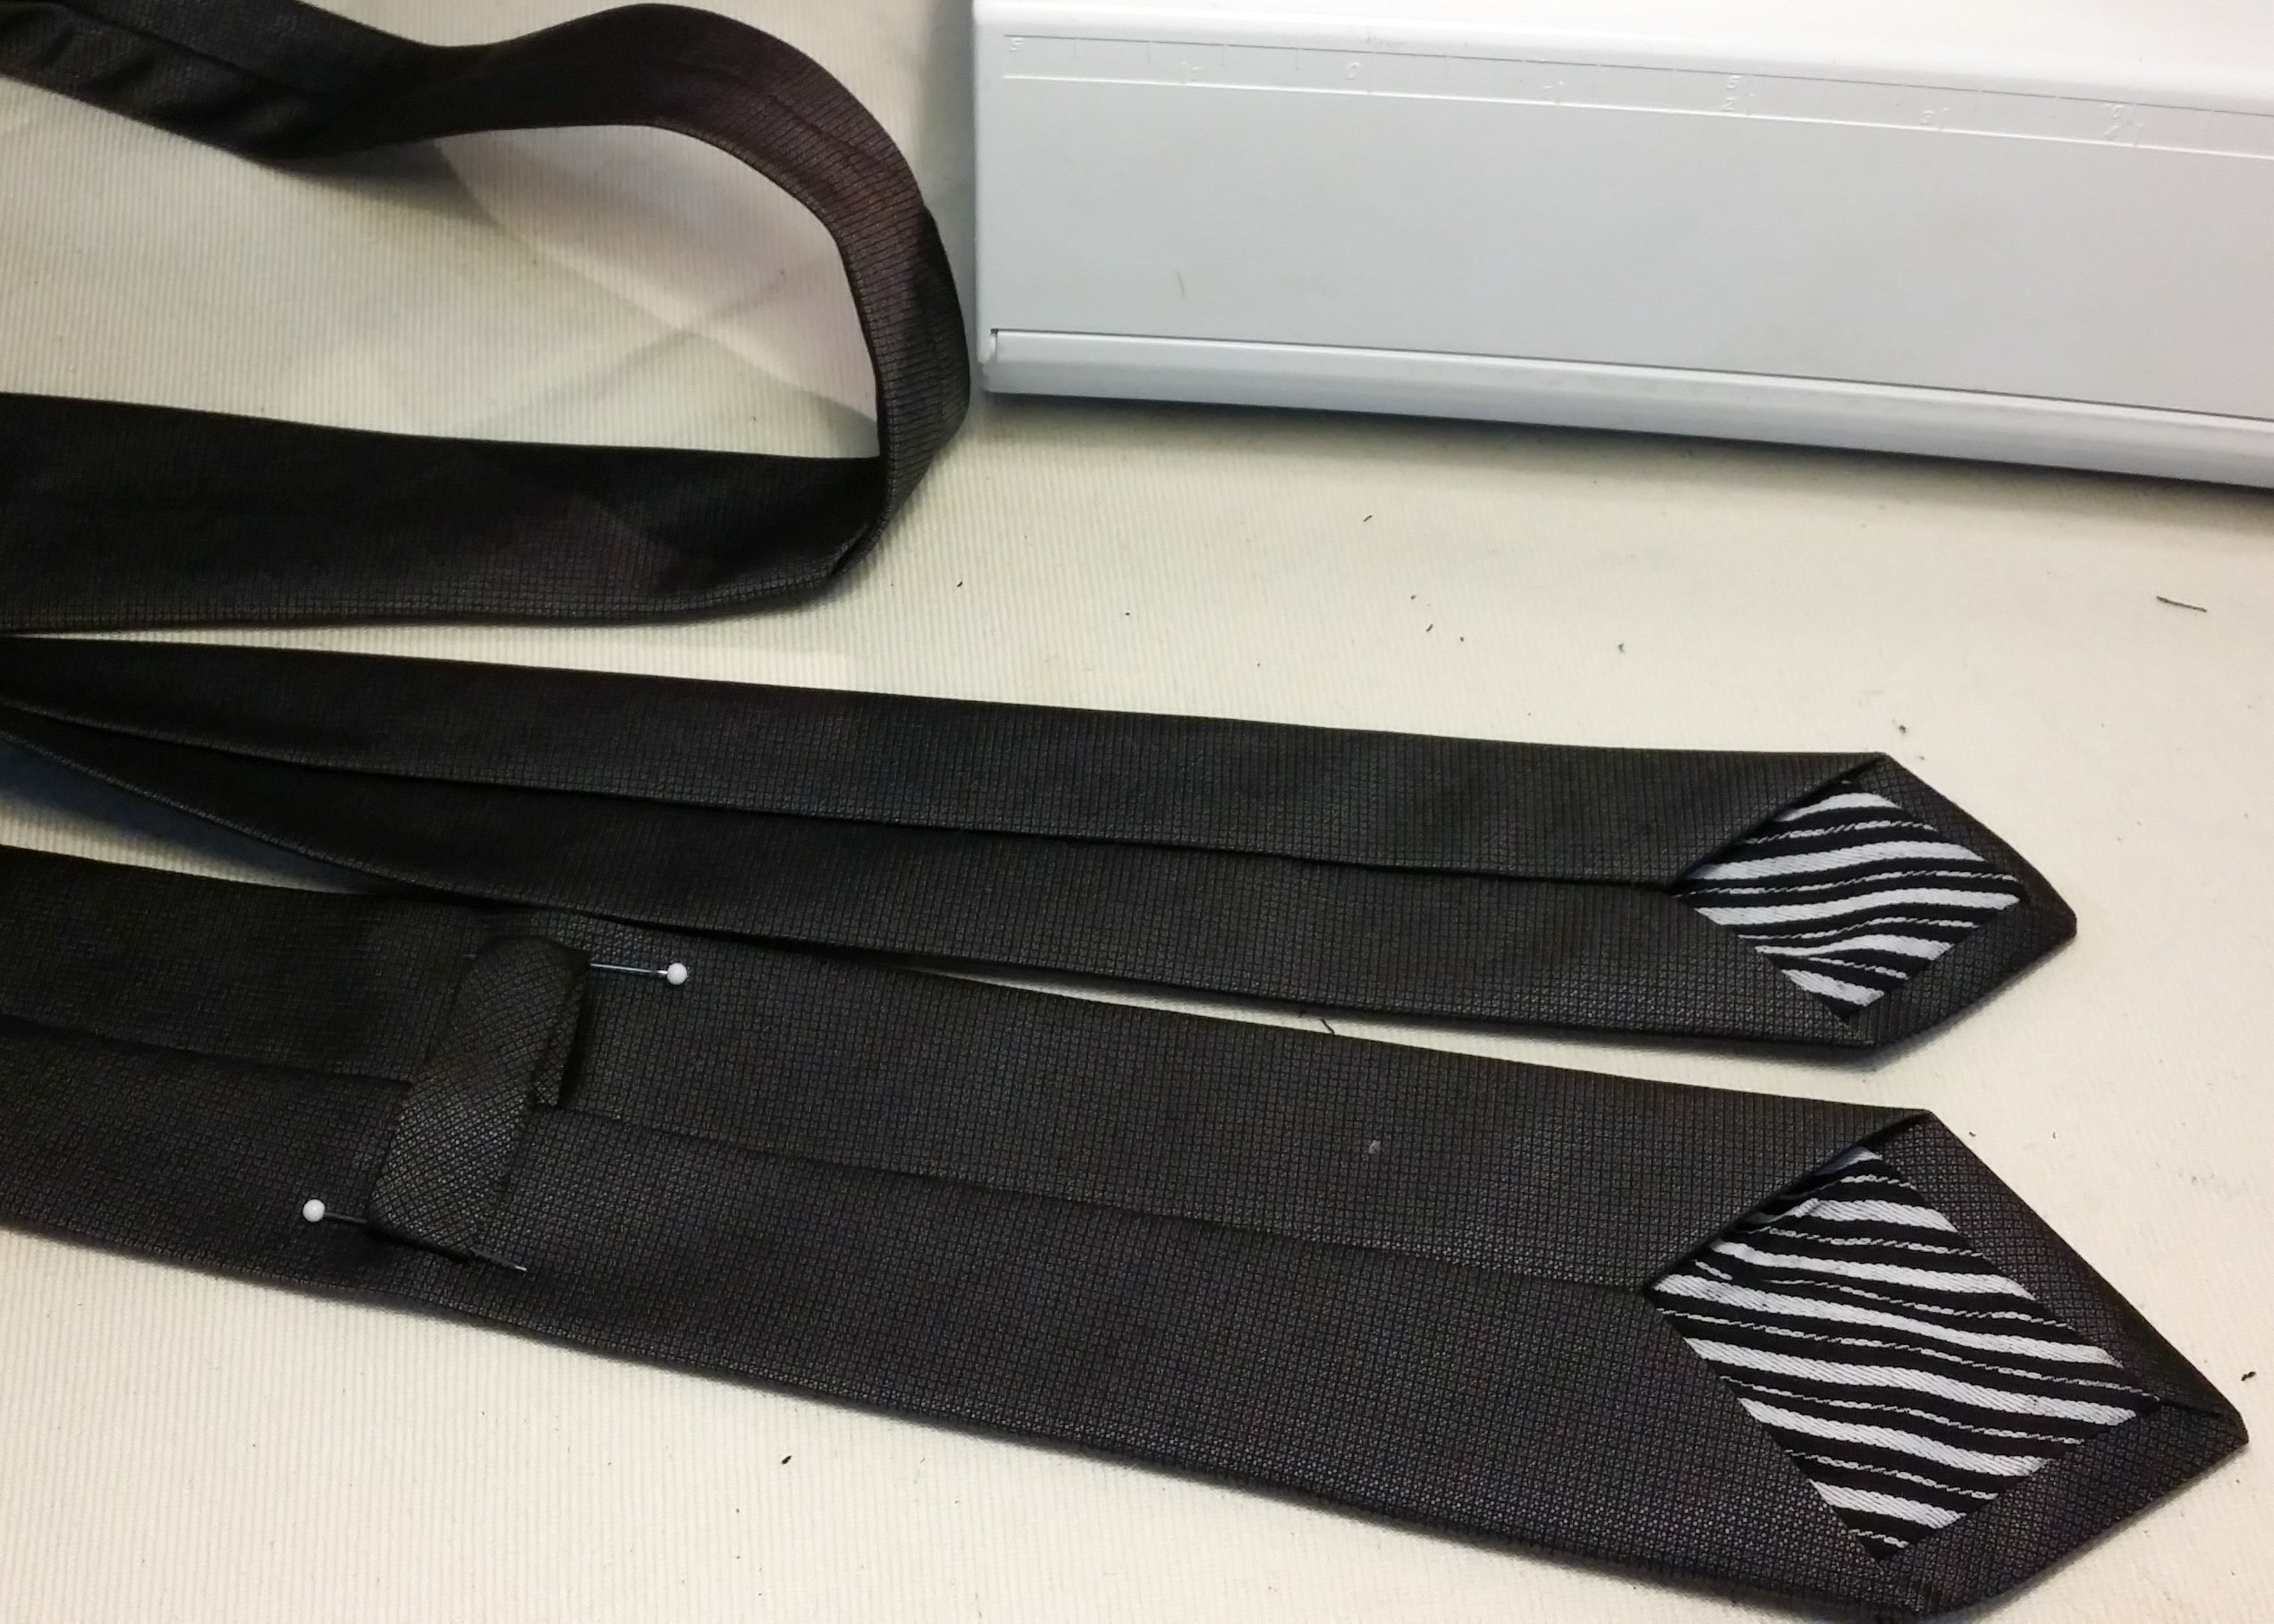
- Now we are going to line the tips of the tie. Pin the lining with the corresponding ends of the tie.
The point of the lining will end about 1cm away from the point of the tie.
Sew with a 1cm seam allowance until in line with the lining’s point.

- Fold the extra fabric out of the way when sewing the other edge of the tip.
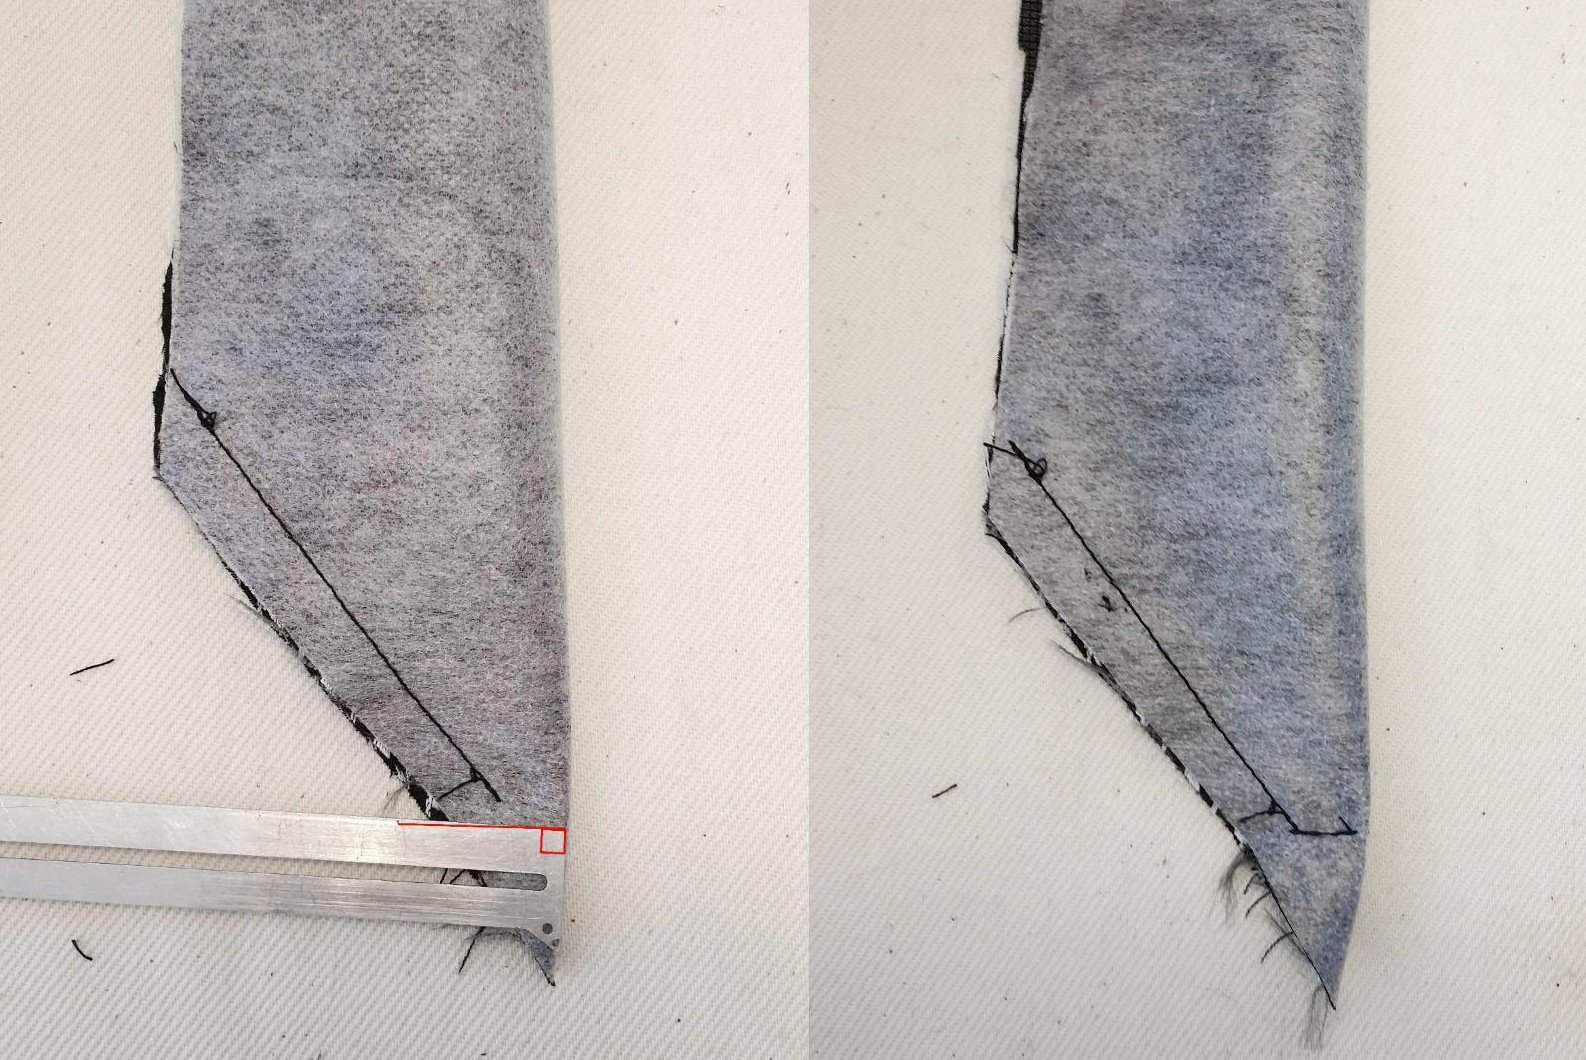
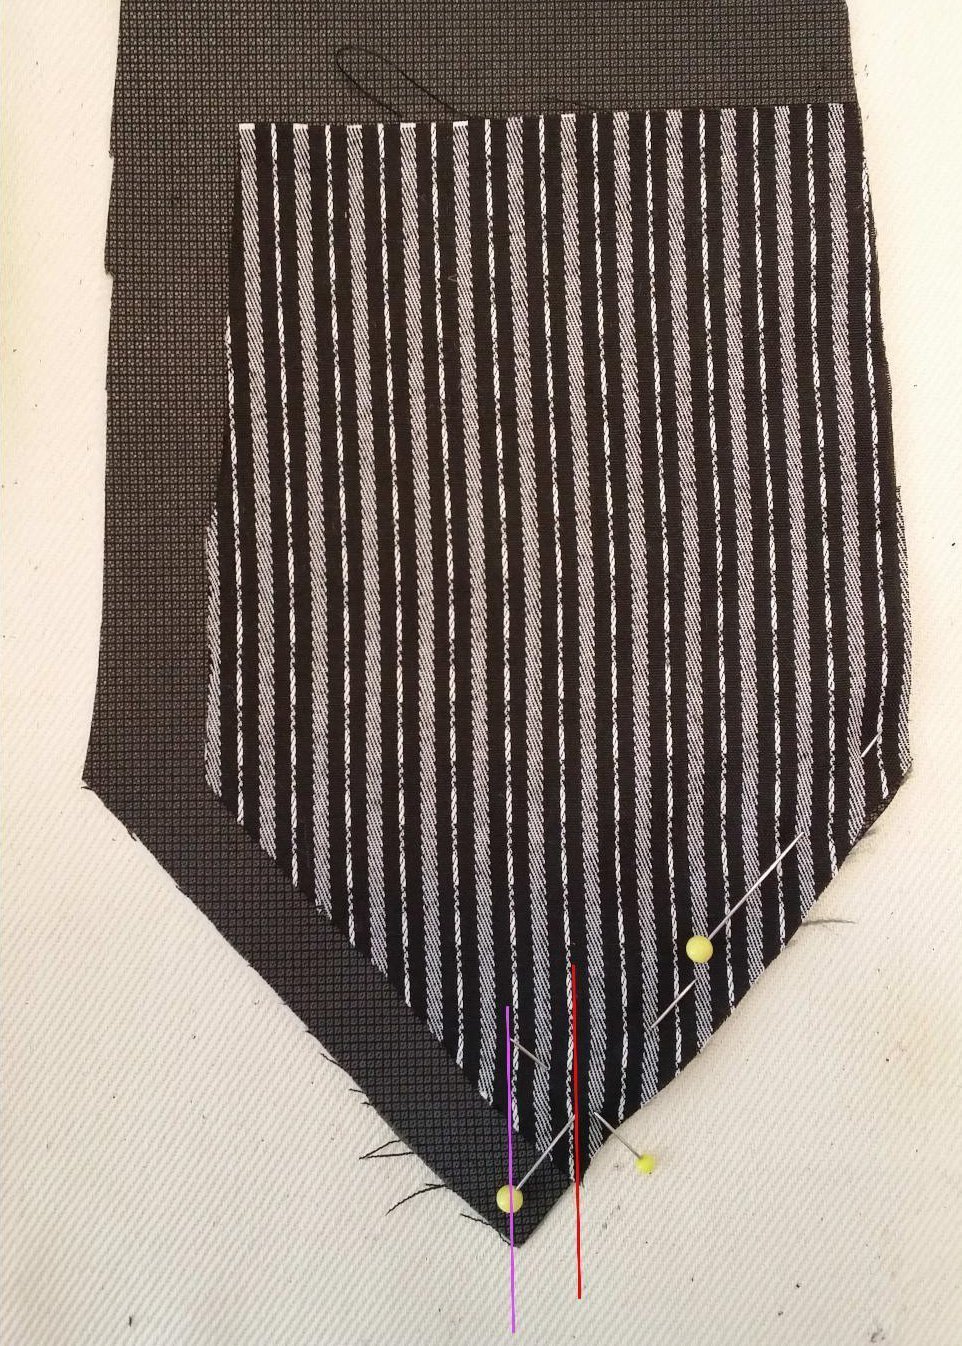
- Fold the tie in half, sandwiching the lining inside. Sew a line that is perpendicular (90 degrees) the fold.
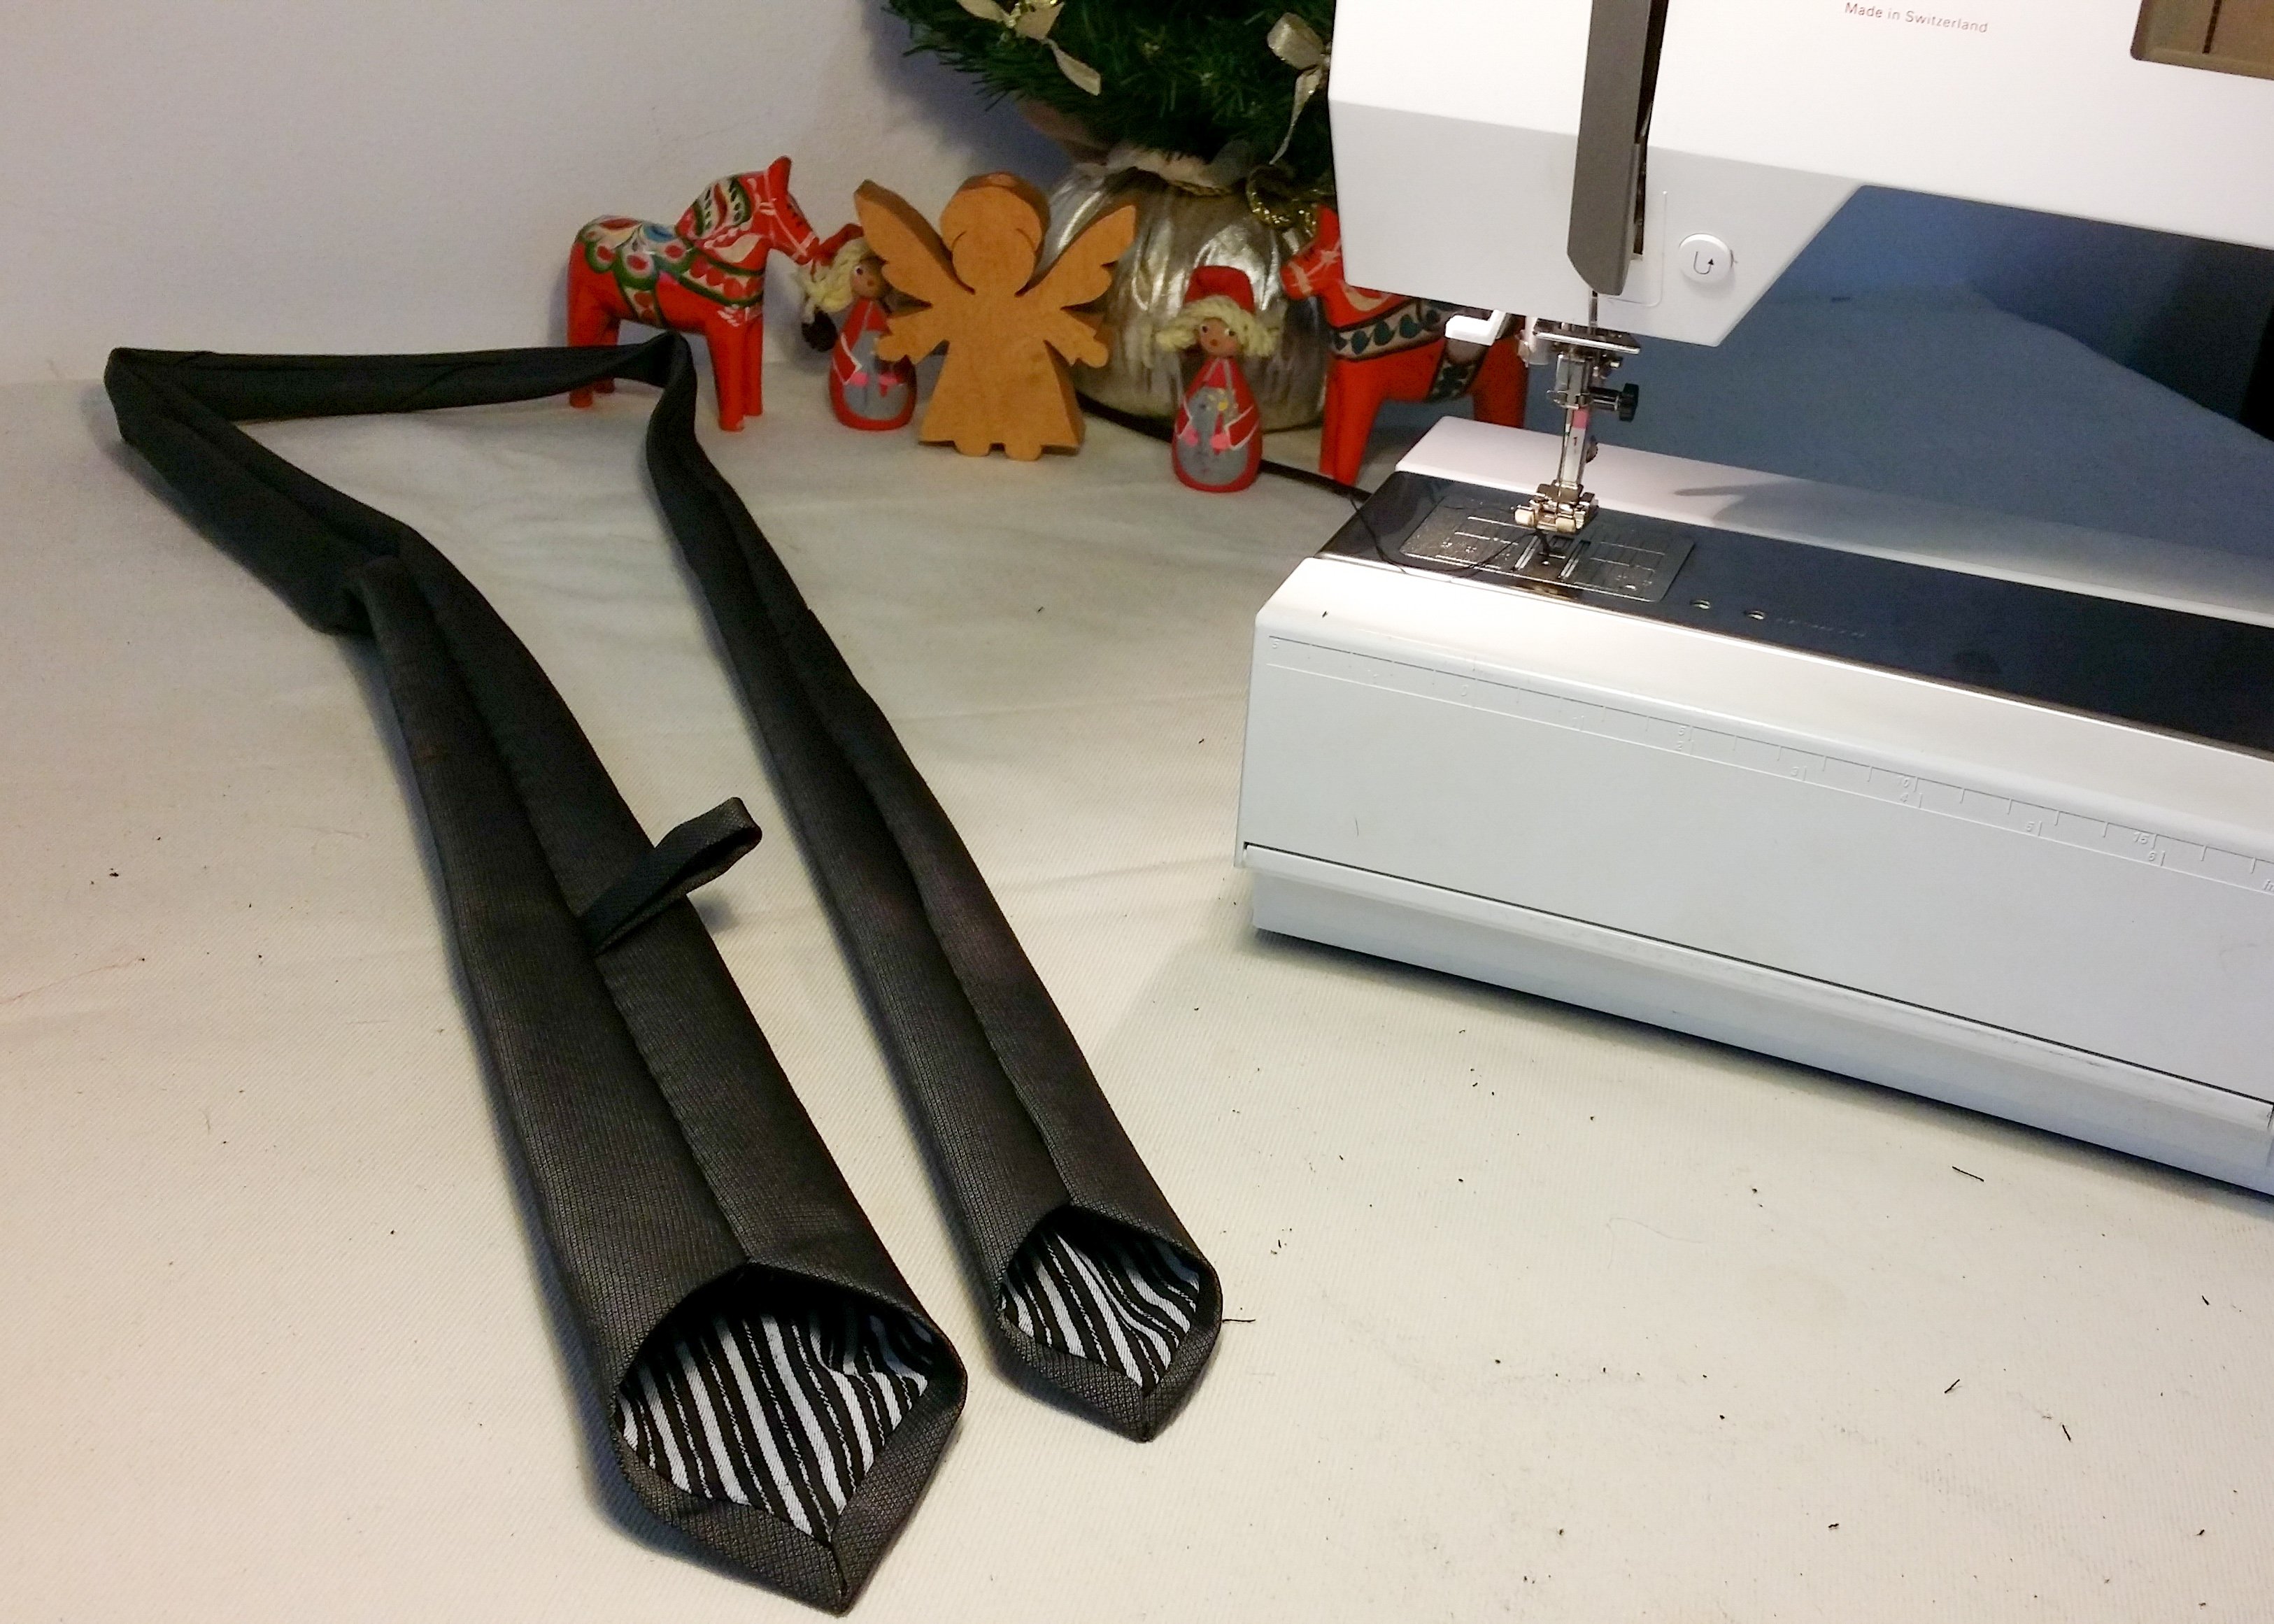
- Turn the tip right-side out. Use a knitting needle or a pointed pair of scissors to help get a nice point.

- If you haven’t already, repeat steps 14-17 for the other end of the tie.
Give them both a good press.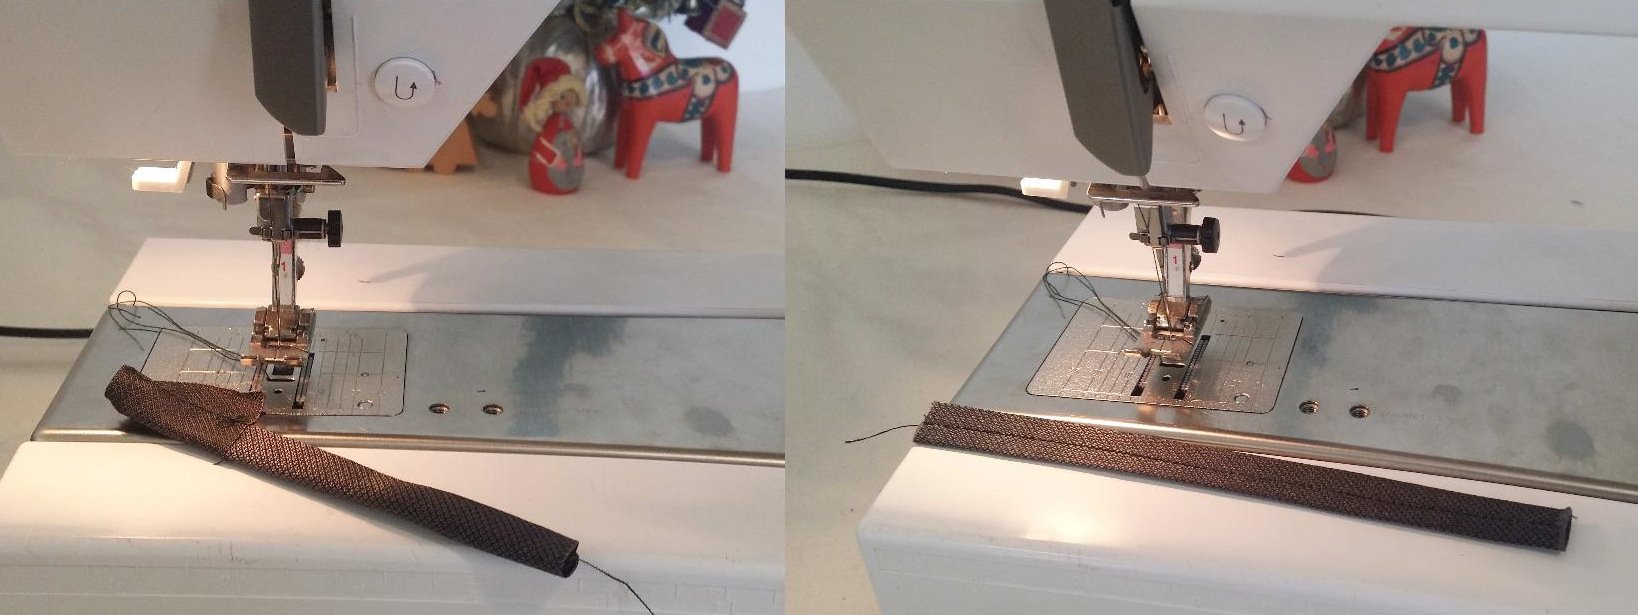
- Sew up the Keeper with a 1cm seam allowance. Turn it right-side out and press with the seam in the middle.
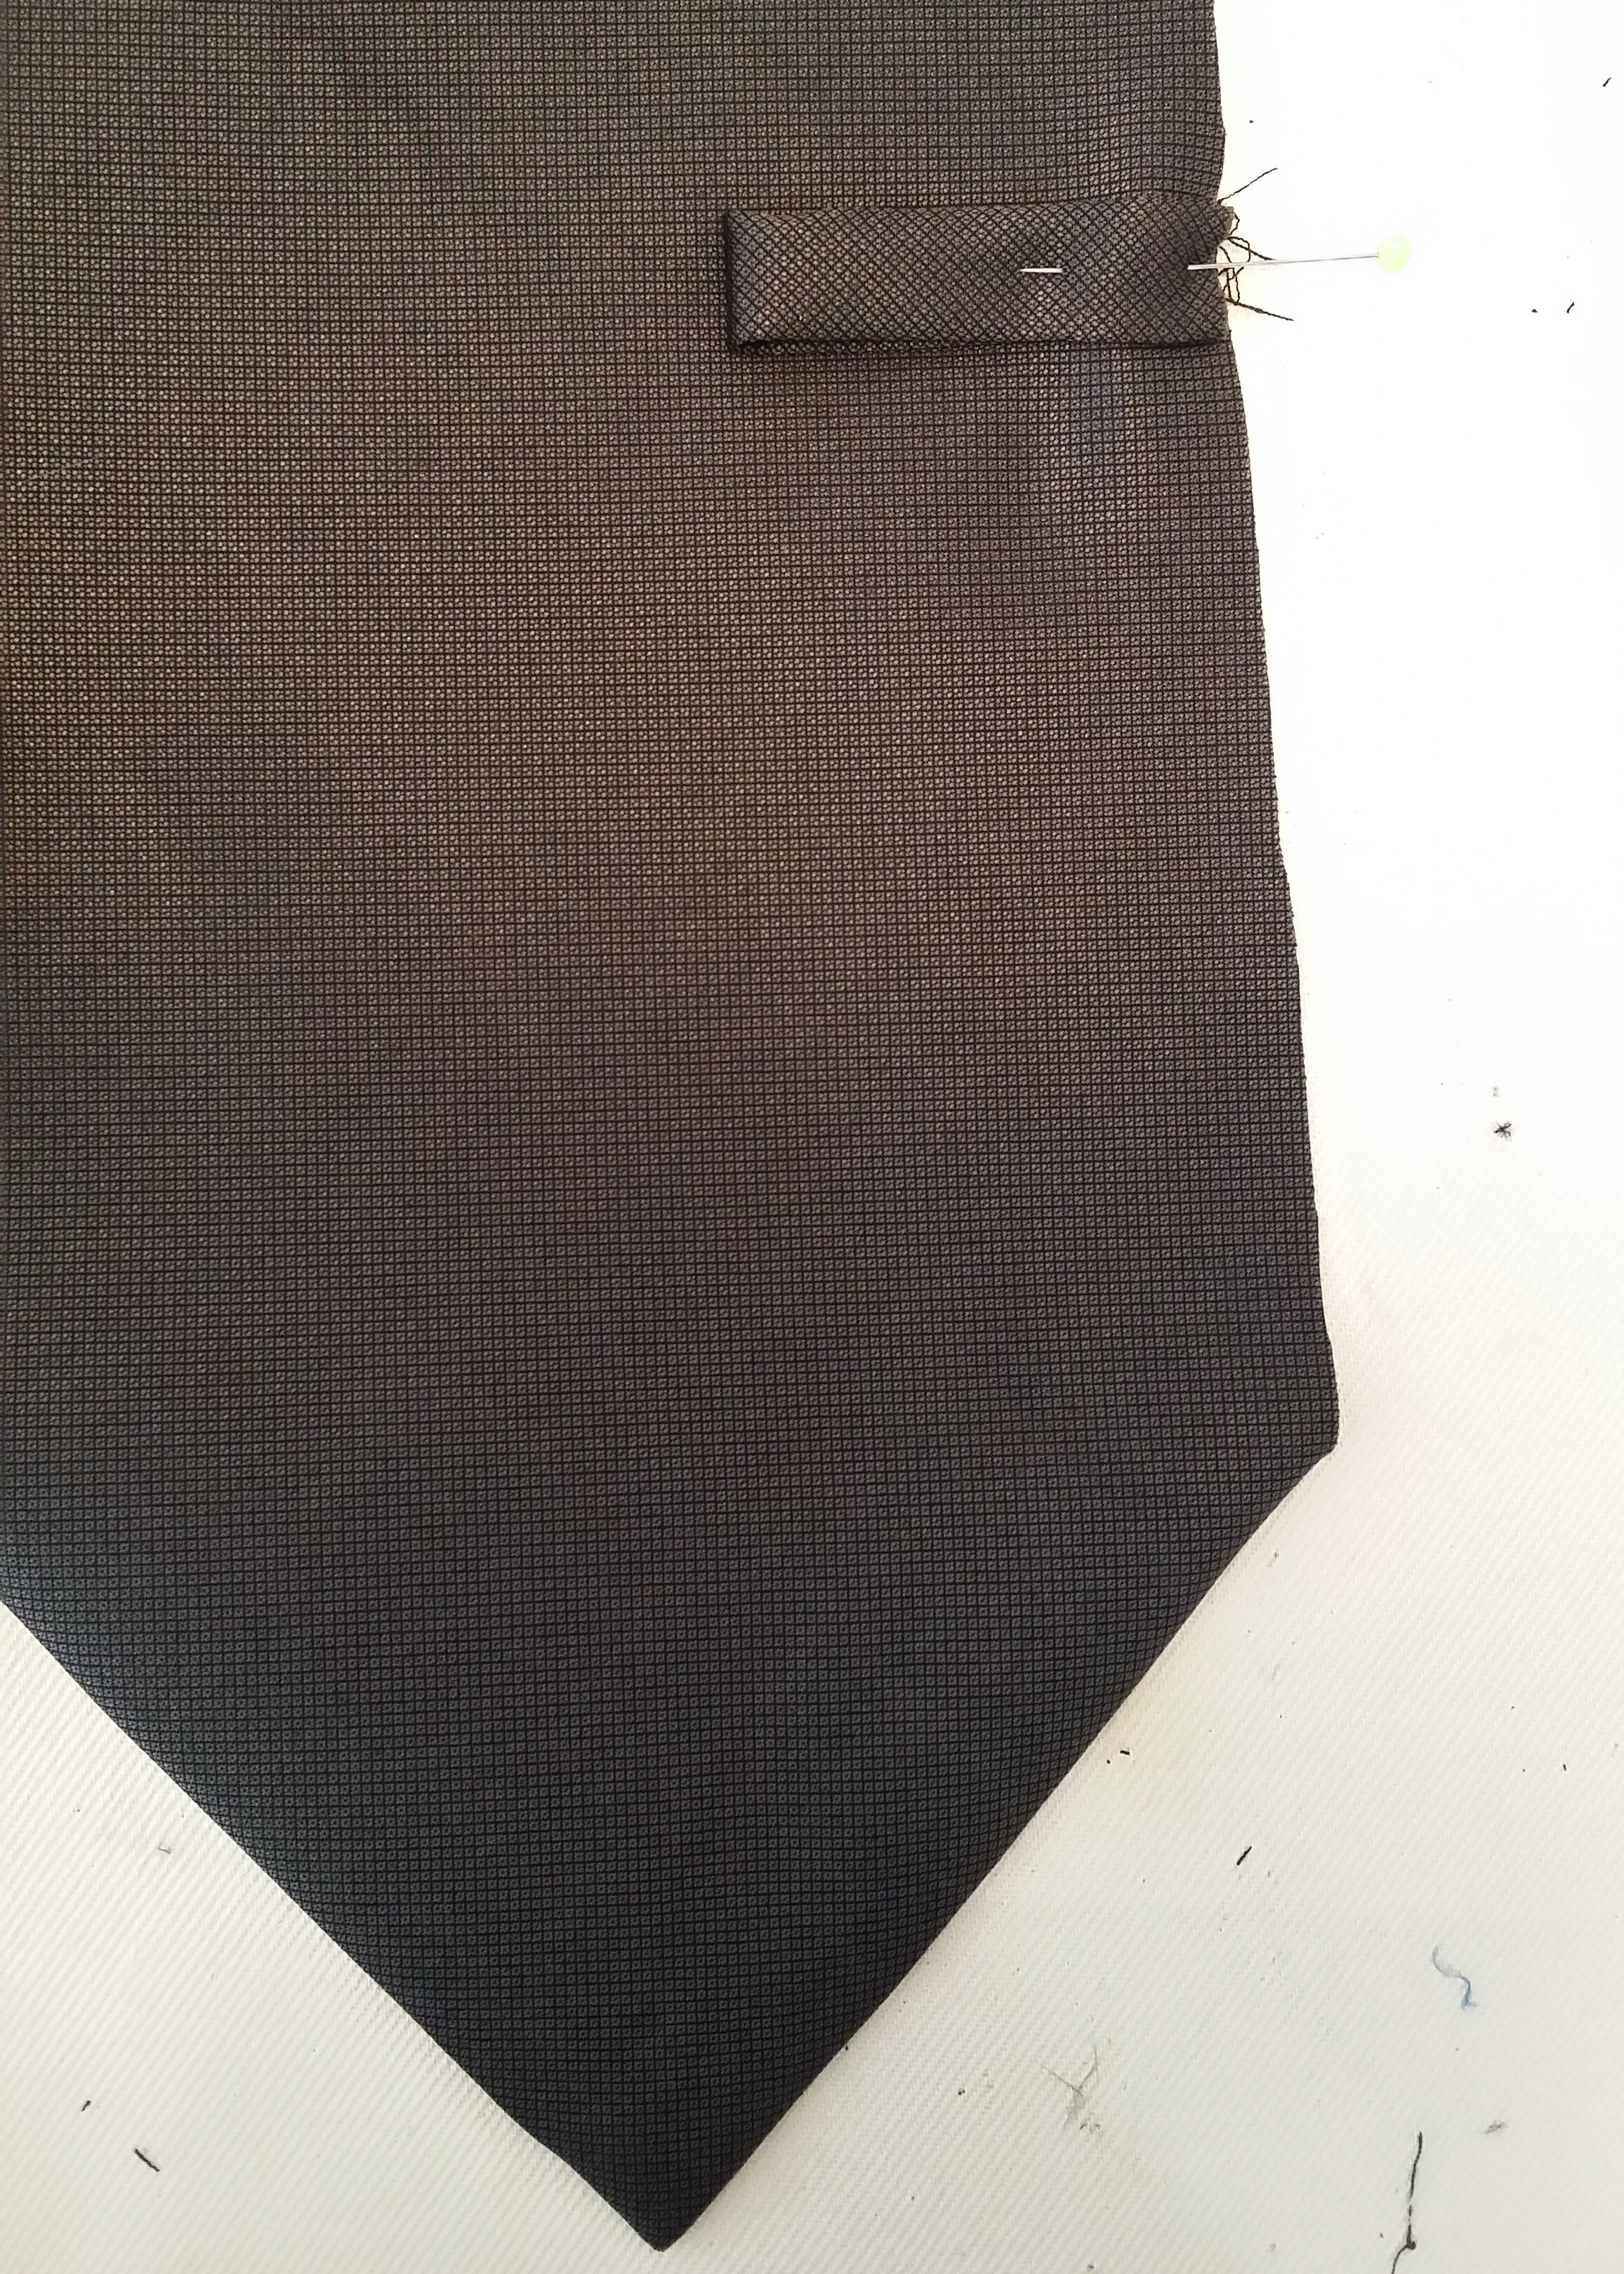
- Pin the Keeper on the right side of the tie (meaning wrong vs right side of the fabric, it doesn’t matter if the Keeper is on the left or right) between the notches.
- Fold the tie in half (right-side inside) and pin along the entire edge.

- Set your stitch to #7 (the Blind Hem stitch).

Sew with the fabric edge in line with your foot edge. Remember to backstitch at the beginning and end of the seam.
- Turn the entire tie right-side out.
Use whatever technique you know best. Put a safety pin on the end and feed it through or carefully use a knitting needle to help feed the fabric through…
Where the tie is narrow it can be a challenge.
- Give the tie a good press, keeping the seam on the centre.
- Press the Keeper flat and pin in place

- Now for the only bit of hand-stitching. Attach the edges of the Keeper to the tie. Be careful not to go through all the layers of fabric.
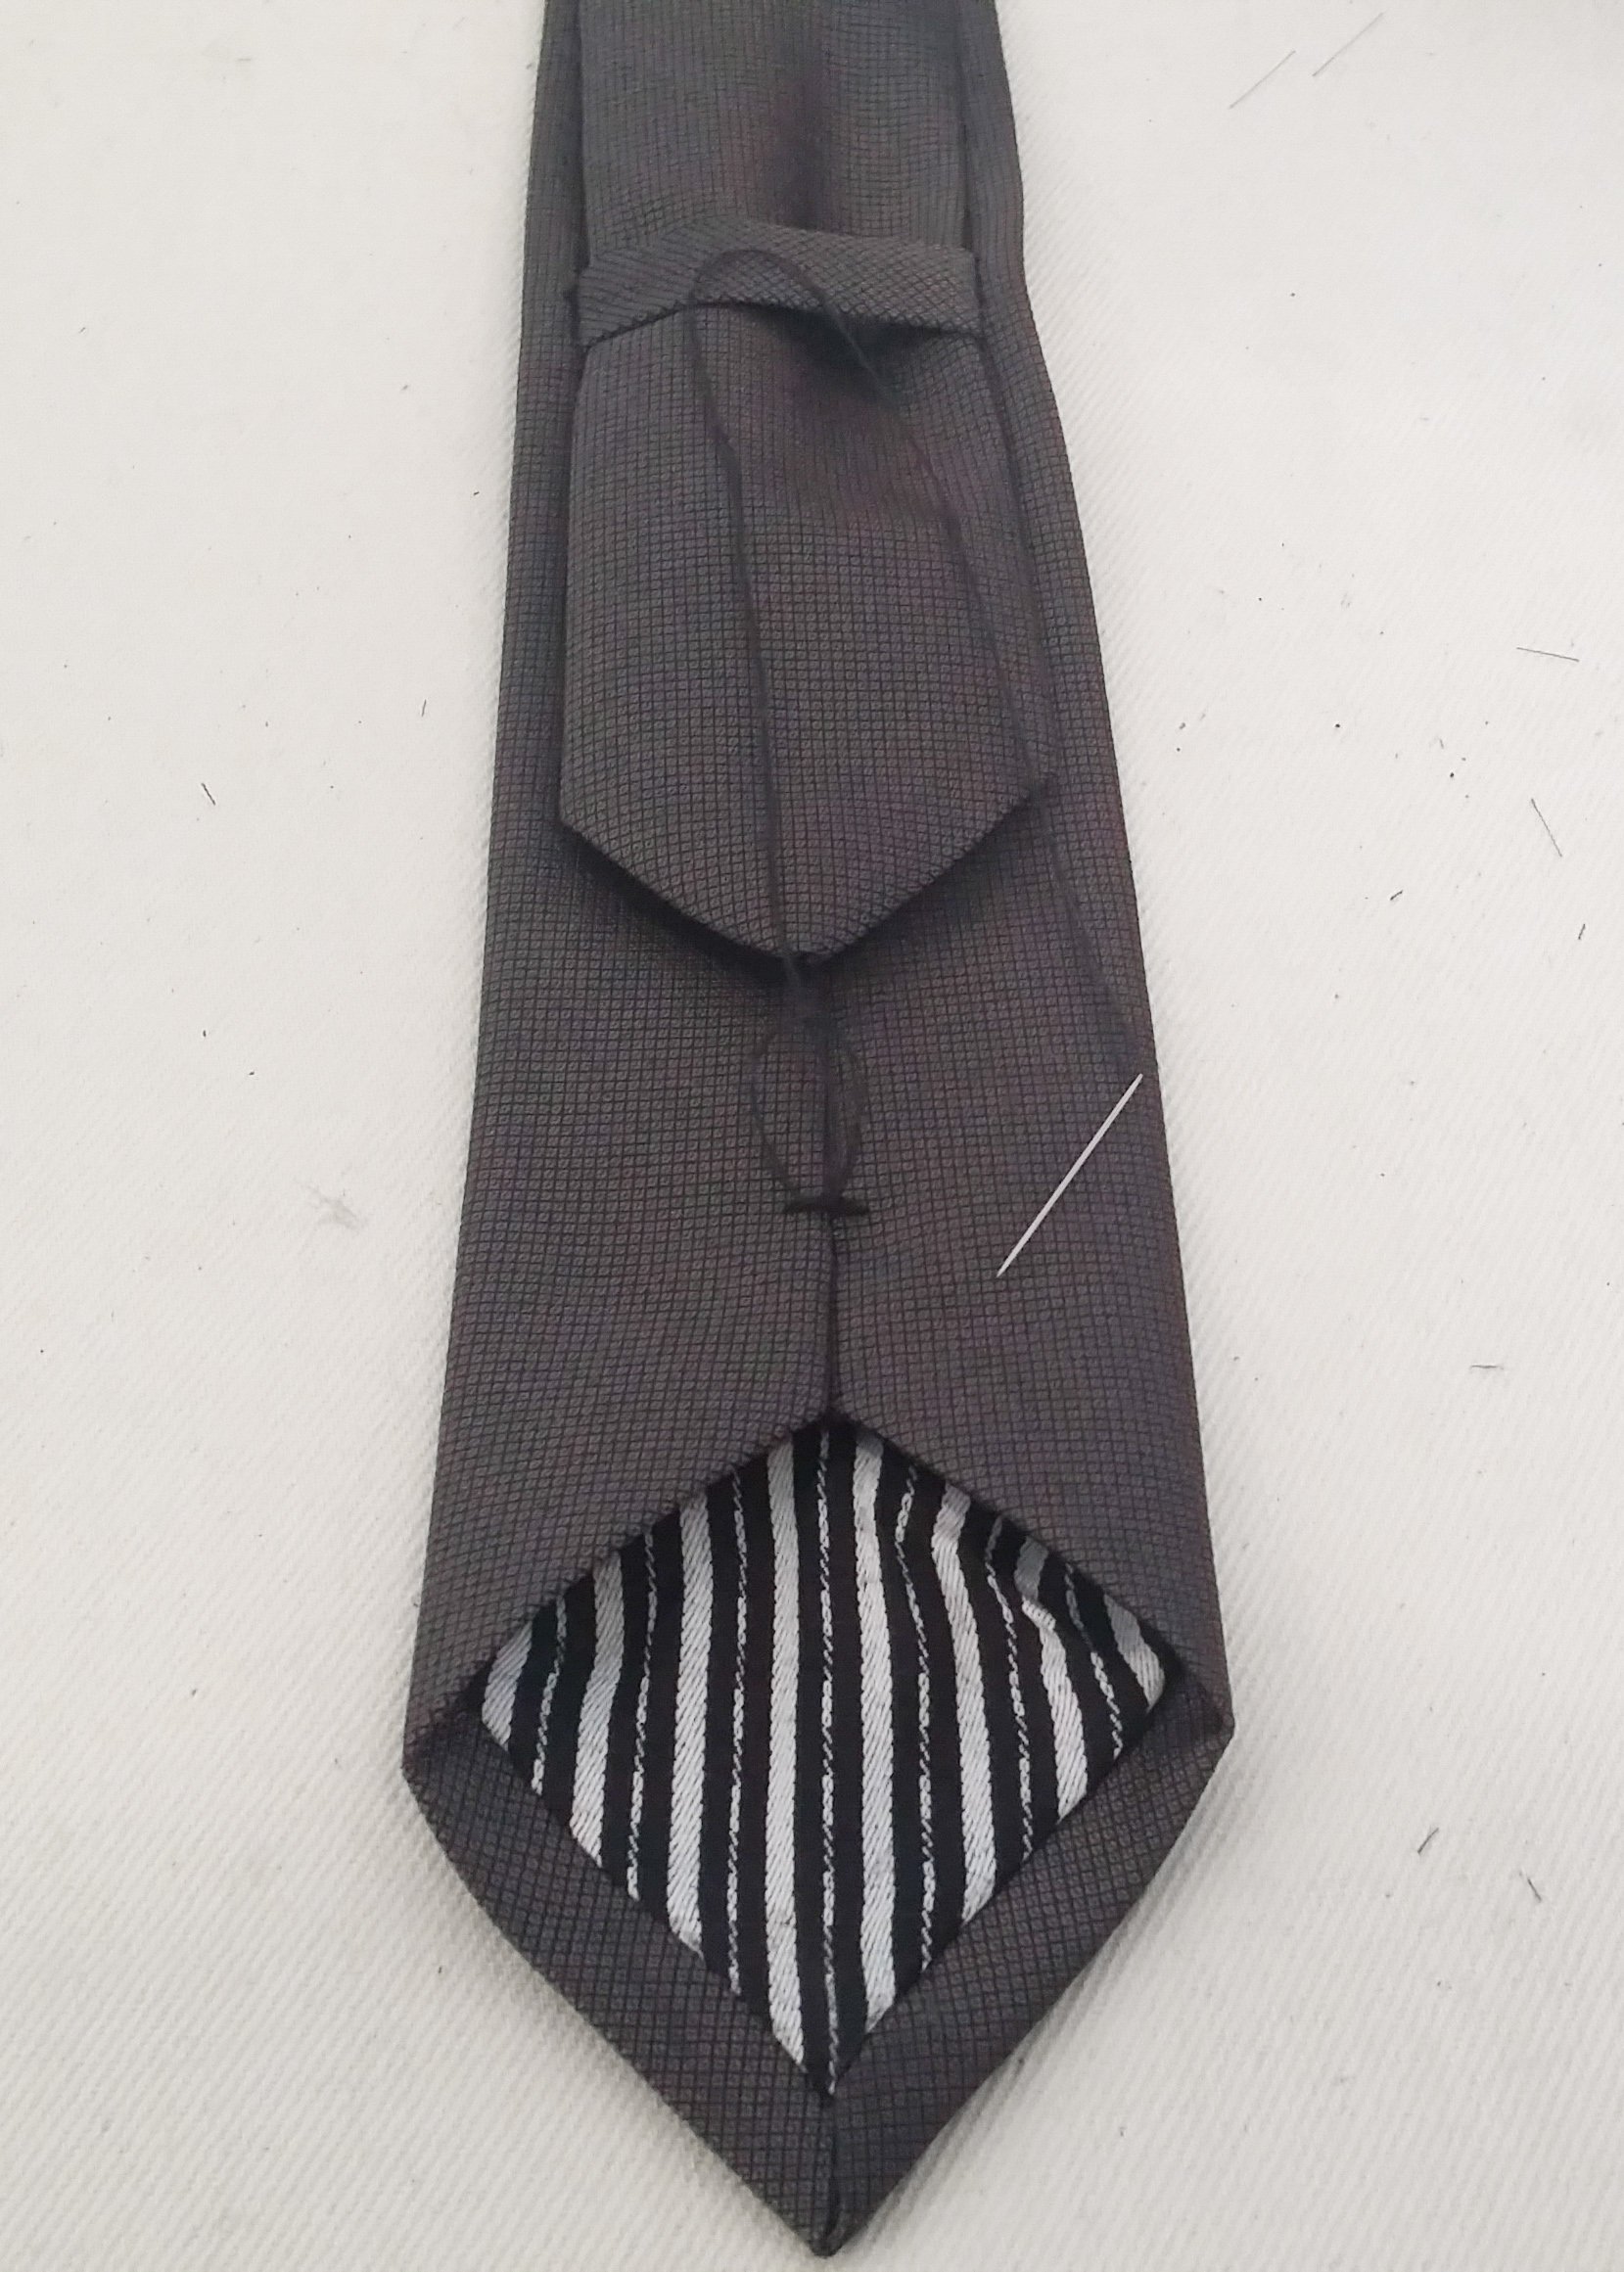
- Hand stitch a little tack at each end of the centre seam for that extra special touch. It can help strengthen the seam. I chain-stitched around a little loop.

And there you go! If you cut the tie on the true bias, your tie should hang beautifully! (This one was just tied a bit skew.)
Tips
- I used iron-on Vilene/ Fusing for knit/stretch fabric as the tie is cut on the bias and needs to be able to have a bit of stretch. Otherwise get 70cm x 70cm of normal iron-on fusing and cut it on the bias.
- Have fun by using some Christmas pattern fabric as the lining and maybe a solid red or cream as the main tie fabric. You can use any lightweight fabric (Cotton, Satin, Silk…) The fabric combinations are endless.
- You could use this pattern for Father’s Day or birthdays.
- You can make a matching Waistcoat, like that one above, with this pattern hack: Waistcoat Blog Post
I would love to see your makes, please feel free to share them with me!
Instagram
Facebook
Happy Sewing and Merry Christmas!
-Hannah-Rose


About how long is the finished tie? Thanks!
Hi Arianna 🙂
The tie is about 146cm long which is the same as a regular men’s tie.
i’m about to start this project, and am just a touch confused about step 15. could you maybe explain further what folding the extra fabric out of the way when sewing the other edge of the tip means?
Hi Ethna
I hope this helps. The step might make more sense when you are making it.
Also one more thing I am puzzled with is why you use cm instead of 8ths of an inch, I’m used to doing 1/4 or 5/8 or 1/2 inch seams and this has me confused although my husband has told me 1 cm is closer to 3/8 of an inch, Im very fanatical about my sems being very perfect to end up with a more perfect piece.
Hi Janice
I am South African and we use the metric system (centimeters, millimeters etc)
This blogsite is not American so it’s bloggers tend to use the metric system as most of us are from other parts of the world.
3/8 inches works out to 0.95cm so it is less than a millimeter which is about the thickness of a pencil line.
Hope that was helpful 😉
I was finally able to print instructions with pictures don’t know why it wouldn’t before. Also I see what people are saying the lining for the front is bigger I will do a trial run. Also I’m planning a denim tie for my son, was planning on using recycled denim but changed my mind I think a new piece of denim and lightweight would be better, but do i need to use a fusible with denim?
Thanks I was able to print all of the picture diagrams doing it the same way as I tried doing it before, don’t know why it wouldn’t let me before. But I too have been examining the front lining piece in regards to the tie front and see what people mean. Im assuming when you say cut it after its sewed if it’s still too big for the front piece, I assume you mean cut the sides of the lining piece down. I’m going to do a trial run before I try it on my good fabric. I have in my plans decided I want to make my son a denim tie I was going to use old jeans but decided to buy new and probably lighter weight denim material. Do you think I need to still use fusible for stability?
Oh perfect!
Yes, trim the sides down if the lines seems too big. But only do it at the very end once you’ve sewn the very long seam. Then you’ll know if it needs a trim.
Ooh, that’s an interesting idea with denim. I think it would be ok without the fusing as it should hold its shape well.
I hope it comes together well!
In your photo, the lining pieces are more narrow than the tie piece. In your pattern, it’s just as wide as the tie. Sewing them together did not result in the same outcome that yours did.
I am having a hard time printing out the directions to this pattern.
I got the pattern pieces printed but when I try to print the directions it only goes to about 3 pages and then there are no pictures or diagrams.
Hi Janice
I’m not sure how you are printing instructions as the blog post is the instruction.
However, if you right click on the article while it is loaded, you can select print from the pop up menu.
I hope this resolves your situation 😉
Happy sewing, remember to take your time with each step especially when attaching the lining.
Could you use a stretchy knit fabric? If I did would I not cut it on the bias?You don’t tell us that the sewing on the tip has to stop at the seamline for it to lie flat. I learned the hard way lol! The picture shows it, but it’s not easy to see on a small device.
Hi Katrina
I have not tried making a tie with stretch fabric however I don’t think it would need to be done on the bias.
When it comes to the grain and crossgrain in knits, the one usually has a lot more stretch than the other so cutting it on the bias would likely mean one side would droop/stretch more.
The reason for the bias grain is so that the woven fabric can be tied around ones neck with a bit of give and the tie will still fall correctly.
I would be interested to see how well the tie lies on one’s chest when made from a knit fabric if you give it a go 😉
Worst instructions ever. Had to keep undoing and redoing to make it work
So I tried sewing a demo tie before trying with my “good” fabric. First, the tip lining for the front isn’t smaller than the main tie like the picture shows? When I tried sewing as shown, I barely had a 1 mm overlap to the inside?
It took me a bit of time to understand how to sew the lining pieces, but I can now say that yes, you do need that much lining fabric for it to work. Turning the keeper right side out was a PAIN but I’m glad I persevered because the end result looks very good. I can’t believe I made a tie! Thank you!
Hi Julie
This makes me so happy! Well done on persevering 😉
If you’re gifting the tie, I’m sure the person will appreciate the special attention and effort put into it. And if it’s for yourself, then I hope you wear it with pride.
Do you recommend pre-washing the Iron-on Vilene/ Fusing before cutting out, to allow for shrinkage? If so, will the iron-on adhesive still work after washing it?
Hi Nanette
Good question, I would recommend checking if there were washing instructions that came with your Fusing/Iron-on Vilene (sometimes they are bought pre-packed from the haberdashery section rather than from the roll).
Apparently, non-woven fusing can skip a pre-wash.
However, it is usually a good idea to pre-wash as shrinkage is likely to occur later down the line.
From what I’ve learnt it is best to soak rather than machine wash for the pre-wash.
Soak the fusing in a container or sink of warm to hot water (not boiling) for about 10mins. Gently squeeze (don’t wring) out the water and then hang to dry.
Once the fusing is attached to your garment, you can wash and dry it as usual. The reason for the gentler pre-wash and dry is that you don’t want to loosen the all important glue before its had a chance to stick to your fabric.
Easy to follow pattern
Thank you Margrit
I’m so glad!
Mega fail! The lining pieces are too big. No instructions about which side to place the lining.
Hi Margaret
The lining pieces are to be attached to the right side of each end of the tie (right side of the lining to touch the right side of the tie). For reference, the wrong side of my tie in the pictures has the fusing on it 😉
This way the seams are hidden when the tie is turned right side out.
Due to the way the lining pieces are attached off-centre in steps 14-17, the excess fabric tends to be needed.
Sometimes due to the nature of the bias grainline, they may end up a bit bigger than needed when the fabric relaxes after cutting.
As I mentioned in a previous comment, I too thought they were too big and cut them to match the tie pattern pieces. However when I sewed them up they ended up too small.
I would recommend just cutting off the excess on the sides if there is any.
I would rather they be too big than too small. If too small, the sides of the lining can’t properly be secured in step 22 which means it will constantly slip out from inside the tie. Also, if the lining is too short, it will won’t properly cover the inside of the tie when it is all sewn up.
As long as step 14-17 are mastered, the extra size of the lining doesn’t matter.
I hope this helps.
HI! I’m having difficulties with the end linings. In the pattern, they appear to be the same size as the ends of the tie, but in your instructions, they look as if they are narrower than the actual width of the tie. Am I looking at this wrong? Thank you!
Hi Alice
I recommend sewing them as per the instructions and if they are bigger to trim them down.
Just ensure that you sew the point of the Lining off centre as per step 14 & 15 and line up the fabric along the angled edges.
In one of my toiles when testing the pattern, I cut the Linings smaller as I too thought it looked too big but then when I sewed it up they were actually too small and I realized it would be best to trim it down after assembling if needs be.
I hope that helps 😉