 BERNINA Corporate Blog -
Dear community,
in this blog post you can find easy instructions for sewing festive napkin rings – perfect for Christmas eve and other festive occasions.

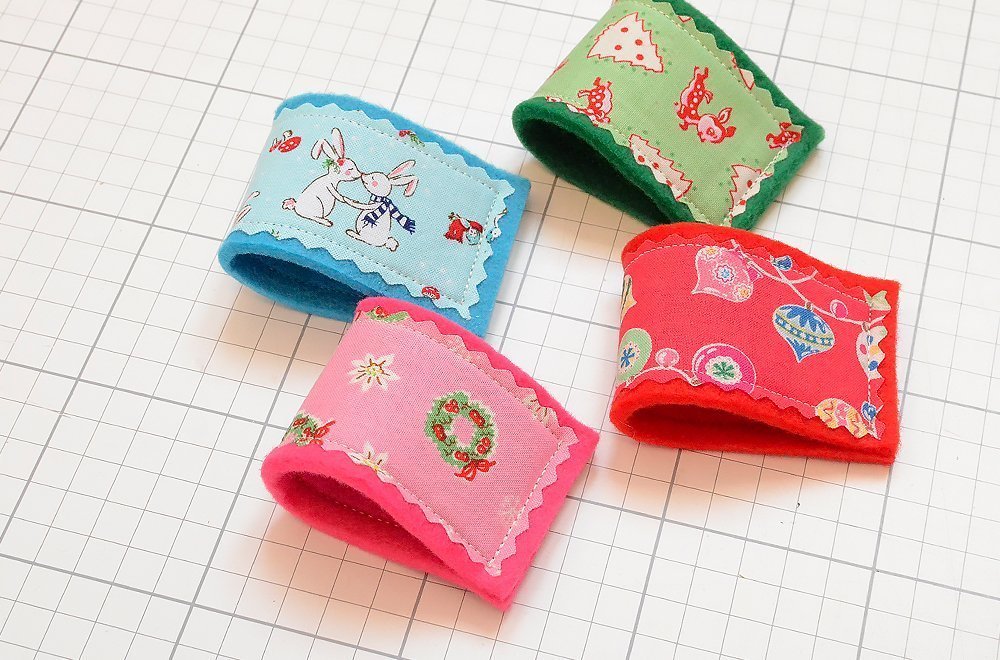
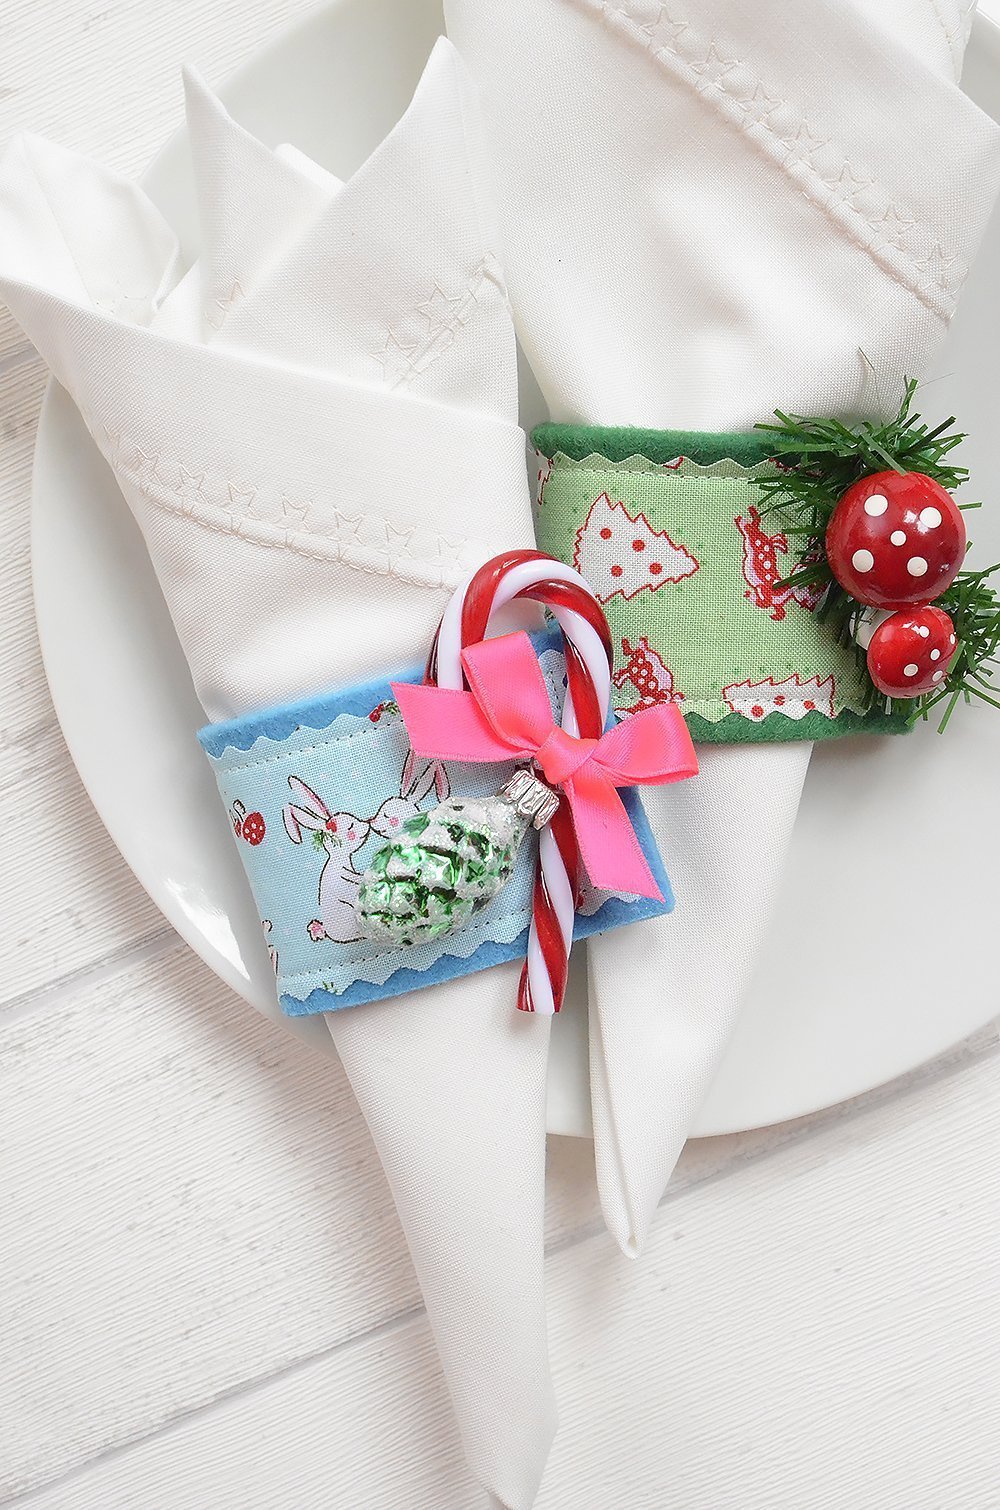
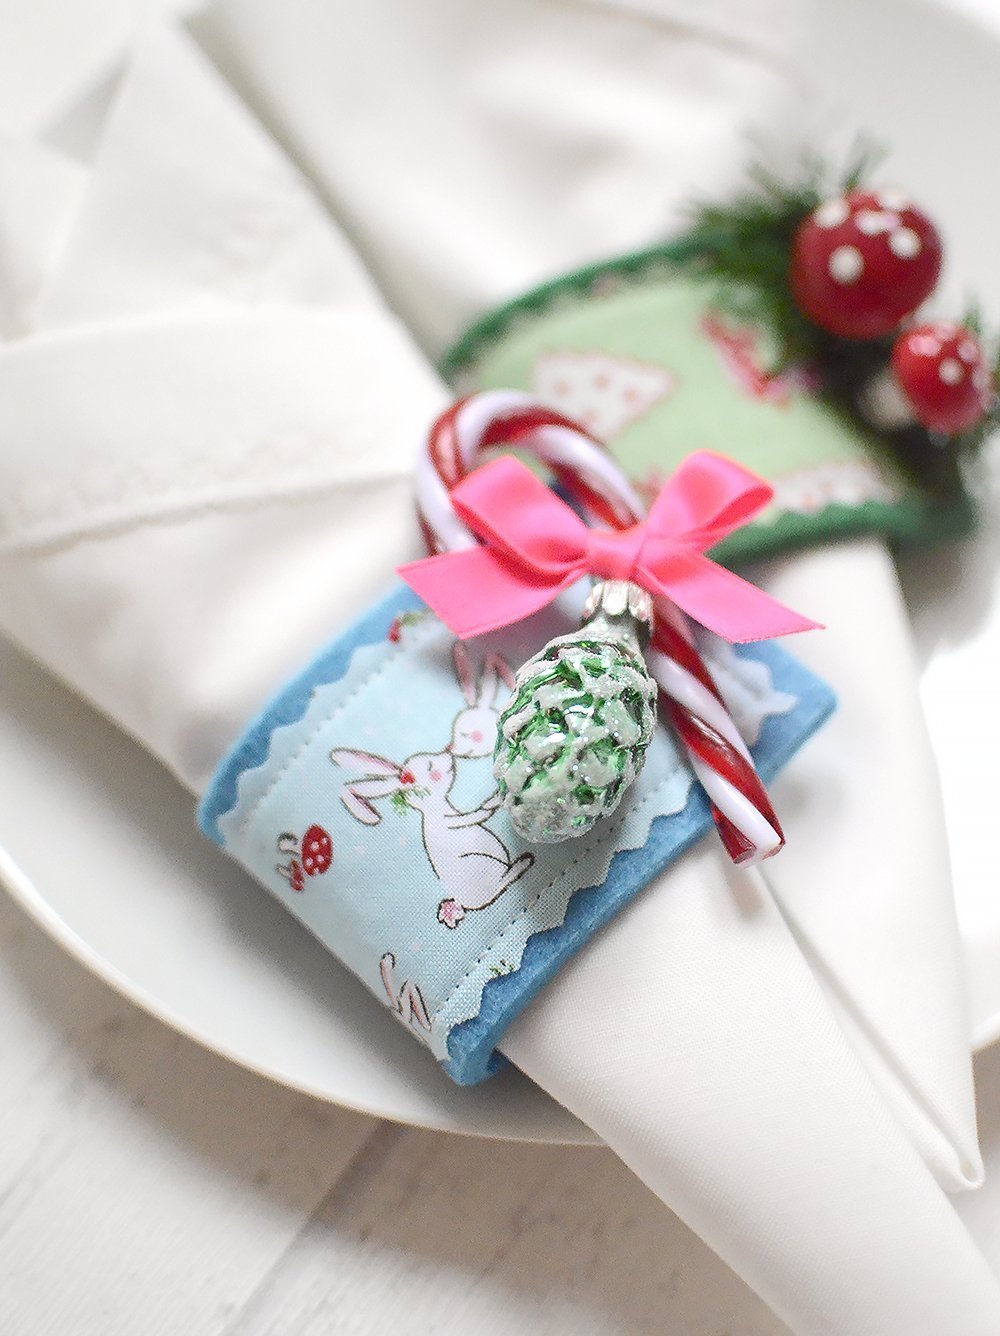
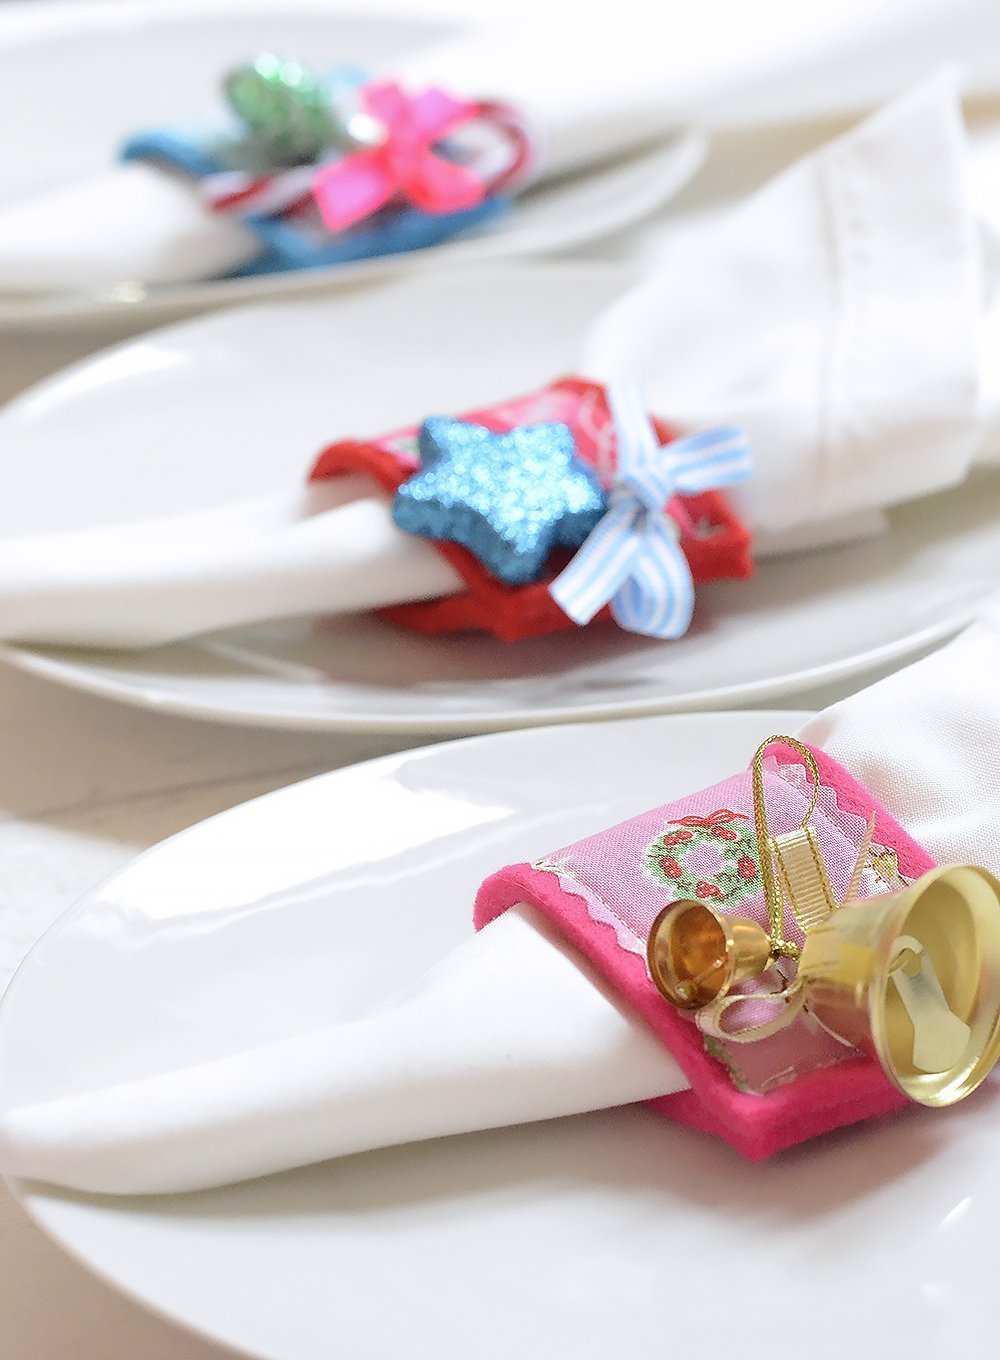
Hello and welcome to window 13 of the Bernina Blog Advent calendar! My project consists of these decorated napkin rings made of felt and fabric. The napkin rings are quick and easy to make using only a few materials, and for decoration you can use all kinds of Christmas baubles, decorations and bows and really let your creative imagination run wild! You can give them away to friends and family, or use them as your secret Santa gift in the office. With the matching cloth napkins, you have the whole package for a festively laid table!
Have fun making them!
Sewing instructions for napkin rings made of felt and fabric
Materials
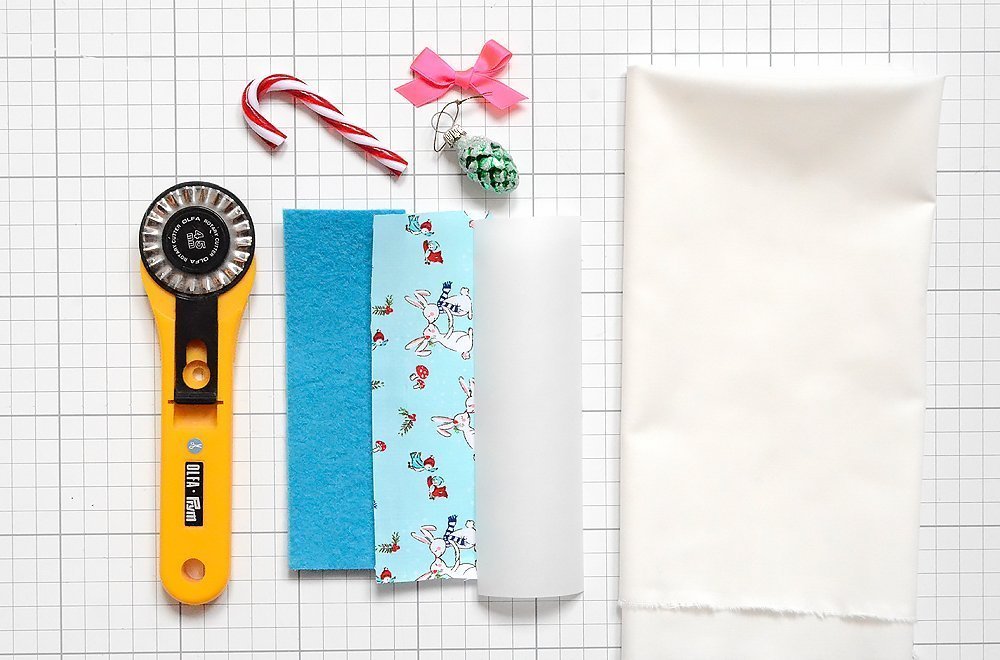
To make a napkin ring you will need:
- 5 x 15 cm wool or craft felt, 5 mm thick
- Approx. 5 x 15 cm cotton fabric
- Approx. 5 x 15 cm fusible web
- Little Christmas figures, hanging decorations, bows, buttons, etc. for decoration
Accessories:
- Pinking rotary cutter or shears
- Self-erasing or ironable marker pen
- Metric patchwork ruler
- Sewing needle
- Sewing thread
- Craft glue if required
- Fabric scissors
For a cloth napkin measuring 40 x 40 cm, you will need:
- 50 x 50 cm cotton fabric
Making a napkin ring
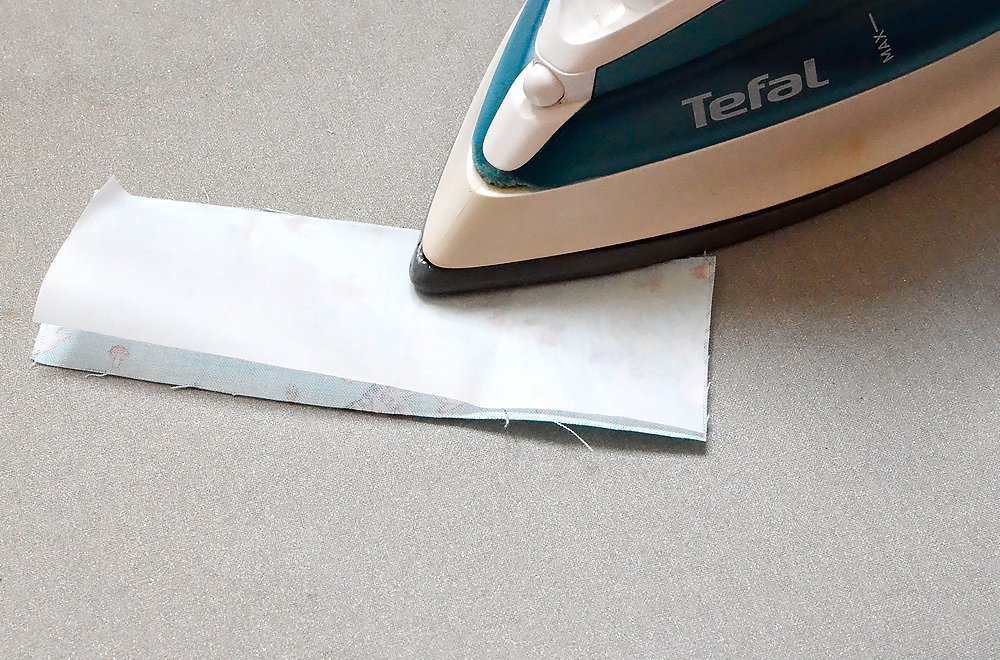
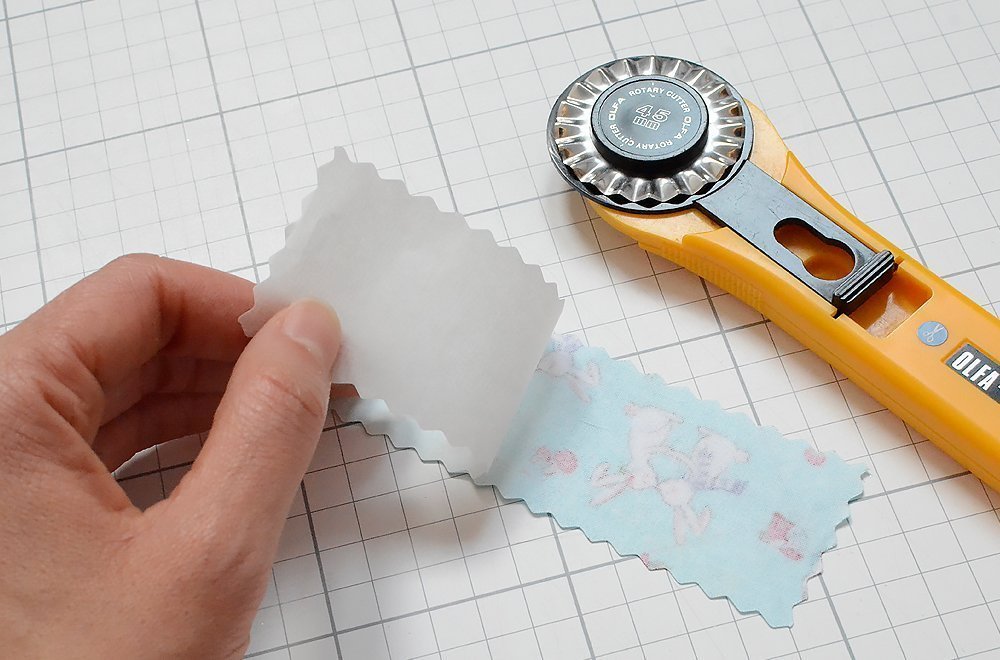
1. Iron the fusible web onto the wrong side of the fabric in accordance with the manufacturer’s instructions.
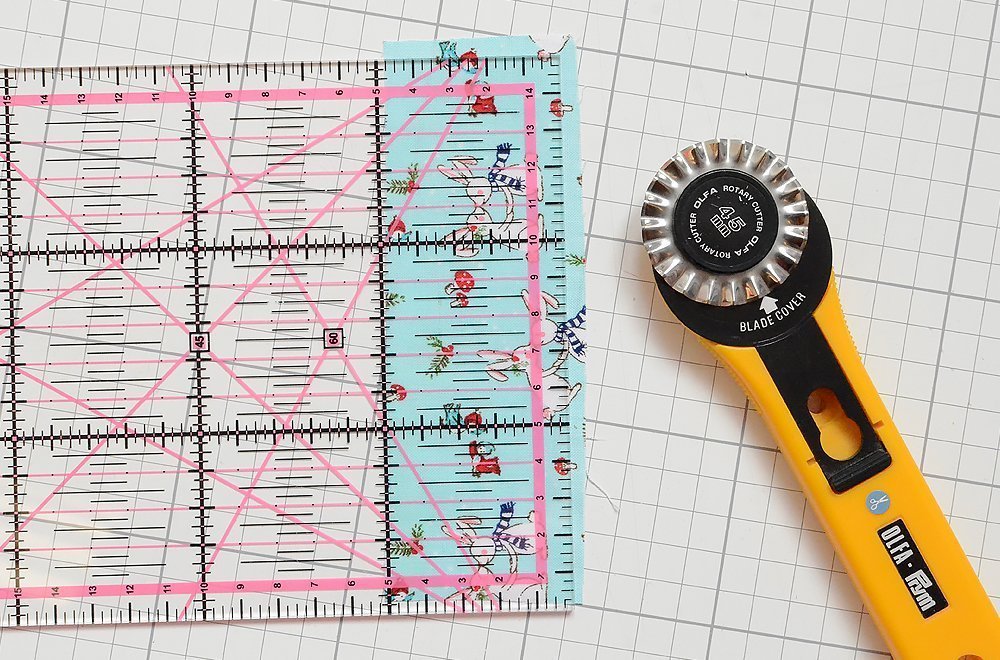
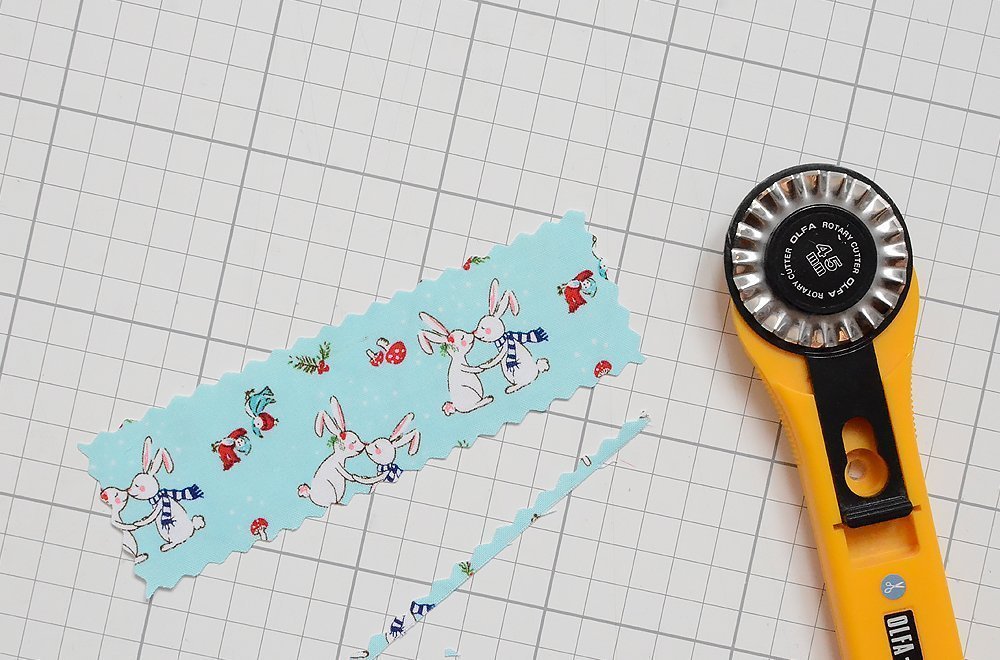
2. Use the pinking rotary cutter to cut out a piece measuring 4 x 14 cm.
3. Remove the backing paper…
4. ..and place in the middle of the piece of felt.
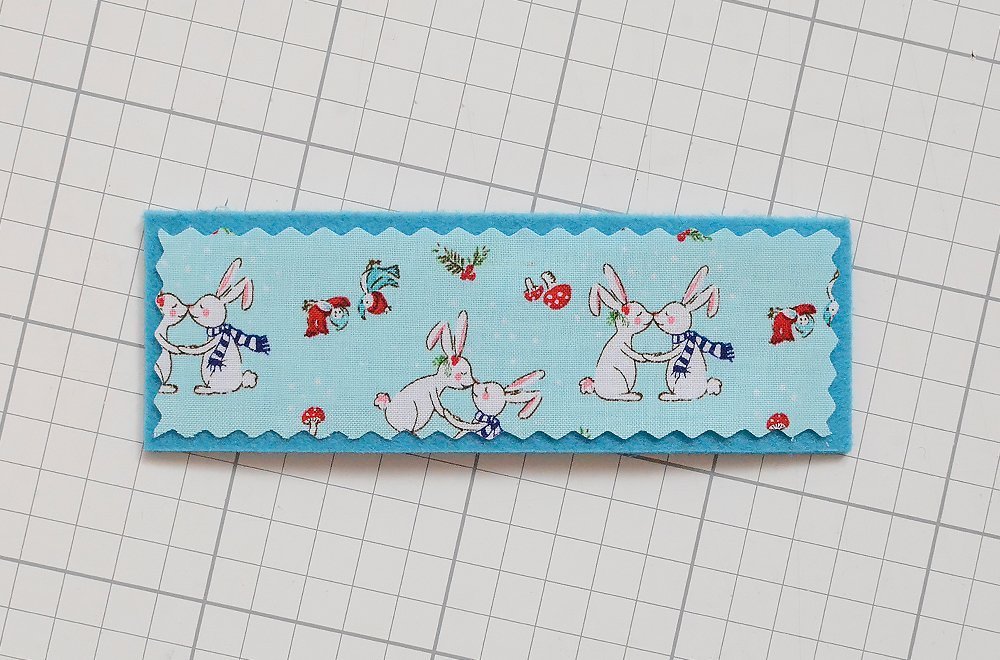
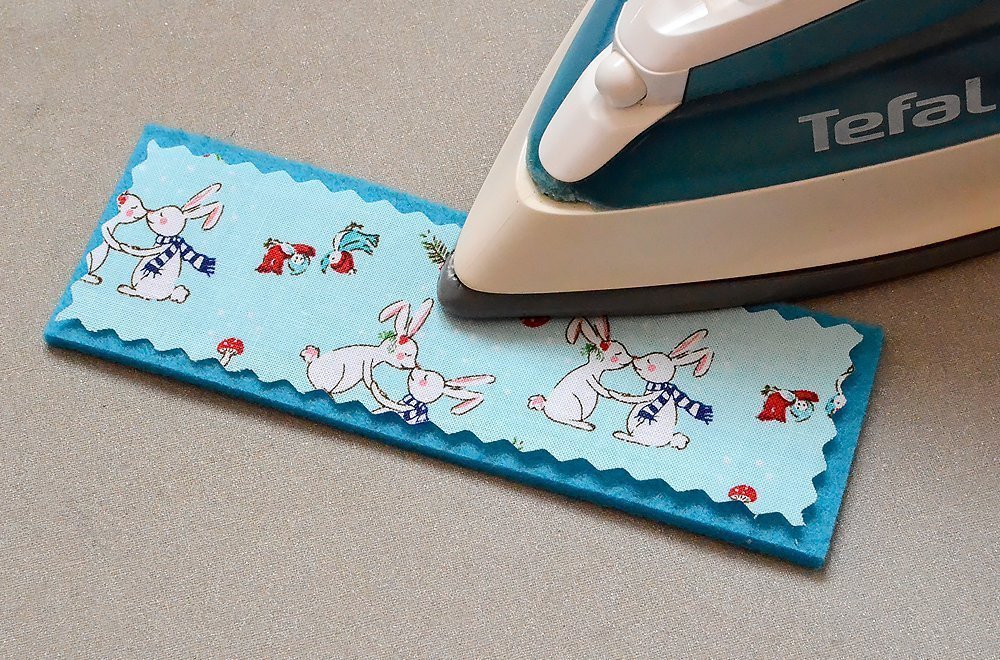
5. Iron on in accordance with the manufacturer’s instructions. Note: If you use craft felt made of polyester, you will need to adjust the temperature of your iron, otherwise the iron will stick!
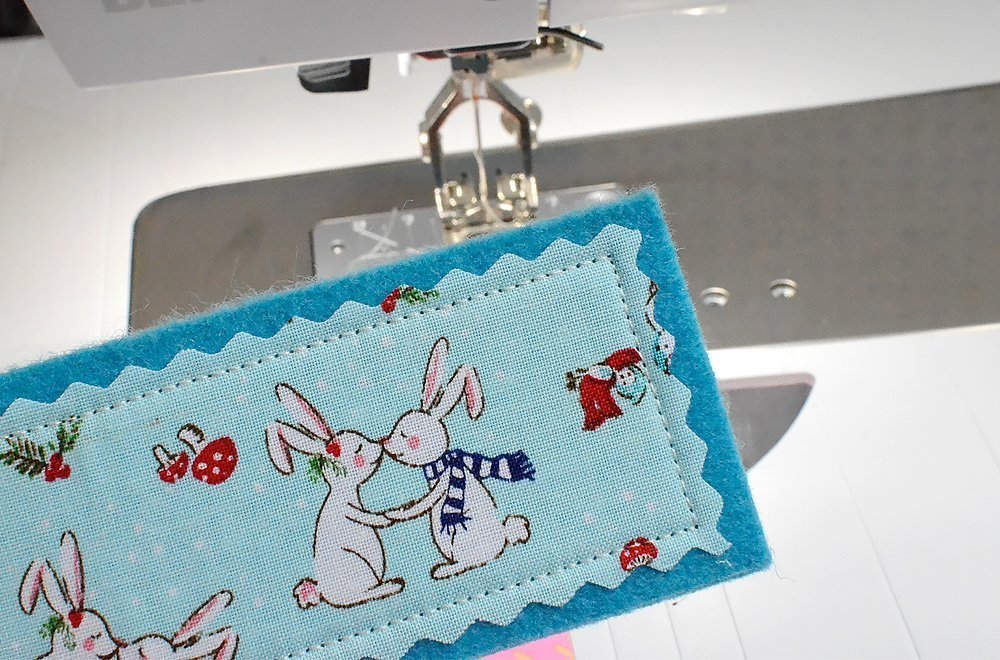
6. Sew on close to the edge using straight stitch.
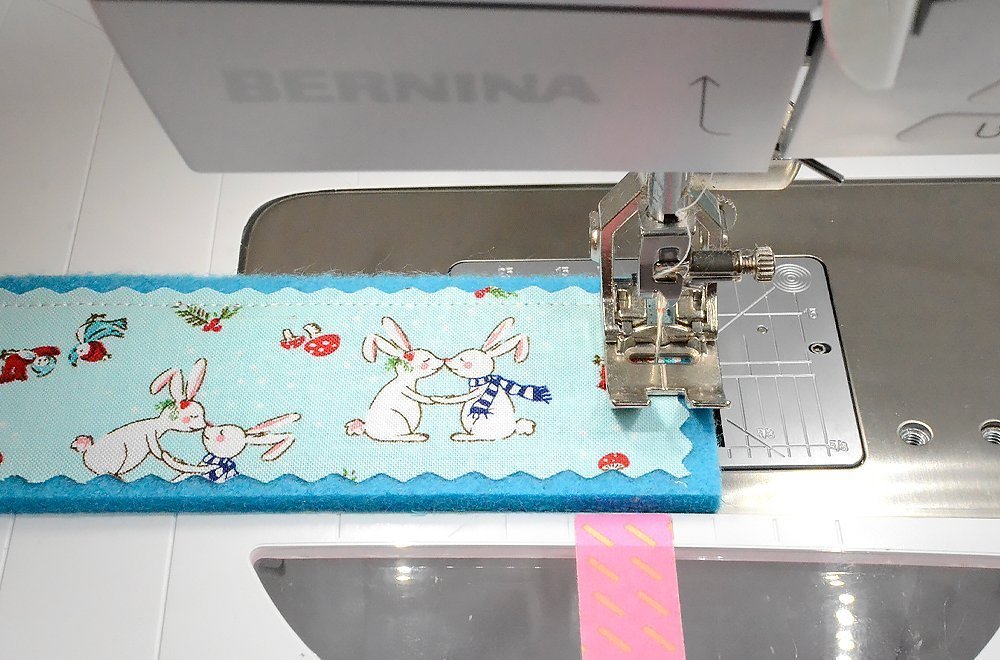
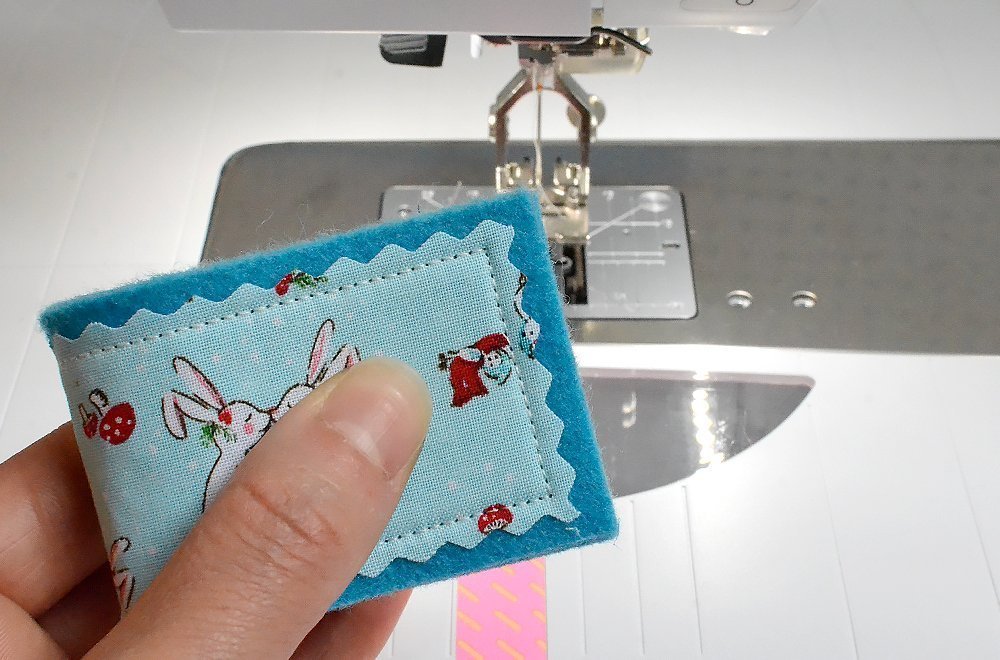
Your piece should now look like this:
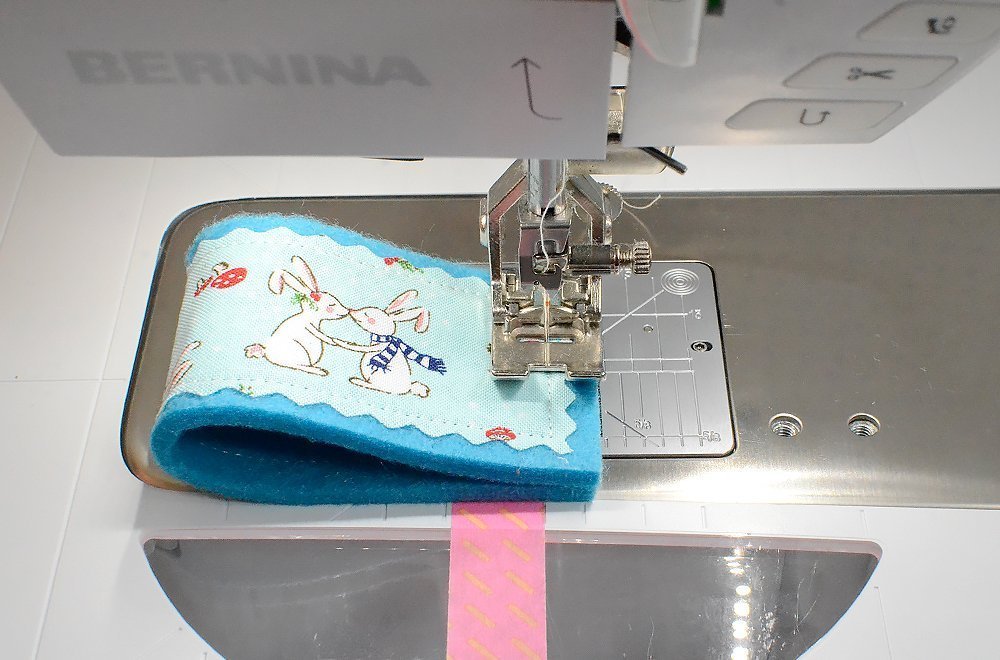
7. Then fold the piece as shown above, so that the edges are on top of each other.
8. Sew together along the existing vertical seam (this will avoid a nasty, double seam) and secure both ends well.
Your napkin ring should now look like this:
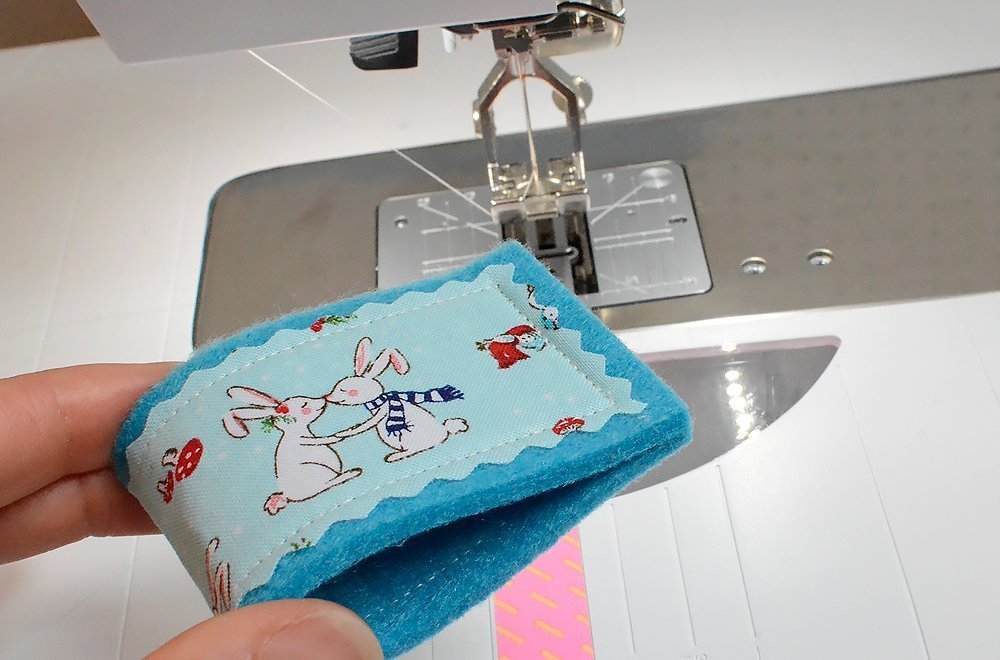
Make as many napkin rings as required.
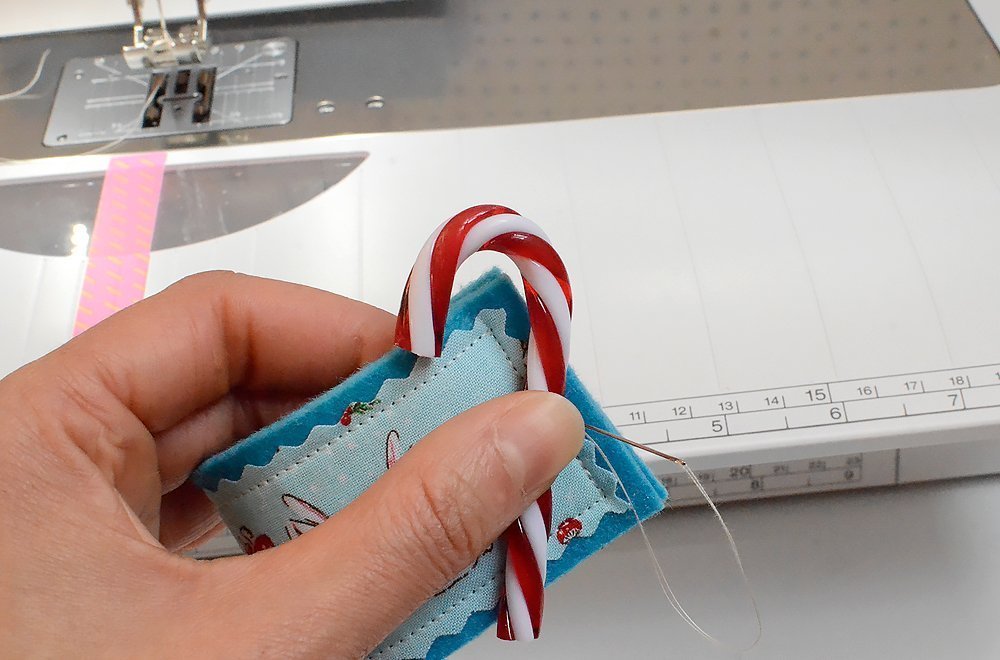
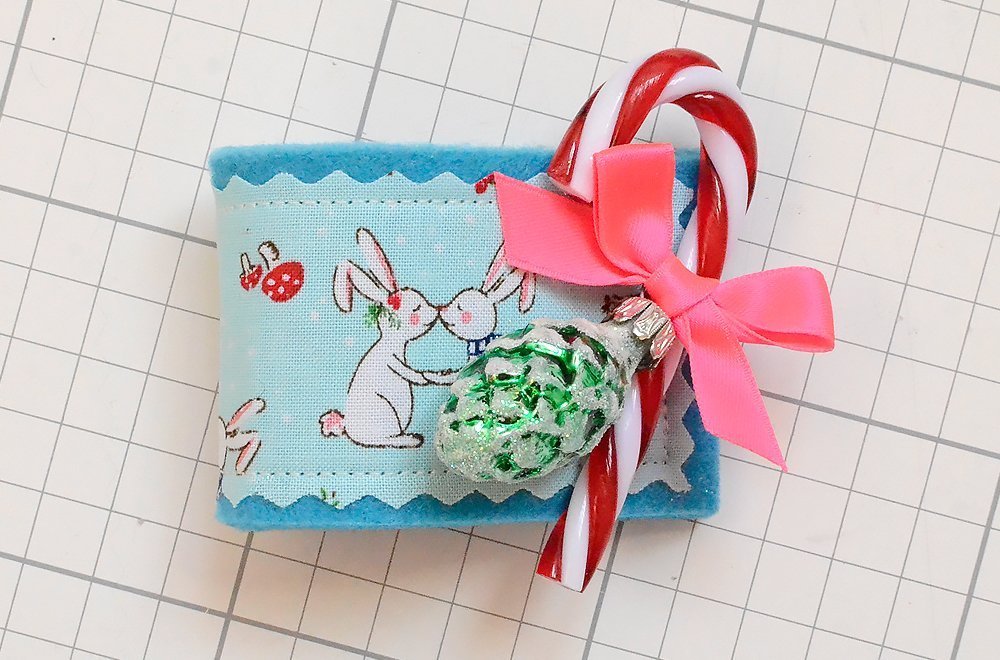
Attach decorative elements using either a needle and thread or craft glue…
… and your napkin ring is finished – that was quick, wasn’t it?
Making a cloth napkin
It doesn’t take much longer to make a cloth napkin. I’ve finished the edges with so-called mitred corners, which are slightly wider – this gives the napkins a little more stability, and with a beautiful decorative stitch for decoration, they look elegant and festive.
Start by pressing the 50 x 50 cm piece of cotton nice and flat and then
1. Press all the edges inwards by 2.5 cm.
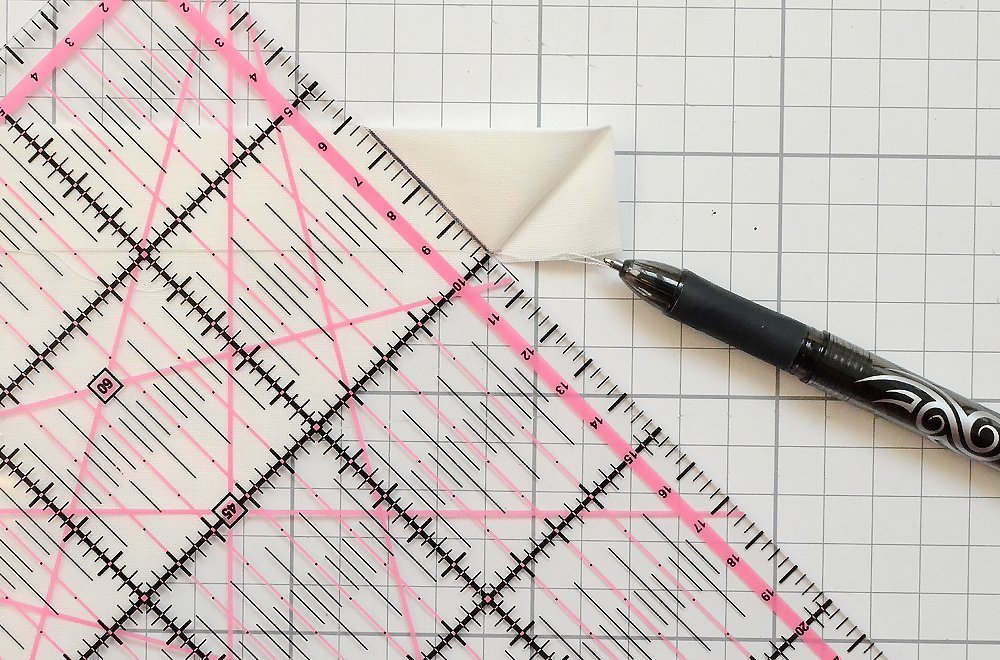
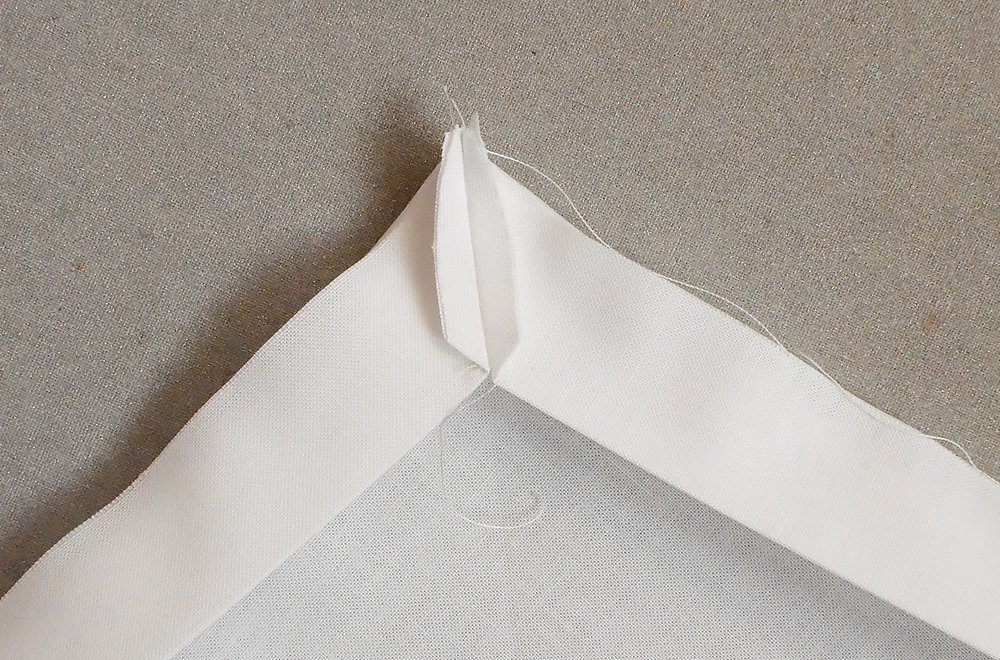
2. Fold all the corners diagonally with the right sides together as shown below, so that the pressed edges are aligned. Position the ruler as shown – with one of the lines running exactly along the folded diagonals. Use the marker pen to make a line from the pressed edges to the corner.
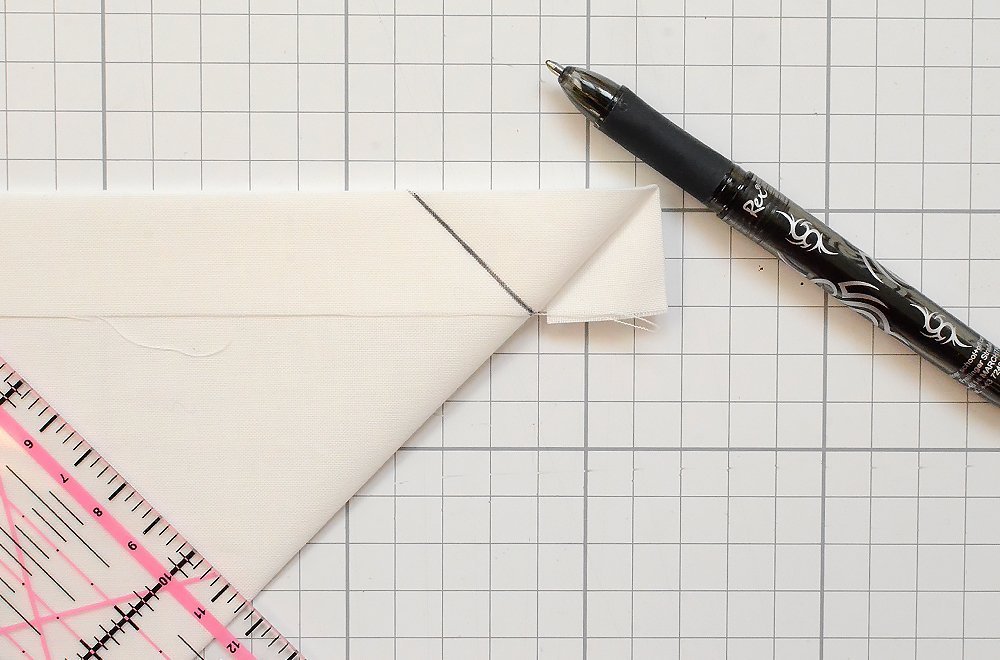
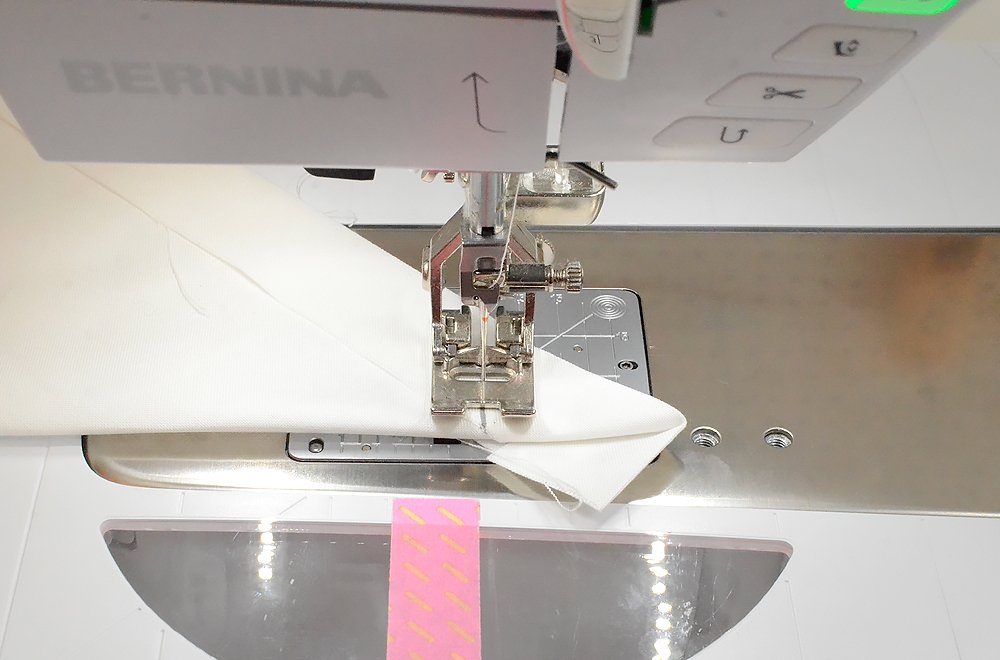
3. Topstitch along the line and secure the seam.
4. Cut off the tip close to the edge…
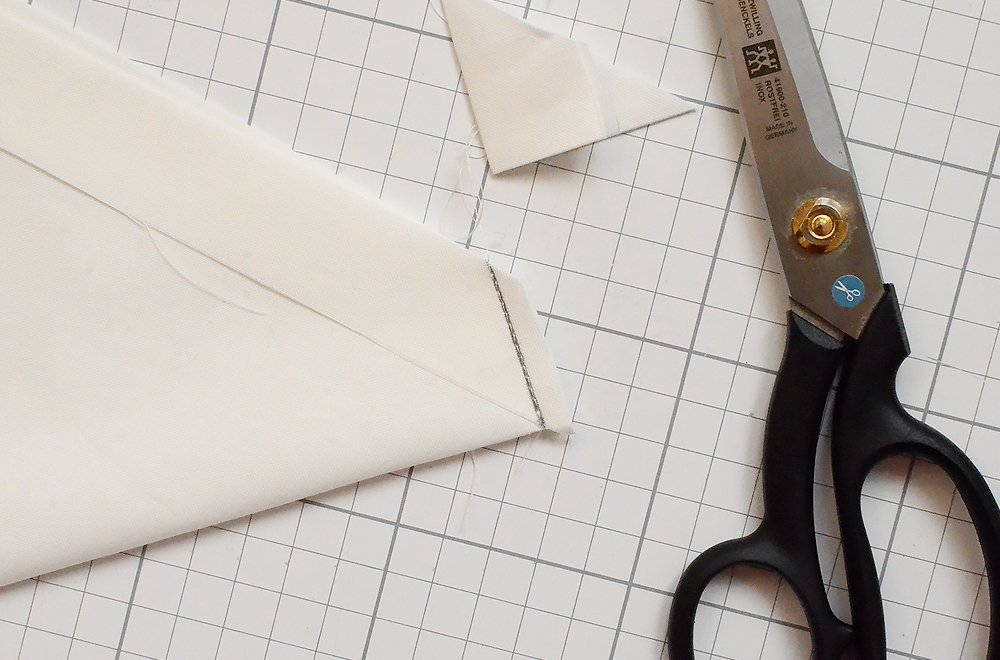
5. …and carefully press the seam allowance open.
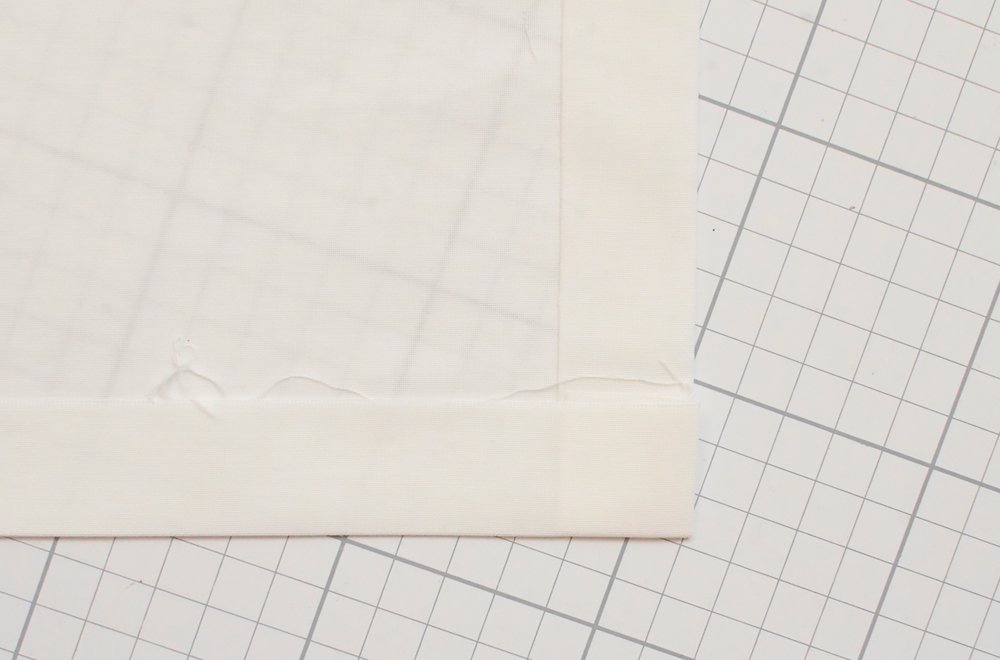
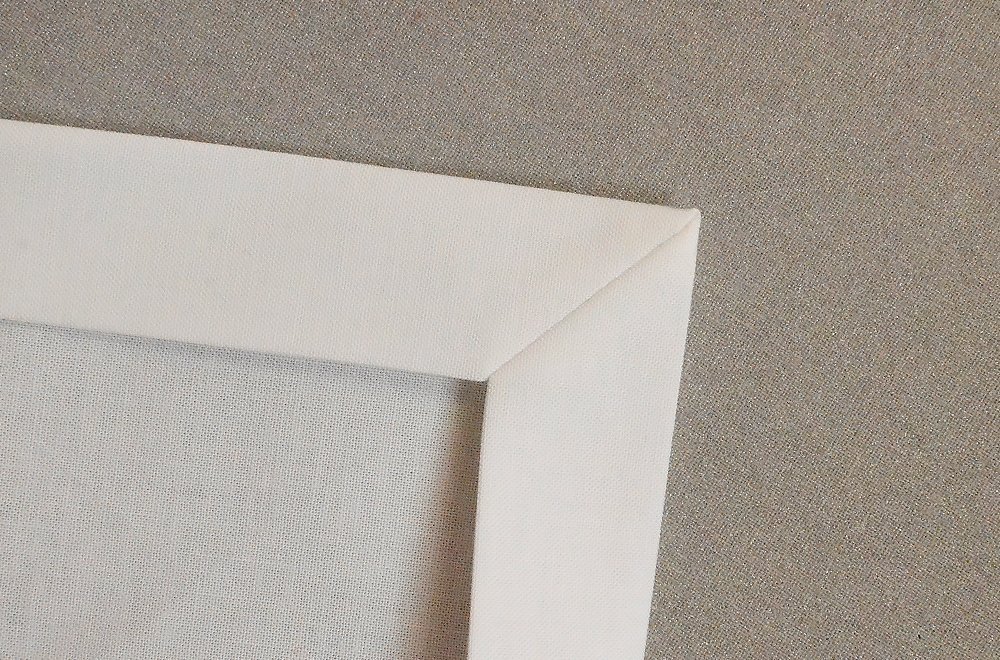
6. Turn the napkin the right way out and iron. This is what your mitred corners should look like:
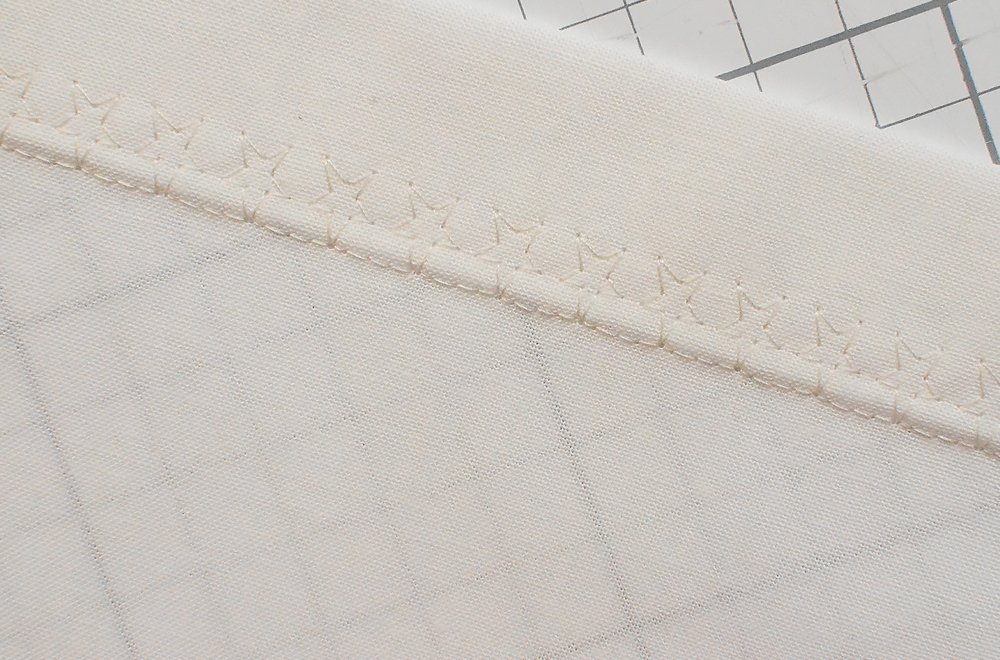
Then topstitch the hem using a decorative stitch. I used stitch No. 906 on my Bernina 770 QE – it fits perfectly with the theme!

I hope you liked my instructions. Have fun discovering more great DIY projects on the Bernina Blog Advent calendar and enjoy the rest of the pre-Christmas period,
Nadra


0 Responses