 BERNINA Corporate Blog -
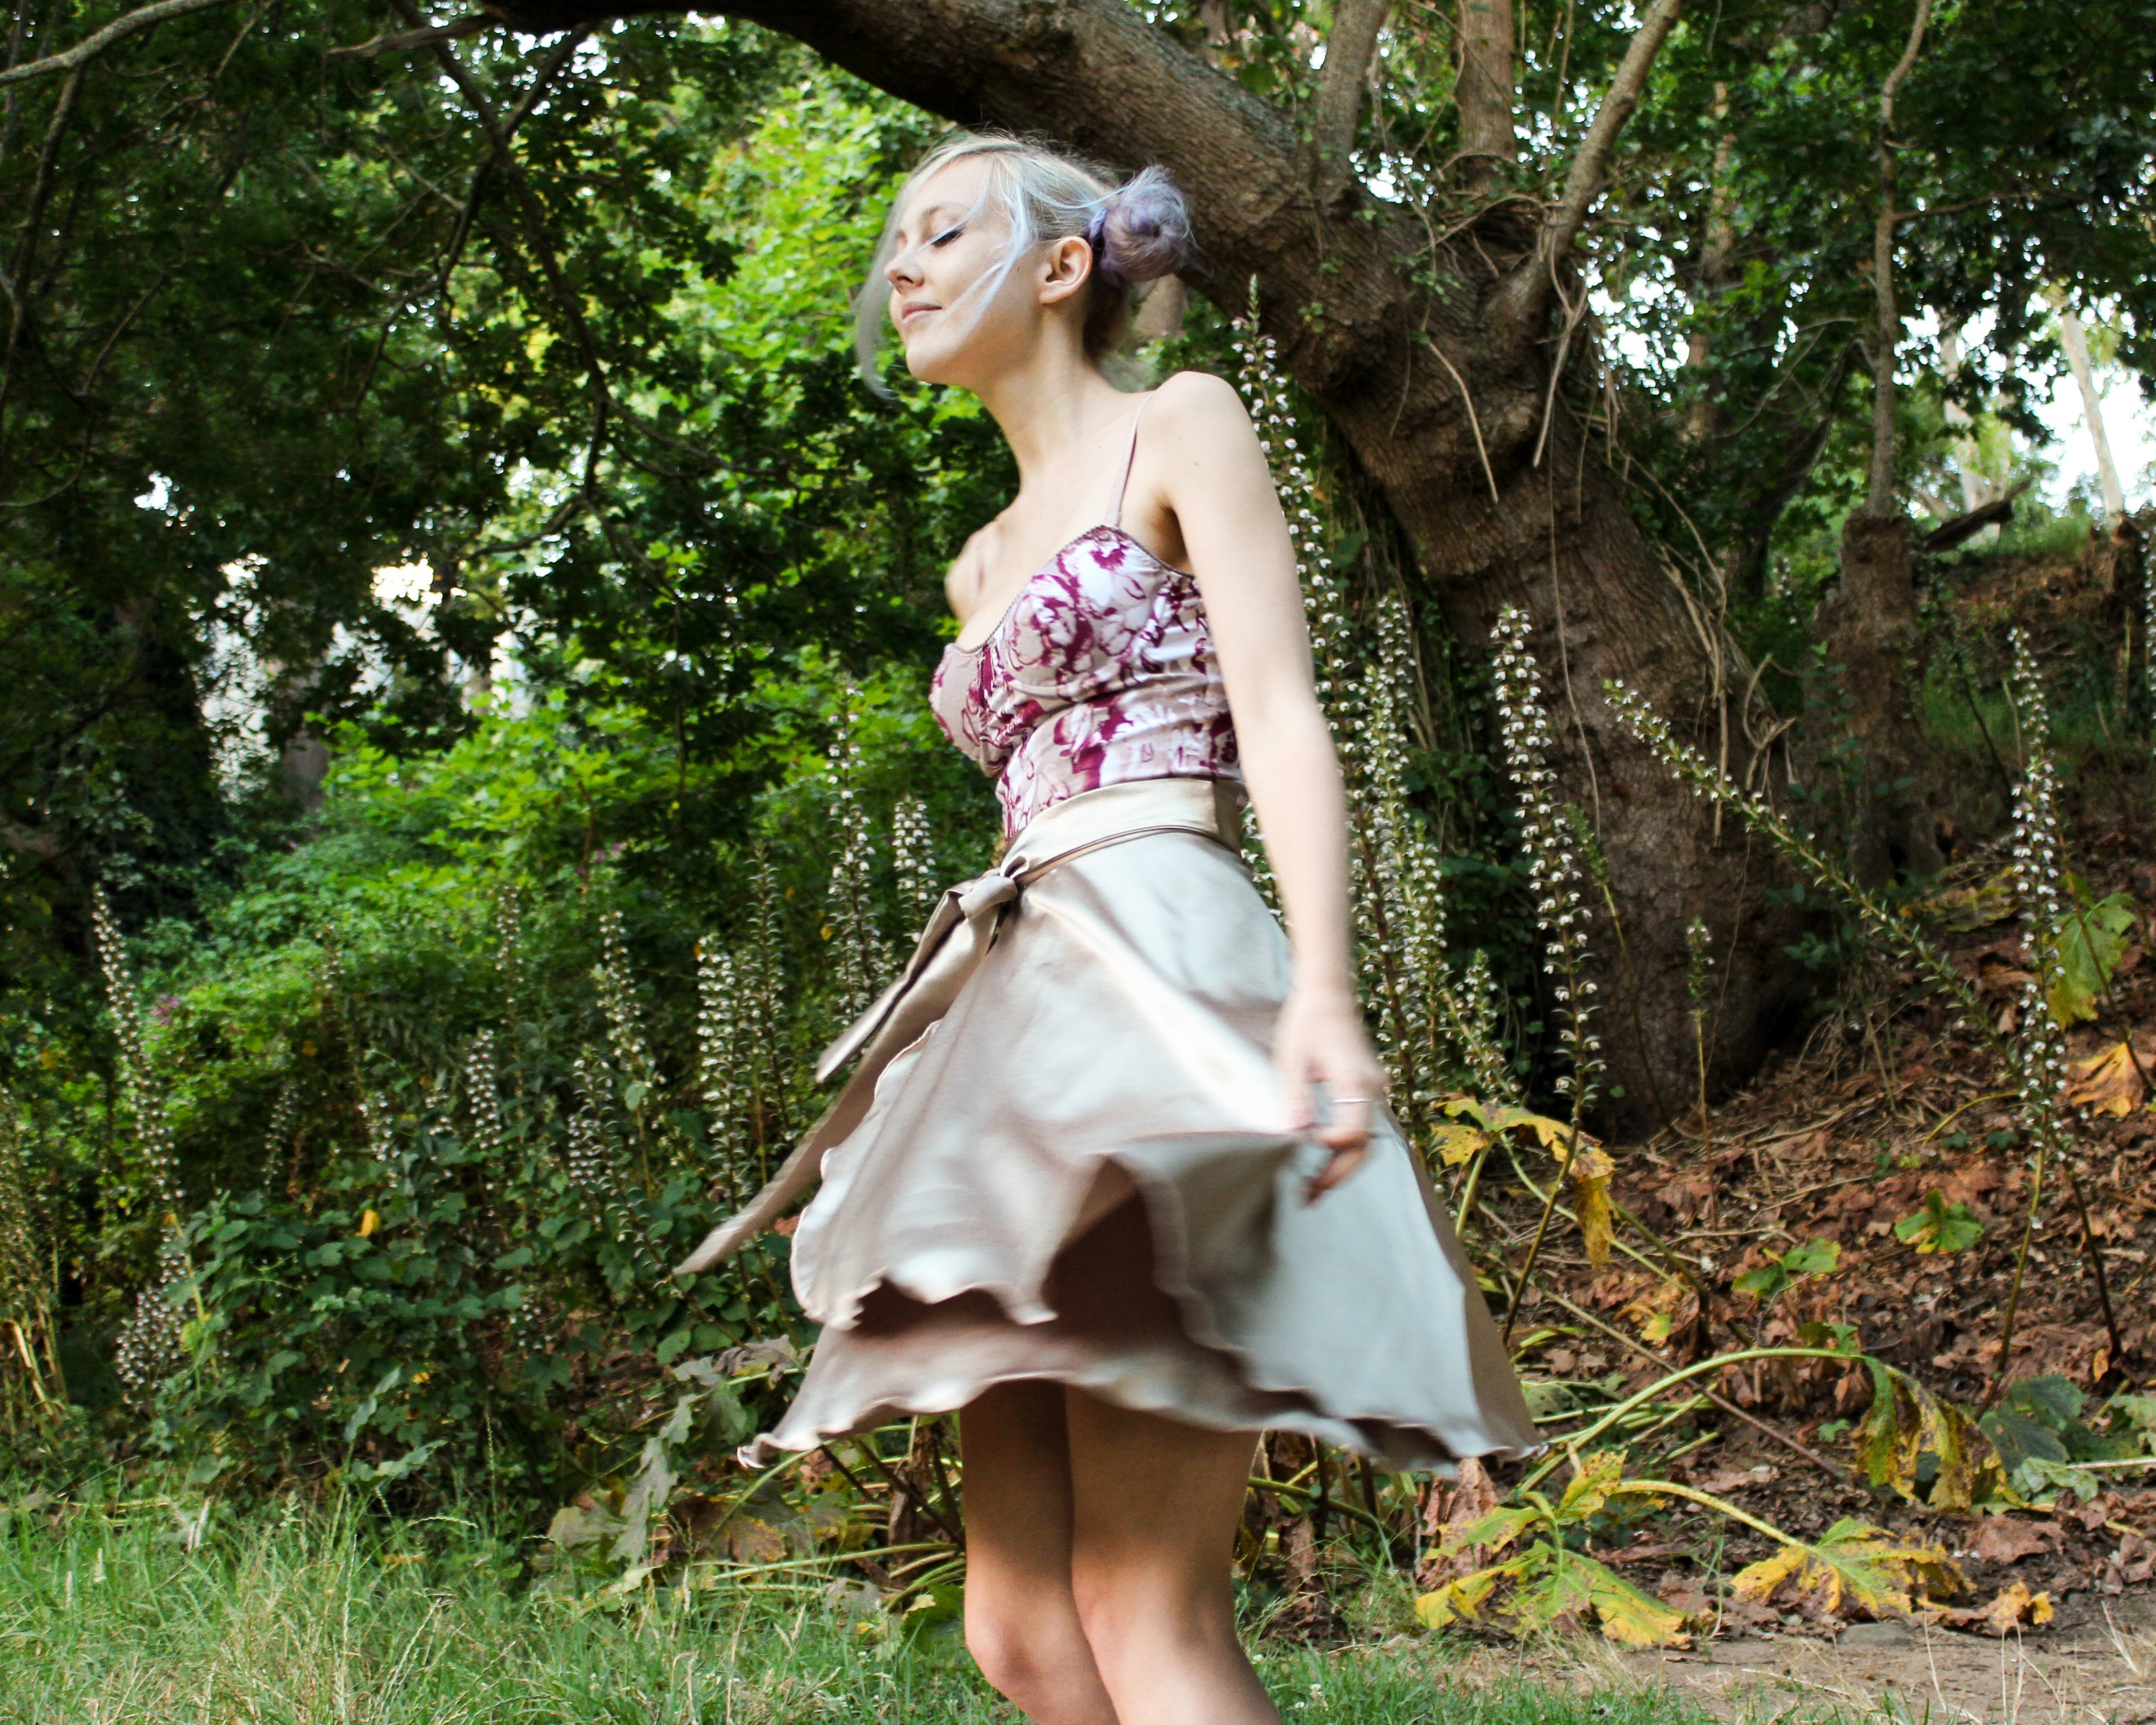 This year is Bernina’s 125th Birthday!
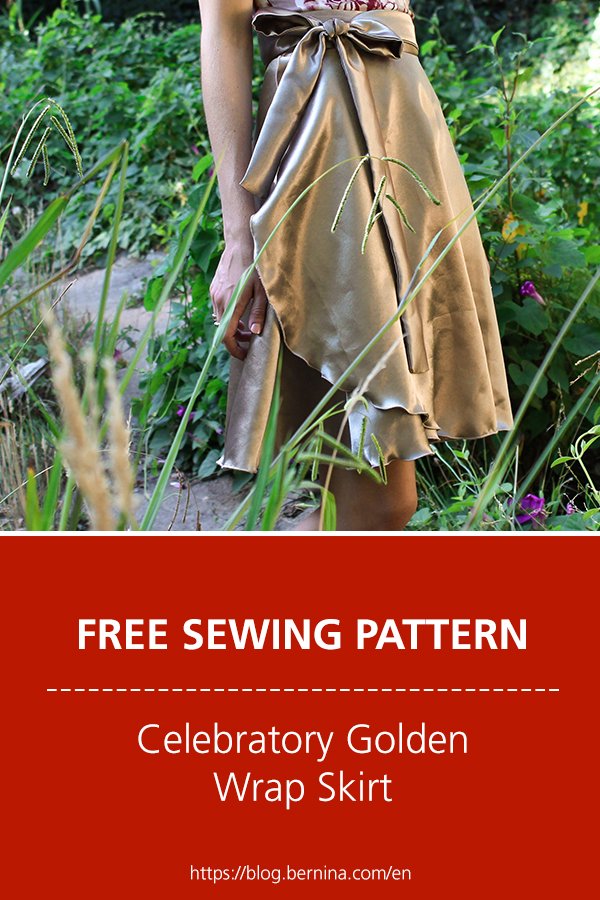
In honour of their Golden Anniversary I am going to show you how to make a celebratory Wrap Skirt.
I believe Wrap Skirts should be a Golden staple in every wardrobe because of their versatility and comfortability!
Due to the lack of structure and fastenings, this skirt will fit you all year round! (Great for those who are hoping to lose some holiday weight…) They are also flattering on every figure.
Needed
- Pattern (Refer to Pattern Step 1)
- Fabric (Refer to Tips at the end of the article)
- Fabric Scissors
- Pins
- 4 matching threads
- Overlocker
- Sewing Machine
- Sewing foot #5 (Blindstitch foot)
Steps
Pattern
1. You may use any basic A-line or Flared Skirt Pattern.
I used the Prom Dress Pattern by The Great British Sewing Bee.
(Full instructions for the full Prom Dress are found in The Sewing Bee book.)
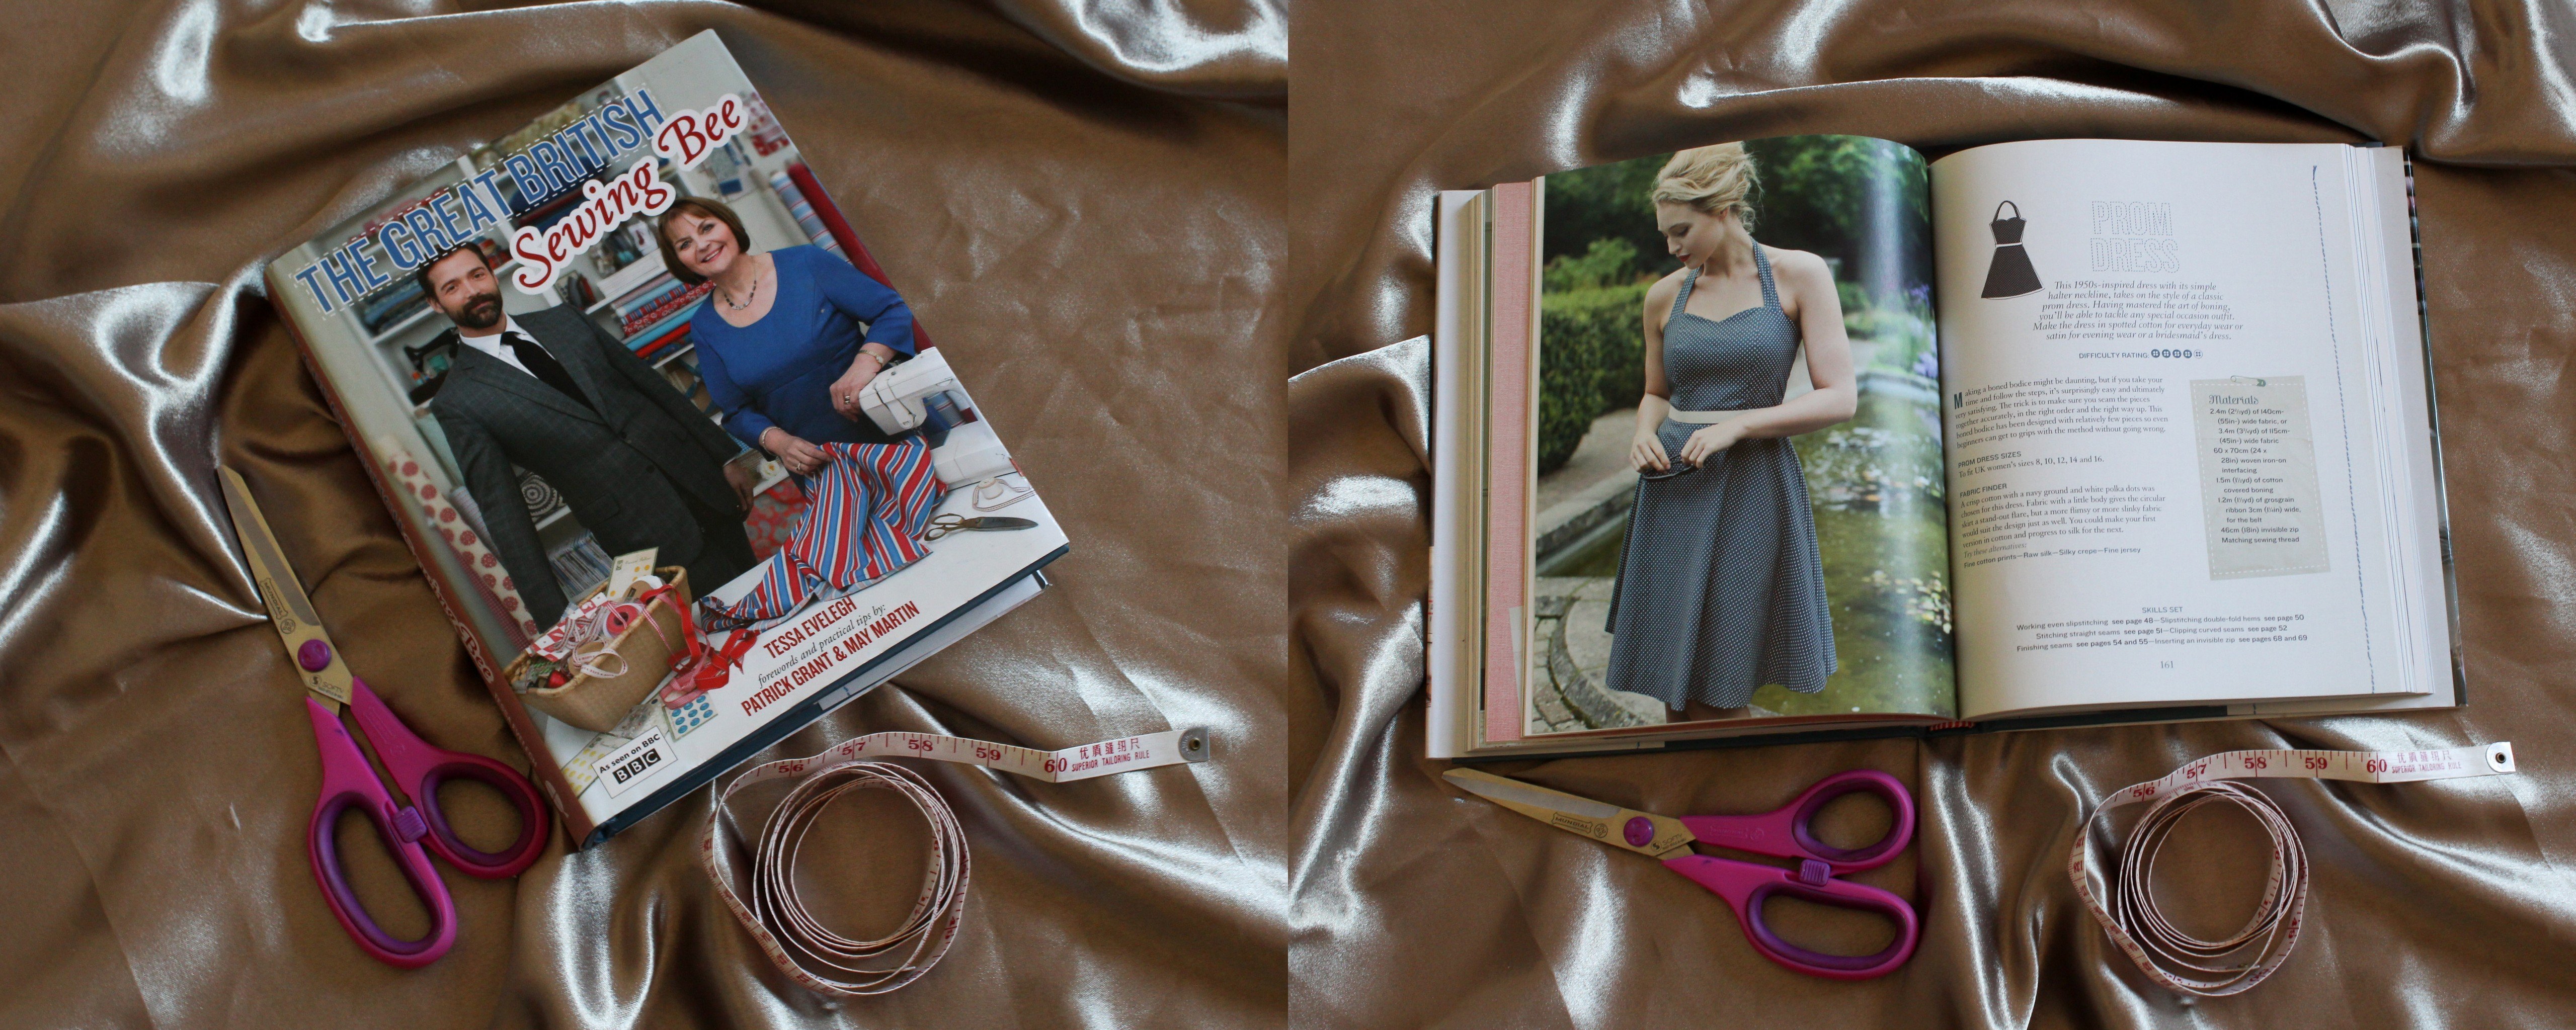
The pattern can be downloaded for free: Sewing Bee Patterns
As I only needed the skirt part of the pattern I only printed these pages:
1-3; 6-9 and 11-16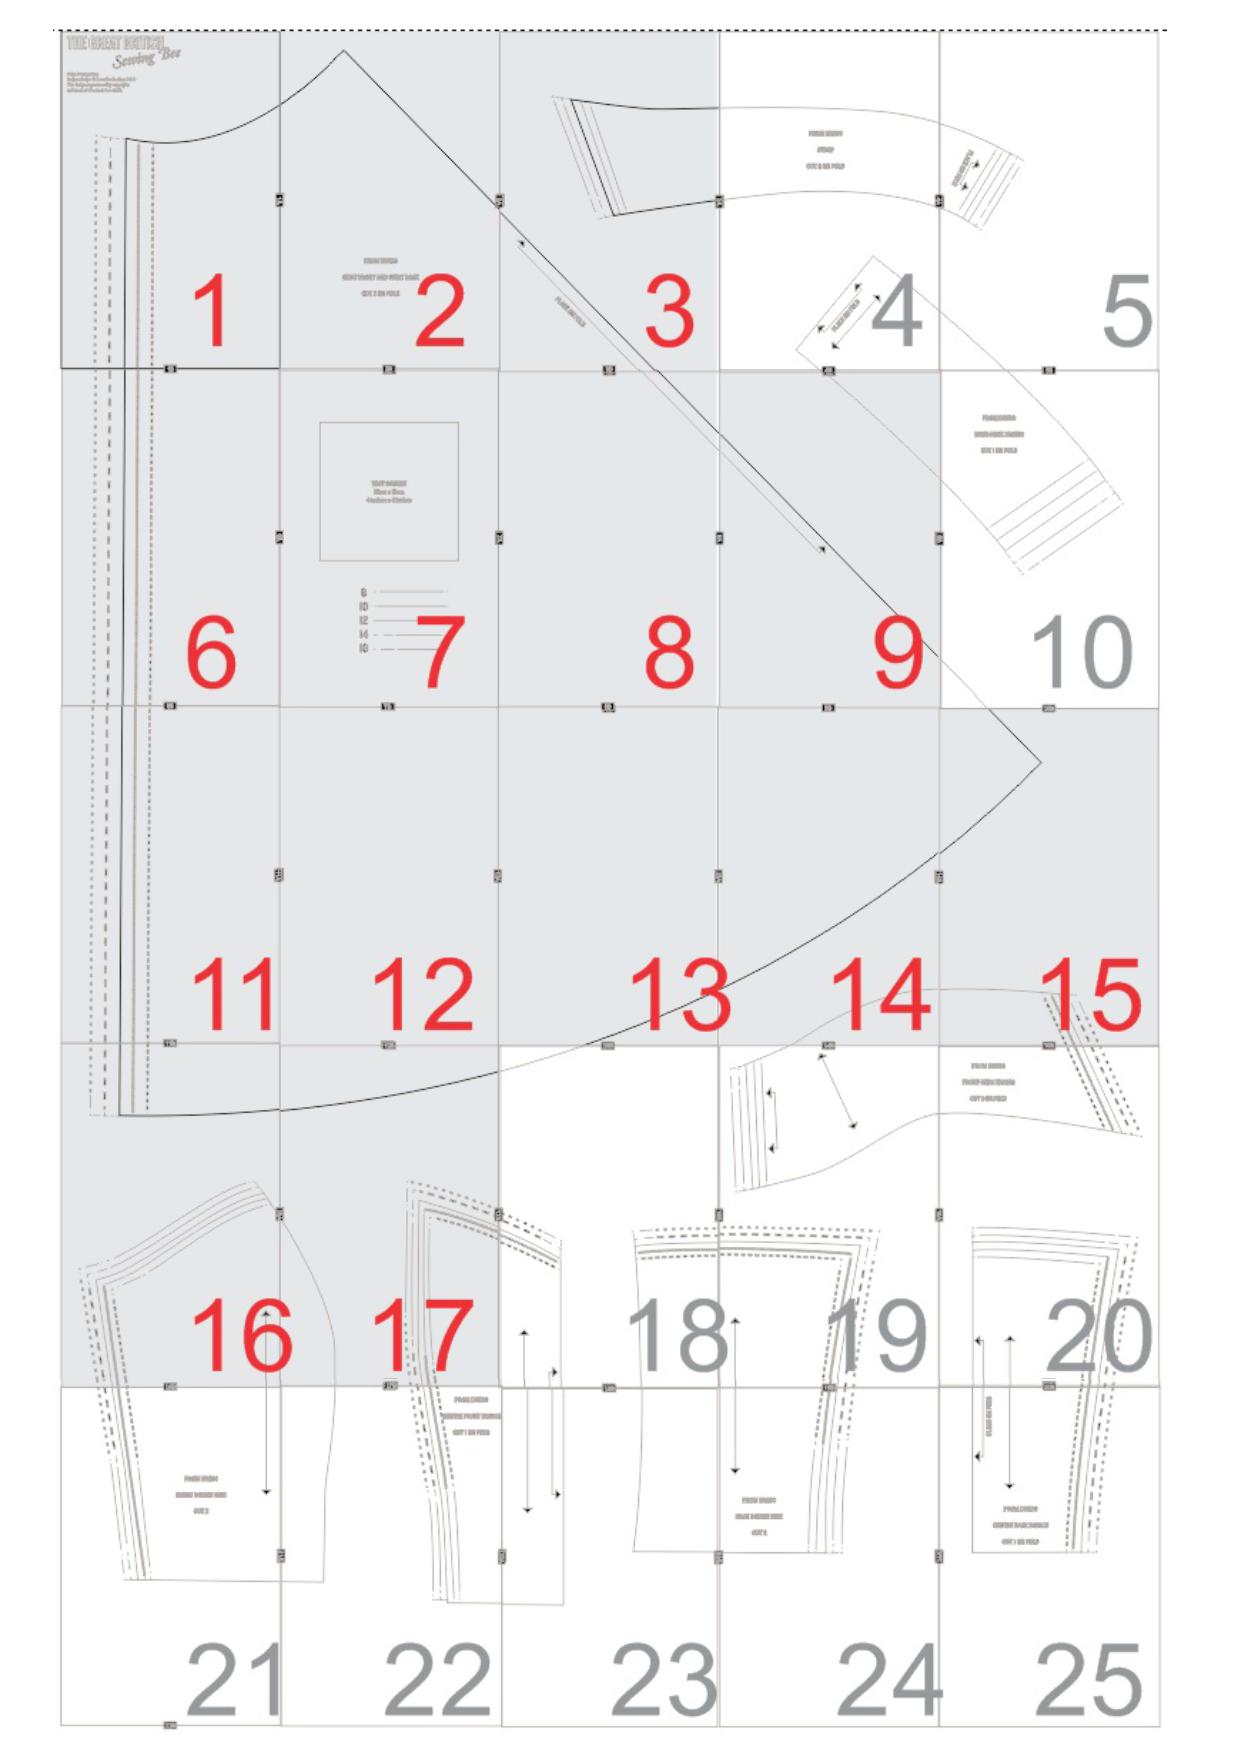
2. Cut out the pattern in your size:
Here is the size chart for The Sewing Bee Pattern

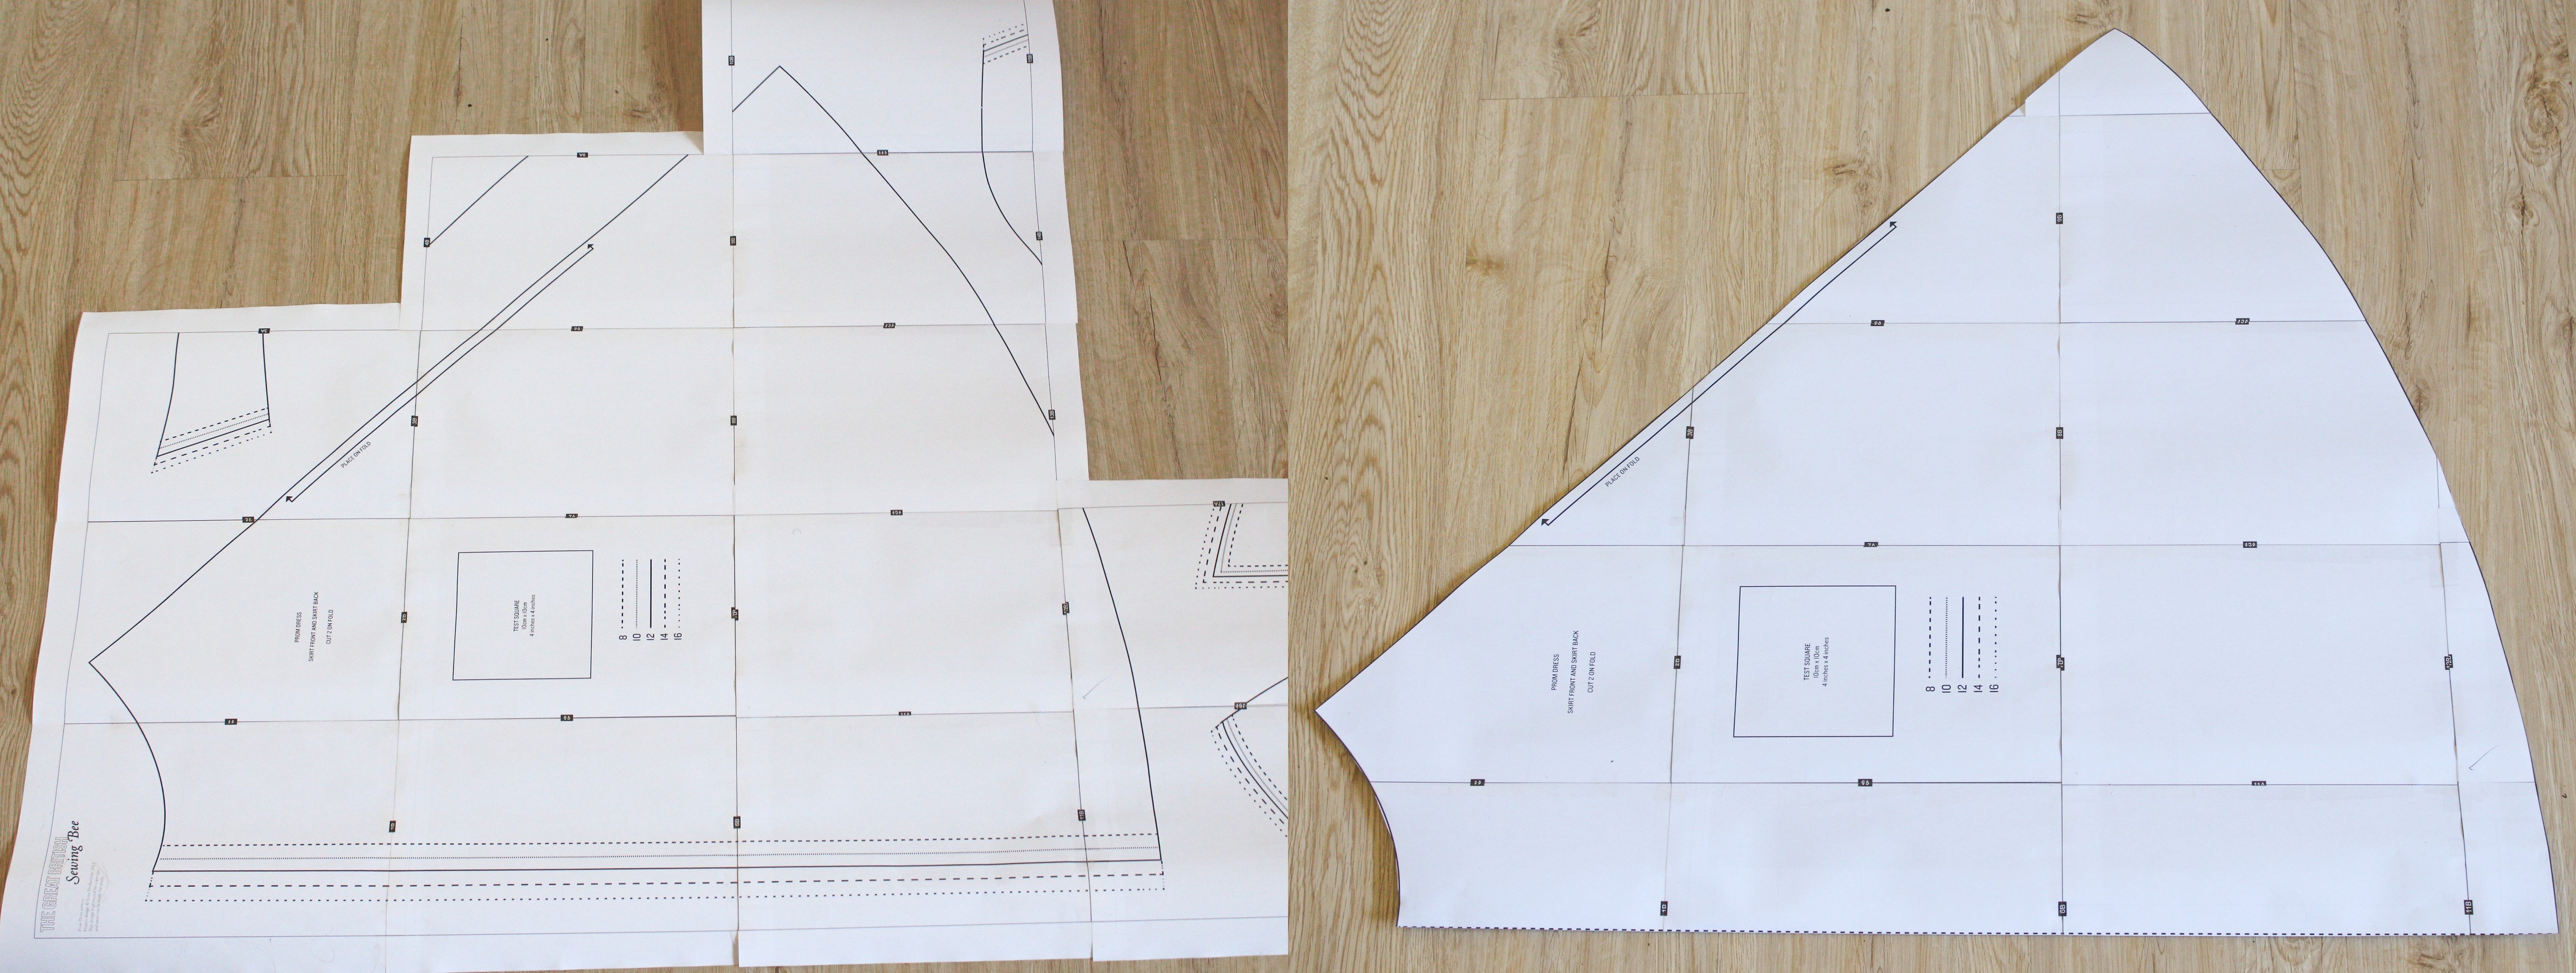
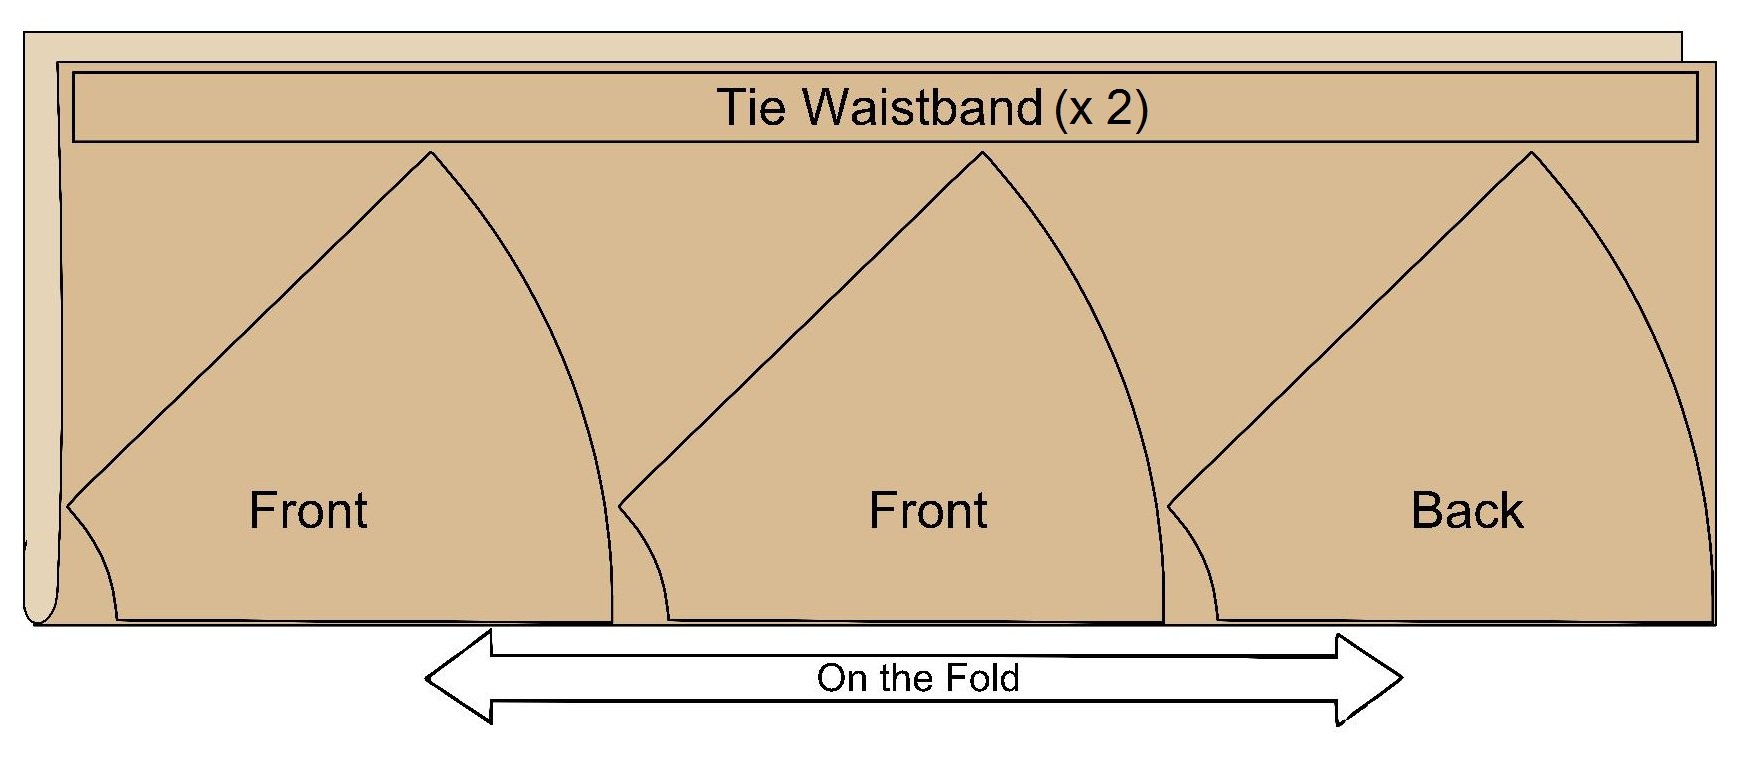
3. You will essentially have 3 pattern pieces for the Skirt:
-1 Back to be cut on the Fold, no Centre Back seam.
-2 Fronts, cut the same Front piece twice.
If you are using The Sewing Bee pattern you will cut the 1 Pattern piece 3 times on the Fold.
4. For the Tie Waistband I made the width 10cm (Once folded in half and sewn to the Skirt, the Waistband will measure roughly 4cm.)
For the length multiply your waist measurement by 5.
Eg. My waist measurement is 59cm, so 59cm x 5 = 295cm
It feels like a waste to buy 3m of fabric just to accommodate the length of the tie when I only needed 150cm (Skirt length 50cm x 3) for the Skirt pieces.
I would recommend cutting 2 Tie Waistbands and joining them. This will be the middle of the Waistband.
Eg. 2 x 147.5cm = 295cm length Tie Waistband
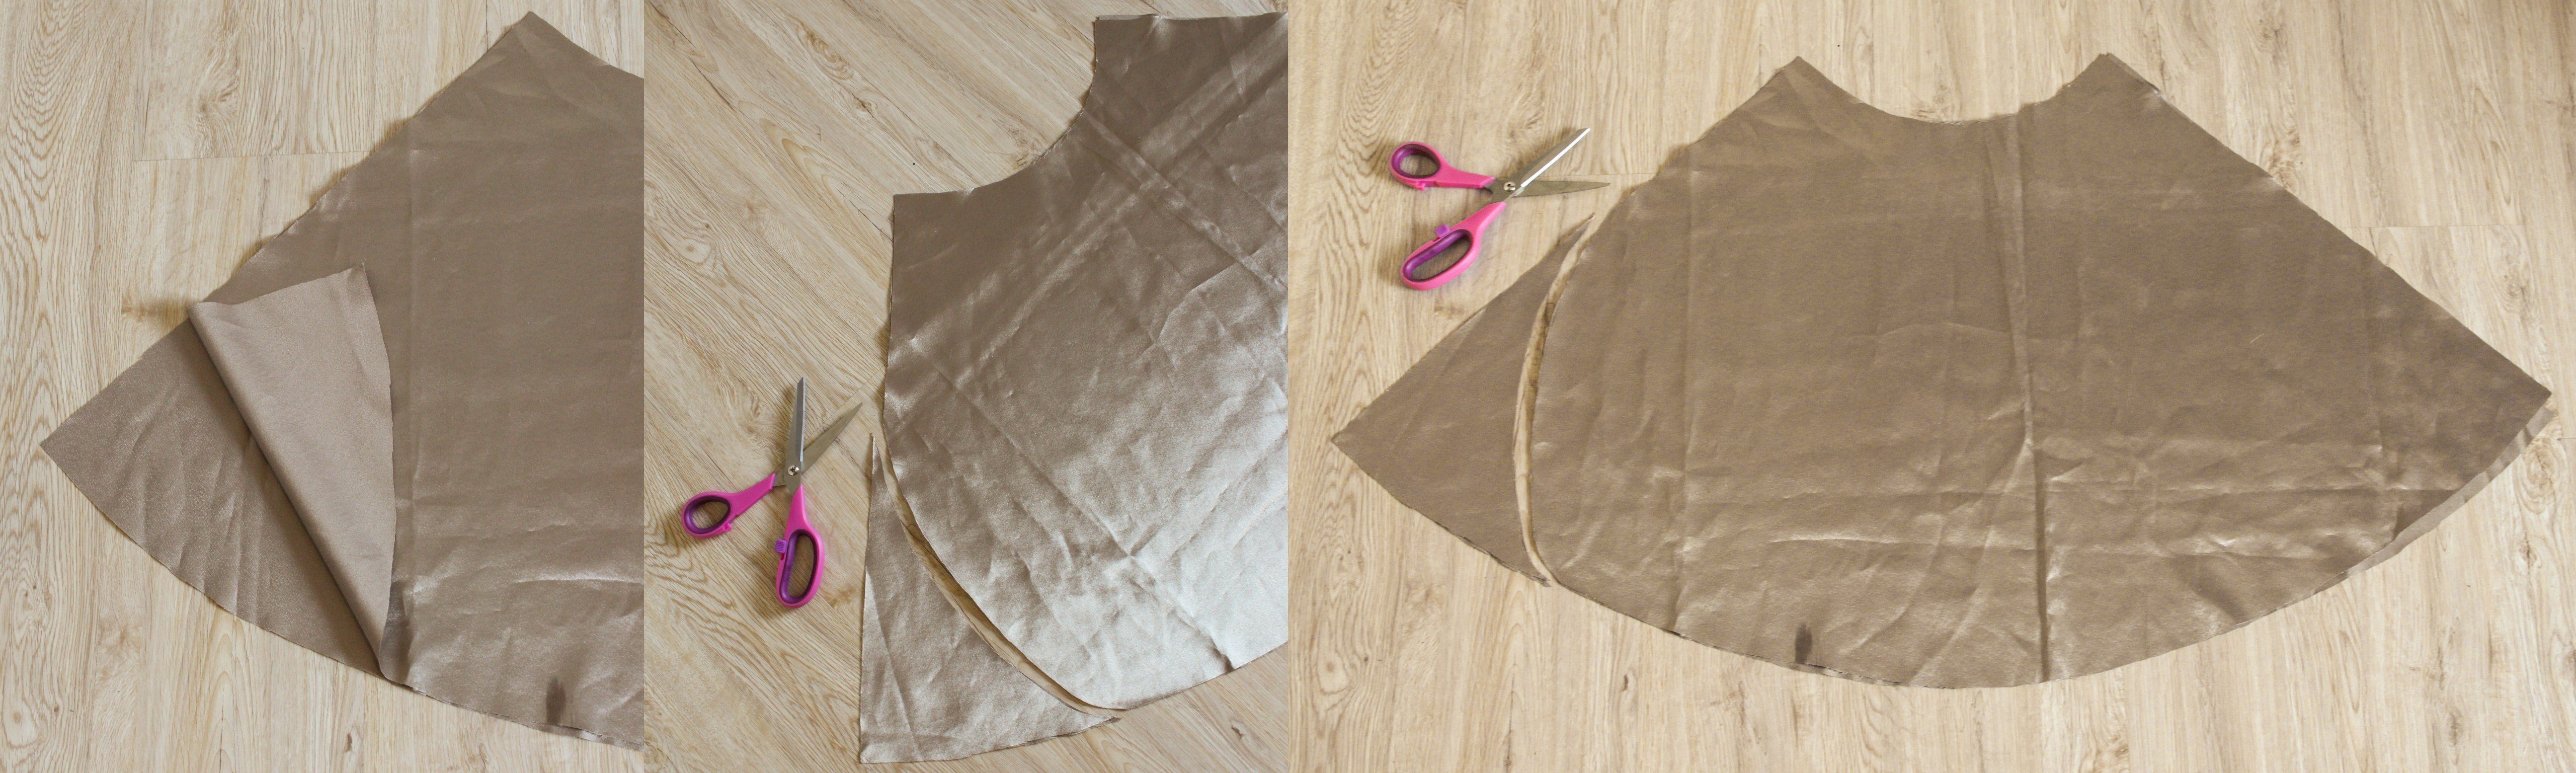
5. Layout your pattern pieces and cut out.

6. Optional: Place the 2 Front pieces RS together and gently curve the 1 corner.
Sewing
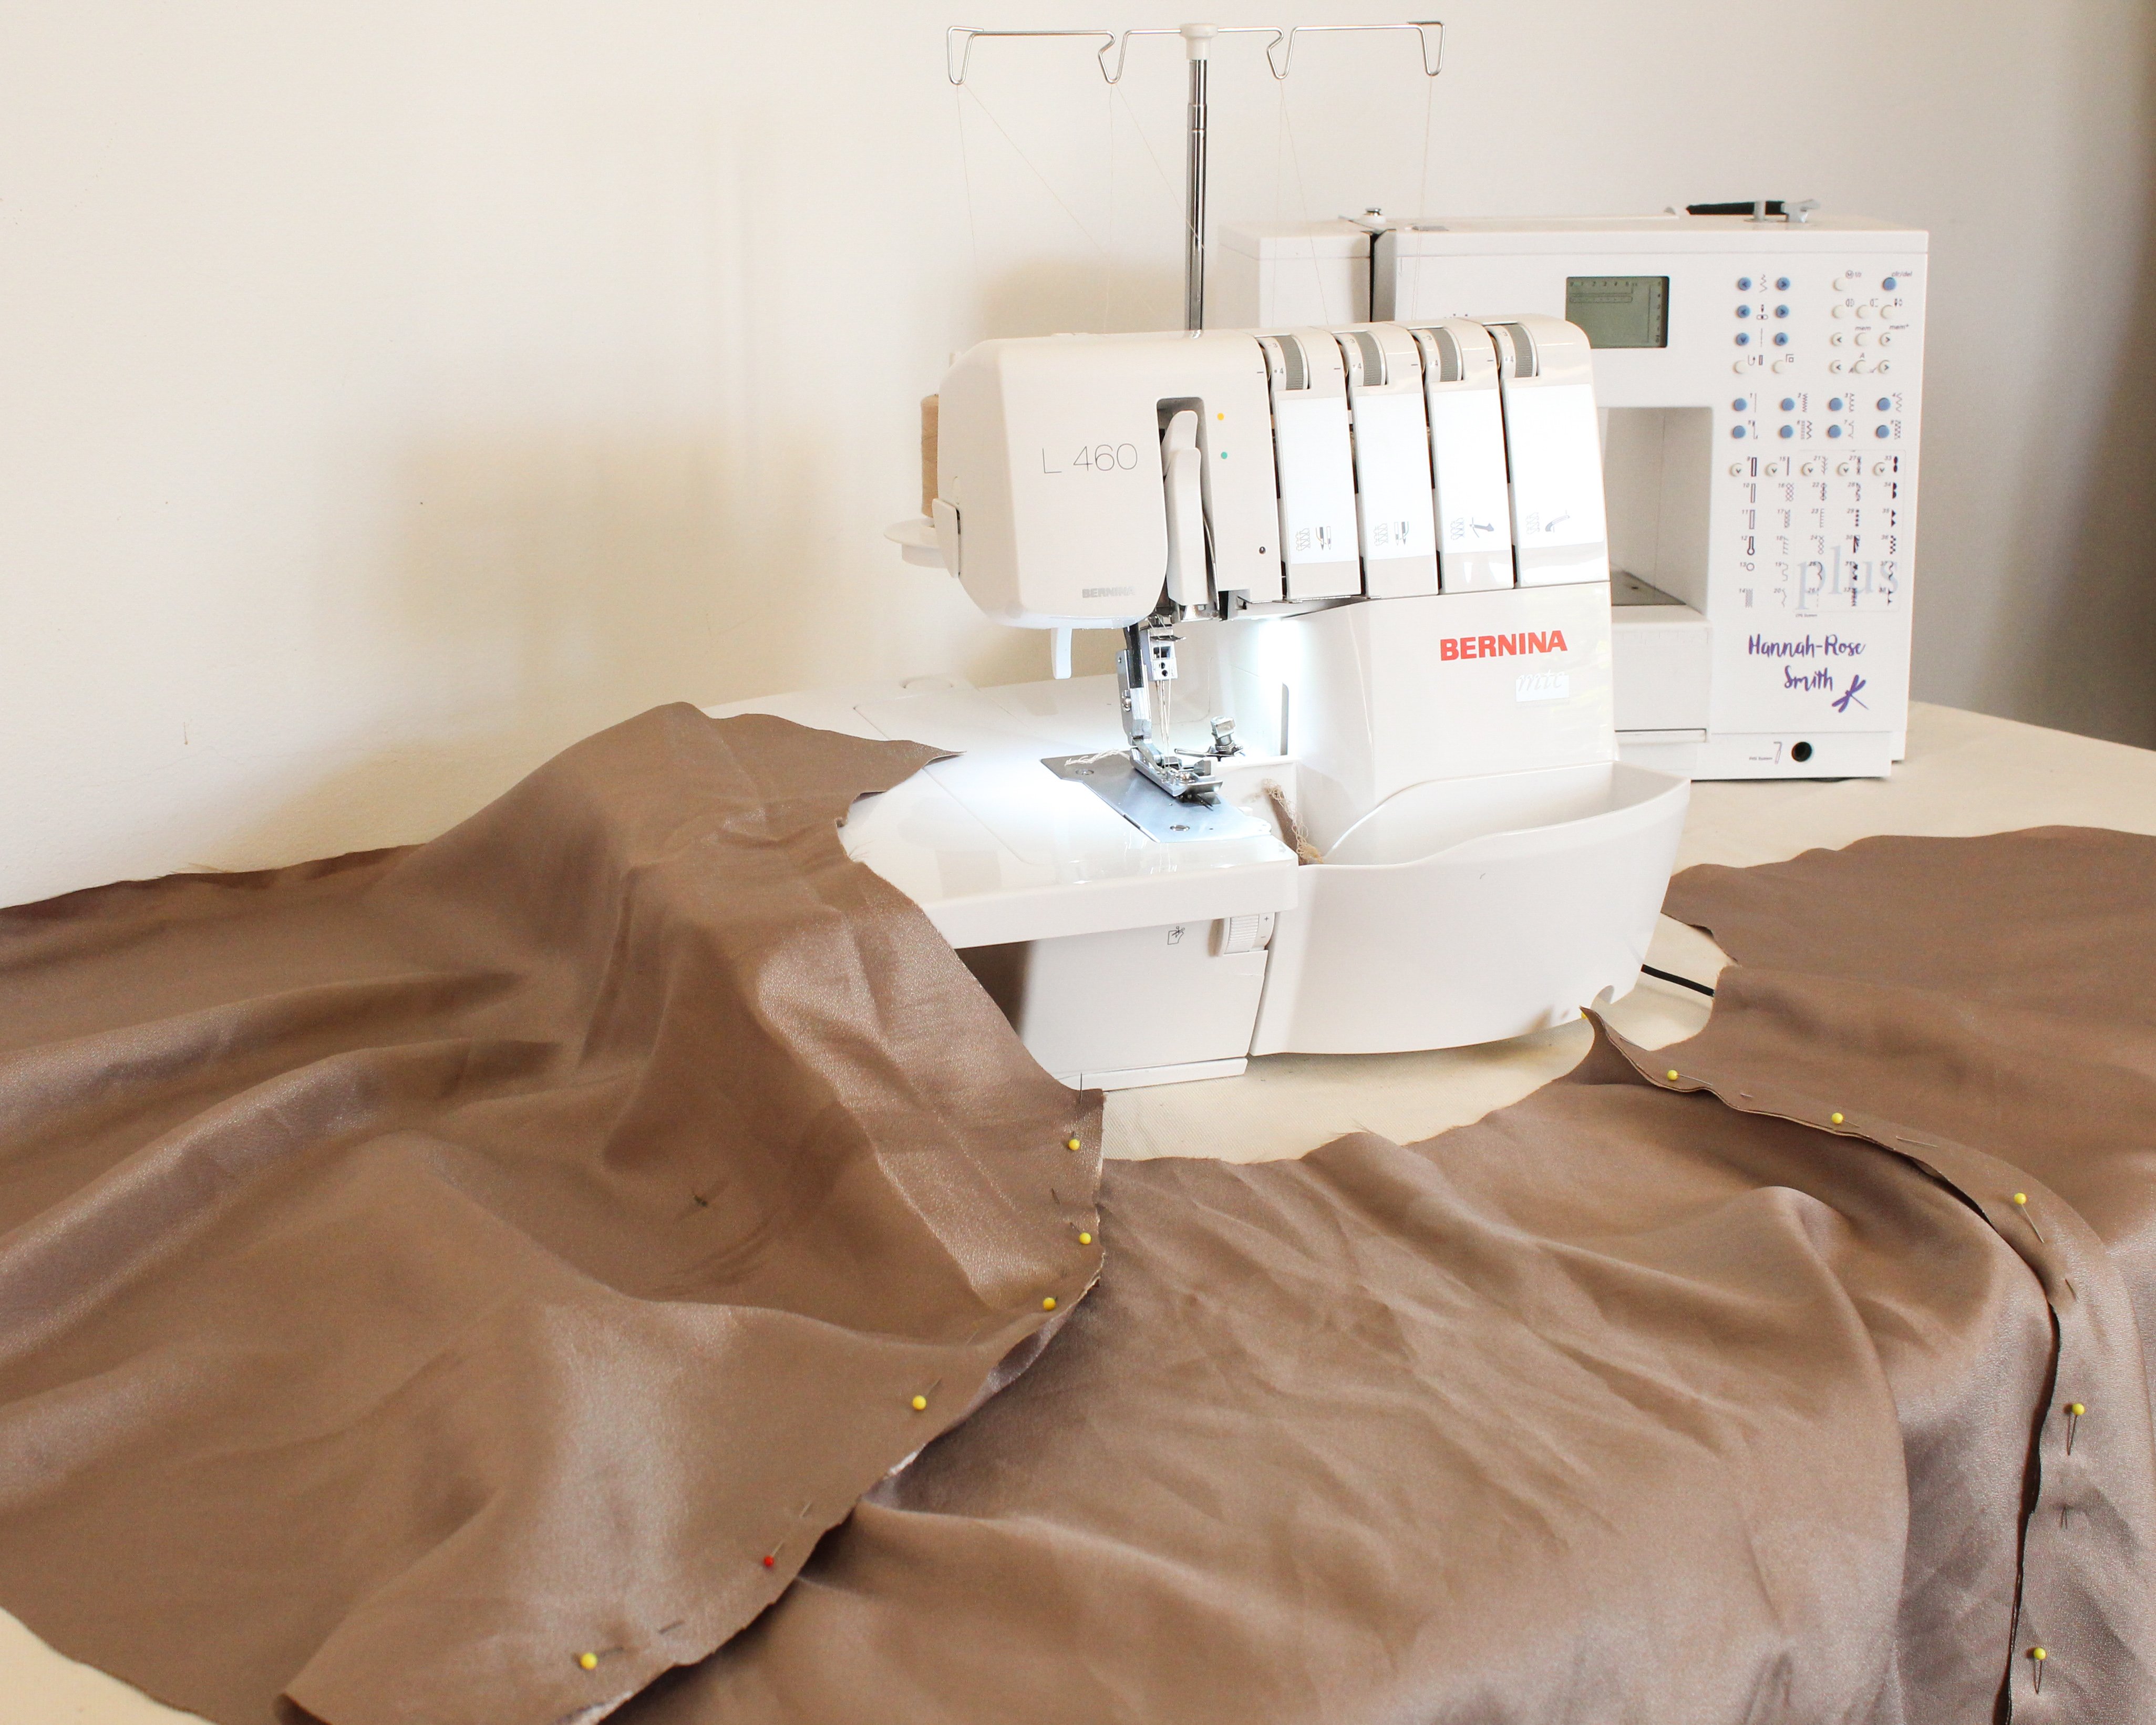
- Pin the Side seams together.
Join the respective side seams of the Front pieces to the Back side seams.
- Set up your Overlocker for the 4-Thread Flat Stitch and overlock the side seams.

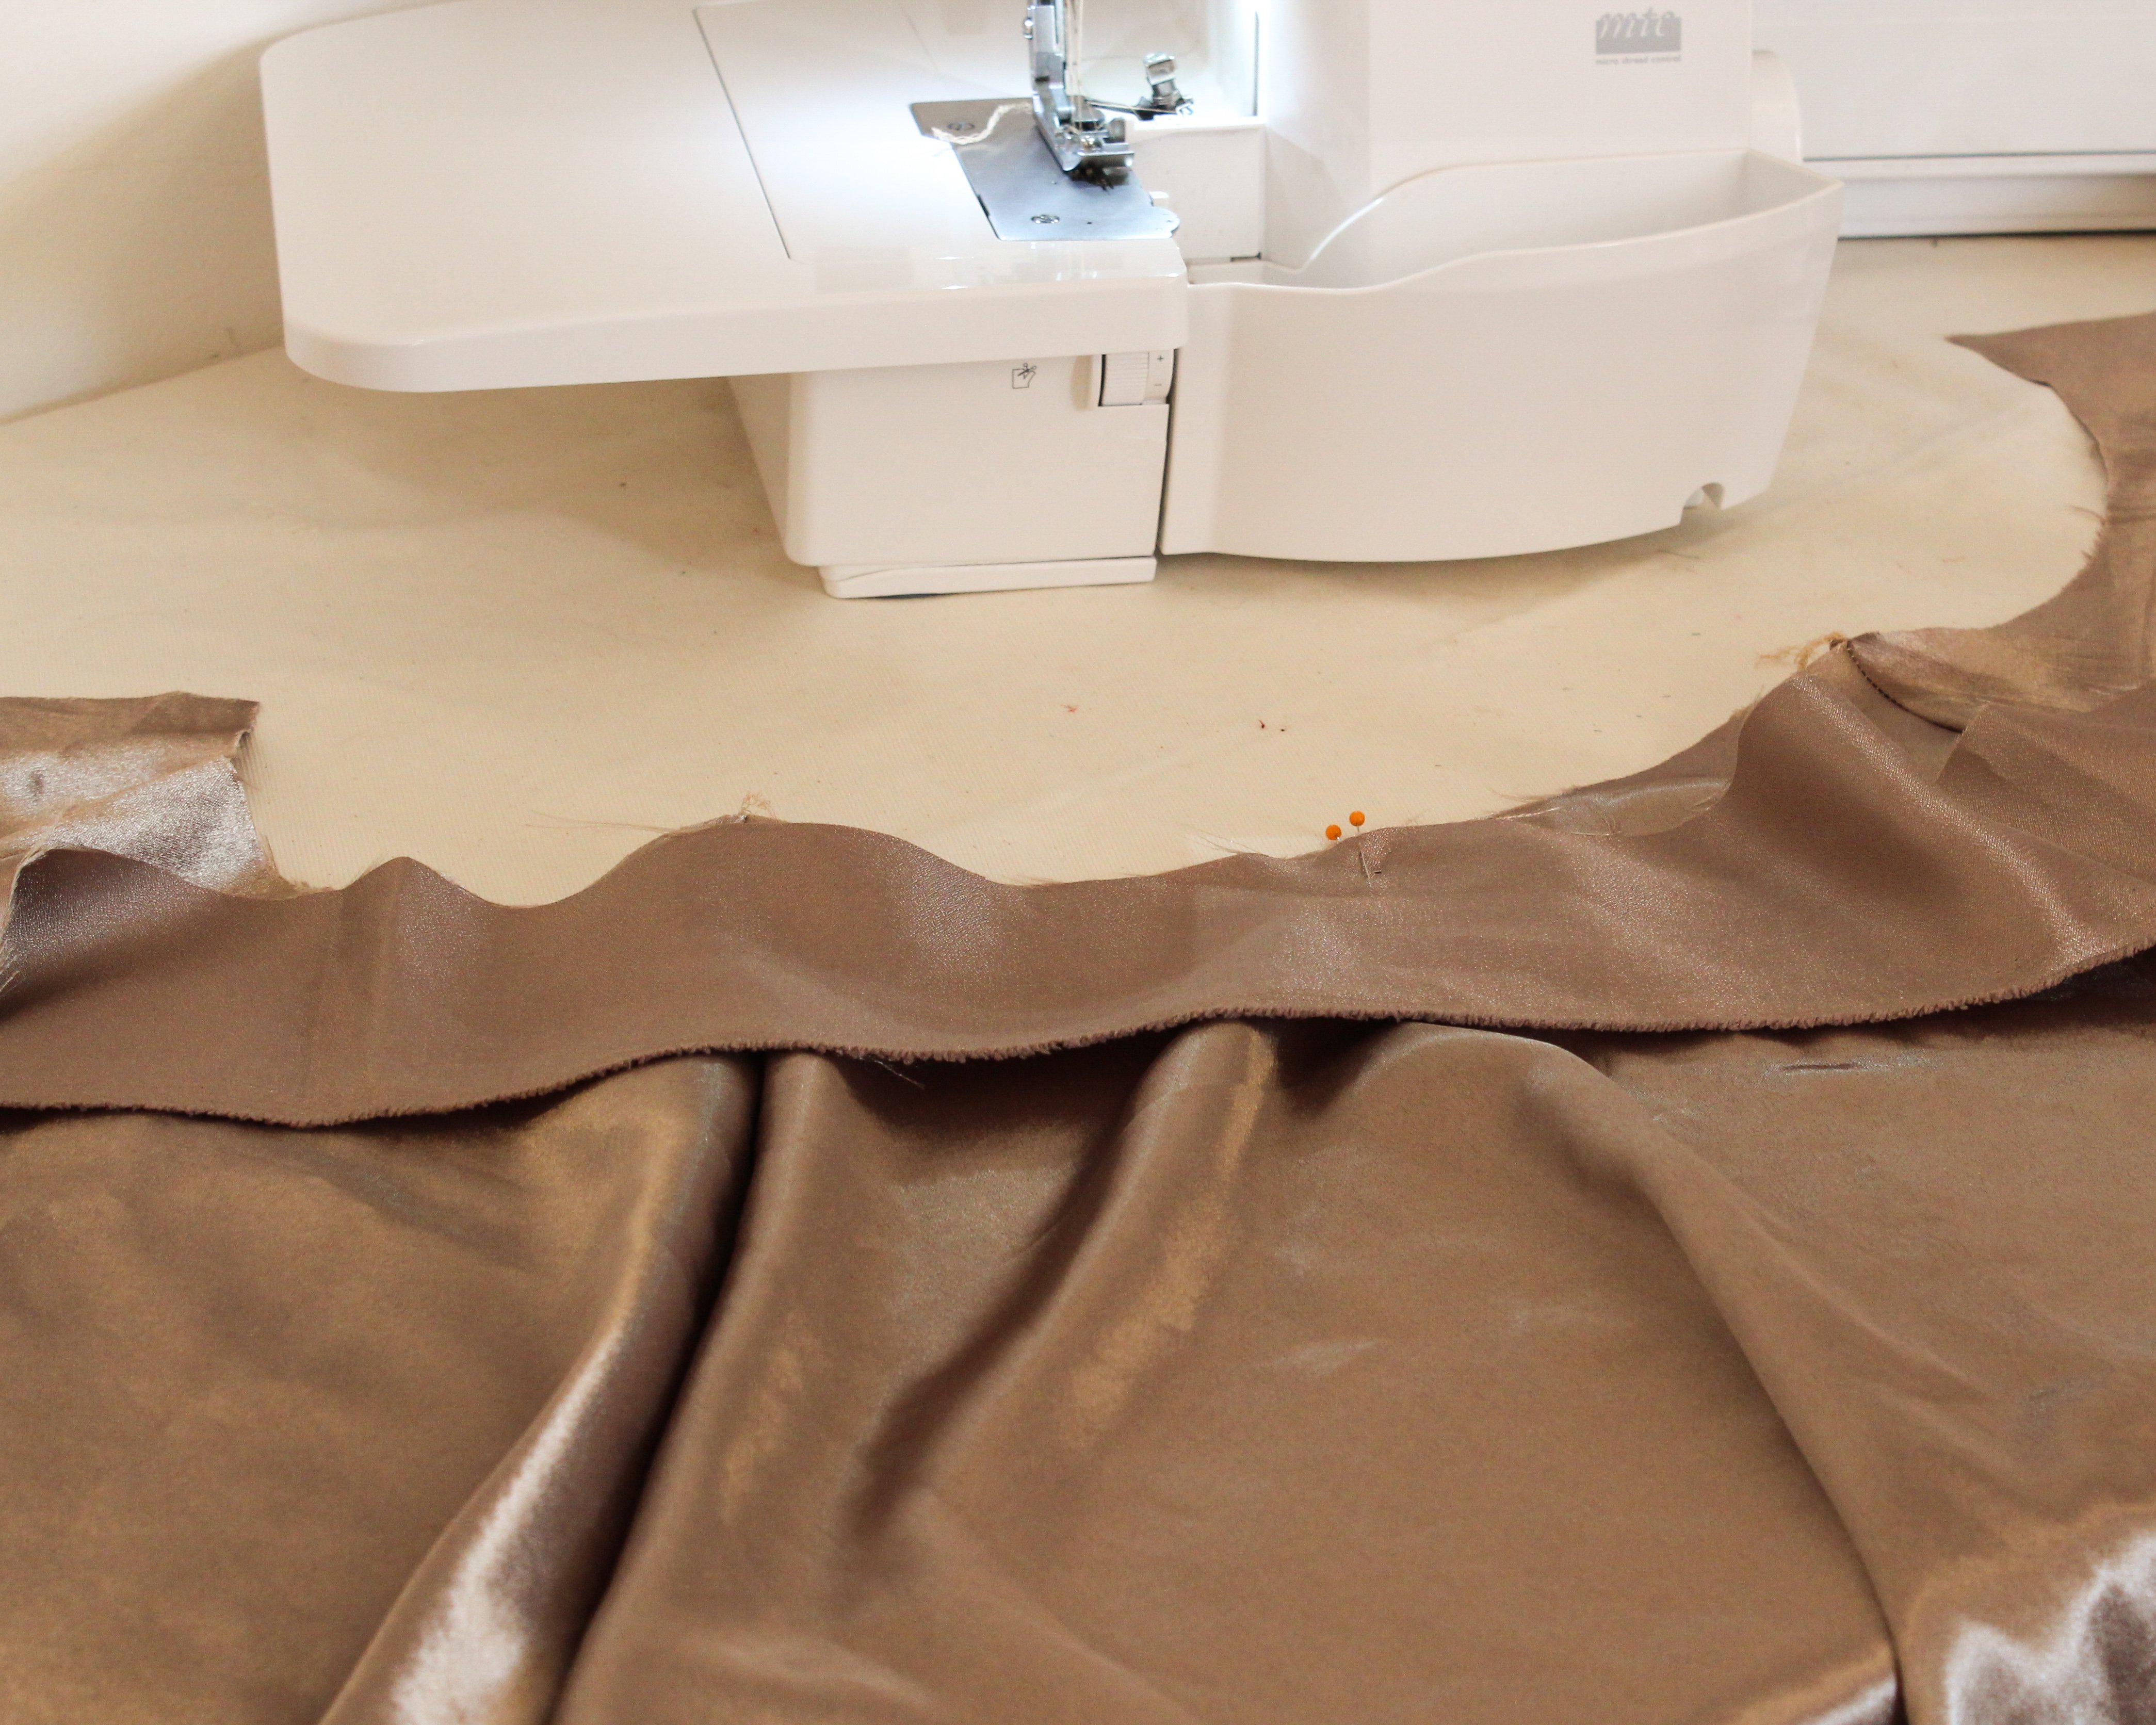
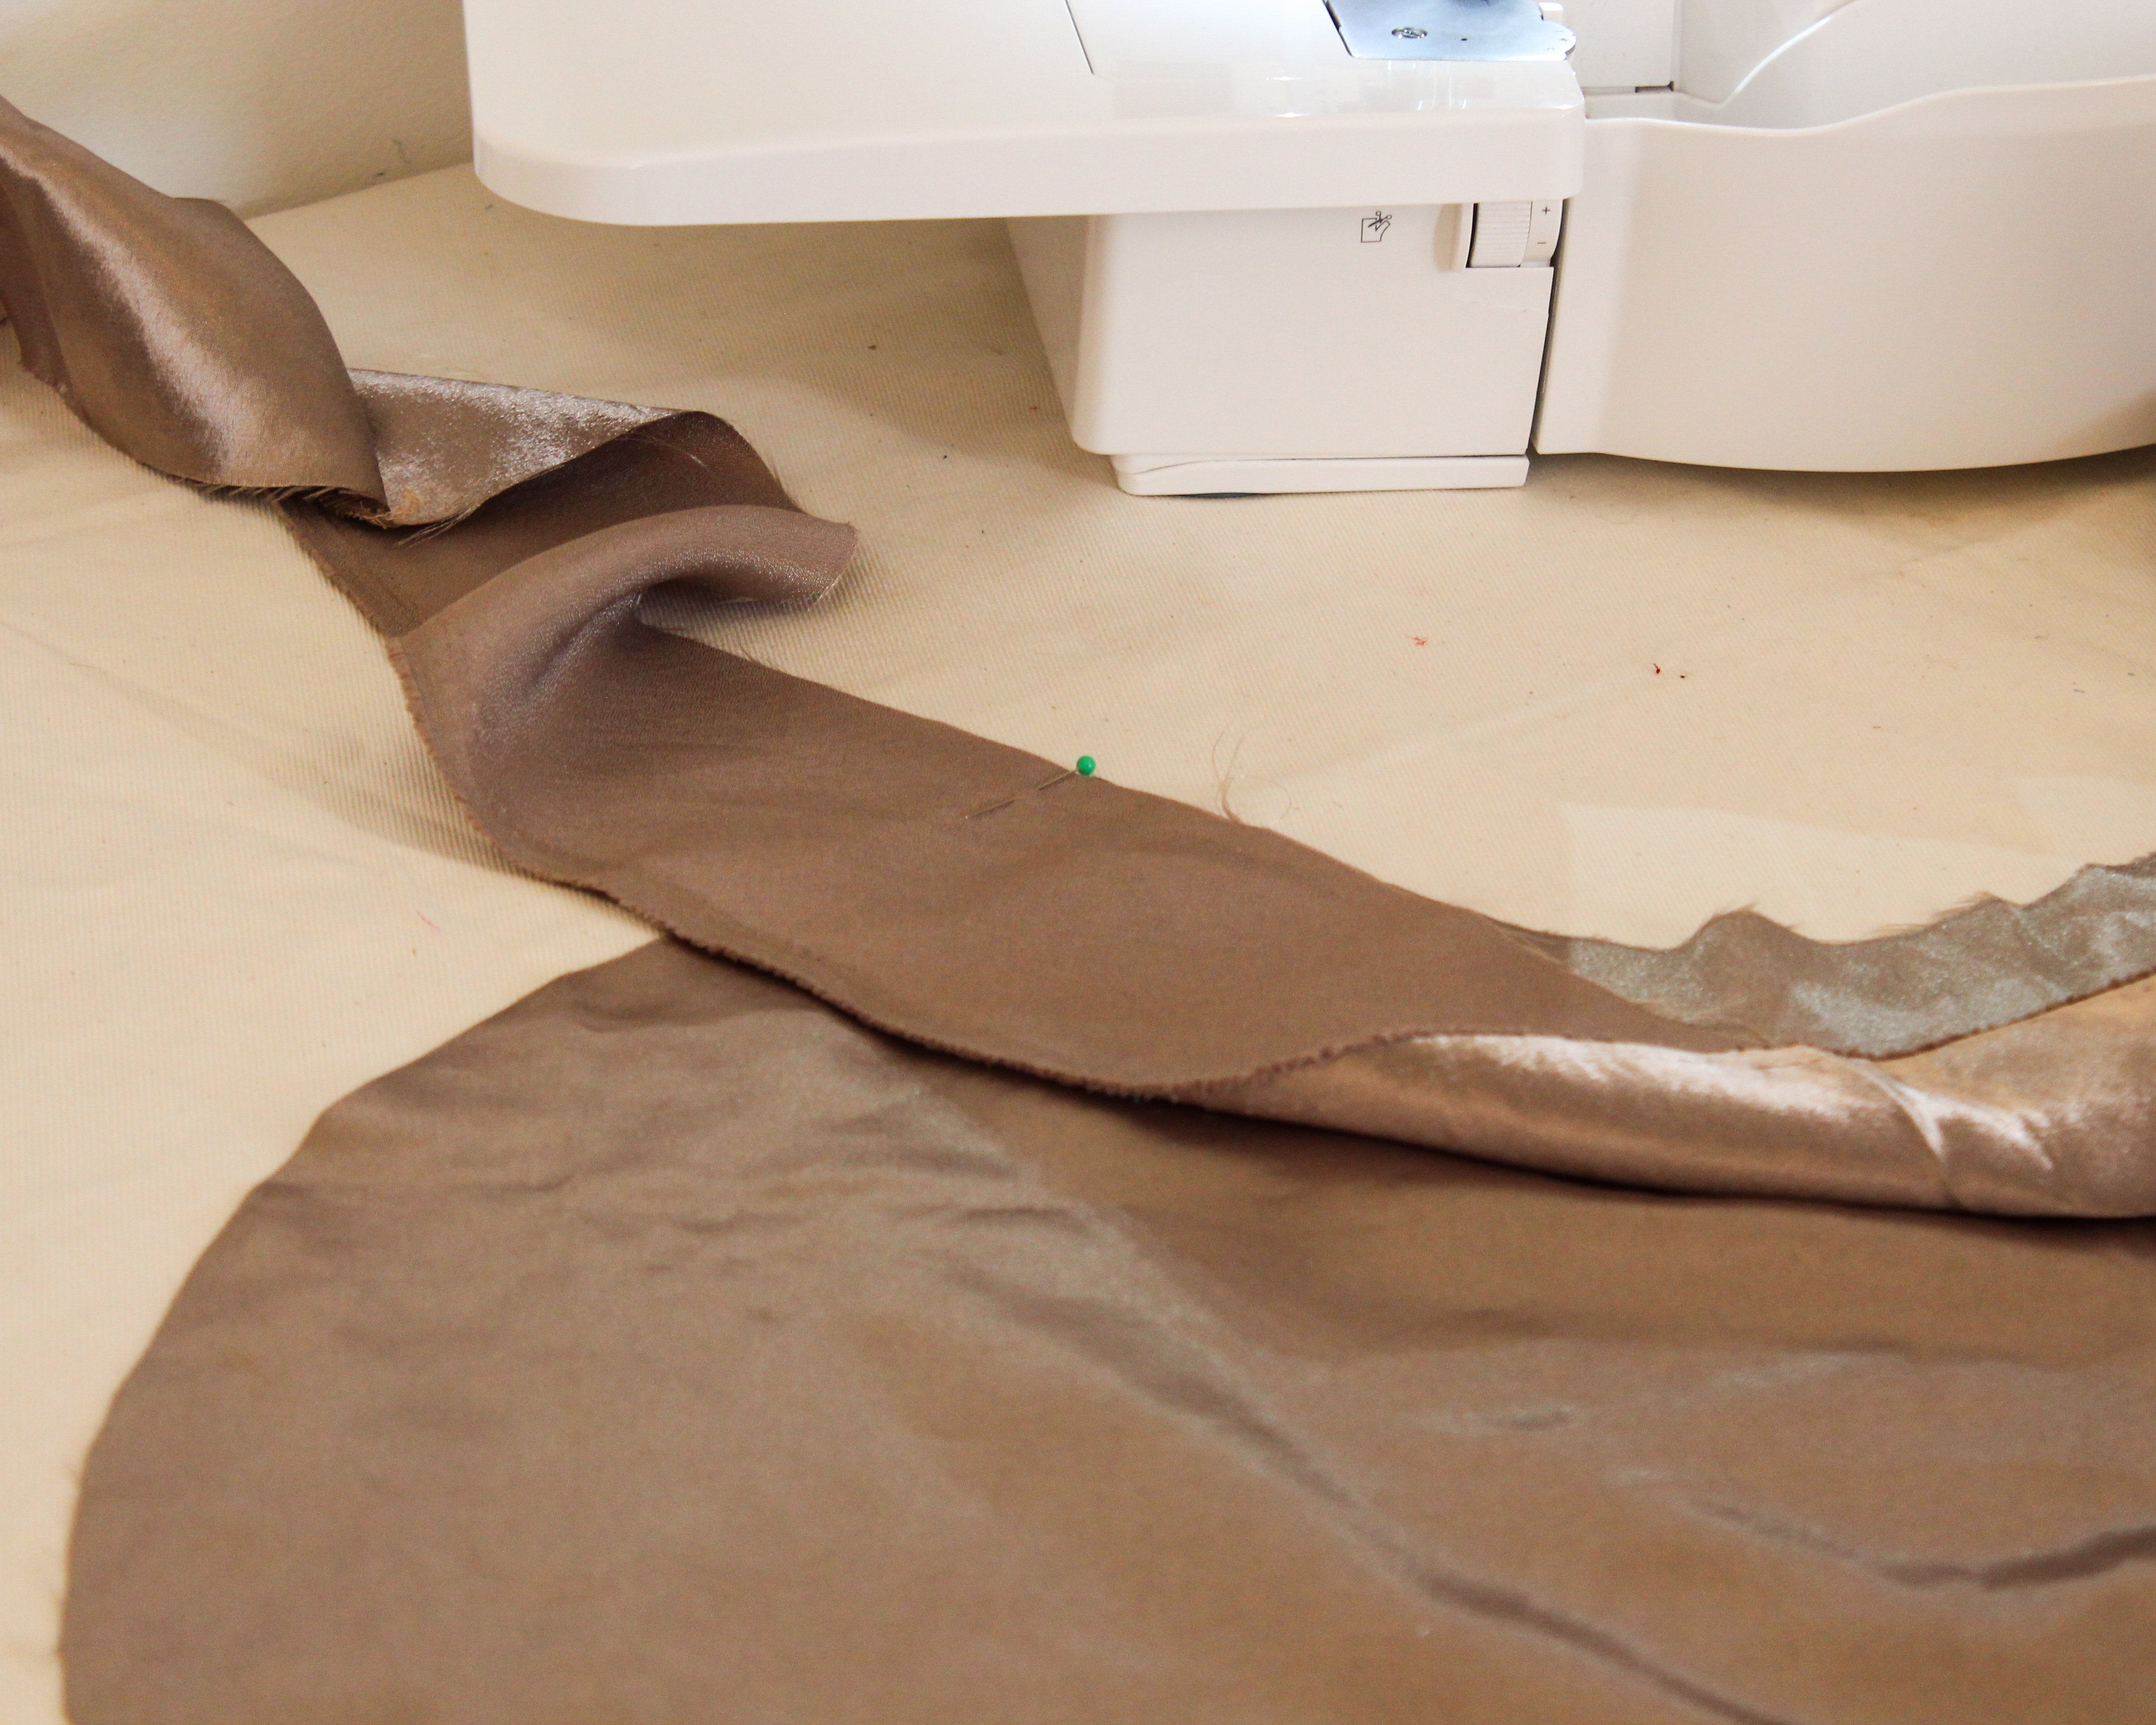
- Set up your Overlocker for the 3-Thread Rolled Hem.
- Overlock the Outer edge of the Skirt.

- Match the middle of the Tie Waistband to the middle of the Back. Make a notch.

- Make a notch on the Tie Waistband where the Front of the Skirt ends.
Do the same for the other Front.
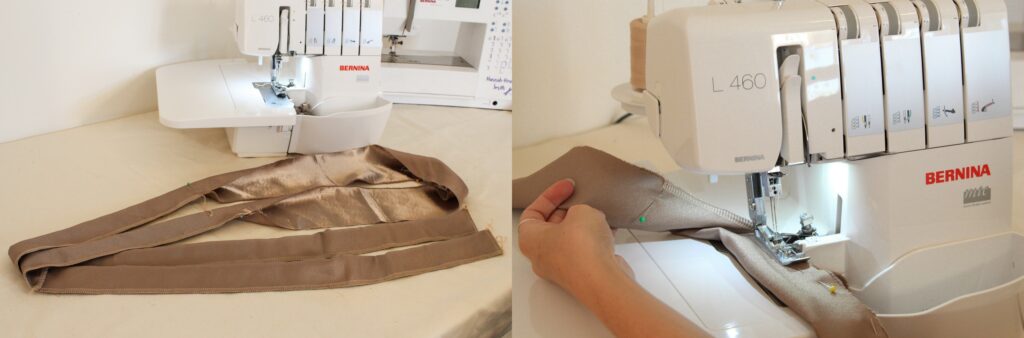
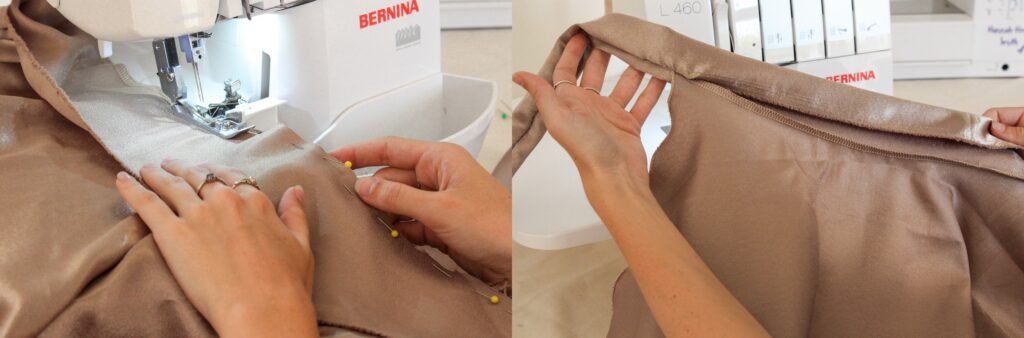
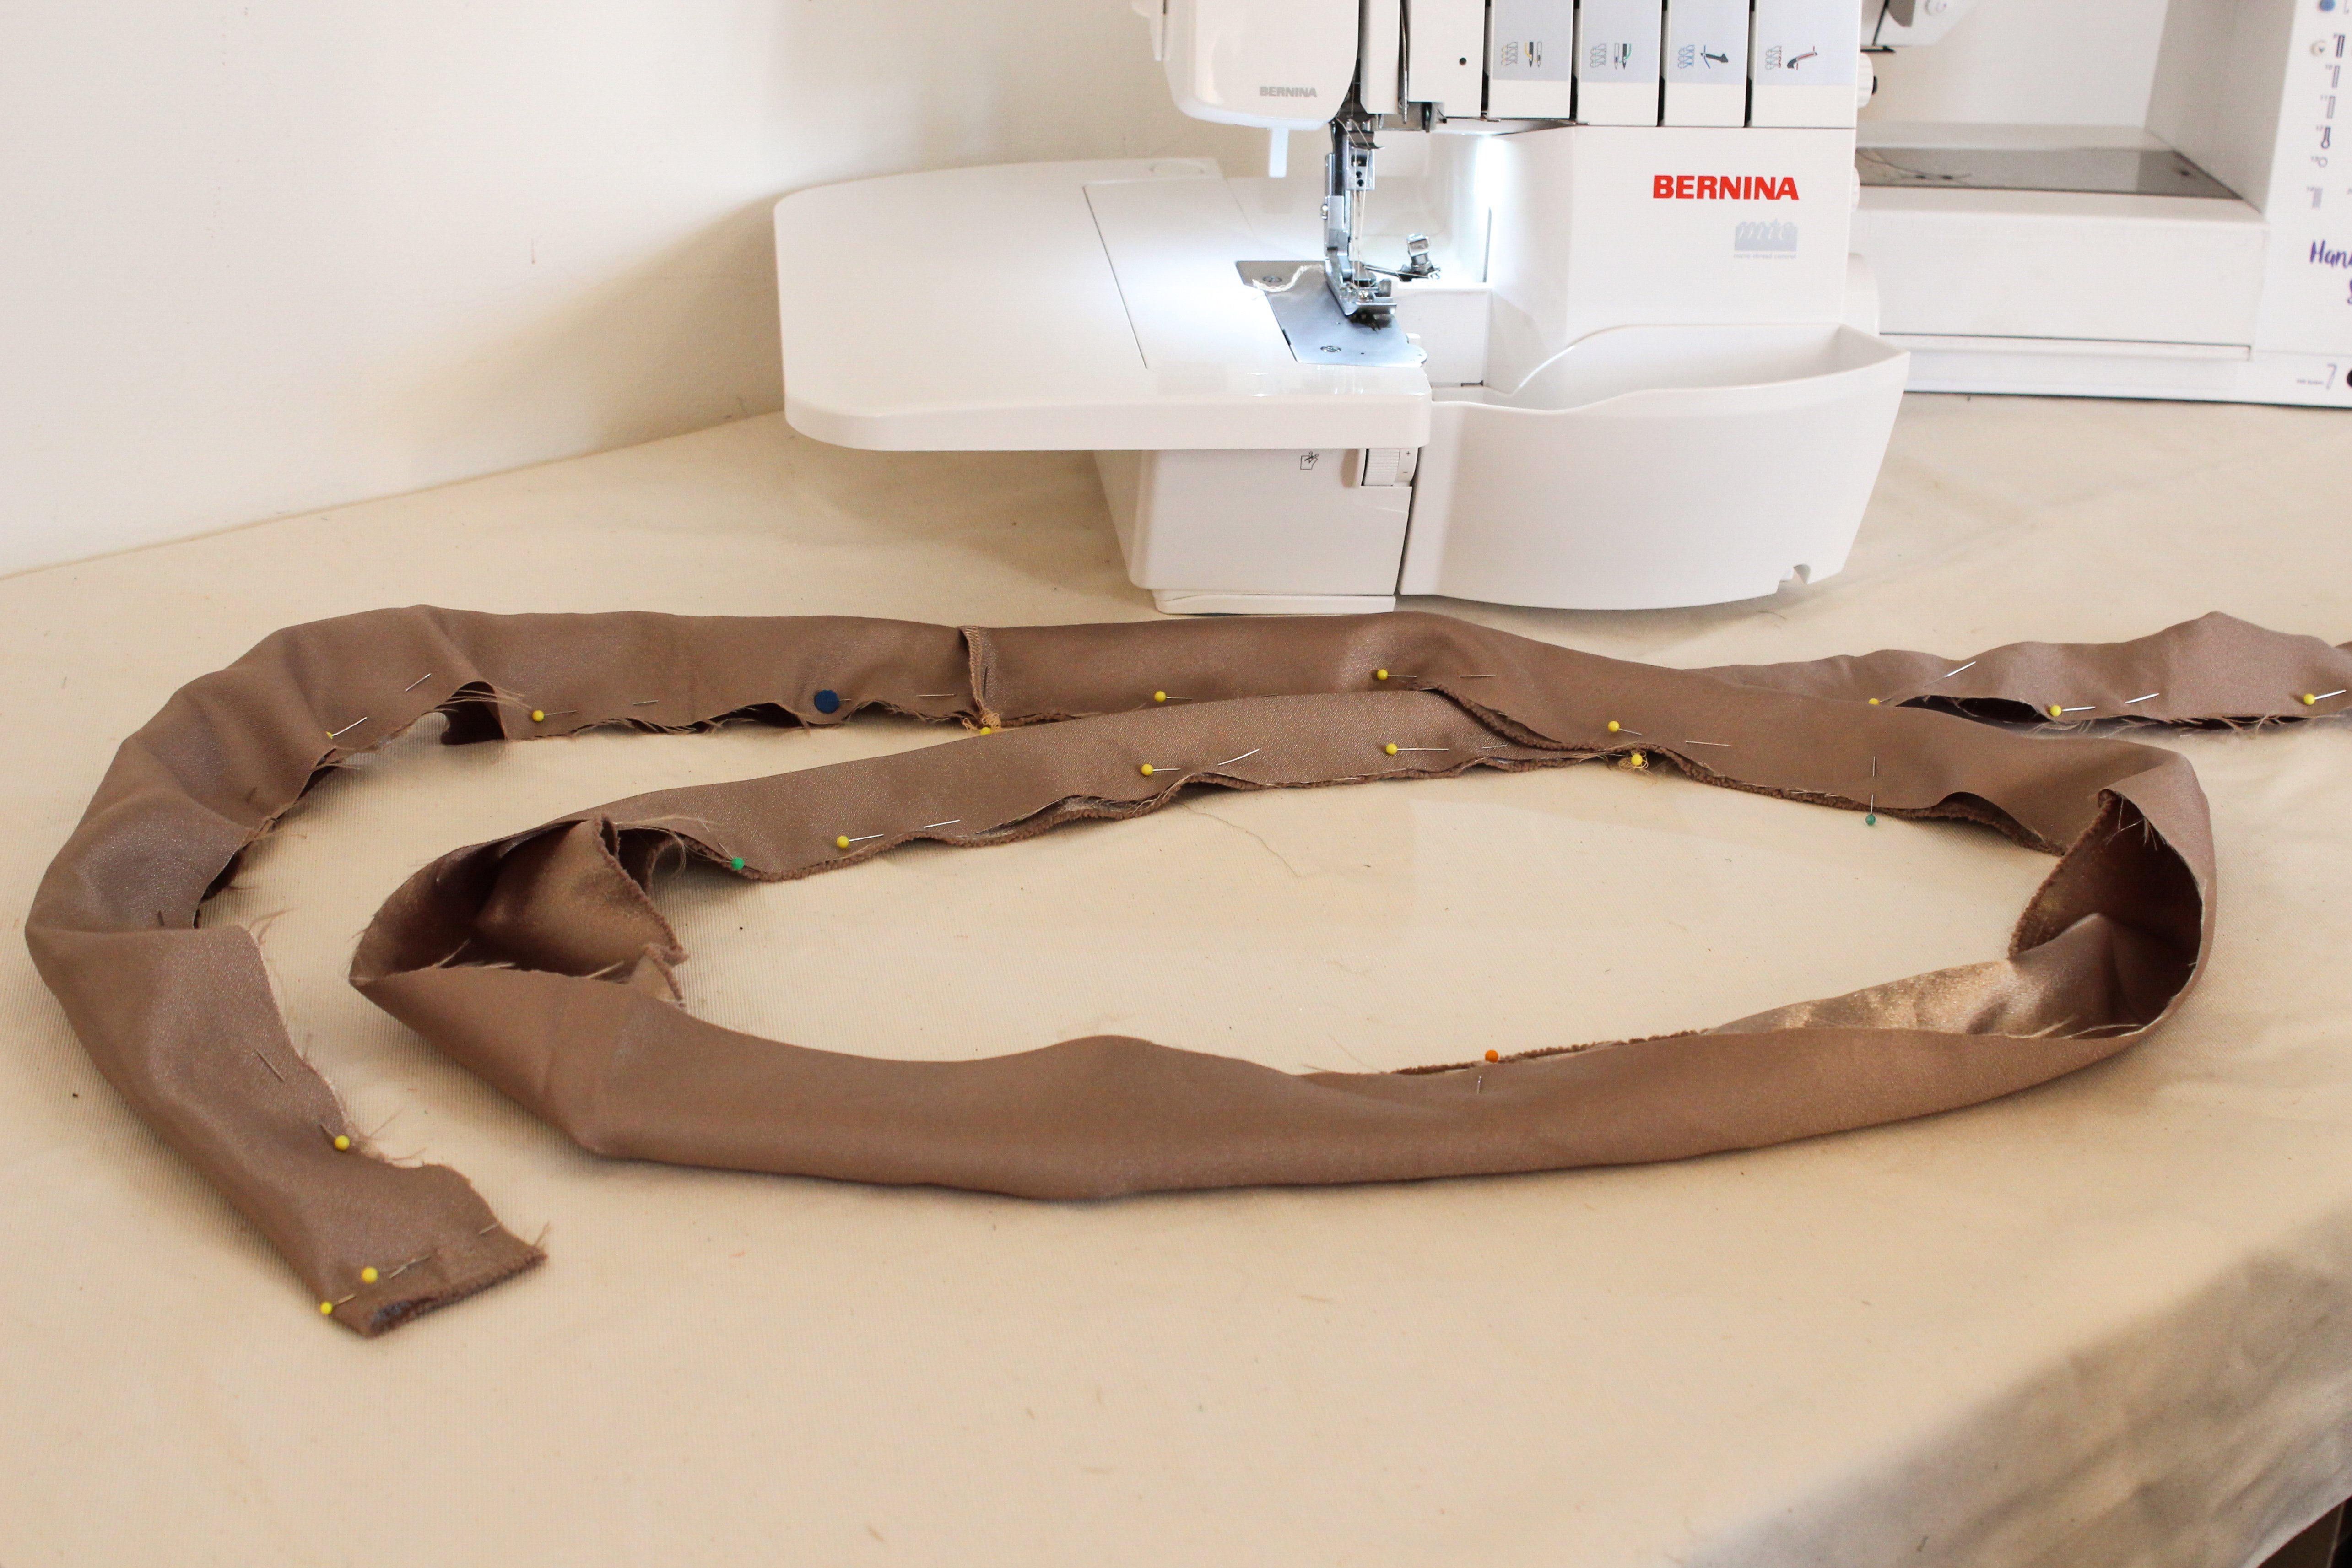
- Fold the Tie Waistband in half (Right-sides together) and pin from the notches to the end of the Tie as shown.

- Once more, set up your Overlocker for the 4-Thread Flat Stitch.
- Overlock along the seam, leaving the middle section open to join to the skirt.
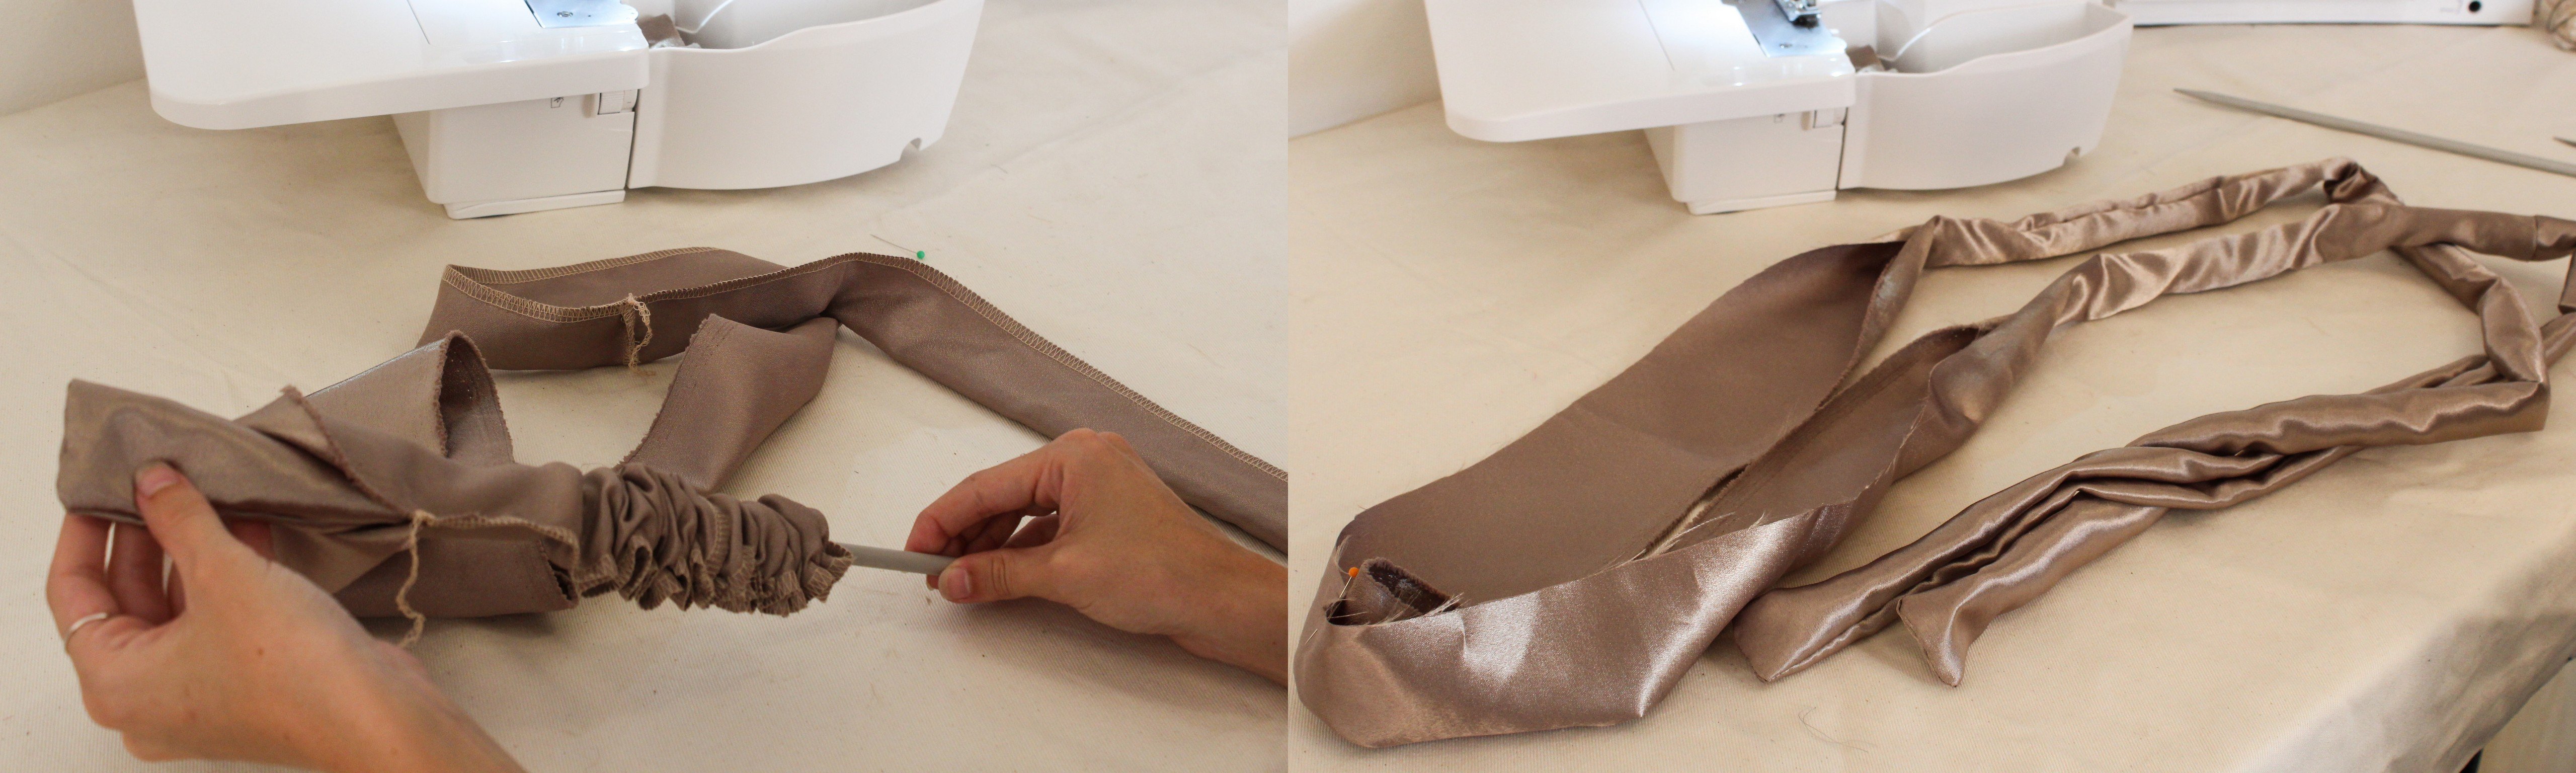
- Feed the ends of the Tie Waistband through to turn it Right-side out.

- Match the notches of the Tie Waistband to the Skirt and pin together.
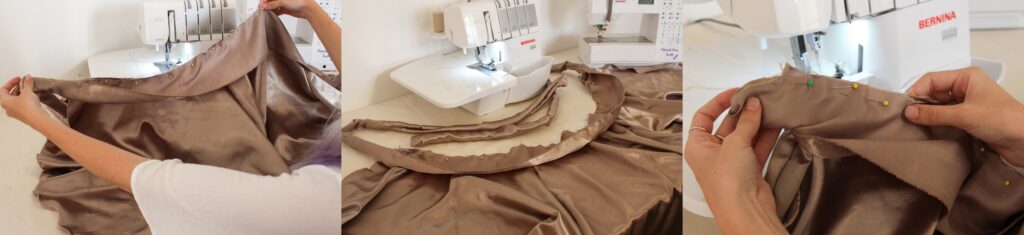
- Join the middle section of the Tie Waistband to the Right-side of the Skirt with your Overlocker.
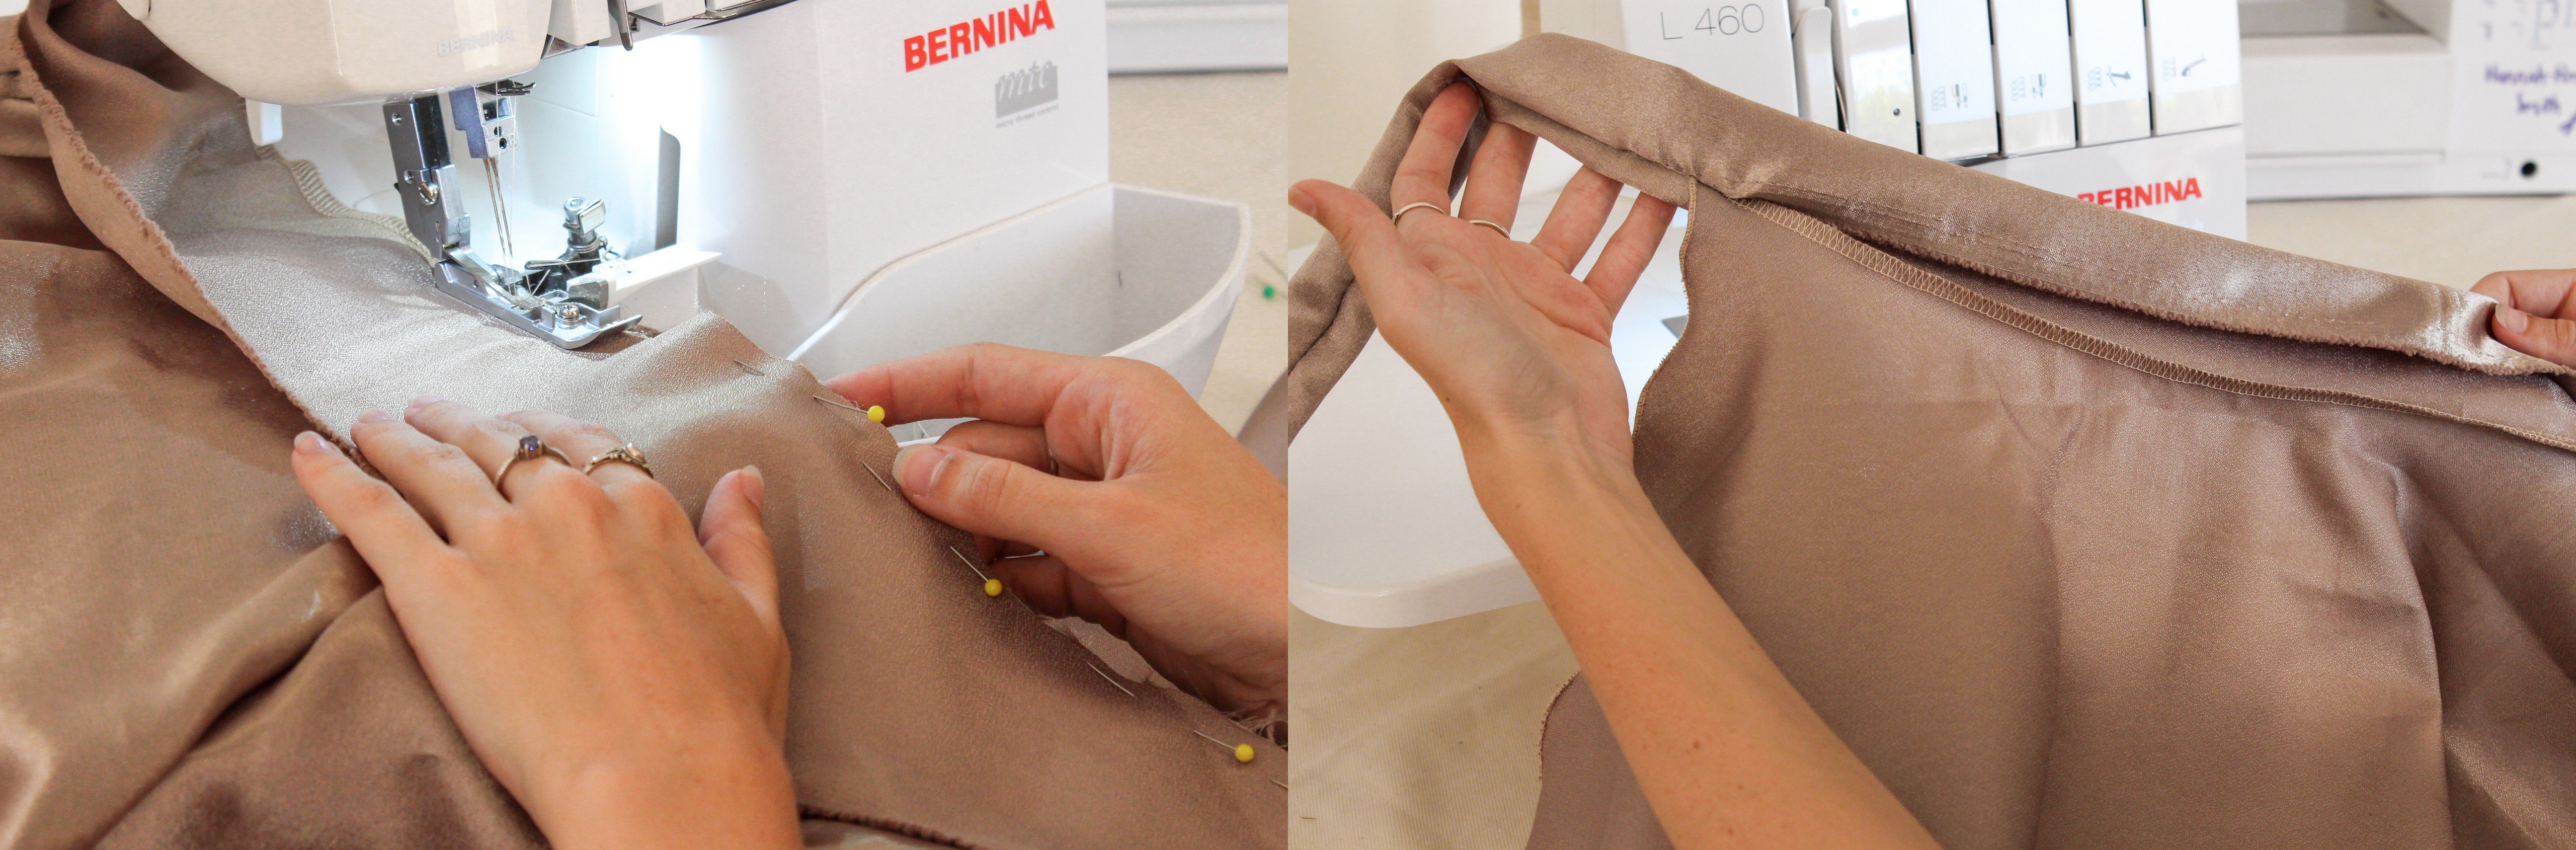
- Pin the opening closed, folding the seams inside the Tie Waistband.

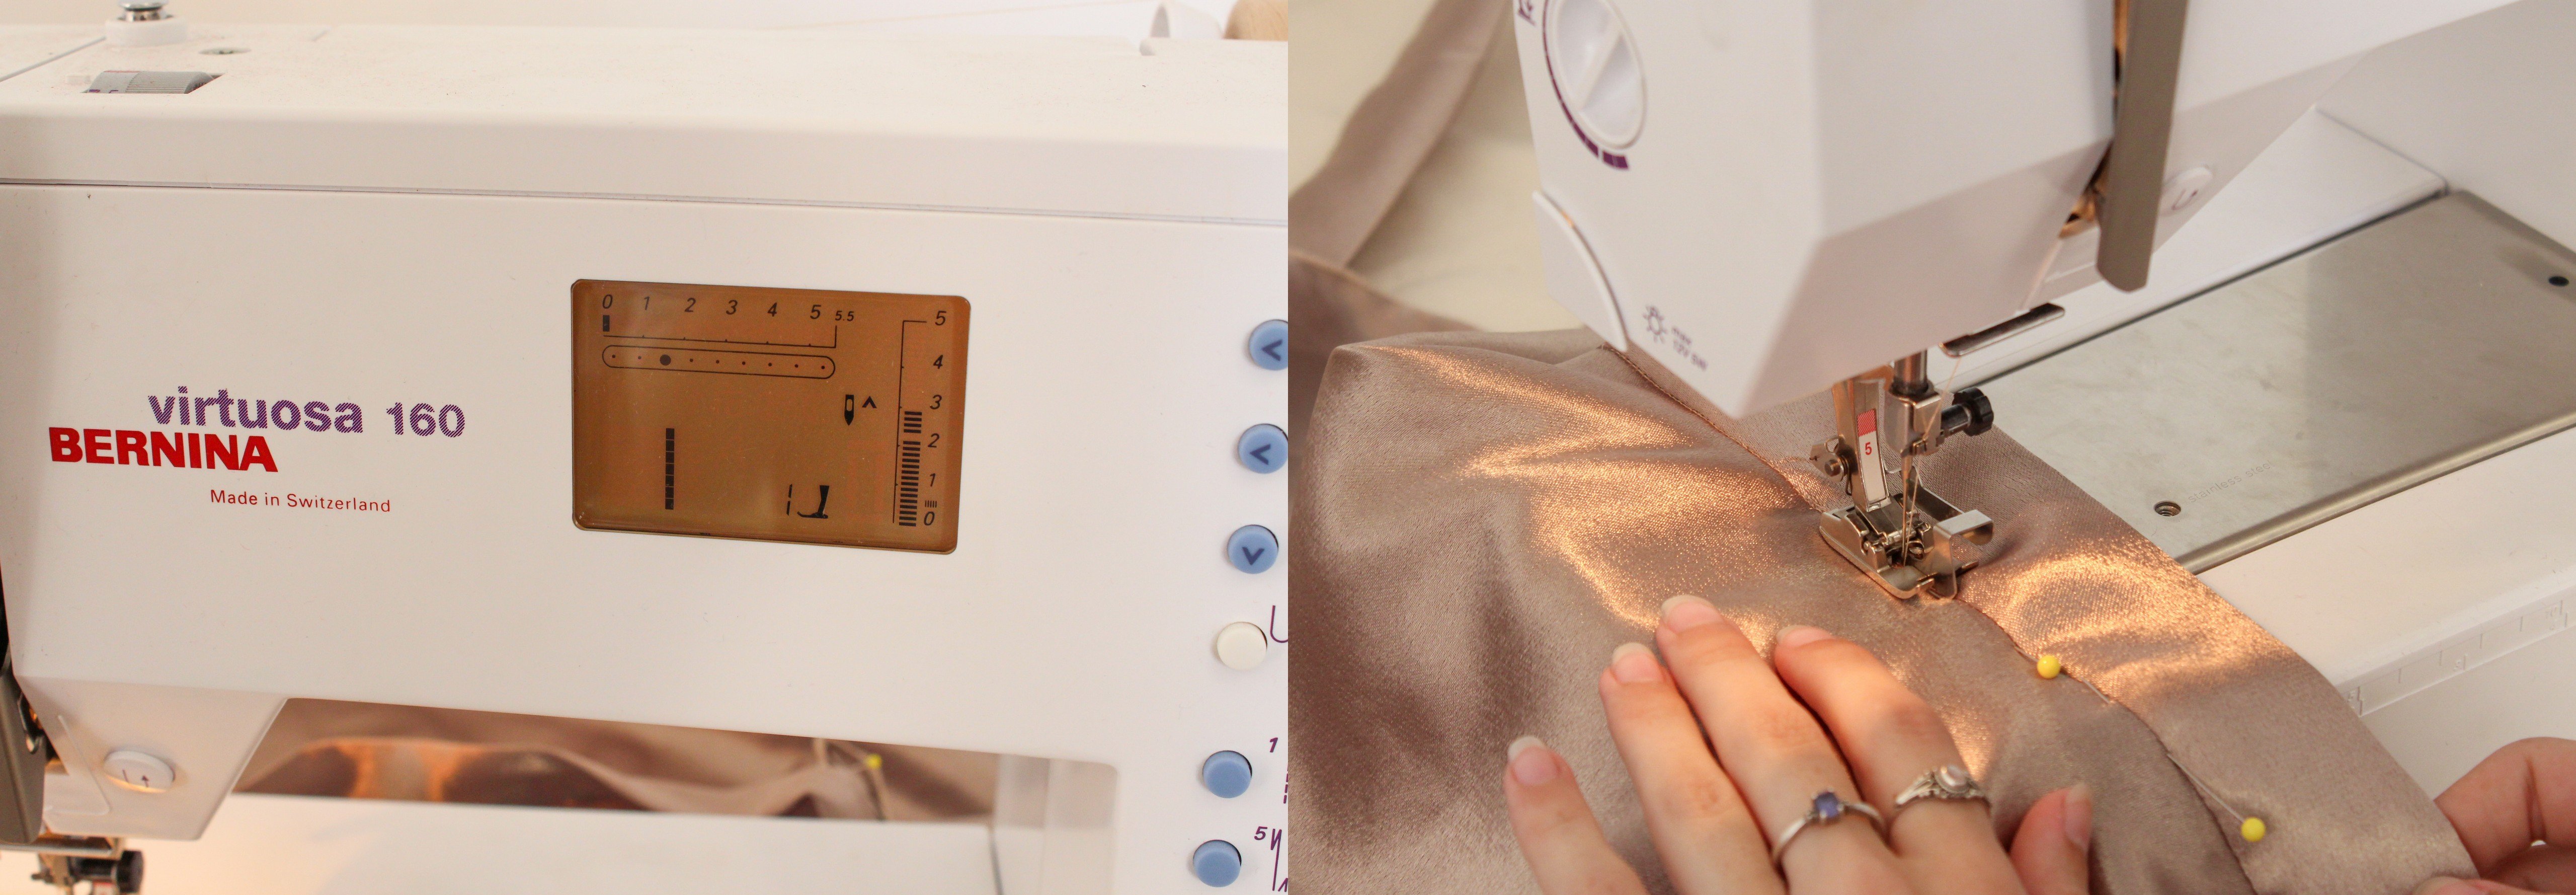
- Set up your sewing machine for straight stitch.
I used the sewing foot #5 to help me “sew in the ditch”. I moved my needle over to the left to prevent it breaking on the separator in the foot. I lined the separator in the seam and stitched.
- Topstitch it closed using the Straight stitch on your Sewing Machine.
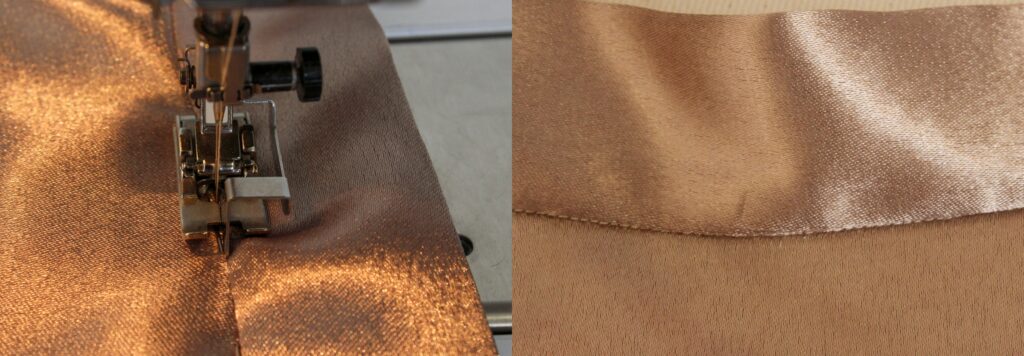
- Give the Tie Waistband and Skirt a press.
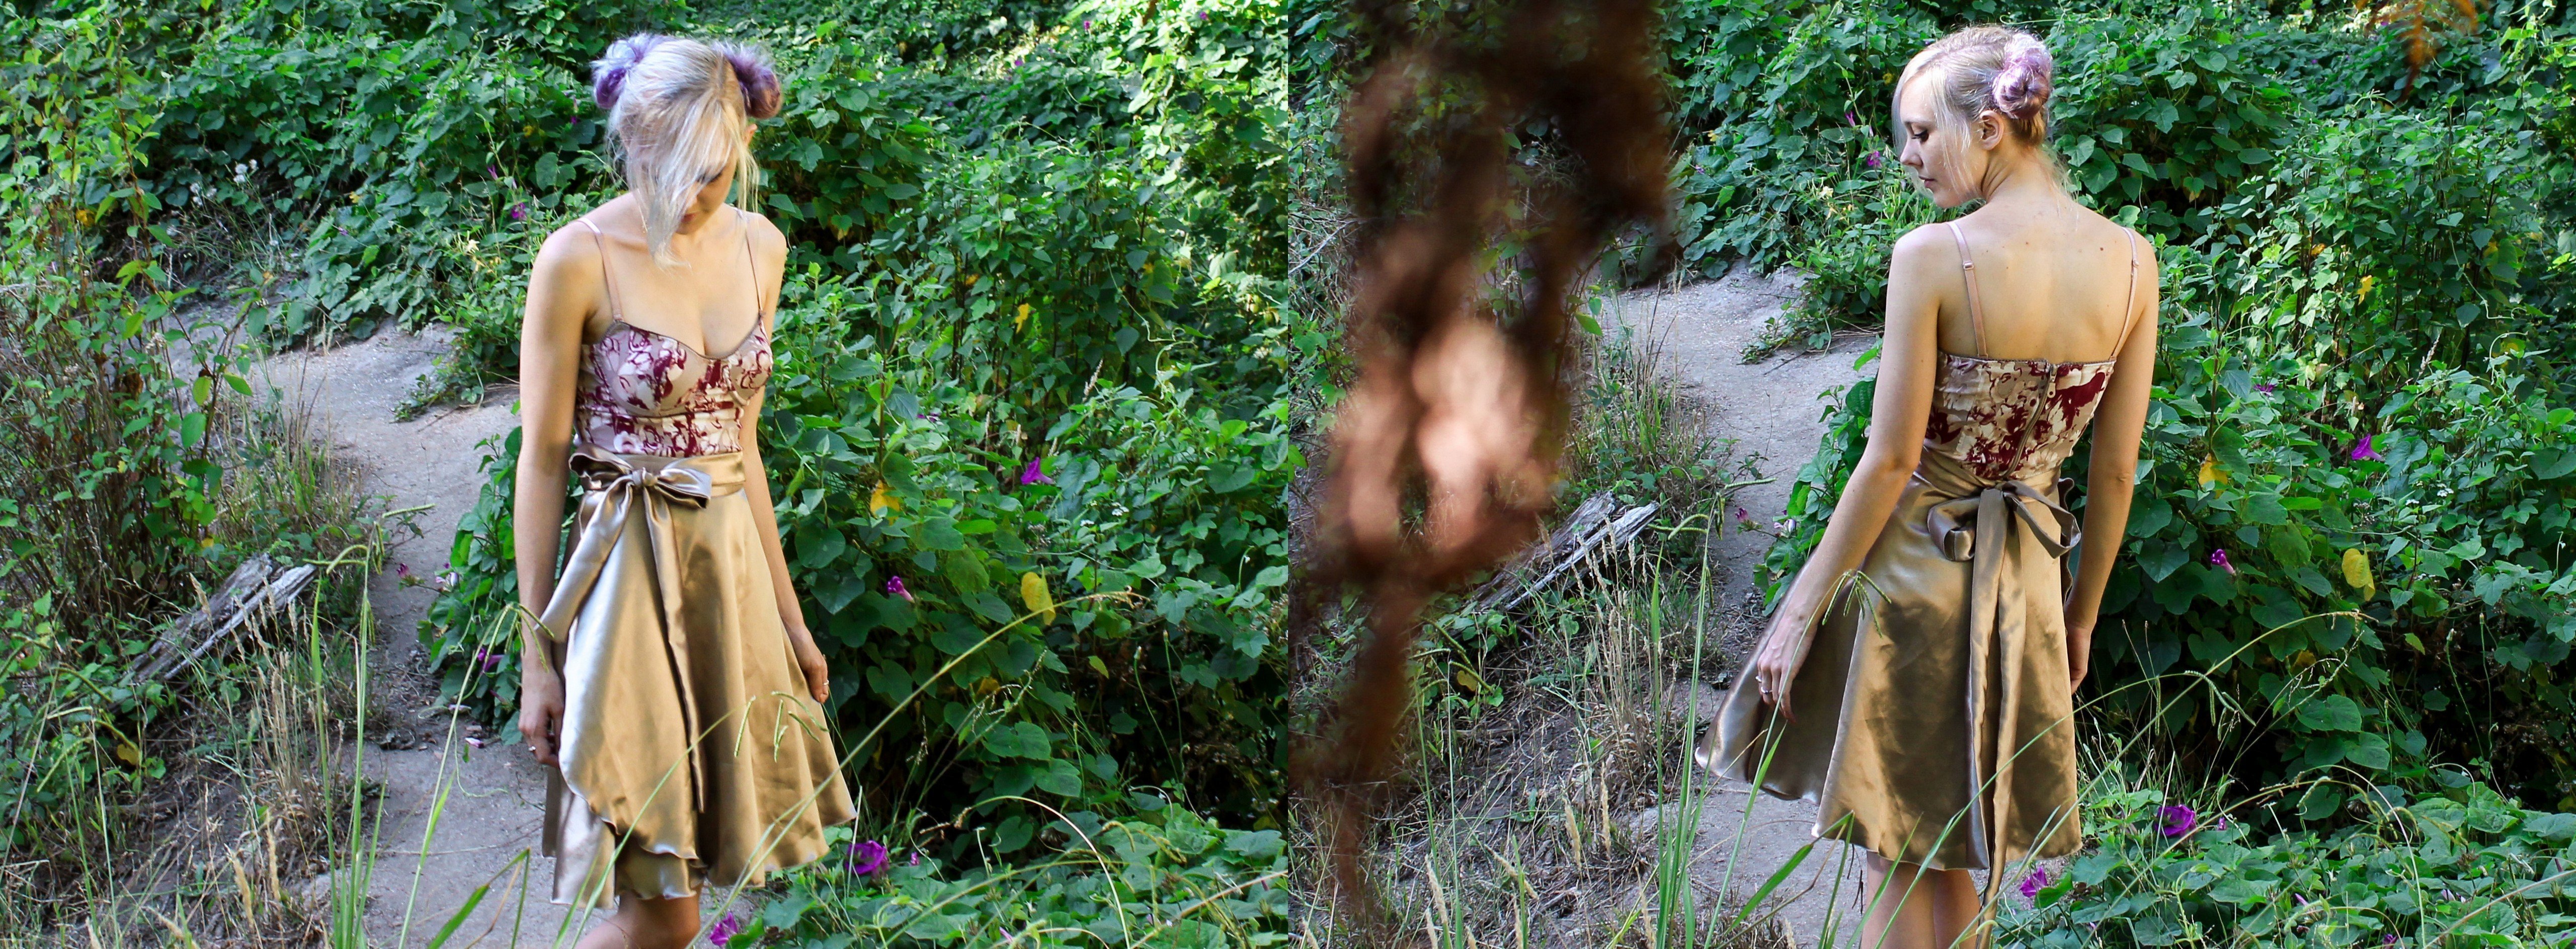
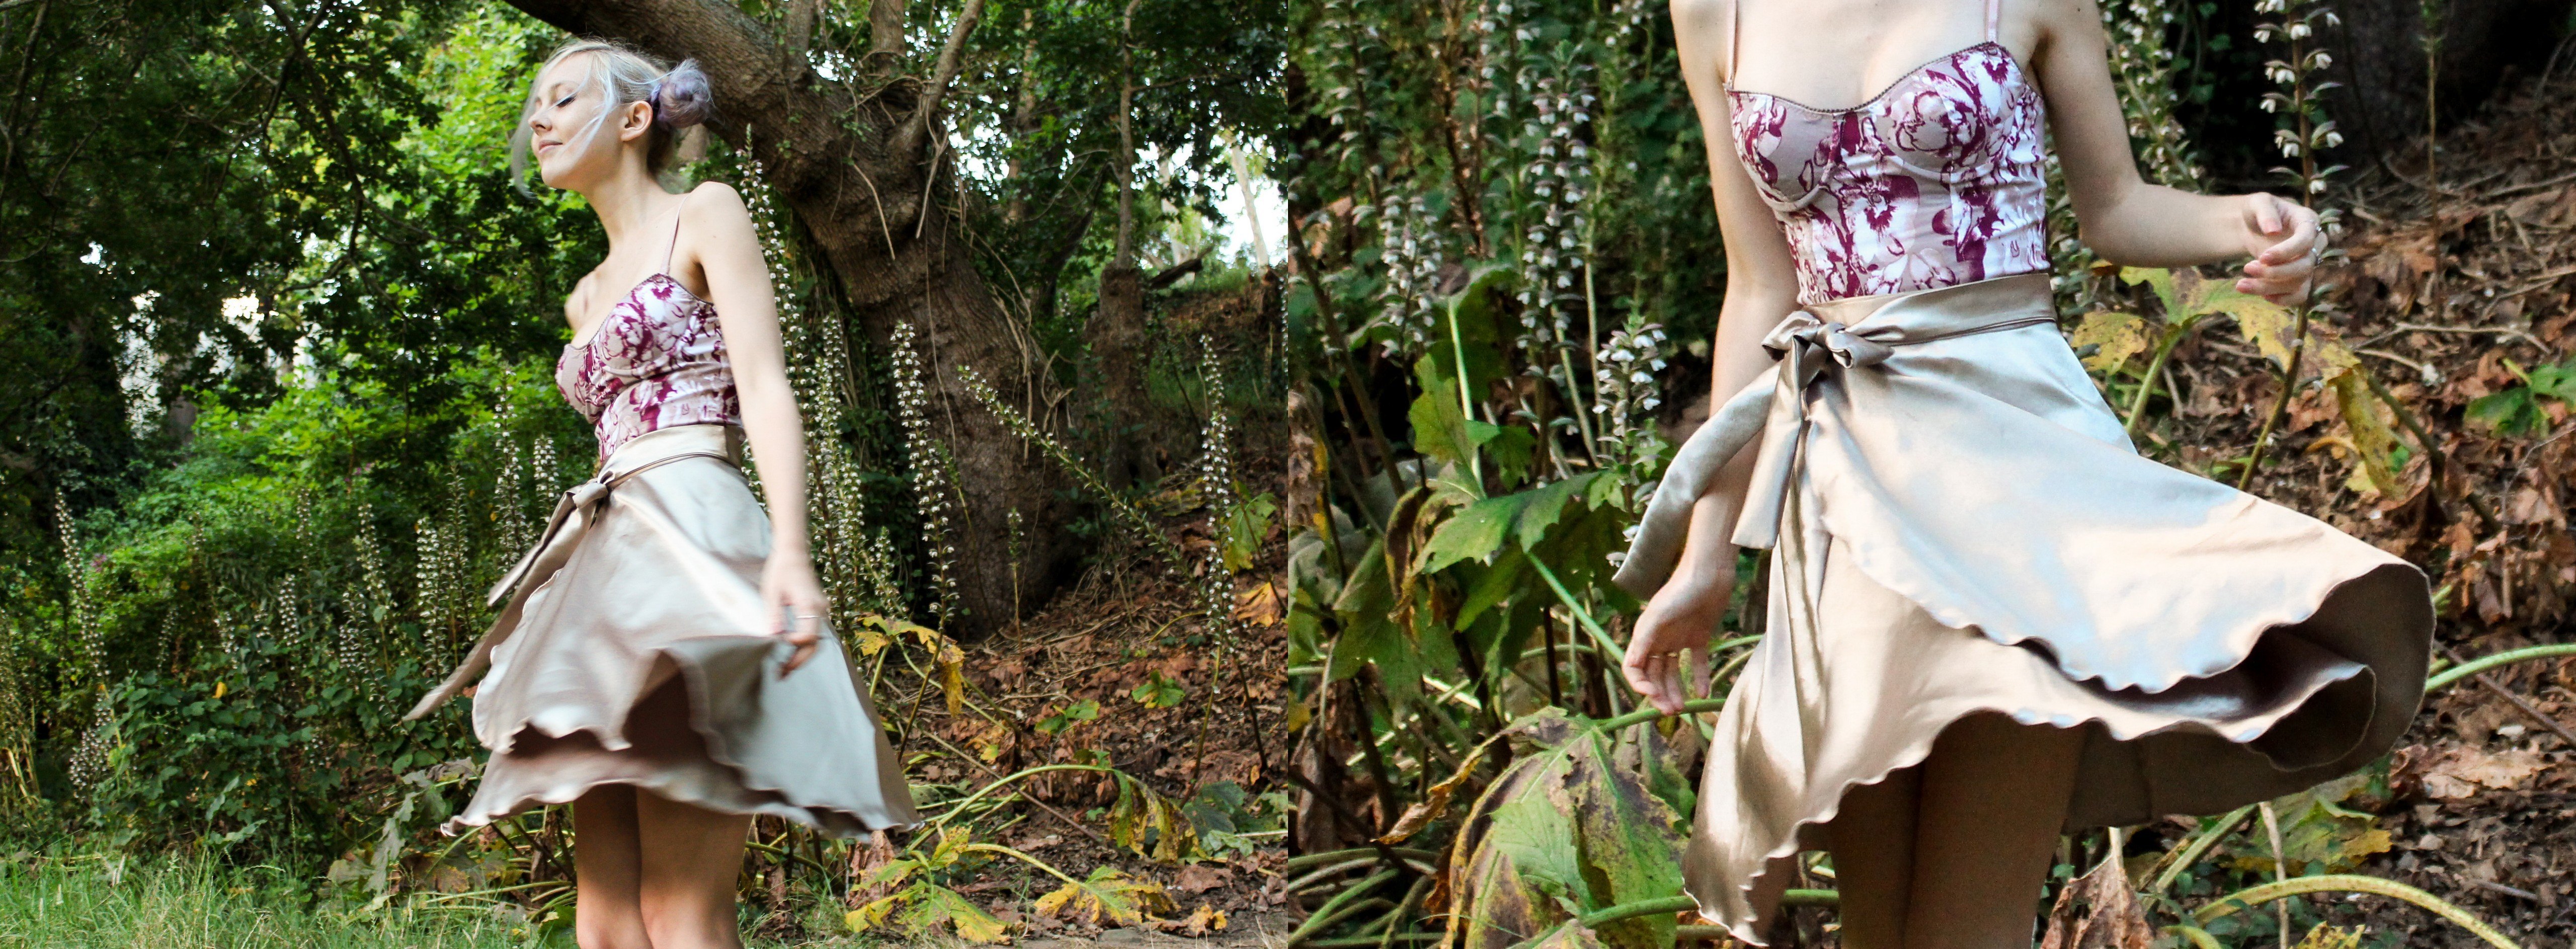
Wrap your new Skirt around yourself and have a twirl!


Tips
- The amount of fabric depends on the which of these measurements are greater:
– Desired length of the skirt multiplied by 3
– Half the length of the Tie Waistband (your waist measurement x 5=Tie Waistband length)
Eg. My Skirt length was 50cm, so 50 x 3 =150cm
My Tie Waistband length halved = 147.5cm
My Skirt length measurement determined that I needed 150cm of fabric.
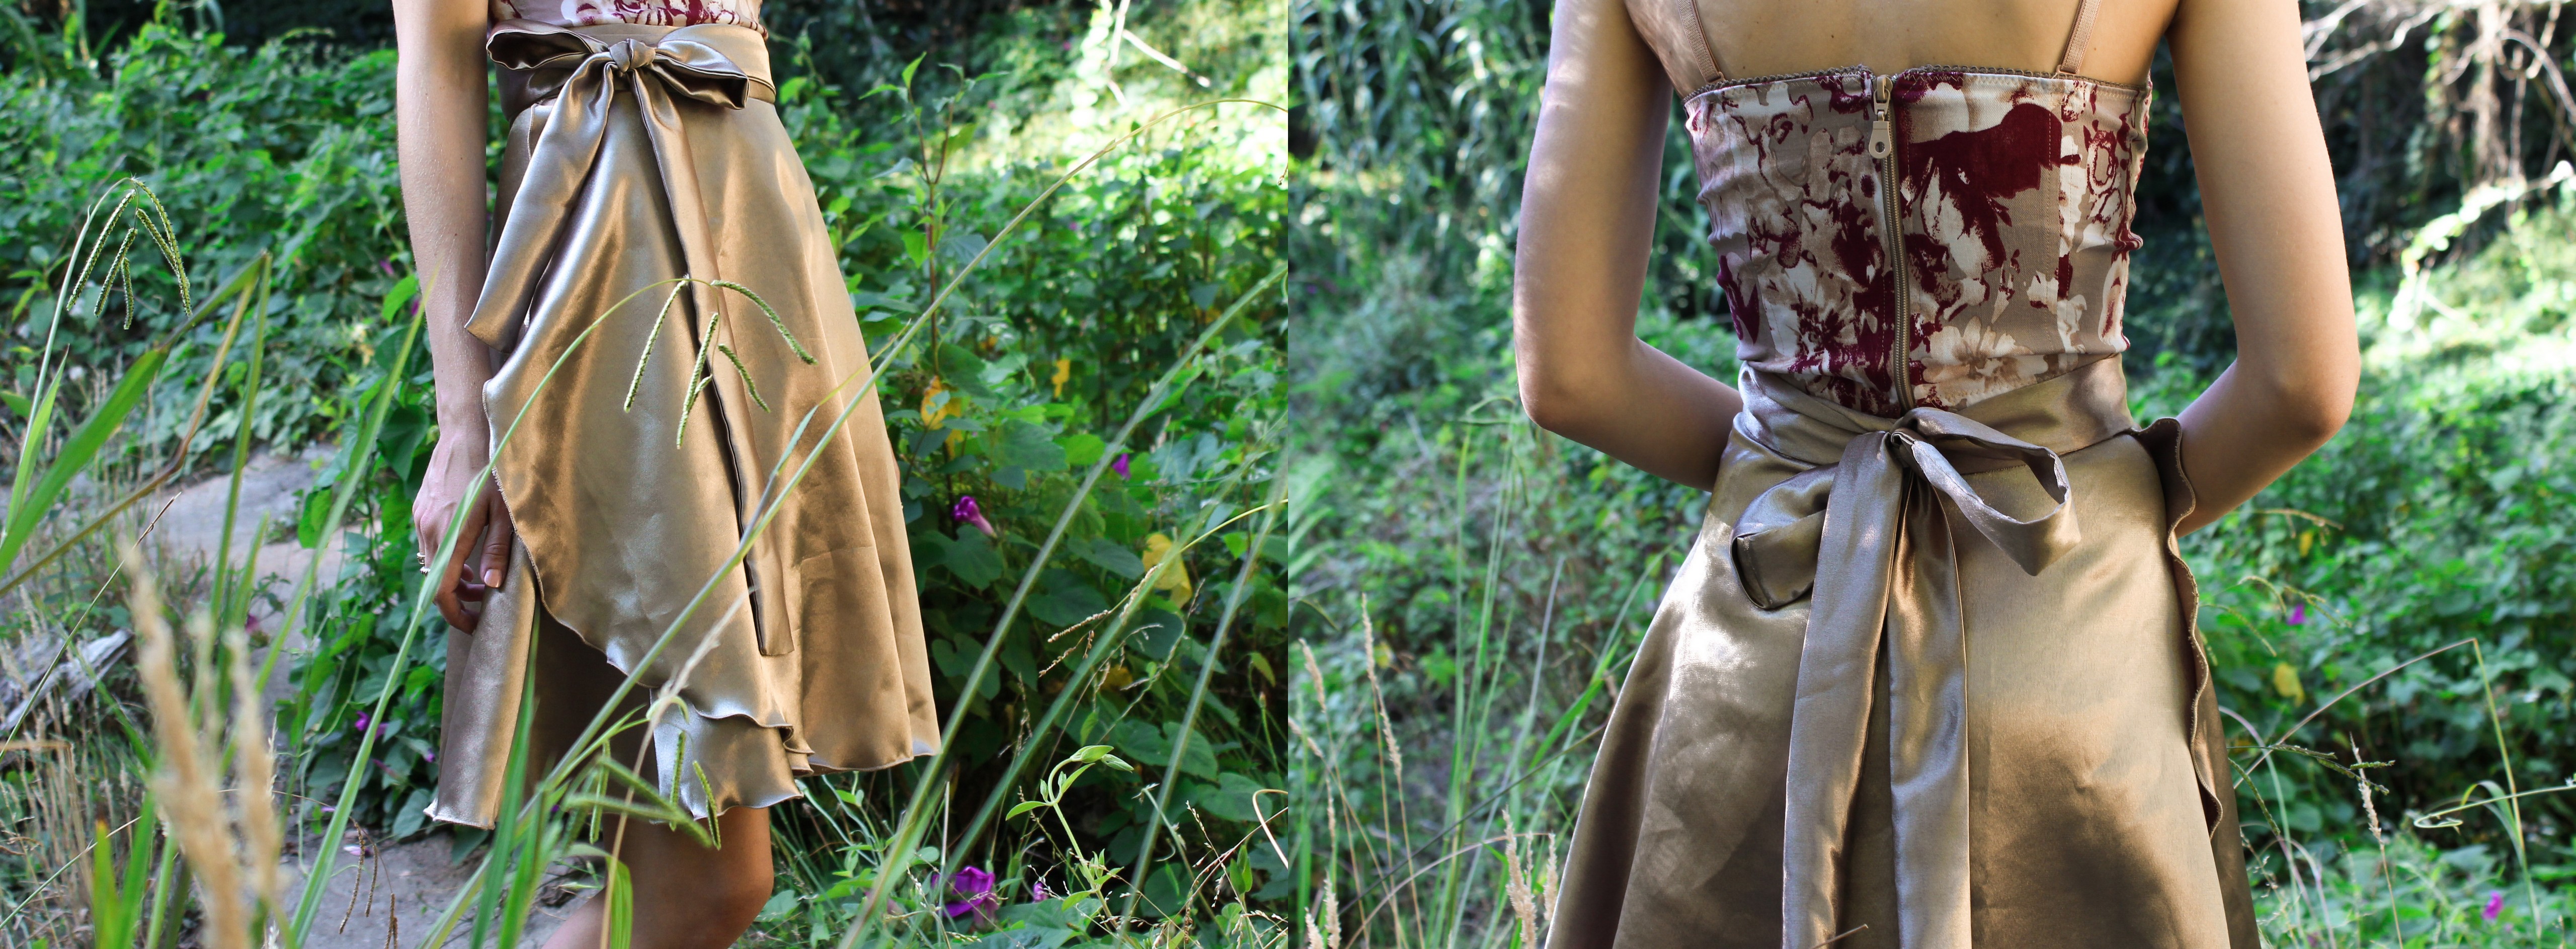
- You can make a bow with the ties at the back or to the side on the front, it is up to you how you style it!
- To get a slight frill with the Rolled Hem, very gently stretch the fabric while overlocking.
- You could make this skirt reversible, if you cut another set of the Skirt pieces in a different fabric and neatly joined it in the Waistband.
I hope you have fun with this Wrap Skirt, you can style it with so many combinations for all seasons and occasions!
I would love to see your makes, please feel free to share them with me!
Instagram
Facebook
-Hannah-Rose


Lovely skirt! Thank you!