 BERNINA Corporate Blog -
For the last time, we will once again be using the raw edge appliqué technique in the second to last block of the BERNINA Triangle Quilt Along, just like we used in block 9 and block 10 . Sewing a peak with a slight curve onto a triangle would definitely be challenging. Applying an appliqué, on the other hand, is child’s play and is guaranteed to work.
A refresher:
The technique is described in detail here.
Triangle no. 11 in the Triangle Quilt Along
First, print out the attached paper pattern.
Download Block 11
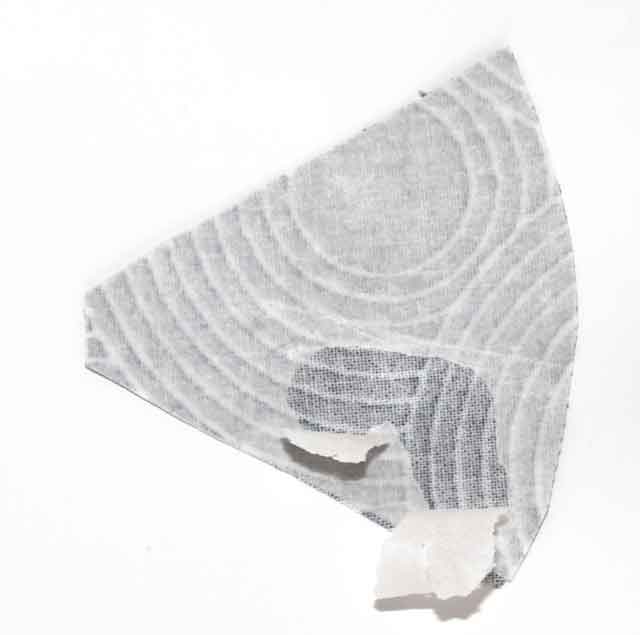
Once again, cut out a standard-size triangle, a small piece of contrasting material (approx. 2″ x 2″), and a piece of Vliesofix of the same size.

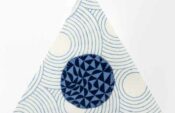
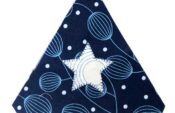
Using the recently learned technique, cut the circle segment to the size of the fusible liner and place it on the peak of the triangle.
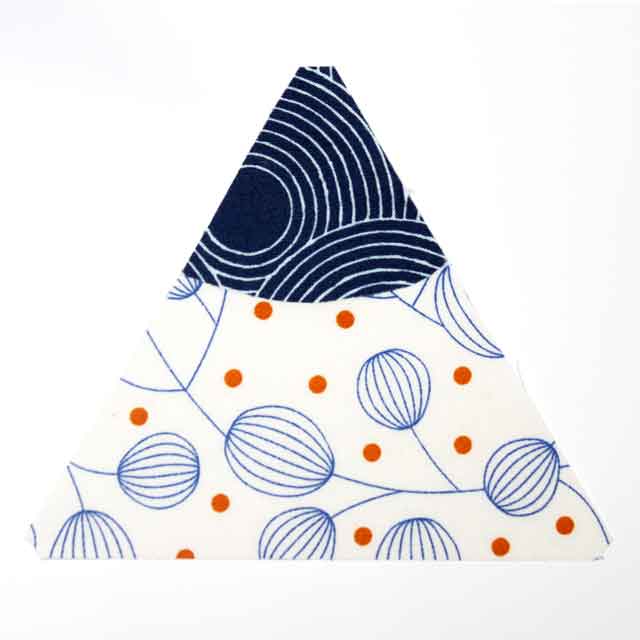
After the pattern has been ironed on, sew it on using an overcasting stitch on the sewing machine.
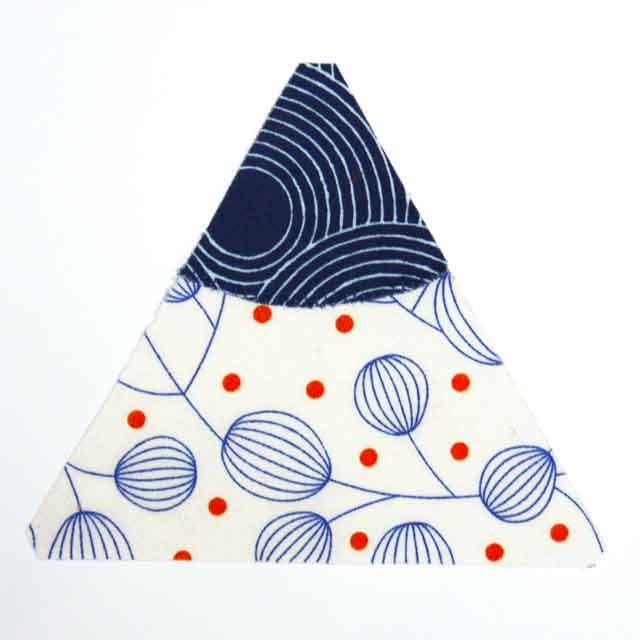
We need 3 of these triangles.
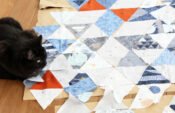
You can post pictures of your new peaks here in the Community or on Instagram.

0 Responses