 BERNINA Corporate Blog -
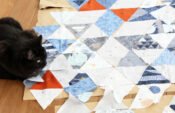
BERNINA Triangle Quilt Along milestone: It’s time for the last block, no. 12. And it’s going to be a walk in the park!
This block can be summed up with the phrase “freestyle, baby!” Unpack all of your leftover scraps, regardless of how crooked or small they are – we are going to use them in the freestyle block (okay, a little styling tip: it is going to look best if you stick to using two different fabrics per block).
The block is sewn on paper. If you would like to follow along with me, first print out two copies of this paper template.
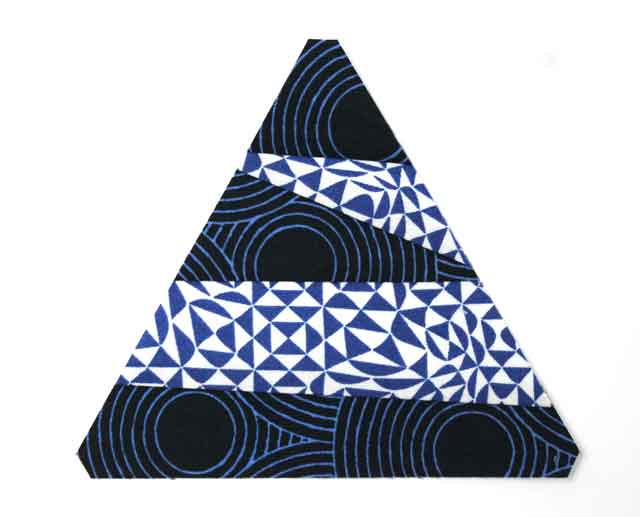
Triangle no. 12 of the Triangle Quilt Along
Download: Paper Template for Block 12
You don’t actually need any paper for this; this is not the same as the paper-piecing that you are already familiar with.
It is an improvised block, but it should have a precisely cut triangular shape. You can sew it by simply sewing pieces together without any paper backing, iron them (keyword: spray starch), and then cut out the triangle using a ruler.
Or you can sew the pieces onto paper (which keeps the scraps somewhat in shape and gives them an orientation, regardless of whether all of the edges are actually covered by the scraps) and then cut out the block according to the paper template. Finally, the paper is torn off.
To begin with, pick out leftover scraps, ideally in 2 different materials.
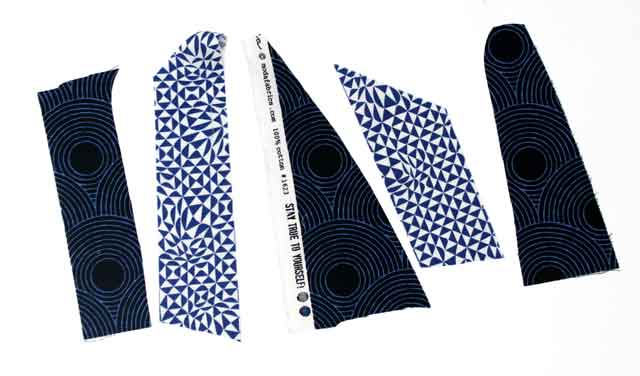
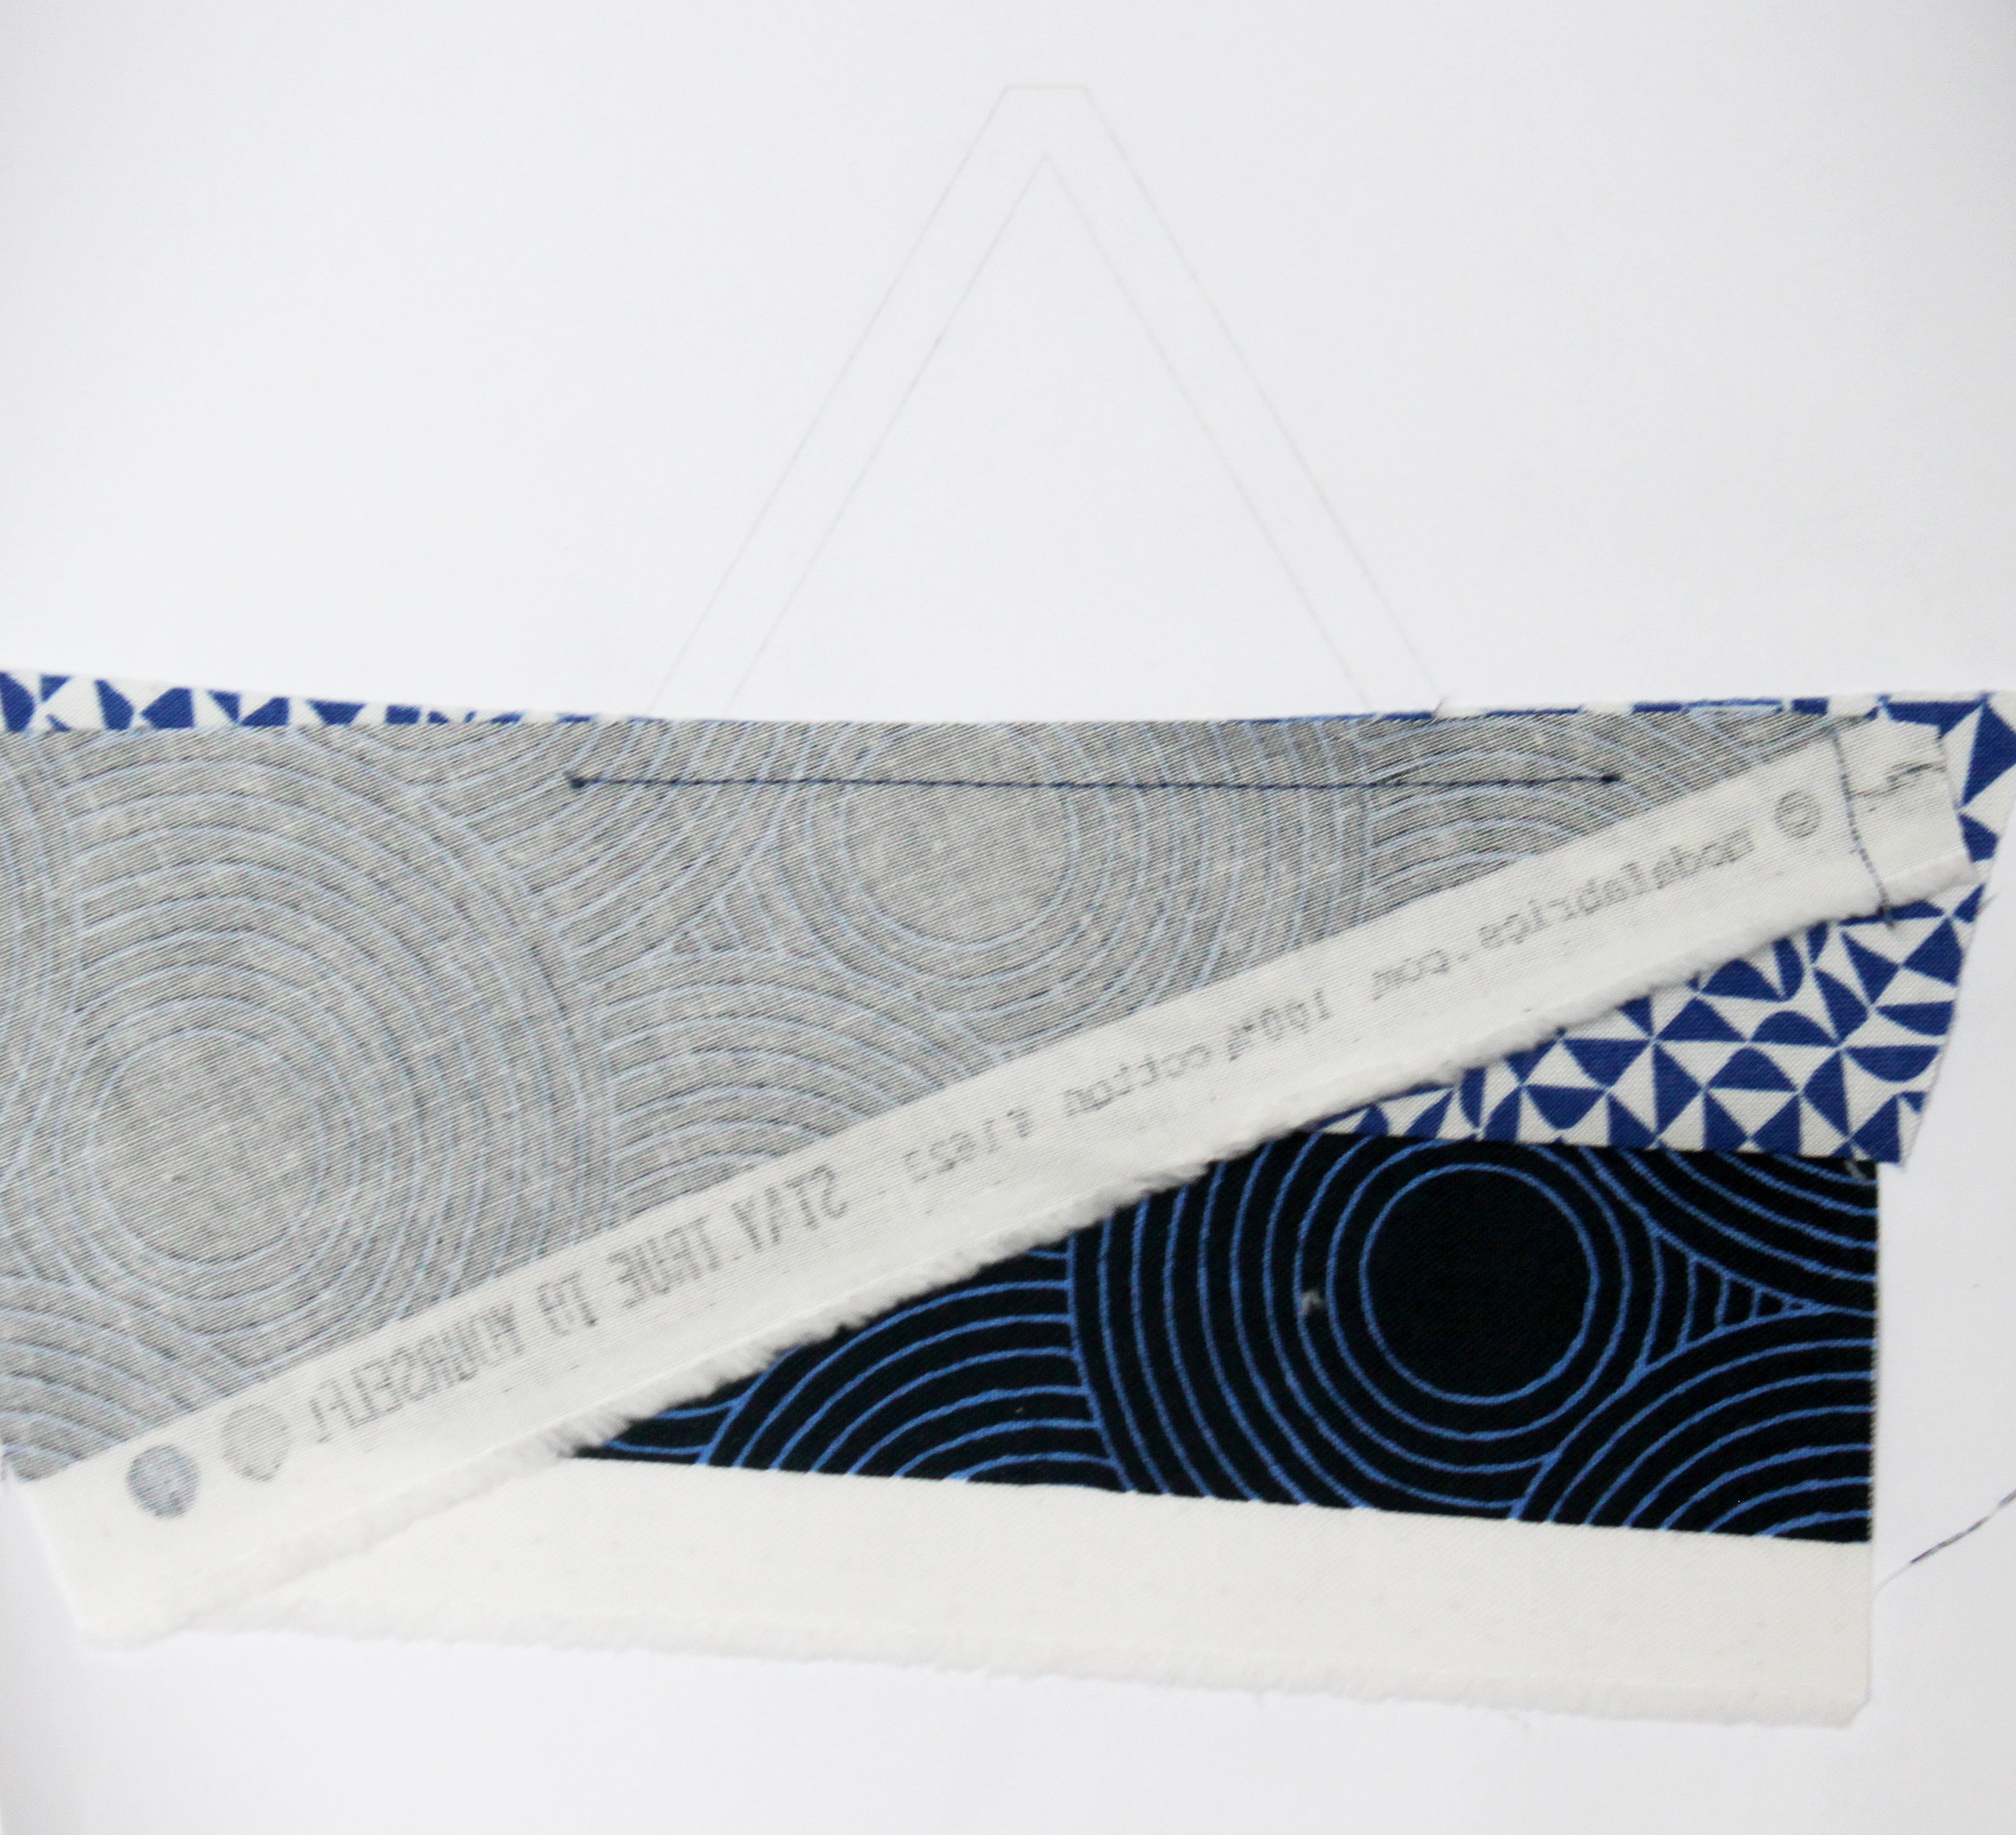
The scraps probably will not all have straight edges. First take two scraps and lay them with the right sides together and straighten the top edge so that it is precisely aligned.

Then you can either sew this together with a ¼” seam allowance,
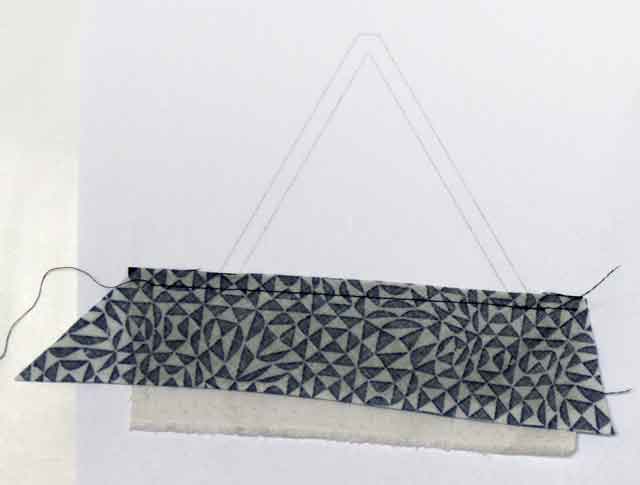
or you can lay these pieces on the paper template so that the bottom edge of the triangle drawn on the paper is well covered by the material. Then sew the two fabrics together onto the paper with a ¼” seam allowance. The slight advantage of this technique is that you have control the whole time of whether the scraps actually cover all edges of the triangle.
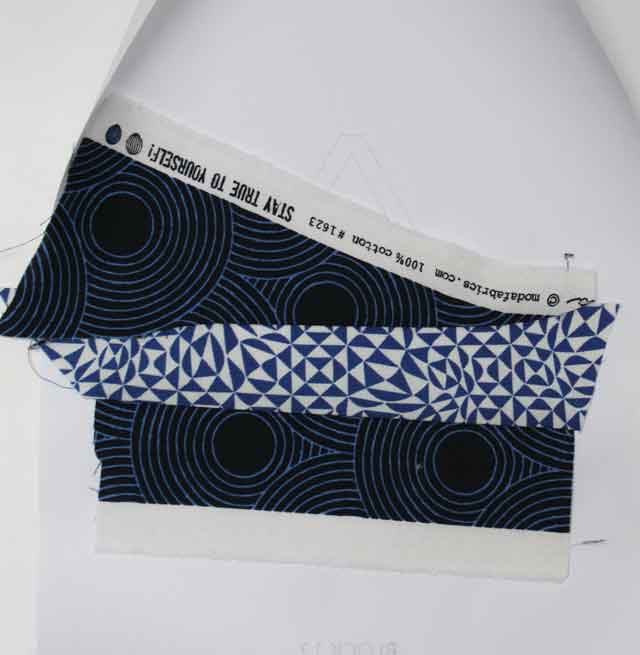
Now fold down the upper fabric, iron the seam,
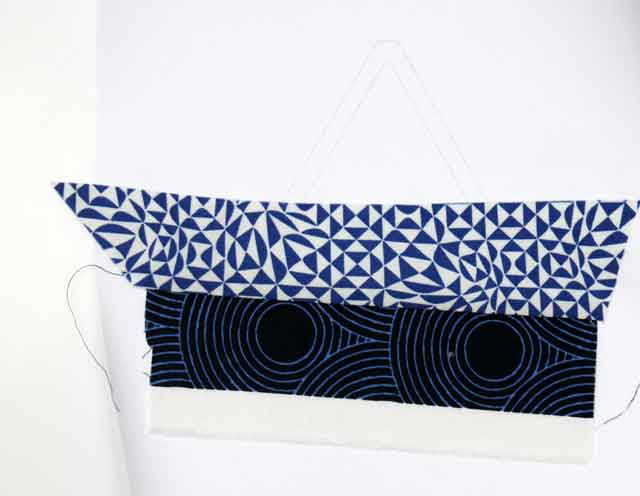
and repeat the whole process. Lay another scrap with the right sides together, straighten the top edges (if you are sewing on paper, fold the paper backwards when you separate the fabrics), and sew them together with a ¼” seam allowance
Sew on the next piece
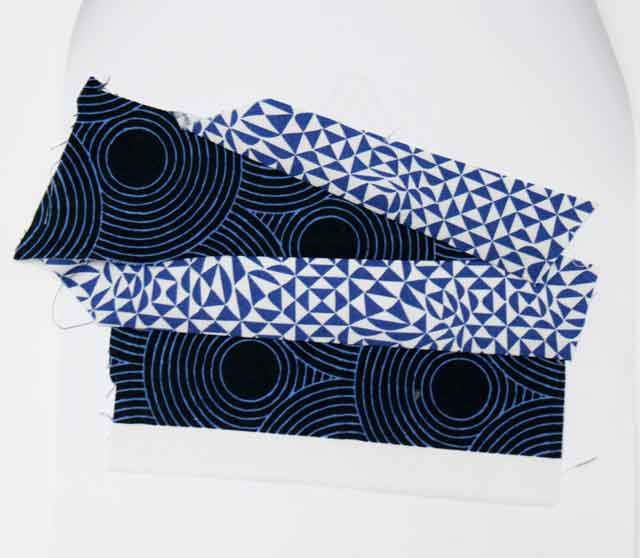
And so on
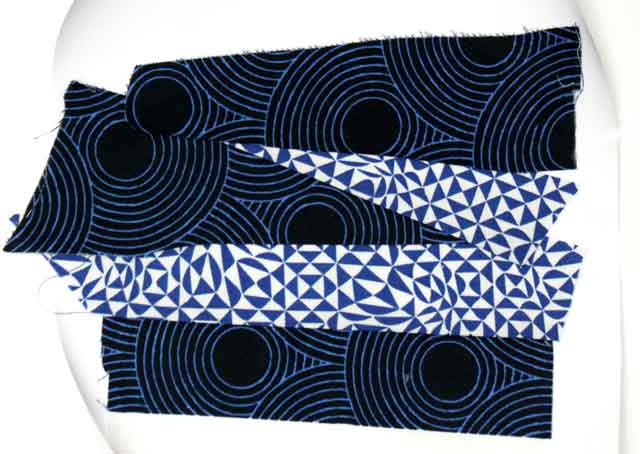
until the area is big enough to fill the desired triangle.
If you are sewing on paper, now simply cut out the paper template with a seam allowance and tear the paper off.
If you are sewing without paper, cut out the triangle using a ruler. Done! Piece of cake!
We need 2 of these triangles.
Yeah – Congratulations!
You have now completed ALL (I repeat: literally all !!!) of the assembled triangles for the Triangle Quilt Along. Hurray! Tip: Take a separate picture from Block 1 to Block 12 to take part in the contest. You can share them here in the Community or on Instagram .
For the
Completion of the Triangle Quilt Along,
which still requires quite a bit of work, I will also show you smaller sub-steps.
I’ll post the following updates on
March 2, 2018 – Cutting out the remaining pieces and tips for putting together the quilt layout on a “design wall”
March 23, 2018 – Sewing together the individual rows, the midsection, and attaching the edge strips
April 27, 2018 – Ideas and thoughts on quilting
You have made it this far with such ease and enthusiasm – I am absolutely delighted about this! Delighted with every one of you, who I know right now is sitting there, reading this BERNINA post, plugging in your sewing machine, getting out your rotary cutter, and sewing along with the next segment of the QAL!


0 Responses