 BERNINA Corporate Blog -
Today I’m back with the second part of my tutorial about how to sew a simple tube scarf using a Bernina serger – or a regular sewing machine. If you’ve read my first blog post about tube scarfs, you might remember that I explained how to sew two simple versions of a tube scarf: one consisting of only one piece of fabric, and another one made of two pieces of fabric, allowing for a fun print on the outside and some soft and warming fabric on the inside. Today I’m going to show you two more tube scarf variations: one with a triangular front that is longer than the back to give you more coverage at the chest, and one with two different fabrics on the inside to be able to vary how warm you want the scarf around your neck to be.
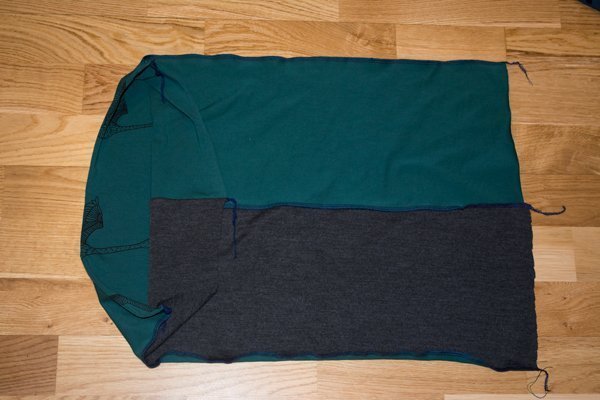
Let’s start with the triangular version: As with my first two versions, I decided on a width of 54 cm for the scarf. This works nicely for me, but you may vary the width based on personal preference, fabric stretch and the size of the wearer of the scarf. While my rectangular scarfs had a height of about 60 cm, I chose another width for this scarf: The back of the scarf doesn’t need to be very high, while the front needs to be longer to cover your chest. I ended up cutting the sides of the scarf about 35 cm tall and the longest part of the scarf about 70 cm tall. Cut one piece of fabric from your outer fabric, and one from your inner fabric. I chose a cotton knit from NOSH Organics (sold out) for the outside and merino wool for the inside. If you want, you can decide to cut the outer layer slightly bigger than the inner layer. That way you can be sure to keep the inner fabric hidden.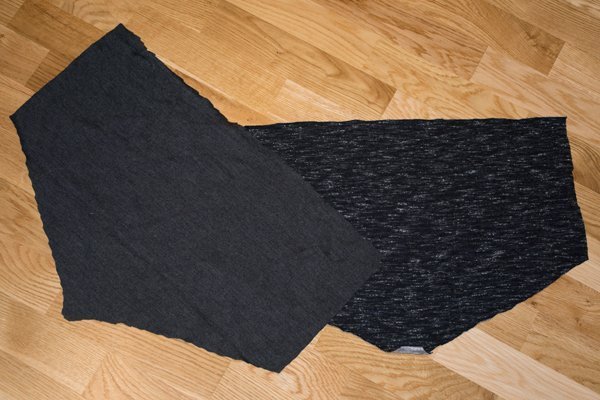
Put the two layers of fabric right sides together and serge along the long straight top edge of the scarf and along the triangular sides. Since I’ve sewn these scarfs with my Bernina serger, I only serged to the tip of the triangle, cut the thread off and sewed another seam from the tip of the triangle towards the other edge of the scarf. That way the tip of my scarf looks nice and sharp and I don’t have to turn my fabric in the middle of a serged seam.
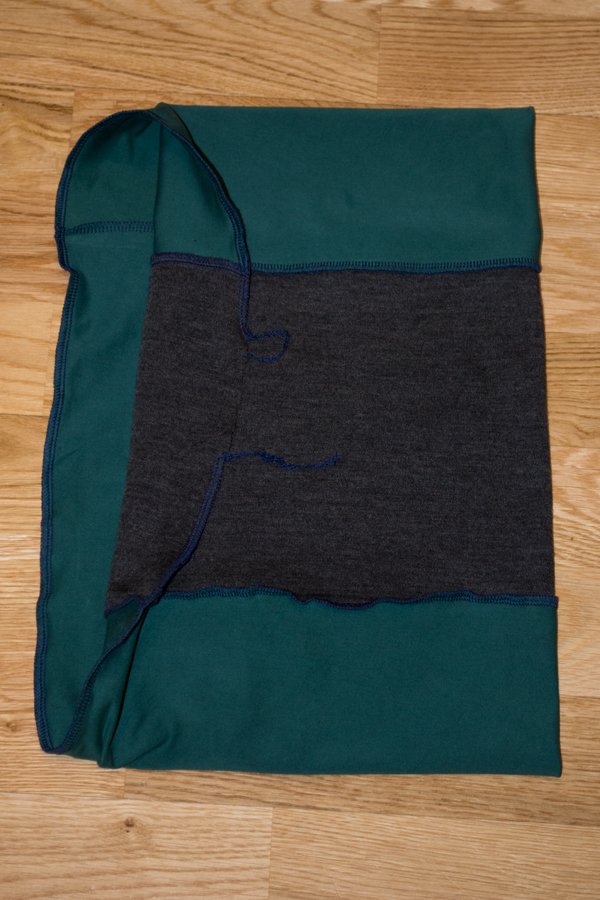
The next step is to pull one side of the scarf over the other side, right sides together. Make sure to align the raw edges of the inner fabric with each other and the raw edges of the outer fabric with each other. You can see more pics of this step in my first blog post. Now you have to serge around the serged edges of the fabric, making sure to leave a hole that’s big enough to be able to turn your scarf right sides out afterwards. I always make sure to leave this hole somewhere along the seam of the inner fabric. That way the turning hole is invisible on the outside.
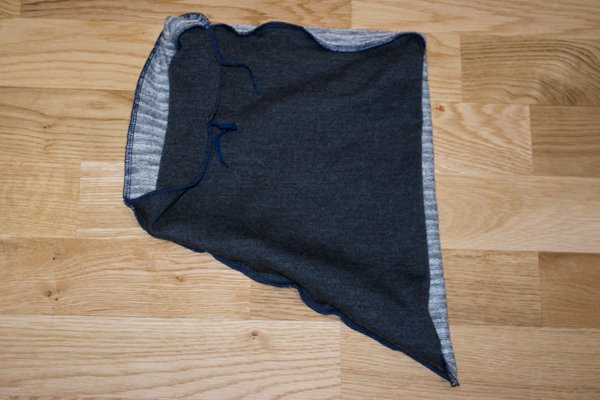
After turning your scarf through the hole, it should look like on the picture above. You’re almost done! All that’s left is sewing the turning hole closed: either by sewing it closed by hand with a ladder stitch or by using your sewing machine and sewing it closed as close to the edge as possible. Make sure to fold the raw edges towards the inside!
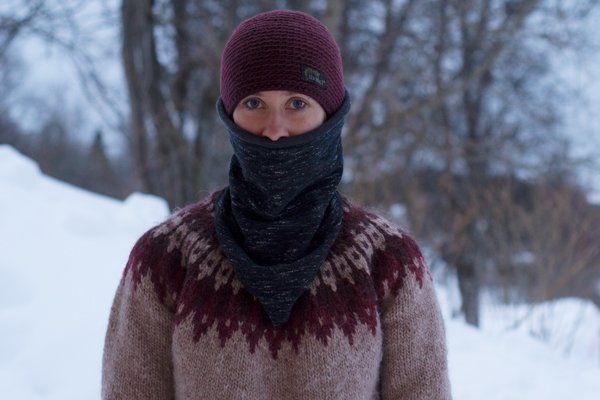
By the way – yhis is my husband’s favourite new scarf. He loves that it doesn’t bunch up in the neck and likes the extra coverage in the front, especially when his jacket isn’t closed all the way. I guess I need to make a second one for myself!
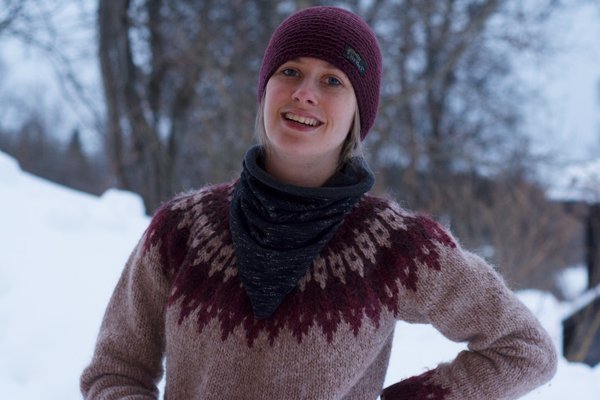
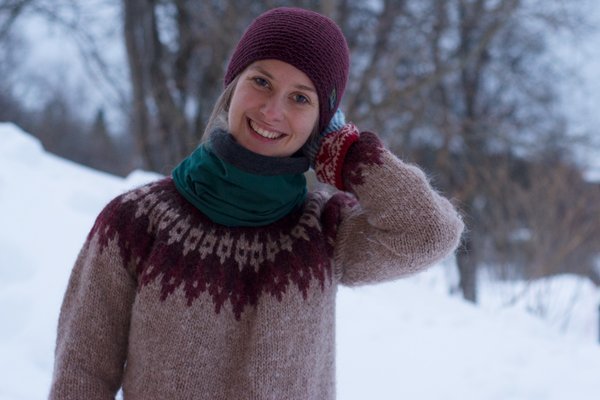
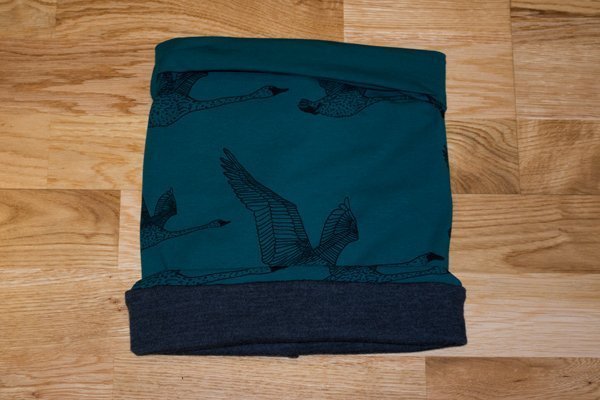
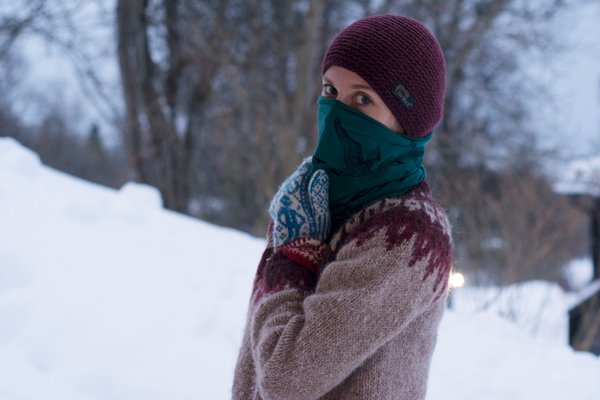
Let’s move on to the last tube scarf I wanted to show you: An extra tall scarf with two different fabrics on the inside. One half of the scarf is made of cotton jersey, one half is made of wool. That way you can turn the scarf upside down, pull it higher up or fold it down and have a different kind of fabrics covering your neck. Sometimes I need some extra warmth at the beginning of a skiing trip, but get quite warm after a while. With this scarf you can simply change the layer closest to your neck and regulate the temperature easily. On the picture below I’m wearing my scarf with the cotton jersey layer of the scarf folded down on top of the wool layer, showing on top.
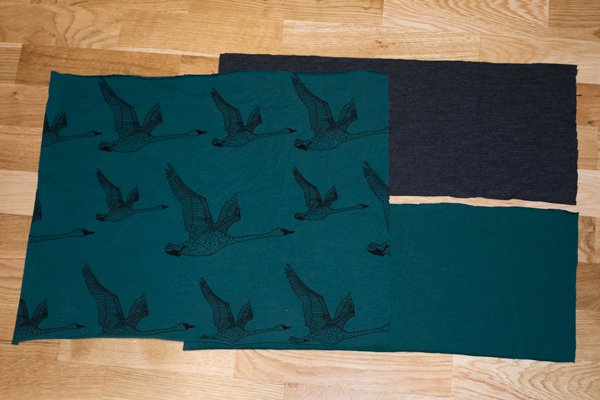
For this scarf you need to cut three pieces of fabric: one big piece for the outer layer, about 54 cm wide and 76 cm tall, in my case. I chose the lovely cotton jersey with geese from NOSH Organics for the outer layer. For the inner layer you need two pieces of fabric, about half the size of your outer layer. I cut one piece of solid cotton jersey, also from NOSH Organics and one piece of merino wool jersey. Both are about 54 cm x 38 cm big. Remember to add some extra seam allowance to the inner fabrics, since you’ll have an extra seam on the inside. But if you want to make sure to keep the inner layers hidden inside the scarf, you could just cut the inner layers half as tall as your outer layer, as I did.
The first thing you have to do is to sew the two pieces of fabric for the inside of the scarf together, right sides facing. Now you have two big pieces of fabric and the rest of the project is identical with the blue scarf in my first blog post. Don’t worry if your fabric stretches a little bit while serging it together, as mine did. Especially merino wool knit is easily stretched while sewing with it. Just use a lot of steam to get it back in shape. You could even cut off a little fabric at the sides to even the sides out.
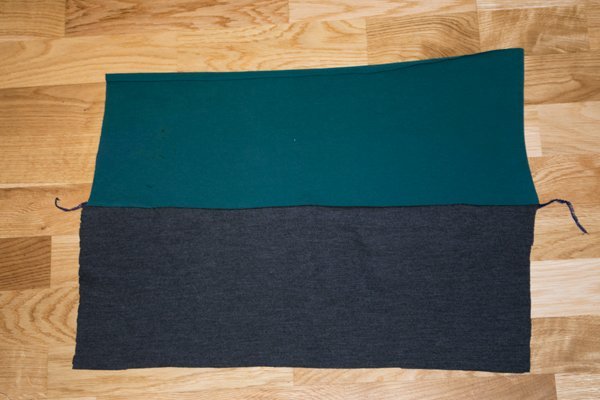
Put your outer layer of fabric on top, right sides together. If you’re working with a directional print, make sure that the top of the print is laying on the part of the inner layer that you later on want to have as the top part of your scarf. In my case I chose to have the cotton jersey layer at the top of my scarf and the merino wool layer at the bottom of my scarf. Serge the two long edges of the scarf together.
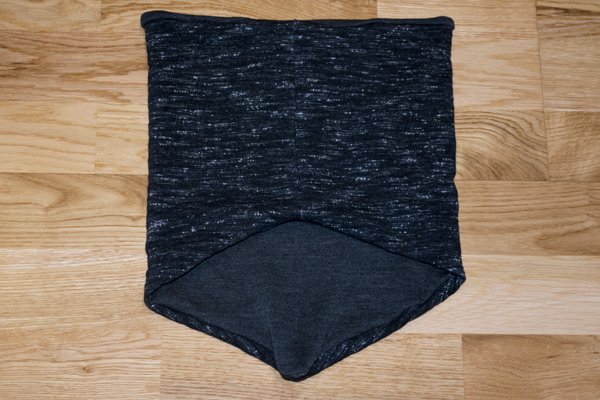
Now your scarf should look like on the picture above. Turn one open side of the tube scarf over the other, right sides together. Make sure to match the short side of the outer layer with the other short side of the outer layer and the two different inner layers with the corresponding inner layer. You can find more pics for this step in my first blog post. Serge the short sides of the scarf together, leaving a hole for turning the scarf right sides out. Now your scarf should look like this:
Turn you scarf right sides out and sew the turning hole closed – either by hand, using a ladder stitch, or with your sewing machine, sewing as close as possible to the edge. Now you’re done!
 – I received the fabrics for this blog post for free from NOSH Orgnaics. However, all opinions are, als always, my own. –


0 Responses