Hello lovely readers!
Eating, quilting (or patchworking, as it’s called in this part of the world), sleeping – this is actually what my day would look like if it were up to me. Well, mainly…
Even if that’s just a daydream, this sewing machine cover for my still pretty new BERNINA 770 QE will remind me in the future if I am neglecting these three important activities!
I’m so happy that you are here and want to accessorize your sewing machine with a new cover! This project is a joint project with my dear colleague and quilting partner in crime Dorthe Niemann– she introduced the idea last Sunday in this first post (in German)and showed off her finished sewing machine cover this morning. Dorthe’s version of the cover has sewn-in side panels, whereas mine is closed at the sides with ties.
All quantities and size measurements for both model series (500 and 700) as well as information regarding the necessary accessories can be found further below and in our first post for this project (in German). For the precise cutting dimensions, use the diagram in my post or the one in Dorthe’s post depending on the size of your sewing machine and choose whether you are making the version with ties or with side sections.
Required materials
Measurements
Cotton fabric for front, batting and cotton fabric for back:
- 48 x 80 cm each for the small model
- 54 x 90 cm each for the large model
For the side parts you need:
Cotton fabric for the front, batting and cotton fabric for back:
- approx. 36 x 46 cm each for the small model
- approx. 40 x 50 cm each for the large model
After quilting, cut the side pieces from it in the following sizes (the seam allowance of 1 cm is already included):
- (1) 20 x 30 cm for the right side and (1) 20 x 20 cm for the left side (small model).
- (1) 22 x 34 cm for the right side and (1) 22 x 24 cm for the left side (large model)
Also:
- approx. 30 cm Vliesofix
- 2 m woven ribbon (1-2 cm wide) or 4x 6 x 50 cm cotton fabric for the ties
- 2.5 m (small model) or 3 m (large model) bias tape for the edging or 15 cm fabric for binding
Usefull tools
- Cutting mat
- Rotary cutter
- Patchwork ruler with cm graduation
- Marking pen
- Temporary spray adhesive
- Paper scissors
Instructions for a sewing machine cover with ties
Creating appliqués
First of all, we are going to create the appliqués. You can download and print out the appliqué template here (please do not change the size of the page):
Eat.Quilt.Sleep.Repeat. Template (in German)
Instead of tracing the letters from the template, I proceed as follows:
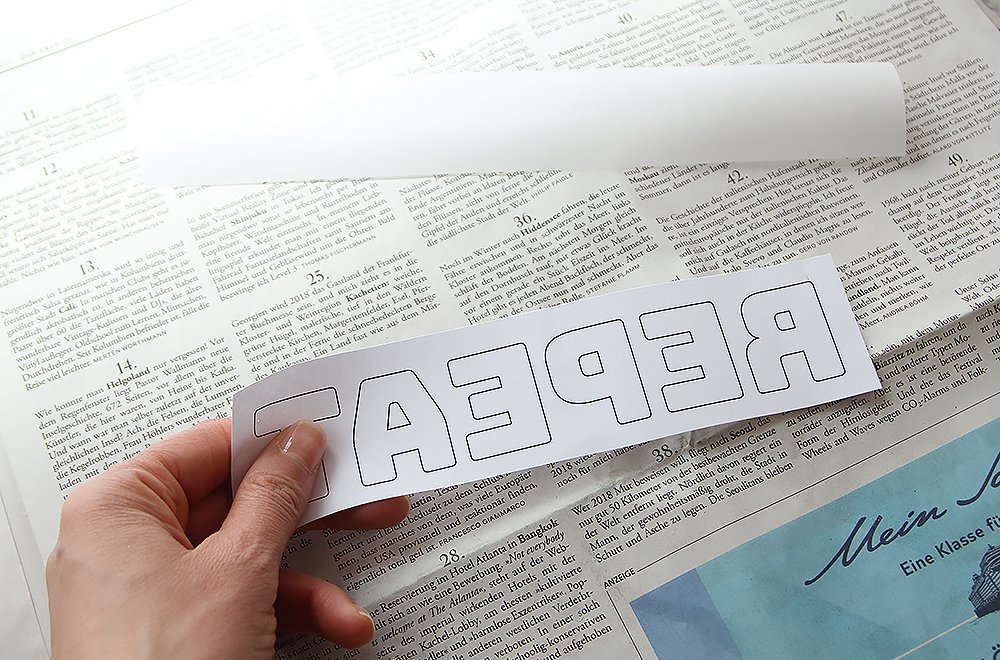
1. I print out the template and cut it out roughly.
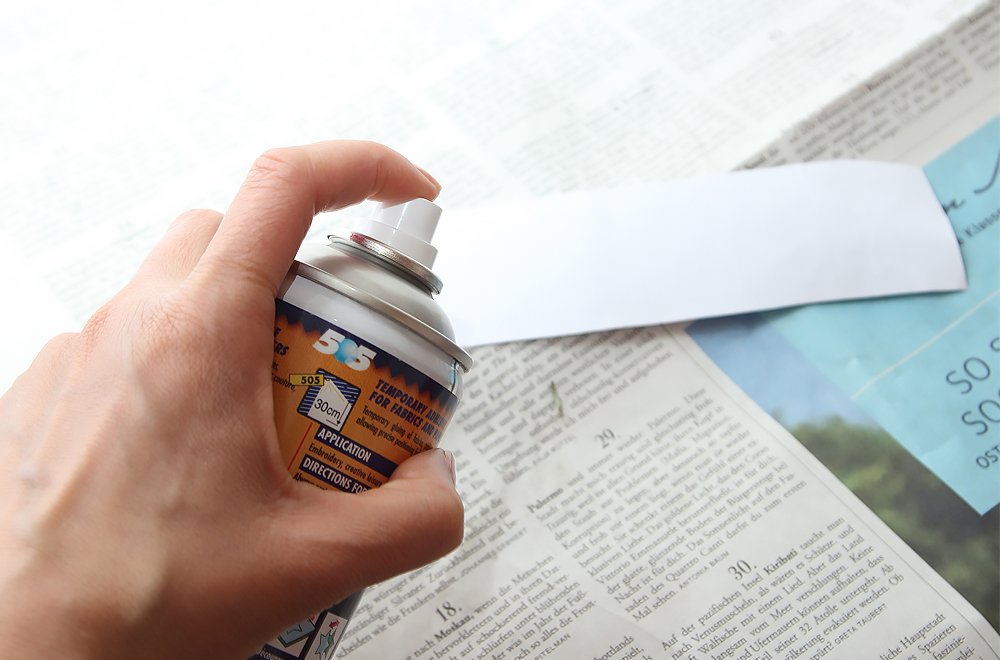
2. Then I spray the back with a little spray adhesive (here I used Odif adhesive, which is what I use to temporarily fasten together the different layers when quilting, but you can certainly use other adhesives) and stick it onto the paper side of the Vliesofix.
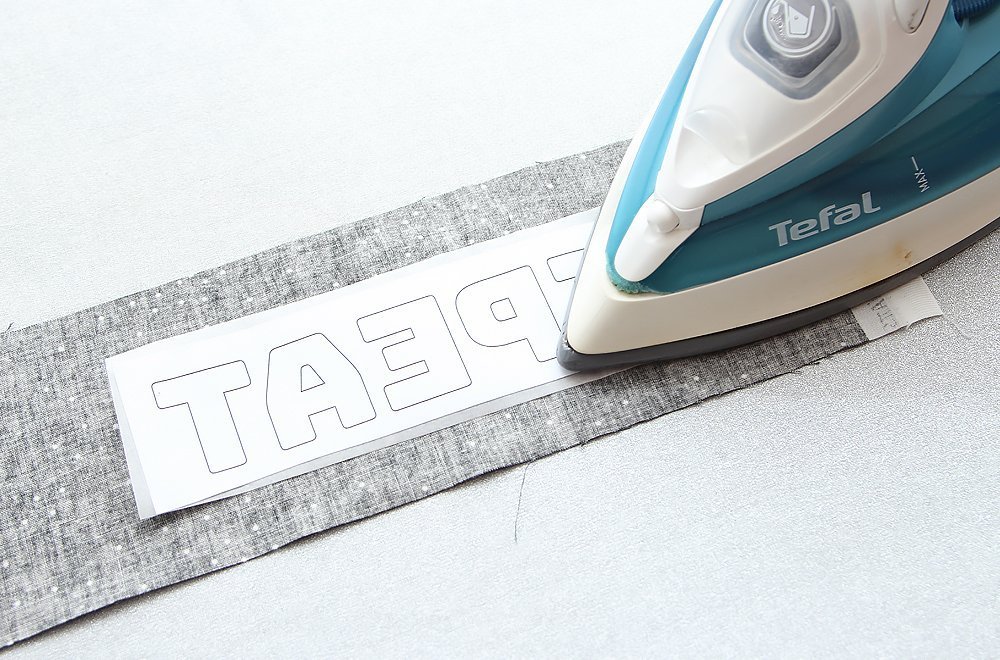
3. I then iron the prepared piece onto the back of the material.
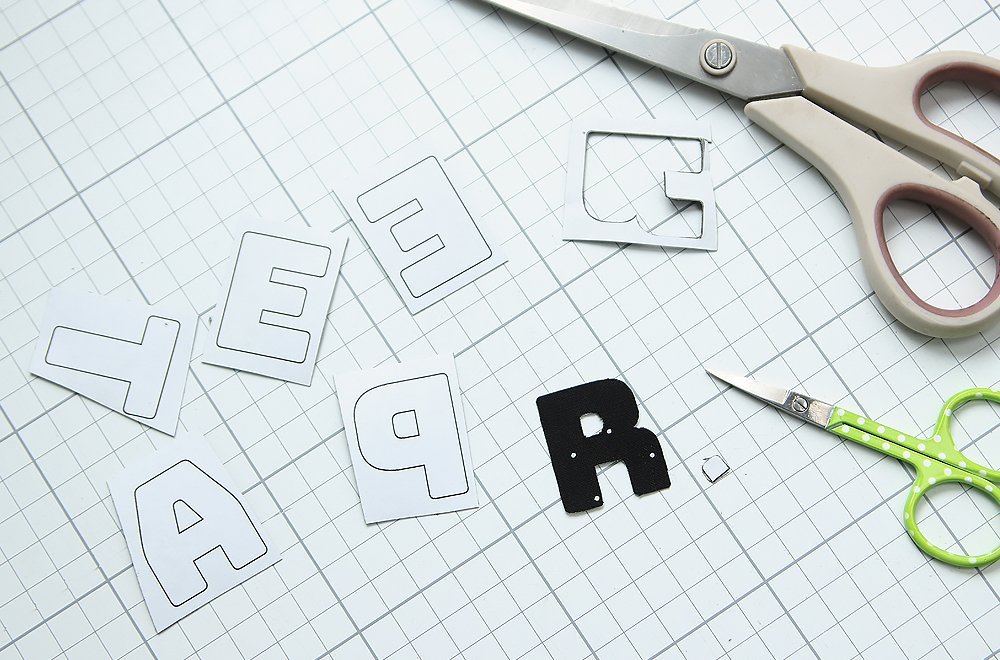
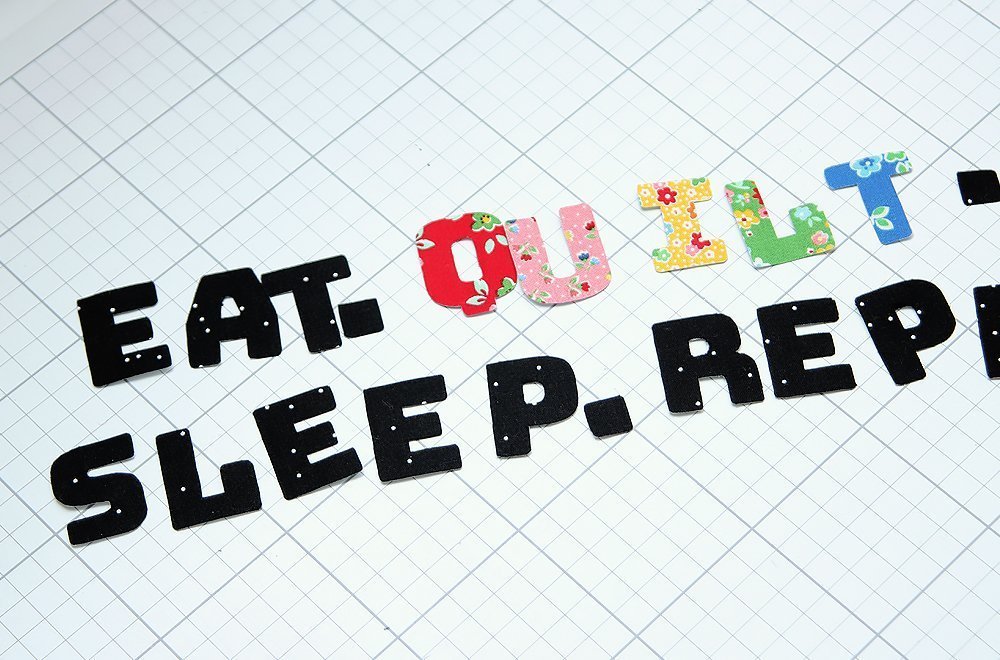
4. Now the letters can be cut out. I used fine scissors with a sharp point to cut out the very small pieces. This method of transferring appliqué templates saves a great deal of time (and nerves), so I strongly recommend it to you!
If you prefer “Sewing is my yoga” as your motto, then you can print out Dorthe’s appliqué template !
To go with the rather understated pattern on the background fabric and edging, most of the letters are black. The word “quilt” makes a colorful contrast.
Creating the sewing machine cover
I will be making a cover for my larger model (B 770 QE). If you are making a cover for the smaller model, then please use the alternative measurements.

1. First, fasten together the front site, the interfacing, and the back with either pins or spray adhesive and…
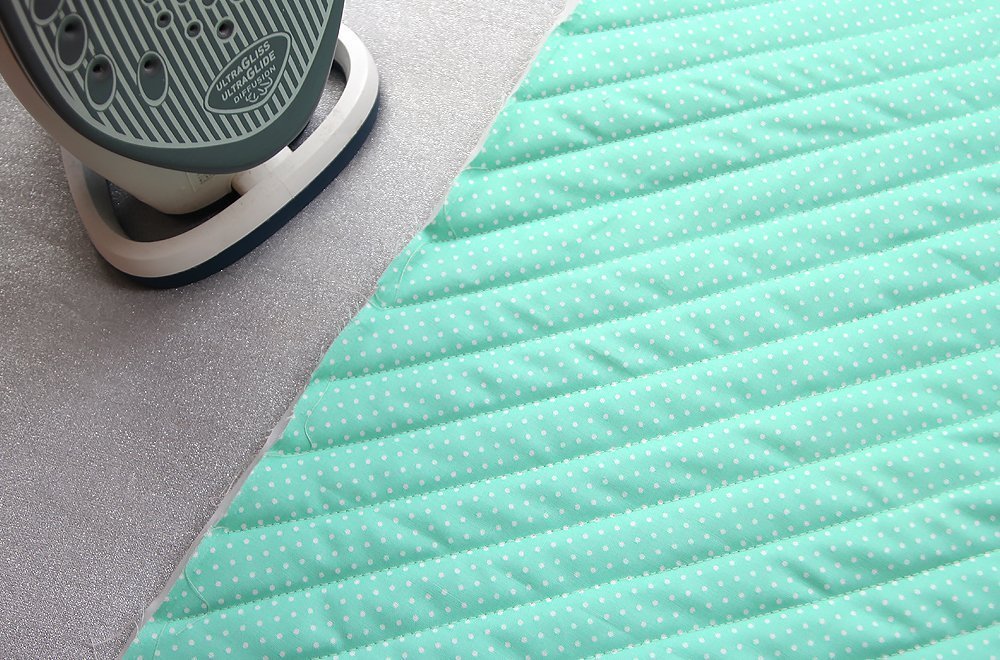
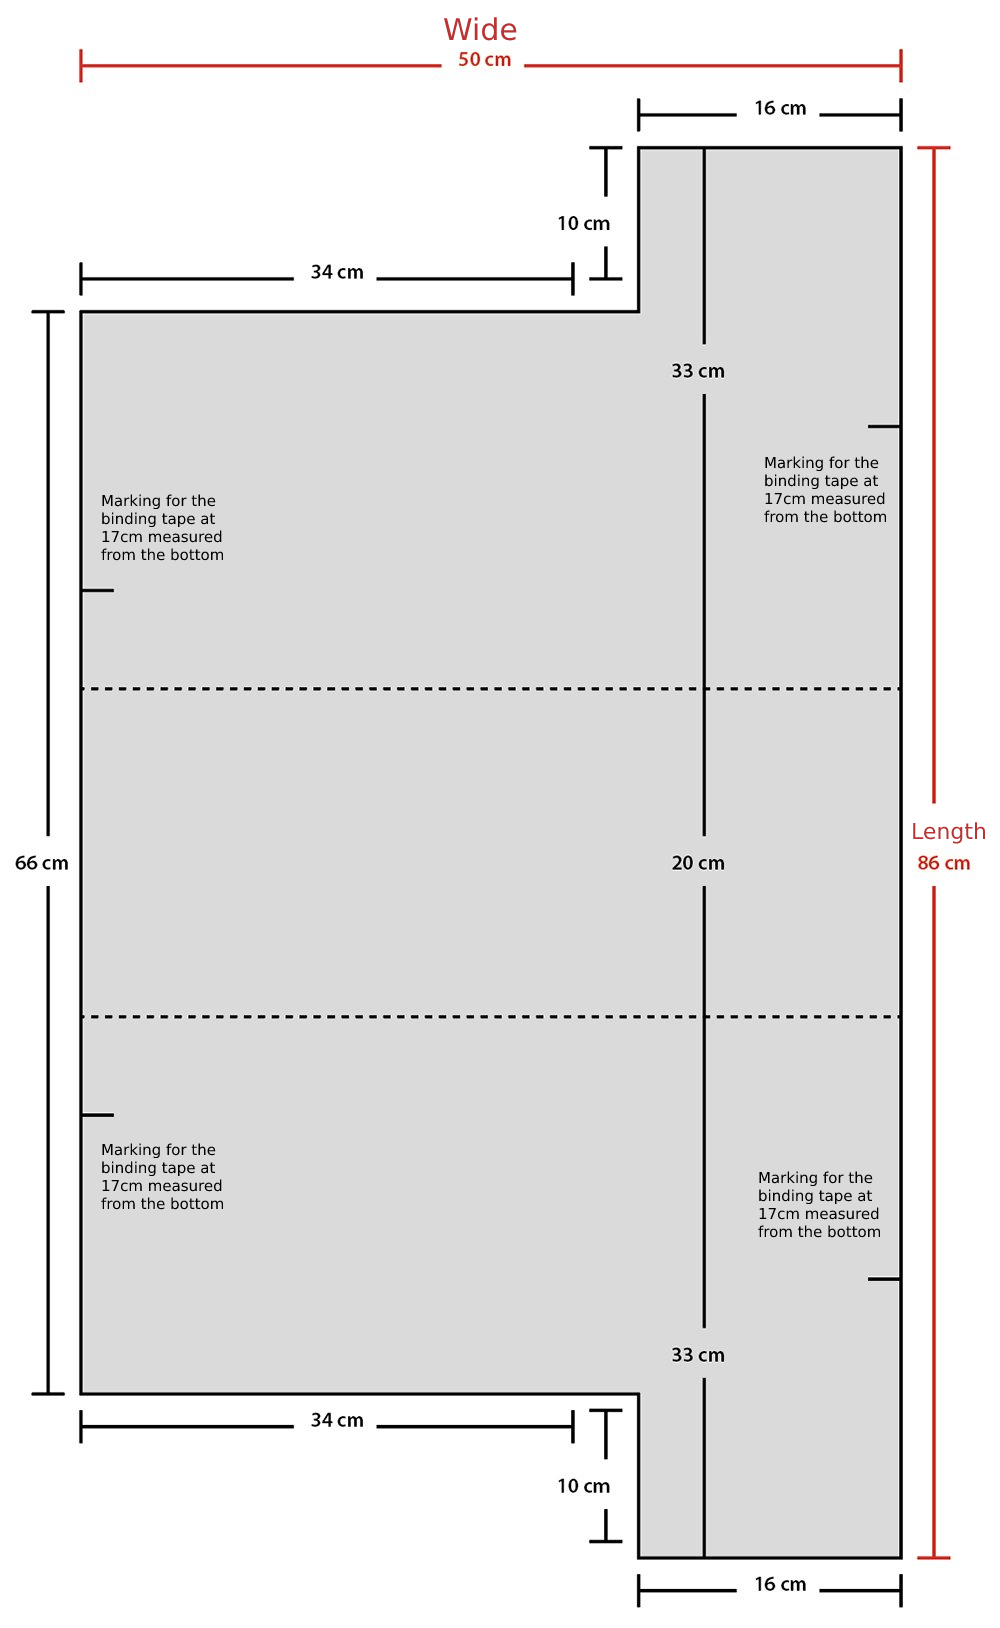
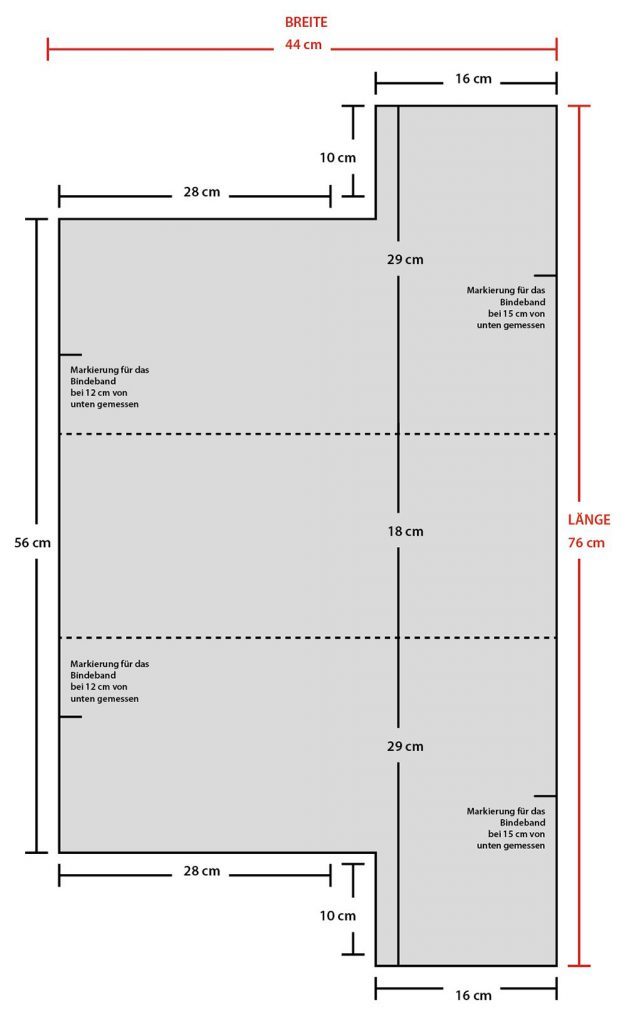
2. … quilt in any way you like! Cut the quilted piece to the exact measurement of 50 x 86 cm (small model: 44 x 76 cm). Use the diagram below to see the additional measurements needed to continue cutting the cover. This is for the large model:
This is the diagram for the small model:
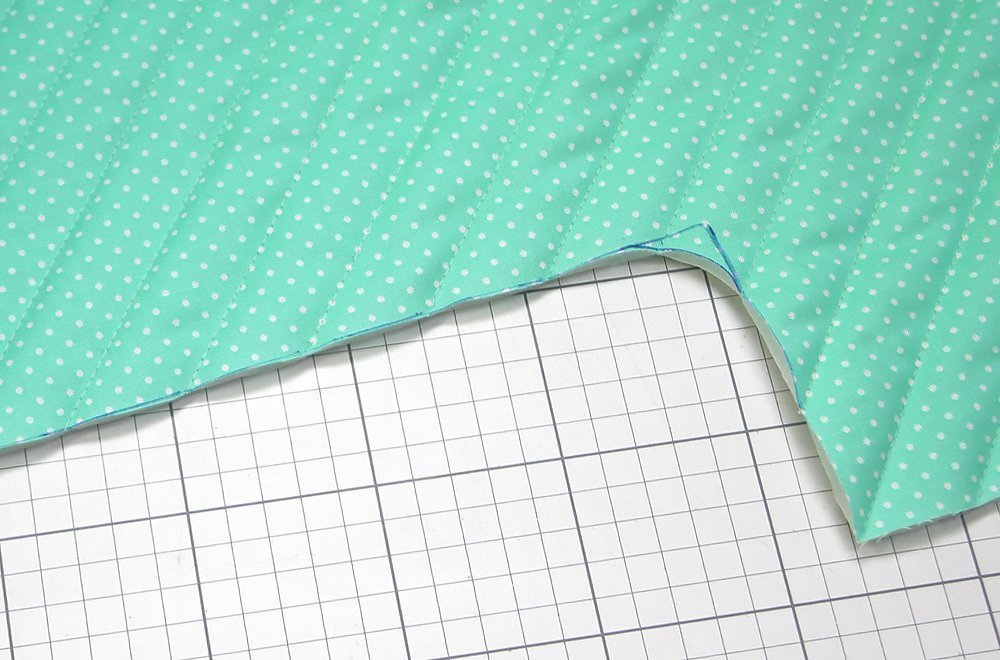
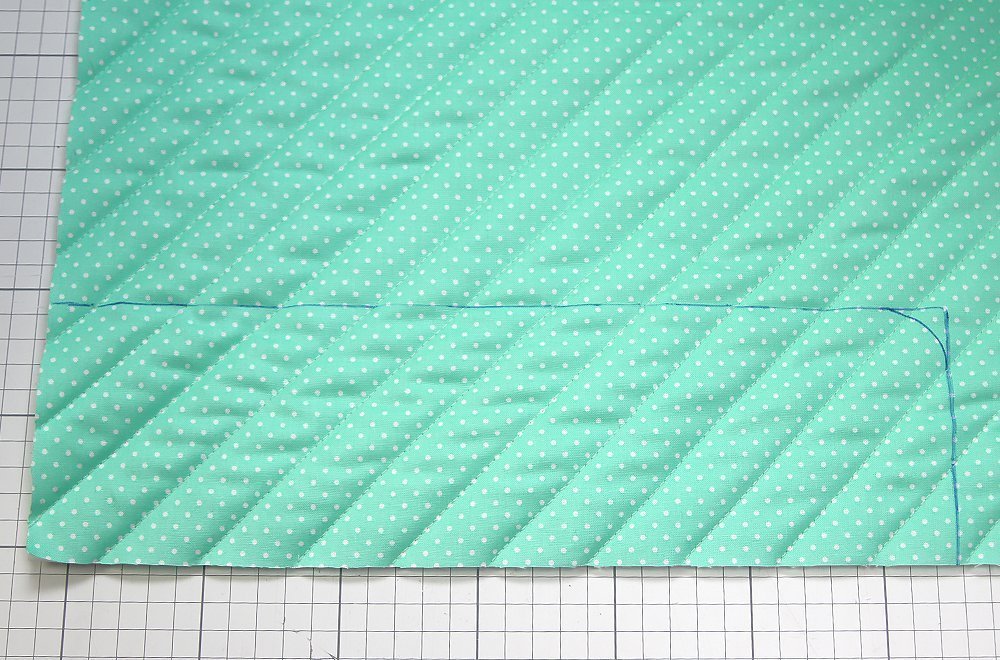
3. Next, cut out the recess for the quilting extension table. To do this, draw a line measuring 10 x 34 cm from the bottom left corner (small model: 28 x 10 cm). Cut along the drawn line. Round off the corners, as shown in the two images above. A drinking glass is well suited for this purpose. Repeat this step at the top left corner. Your cover should now look like the diagram above.
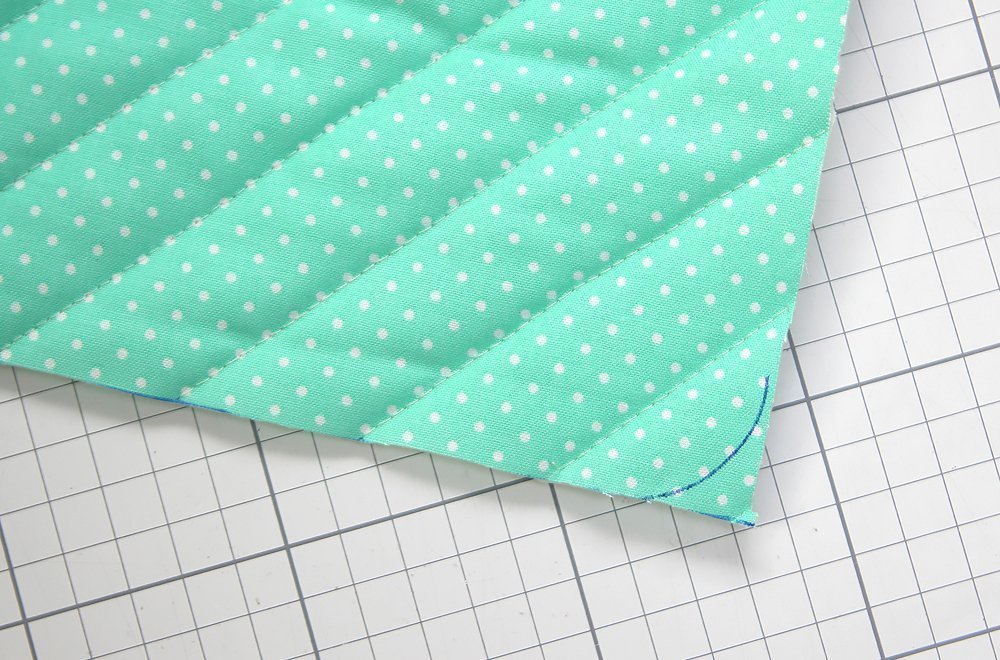
4. Then round off all of the other corners of the cover.

5. Next, measure 33 cm from the bottom and top right edge (small model: 29 cm) and draw a horizontal line with the marker (represented in the diagram above as a dotted line), and draw another line 1 cm away towards the middle. Quilt along both lines using a straight stitch. These quilting seams create a division and additional stability for the front, top, and back.

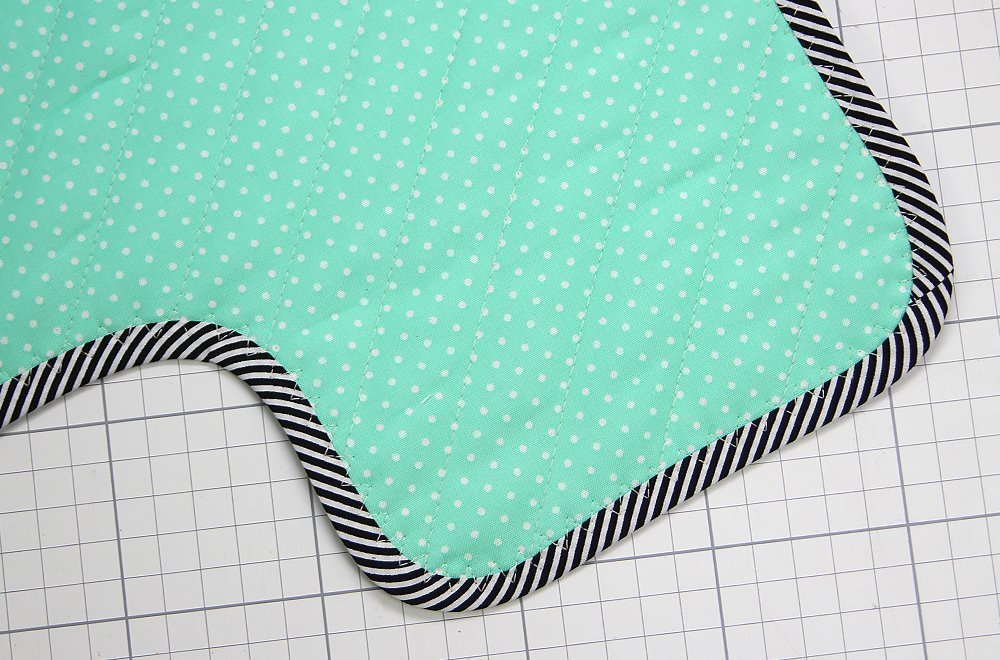
6. Then affix the bias binding (folded width of 2 cm). For this, I used the BERNINA binder attachment for pre-folded bindings. In order to get the curves right, I simply pulled the binder channel backwards a little. In this video guide (>> click) you can see exactly how this accessory functions.
For topstitching bias bindings, I prefer to use stitch no. 16 on my BERNINA 770 QE, which is the divided zigzag stitch. Any little inaccuracies are not noticeable at all when you use this decorative stitch!
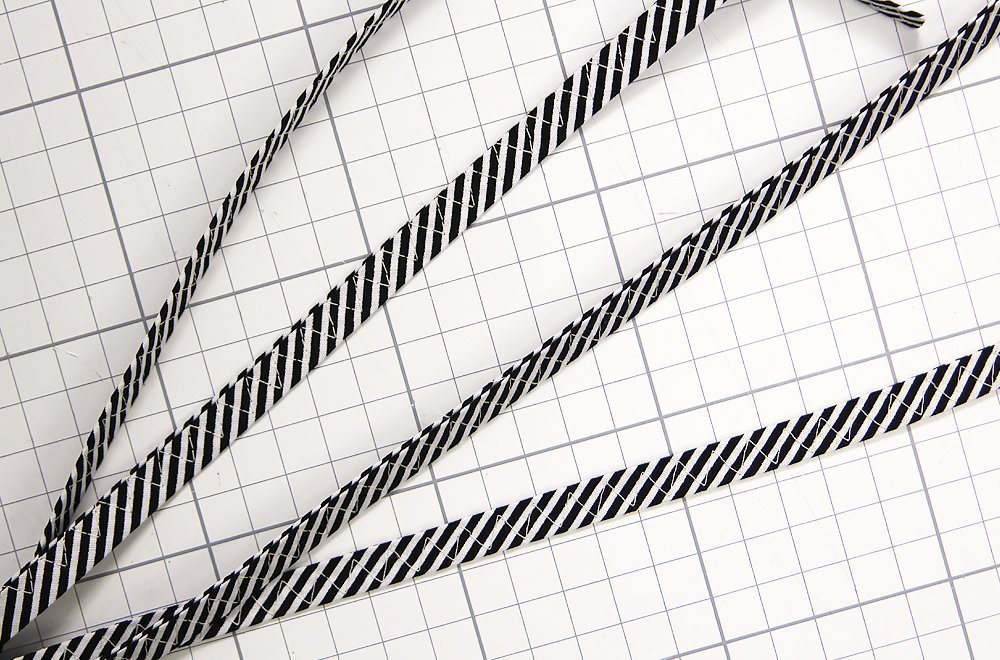
I also used bias binding to create the ties for the sides. For this, I folded them and topstitched them using the no. 16 stitch.
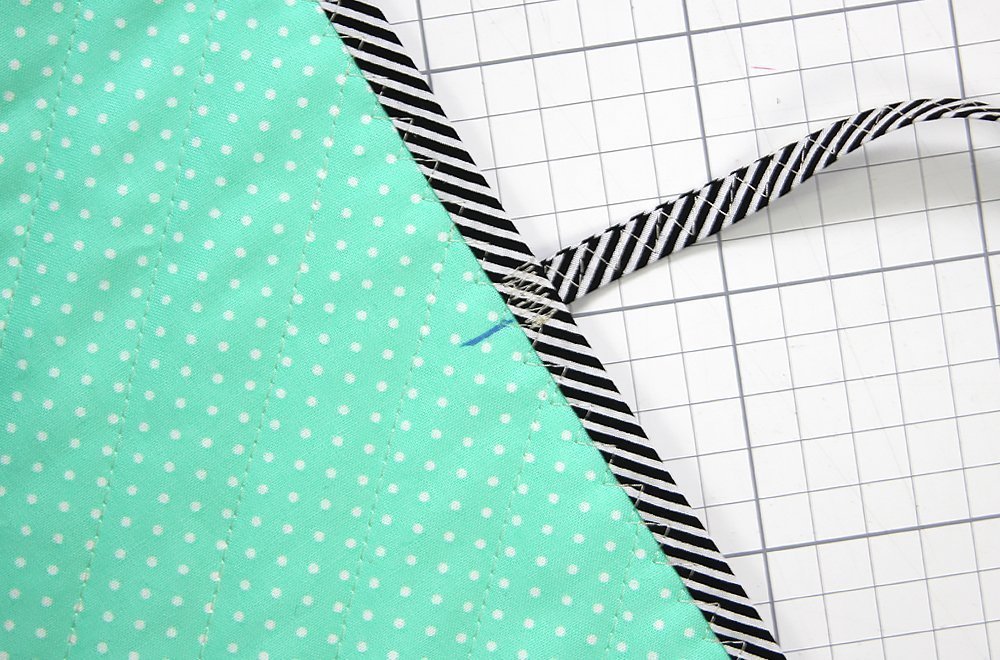
7. Transfer the marking for the ties onto the cover and sew on the ties using a narrow zigzag seam. For this, I used the no. 16 stitch again and simply shortened the stitch length. Shorten the ties as needed.

8. Lastly, iron on the appliqués using the manufacturer’s instructions and then stitch firmly. Since I won’t be putting this sewing machine cover in the washing machine, and at the most will shake it out, I’ve opted for the so-called raw edge appliqué method, so I did not neaten the edges. This is a little simpler for smaller appliqués like these letters than a zigzag border. And that’s it!
Now I’m anxious to see how you have designed your sewing machine covers!
Enjoy the rest of your Sunday and best wishes!
Nadra
⇒ Instructions and measurements for the 500 Series from Dorthe
 BERNINA Corporate Blog -


I have the 700QE and I want to make a pattern which fits around the Multi-spool Holder, so I won’t have to keep taking the attachment off when I cover it.Could you make a version that goes around the spool? Thanks
Hy Neva,
This article was originally written on the German Blog and then translated, so I doubt the author will see your comment. I suggest trying to adjust the pattern yourself by adding length to it. How much you will need so it can fit over your Multi-spool Holder is something you will have to test yourself.
Thank you for this pattern. It’s surprising that this is the first time I’ve seen a sewing cover on this site. It’s very timely. I would have liked to have this pattern with sides as well. Is it possible to get the original pattern with sides in English? I intend to sew this for all my berninas. I have 5 of them.
Dear Carmen,
I just read through the German article, and they mention the measurements. These are the sizes before quilting:
each aprox. 36 x 46 cm for the smaller modell
each aprox. 40 x 50 cm for the bigger modell
The side panels are cut exactly to size after Quilting (1cm sewing allowance is already included in these measurements):
(1) 20 x 30 cm right side and (1) 20 x 20 cm for the left side (small modell)
(1) 22 x 34 cm for the right side and (1) 22 x 24 cm for the left side (bigger Modell)
Hope this helps!
Will this fit the 790+
Dear Linda,
All machines of the 7-series have the same frame, therefore are the same size. So the pattern will fit your B 790 PLUS perfectly 🙂
I just got my Bernina 770 QE yesterday. This is a perfect pattern. Thank you.
Marilyn
I’d love to be able to read the German post in English by Dorthe- regarding making the Bernita sewing machine cover with side panels rather than the ties. But alas! I cannot read nor speak German!!
Thank you for these great ideas!
I’d love to be able to read the German post in English by Dorthe- regarding making the Bernita sewing machine cover with side panels rather than the ties. But alas! I cannot read nor speak German!!
Thank you!
I am so glad I found the machine cover. It will be a project I will make.
I so love this. Plan on making myself one and one for a friend. Thanks for sharing