 BERNINA Corporate Blog -
Are you a fan of digital sewing patterns? I LOVE them and am happy to live in a digital world. I live in Germany, and shipping paper patterns here from the U.S. or other places can be very, very expensive – and can take a long time. So I choose digital patterns, have them within a few minutes and print them locally.
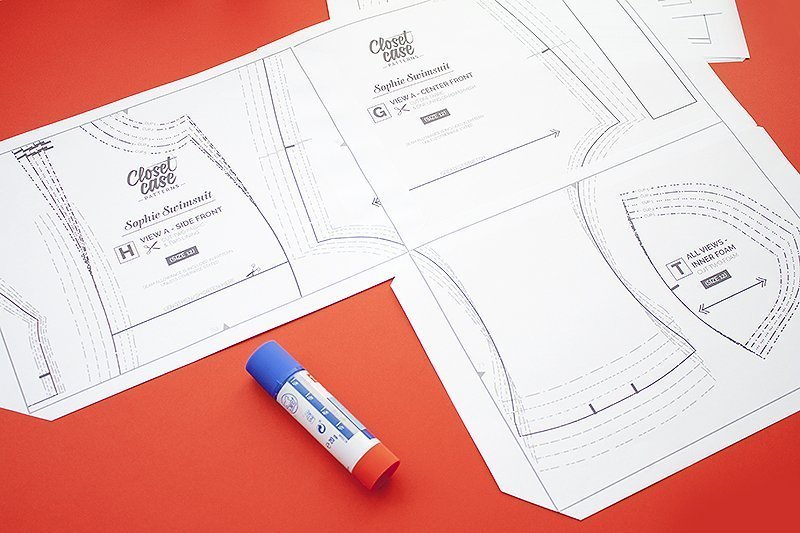
I especially love designers who deliver the pattern as an A0 copyshop file. It’s my preferred format. You can print the file at a copyshop or, like I do, use a service where you can upload your file and they send the printed A0 sheet to you. No assembly required, you can trace the pieces just like from a paper pattern or, even easier and less work, just cut out your desired size.
Sadly, some designers still only provide files for printing on A4 or US letter paper. You know what this means: some assembly required. I’ve never heard a sewist say that assembling the pattern is a part about sewing they like. The printing, cutting, glueing, cutting again… A suuuuper time-consuming activity that many of us could do without.
Well, I’ve got a super handy dandy tip for you today: a fast method to assemble the printed A4 digital pattern with minimal cutting and glueing!
Assembling A4 digital patterns: A super quick and easy method
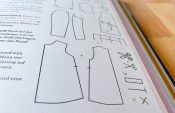
You’ll need to print the A4 pattern first. Make sure to follow the instructions given by the designer and check if the test square is the given size. This is important, so every piece will be true to size.
The pages will have some kind of border around the pattern pieces with a margin where nothing is printed. You don’t need to cut this piece away – we’ll work around that. 
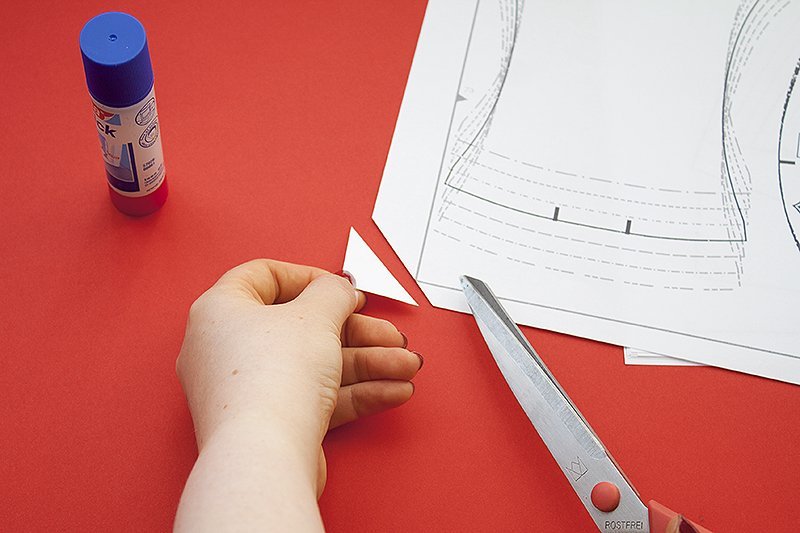
Cut the corners of the pages away in a diagonal line.
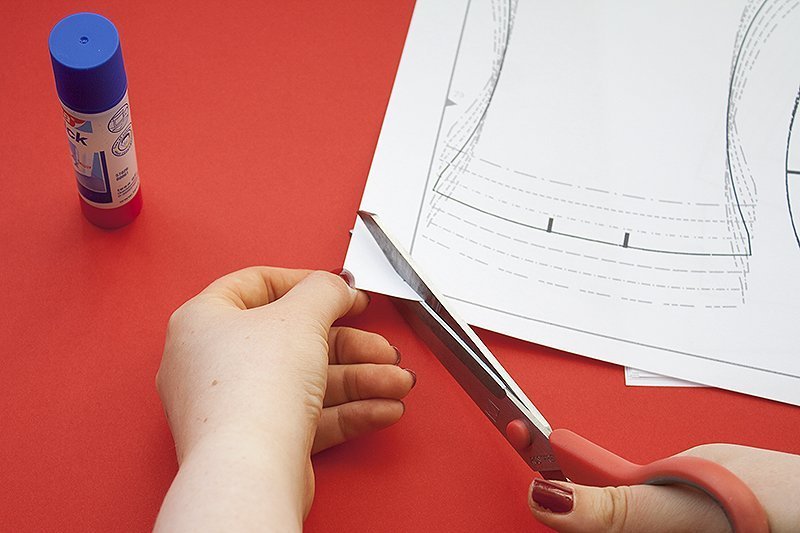
As you can see below, the diagonal cut just touches the corner of the printed border. It’s four cuts for every page – super quickly, you don’t have to fuss over the angle. Just cut diagonally and make sure to cut right at the corner of the border.
Another advantage: minimal paper waste! You know you hate the pile of paper strips that you’re left with when cutting away the borders.
Now, you can start placing the page. I like to cut and glue as I go, but you can cut all corners (ha, get it?) first and then glue. Whatever goes more smoothly for you.
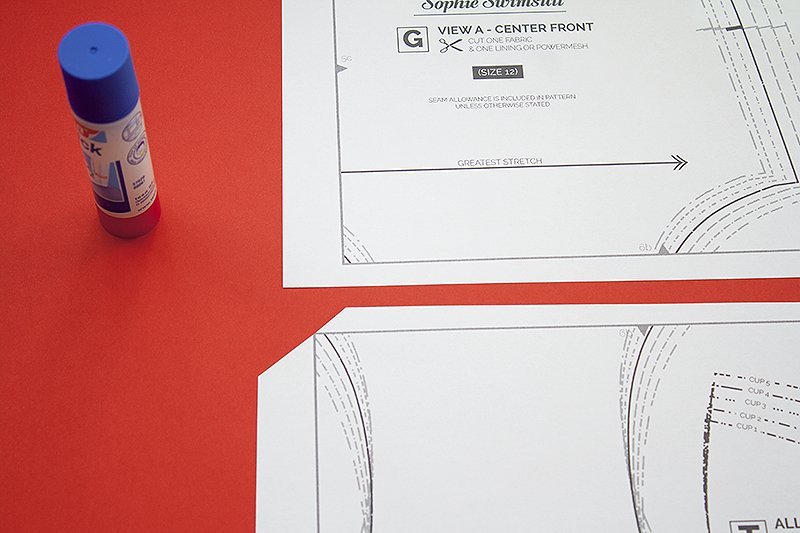
Find two pages that belong together.
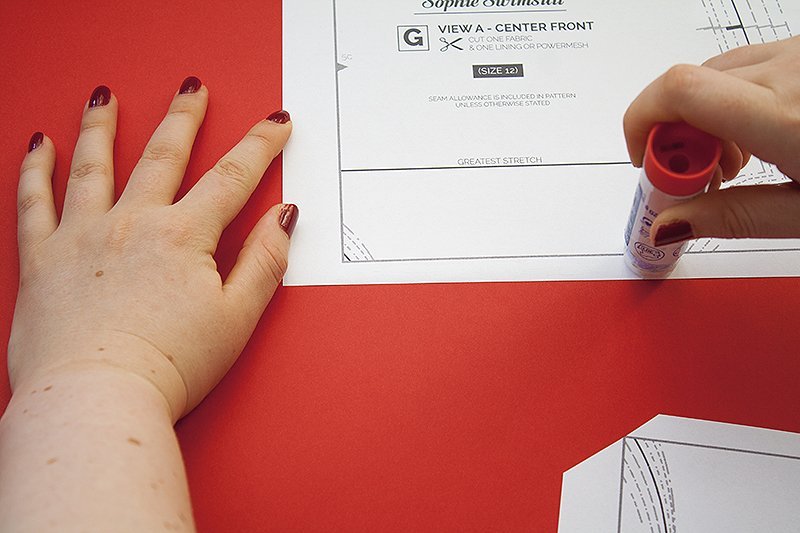
Take a glue stick and apply the glue to the paper – not only within the outer border, but about double the width.
Then, place the adjoining sheet on top – you can see how to place it at the non existing corners. It lets you see if the borders align horizontally and vertically.
See? It’s super easy to align the pages correctly.
Keep going until you have all your pages assembled. In some places, the lines might get interrupted, but it’s easy to trace them either a) because you see the line through the paper, b) just connect the lines, either with a pen/sharpie/whatever you prefer or just wing it while cutting out the paper pattern.
Believe me, this method is awesome: you’ll have your A4 pages assembled in no time and have less cut away paper you need to take to the trash. I hope this makes the dreaded task much quicker and easier for you!


Amazing! I just learned something new ?
I’m assuming this works for U.S. letter paper as well. Please correct me if I’m wrong.
I tried it and I like it, so easy to do, and fast.
Great tip!