 BERNINA Corporate Blog -
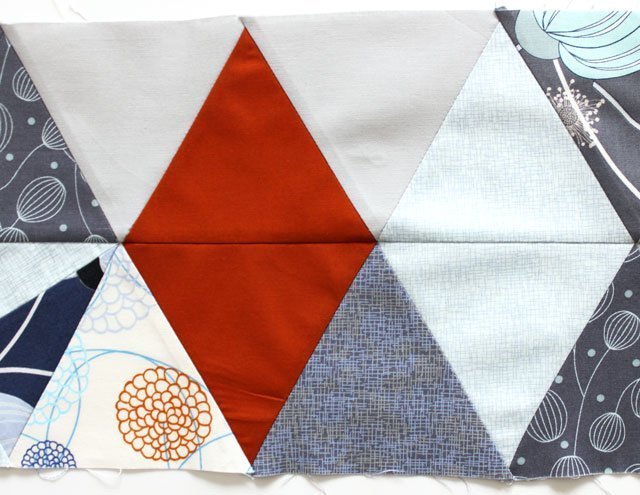
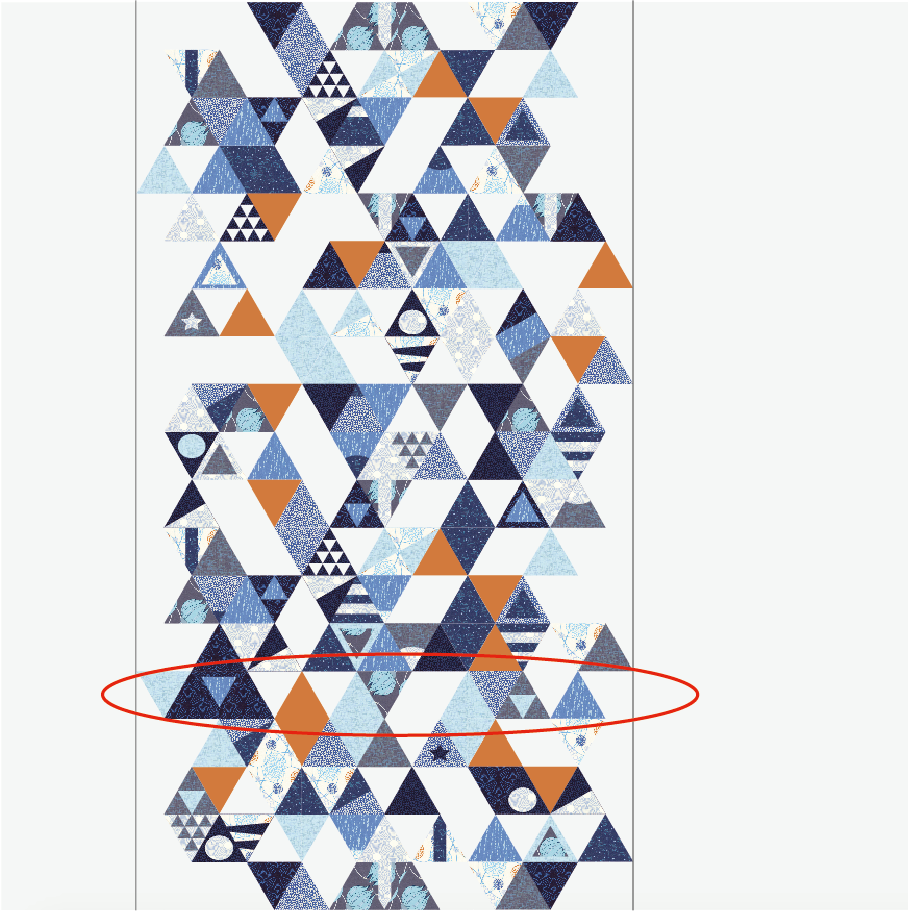
After finishing part one of the completion of the Bernina Triangle Quilt Along, let’s continue on with part two. This post will explain in more detail how to assemble the triangles into rows, sew the rows to the midsection, and attach the border.
Side”filler strips”
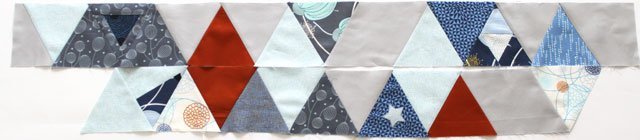
The rows have already been laid out and the “filler triangles” made from the background material have been placed within the decorative triangles. Now it’s time to cut out the side connector and sew the rows together. The distances to the sides are actually quite different. They should be filled in with the background material to a strip width that is the same for all rows. If all of the rows have the same width, you can assemble them into a rectangle and then sew a wide edge strip on the sides. That’s the idea, anyway.
In order to make the rows the same width, theoretically you could sew on single triangles on the left and on the right. This requires a lot of cutting as well as a lot of fabric waste and sewing work. For this reason, all background triangles of the same color are combined into one strip. So you need just one section and one seam in order to fill in the row to get the desired width.
Now, how do you work out the exact size to cut?
First of all, I would prepare some cut out strips and then add more required strips as needed as you work. This is the simplest way to do it. A strip has a height of 4 ¾”.
So, start off by cutting four or five strips with a width of 4 ¾” as preparation.
What row should you start with?
The best option is to begin with the row that is the widest (not including the additional side piece), since it can be used as a model for the other rows. So in my example I’ll be starting with row 5 (from the bottom).
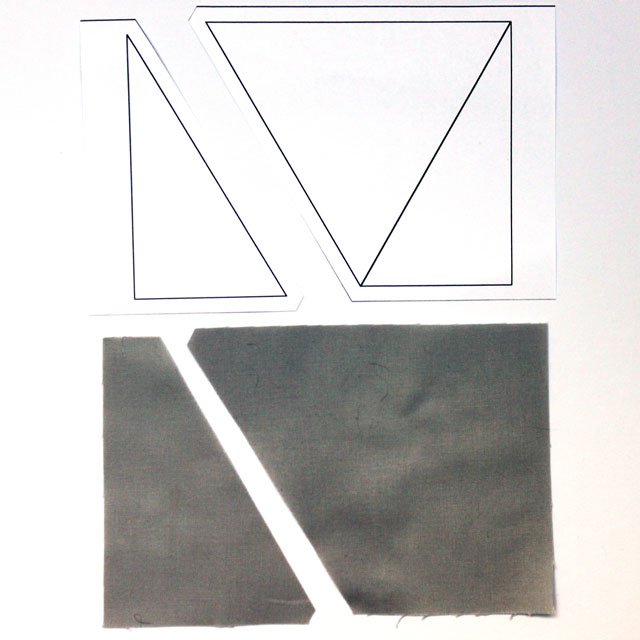
In row 5, I would have to add 1/2 of a background triangle on the left side and 1 ½ background triangles on the right side. These two “starter triangles” are available to download here as
Cutting Templates to download right away
(As always, make sure to click the “Actual Size” option when printing). You will notice that I have added extra seam allowance at the side. I have calculated generously here, adding ¾”. Why? When all of the rows are combined at the end, you can level off the edge by cutting straight down lengthwise. And, in this case, it’s good to have a little bit of excess fabric.
This is how your first cut out piece should look.
Set these two pieces on the left and right sides on the edge of the 5th row and start
sewing the rows together.
To do this, place the two neighboring triangles with the right sides together and sew parallel to the edge with a ¼” seam allowance. Iron the seam of the triangles you have sewn together in one direction and, in fact, in the same direction for all the triangles in each row. In the following row, all triangles should be ironed in the opposite direction (e.g. all even rows: iron the seams to the right, all odd rows: iron them to the left).

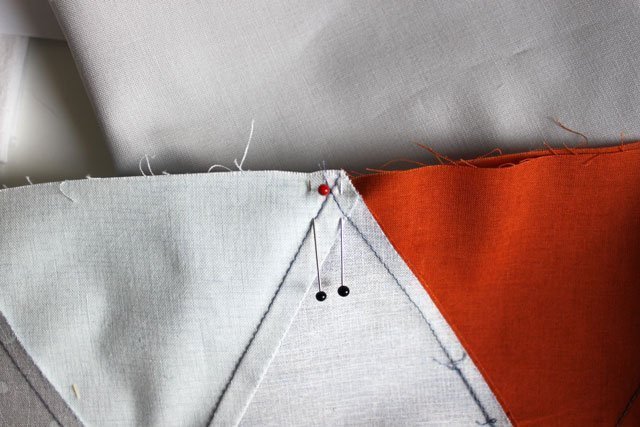
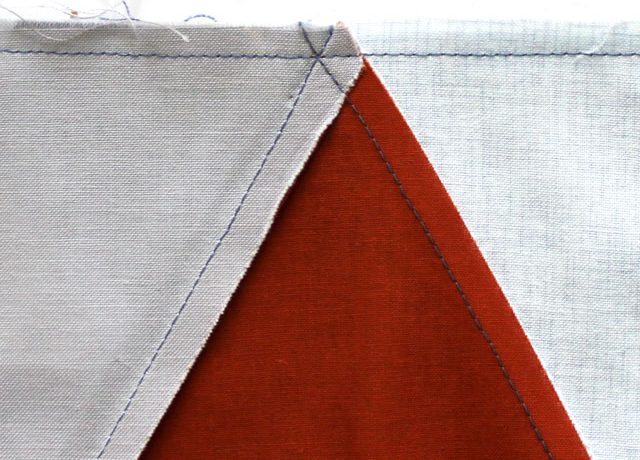
Now the cut-off points of the triangles start to make sense. On the one hand, they help with orientation, but mainly they help to avoid the accumulation of unnecessary fabric in the seam allowances. There should be no protruding triangle tips at the top and bottom of the rows, simply a smooth edge. When ultimately assembling the rows, 6 triangle tips and thus 12 seam allowances will meet. It is best to avoid any protruding snippets of seam allowances here.
It is also important to make sure that after sewing these together, a ¼” seam allowance is left from the tip of a triangle to the edge of the row.
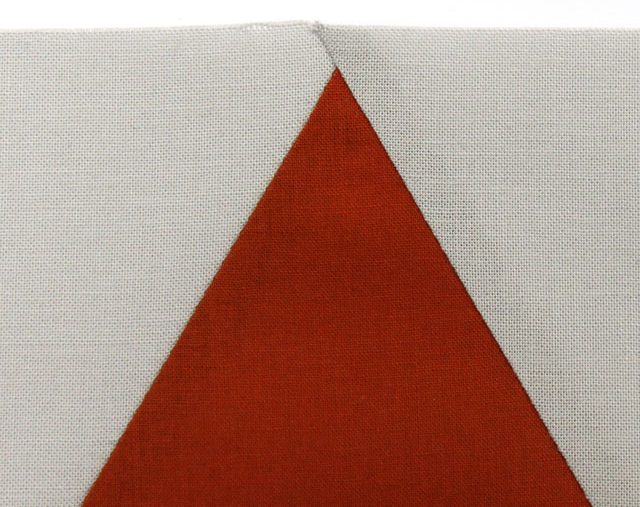
When you have sewn together all the triangles in row 5, it should look like this:

In my case, this row is 45 ¾” long (including the extra-wide seam allowance on both sides). However, this may vary slightly for you, since each of us sews with our own “signature”.
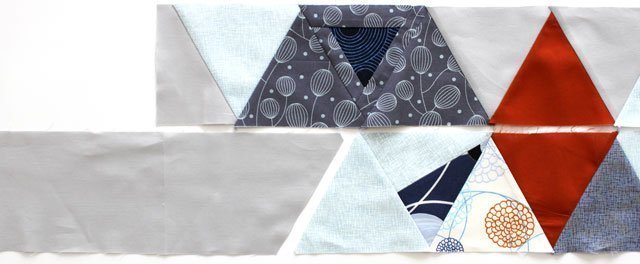
Continue with the next adjacent row. I am moving downwards and will be sewing row 4 (counting up from the bottom). At first, don’t worry about the left and right ends of the row. Instead, sew together the individual triangles in this row. Remember that this time the seam allowances are to be ironed in the opposite direction.
My rows 5 and 4 look like this next to each other.
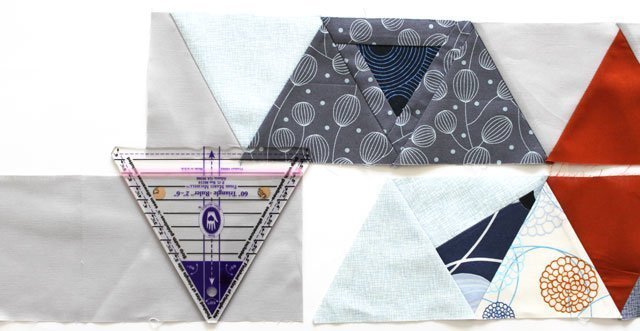
Now, in order to determine how long the additional side pieces need to be, I take a longish strip of background fabric (width 4 ¾”) and cut the 60° angle using the triangle ruler (trim the tip of the triangle).
Then, I sew the background strip onto the row.
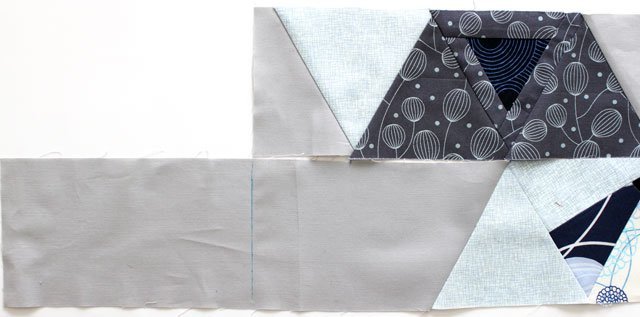
Following the layout, place this row (row 4 in the example) on the adjacent row (row 5 in the example). Now the required length for the additional side pieces can be marked onto row 4 based on row 5, and the pieces can be cut to size.
Use this same method for the opposite side so that both rows are the same length.
All of the rows are sewn together this way and made the same length with the side pieces.
Assembling the rows
When assembling the rows, the familiar “skewer technique” from block 8 is used: two rows that go together are laid on top of one another, with the right sides together. Insert a pin vertically through the triangle tip of the upper row from above and continue vertically through the triangle tip of the lower row, so that both tips match up perfectly on top of one another.
Do this for all the triangle tips on the rows to be assembled.
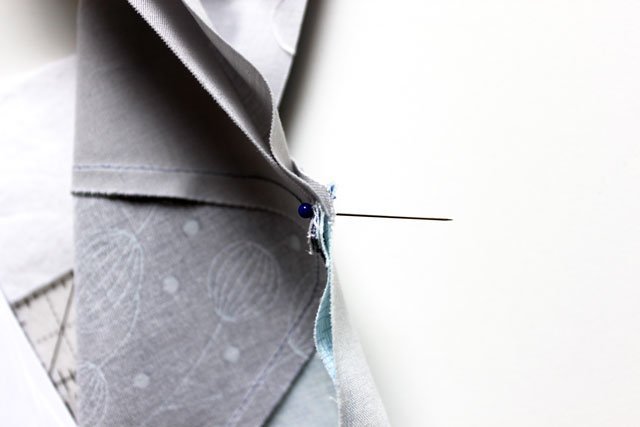
In block 8 with the stiffness of the paper, we used Wonder Clips to fill in the space between the pins so that we could remove the skewer pins while keeping the fabric in place. In this case, you will not need the Wonder Clips. Instead, insert two pins into the fabric parallel to each other to the right and left of the skewer pin, allowing you to then remove the vertical pin.
Pin the whole width of the rows to be assembled in this way.
Then sew with a ¼” seam allowance. Ideally, this seam should pass through the intersection point of the triangle tip.
In theory, everything should be the right size, but in practice, we often struggle with the fact that the fabric is not stiff but rather stretchable and flexible, and things don’t always match up perfectly. If in doubt, you have to decide whether you would prefer a straight adjoining seam for the rows or for the points to match up precisely. I also have these same issues, despite having so many years of experience with patchwork.
You can iron these horizontal seams all in the same direction (i.e. facing down) or iron them open.
When all of the rows are assembled according to the layout, the right and left edges can be cut to straighten them out. When you are doing this, make sure that there is still a ¼” seam allowance on the side of the outermost triangle for attaching the border! This is very important.
Attaching the border
Place the midsection down so that it is smooth (i.e. on the floor) and place the right side border on top of it with the right sides together so that the long edges are matching. The measurements for these border strips can be found in the previous post. There can be a little of the border fabric protruding at the top and bottom as this can be straightened out later. Now pin everything together neatly so that there are no bulges along the border.
Using a ¼” seam allowance, sew on the side border piece and trim it down at the top and bottom as needed, to get a straight, continuous upper and lower edge.
Repeat this with the left border piece.
Ta-da!!! Pop open the champagne, the top is done!!!
You’ve earned the right to do whatever you feel like for the rest of the day: a hot bath, a large sundae, pizza delivered hot to your door, or even watching your favorite movie. Because yippee! You’re all done with the front part of this mega-project. Congratulations!
It really wasn’t all that hard, right? So let’s see how it turned out. Please post your finished tops in the Community or on Instagram .
I will be giving you some more ideas and tips on quilting. After this major achievement, you can even reward yourself by giving the top to a good quilting service for them to finish.


0 Responses