 BERNINA Corporate Blog -
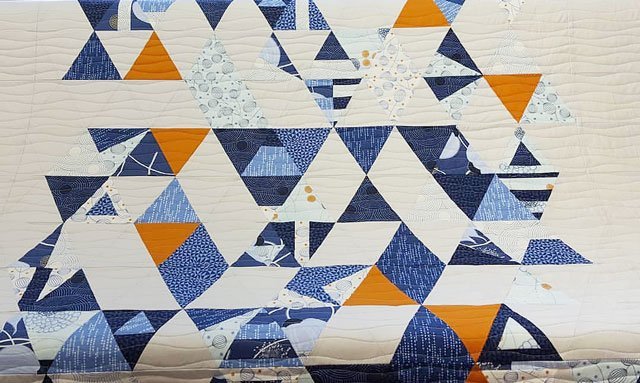
Here are a few tips on quilting: Your top for the BERNINA Triangle Quilt Along is finally finished, but there’s one more thing to do. A key element is still missing – the quilting. Quilting makes the quilt, as a book title aptly puts it. Quilting adds to the appearance of a quilt by giving it a three-dimensional structure; it can be simple or elaborate, with straight or winding lines, spaced out or dense, modern or traditional. It always makes its own statement and should fit in with and add something to the quilt. The first question to ask is:
What interfacing should I use for my quilt ?
The answer depends on what you want to use it for. If you want your quilt to be lovely and soft, for everyday use and washed frequently, then a voluminous polyester batting is a good choice. It is best to get a high-quality one which will not stick together and become stiff when ironed.
If you are going to use the quilt as a bedspread on top of the bed, it is a good idea to use a cotton batting (usually a mixture of 80% cotton, 20% polyester), or a bamboo or rayon batting. This makes the quilt flatter and stiffer and not so plump.
Wool is a wonderfully warm batting, but it can shrink so it should be used with caution. In terms of the look of the quilt, it is similar to cotton batting.
Should the batting be pre-washed ?
It is not necessary for synthetic fibers, such as polyester, which do not shrink. For cotton and wool, I would say yes. These battings shrink, which can result in a scrunched effect on the surface of the quilt that is typical of antique quilts and is highly prized. However, it does not fit so well with the modern style.
Which quilt pattern is suitable ?
I’m assuming that you’ll be quilting on the machine. You can still quilt by hand if you prefer, and the simple machine quilting suggestions also apply to hand quilting. For this reason, we will not be discussing it separately.
I will give you the options in the order of how much work is involved. A very simple method is
Straight line quilting
This can also be done on a household sewing machine.
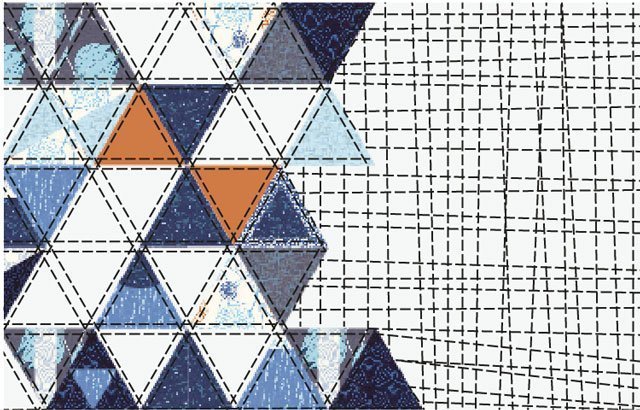
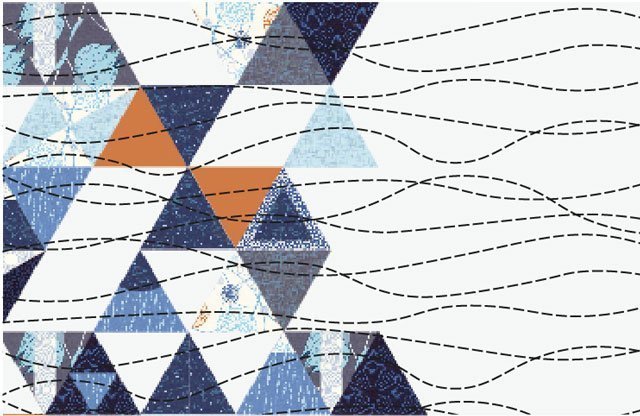
You could quilt using completely straight lines in the middle between the seams of the triangles over the entire surface. This means that the quilt stays really cozy and voluminous.
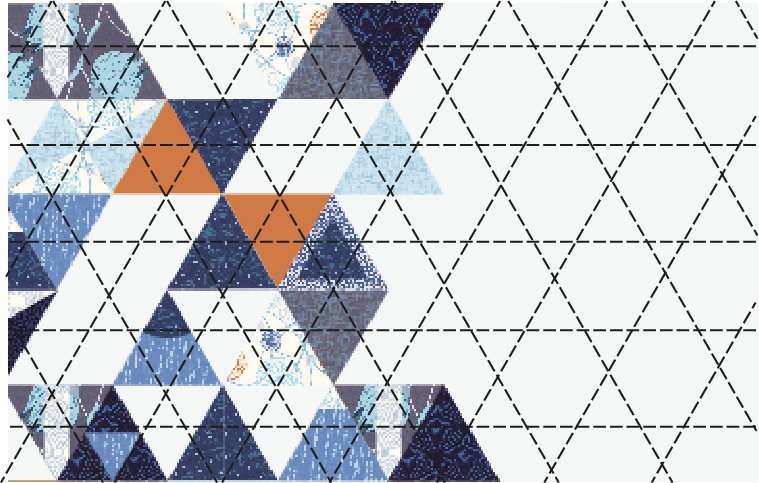
The more lines that are added, the firmer and stiffer the quilt becomes. So once again it depends where and how the quilt is to be used later on. You can also quilt parallel to the seam at a distance of ¼”. This is the classic pattern for a triangle quilt.

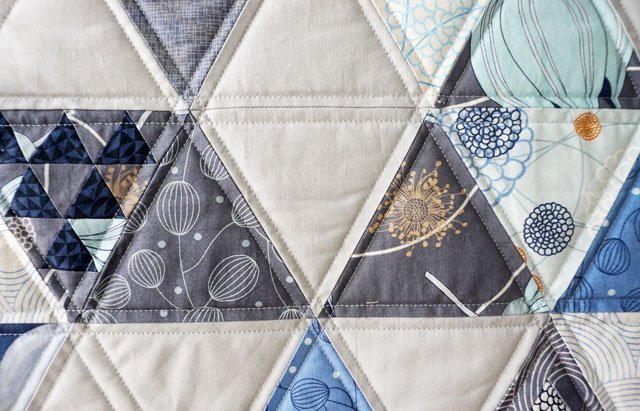
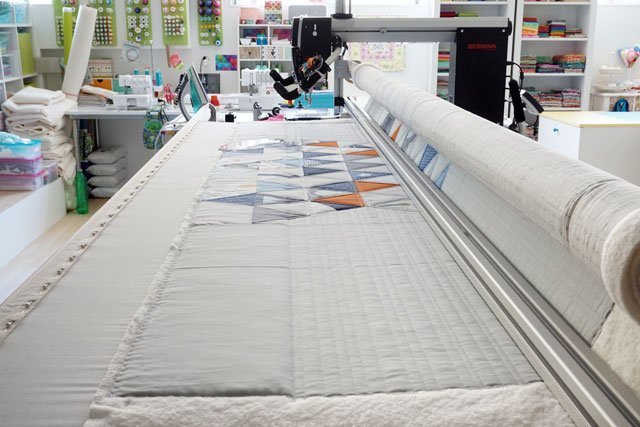
Iva Steiner is a German BERNINA blogger and works on a BERNINA Q 24. She also provided me with all the photos of the quilting process that you see here.
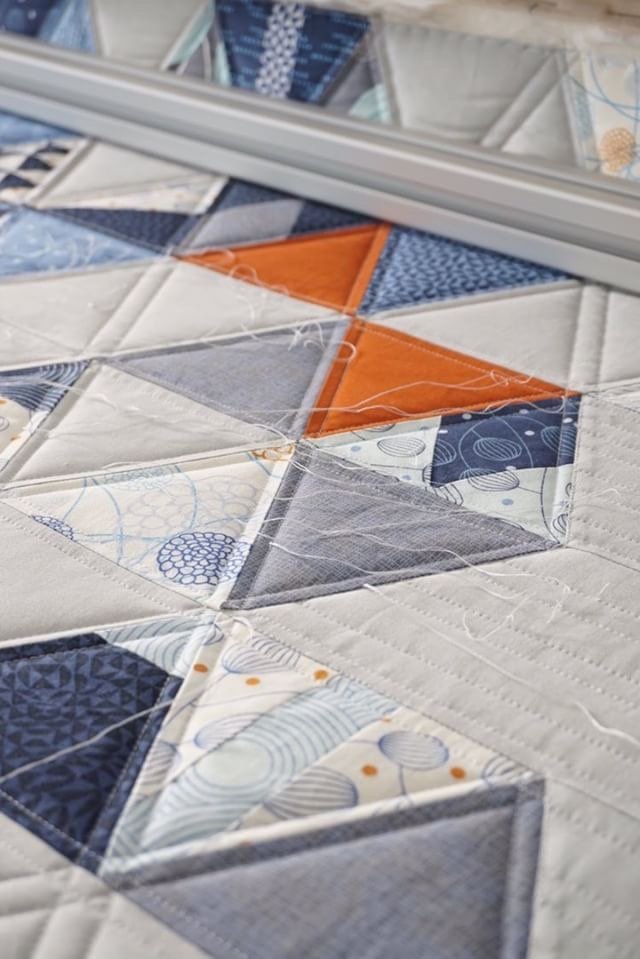
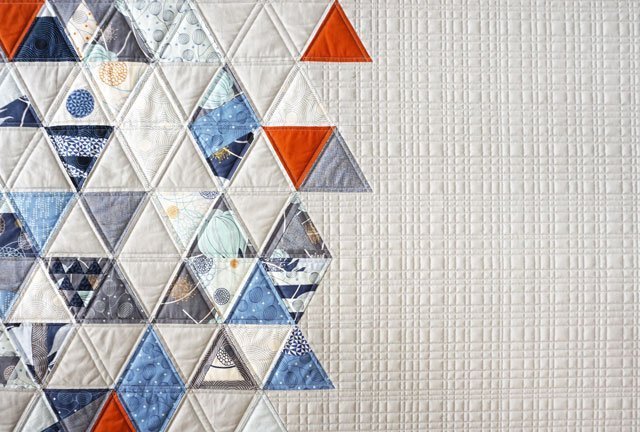
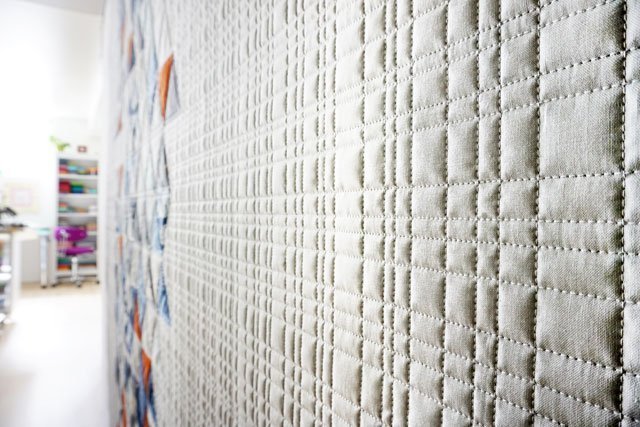
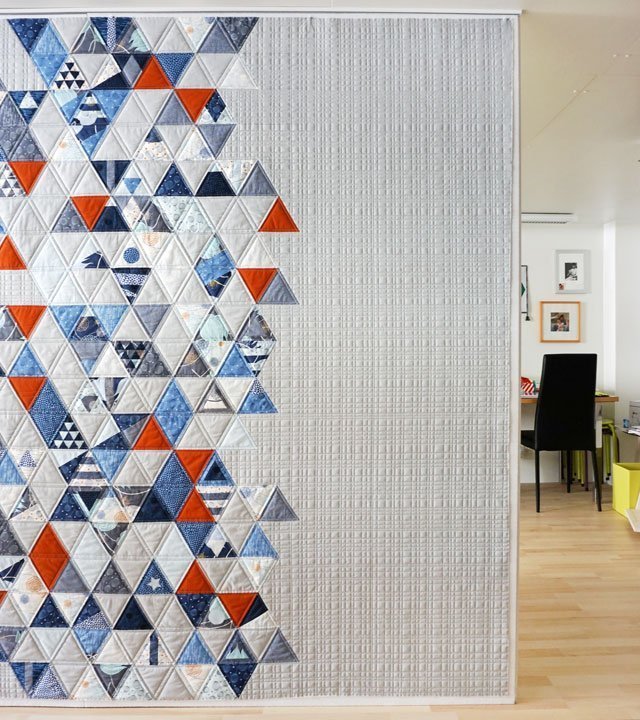
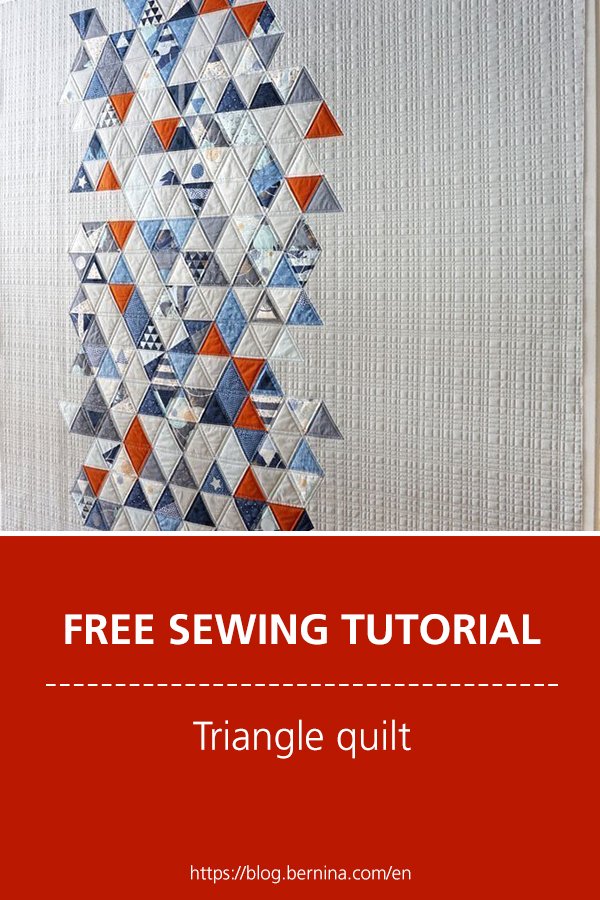
Due to its size, my quilt is more of a coverlet than a cozy blanket, so it had to be a bit firmer and stiffer. As a pattern, we chose the classic design inside the triangles, with the lines of quilting parallel to the seam, and then for the background area, a very small-format grid made up purely of straight seams with slight variations in the angle and spacing. This is really easy to copy, even on a household machine. And the main thing is that it doesn’t matter if your quilting is not parallel or exactly the same distance apart, because that’s what it’s supposed to be like.
 Other quilting variations
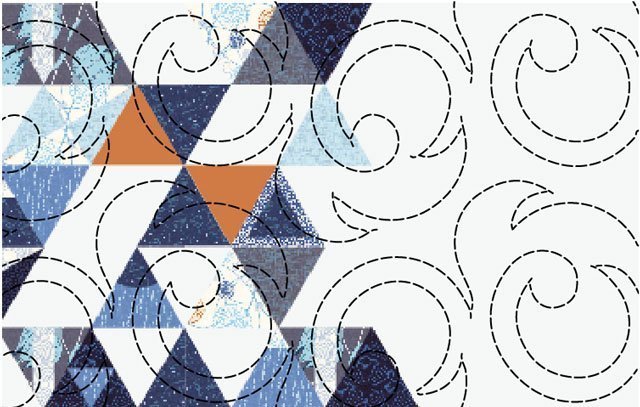
You can use the straight stitch on your machine to create gently curved lines like a structure over the entire surface.
You can admire a finished quilt made in this way by Suzanne Elswick on Instagram
If you want to save yourself the work of quilting (it is a lot to take on with such a large quilt), a quilting service would be the ideal thing for you. In this case, you can usually choose from a range of so-called pantographs, which are uniform structures applied over the whole area.
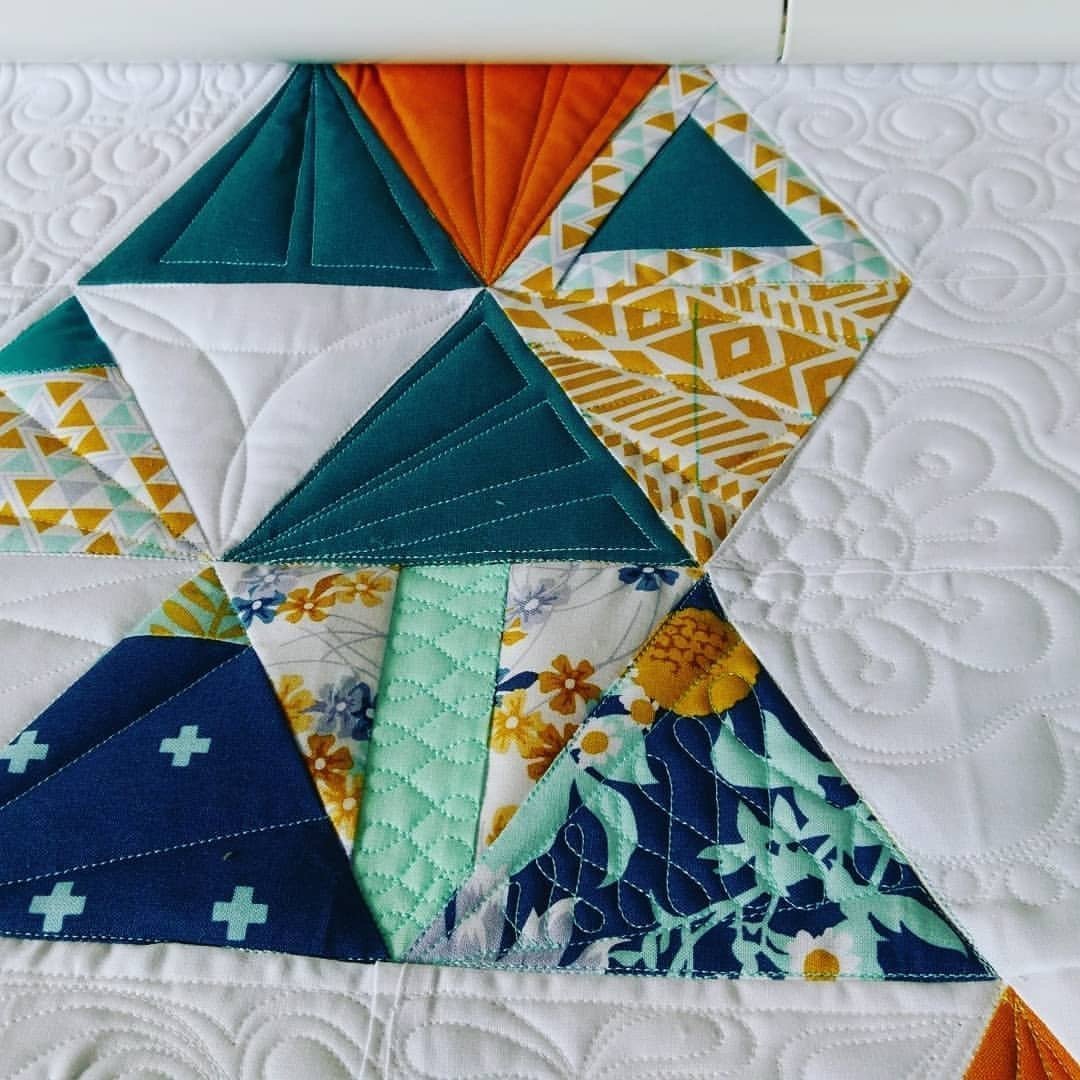
Alternatively, you can treat yourself to the luxury version and make something really special with custom quilting, where every triangle is decorated individually as seen here from Nicole Moeller (Fadenspielchen) on Instagram. She is a long arm quilter, and her quilting goes really well with floral fabrics.
As you can see, there are many possibilities for making your own dream quilt at home – and you will have even more ideas that you can contribute. Be brave, take small steps, and you will get along fine with your quilting. And once that’s done, the only thing missing will be the binding. This is actually a breeze.
Show your creations in the Community or on Instagram, I can’t wait to see them!
Now you might be wondering what is happening with the promised raffle? The raffle was originally scheduled to take place January 2019. However, we have since picked up the pace for the sewing. Many participants are already sewing together their tops, and some have even finished their quilting and binding. In our last survey, there was a view that: we should pick up the pace, but keep the final deadline the same. That would mean waiting another nine months for our raffle. That no longer feels right. BERNINA also thinks the same thing. If we wait until 2019 for the raffle, the air will have gone out of the quilt along, especially as more hands-on activities are being launched on the blog during 2018. We have therefore thought it over and discussed it together and finally decided to change the timing again.
New date for the raffle
You will be entered into the competition if you have uploaded pictures of your finished triangle quilt top (including unquilted tops) and the 12 triangles (sewn in accordance with the instructions for the Zen Chic Triangle Quilt Along, including the 12 different triangles) to the Community section of the BERNINA blog or on Instagram by 08/31/2018.
This leaves you with about four months, including the summer holidays, to complete everything. I think it is a good solution to ensure that we don’t lose sight of the raffle, the project is not too long, and to sustain the motivation to bring everything to completion. Even those who are not so far along should be able to do it easily!
So let’s get started and let your sewing machines hum! See you soon, Brigitte


0 Responses