 BERNINA Corporate Blog -
Sometimes when materials arrive for my webshop, I get enthousiastic from the start. This happened with the Soft Felt Precuts: 71 sheets, each aprox. 12 x 30 cm, top a nice print, bottom white. Synthetic material which can be cut without fraying. Thin and easy to sew. Immediately an idea popped up: Fun with Soft felt, making a spring quilt, size optional, depending on how much sheets you will be using.
Of course I will be working with my BERNINA 770QE: recently returned from maintenance and purring again like a cat. Because I want to make a simple and fast project, I will only use the straight stitch, but you can use decorative stitches too.
Download the two pattern parts below:
Pattern part A
Pattern part B
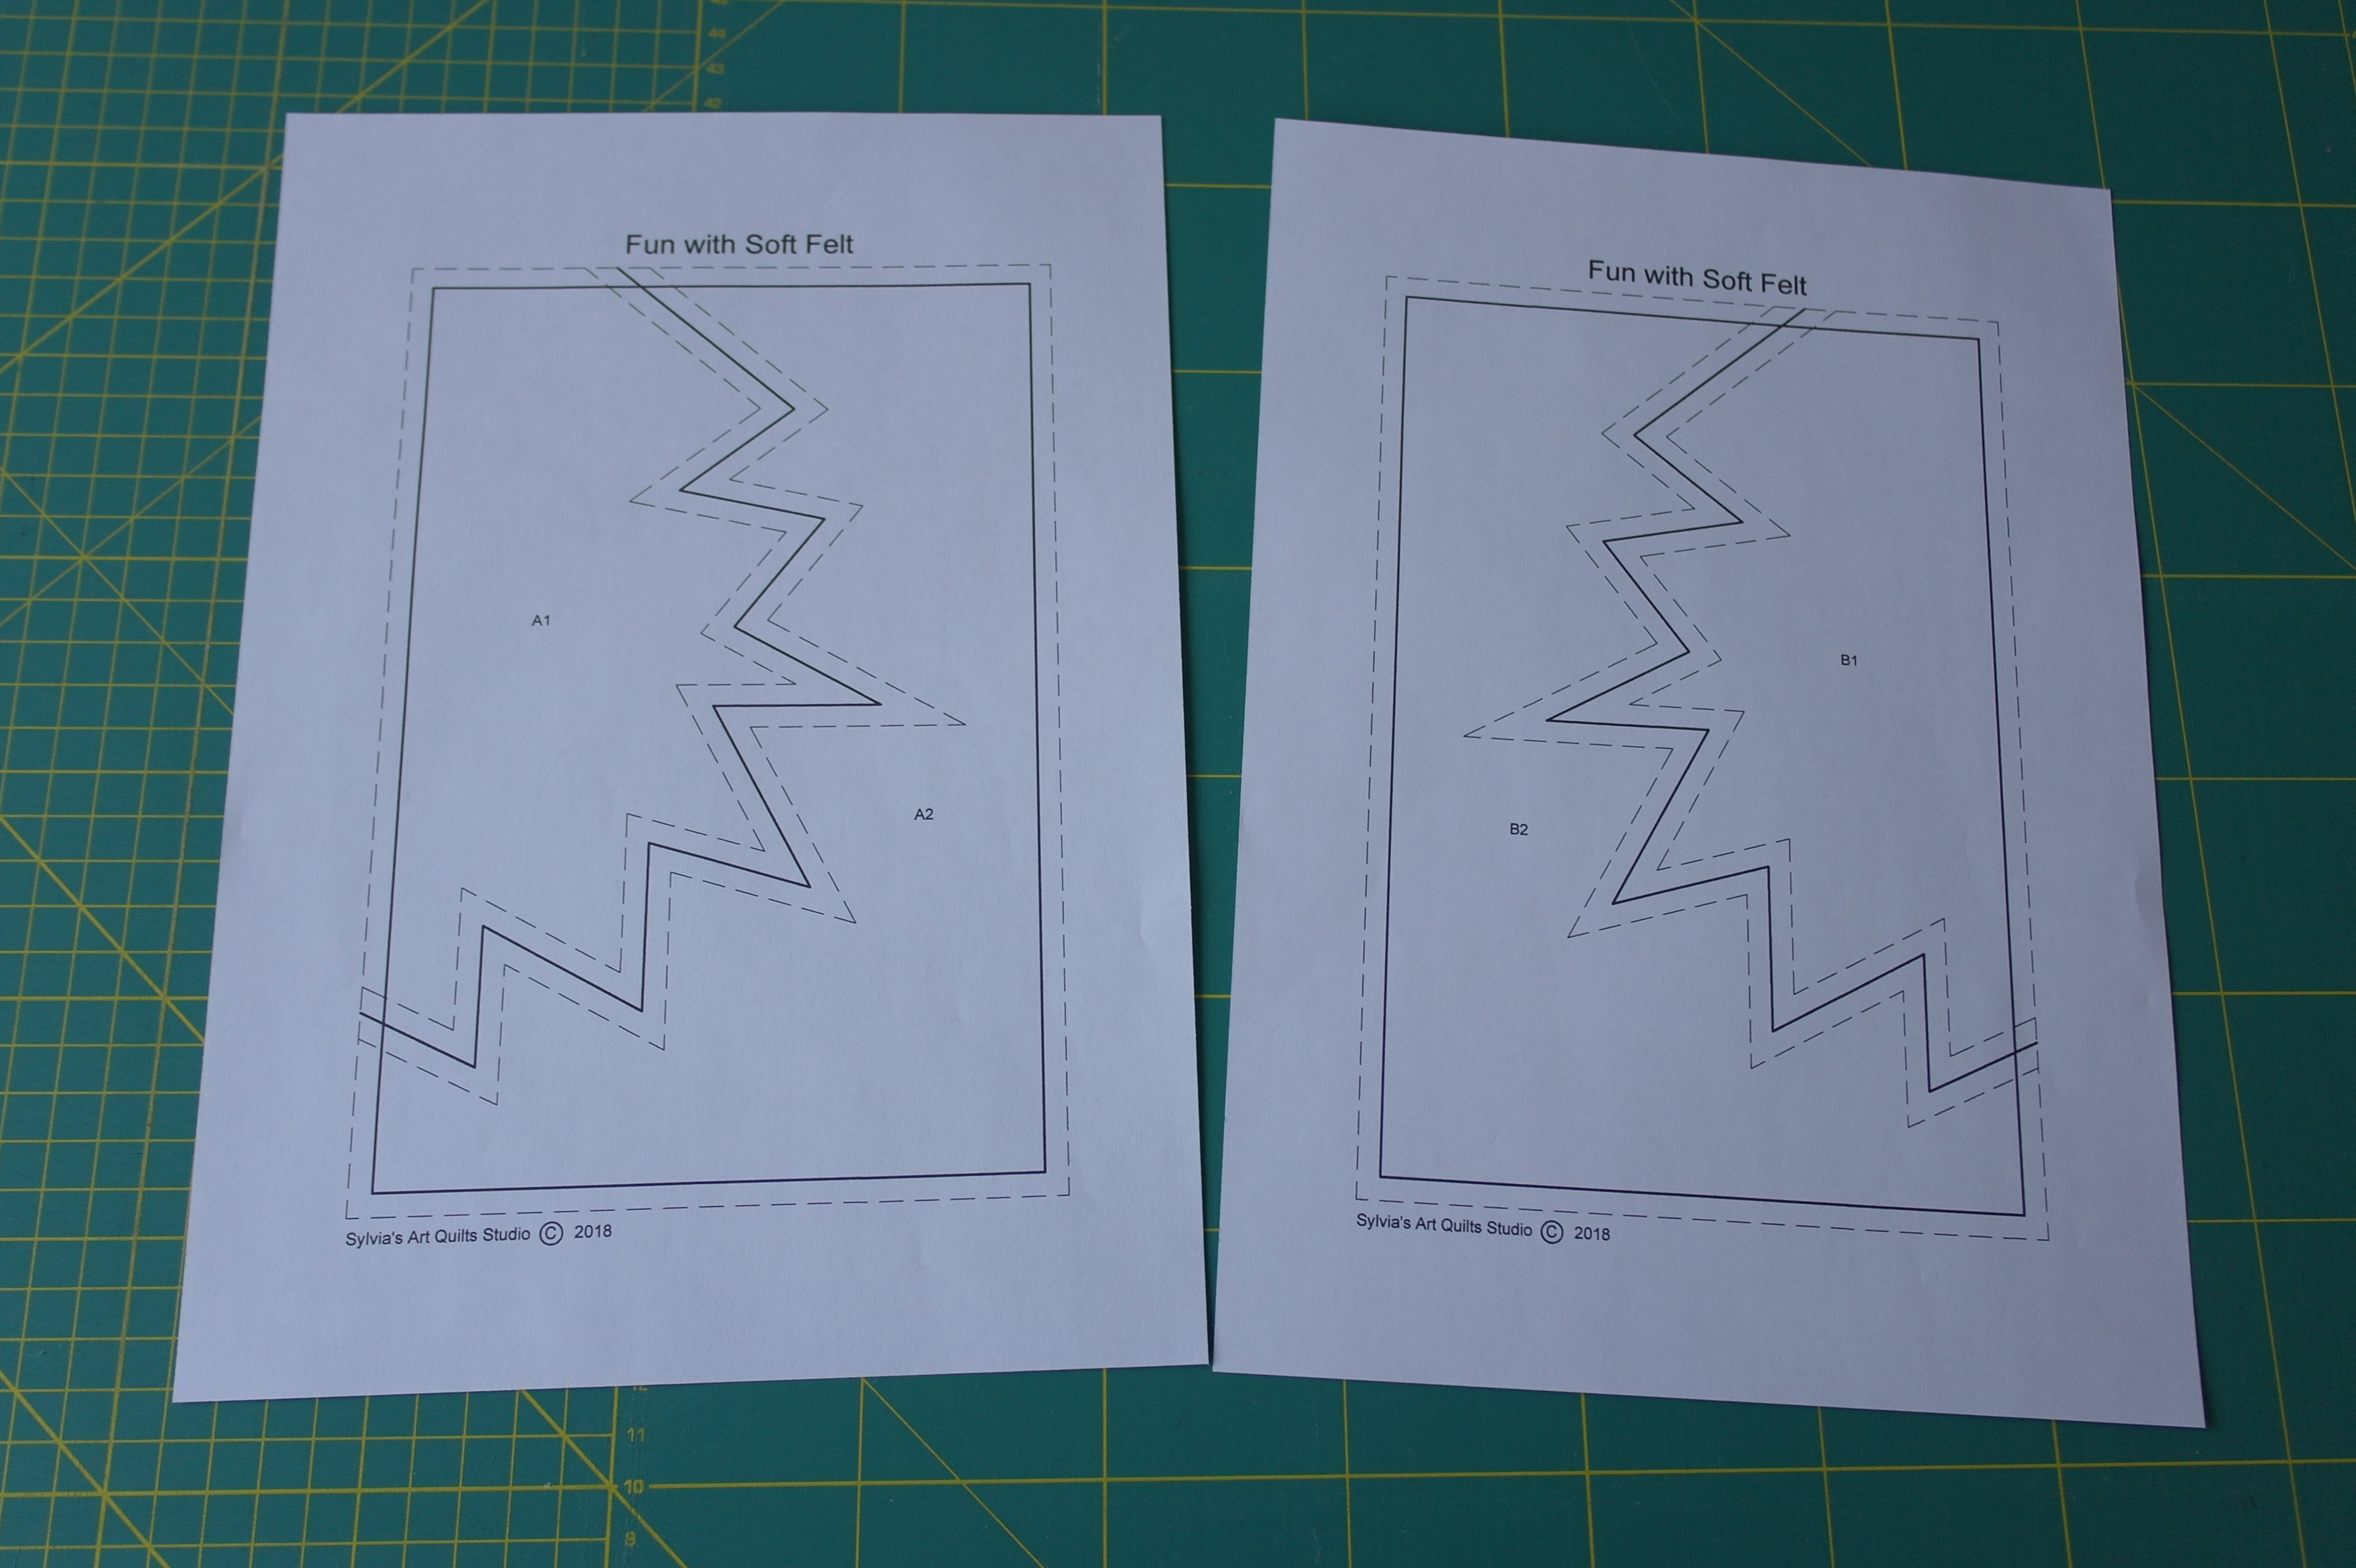
Print them at 100%/actual size, which is important for the right measurements. Check if the INNER SIDE – the thick line of the rectangle – measures 14 x 21 cm. That’s your reference.

Both pattern parts look the same, but the one on the right is the mirror image of the one on the left. You can use them both. Cut both rectangles on the dotted line = seam allowance included. You will have two rectangles of the same size: 1) with A1/A2, and 2) with B1/B2.

Choose sheets from your Soft Felt Precuts, with contrast. The number of sheets you will be using depends on the size of the quilt you want to make. Be sure to mix and match prints.

The measurement of one sheet is aprox. 12 x 30 cm. Allthough they are laser cut, they are not all cut at this exact size – but it should be possible to cut two rectangles out of one sheet, using both pattern pieces (picture above).
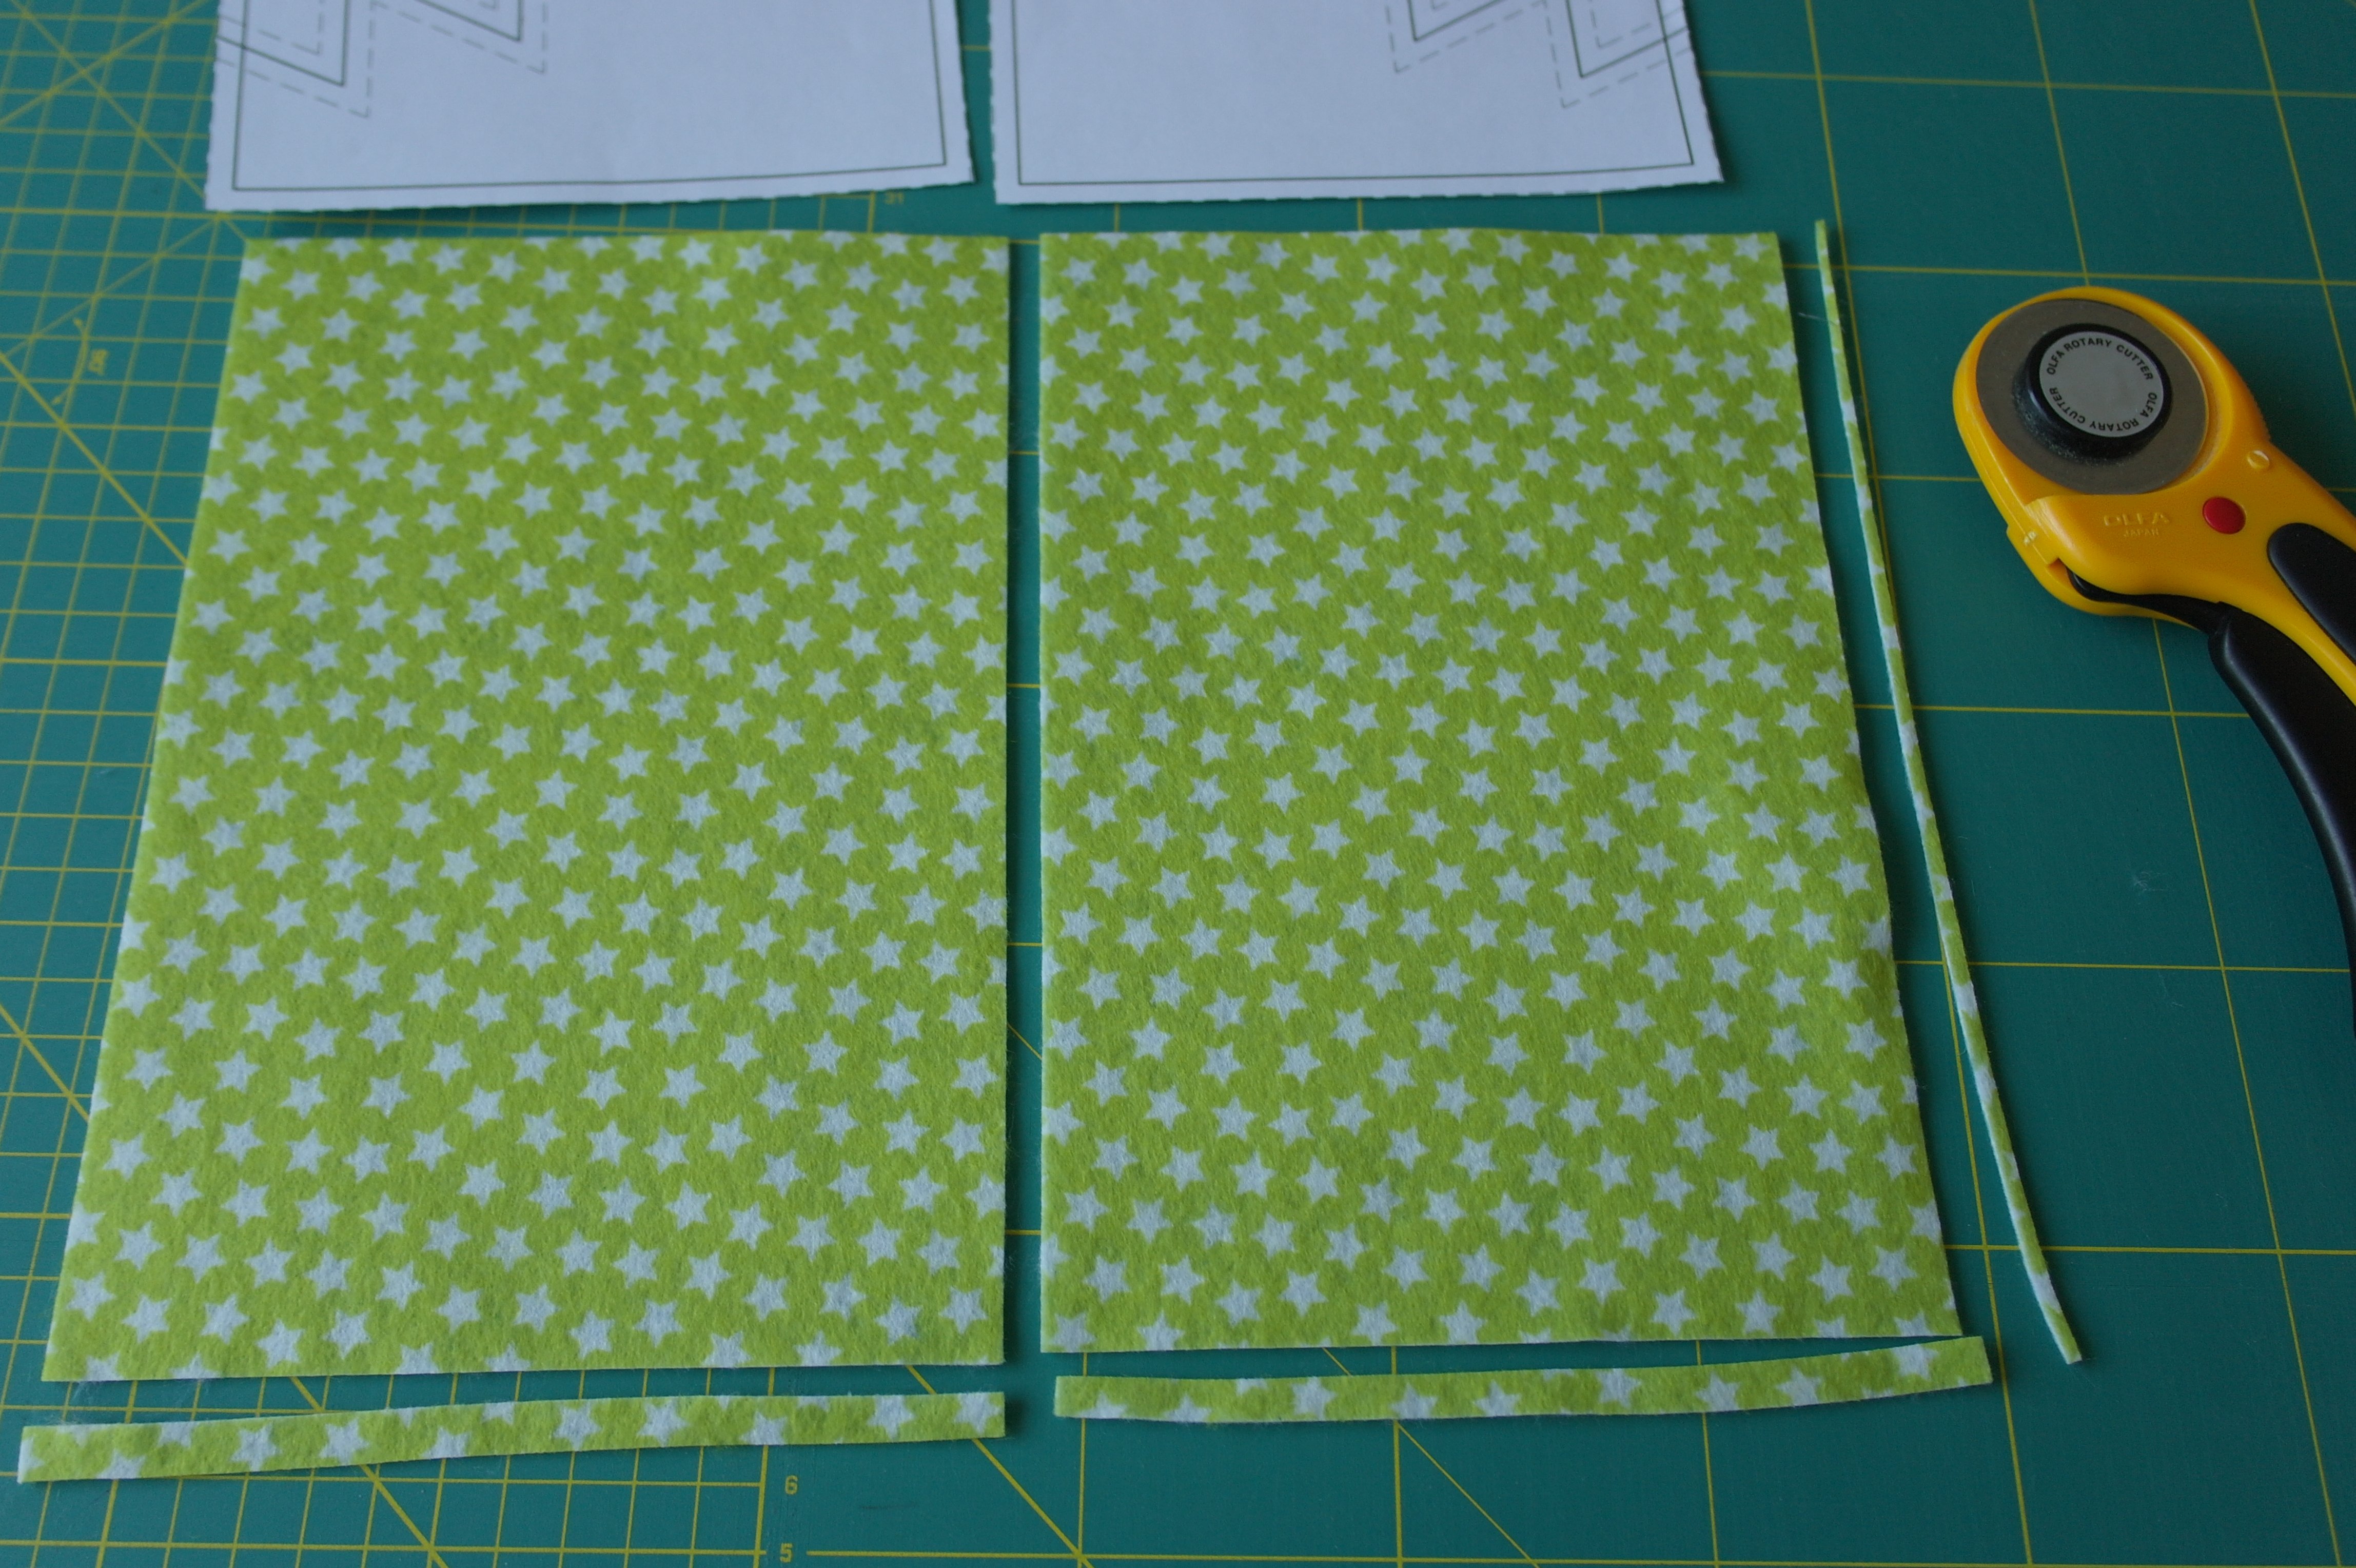
I have used my rotary cutter, ruler and cutting mat: aftrwards there are two rectangular shapes, with small strips as remnants. Try to keep the sizes of all rectangles the same.
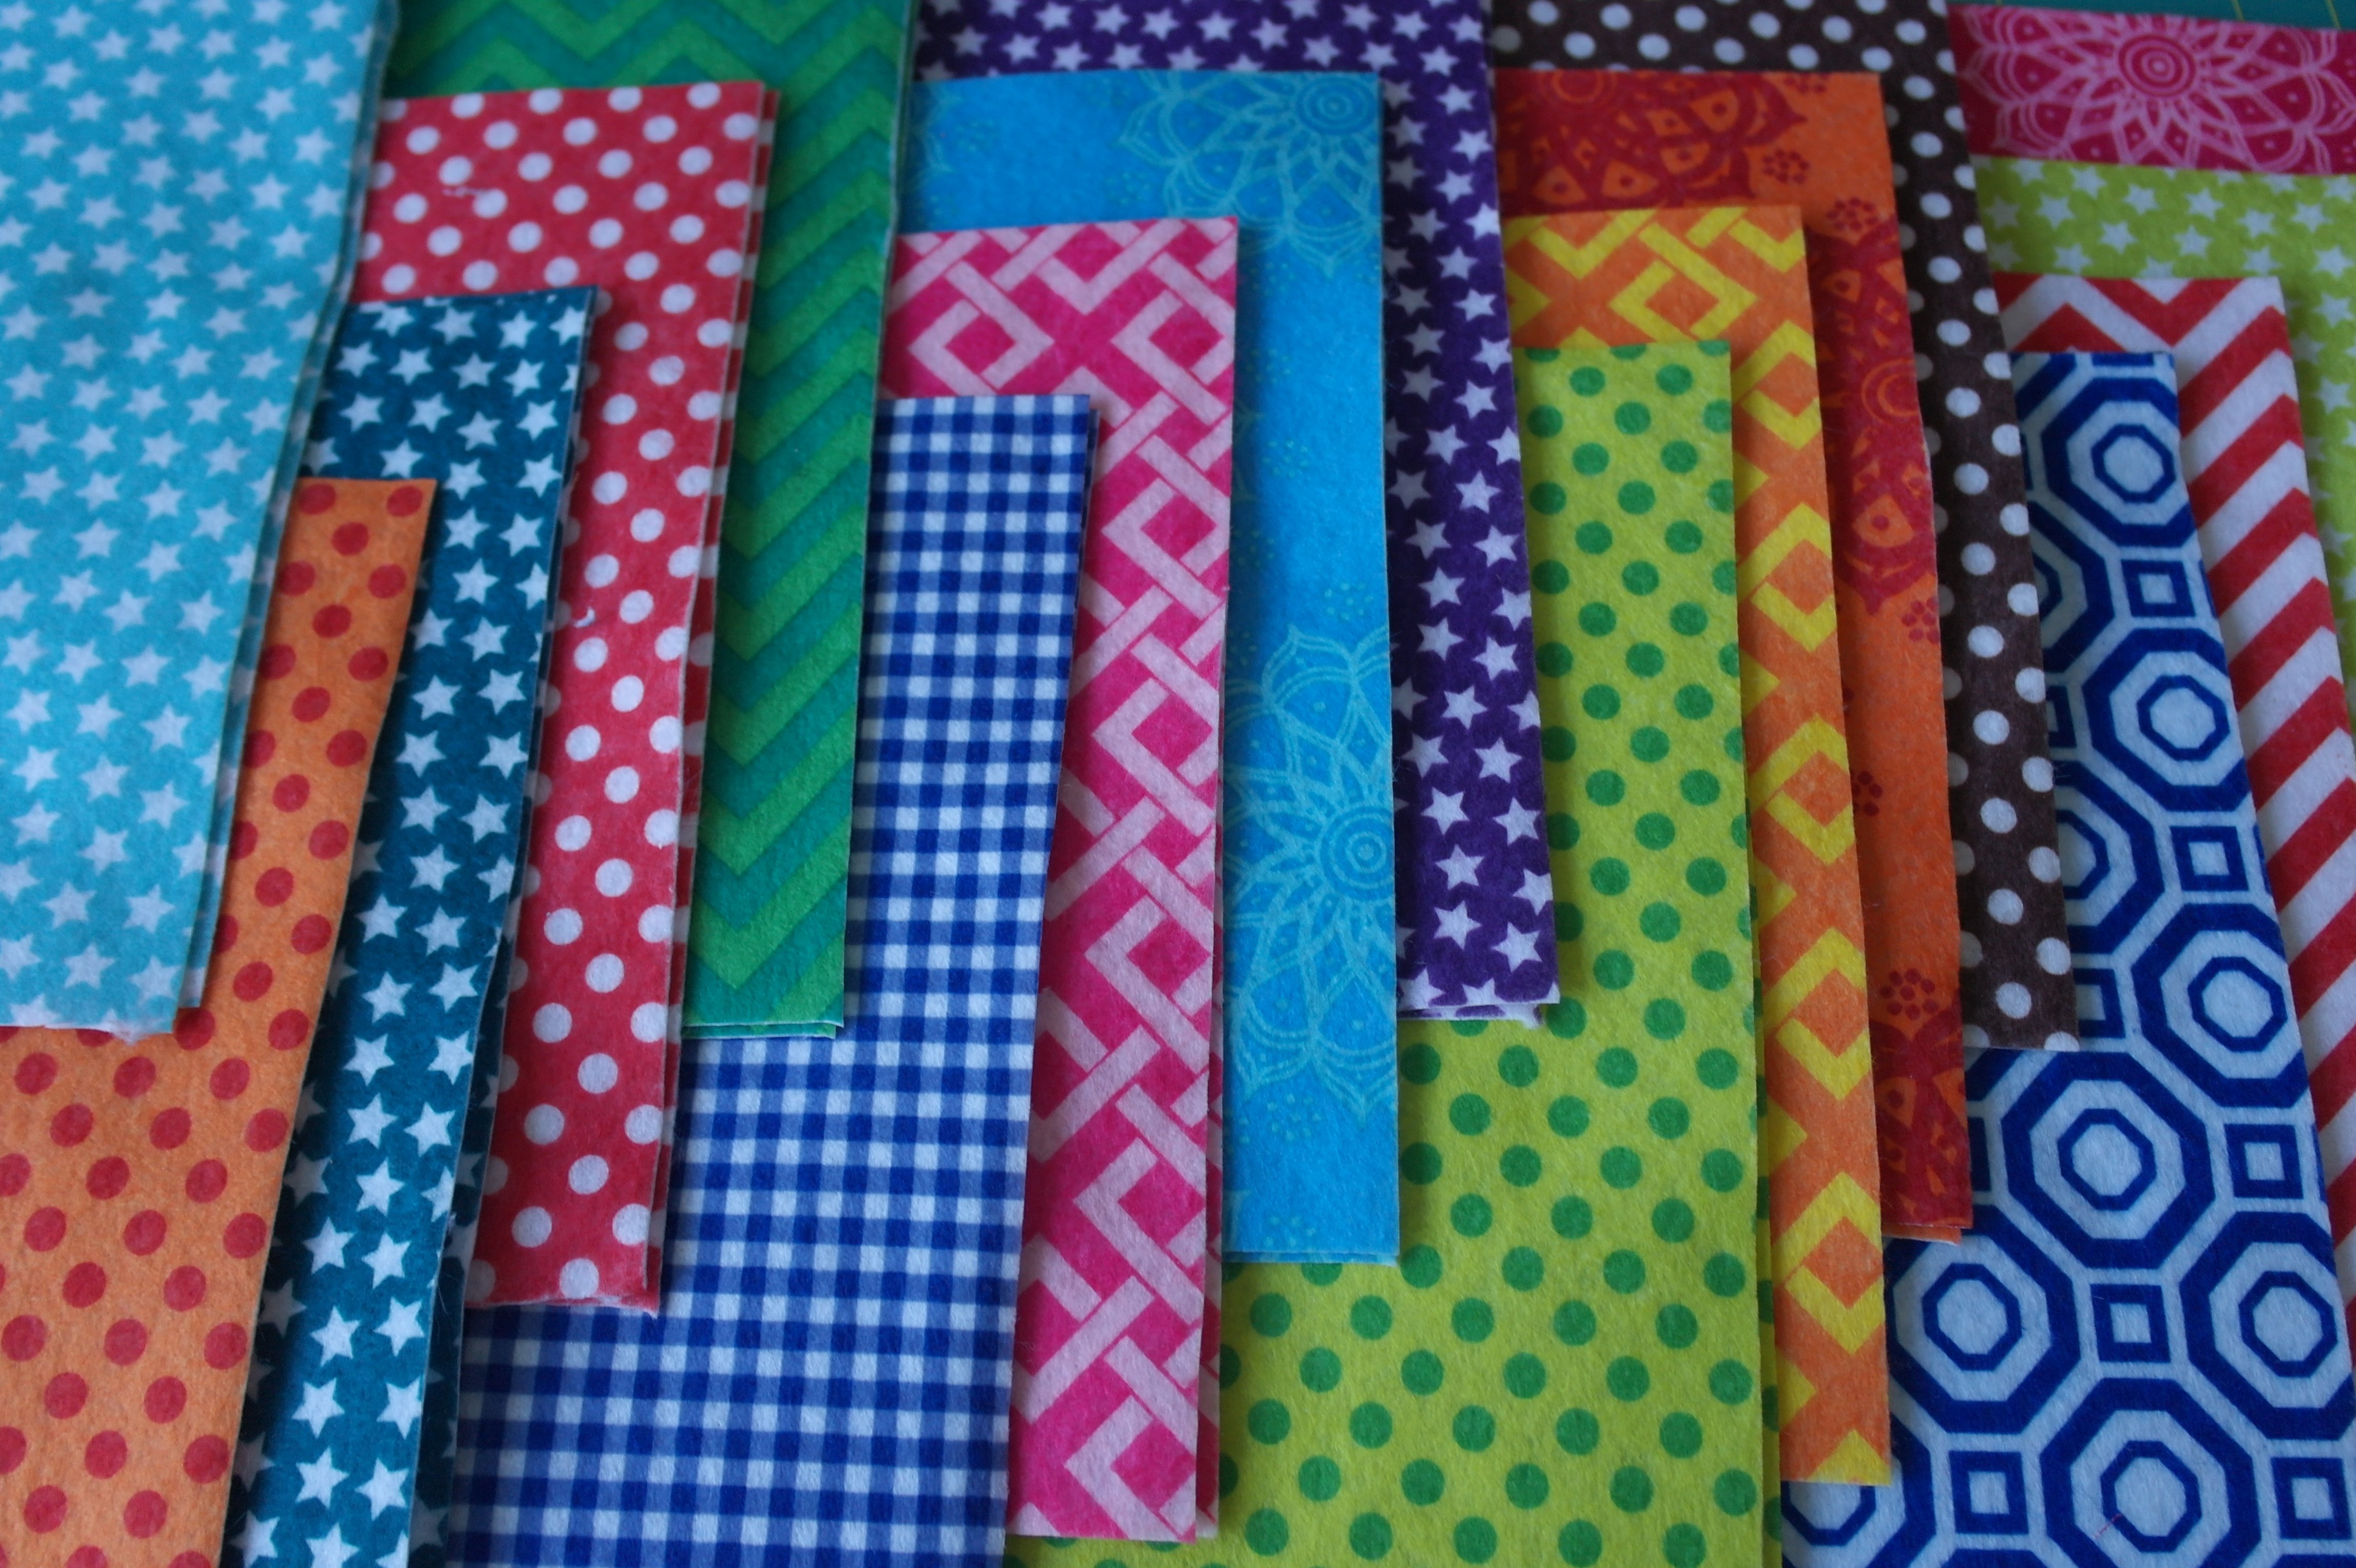
Use as many sheets as you want to: again, you can add if you think your quilt will be too small. I have cut some pretty prints, trying to get contrasts. I will use these first an will add later is necessary.
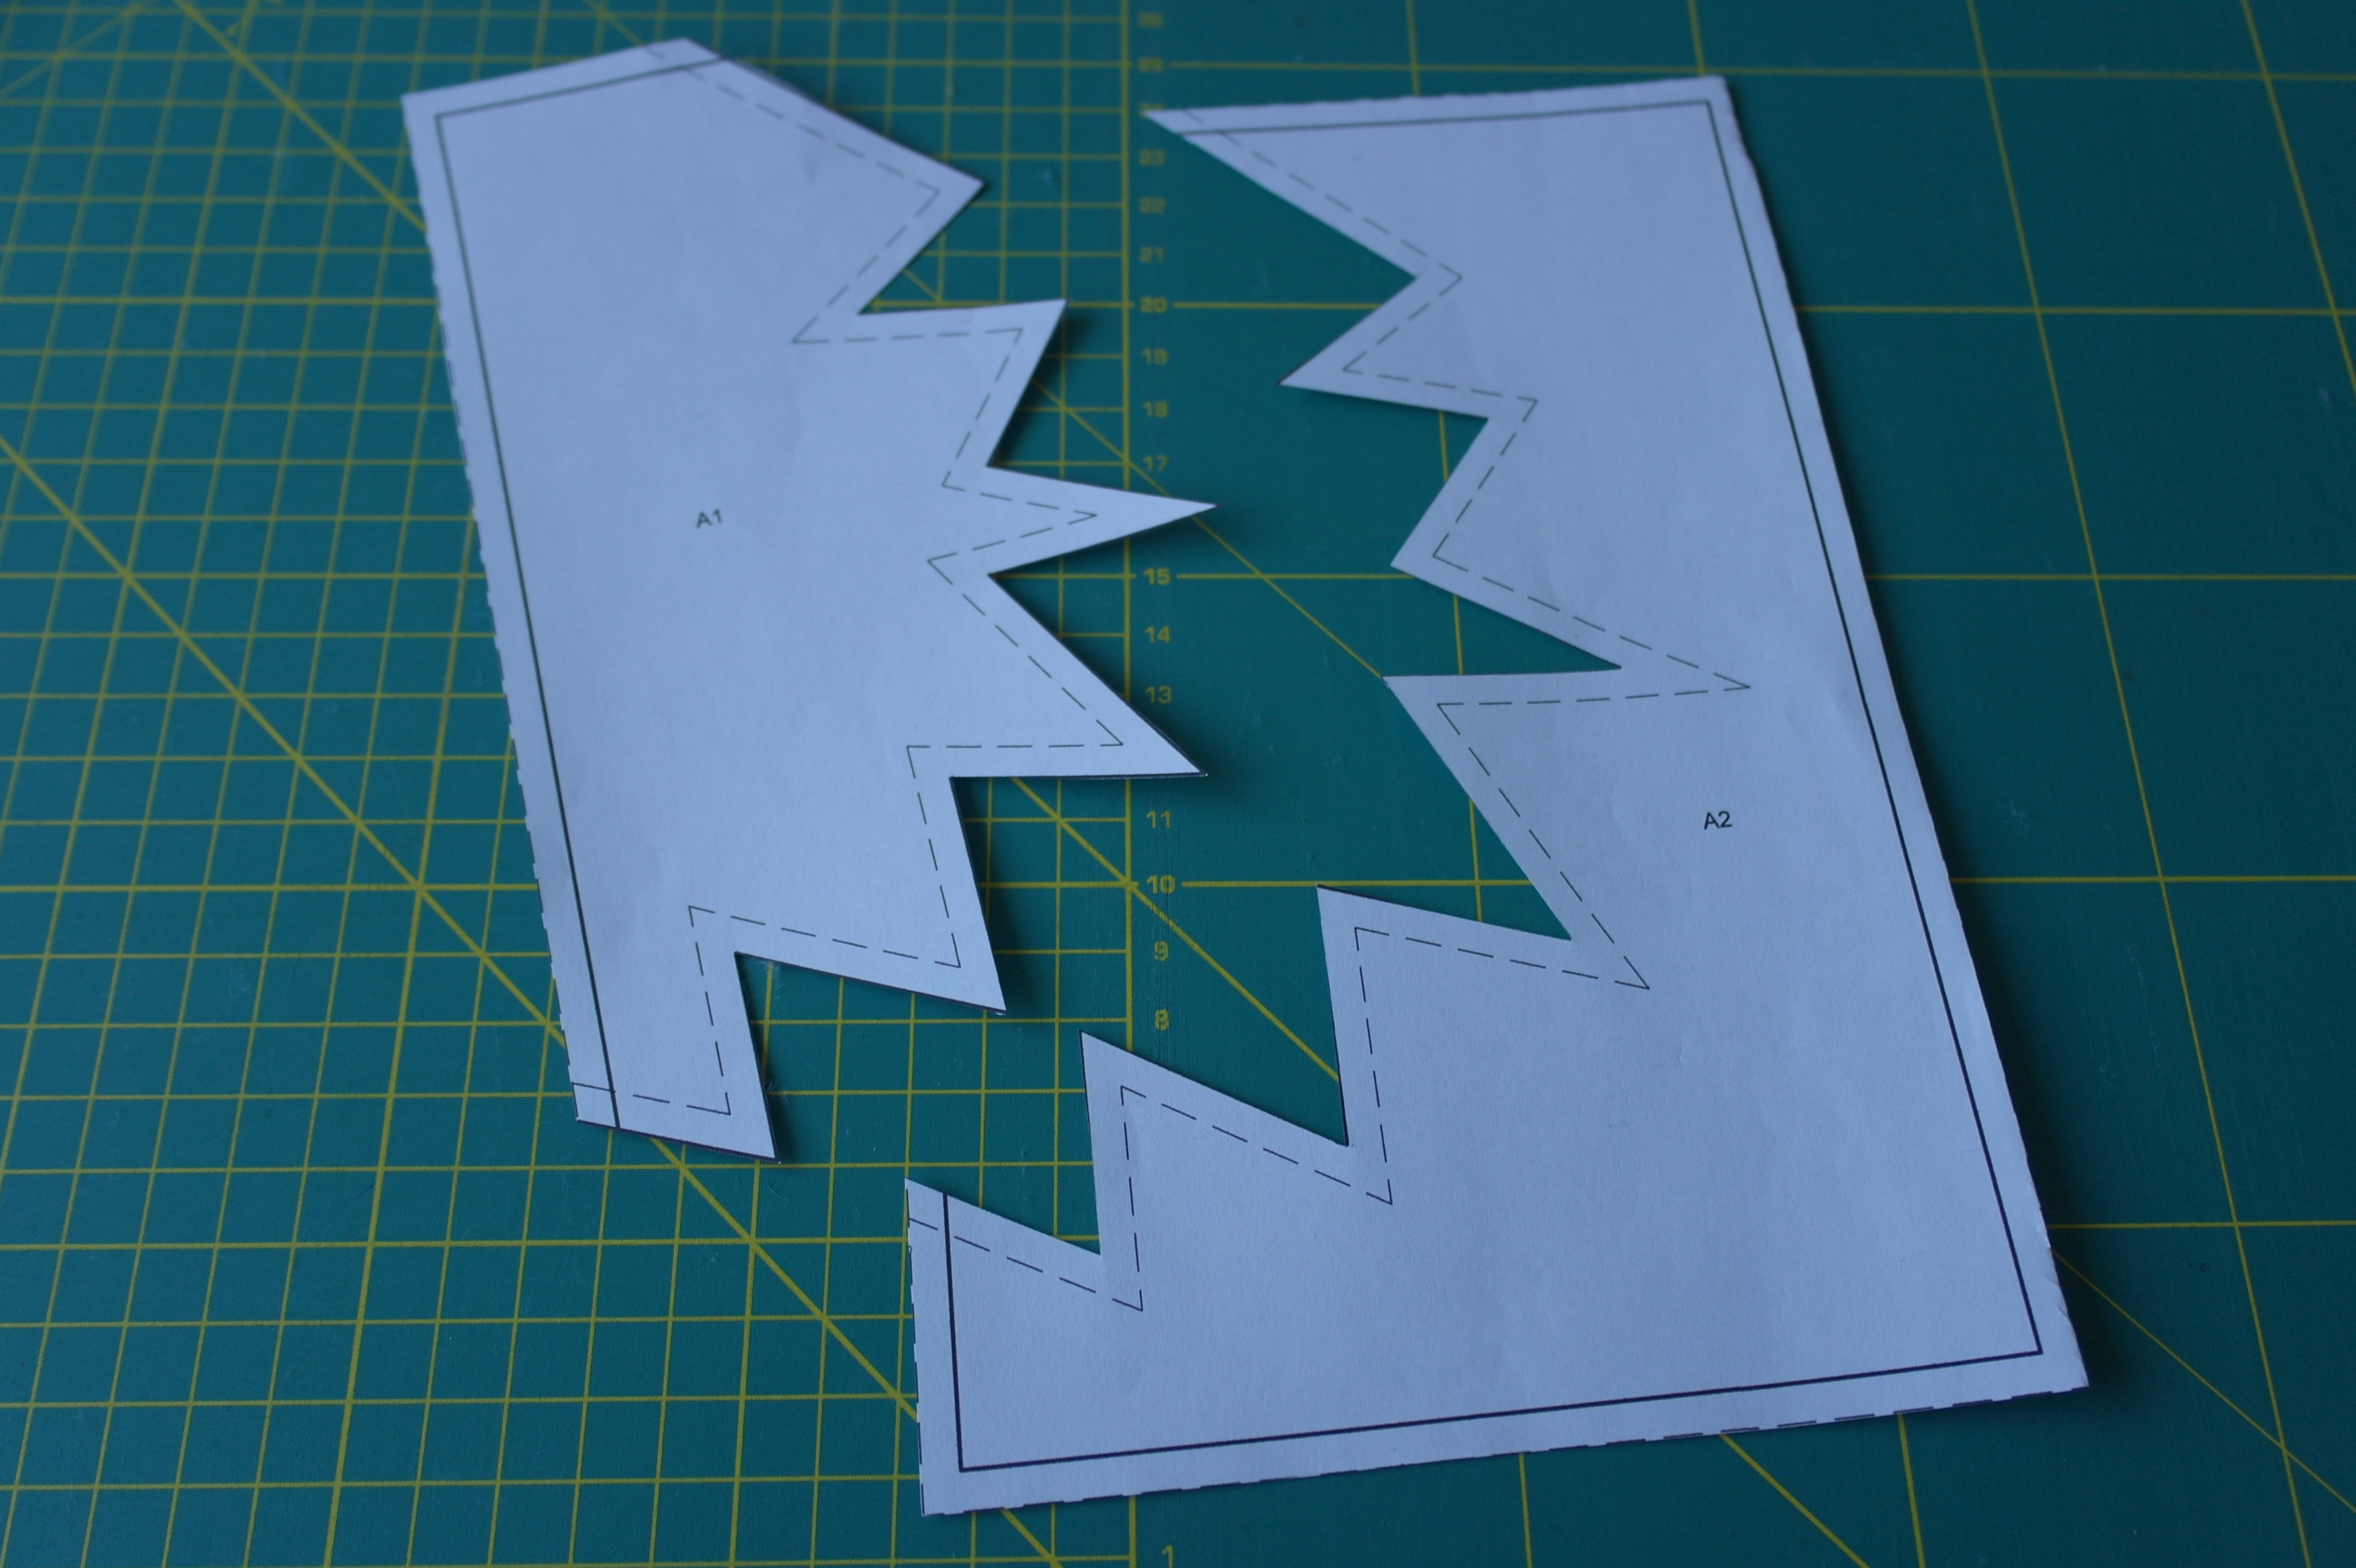
Pattern piece A1/A2 is then cut with scissors, on the solid line between the two dotted lines, making two different pattern parts: A1 and A2 are seperated.
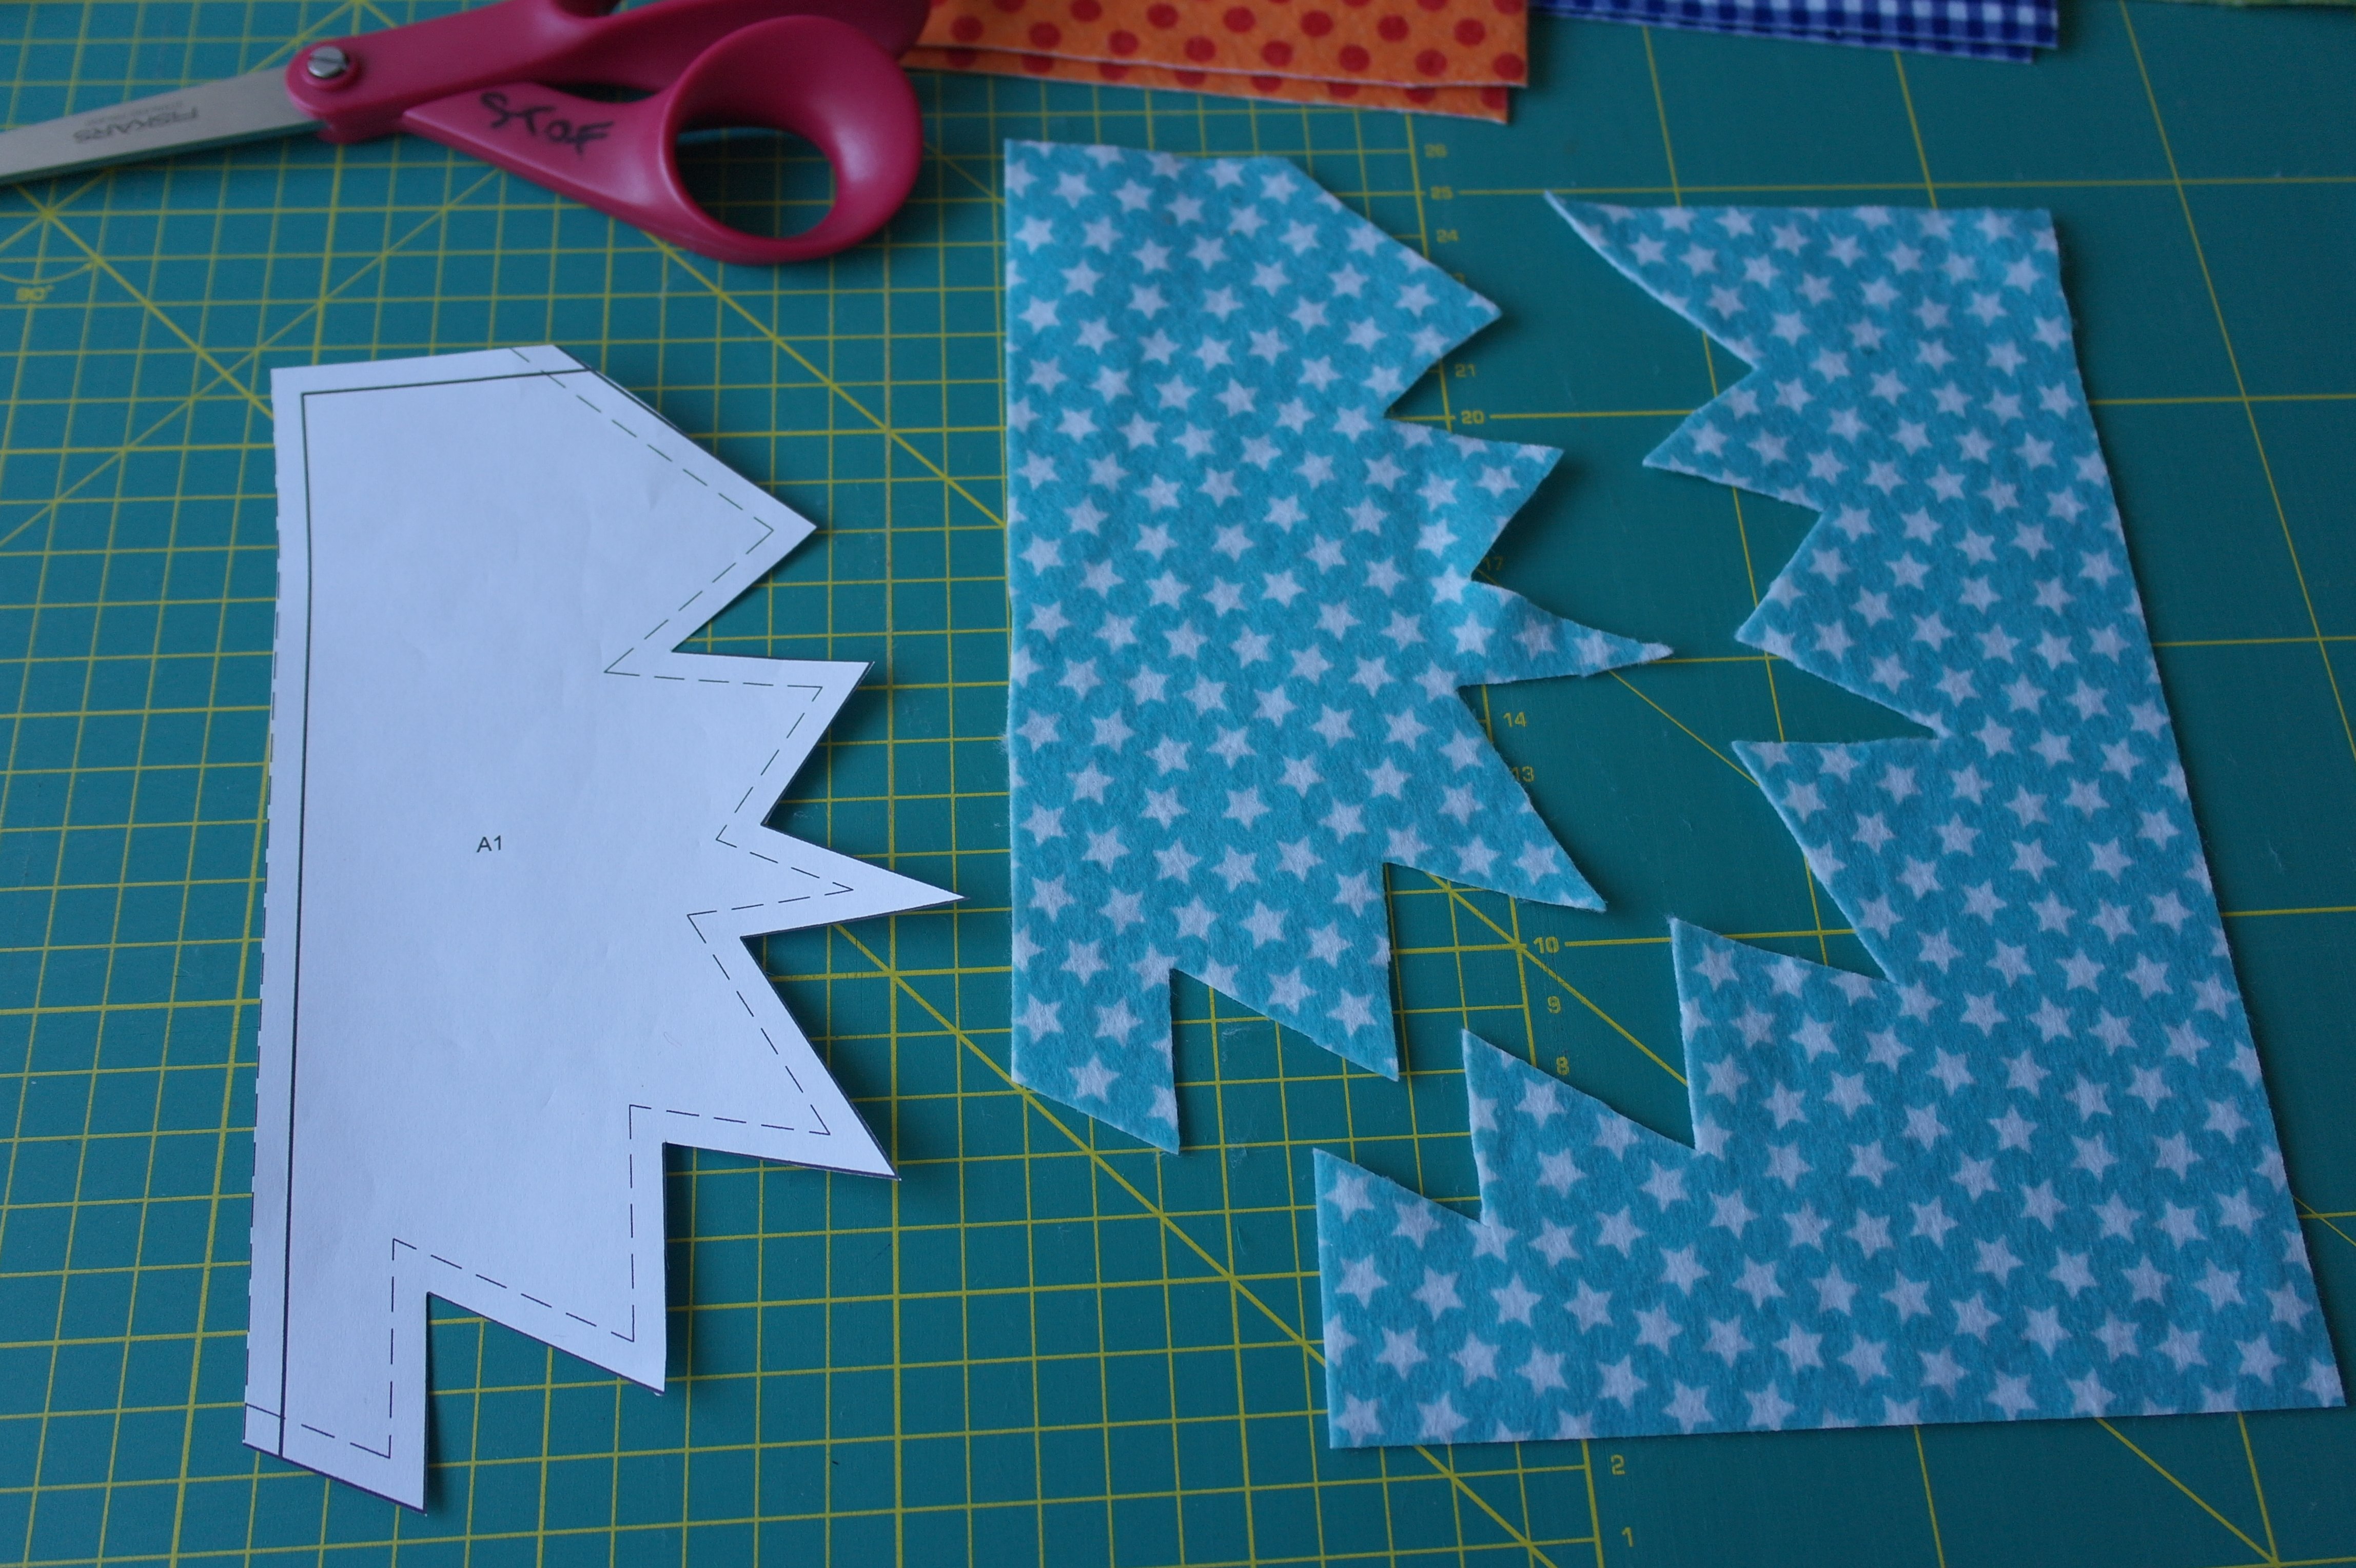
Place pattern piece A1 on a rectangular piece of Soft Felt, and cut along this ‘template’, using your scissors. Cut more Soft Felt rectangles this way. You can use pattern piece A2 also.
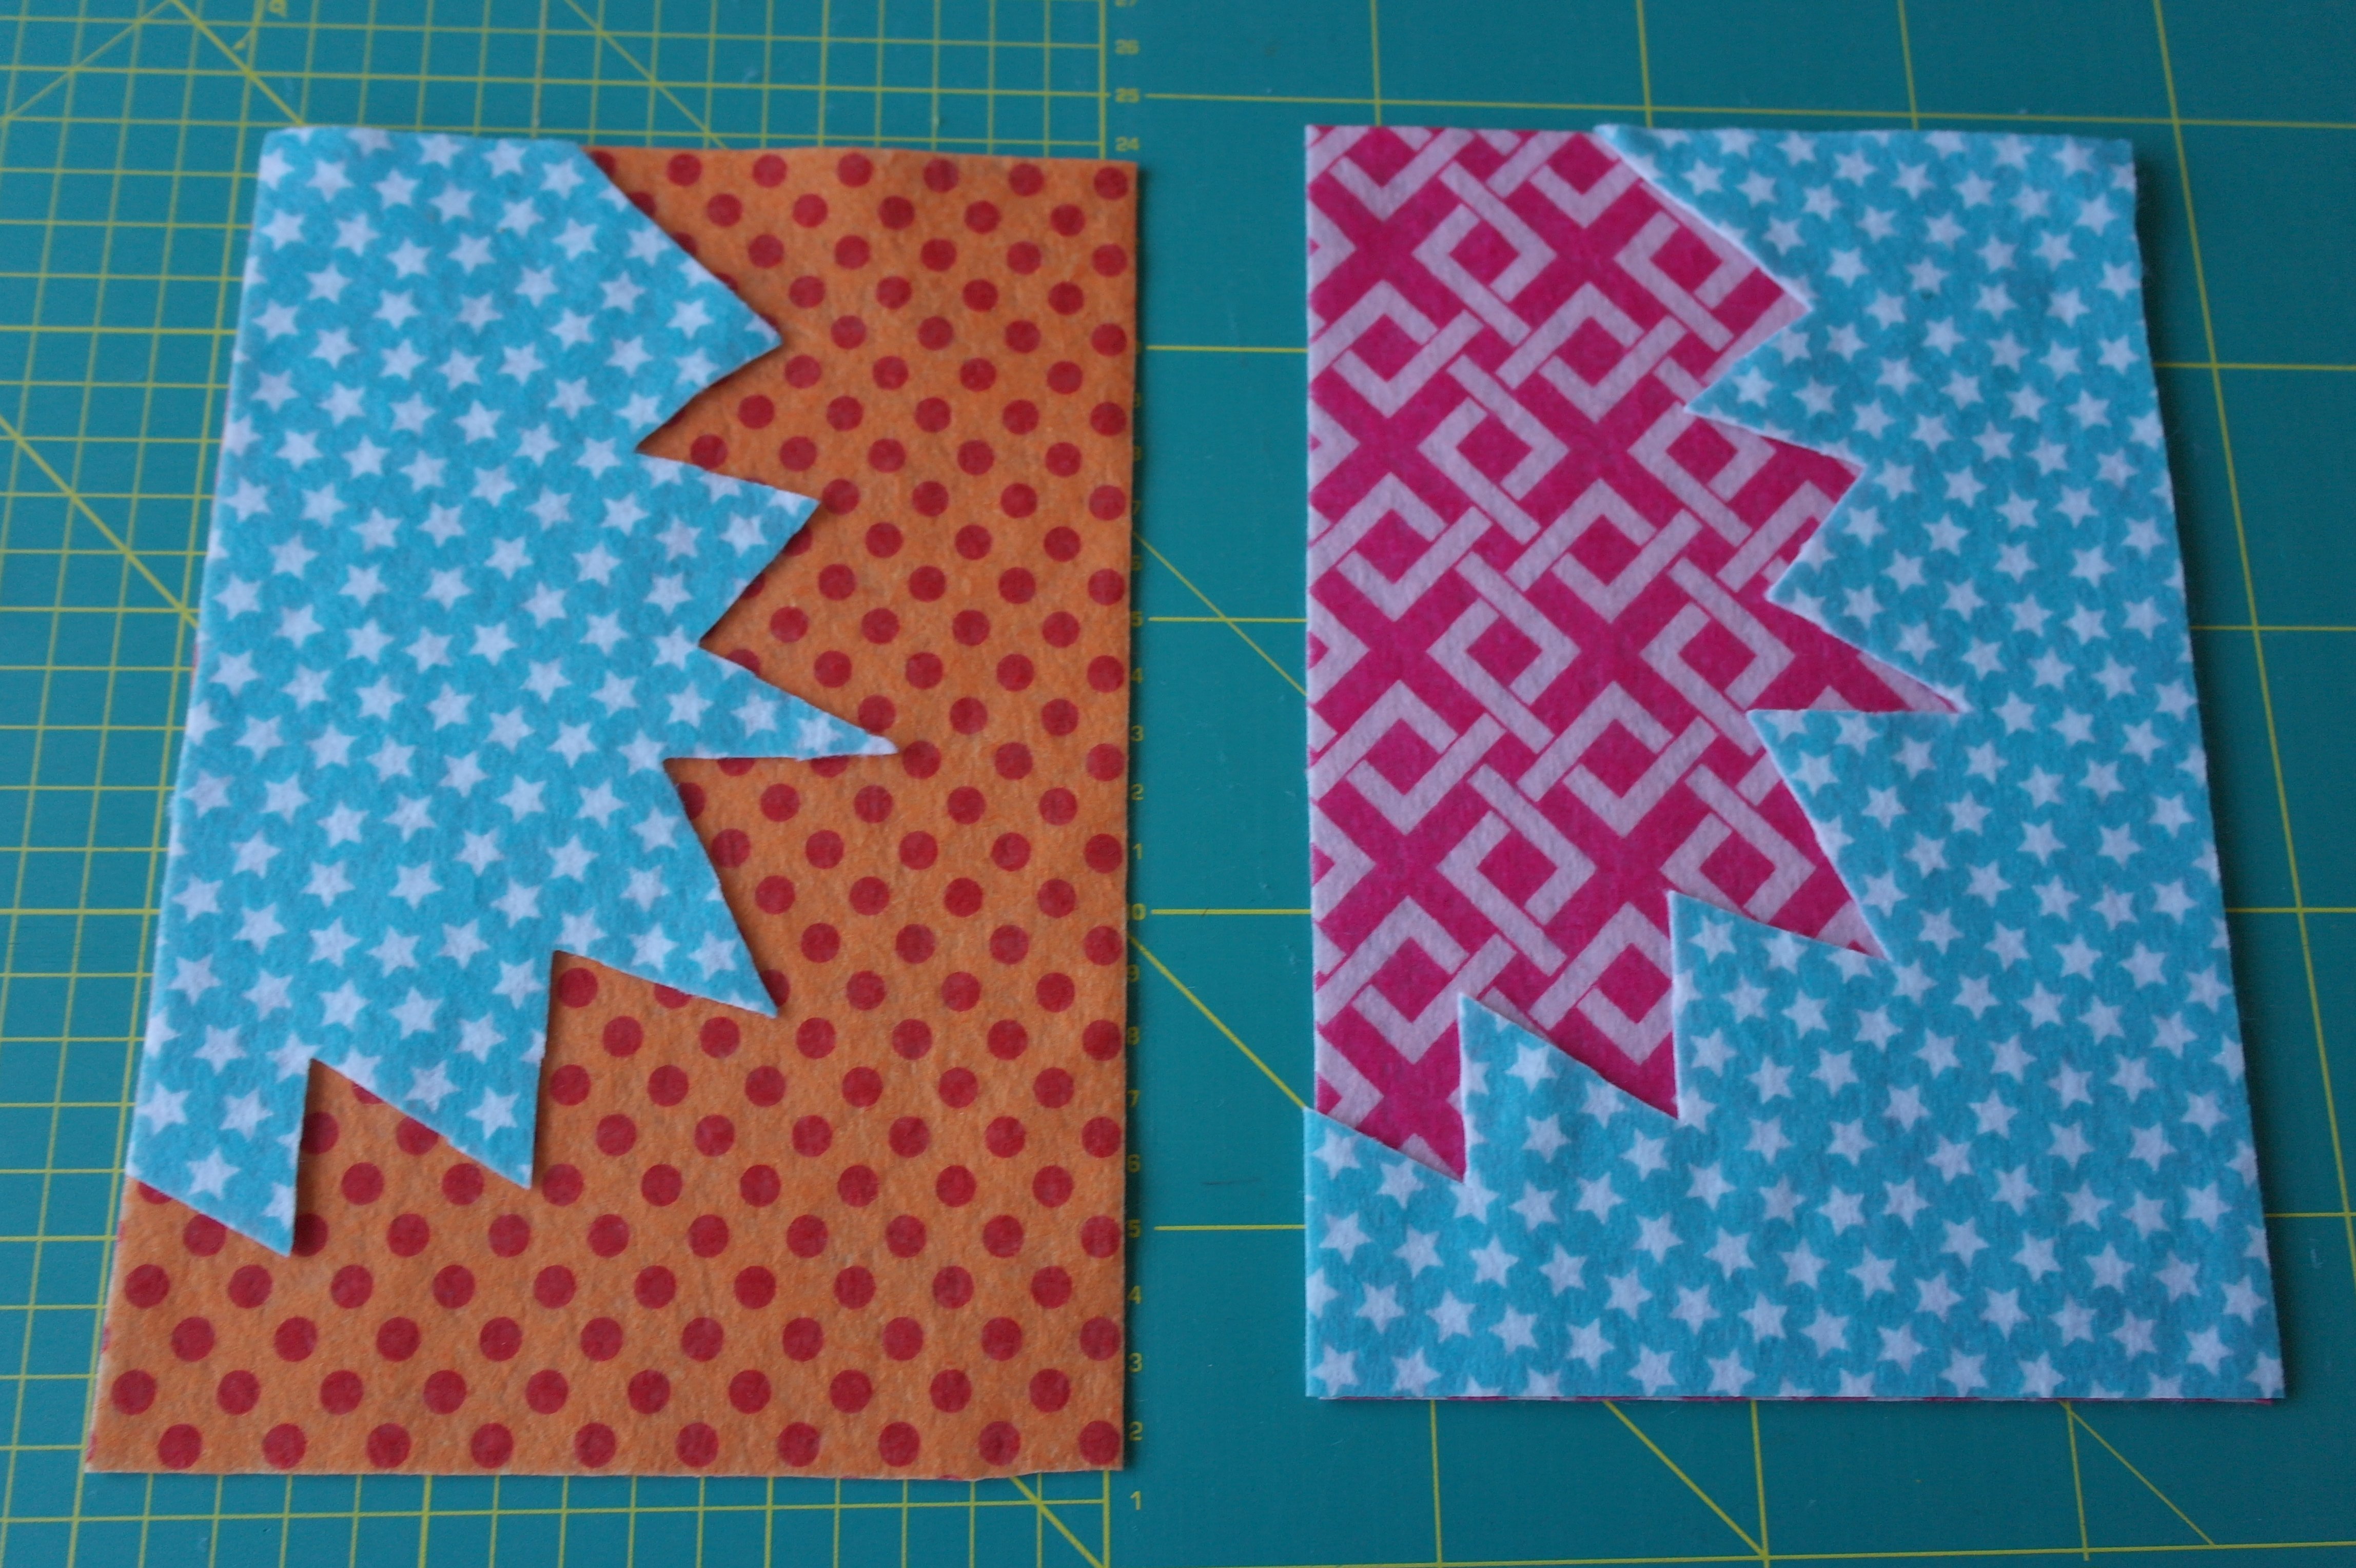
Place a cut out Soft Felt piece A1 – and an A2 – on top of a NON-CUT rectangle Soft Felt: with the proper contrast, the above can be seen.
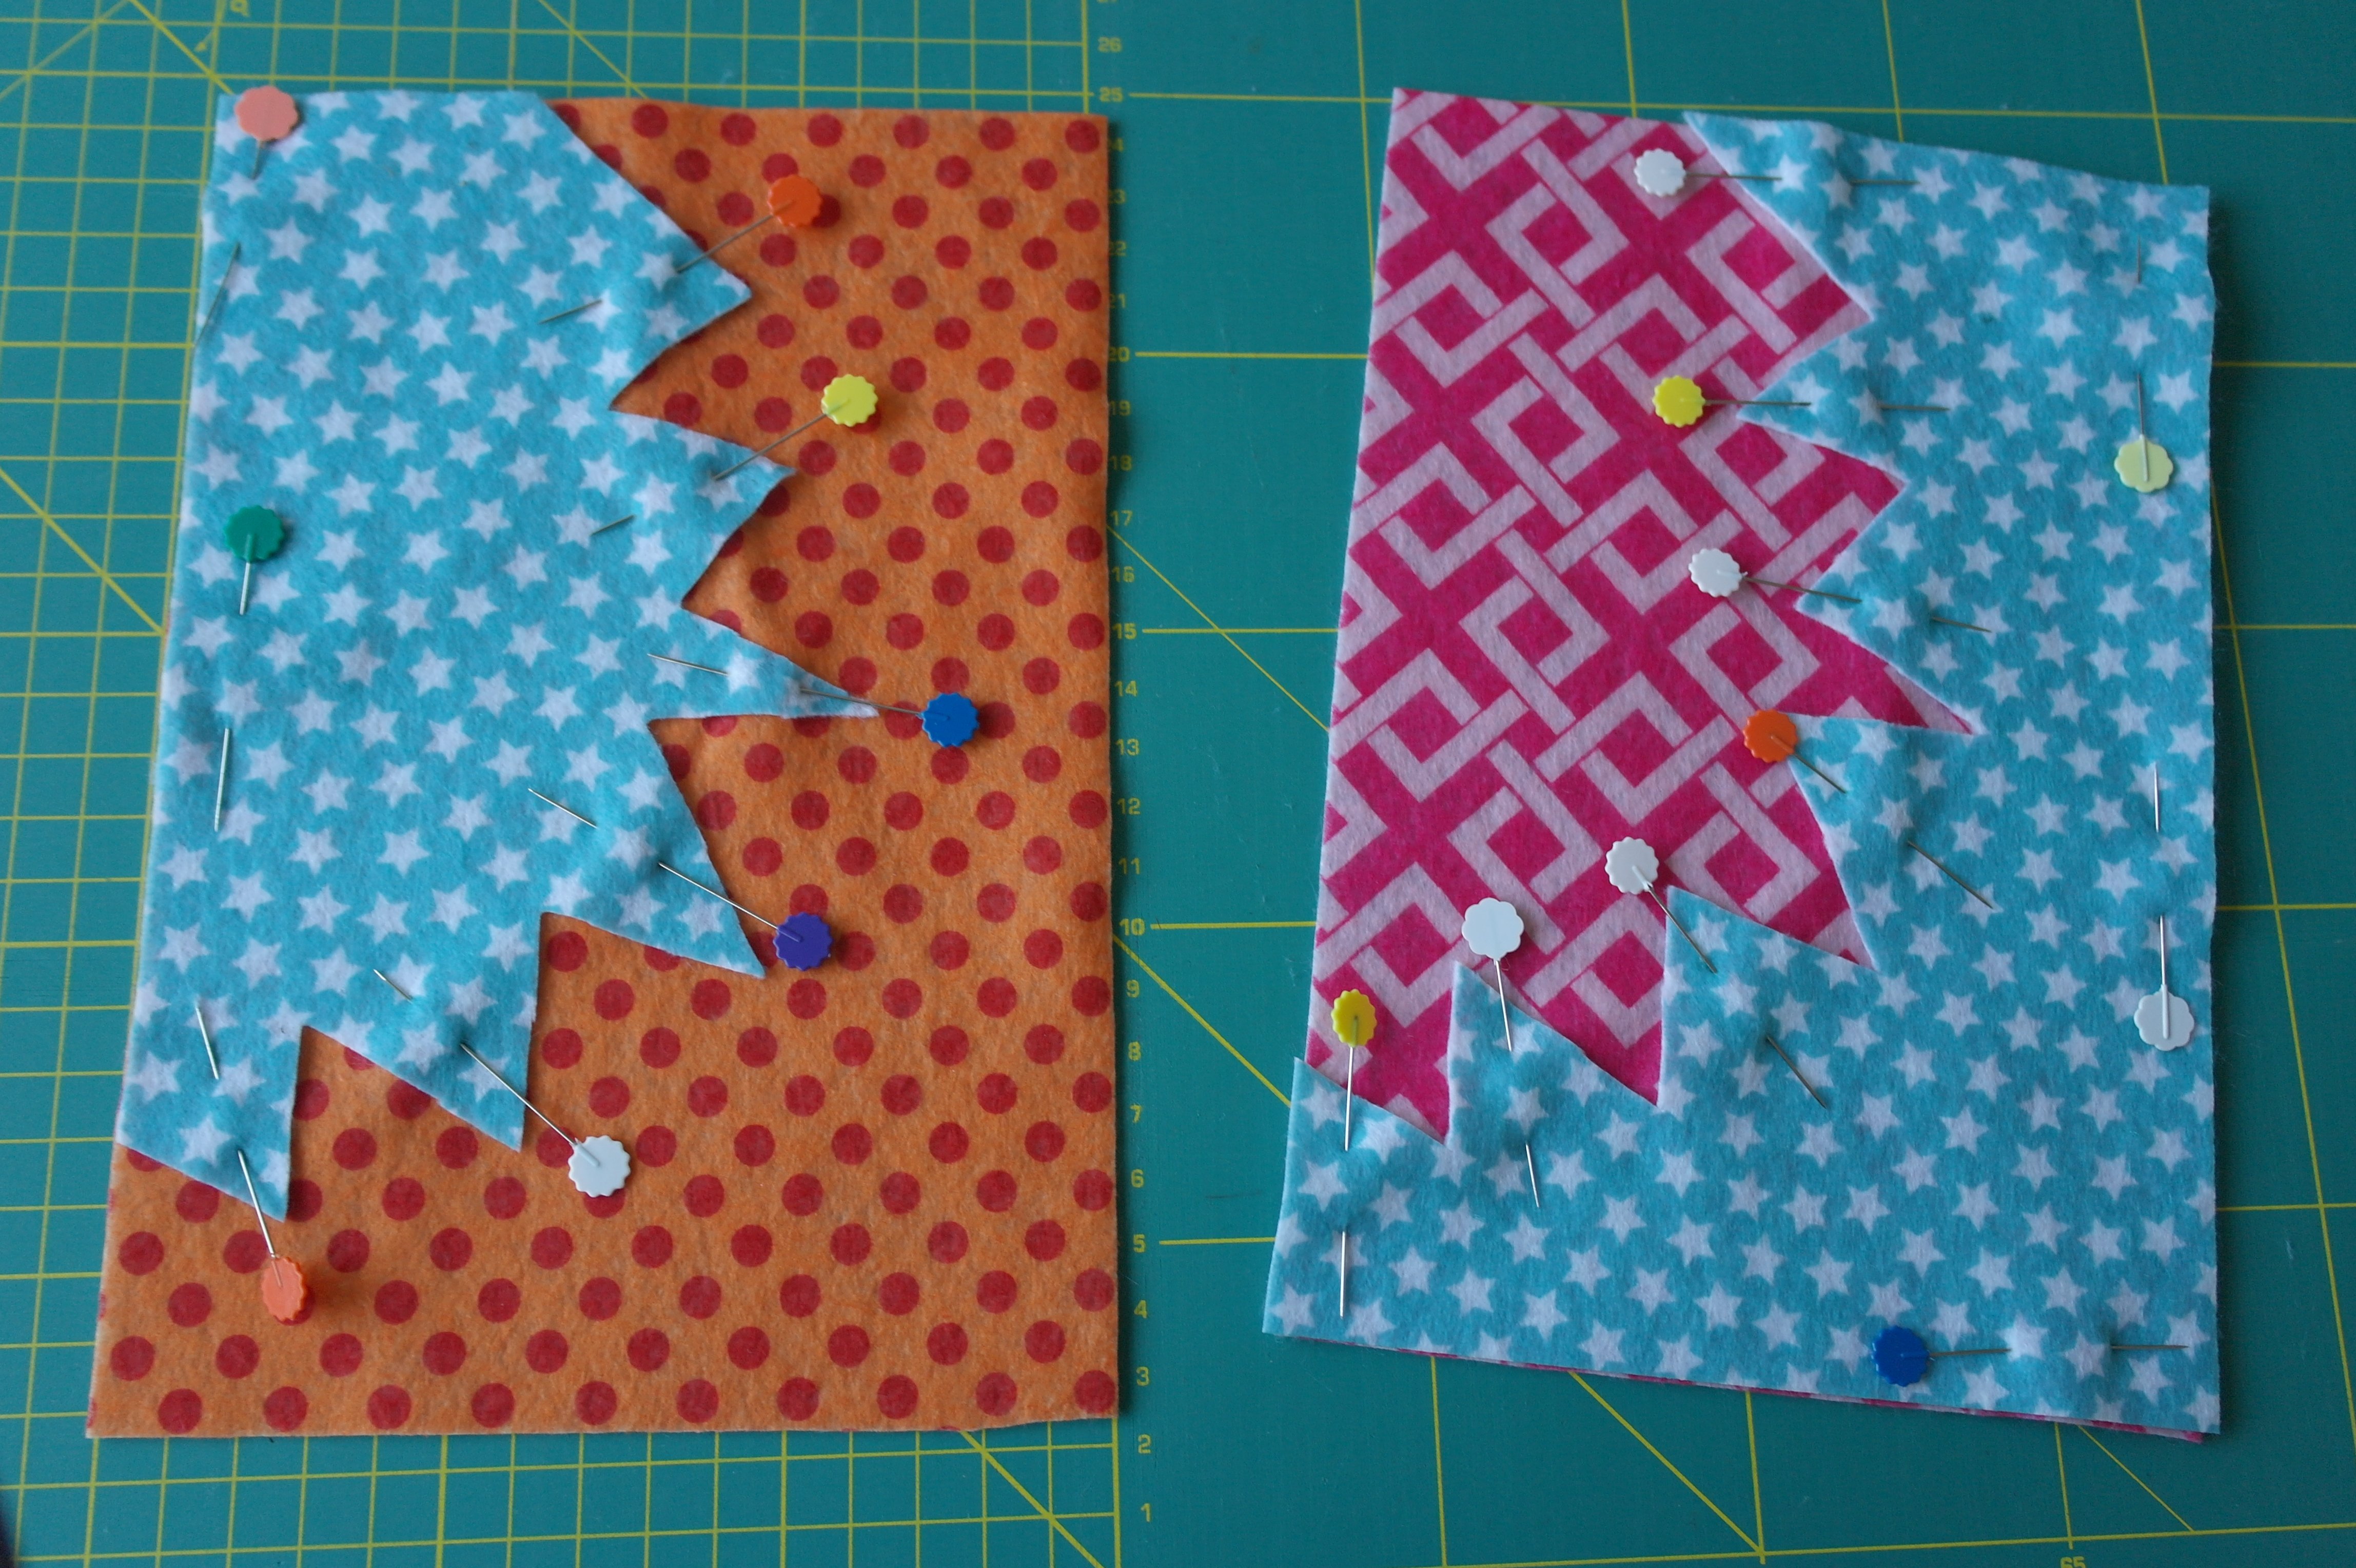
Use Flower Pins to secure the points of the fabric on top, pin to the sides as well, to prevent shifting.
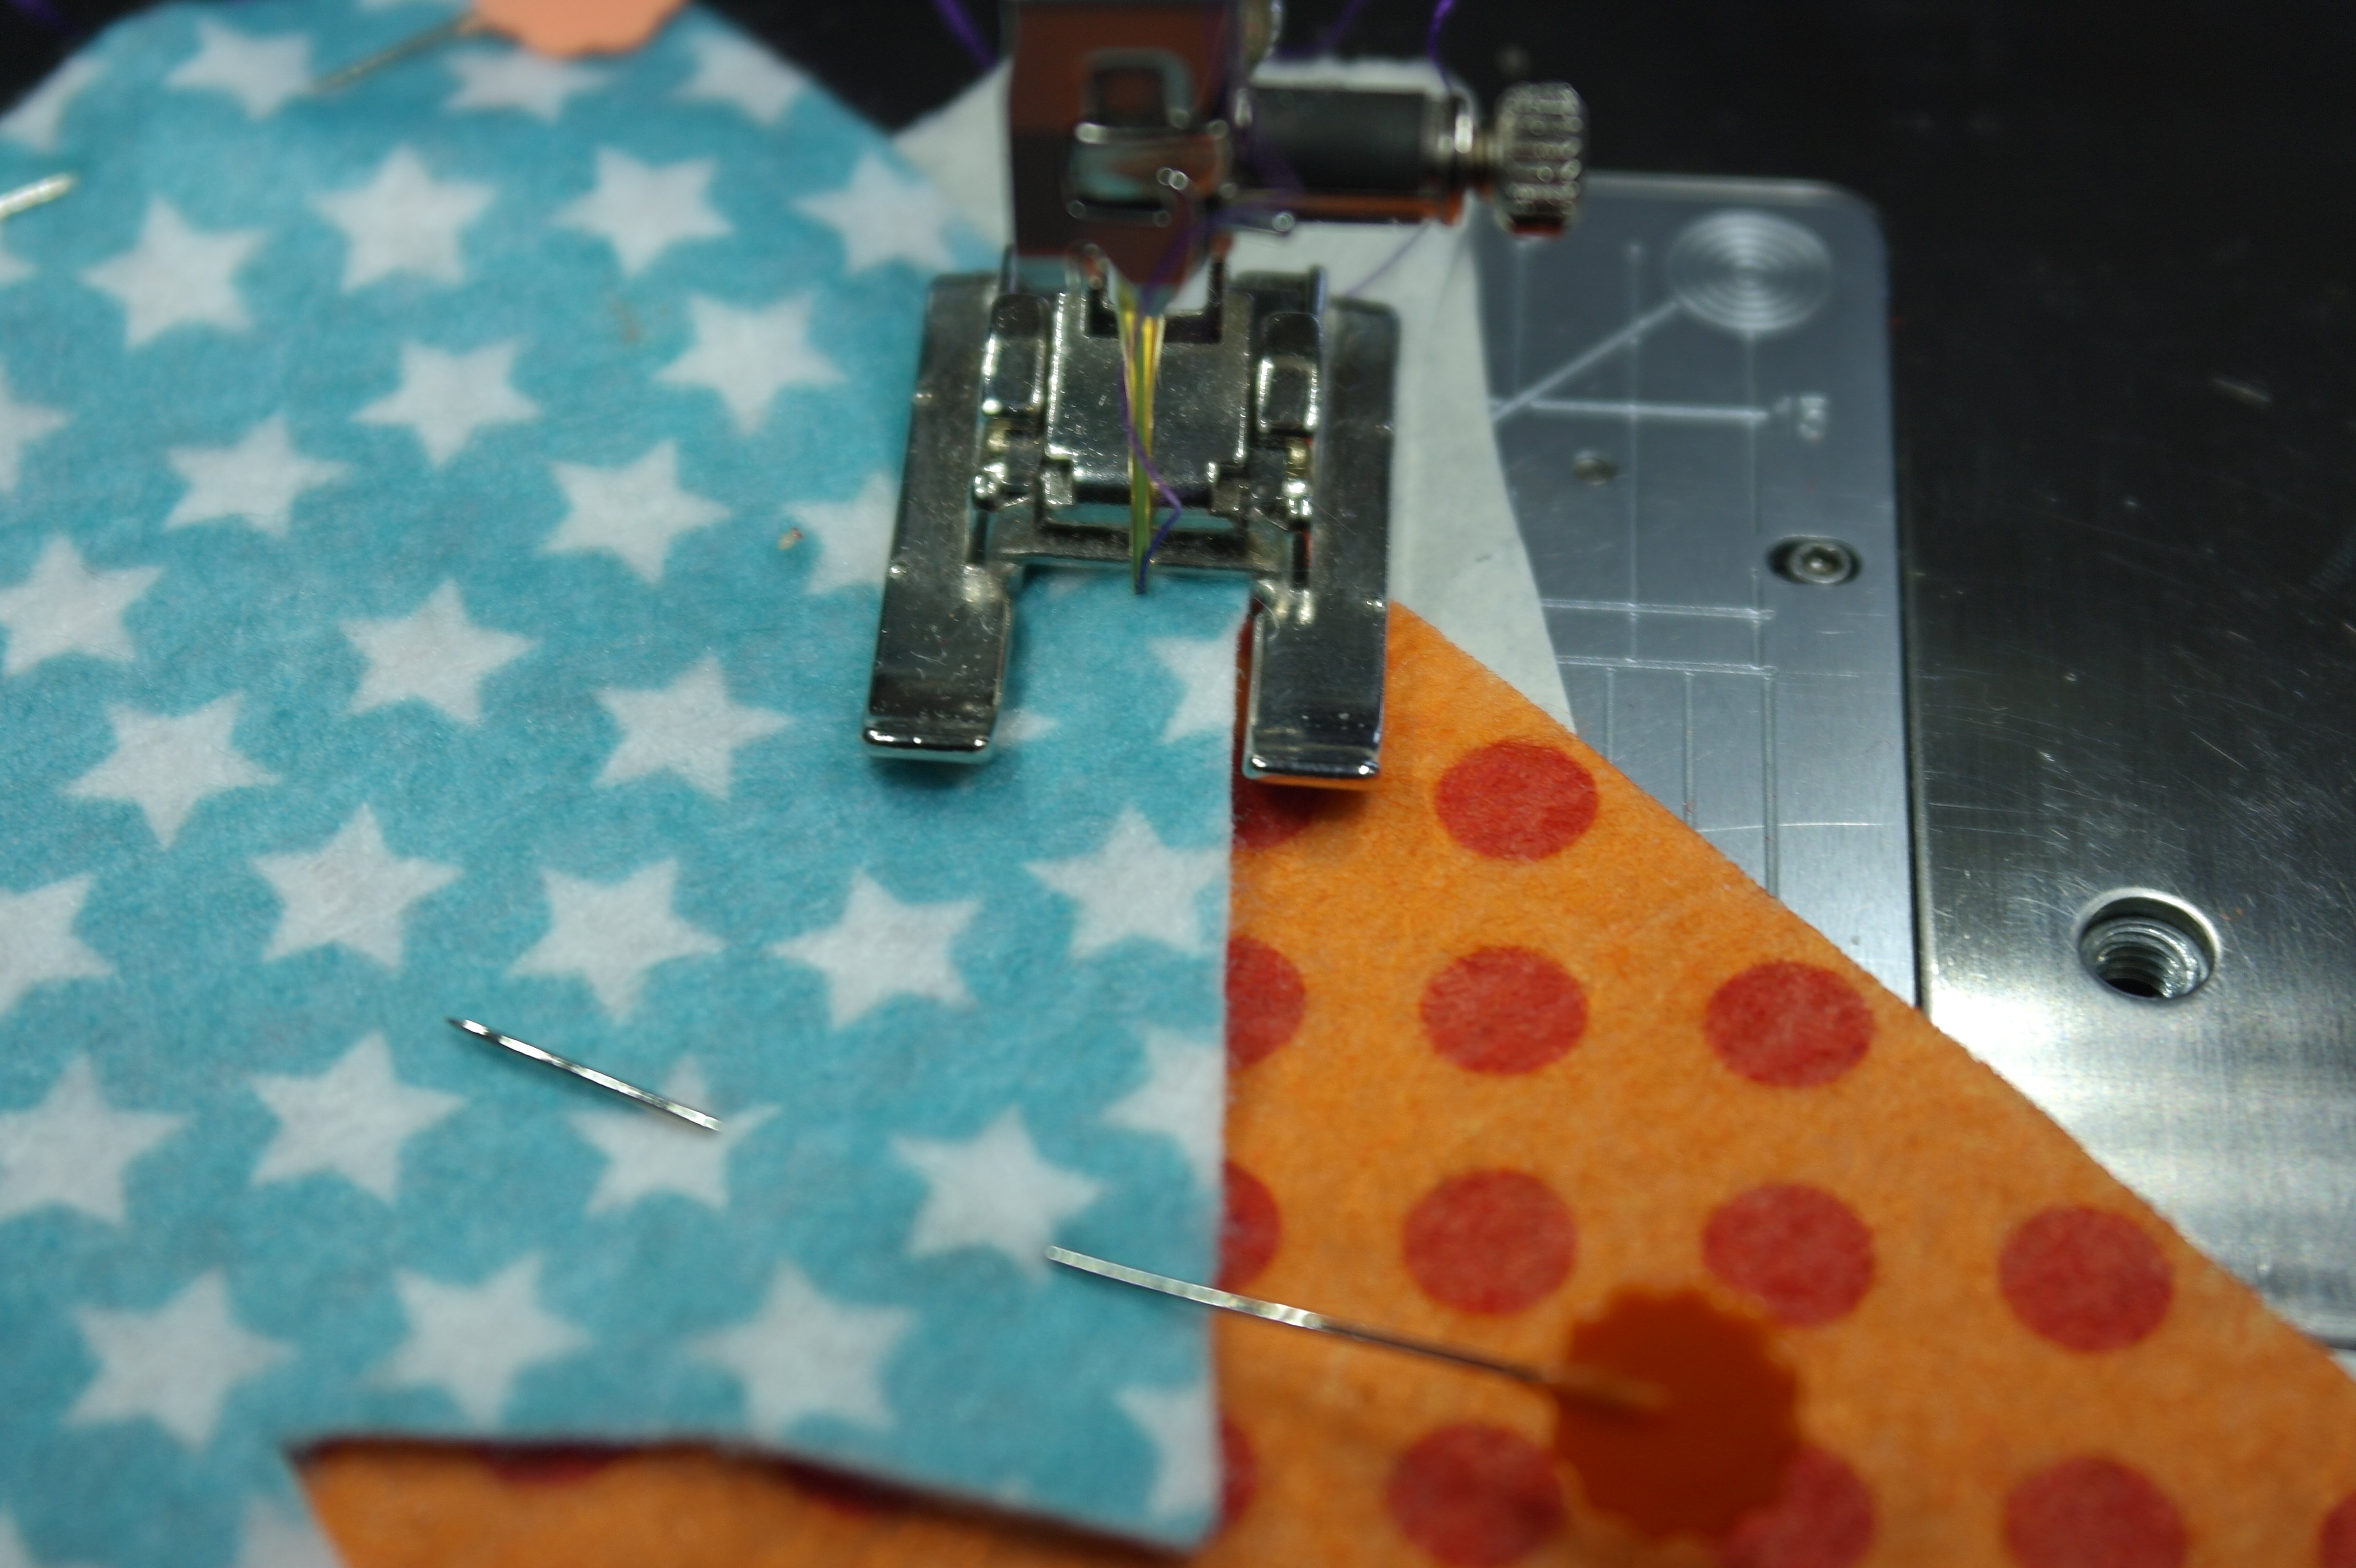
I have used bobbin thread (DecoBob/Wonderfil and Sulky Rayon 40 on top. Using a Topstitch needle 70/10: the needle will be sharp enough to use for two or more layers of Soft Felt, and with using perhaps a thicker top thread.
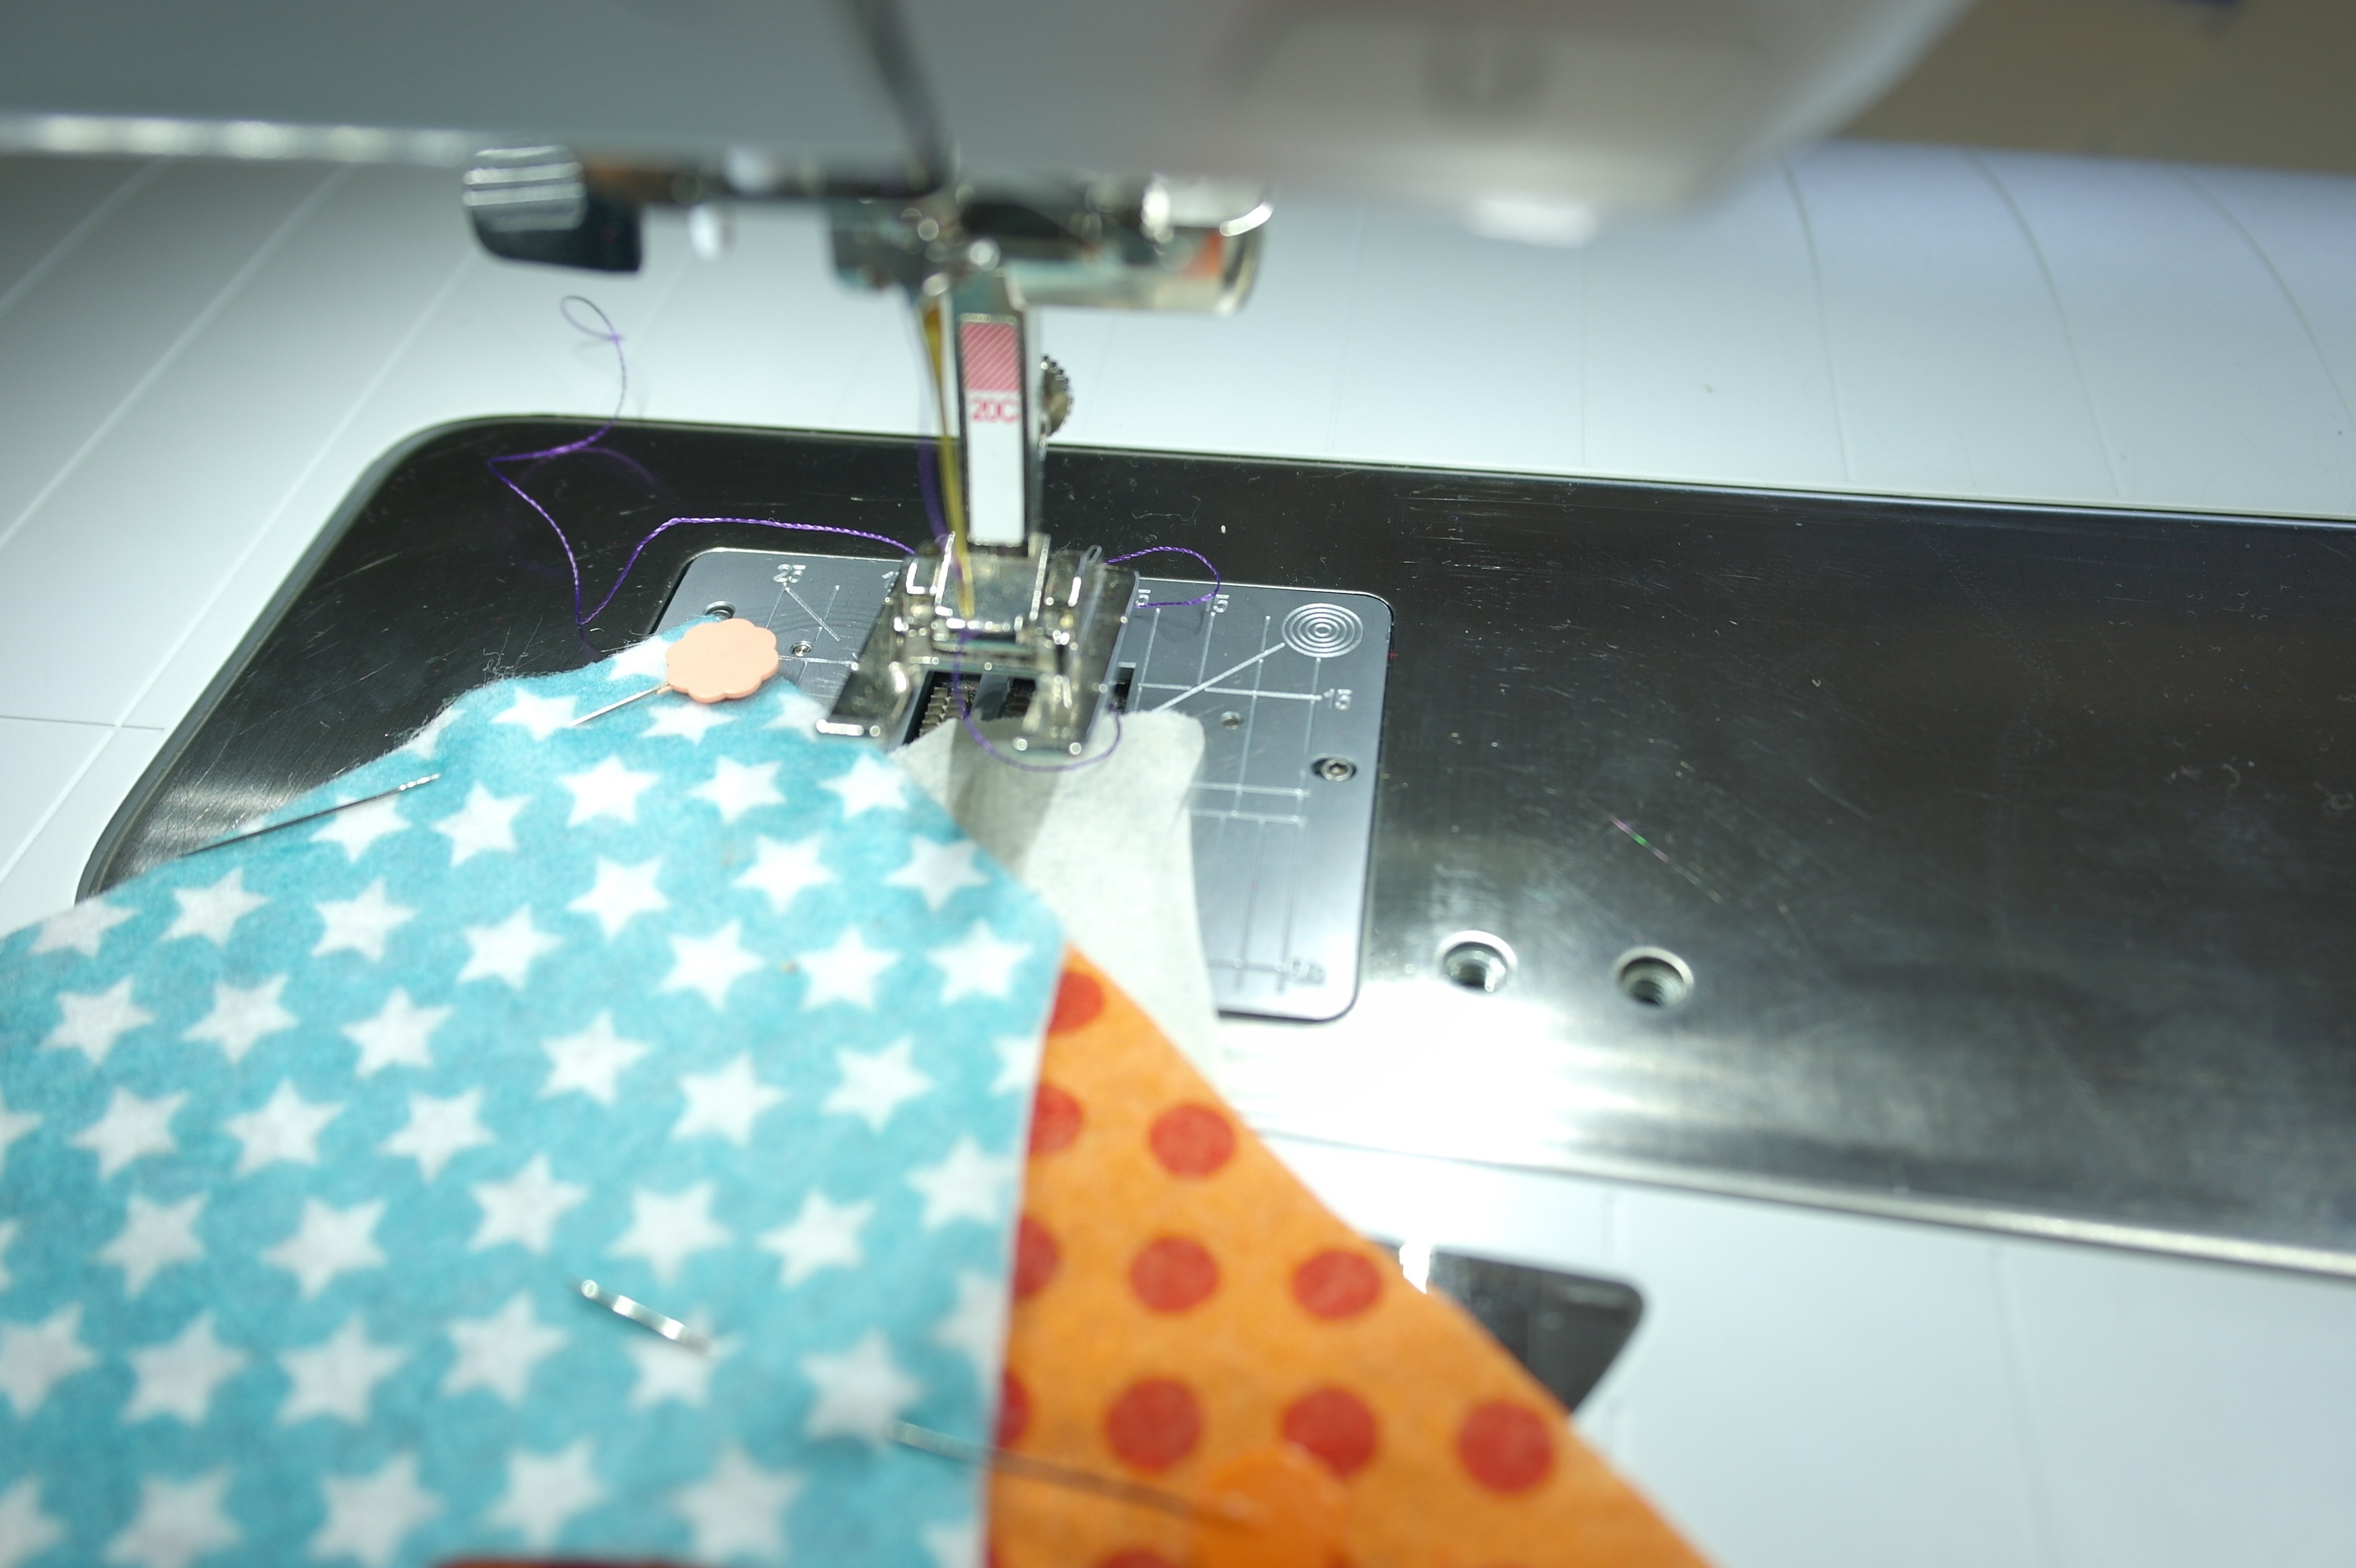
Using a piece of pattern paper: slide this under the piece of Soft Felt where you will start making stitches: this prevents ‘bird nests’: Bird nests occur when thread bunches up underneath the needle plate, causing broken threads, skipped stitches, and uneven tension. Just a simple trick: the pattern paper can be removed easily after sewing.
Using the Open Embroidery Foot 20C for making decorative stitches, or just making the straight stitch. The wide opening gives you full view at your work. I have made stitches at 0.50cm away from the cutted edge = width of a seam allowance. Making the stitches, stopping at 0.50 cm from a point, turning the Soft Felt in the other direction and making stitches again.
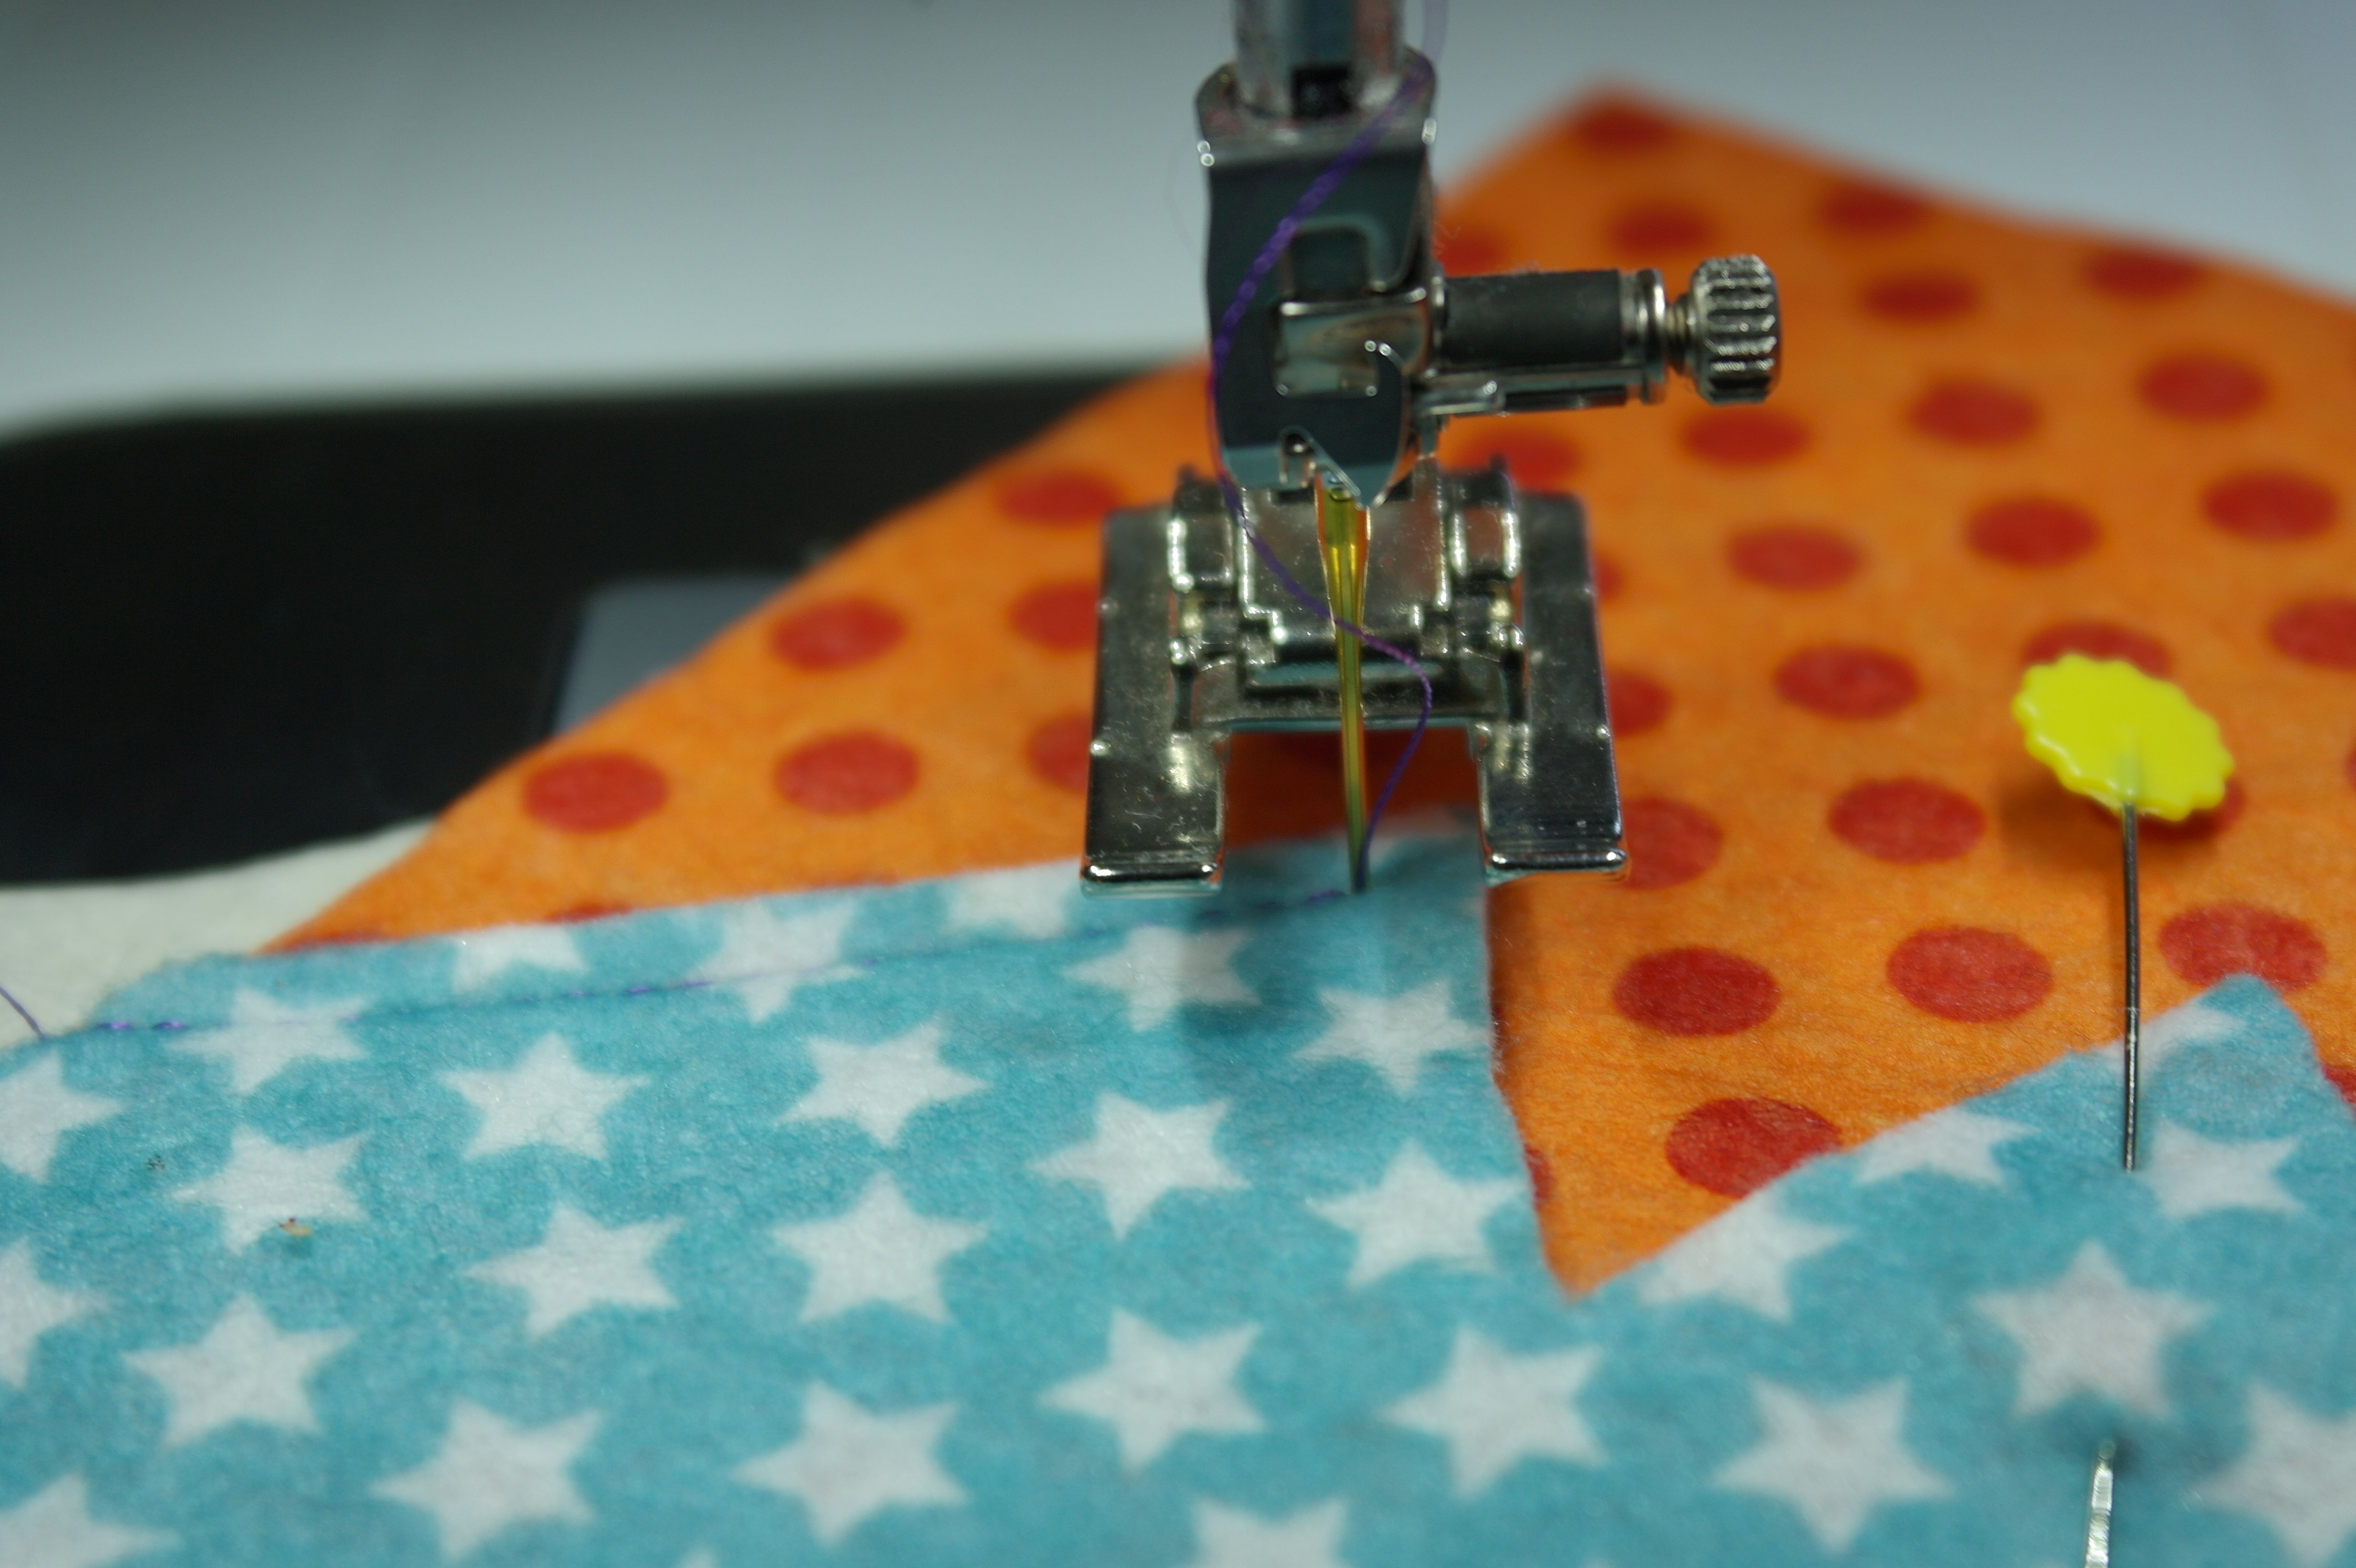
Make sure the Soft Felt doesn’t shift, and prevent the stitches to be made too close to the edge of the upper Soft Felt shape.
This is the right opportunity to use the lever of the Free Hand System! I have replaced the foot control to the left, using my left foot to operate it, so I can use the lever with my right knee. Using both your right foot and your right knee with foot control ánd Free Hand System is too much effort. Using the lever should be an easy addition to the way you work.
As soon as the needle stops facing a point, or an inner shape, push the lever with your knee to the right: the presser foot is raised, but be sure the needle is in the downward-position. Turn the Soft Felt, let go of the lever and proceed making stitches. By doing this, you don’t have to push any button and will be able to keep your hands on the Soft Felt.
Be sure to make an extra stitch to secure the outer points while sewing: with some machines sharp points are beautifully made, but with others, the stitch will be distorted. When arriving at the outer point, at the end of that stitching line, make one stitch back, and one forward, thén change direction for the next stitches.
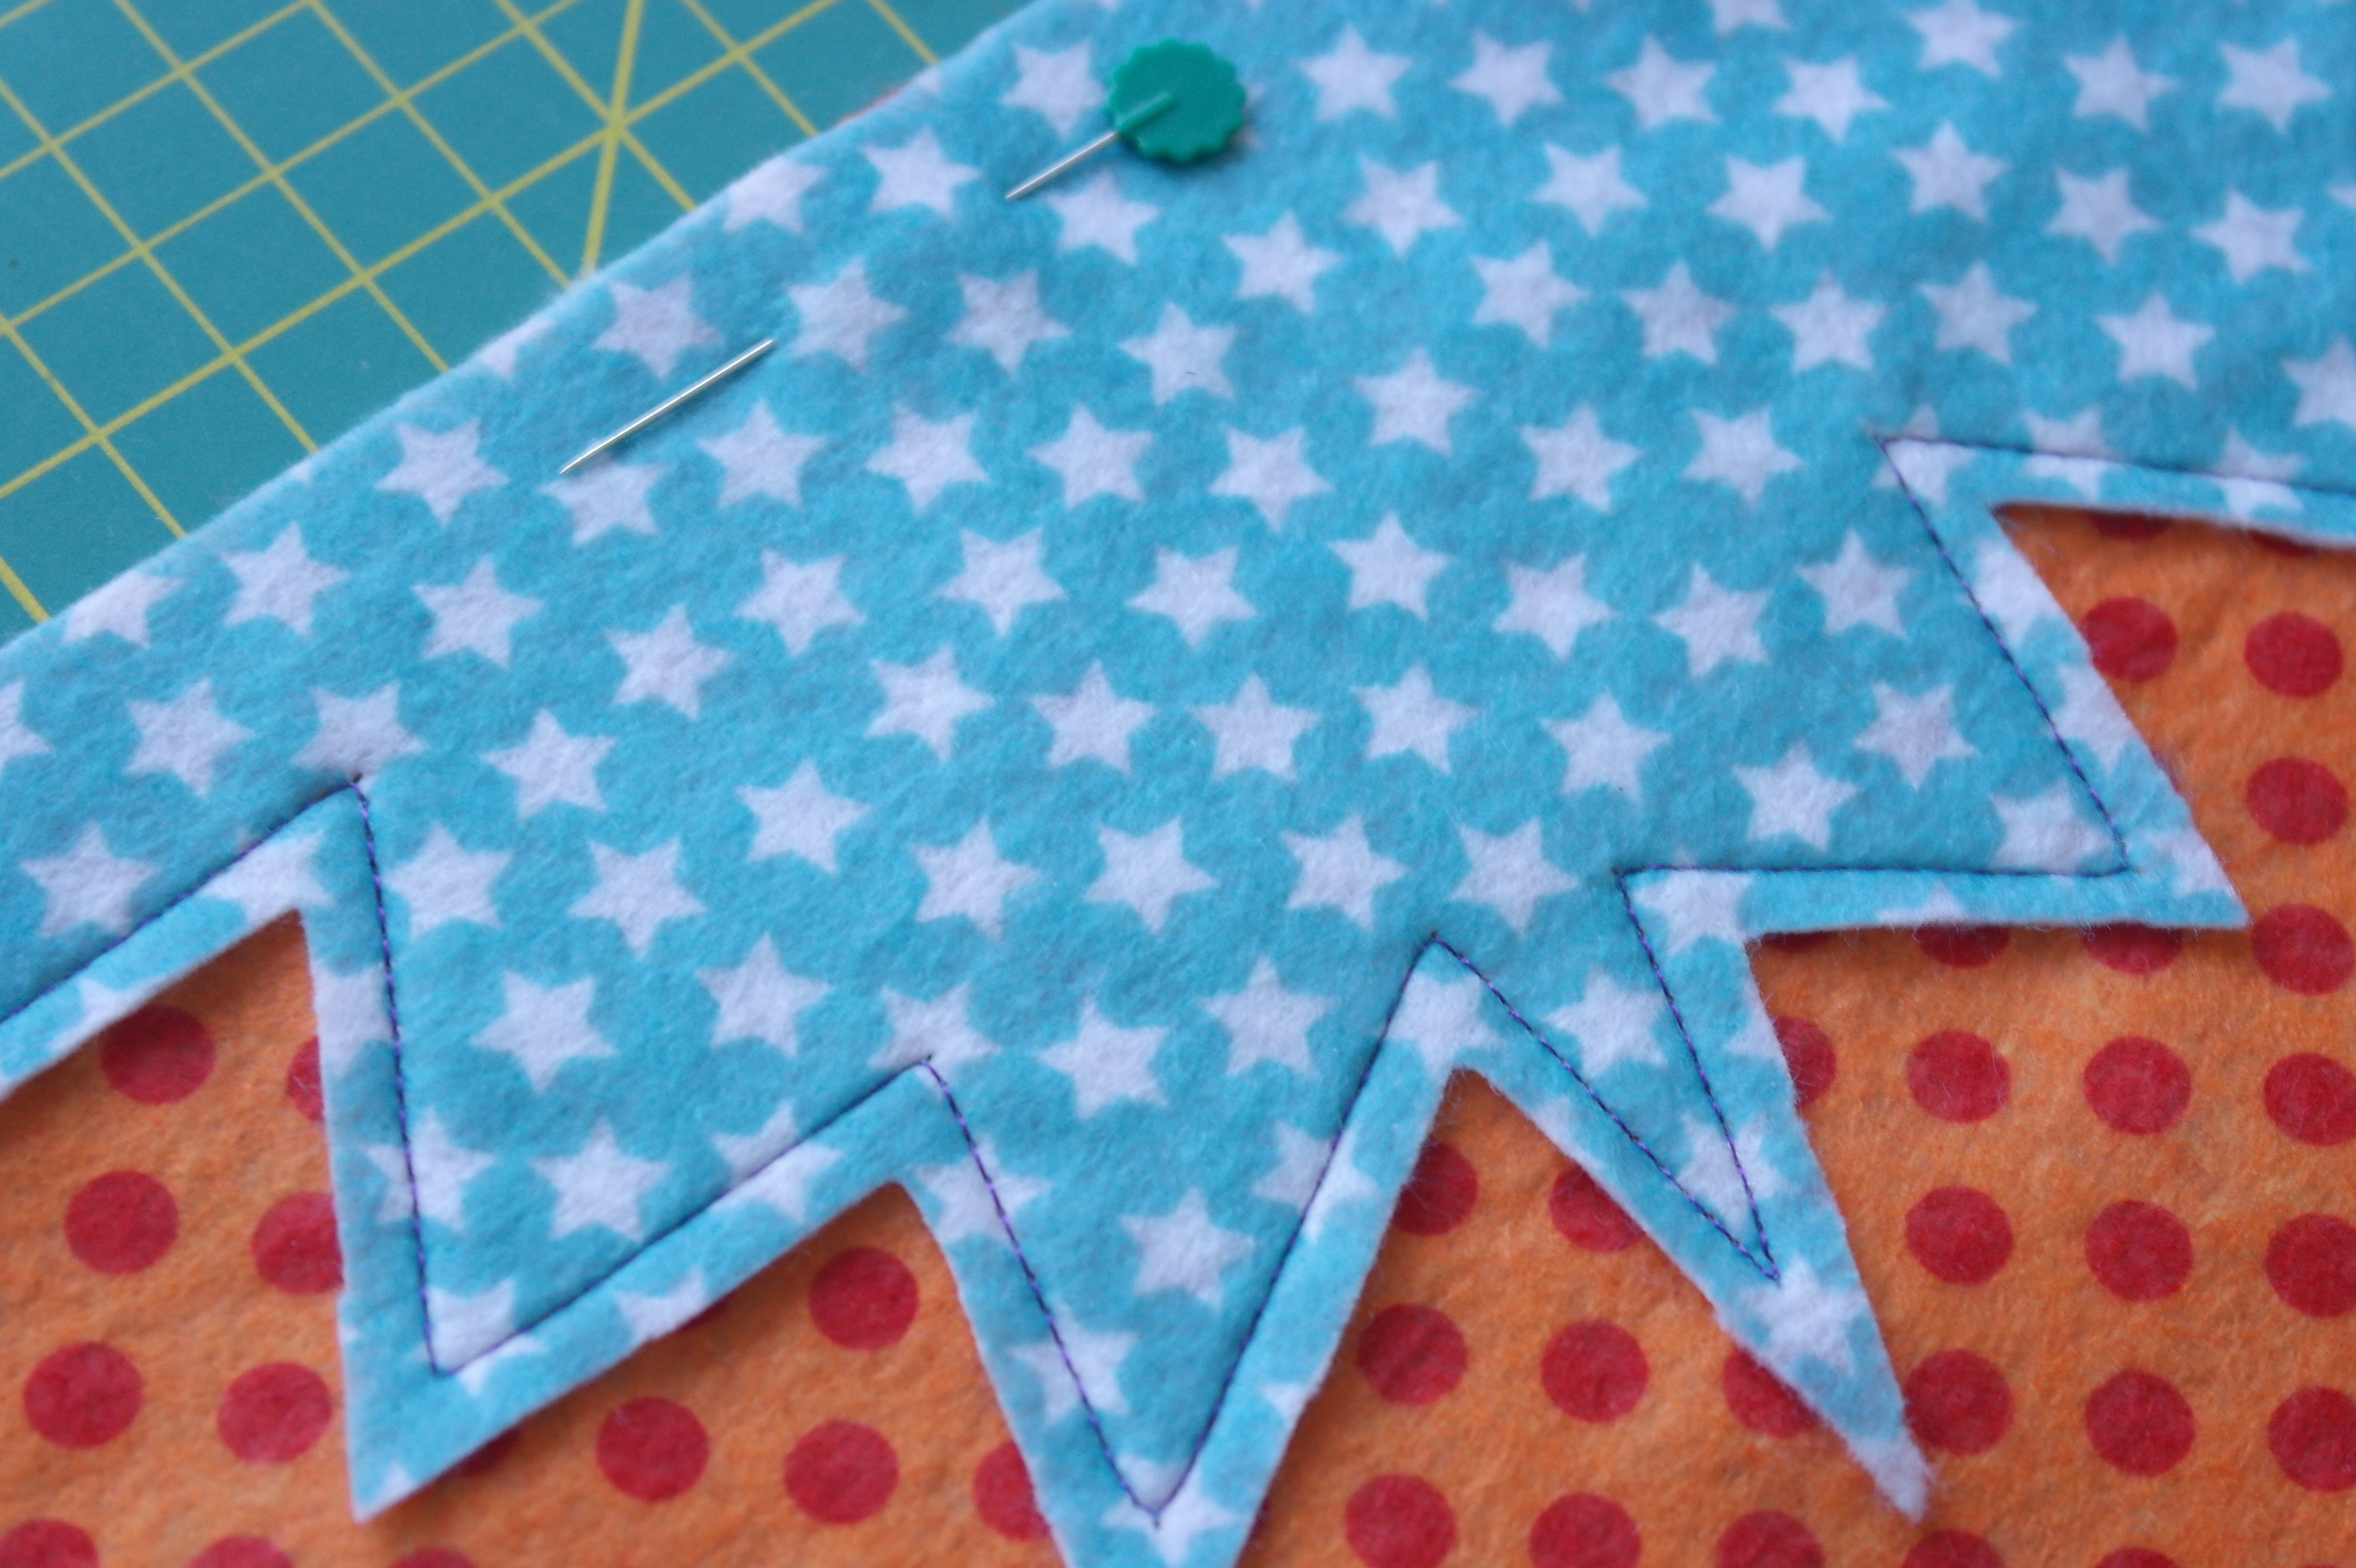
When the upper piece of Soft Felt is sewn onto the bottom piece, you will have a decorative rectangle: Soft Felt does’n fray, so this is an easy way of making these pointed shapes.

Turn the rectangle, cut all Felt away from behind A1: BE CAREFUL Not to cut in the top Felt. Leave a seam allowance of aprox. 0.50cm. You can use the cut out piece also for sewing onto a rectangle, if you want to use smaller and different shapes.

You can see how that will look at the picture above: the cut out is a bit smaller, but it can still be used to sew onto another rectangle of Soft Felt. I will make as many A1/A2 pieces of Soft Felt as I want to use in my quilt, and use B1/B2 as well! Checking if all combinations are ok, placing pieces of Felt next to each other.

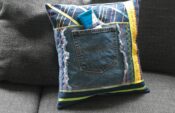
Have you made just few Soft Felt rectangles? Don’t worry: you can use them for making a pillow cover, or a bag, or a small quilt. If you youse all the sheets, you can make a large quilt, and more you leave some rectangles as they are (uncut).
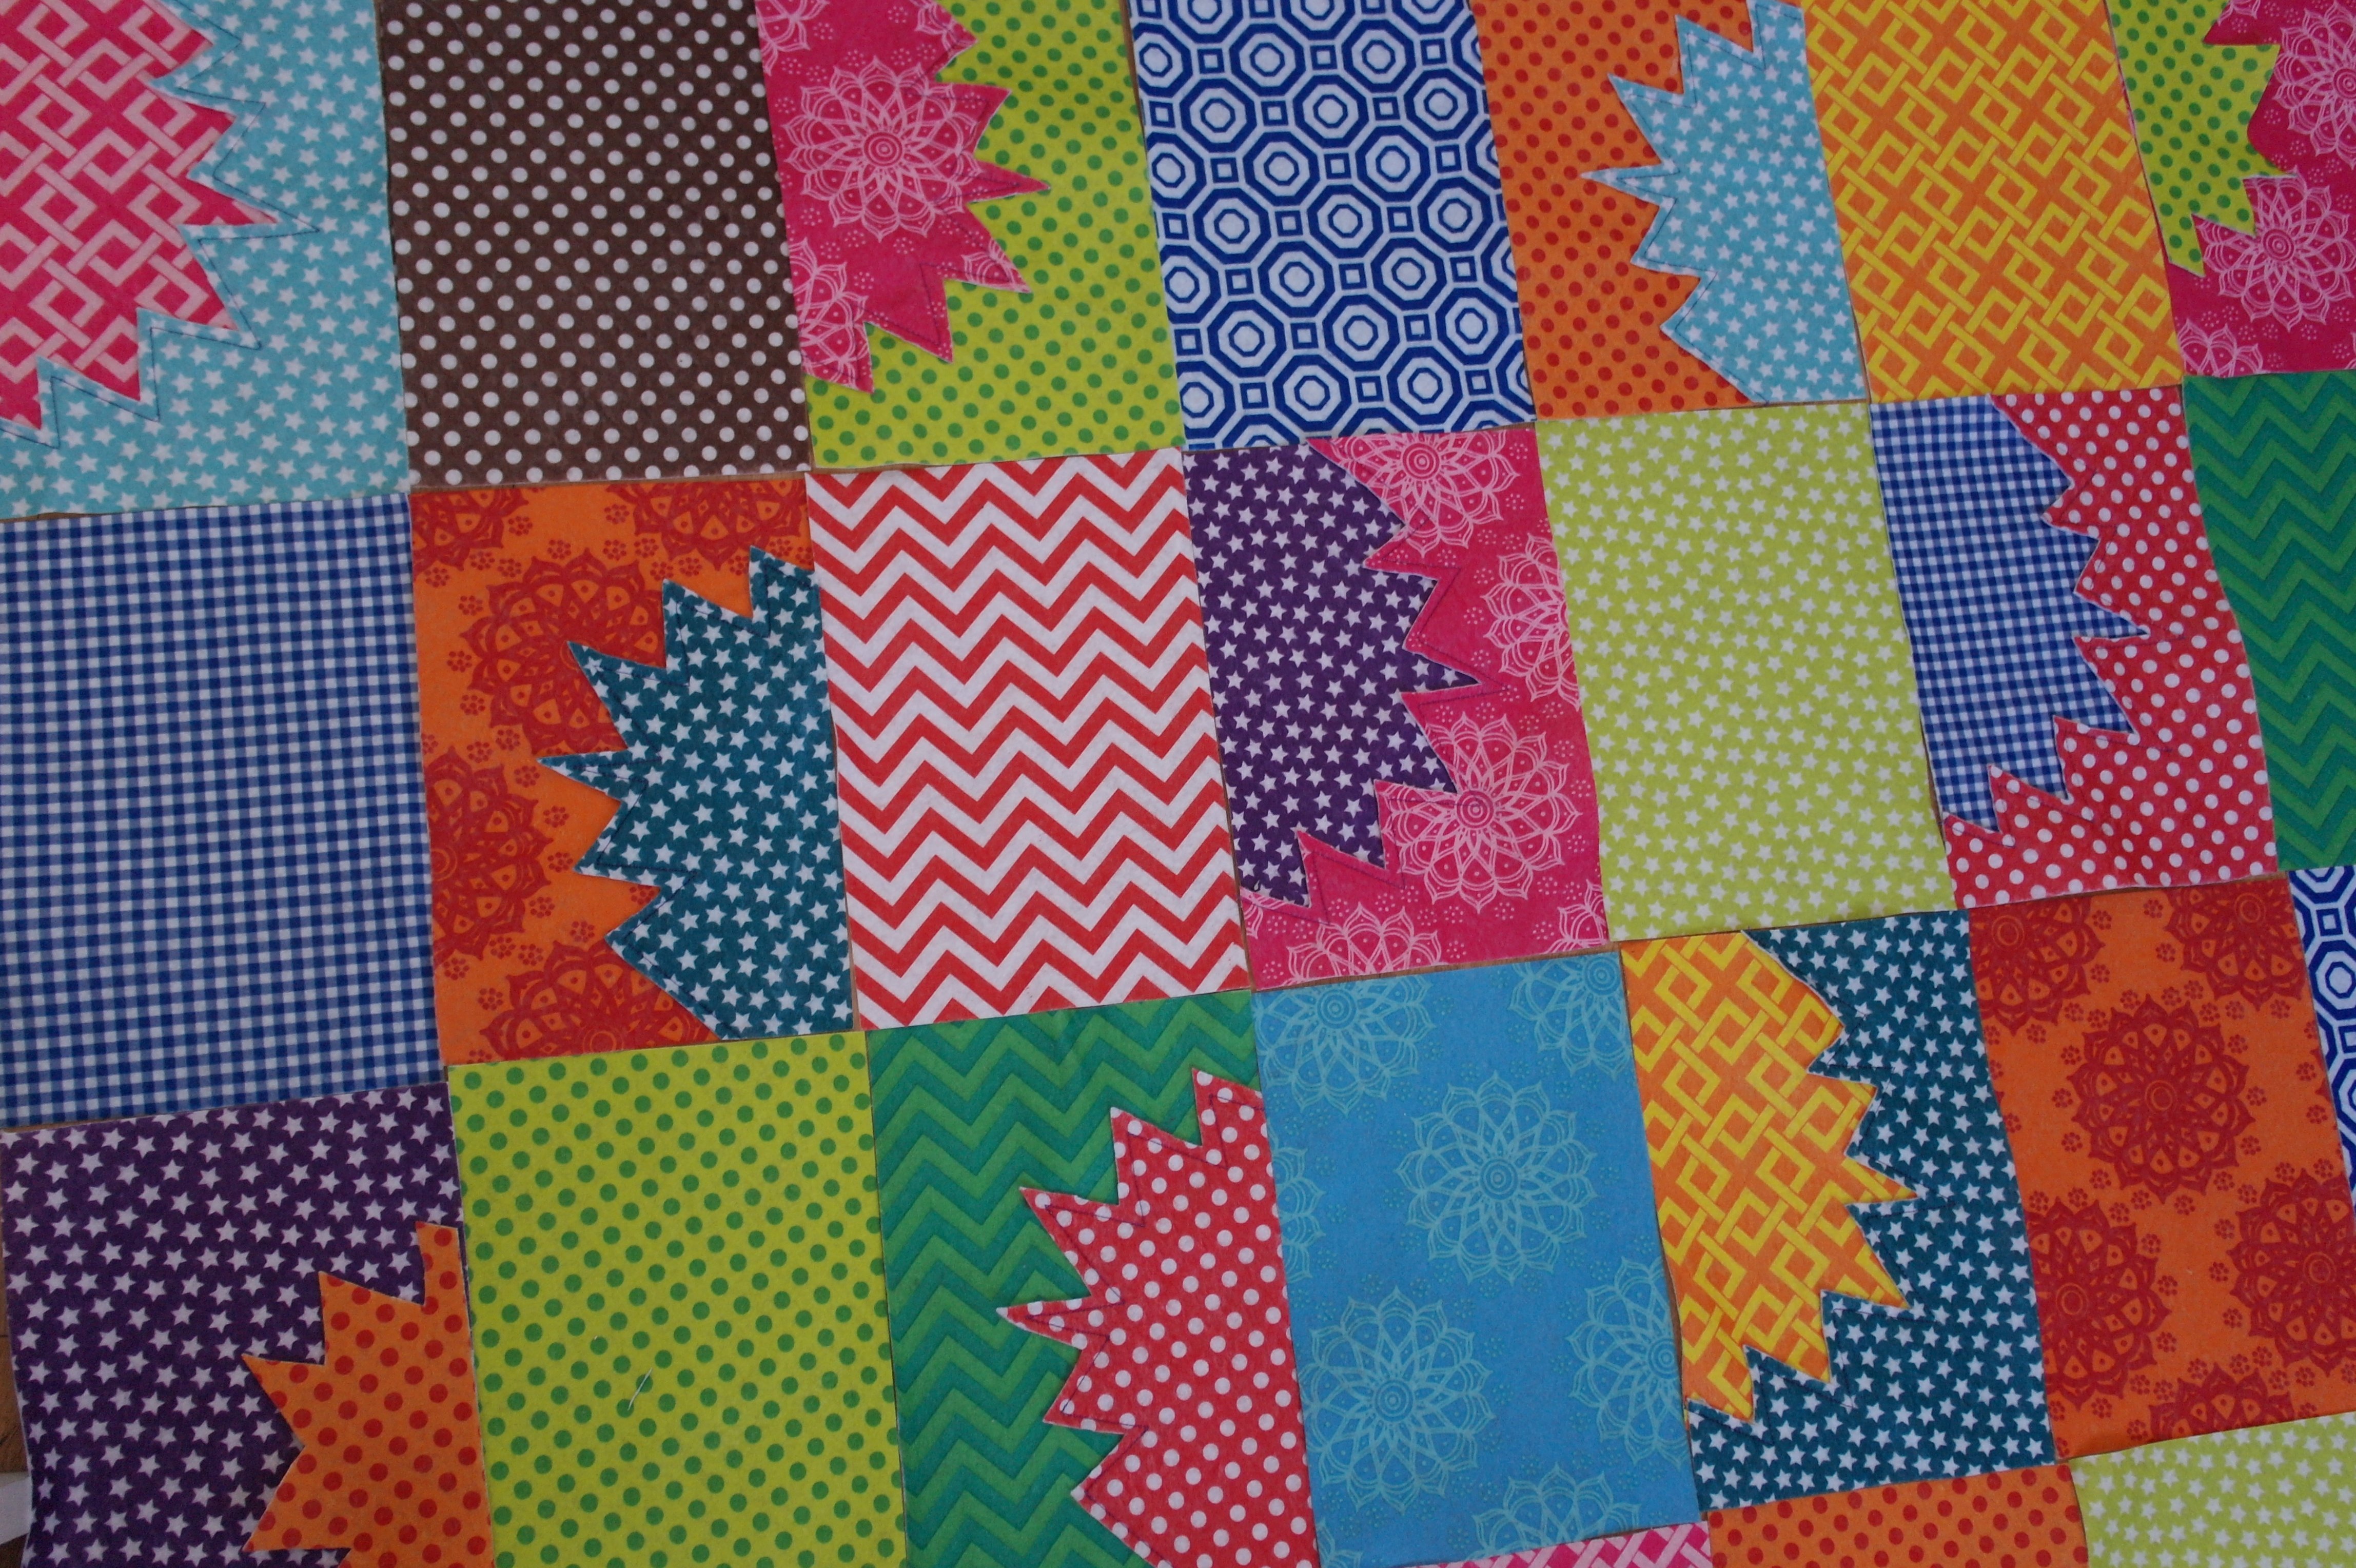
I have alternated non-cut rectangles with the ones I’ve stitched, and placed them the way I would sew them together. Sewing in rows is the best way: start with the rectangles at the top row, making only rows, up to the bottom one, then join the rows to make one top of a quilt.
You can join the rectangles the classic way: placing two rectangles right sides together: the seam allowances will be at the bottom of your quilt.
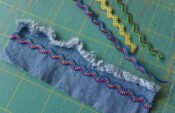
You can also place the rectangles with the wrong sides together, making the seam allowances appear on top. Cut them at a short distance, all the way up to the sewing stitches, and fray them for a ruffle quilt.
BE CAREFUL WHEN IRONING THIS MATERIAL: it is synthetic Felt: ironing can be best done on the back, placing a cotton fabric between Soft Felt and iron. Be sure your iron is not too hot!
You can join the rectangles vertically (like my project), but also horizontally for a different look.

Finishing this project as a quilt: after making the top, you can choose a matching fabric for the back: like Mixology/Camelot, with fine dots in a matching color. You don’t need to put a thick batting between top and backing: 100% bambo0 would be a right choice. The binding can also be made from a matching fabric. Be careful though while washing (preferably by hand).
Making a bag: if you have a canvas base, sew the Soft Felt rectangles onto this canvas, before making the bag.
Have fun, happy stitching!
Sylvia Kaptein
Sylvia’s Art Quilts Studio
Do you want to order the Soft Felt Precuts 71 lapjes? Please use this link.
0 Responses