 BERNINA Corporate Blog -
Good morning, my dears!
So, today I am going to show you something here that you haven’t seen from me in a long time: an embroidery tutorial. About 8 months ago I decided that it was time to start embroidering using the machine. Since then, I have attached the embroidery module to my machine on a regular basis, sometimes for small projects, sometimes for larger projects.

I’m telling you this to stress the fact that I am no pro when it comes to embroidery. There is plenty to read here from other experts in this field. But I will show you how you, as a beginner, can create beautiful results with the easy-to-use Toolbox.
What are the advantages of Toolbox? First of all, you can download it for free from BERNINA and try it out for 30 days to get a feel for it. With Toolbox, you will have access to more than 600 embroidery designs on the BERNINA cloud. In turn, these can be modified, adjusted, and individualized as you want with very simple tools. You can also download the BERNINA cloud to your smartphone or tablet and access it from the comfort of your own couch. Yes, it can also be used on Mac products. Additional modules allow you to embroider even more spectacular designs.
First I want to show you how you can use the Toolbox to create an embroidery design as well as a font and – as you will see in my example – embroider these onto small leather slippers. The pattern for the small slippers is available as a Freebook – Puppenflitzer by KiooKioo – which can be purchased for both children and adults.

When you sign into your Toolbox, your individual user interface will appear.

Under “My Toolbox”, you can set whether you want to work with your pattern using metric (centimeters) or imperial (inches).
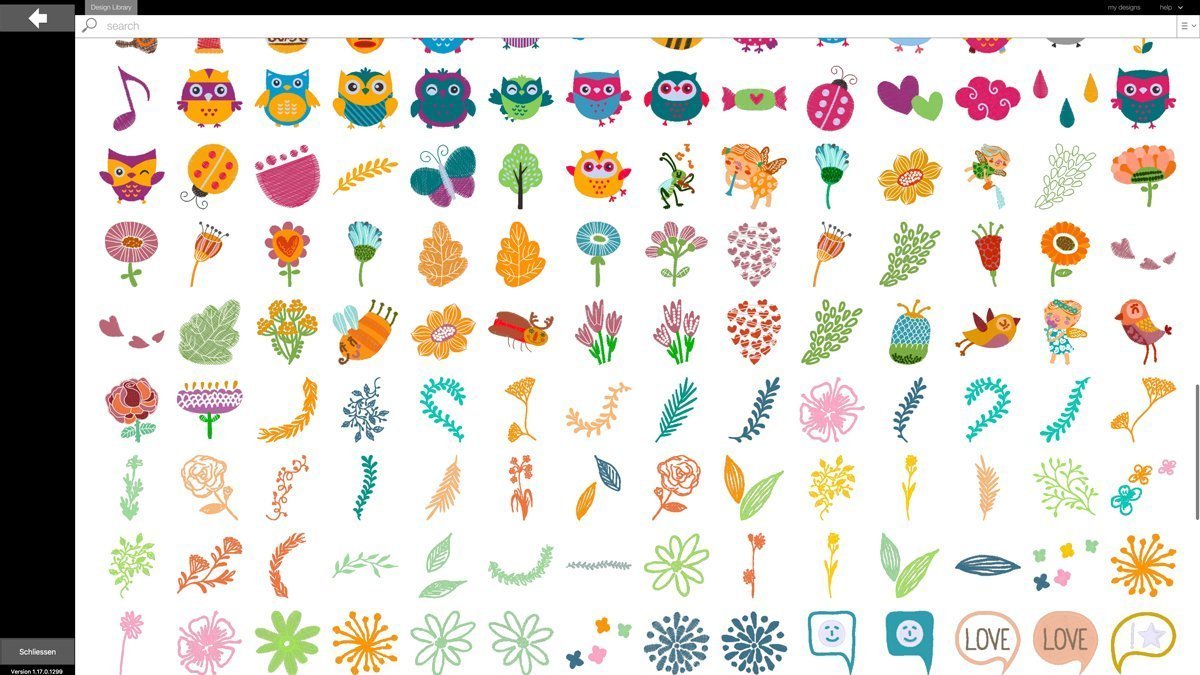
Once you have adjusted this setting, open the BERNINA cloud and have a little look around. The more I explore, the more ideas I get for future projects.
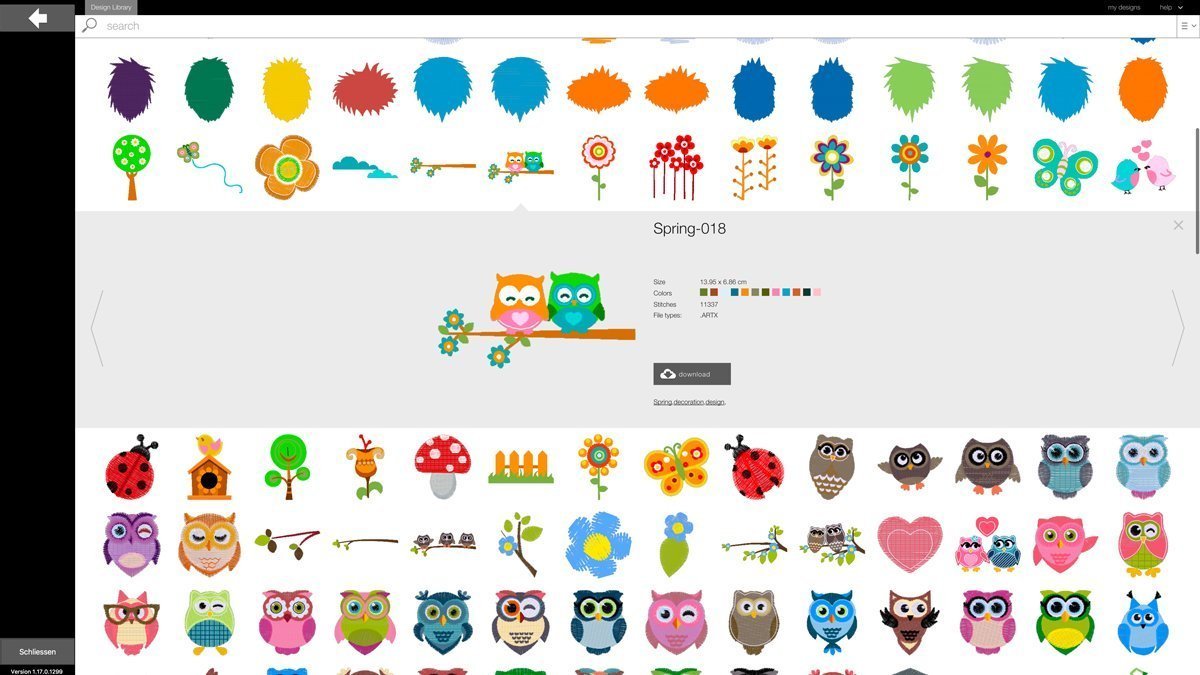
Select a design and download it using the “Download” option in your user interface.
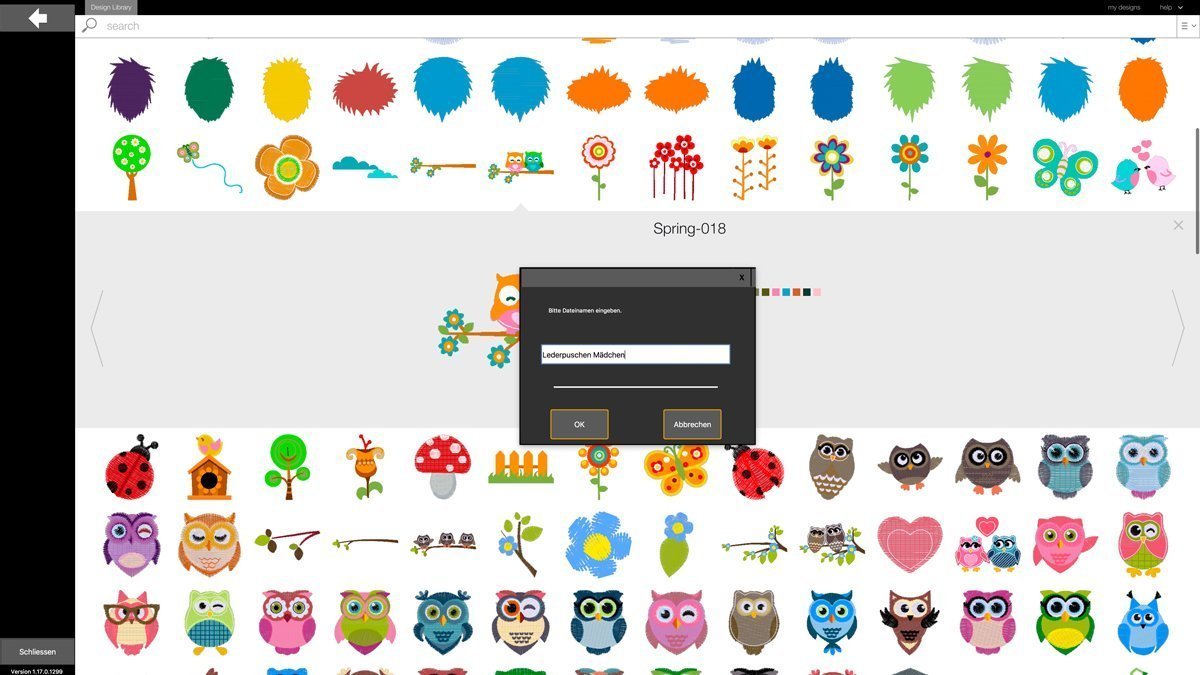
You can even rename the design if you wish, so that you can organize it more easily later.
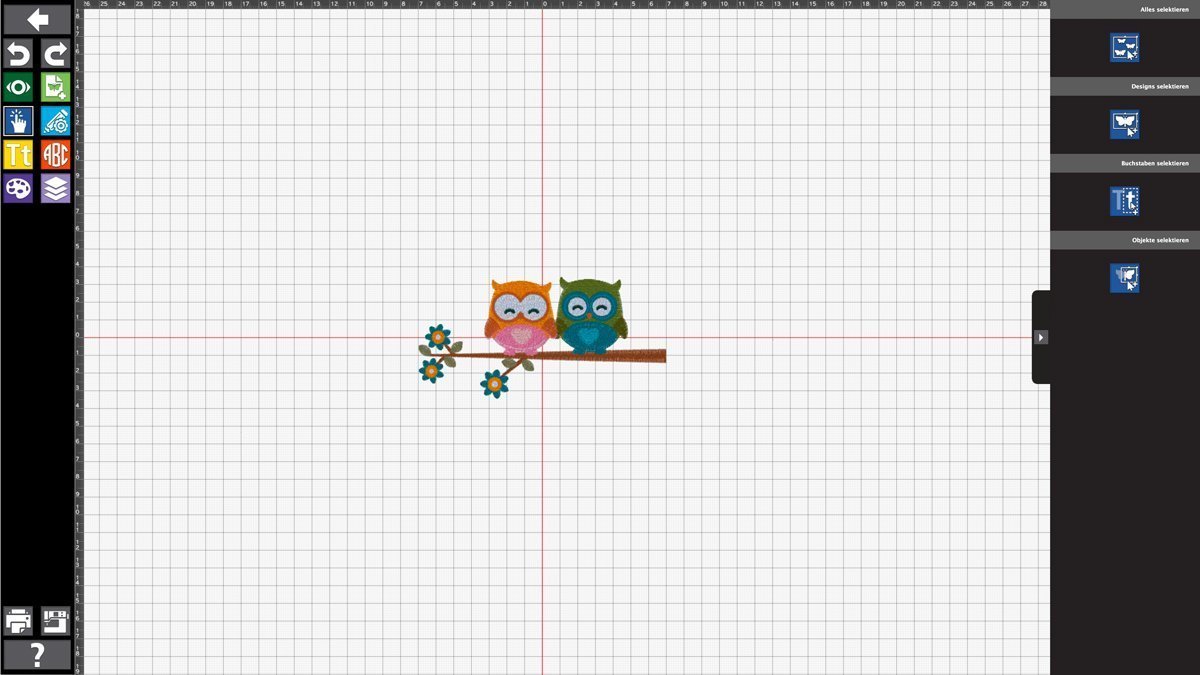
After you have returned to your designs, double-click the file to open it. You will see the most important tools on the left. I will discuss these in more detail throughout the tutorial. Now, I’d like to just keep the little owl, so I need to remove the branch as well as the green owl. I can either select and delete individual areas using the dark blue buttons or the color palette.
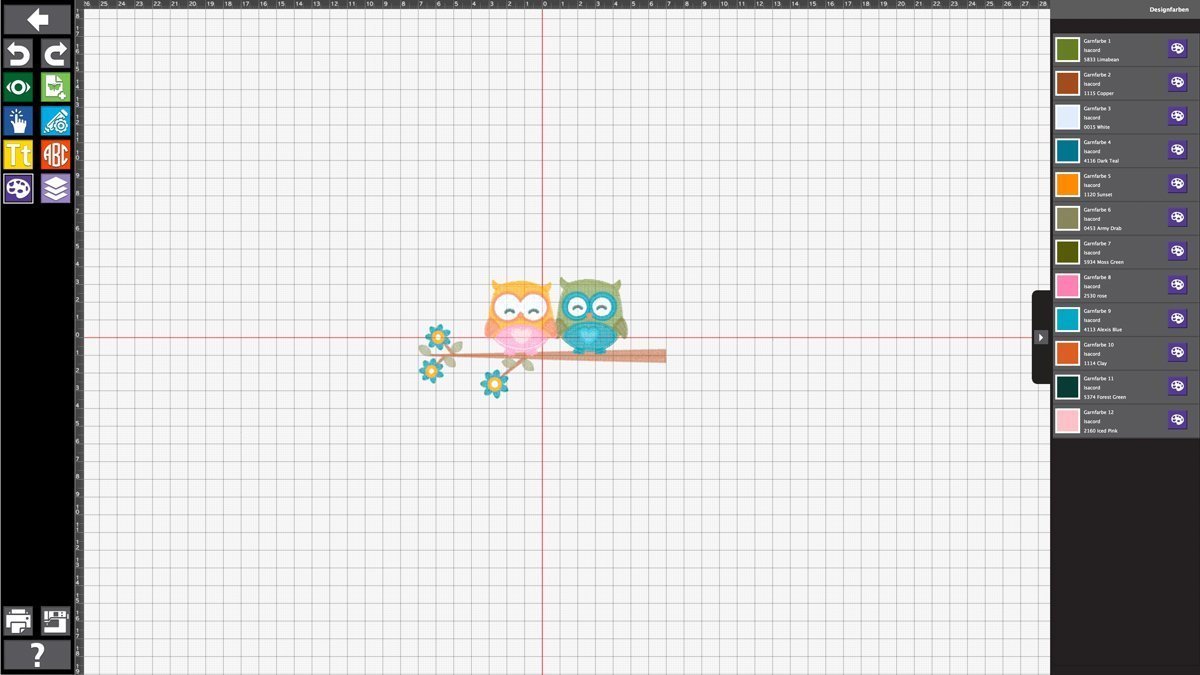
In doing so, be careful that the colors found in the little owl are not deleted, otherwise you will be missing parts of your owl later on. Select the colors not found in the little owl and delete them.
In this example, besides our owl, only the eyes and the beak of the other owl and the little flowers will be left.

I select these individually using the dark blue buttons and delete them.
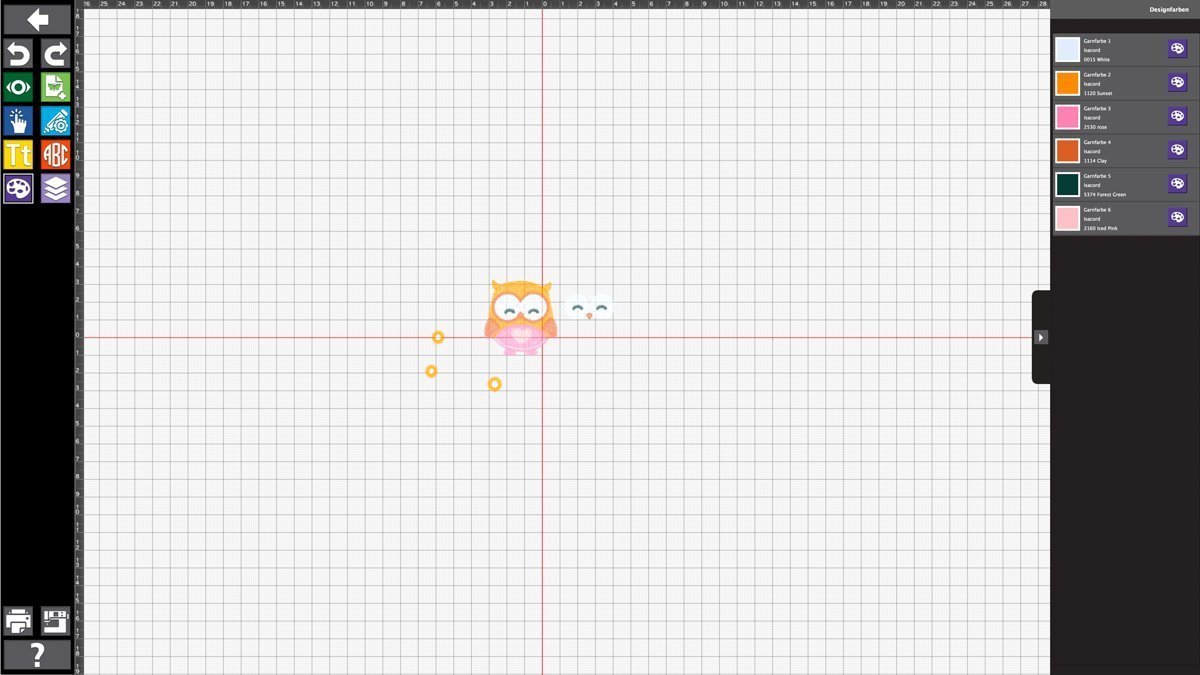
And now all that’s left is our little owl. Using “Select All”, you can now adjust the owl as a whole.
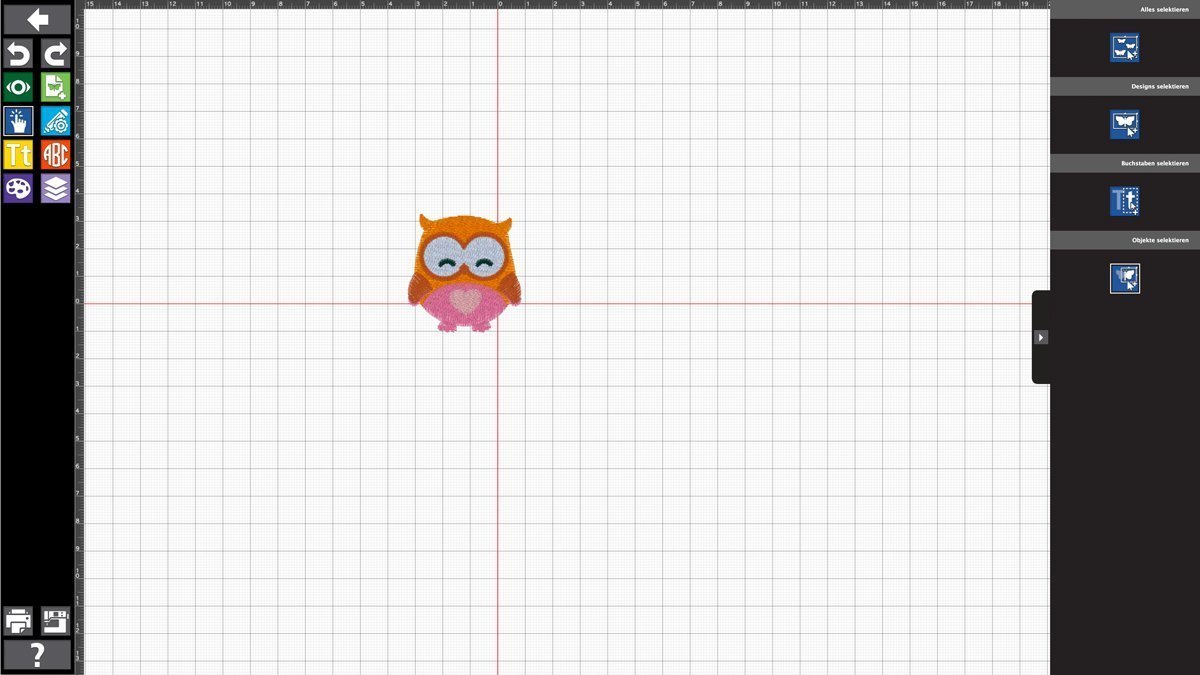
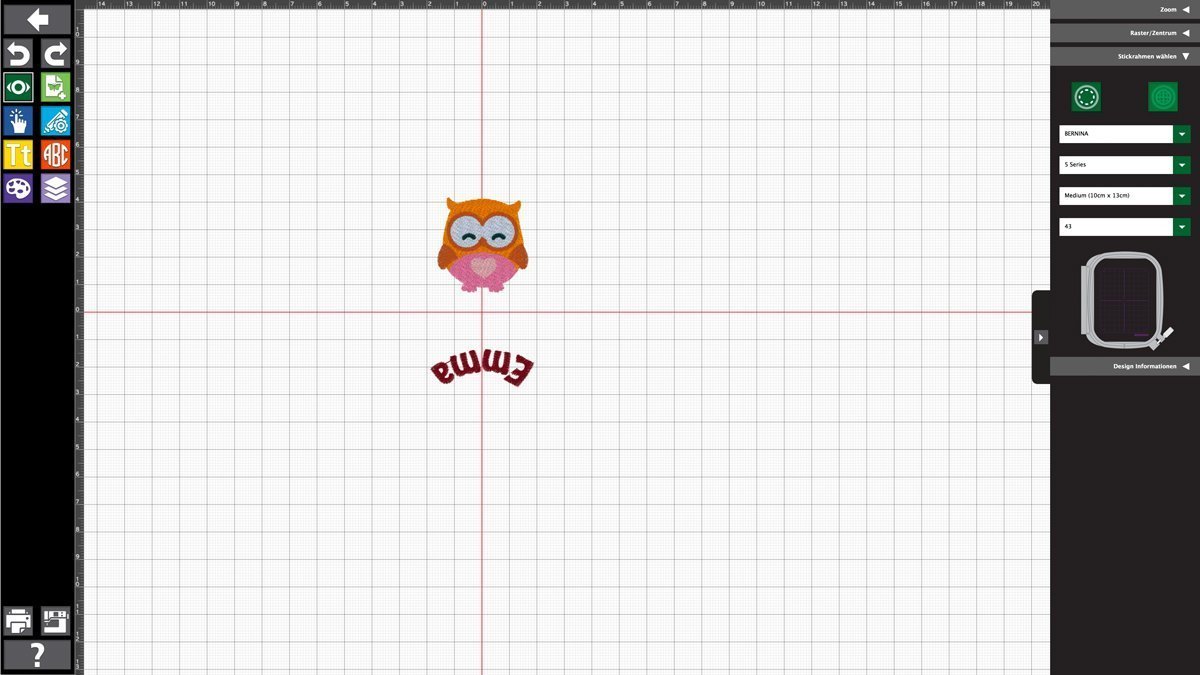
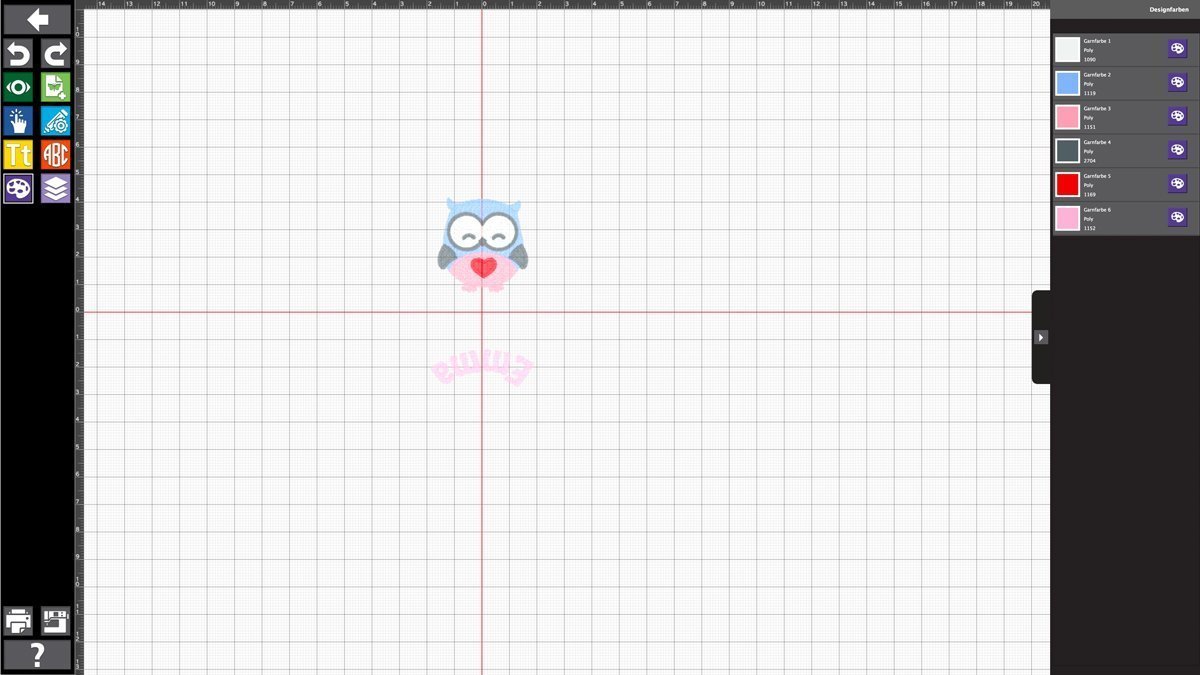
At this point, I already have the later embroidery design in mind: I will use the medium hoop and embroider both the owl and the name inside, so I position the owl somewhat above the horizontal center line.

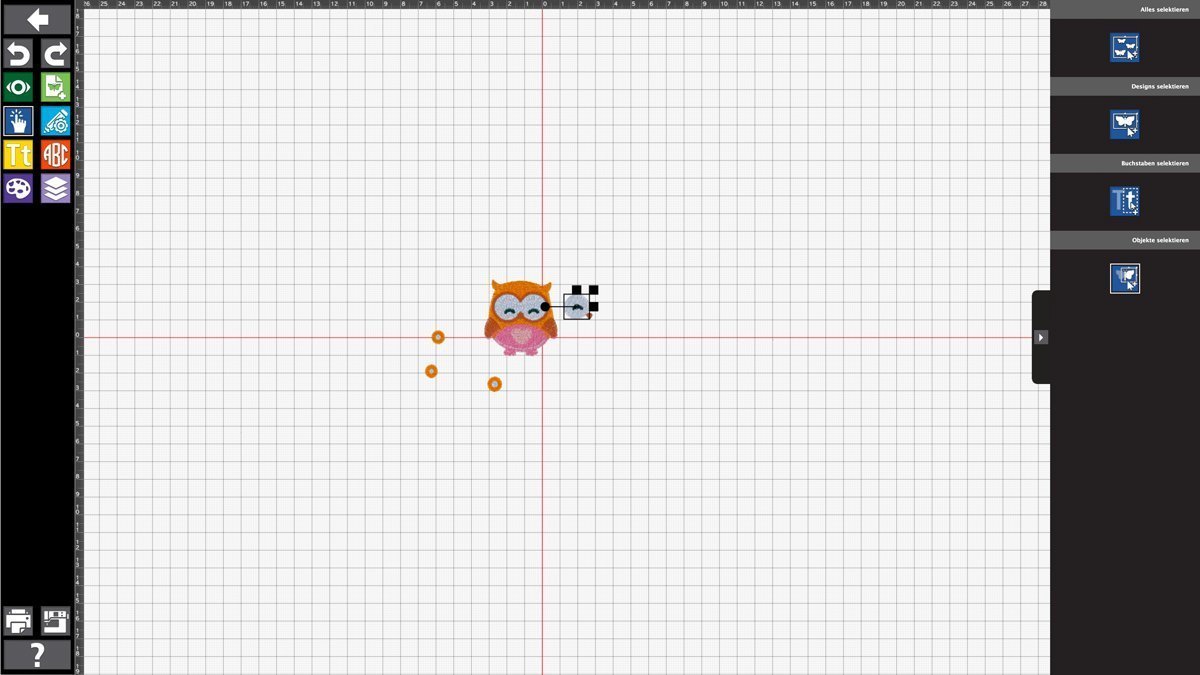
Click the yellow symbol to insert writing. I choose a girl’s name.

On the right you will find different options for customizing and modifying your lettering.
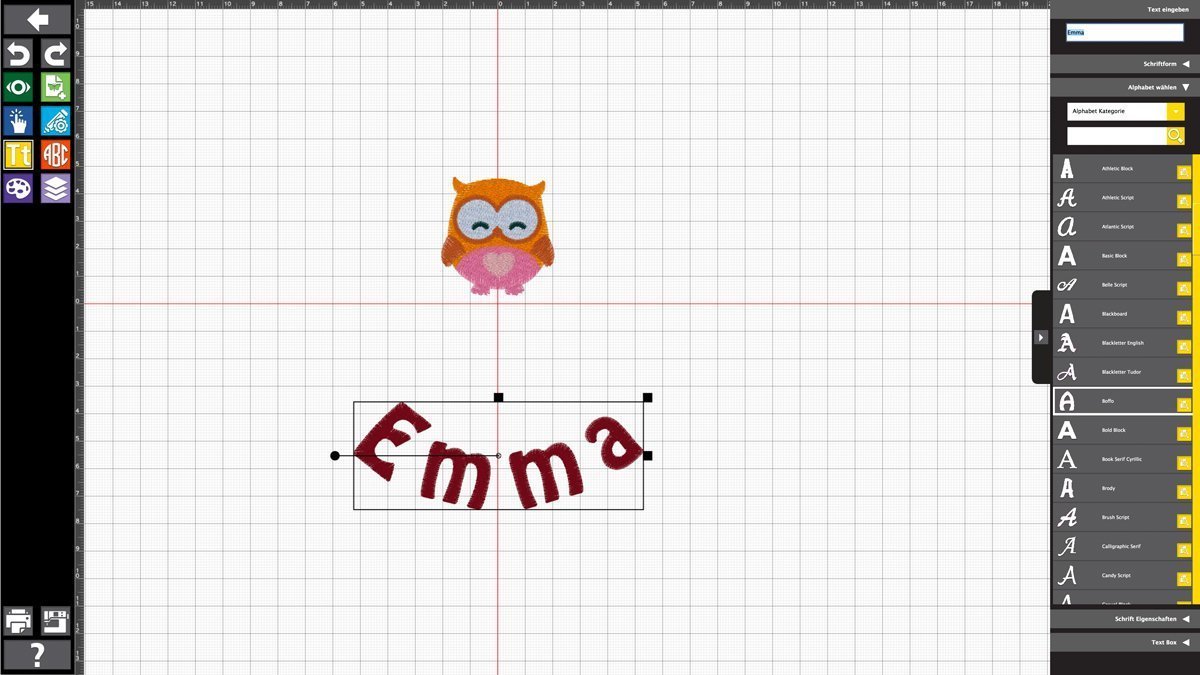
I change the font as well as the spacing between the letters.
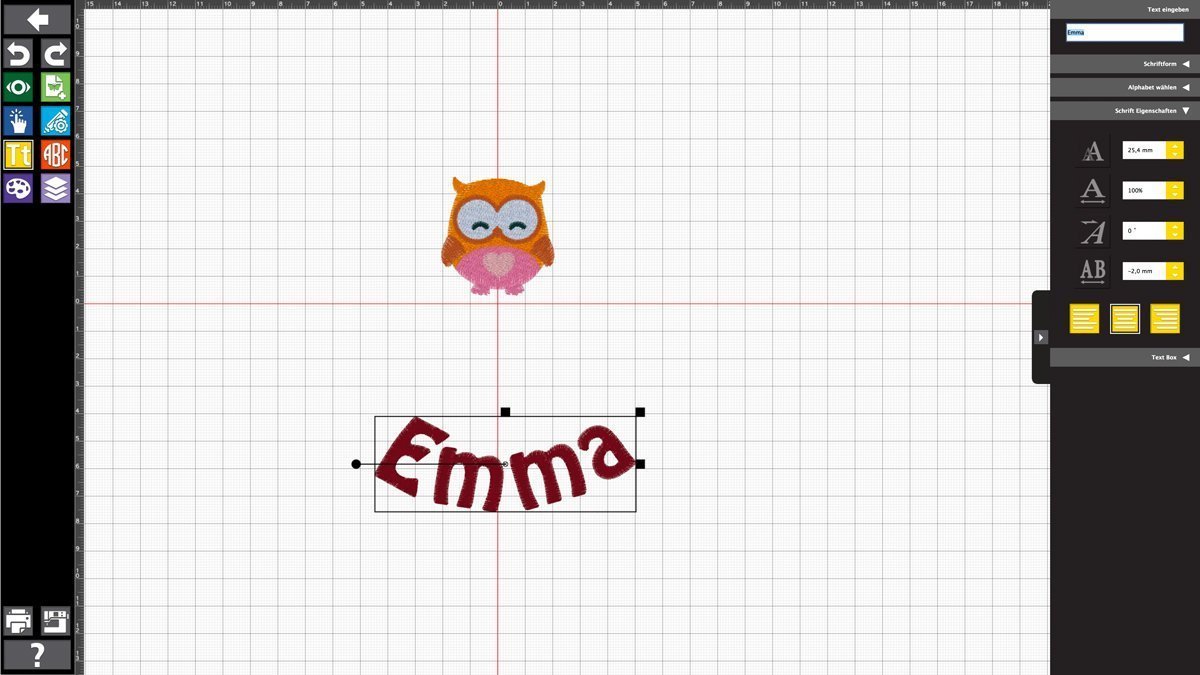
Then, I reduce the size of the text …

… and rotate it 180° using the little gray dot.
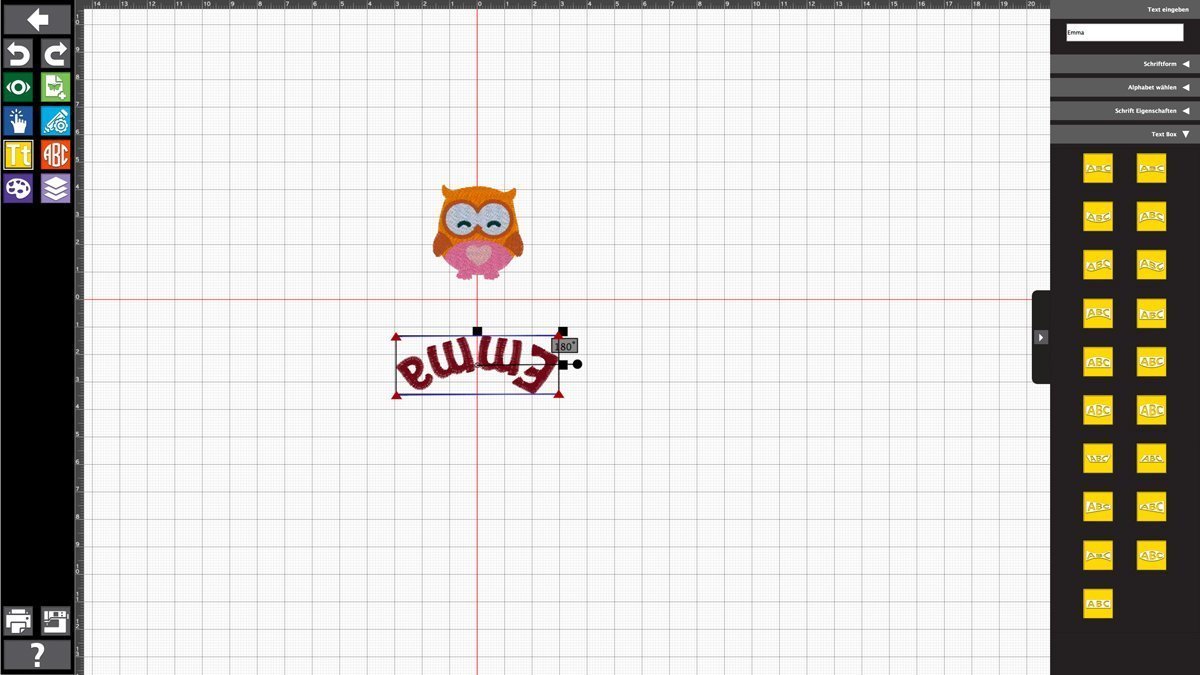
This is how the left instep, as well as the later instep, of the leather slippers will fit in the same embroidery hoop. Using the dark green buttons, select your hoop – medium in this case – and check that your measurements will fit with enough space from all the edges. You can actually also change this later directly on the embroidery machine, but if it fits properly at this point, you’ll be able to get started immediately.
If you would like, you can now also choose your colors. I usually pick these approximately, because I don’t know the number of all of my available colors. But you get a better idea of how the result could look. Be sure to select the same color for the two components if that’s what you want, because you will not be able to separate these two sections later on.

Select the purple button, …

… click on each color, and change it to your liking.
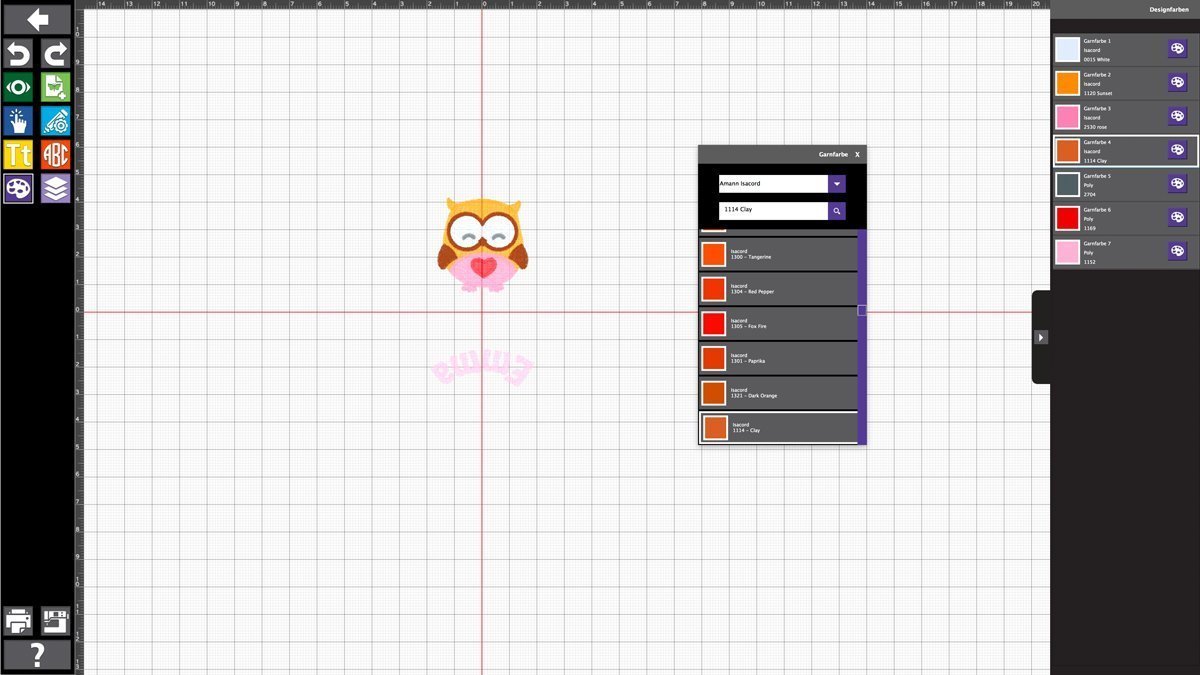
Mine should look more or less like this:
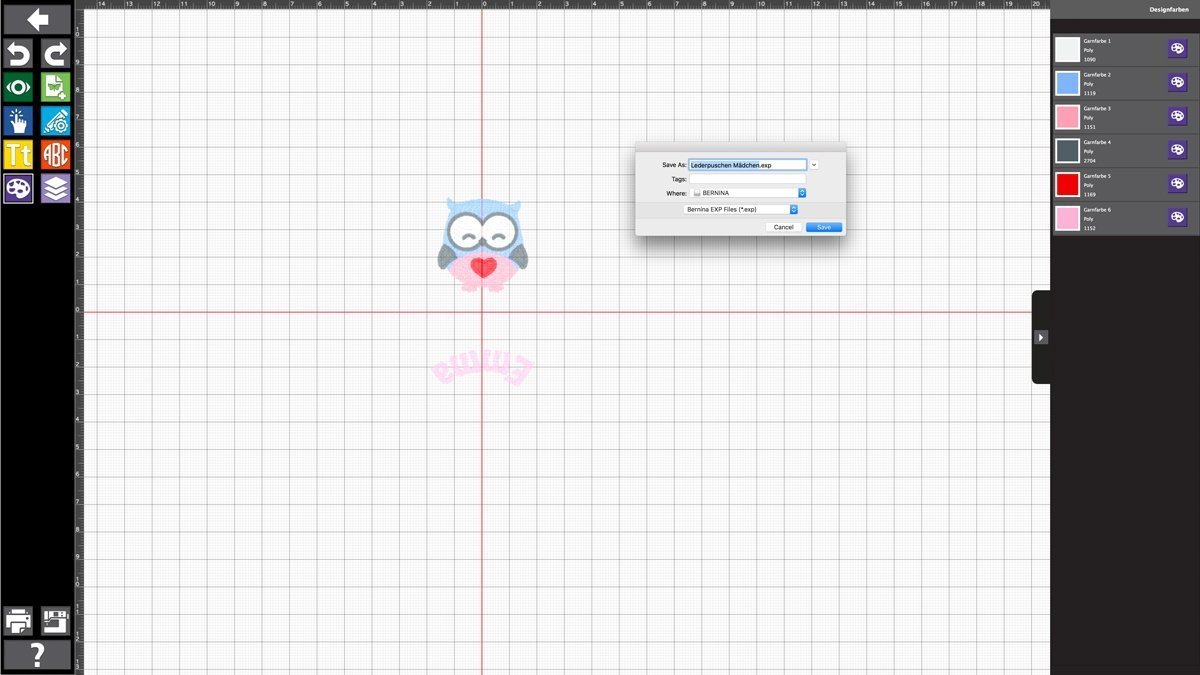
Insert your USB stick in the computer, click on the sewing machine on the lower left, and save your file on the memory stick. The advantage of using the BERNINA memory stick: it is automatically selected by the computer so I can save the file directly.
And now for the embroidery:
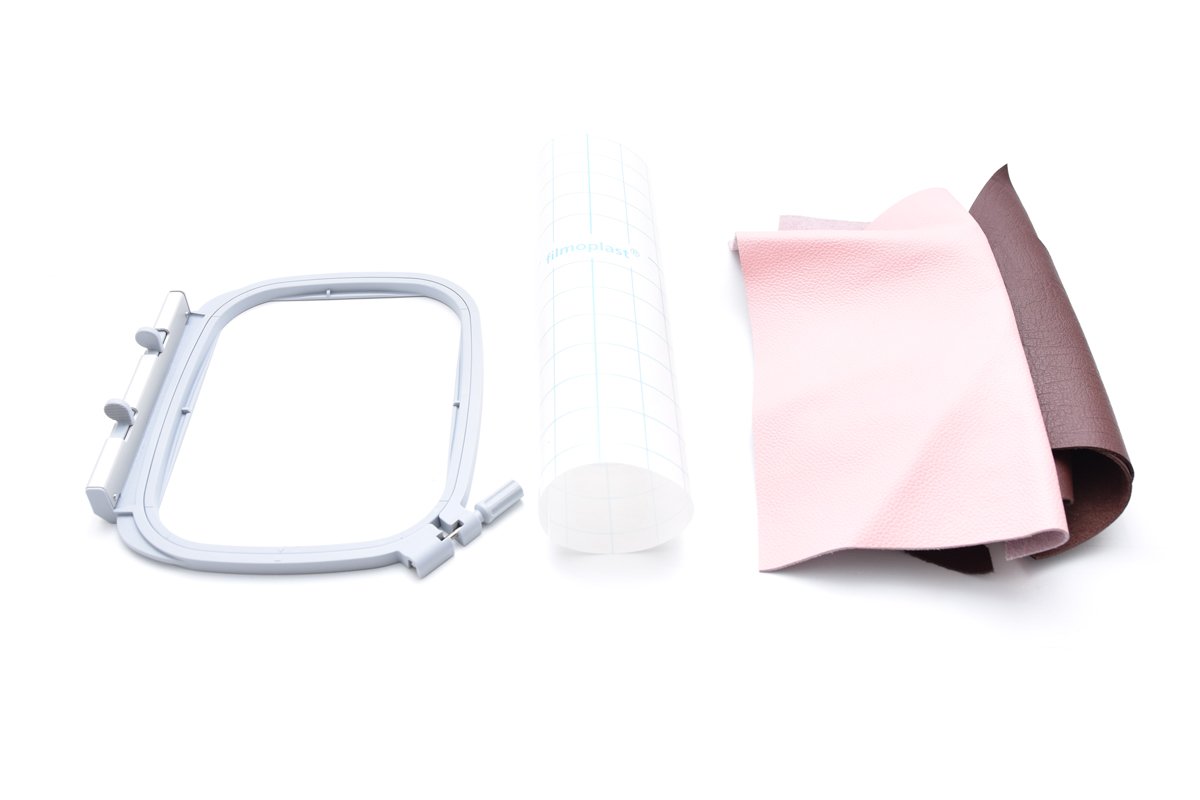
You will need:
- the Freebook (available here in the group)
- embroidery hoop
- self-adhesive interfacing (Filmoplast in this case)
- leather remnants
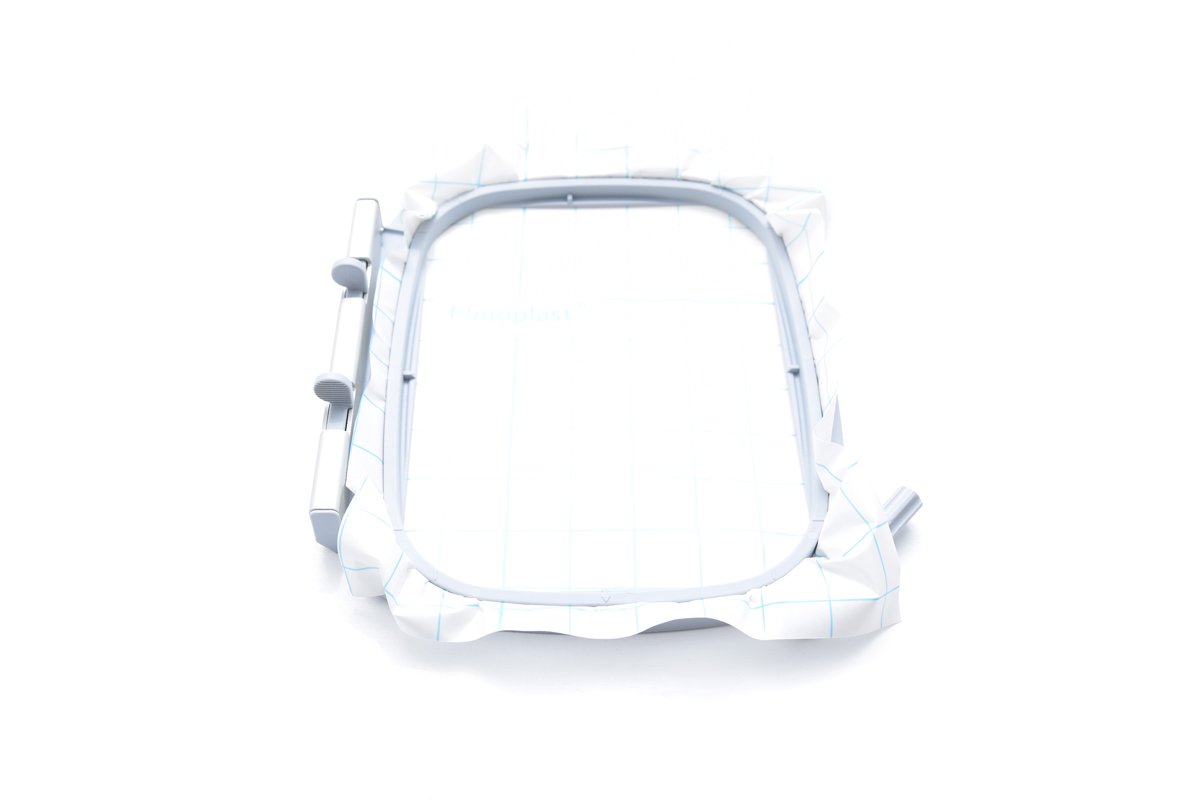
Cut out a piece of adhesive interfacing as well as a leather remnant that are a few centimeters larger than the embroidery hoop. Stretch the interfacing in the hoop so that the backing is on the top and the interfacing is on the bottom. Make sure that it is stretched sufficiently and equally.
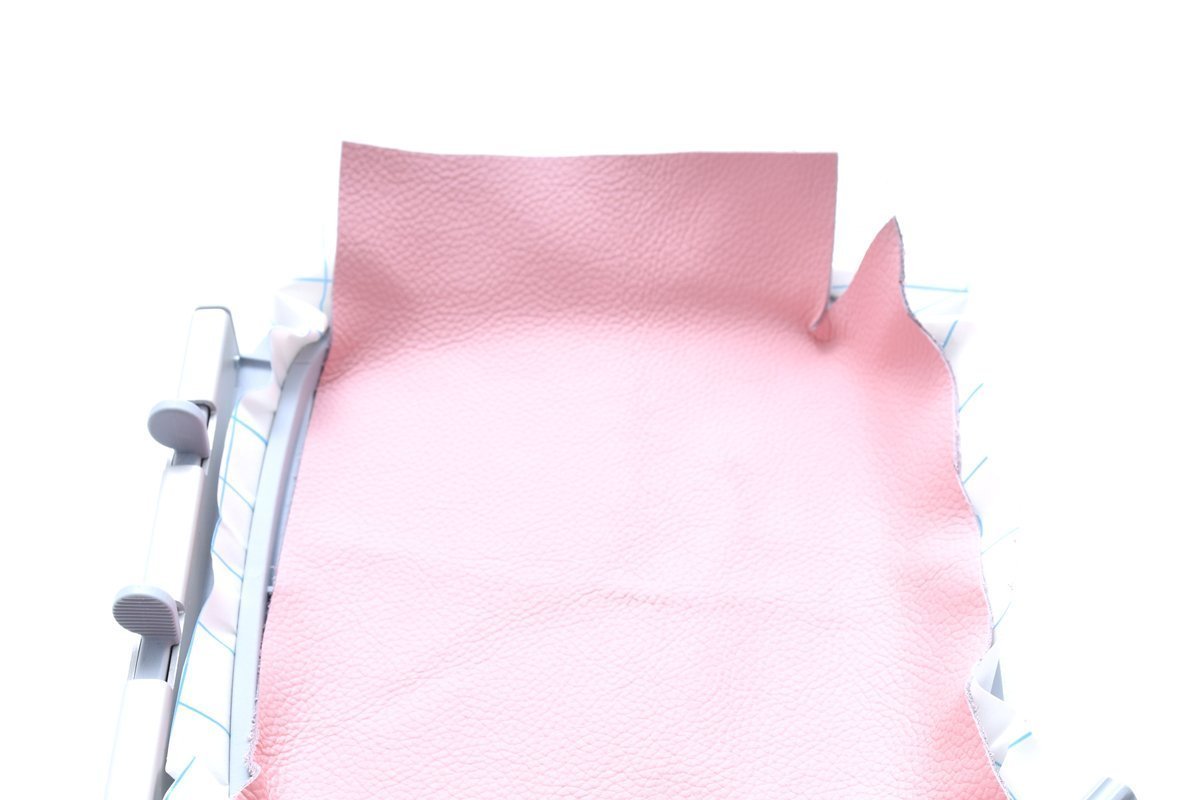
Carefully, using a cutter, pull off the backing in one long rectangle and affix the leather to it.
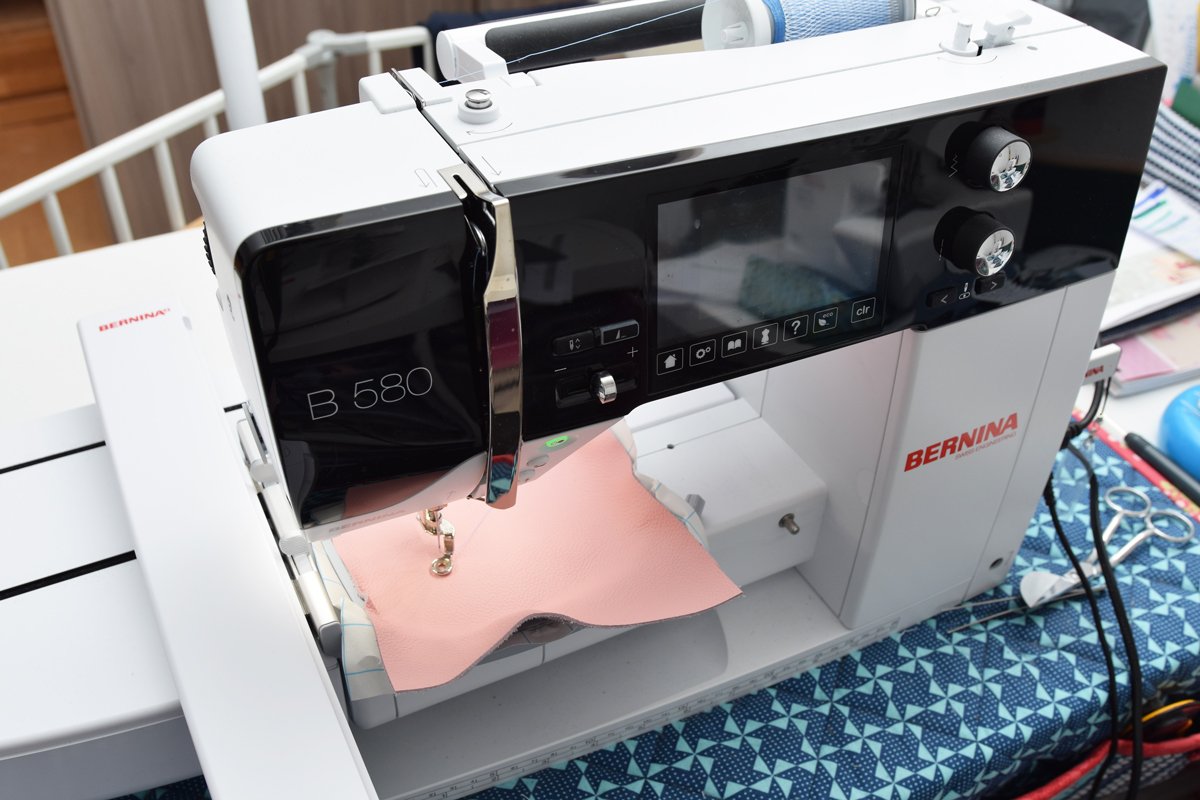
Prepare your embroidery machine, insert the USB stick, and open the embroidery file. If you adjusted the size correctly beforehand in the Toolbox, it will automatically select the right hoop. Otherwise, change the size.
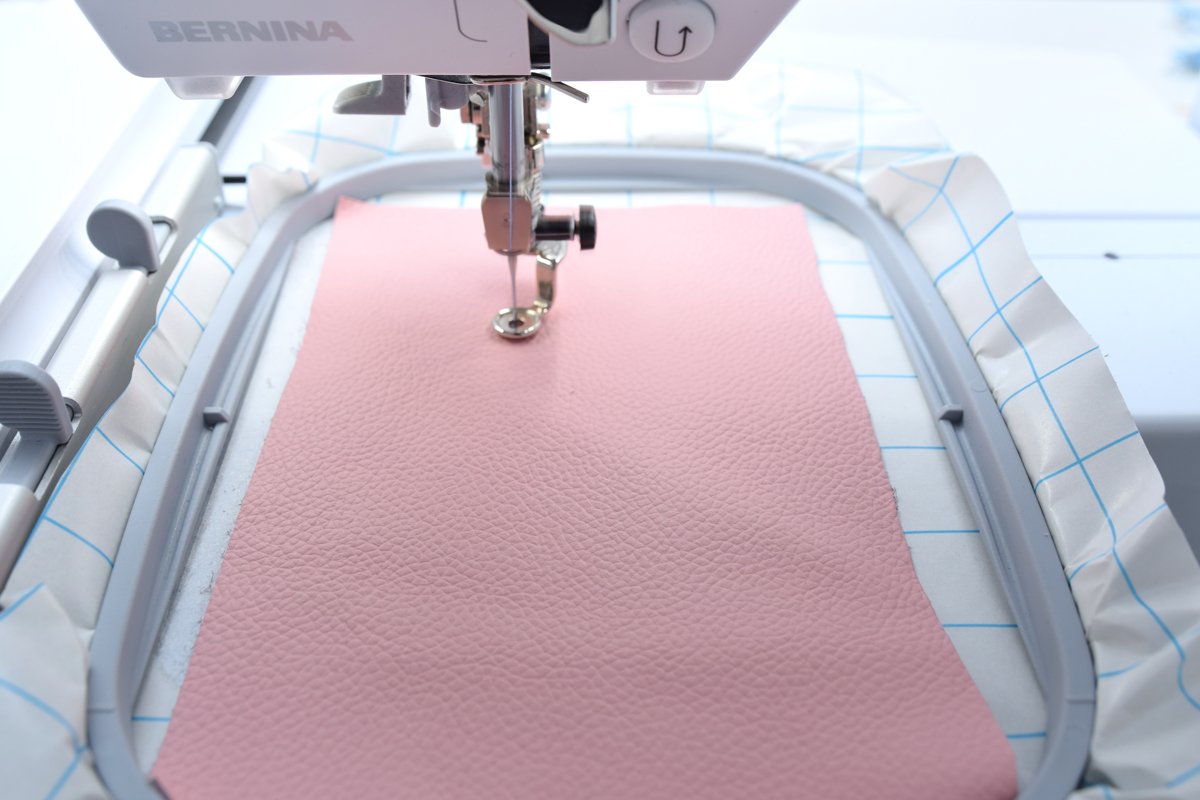
Get started with the first color. The machine will now give you commands when you need to cut the threads and change the thread color.

Afterwards, the second design in the file, i.e. the lettering, will be embroidered.
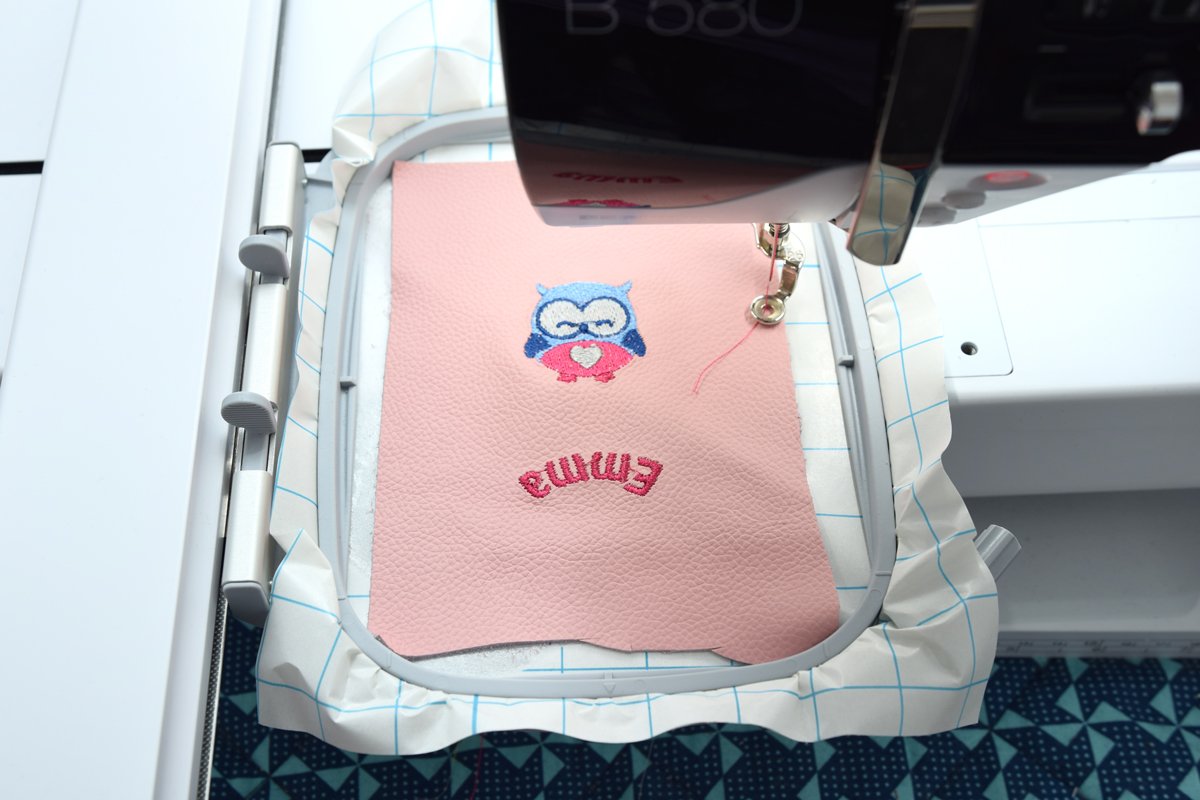
Once both patterns have been embroidered, remove the hoop from its bracket and carefully remove the rest of the adhesive from the back.

Then, cut out the pattern pieces using the pattern as a reference. The comprehensive Freebook by Darja will show you how to sew the slippers.
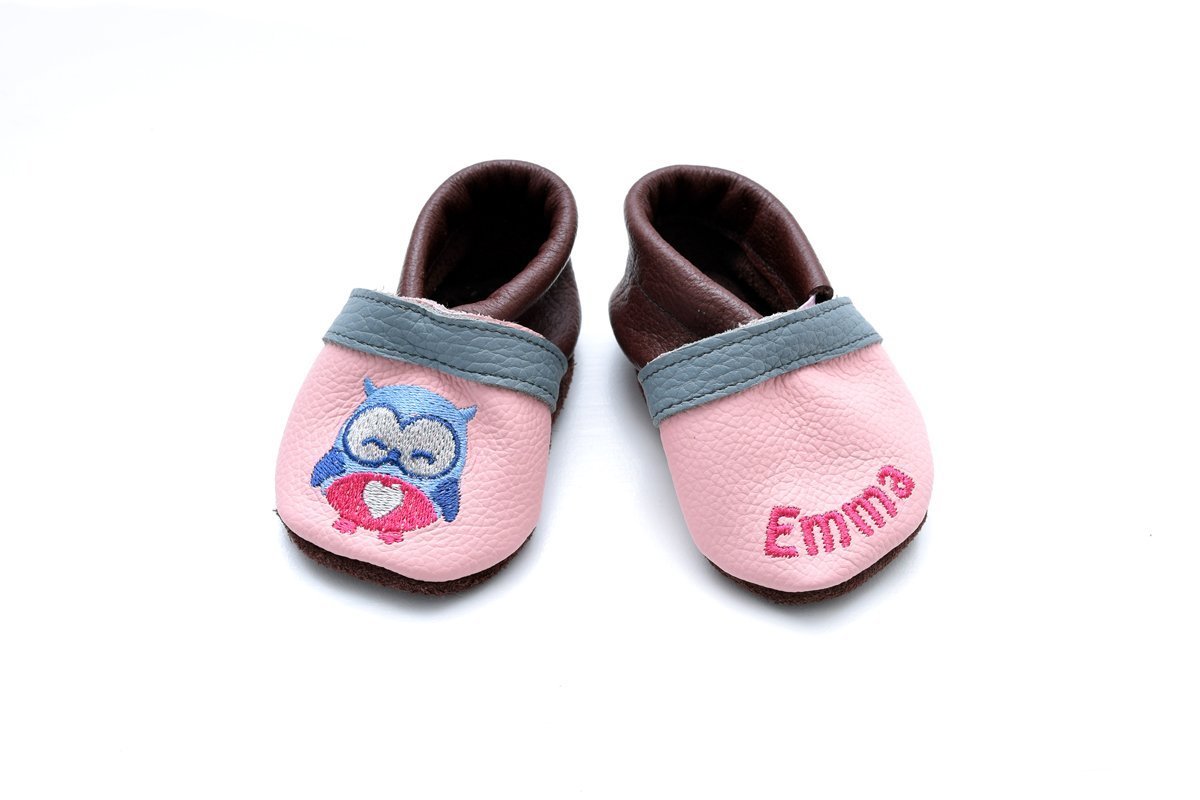
Congratulations! You’ve just finished the leather slippers that you helped create yourself using Toolbox!
I can’t wait to see what you’ve created. Lots of love,
Sara


Bernina is the best.
Love Bernina
Custom wink states that there were so many types of leathers which would suggest the guidelines on choosing those leathers as well as the ways on making durable bags by choosing the materials that are letting over the longer sustainability states Bag Manufacturers In Chennai .