 BERNINA Corporate Blog -
Hi everyone, my name is Nadine. I am a sewer/sewist (that word seems to take over) from Switzerland and I was asked to join the blogteam of the Bernina International Blog (yes, yes, it took me by surprise too).
Now I thought long and hard about my first project I am going to share with you. I had this lovely cotton lawn in my stash with a naval themed print on it (I think it’s called a nautical star but I am not sure). For another project I had bought myself Gertie’s Ultimate Dressbook so I chose to make a dress out of that book. So, join me in the making oooooof: Gertie’s FloralNaval Day Dress. I wanted the dress to have a definite retro vibe but still not too dressed up. For that I opted to add red piping to the waistline and some red buttons on the shoulders.

This is the original Floral Day Dress from Gertie’s Ultimate Dressbook
Adjustment and requirements to sew Gertie’s Day Dress
I began by adjusting the pattern. I am a curvy girl so the standard B cup would never in a million years fit me. I added about 3cm to the pattern piece at the bust line with a full bust adjustment. This in turn widened the waistline which is what I needed as well (I usually adjust from the shoulders down). But you will do well enough to just choose the recommended size in Gertie’s book if you are just starting out. If you want to recreate this dress you need to be able to sew a straight seam and how to insert an invisible zipper.
Your preparations
After cutting out Gertie’s Day Dress I started to overlock all the edges of my pieces – I just like a clean finish and am so annoyed when having to go back and forth from one machine to the other. After you overlocked all the pieces you are good to go. Ah, before I forget, plug in your iron, you are going to need it. Now don’t go on skipping the ironing. I used to do that because I loathed it, but let’s be honest here, sewing gets so much easier when you do your due diligence with ironing.
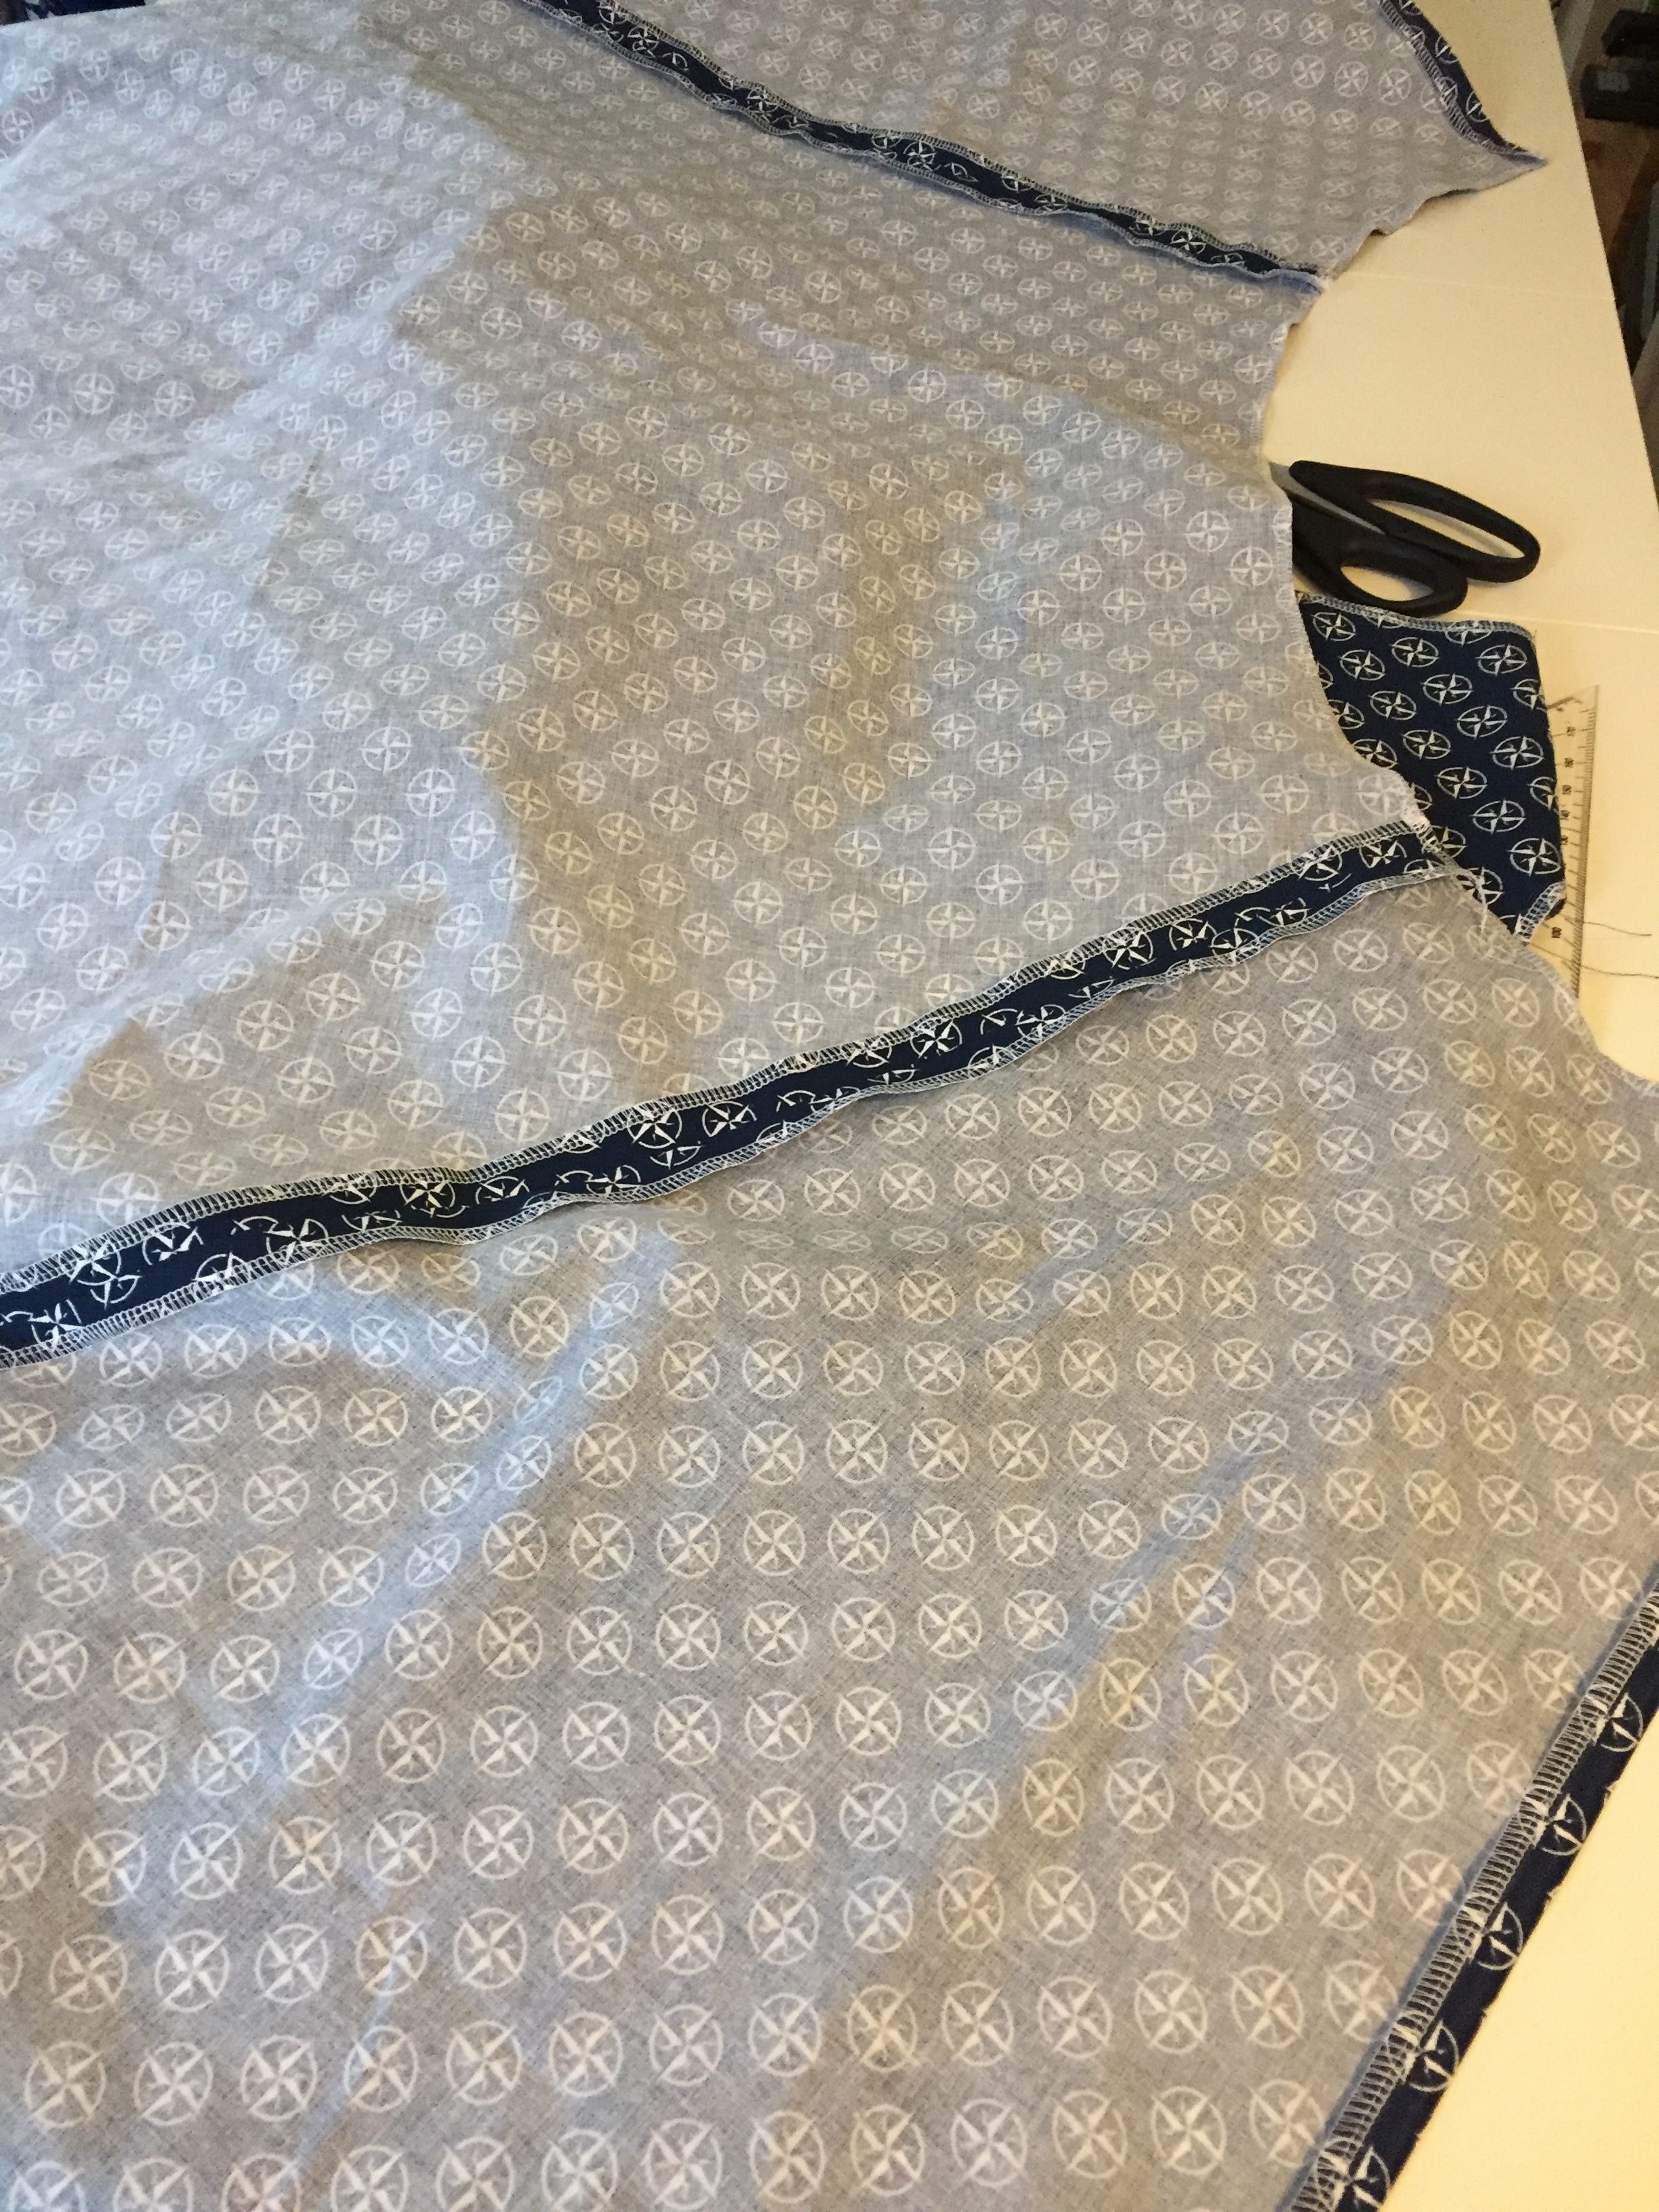
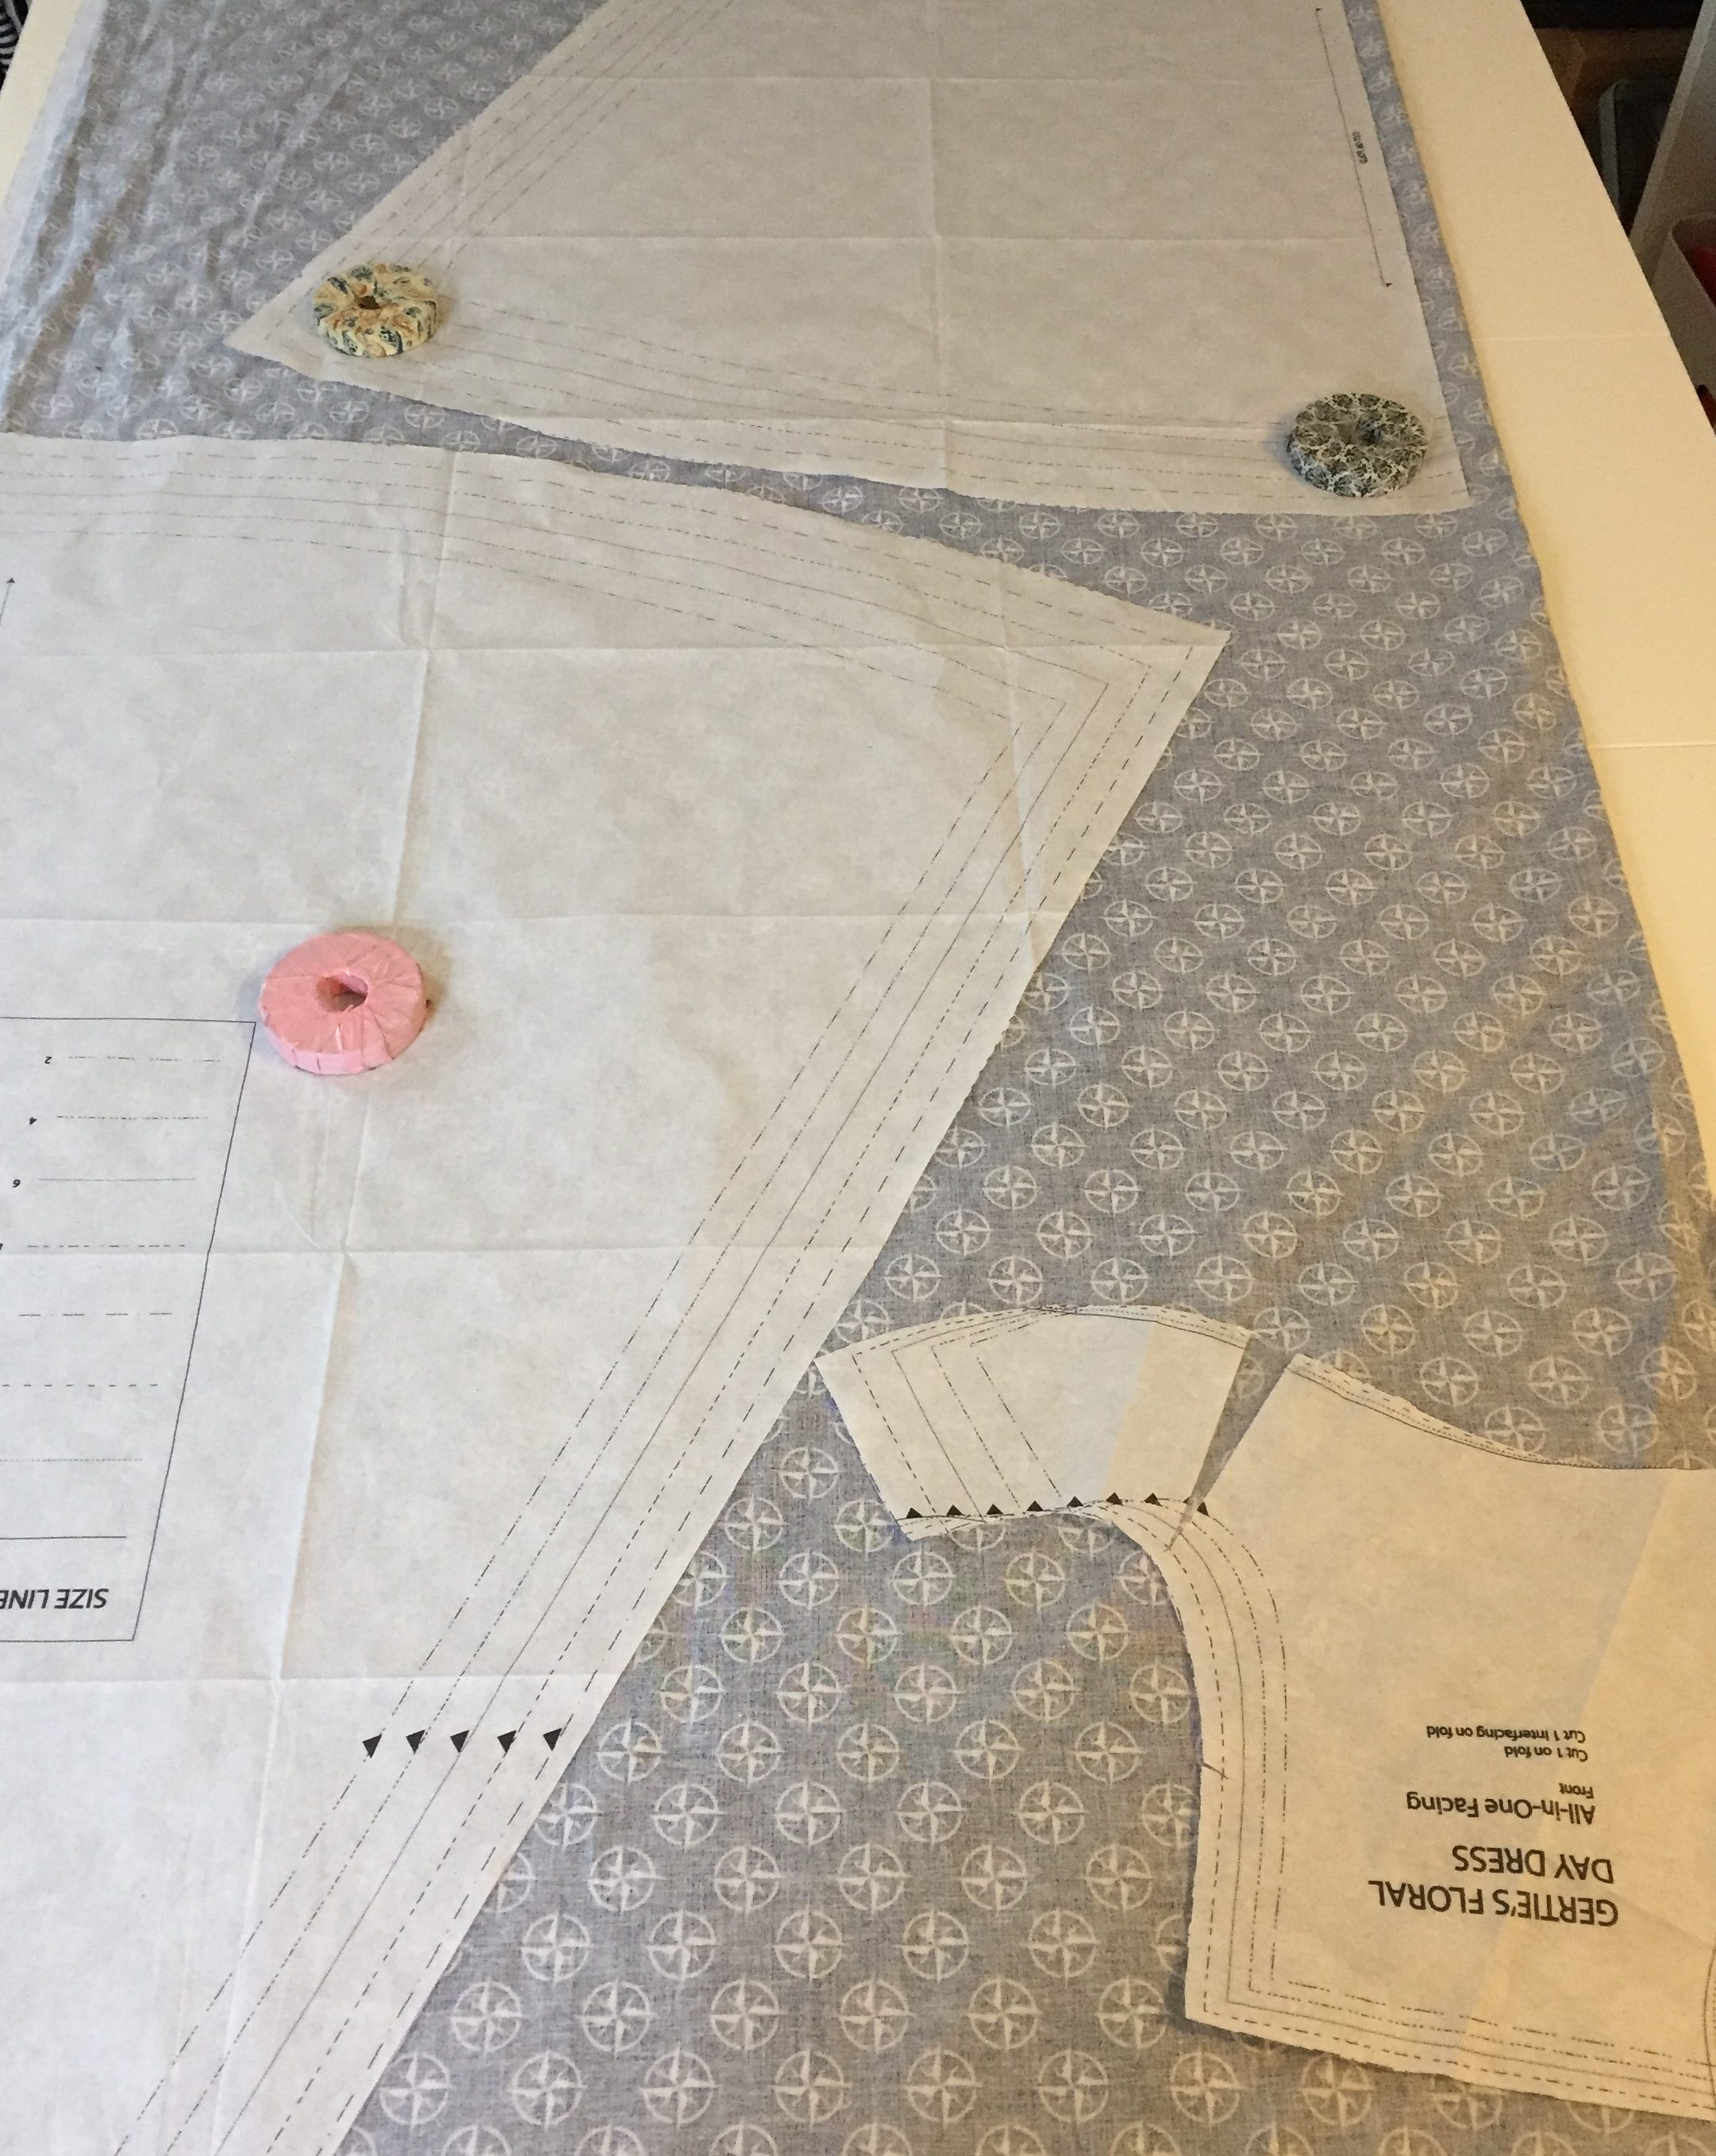 Layout before cutting
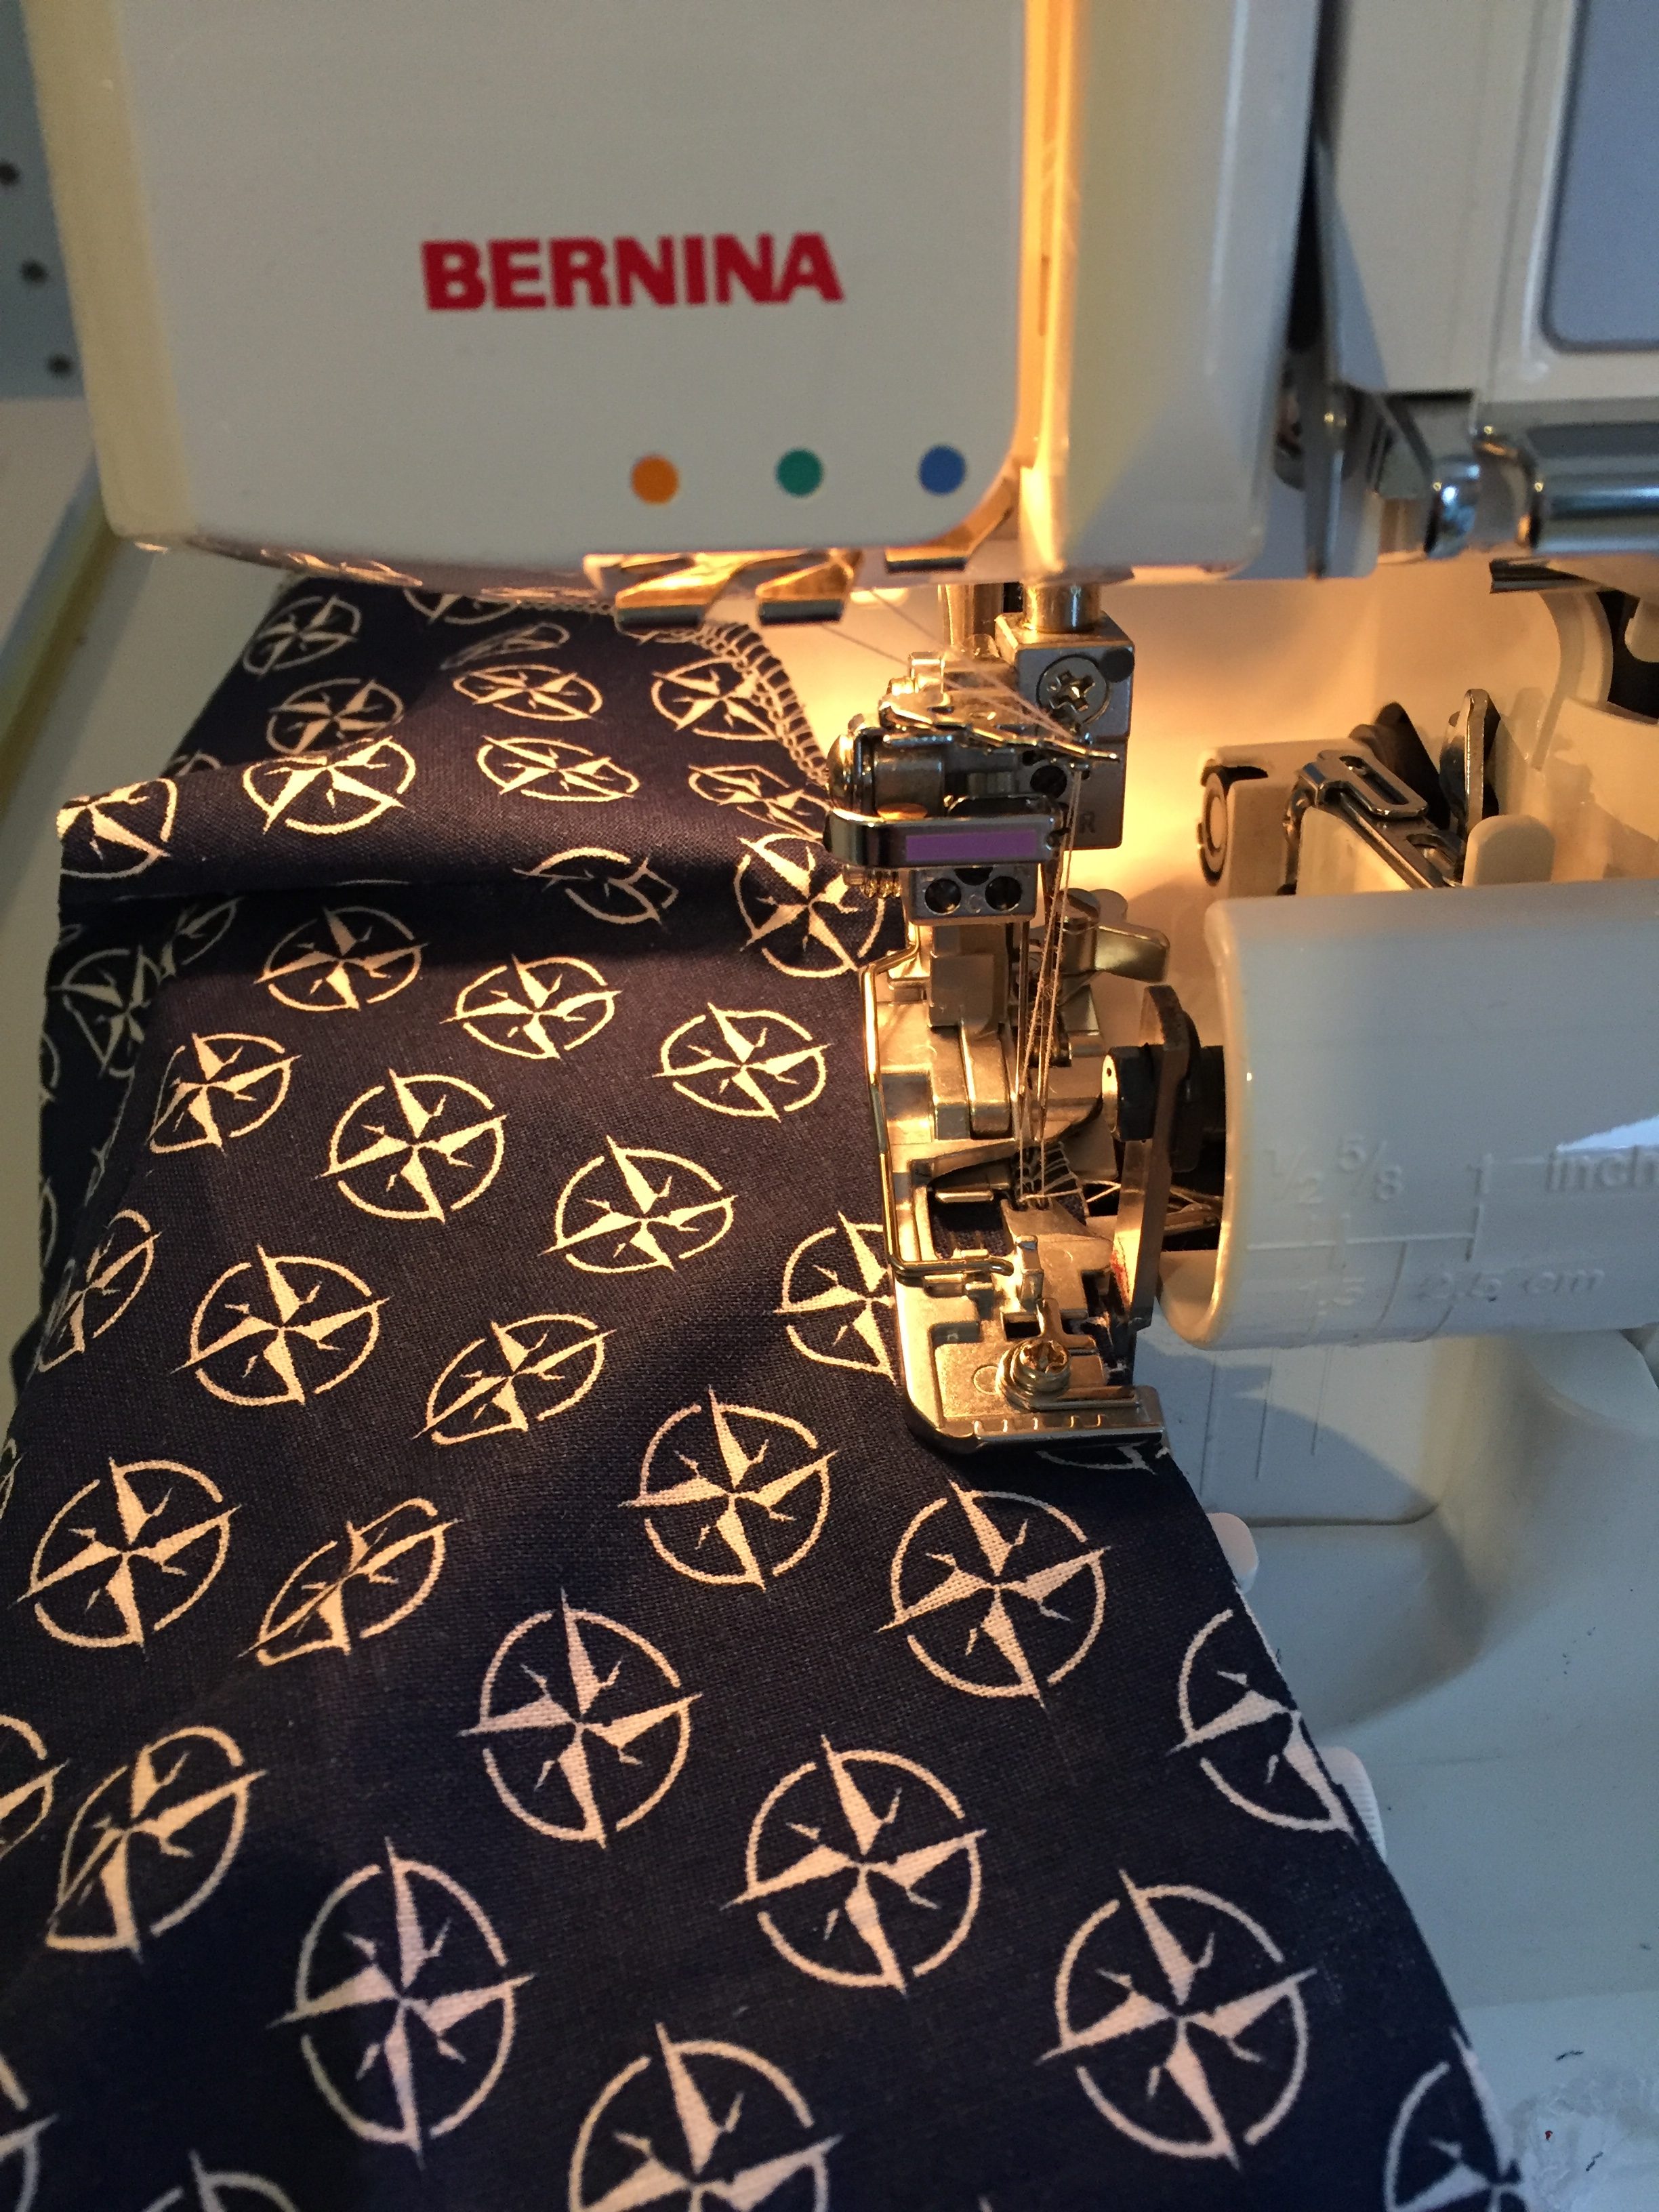 Serging all the raw edges
Now, let’s go!
You start by sewing the darts. Usually I sew the darts and the side seams in on go without backstitching so I can check the fit and easily make adjustments without having to much trouble taking the seams apart. For this dress I had to let out the side seams by 0.5 cm (1/4 inch) each to give me more room and lengthen/round of the darts.
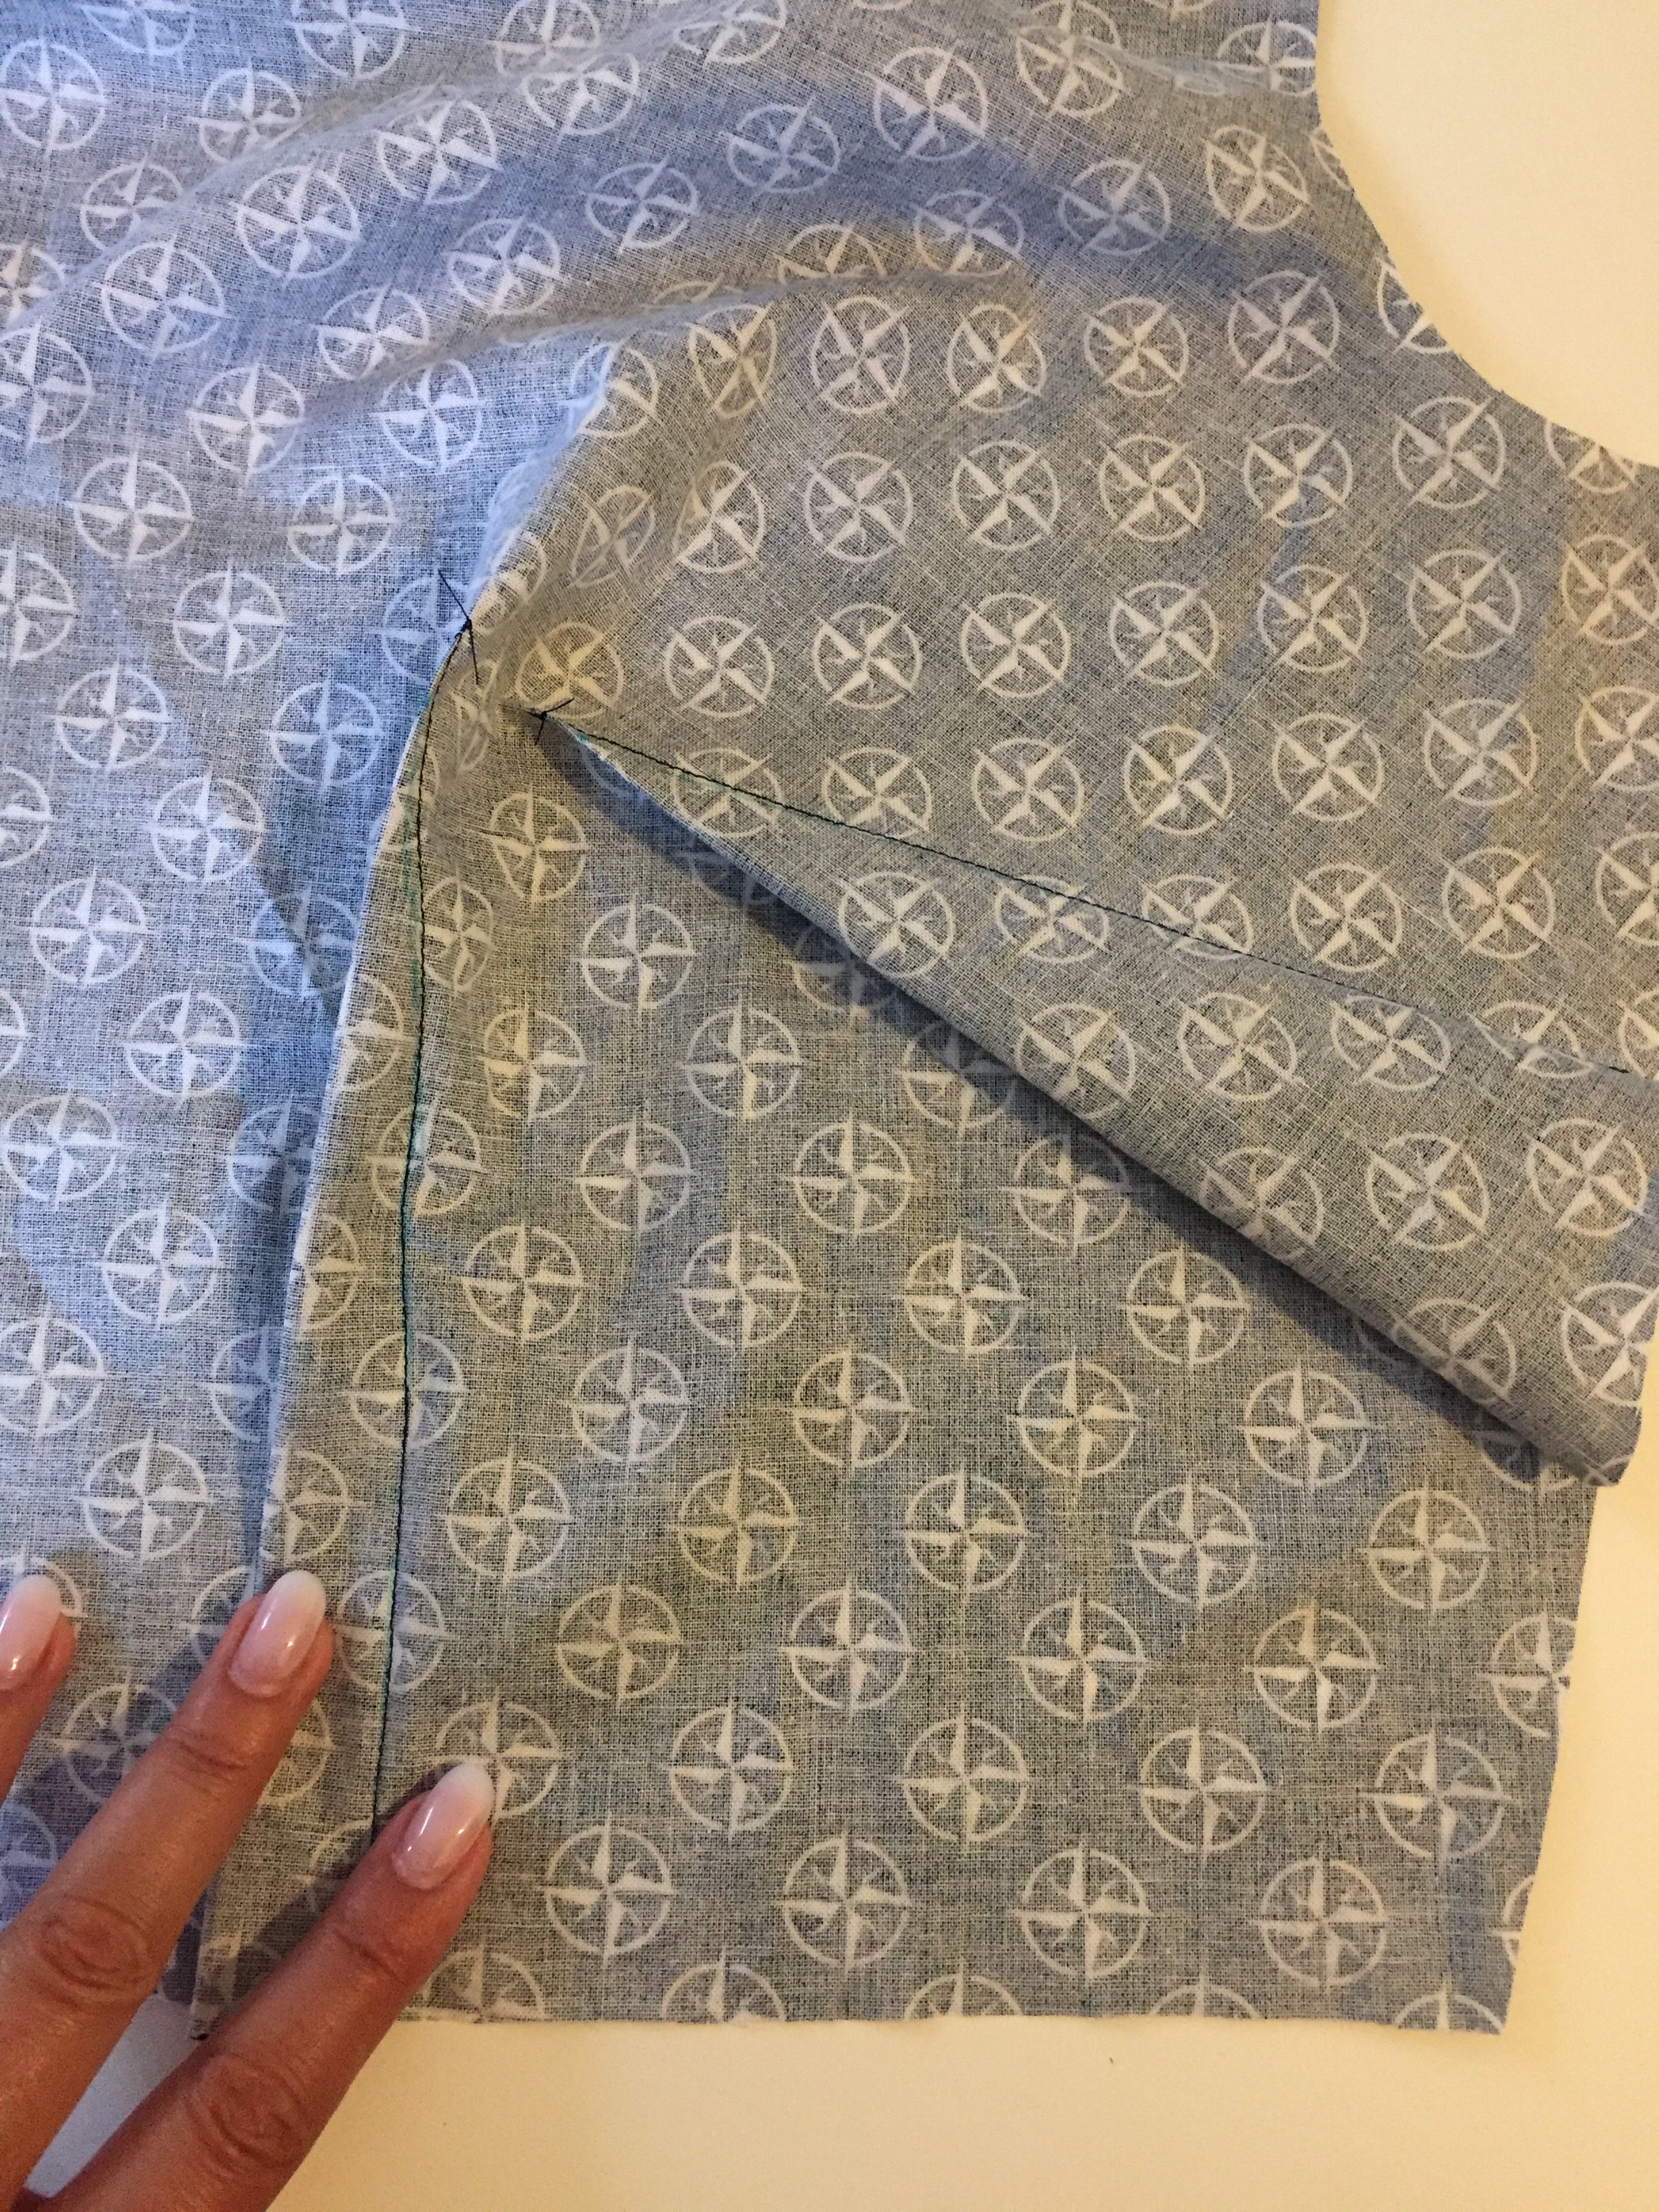 Closing the darts…
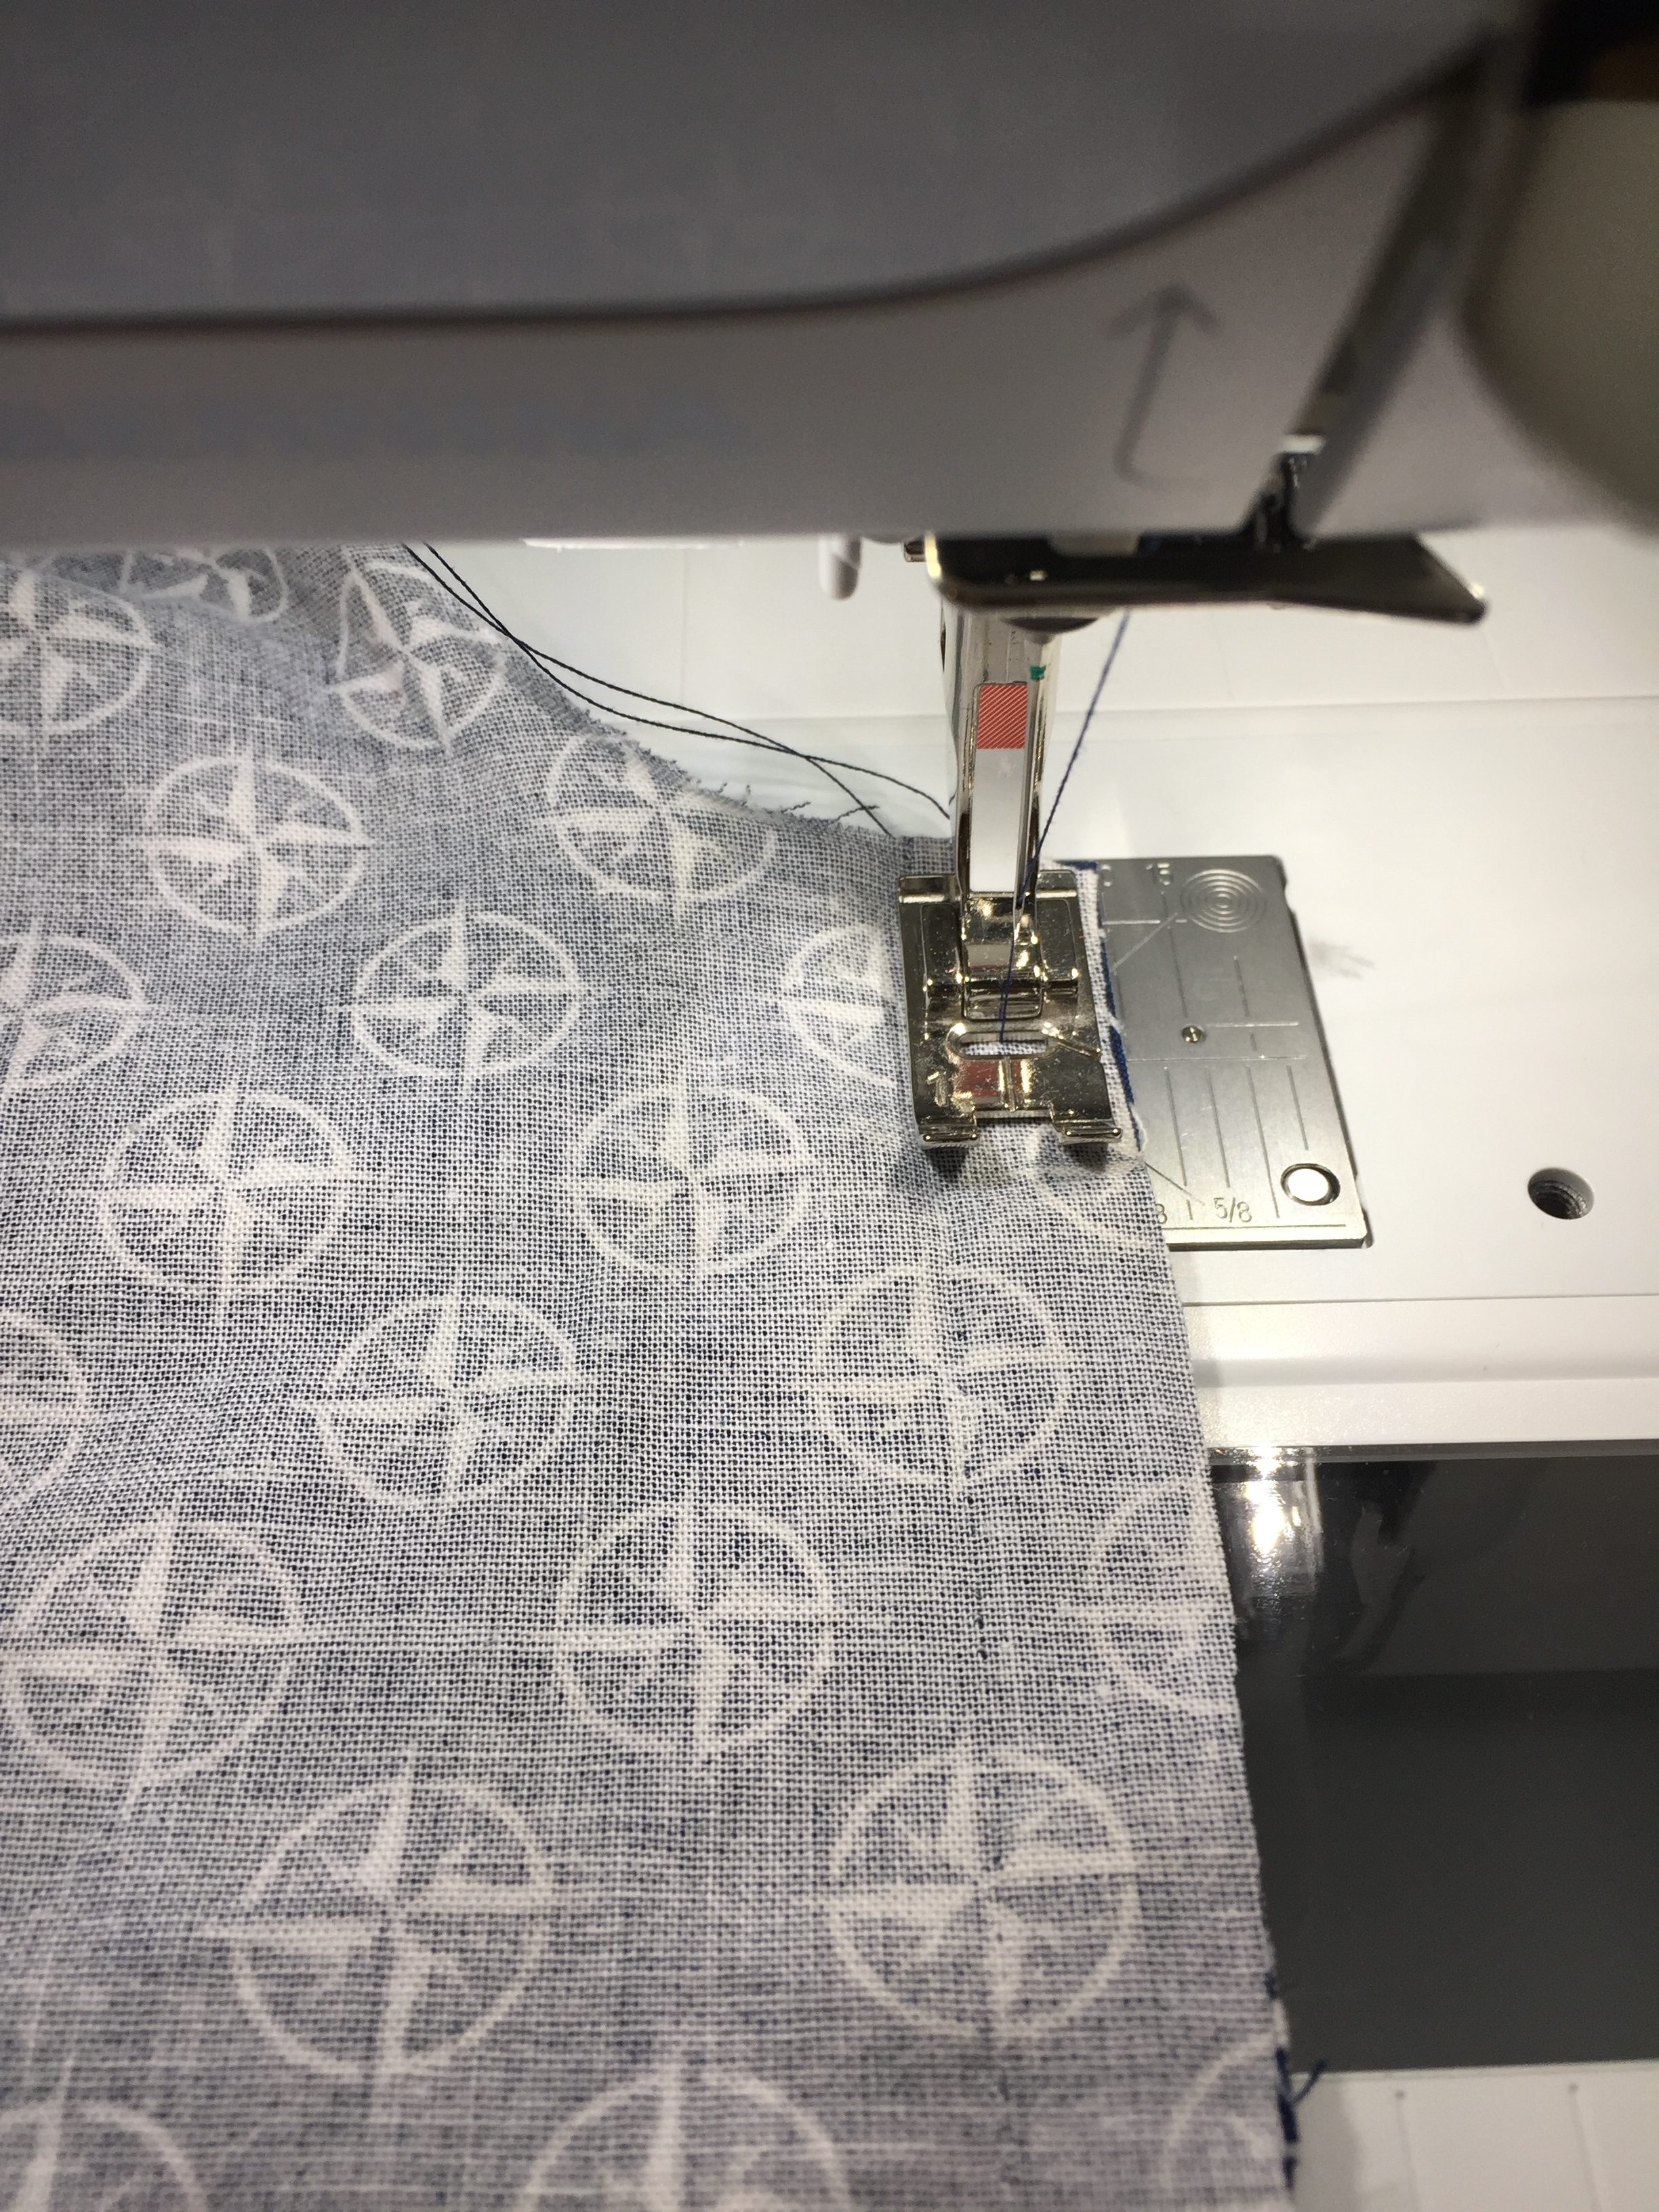 … and sewing the side seams.
Then join the skirt pieces together but leave the backseam open because this is where the zipper goes in.
 The whole skirt with the backseams still open
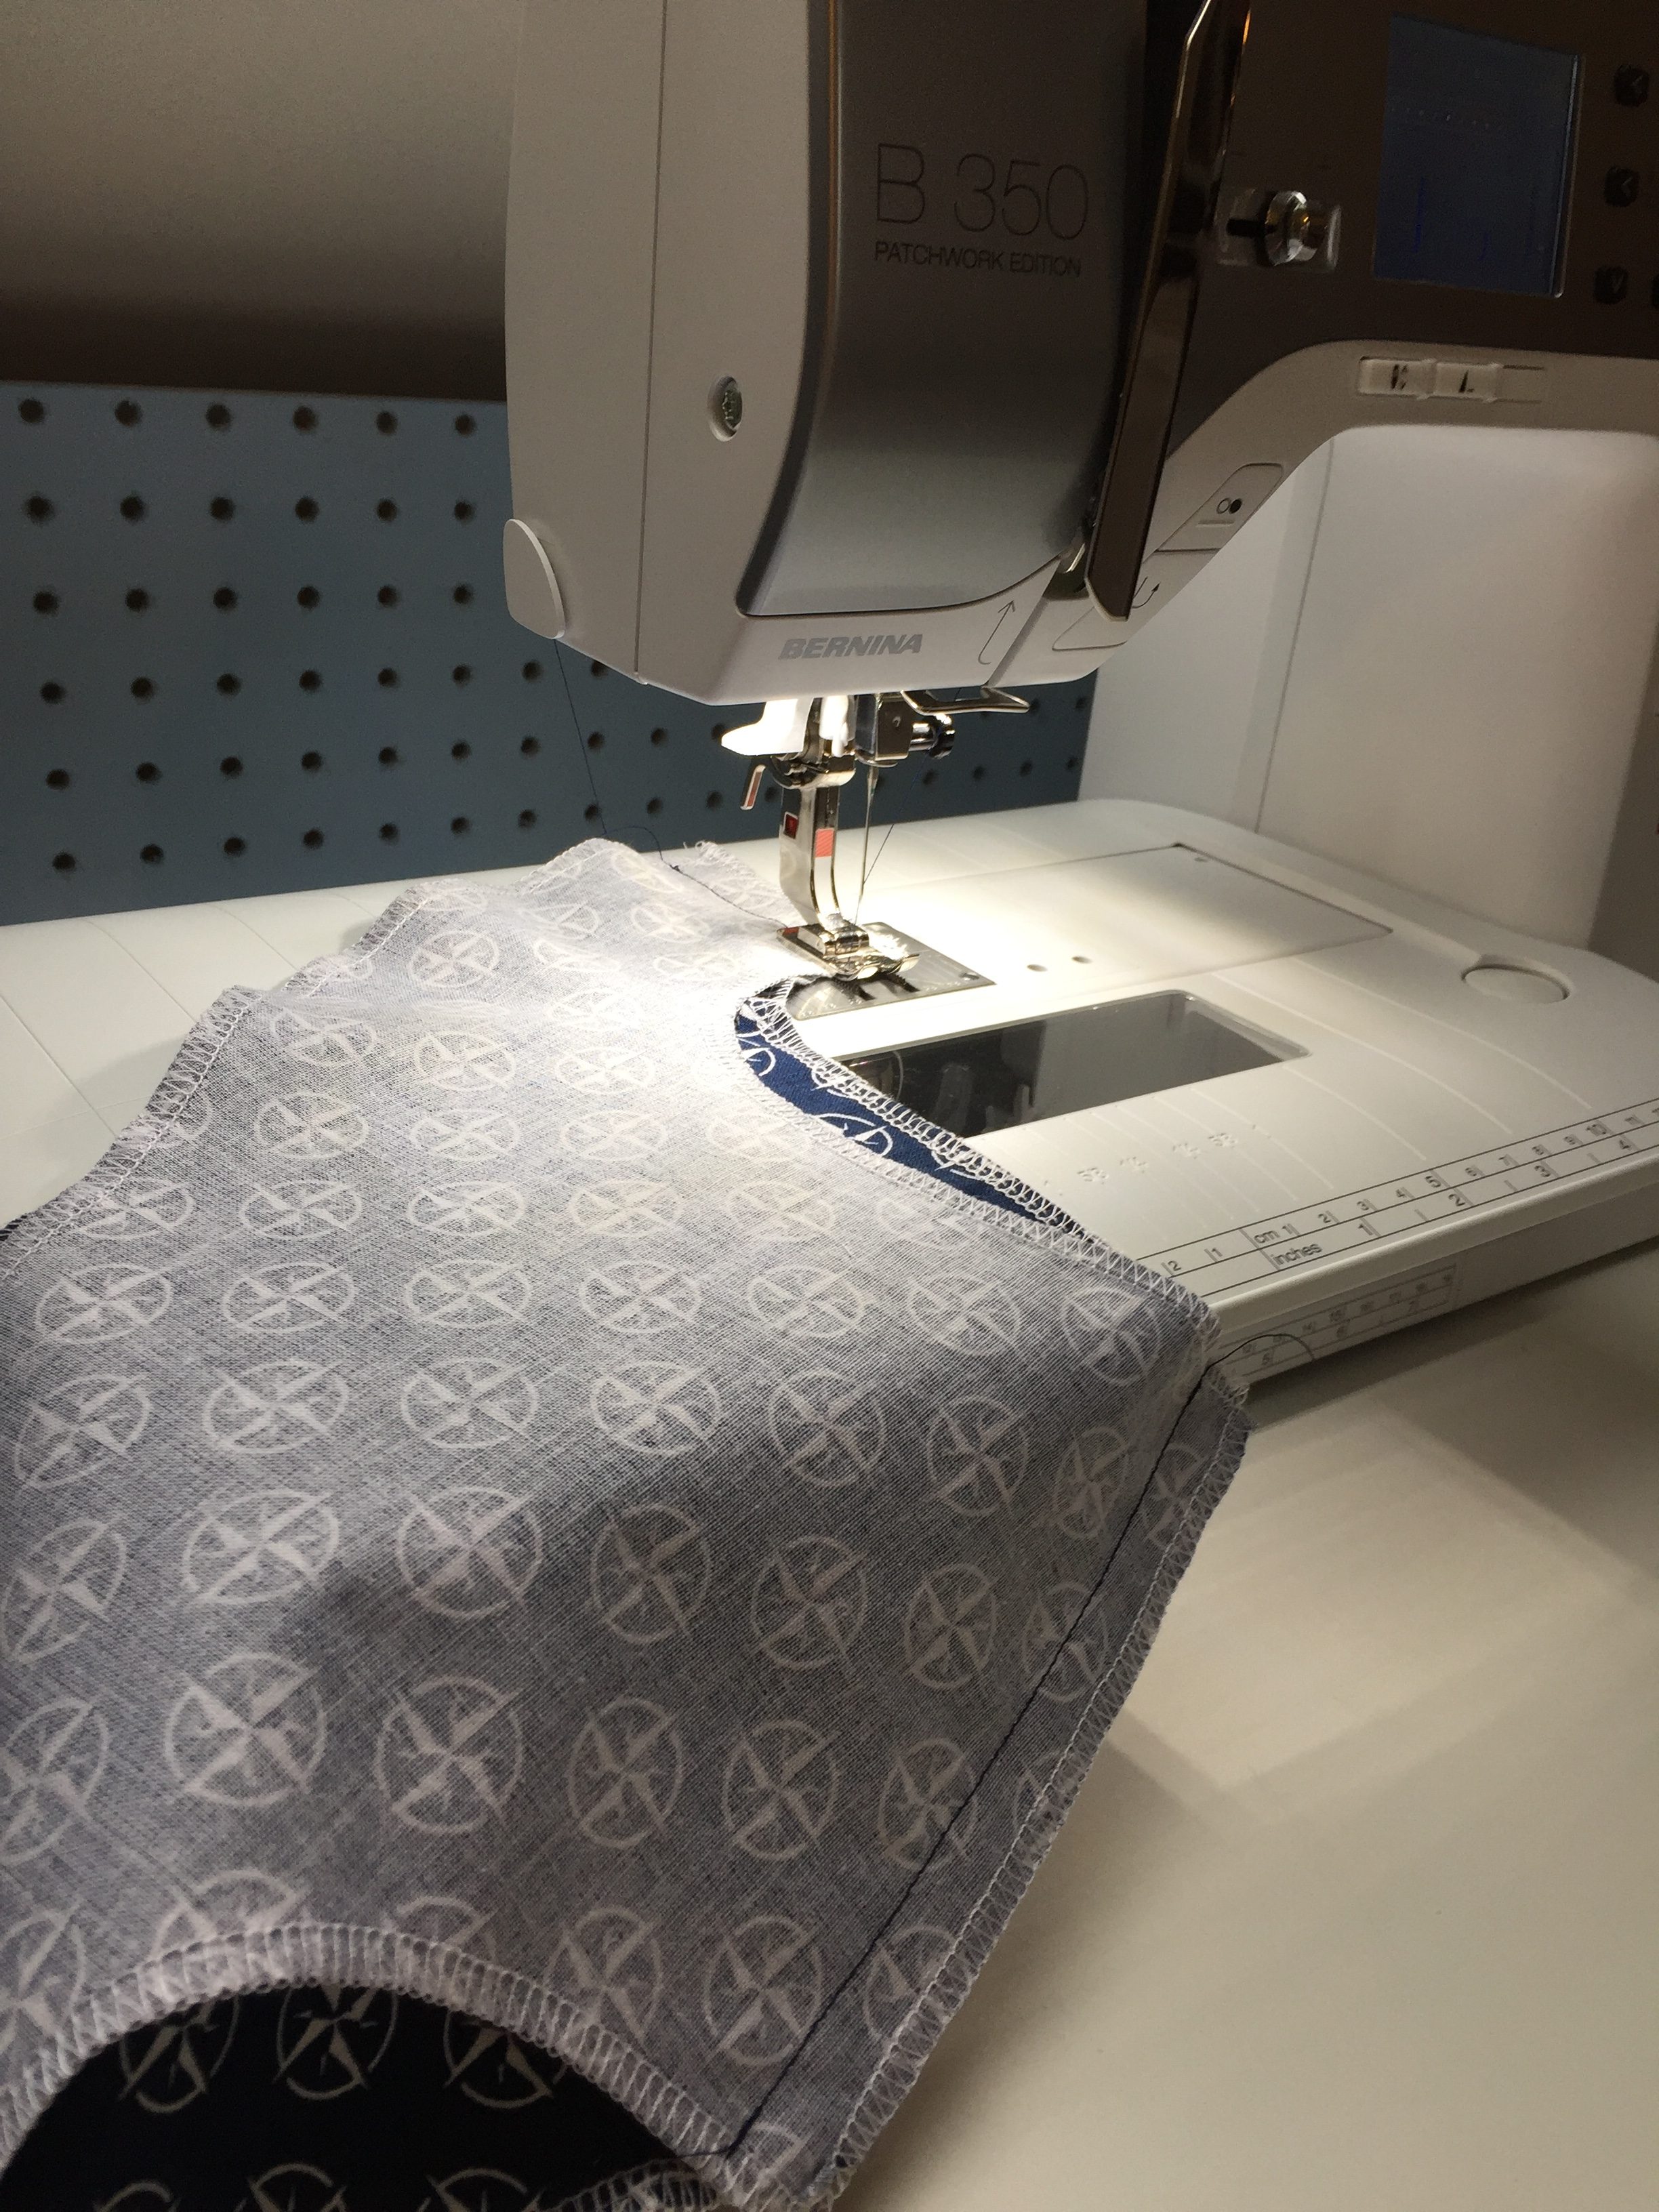
Sew the facings together and attach it around the neckline. After this you can attach the facings to the armholes. Now this is a bit fiddlely but I got it all done by machine (you could easily handstitch this). As I am writing this I notice that I did not even interface the facing, huh… But it still worked out. I guess I would have noticed if there had not been enough structure there.
Anyway, it was time to make the piping. I did not do any research on making piping which is unusual for me. I can be quite *hemhem* pedantic about doing research. I just took some string I had left and sewed it into bias tape to be honest and it worked quite well. I used my Bernina zipper foot for this but in hindsight the standard foot would probably have worked as well. And Bernina has a special foot for inserting piping. I might have to pick that one up for next time.
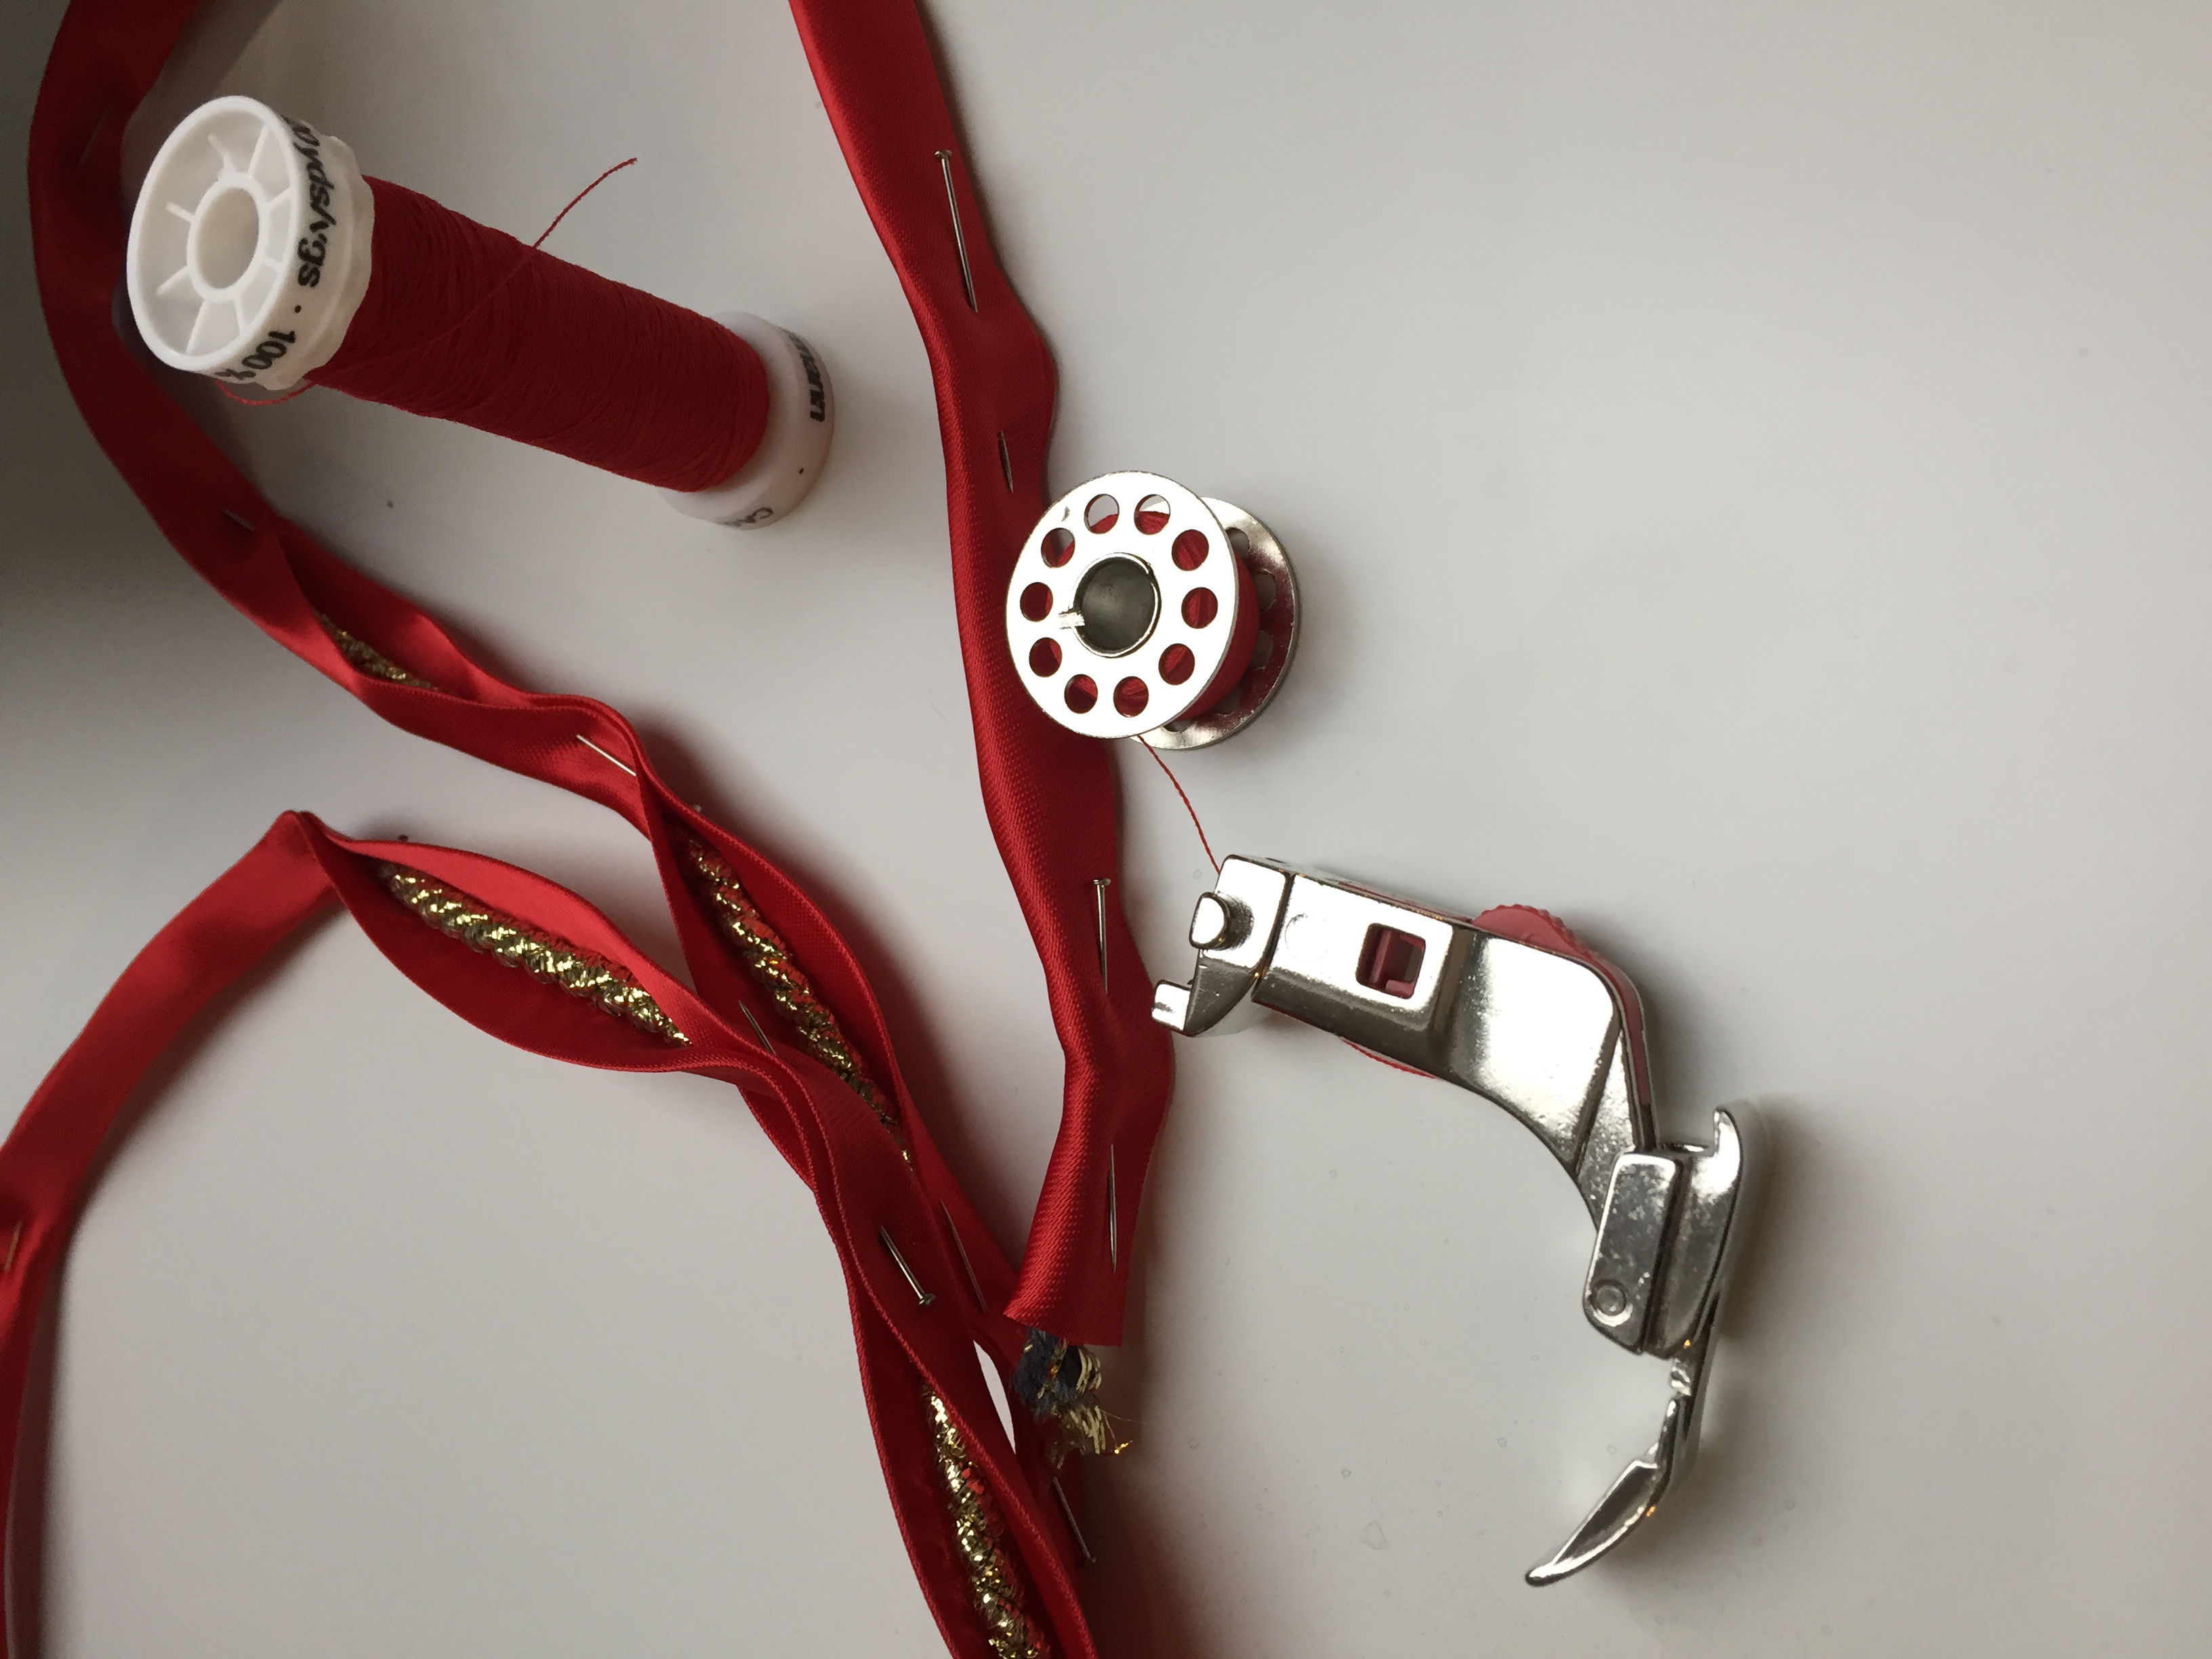 All the tools you need. Thread, biastape, a string of sorts and a suitable sewing foot.
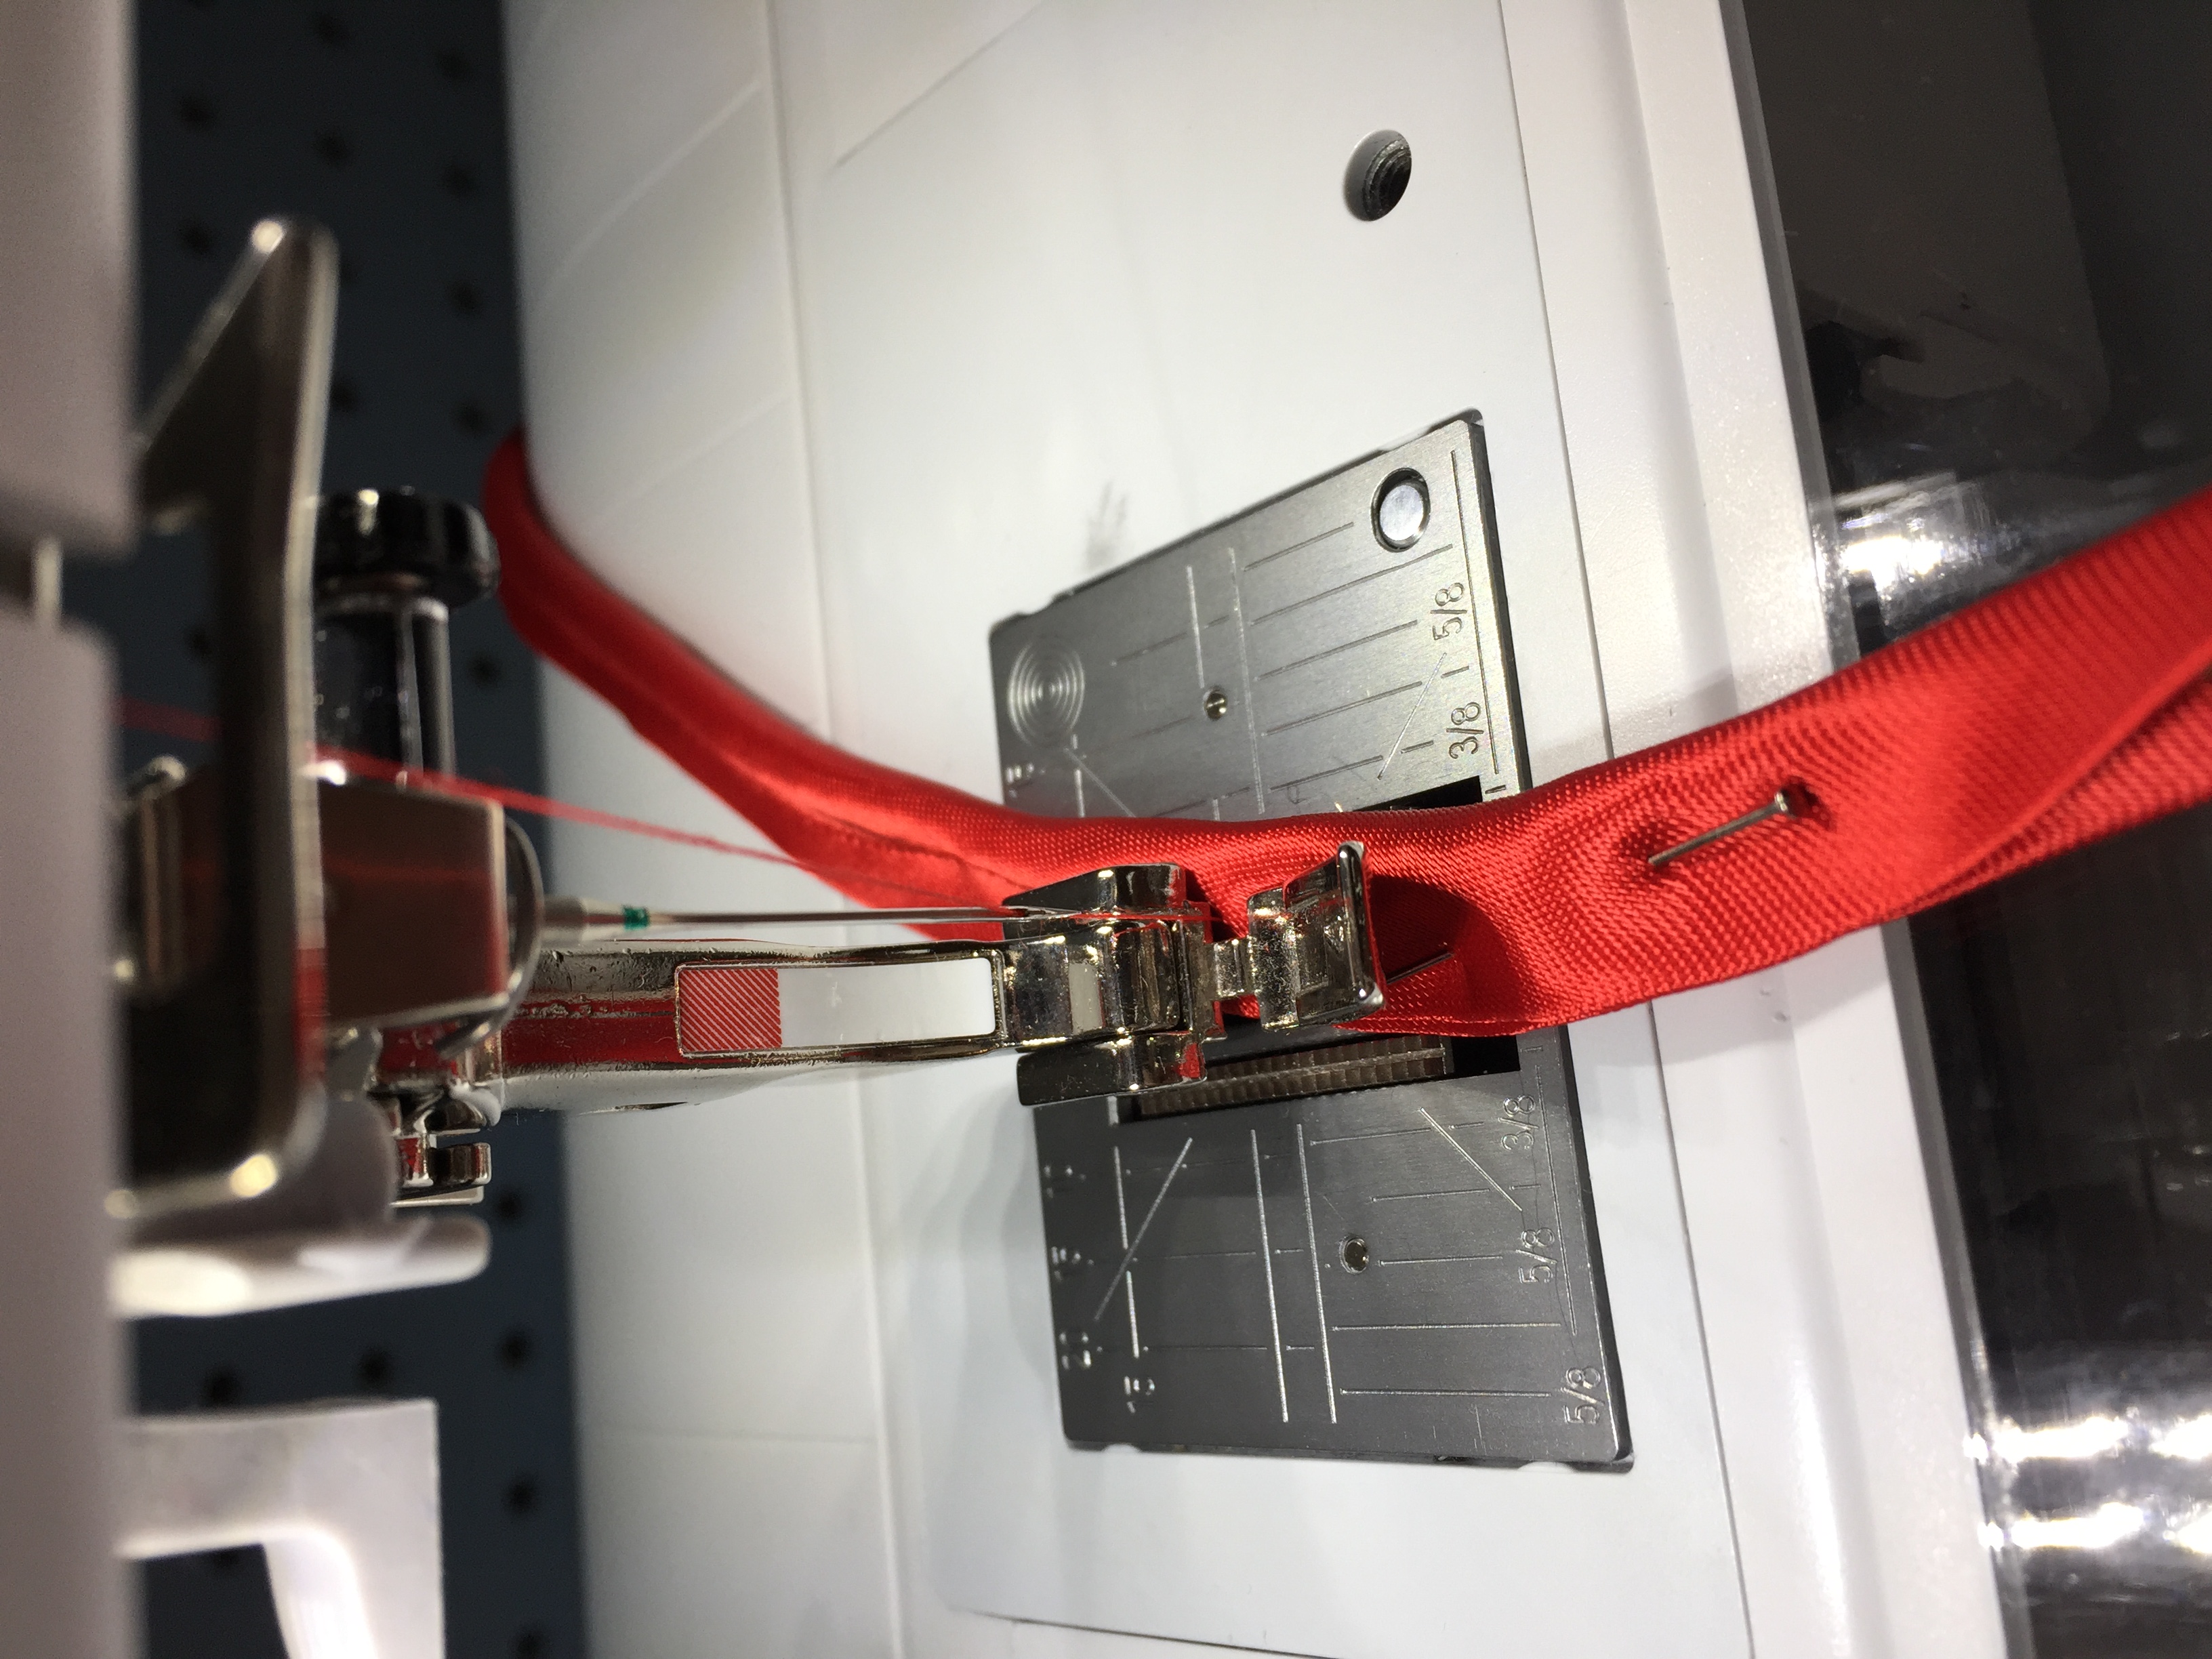 Closing the biastape
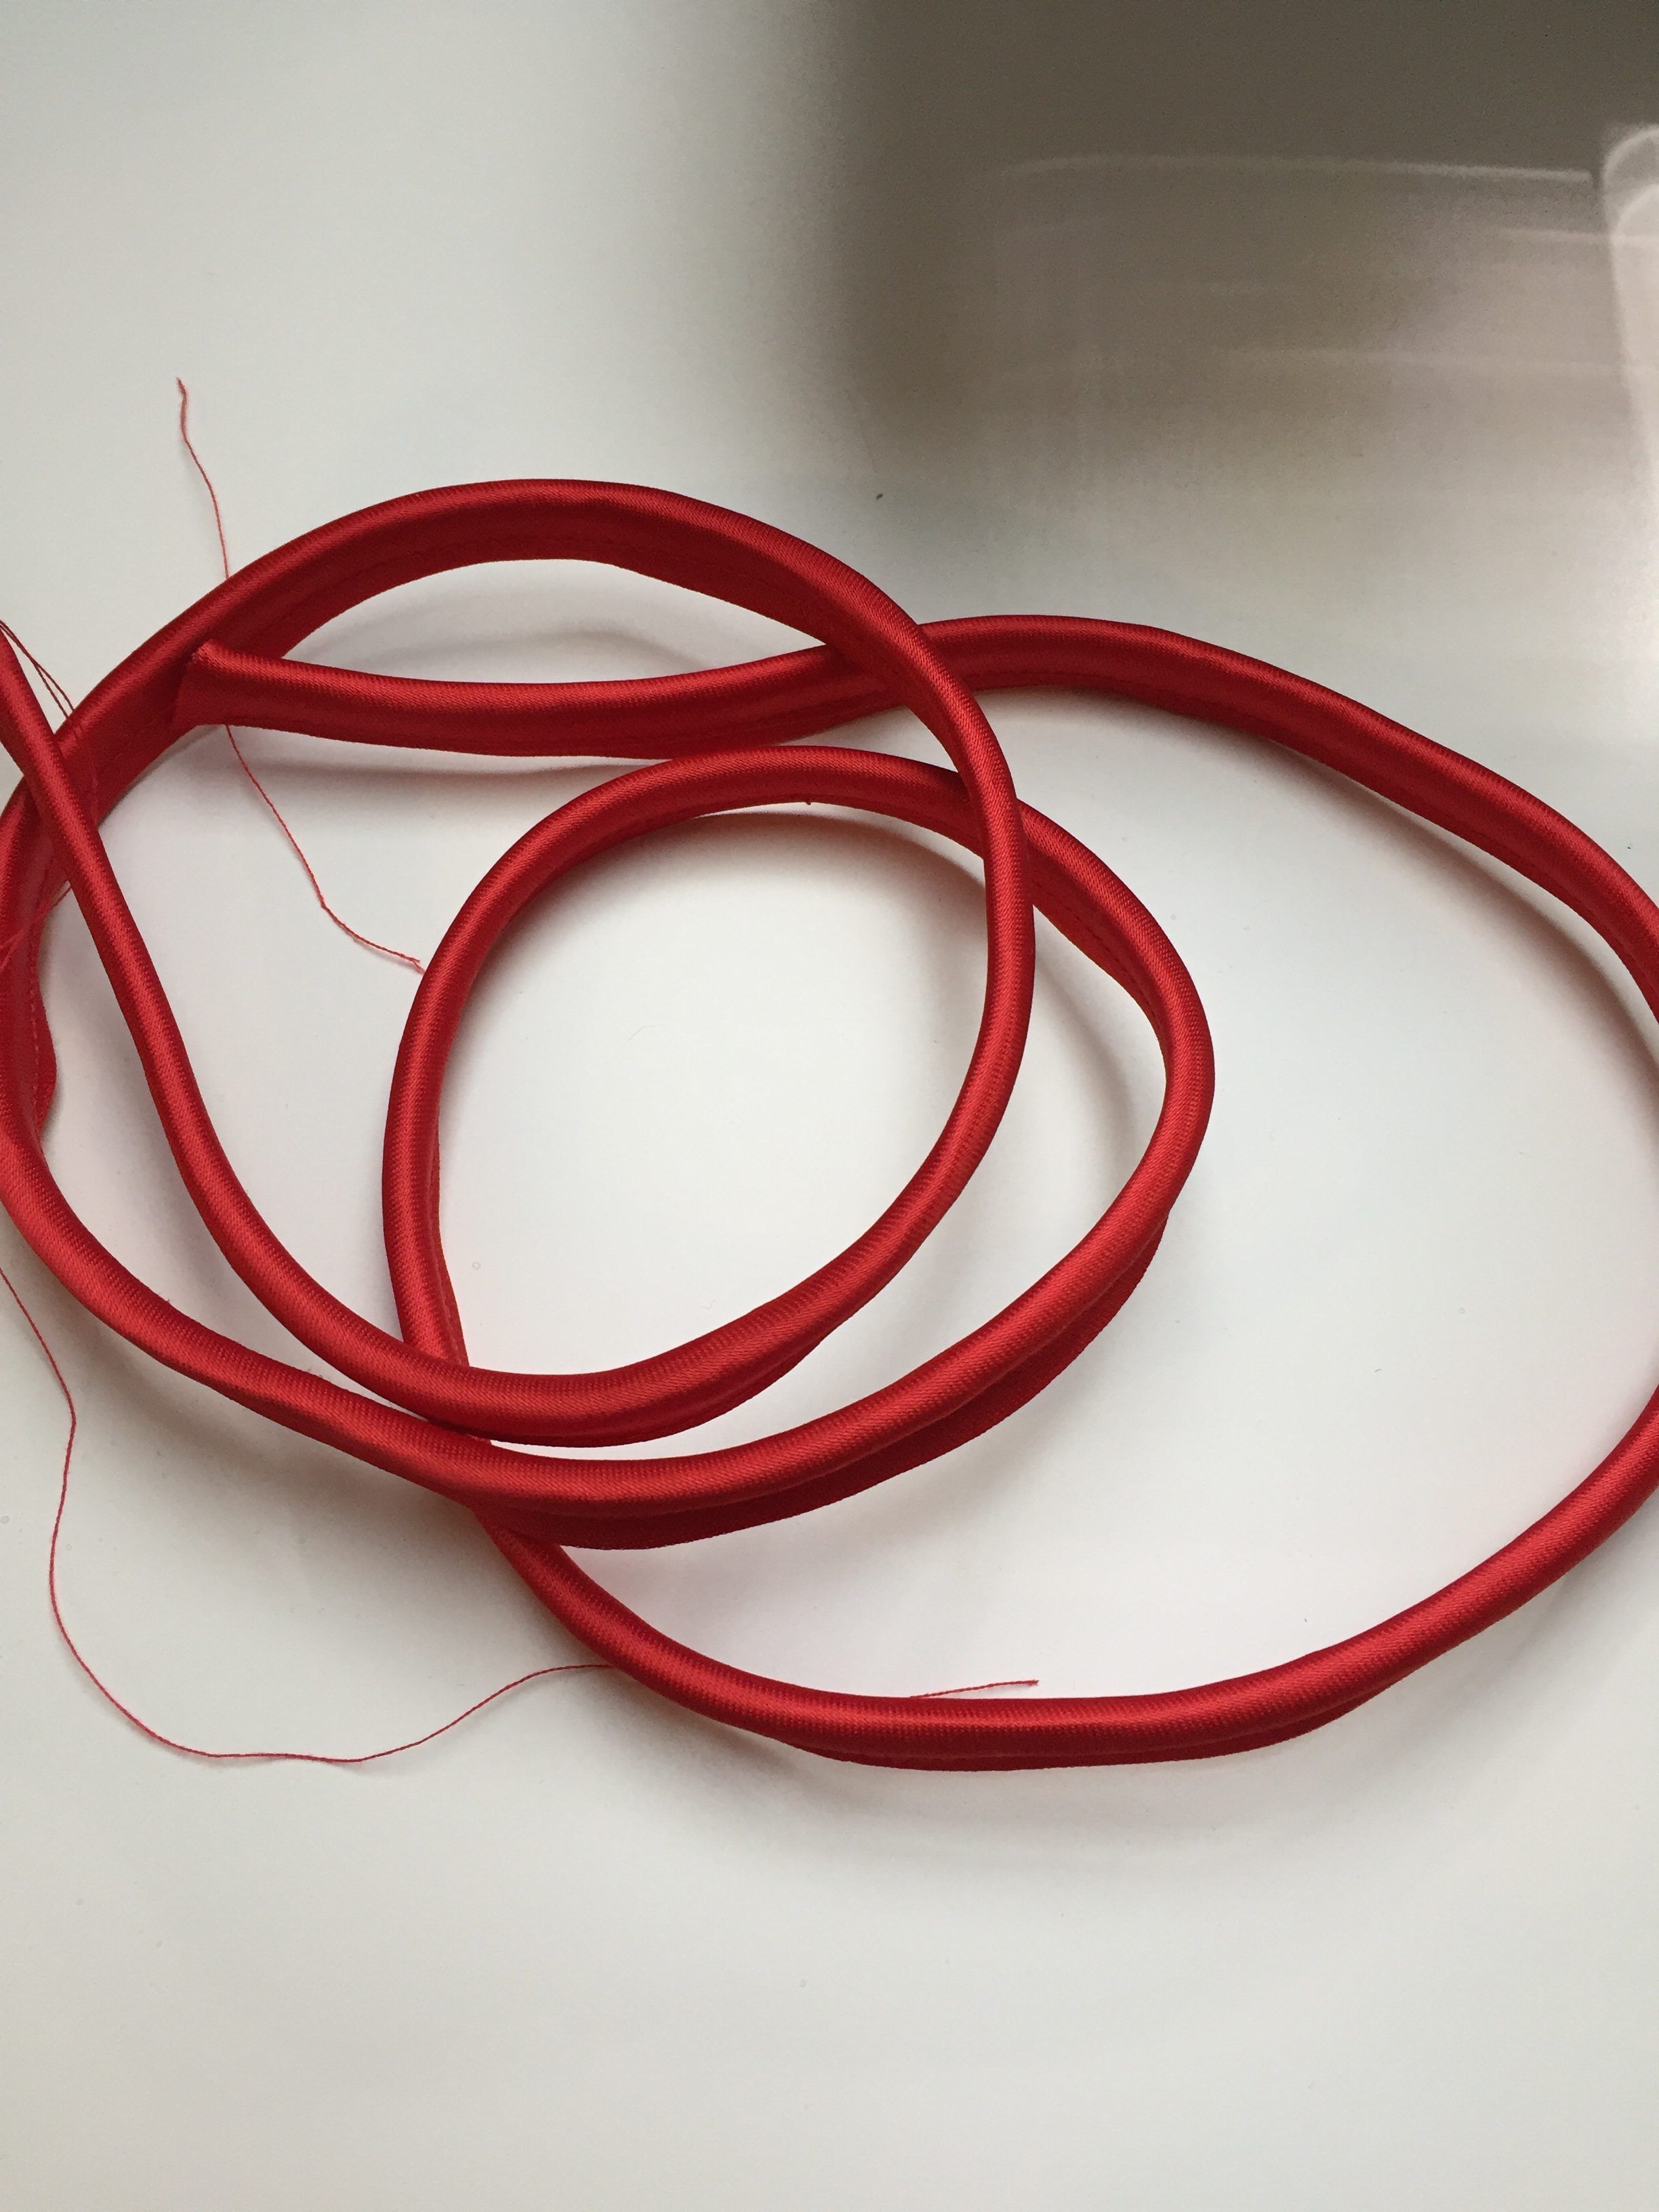 Finished piping
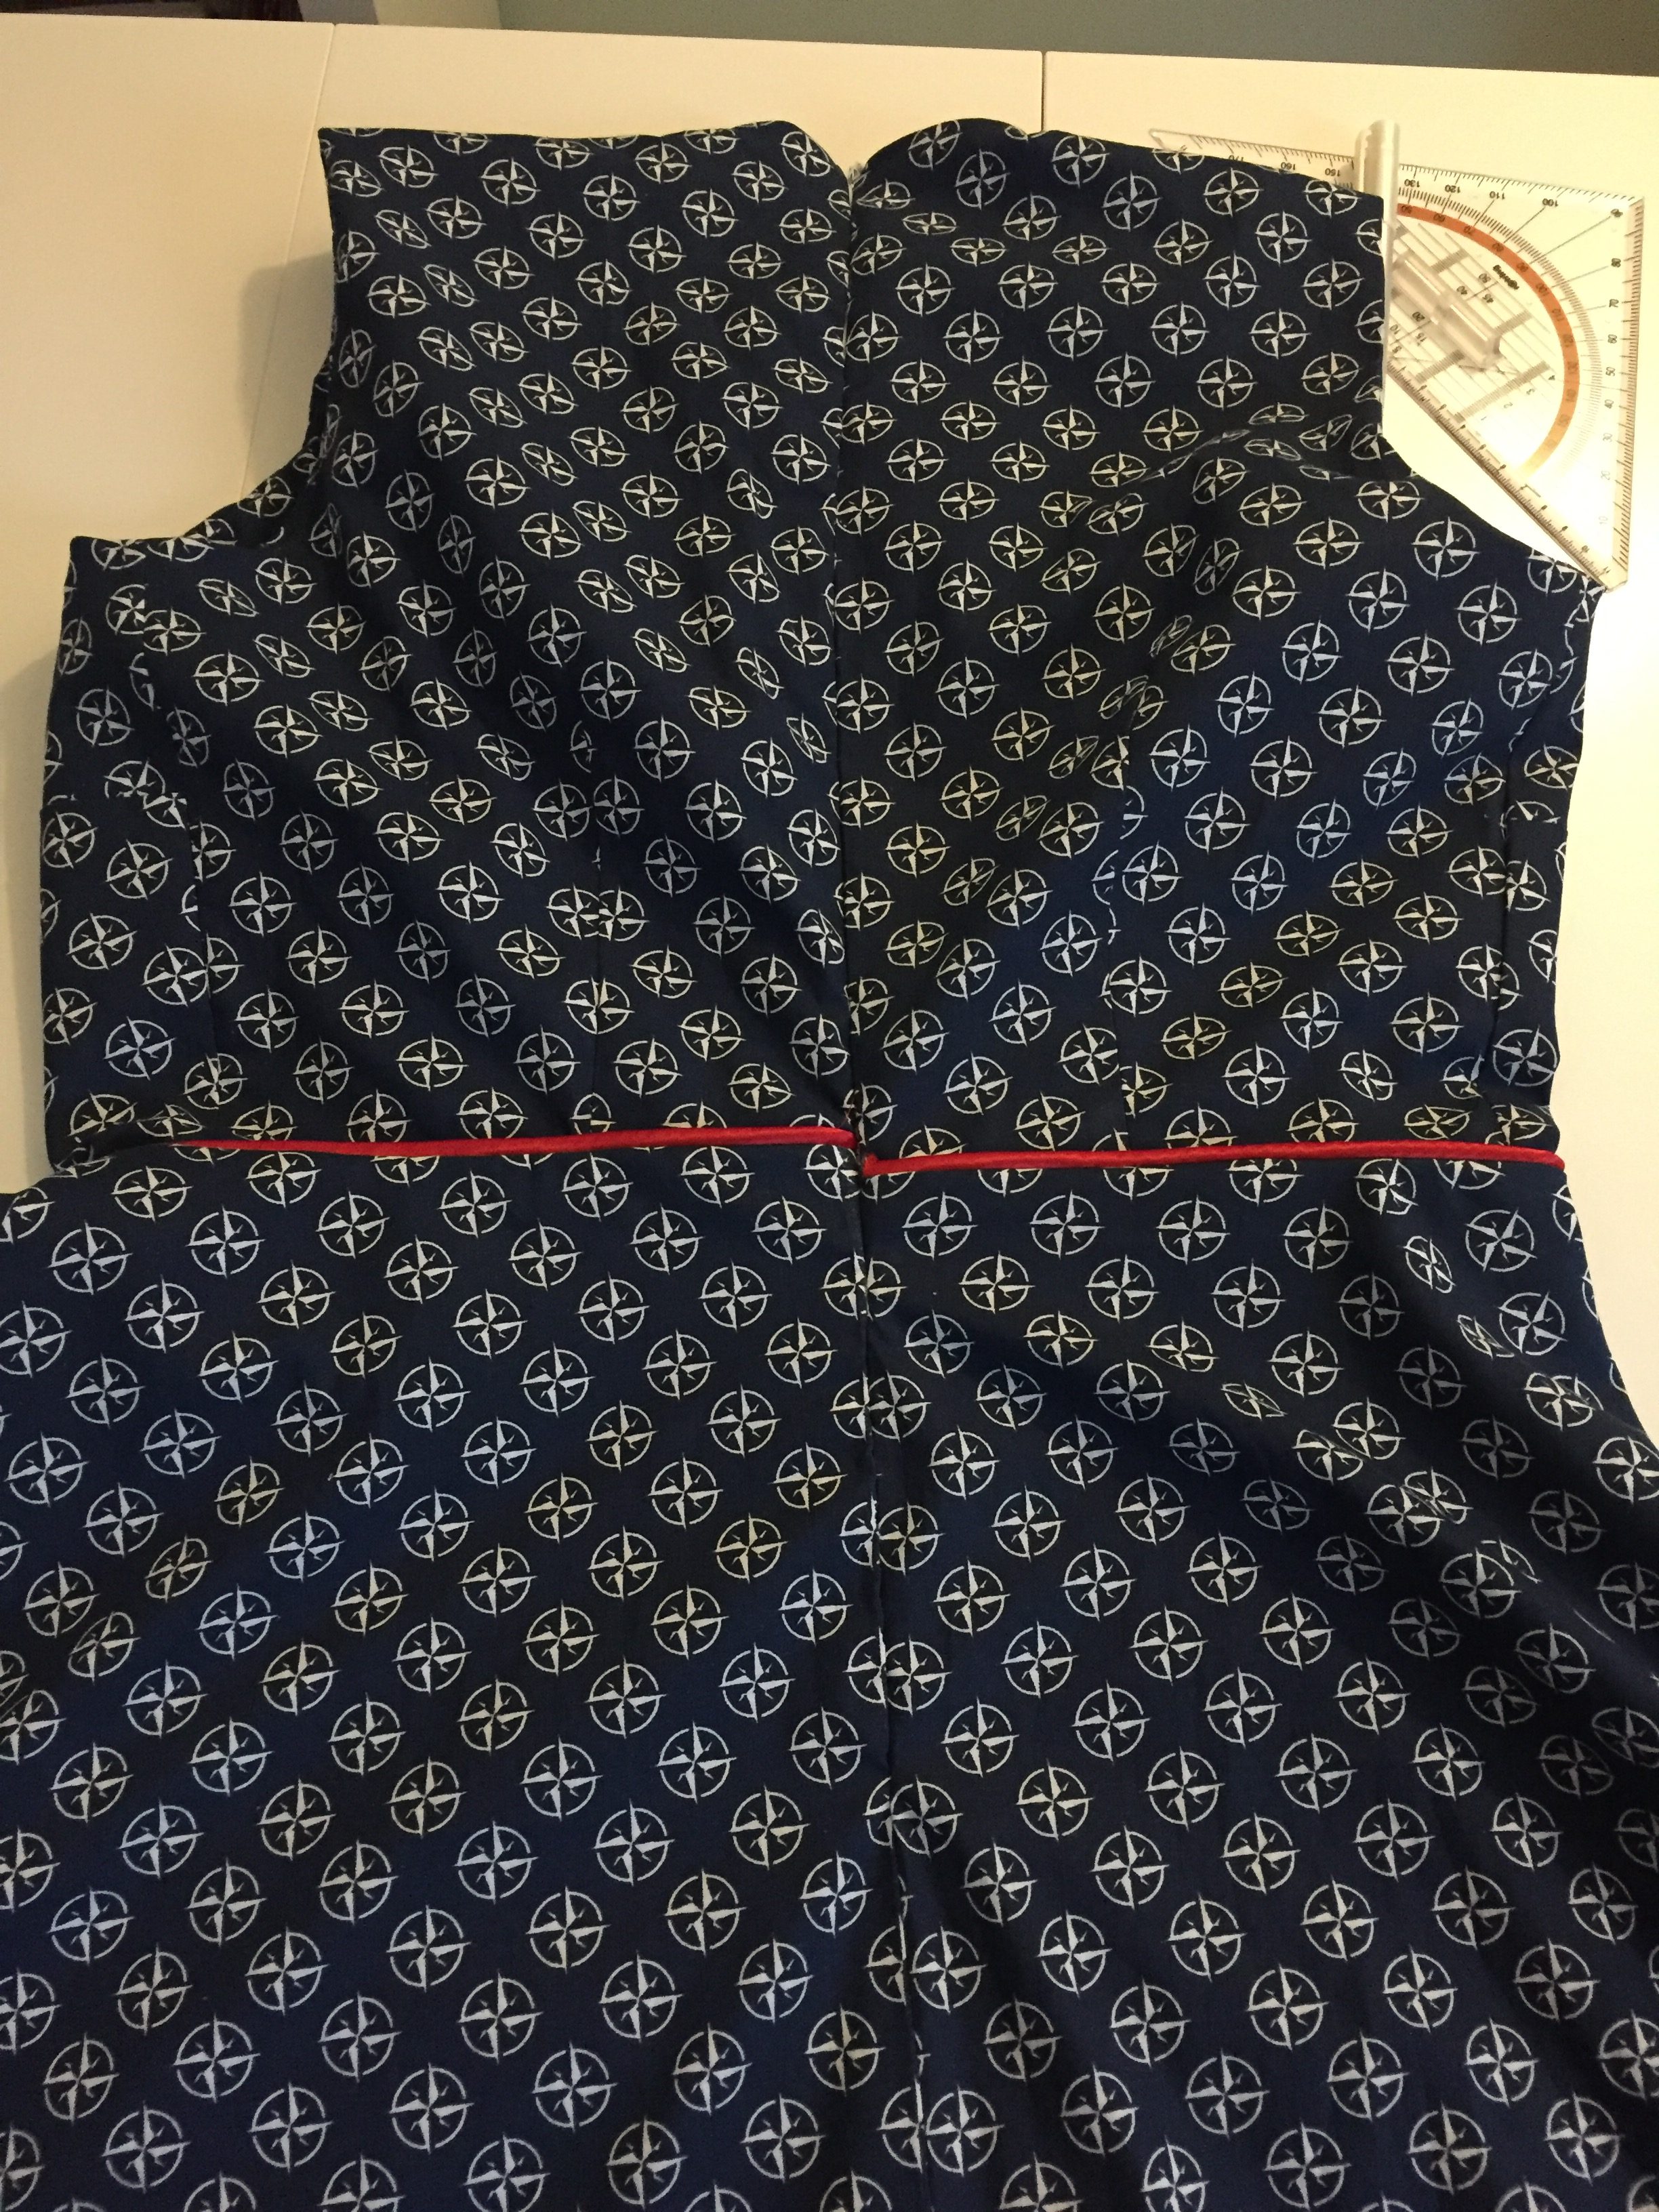
I attached the piping to the skirt and then joined the bodice to the skirt.
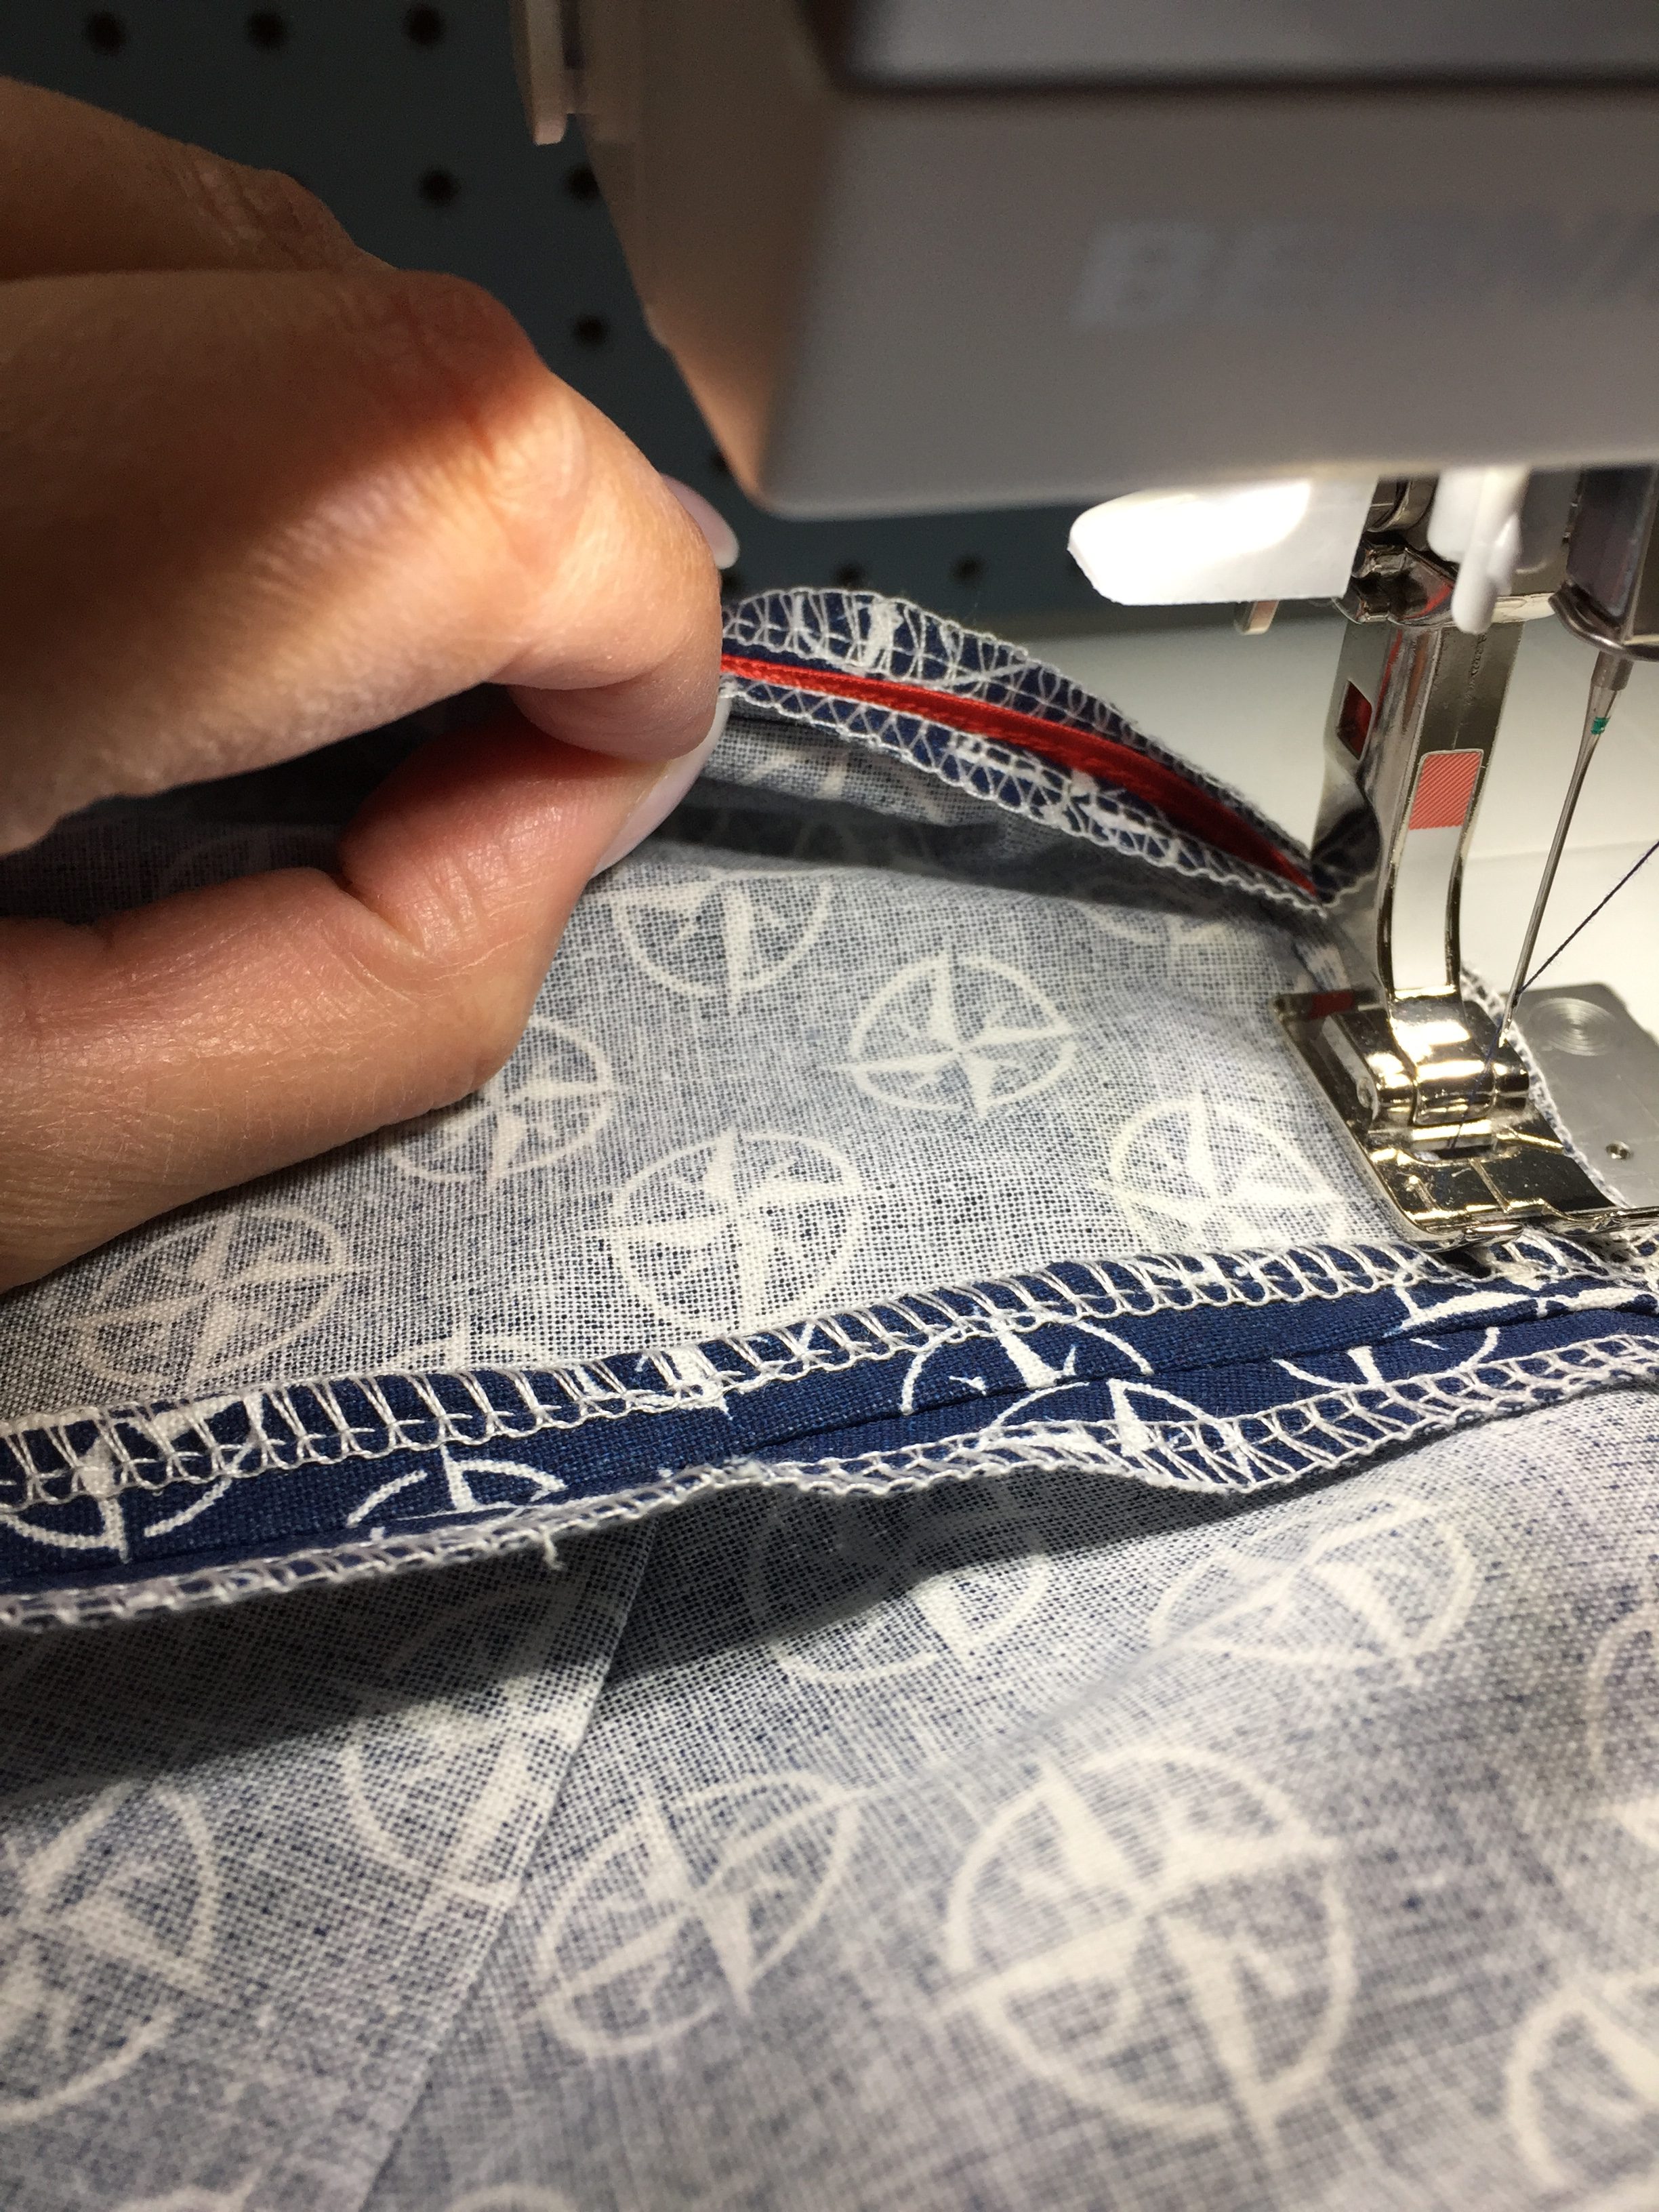 Inserting the piping
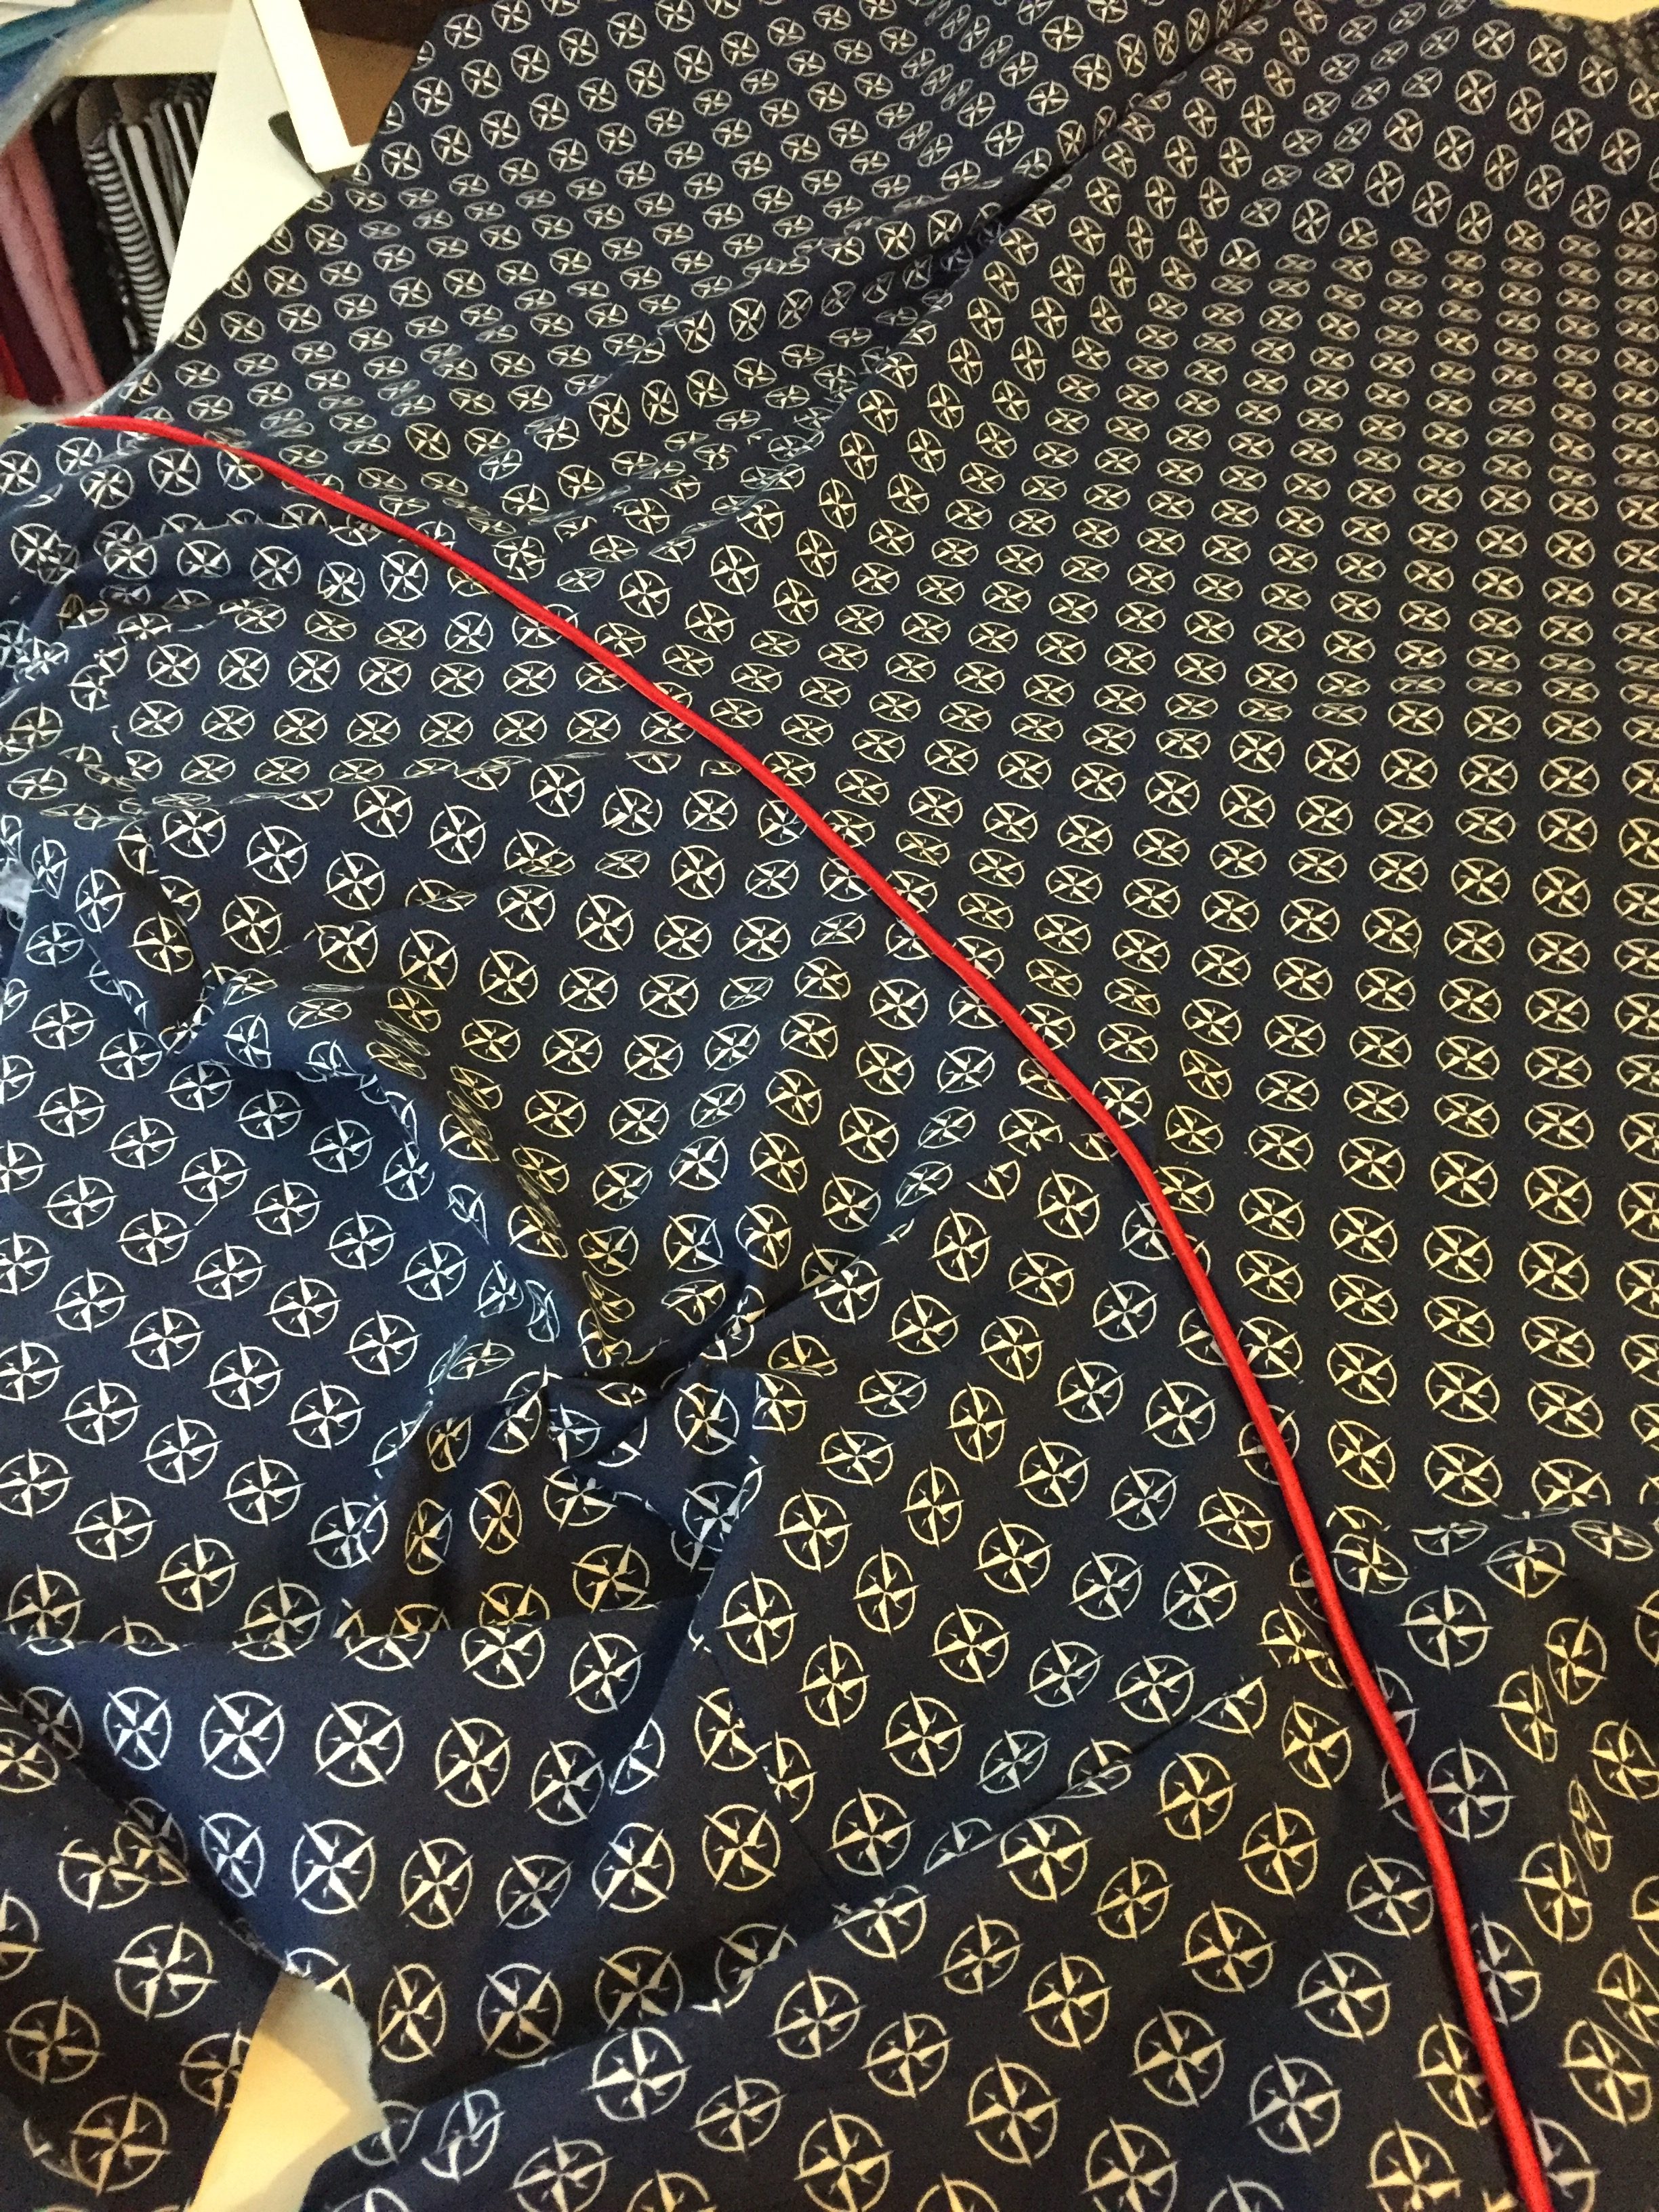 The whole skirt with the piping inserted
All that was left now, was to insert the zipper, hem the skirt and attach the buttons. For the zipper I used my trusted Bernina foot for invisible zippers. That little thing is just such a great help! I remember doing my first invisible zip without one and it definitely was NOT invisible, let me tell you! There are some tricks to do it without a specialised foot but why bother…
Now after talking about the amazingness that is an invisible zipper foot you still have to actually insert it. My first try was off (my younger sister would say that is because I use as little pins as possible, hate pinning, really) for about half an inch (1.2cm) which is just too much to just leave it like it is. I undid one side and attached it again this time (yes, sweet sister) I basted the thing in and it worked wonders. Live and learn – minimalism is not always the way to go 😀
 Yep, not so much. Let’s do that again.
 Aaah, here we go!
If you ever tried to hem a circle skirt you know that one of the best ways to do it is using bias tape. I bought mine premade and 2 metres was just enough the hem the whole skirt.
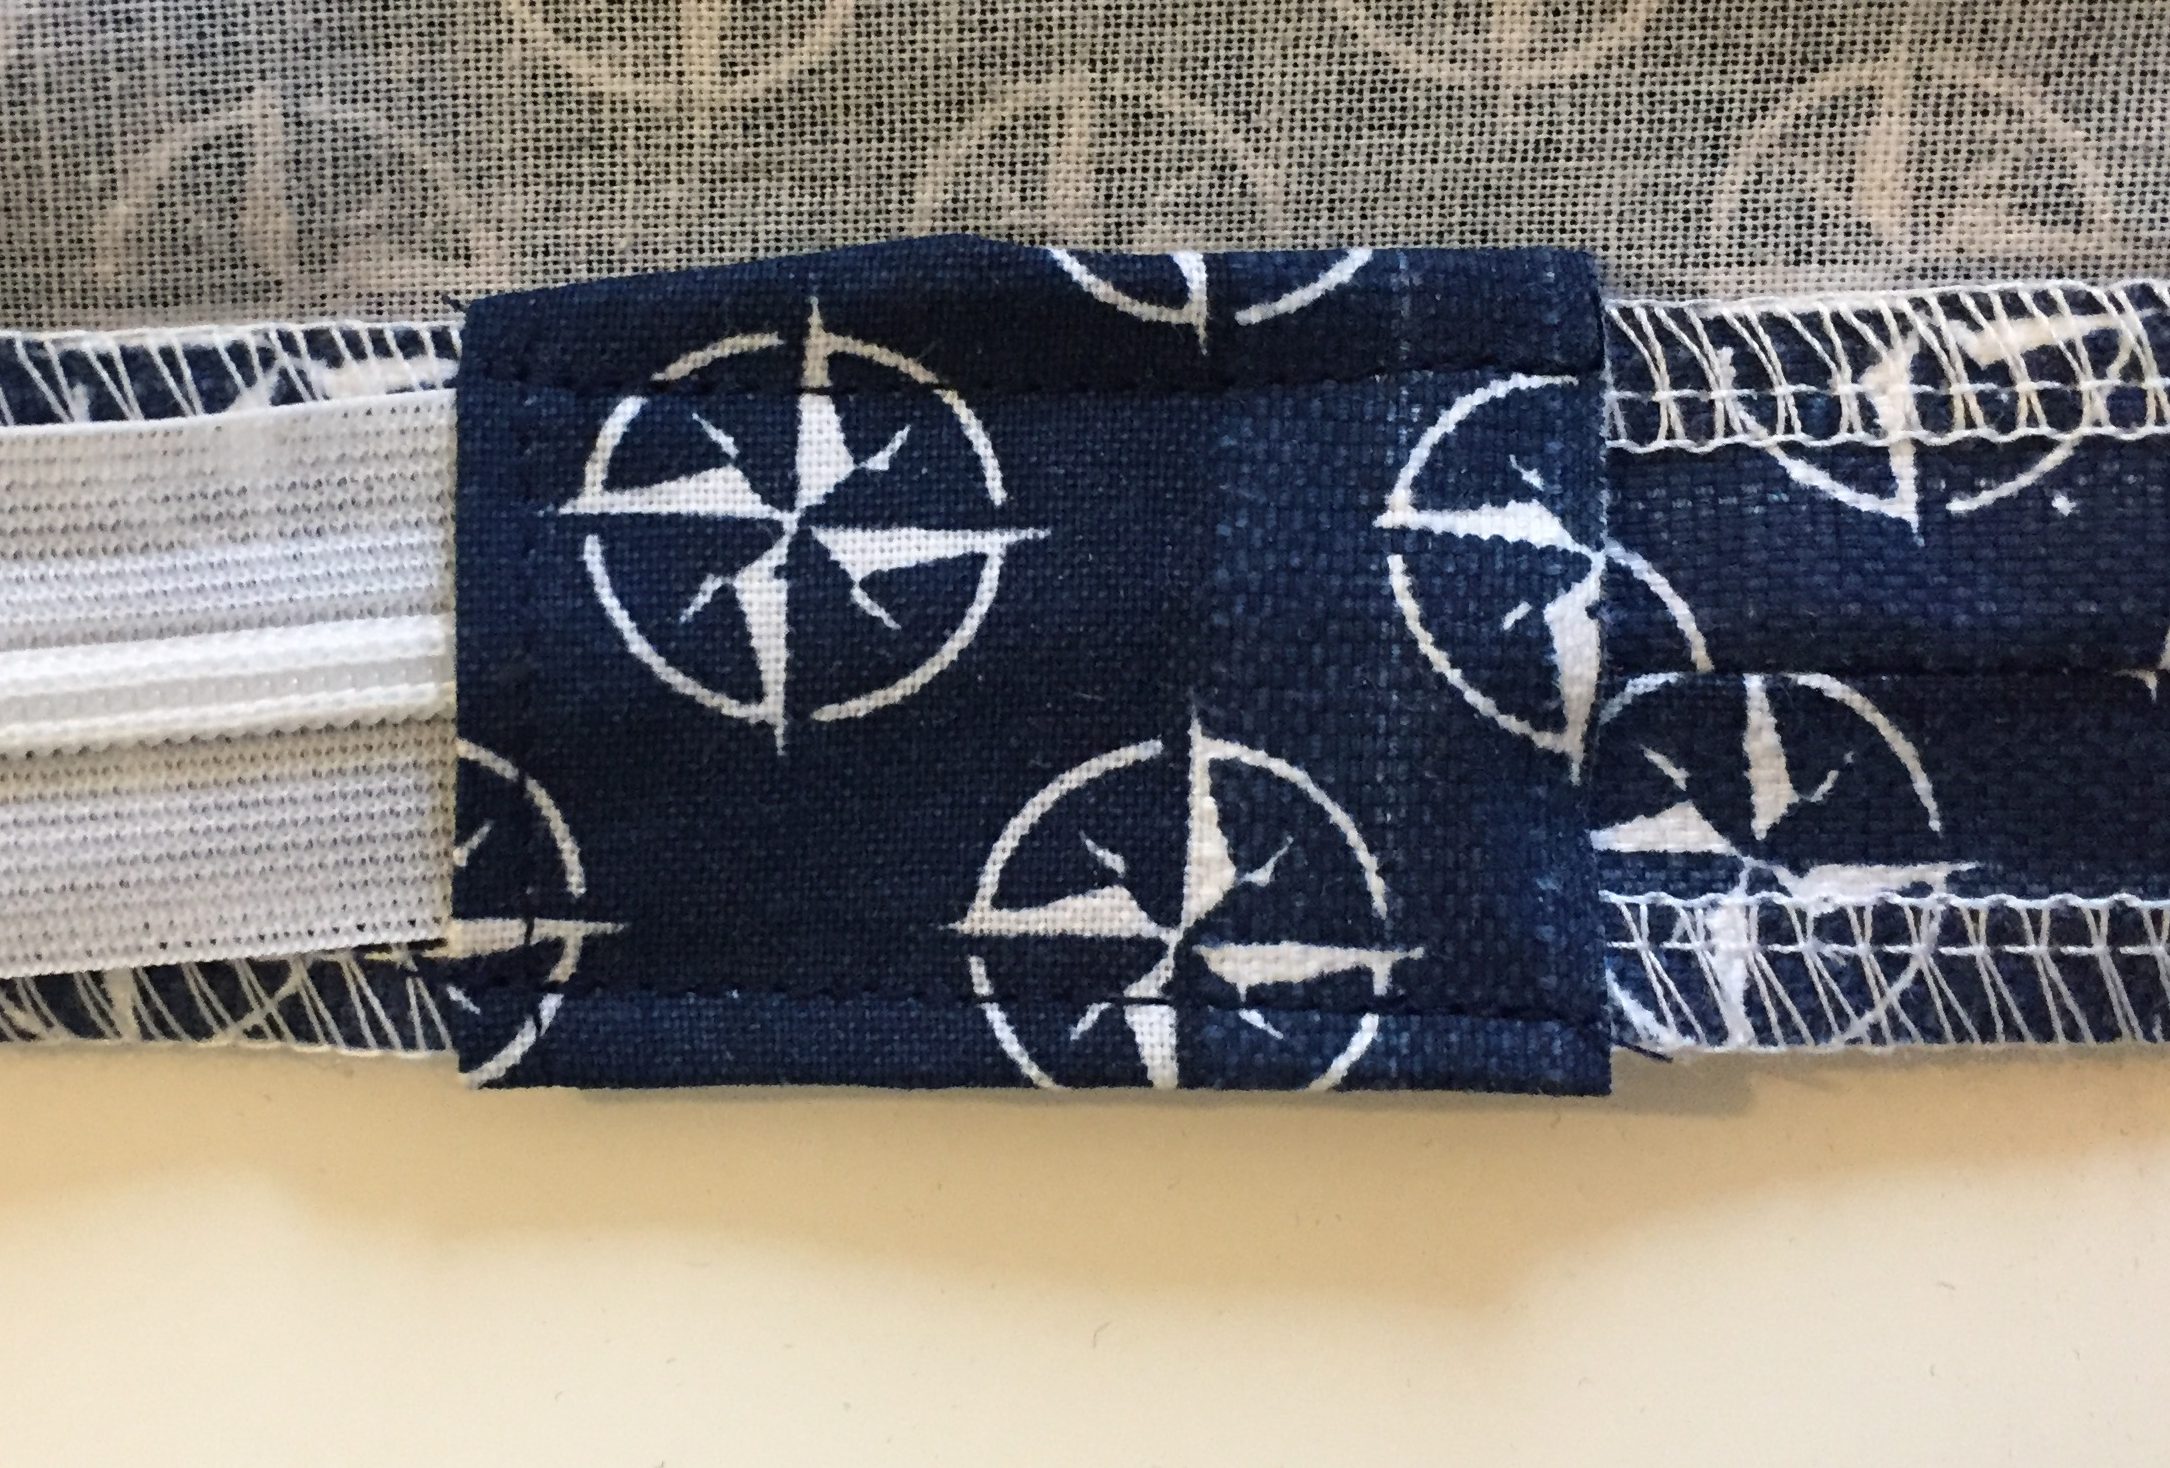 I even made a simple zipcover. Looks nice, doesn’t it?
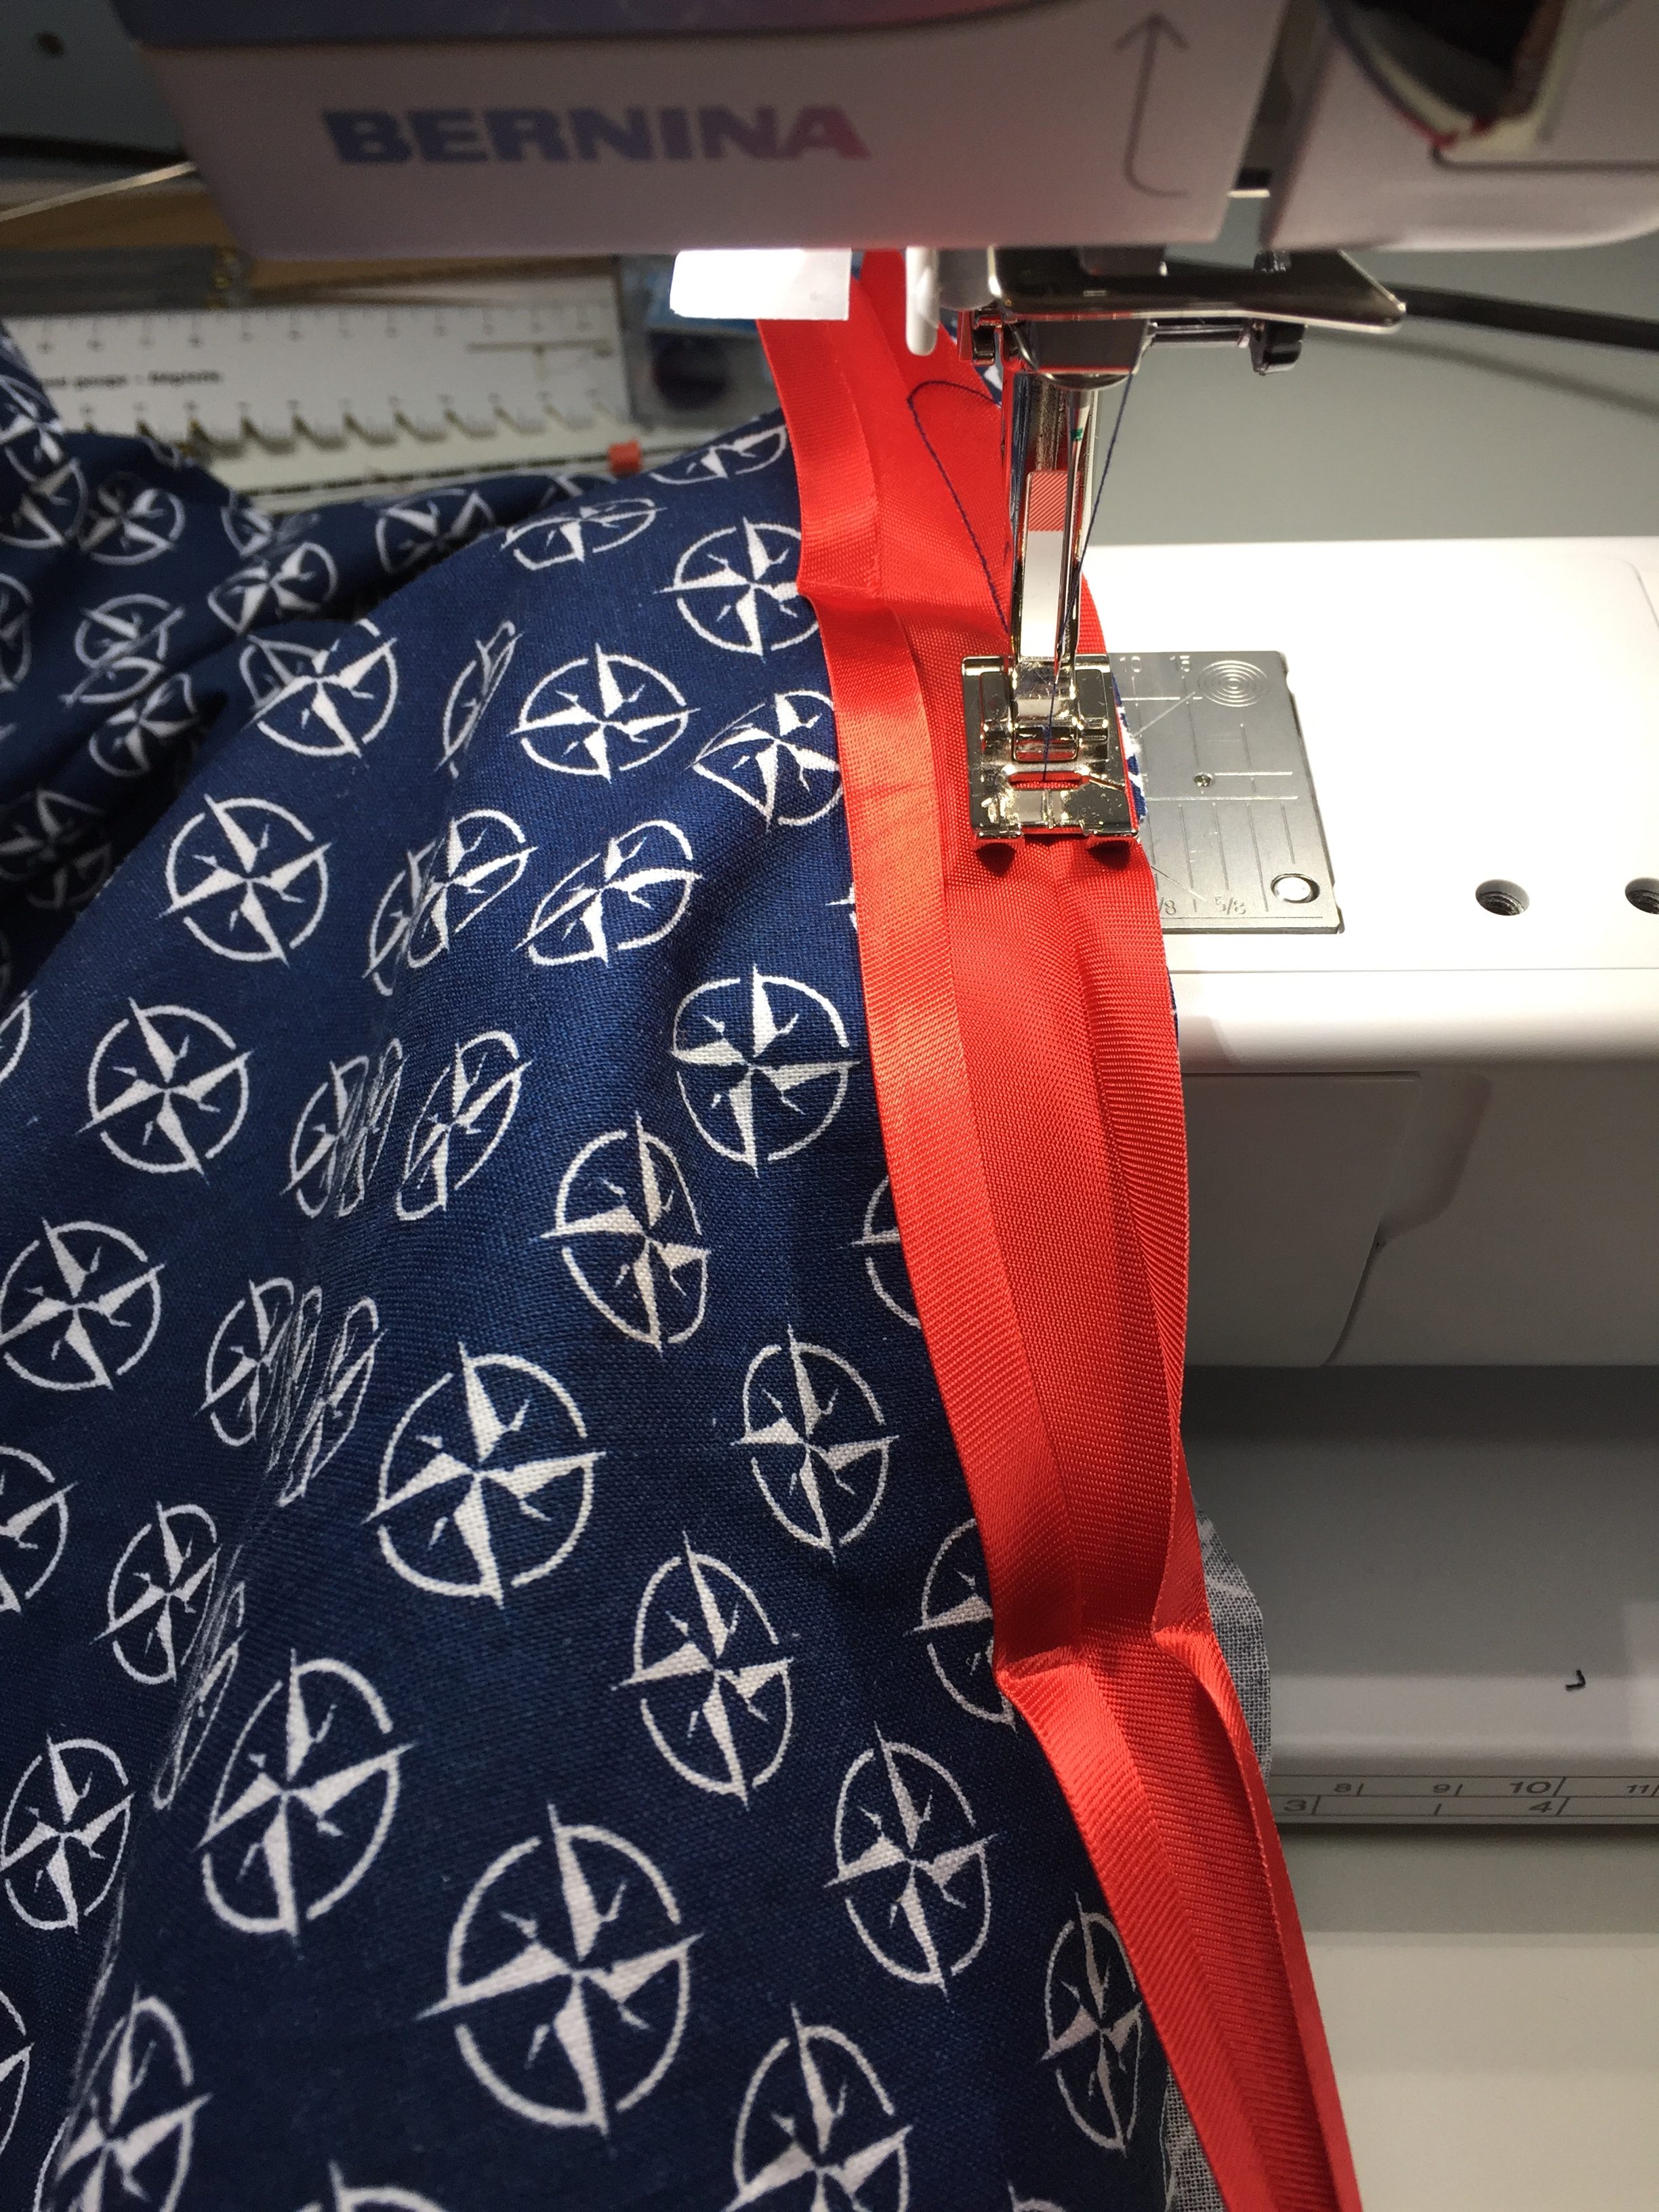 Attach the biastape to the right side of the fabric
 And the fold it over to the wrong side, iron it and stitch.
After this just attach the buttons and handstitch the facing down at the armholes and you are done with Gertie’s Day Dress.
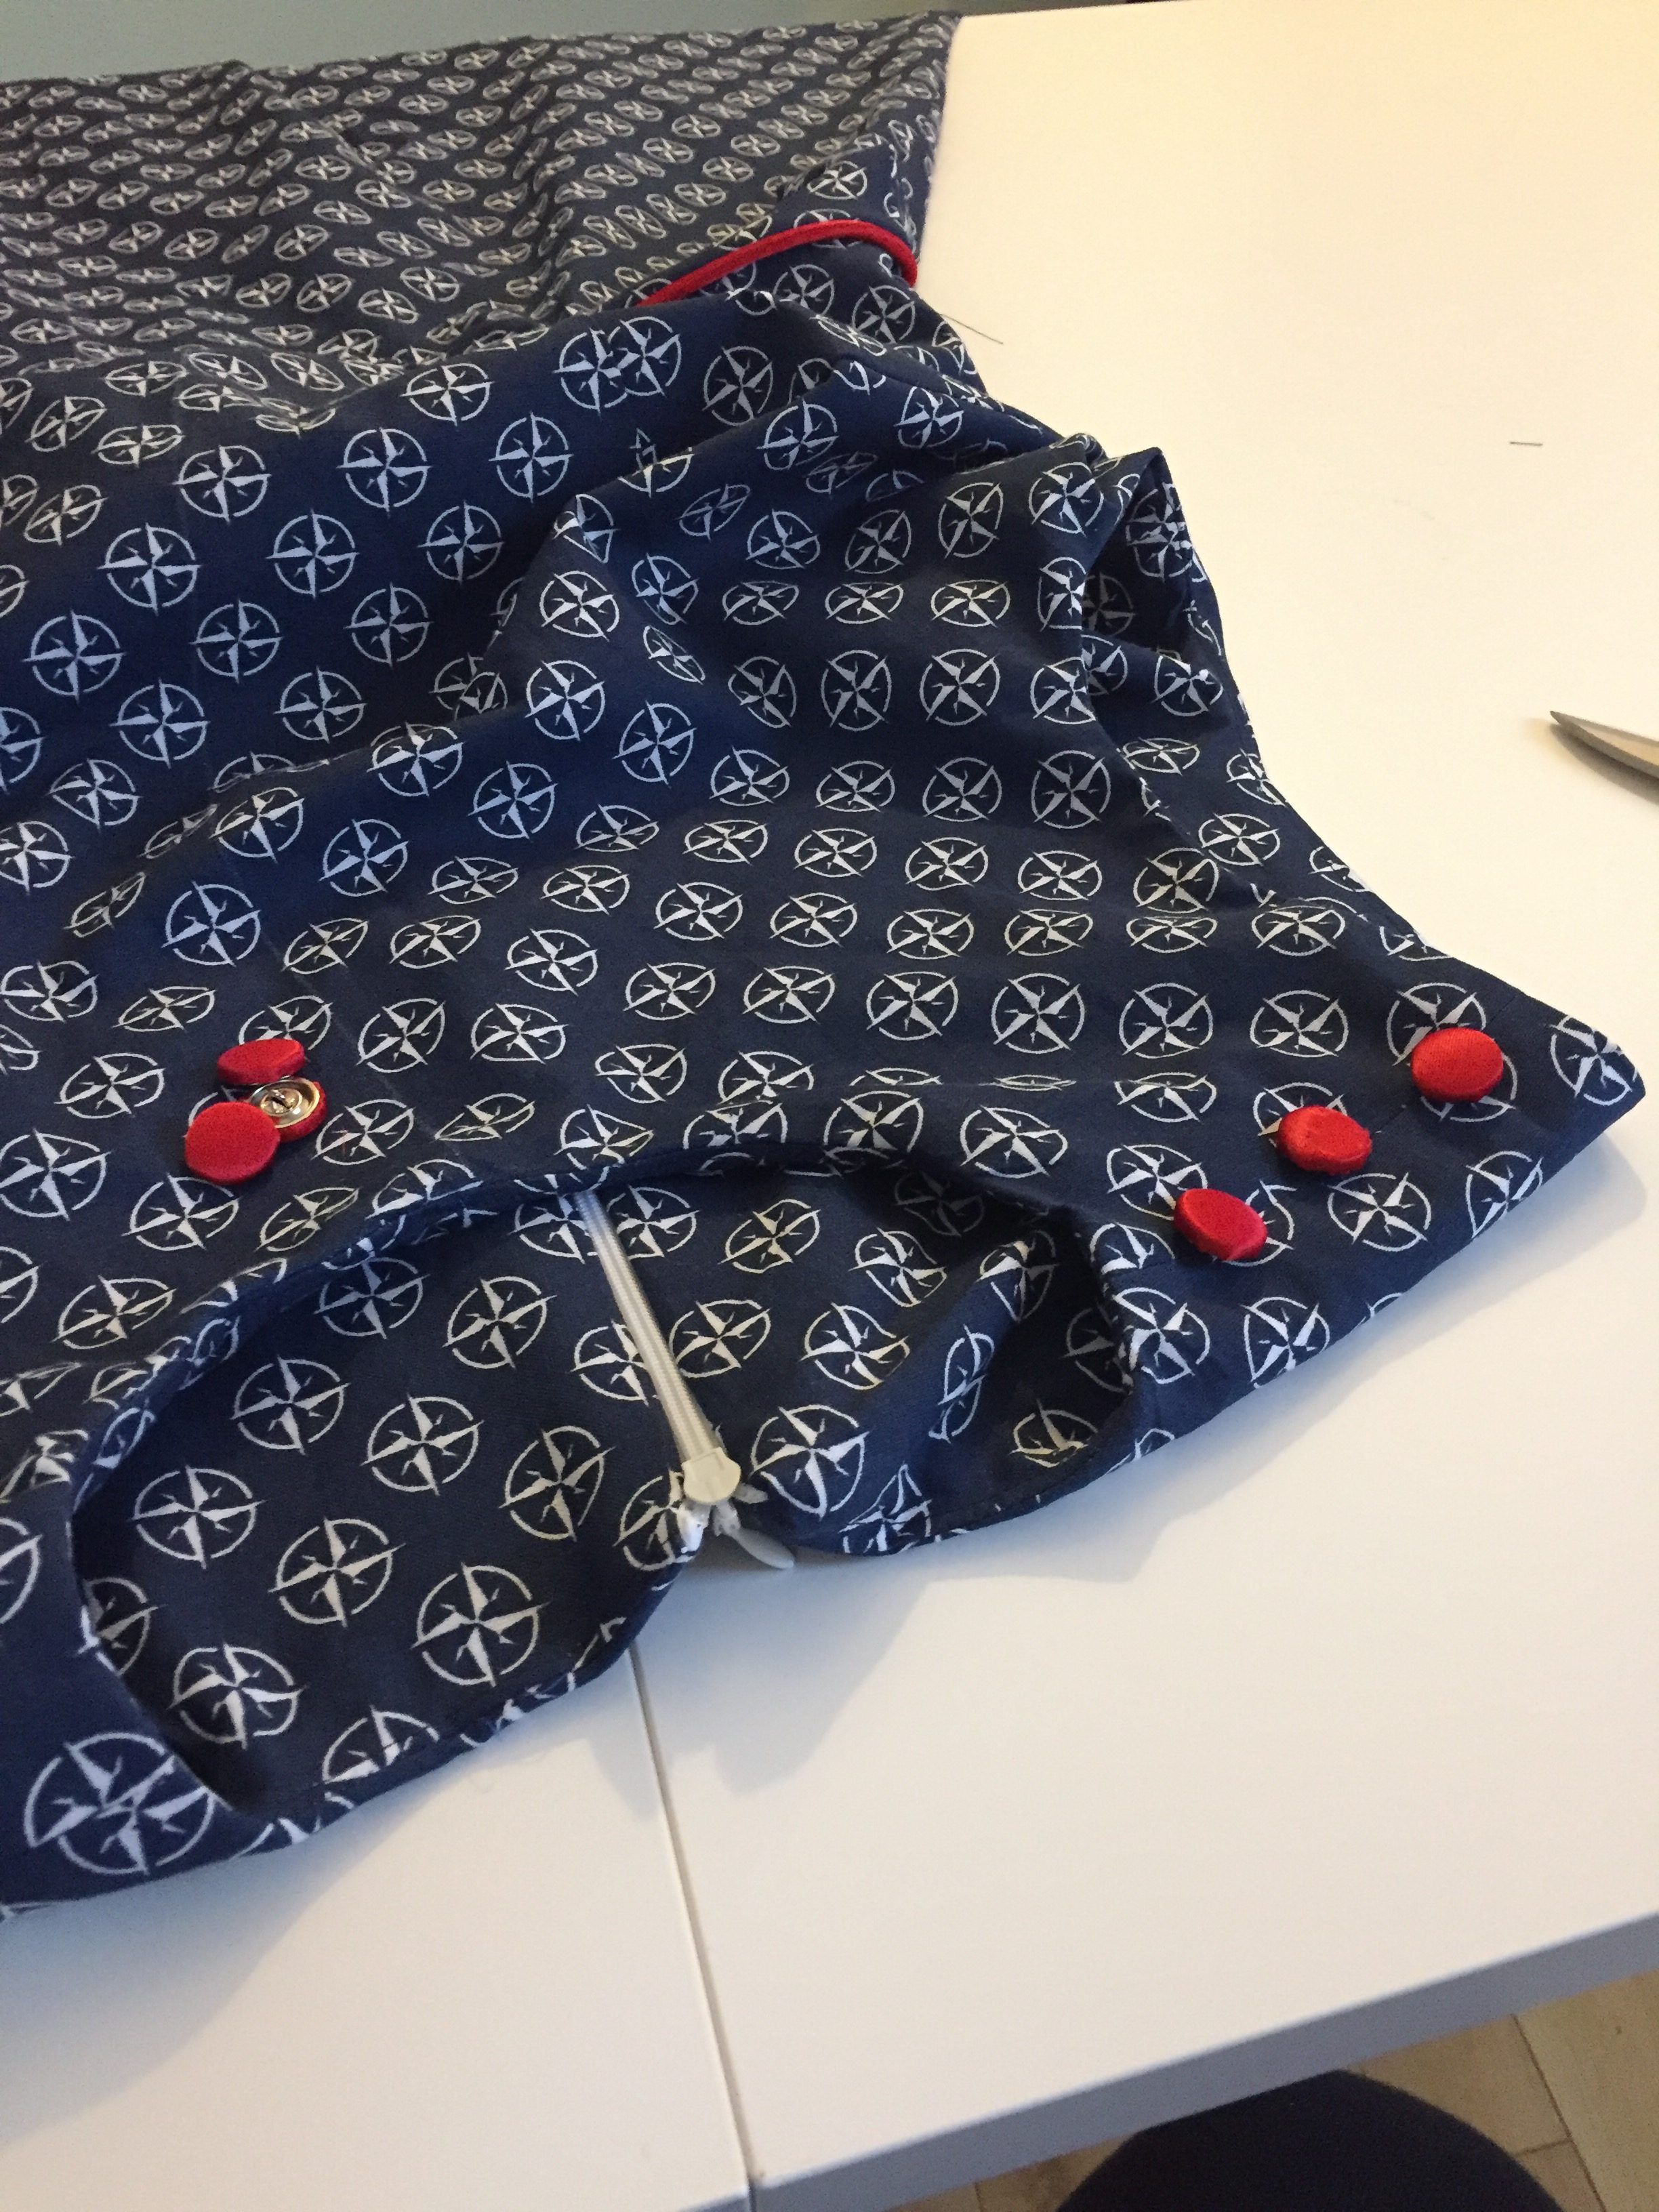 Attaching the buttons
All aboard! Just kidding. If you want to know more about me and my sewing adventures you can check out my blog over on www.heartpleat.ch .

The finished dress in all its glory…
The finished dress in all its glory…
Happy Sewing and see you next month!


Hallo,
das Kleid gefällt mir sehr gut.
Interessant finde ich die rote Paspel in der Taillenaht.
Mit freundlichen Grüßen
roesmart
Hallo roesmart, vielen liebe Dank. Das Paspelband habe ich eingesetzt um das rot der Knöpfe wieder aufzunehmen?
Nice and I love the fabric and the pop of red … FIESTA 🙂
Hi Monica
thank you so much for your comment. The red bits are what I like best about it as well. Adds just a little extra?