 BERNINA Corporate Blog -
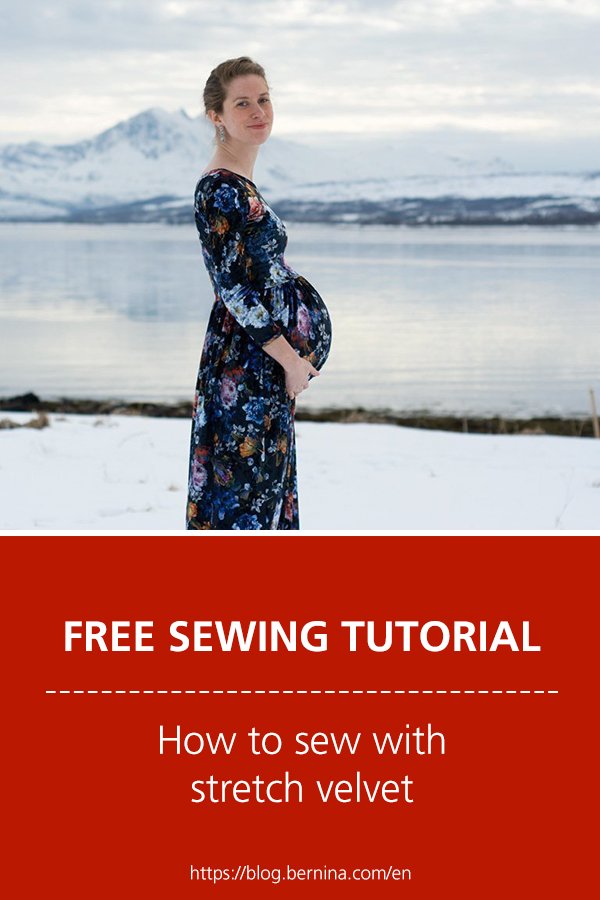
I recently sewed this long dress, using a beautiful stretch velvet. (You can find the pattern details and modifications I made on my blog.) A simple stretchy dress like this is a perfect project for a serger – it’s so quick to sew and all the seams look neat. However, working with stretch velvet requires some extra attention to detail, so this blog post is all about small tips and tricks for working with stretch velvet and how you can use your serger to achieve a professional result.
First of all: velvet is a pretty delicate fabric and if you’re new to sewing with velvet, choosing a simple pattern might be a good idea. Adding button holes or zippers can be difficult and the seams on a velvet don’t always look too nice, since the small hairs are pushed to the left and right along the seam. So choosing a pattern with few seams and no closures might be a great idea! Many velvets look so stunning that I think they should be allowed to “shine” alone, without having to compete with a too intricate pattern. Fewer seams also mean less pressing, but I’ll write more about this in a bit.

Another thing to consider is that velvet is one of those fabrics with a so-called “nap”. That means that the fabric, when you move your hand top to bottom, feels different compared with what it feels like when you go from the bottom towards the top. There’s no right or wrong way to cut velvet, but all your pattern pieces need to lie in the same direction. The most common way to use velvet is that the fabric should feel smooth when you move your hand from top to bottom of your garment. That’s the way I cut the fabric for my dress. Another thing you have to consider is the stretch of the fabric. My velvet has a two-way stretch, so I cut my pattern pieces with the stretch horizontal to my pattern pieces – most garments don’t need a lot of vertical stretch.

In my last blog post I wrote about how important pressing is while sewing. And yes, pressing is important! But velvet doesn’t like to be pressed – the small hairs easily get pressed flat, leaving ugly marks on your fabric. So – be careful when pressing velvet! A simple pattern like the dress I’ve sewn is perfect to avoid too much pressing while sewing. When pressing the seams you need to press, there are a few things you can do to make sure you’re not going to ruin your garment:
- Take some scraps and test how your fabric reacts to heat, steam, and pressure!
- Set your iron to a low temperature and use steam rather than pressure to get nice seams.
- Don’t lay the right side of your velvet directly against your iron OR your ironing board. Lay a scrap of your velvet fabric right sides together against the piece of fabric you want to press. That way the small hairs are lying against each other and don’t get pressed flat too easily. You could also try using a fluffy towel or something similar. The important thing is to prevent ending up with the the pile pressed flat and ironing marks on your fabric.
Now on to how to sew your fabric. Using a serger when sewing with velvet is actually perfect. Most velvets are rather heavy-weight and a serged edge is the cleanest and simplest way to finish the edges. You could leave the edges raw, too. But the raw edges of velvet tend to lint quite a bit, which makes a serged edge much more favorable. And a luxurious velvet garment simply deserves a nice finish on the inside, too! When working with woven velvet you don’t need to worry about the stretchiness of your seams, but when using a stretch velvet like I did, ending up with very stretchy seams is actually very important. To achieve a good amount of stretch when sewing rather thick stretch velvet, the differential wheel on your serger is your best friend. I could leave most of my serger setting on the regular recommended settings for a 4-thread serger seam, but used a lower differential setting to increase the stretchiness.

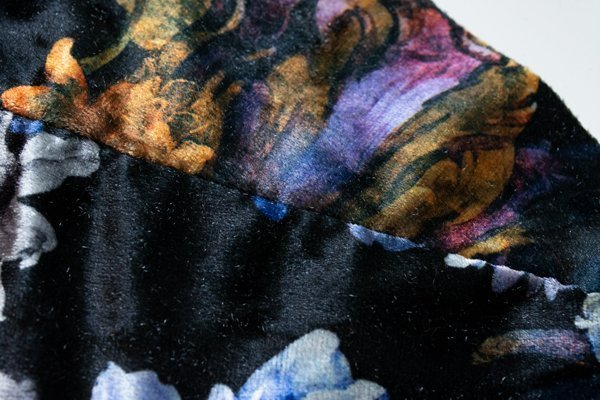
Here you can see how my seams looked when using the “normal” differential setting (1), a higher one (about 1.3) and a lower one (about 0.8-0.9). When testing how easily the seams can be stretched, the regular settings gave me a seam with an okay amount of stretch. Setting the differential to 1.3 made the seam way less stretchy. This is usually a good setting to avoid waviness when working with thin woven fabrics, but it’s not a good setting when working with stretchy fabrics. A setting of 0.8-0.9 gave the best result – a seam with a good amount of stretch, while not compromising the look of the seam. As you can see, the right side of the seam looks nice, too – there is no waviness and the threads don’t show, either.
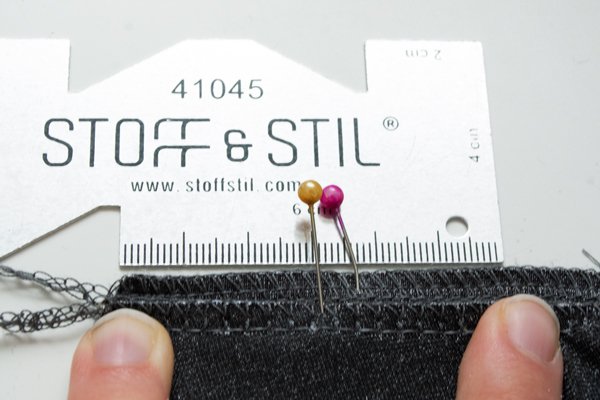
Pink pin: More stretch with a lower differential. Yellow pin: Seam sewn with differential set to 1
Topstitching usually does not look very good on velvet. Whenever I can, I avoid it and rather work with a facing or added bands. For this dress I chose to finish both the neckline and the sleeves with bands, making it possible to construct this dress entirely with my serger. I have to admit that this dress isn’t hemmed (yet) – but that’s because I want to hem it after giving birth, to make sure it’s leveled. The plan is to serge around the entire edge of the skirt before folding it up once. I could then choose to topstitch the hem in place, or hem the dress by hand, avoiding the topstitching on the velvet.
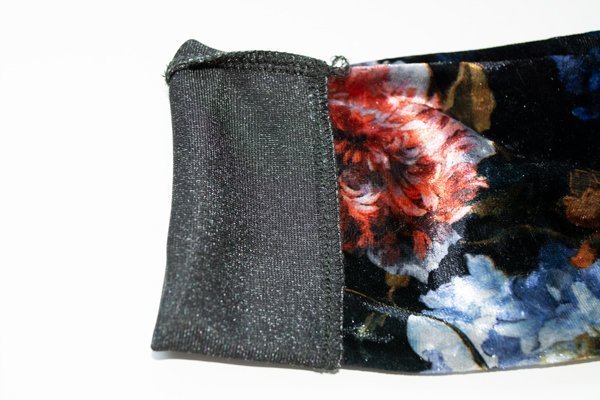
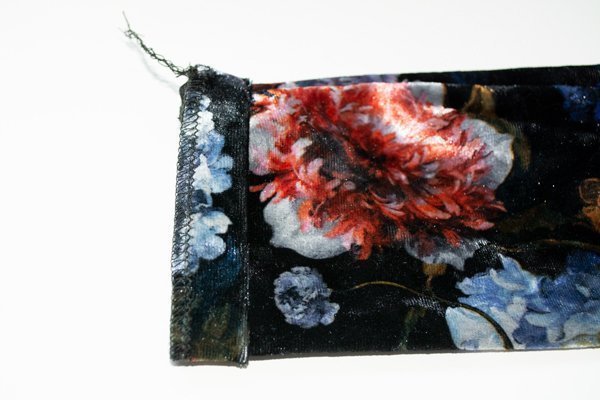
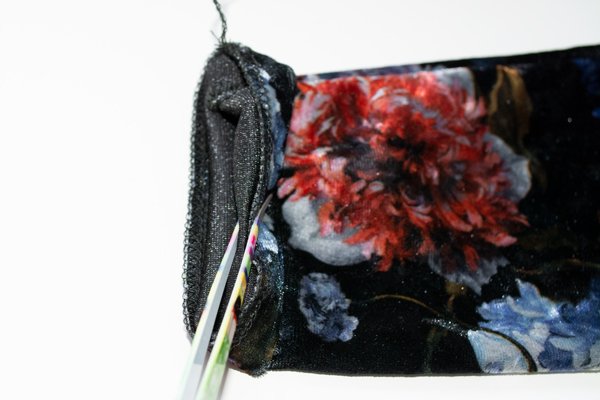
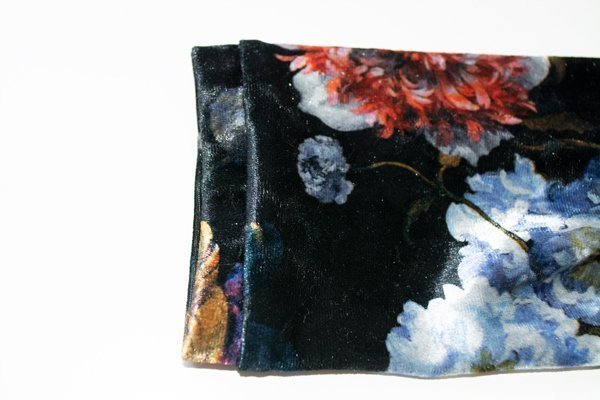
Although I wrote that I added a band to the sleeves, I actually used a slightly different method while hemming the sleeves – creating the look of a band rather than adding a real band. What you have to do is folding your sleeve edge right sides together up, before folding it in half, matching the raw edge (or in my case the unnecessarily serged edge) with the fold created in the first step. Now you can serge right along the edge, serging three layers of fabric together. The result is basically a banded sleeve, without having to cut an extra band.
All that’s left to say is: Good luck with your next velvet sewing project! I hope some of these tips will help you to achieve a perfect result!


Just found this post while searching to sew a stretch velvet dress – thanks for the tips – Your dress is beautiful!!
When I sew with stretched velvet it get’s sucked down into the bobbin area and get’s stuck and I have to pull it out forcefully. Other than using a zig zag stitch how do I make sure this doesn’t happen?
I tried to sew a skirt with stretch velvet and it absolutely would not feed evenly through the serger no matter how loose the tension on the foot was. Any ideas?