 BERNINA Corporate Blog -
It’s time for the beach … And for the beach bag…
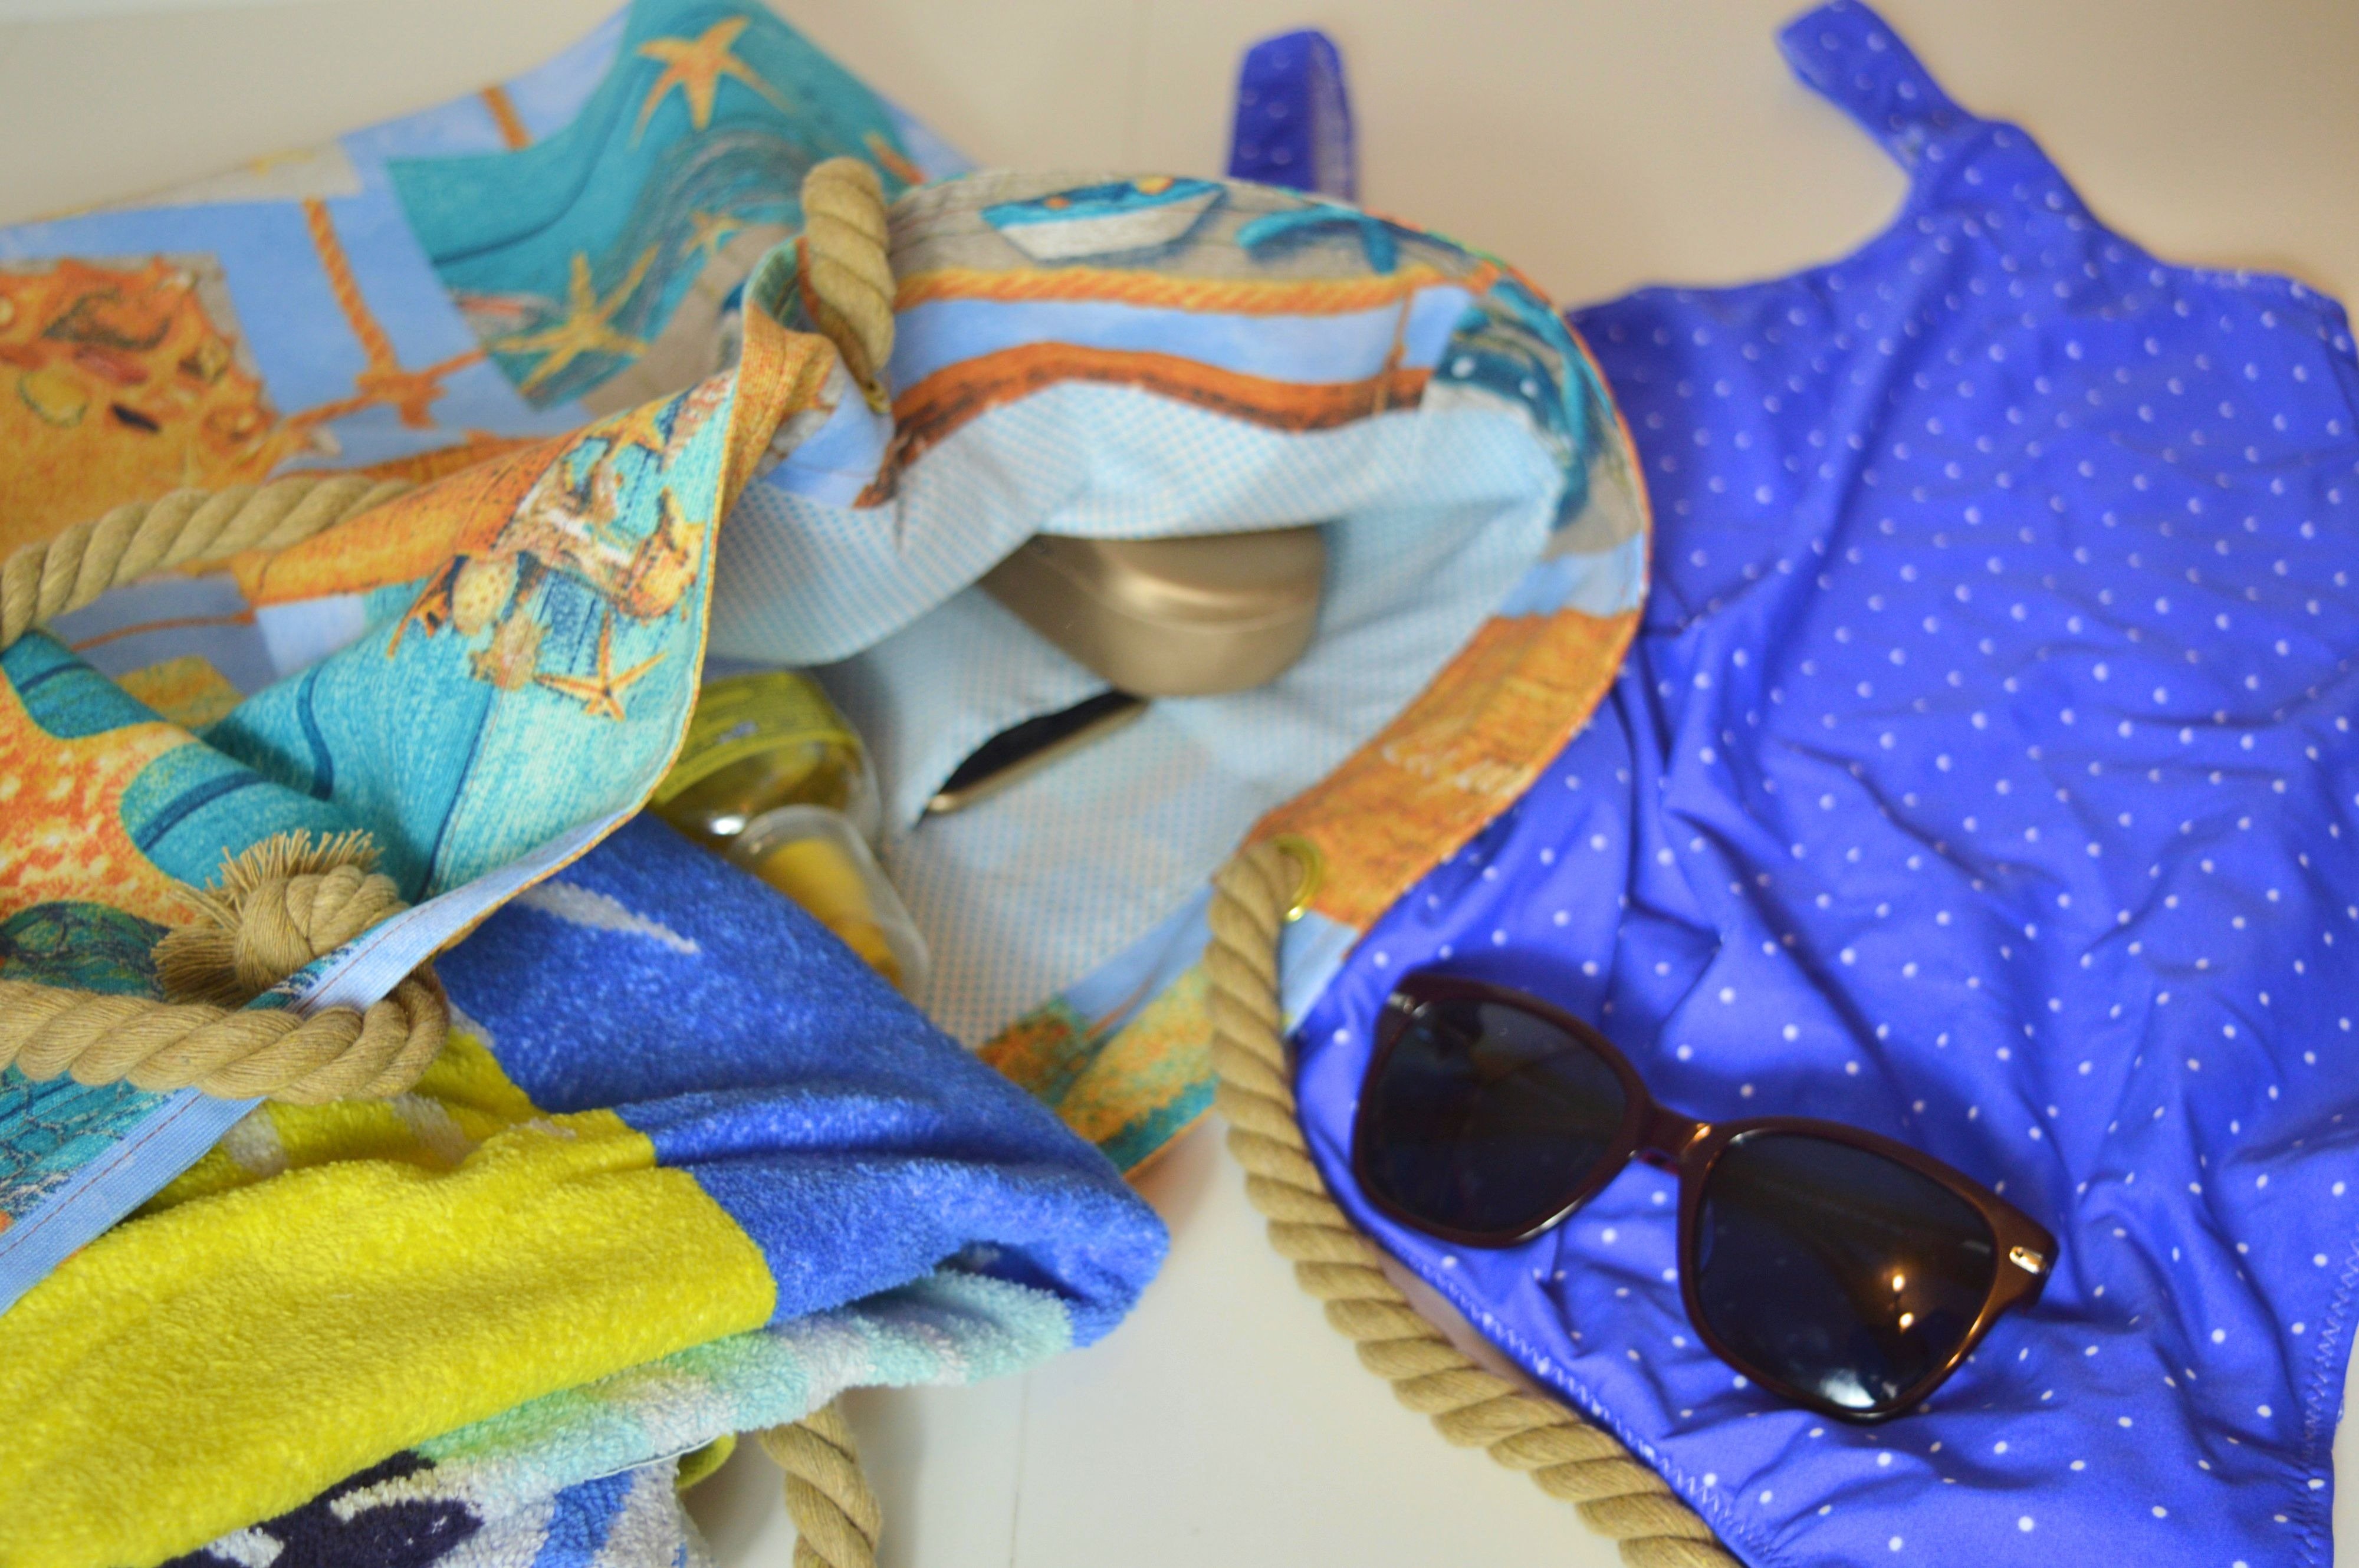
No matter how hard we try to have less stuff when we go to the beach, it does not work at all, at least not by me … A large towel, small one, sunscreens – one for the body, other for the face, sunglasses, water or some other refresher, maybe something to eat, fruit , who likes to read or similar – a book, a crossword or a sudoku, something to play with – a ball, …, and if you have a child or children – a lot more stuff …
For all that things, you need a bag, and it has to be big.
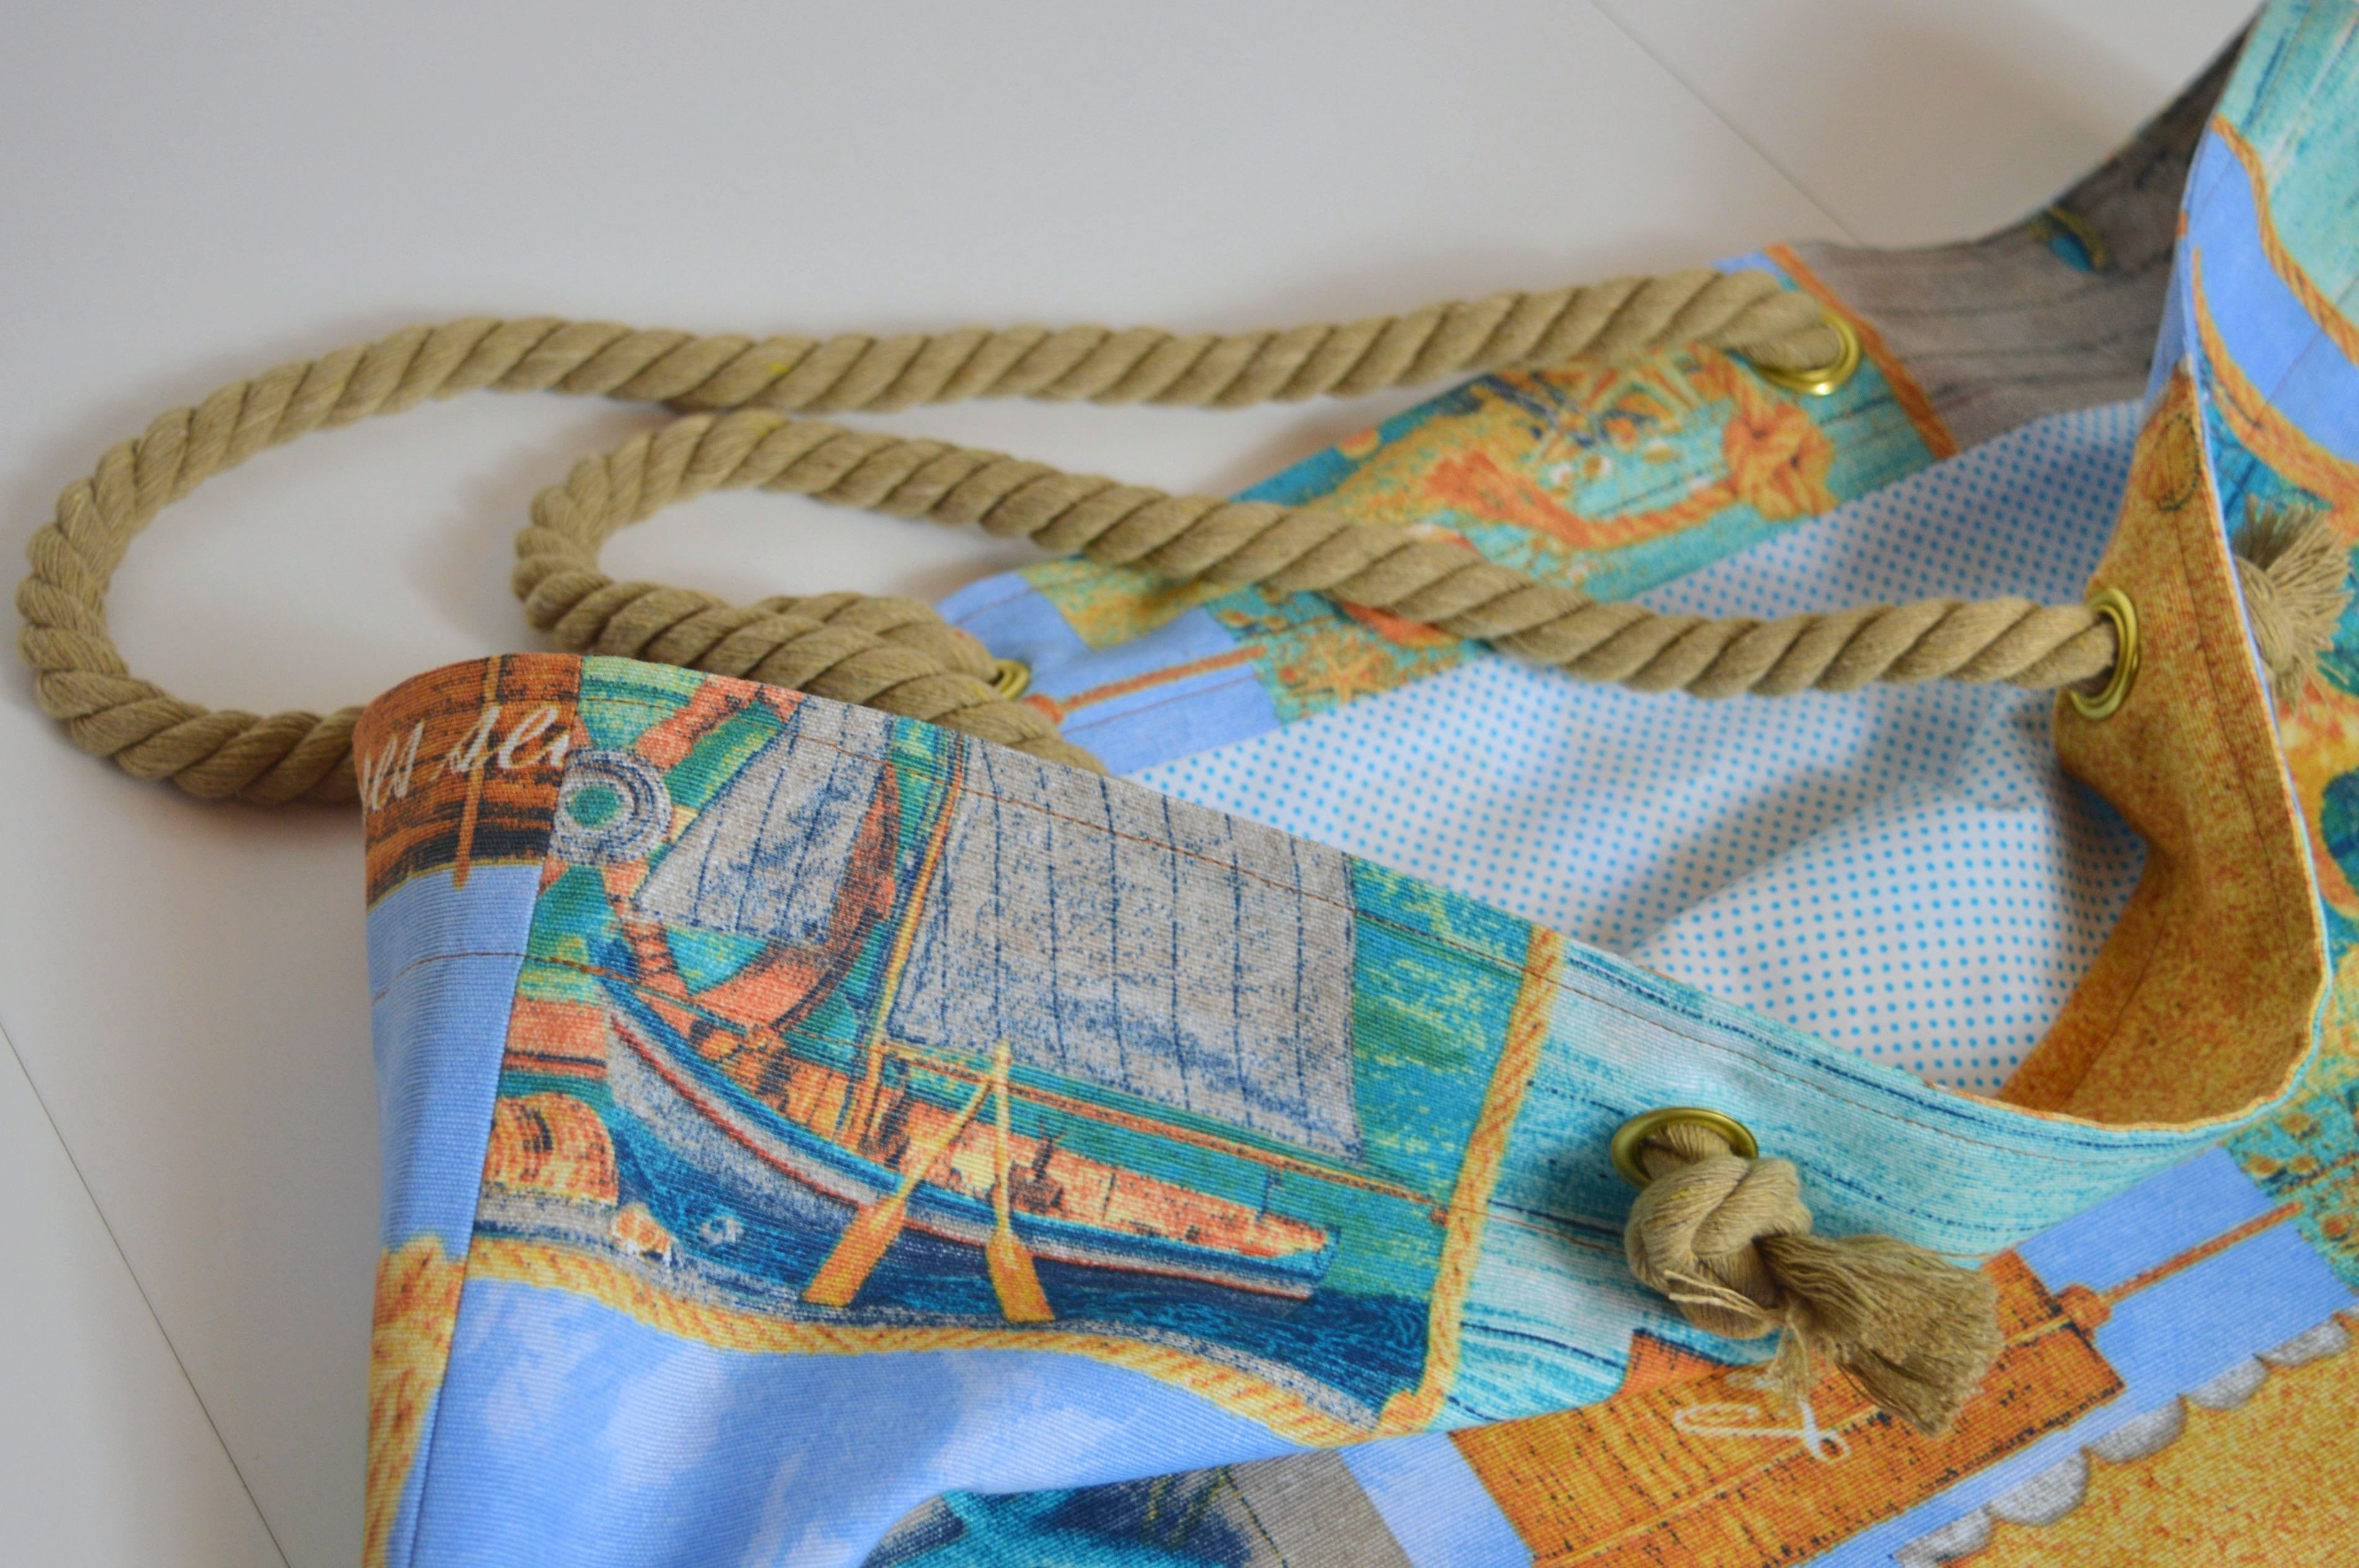
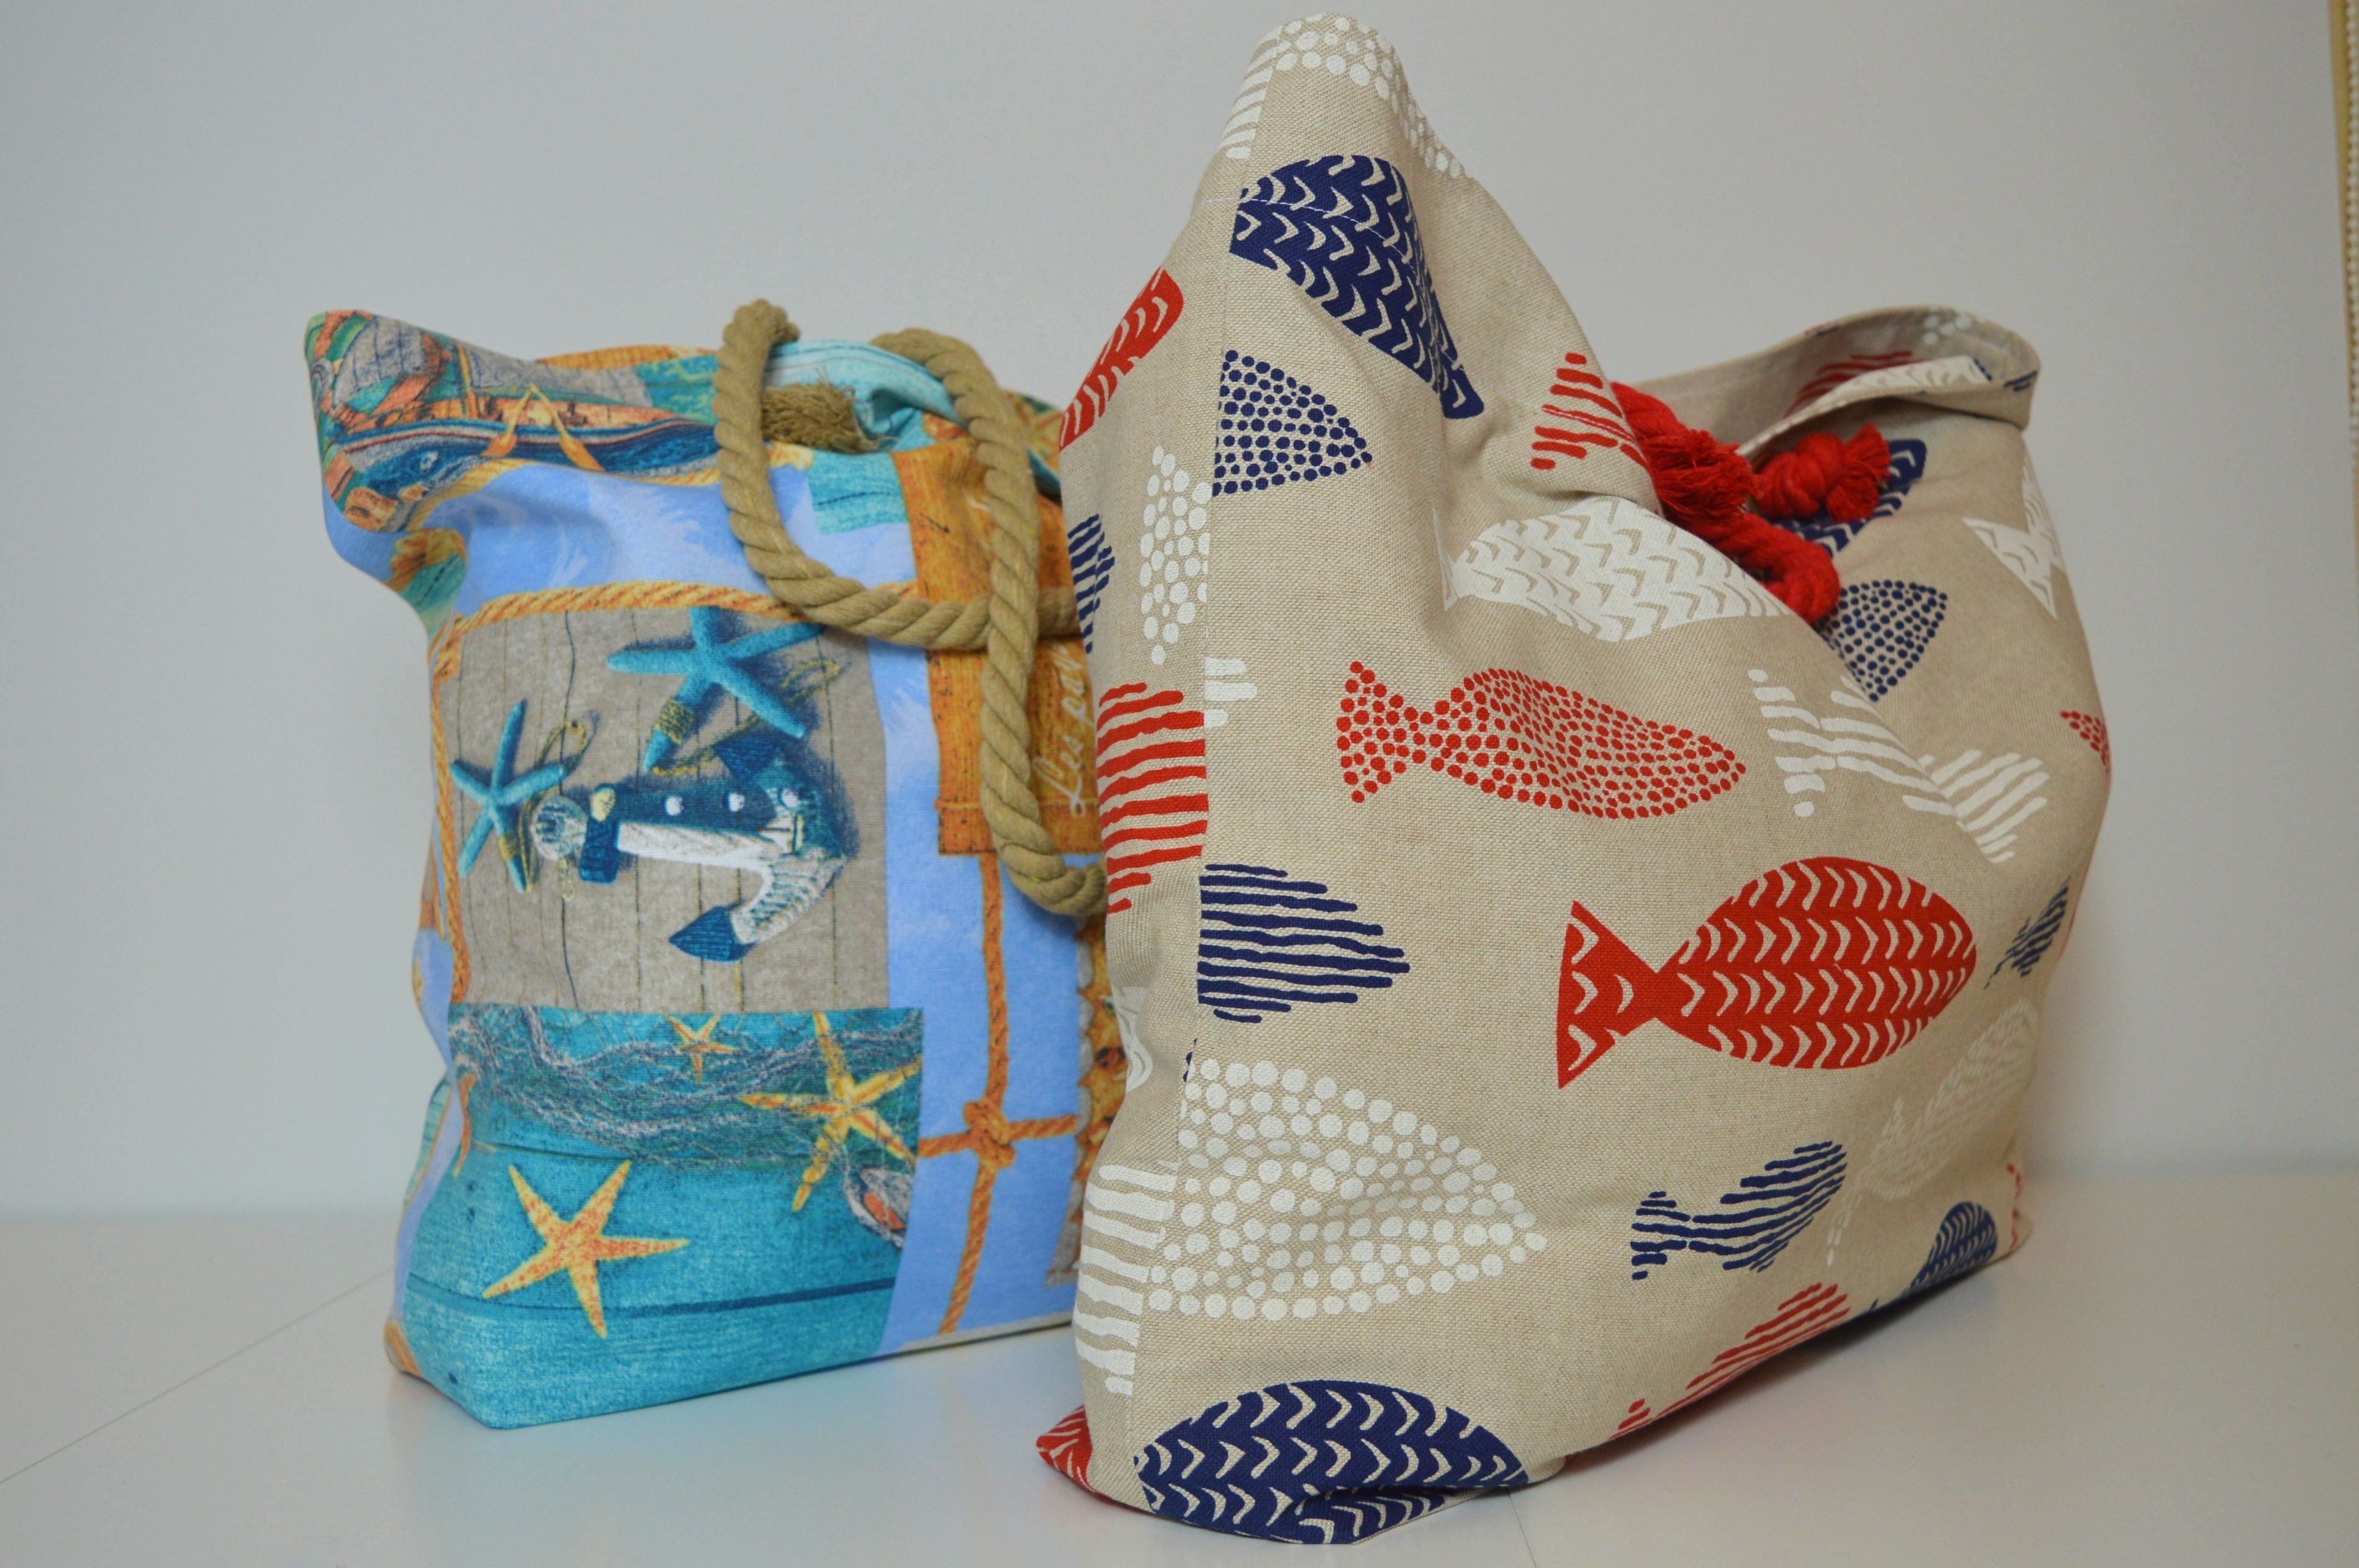
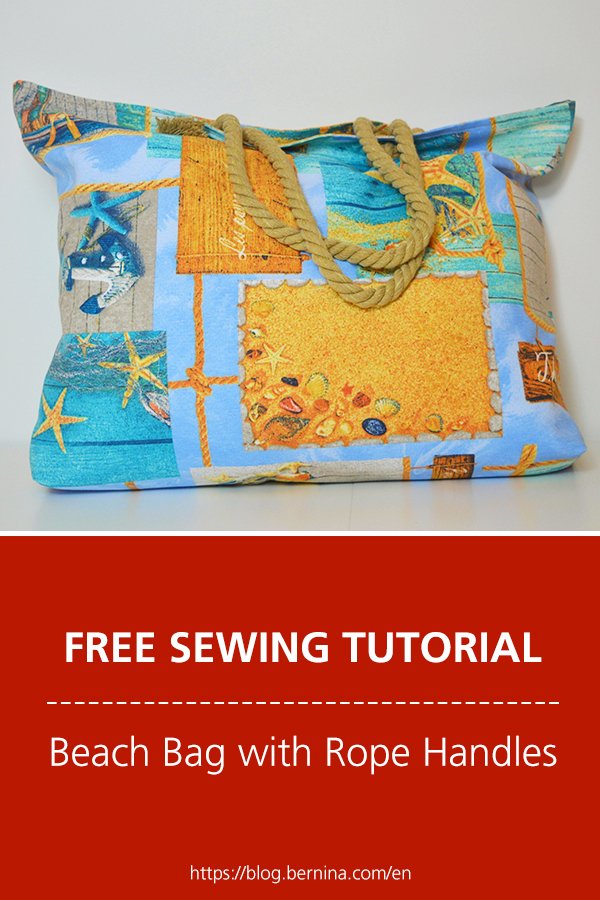
That’s why I sewed this beach bag with rope handles and now I share with you the pattern and sewing process.
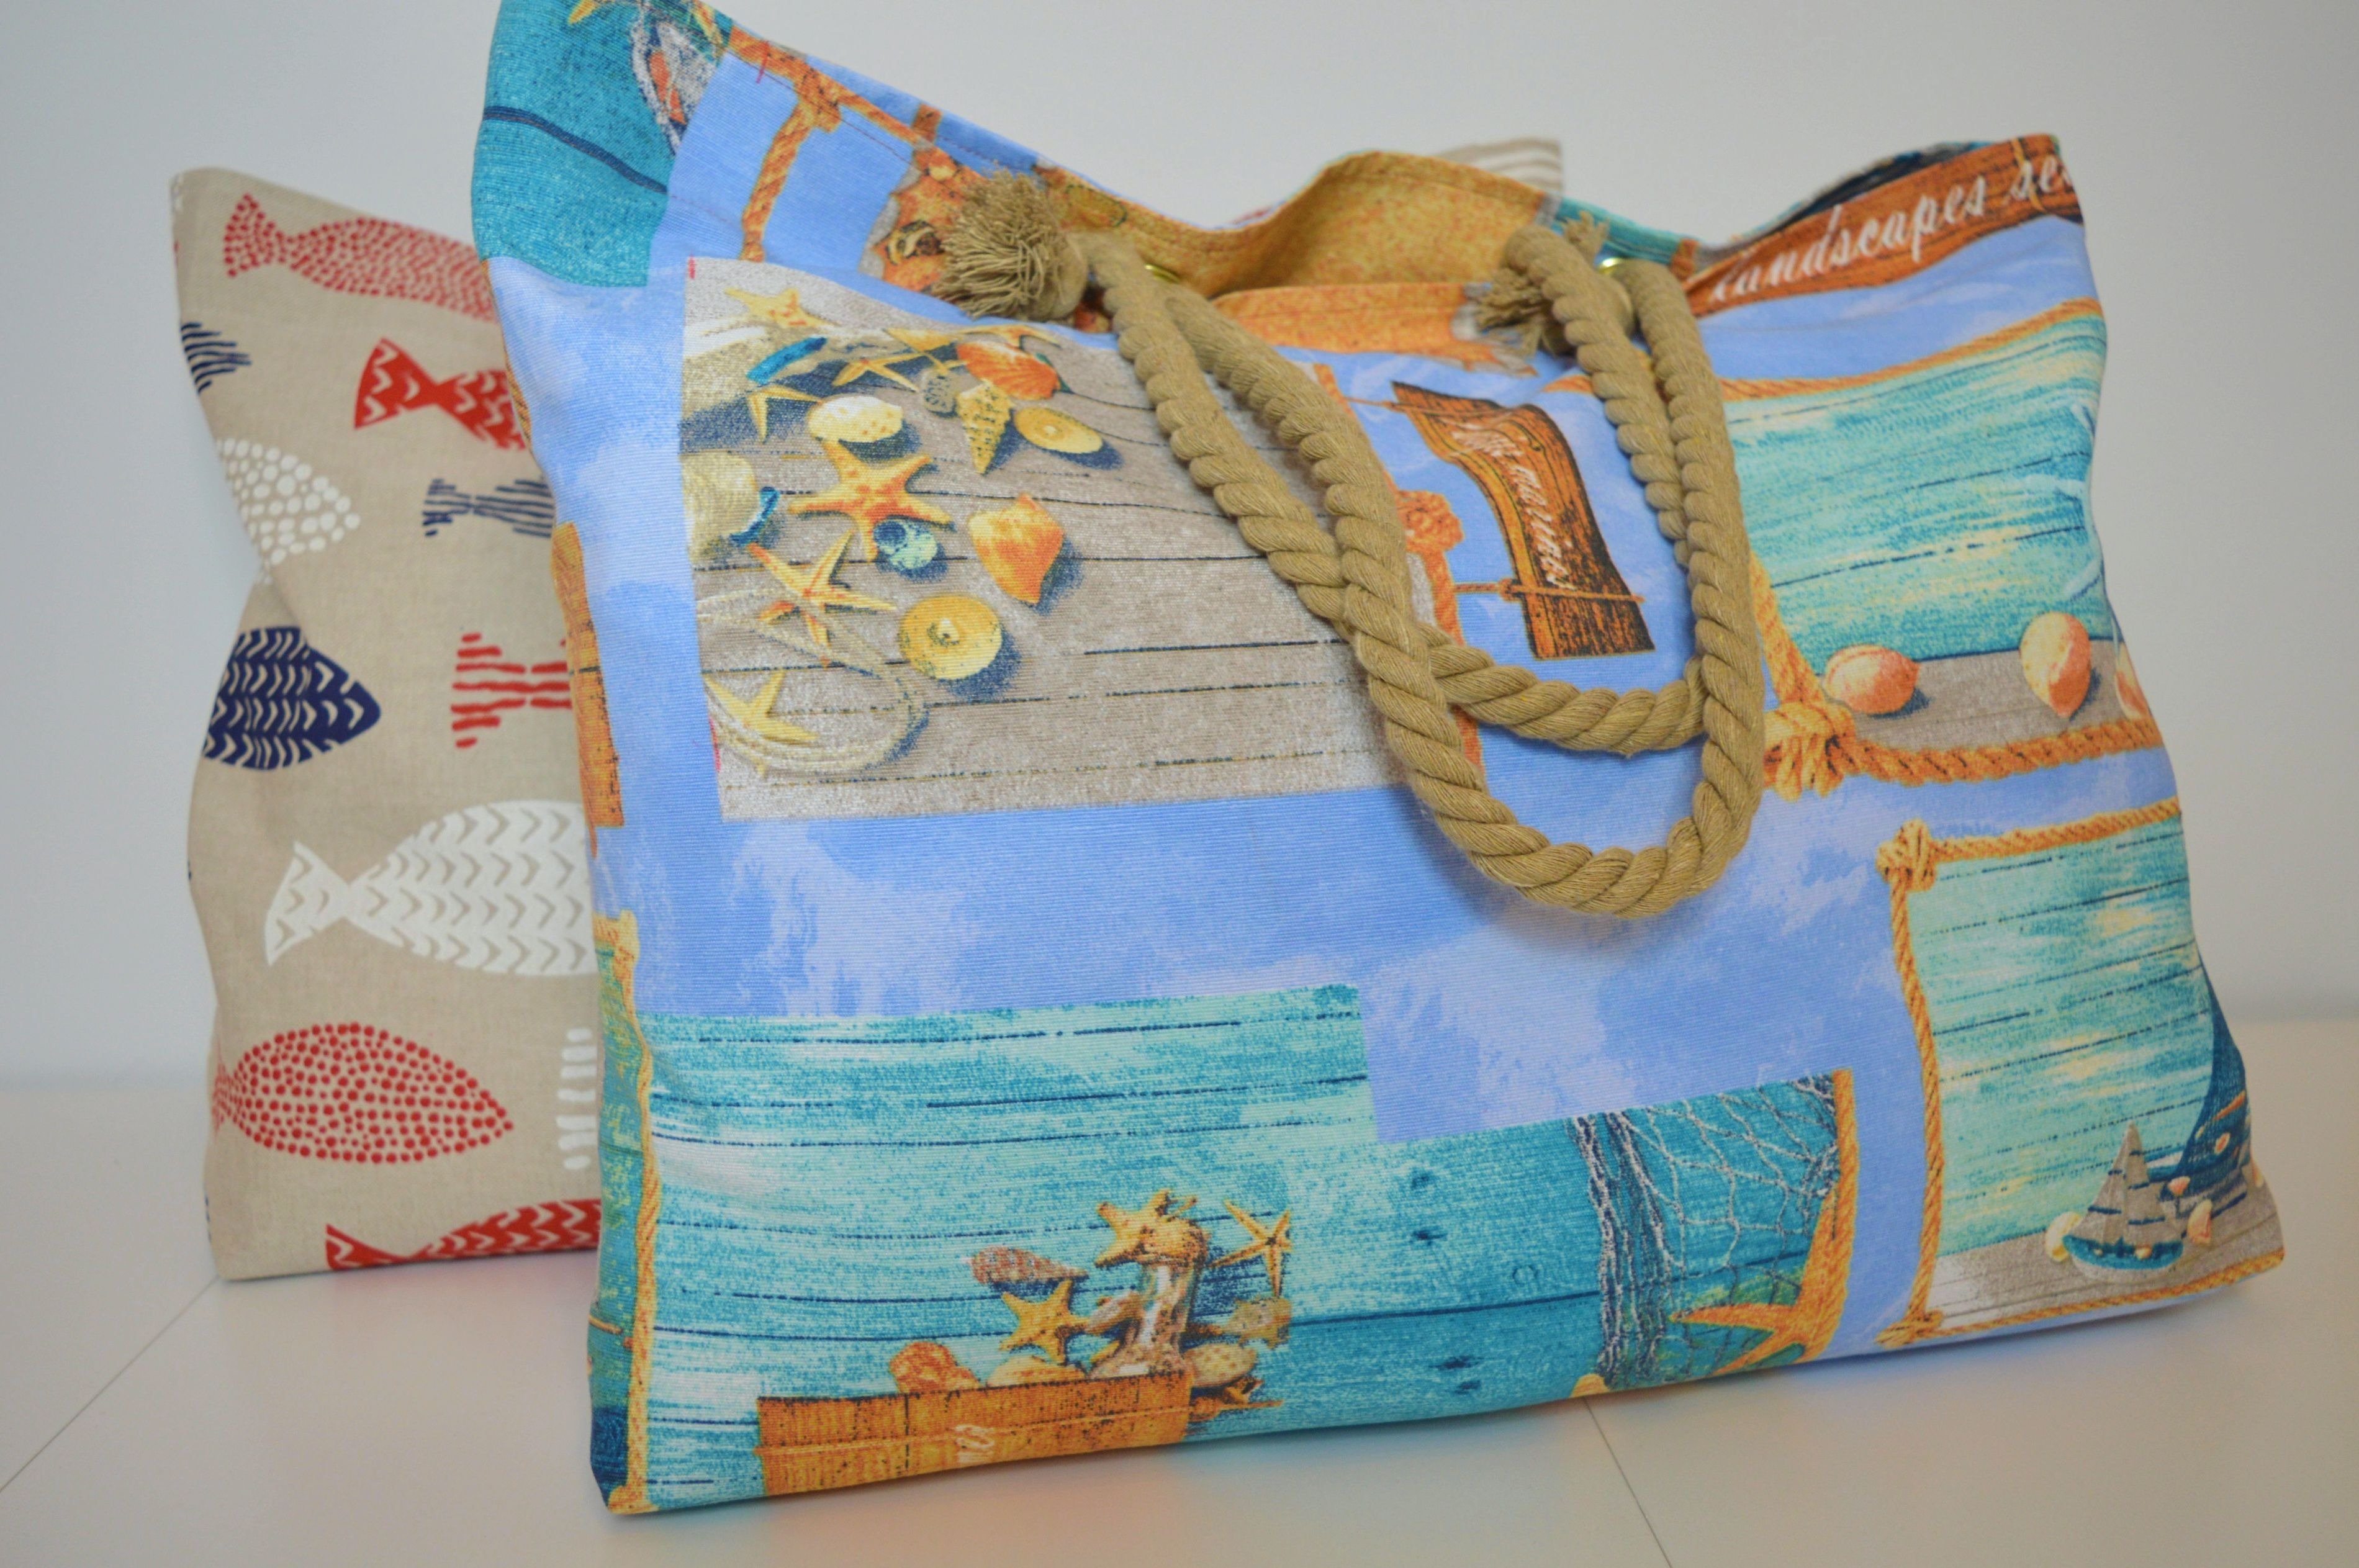
Beach Bag with Rope Handles
MATERIAL for one bag:
- 0.65 m fabric for exterior (the width of the fabric I used was 140 cm, but the width of 120 cm is sufficient)
- 0.45 m fabric for lining (width 140 cm)
- 1.50 m twisted cotton rope
- 4 eyelets with washers (14 mm diameter)
- thread in the matching color

The finished size will be 45 x 35 cm with the bottom of 10 cm. Handles are 25 cm.
As for fabric for the exterior, it is best to choose the appropriate fabric for the bags, and my recommendation would certainly be a canvas and outdoor fabric, thicker cotton fabric, linen or denim. I used a decorative cotton fabric with a print.
For the lining, I used a cotton quilting fabric, also with the print.
Eyelets with washers are from Prym 14 mm in diameter, in gold, but can be found in other variants so you can choose the right color for your fabric.
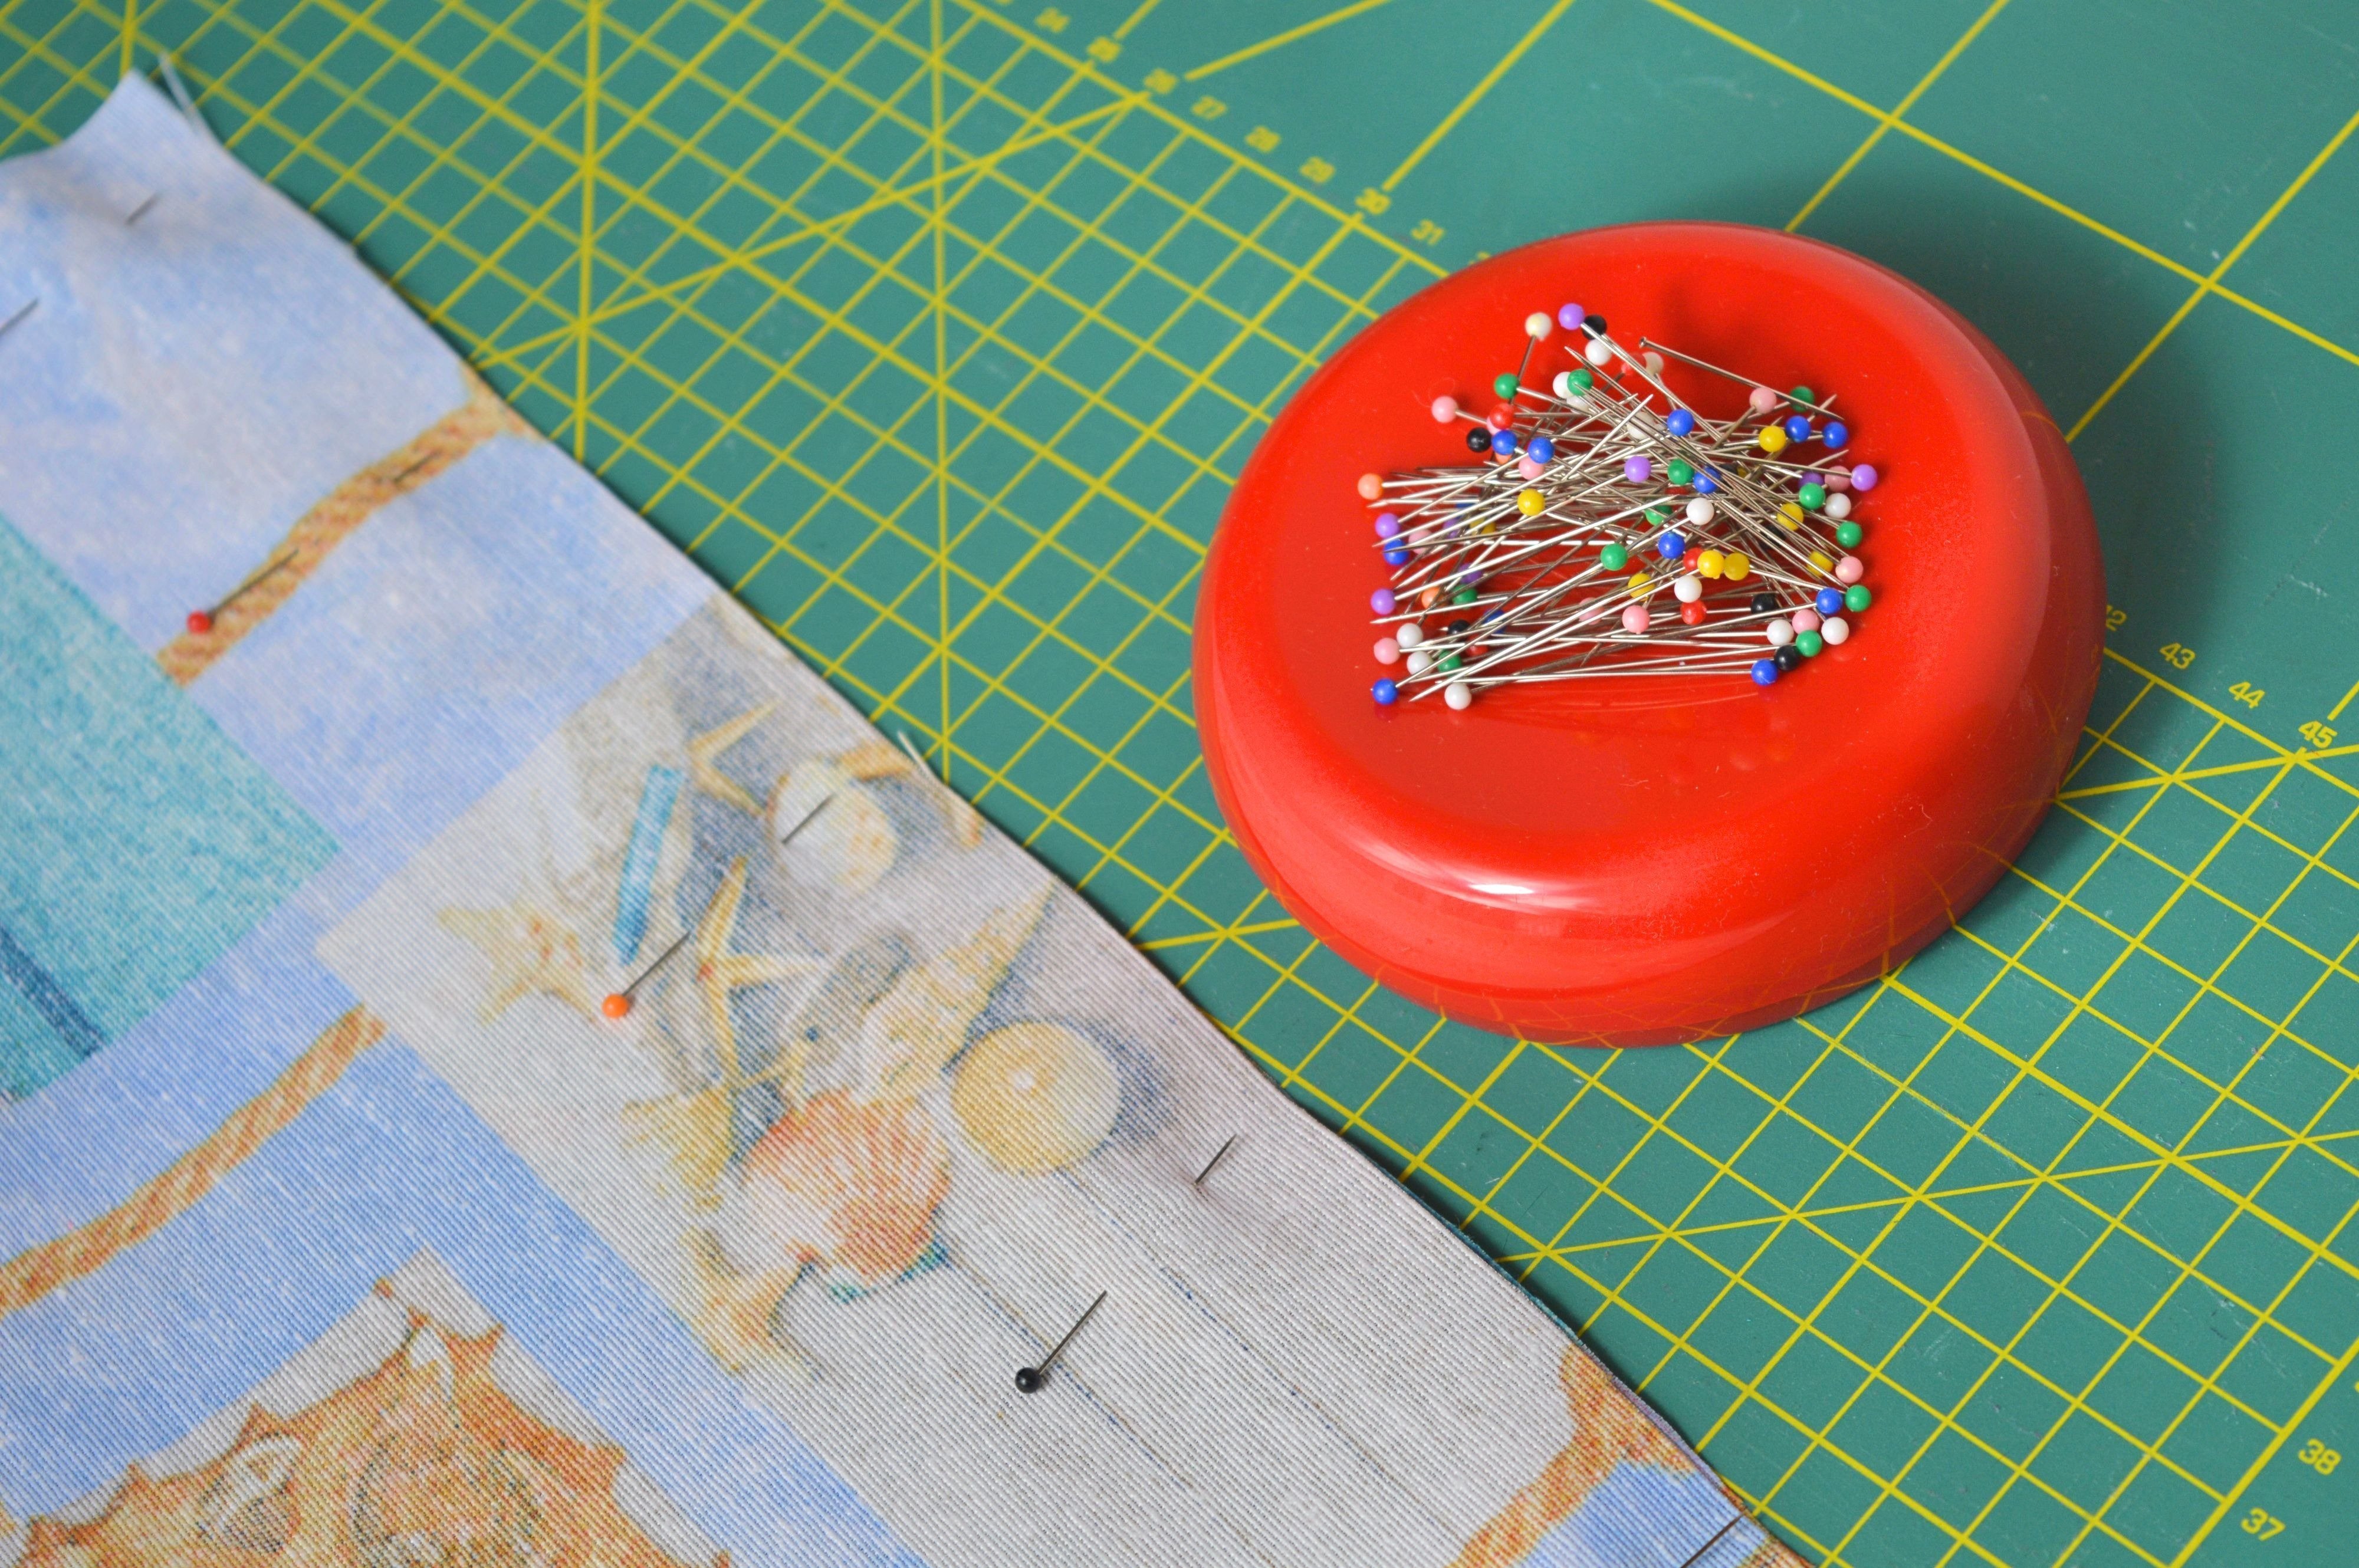
- You still need: Sewing machine, pins, needles, scissors, rotary cutter, tailor’s chalk and hammer.
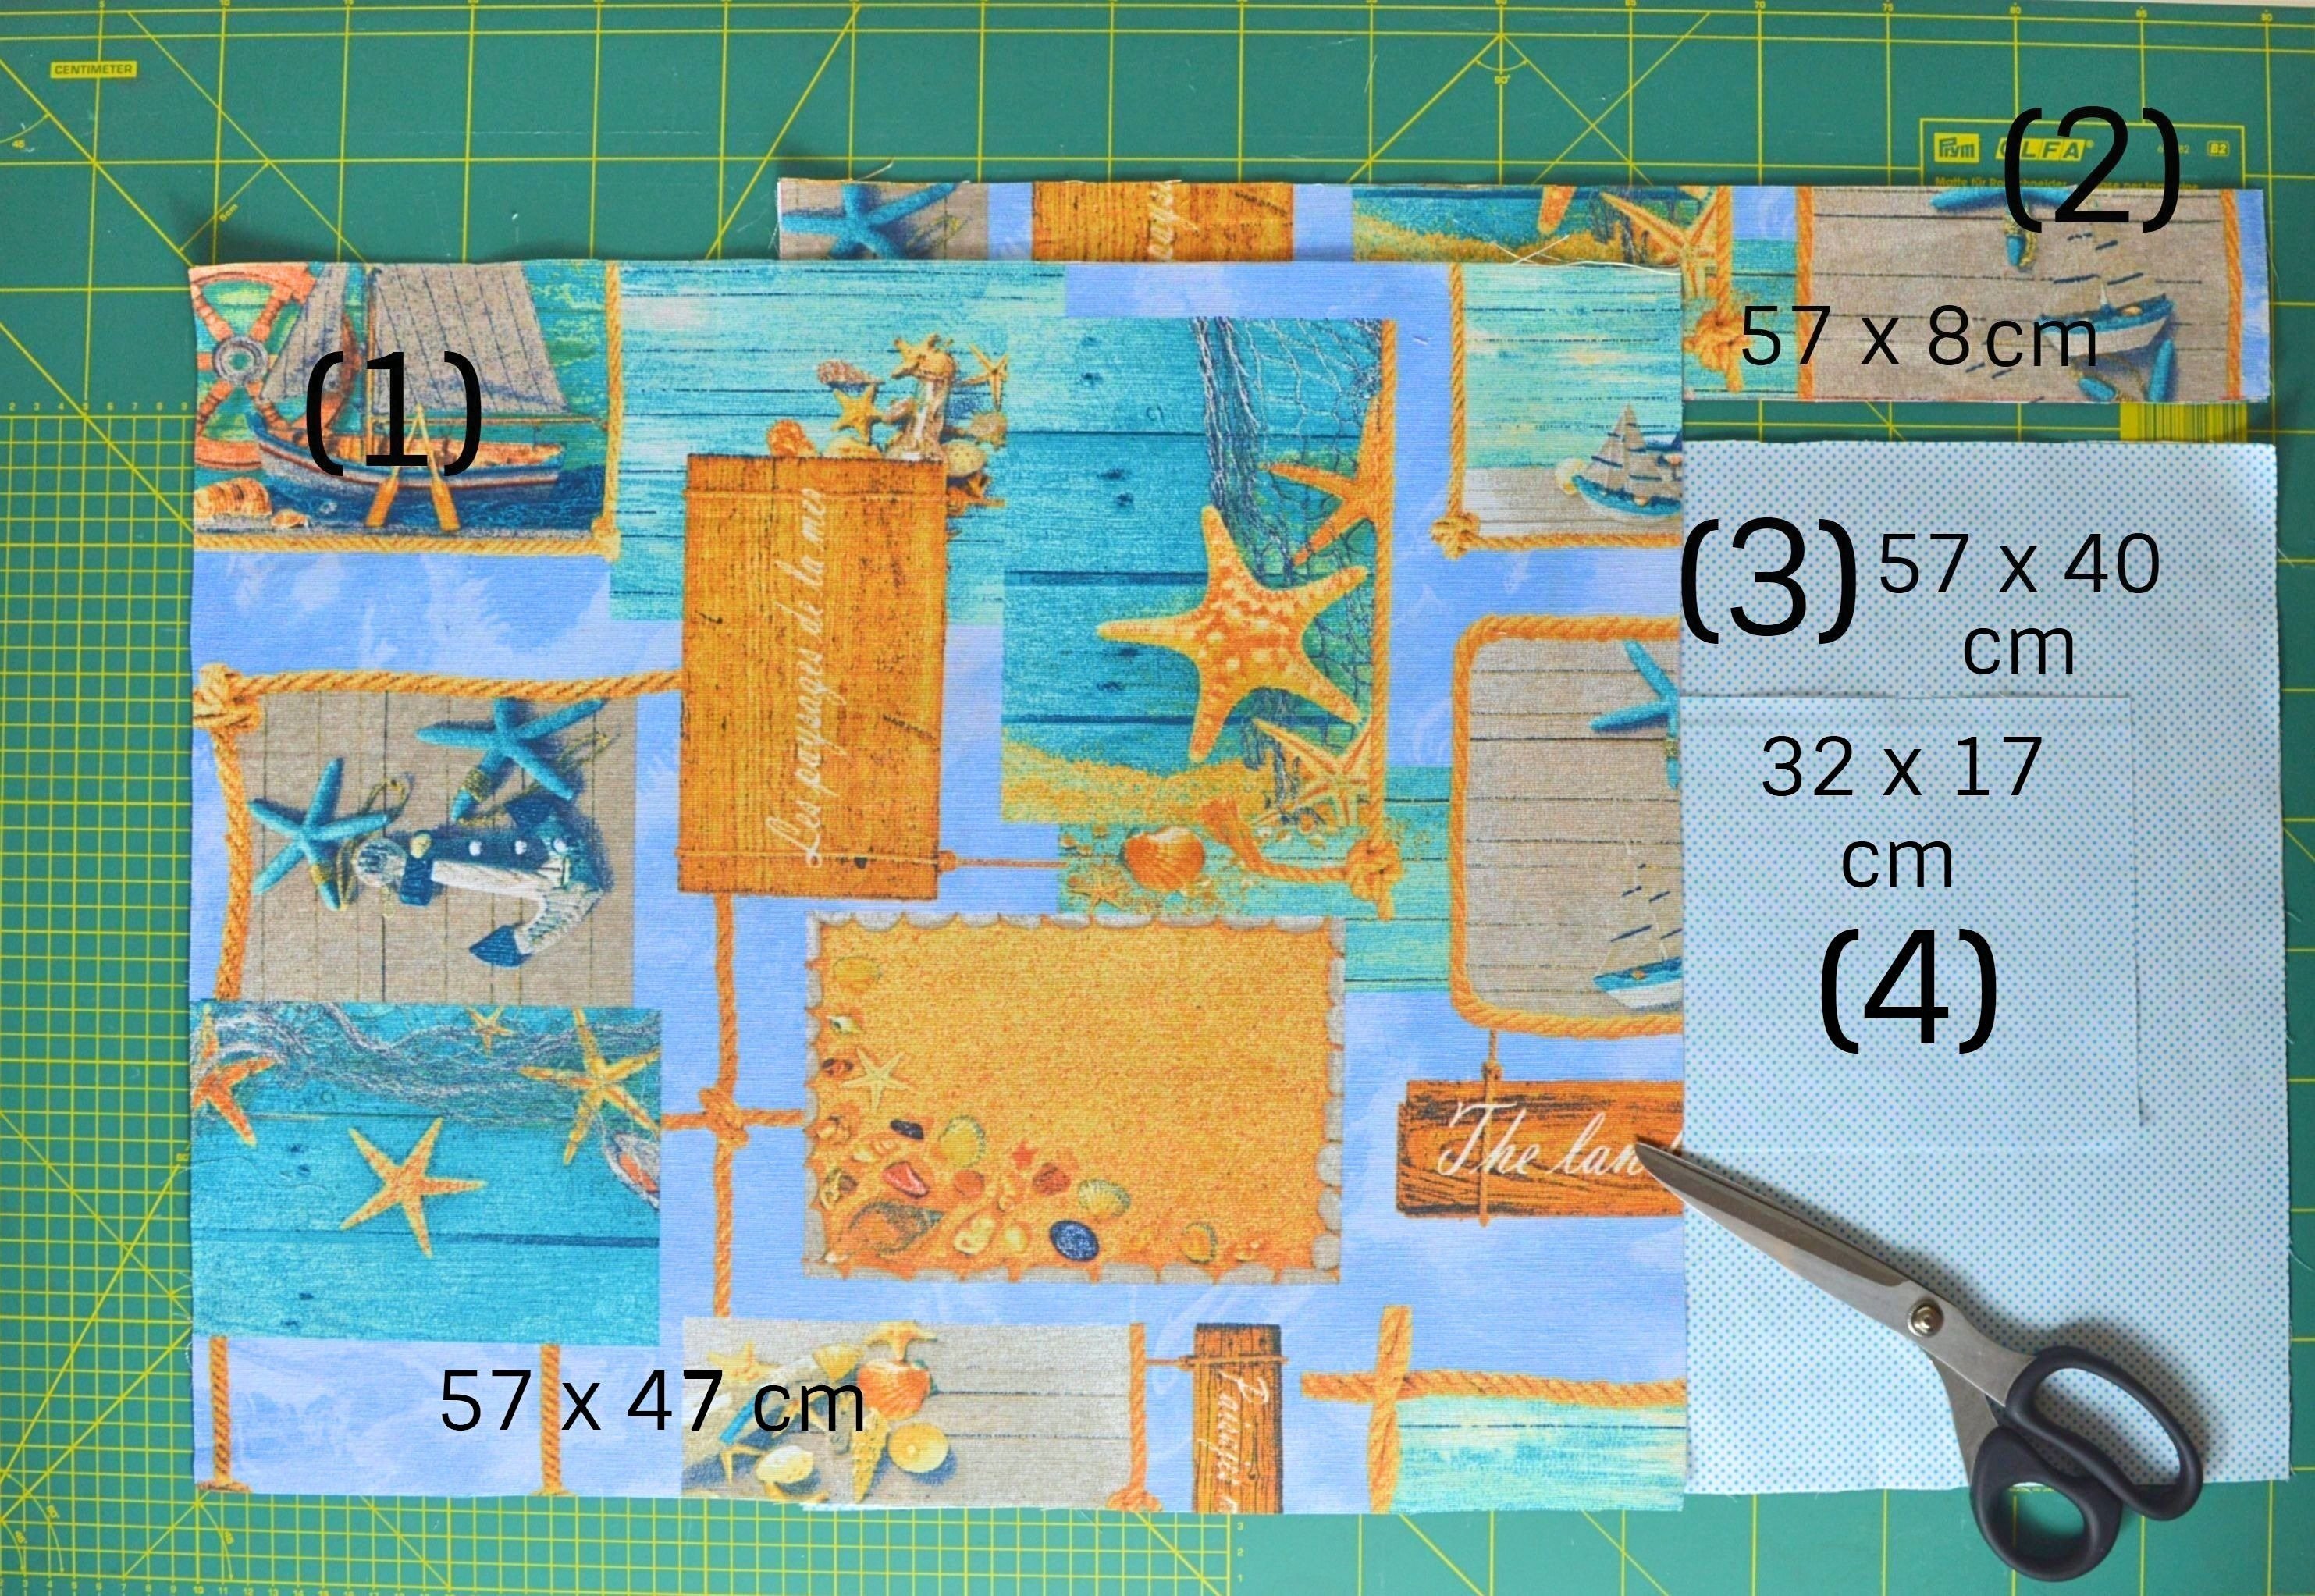
CUTTING MEASUREMENTS:
- exterior – (1) 2 pieces 57 x 47 cm (for the shell)
(2) 2 pieces 57 x 8 cm (for the upper edge of the inside, from shell fabric)
- interior – (3) 2 pieces 57 x 40 cm from lining fabric
- pockets – (4) from the rest of the lining, the possibilities are all measurements in the range 37 x 25 cm (including seam allowances) so you can decide which size you want. I was guided by the size, more accurate height, of my mobile phone so it’s a pocket in this case 33 x 17 cm. I’ve only made one pocket on one side of the interior, but you can decide how many pockets you want to sew and where.
!!! The seam allowances are 1 cm and included in previously given measurements, except for the top edge of the pocket with 2 cm seam allowance.
First of all, cut out pattern pieces according to the measurements, using scissors or rotary cutter.
Pattern
At shell and lining pieces, cut 5 x 5 cm square from each bottom corner for the forming the bottom of the bag, what we’ll see later.
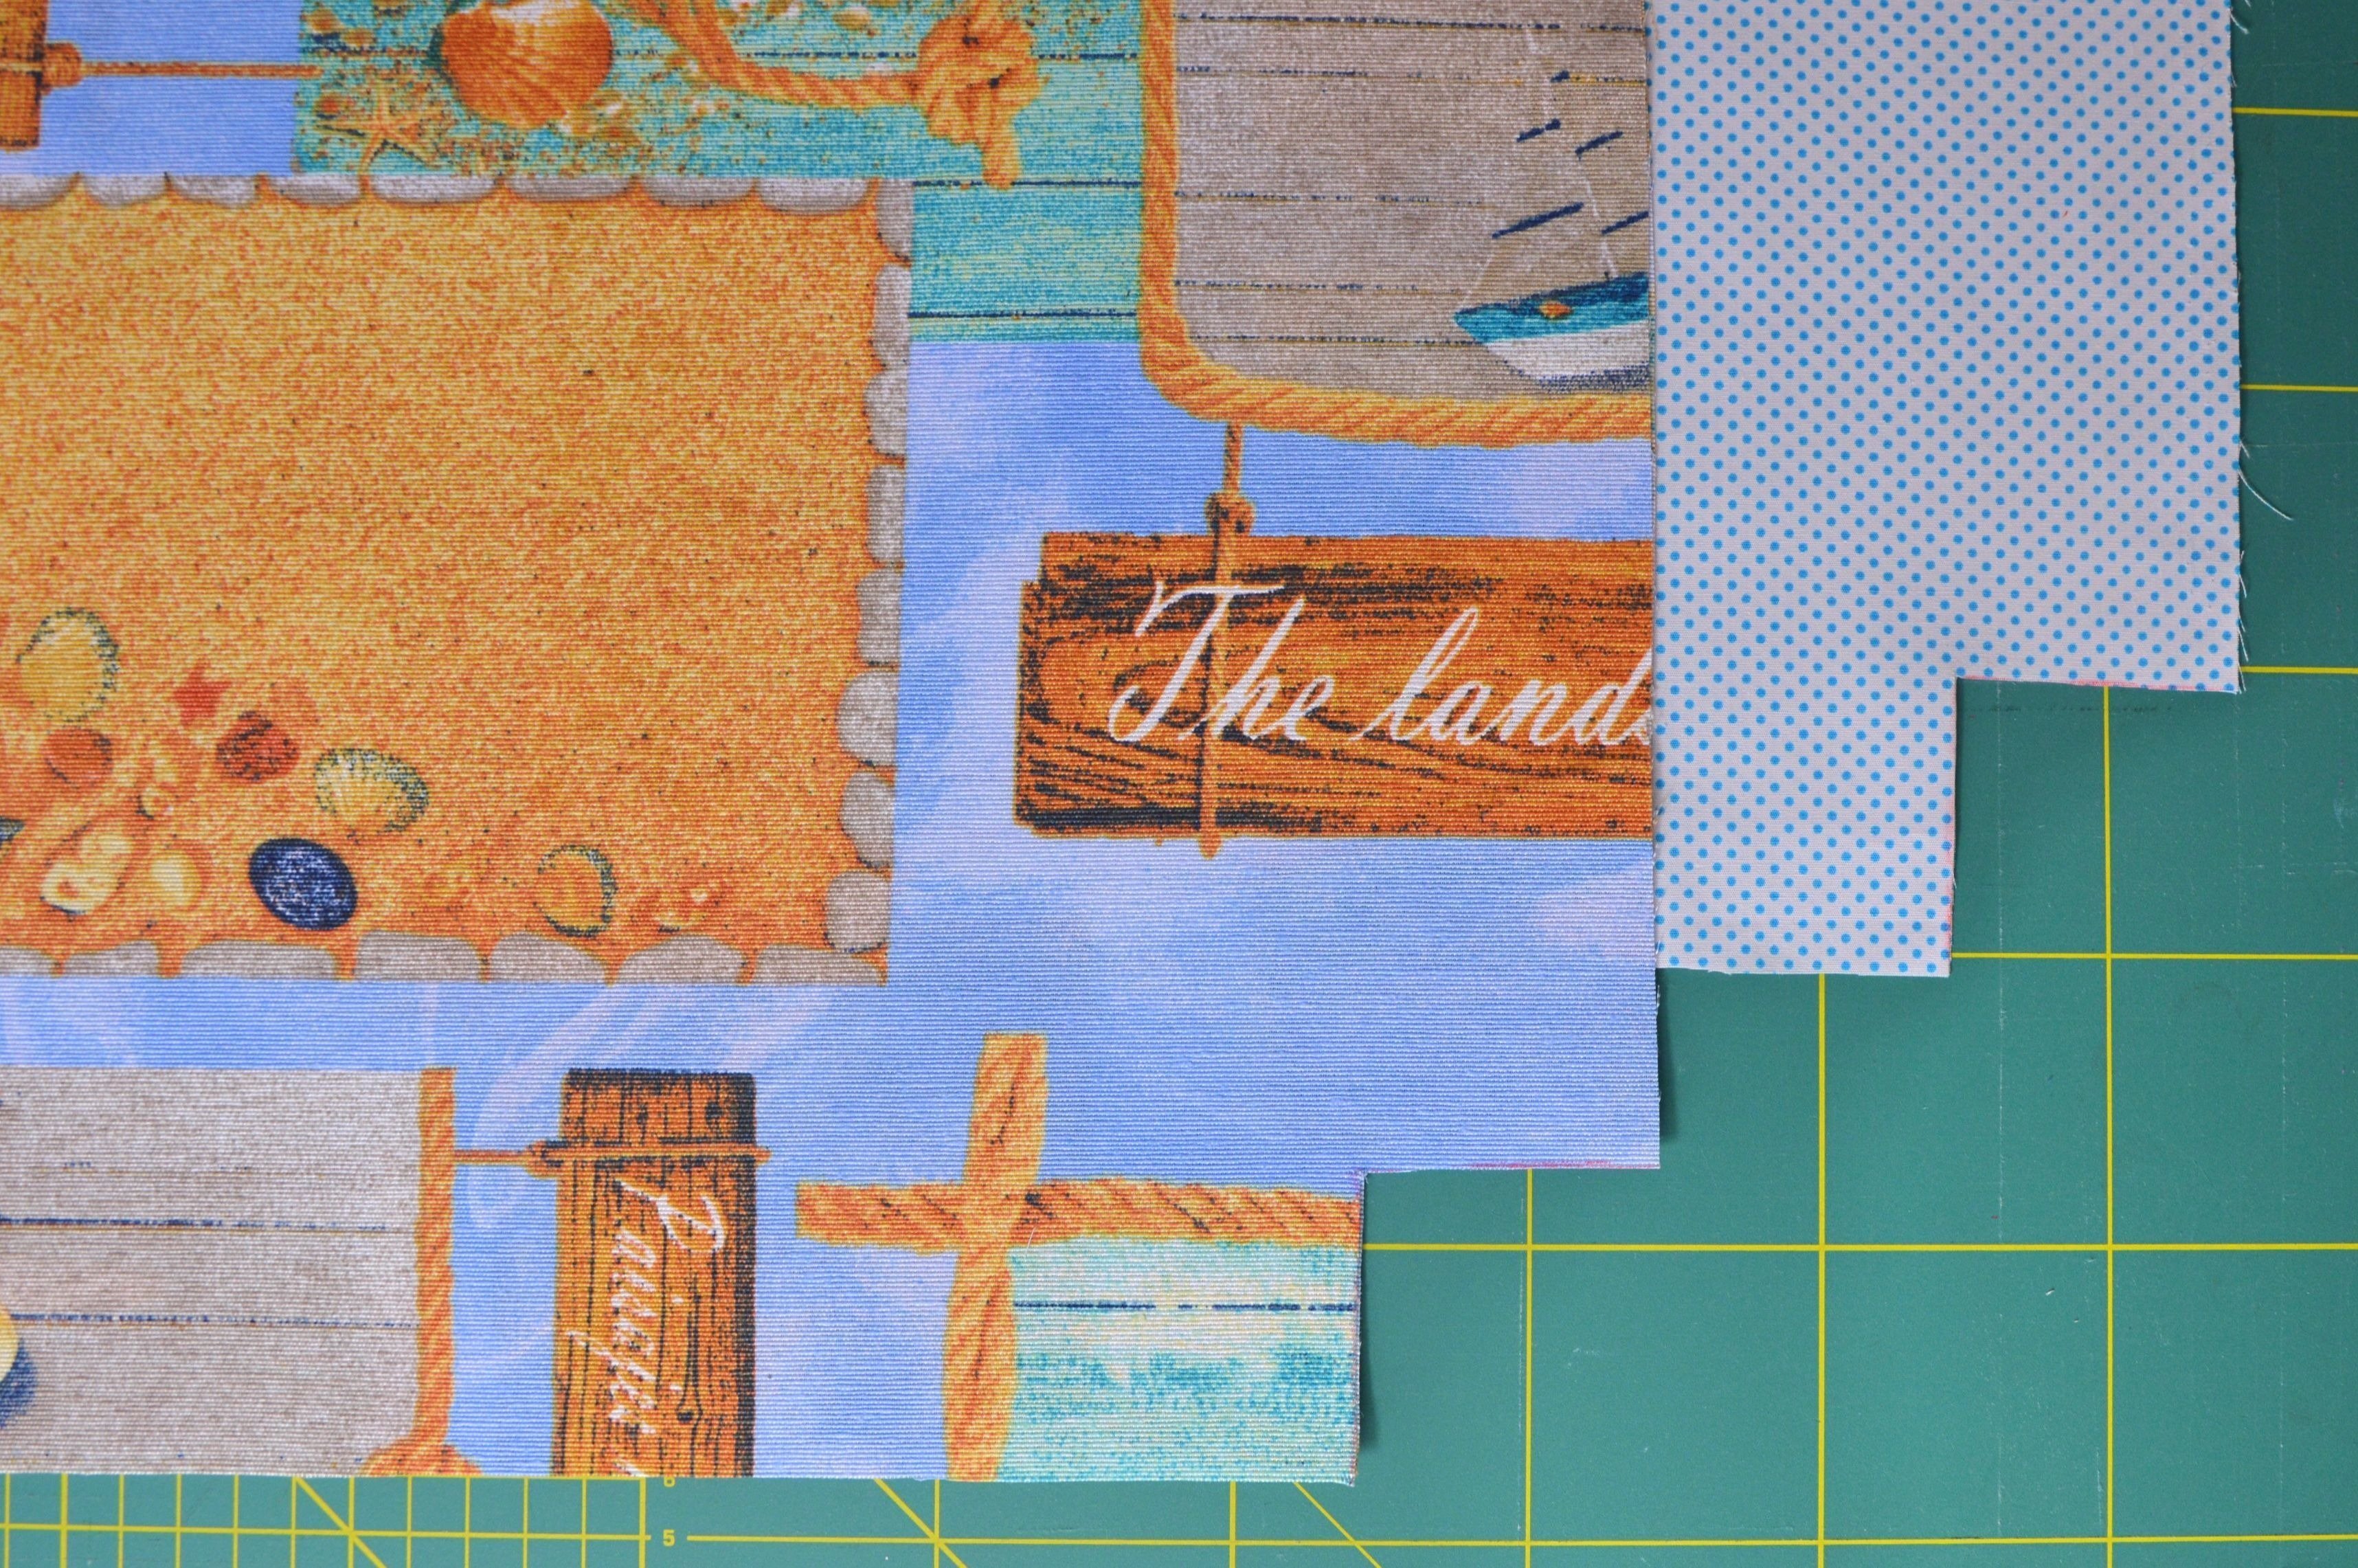
Bottom Corners
The easiest way to do this is to cut a square 5 x 5 cm of paper and use it as a model to get the most accurate cut these parts.
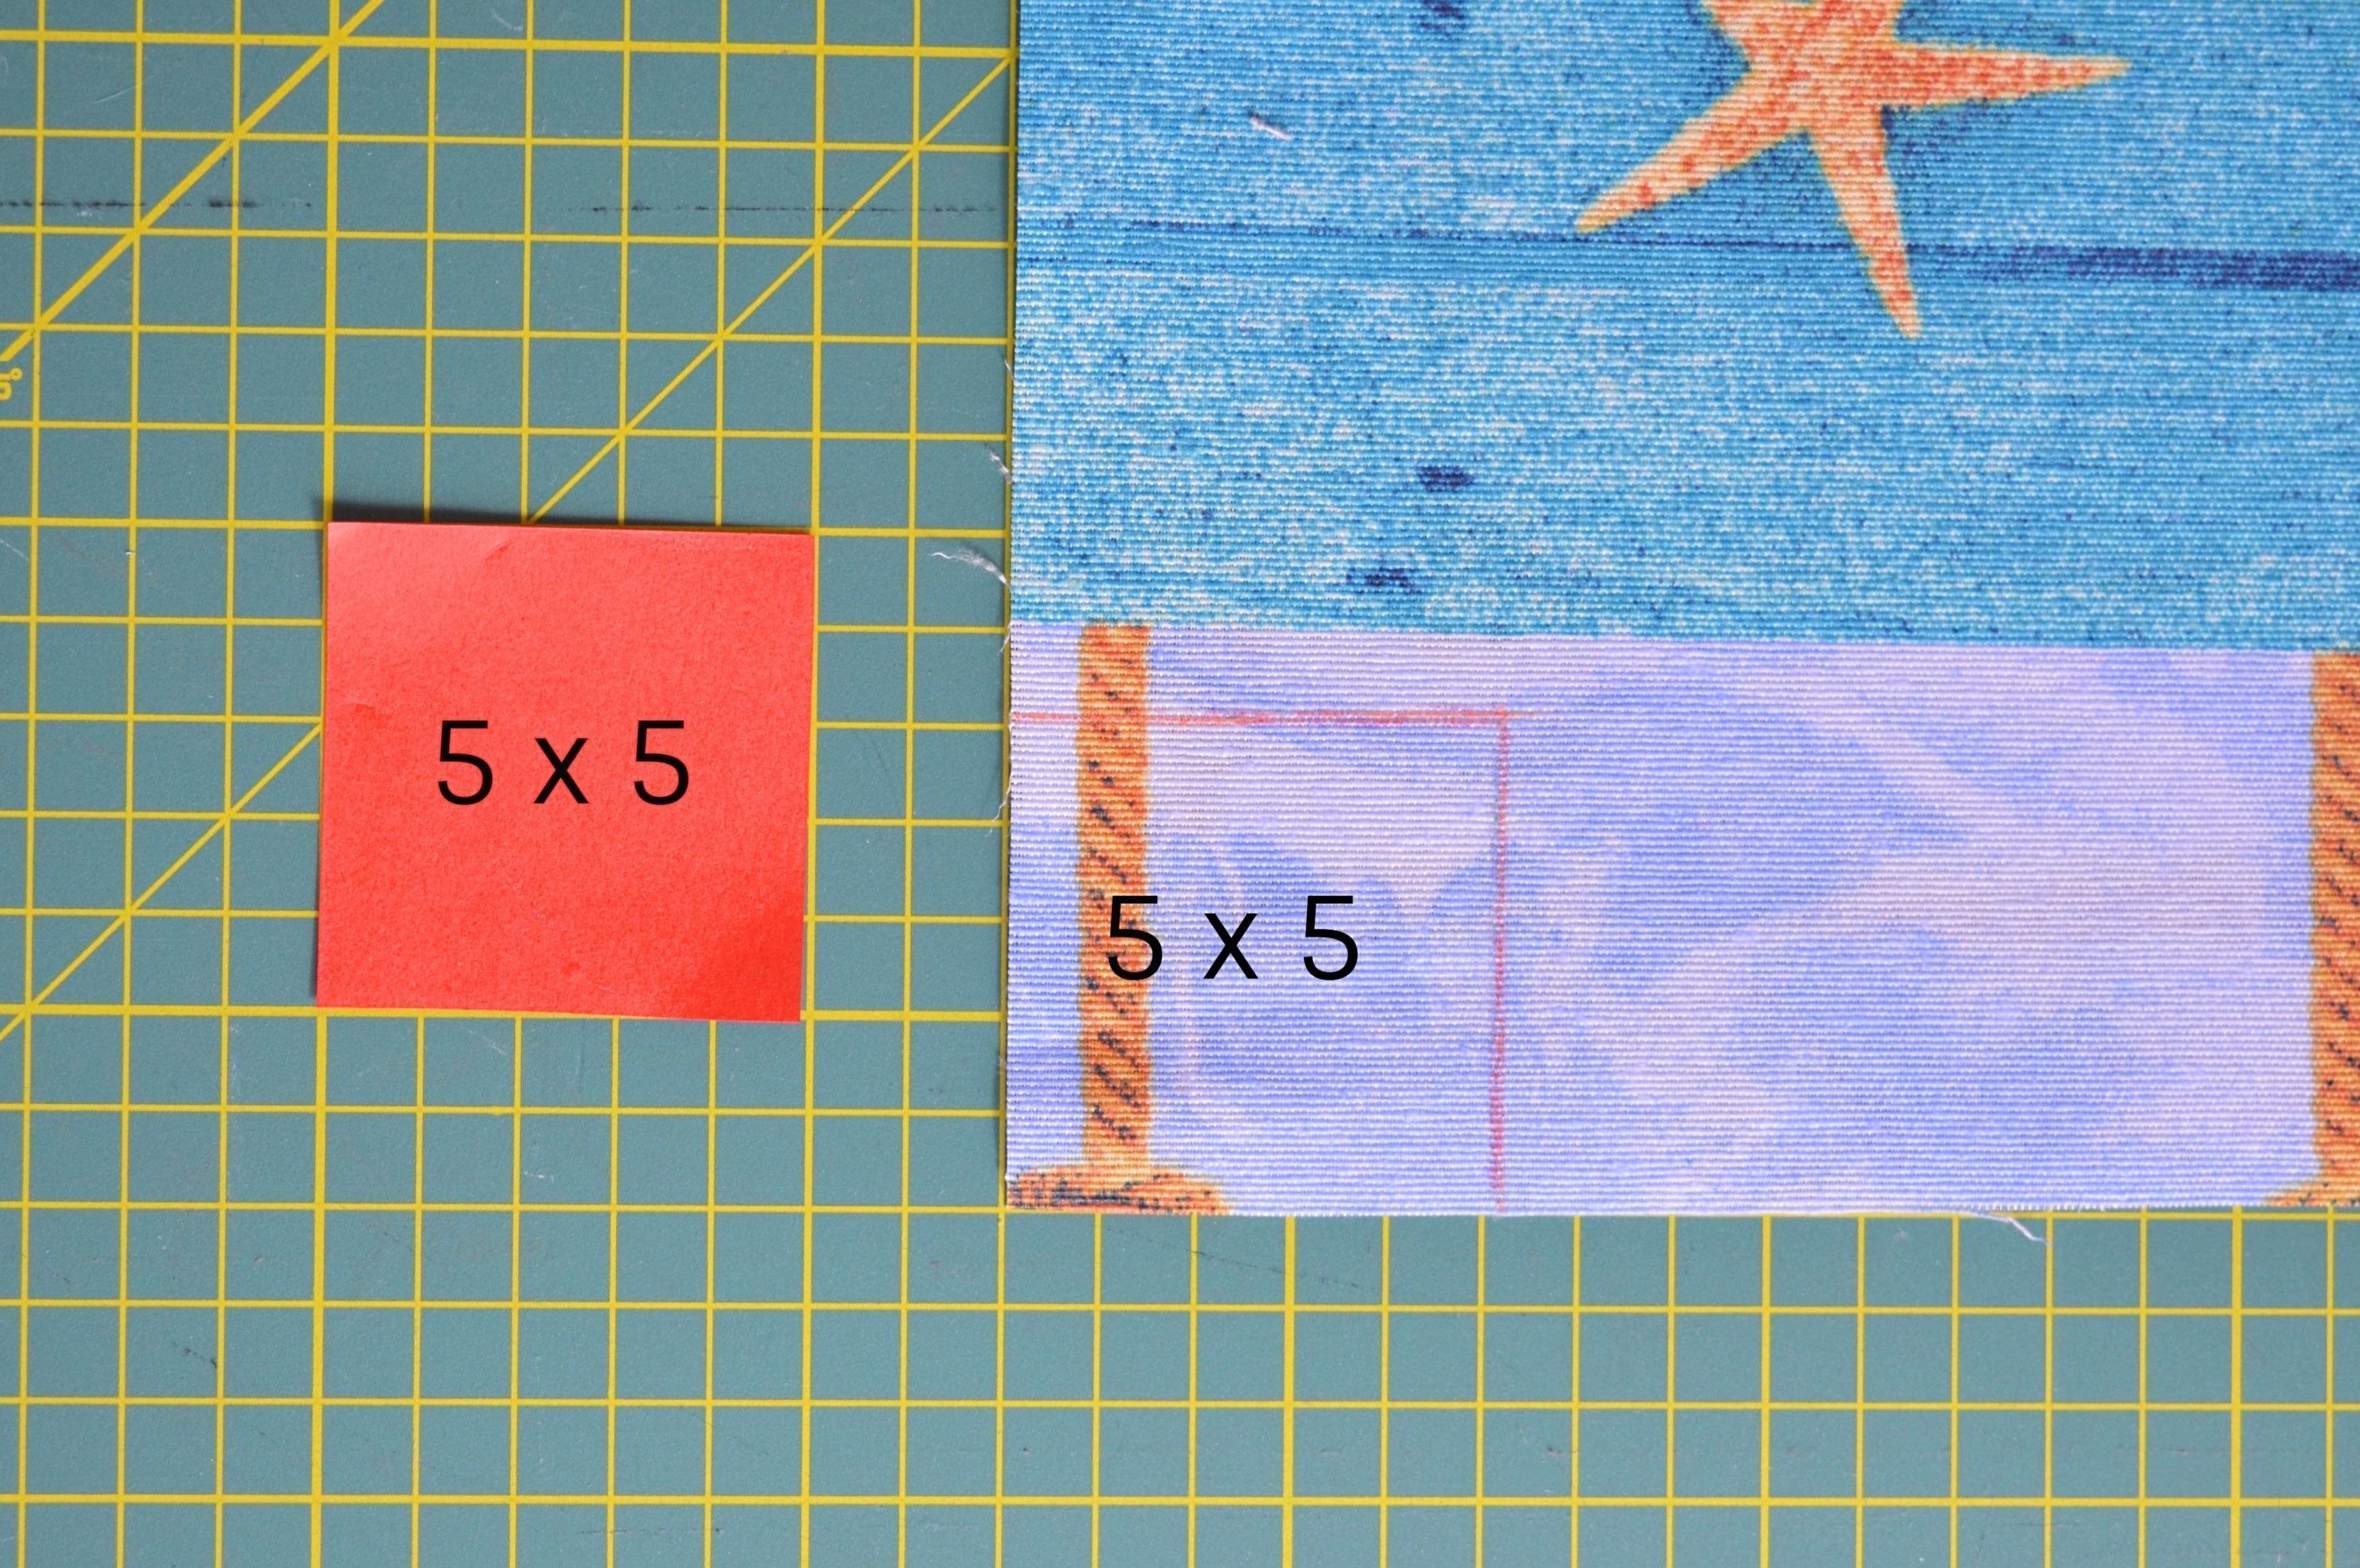
Square 5×5 cm
When you finished with the cut out of the given pieces, you can start with the sewing.
Also, do the exterior of the bag first.
Connect the pieces for the exterior, putting them together, the right side of the fabric of one piece on the right side of another piece and sew the bottom seam.
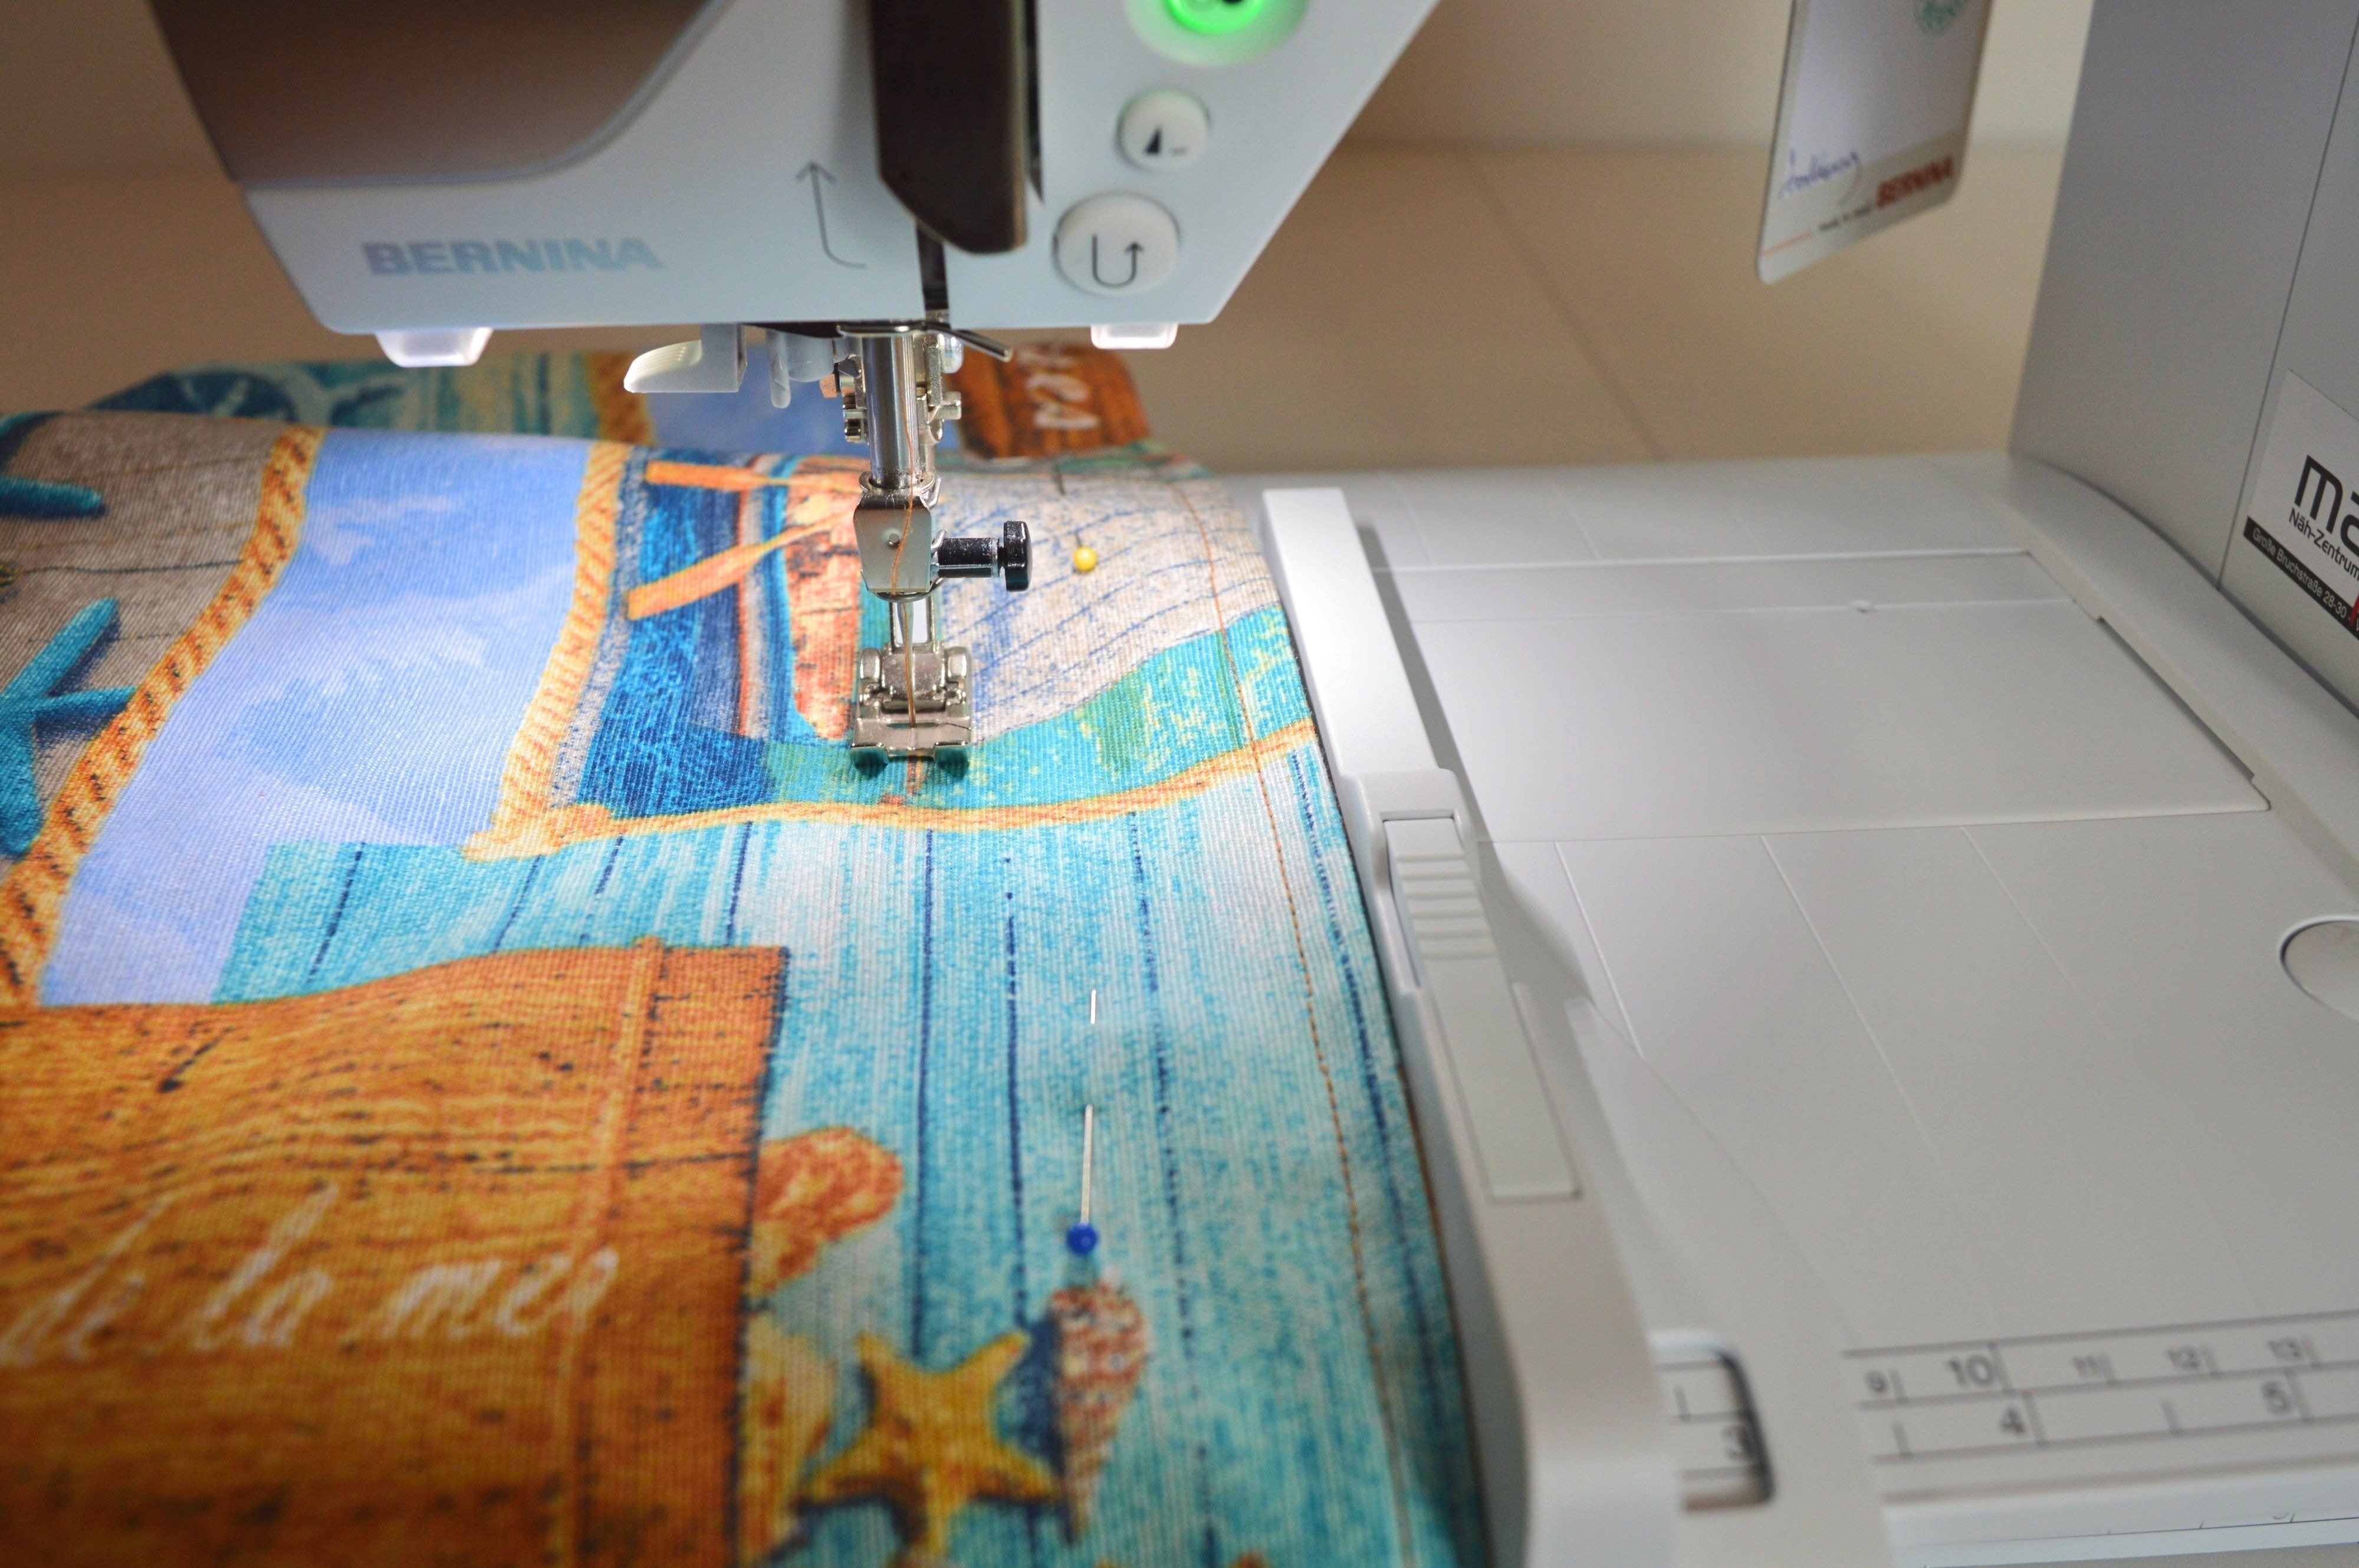
My sewing machine is the Bernina 530 and feet mentioned below are appropriate for it.
!!! Reverse-pattern foot #1, plain seam #1, the stitch length 2.5
!!! All stitches are sewn 1 cm from the edge unless otherwise noted.
Press the seam with your iron.
If you have chosen a synthetic fabric, take care of the temperature. The specified fabrics are not resistant to high temperatures so that you may burn the fabric.
When it comes to ironing by sewing, it is very important to iron before cut out and to press seams after sewing, of course, as much as the fabric tolerates heat.
Furthermore, it makes work much easier.

Now you can sew the side seams and iron them. (For ironing is good to have the sleeve ironing board.)
 It remains to stitch the openings between the sides and the bottom, that is, the ‘squares’. You would do this as shown in the image below.
 The side seam would be positioned exactly at the bottom seam. As a result, perfect match.
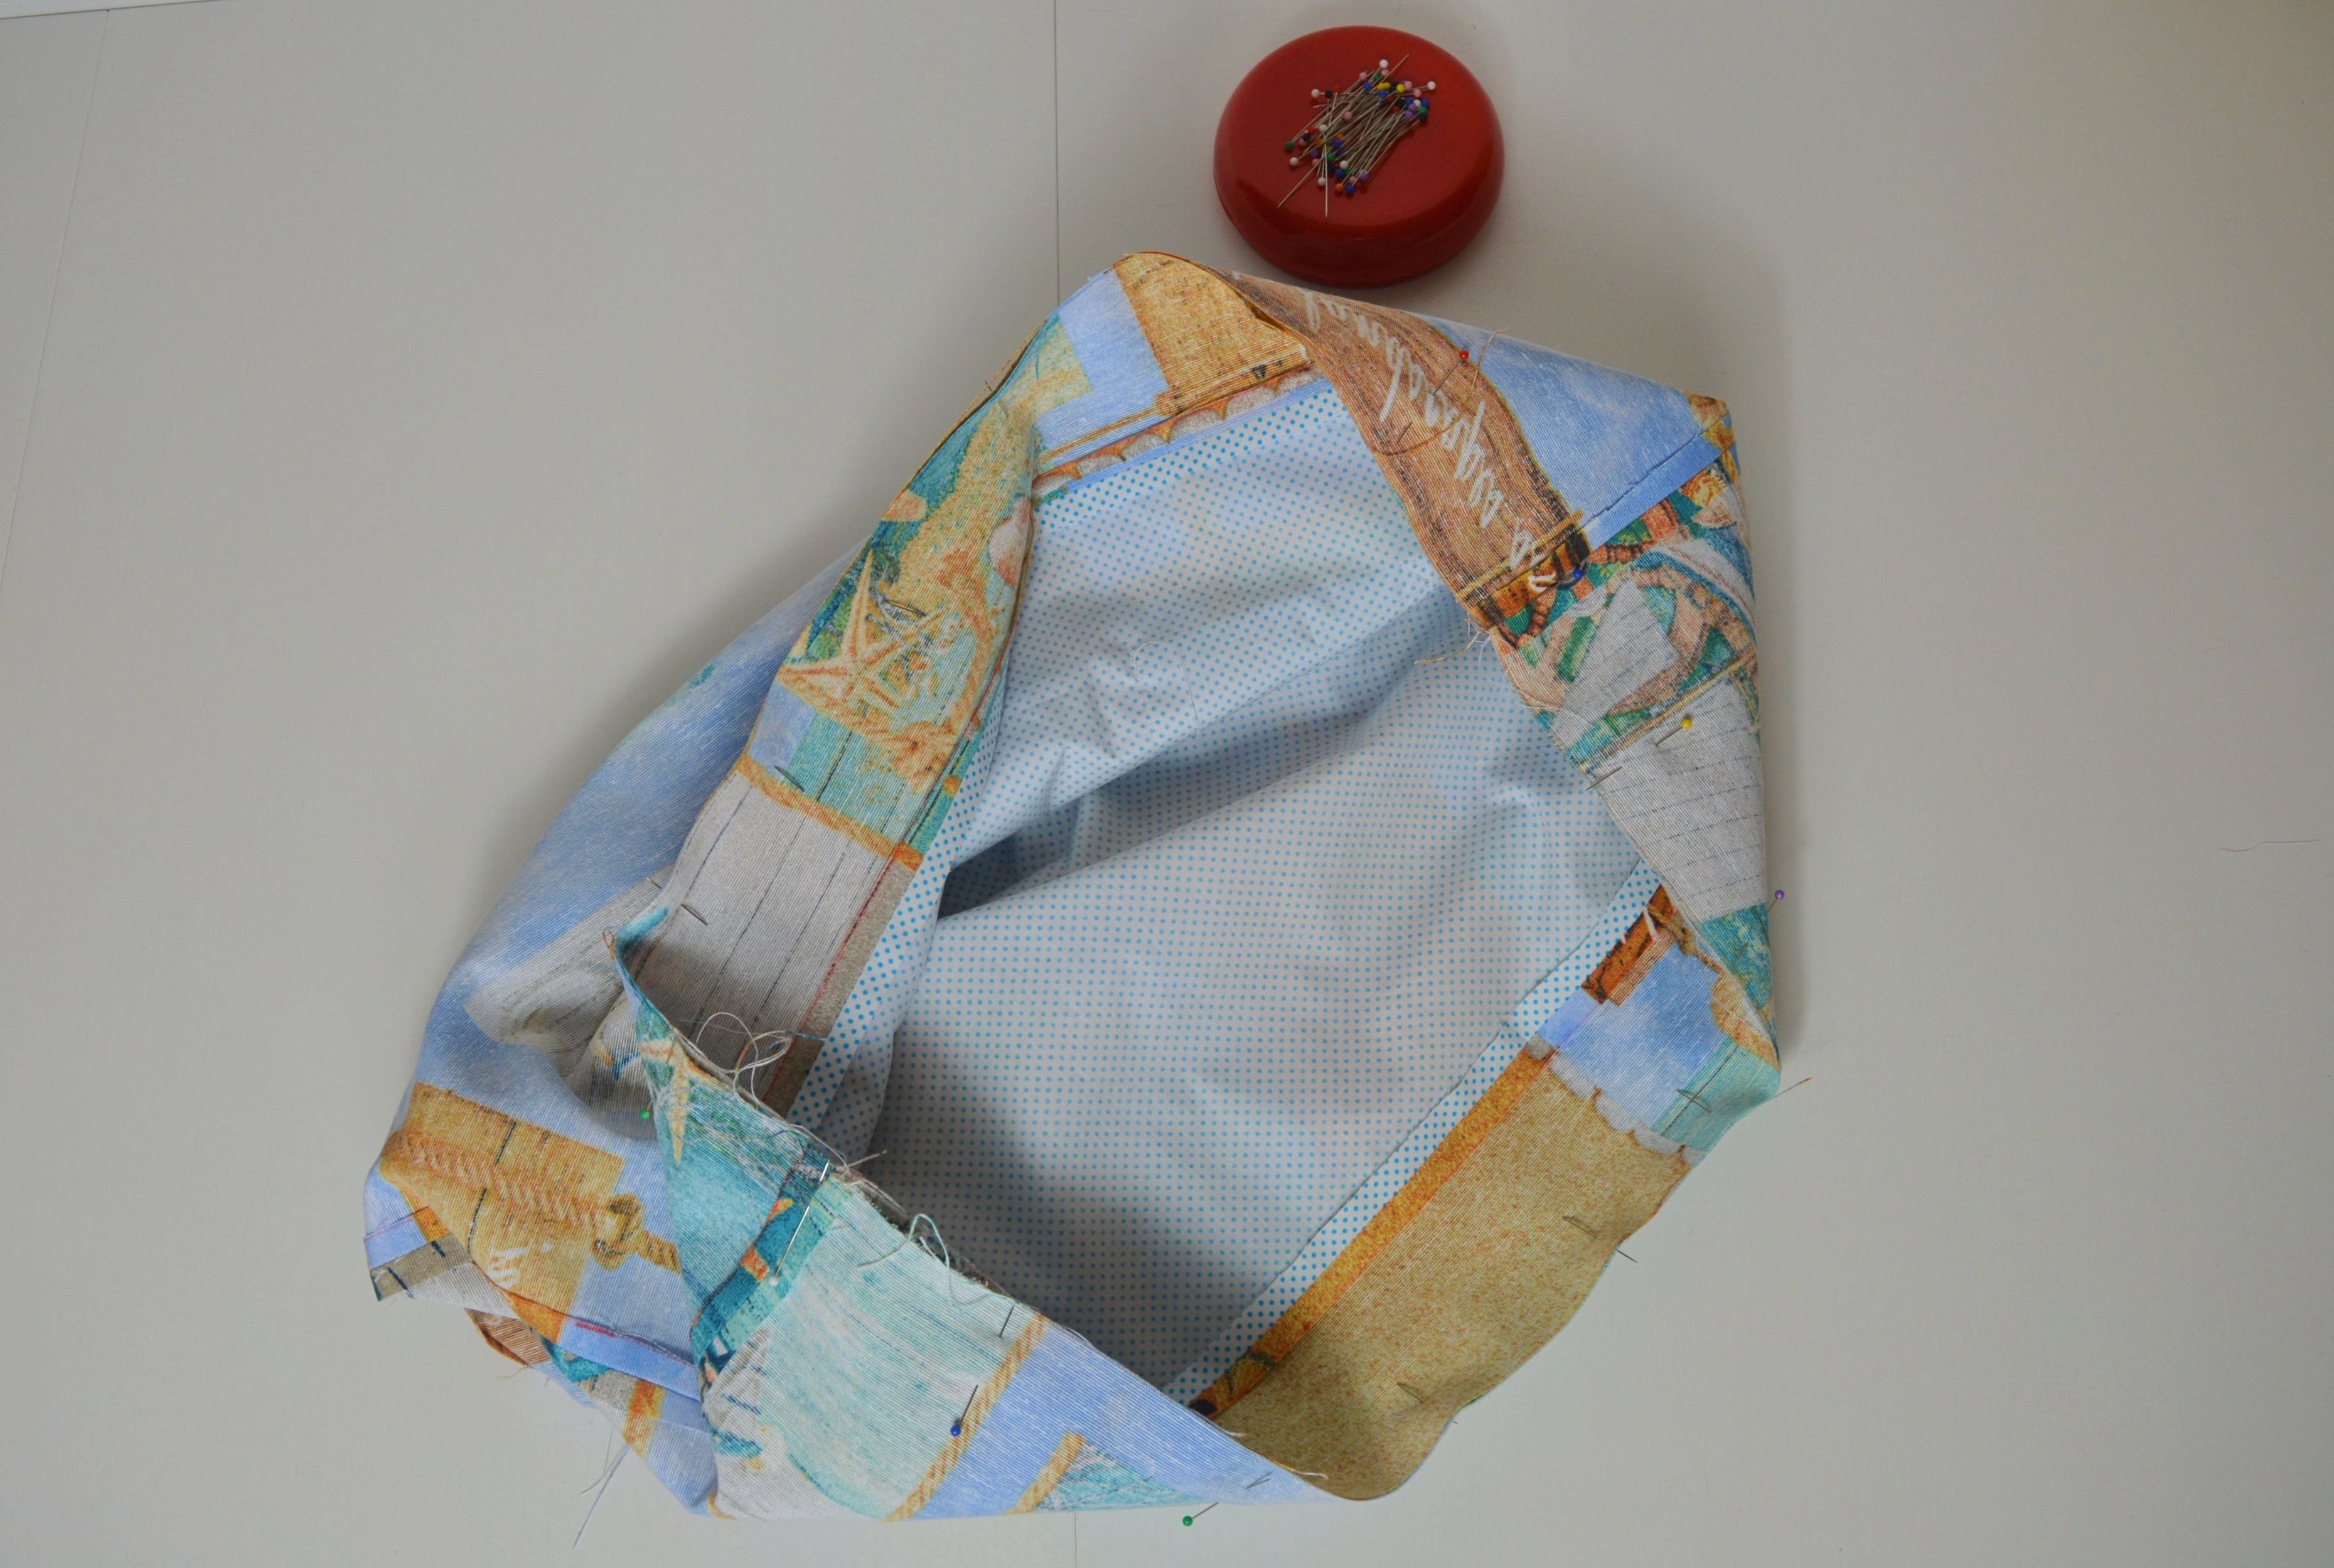
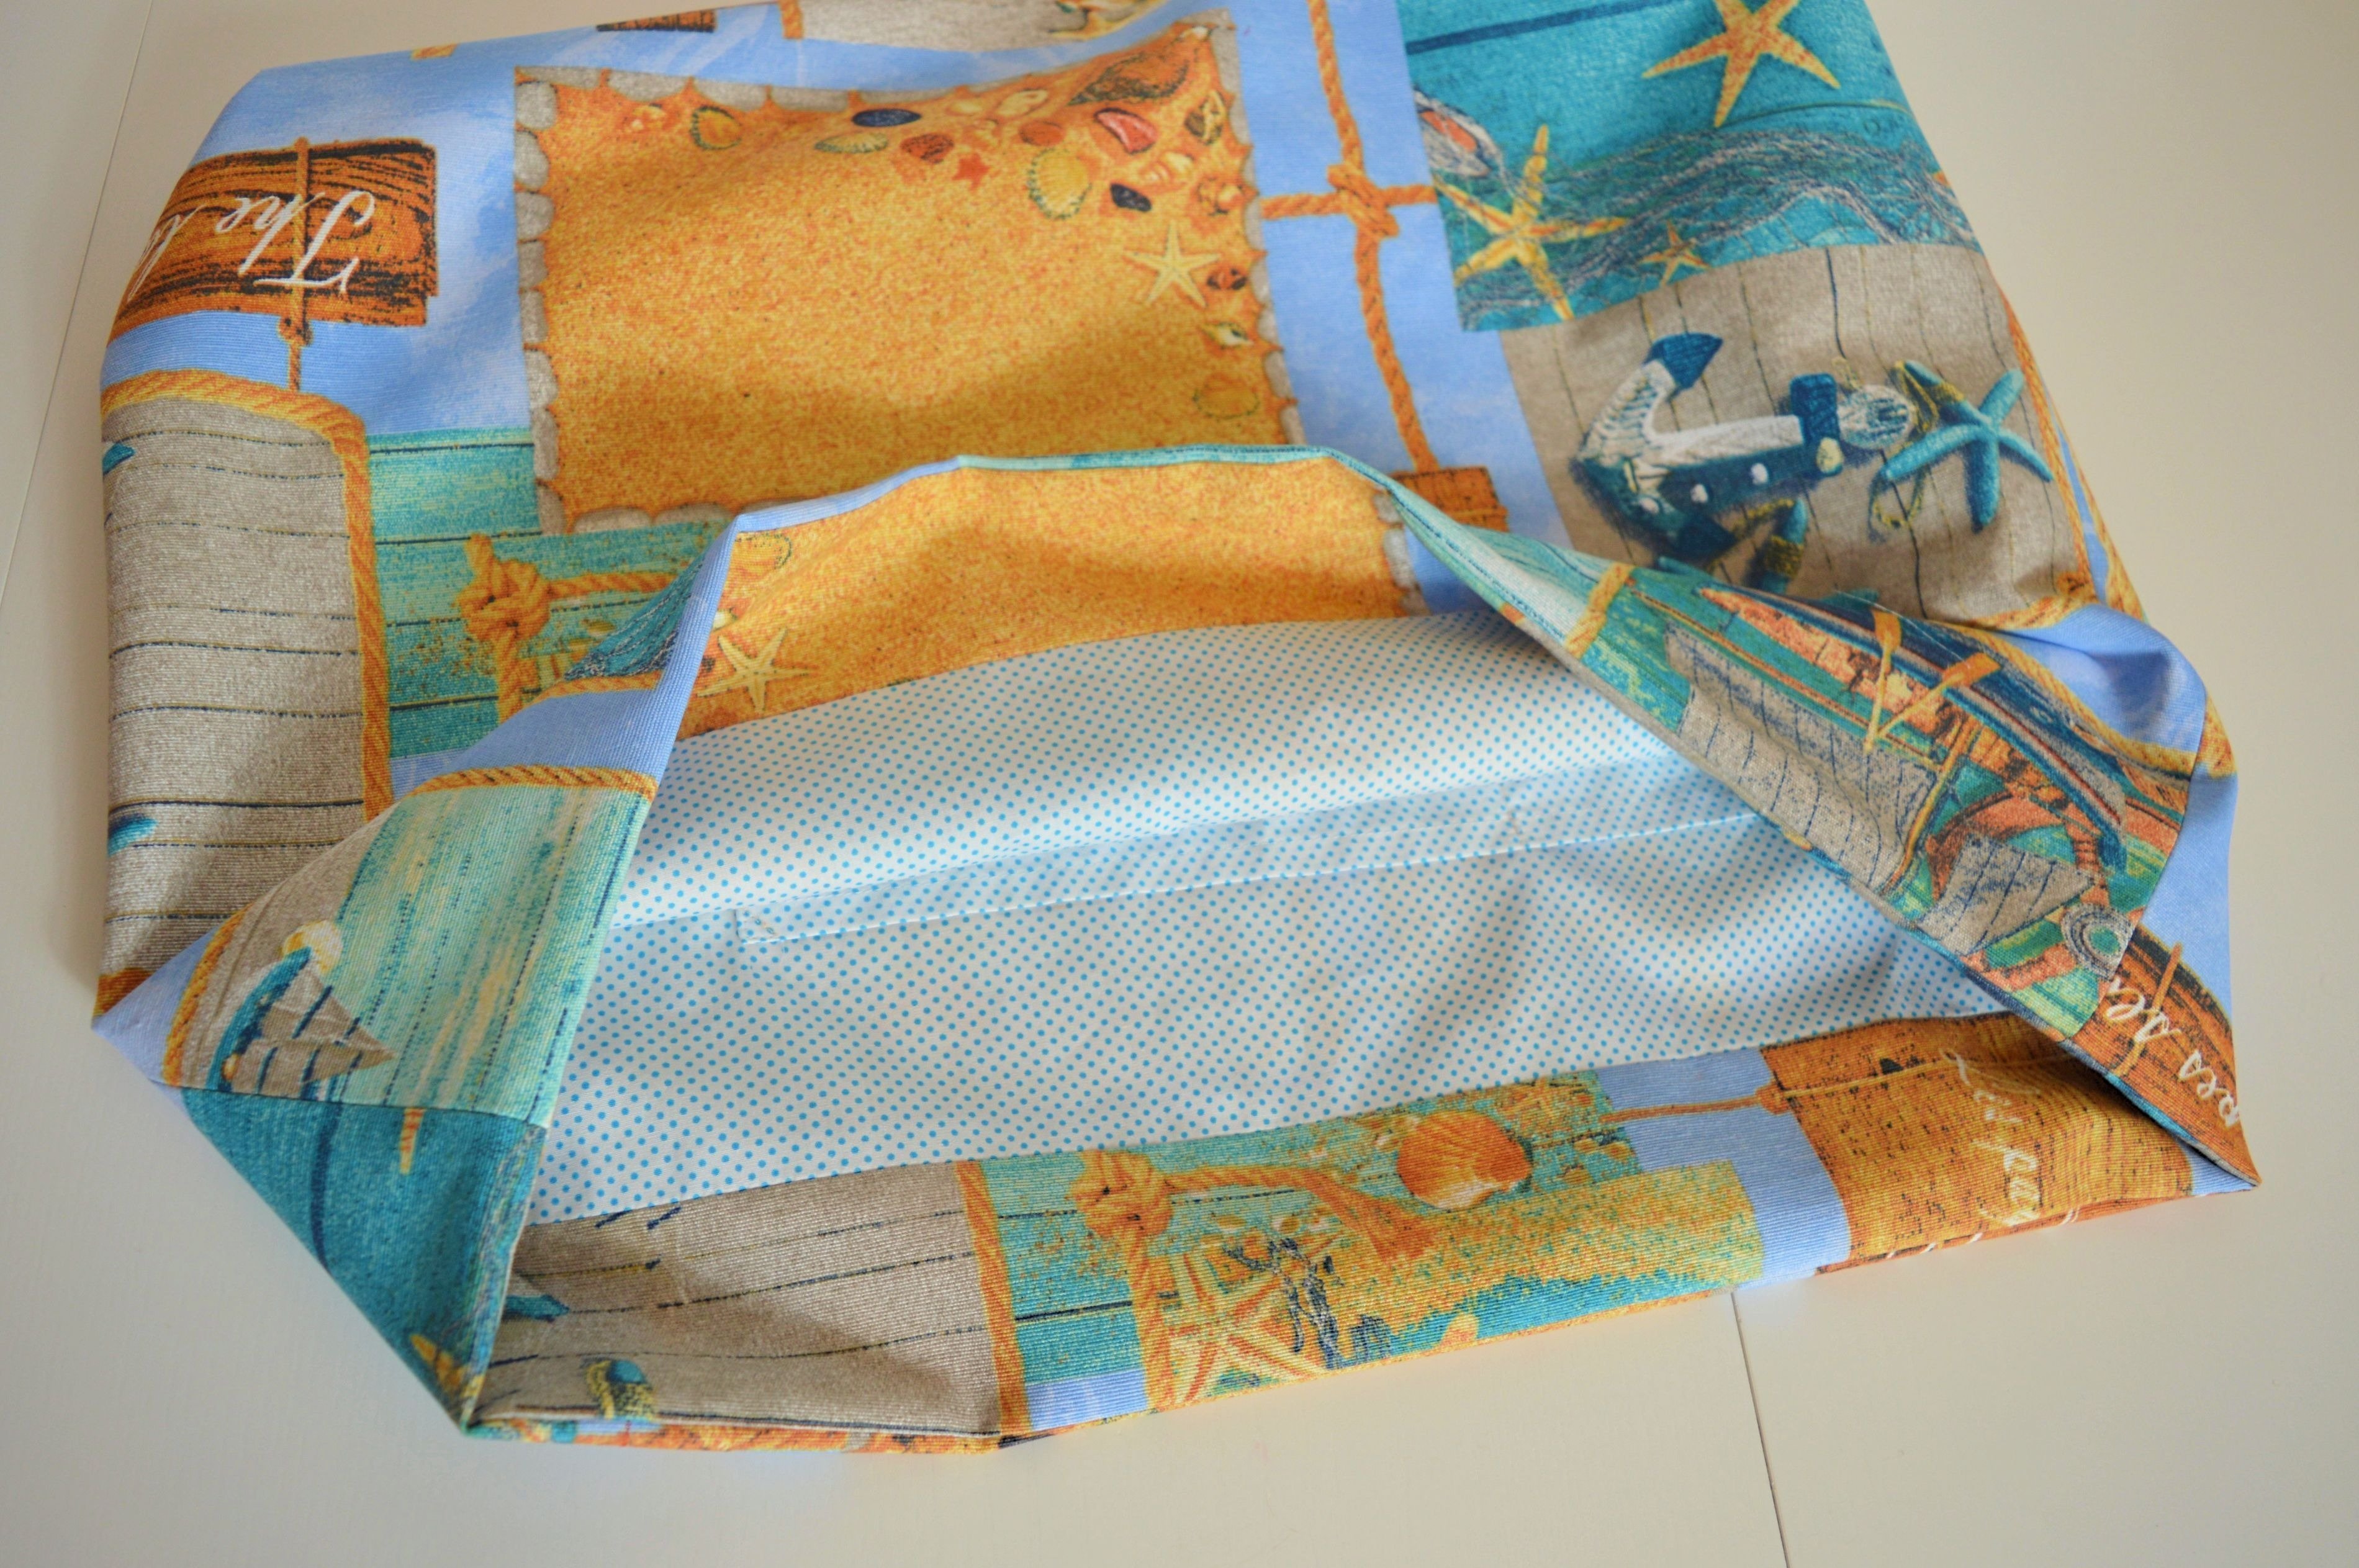
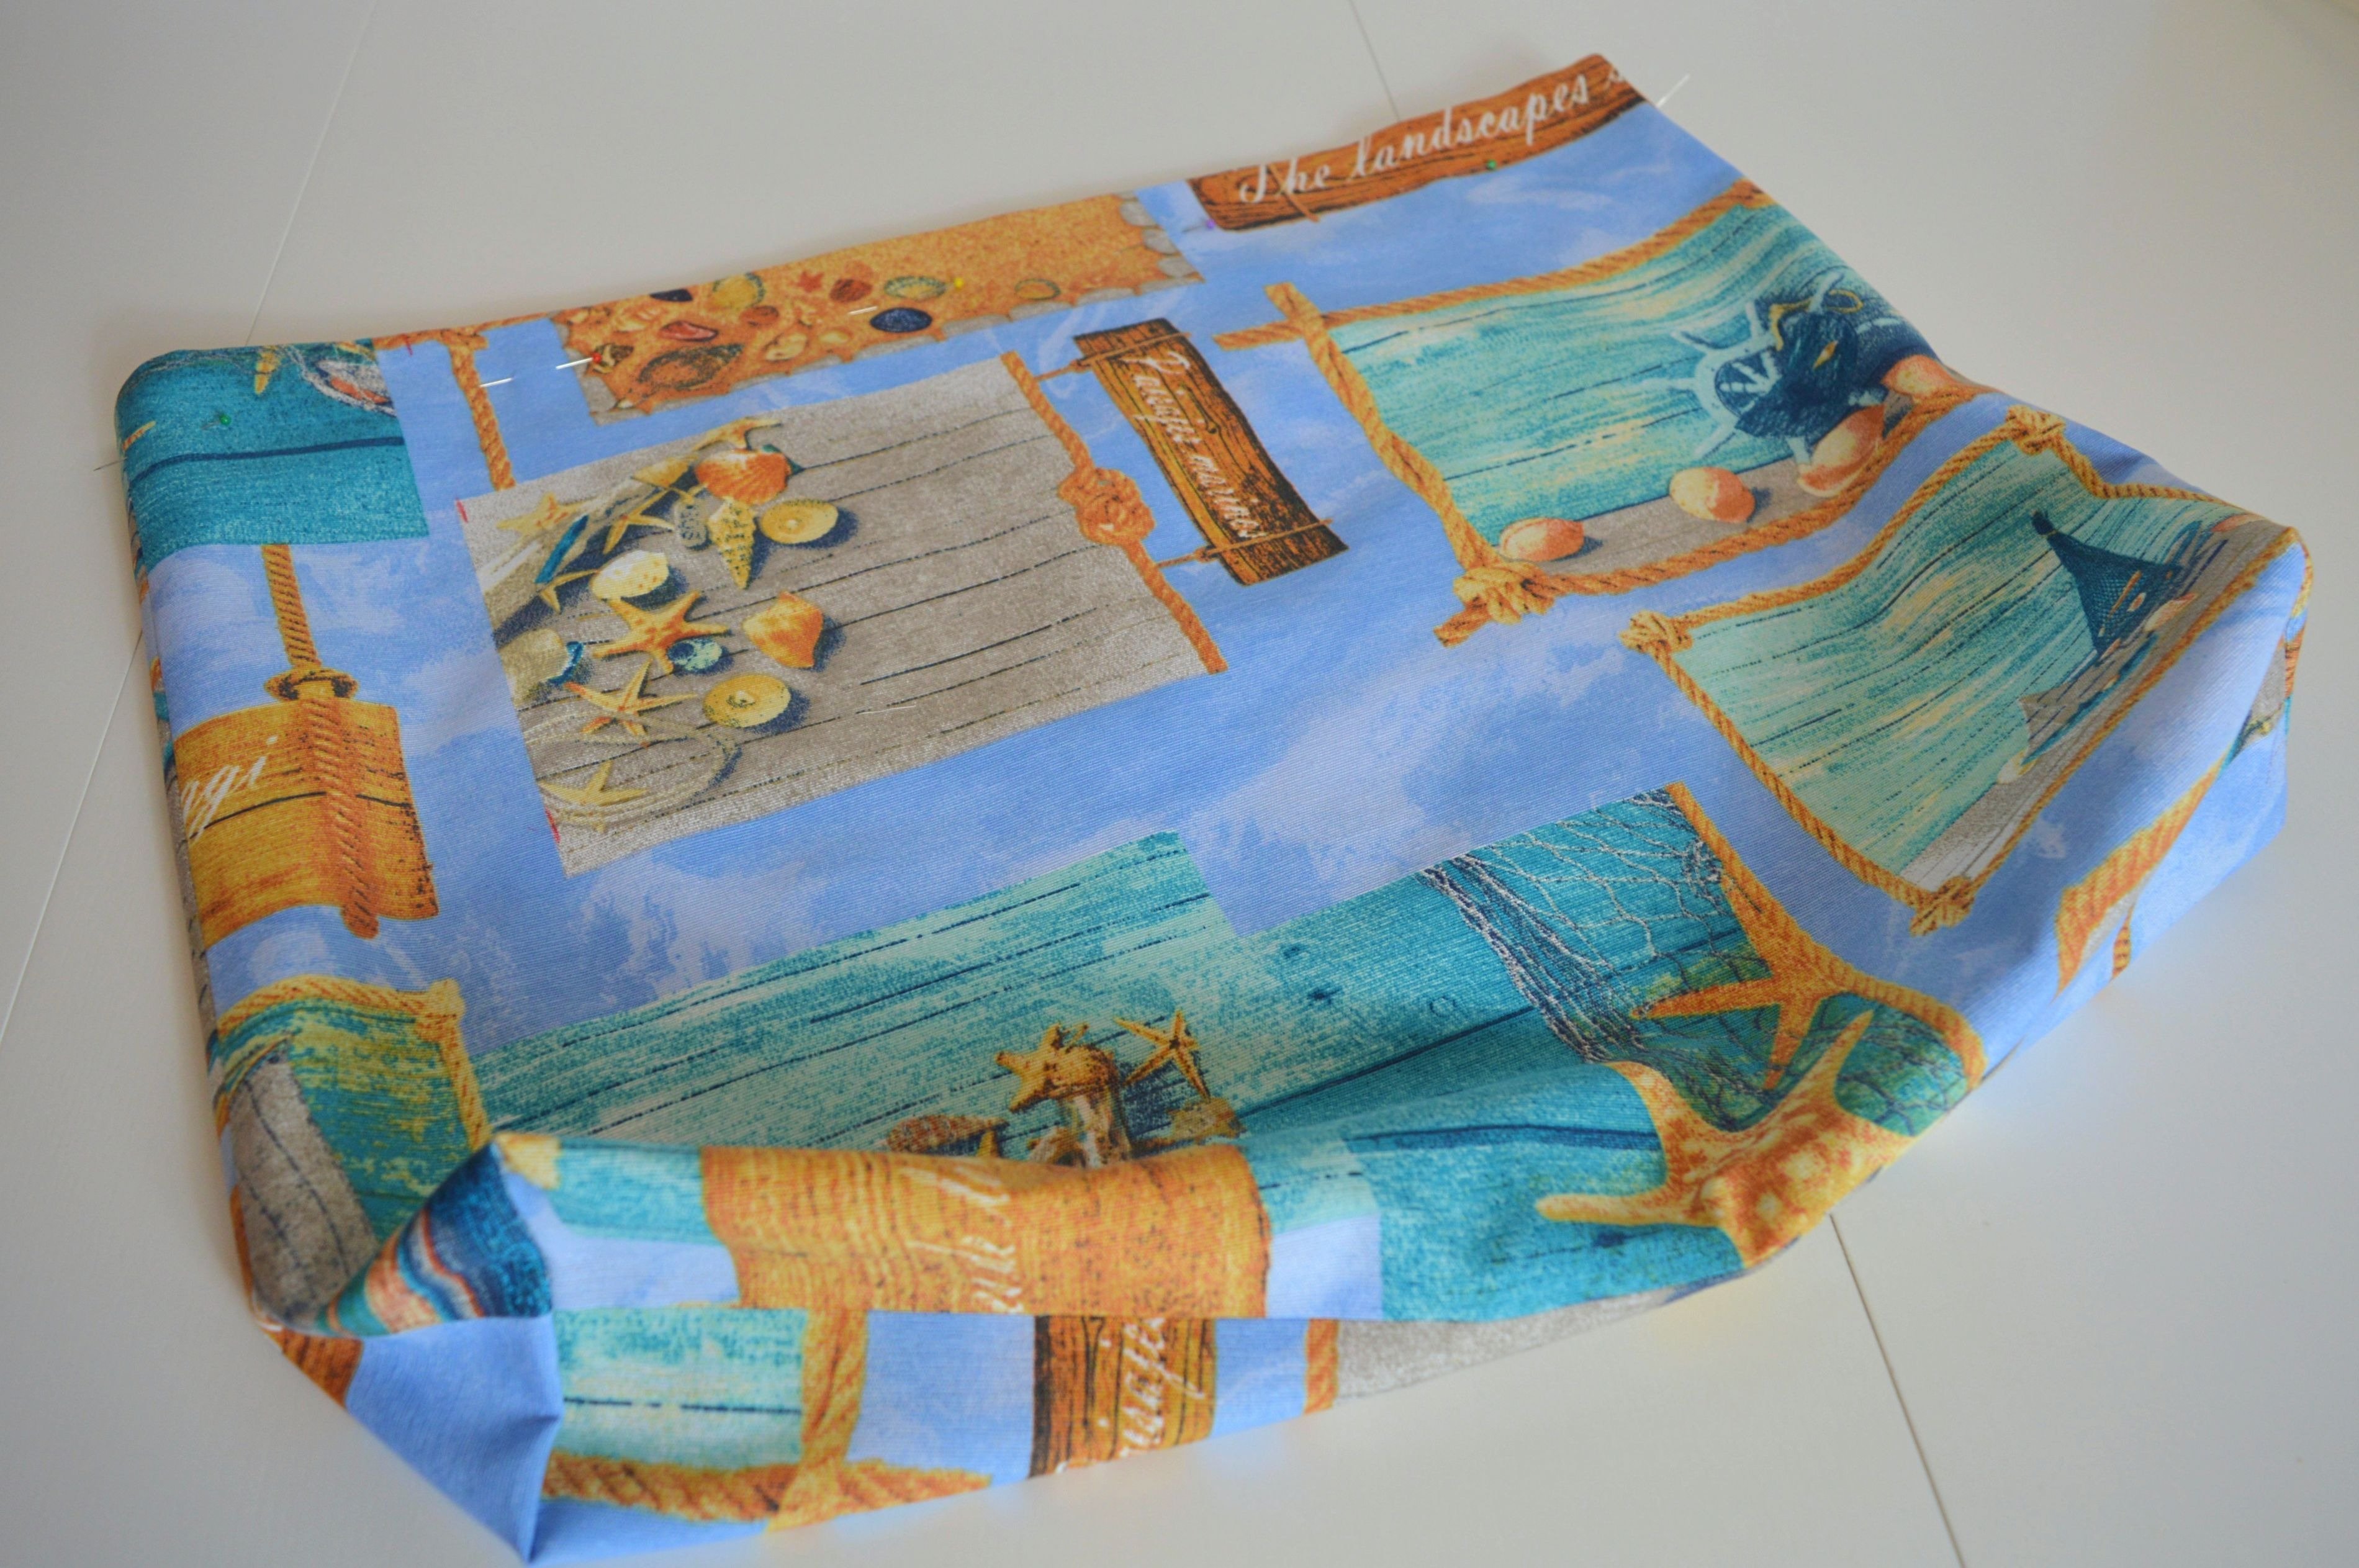
 The exterior of the bag is finished, and now you can see what shape it would have your bag.

Let’s get started with sewing the interior of the bag.
For the beginning, connect pieces of the exterior fabric with the pieces of the lining.
 Of course, as everything until now, iron if possible.
To proceed, you need to sew on a pocket, and before preparing it for that.
As already mentioned, the seam allowance at the top edge is 2 cm. Fold once 1cm and then once again on the top to get the edge and stitch 0.8 cm from the edge.
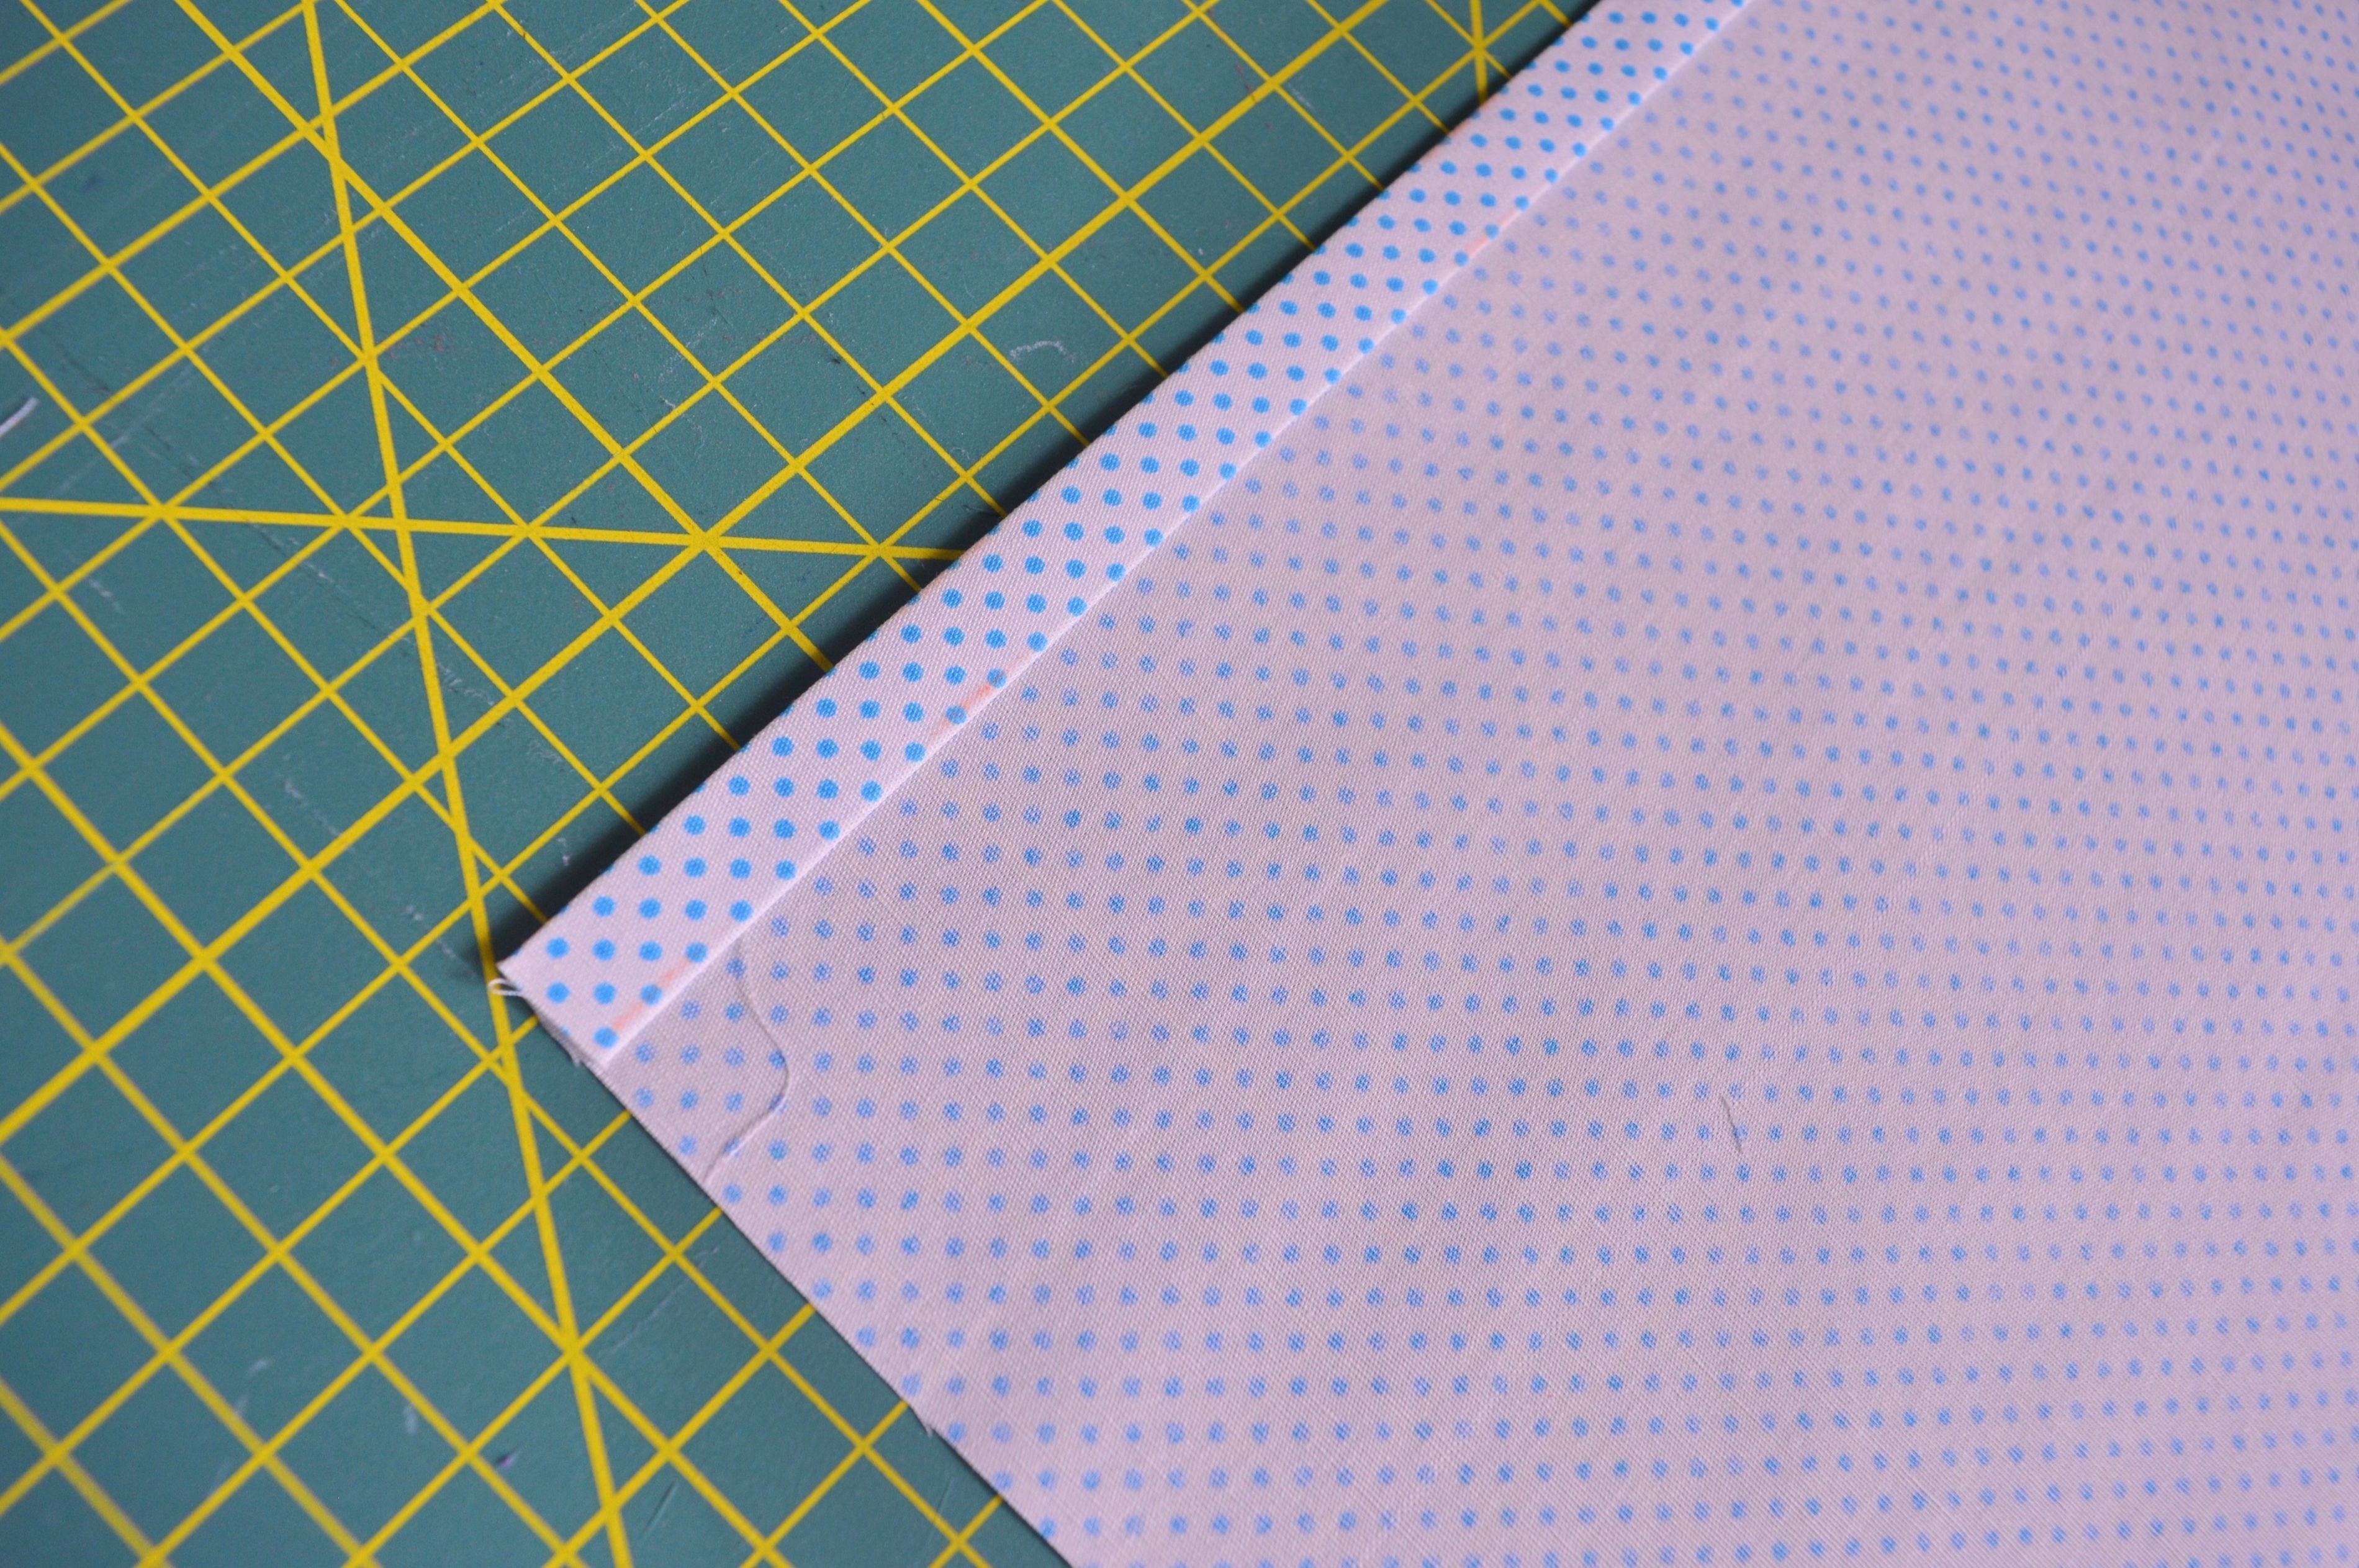
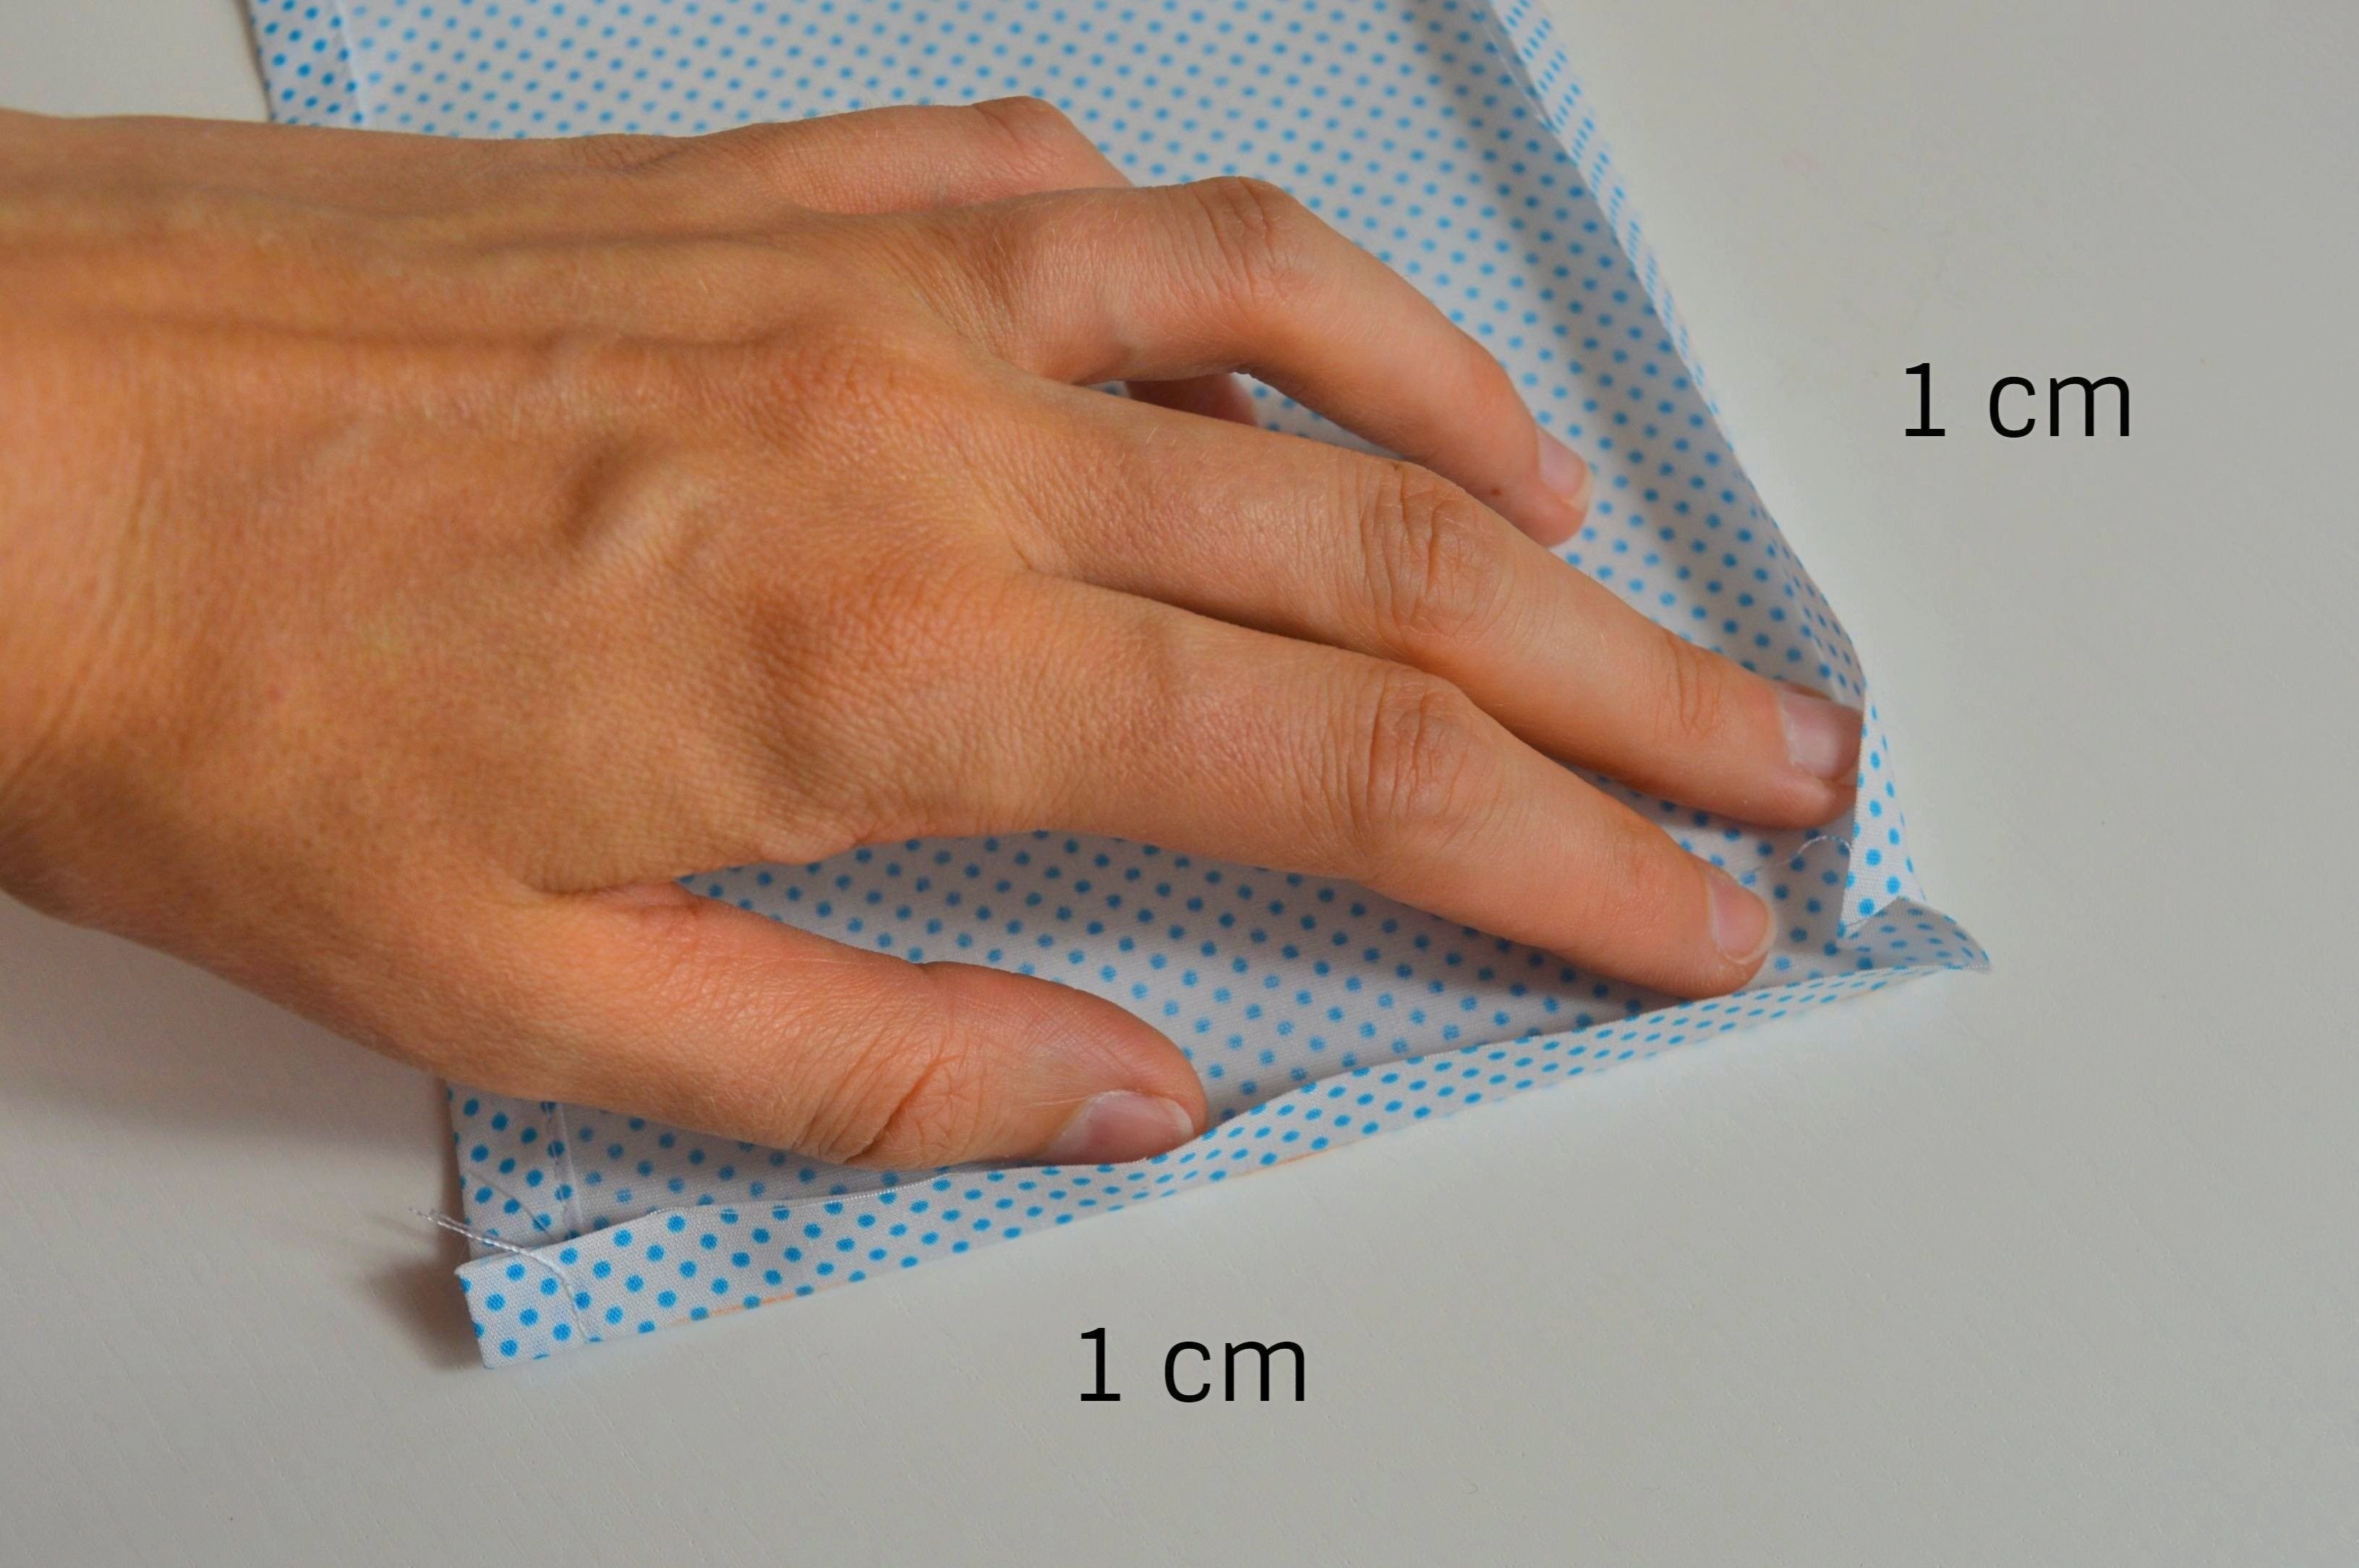
At the bottom and sides, measure 1 cm and fold towards the inside.
Pocket Seam Allowances
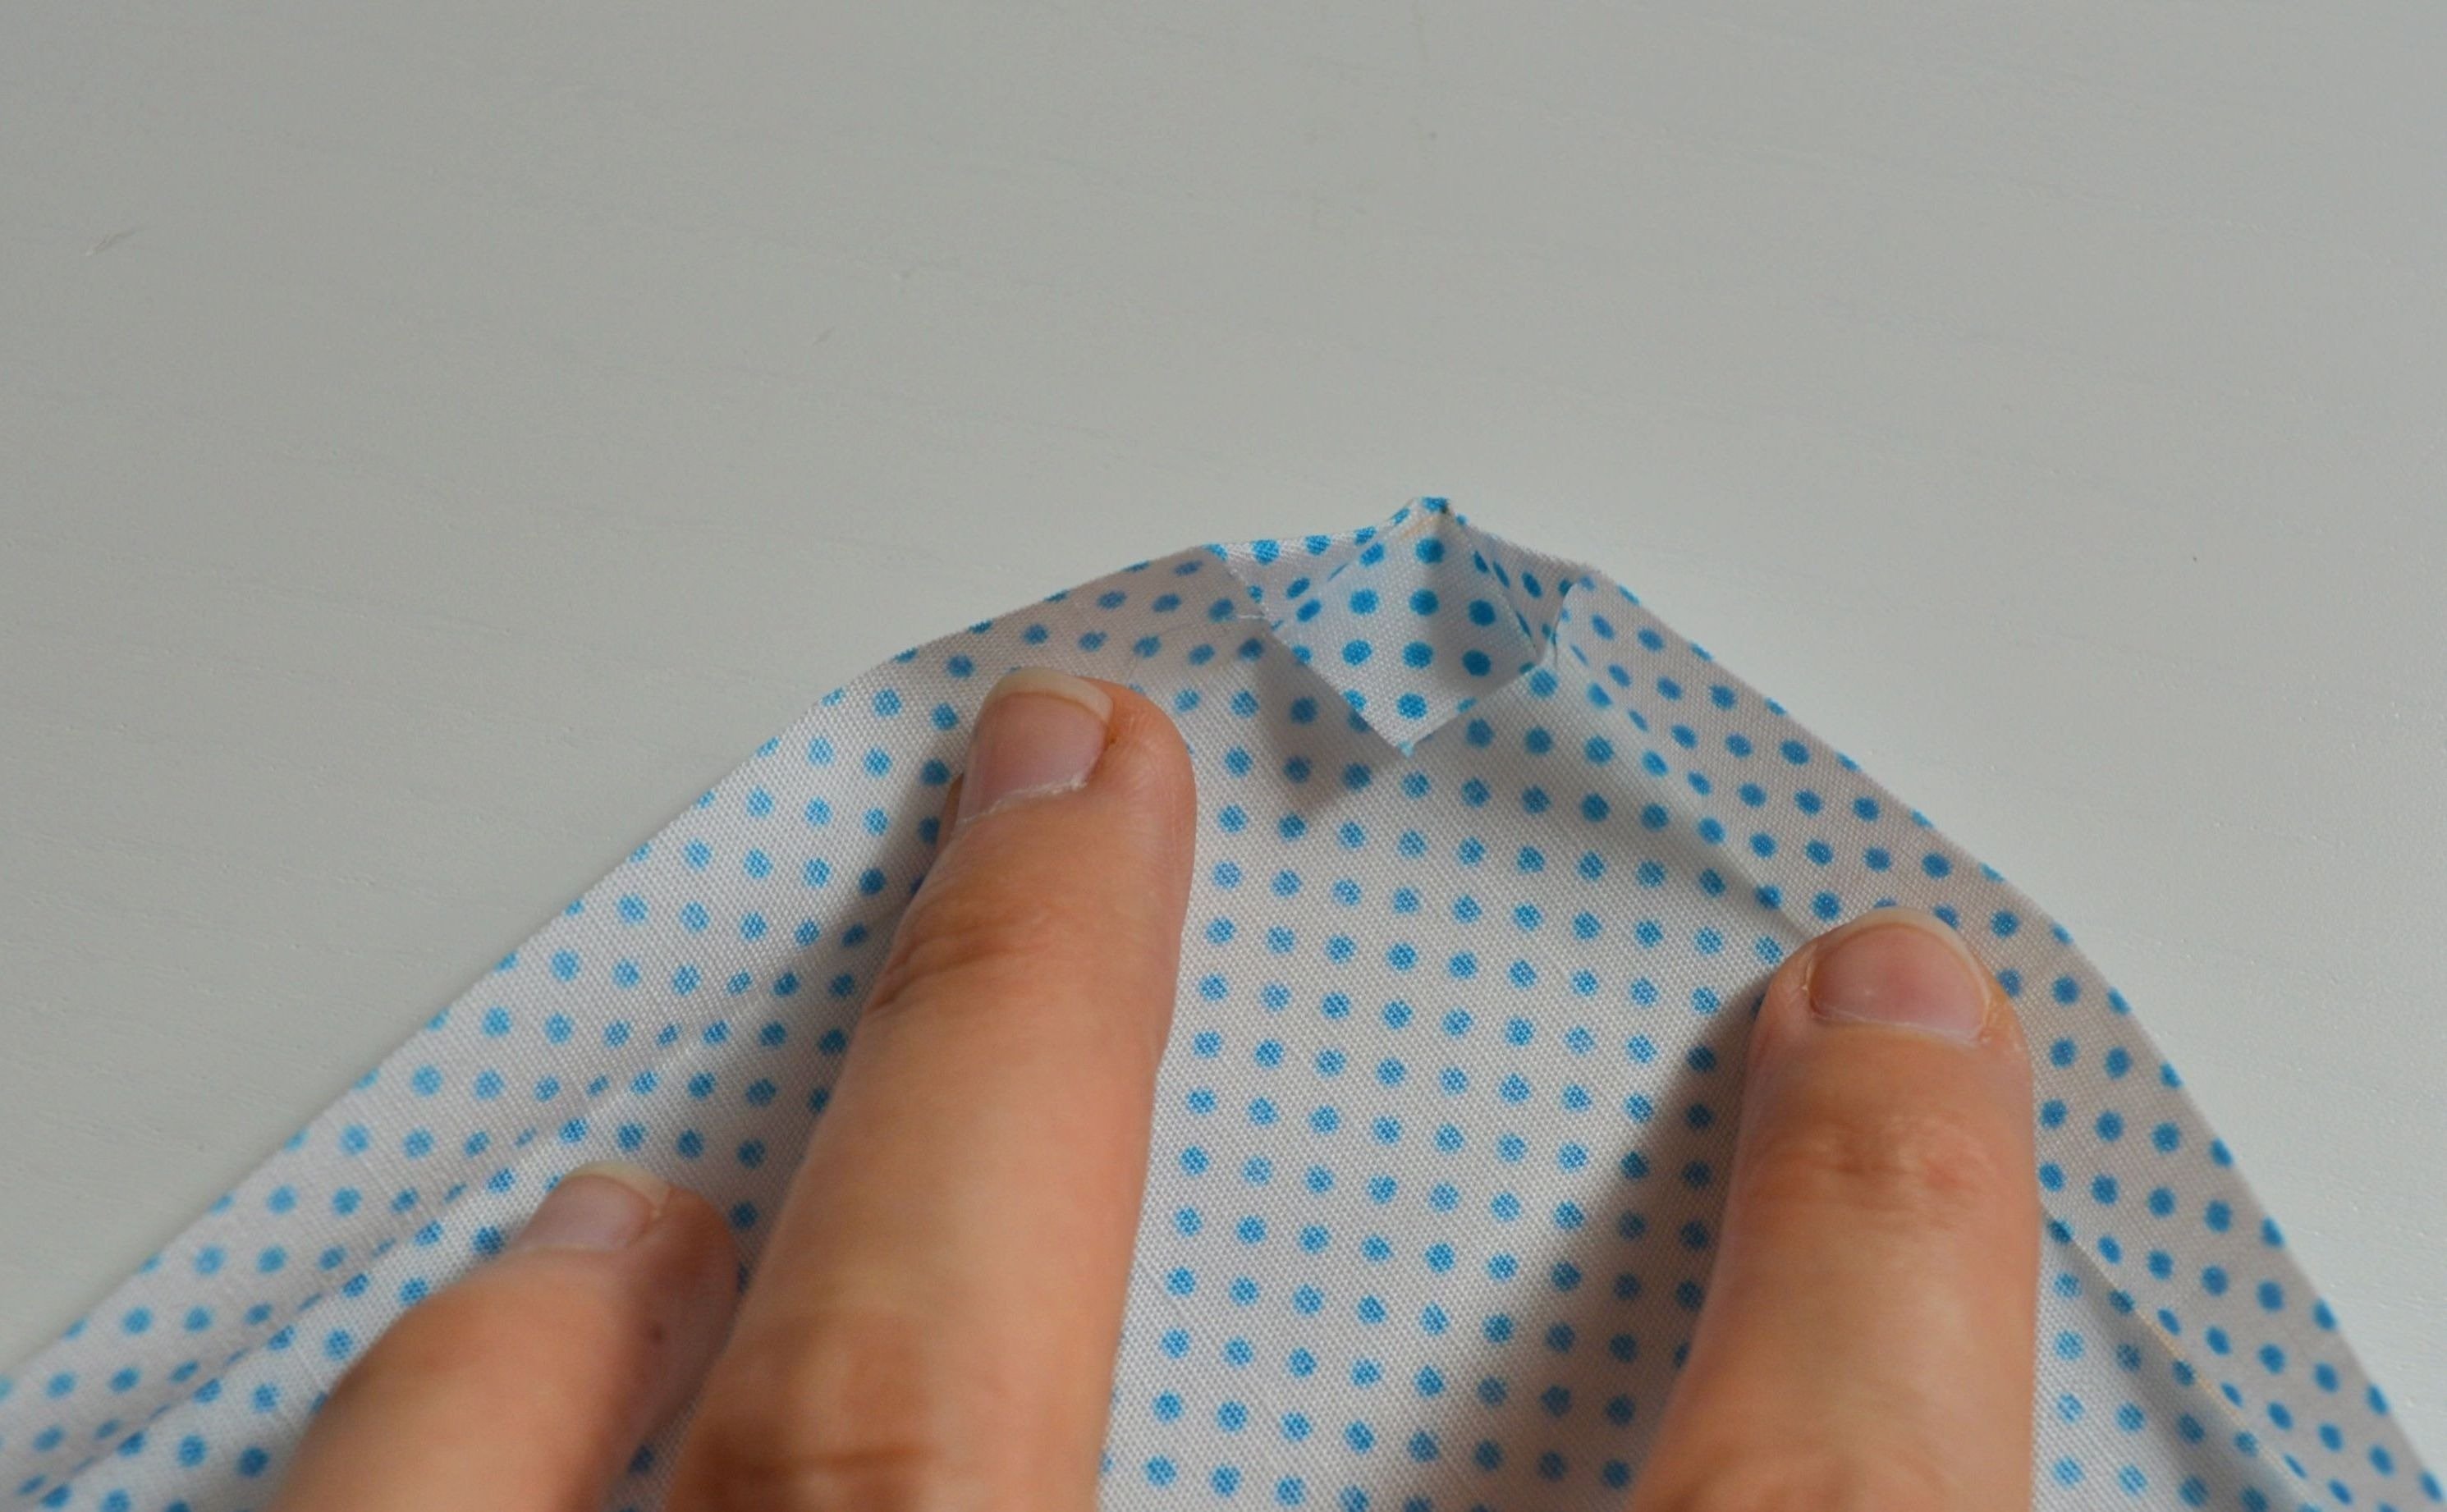
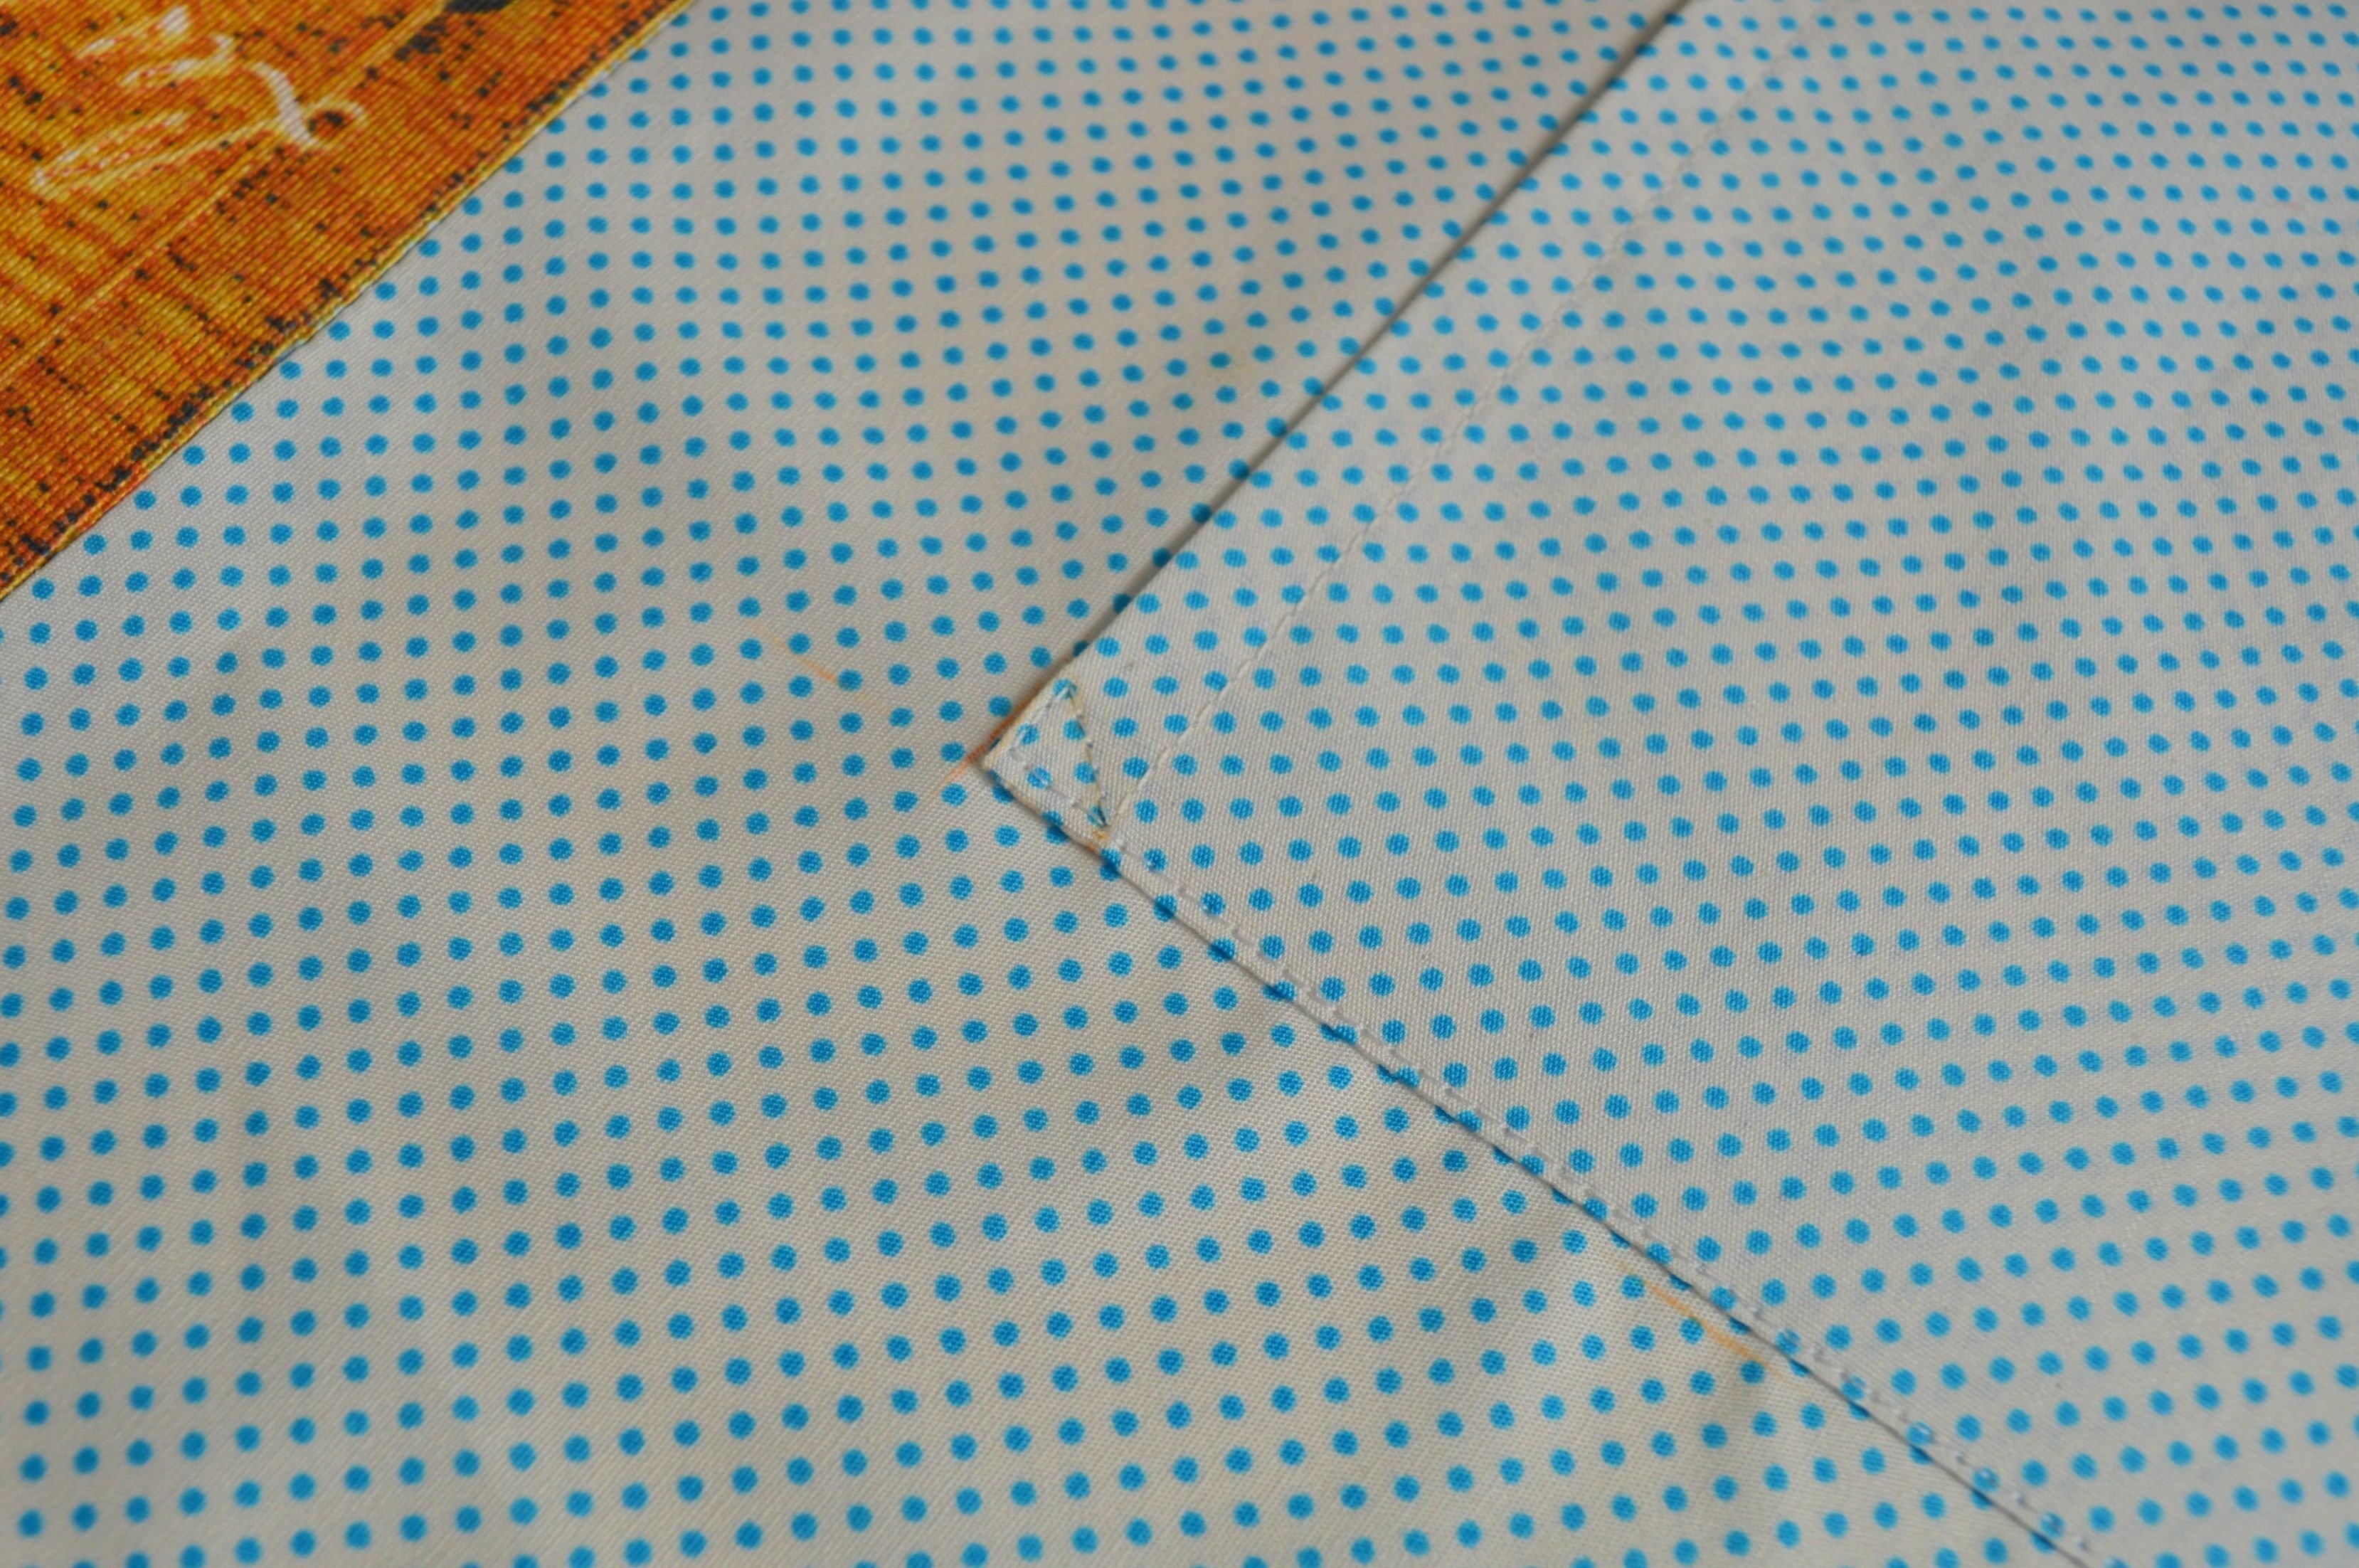
Let’s look now at the bottom corners of the pocket. You folded on each side 1 cm to the inside of the pocket.
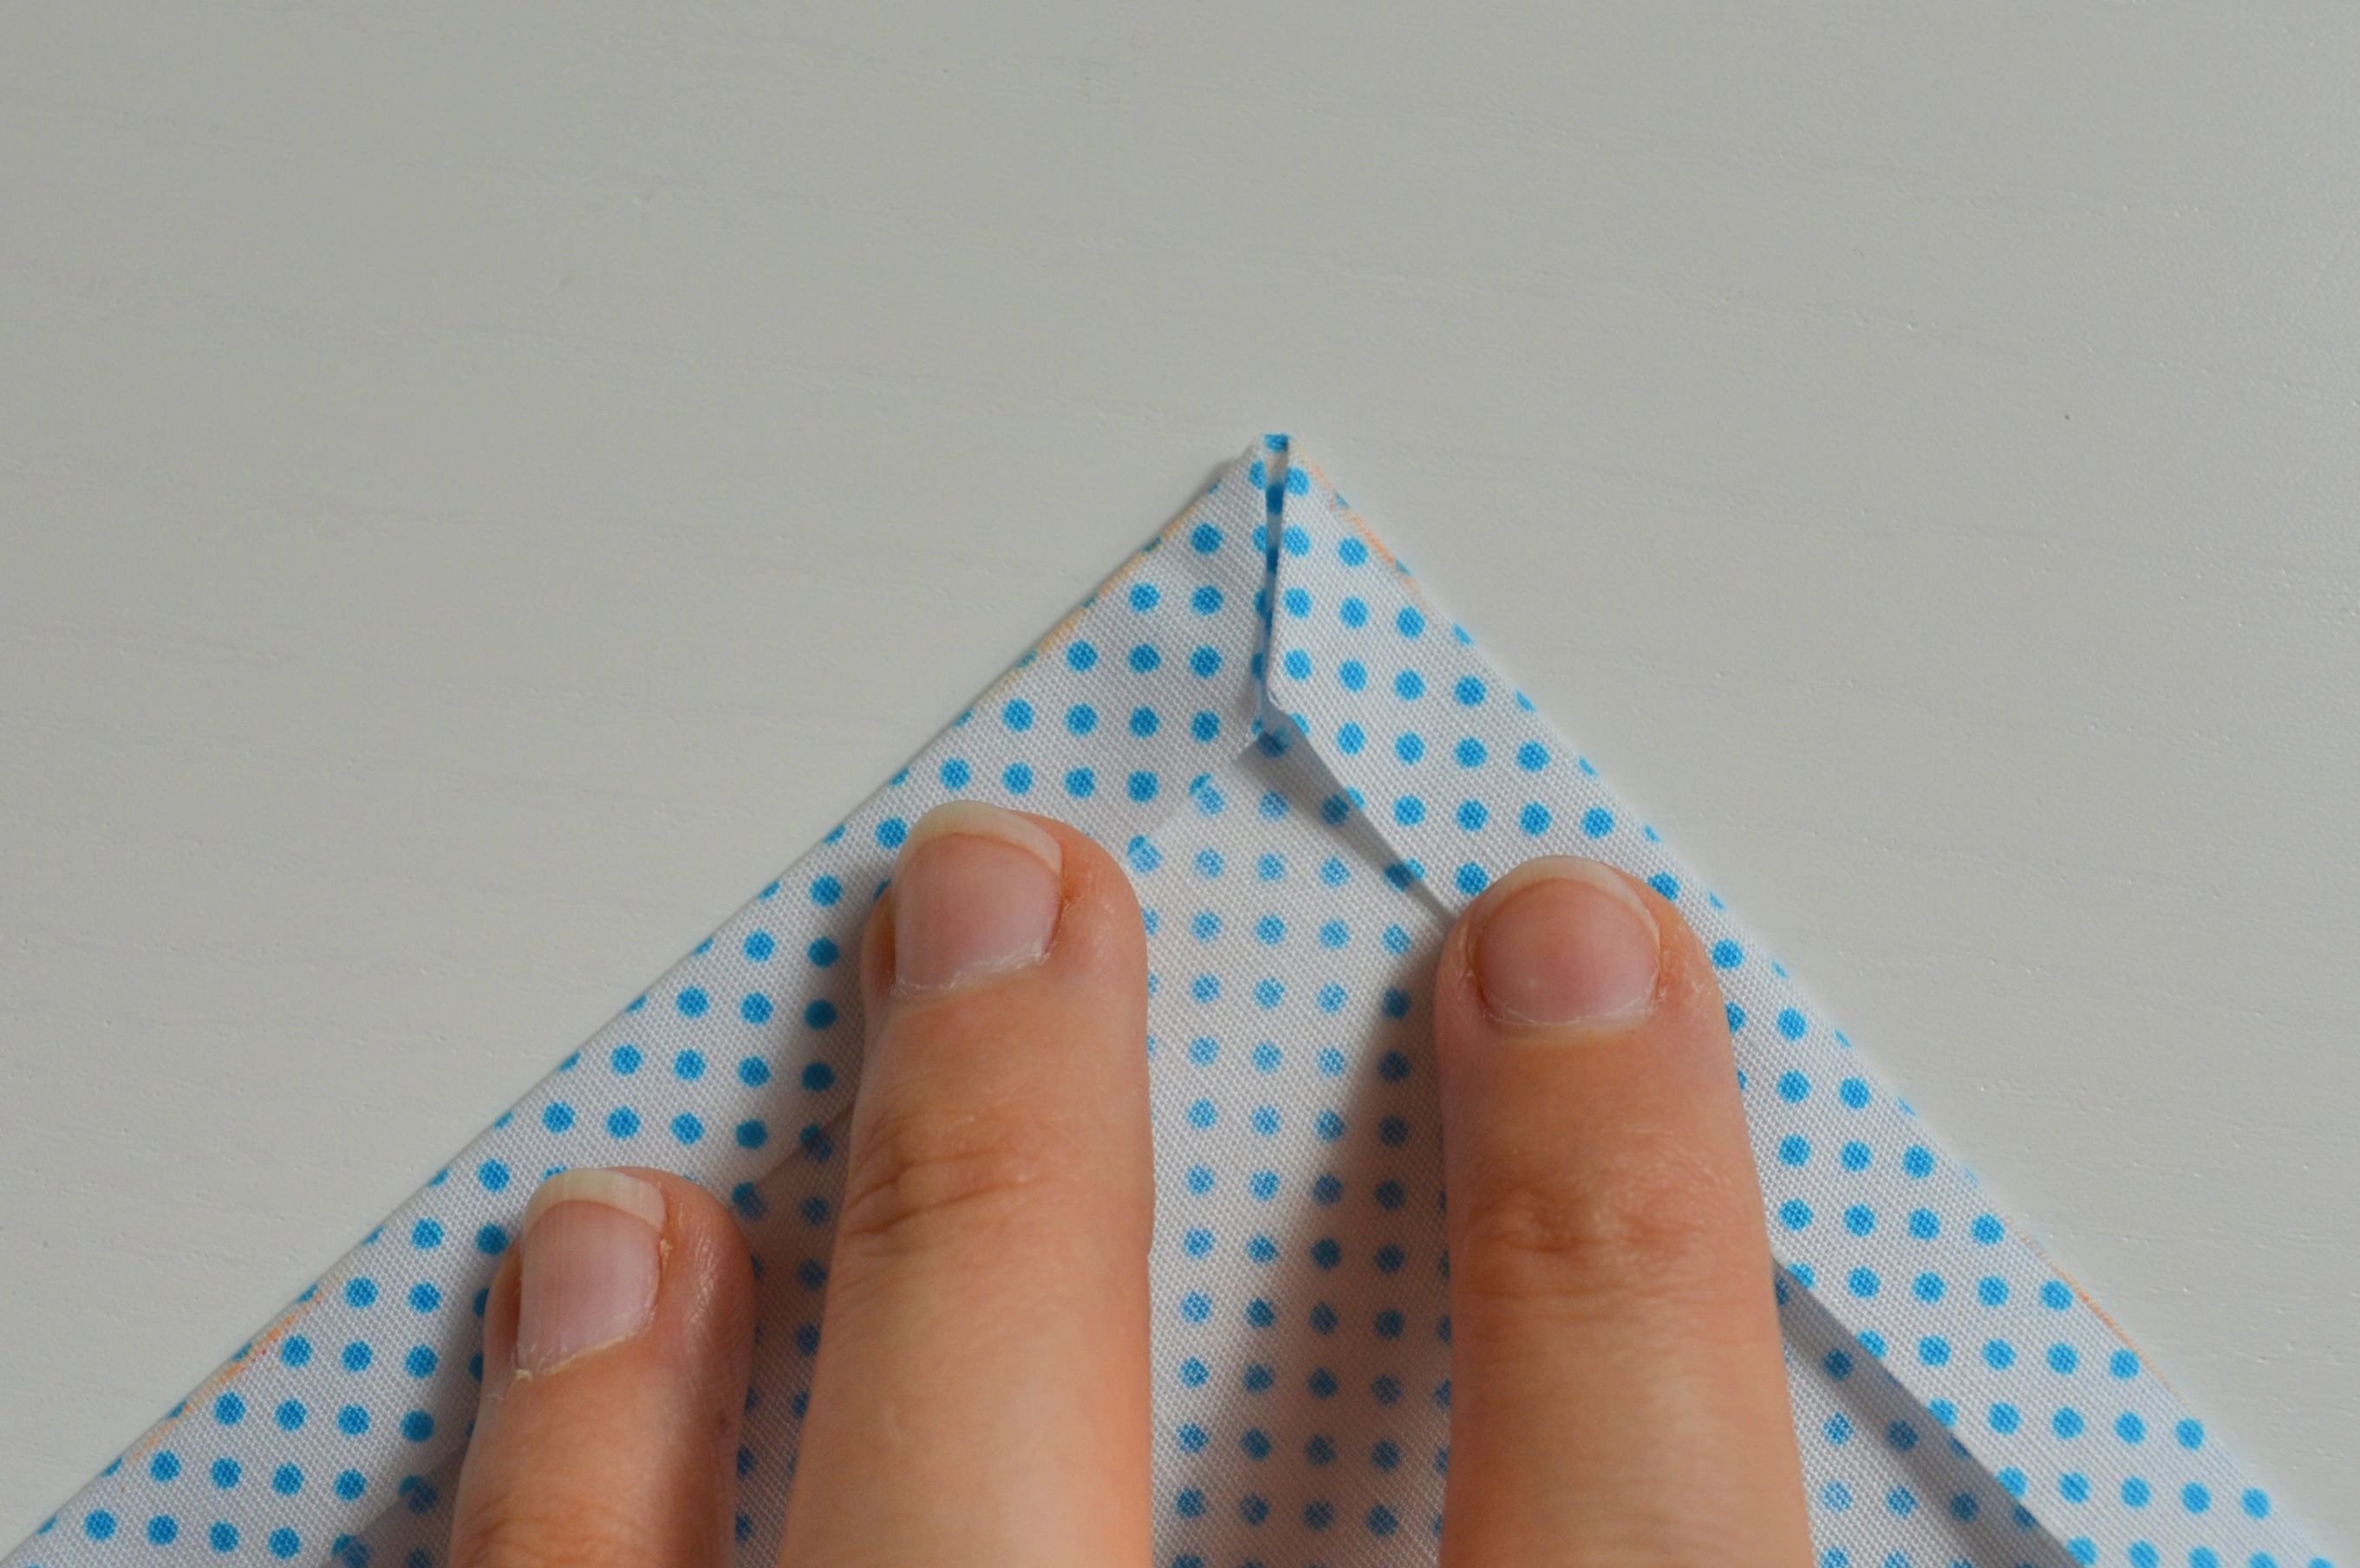
To get a nice and clean corner look, open ironed and fold a triangle that includes the end point of the corner as you see in the image below. So we get a nice finished corner.
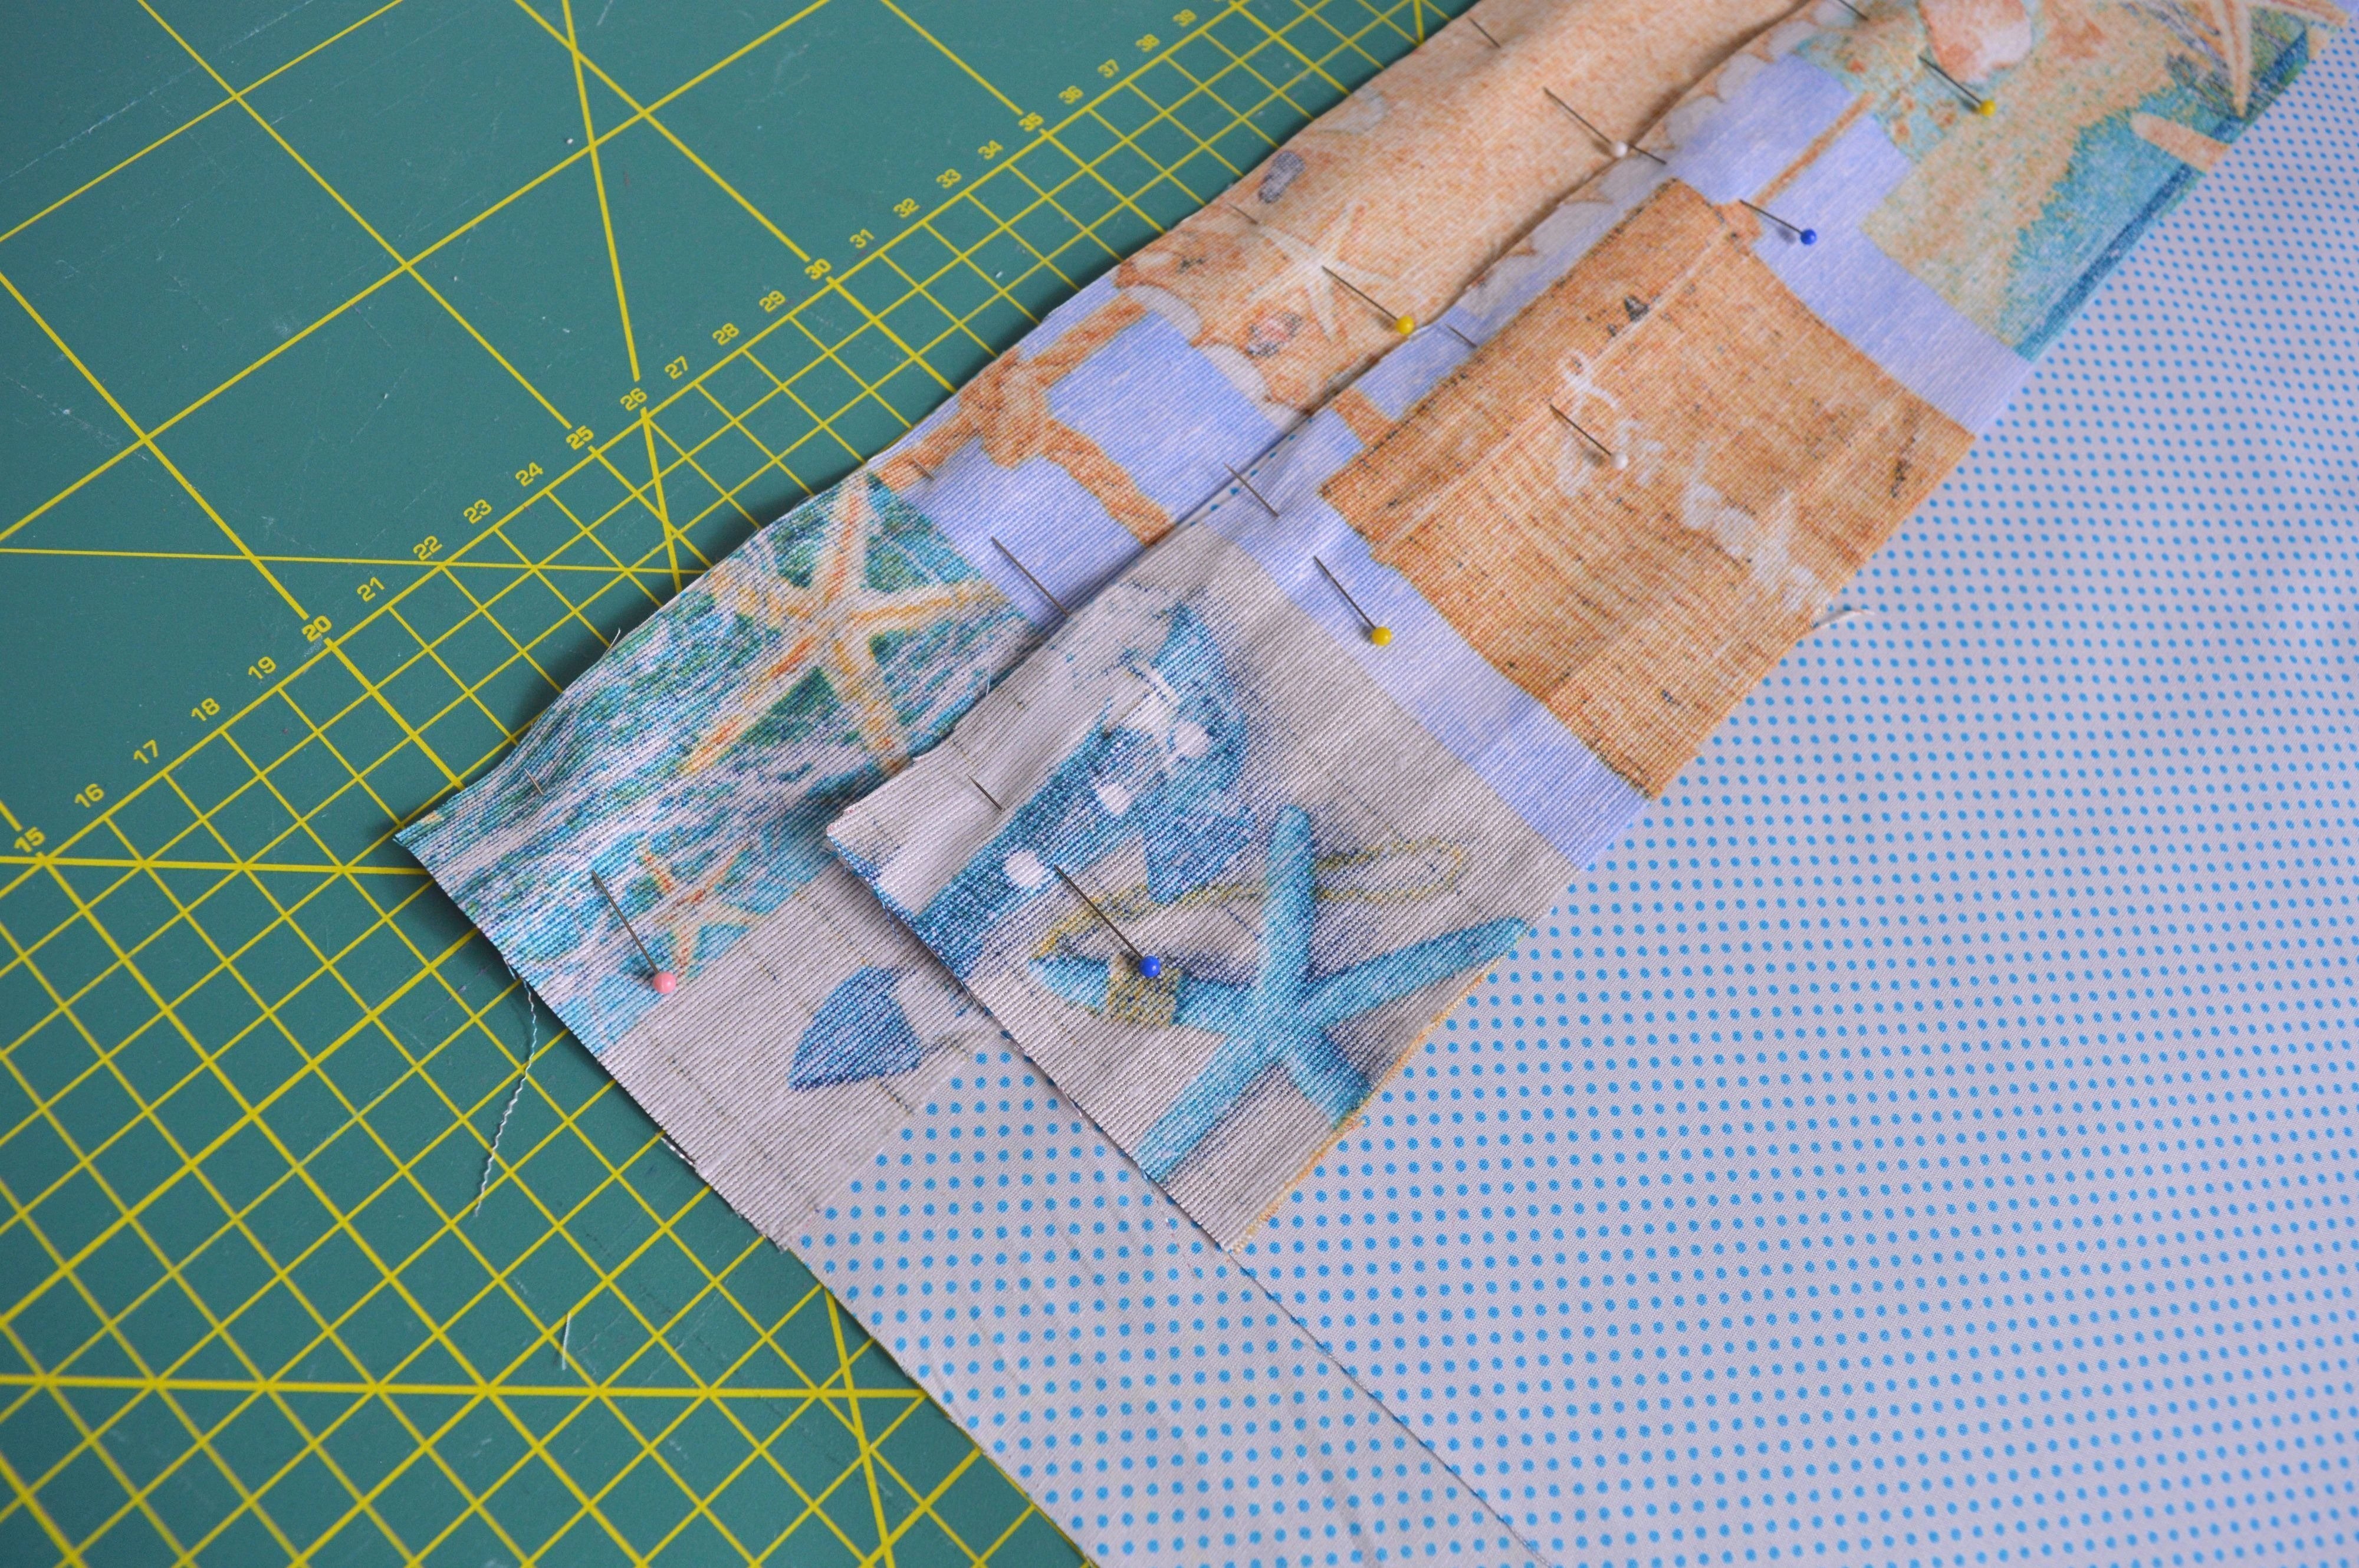
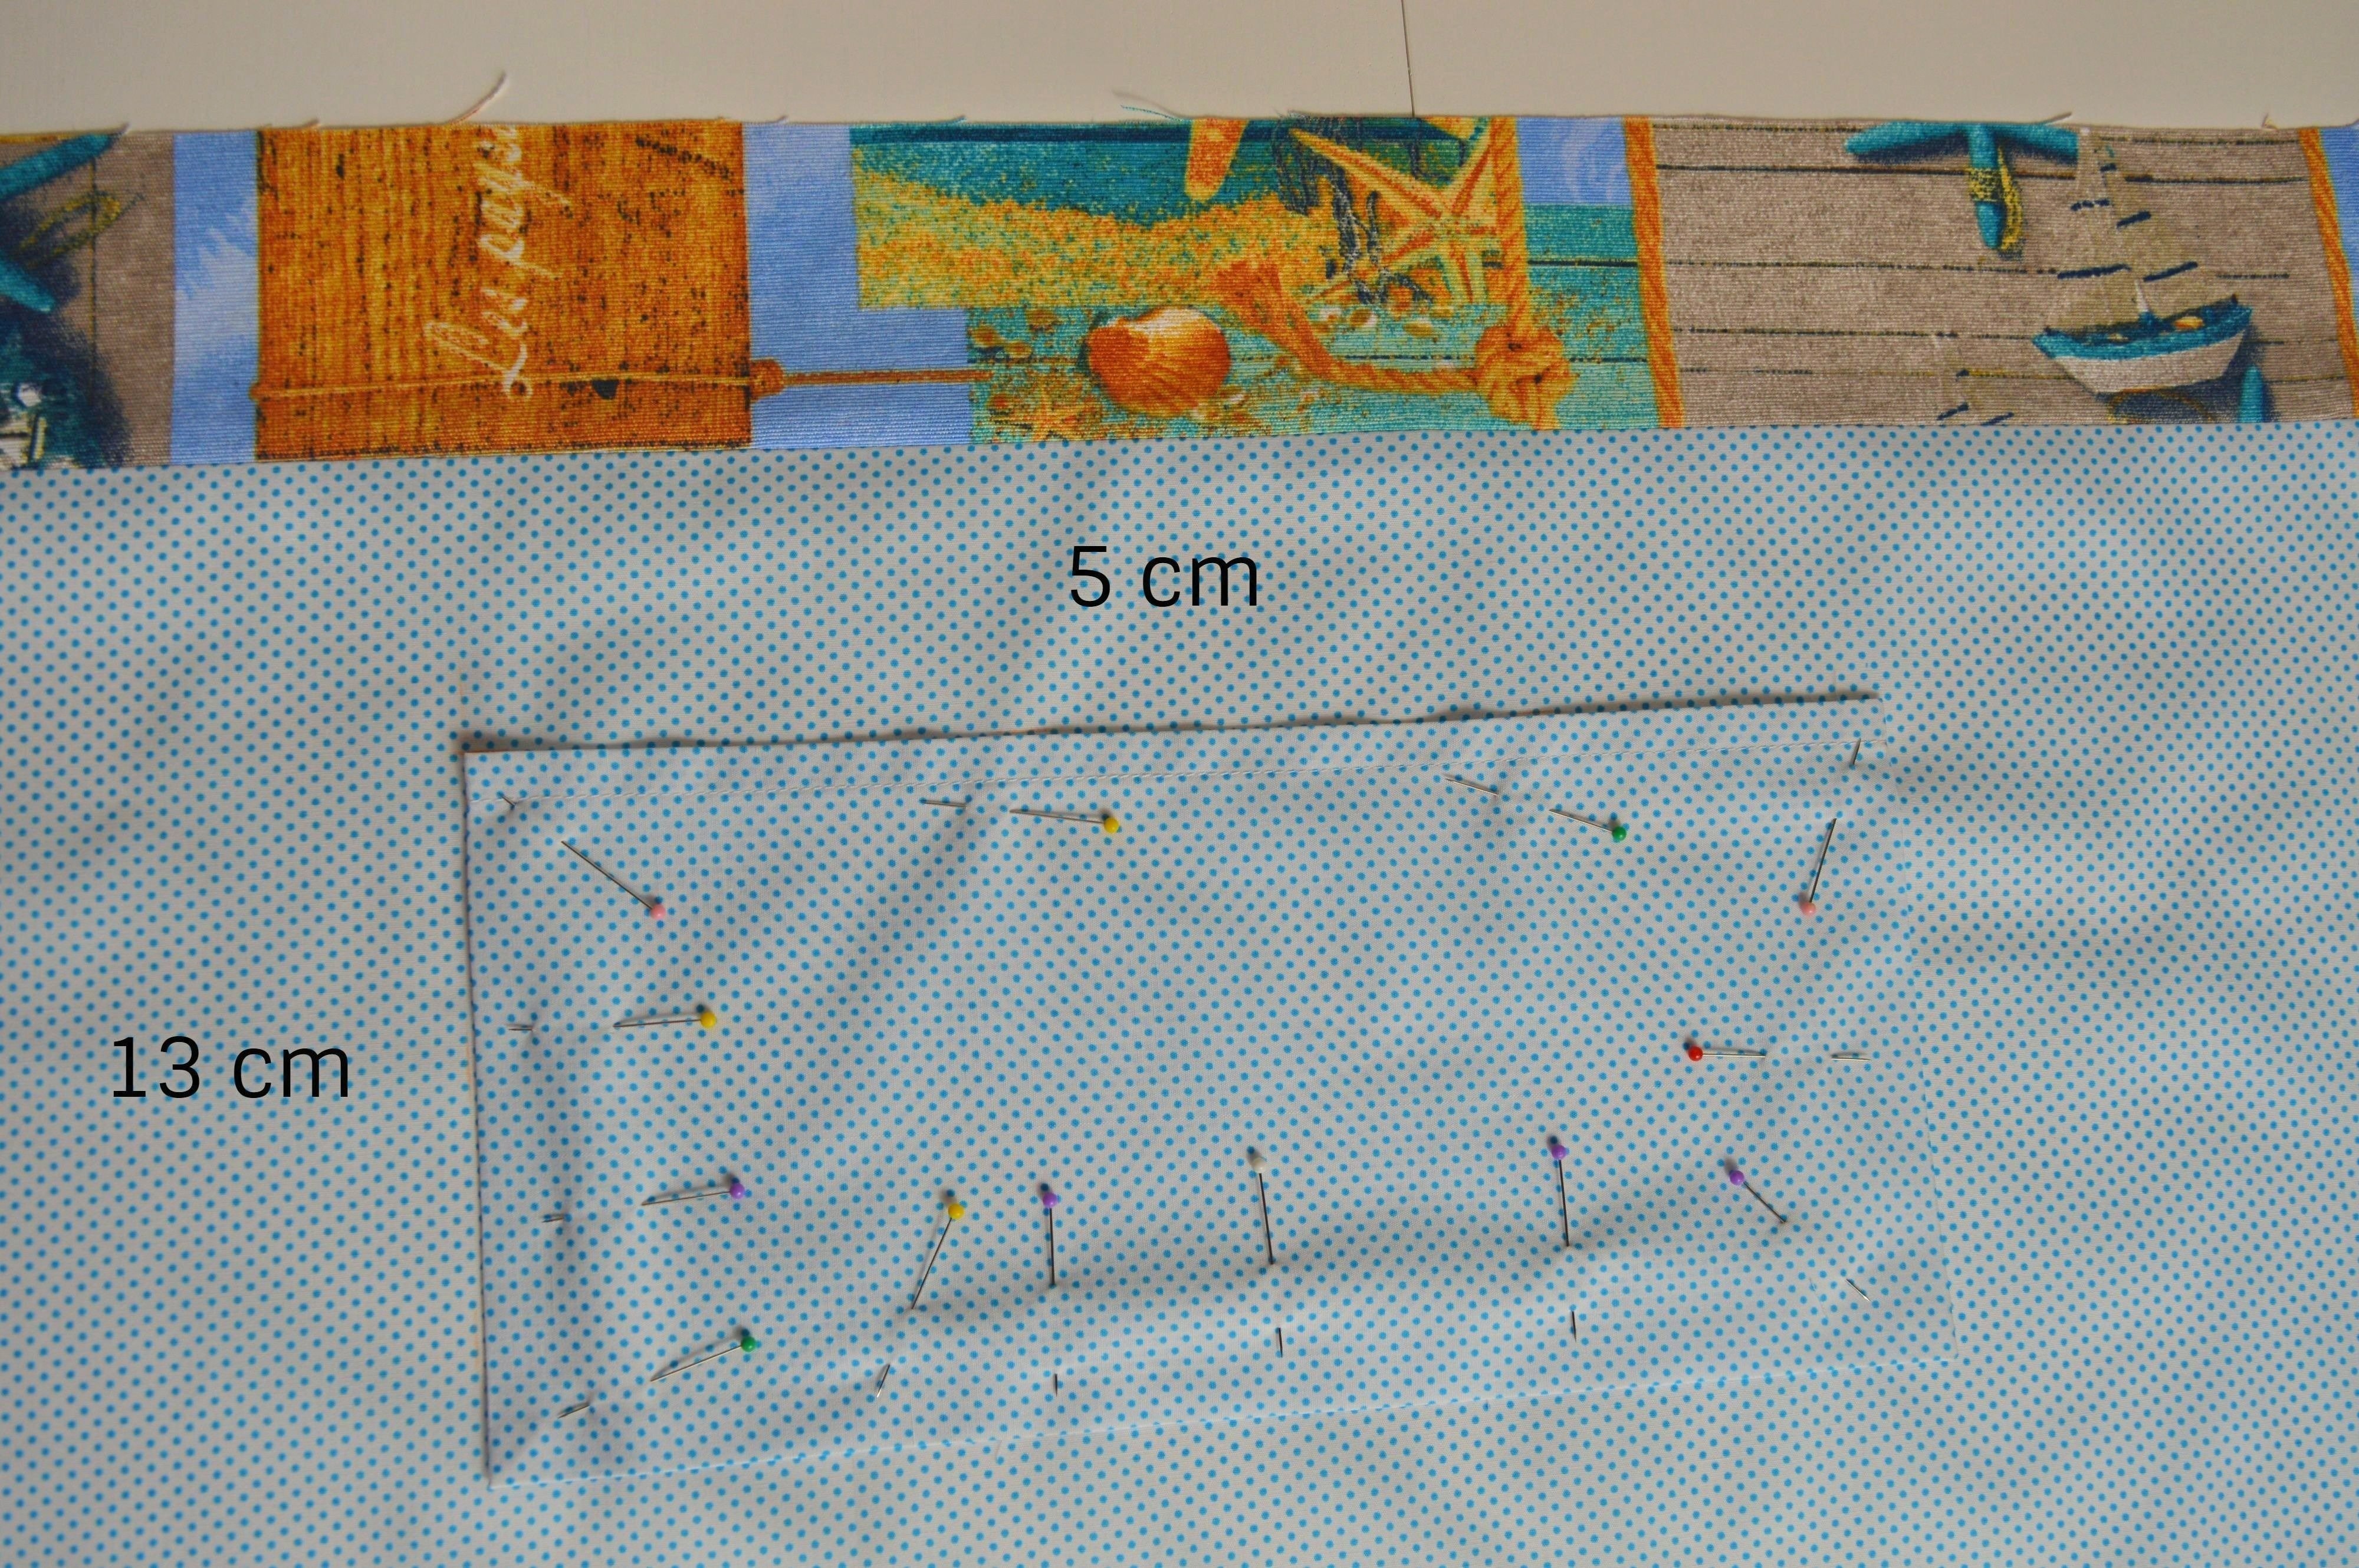
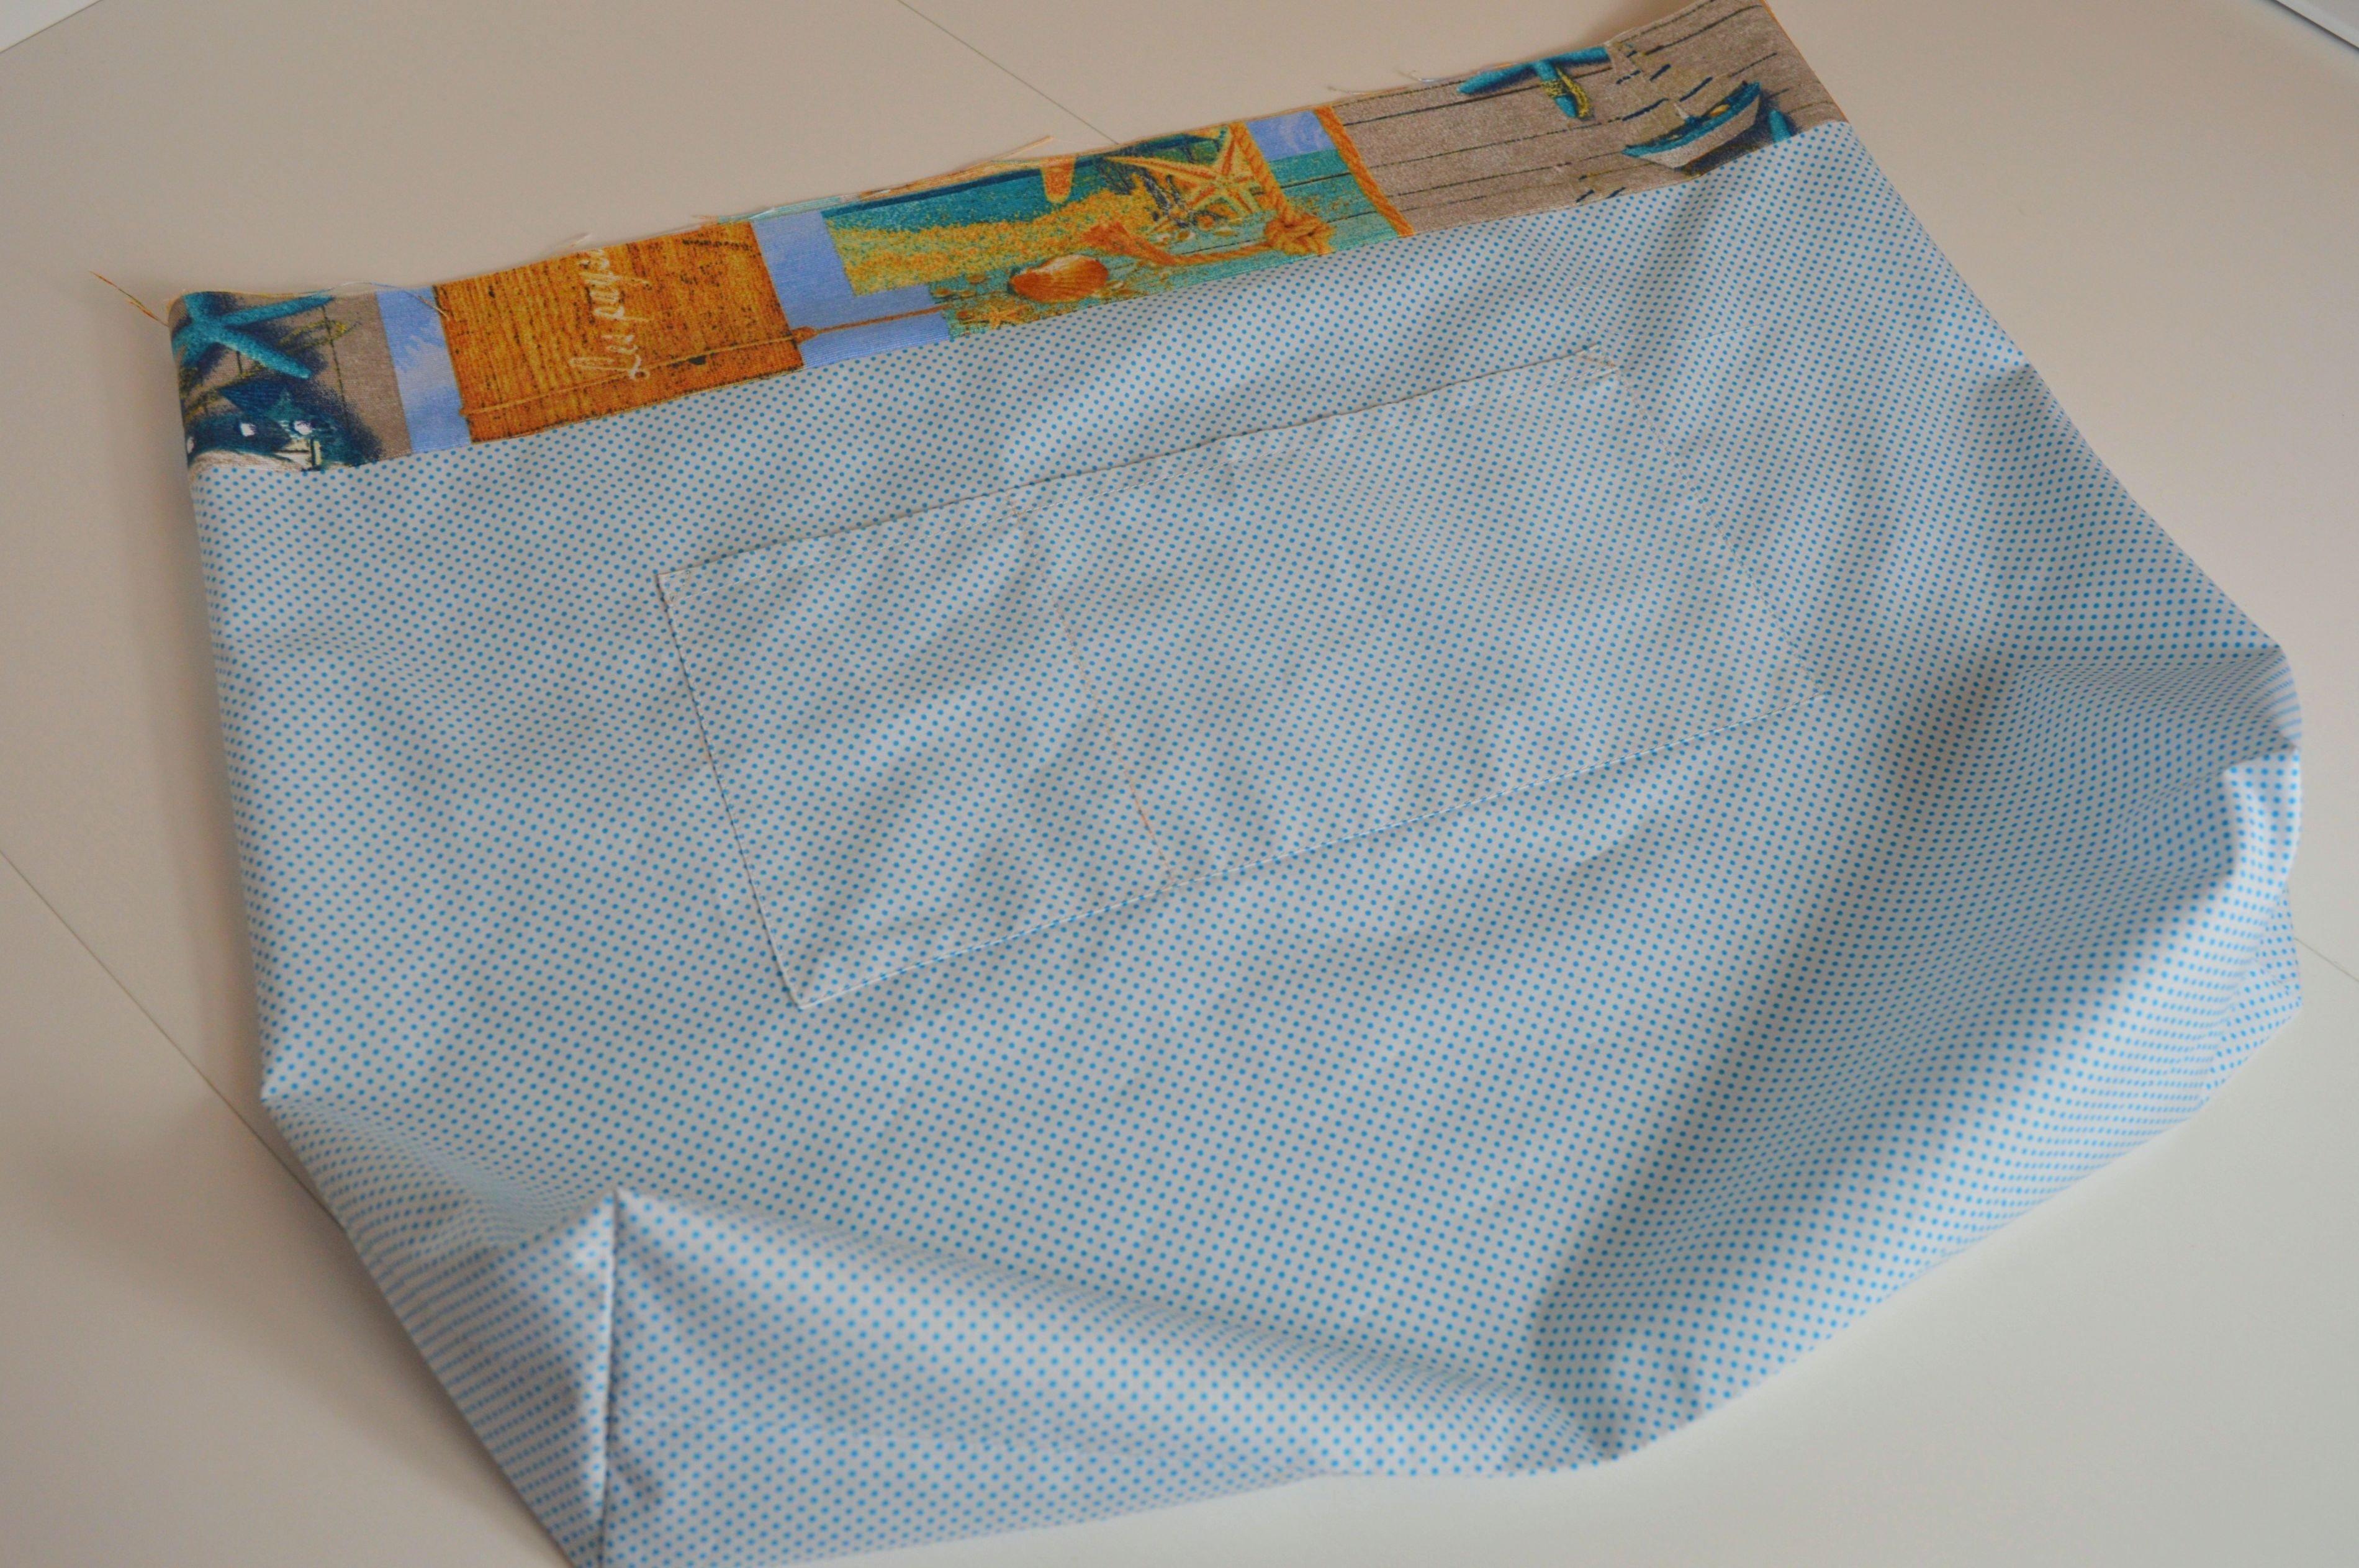
The pocket will be sewn on one piece of the interior, but first, you need to mark where the pocket would be positioned.
The pocket will be placed at 5 cm below the stitch of joining two fabrics, mark that line.
As the finished width of the pocket is 31 cm and the width of the lining 57 cm, mark from the left and right side of that piece 13 cm (57 – 31 = 26/2 = 13 cm) so your pocket will be on the middle.
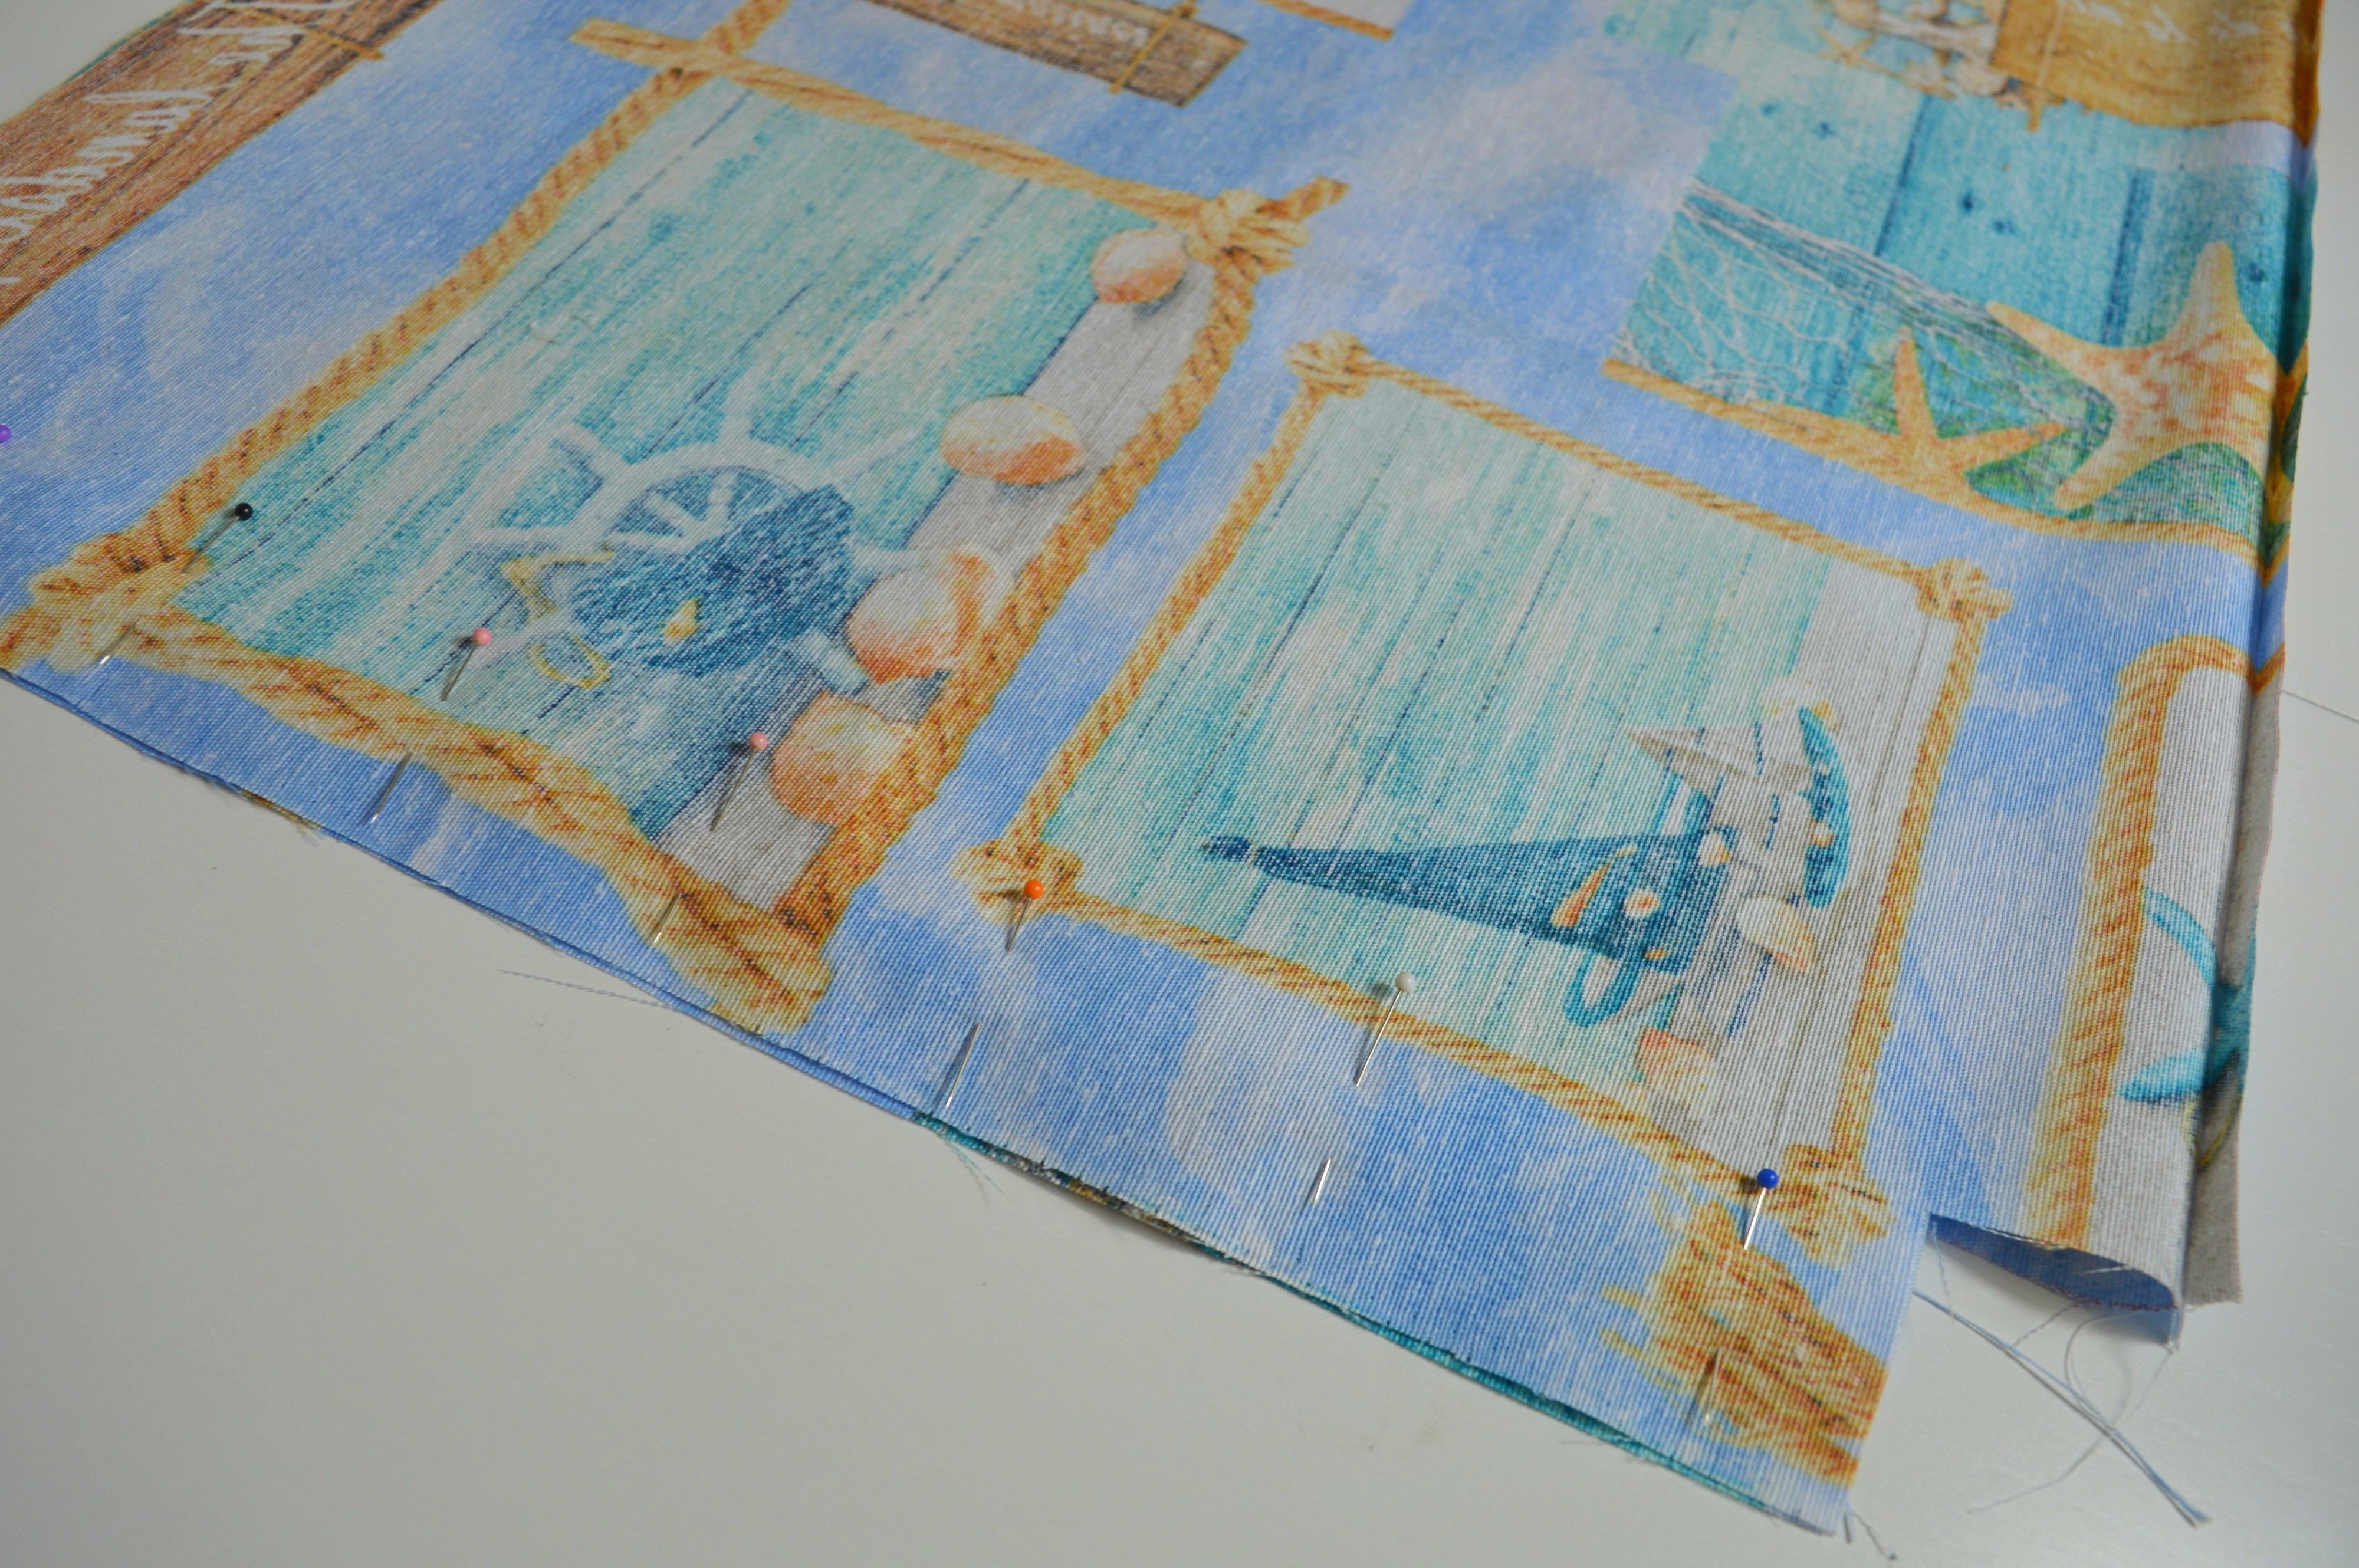
When you attach the pocket with the pins or light hand stitch, sew it as close as possible to the edge.
To make sewing easier, it is very useful to have the reverse-pattern foot with clear sole #34 .
(I moved the needle to the right two positions and the red line on the foot follows the edge of the pocket, so the stitch is parallel to the edge line and close enough to the edges.)
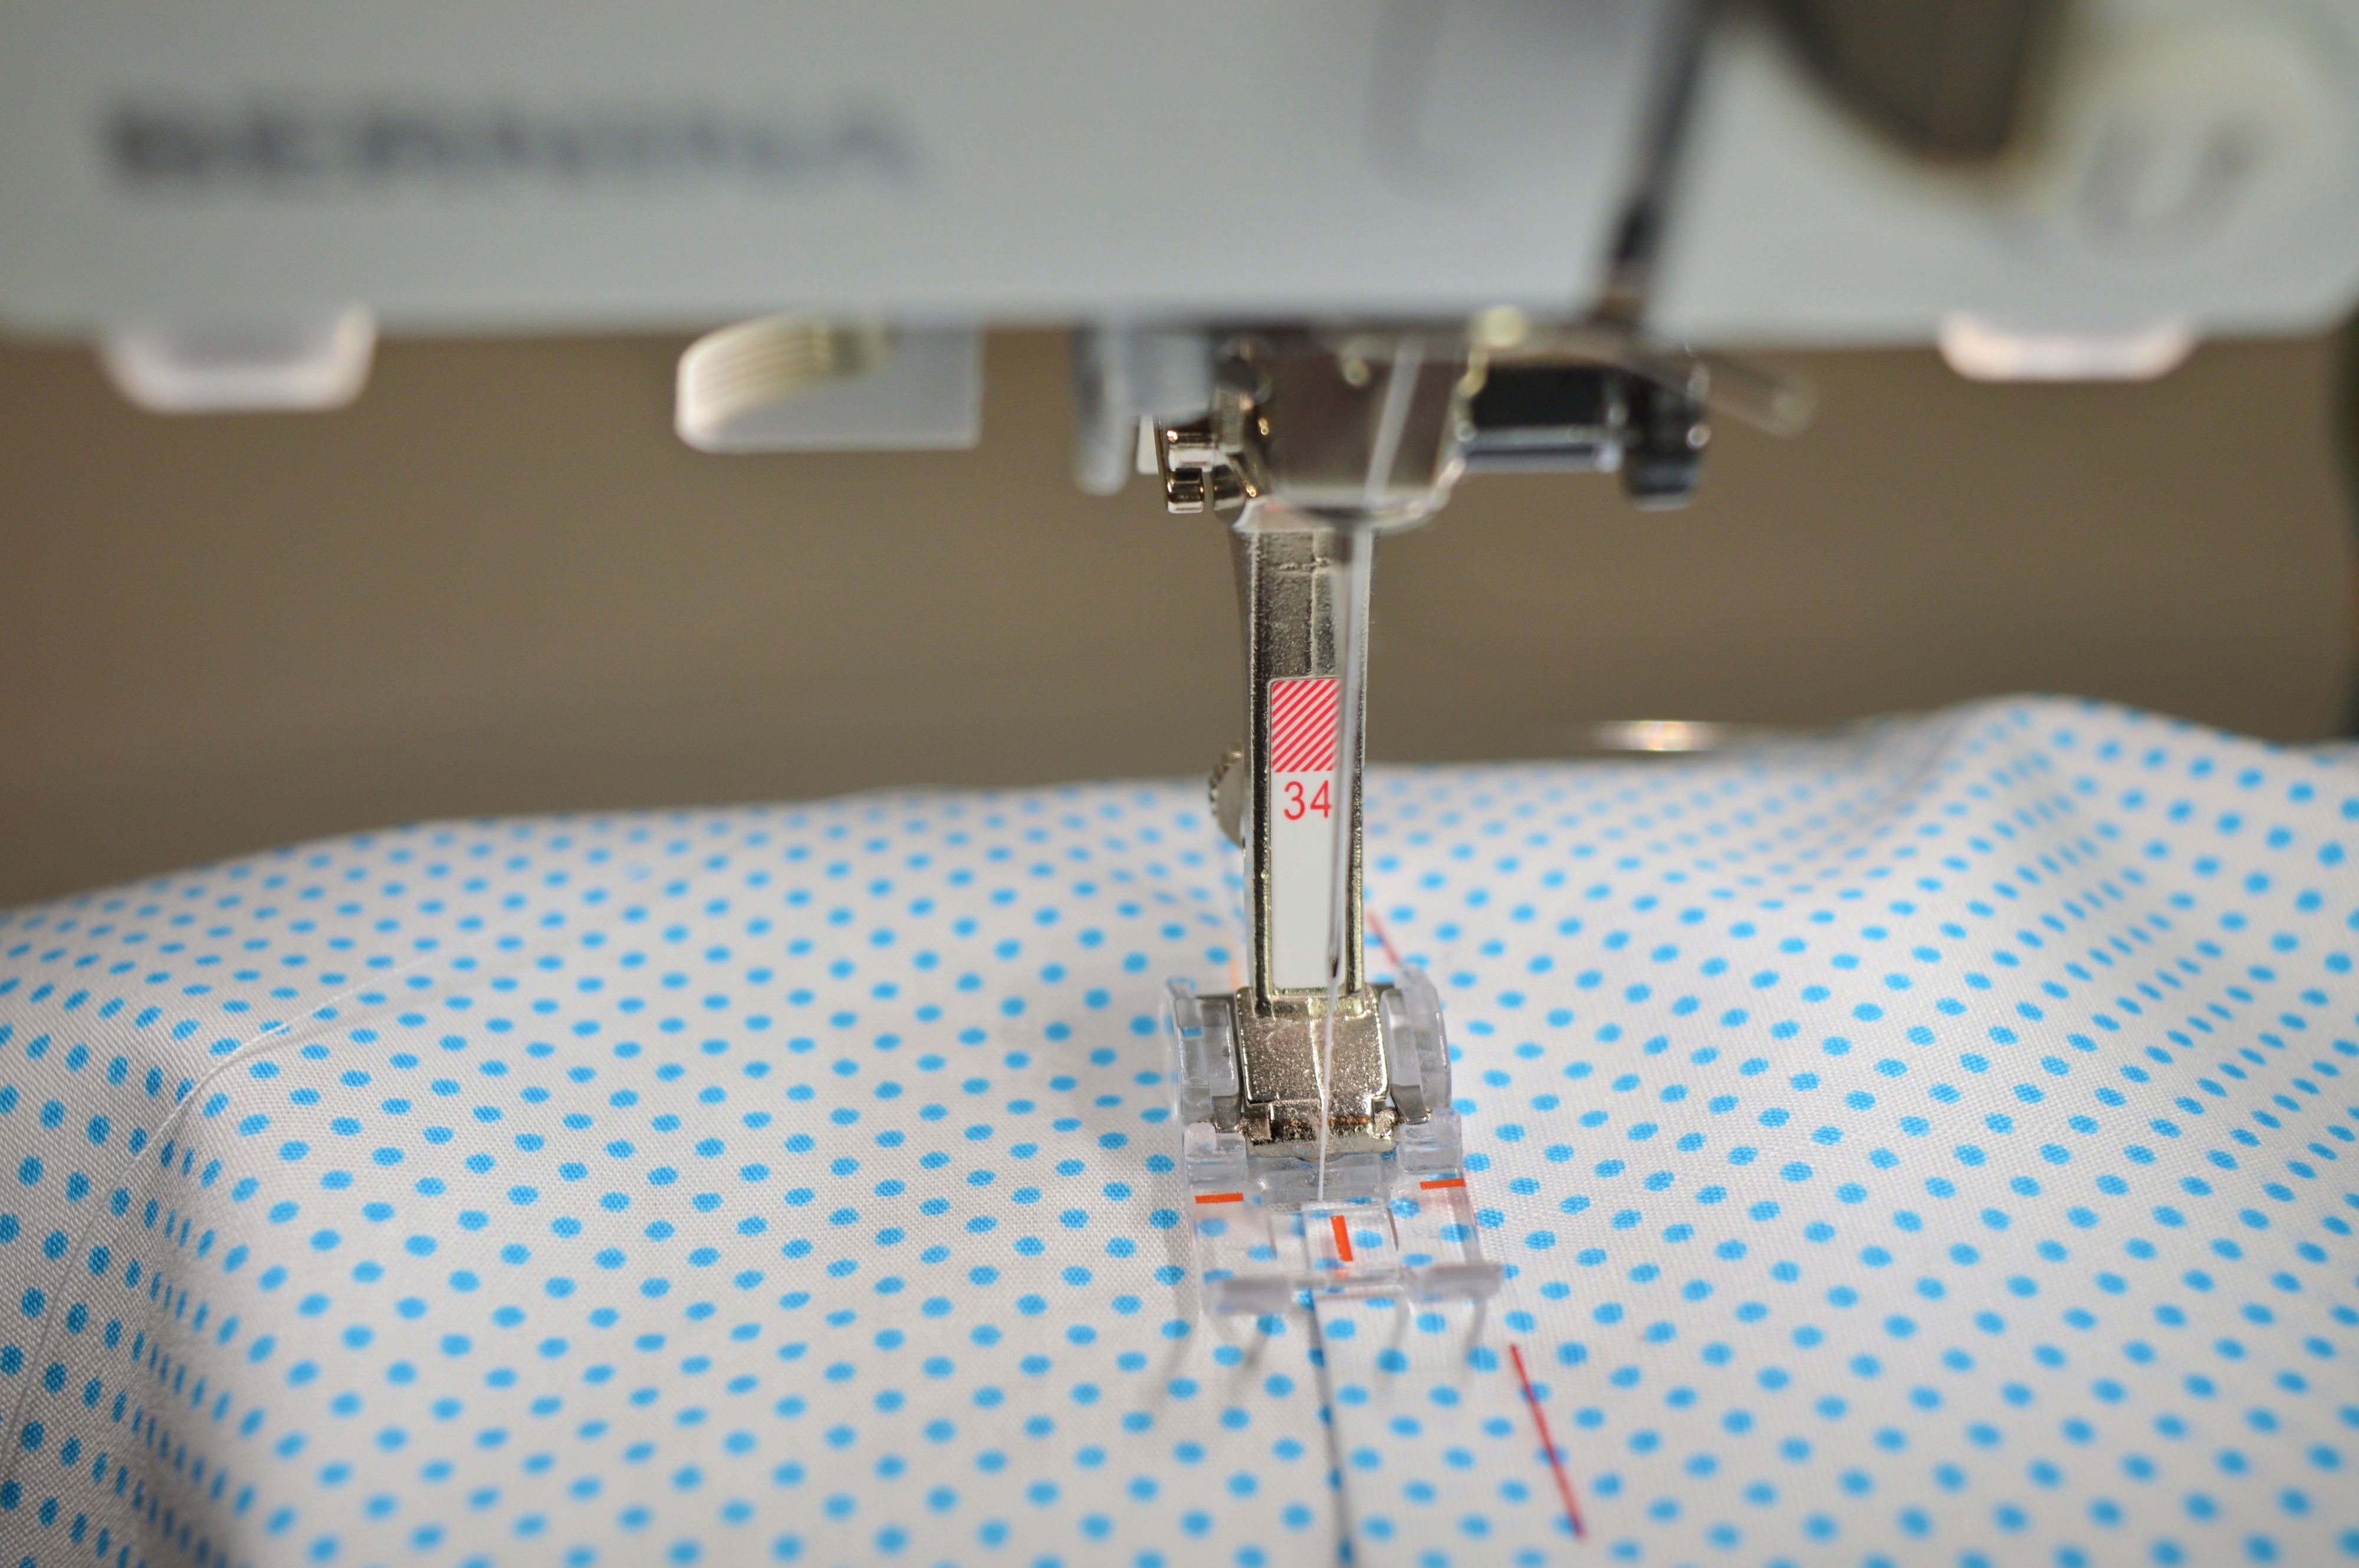
#34
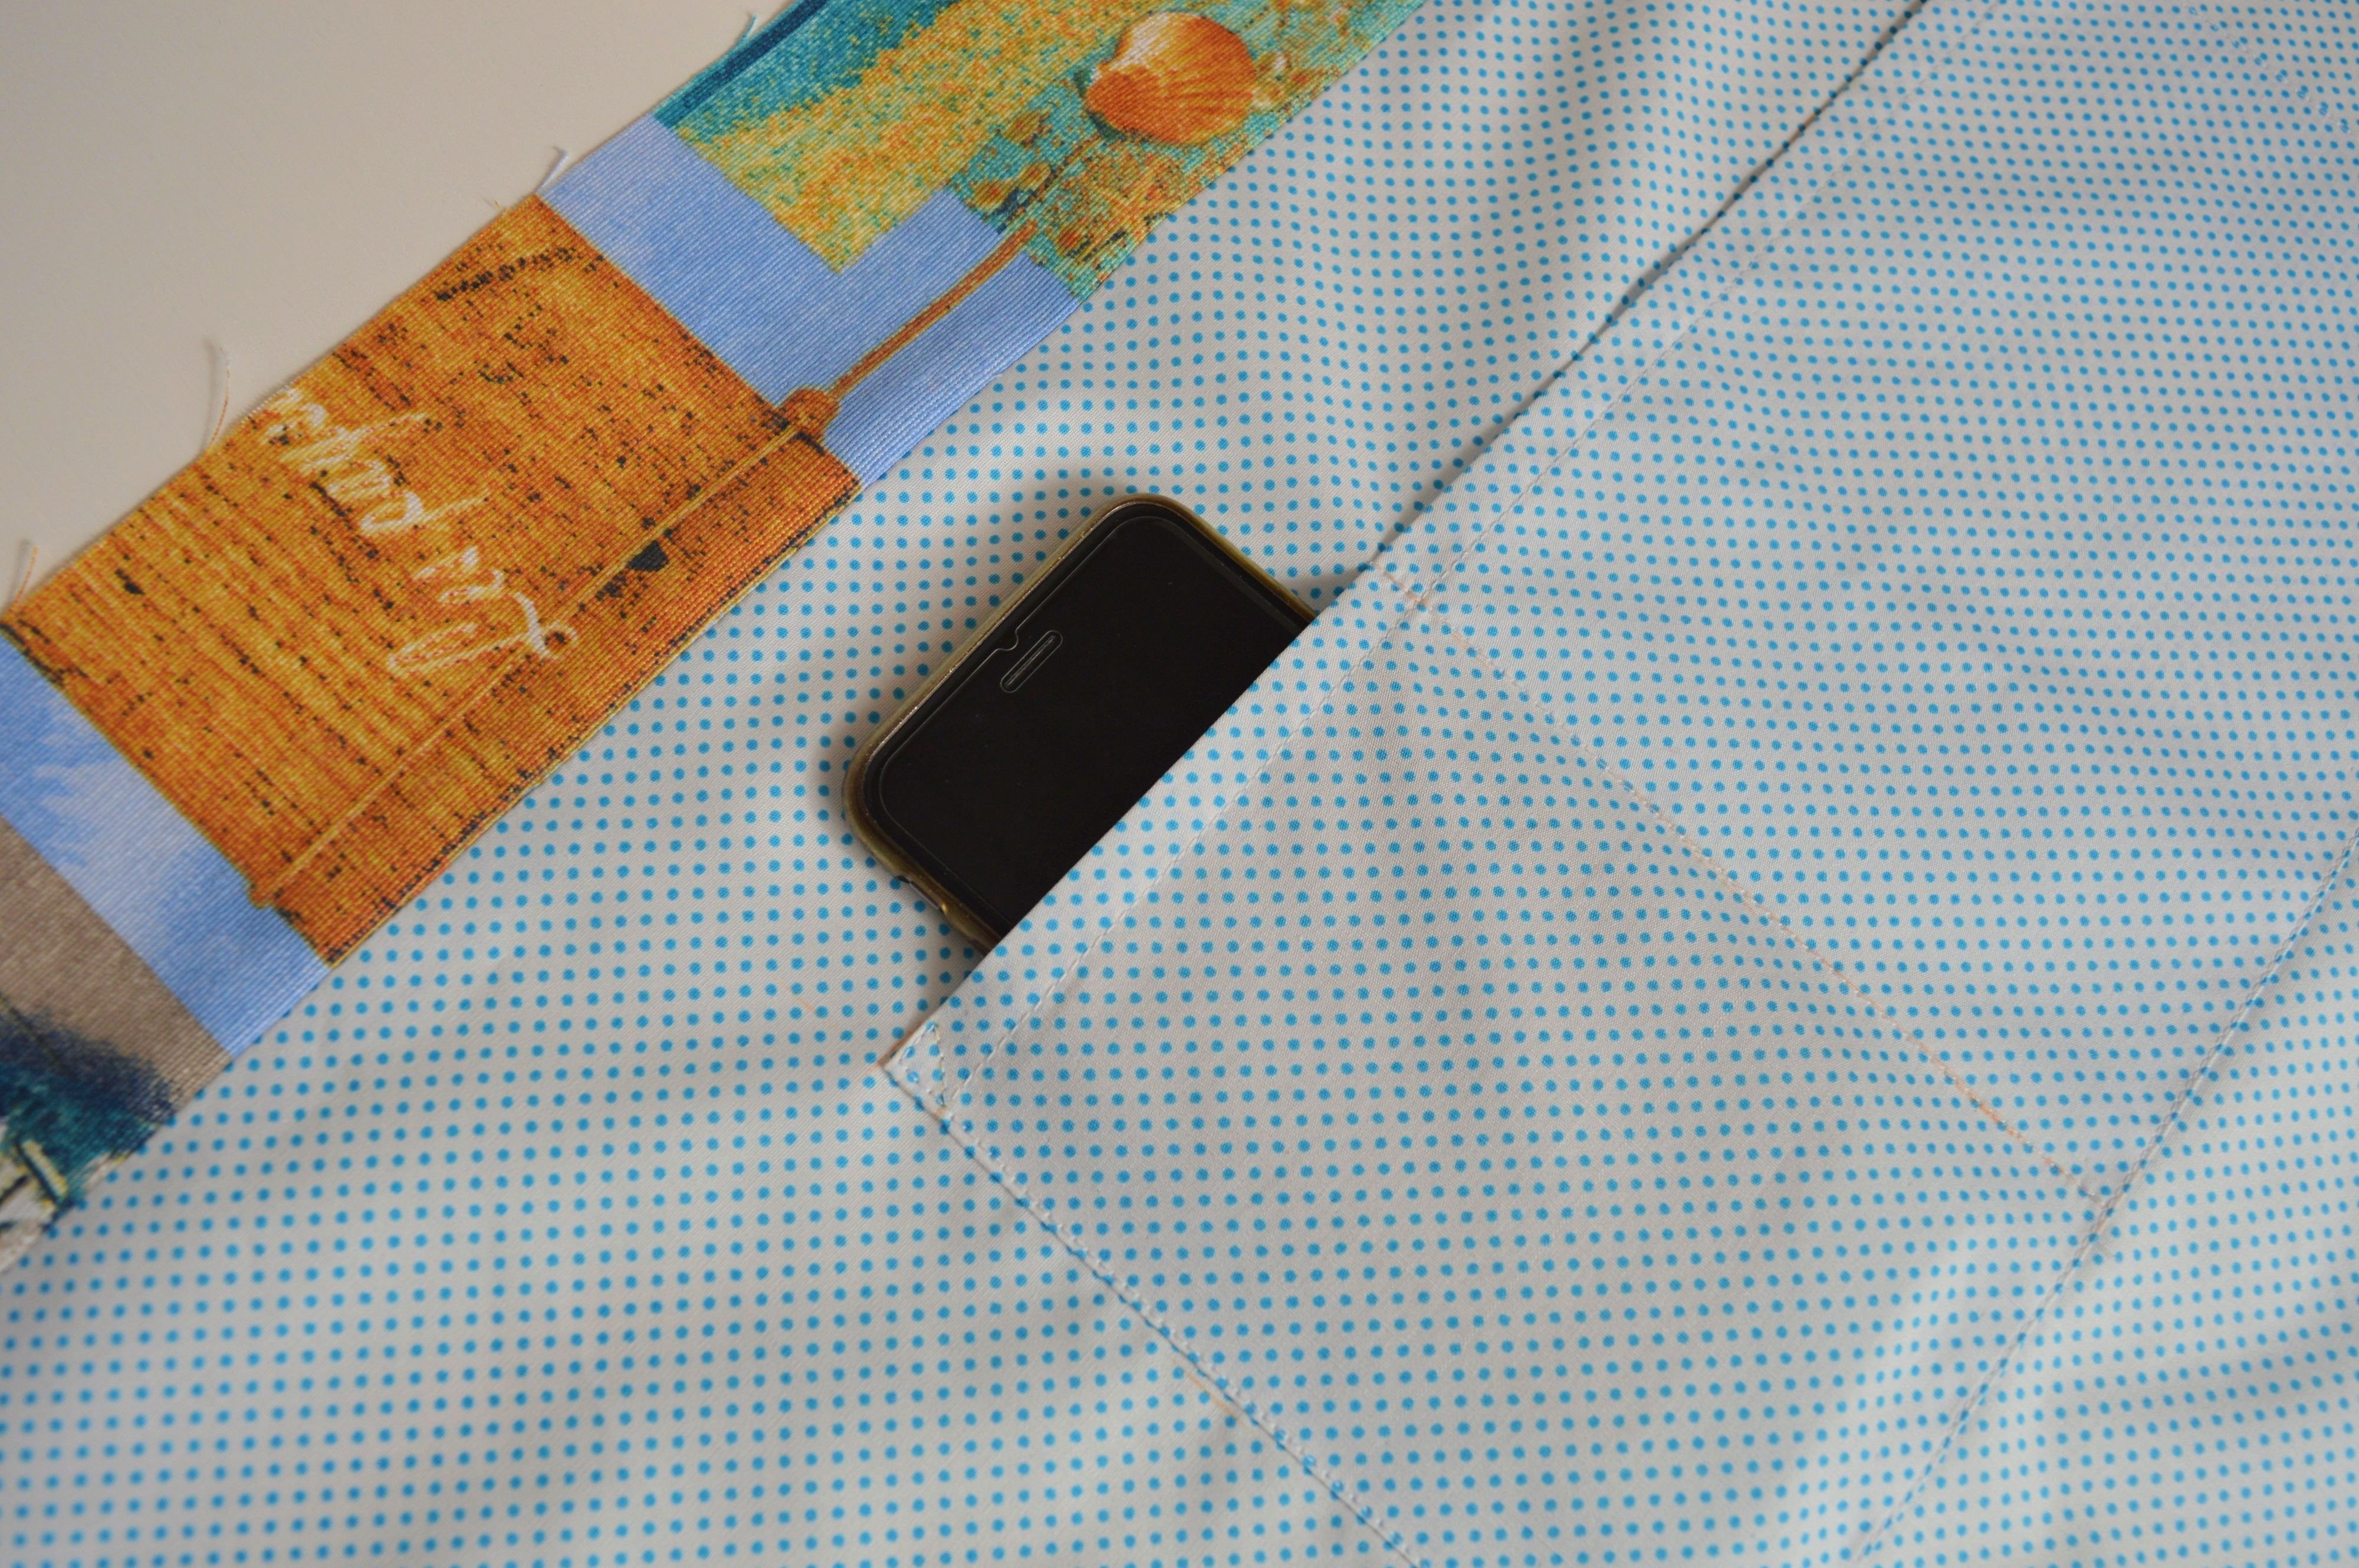
They are several ways to finish corners on the top edge, you can choose the one you like most.
Since I have adjusted the size of the pocket to my mobile phone, I have marked line 10 cm from one side of the pocket edge and parallelled to it and sew it.
Thus, from one pocket are two pockets 10 and 21 cm width formed.
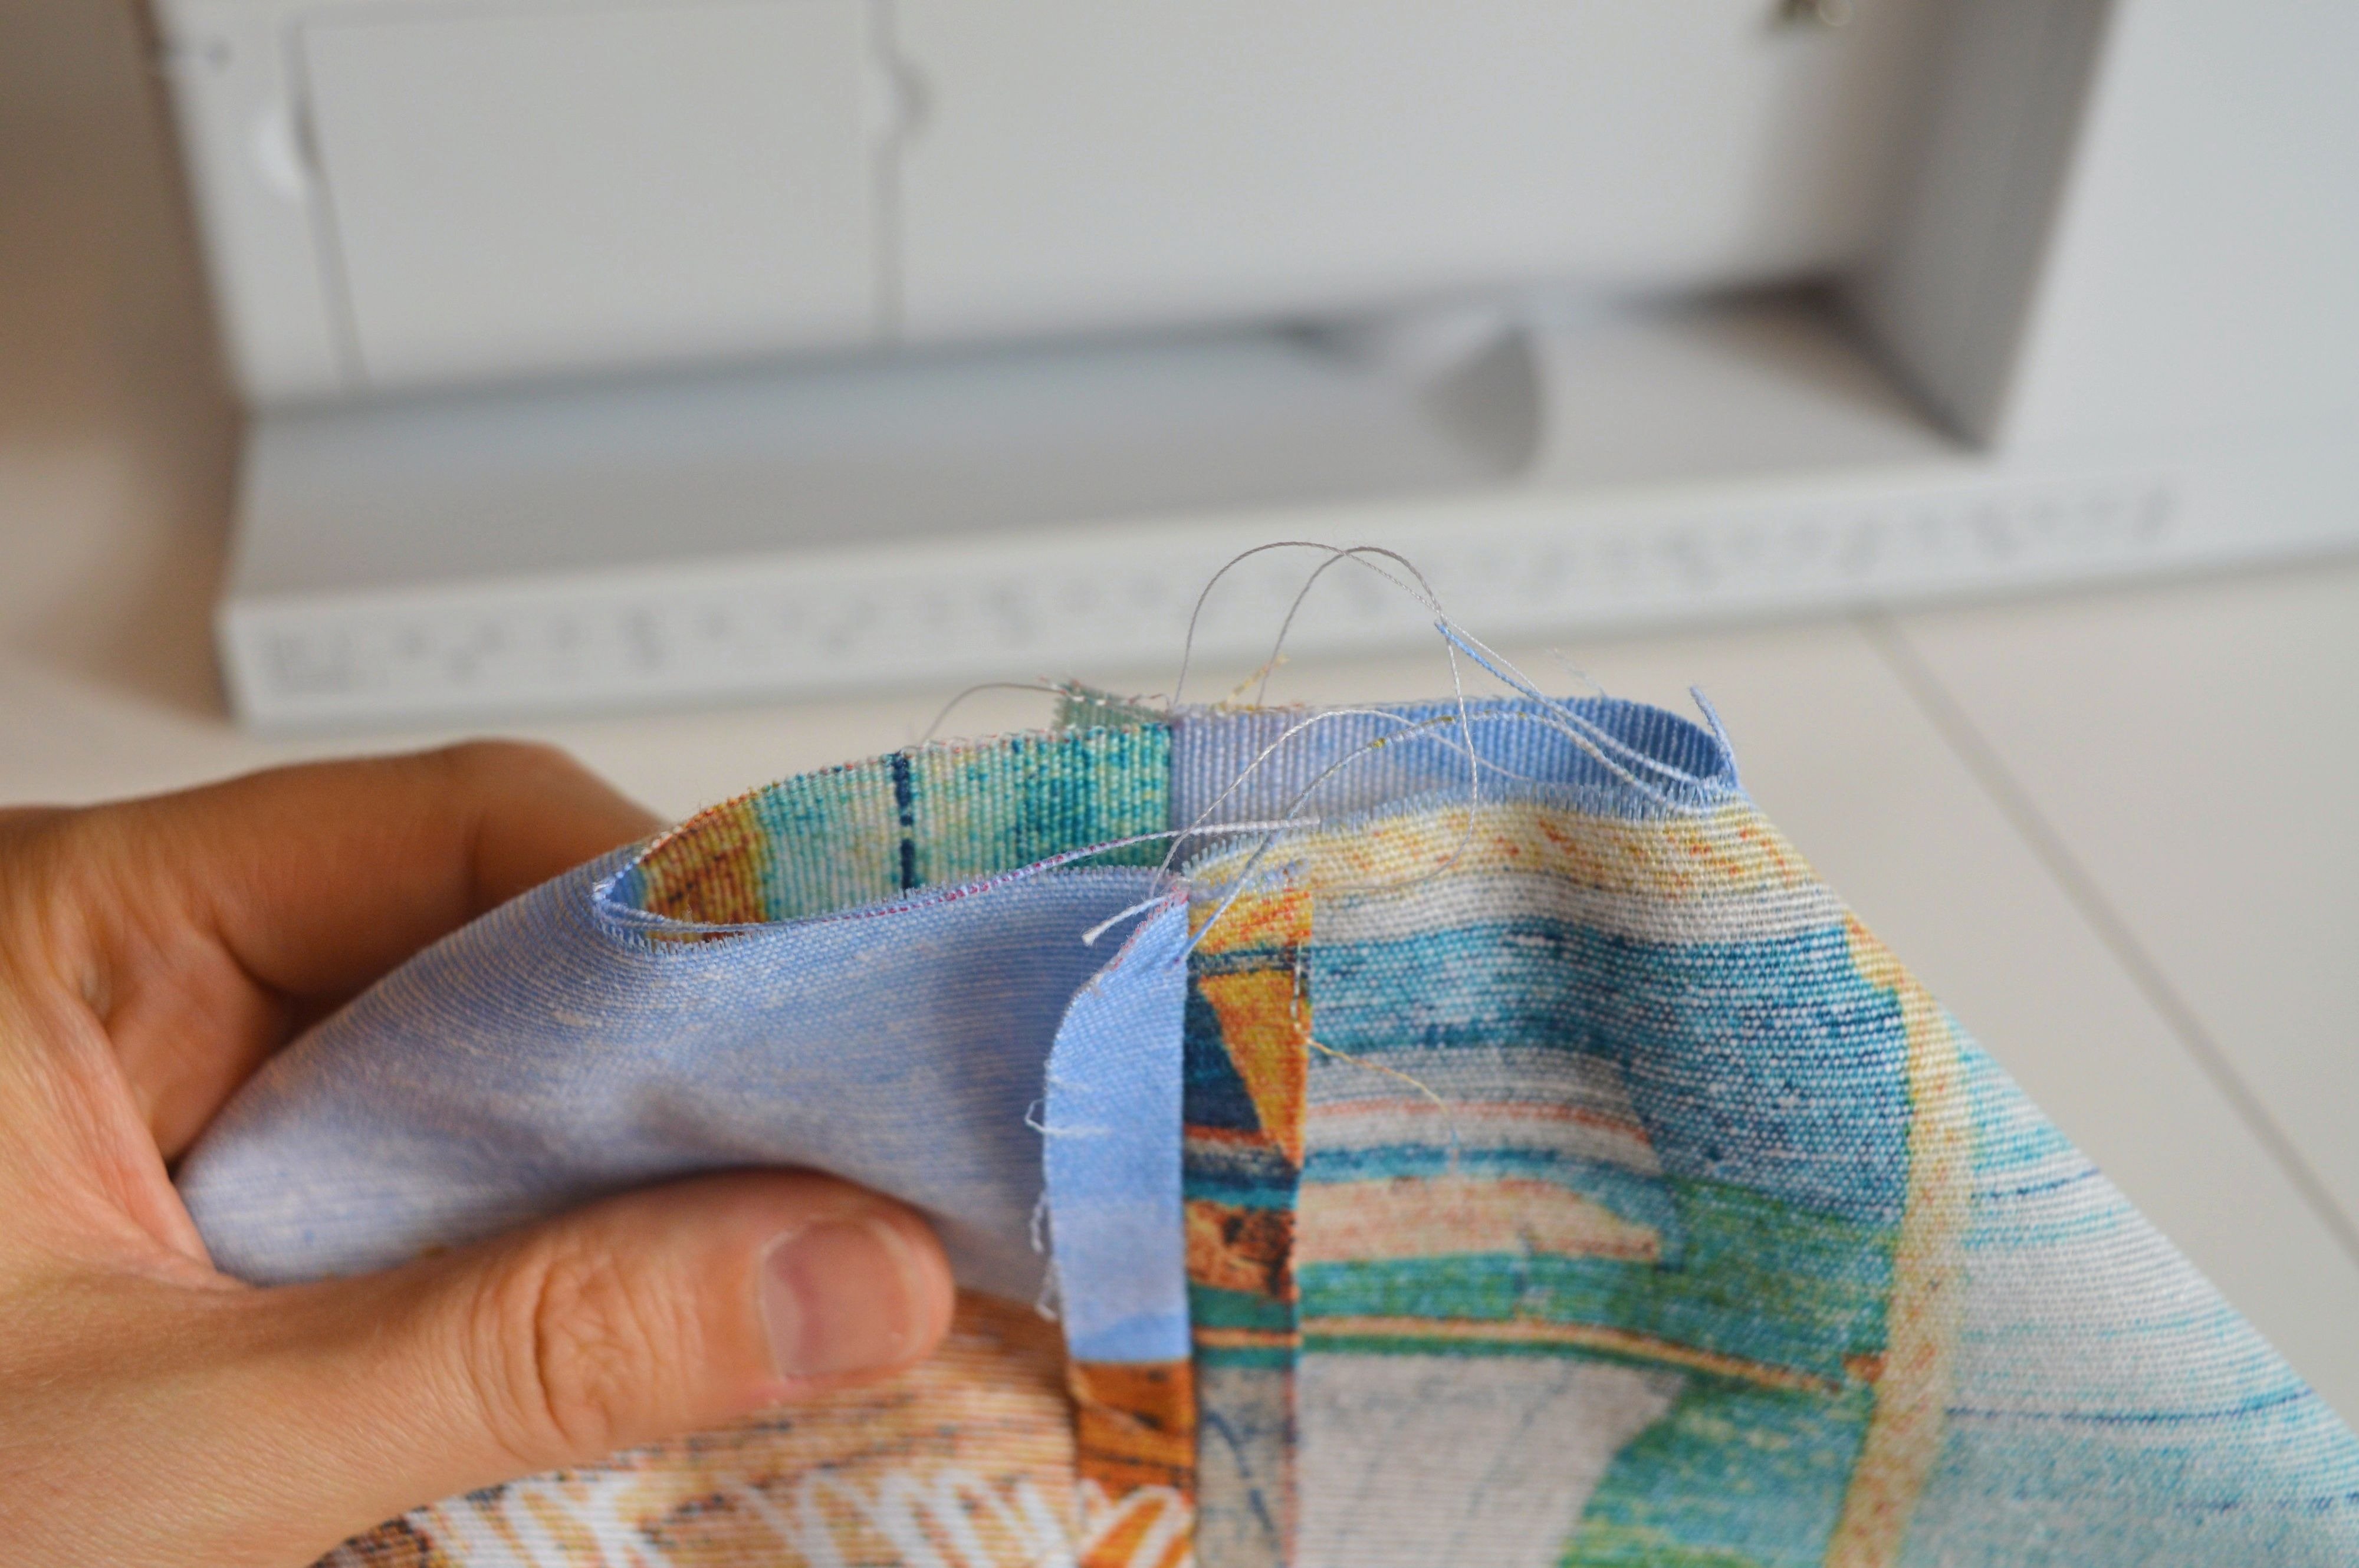
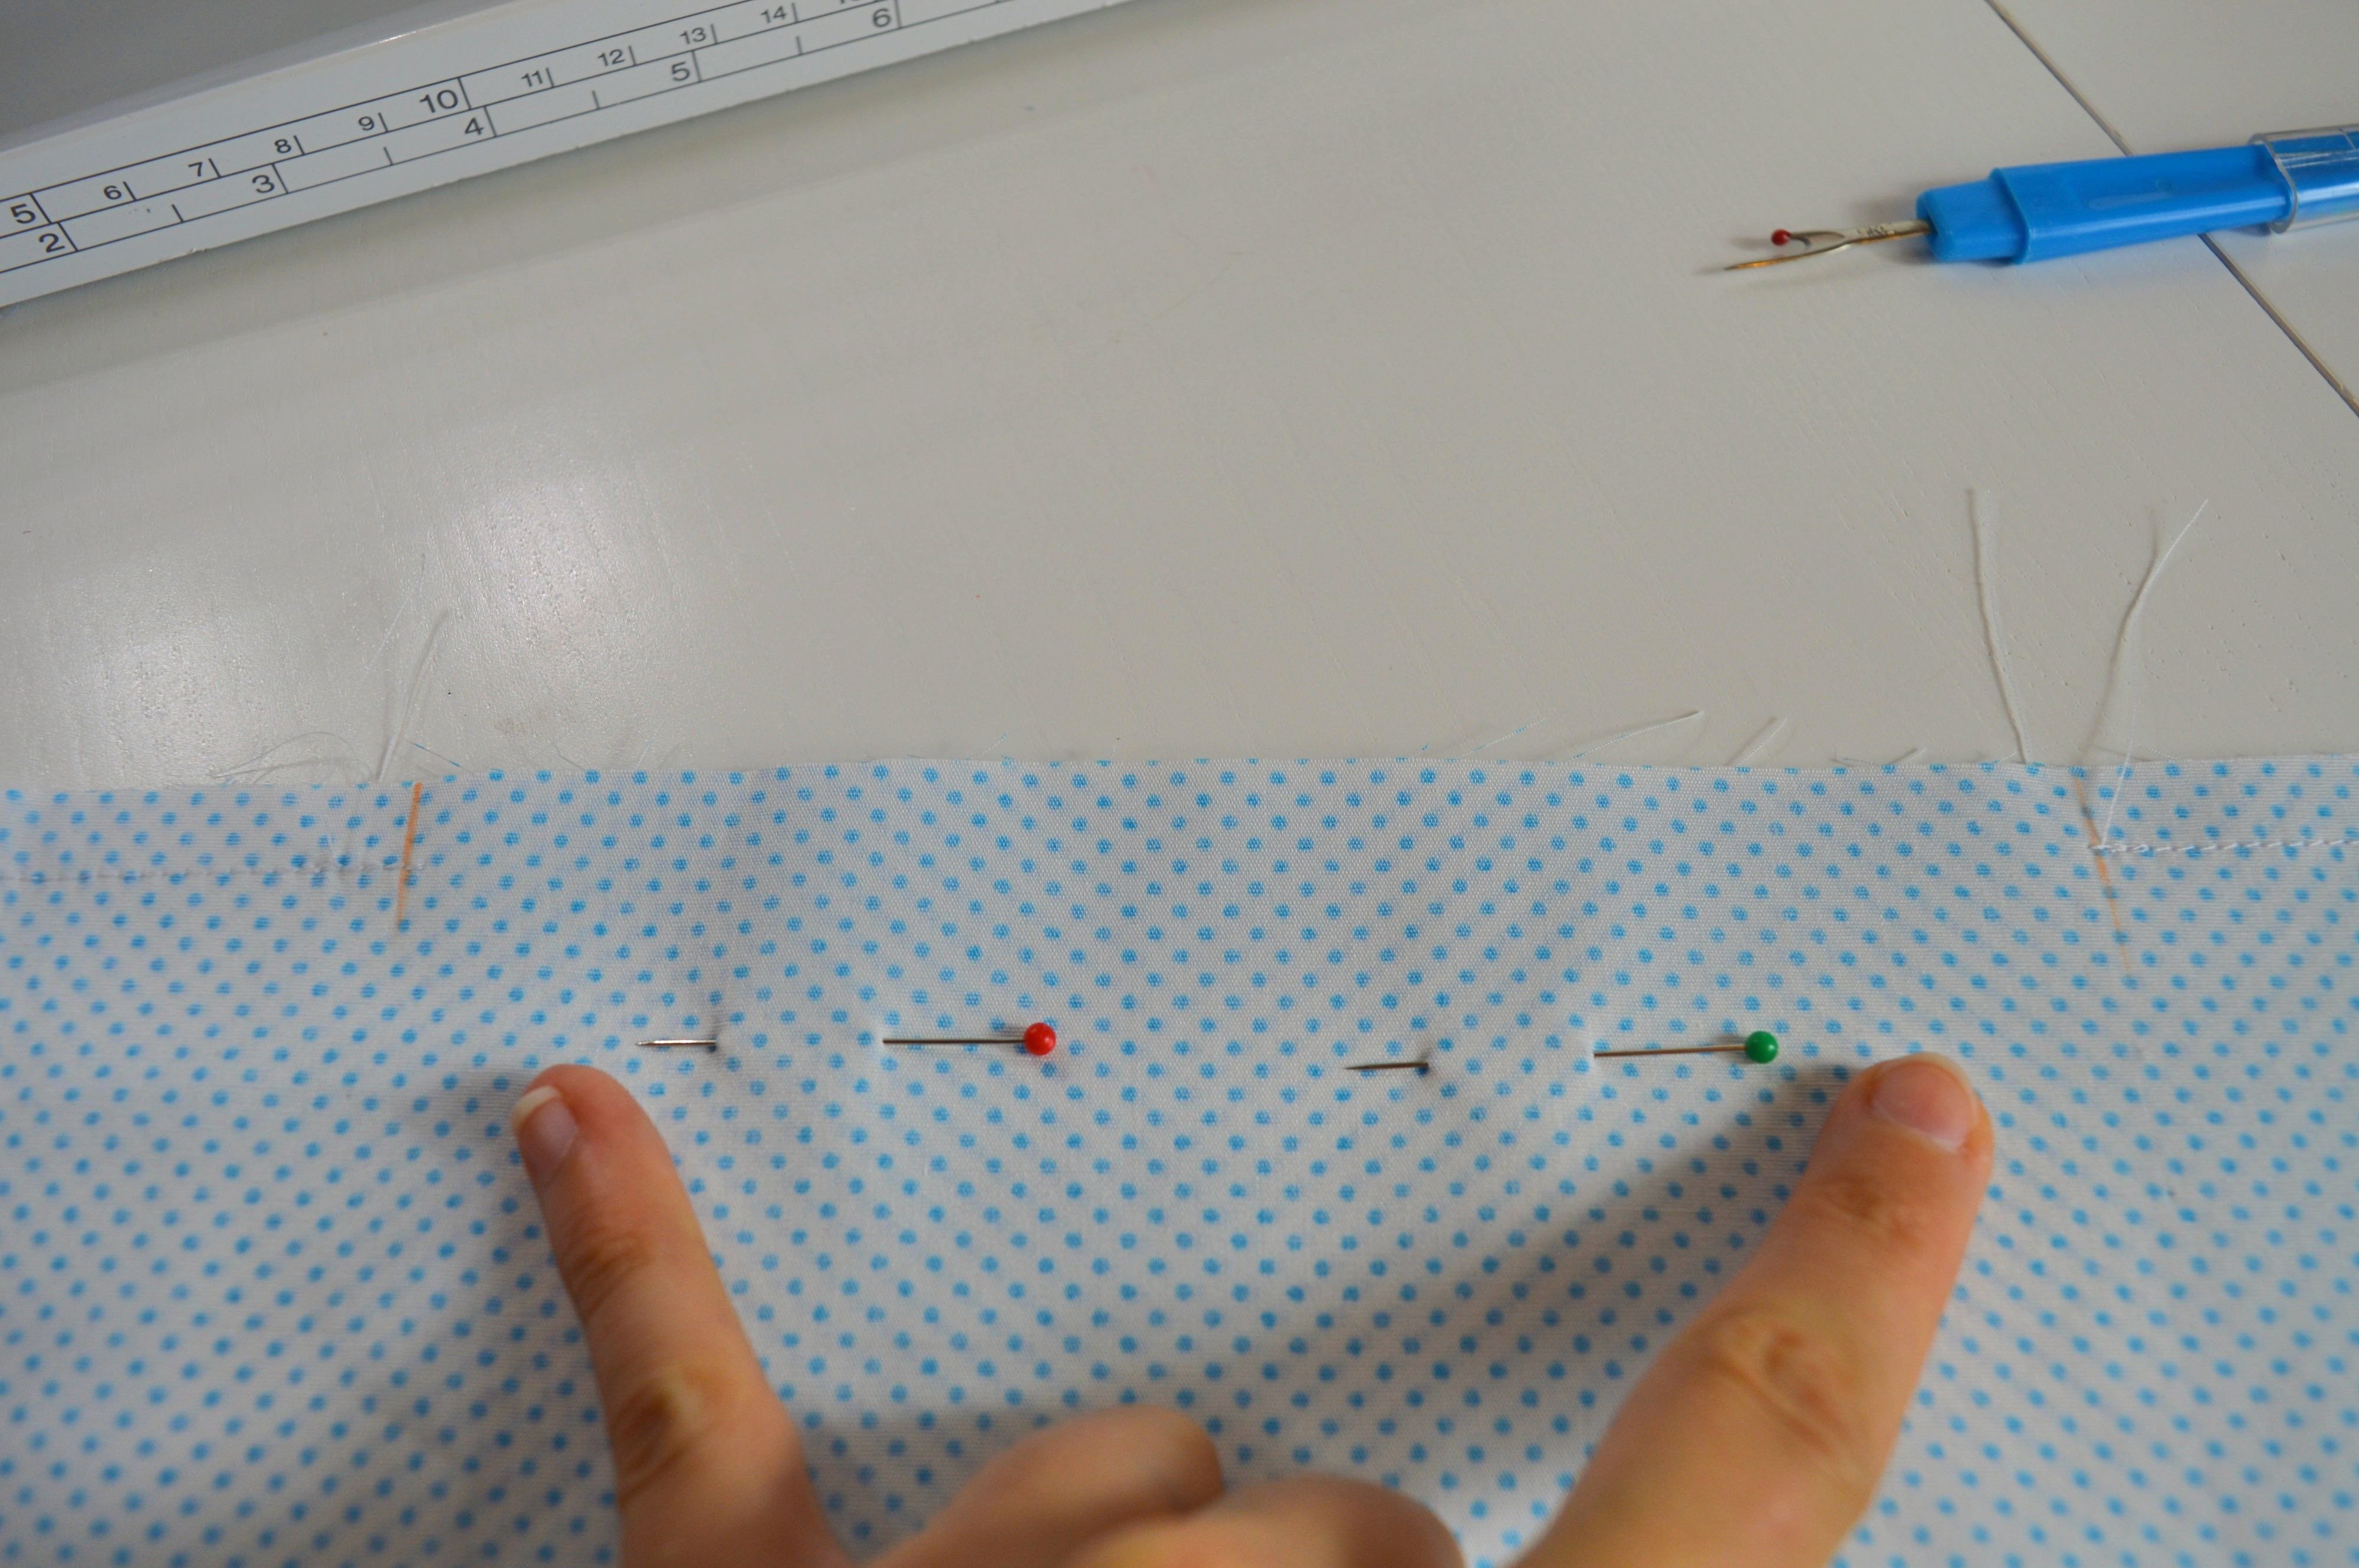
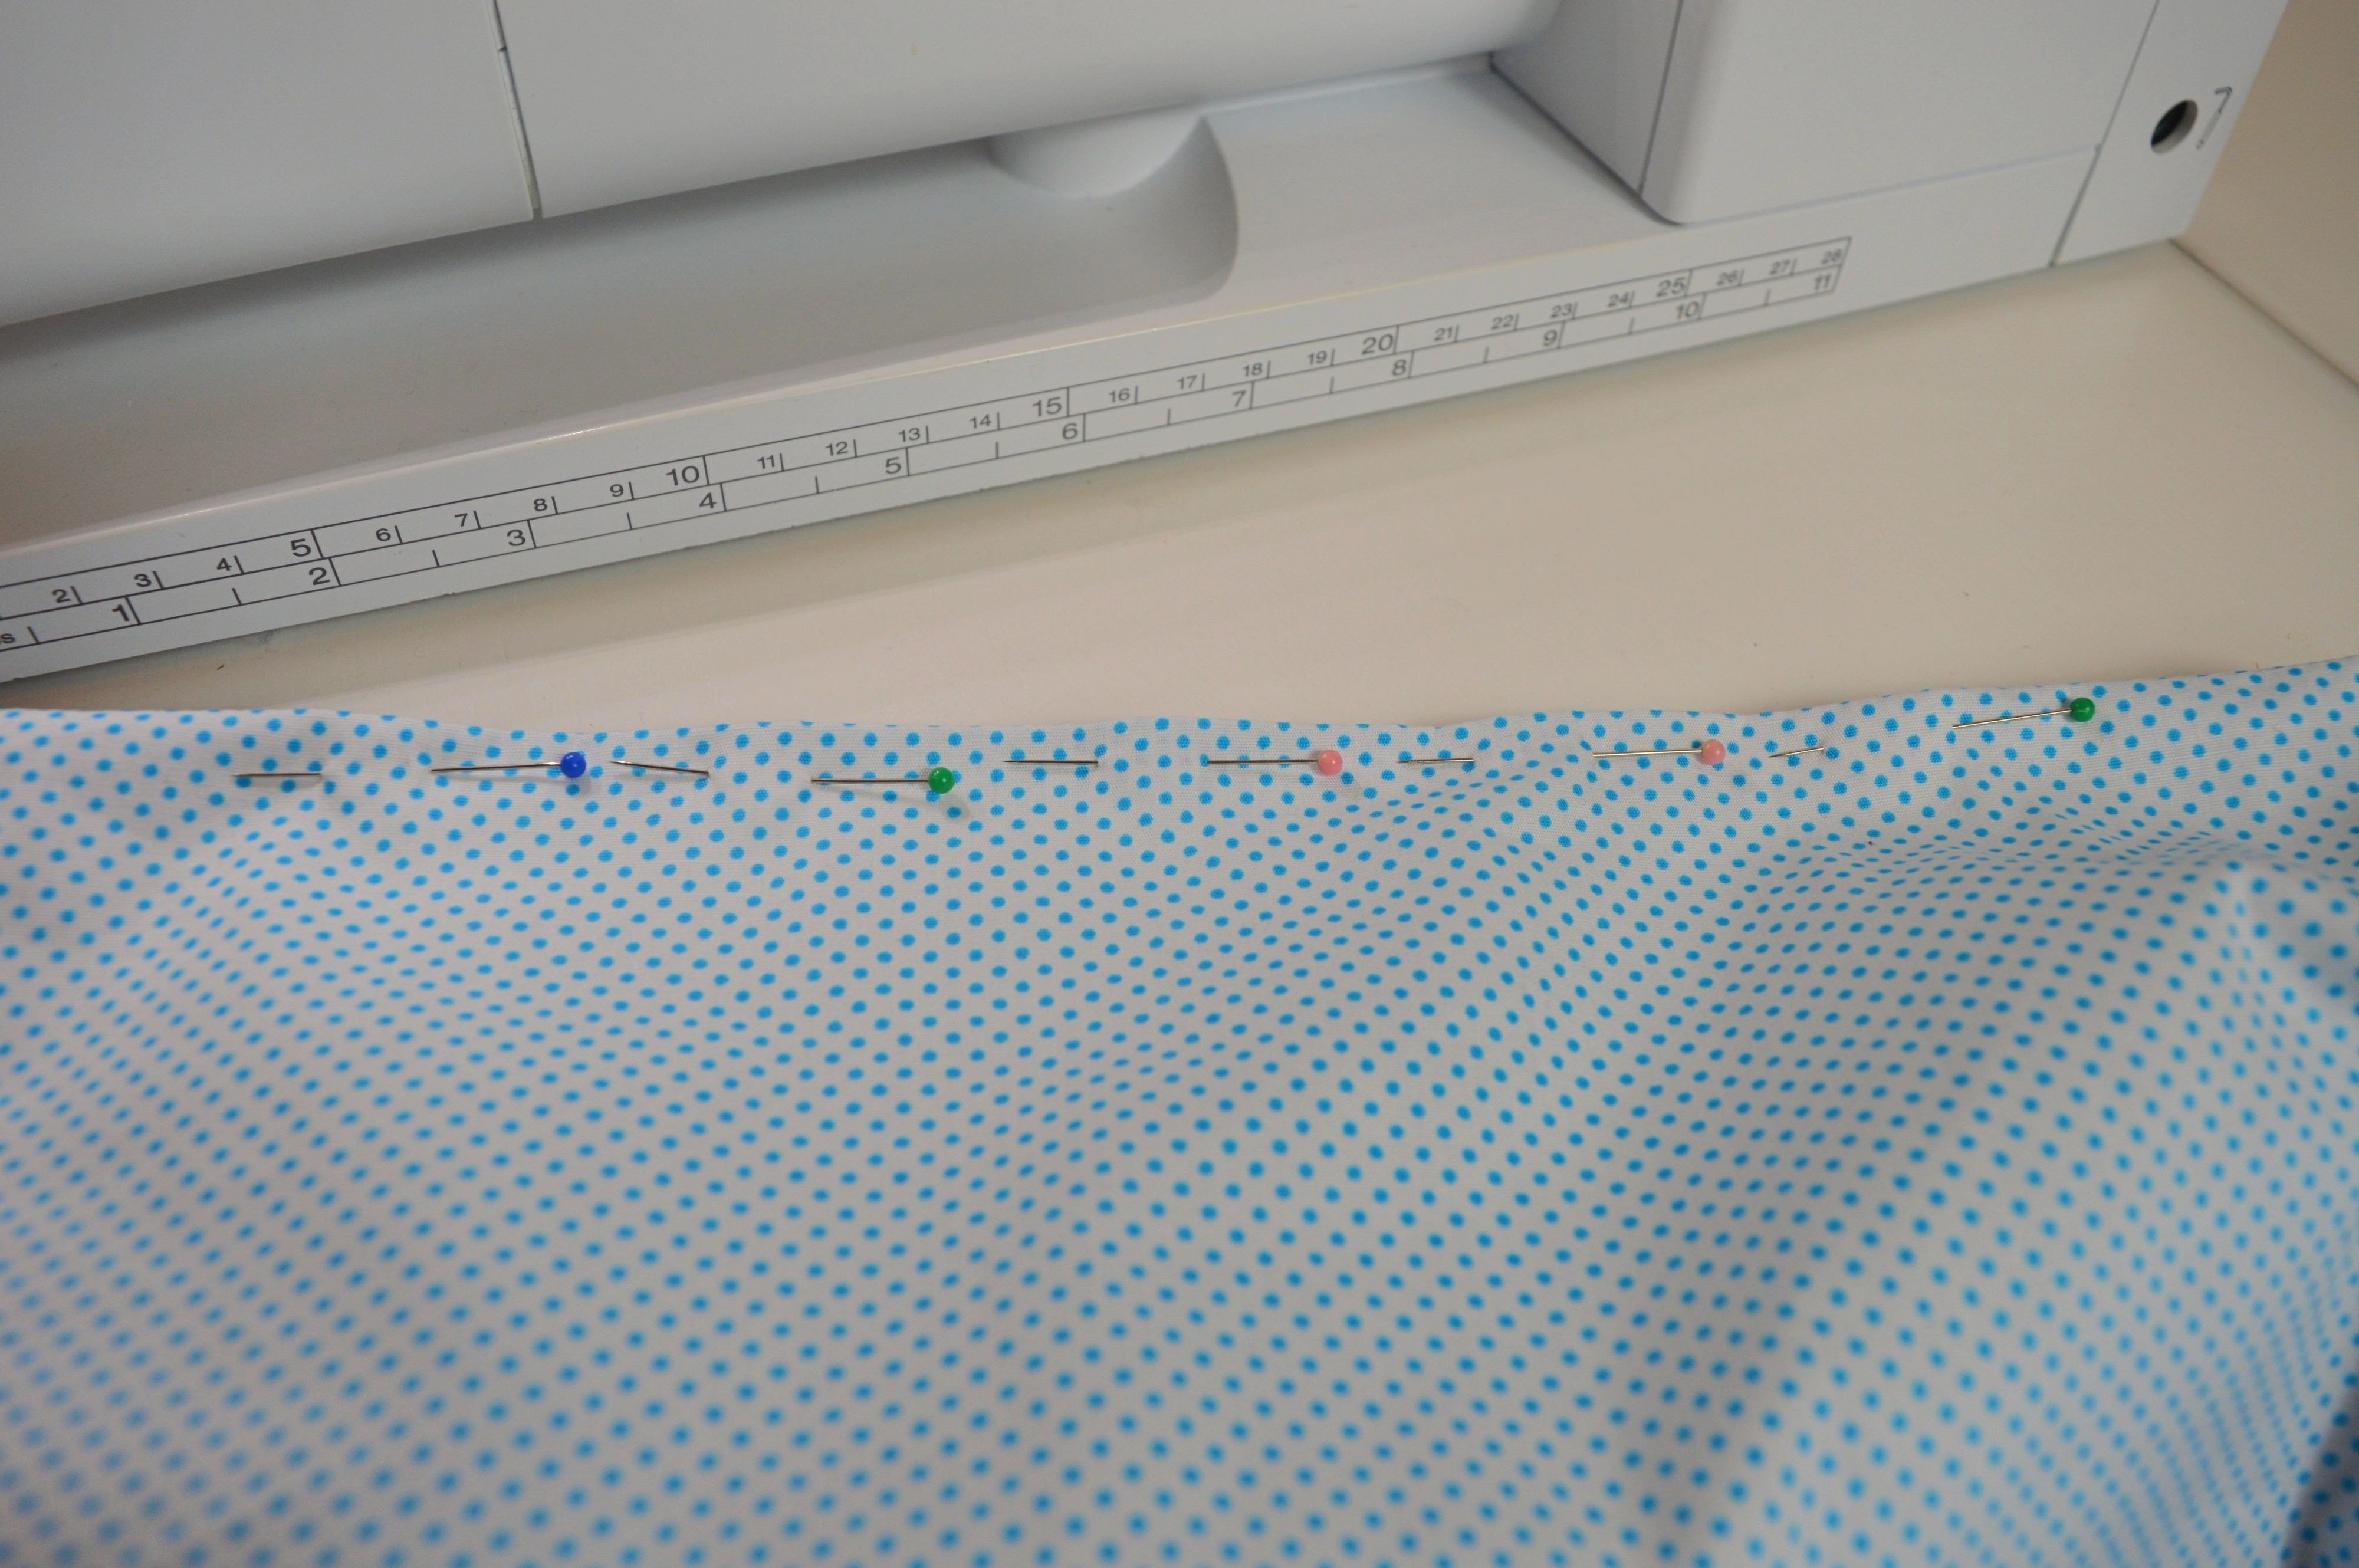
It is time to join two lining pieces; the process is almost the same as by joining the exterior pieces except that at the bottom should be an opening that will serve to turn the bag on the right side at the end.
Measure on the bottom edge, 15 cm from each side and stitch them.
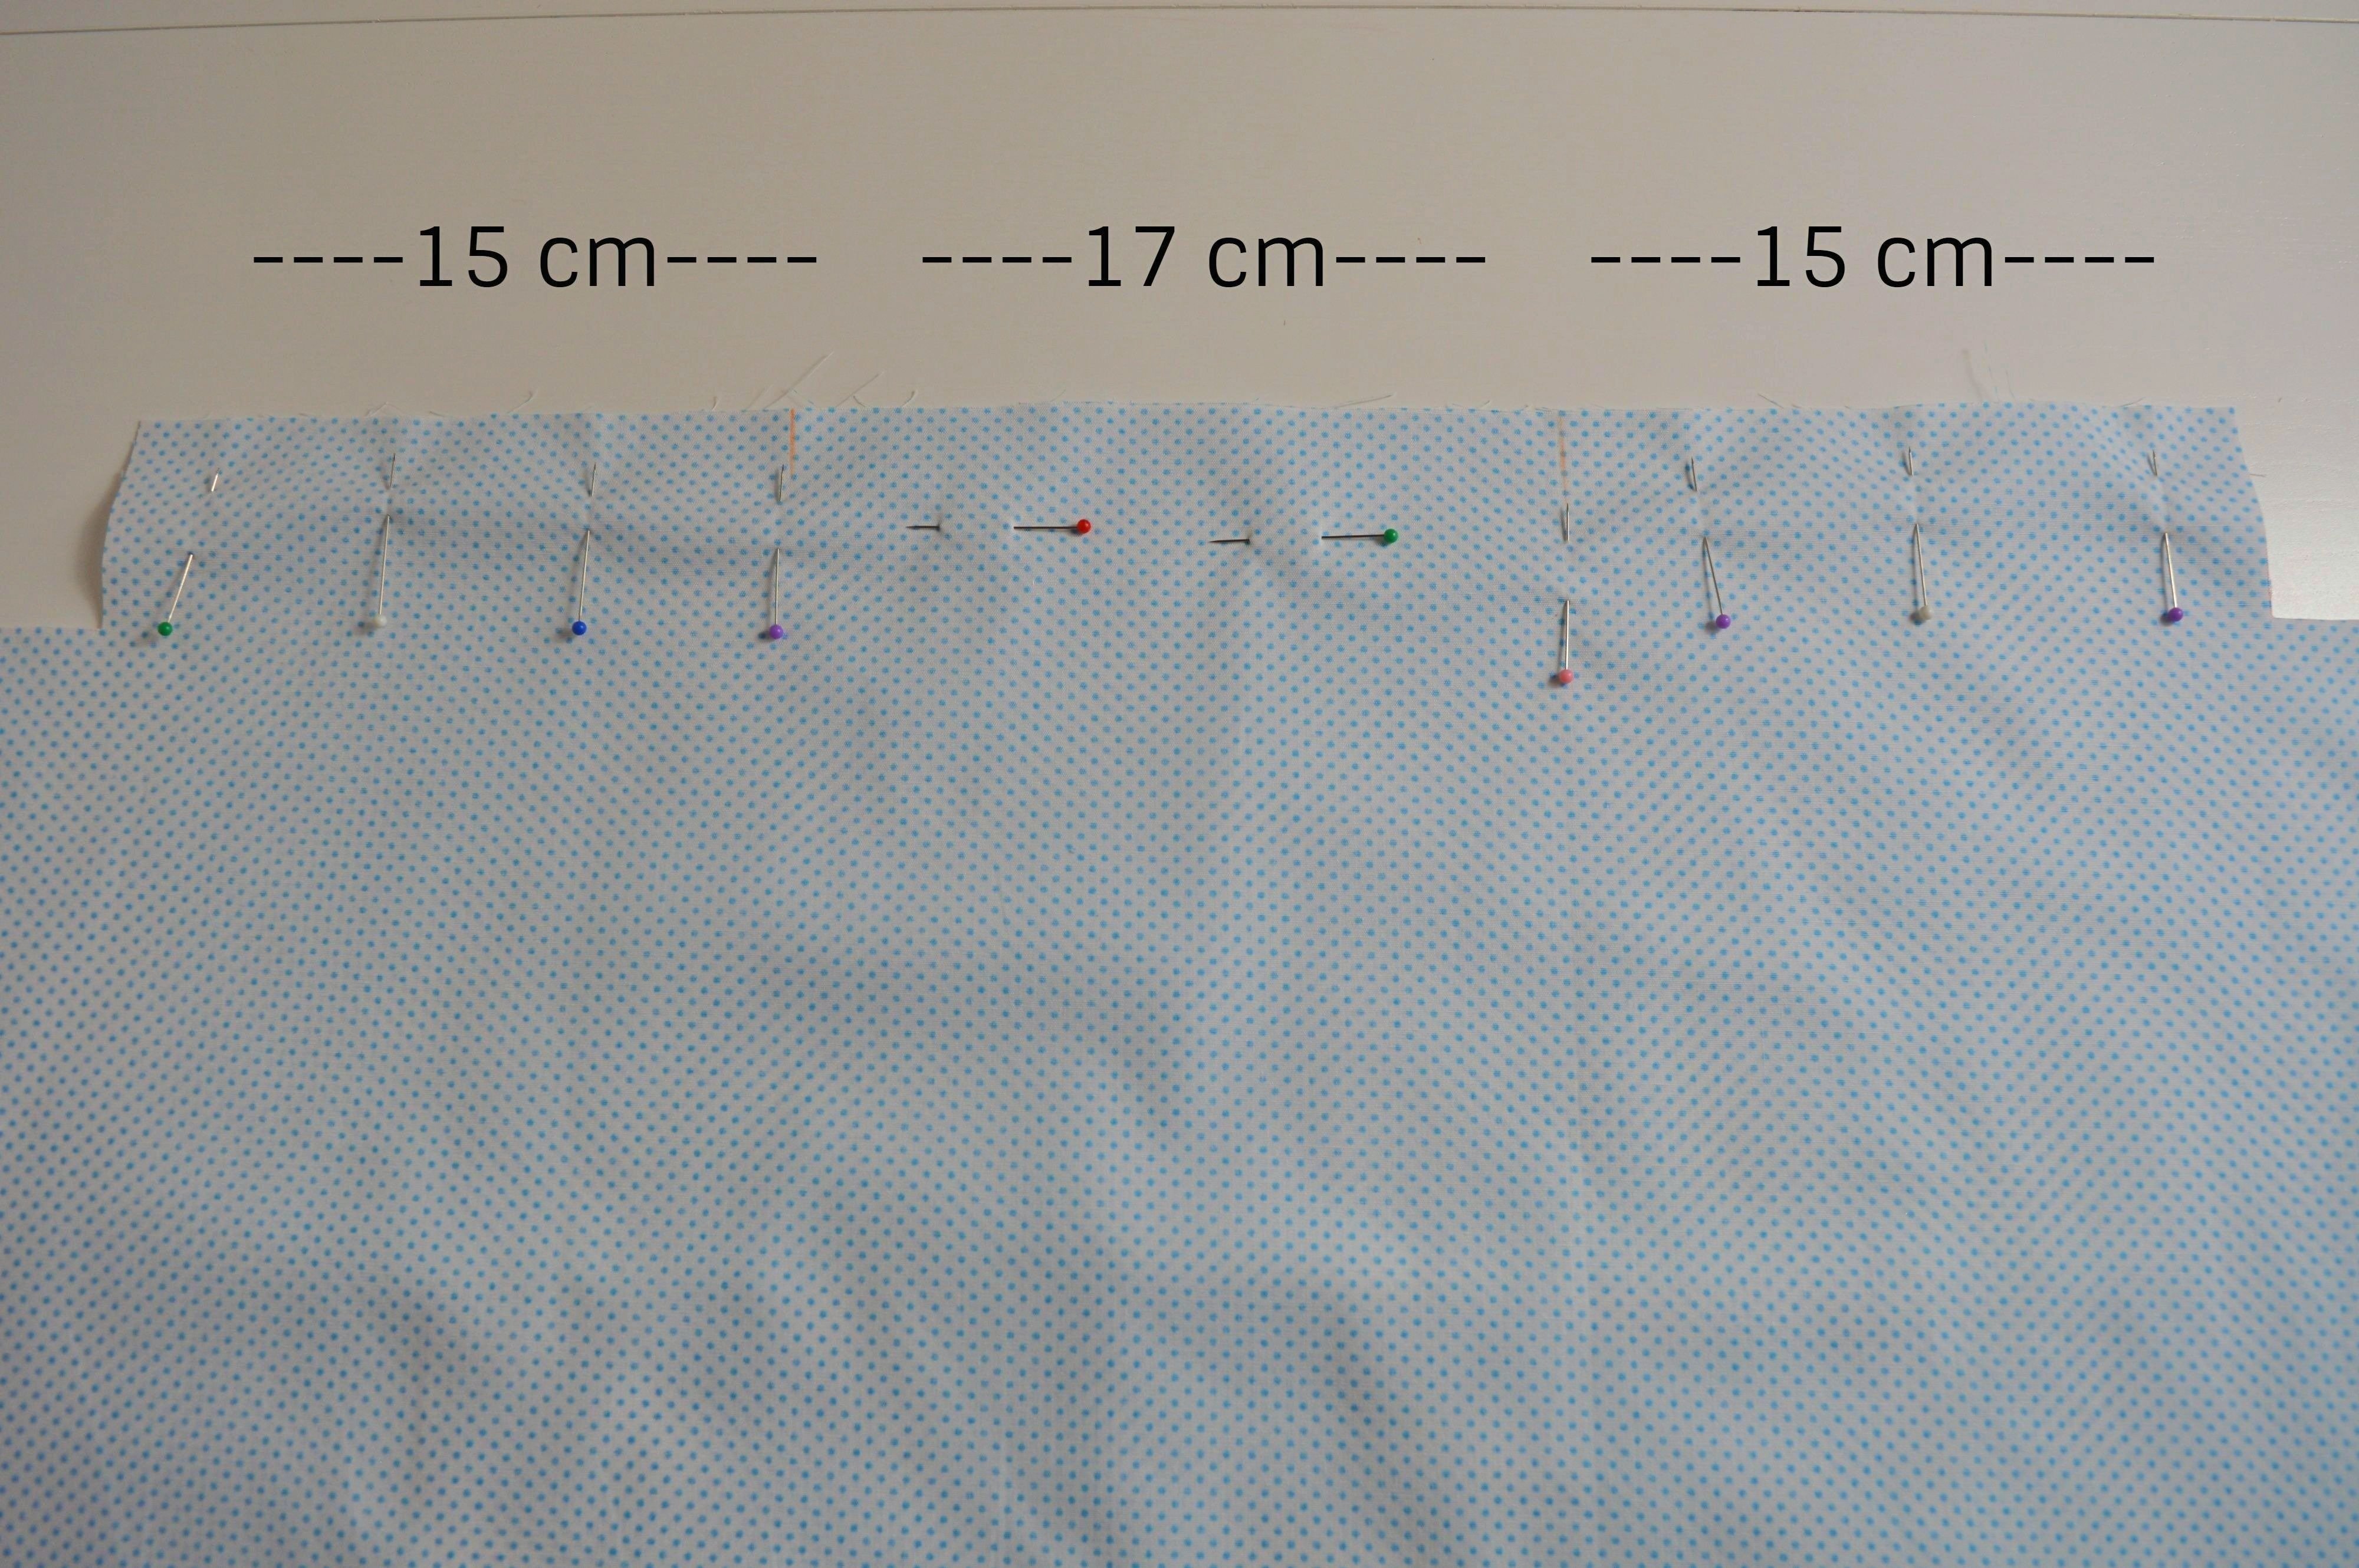
Lining Bottom
In the middle of the bottom is the opening, 17 cm in length. It is the last thing to sew, and I have one trick to make it easier. Sew it with a machine, plain seam, stitch length 4-5, then press it with iron, and after unstitch. In this way, the opening is clean and simple to sew.

Sew sides together, iron seams and the interior is finished.
 You can now connect the exterior and interior of the bag.
Turn the exterior to the inside and place the lining inside so that right side of the exterior is on the right side of the lining.
Sew the top edge, as well as so far, 1 cm from the edge.
Turn the bag to the right side and iron top edge.
Only decorative seams remain.
Stitch one seam 0.5 cm from the top edge and then another one 5.5 cm also from the top edge.
Stitch length is 2.5-4, which remains for you to choose. (On this bag in the photos is 3.)

Sewing this bag is almost finished, it remains only one small seam.
You need to close the opening at the bottom of the bag.
Aesthetically, it is best to finish it with a hand stitch, but when it comes to bags, I finish that seam always using a sewing machine.
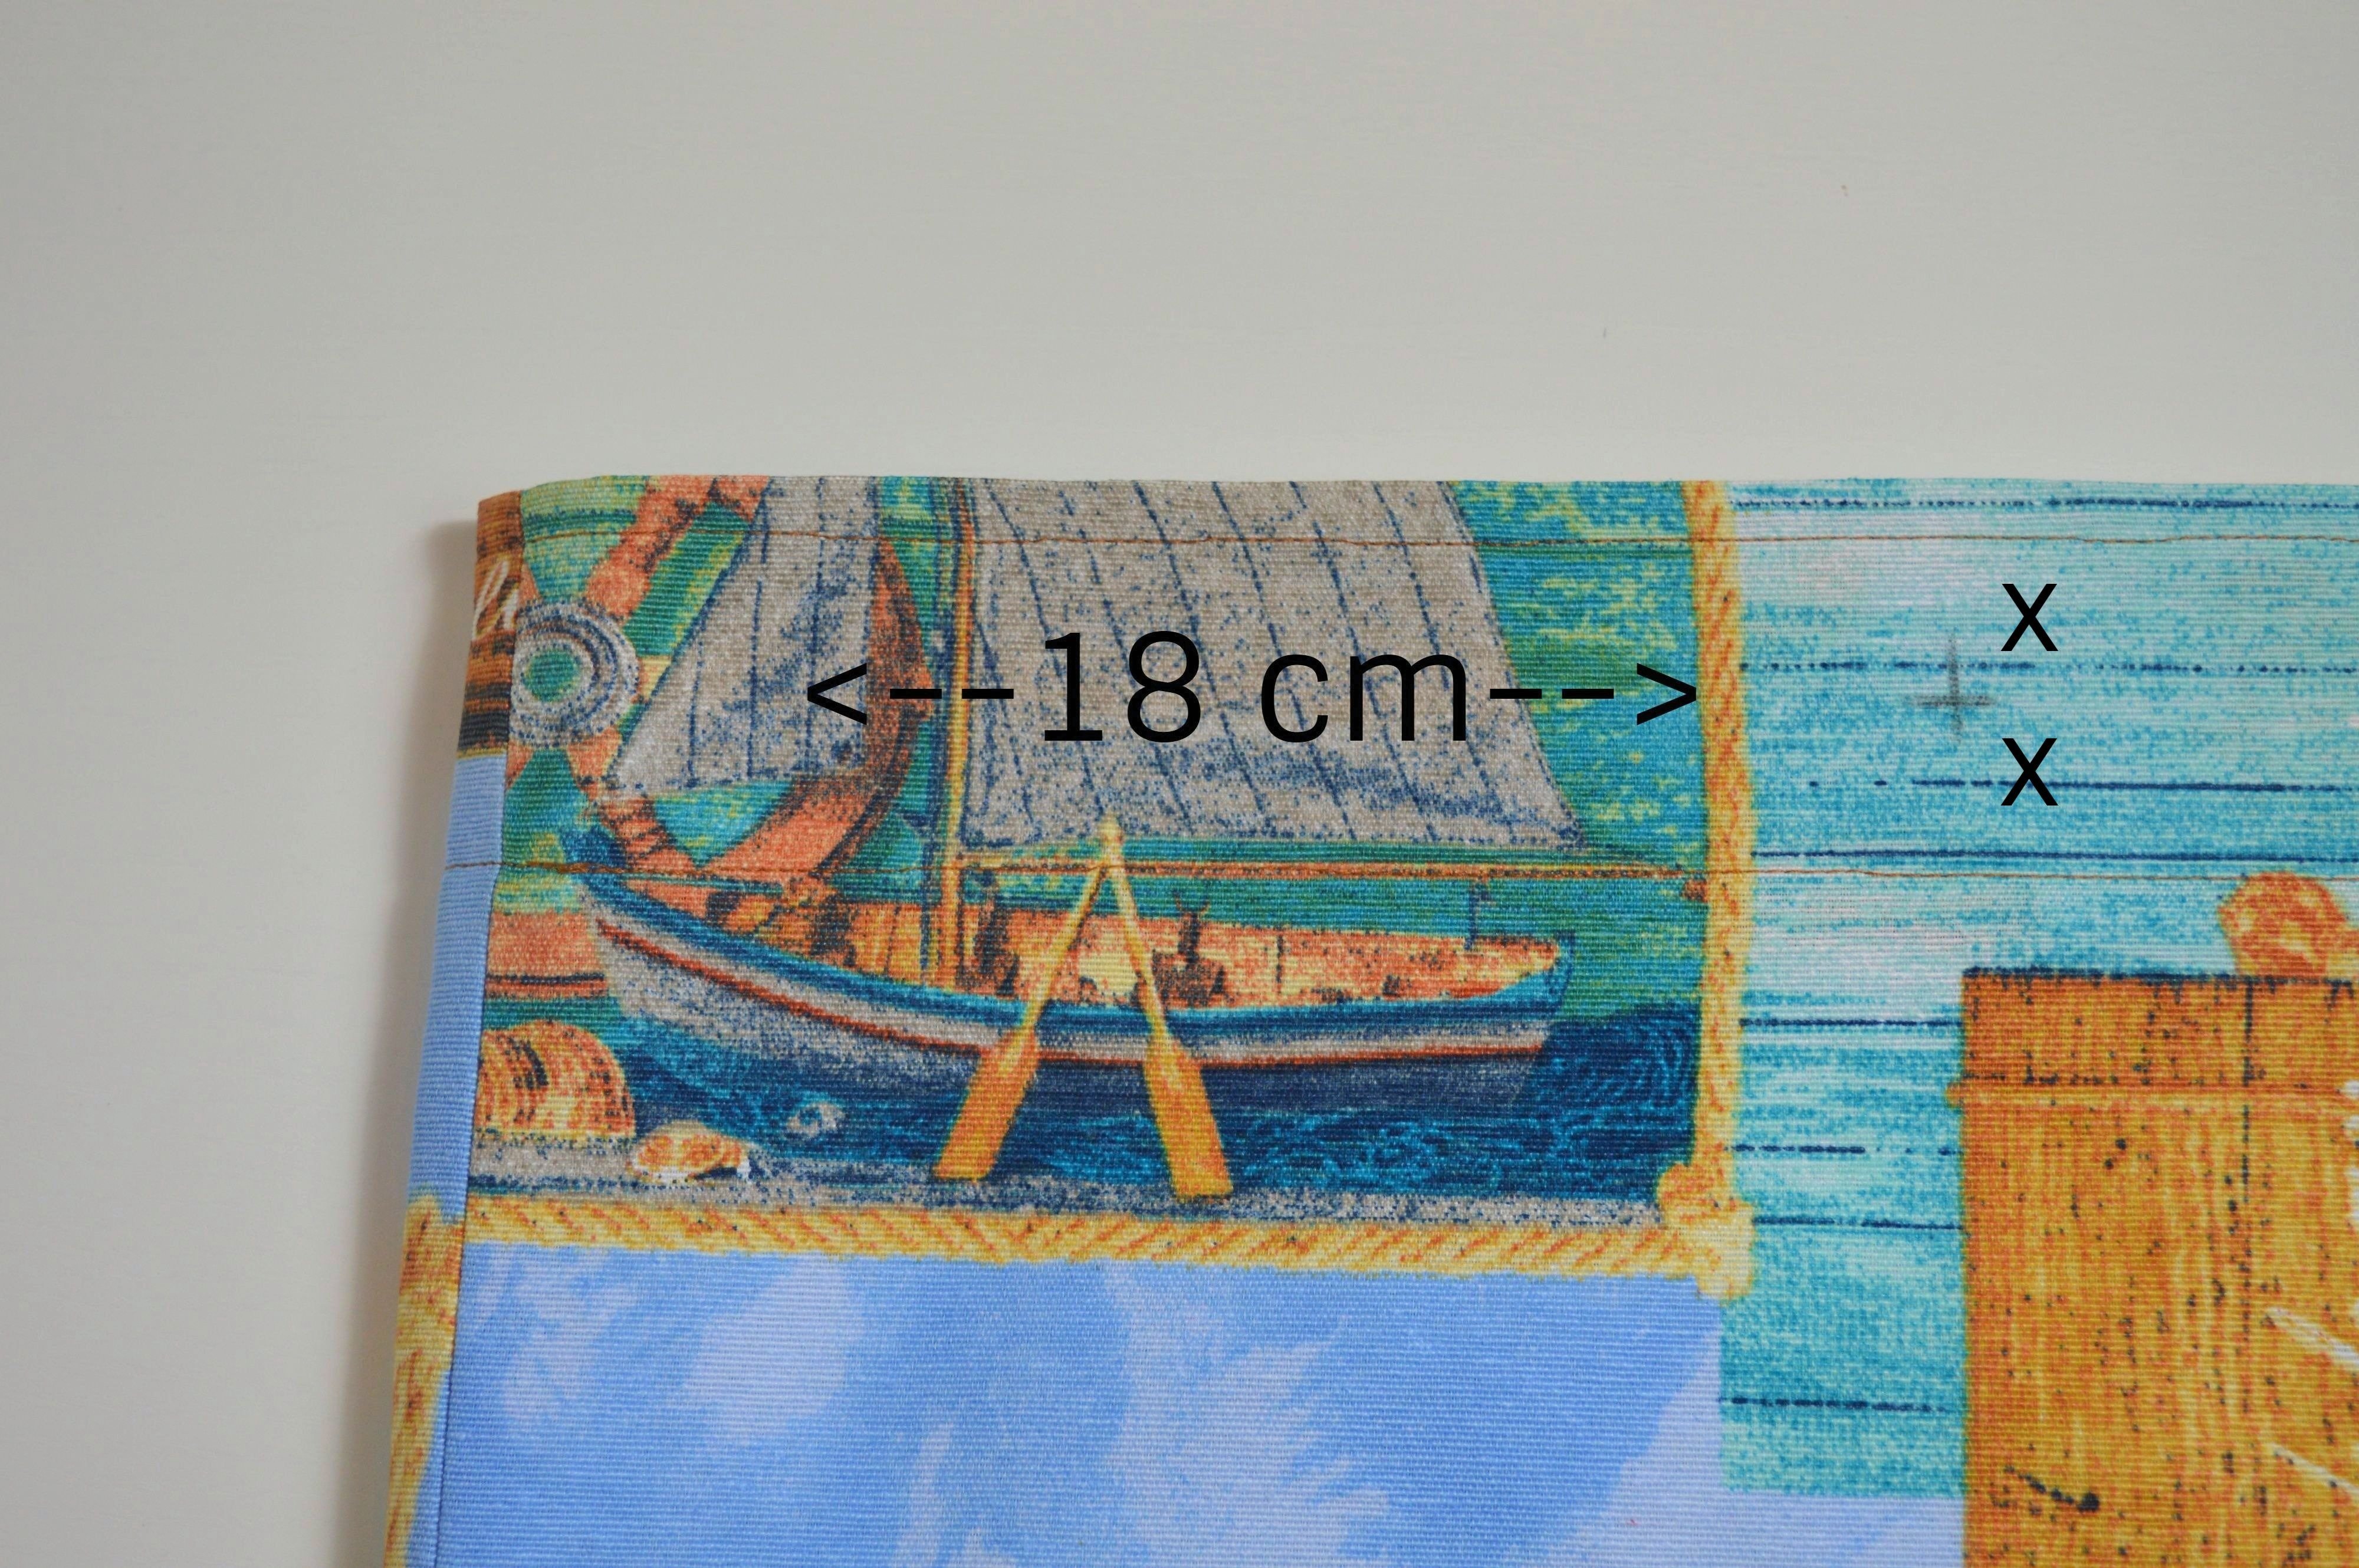
The sewing is finished, let’s put the eyelets and the rope handles.
First, mark positions where eyelet should be placed so that you measure from side seam 18 cm, towards the middle and on that place, find the middle of two seams that you made in the top. Both measurements are marked, and the point in the crossing two markings is the center of the eyelet.
Draw a circle using eyelet whose center is that point and cut it.
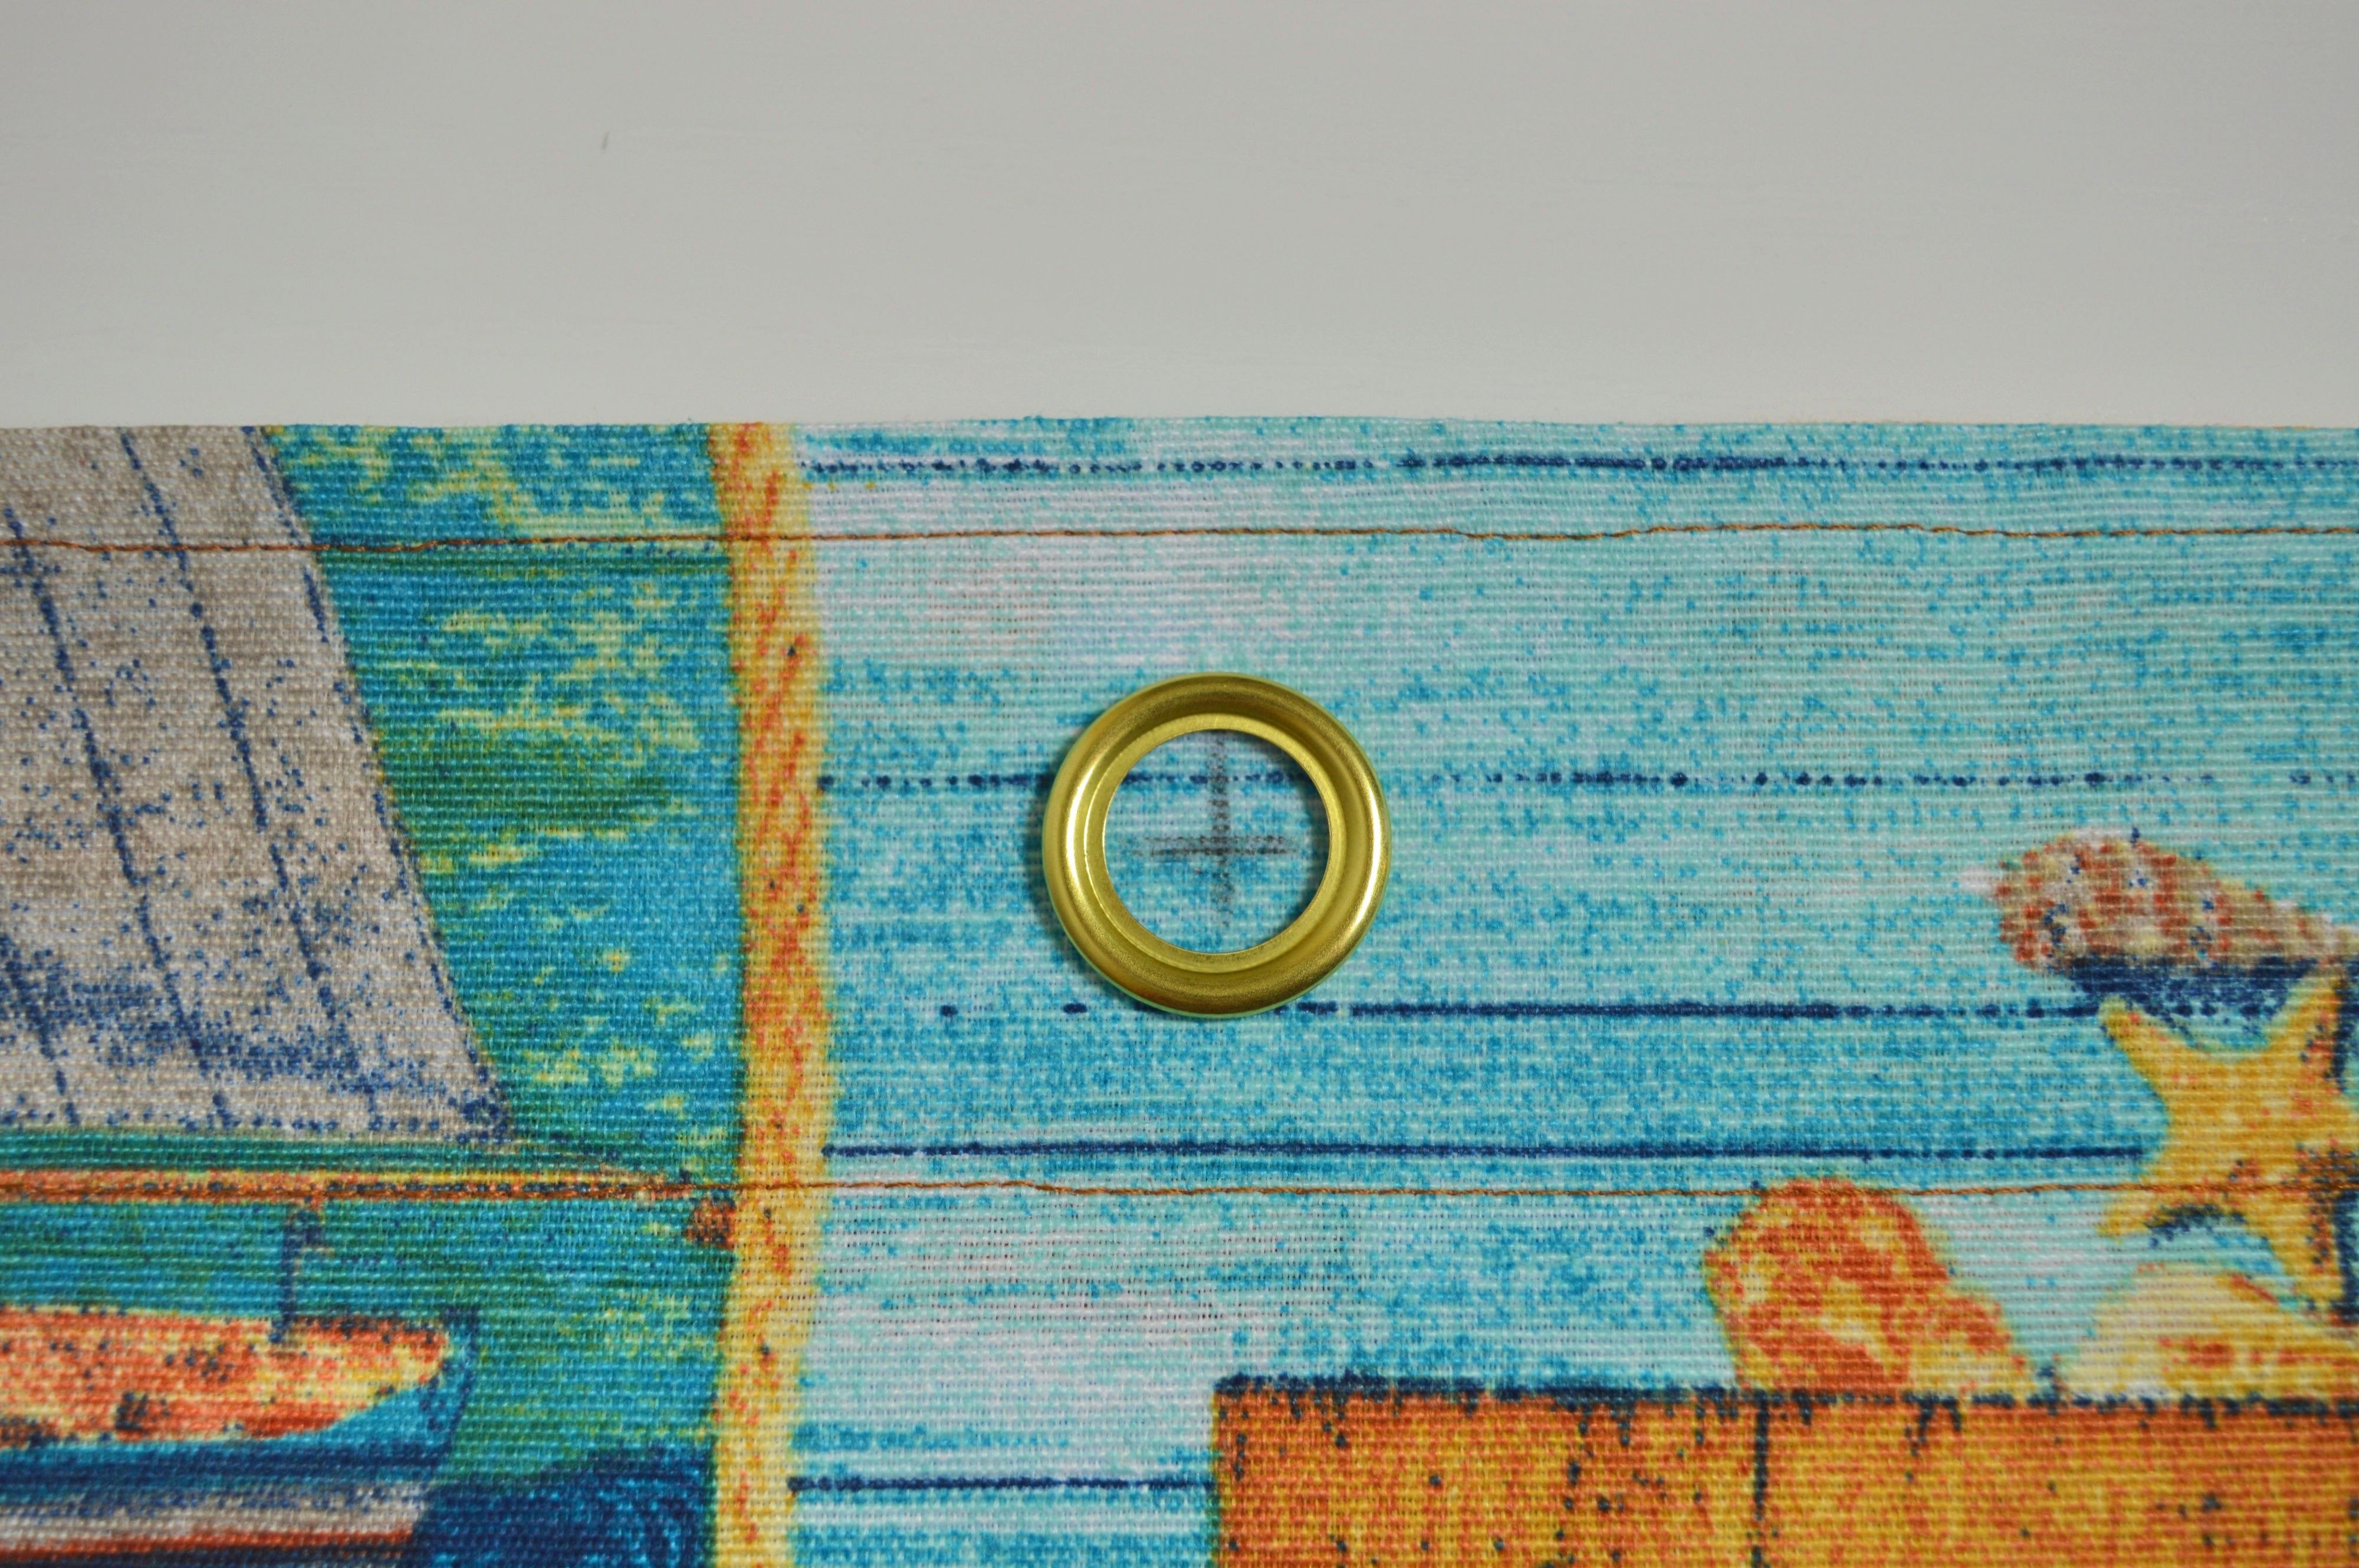
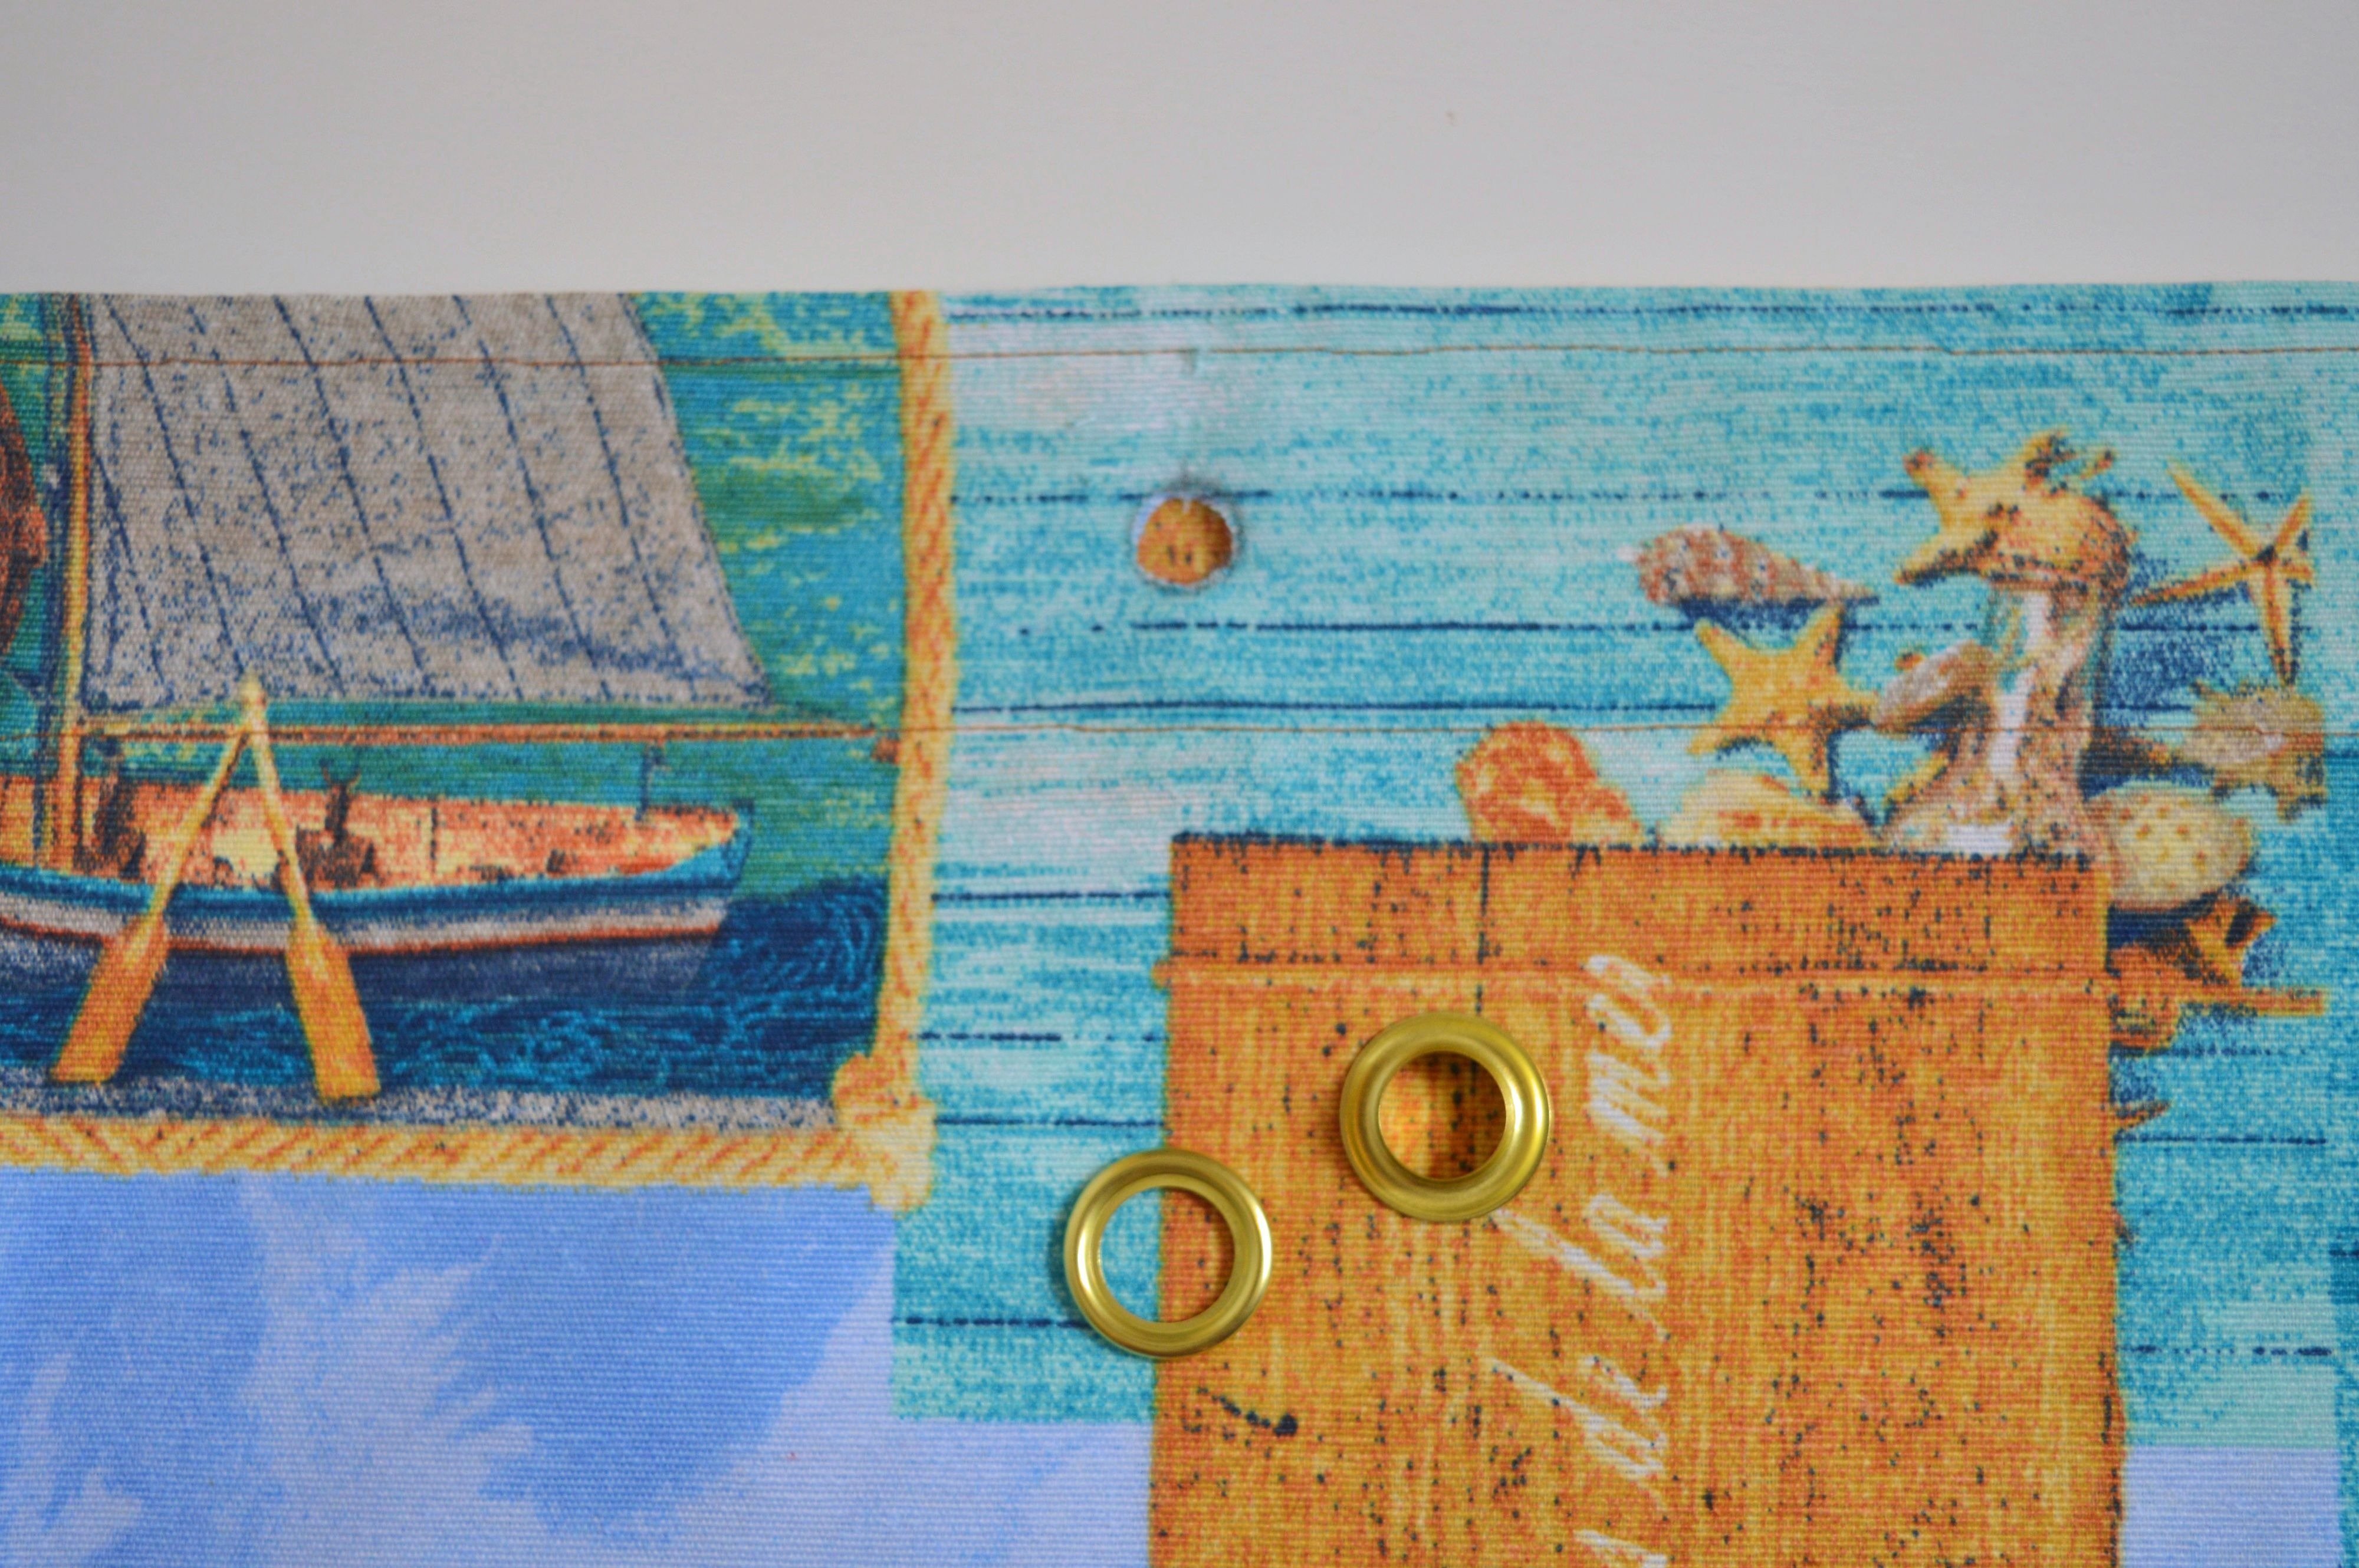
Repeat all that four times and place eyelets with washers.
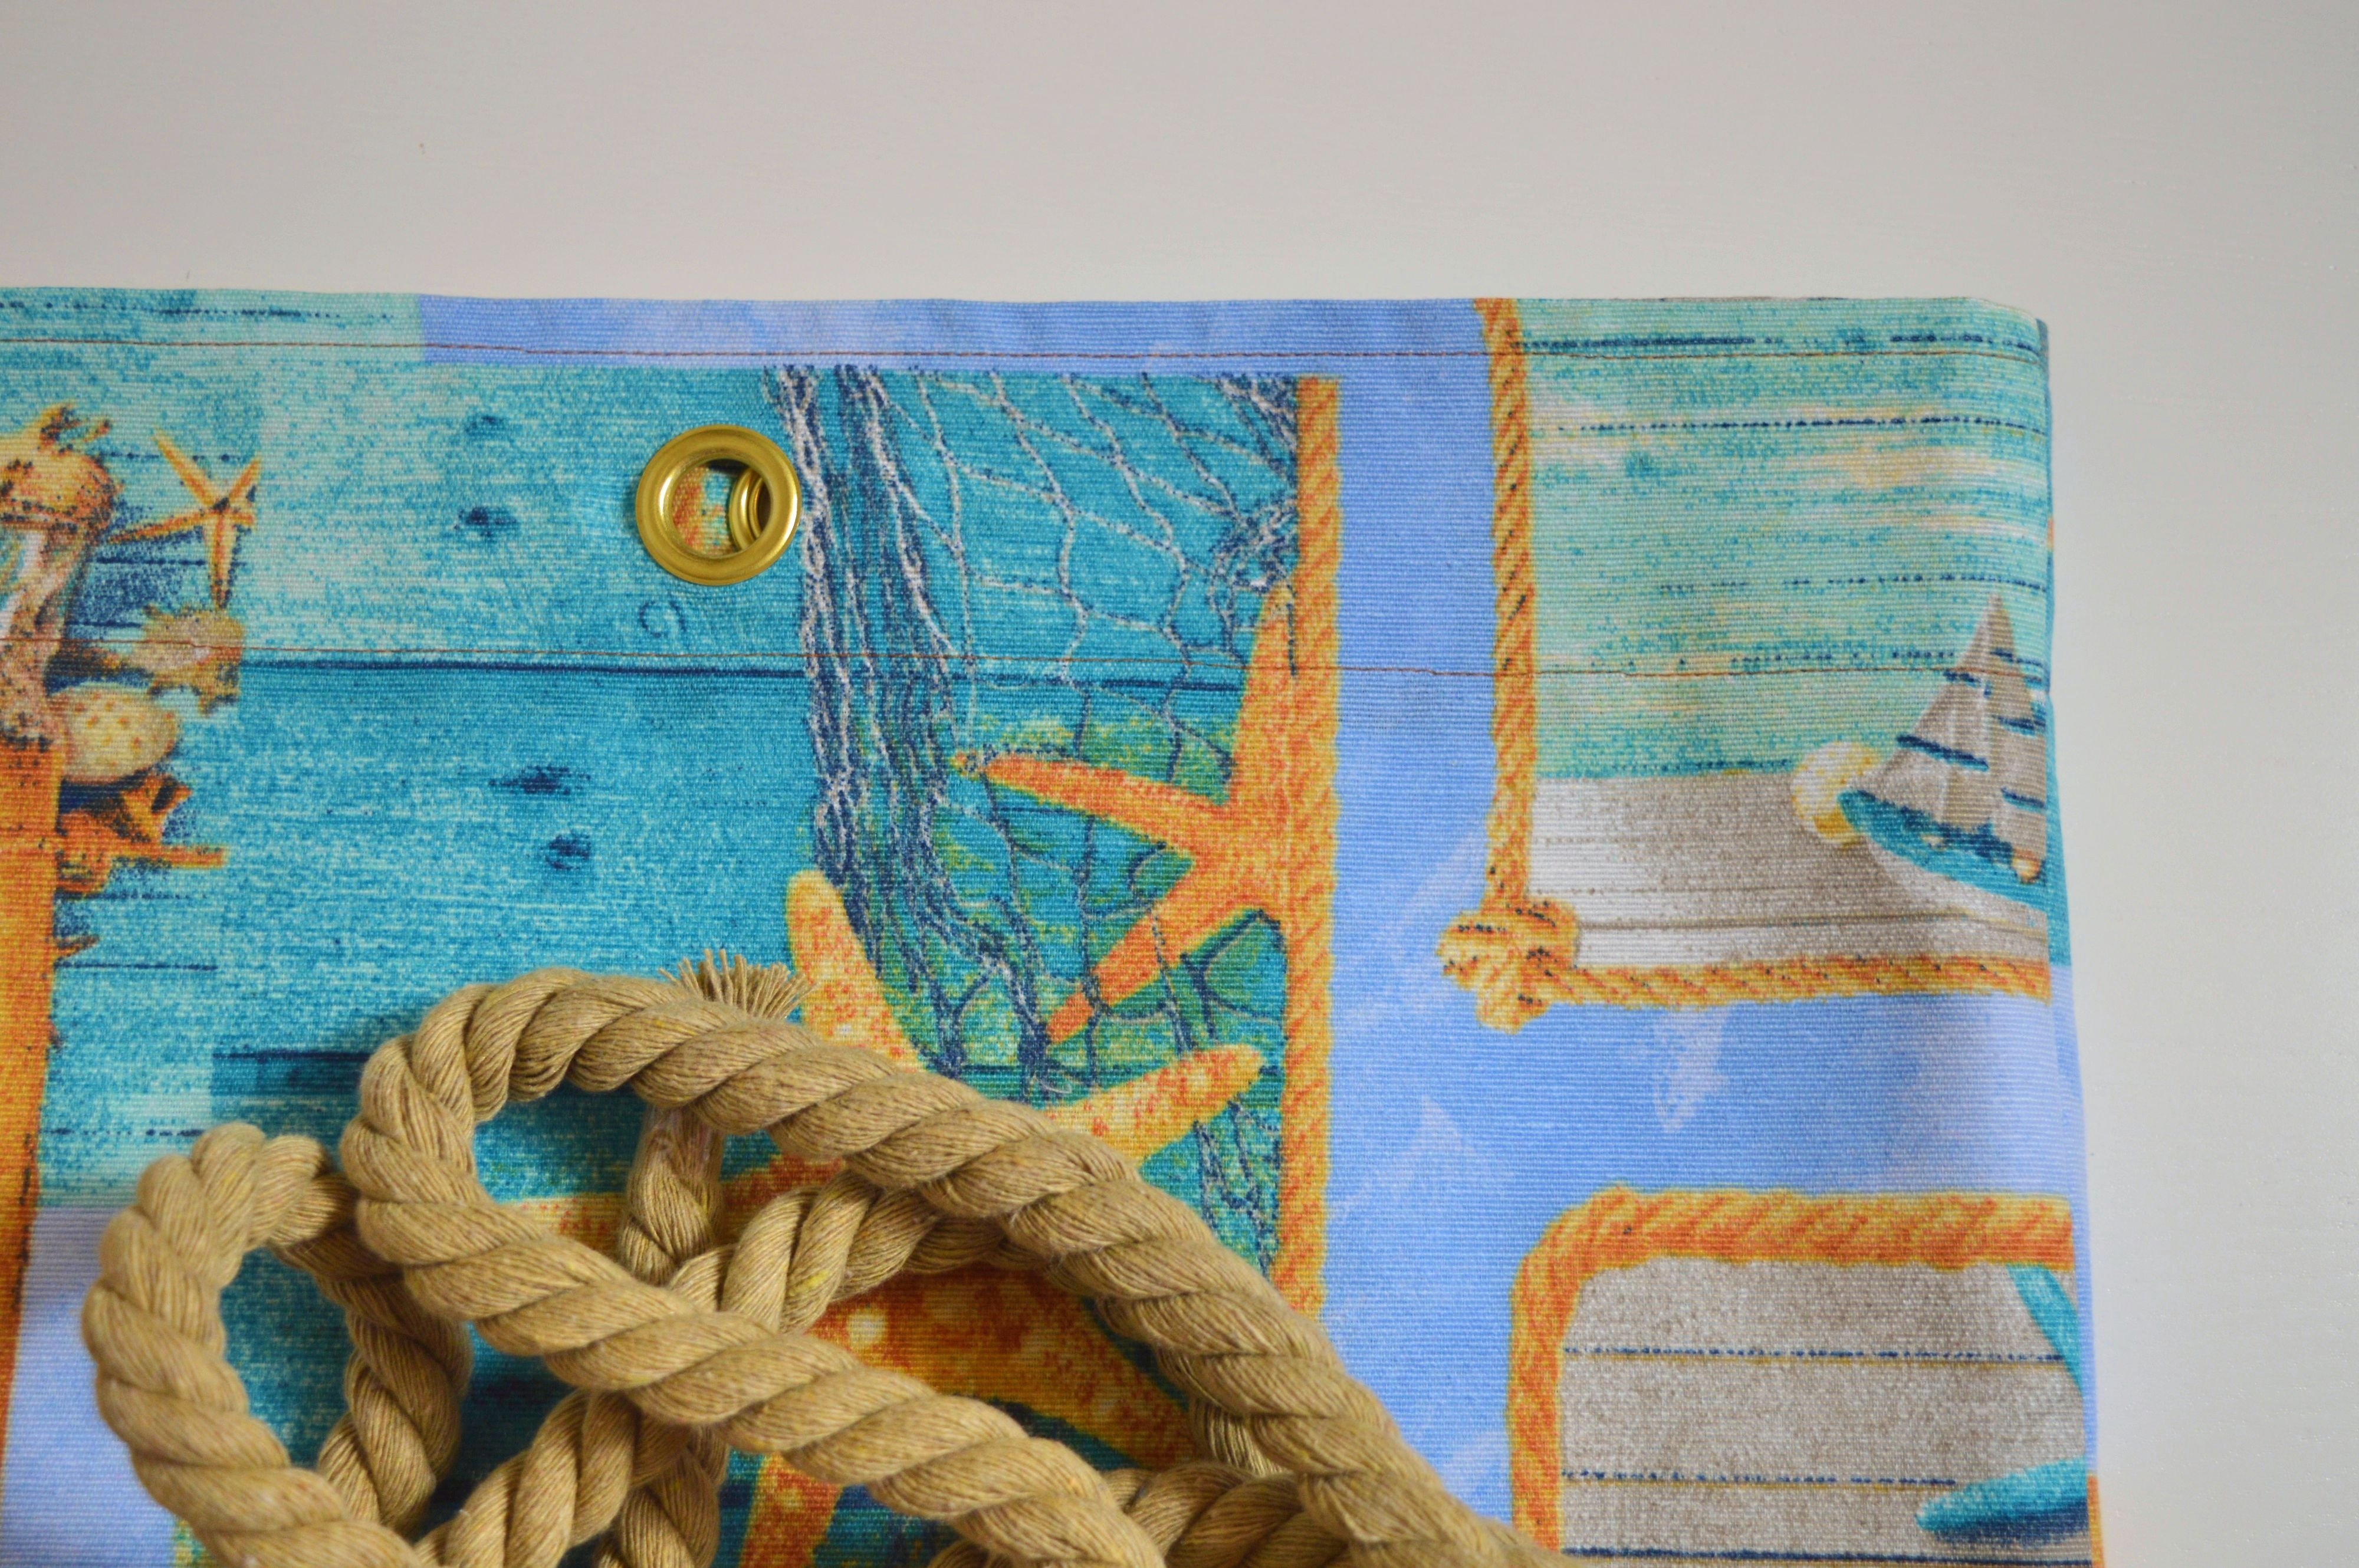
The length of the rope for each handle should be 75 cm. You can secure the rope ends with sticky tape.
Take the rope through the holes and tie the knots at the ends. For that, there are two possibilities; the knots are inside or outside of the bag. I decided that they would be outside.
Finally, your bag is finished.
Well done!
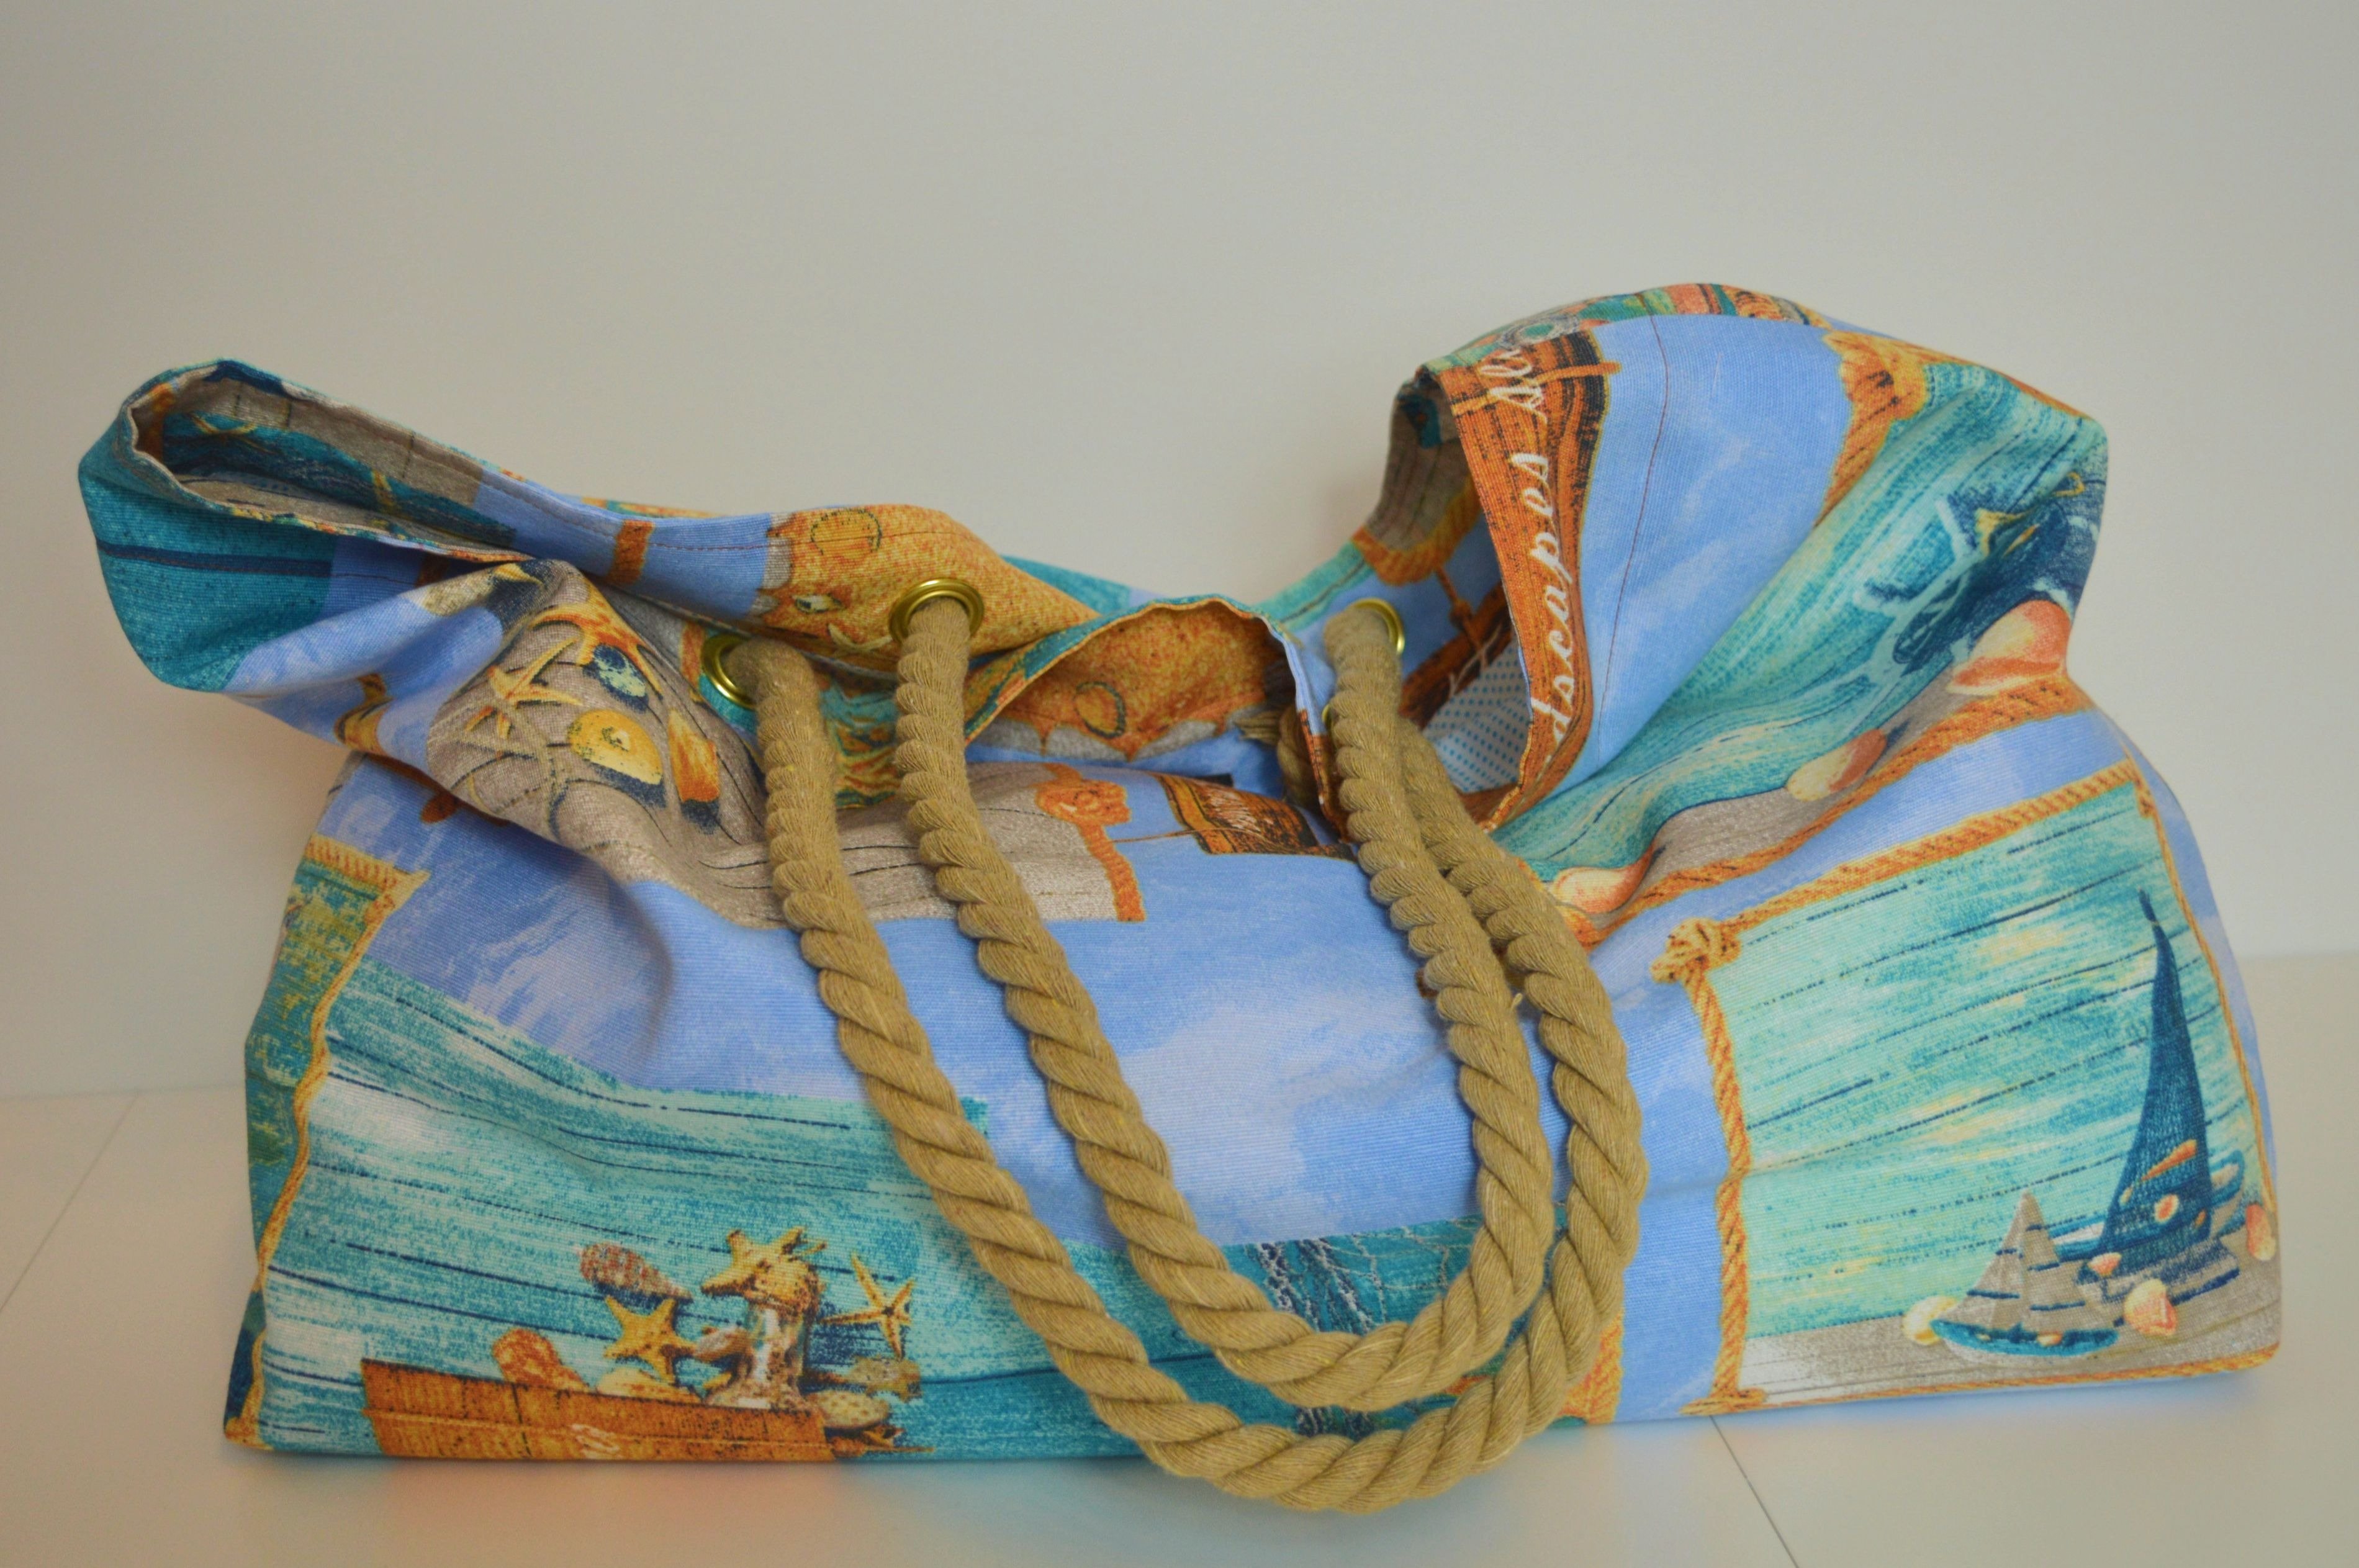
Beach Bag with Rope Handles
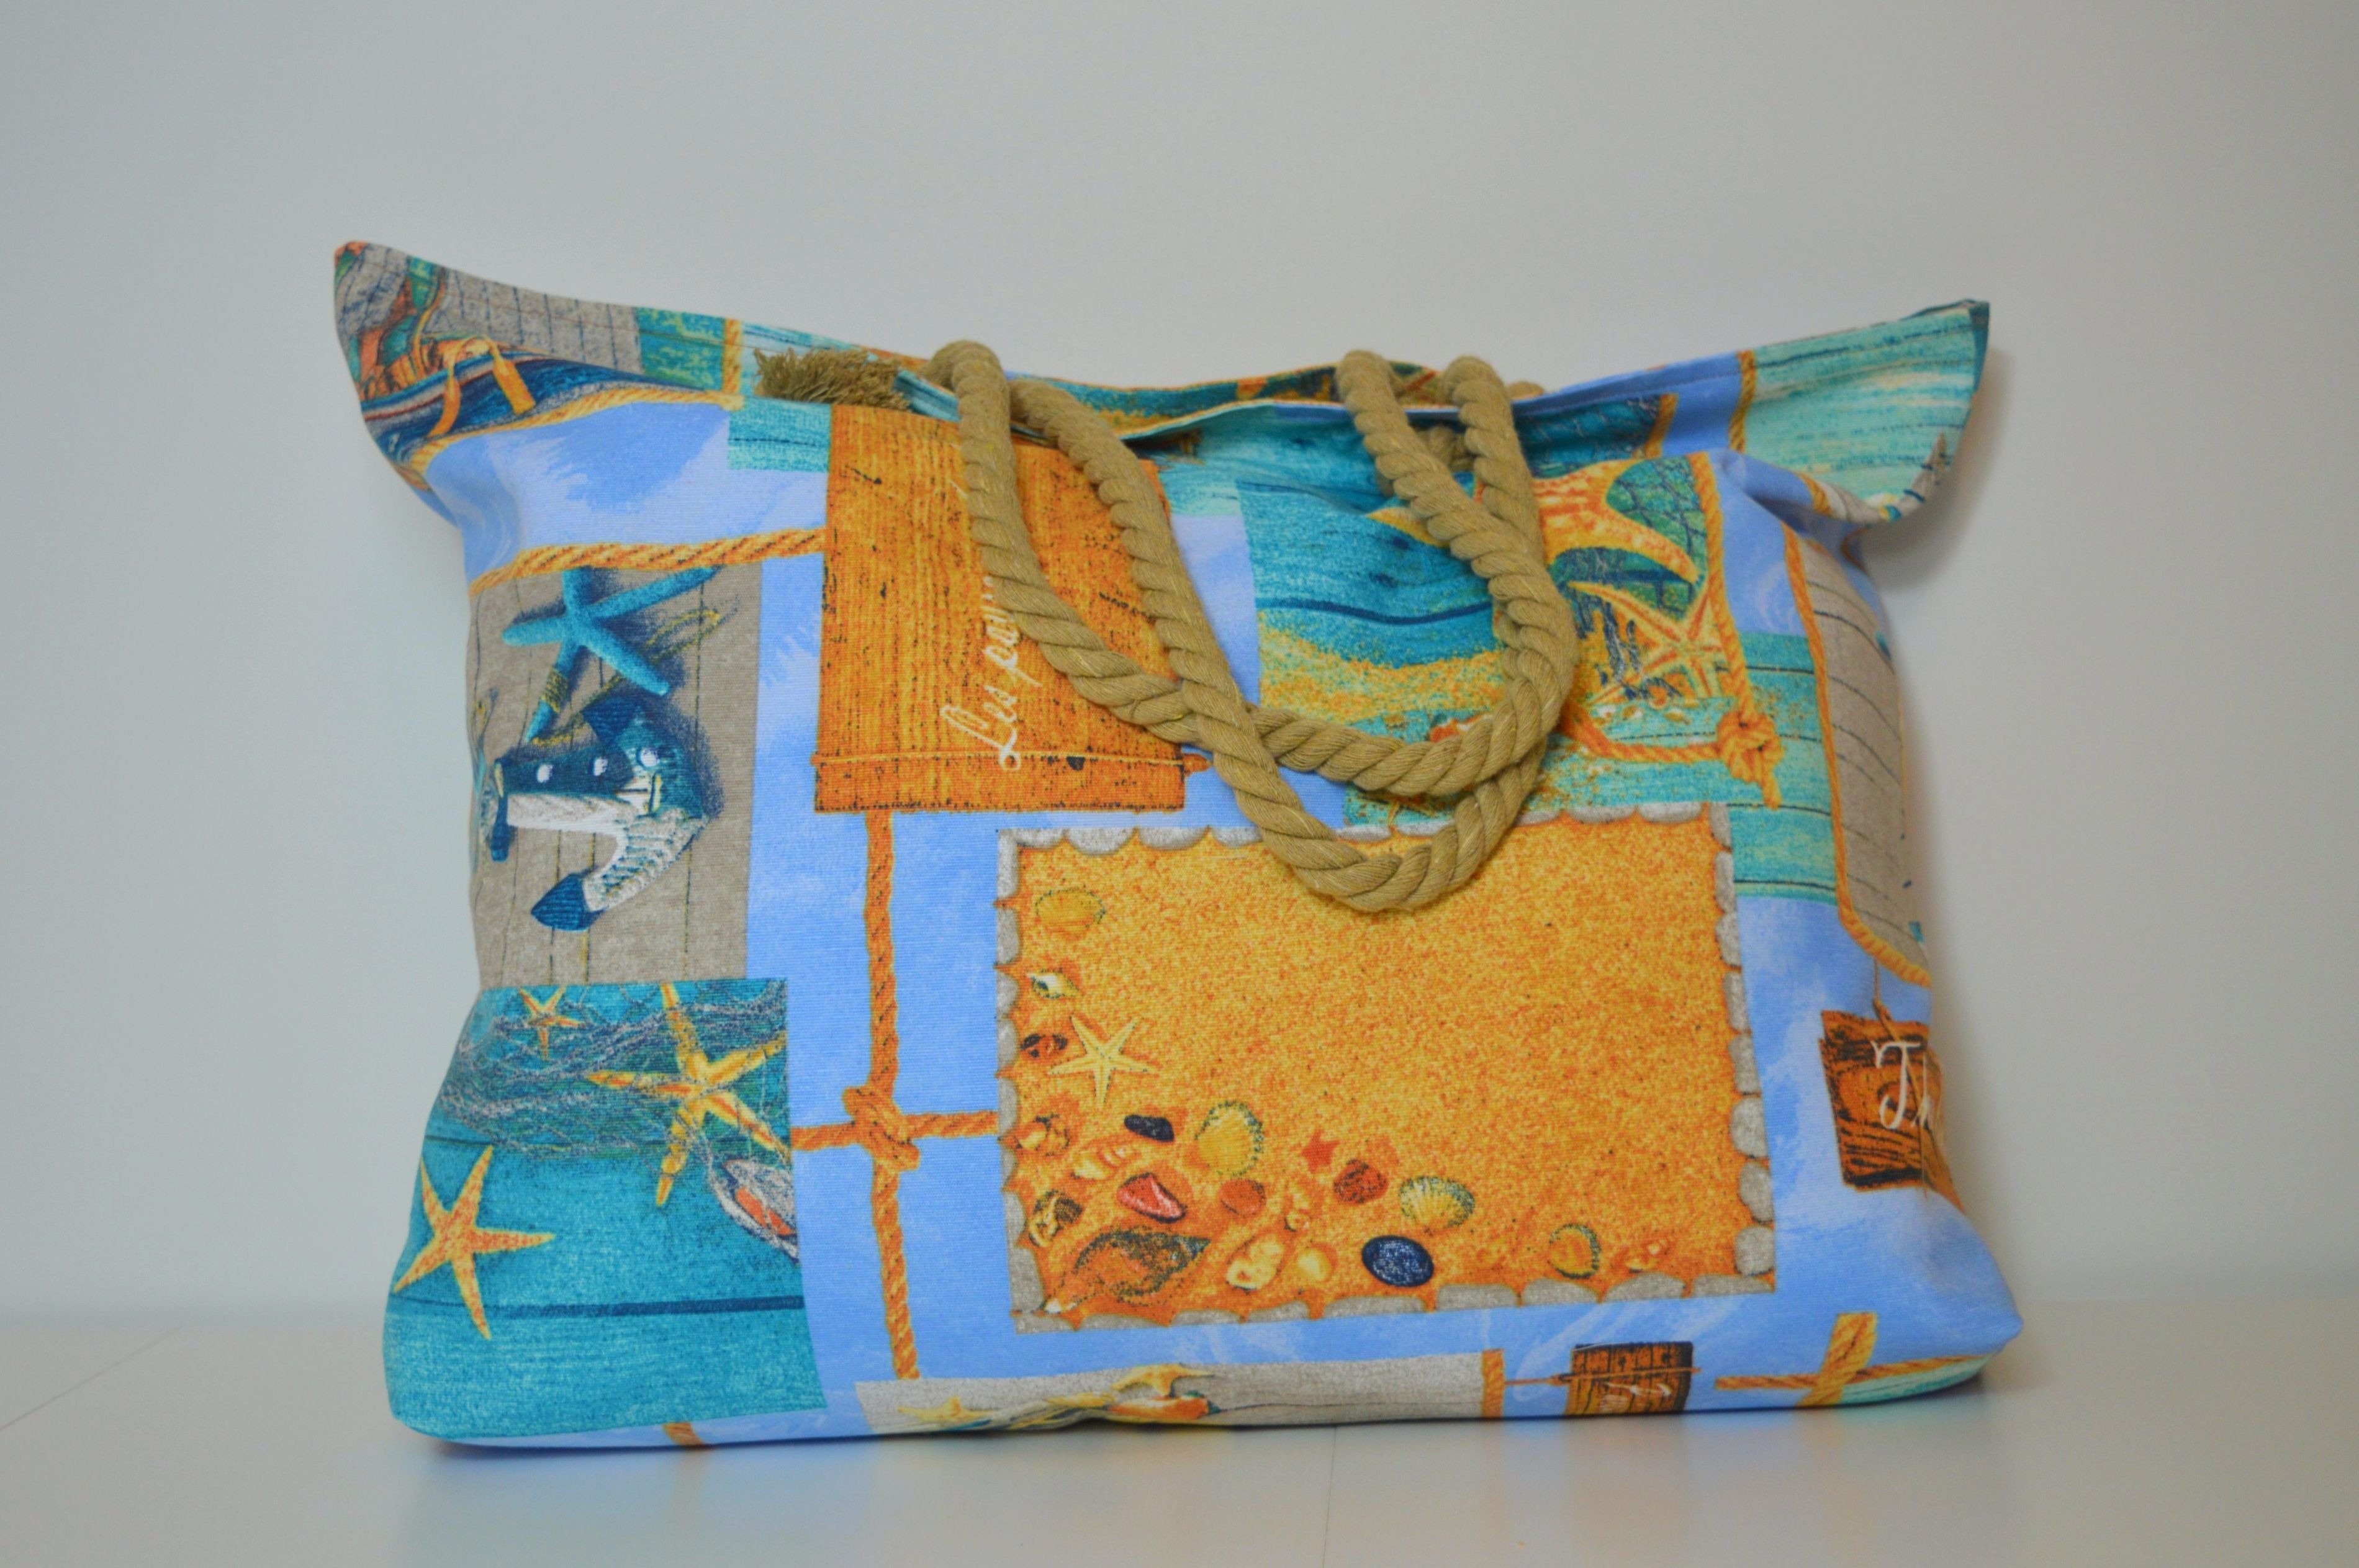
Beach Bag with Rope Handles
As you can see, sewing this beach bag is pretty easy and fast.
The pattern pieces are easy to cut and sew, and it requires a few hours, depending on how dexterous you are.
And at the end, you have a practical beach bag, and it’s big.
This model can be used not only for the beach but everyday shopping bag and similar.
It is up to you to adapt it to yourself, to choose the fabric you like, to put the pockets as you wish and at the end, to be pleased with the result.
Beach Bag with Rope Handles
I’m looking forward to seeing your bags.
Good luck!


I Have not done eyelets previously. Do I need a special tool to insert the eyelets? Thanks
Hi Heather` Westley,
yes, You need a unique tool.
In this post I used eyelets with washers Prym and tools to insert them are included in the package, but (on the internet) can be found eyelets other brands, which also come with tools.
How to insert eyelet You can find here.
I hope I helped You.
Best regards,
Jelena