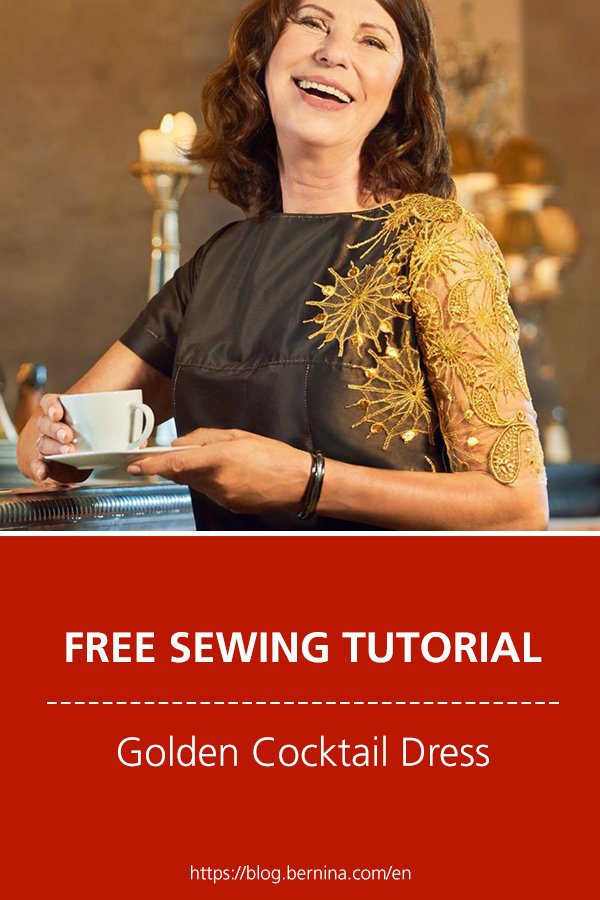
This cocktail dress is made from dupioni silk and was designed by Swiss designer Mathias Ackermann:
In addition to a detailed sewing instructions for the cocktail dress, we provide the pattern as a PDF and the Paisley embroidery designs as a free download below.
We hope you have fun making this project! At the same time we would like to point out for safety’s sake that this is not a beginners project. The combination of fabric with tulle and metallic embroidery is elaborate and requires a shaken measure of experience. The party dress from our anniversary campaign is better suited for newcomers to sew. Sewing instructions and patterns can be found here.
But now to the sewing instructions for the cocktail dress:
Sew the cocktail dress
Materials
- 2.0 m dupioni silk, 140 cm wide
- 0.8 m dupioni silk in a contrasting color for part 6, 140 cm wide
- 1.6 m tulle fabric in a skin tone color, 140 cm wide
- 0.6 m invisible zipper
- 1 small snap
- 0.8 m woven interlining (Vlieseline G785)
- 4 m water-soluble embroidery stabilizer (such as Soluvlies)
- 12 – 15 reels of metallic thread “Gold 7 No. 40” (Madeira)
- “PolySheen” embroidery thread, gold, as the bobbin thread for embroidering
- Sewing thread “Seralon” (Mettler)
- Overlocker thread (Mettler)
Note: This cocktail dress is made from dupioni silk. Other firm fabrics are also suitable for this pattern.
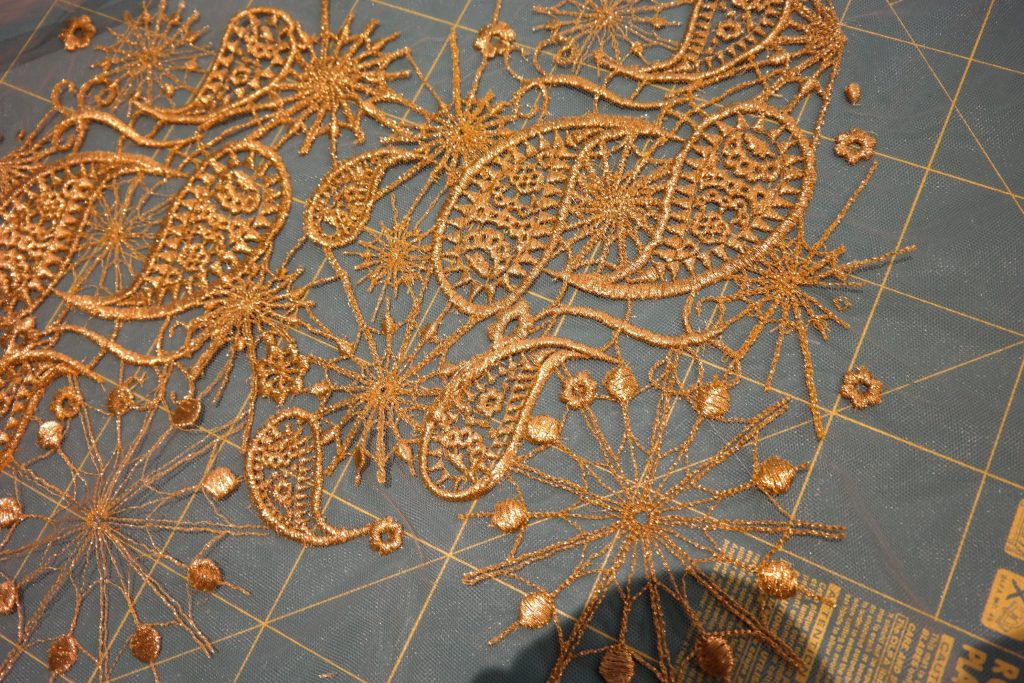
The golden embroidery on sleeve and back is embroidered on tulle. For good stability, water-soluble fleece in double version must be used. When processing metallic yarn, we also recommend the use of the BERNINA thread lubrication unit, which makes the thread smoother and less likely to break.
Download the embroidery design
Download the paisley embroidery designs here: Download paisley embroidery design
Download the cocktail dress pattern
Download the pattern for the cocktail dress here: Download pattern
Cutting out the silk
- 1 x upper front piece on the fold
- 1 x lower front piece on the fold
- 1 x front facing on the fold
- 1 x upper back piece, right side
- 1 x back facing, right side
- 2 x drapé back piece, right side (shell fabric and contrasting color)
- 1 x hip yoke, left side
- 2 x lower back piece
- 1 x sleeve, right side
- Zipper panel 60 x 3 cm
- Bias binding for the left neckline 20 x 3 cm.
Seam allowance: We recommend allowing 1.5 cm for all seams and 4 cm at the hems.
Cutting the tulle
Cut a piece approximately 35 cm tall x 45 cm wide for the left sleeve, and cut a rectangle for the left back piece measuring 60 x 35 cm.
Instructions
Tips for working with the metallic thread:
- Reduce the upper thread tension
- Use the Thread Lubrication Unit and a spool net
- Insert the straight stitch plate
- Reduce the speed
- Because of the metal thread, turn off the automatic thread cutter in the setup program
- Use at least two layers of water-soluble embroidery stabilizer. Do not use old stabilizer under any circumstances – it will have hardened and will quickly tear your thread. If necessary, put an additional layer of thinner water-soluble stabilizer on top.
- Use a SUK 80 needle
The individual embroidery patterns can be assembled as you want them directly on the BERNINA 880 PLUS. If you are working with a different machine, we recommend that you arrange the design using BERNINA Embroidery Software 8. This will allow you to individually review the whole design for the back piece and the sleeve. Then place the whole pattern in individual hoopings.
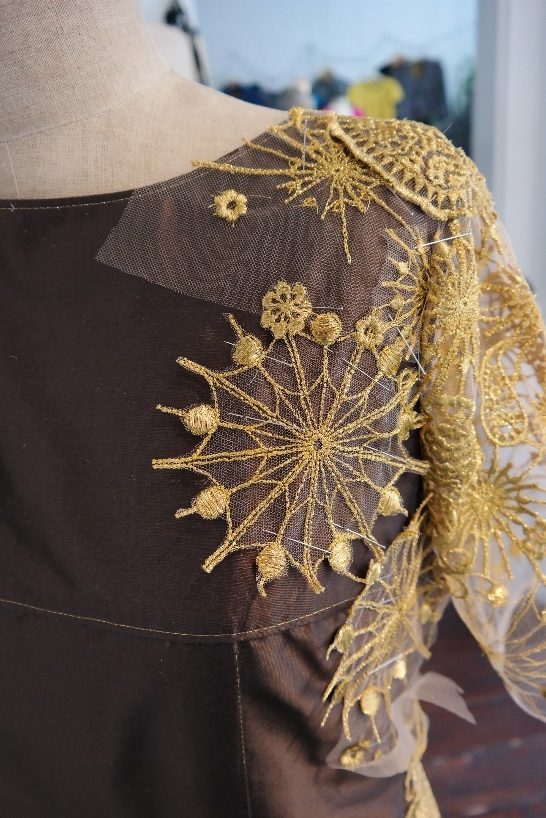
In addition, you can embroider individual designs on the leftover tulle and place them freely on the front and back of the hip yoke of the dress.
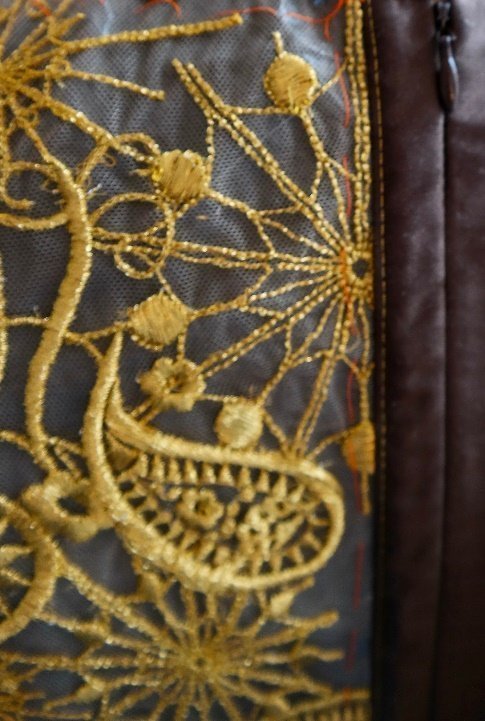
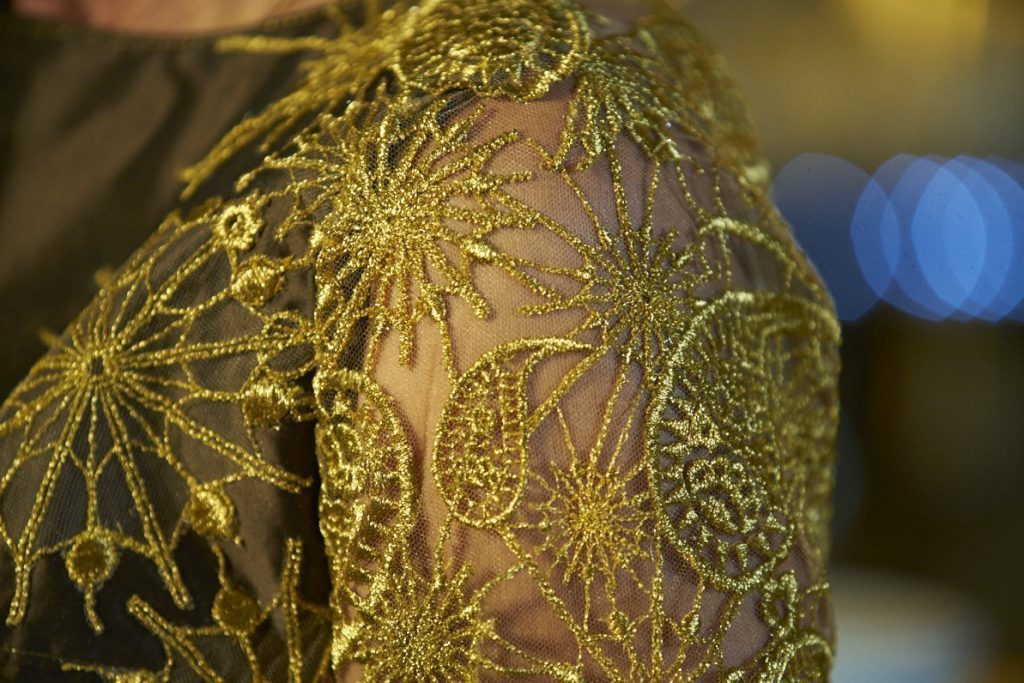
Rinse out the stabilizer and allow to dry. Embroidering the arranged embroidery designs on the tulle creates the lace effect.
From the lace created, cut out the left sleeve 7 cm longer than the right (using piece 9); make sure to leave a seam allowance. Cut out the left back piece using piece 4, cutting without a seam allowance in the back center.
Front
Close the dart on the front piece. Iron the seam allowances toward the center and topstitch using metallic thread.
Sew the upper front piece to the lower front piece with the right sides together. Iron the seam allowances upwards and topstitch along the seam.
Back
Close the dart on the upper right back piece. Instead of sewing the dart into the lace on the left back piece, the width of the dart is deducted, evenly distributed between the back center and the side seam. Sew the hip yoke underneath the lace according to the notches. Sew the zipper panel onto the left back piece (lace) with the right sides together.
Sew in the zipper, top stitch the panel. Sew the other side of the zipper onto the right upper back piece.
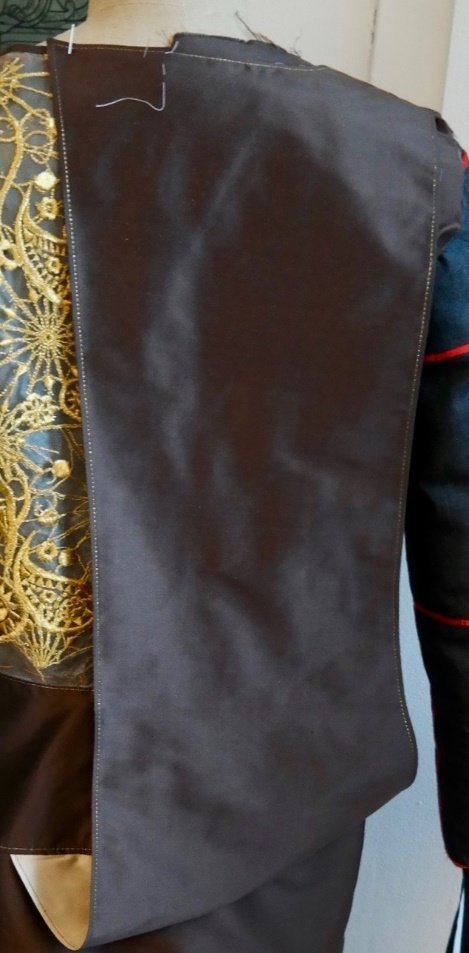
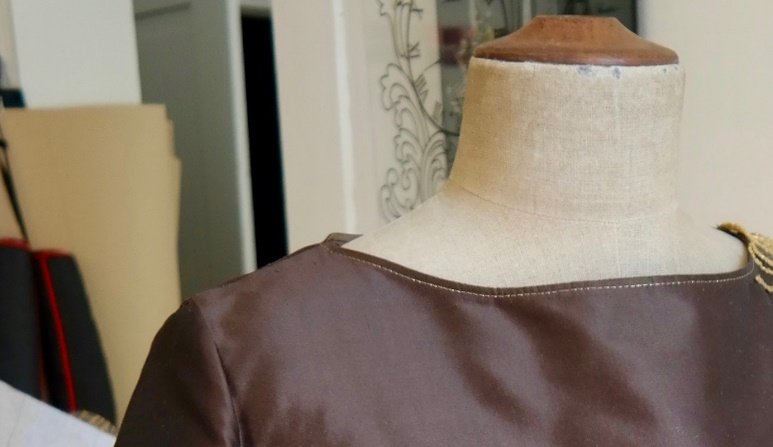
Bind the neckline of the left back piece with bias tape. Sew together the drapé pieces, right side to right side, along both longitudinal seams and the neckline seam. Turn the right way and iron. Topstitch along the longitudinal seams and the neckline with metallic thread. Pin the drapè piece onto the shoulder and underneath onto the back piece according to the notches. On the lower back pieces, close the back center seam up to the start of the slit. Sew on the upper back pieces. Close the shoulder and side seams.
Sleeves
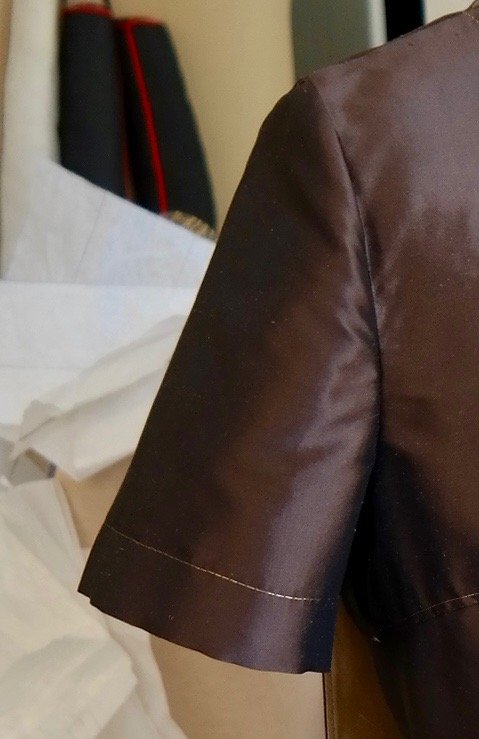
Pin the bottom sleeve seam of the lace sleeve wrong side to right side and sew by hand, working around the embroidery design. Trim the overlap on the back. Close the bottom sleeve seam of the silk sleeve. Hem and sew in both sleeves
Finishing
Close the right shoulder seam on the facing. Turn over the neckline and topstitch the edges of the front and back separately.
Attach the upper drapé piece corner to the left upper piece with a snap.
Sew the hems of the dress. Fold over the edges of the slit and topstitch the bottom edge. Topstitch the top end of the slit through all the layers on a slant.
Cut out the leftover elements from the tulle embroidery and arrange them as you like on the front, the side seam, and the hip yoke, and sew them on by hand.
Done!
You’ve just completed your work of art! and rake in a lot of compliments! 🙂
The matching jacket for this dress (to see in the picture above) including step-by-step instructions and patterns will also be published soon here in the blog. It’s worth stopping by!
And if you want to know more about BERNINA’s golden anniversary, have a look at our homepage: https://www.bernina.com/125years
PS: The instructions incl. pattern for the party dress in black with golden embroidery (in the picture on the left to see), you can already find here in the blog.
 BERNINA Corporate Blog -








This lovely cocktail dress inspired me to try to take up the challenge to make. When I downloaded the designs, I was disappointed to find they were only in ART80 format. Bernina used to support PES, and I don’t have the Bernina Software 8. By removing the 80 from the file extension I was able to have my software (Embird) display the designs and give the specifications for the design, like stitches and size, but the conversion fails. Do you have a solution to my dilemma? Thank you. I am a faithful follower of the blog.
Hi Sylvia
biggest apologies for my late reply. I have asked my colleagues internally, and they told me that you find the PES and ART70 files within the zip folder. Does that help?
Thanks and best
Caro from the BERNINA Blog Team
Whether they are going on a Saturday night date to the theater or to a swanky cocktail party, the little black dress is the optimal attire for every woman that wants to look elegant and sexy.
https://milanoformals.com/collections/short-dresses