This is the easiest way to make a simple blanket and it is done only using a serger/overlocker.
It is not that every day a new blanket is needed, but sometimes you want to incorporate a specific color into the interior of your living room, apartment or maybe your baby or dog needs a new blanket, or you want to treat someone with a gift. That last is for me always a good reason to sew the blanket – gift.
Blankets can be found in many sizes, but I’ll mention here only some of the standard volumes:
MATERIAL for one blanket:
- a fabric of the required length (fleece, flannel, terry cloth and similar… )
- thread in the matching color (4 pieces)
- You still need: serger/overlocker, scissors or rotary cutter, measuring tape, tailor’s chalk and circular shape template that will serve you as a template for corners
First, decide which size of the blanket you will sew and determine how much fabric you need.
Add to the width and length of the blanket size up to 5-10 cm to get the measures you need for fabric buy. You add so much to prevent the lack of material after pre-washing and after that cutting.
Almost all fabrics are standard width 140-150 cm. For a baby blanket, you need 90 cm of material, as for children blanket, it is enough 110 cm if you would assume that the width of the fabric would be used for the length of the blanket, otherwise, due to the direction of weaving or pattern 145 cm is sufficient.
For the standard blanket 135 x 200 cm, you need at least 210 cm.
As for blankets whose widths are more extensive than 135 cm, you will need a double width fabric, that is 280 cm which can also be found to buy, and for such blankets, you need a minimum of 210 cm of material.
Of course, these data I have written relate to the measures mentioned above given in the table, and each of you can individually determine which size you want and on that basis obtain fabric.
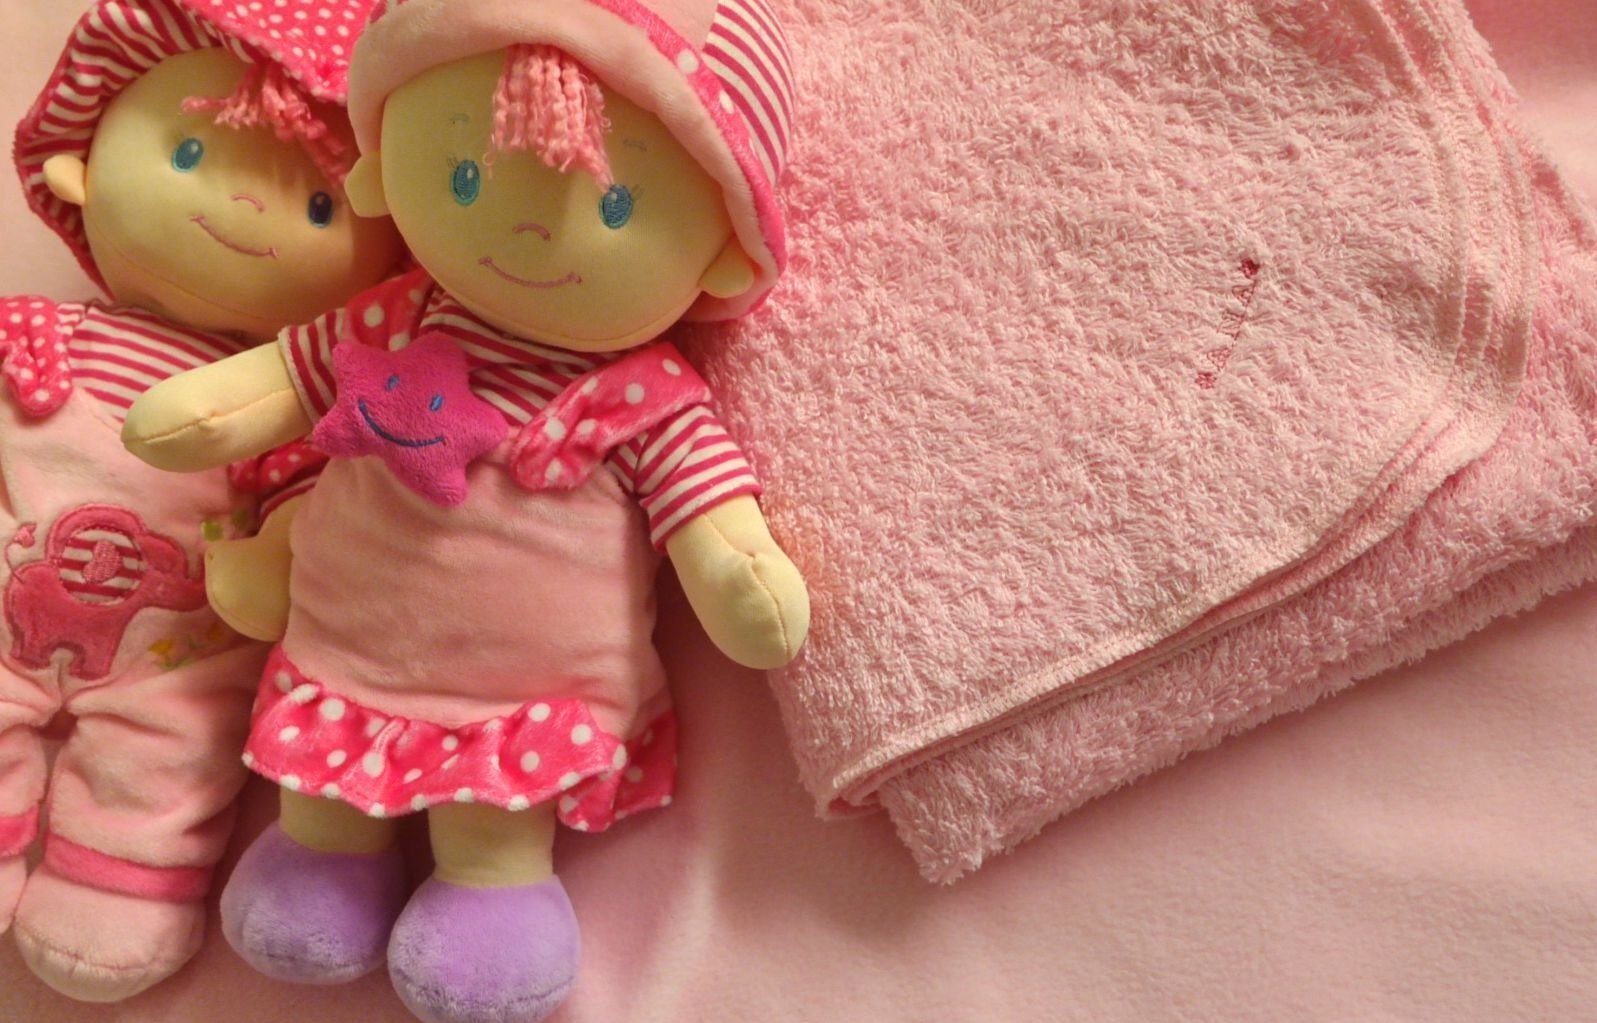
For this post, I made a blanket for a gift, i.e., blankets for my niece and nephew. They are a one-year-old girl and a boy nearly three years old. Last year I made baby blankets for them, and now I decided to make blankets 100 x 135 cm – children size.
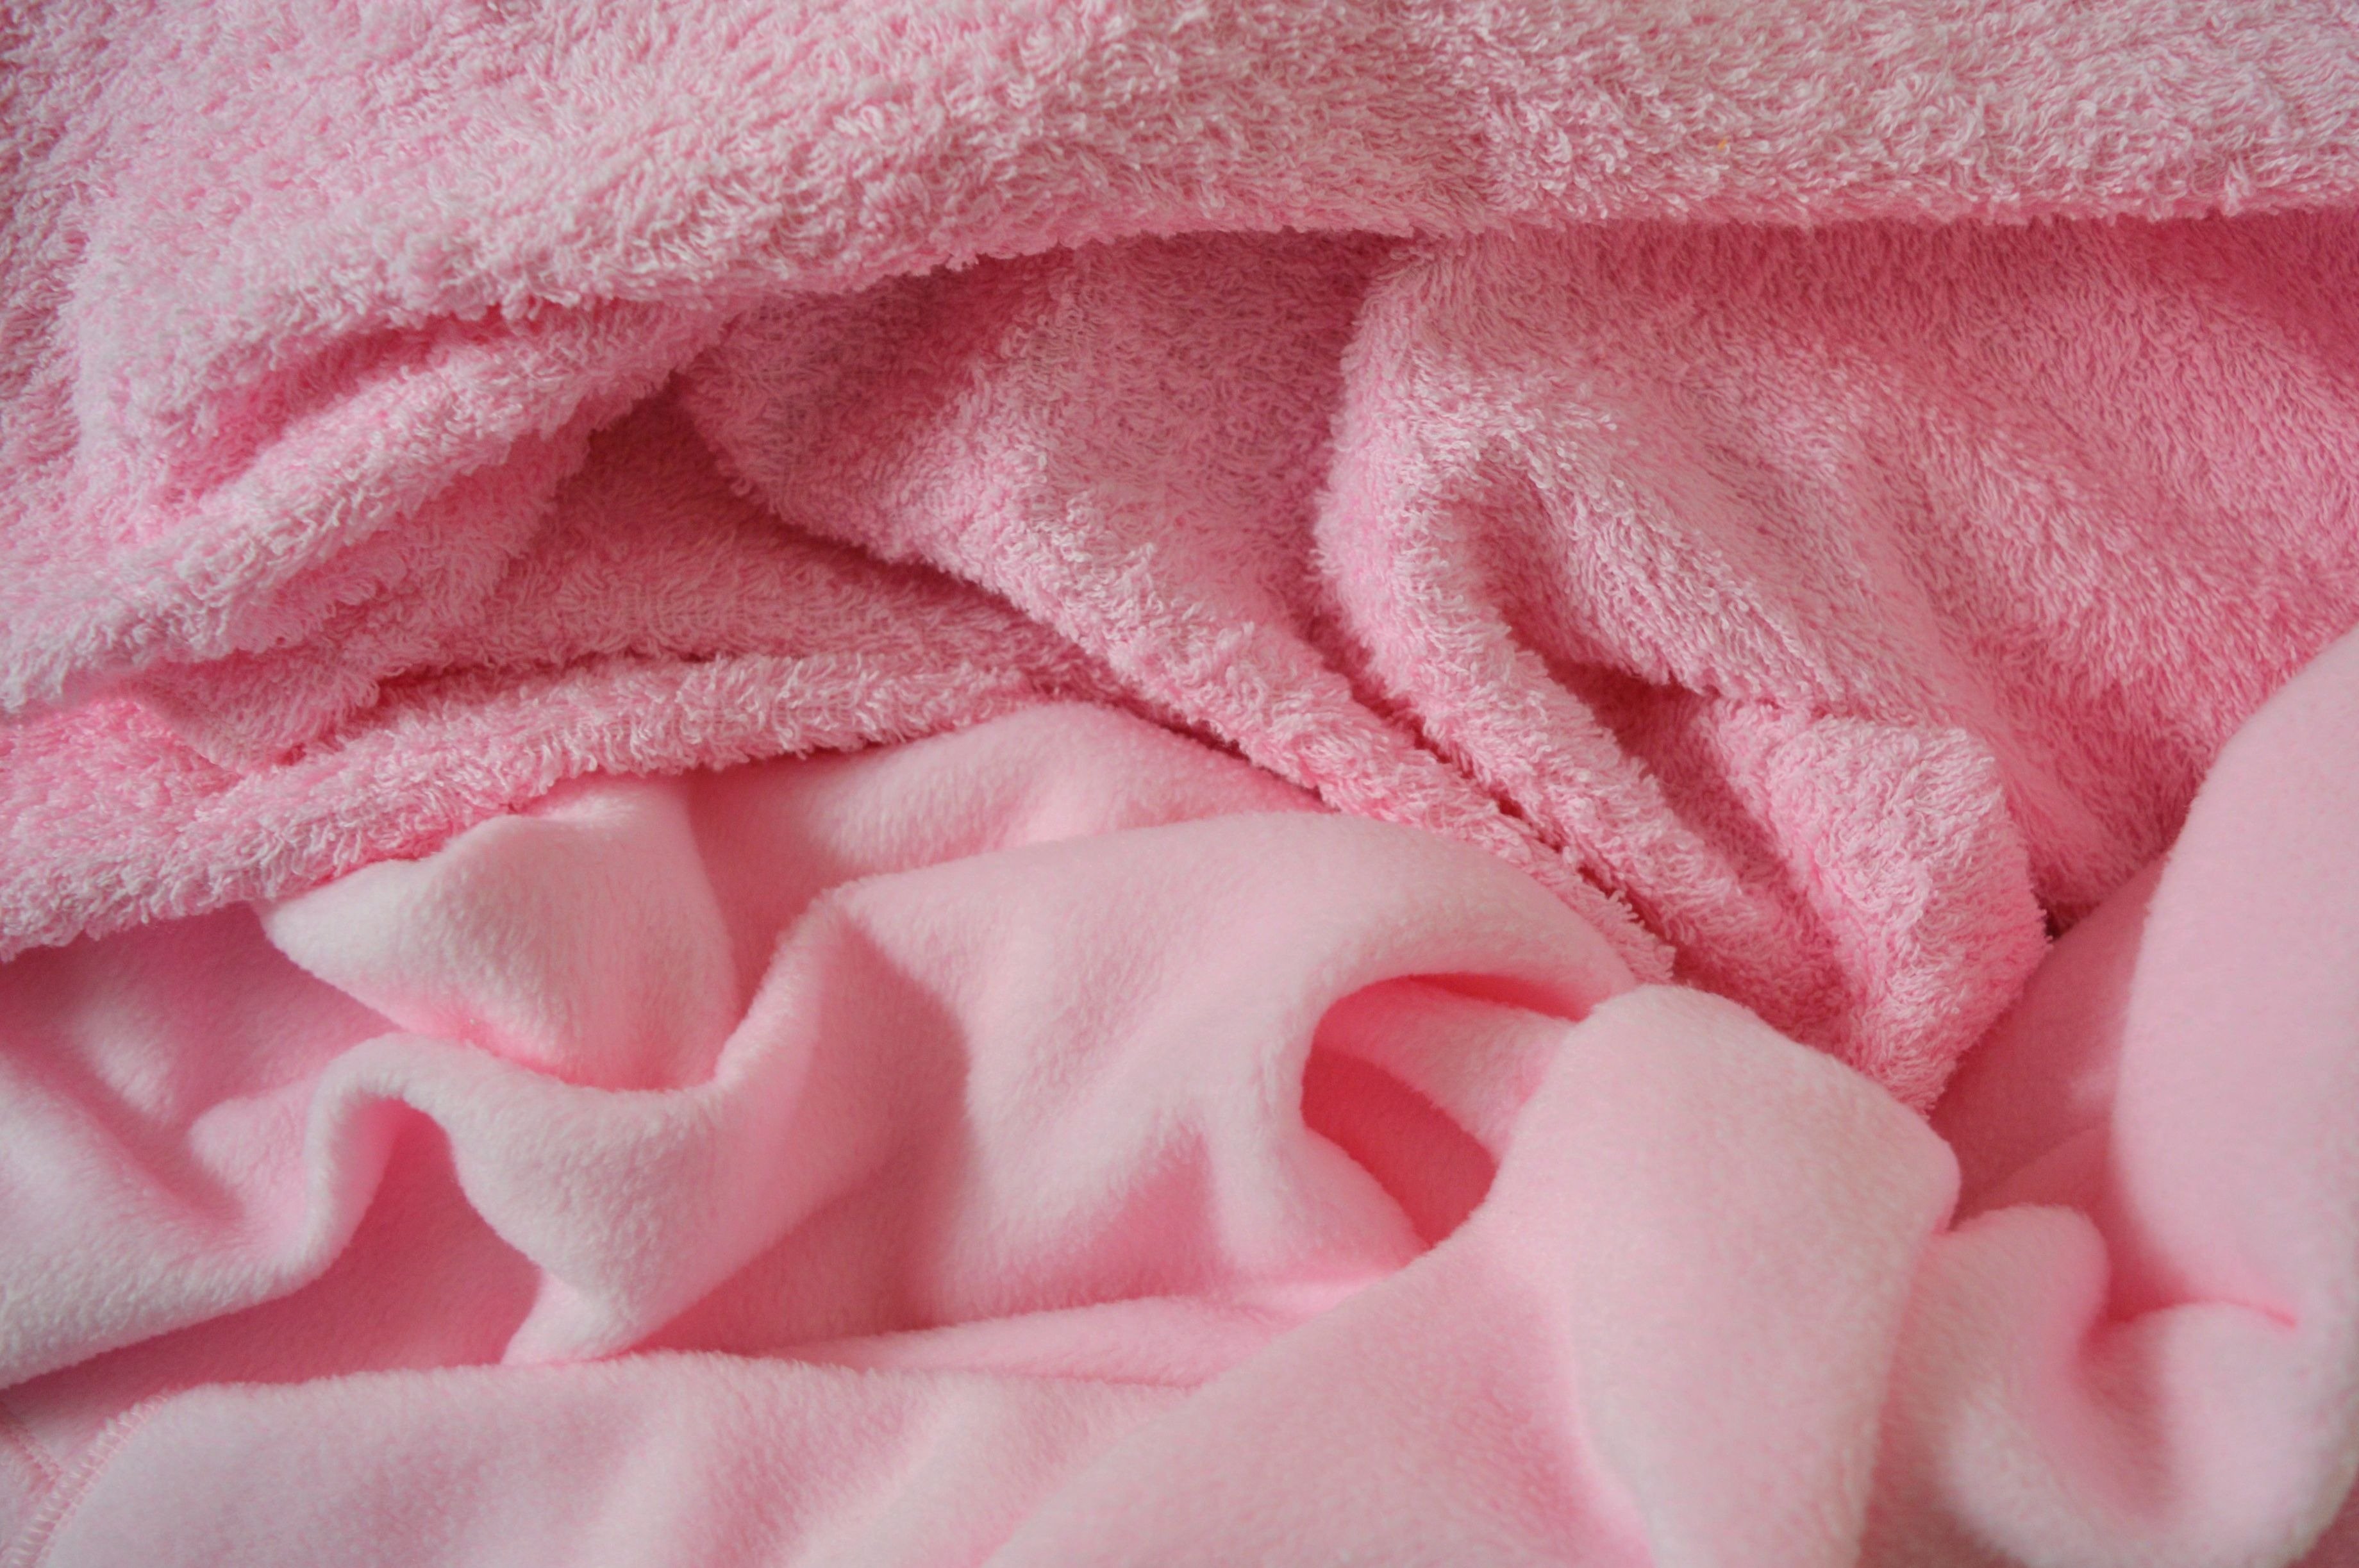
I bought terry cloth and fleece, both in two colors – pink and green.
Terry cloth is perhaps a bit unusual for a blanket because it is mostly used for towels and bathrobe, but it is very comfortable, absorbent and warm, besides it’s usually 100% cotton, and I recommend it, especially when it comes to covering the children.
And on the other hand, the fleece (100% polyester) is ultra soft and very warm.
Both fabrics I bought 110 cm length, and widths are standard 140-145 cm. I used the width of the fabric for the length of the blanket.
Always pre-wash the fabric!!!
Pre-washing prevents shrinking and misshaping when washing finished item.
CUTTING MEASUREMENTS: measurements of your blanket
Tailor fabric, you can choose the method you usually would.
I leveled the two adjacent edges of the fabric, and I measured from them about 100 cm and 135 cm depending to which side which measures corresponds. You don’t have to make the fabric completely straight, because overlock will trim it smoothly.
Now, make rounded corners of the blanket.
For that can serve any template that has a circular form. You can create a model from a paper, but to make this whole process more straightforward, you can use any item from your home. I’ve used a dessert plate from my kitchen, as you can see in the pictures.
Place the template on the corner of the blanket so that from the end point of the intersection to the connection point of the edge of the blanket and the side of your template will be the same length on both edges, as shown in the picture below.
Mark the shape on the corner and cut it or cut it by using a rotary cutter without marking. In this way, you get the round corner of the blanket.
By copying that corner to the other corners, you get the same round form at the other corners too.
When the cutting is completed, you can start with sewing.
Serger/Overlocker cuts, sews and finishes the open edges of the fabric in one step and is therefore very practical.
Prepare your serger/overlocker for sewing.
Thread your serger/overlocker using the thread in the matching color.
I used a thread for sewing machines (the small one) instead of overlock thread because of the very rarely pink color items sewing, so I don’t need a more considerable amount of pink yarn.
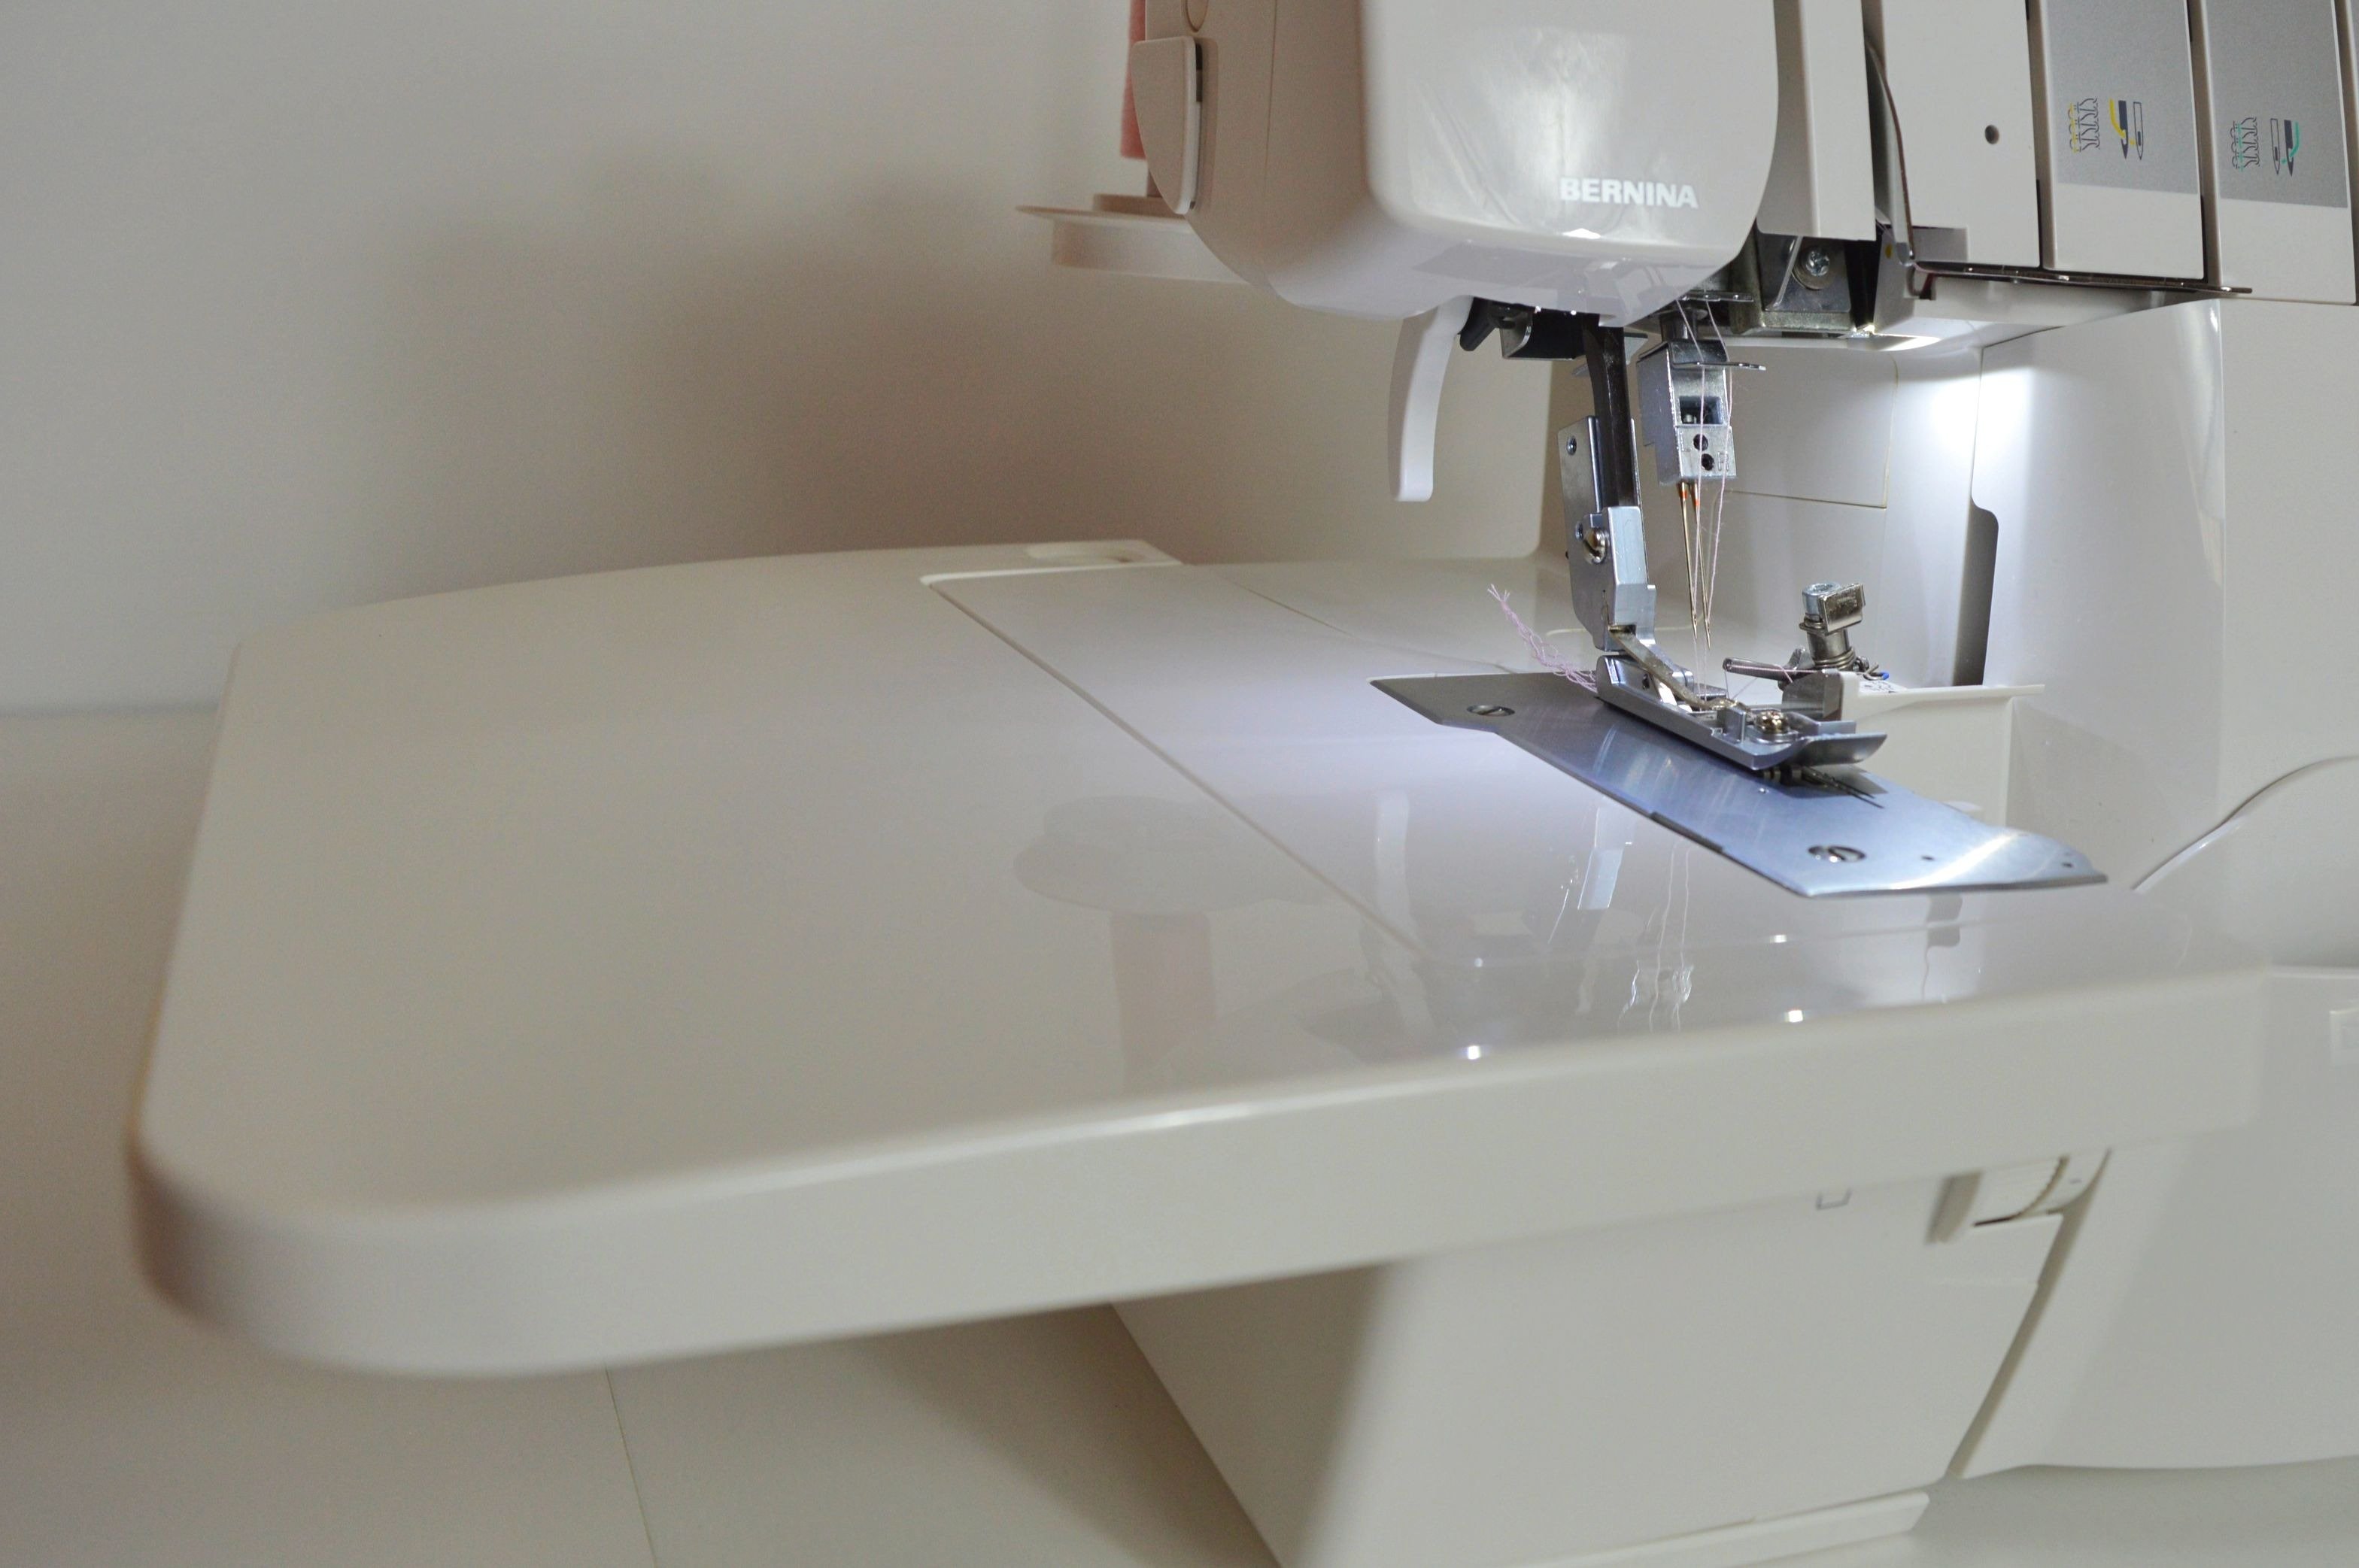
In this case, it is beneficial to have a slide-on table for more space available by some overlock such as the Bernina L460. This gives you more workspace where it is easier to work with more substantial volume fabrics.
In the picture below you can see that I used the seam guide too, which can be useful when you have a constant seam spacing because it helps to maintain that spacing.
When it comes to serger/overlocker settings, you have to see yourself the best variant for hemming your fabric. Try the seam and spacing as well as the differential feed adjustment on the fabric remnants to apply the best option to the blanket. Seam must be on edge, and the knife should cut only the uneven parts of the border.
!!! 4-thread overlock, stitch length 2.5, (differential feed 1.5 – light gathering)
The 4-thread overlock is the most commonly used serger/overlocker stitch. It’s a very durable and strong stitch and the best choice when finishing edges, especially these raw edges on the blanket.
Overlock your blanket.
When hemming corners, it helps to stitch a little slower, what you will quickly achieve pressing less the foot control.
In the picture below you can see the edges on the blanket corners on both fabrics I used.
Hemming is finished. It remains only to end that serger/overlocker stitch.
As can be noted, cutting and sewing this simple blanket is quick and easy, and takes only 20-30 minutes. Whether you need one or like me, you’re making a gift, it is always a pleasure to make something yourself.
The second part of this post is individual, that is, only if one of you wants to do it.
My blankets are presents, so I wanted them to be personalized.
Namely, I have been making such blankets for my niece and nephew so far, and with my Bernina 530, I have stitched names on them. Of course, it depends on whether the fabric allows that, and in this case, both structures have proven to be good for that.
I have chosen on my sewing machine, what I will stitch on a blanket.
My sewing machine has two options for letters, and I have picked this one that can be seen in the picture (My niece is called Ana, and in front of and behind the name I put a sign.).
I marked the place where it should be the name.
On the other side of the blanket, I iron fusible interfacing just on the part where the text needs to be placed, although it could be without, I think it is better with it. (When ironing, place a heat-resistant fabric between the blanket and the iron and press over it.)
I used the thread in the different shade of pink color to make it more noticeable.
I stitch the name on both pink blankets, but also on the other two, I made for my nephew.
All in all, my sister delighted with gifts because children are still small to be aware of terms such as giving and personalized gifts, but I believe that they will in future be pleased to know that they have their own blanket with its name on it.
 BERNINA Corporate Blog -


Love the simplicity yet the “warmth” in heat and comfy aspects. Question: When sewing using fleece or terrycloth, do you recommend using a cover type of paper to reduce what I call the fluffies? Thank you, Candace
have enjoyed viewing this site. Many new and informative information.
Thank you.
Hi Yvonne,
thank You for Your comment.
I’m glad You like it!
Best regards,
Jelena