 BERNINA Corporate Blog -
High temperatires and vacations, not a lot of people behind their sewing machines. But some of us – like me to prepare this block – still havae to work. Fan is working, windows open to let in a bit of wind, cold water at hand… I don’t mind working in such conditions, because it is always fun to make something beautiful with my BERNINA770QE. And if you don’t want to work then it’s hot, save this block for a later date. Bernina always leaves all messages on the Blog.
For the eight block you can download three pages again:
Block 8 – left part
Block 8– right part
Block 8 – Crystal
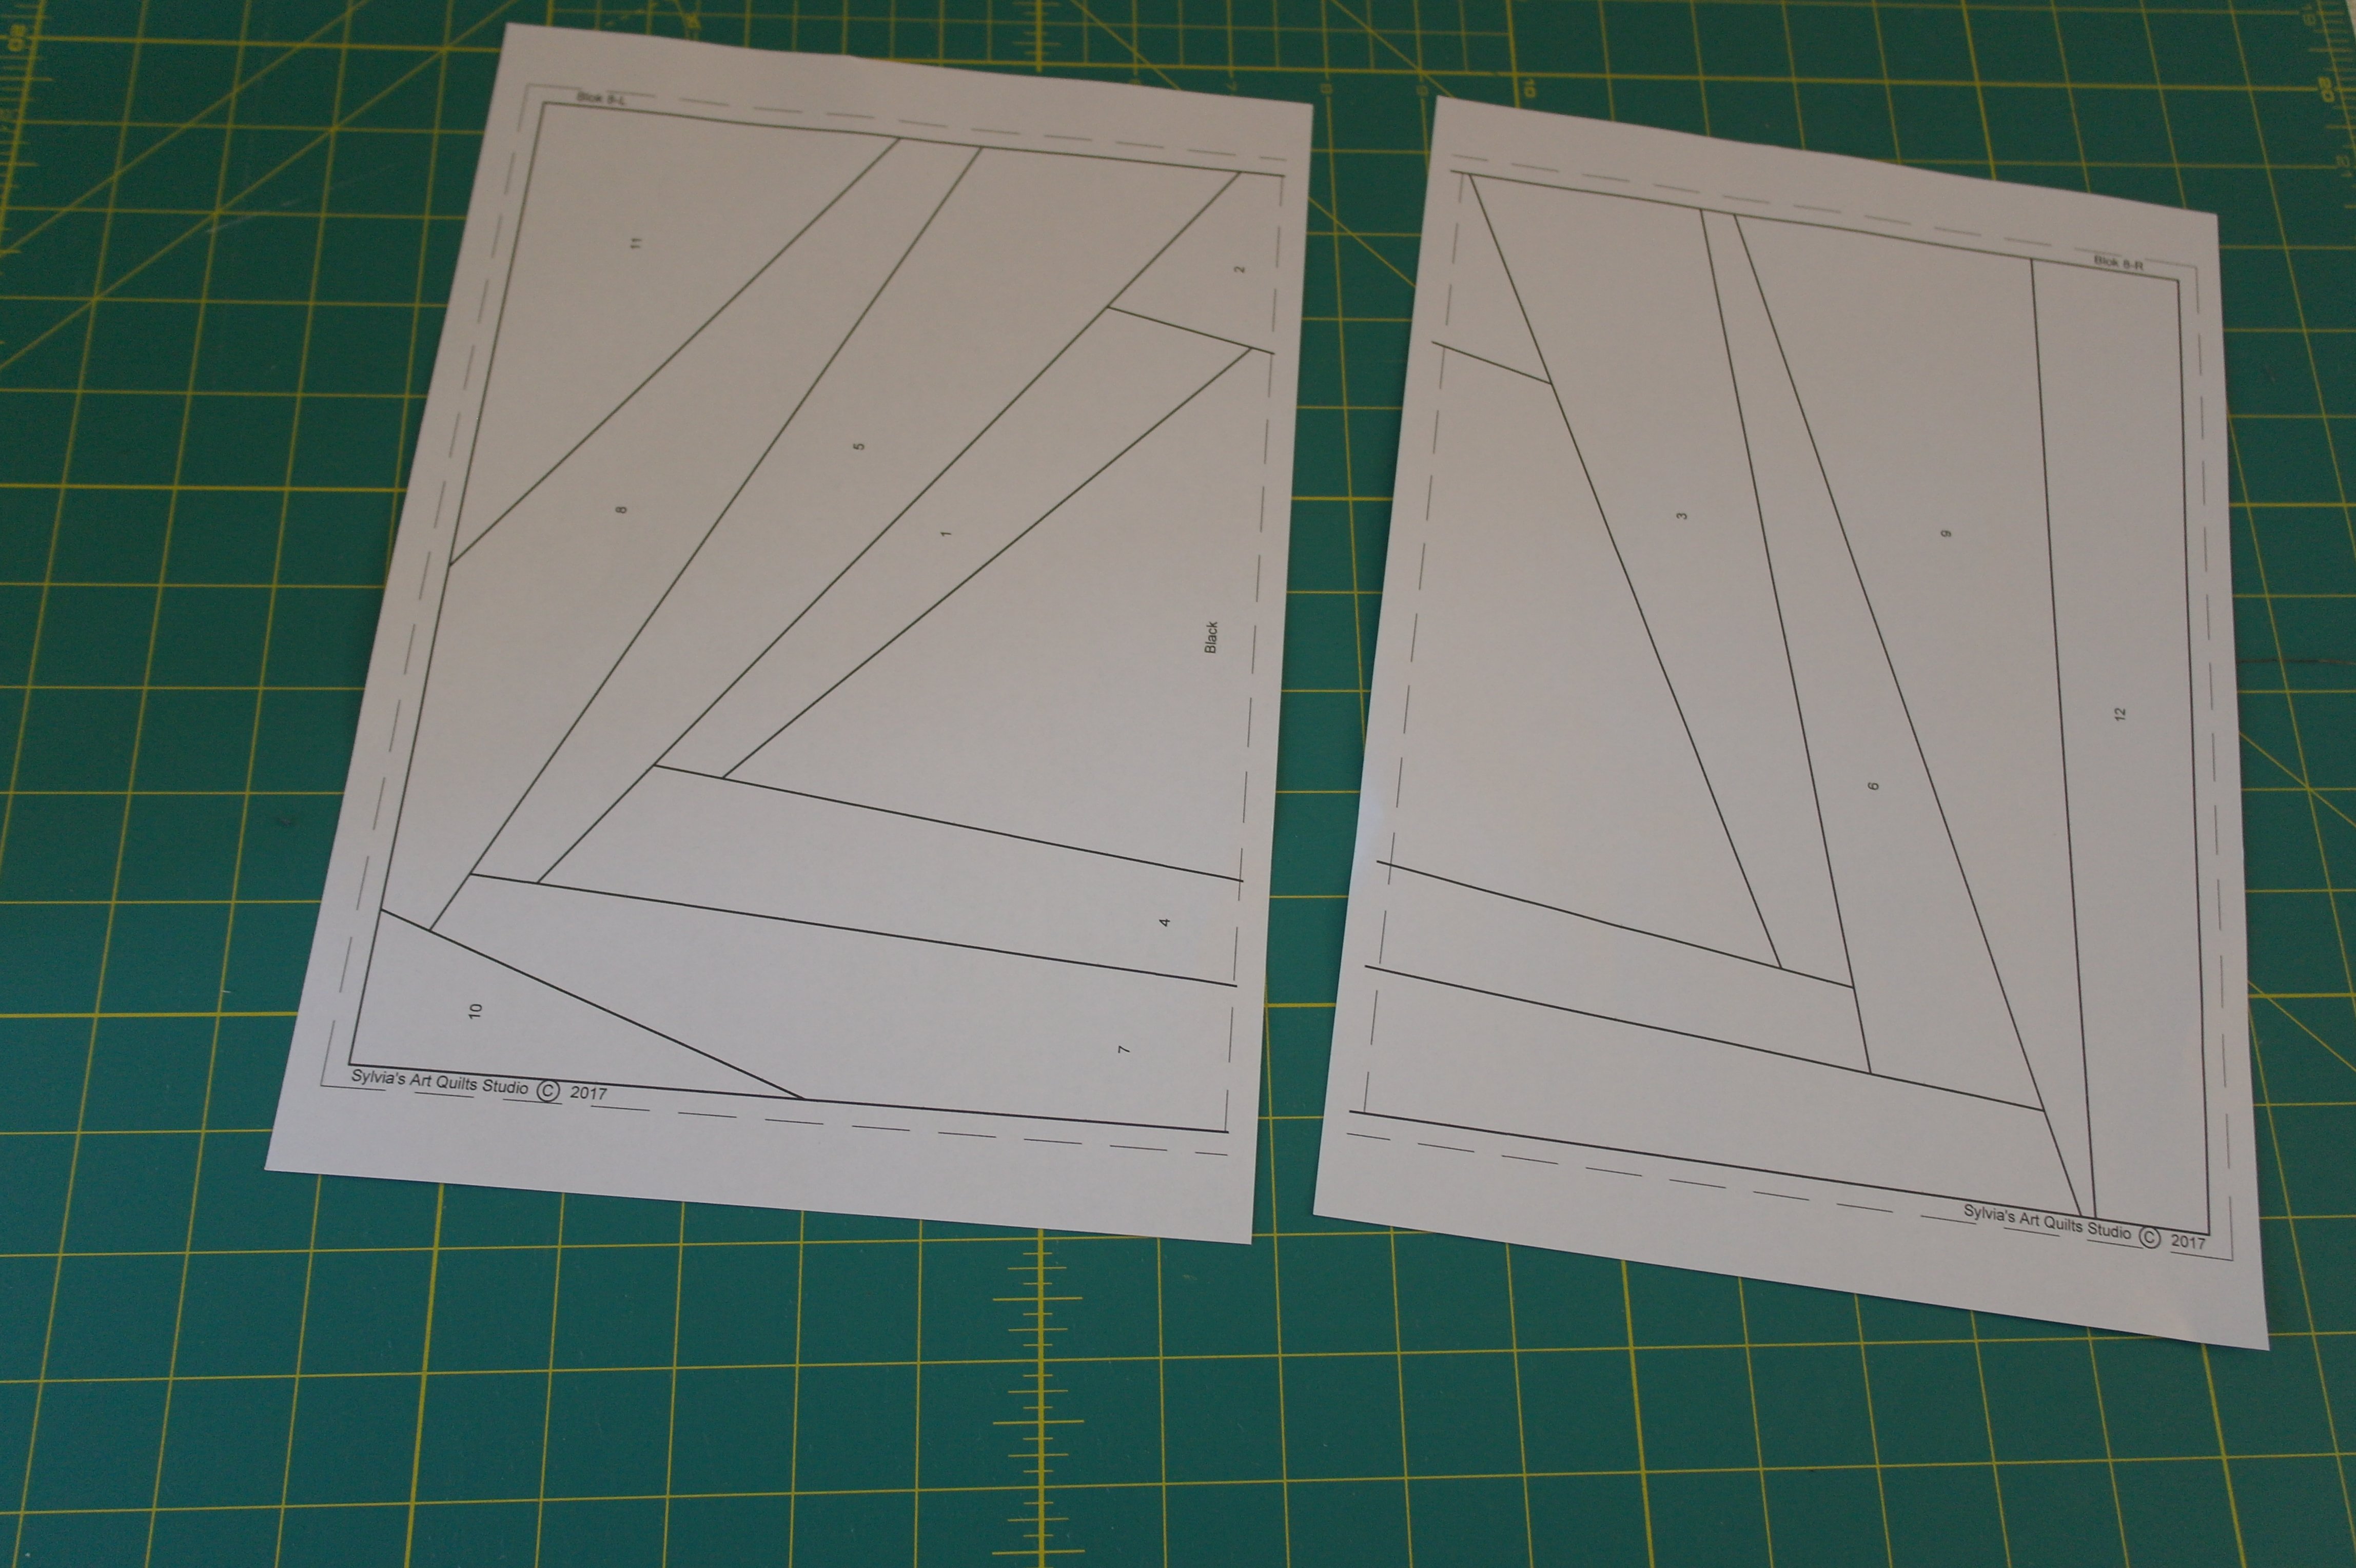
Print the paper patterns, block no. 8 consists of two pages again, just like the previous blocks – a left and right part.
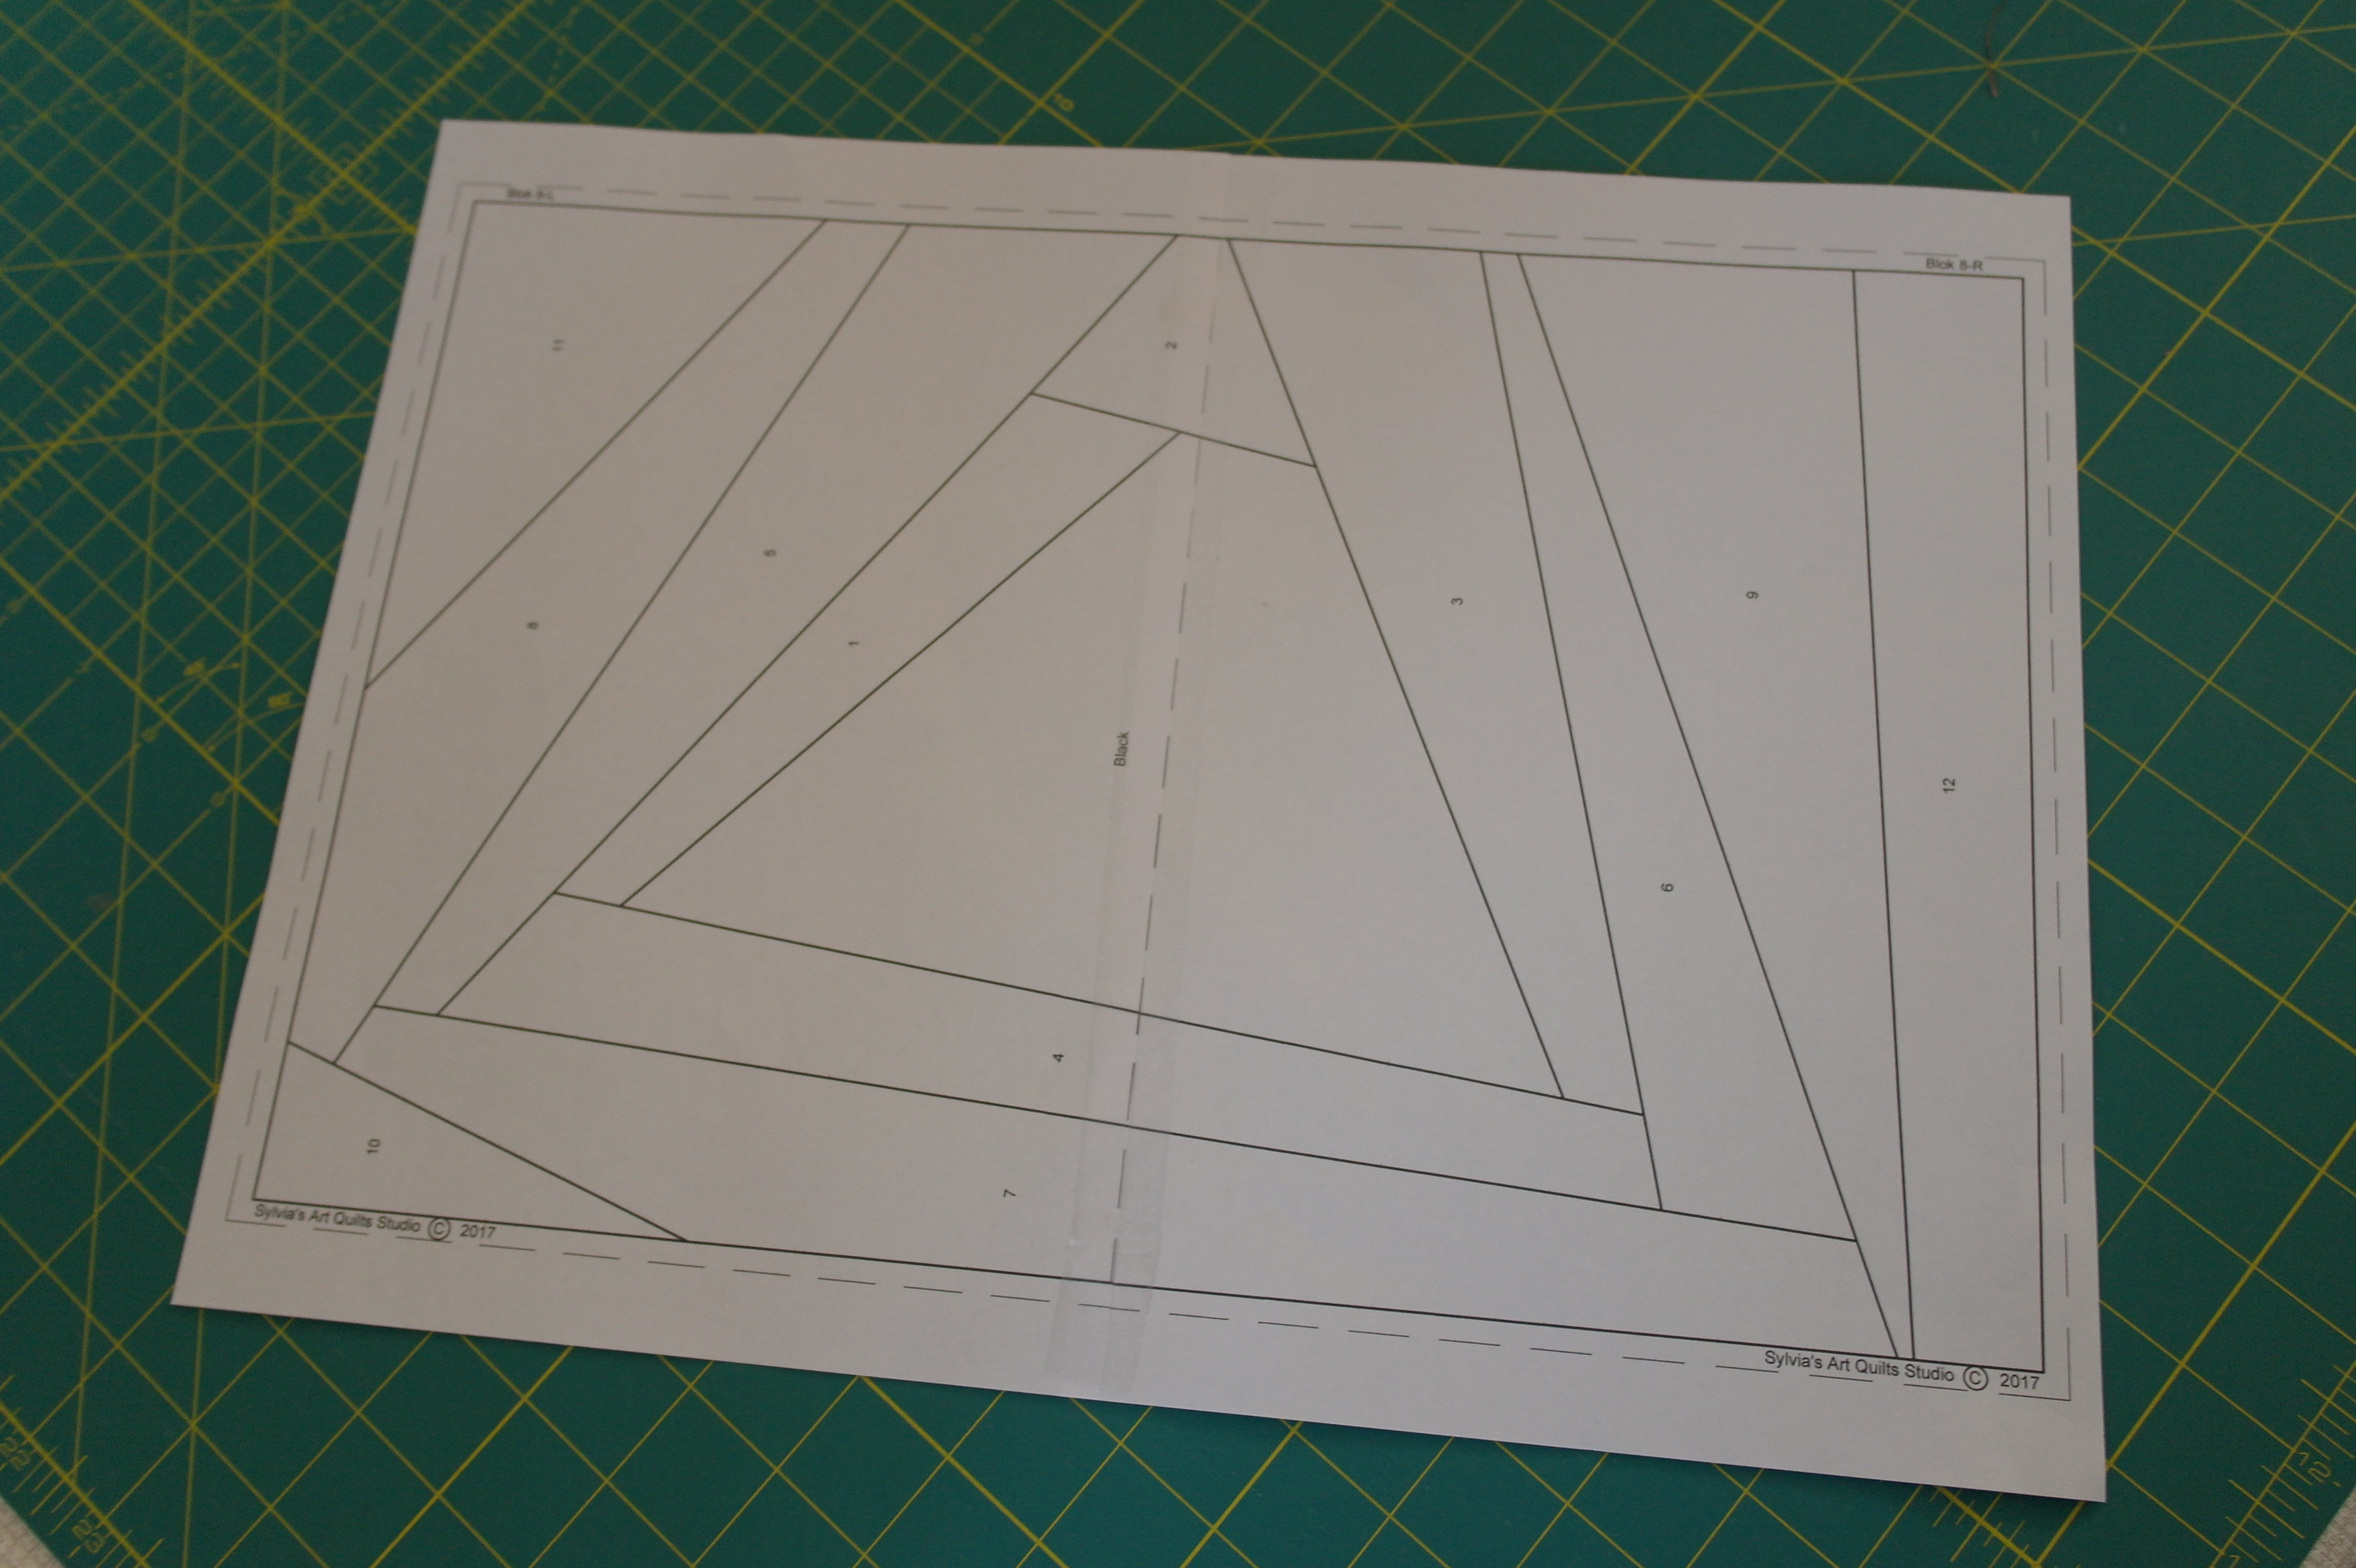
Make one large block, by taping them together (use the dotted line)
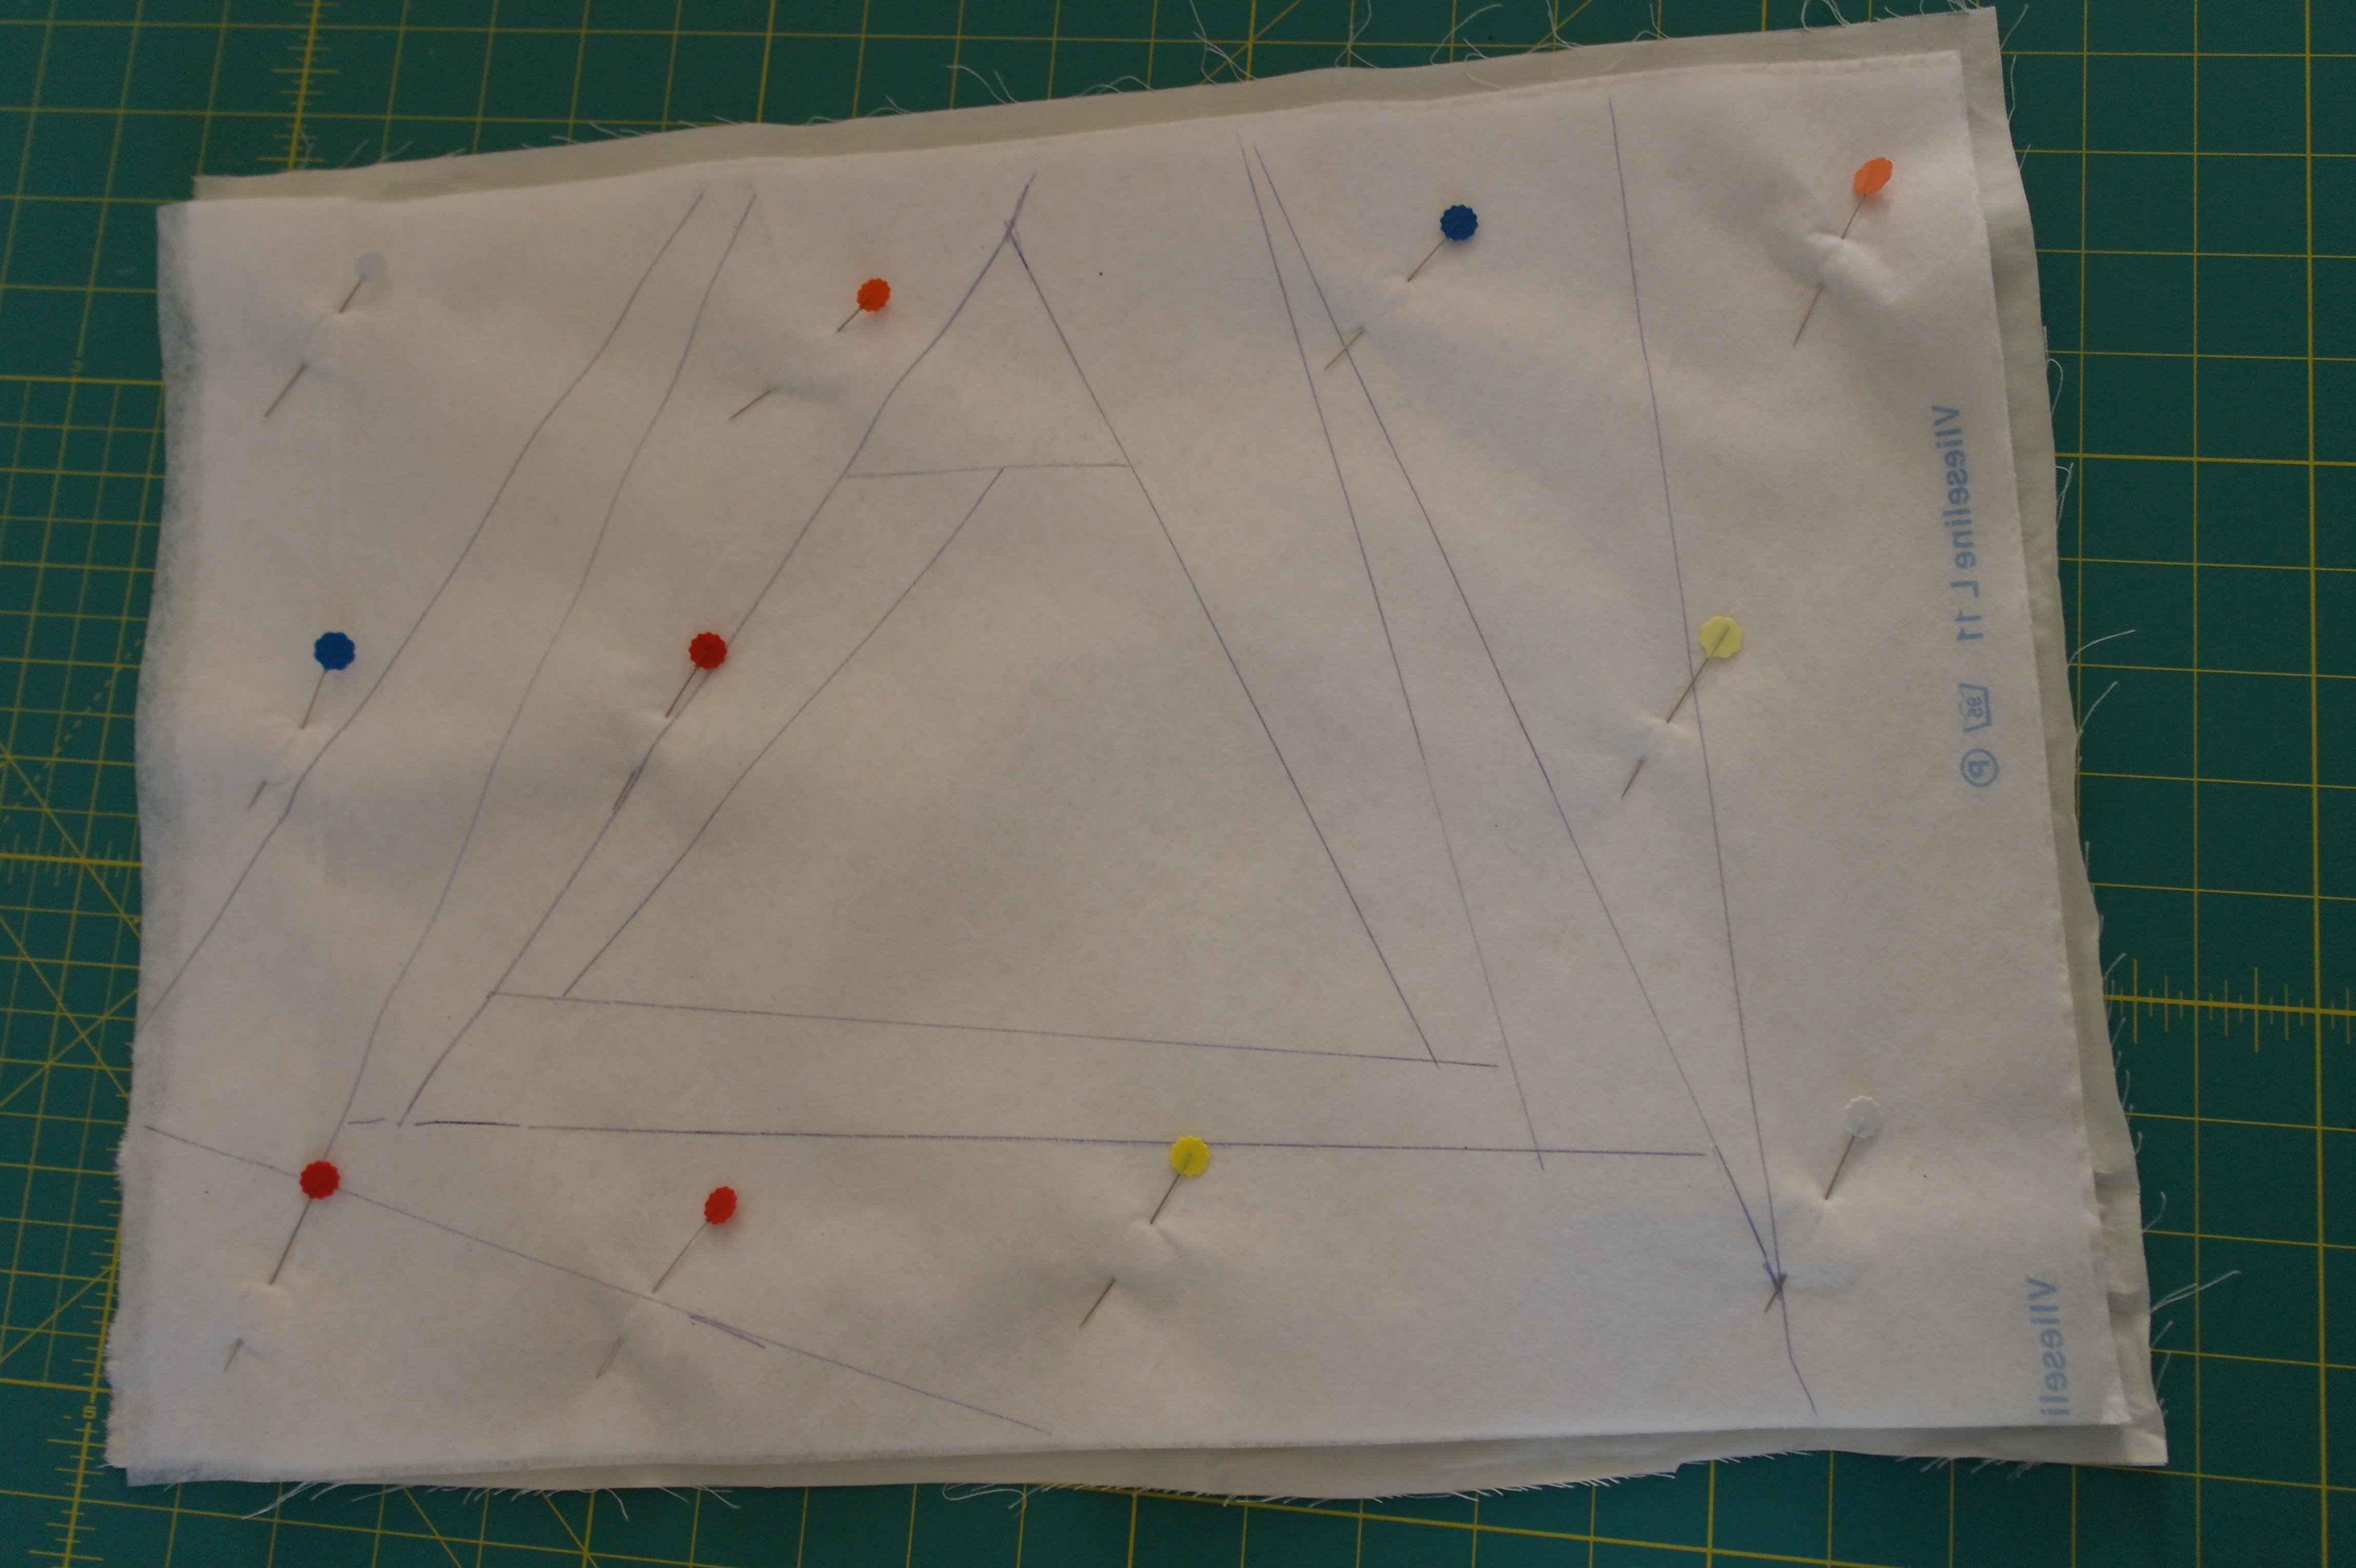
Use Vlieseline L11 – 32x45cm – place this on top of the paper pattern. Just draw all lines of the Crazy Patchwork (the rectangle is for reference only), all to the edges. Make a sandwich from off-white fabric, 100% bamboo batting and the Vlieseline L11 with the patchwork pattern. Pin them in place.
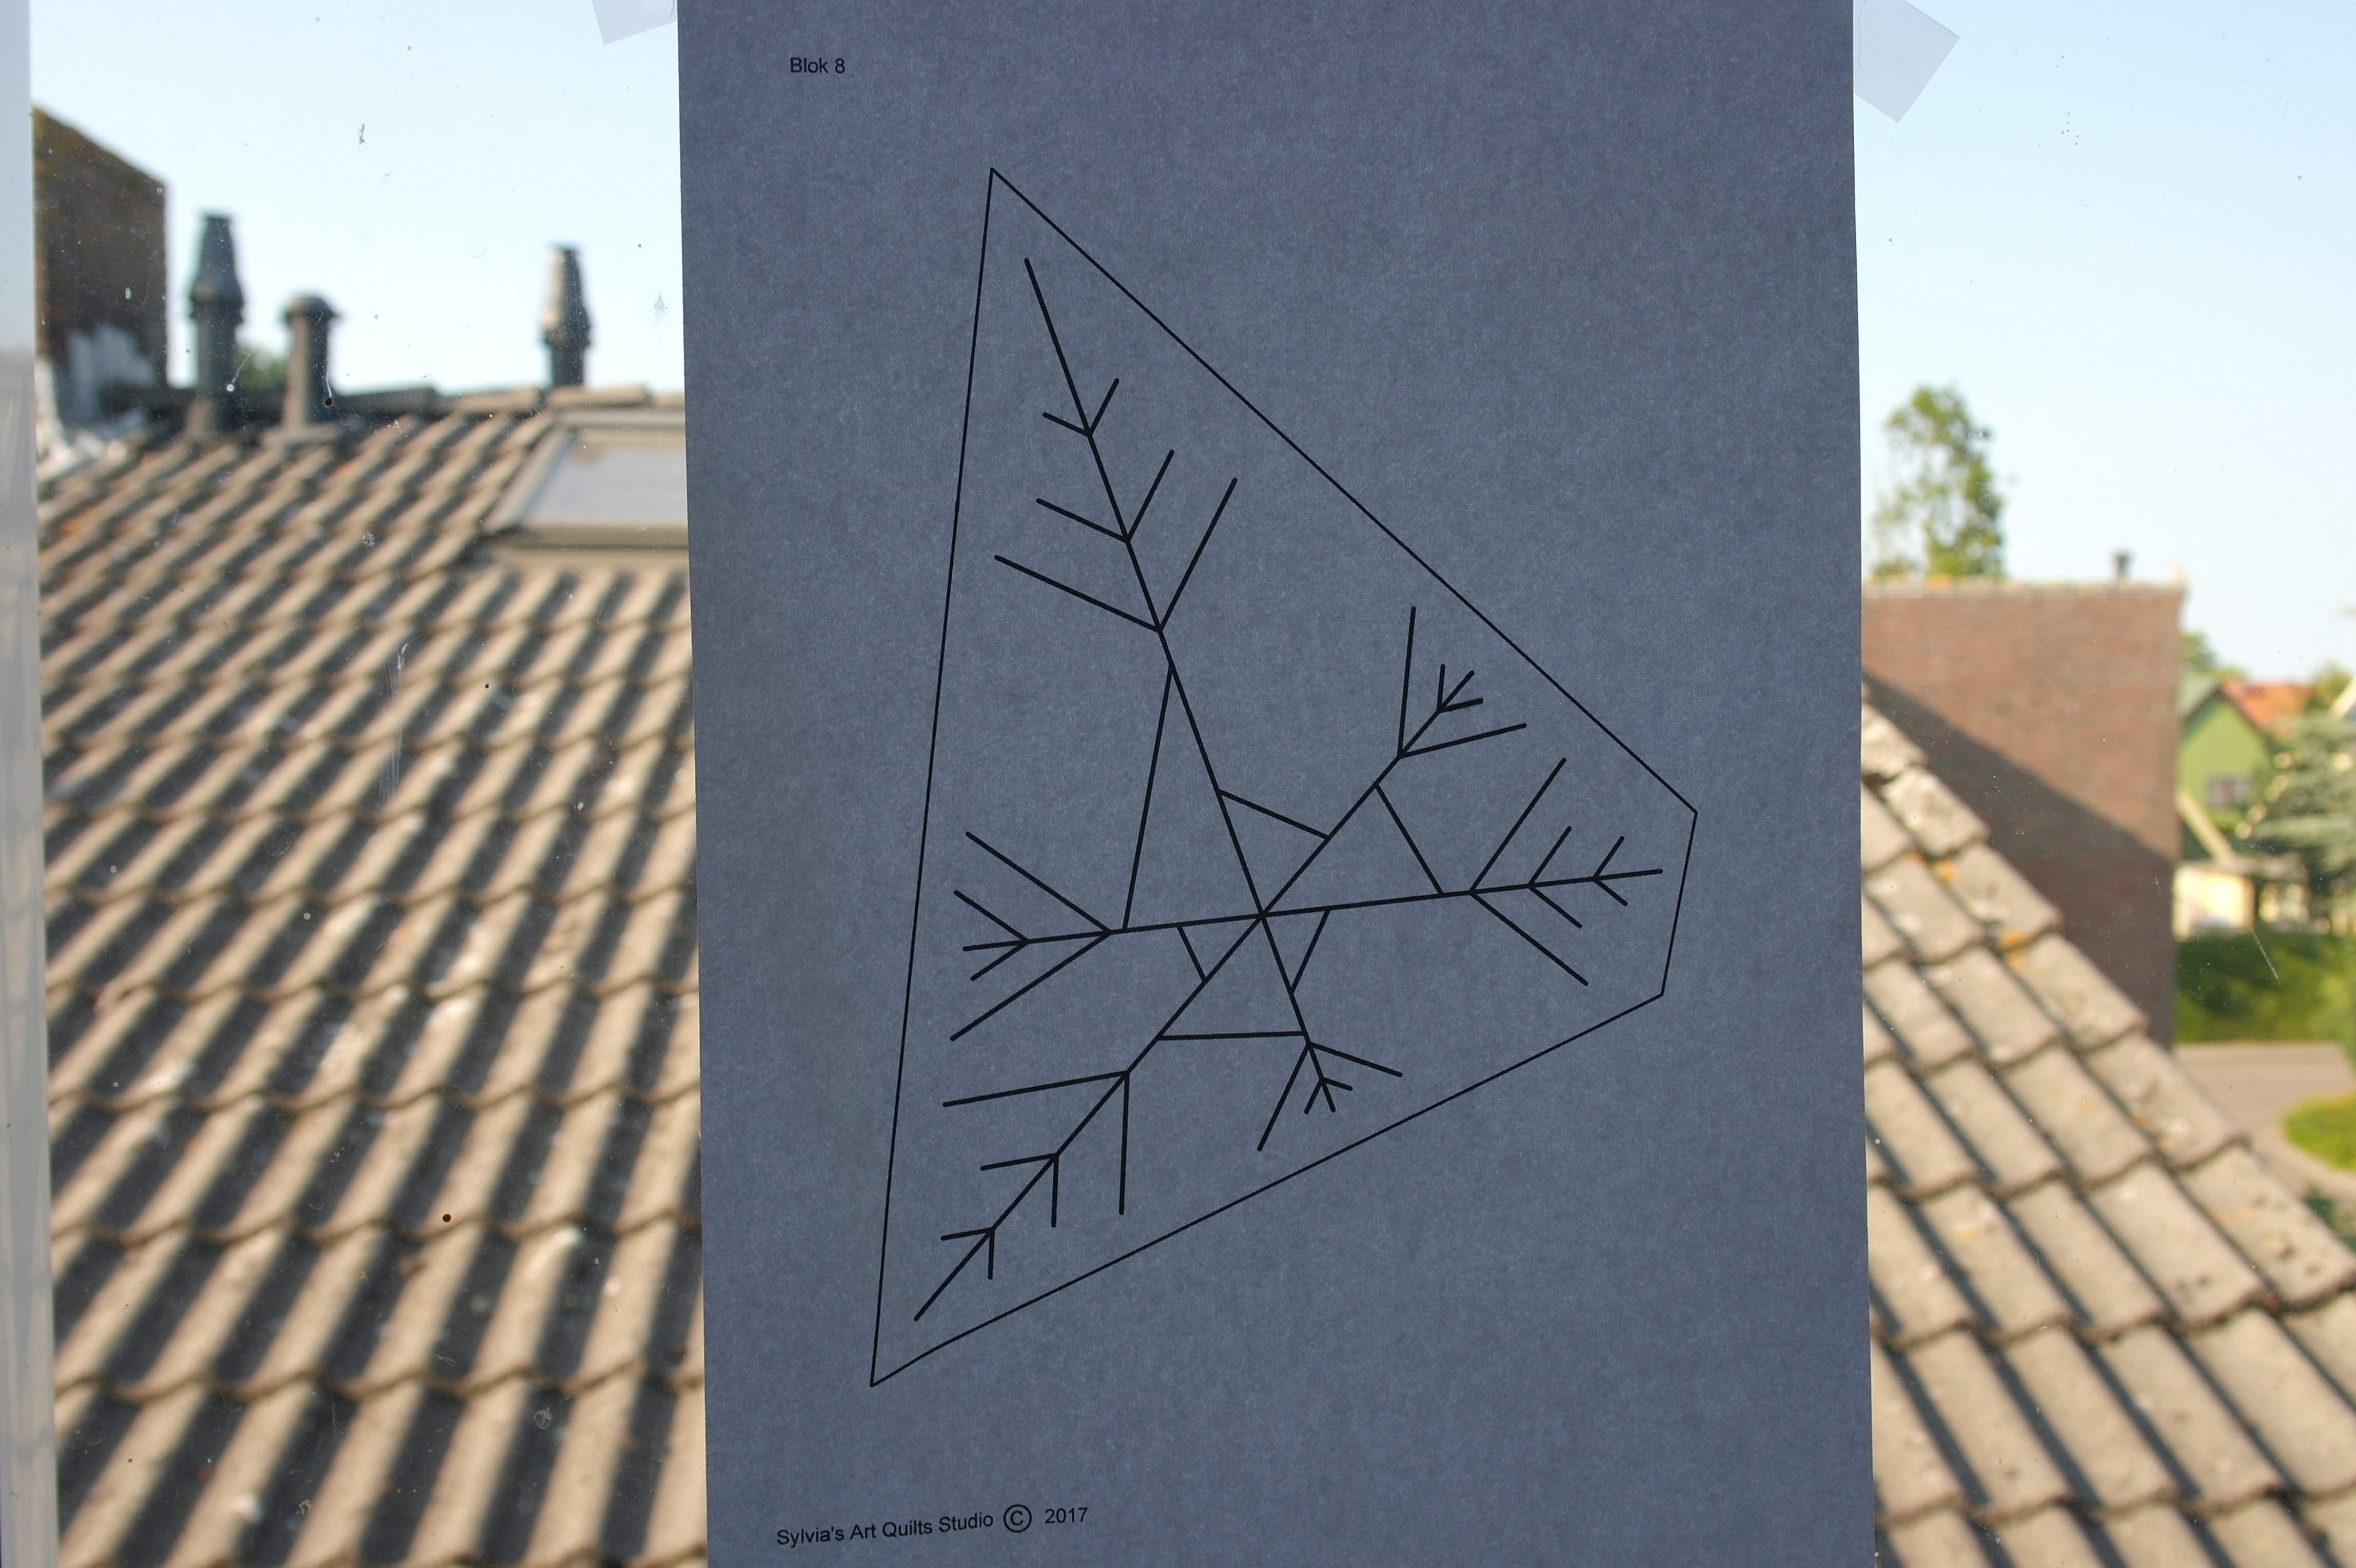
Tape the pattern of the Crystal for Block 8 to a window, or a light box,

tape the black batik quilt fabric (20 x 30 cm) on top of that. Make sure there is enough fabric around the shape of the Crystal to have a seam allowance of at least 1 cm in all directions (that is why I have tilted my black fabric). Draw all lines with white watersoluble pen (or blue if you use a lighter color of solid fabric for the center). BE SURE to draw thin lines: they have to be removed with water afterwards.
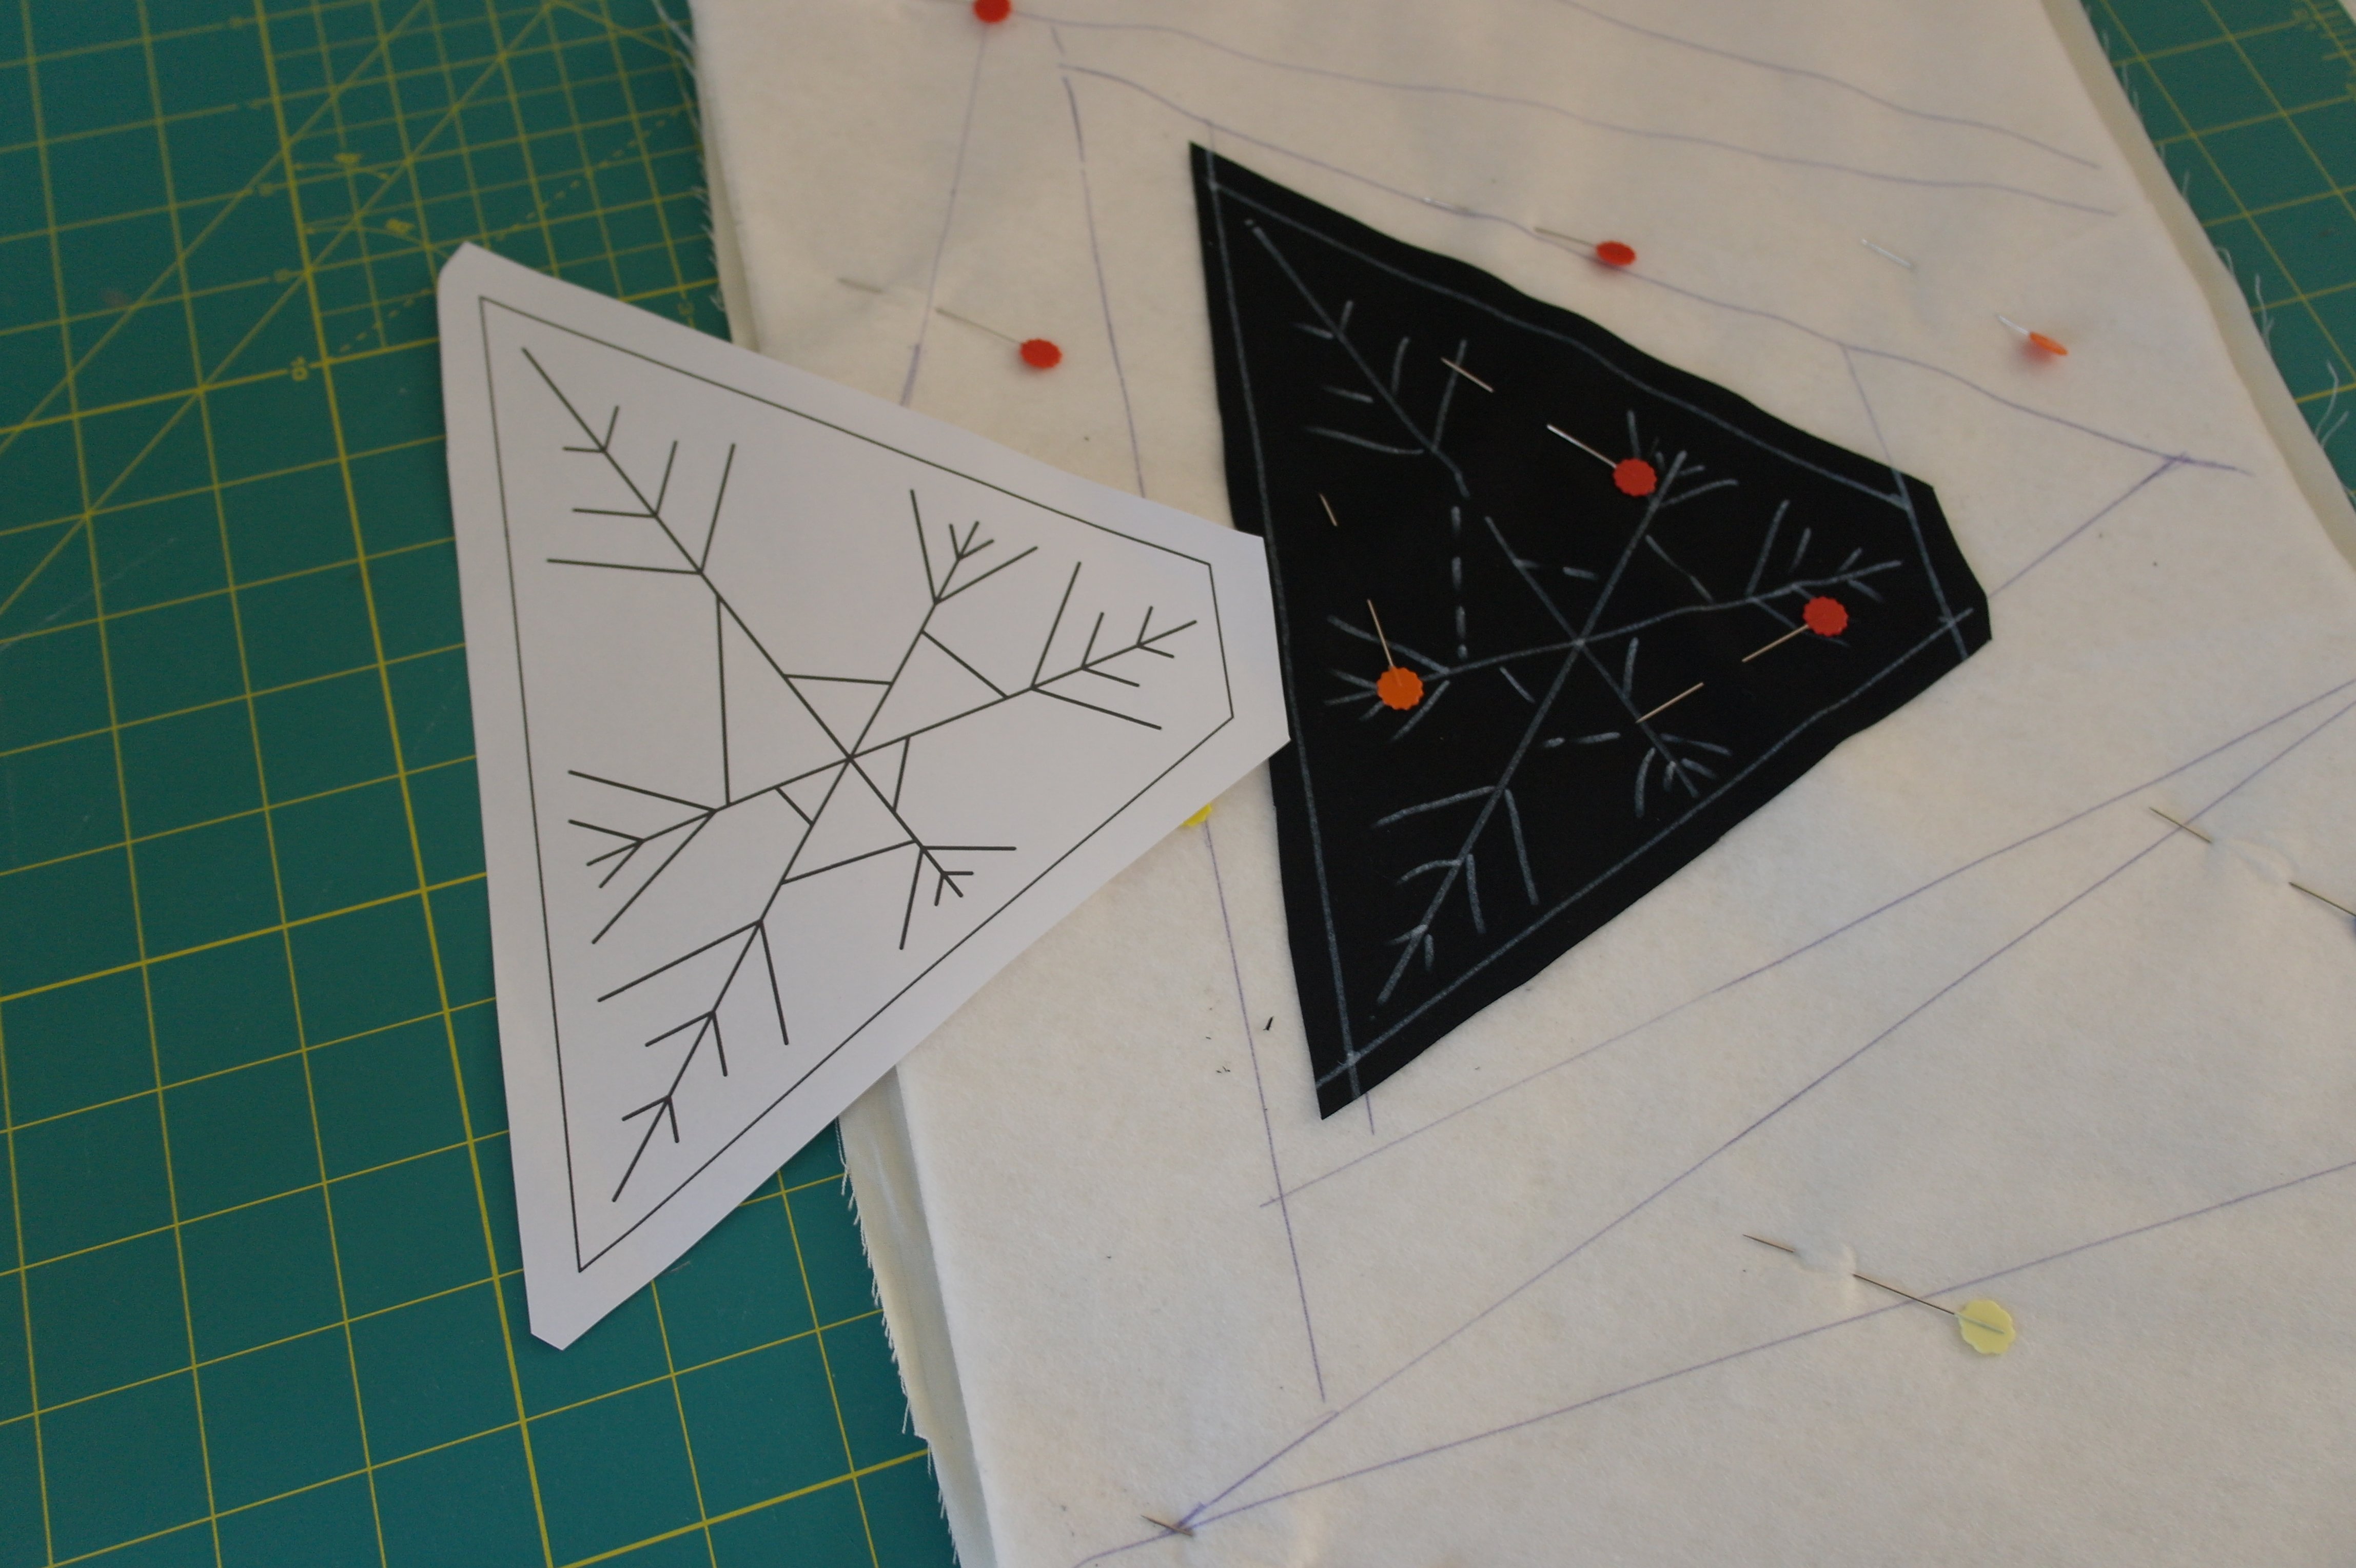
Cut the paper pattern with the Crystal to make a template, be sure to leave a 1 cm seam allowance outside the solid lines. Place the pattern on top of the black batik with the crystal drawn, and cut the black fabric the same size as the paper template. Place the black batik with the Crystal on the right spot, on the ‘center’ of your sandwich, pin in place with Flower Pins. Be sure to draw the solid lines with water soluble pen, to indicate the actual size of the section, inside the seam allowances.

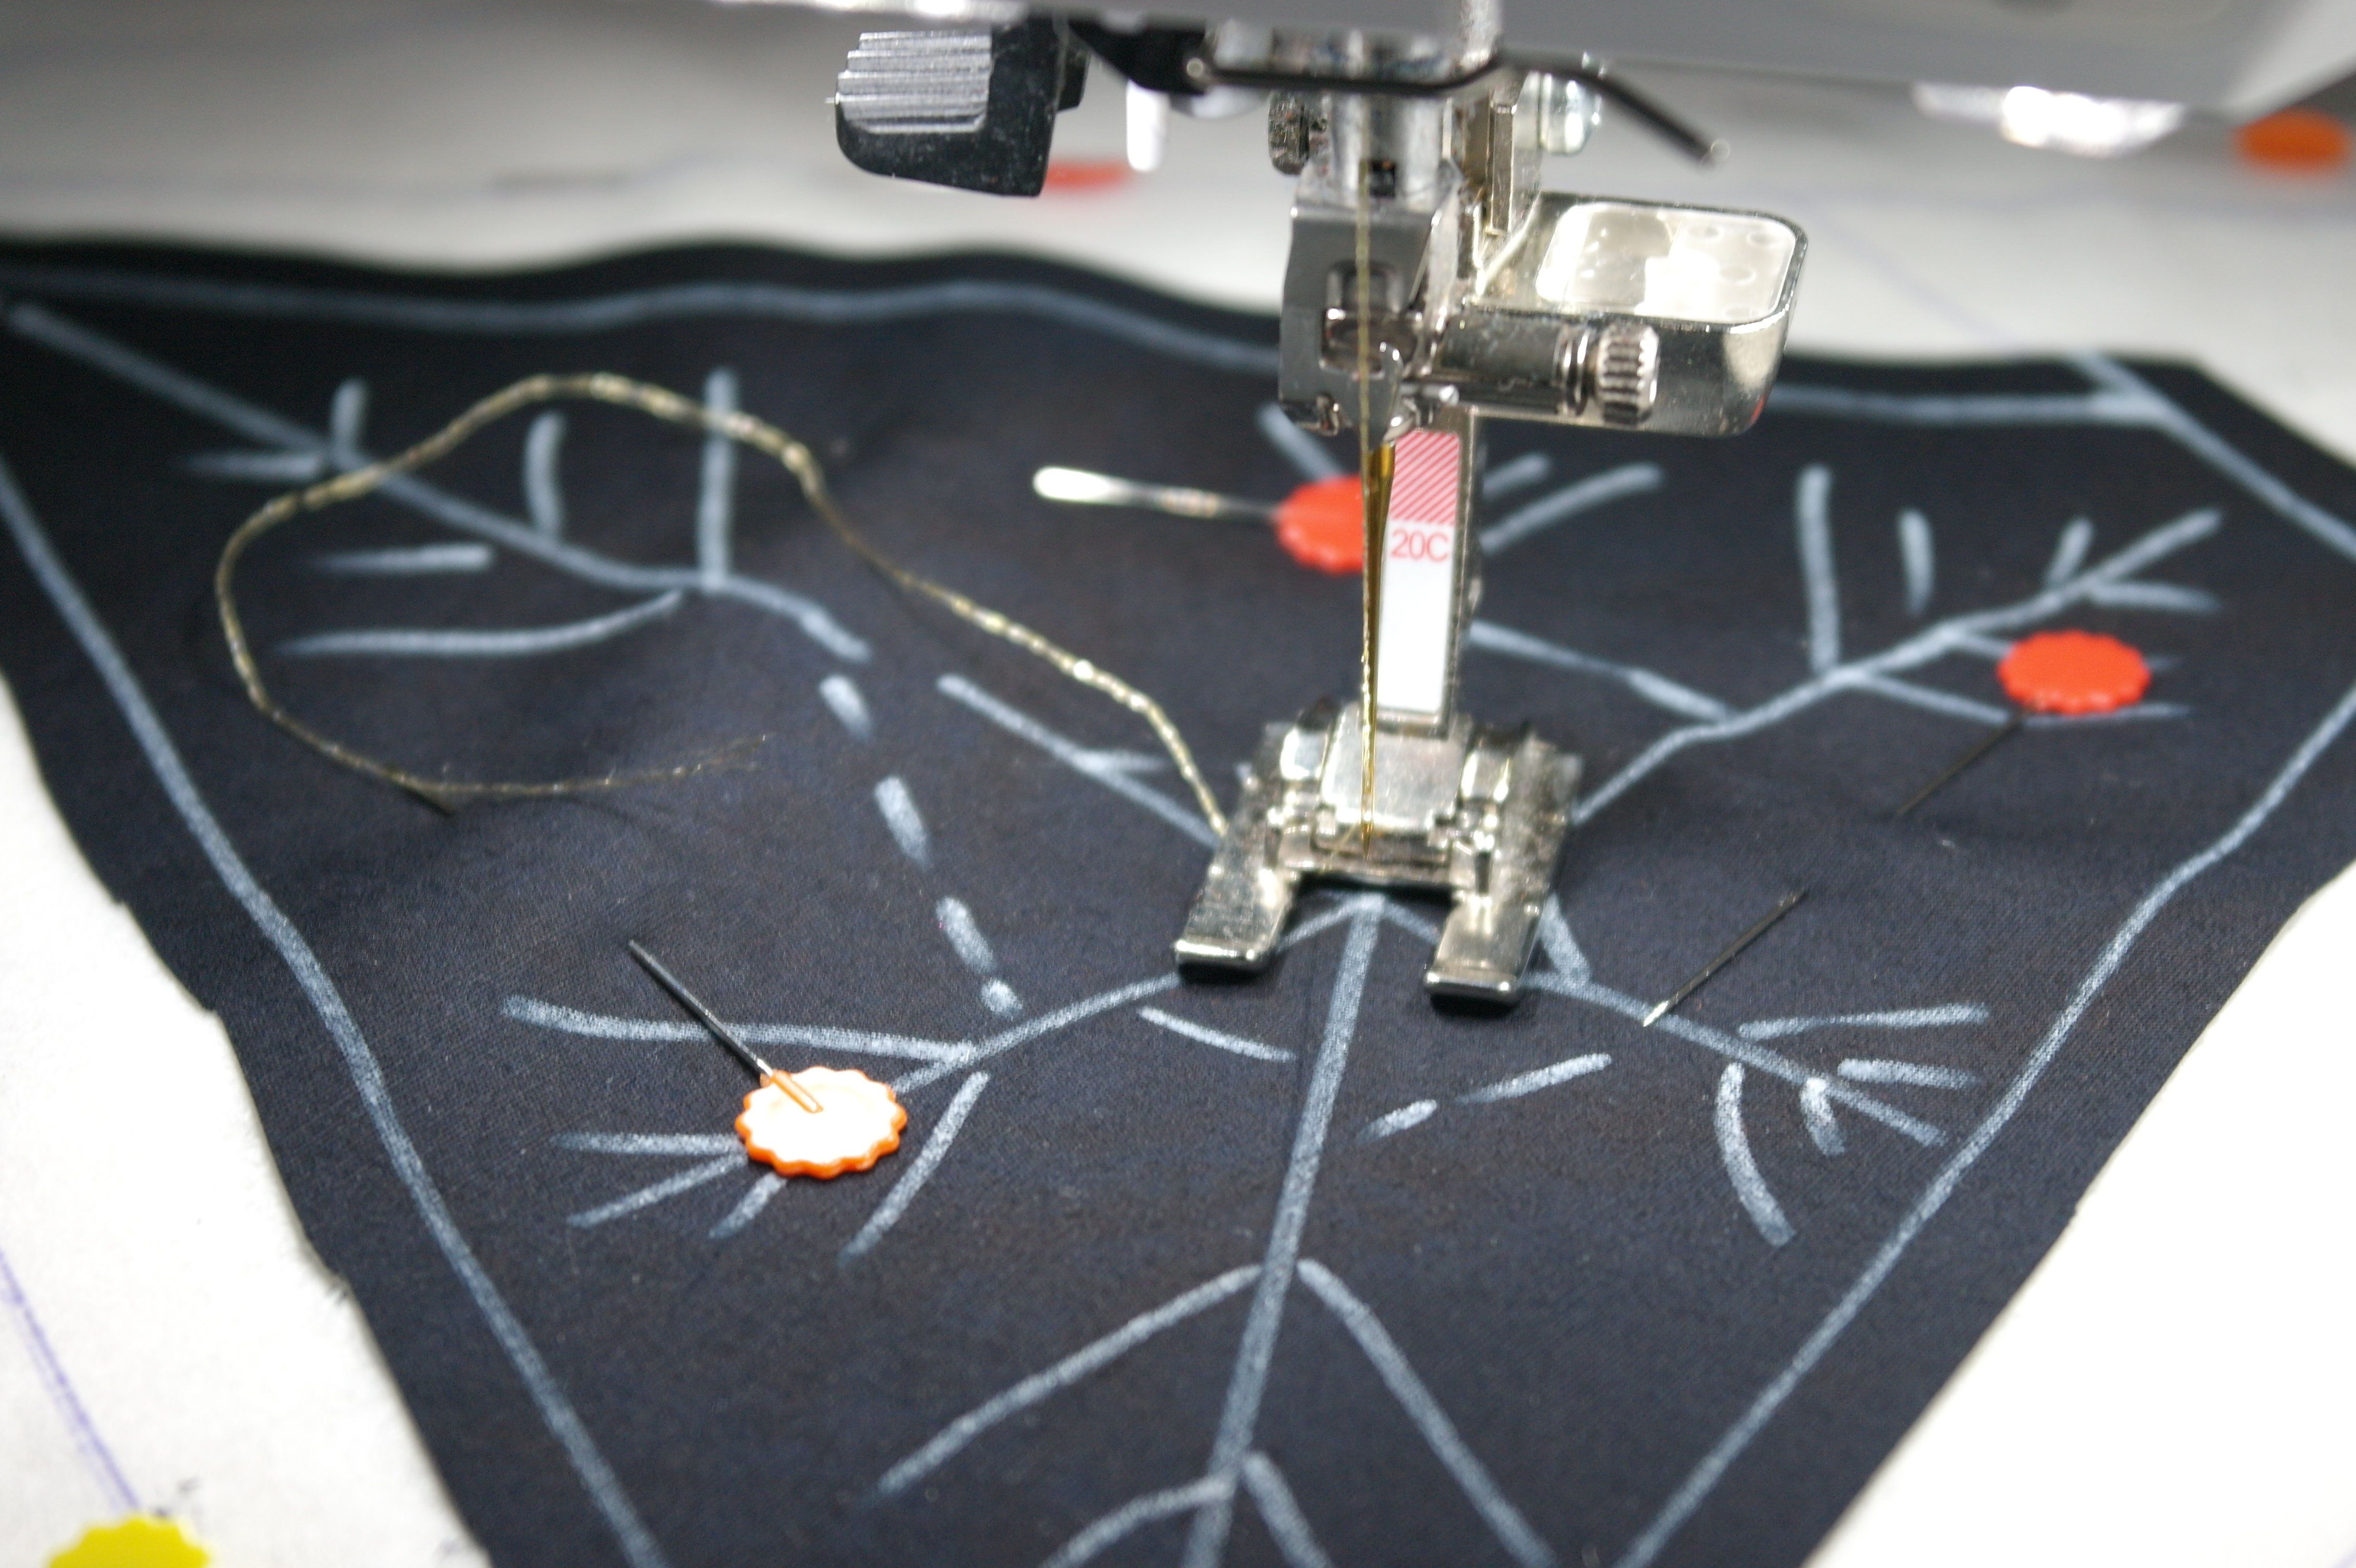
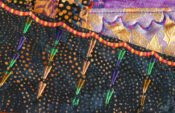
Making the first decorative stitches, I will use Madeira Metallic gold, choosing the first stitch nr. 690 on my BERNINA 770QE.

Starting from the middle, I will make stitches in three directions. The default direction will not work for me, so I will mirror the stitch, starting with a couple of straight stitches instead of the double stitches. With most machines you have this option: to mirror stitches, which makes them easier to start.
Working in three directions, skipping one line and working on the next, so just three parts of the lines are covered with this stitch. I will not cover the entire line this way, becaue I think it will be too busy.
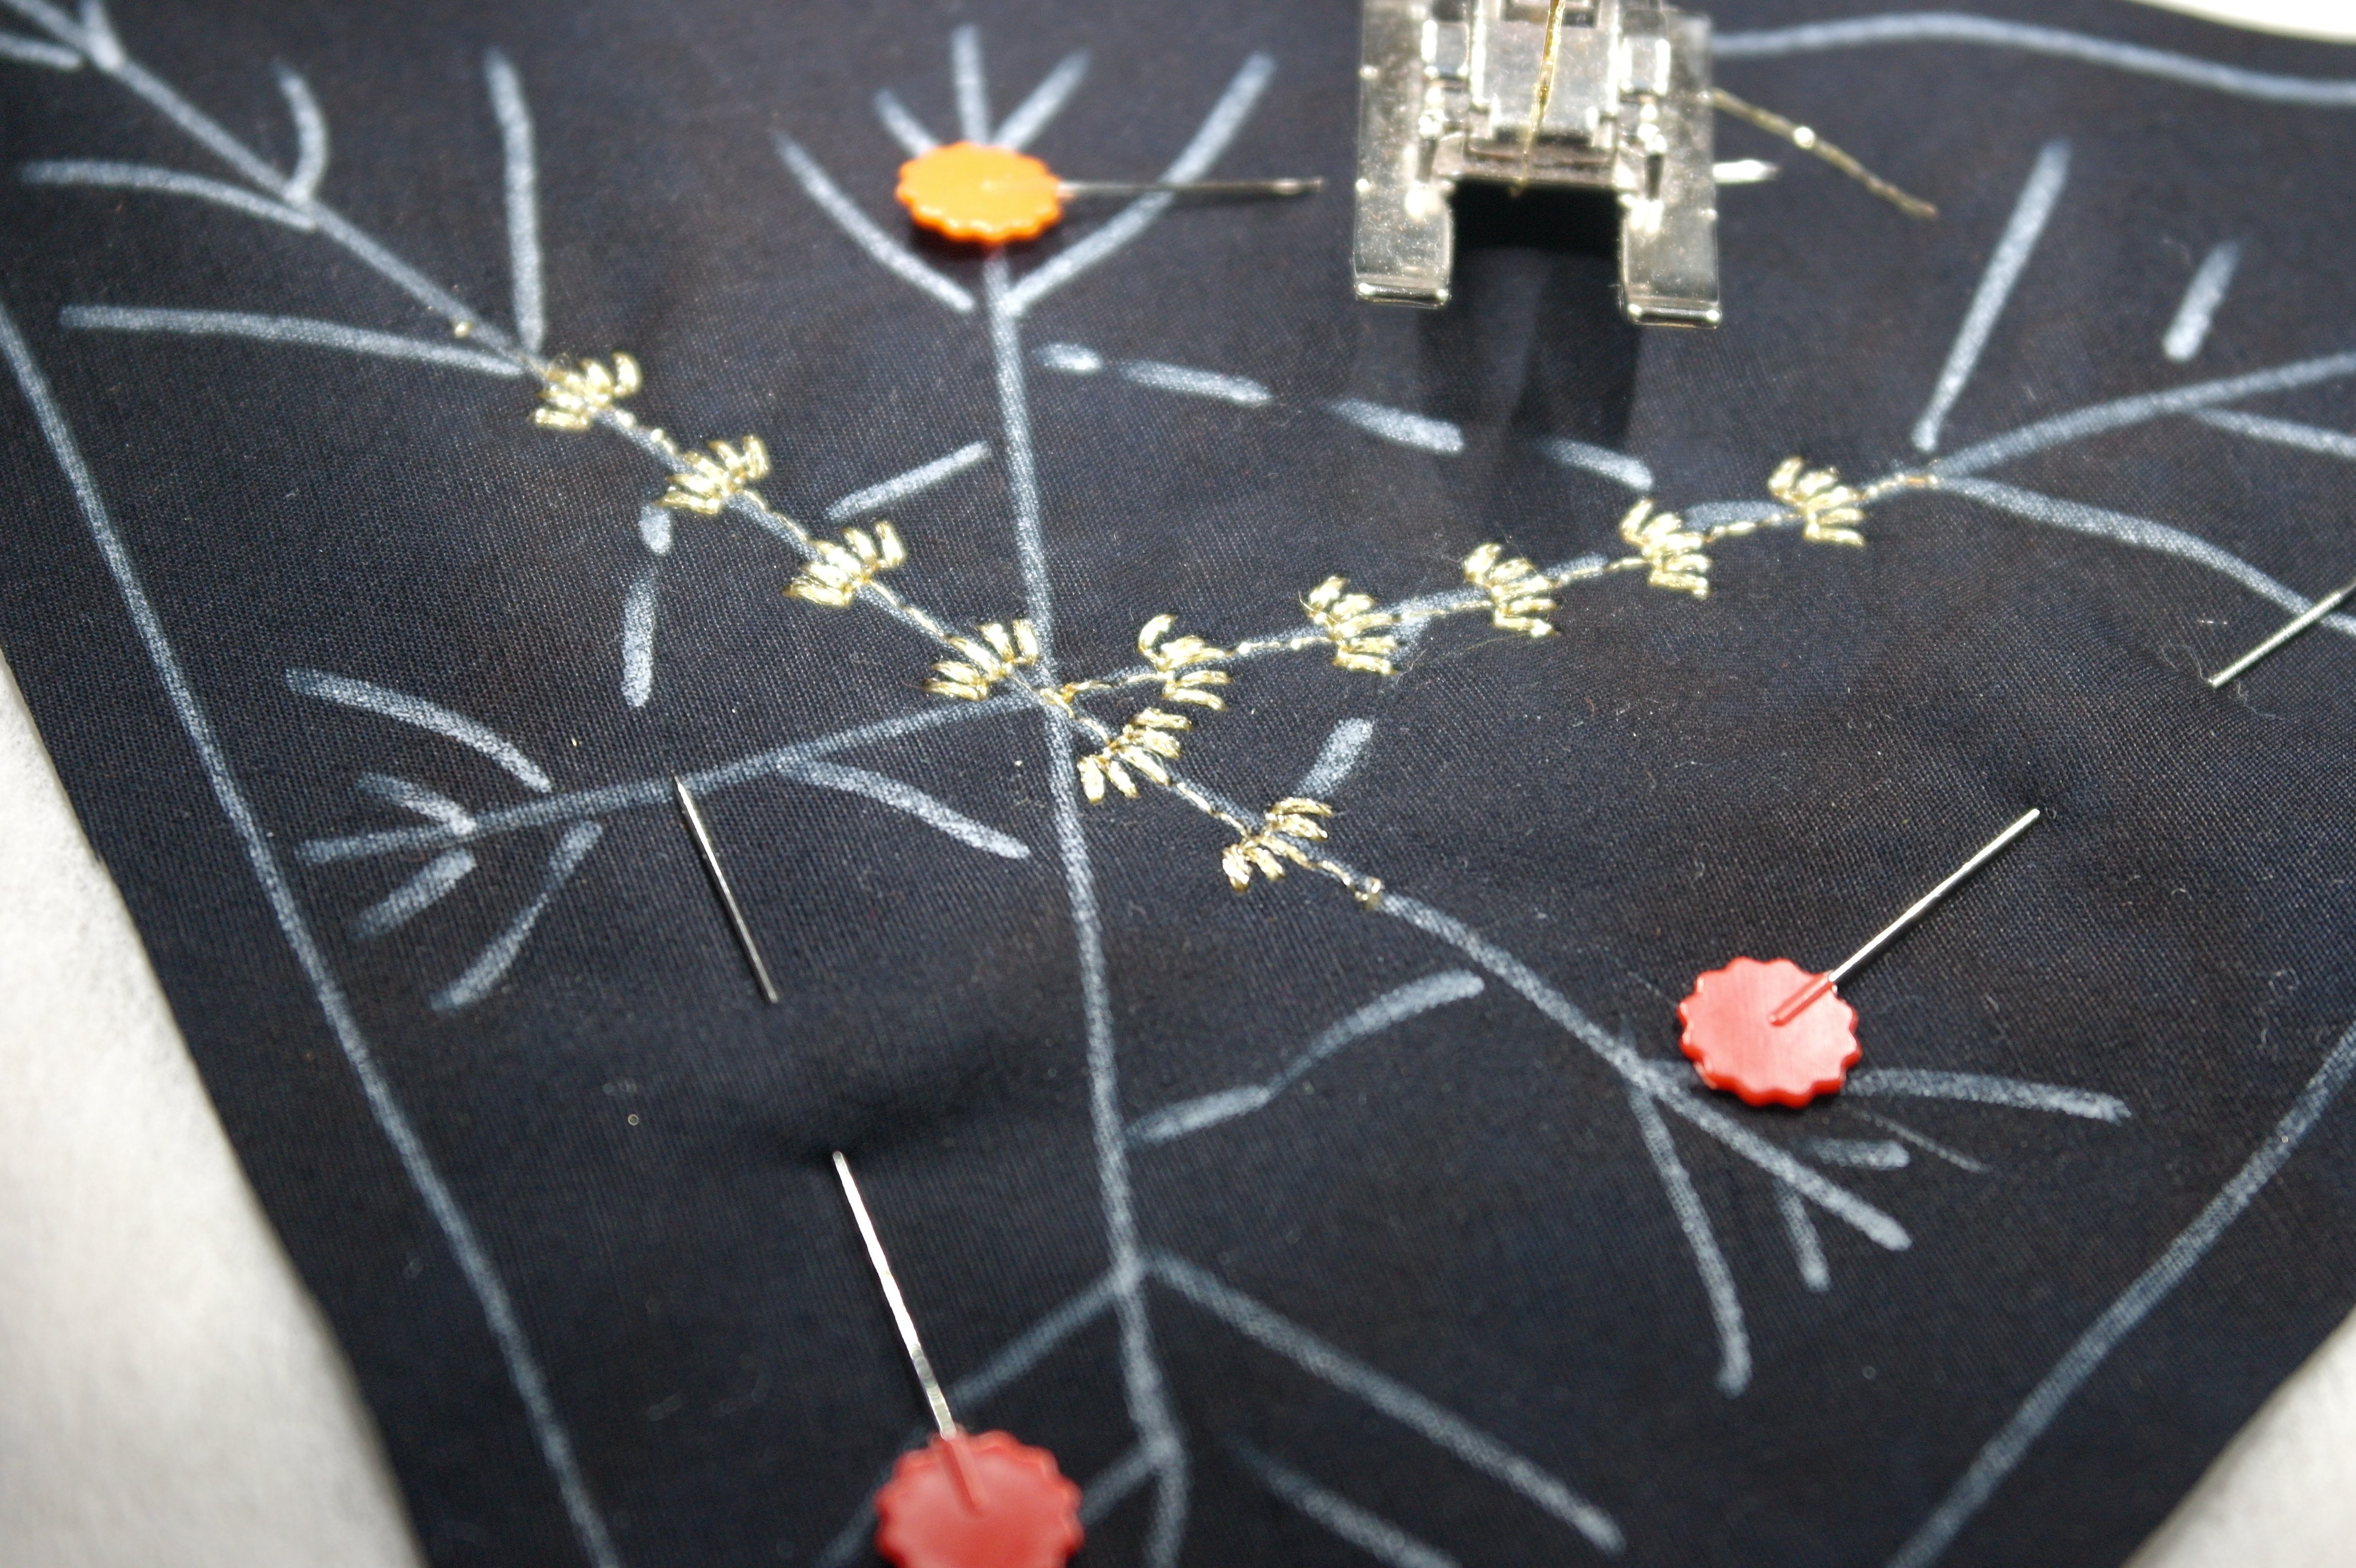
I had to work slow, making this stitch. Giving metallic threads enough ‘time’ to go from one spot to the other is essential: metallic threads are vulnerable, especially with stitches that are wide.
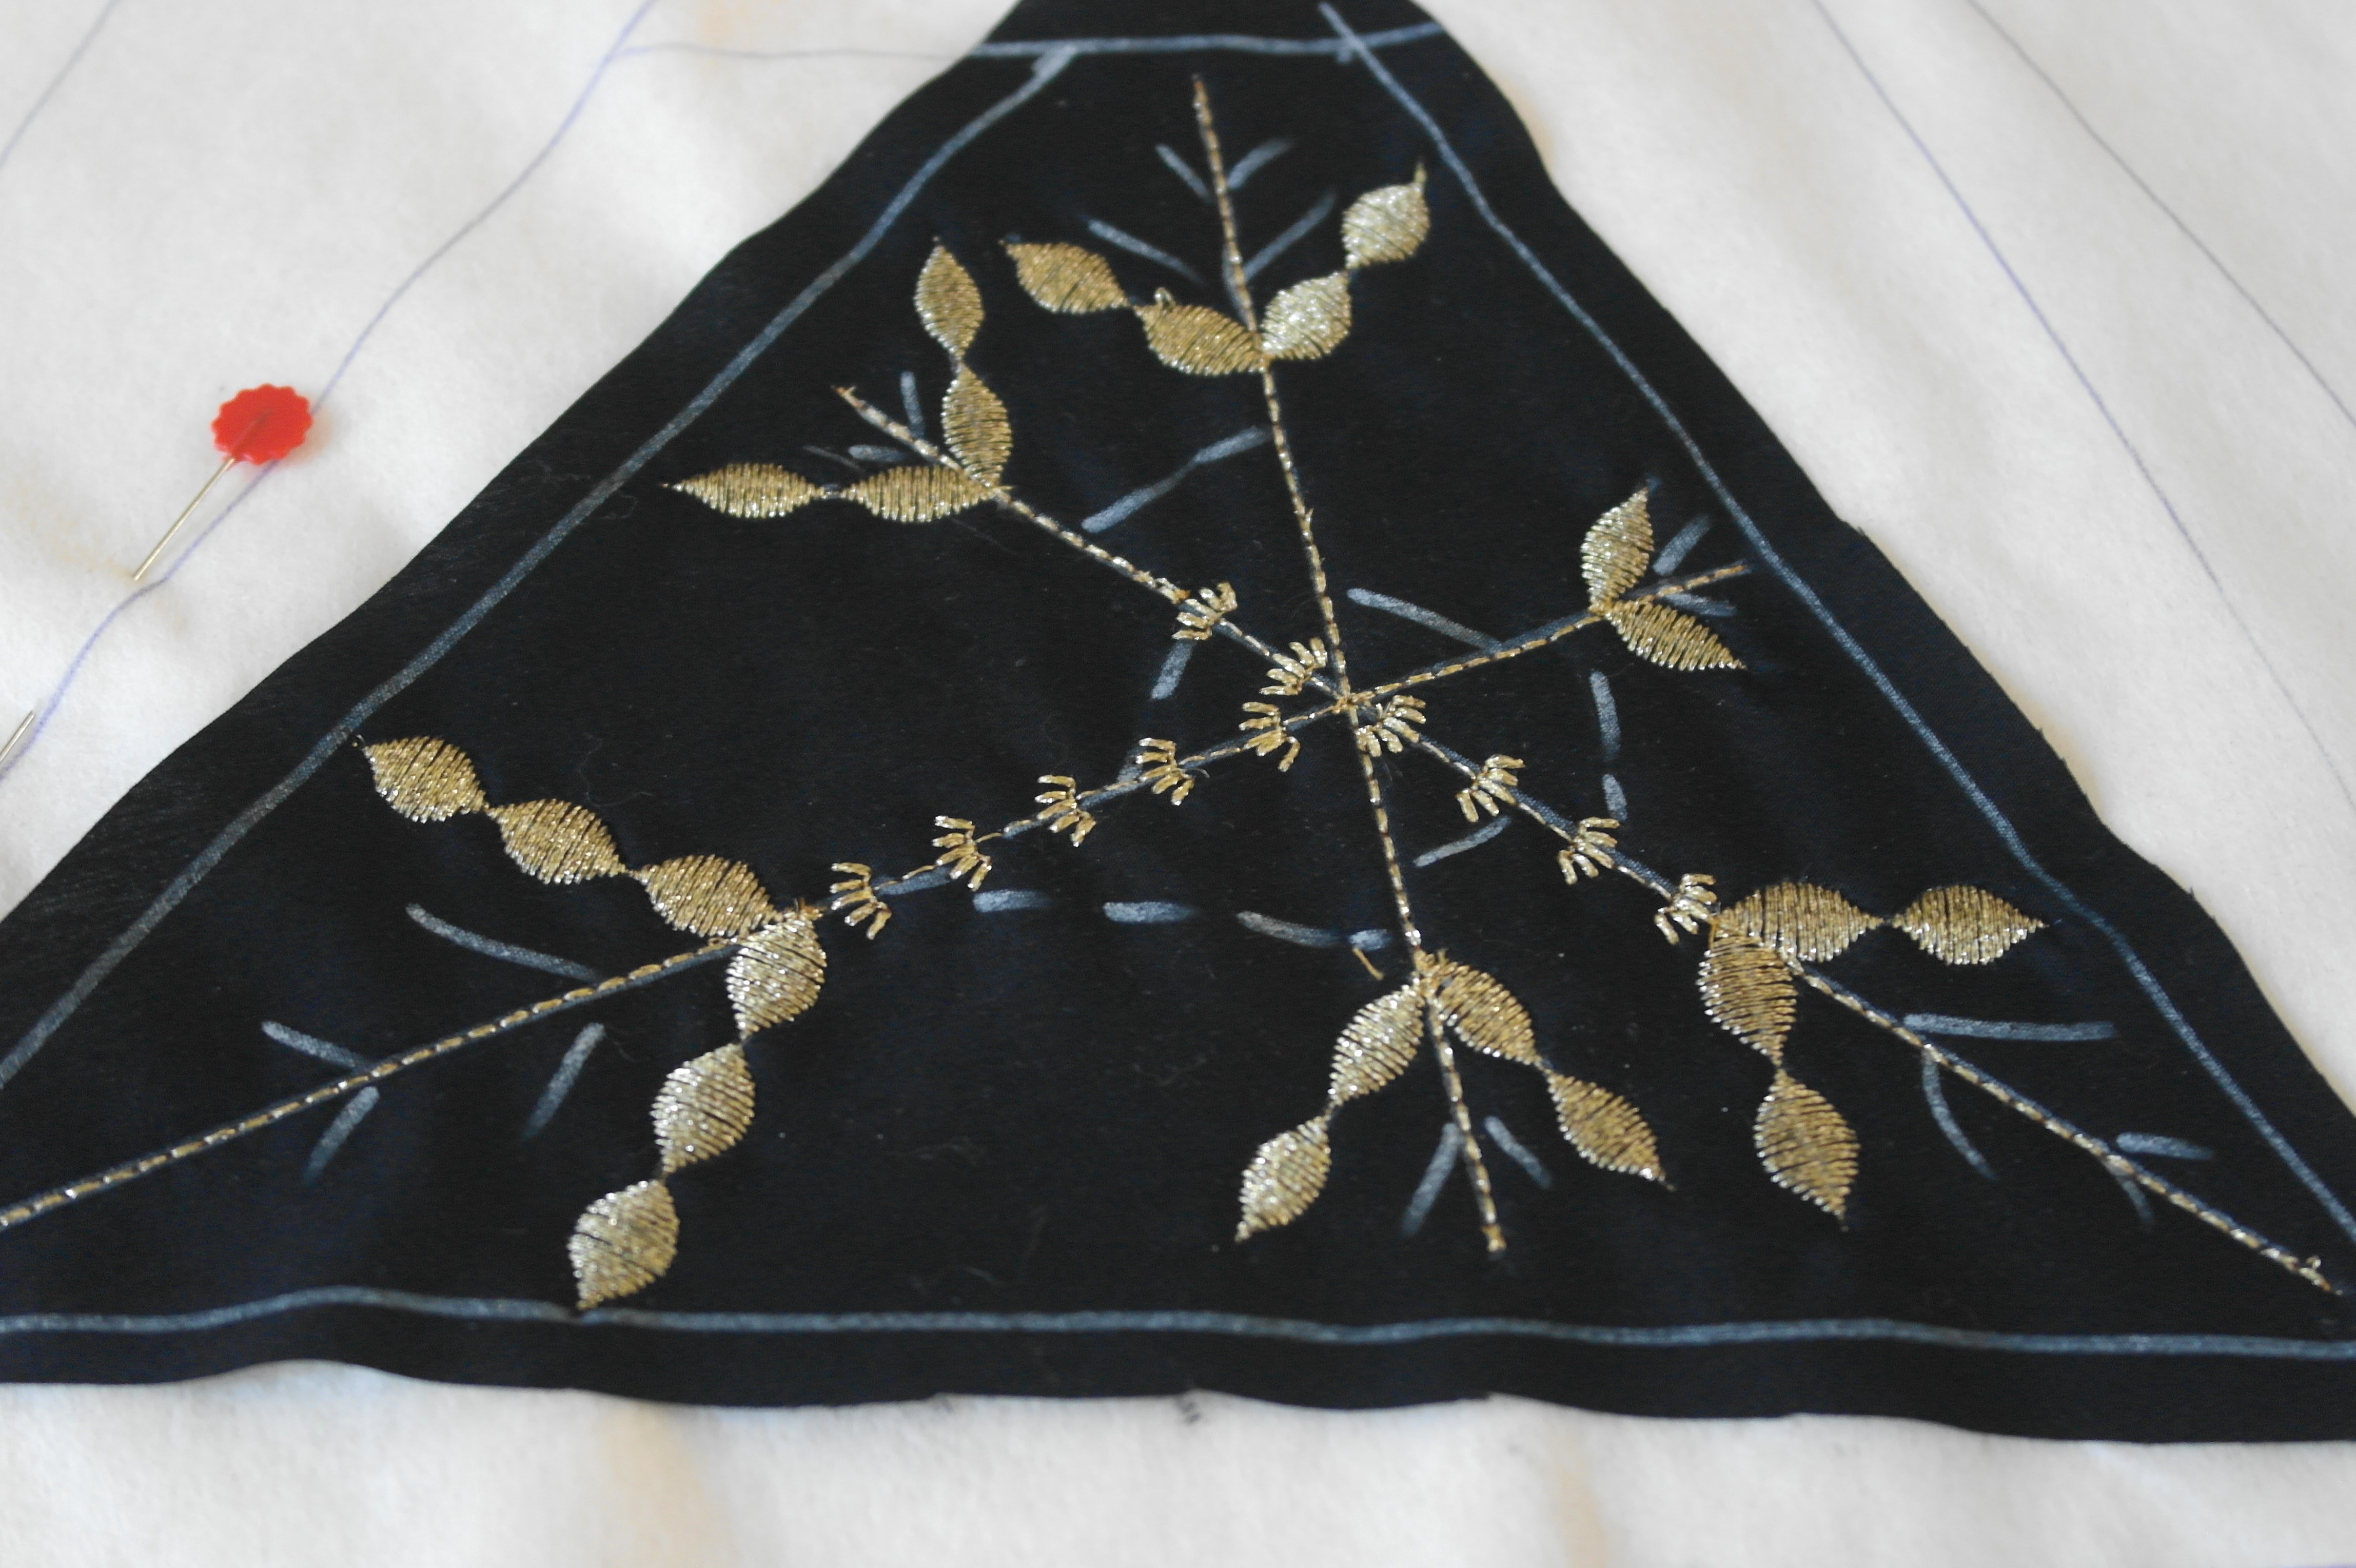
The other lines were covered with stitch nr. 6 = a three-double straight stitch, going forward, back and forward again, and after that I’ve used stitch nr. 407 to cover the side lines. I have made these stitches a couple of times with the default setting (9.0mm wide, 13.7mm long).

To cover the smaller lines, I have changed the default settings with stitch nr. 407, setting them first at a width of 7.0mm, then at 5.0mm and to cover the smallest lines at a width of 3.0mm and a length of 9.7mm lang, just to variate them. Each group of stitches is more ‘natural’ this way. If you would cover all lines with stitches at the default setting, it would be too dense.
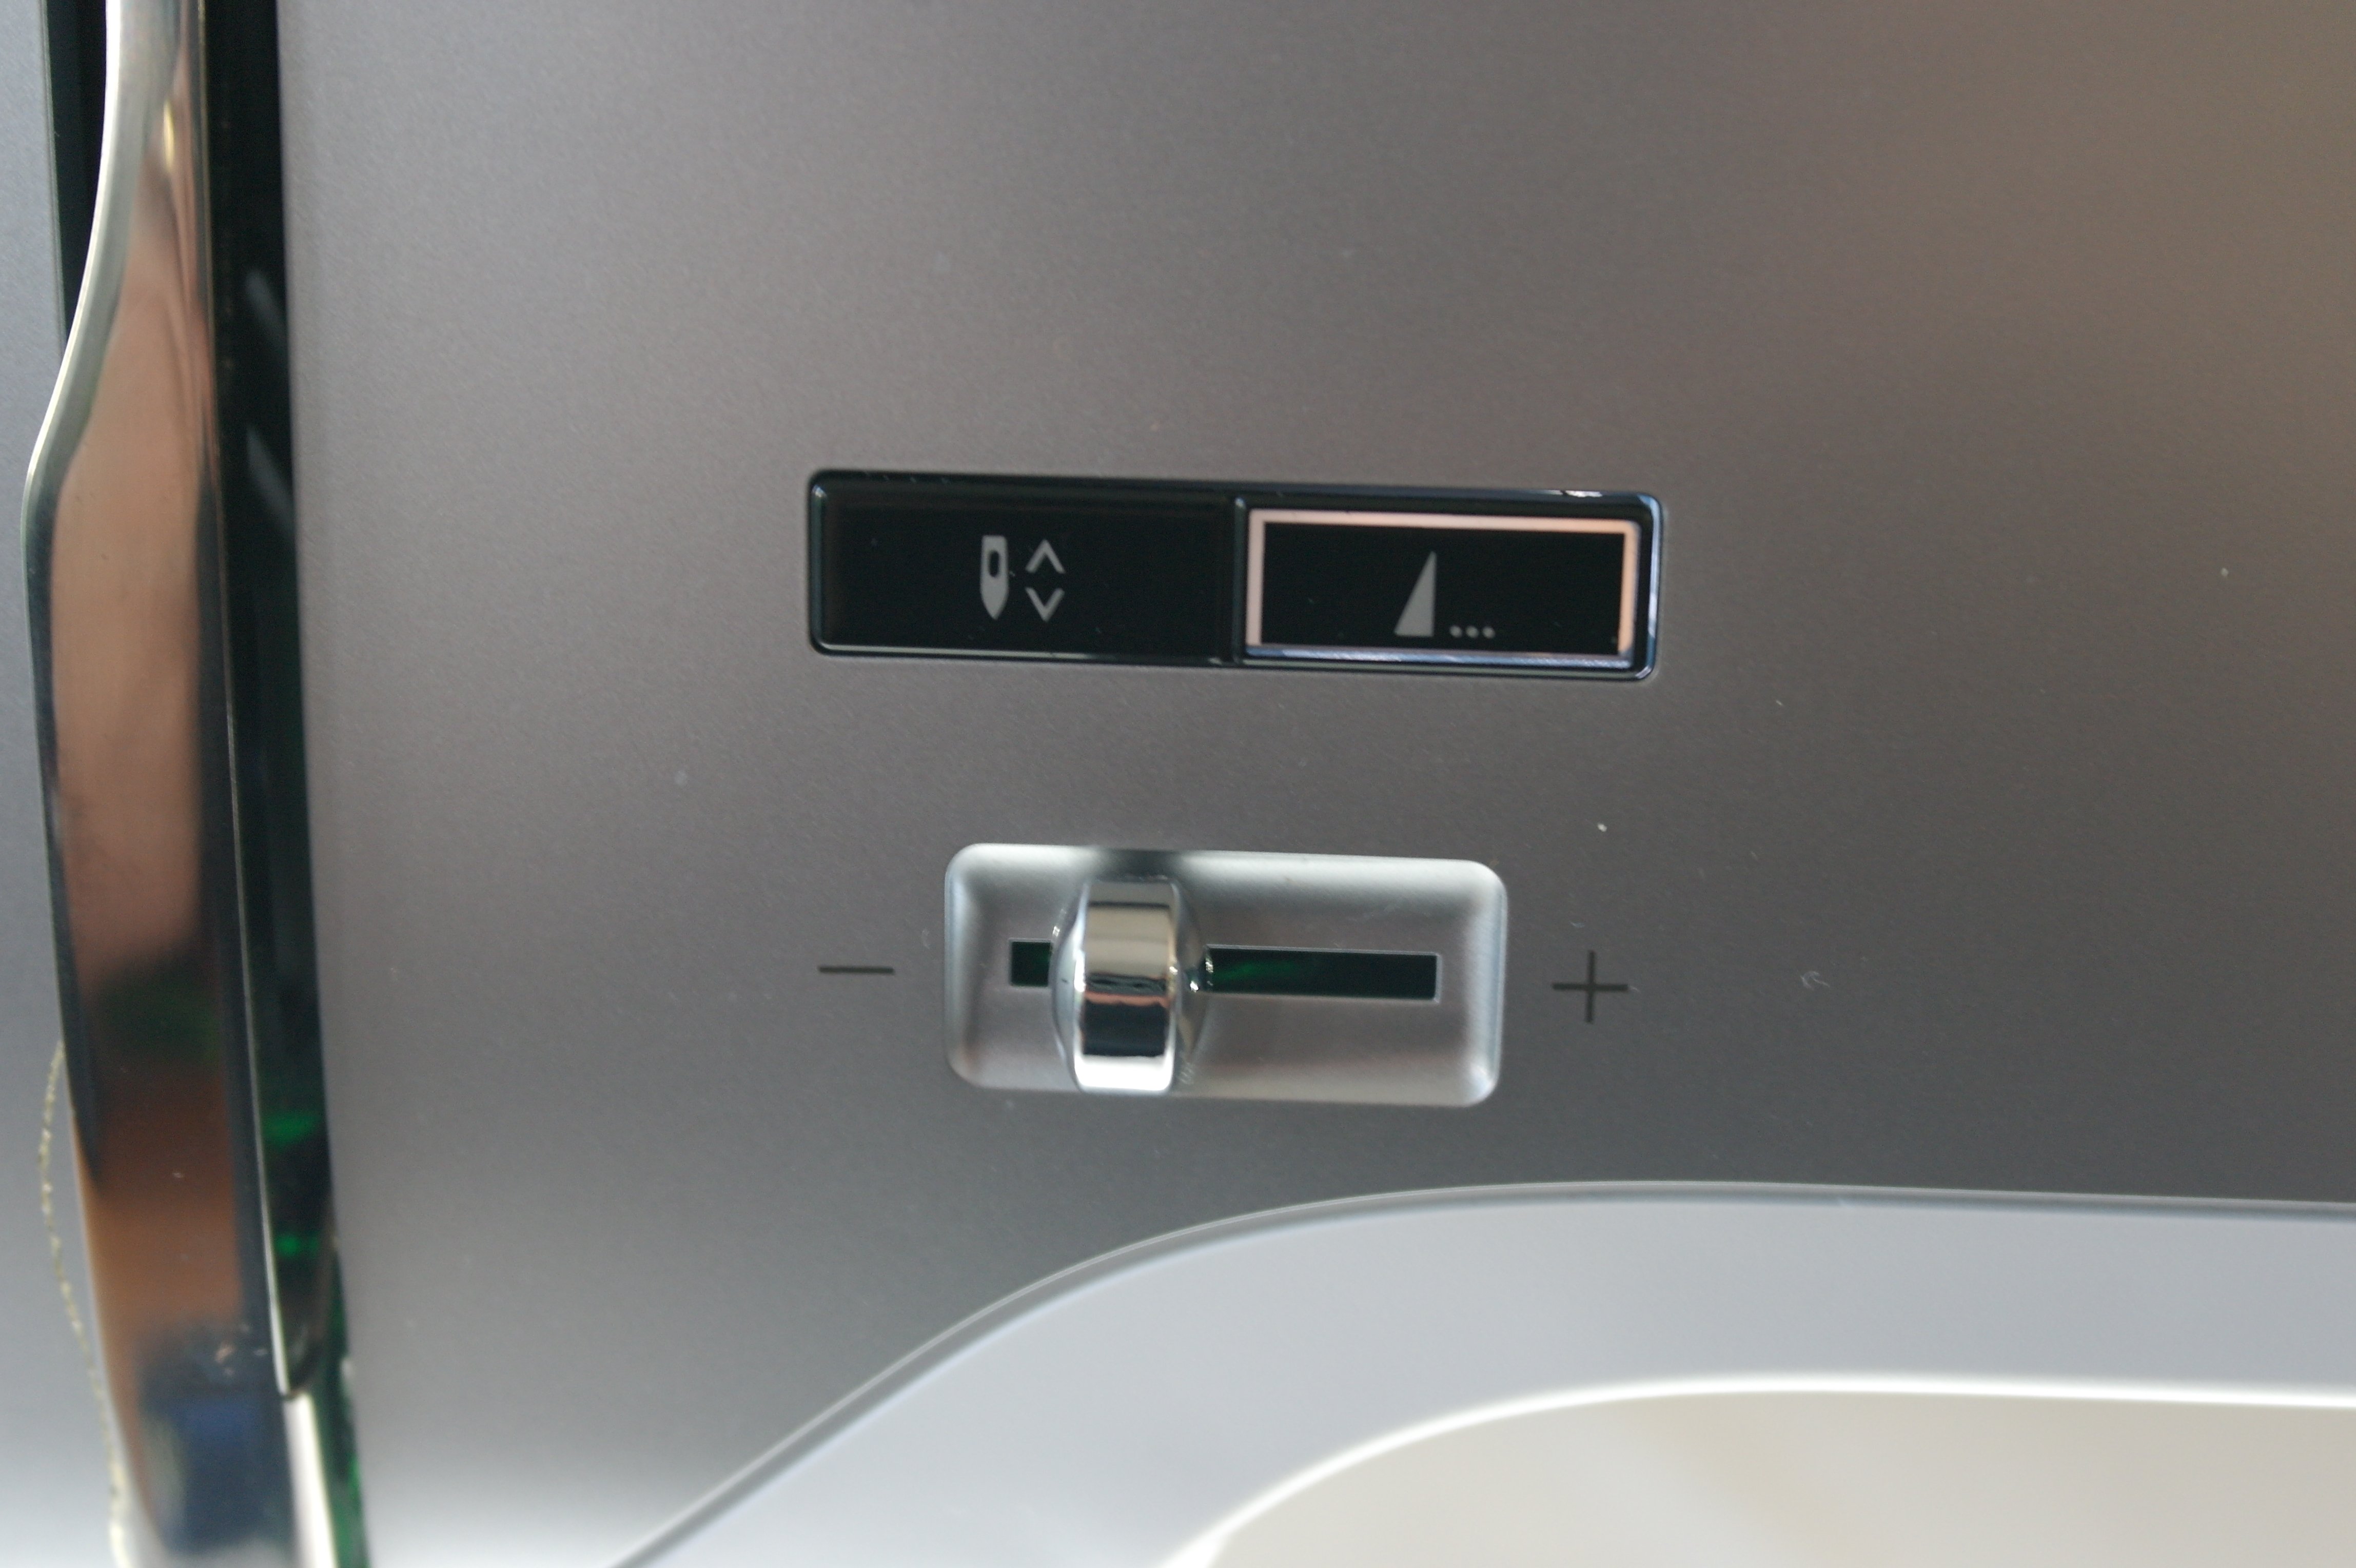
I am using the button for ‘pattern end’, on my B770QE: showing on the right with the picture above. This is very convenient to use: each time I would like to end a stitch properly, I push this button, and the machine ends the stitch, even cutting the threads (you have to add this option in the menu of your machine).

A stop sign shows on your display = white octagonal with ‘stop’. This indicates that the row will be ended with making a full stitch and cutting it. Check if your machine has this option too.

The Crystal is done for now: Hotfix stones will be added when the block is finished.

For section 1 a strip of batik is used. I have drawn lines with a water soluble marker, at 2,5cm intervals. I will sew a small ribbon on each line, before sewing the strip onto the sandwich.
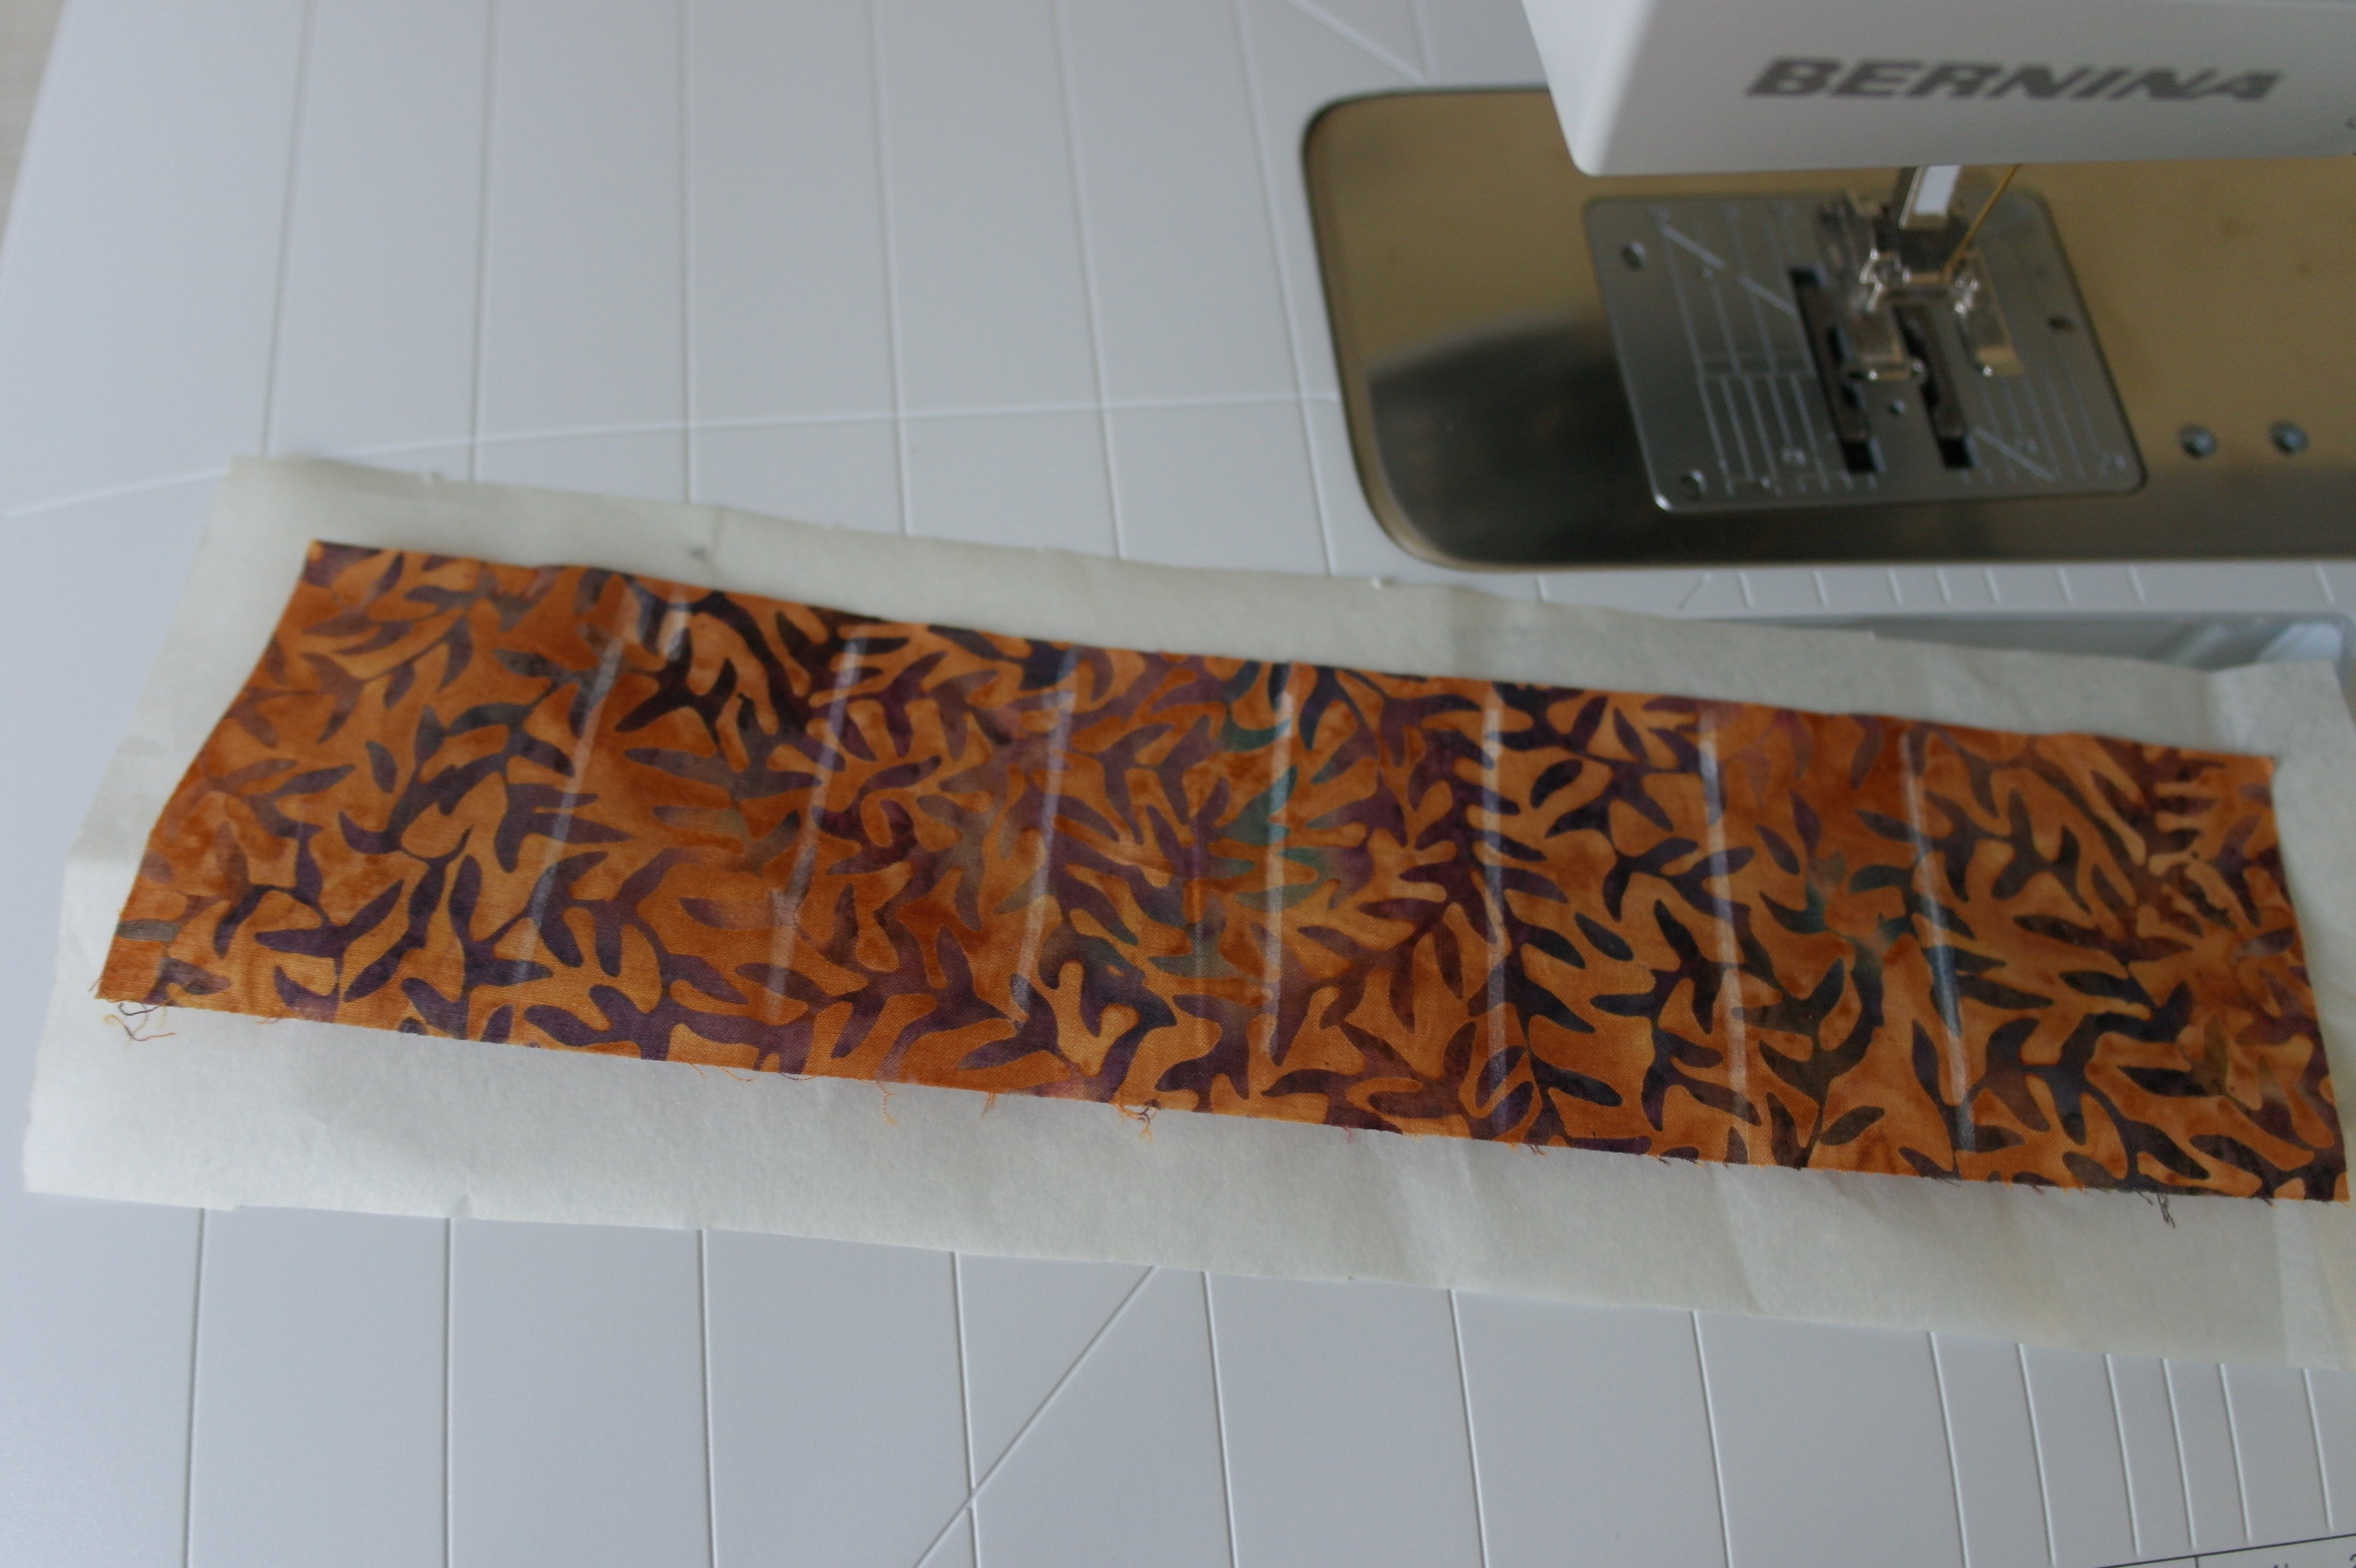
Because batik is a thin fabric, I will place a piece of pattern paper underneath, as stabilizer.
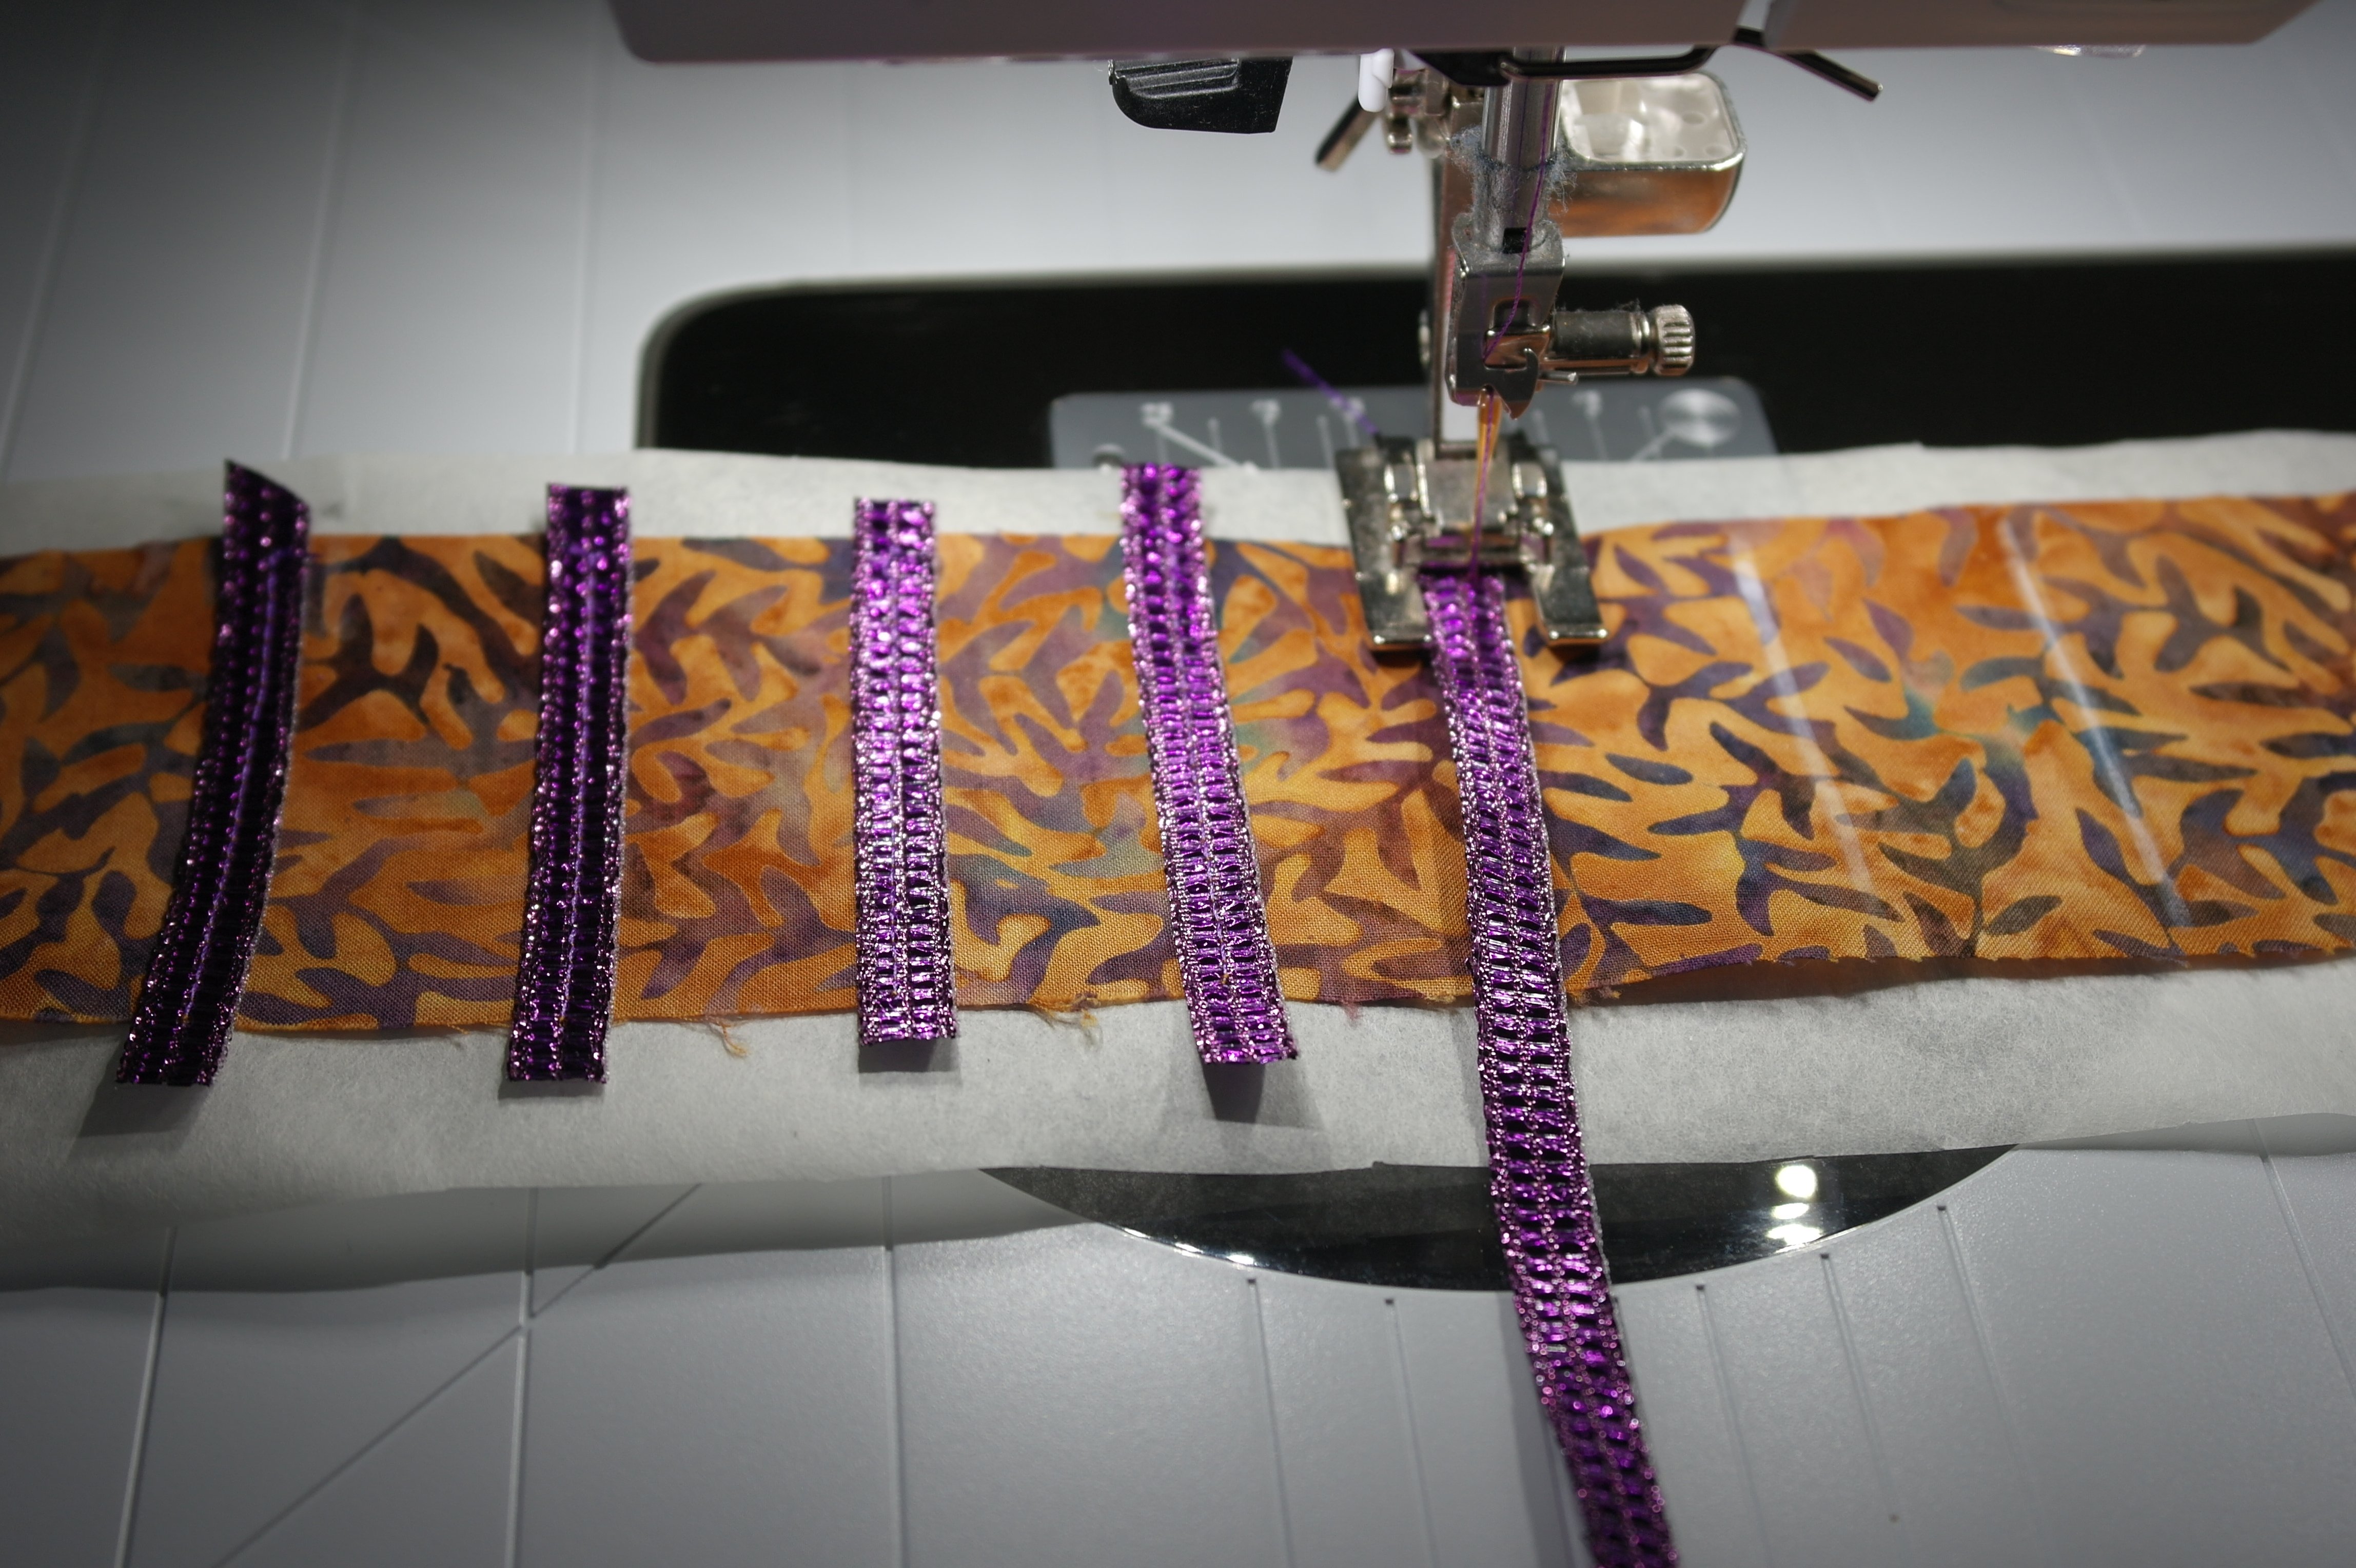
The ribbons are sewn on…
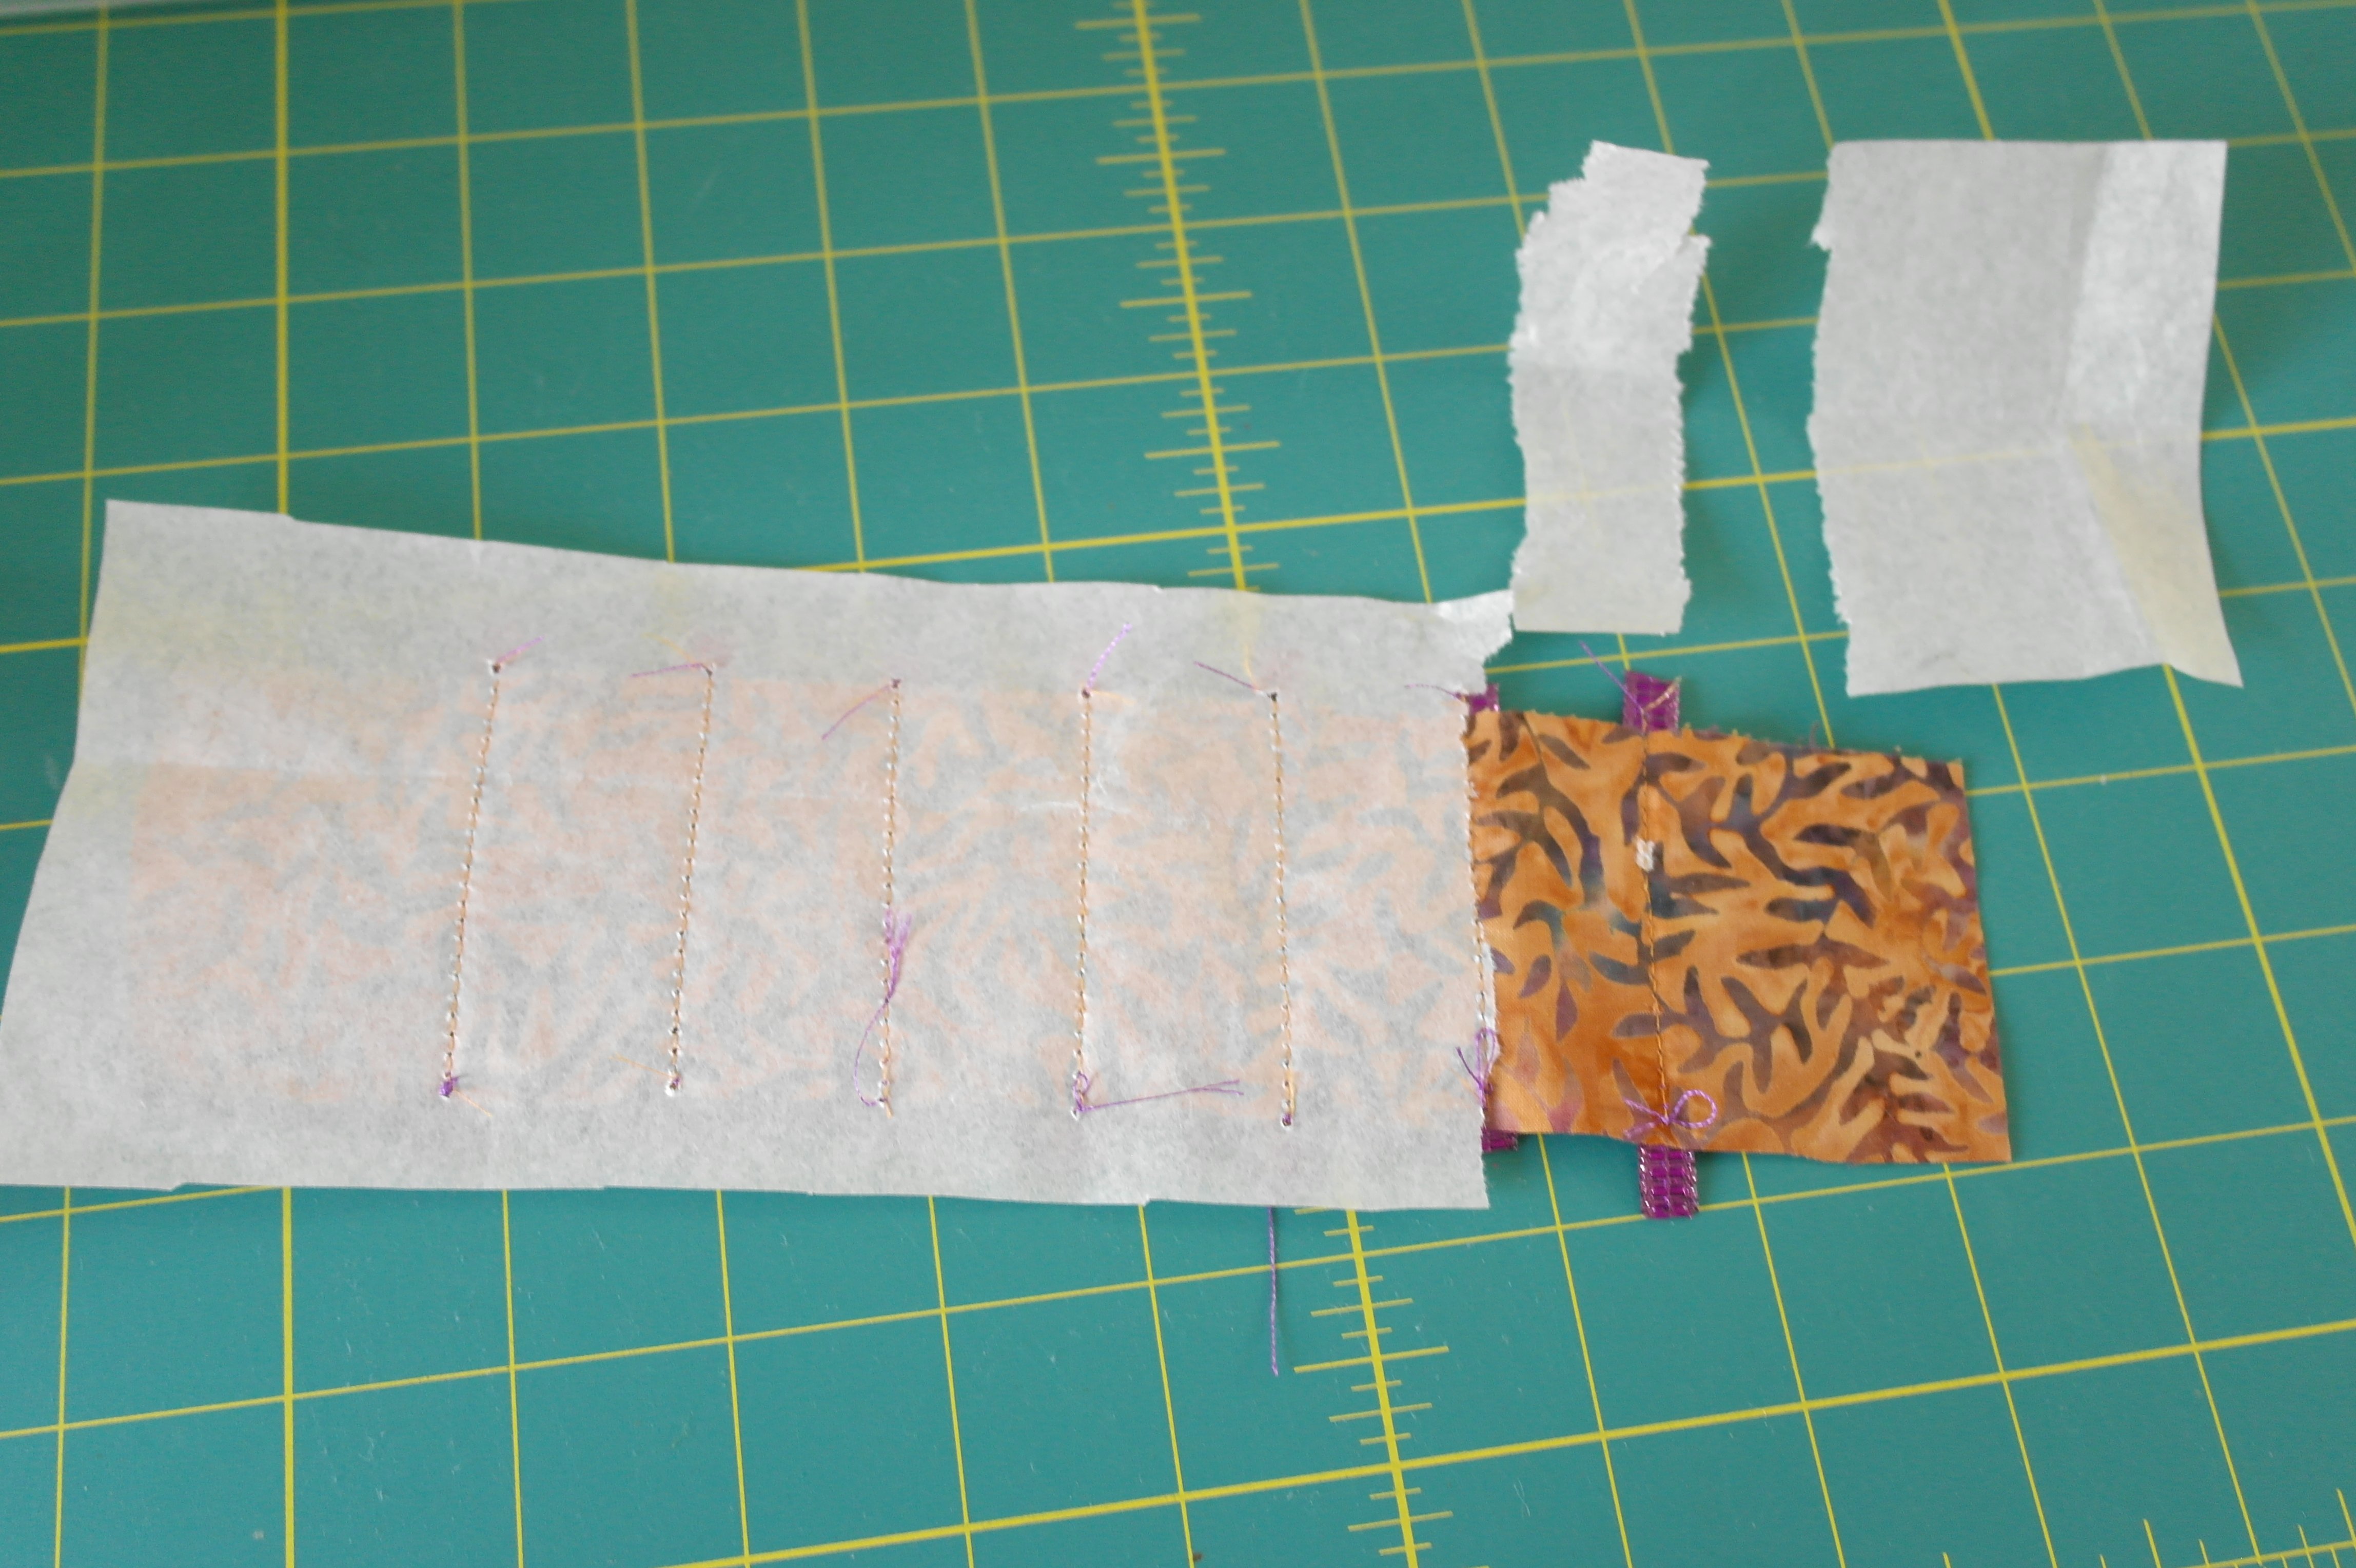
and the pattern paper is torn away afterwards. Easy does it…
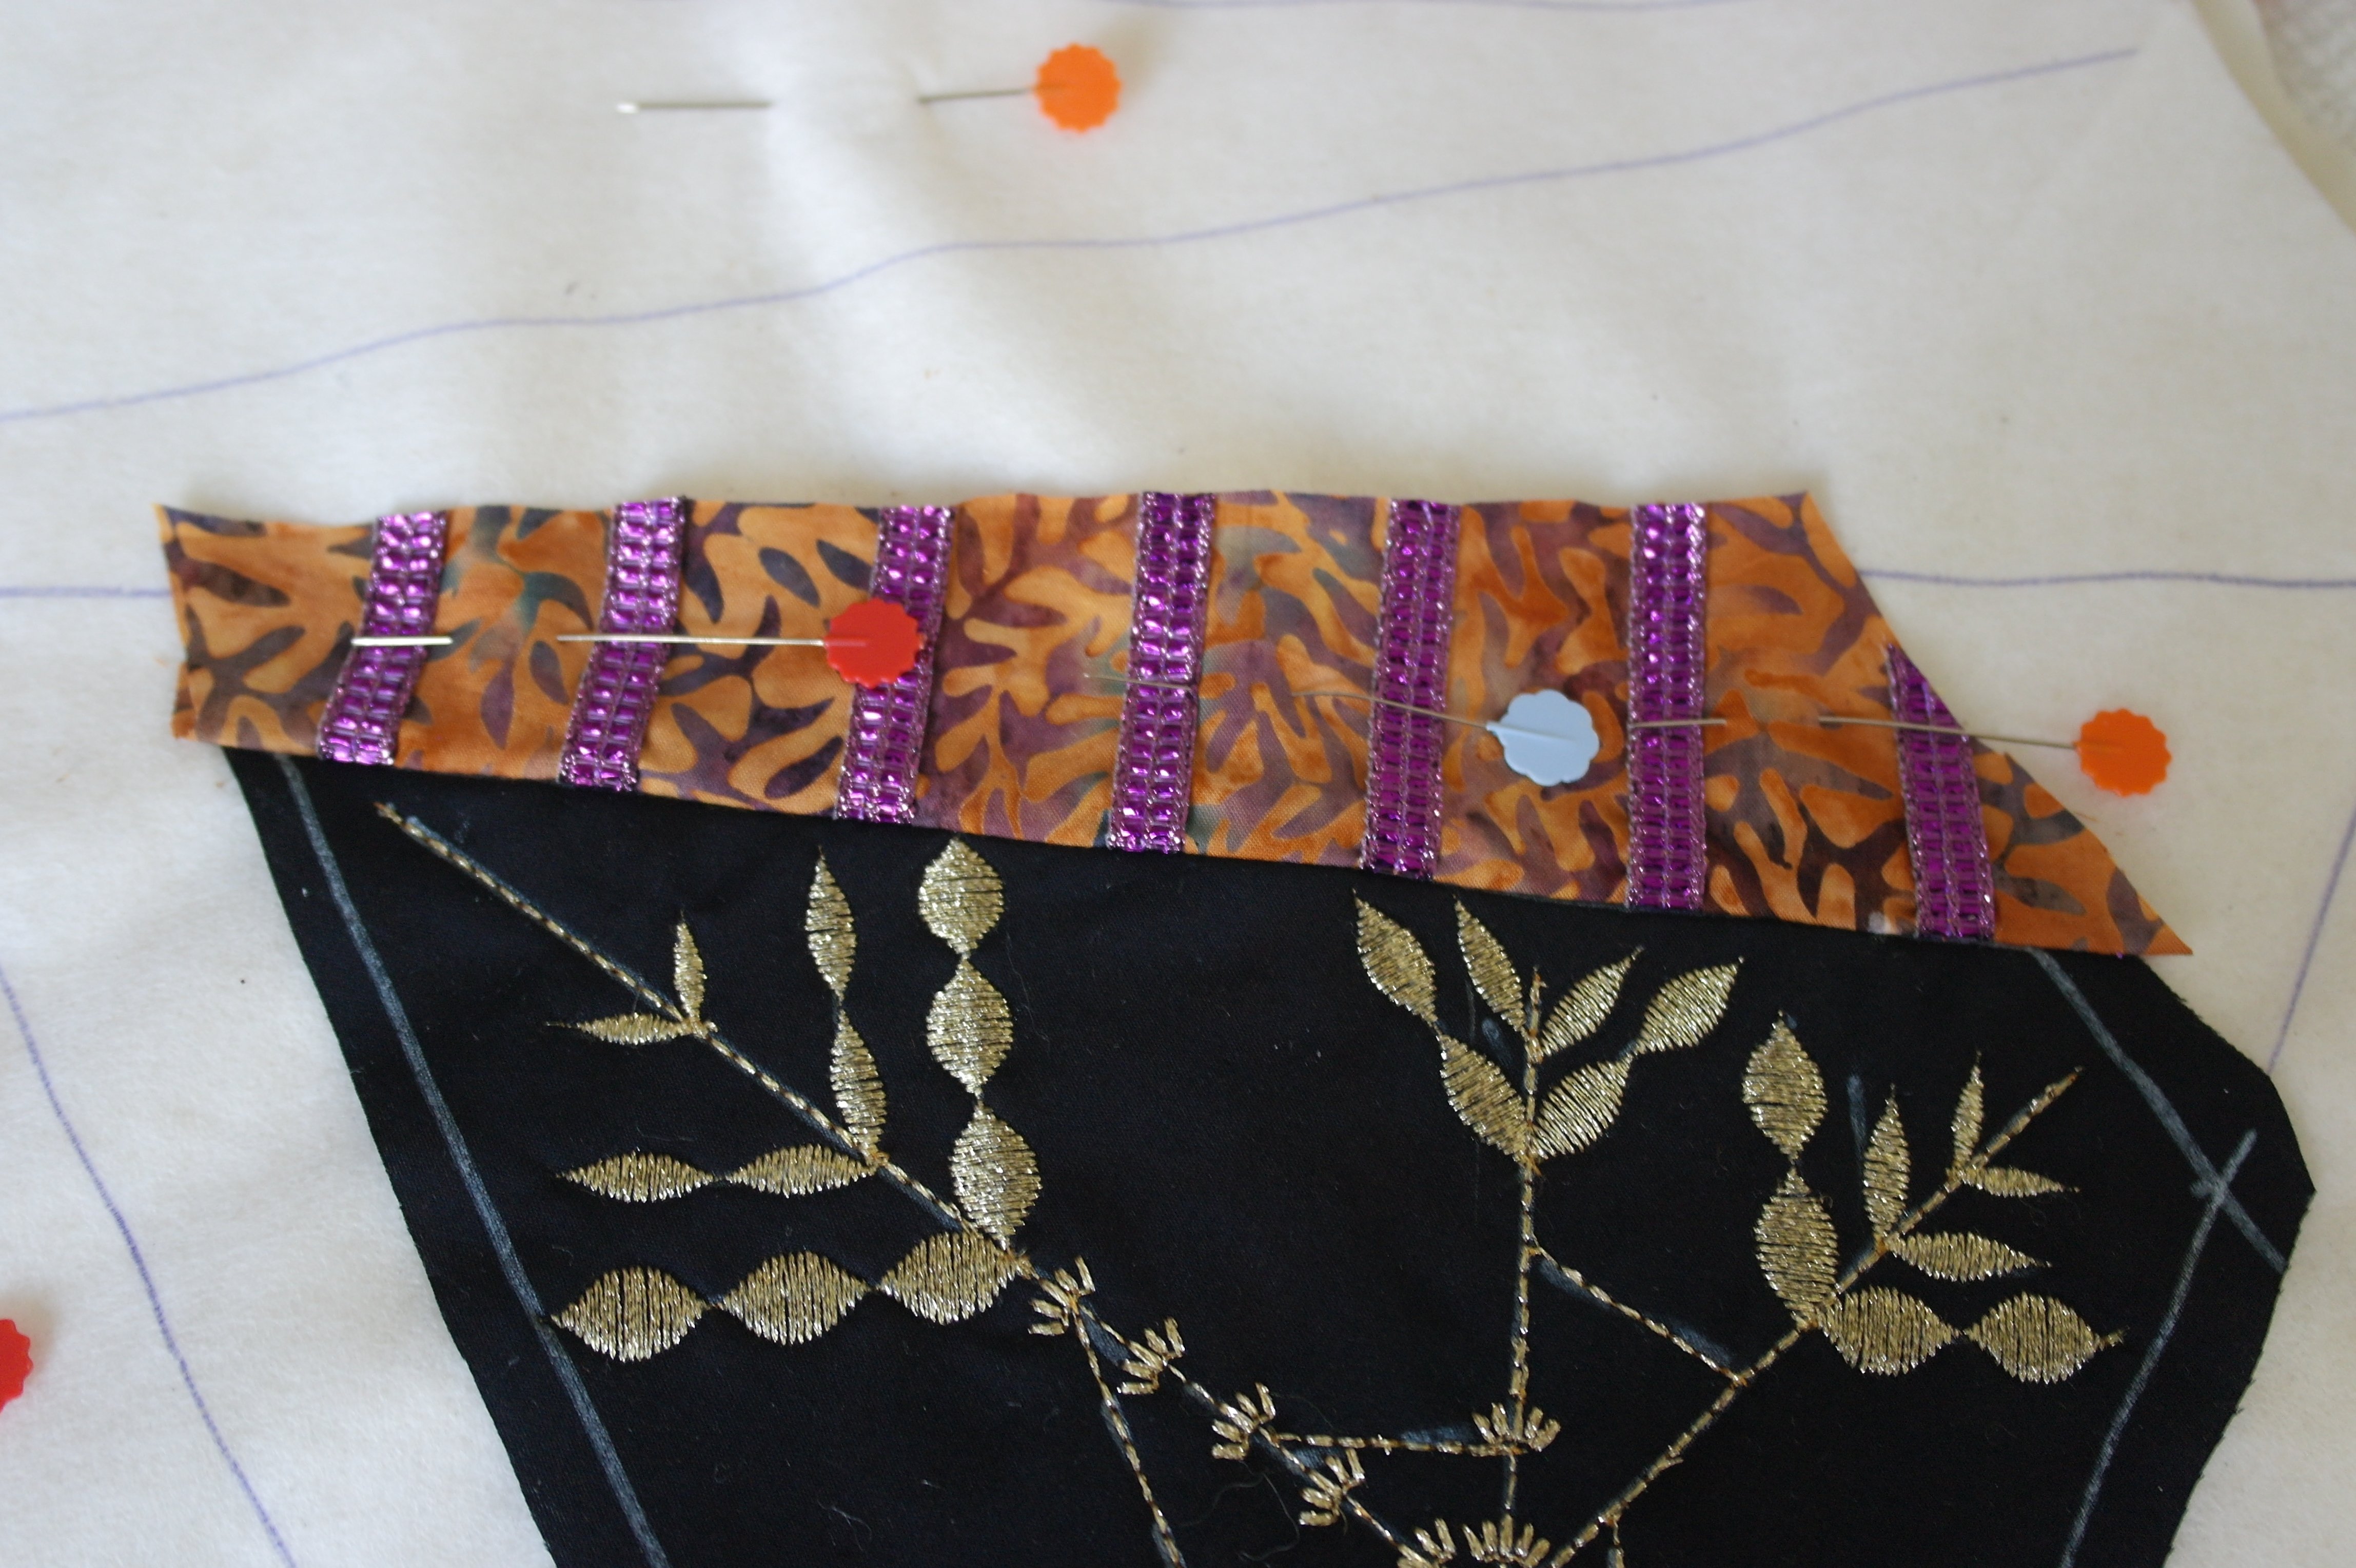
The strip for section 1 is placed onto the center, right sides facing each other, sewn into place, turned to the right side and cut (leaving seam allowances). Now you can see that the ends of the ribbons are sewn in with the fabric. it is not necessary to make decorative stitches on the seam, because the ends of the ribbon cannot fray anymore.

But you can if you want to of course. I have sewn the same ribbon onto the seam, and one next to that.
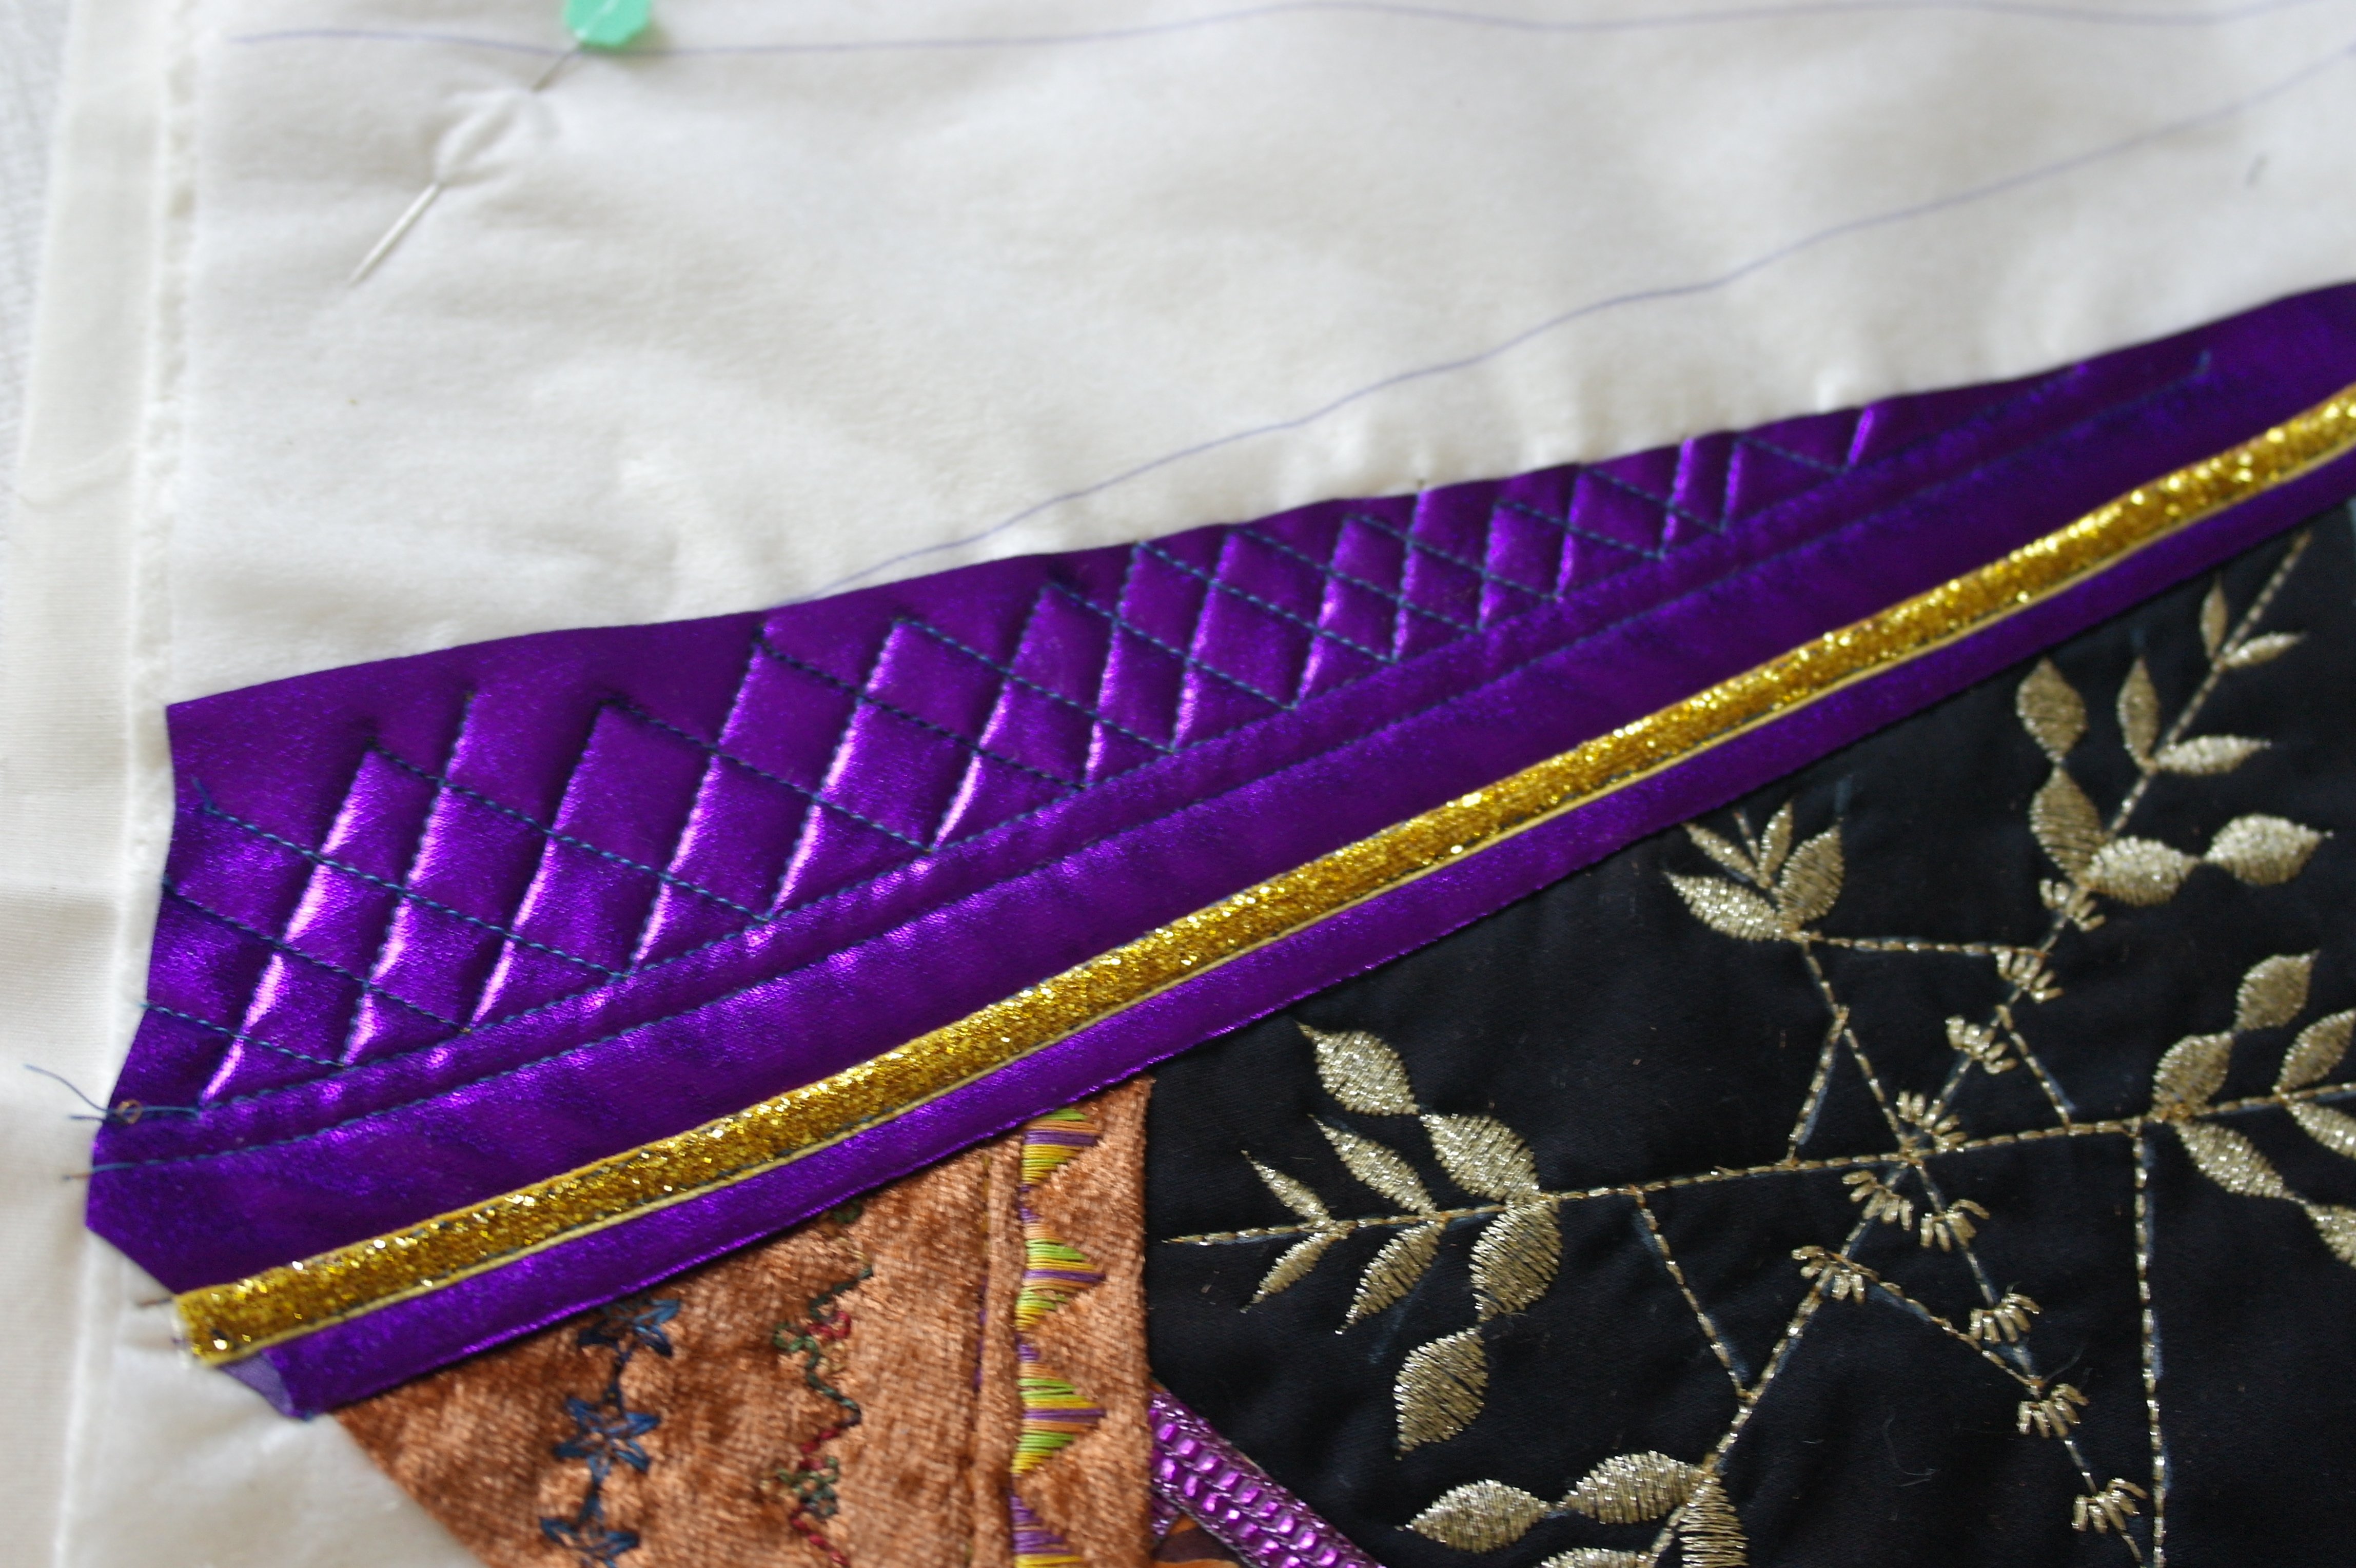
Sewing the next fabrics and decorate them. I have used Velours de Panne for section 2, and a purple Lamé for section 3. Onto the last, I have sewn a gold colored ribbon, and after that just straight stitches in lines and in a diagonal grid. The Lamé gives a beautiful relief when sewn onto a sandwich.

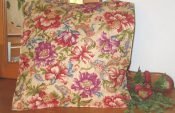
Section 4 is covered with a remnant of the pleated fabric from Block 7: it was large enough to cover this section. Remember I advised you to keep the remnants? You can use them for some parts of the coming blocks, if you want to.
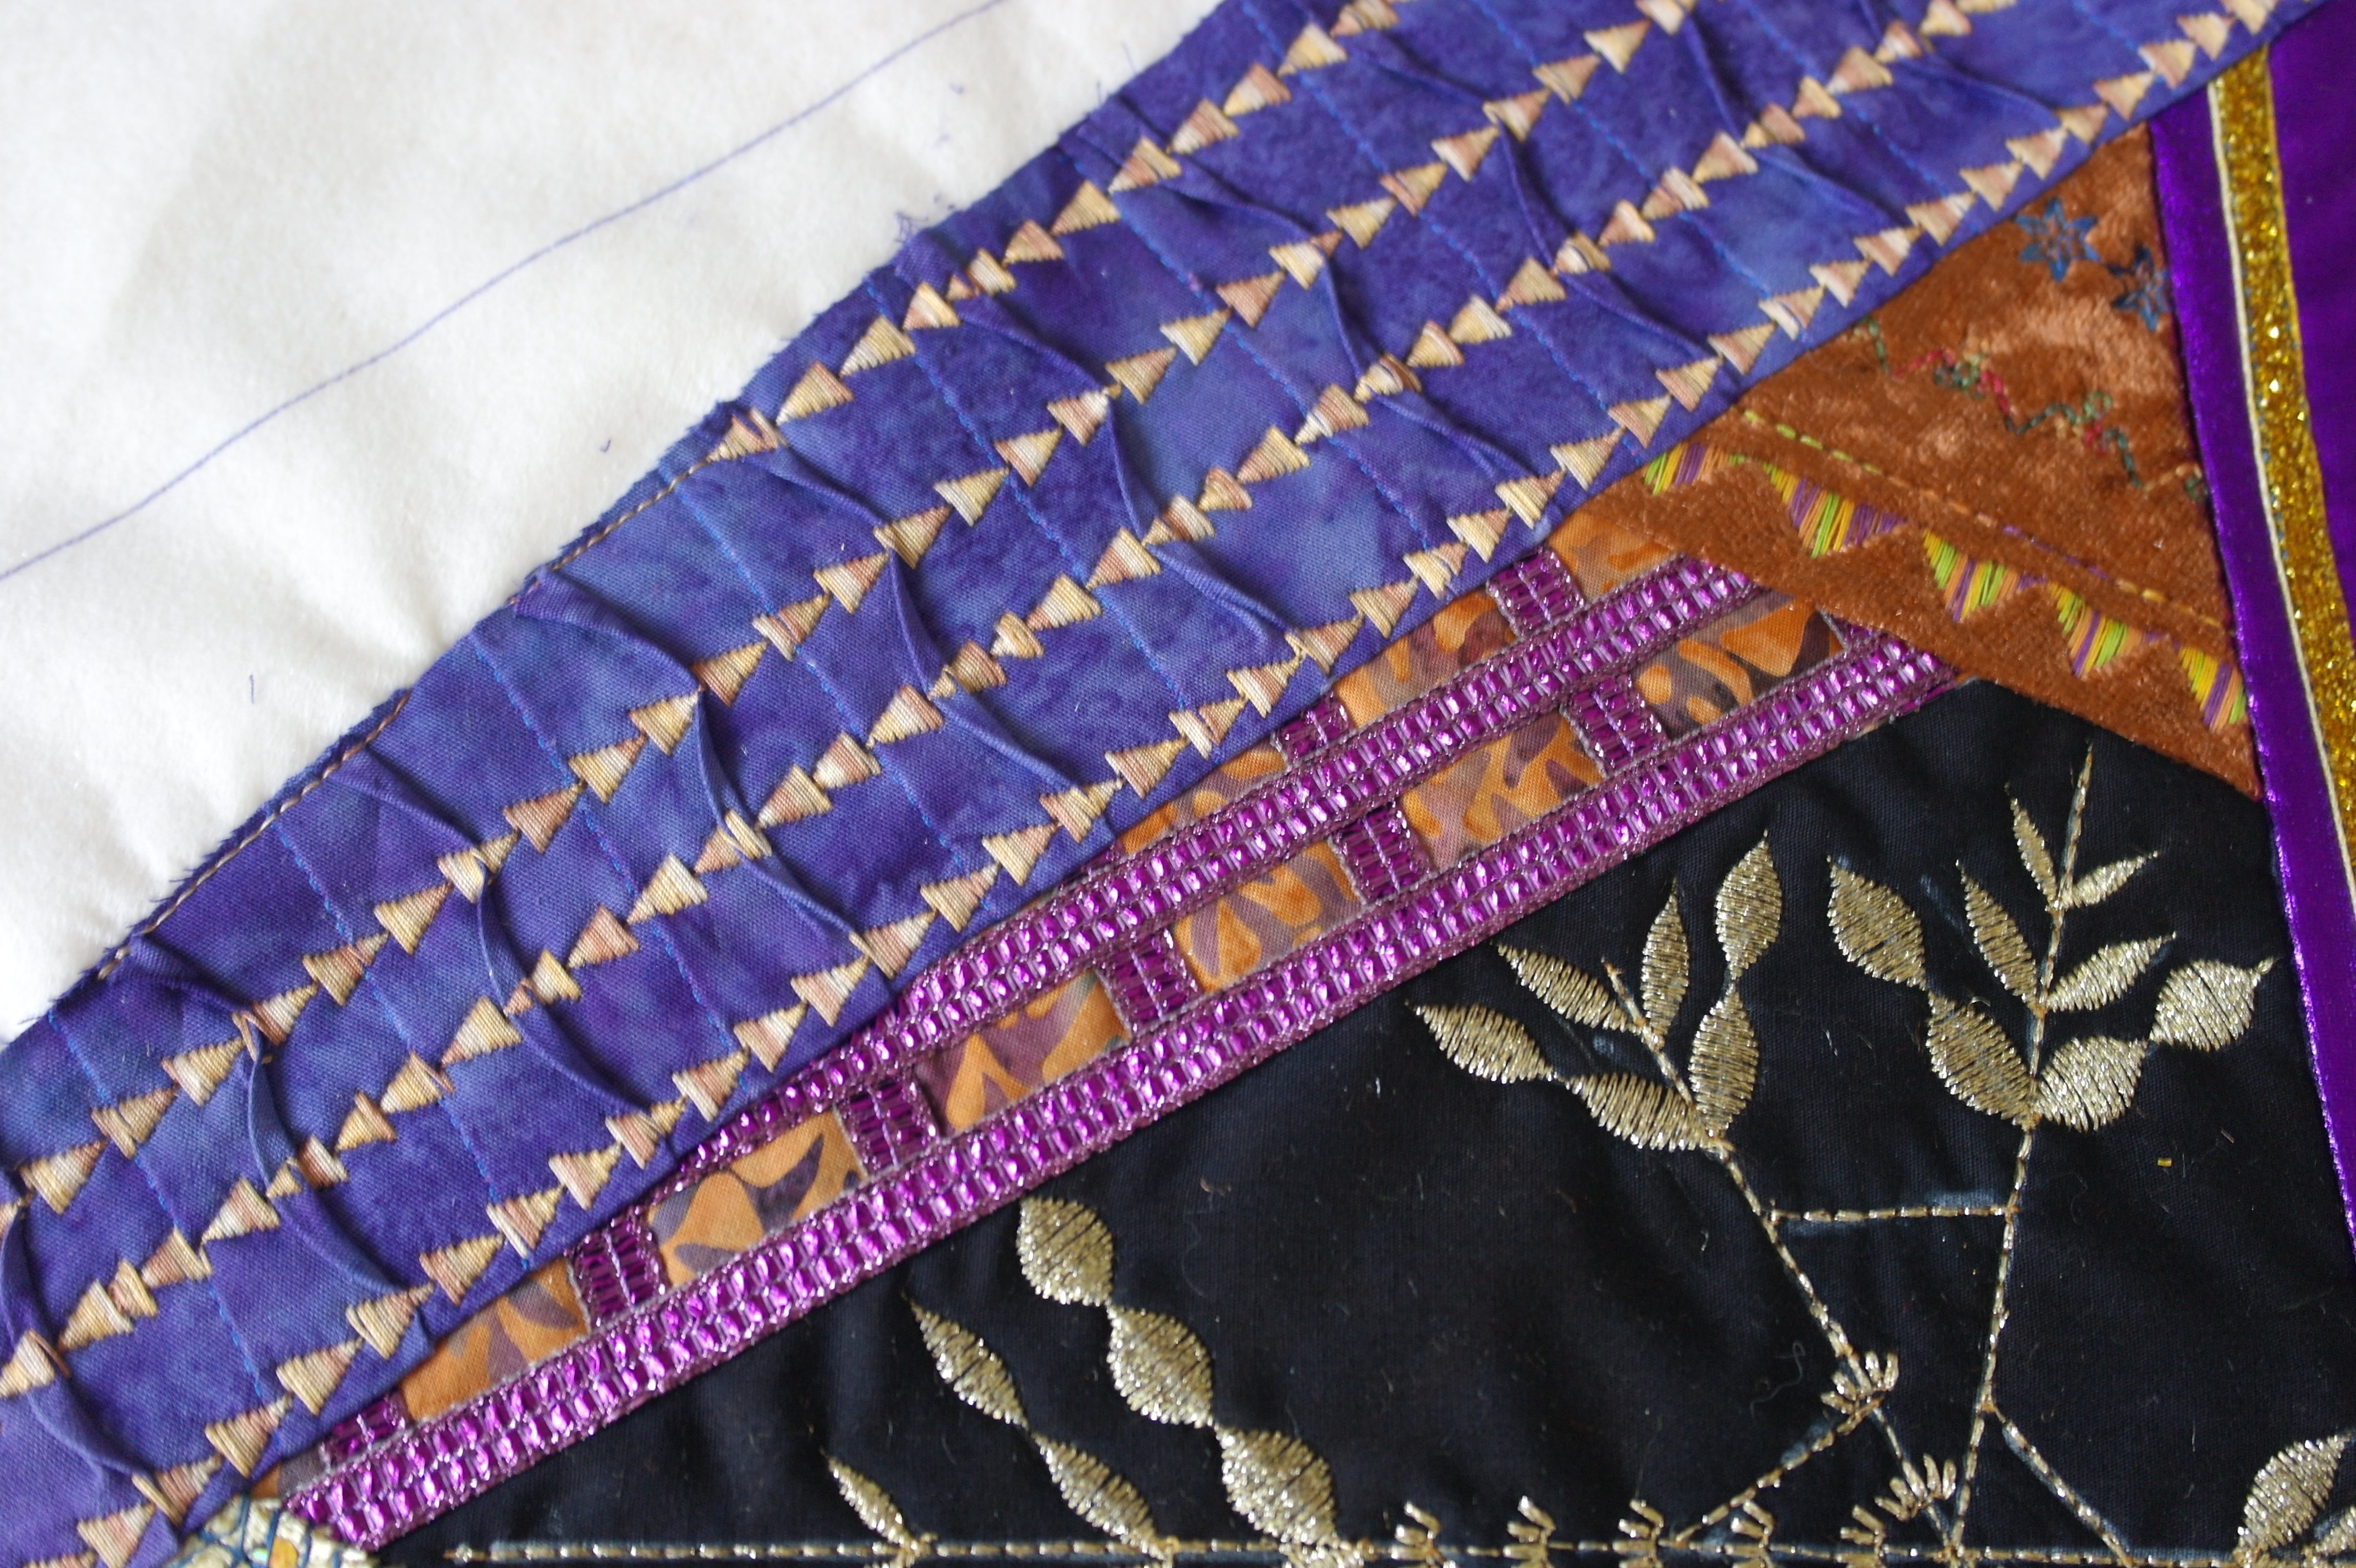
Made decorative stitches to set the pleats. Looks great again, doesn’t it.
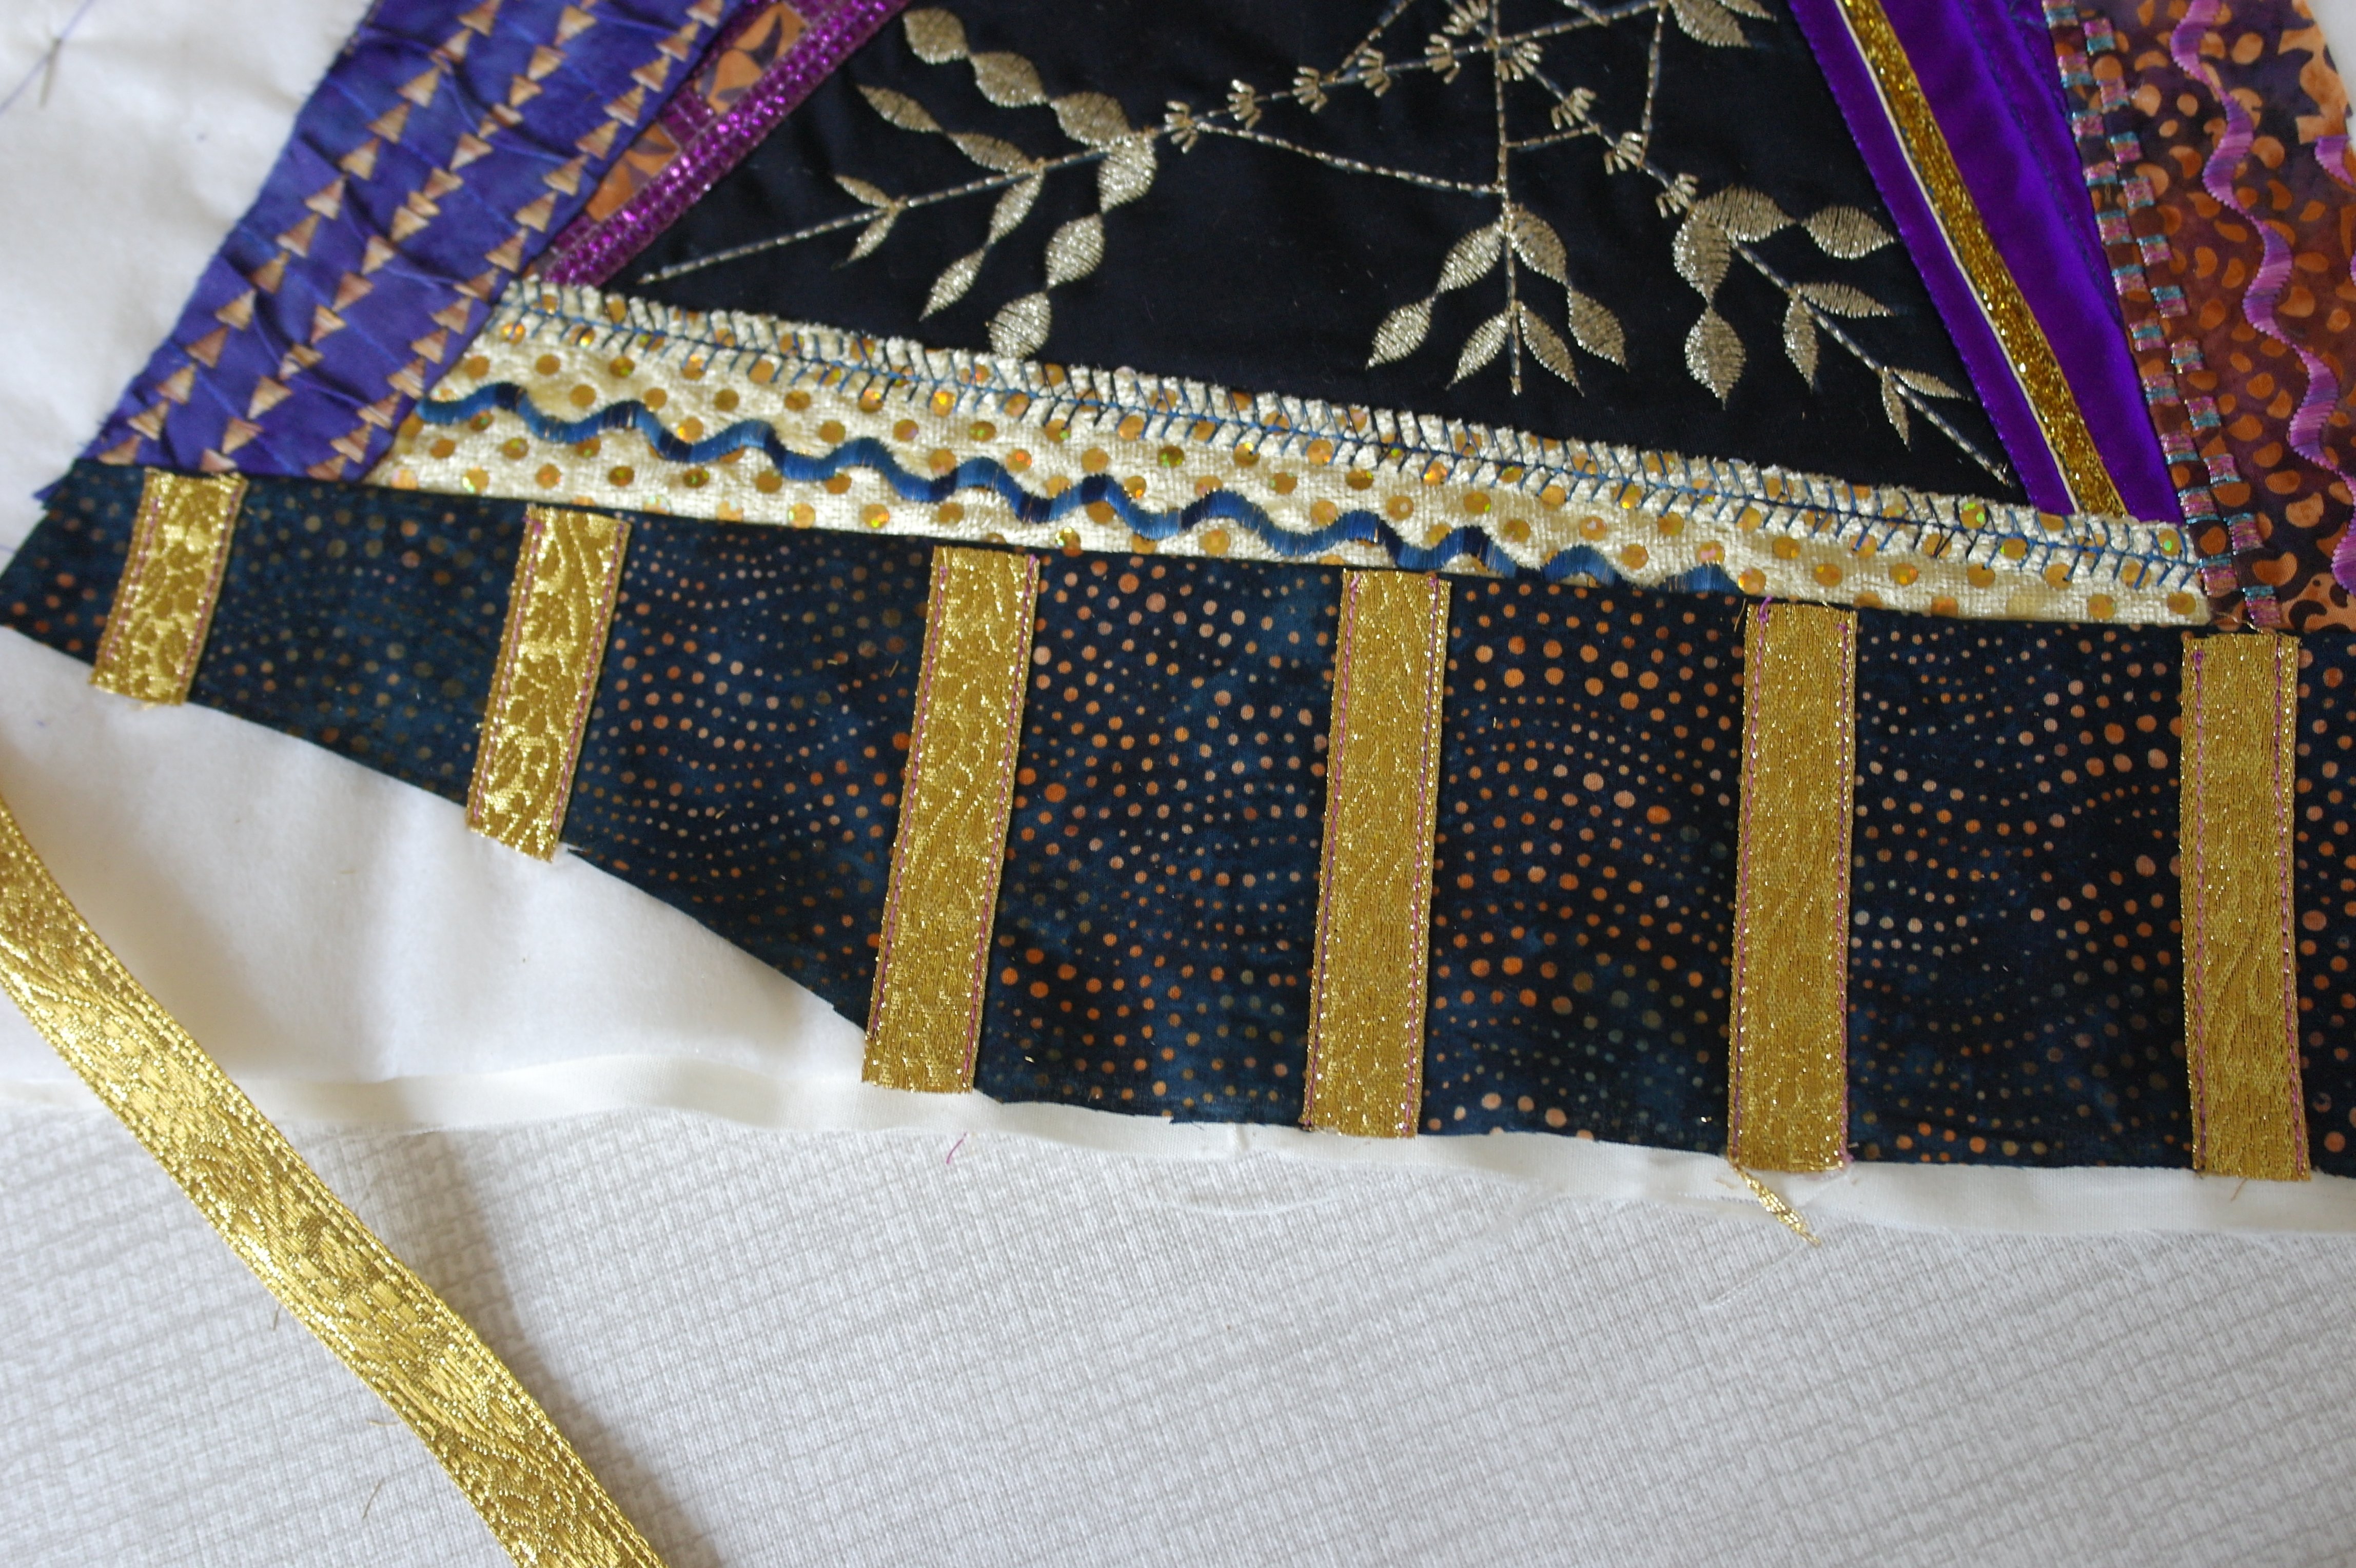 And on with the sections. Nr. 7 is a batik, sewn on first, and afterwards covered with gold colored ribbon (goudband bloem), different from working with the ribbons before. The frayed ends are sewn close to the seam.
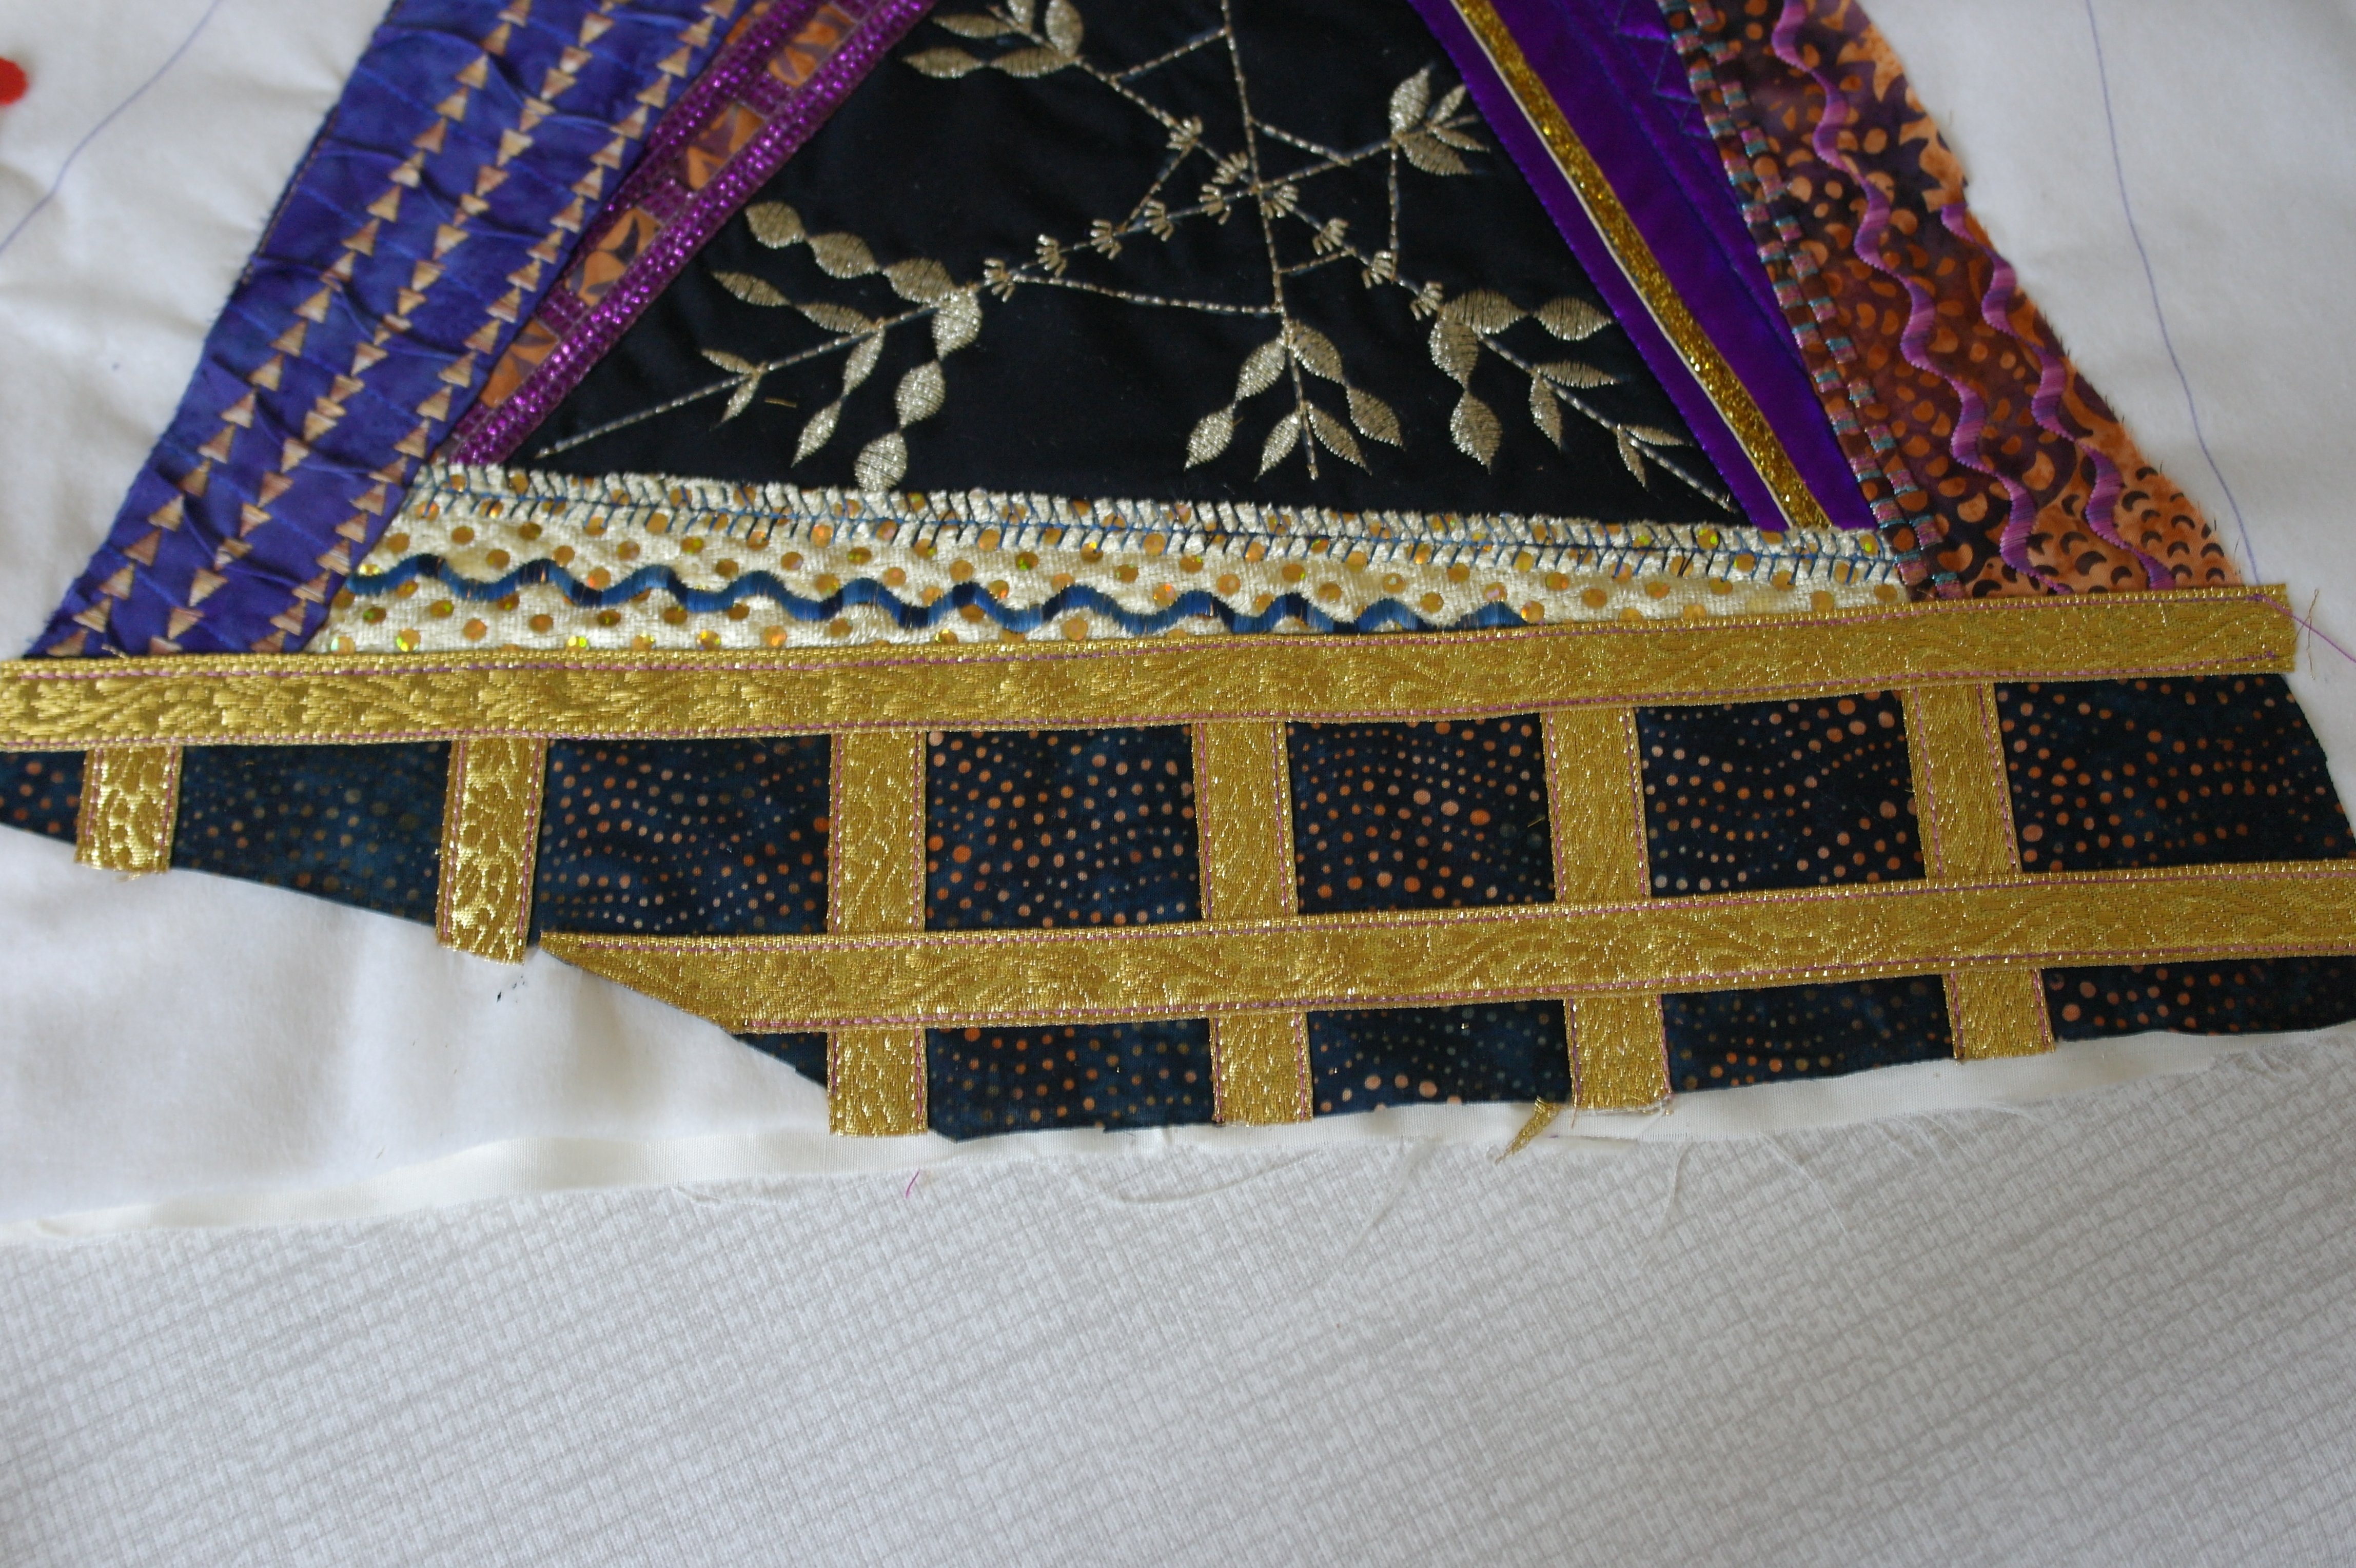
I have covered this again across the fabric. I like this ribbon so much, I want to remember this shows after cutting the block in month 12.

Section 8 is covered with two fabrics at once: a batik with organza. Adding decorative stitches. For section 9 I have used Lamé, but this time I have quilted a feather onto the fabric, using my BSR, lowering the feed dogs. Again, I like the relief.
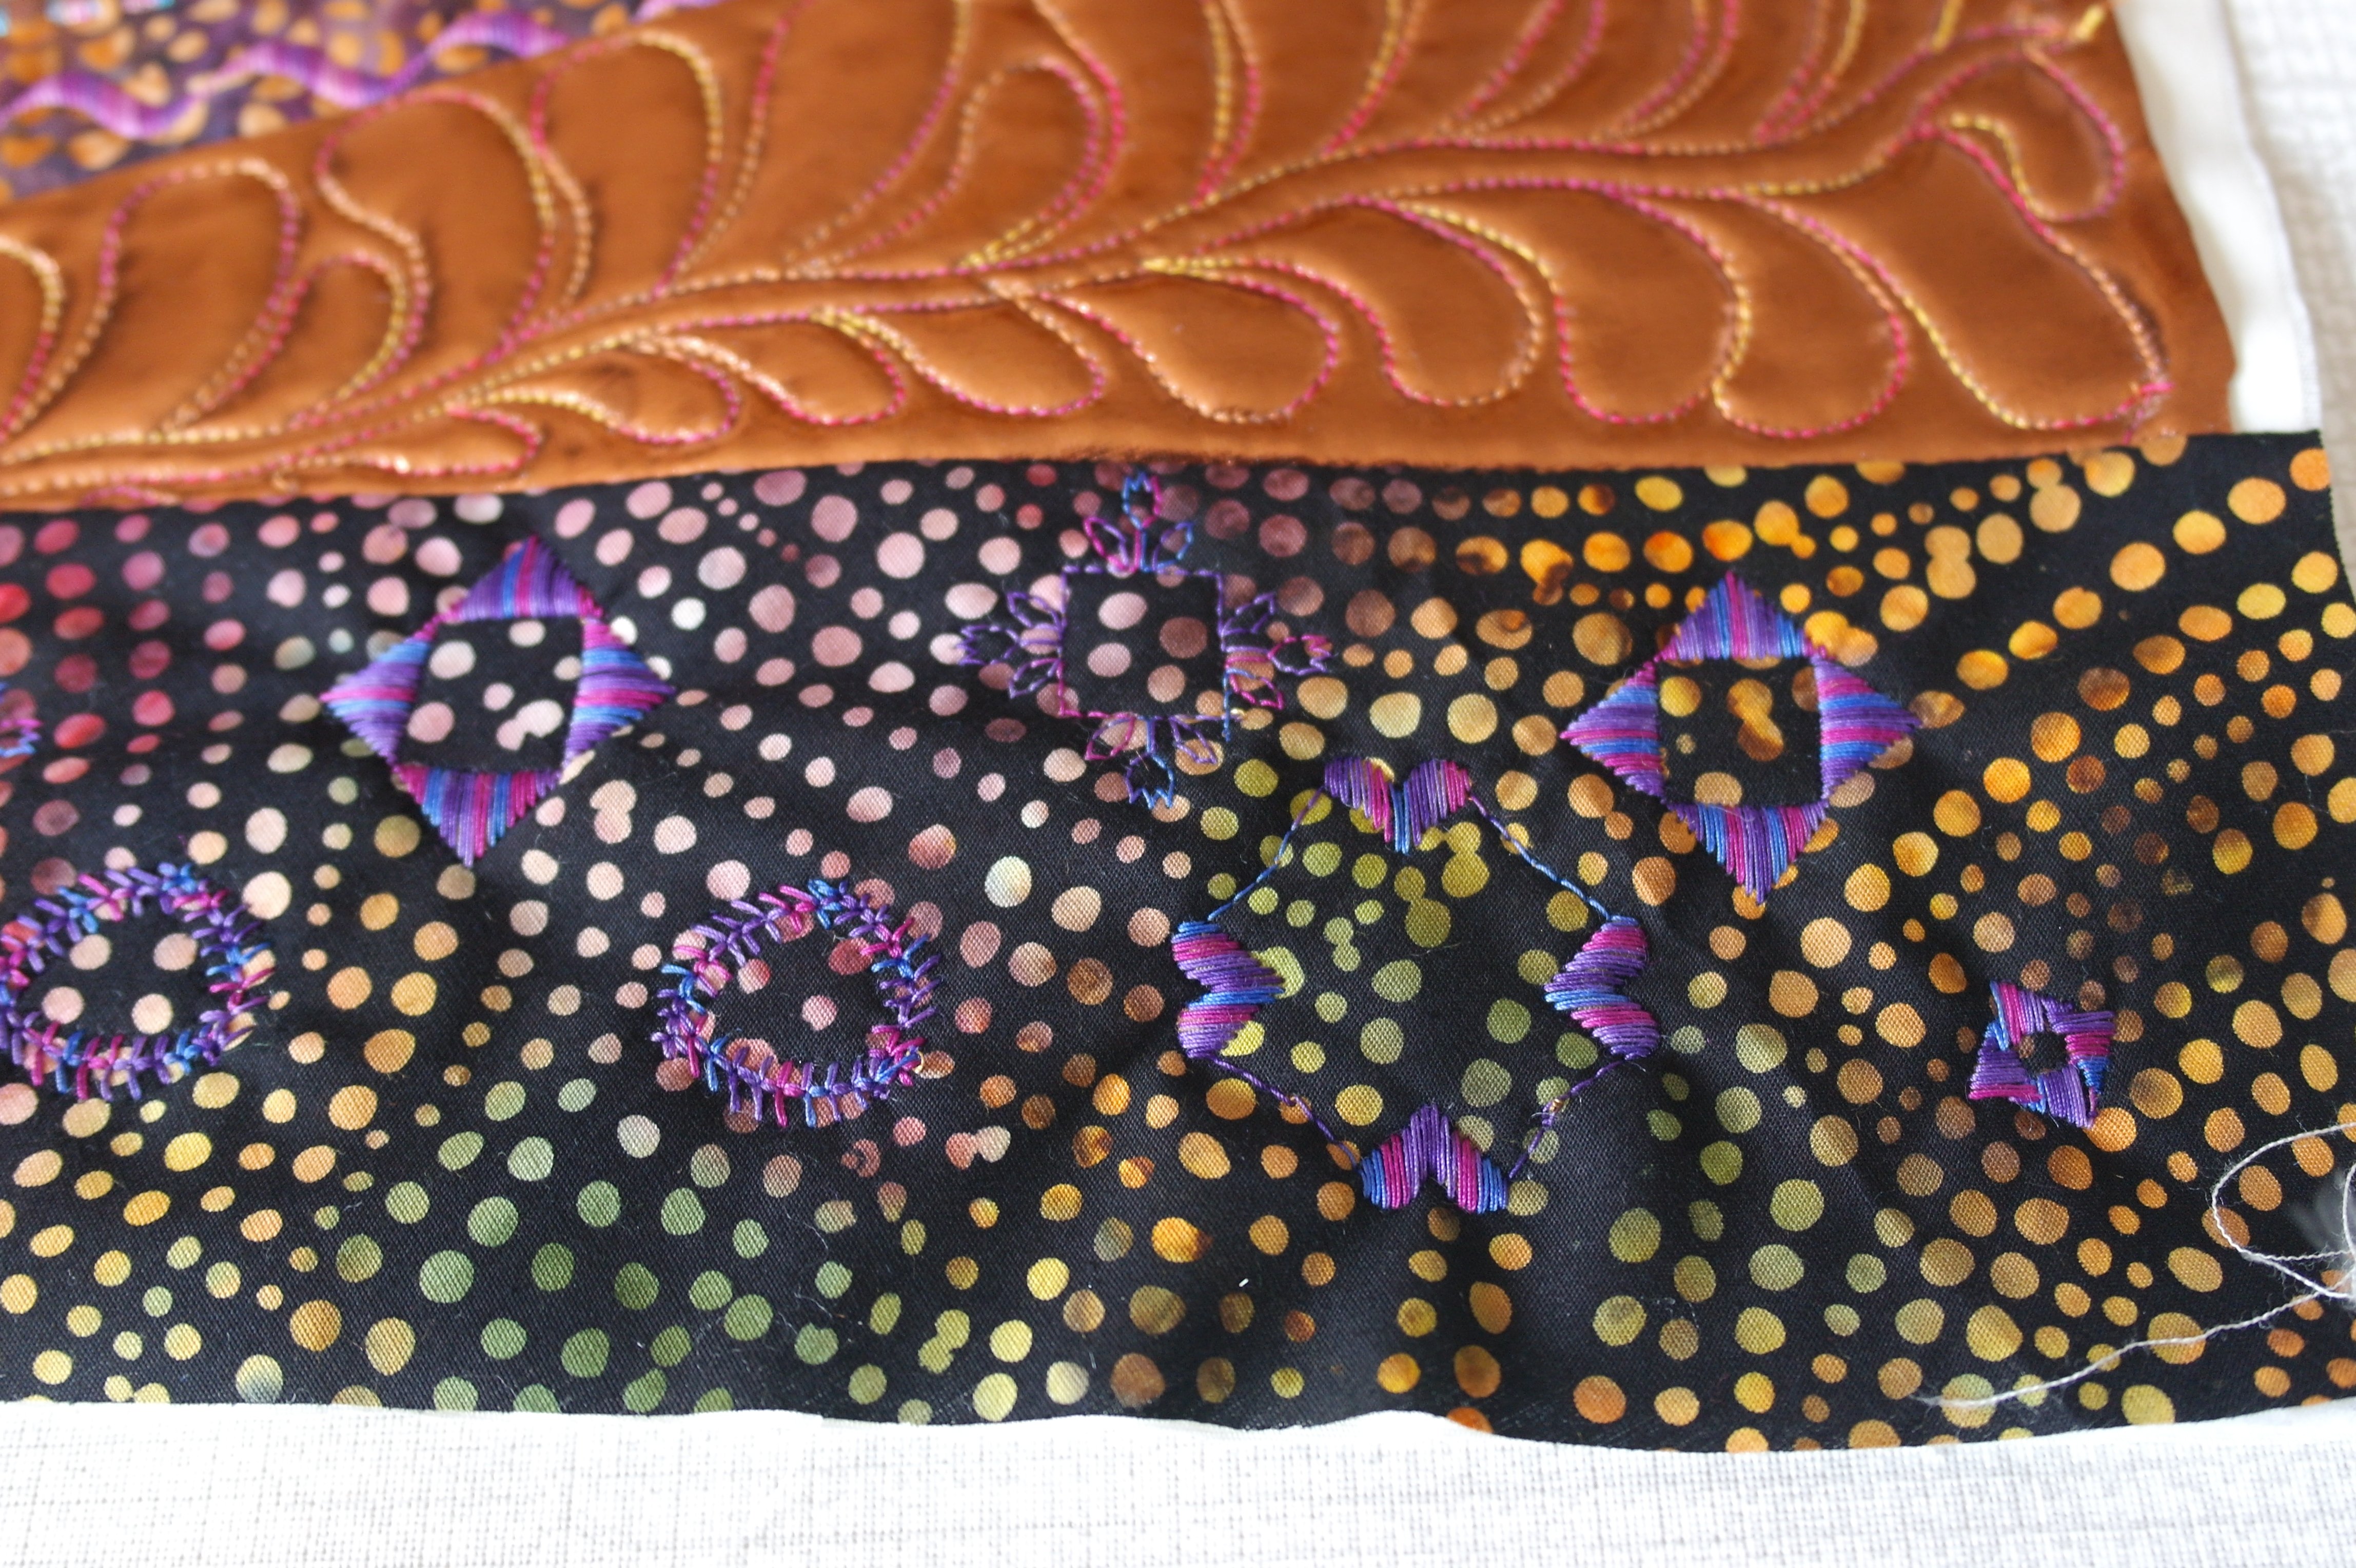
For covering the next sections, I have used the Open Embroidery foot #20C again, raising the feed dogs (don’t forget this), and worked to the end. For the last fabric I have made decorative stitches only once, turned the sandwich, made another etc. until they were a closed figure.
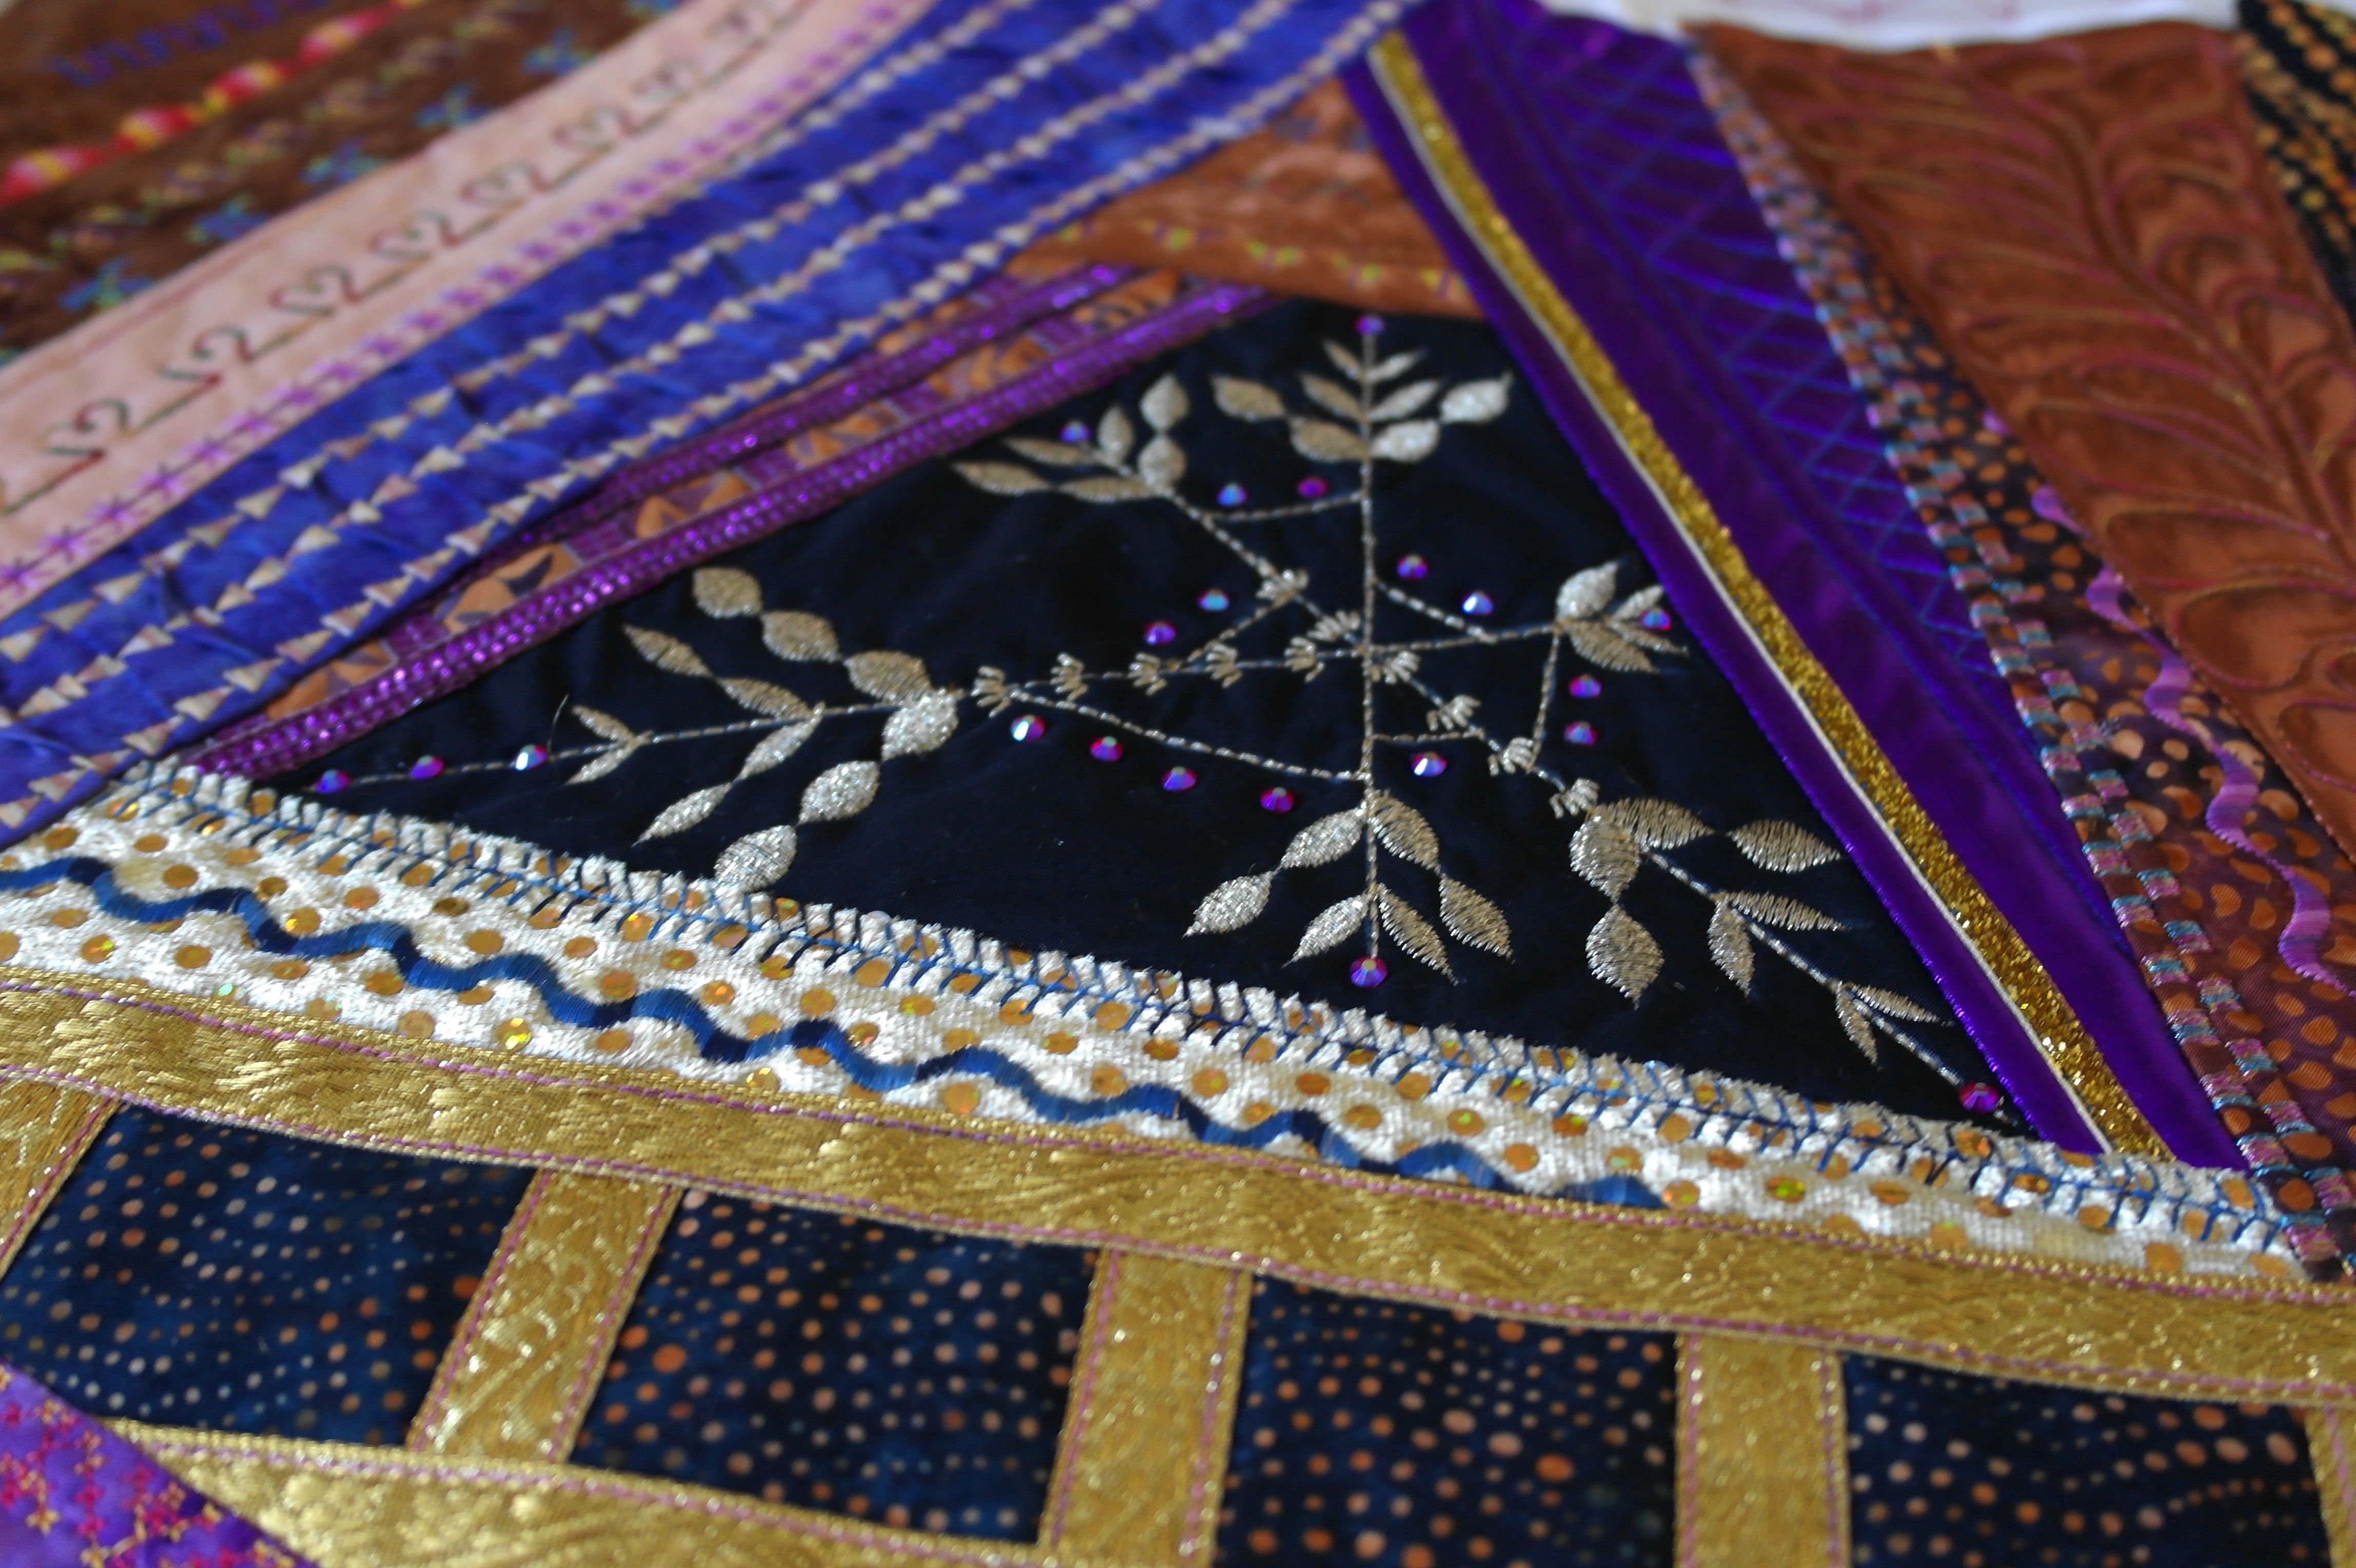
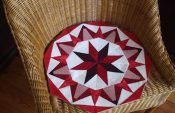
My block 8 is now ready. Added some Hotfix stones to complete the middle part,
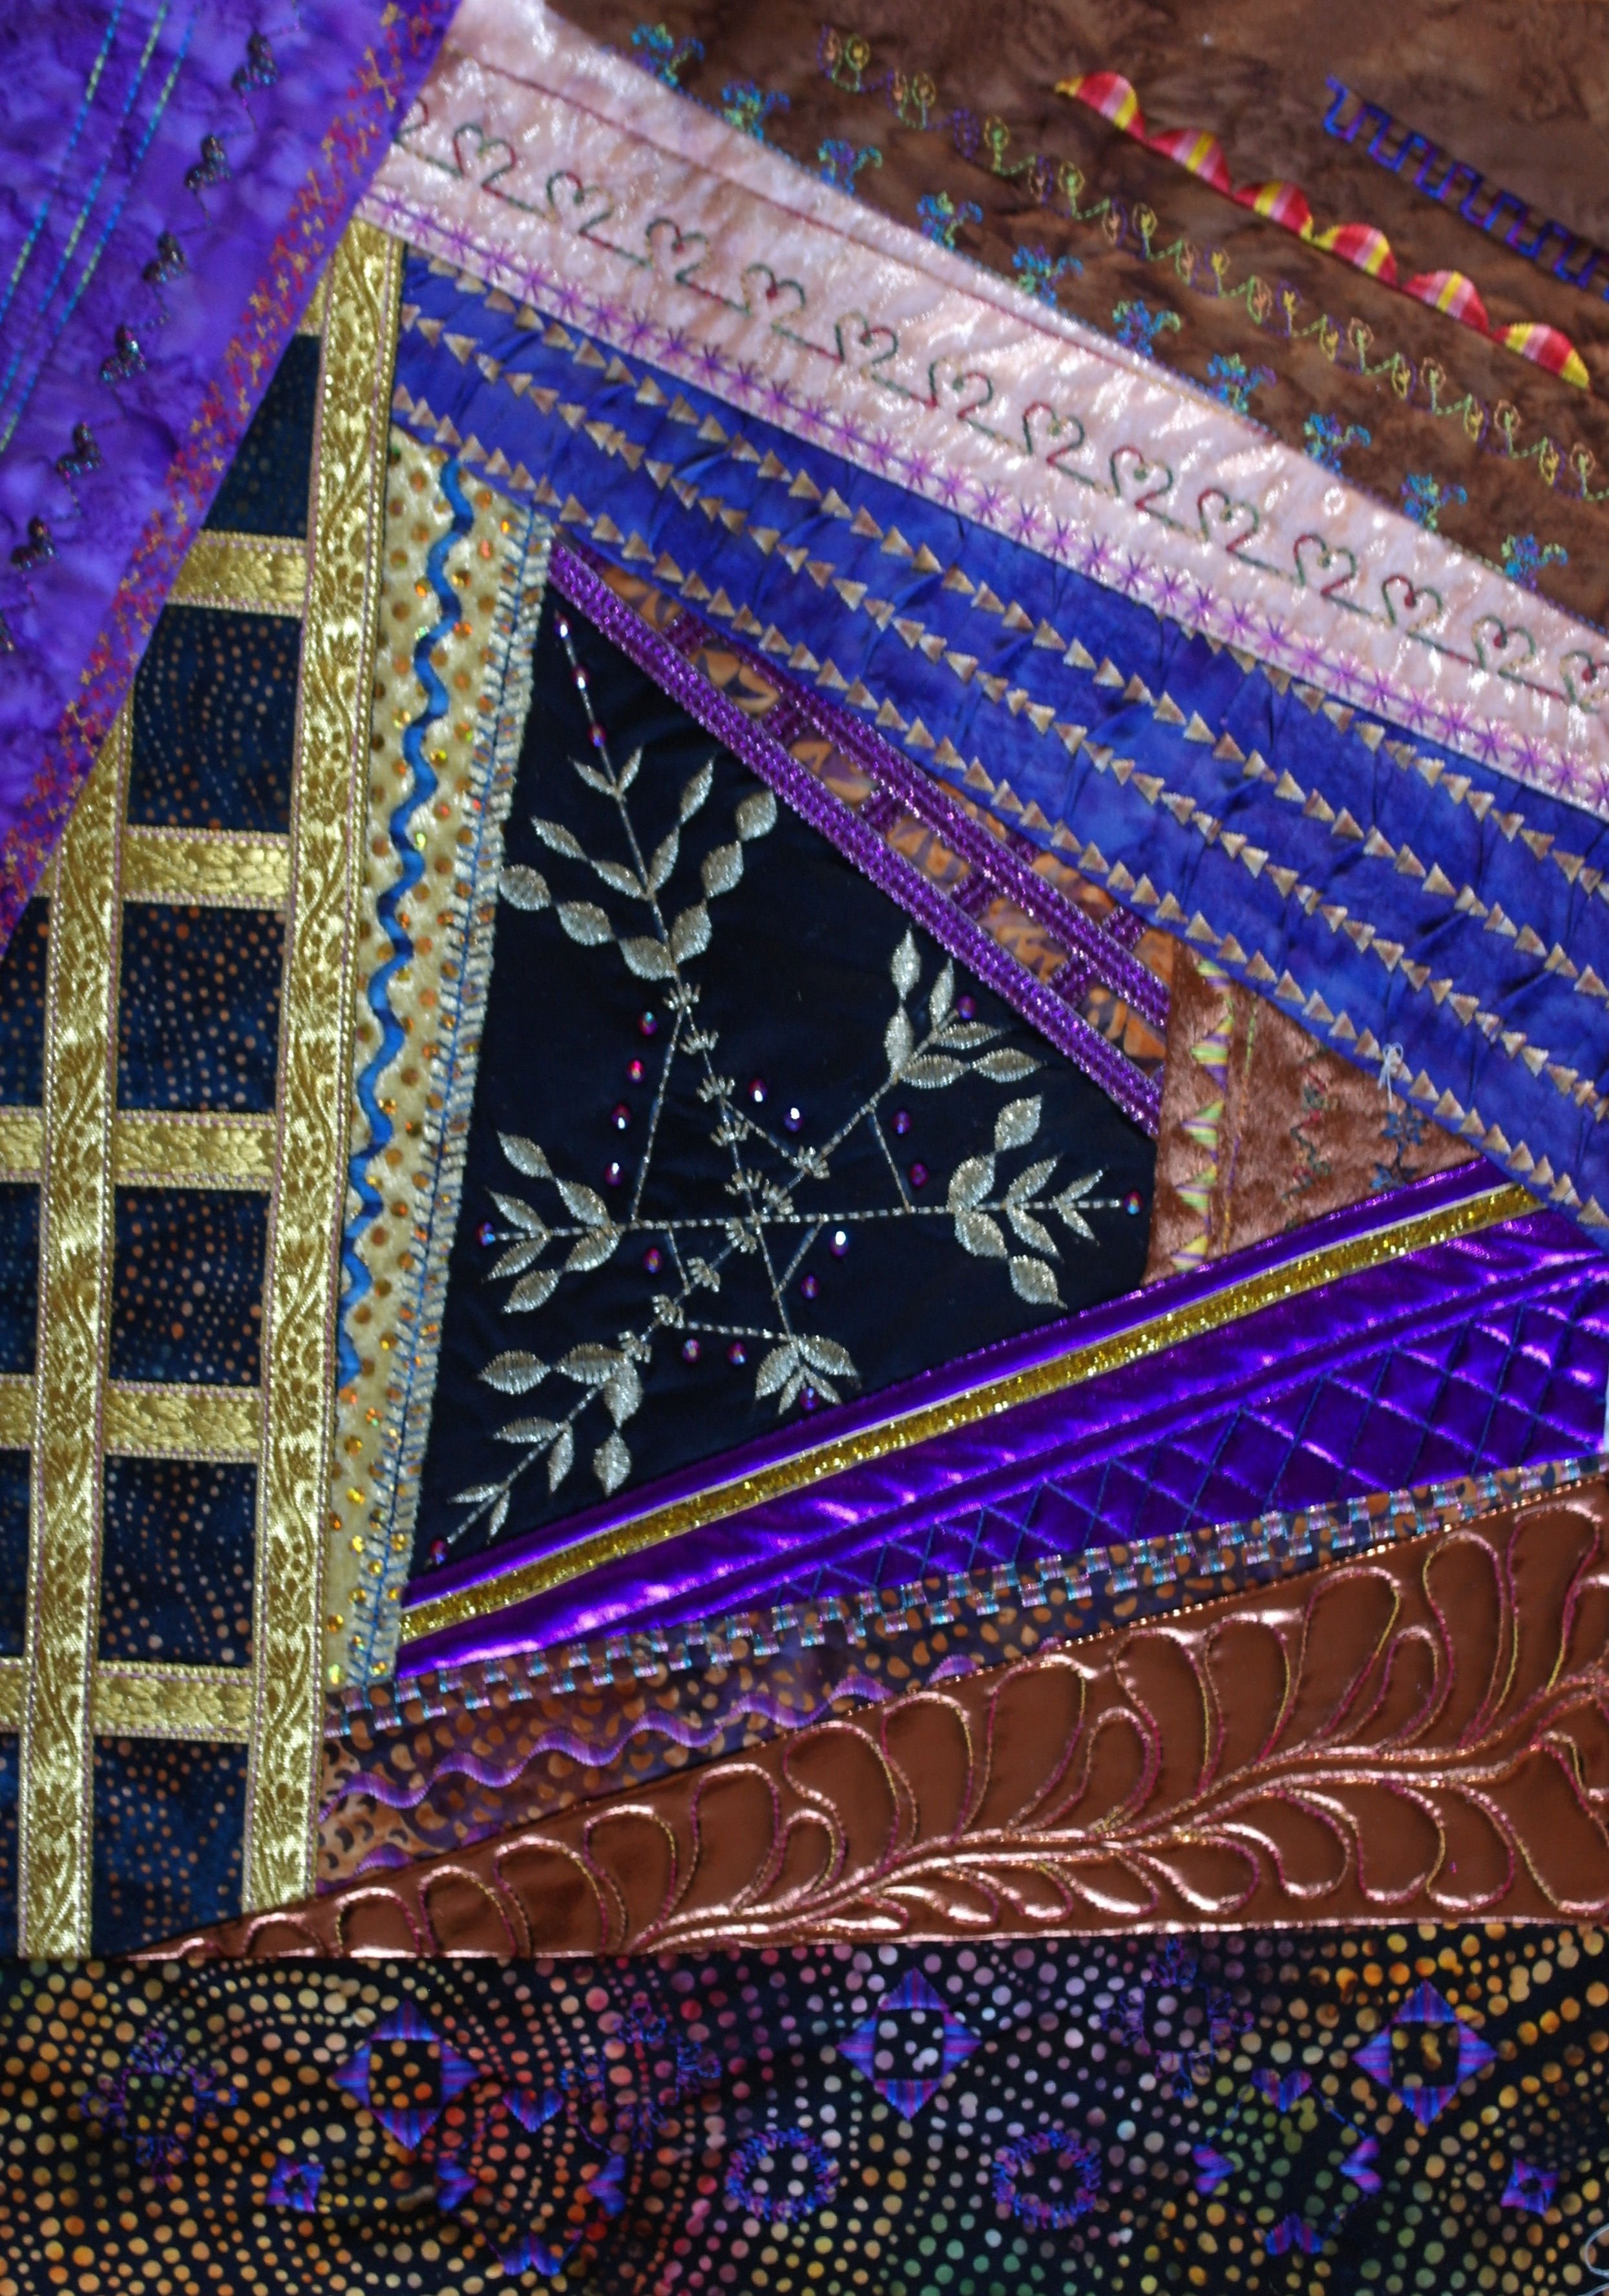
And this is the result. Another block with much decorative stitches and effects.
Now it’s time to make your own block 8!
See you next month!
Happy Quilting
Sylvia Kaptein
Sylvia’s Art Quilts Studio
0 Responses