 BERNINA Corporate Blog -
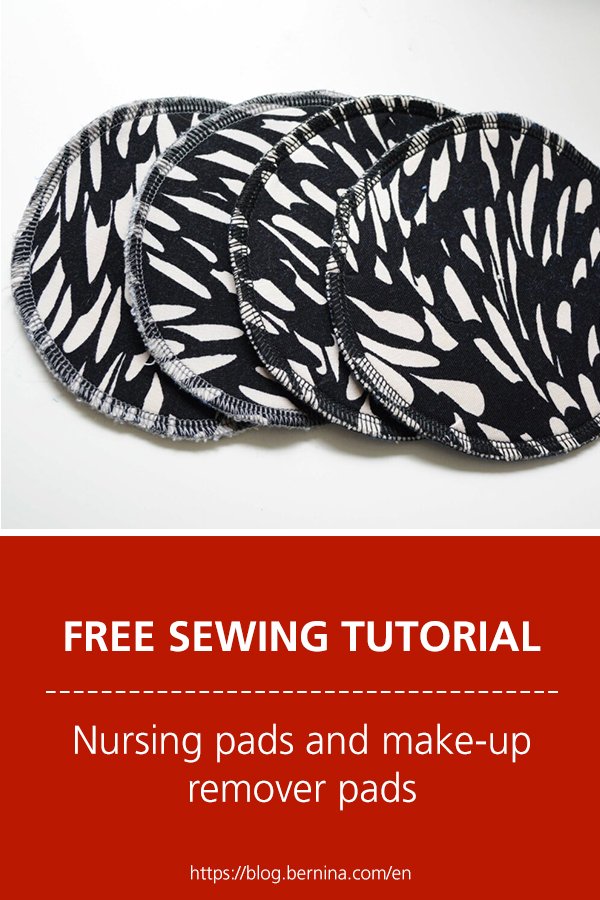
Every sewist knows this problem: What to do with all those little scraps, those pretty leftovers from bigger projects? We love the prints on our fabrics and quite frankly – most of us spend a fair amount of money on fabrics. So throwing all the leftovers away isn’t really an option! A while ago I showed you how to sew a Tailor’s ham and suggested to use tiny scraps as a fill. Another possibility for scrap busting is sewing make-up remover or nursing pads. It’s really win-win-win: You get to use those scraps, it’s environmental-friendly AND you get to showcase cute prints. Another great thing about these projects: They are perfect as quick home made presents for birthdays, Christmas or baby showers.
I am using both reusable nursing pads and make-up removers pads and I am so glad I do! I used regular nursing pads right after my son was born and I wasn’t comfortable with the amount of garbage I produced. Now I have six pairs of nursing pads and a bunch of make-up remover pads and I just throw them into my washing machine whenever I wash at 60 degrees. So easy and so much better for the environment! The only thing to remember: You might want to wash these pads in a small bag or something similar, as they can end up clogging the tube of your washing machine.
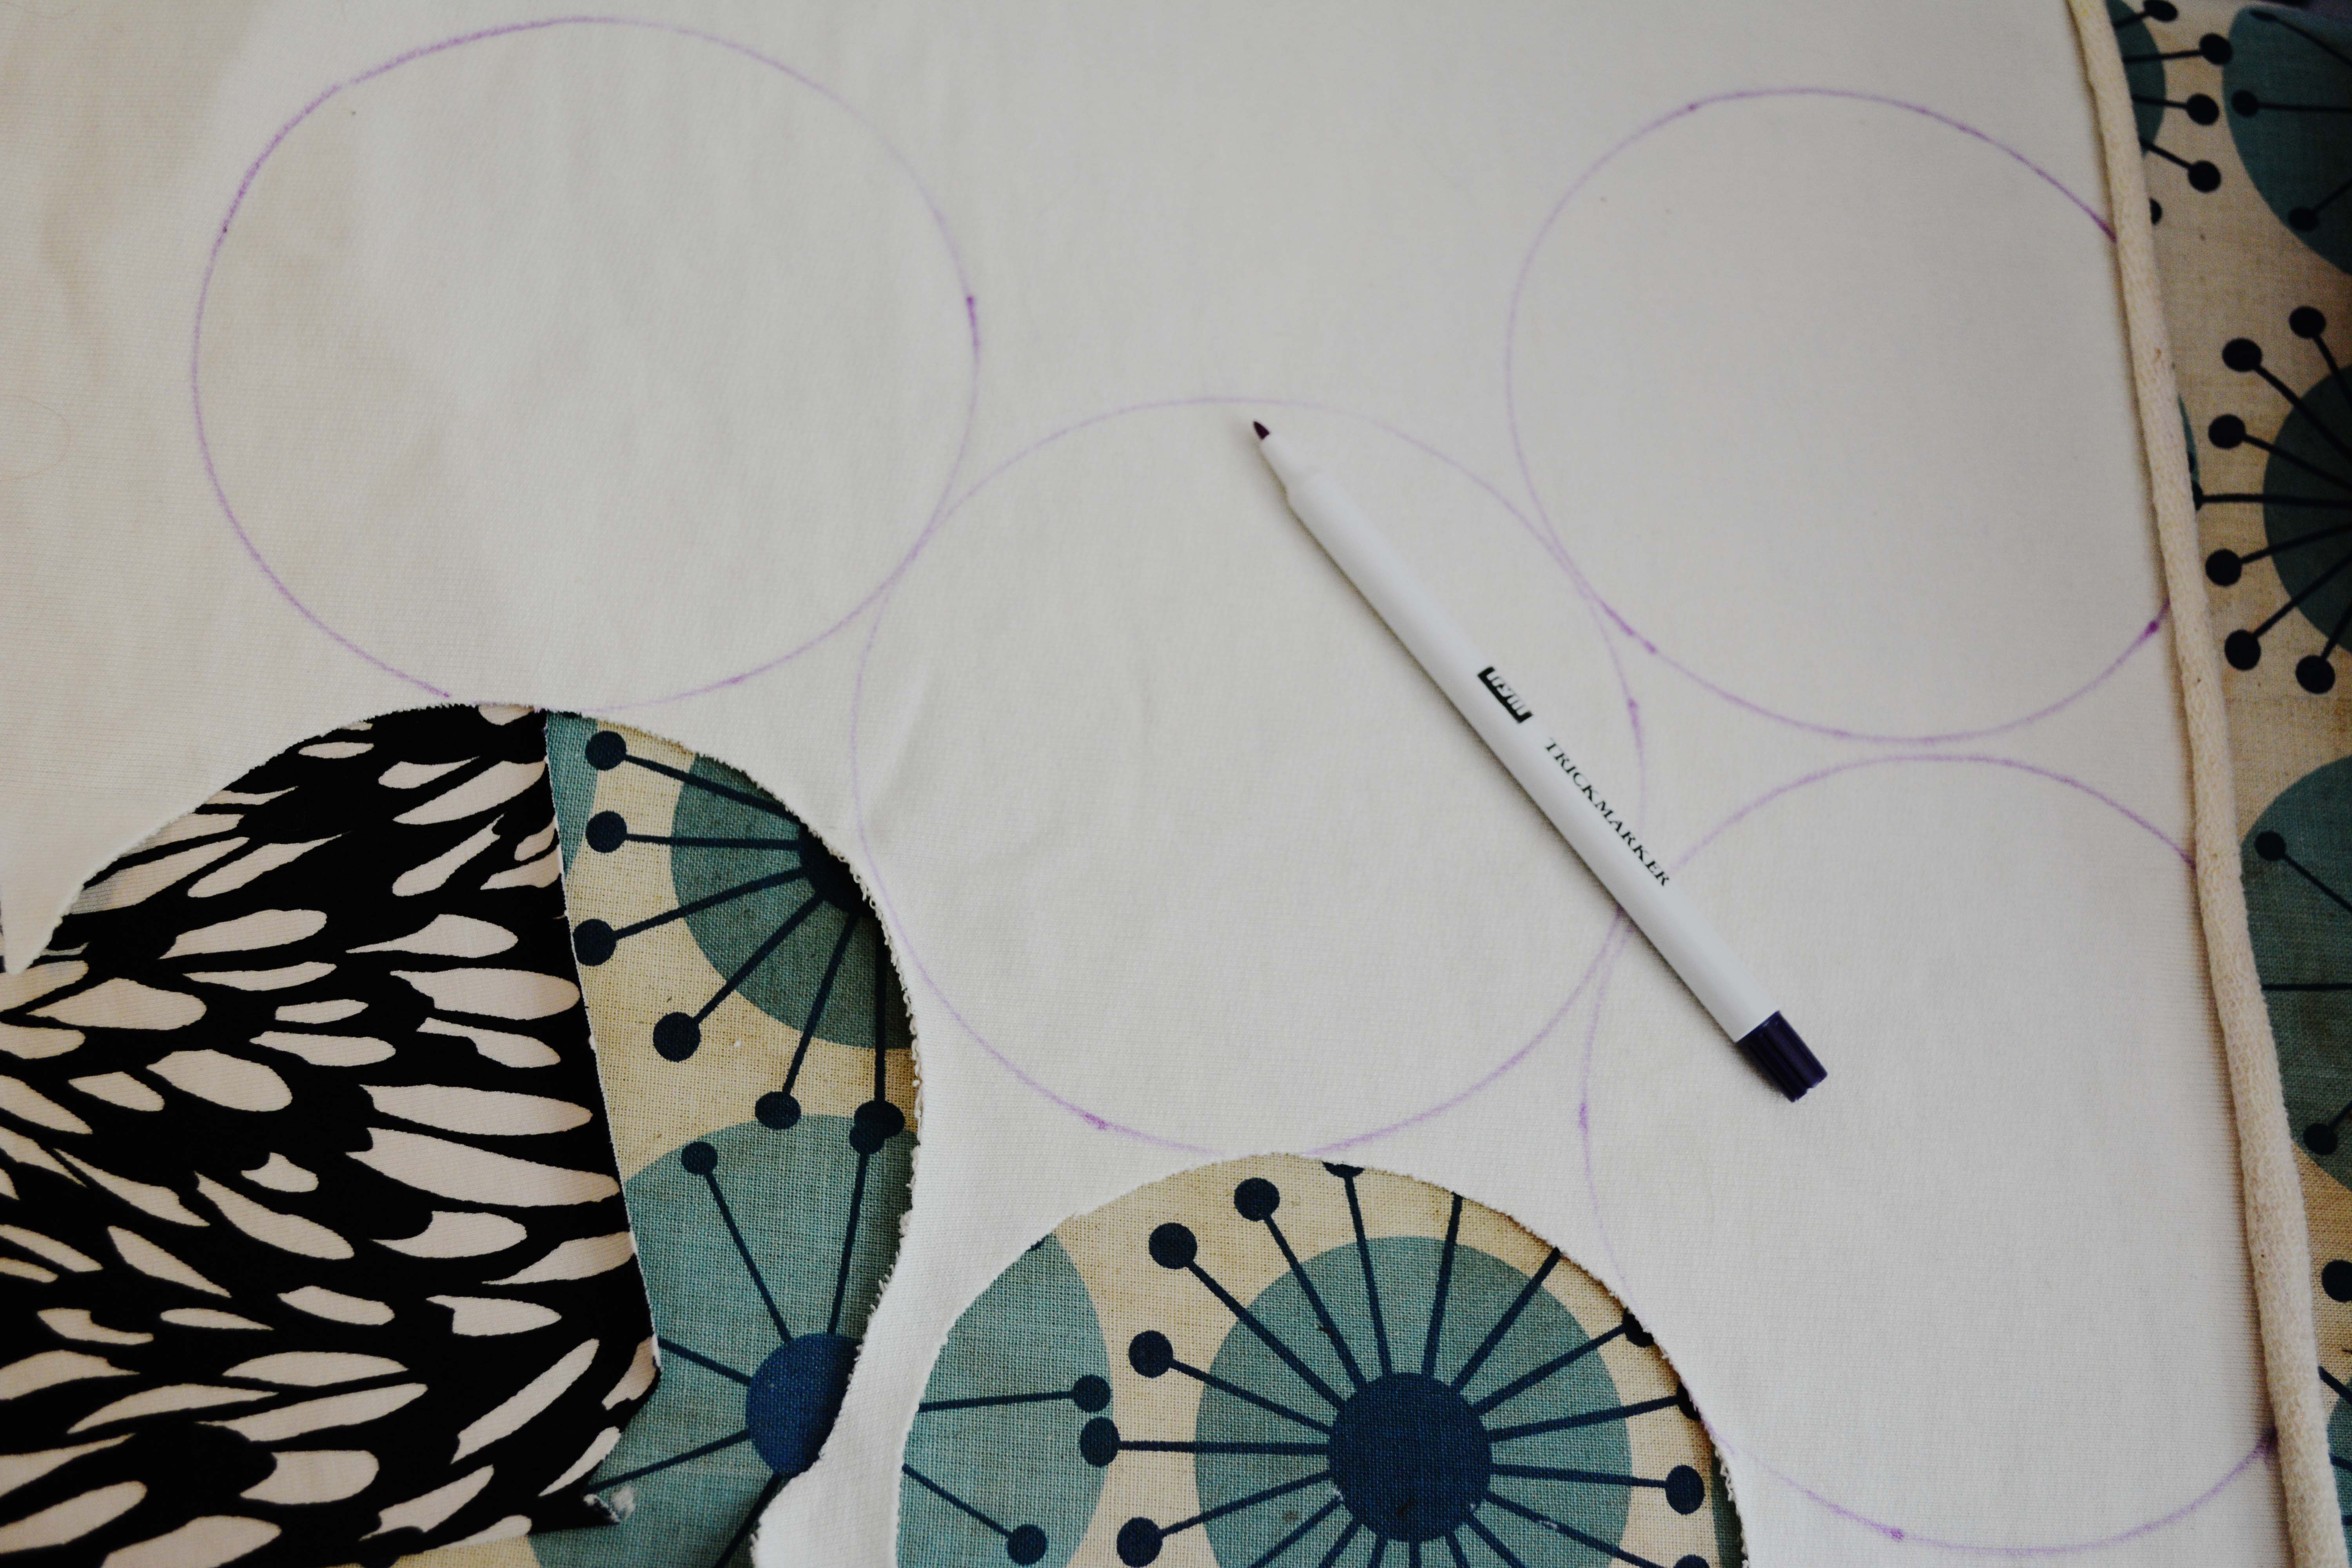
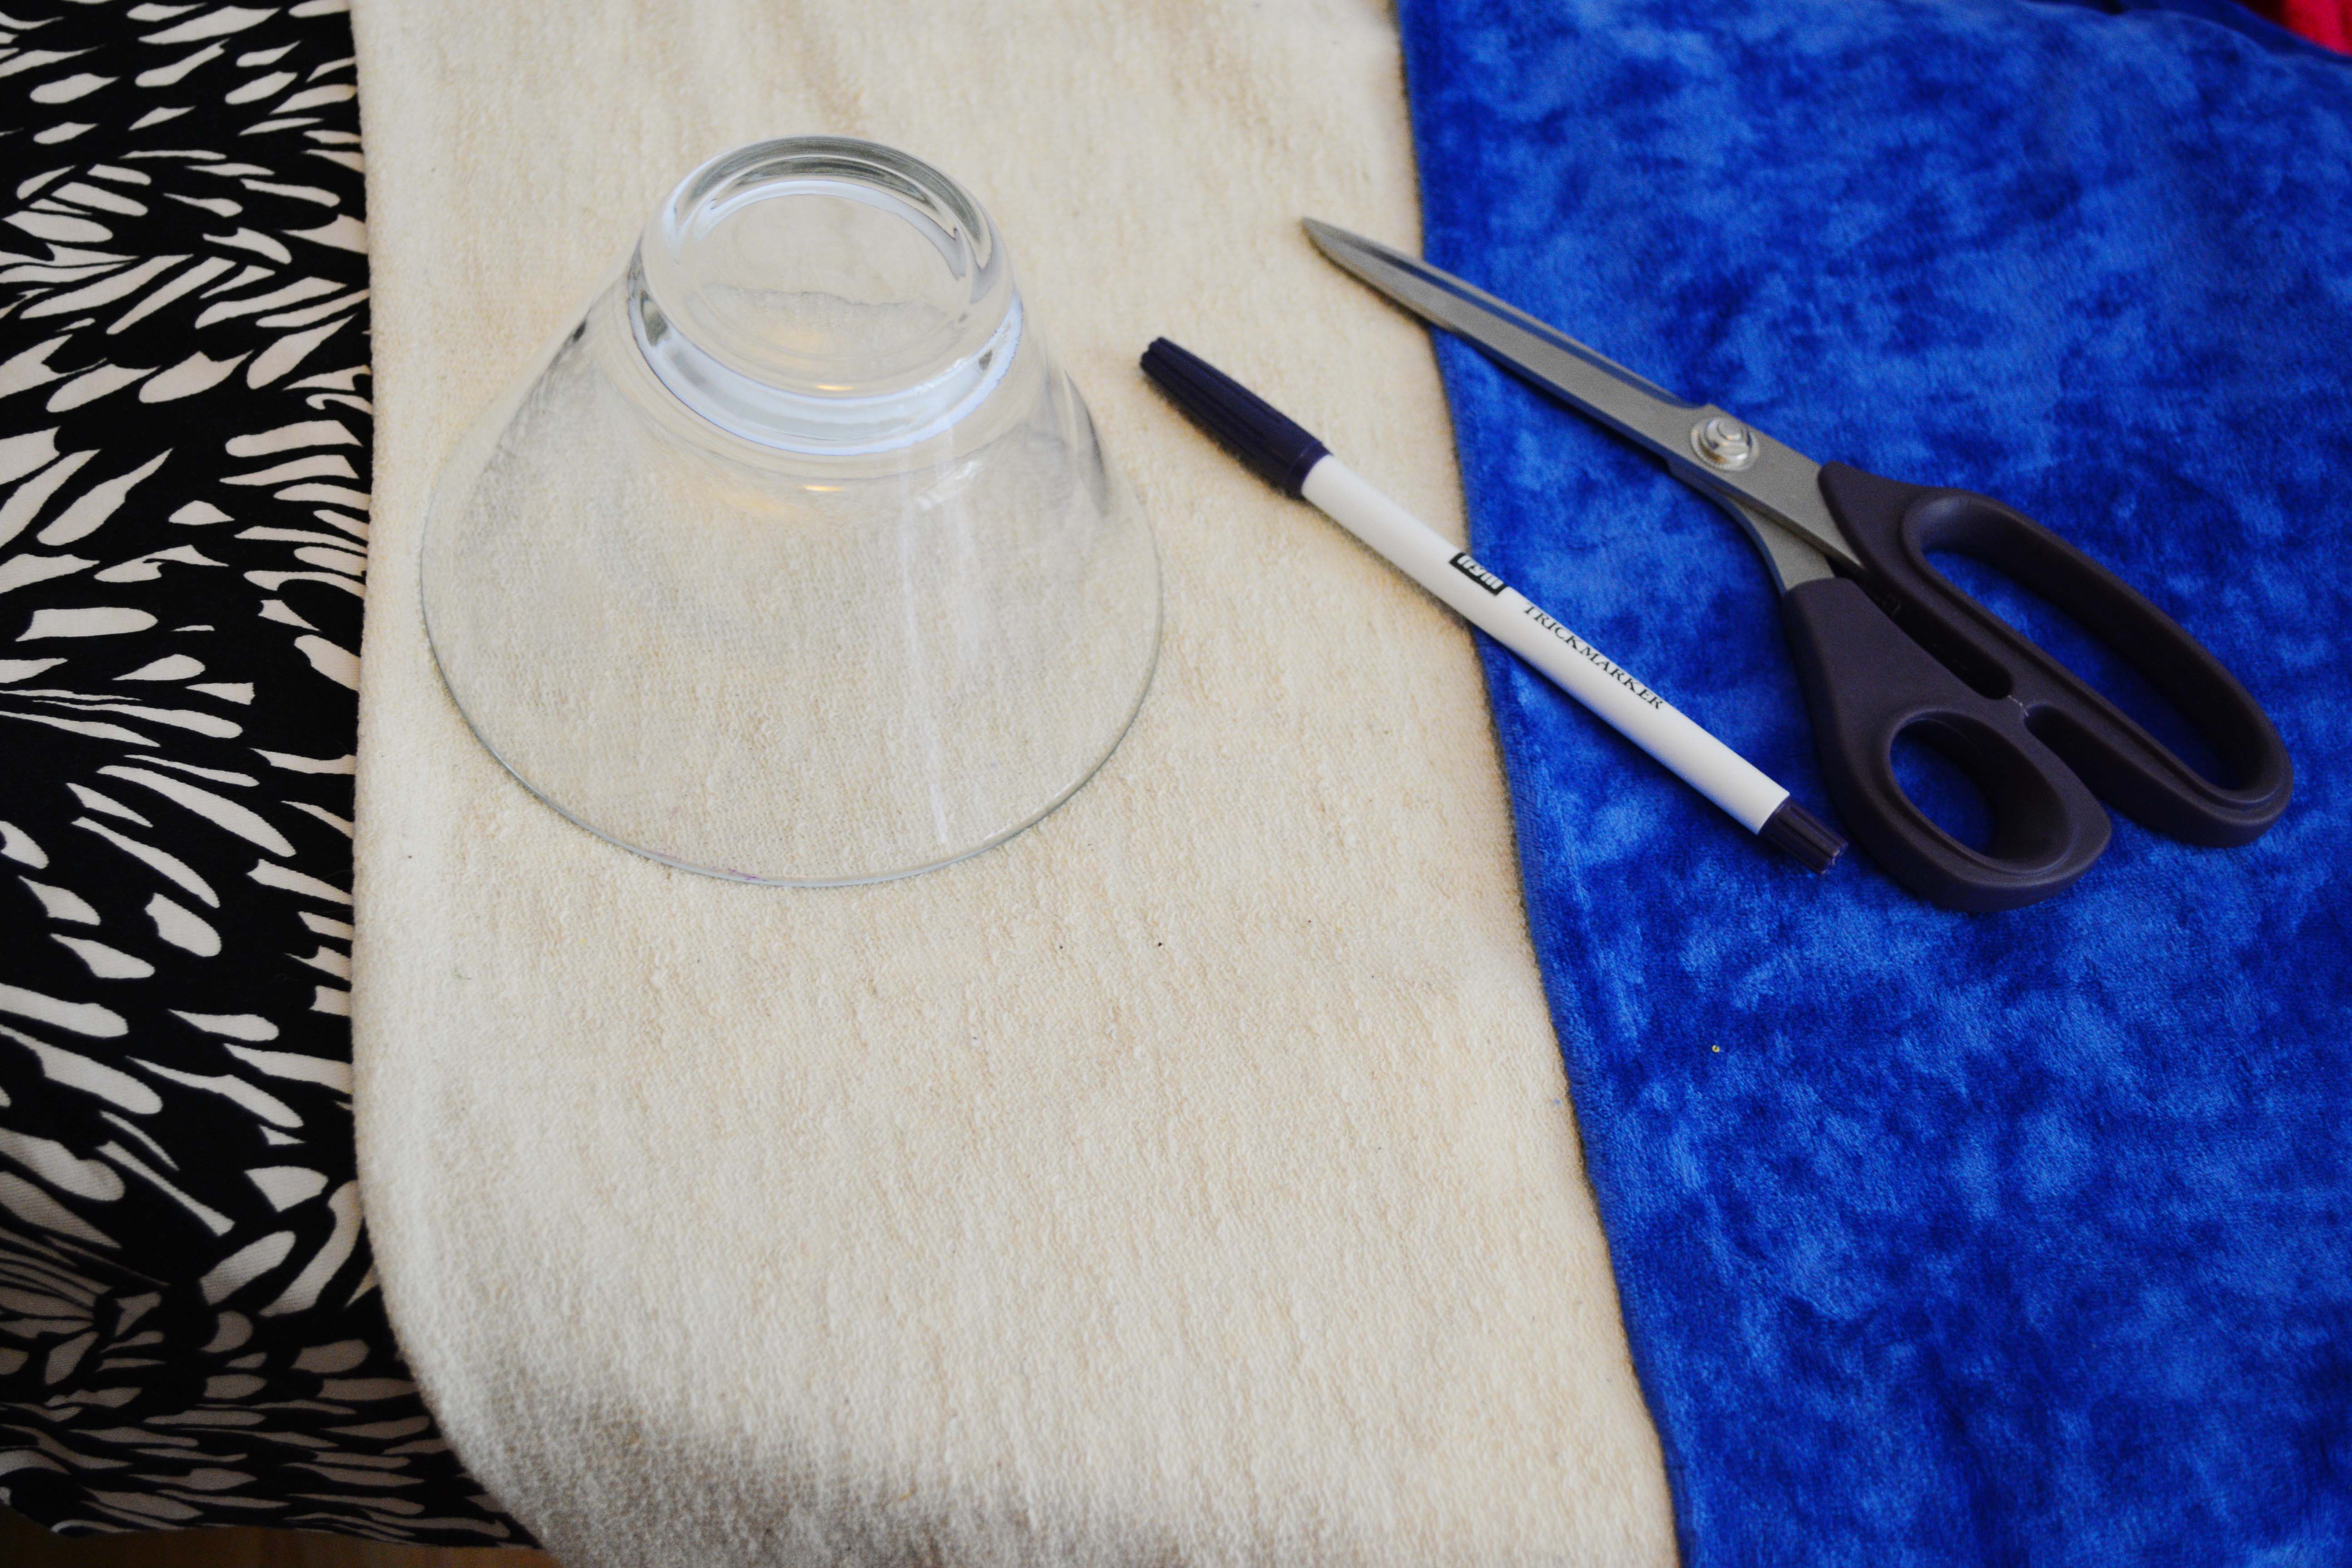
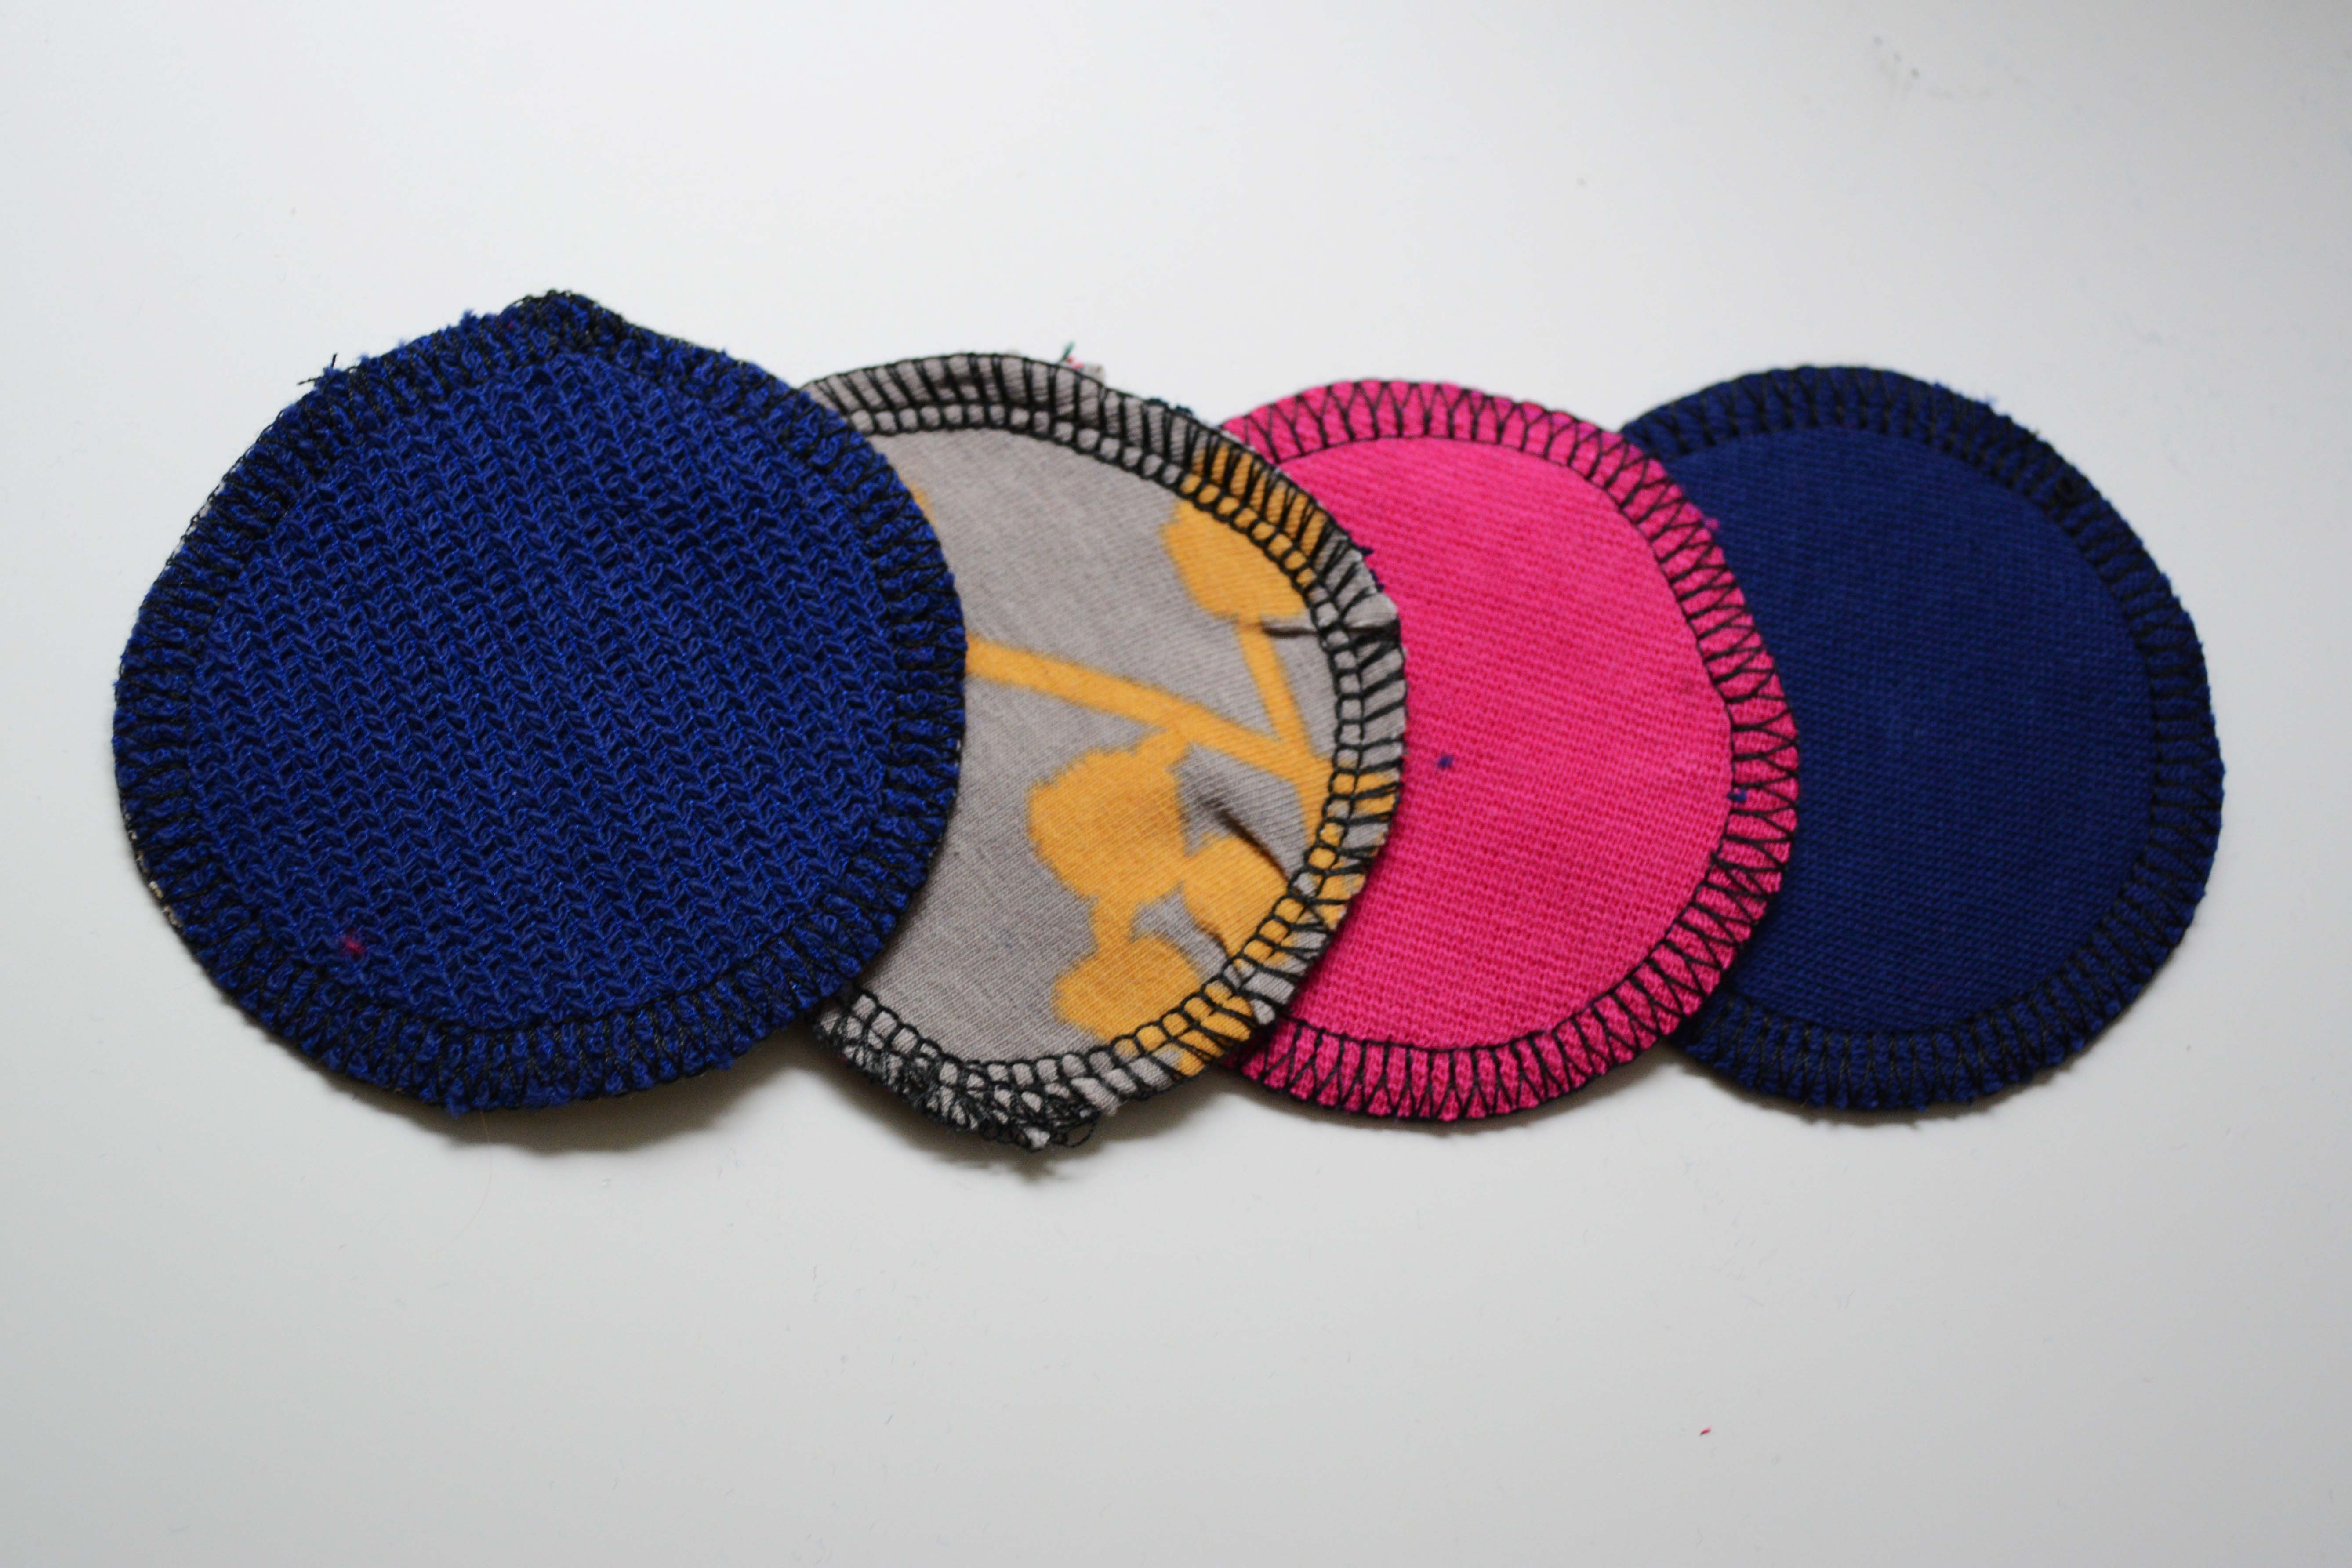
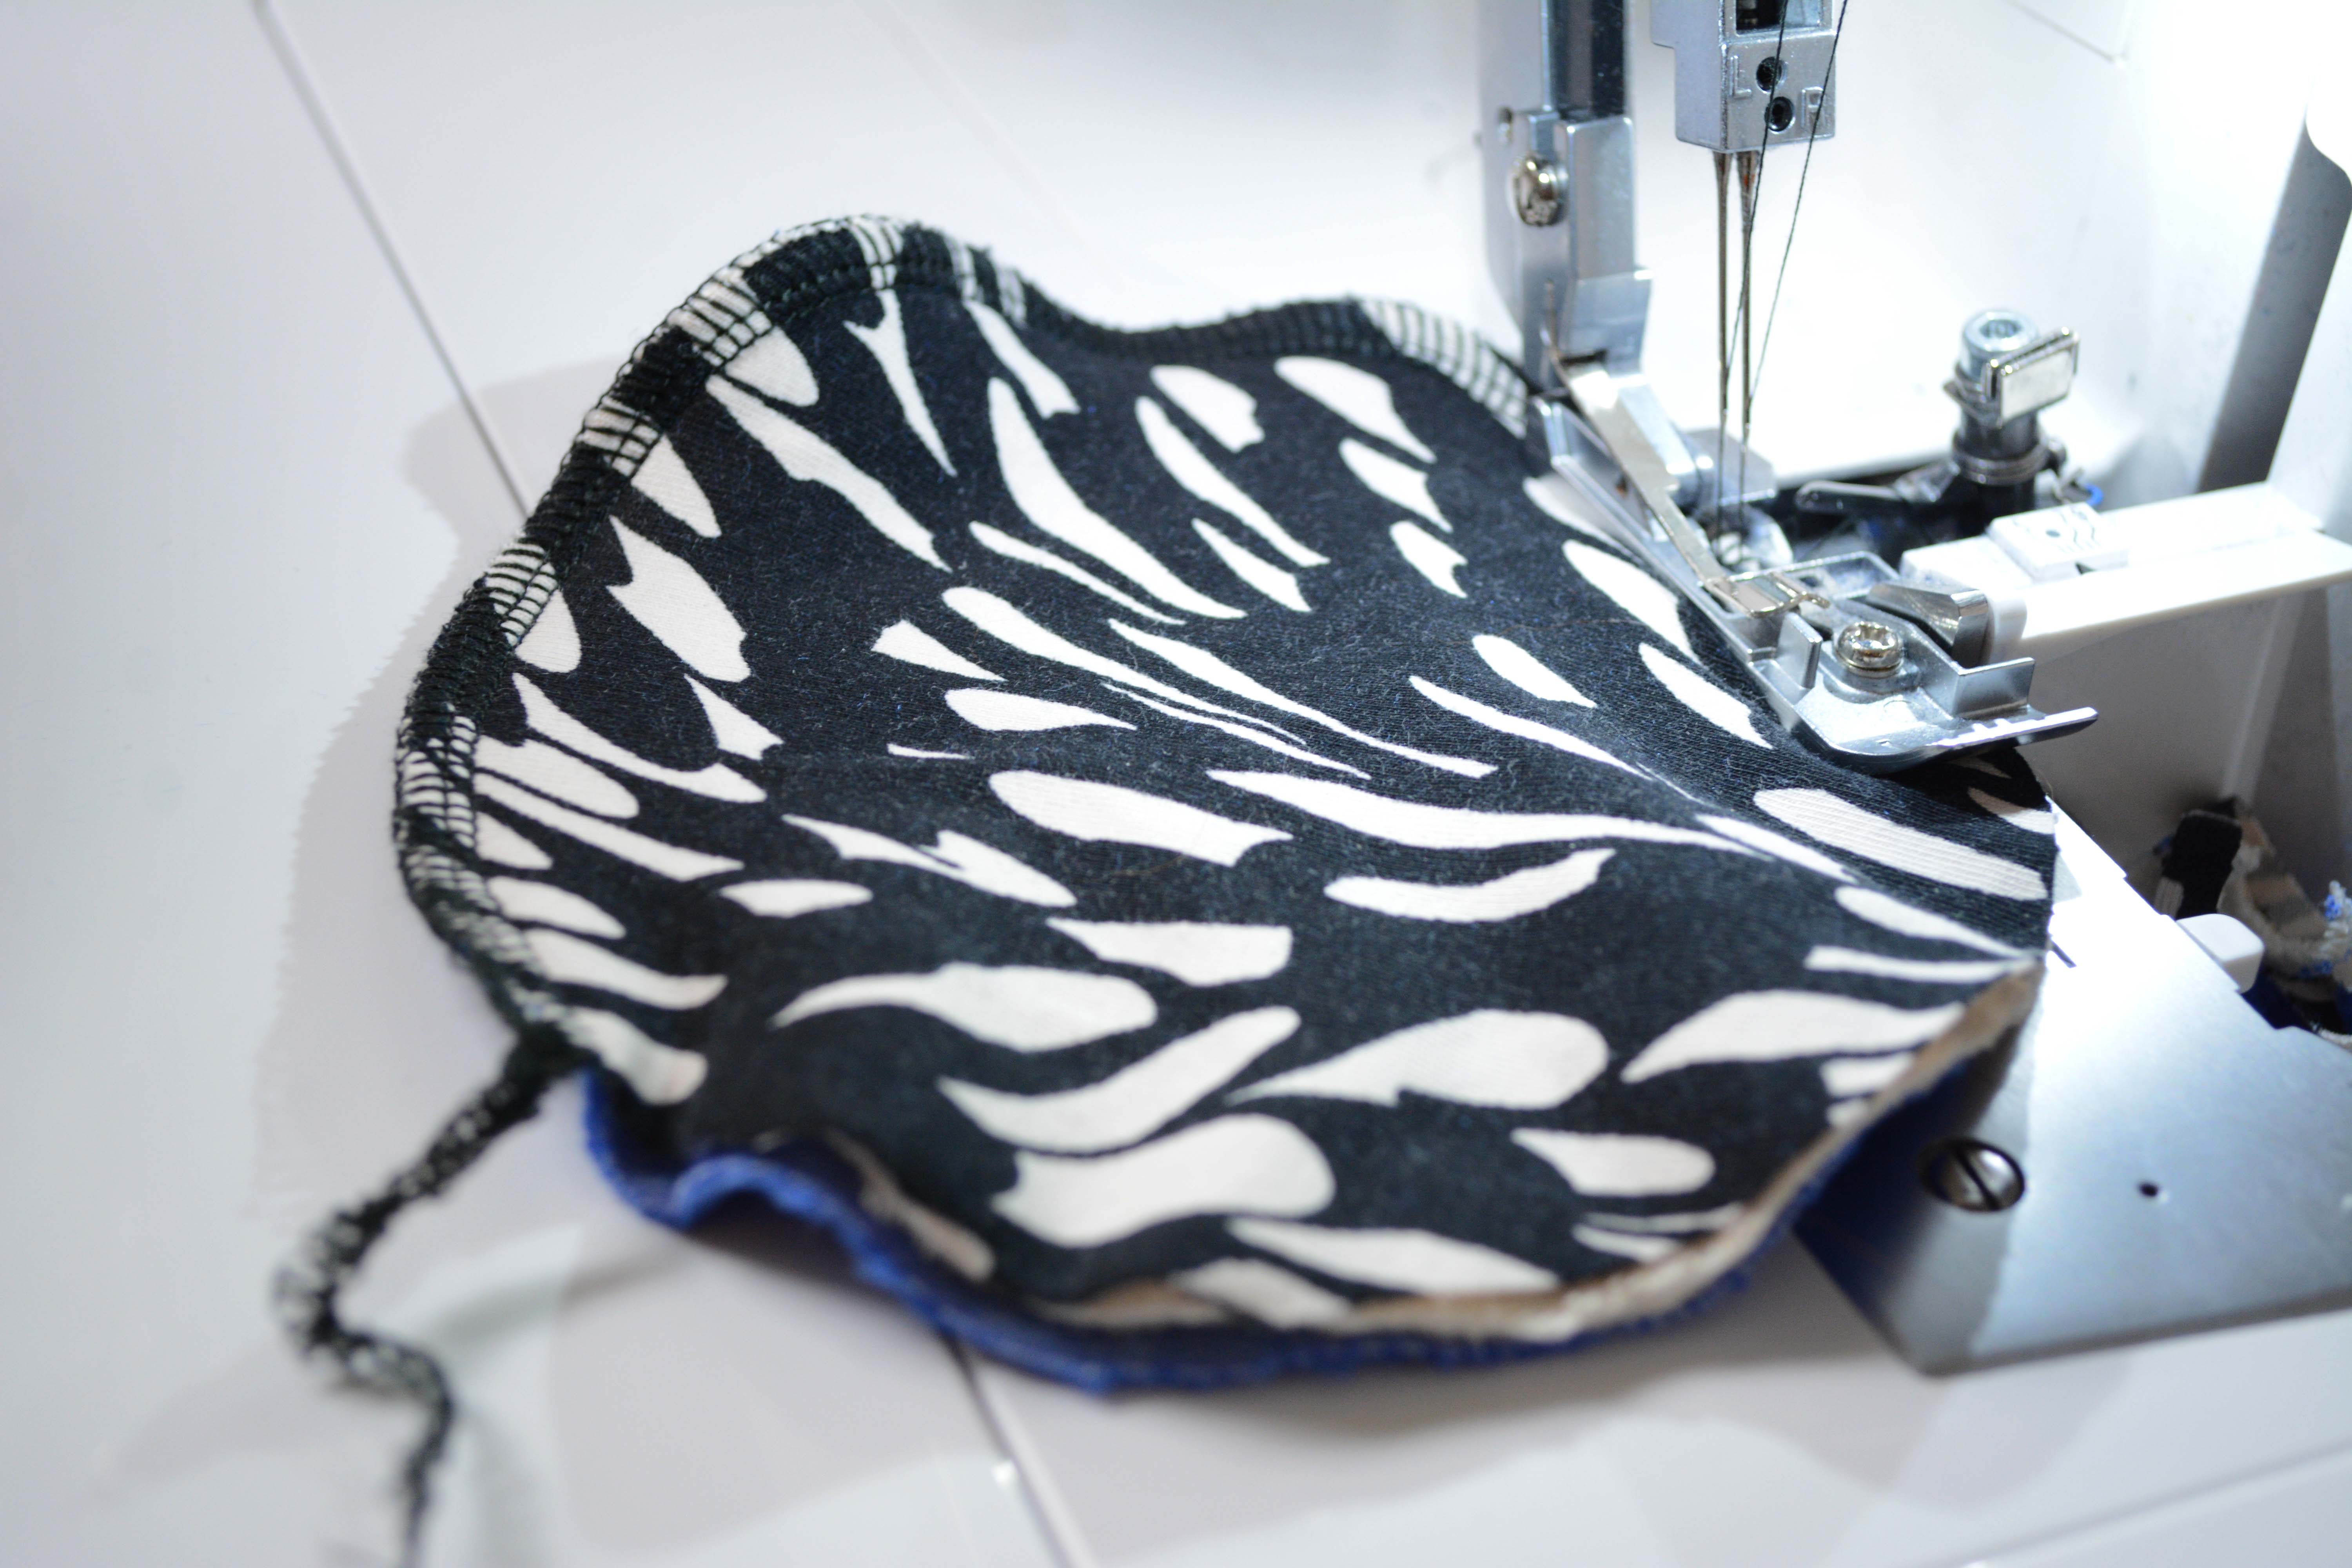
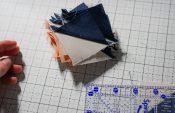
Sewing these is fairly simple: Make a round stencil, deciding how big you’d like your pads to be. The make-up remover pads obviously don’t need to be round – you could also cut rectangles, but the round shape makes it easy to serge them in one go. I usually cut my stencils out of some cardboard leftovers, since those are a little more durable than paper. But, as you can see, for this tutorial I simply used a round bowl in the right size. After cutting out your fabric you stack the different layers of fabric on top of each other, serge around them, fasten the end of the serger thread and you’re done! Oh, your pads might be pretty wavy after serging, but that’s easily fixed by steaming and pressing the pads. That’s easy, right? Some people like to sew a dart from the outer side towards the middle of the nursing pad to give it some shape (the darts are hidden in the middle of the nursing pad), but I don’t find that necessary.
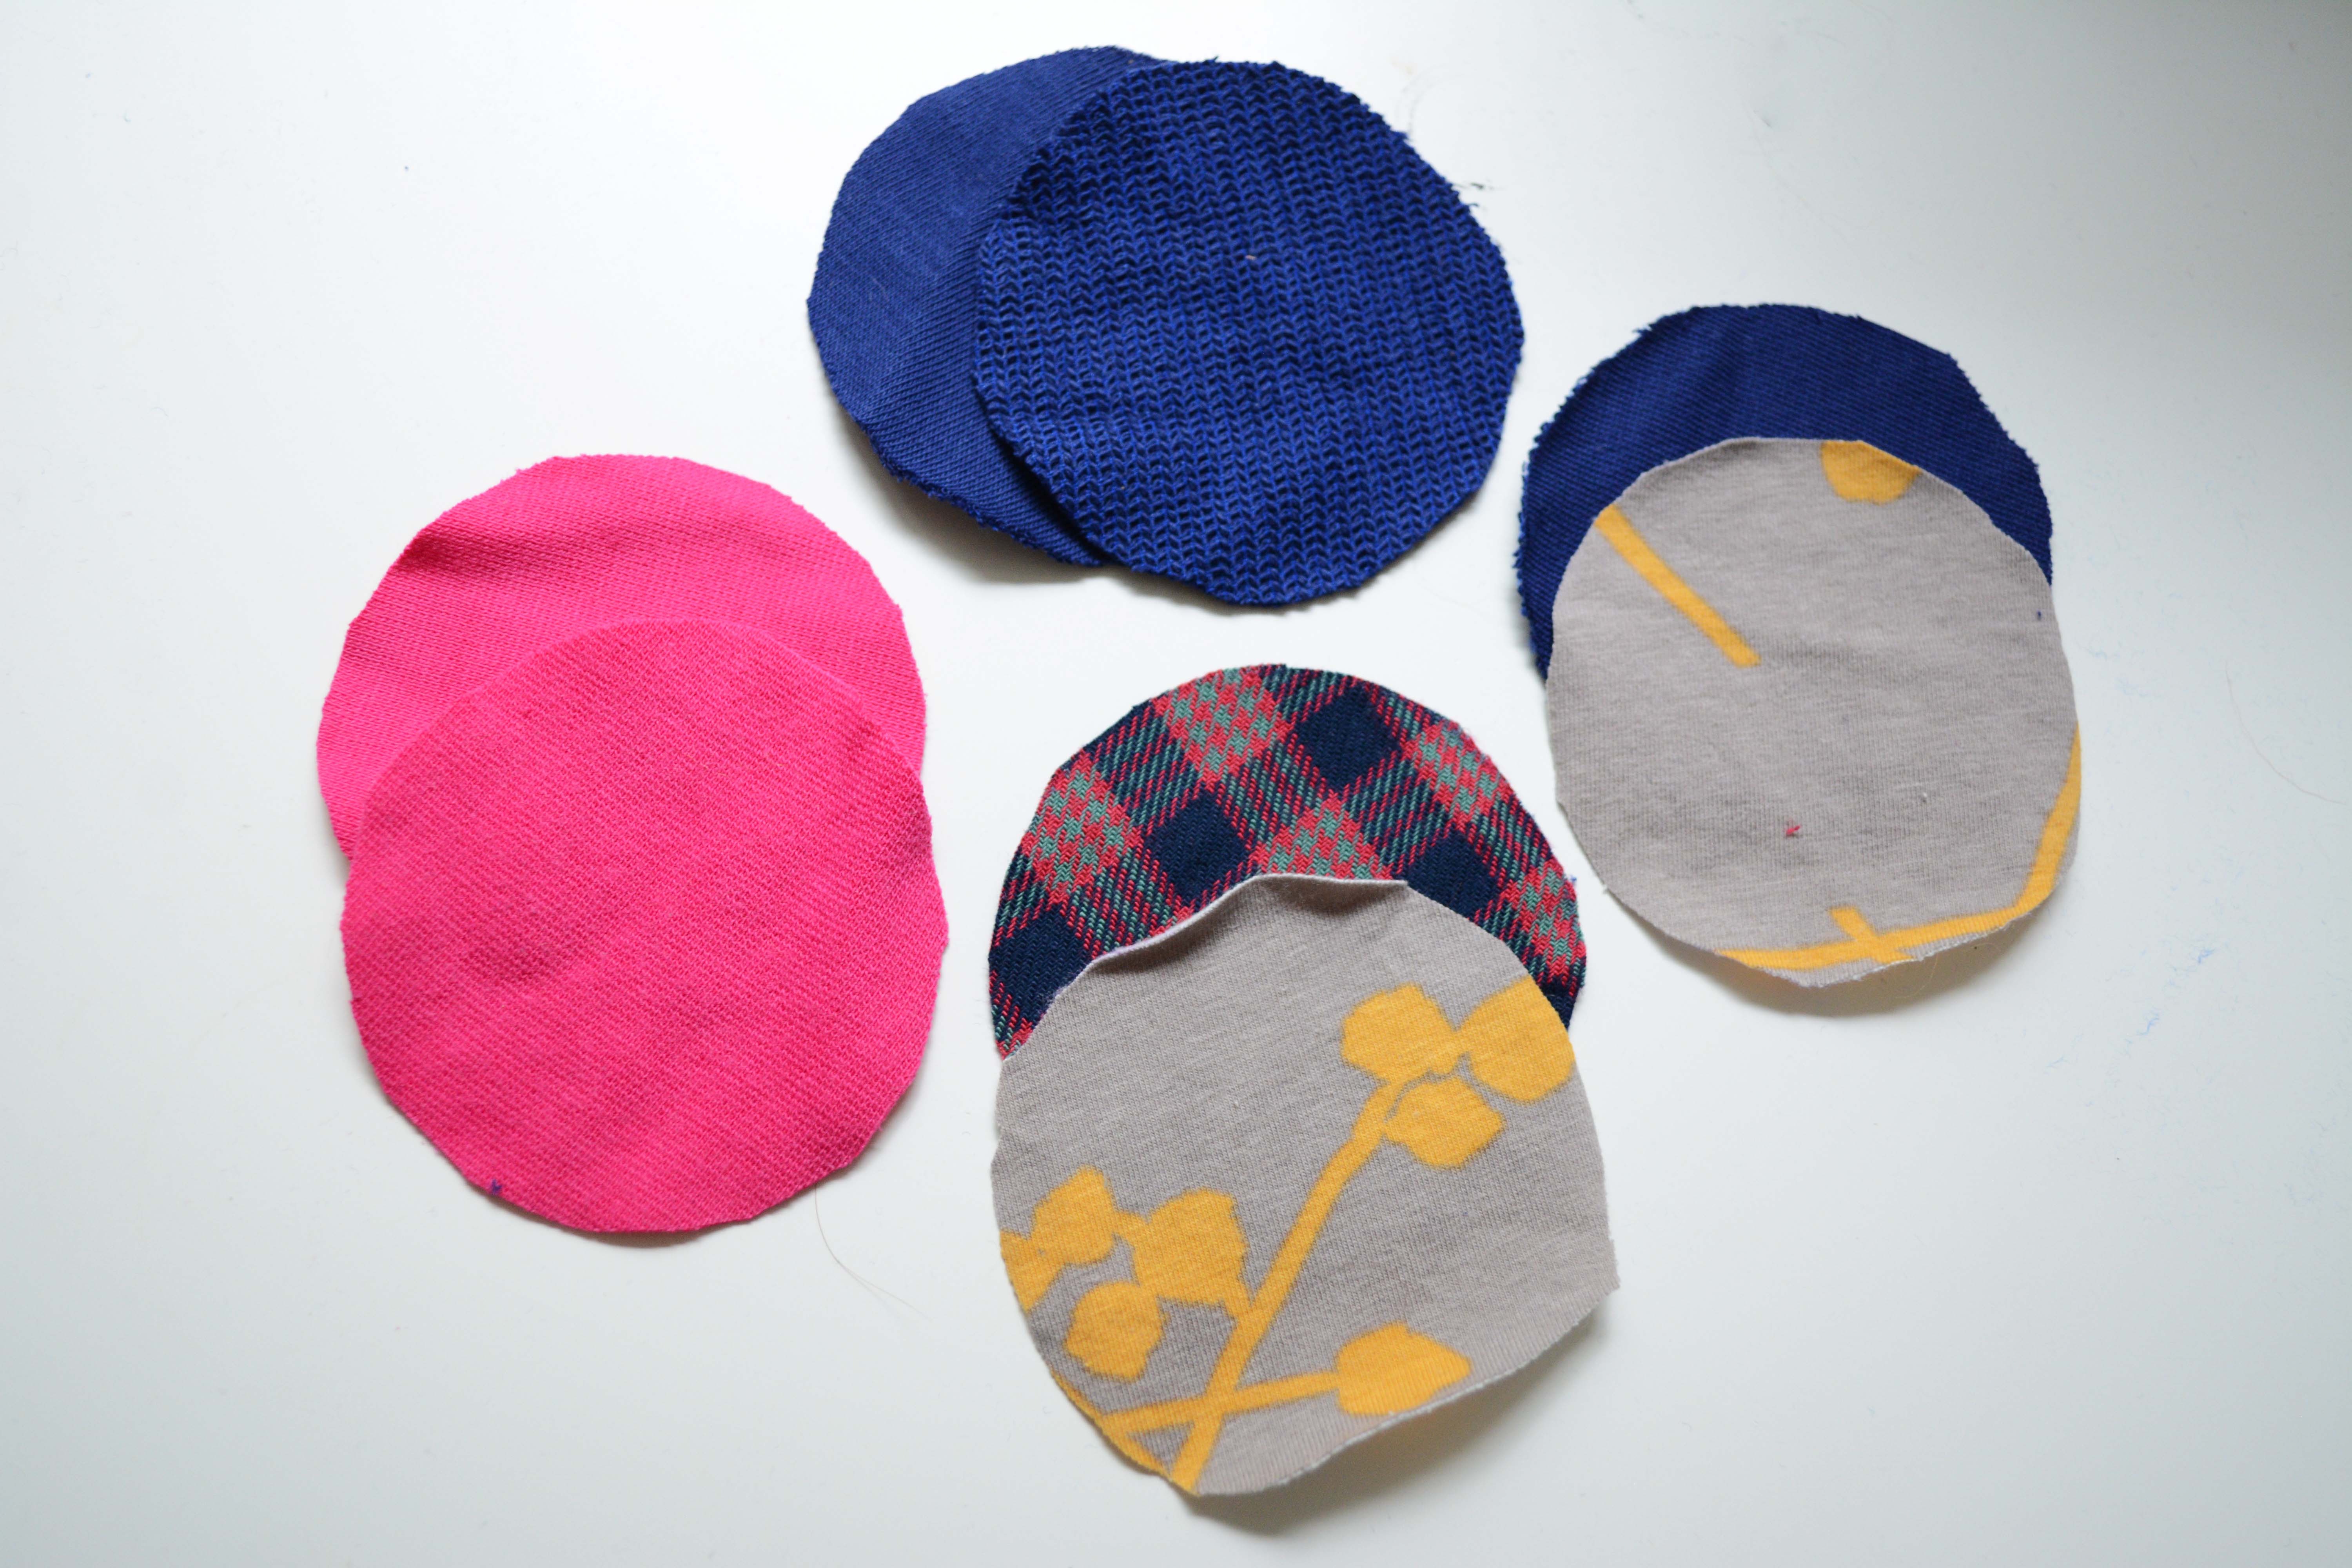
Finding the right fabric and amount of layers can be a little more challenging, so let’s talk a little more about that. Finding the right fabric for make-up remover pads isn’t very difficult – everything that can be washed at 60 degrees works – just try around what kind of fabric you like. You could use cotton jersey, flannel, old towels, rib knits, cotton knits with some texture – just sew a few and try what’s comfortable and effective for you. Two layers of fabric are enough for these, you might even get away with only one layer, if using thick fabric.
Finding the right fabric for nursing pads is a little more challenging, since the pads should be able to soak up quite a bit of liquid. How many layers of fabric you need and what kind of fabric works for you really depends on how much you expect the pads to soak up. Whatever fabric you choose, make sure that the different layers of fabric can be washed at the same temperature. Thick and soft wool pads can be wonderful against your skin, but wool needs to be washed differently from cotton, so don’t sew wool together with a layer of cotton jersey, as an example.
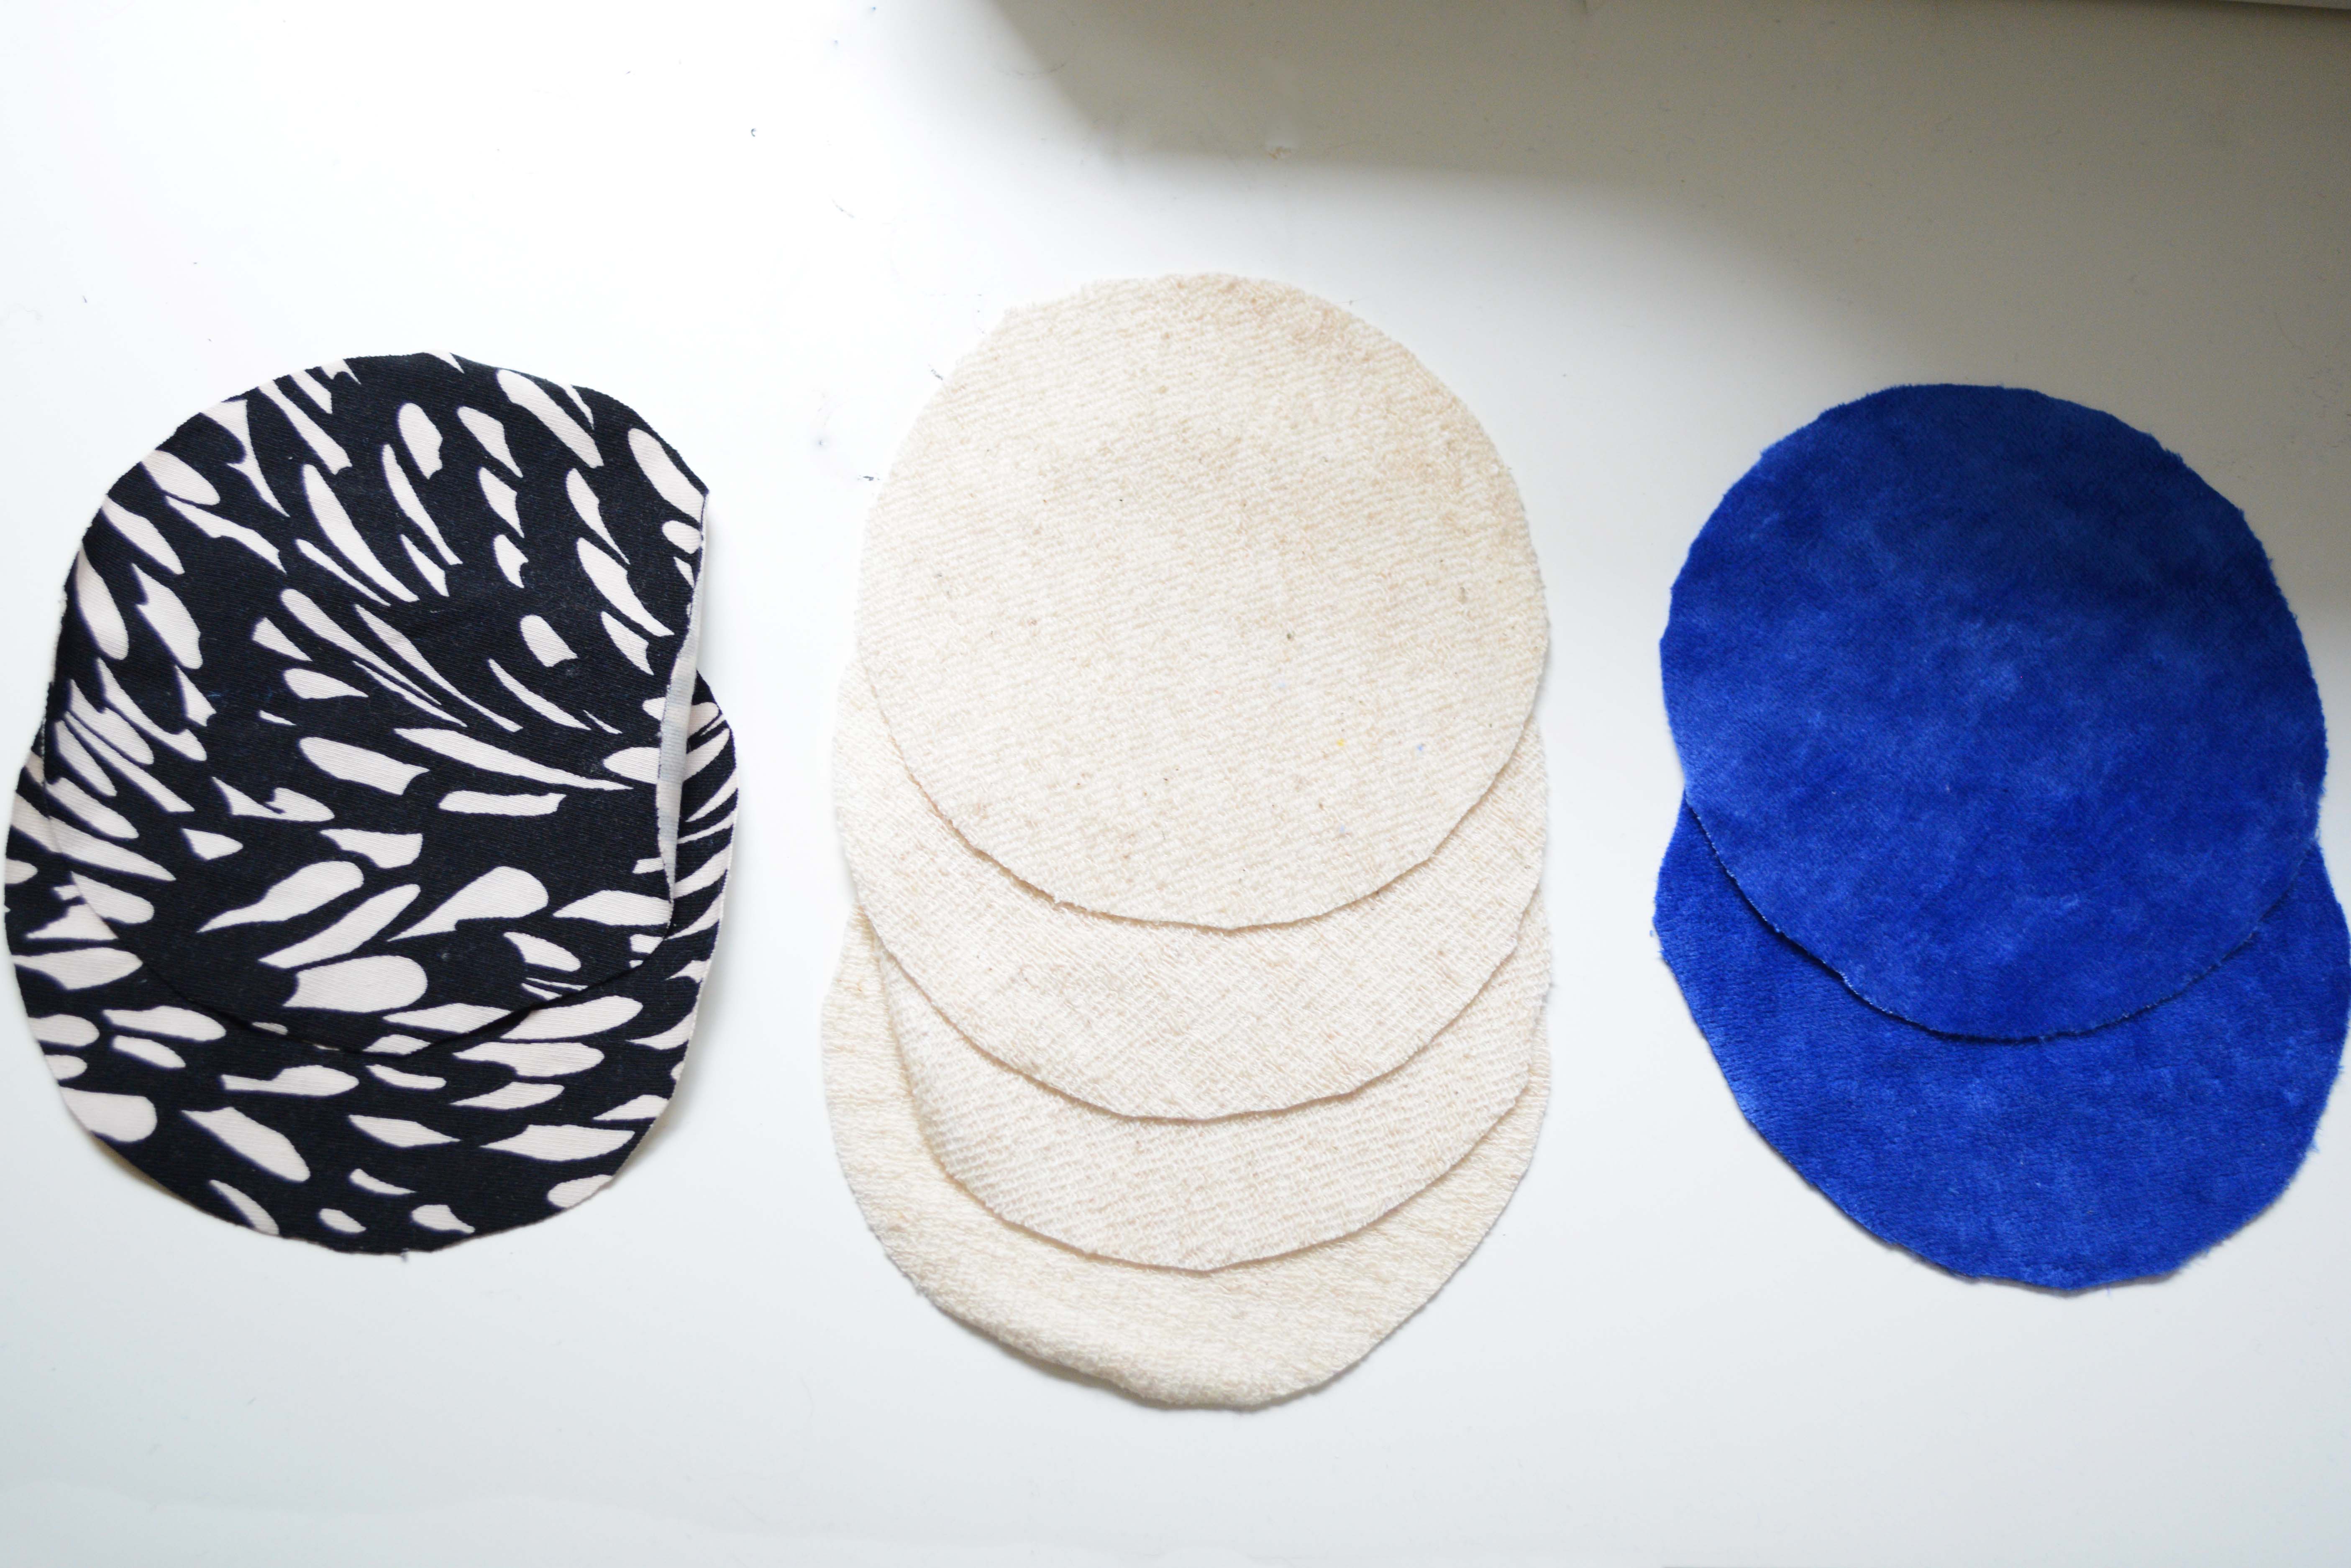
Fabrics that are known to soak up a lot of liquid are hemp fabrics, bamboo fabrics and, to some degree, cotton fabrics, too. You’ll also want to use fabric against your skin that wicks away the liquid rapidly. You could use synthetic alternatives like wicking jersey, but personally I prefer natural fabrics against my skin. One of the best natural fabrics for this purpose is bamboo velour or cotton velour. So the blue inner layer of my nursing pad is cut out of bamboo velour – it’s soft against my skin and doesn’t feel very wet. The outer layer of fabric is only meant to make the pad look nice – so here I simply chose pretty cotton jersey leftovers. Another possibility is to use PUL fabric as outer layer. It’s a synthetic but breathable fabric, designed not to let any liquid out, giving you extra security.
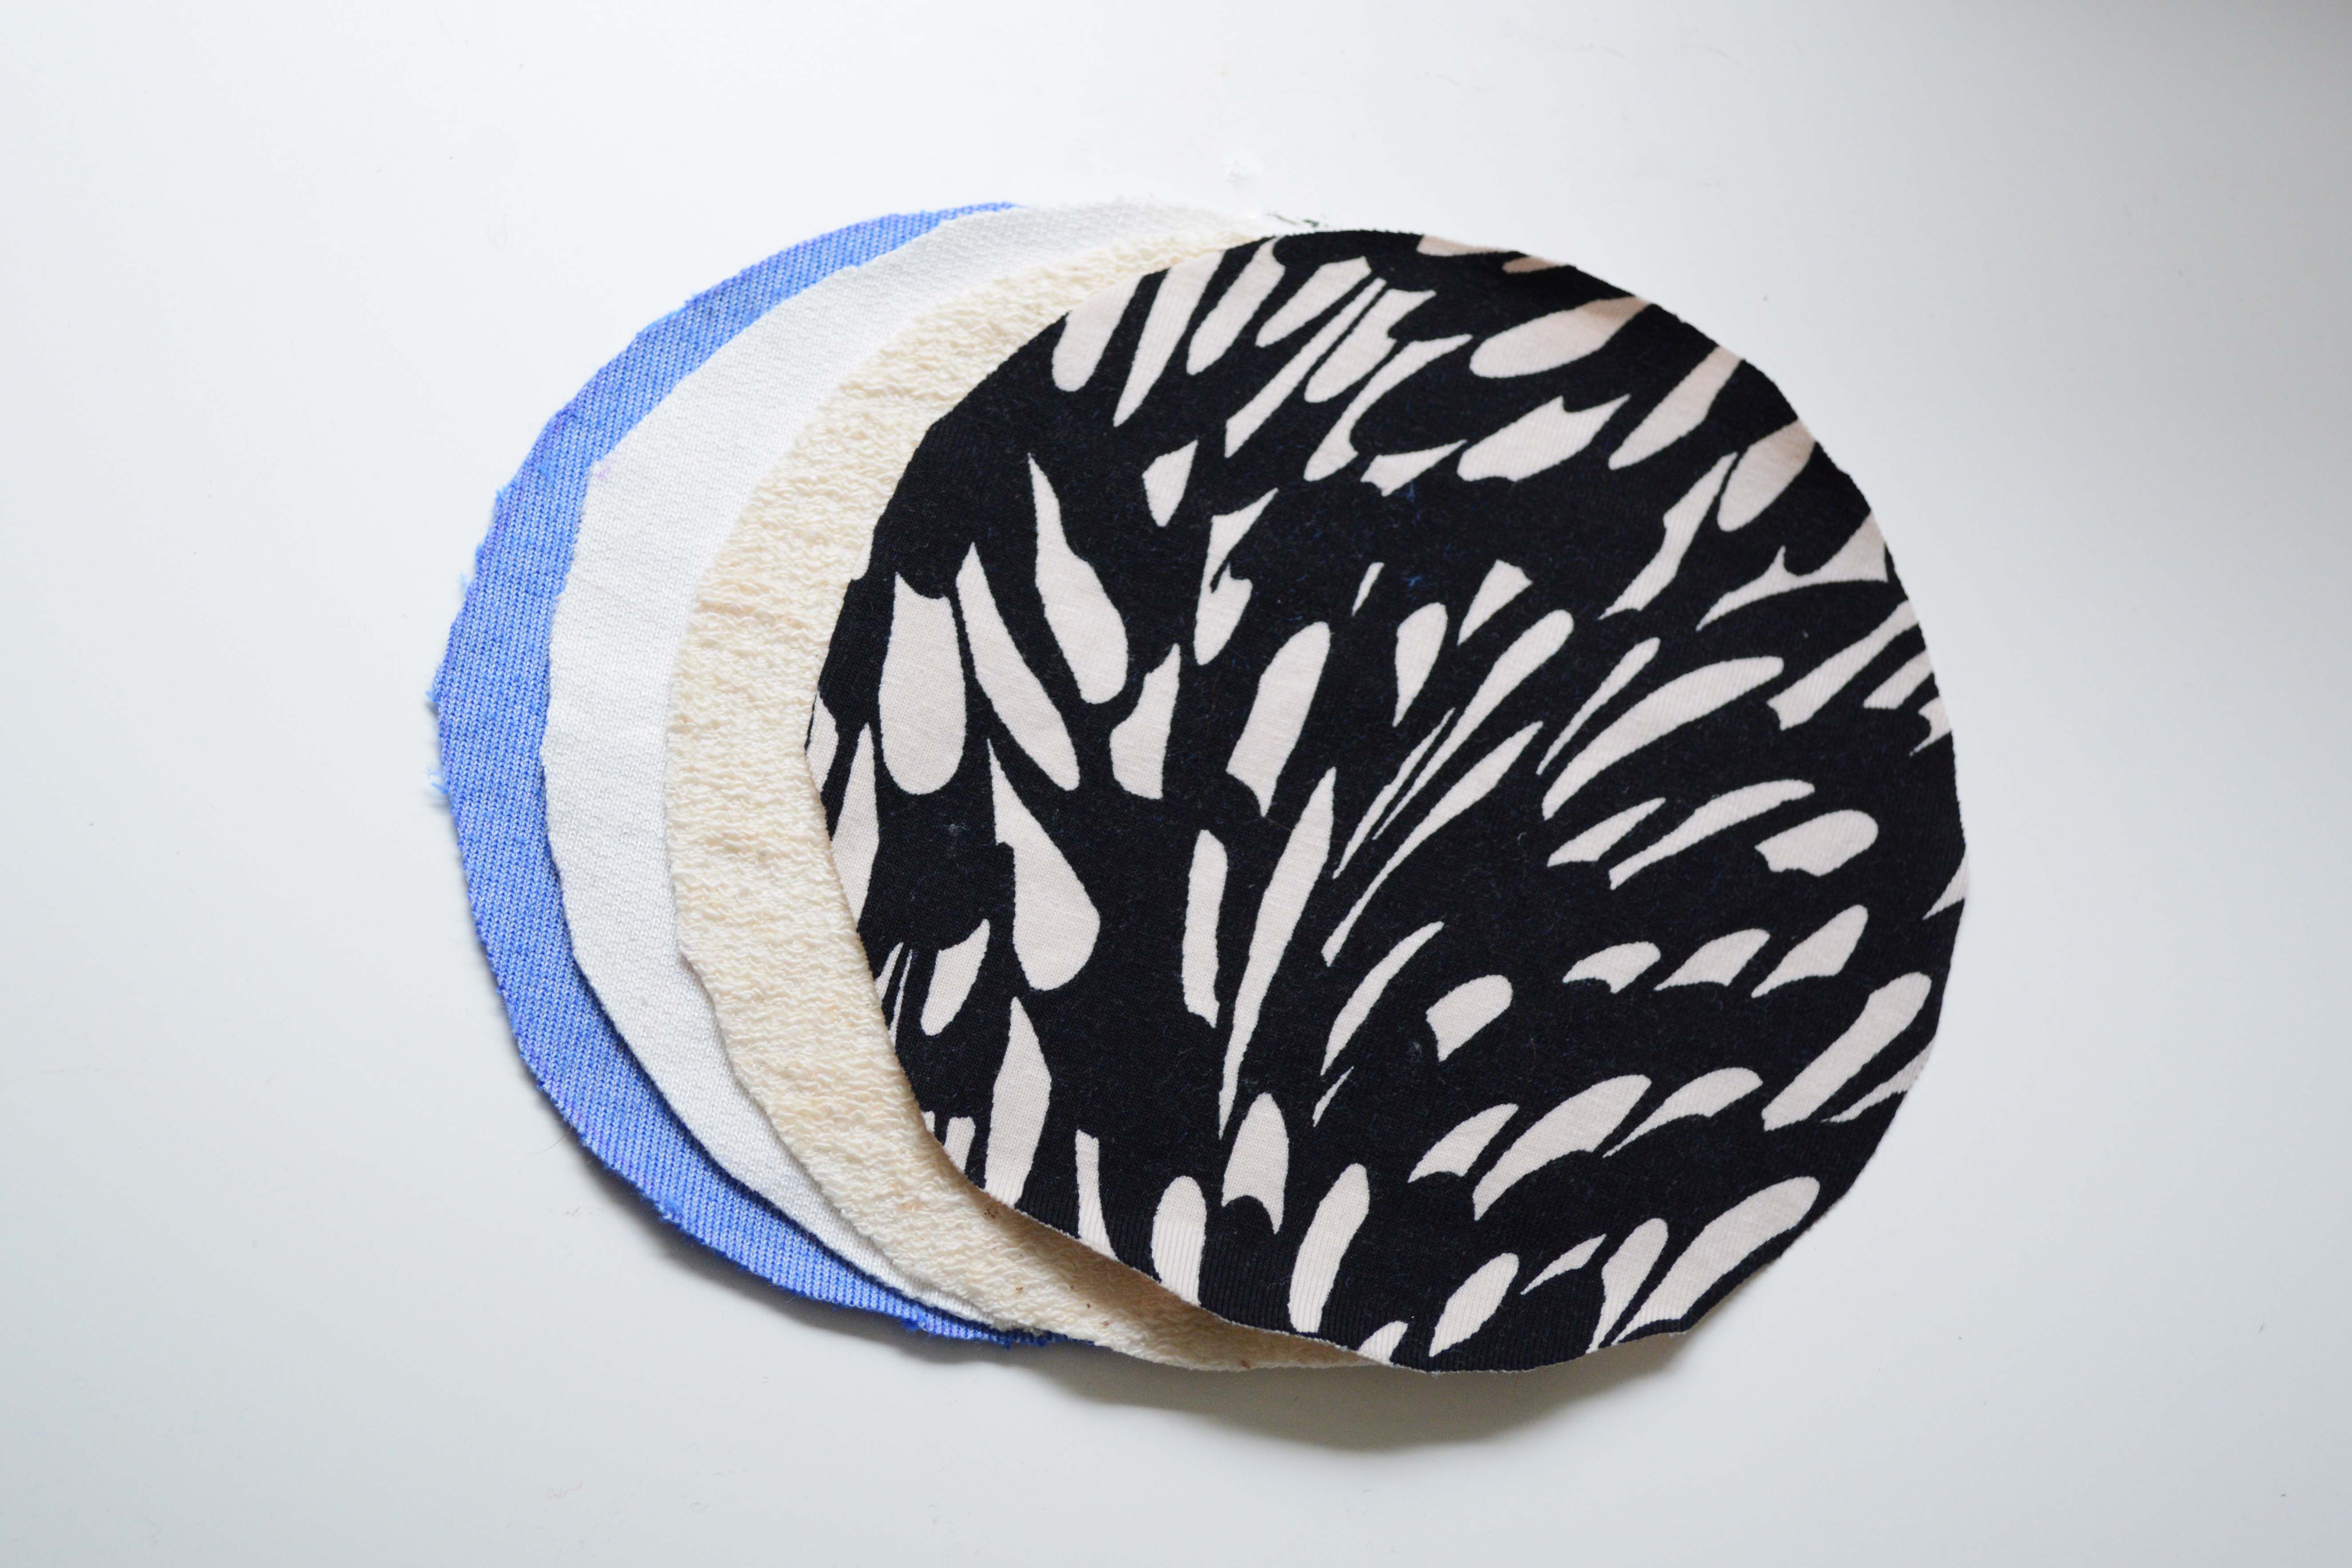
The middle layer is the one soaking up liquid, so here you might want to choose something very absorbent. You could use old towels which you know have the ability to soak a lot. I chose to use some hemp terry fabric. My nursing pads include two layers of hemp terry, but you could use only one or up to three or four layers, depending on your needs.
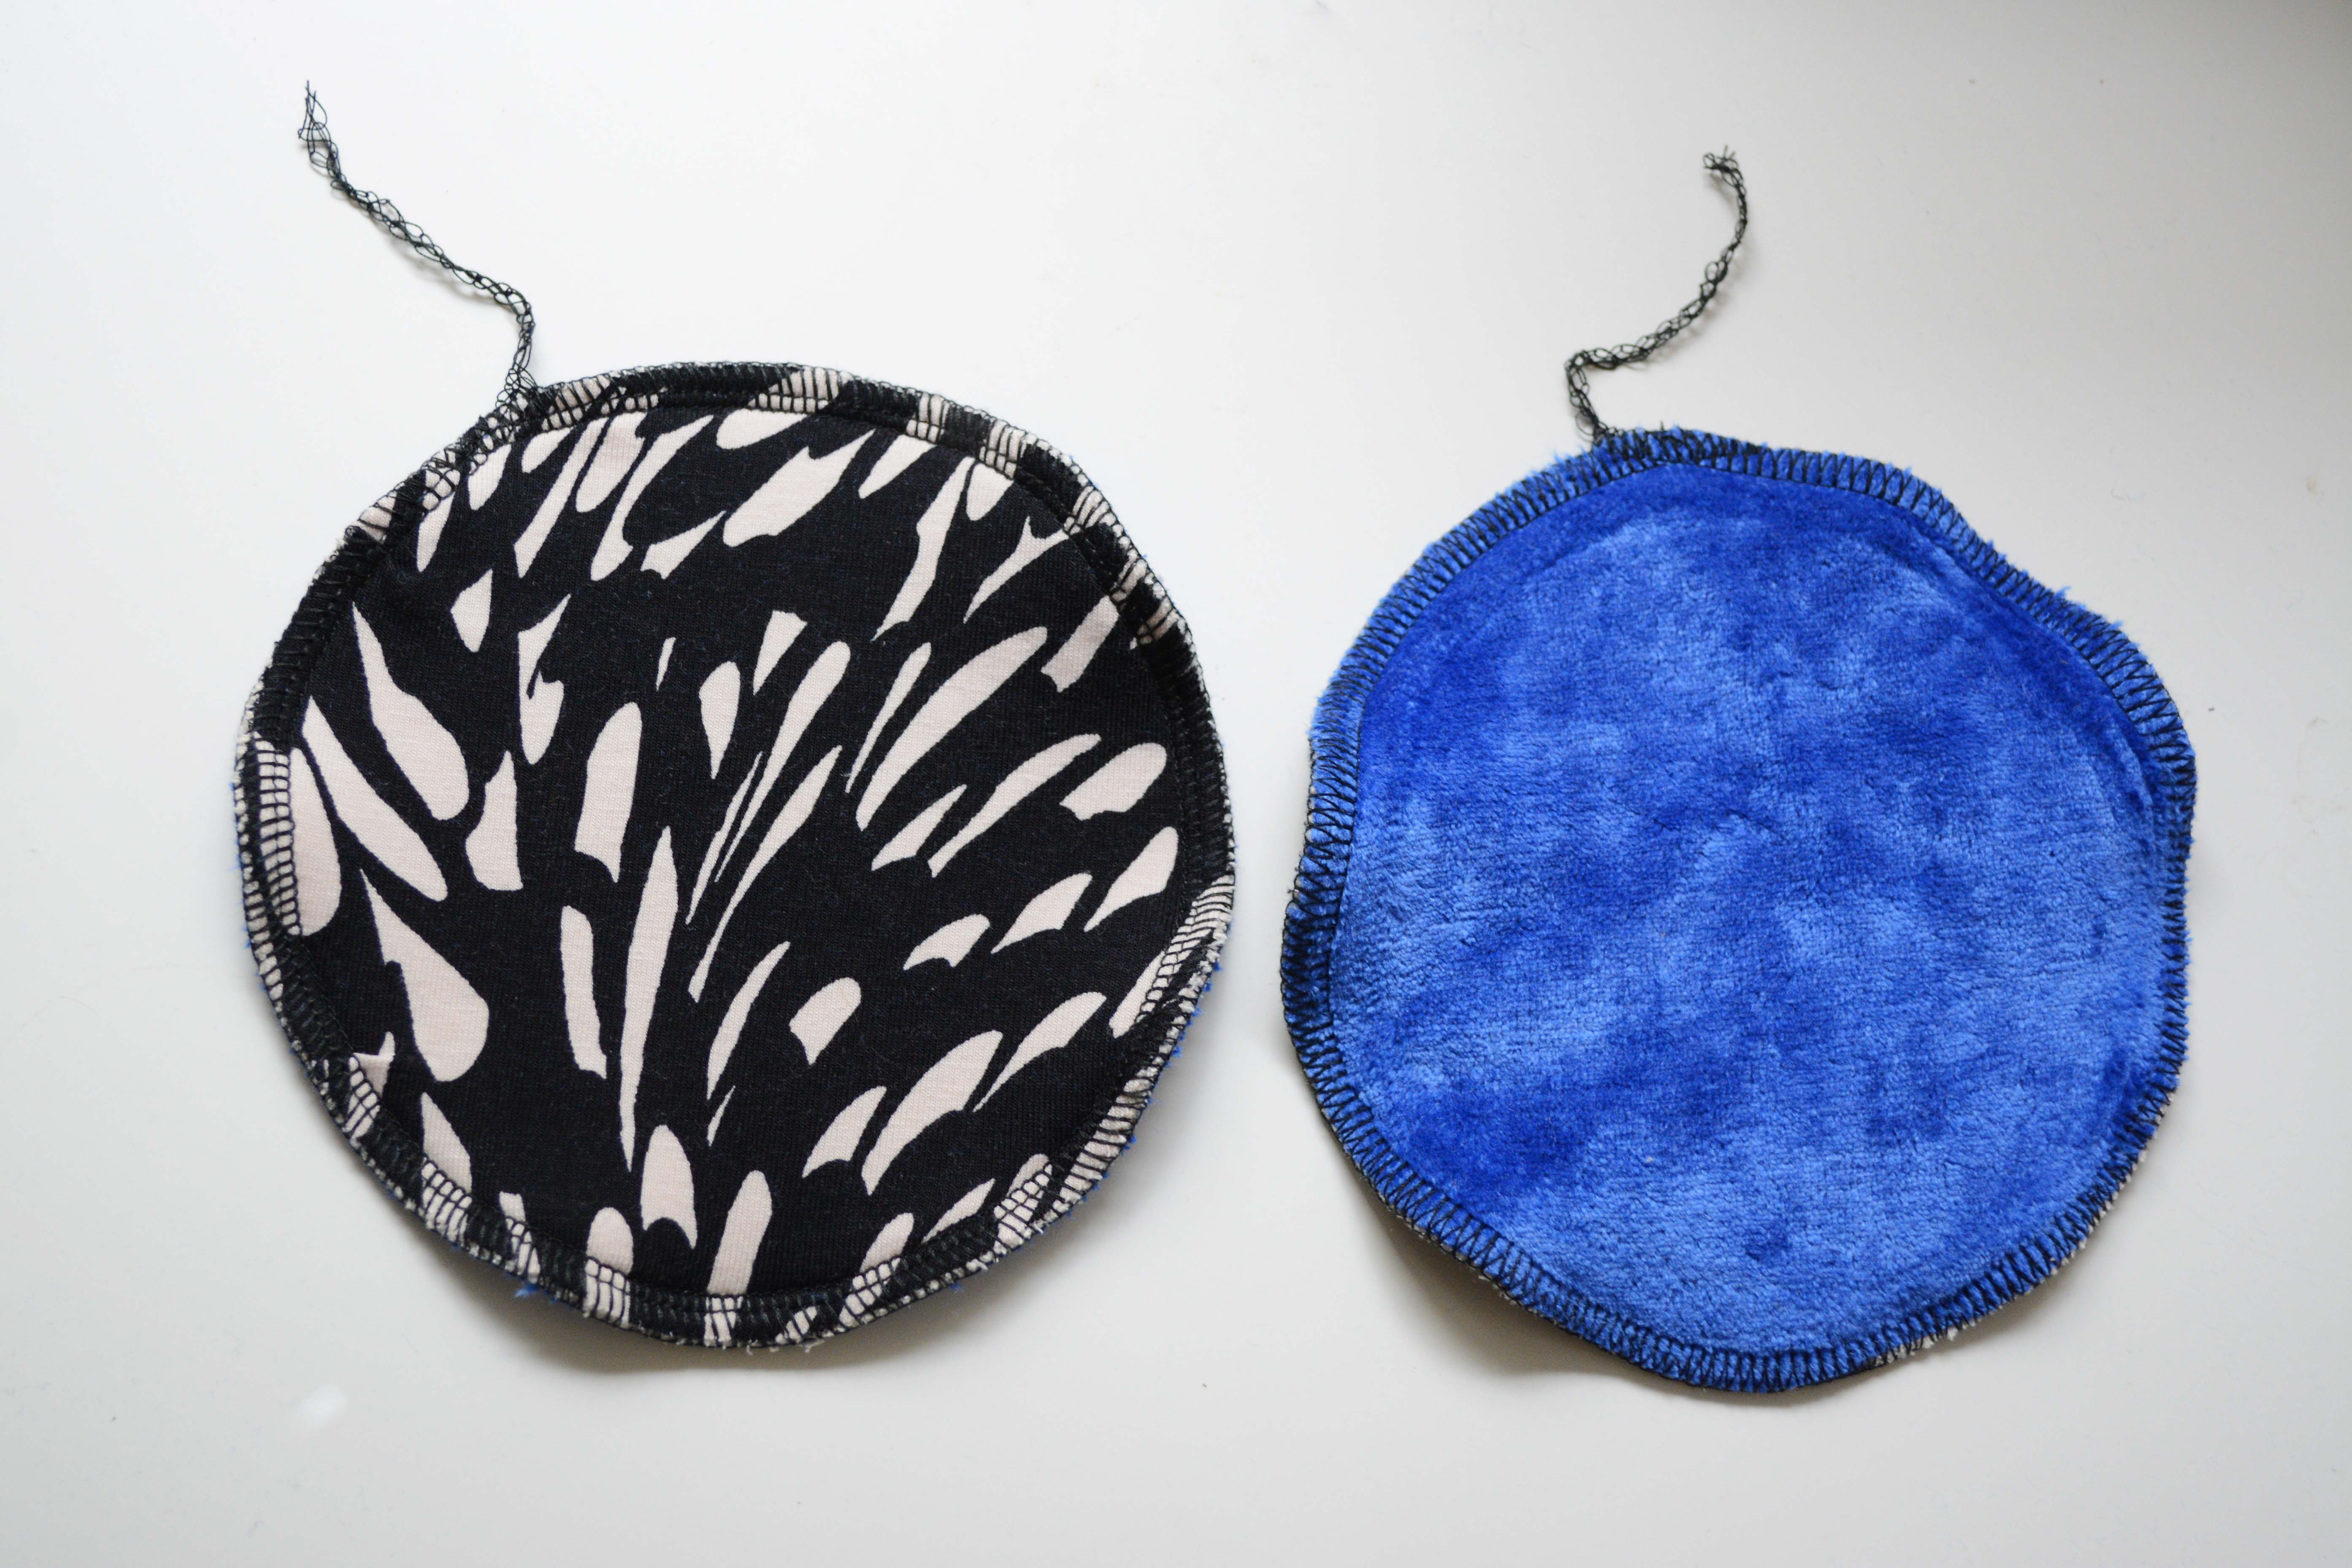
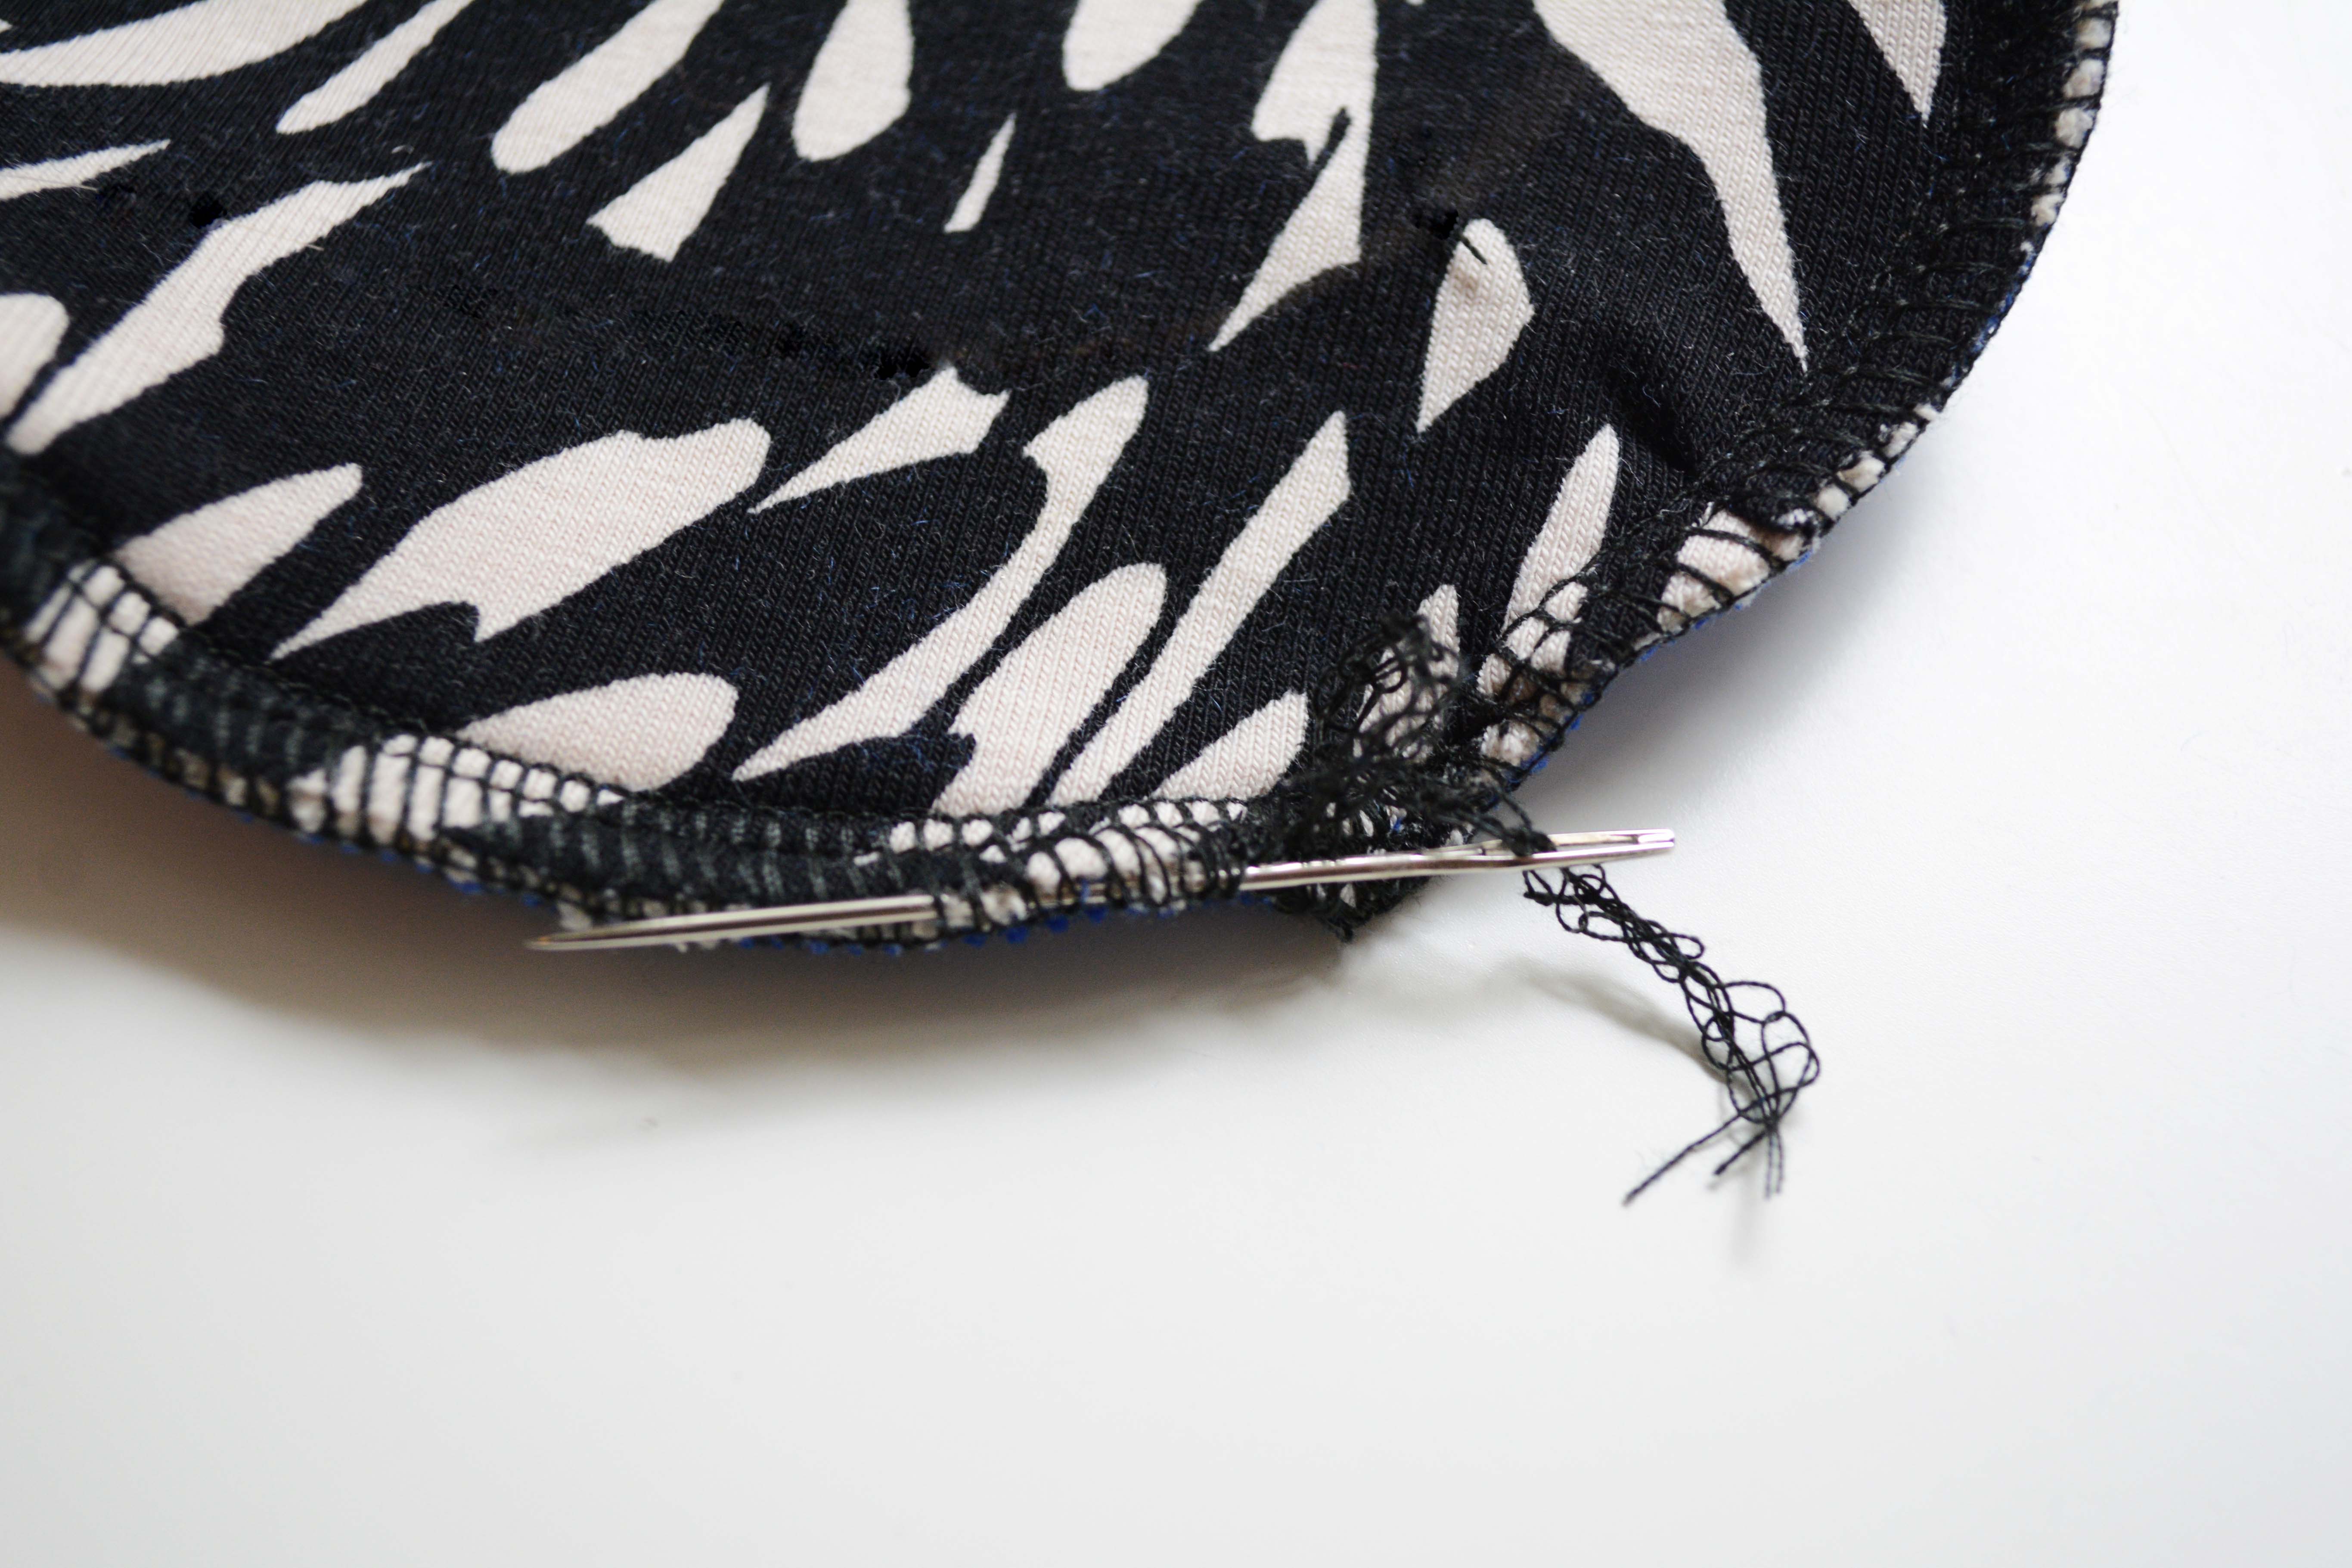
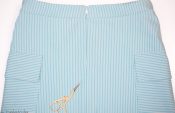
When you’ve decided on the different layers of fabric, just stack them on top of each other and serge them together, as mentioned above. Serging in a small circle can be hard, I found it to be easier when using short stitches and when using fabric with some stretch/give. That’s it! Maybe you’d like to sew a little bag for the pads, when making these as a present, too? That way you don’t need to wrap the present in paper and the bag can be used for washing, too.


0 Responses