 BERNINA Corporate Blog -
Today we are going to tackle those ever so loved jeans that eventually will rip, tear and we so worn out we have to throw them away. But wait, what if we could ‘preserve’ our perfect pair for as long as we would like?
This is a problem one of my favorite cousins had. Her name is Katja (hence the title). Katja and I grew up together, her mom (my aunt) is my godmother and viceversa. And we’re basically the same age. She is a modest person and creative as hell but still she doesn’t have the urge to sew (actually she refuses to because she thinks her machine has it in for her, haha).
A note on how to sew for others
Anyway she asked me if I could do something about her favorite (but now torn) pair of jeans. She told me that even if they are not “in fashion” they’re her favorite nonetheless with a perfect fit and comfort. I answered her that I could try to copy them but only if she was willing to wait for her birthday.
Why? For a long time the first reaction I got when I told someone that I love to sew was something along the line of “great, you can mend/alter my ‘insert piece of clothing here'”. (Just FYI, Katja was never one of those people). And I am/was struggling to tell people “No”. But then I found some strategies to deal with these issues.
- The cocky way: “I heard you can cook. Great, you can cook me dinner sometime.” You can basically change this line to whatever hobby the other person has.
- The supportive way: “I can teach you how to do it yourself.” Because, let’s be honest, if someone is not willing to put in the effort himself/herself, why bother with it?
- The costly way: “I earn X amount of dollars (in my case francs) in a hour at my dayjob. It takes me Y hours to do what you asked of me. So it will probably cost you around Z dollars. Are you willing to pay me?” Why do people automatically assume you would do it for free?
- The YES: “Yes, but only if you are willing to wait for your birthday/christmas/easter (insert occasion here)”.
Because I adore my cousin and know that she is a very conscious consumer I knew I wanted to do this for her. Plus, she was willing to wait for however long it would take. Her birthday is over now and guess what: She has her old/new jeans again!
How to start copying your jeans
Of course it helps if you already know how to sew trousers. This is probably not a first-timer project. If you’ve never made jeans there are a few patterns out there you could try. I recommend indie brands because (like the Ginger Jeans or the Ash Jeans) the instructions are amazing and there are often sewalongs to go with the pattern.
The first thing you want to do is cut your jeans apart. Start with cutting off the waistband at the seamline. Next cut the crotch area but take care not to damage the zipper (you will be able to reuse it) (in fact you should pretty much cut where the topstitching at the zipper is.
And then you cut apart the jeans leg (the one with the fly extension area) that will leave you with a front and back piece. Cut off (if you have backpockets you should unpick them) your front pocket pieces and remove the facing. Lastly you remove the zipcover from the zip.
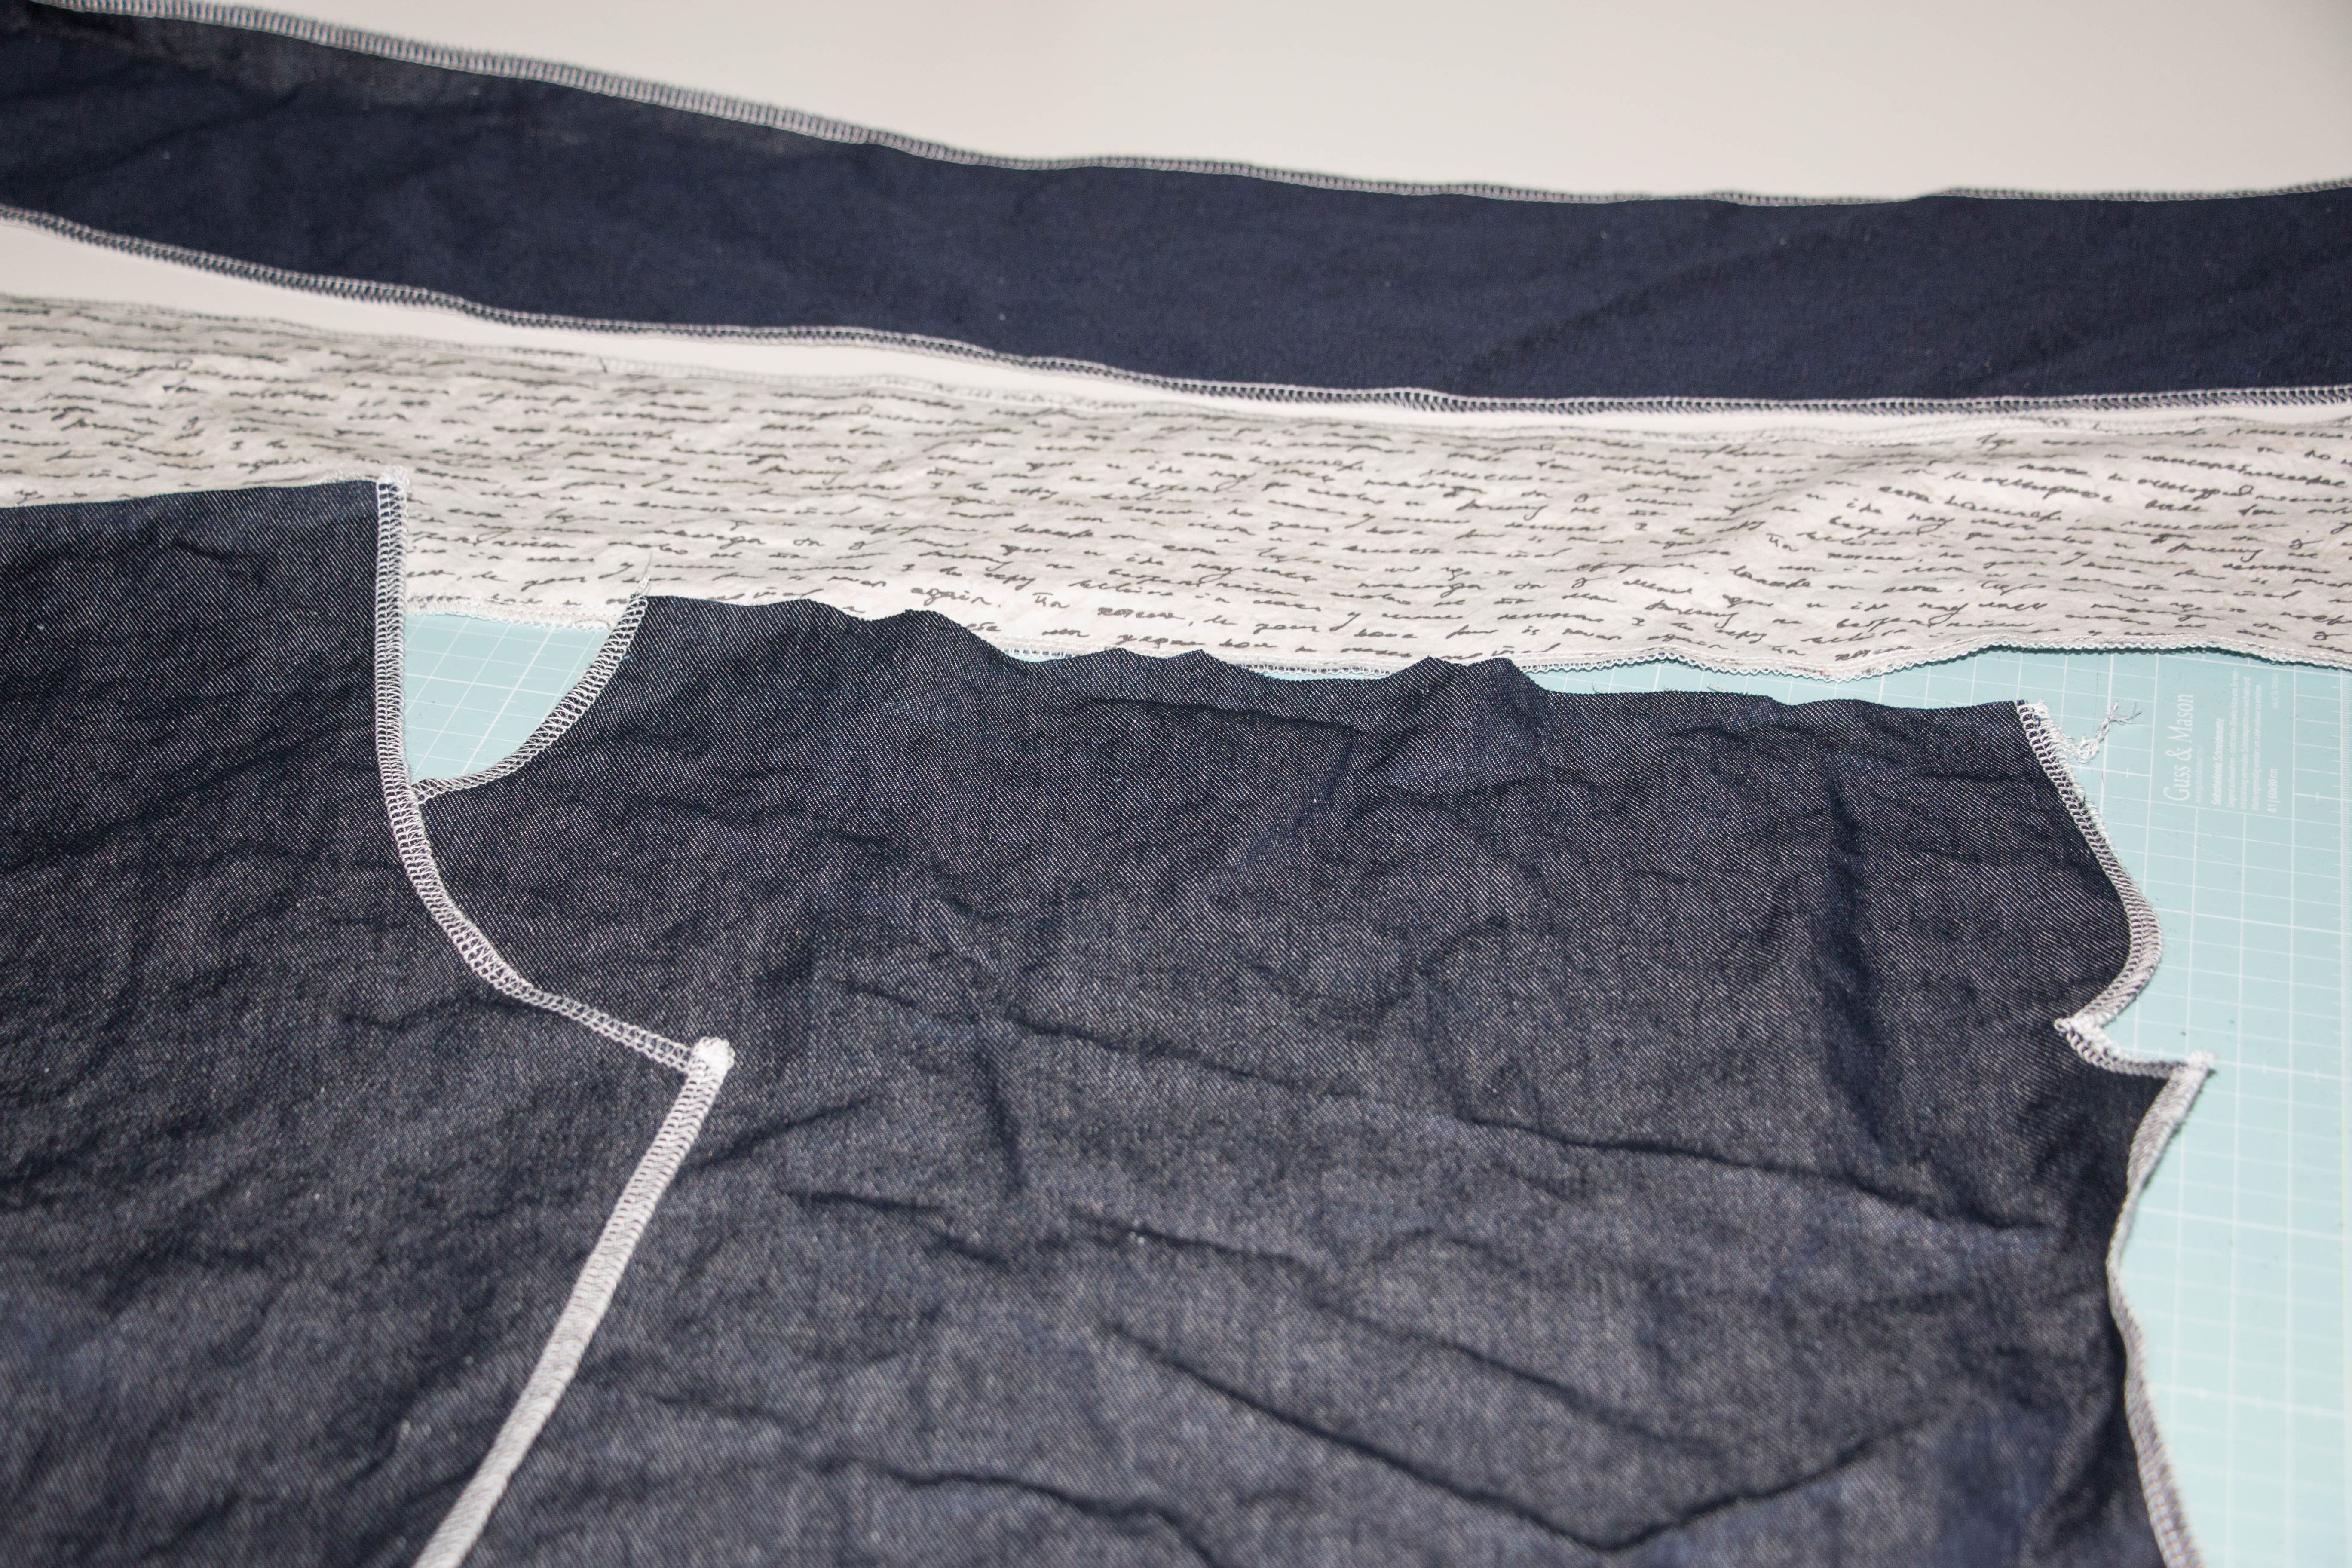
These are all the pieces you need. Keep the other pantleg for reference (topstitching etc.). Oh and before I forget take pictures of your jeans before you cut them apart! I say this because (of course) I did NOT do that.

From top left: Pocket with facing still attached, zip cover, front trouser piece (the pocket goes to the left, the zipper to the right).
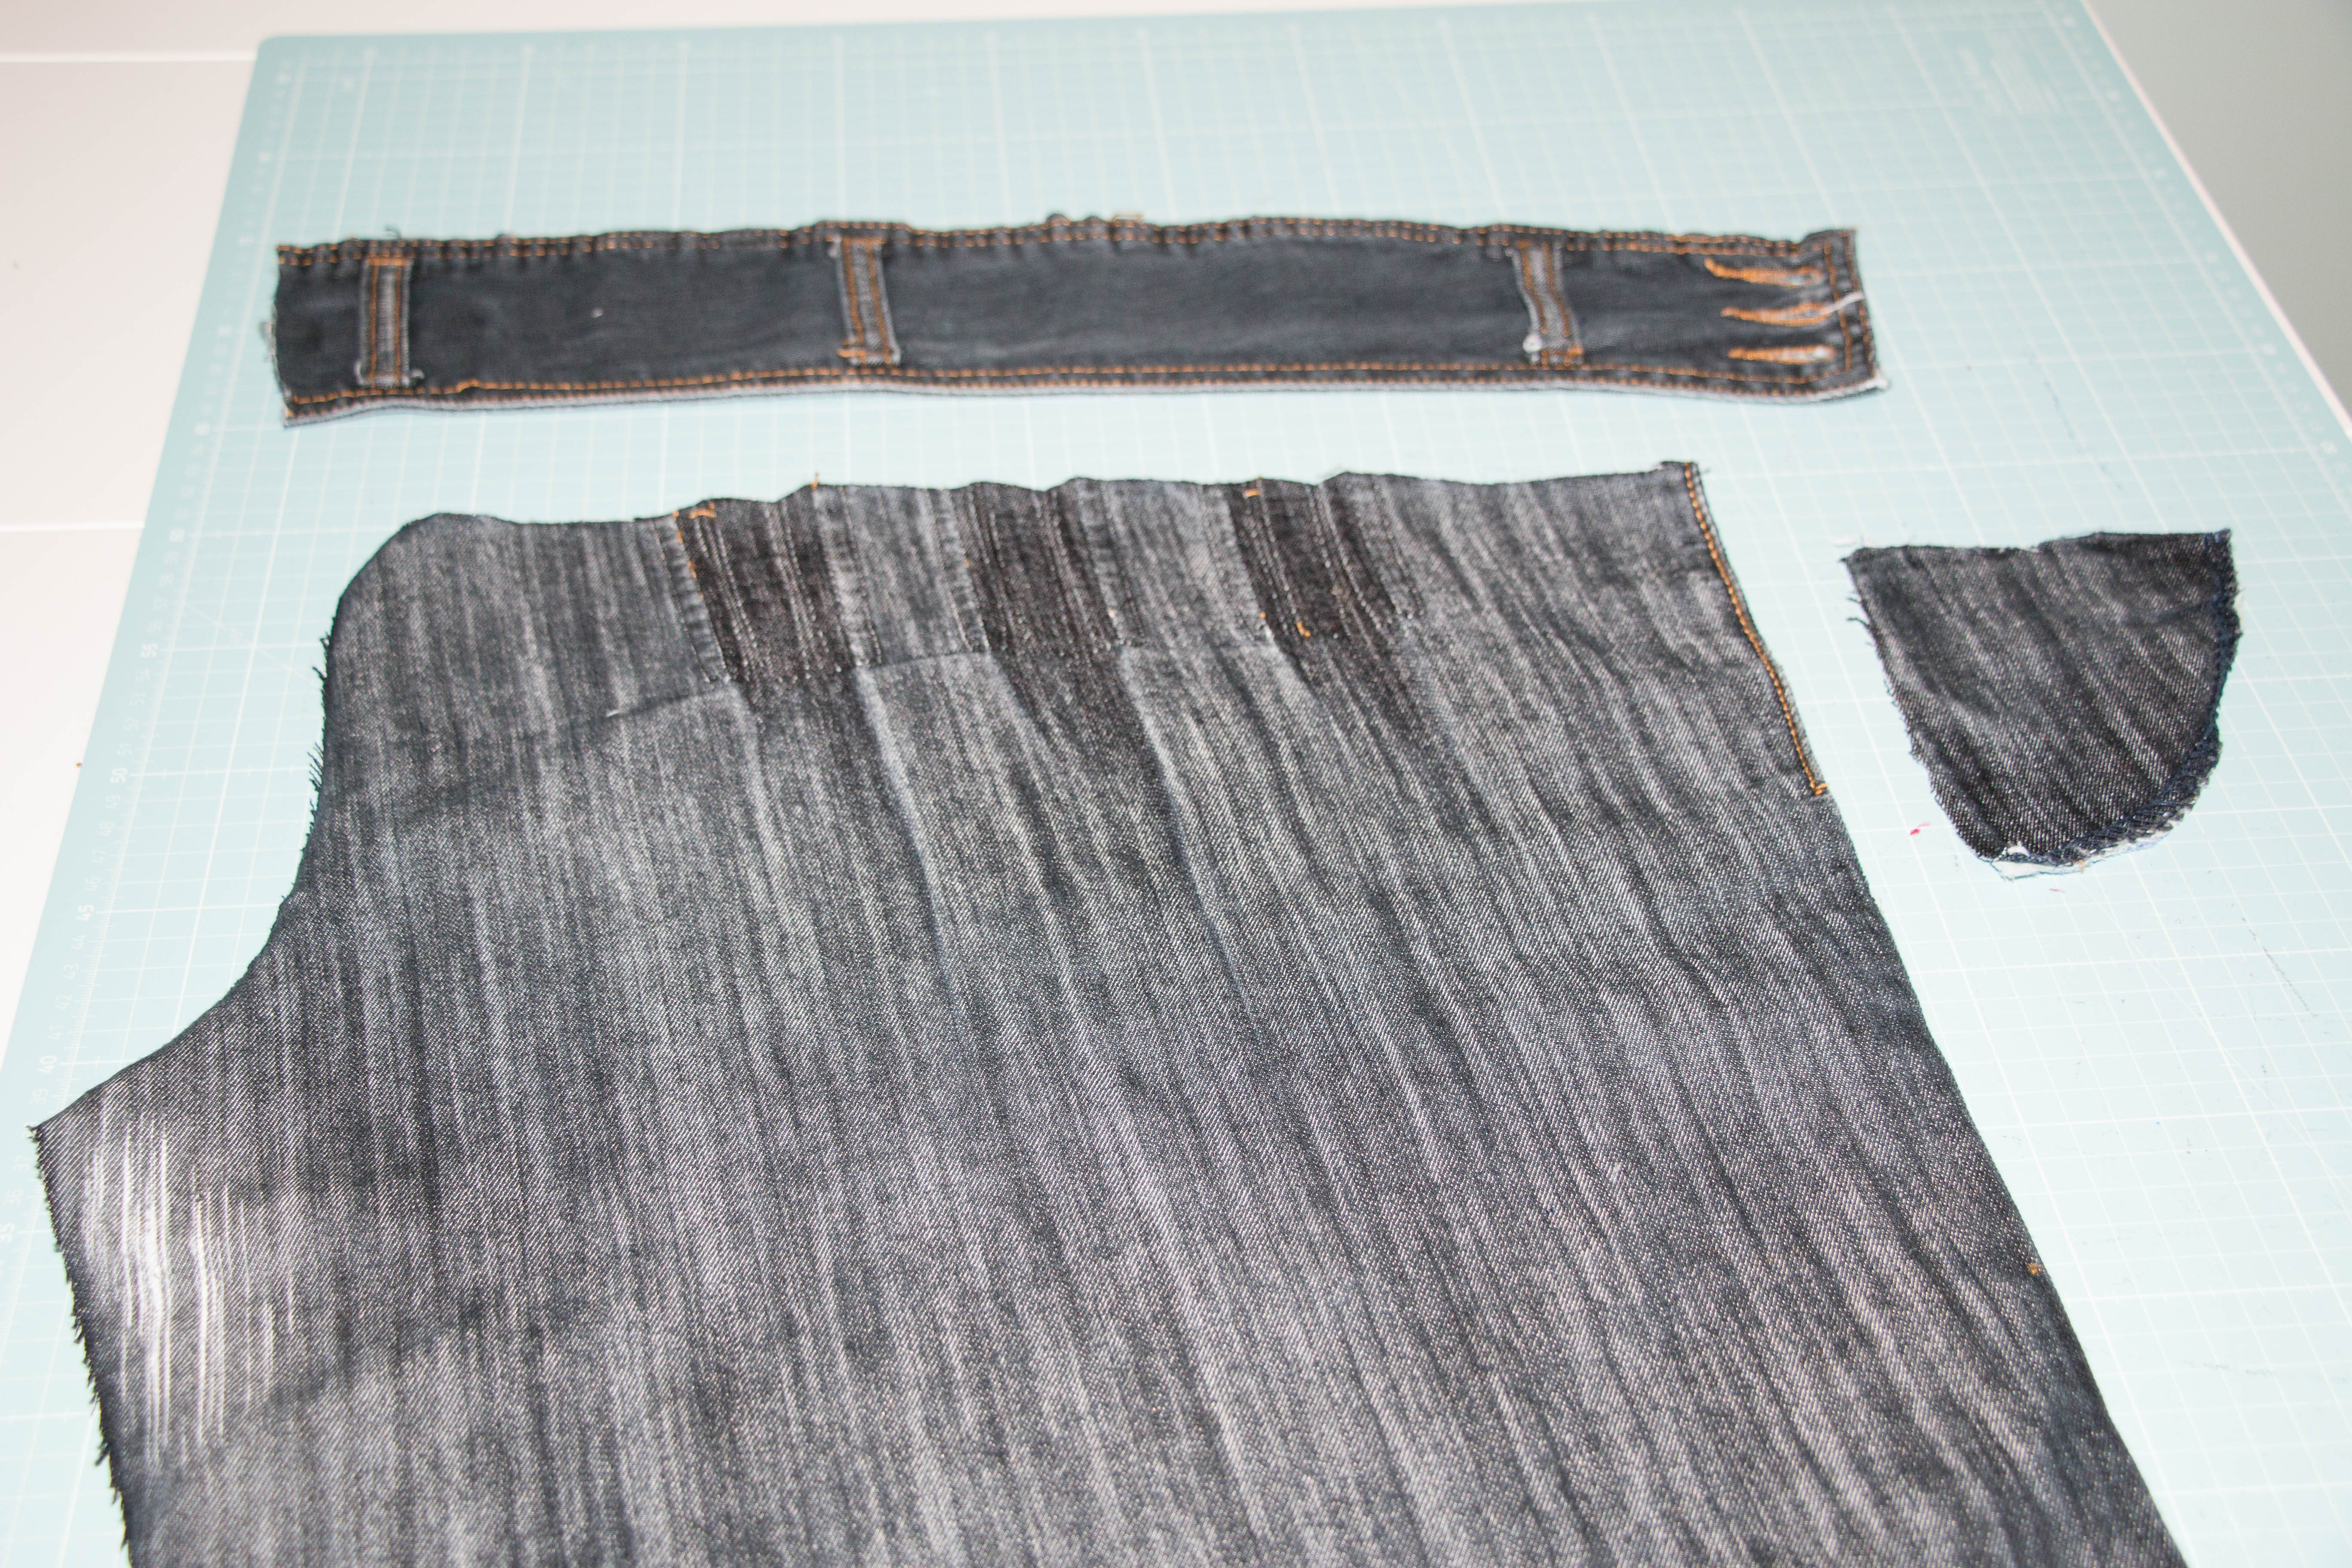
From top left: waistband (cut in half, will be cut on the fold), facing piece, back trouser piece (the crotch is on the left).
You could take these pieces straight to the new fabric which should be equal in weight and texture but I do not recommend it, because you would need to add in seamallowance “as you go” and this will probably lead to a few mistakes. So lay those pieces onto tracing paper and trace the actual pieces while making notes where you think to add in seamallowances. After this you can draw them in exactly. I used 5/8″ (1.5mm) seamallowance allover. Write on your pieces what piece it is, draw in all the fancy details (in my case it was pleats at the hipline) and write down how many times you have to cut it out etc.
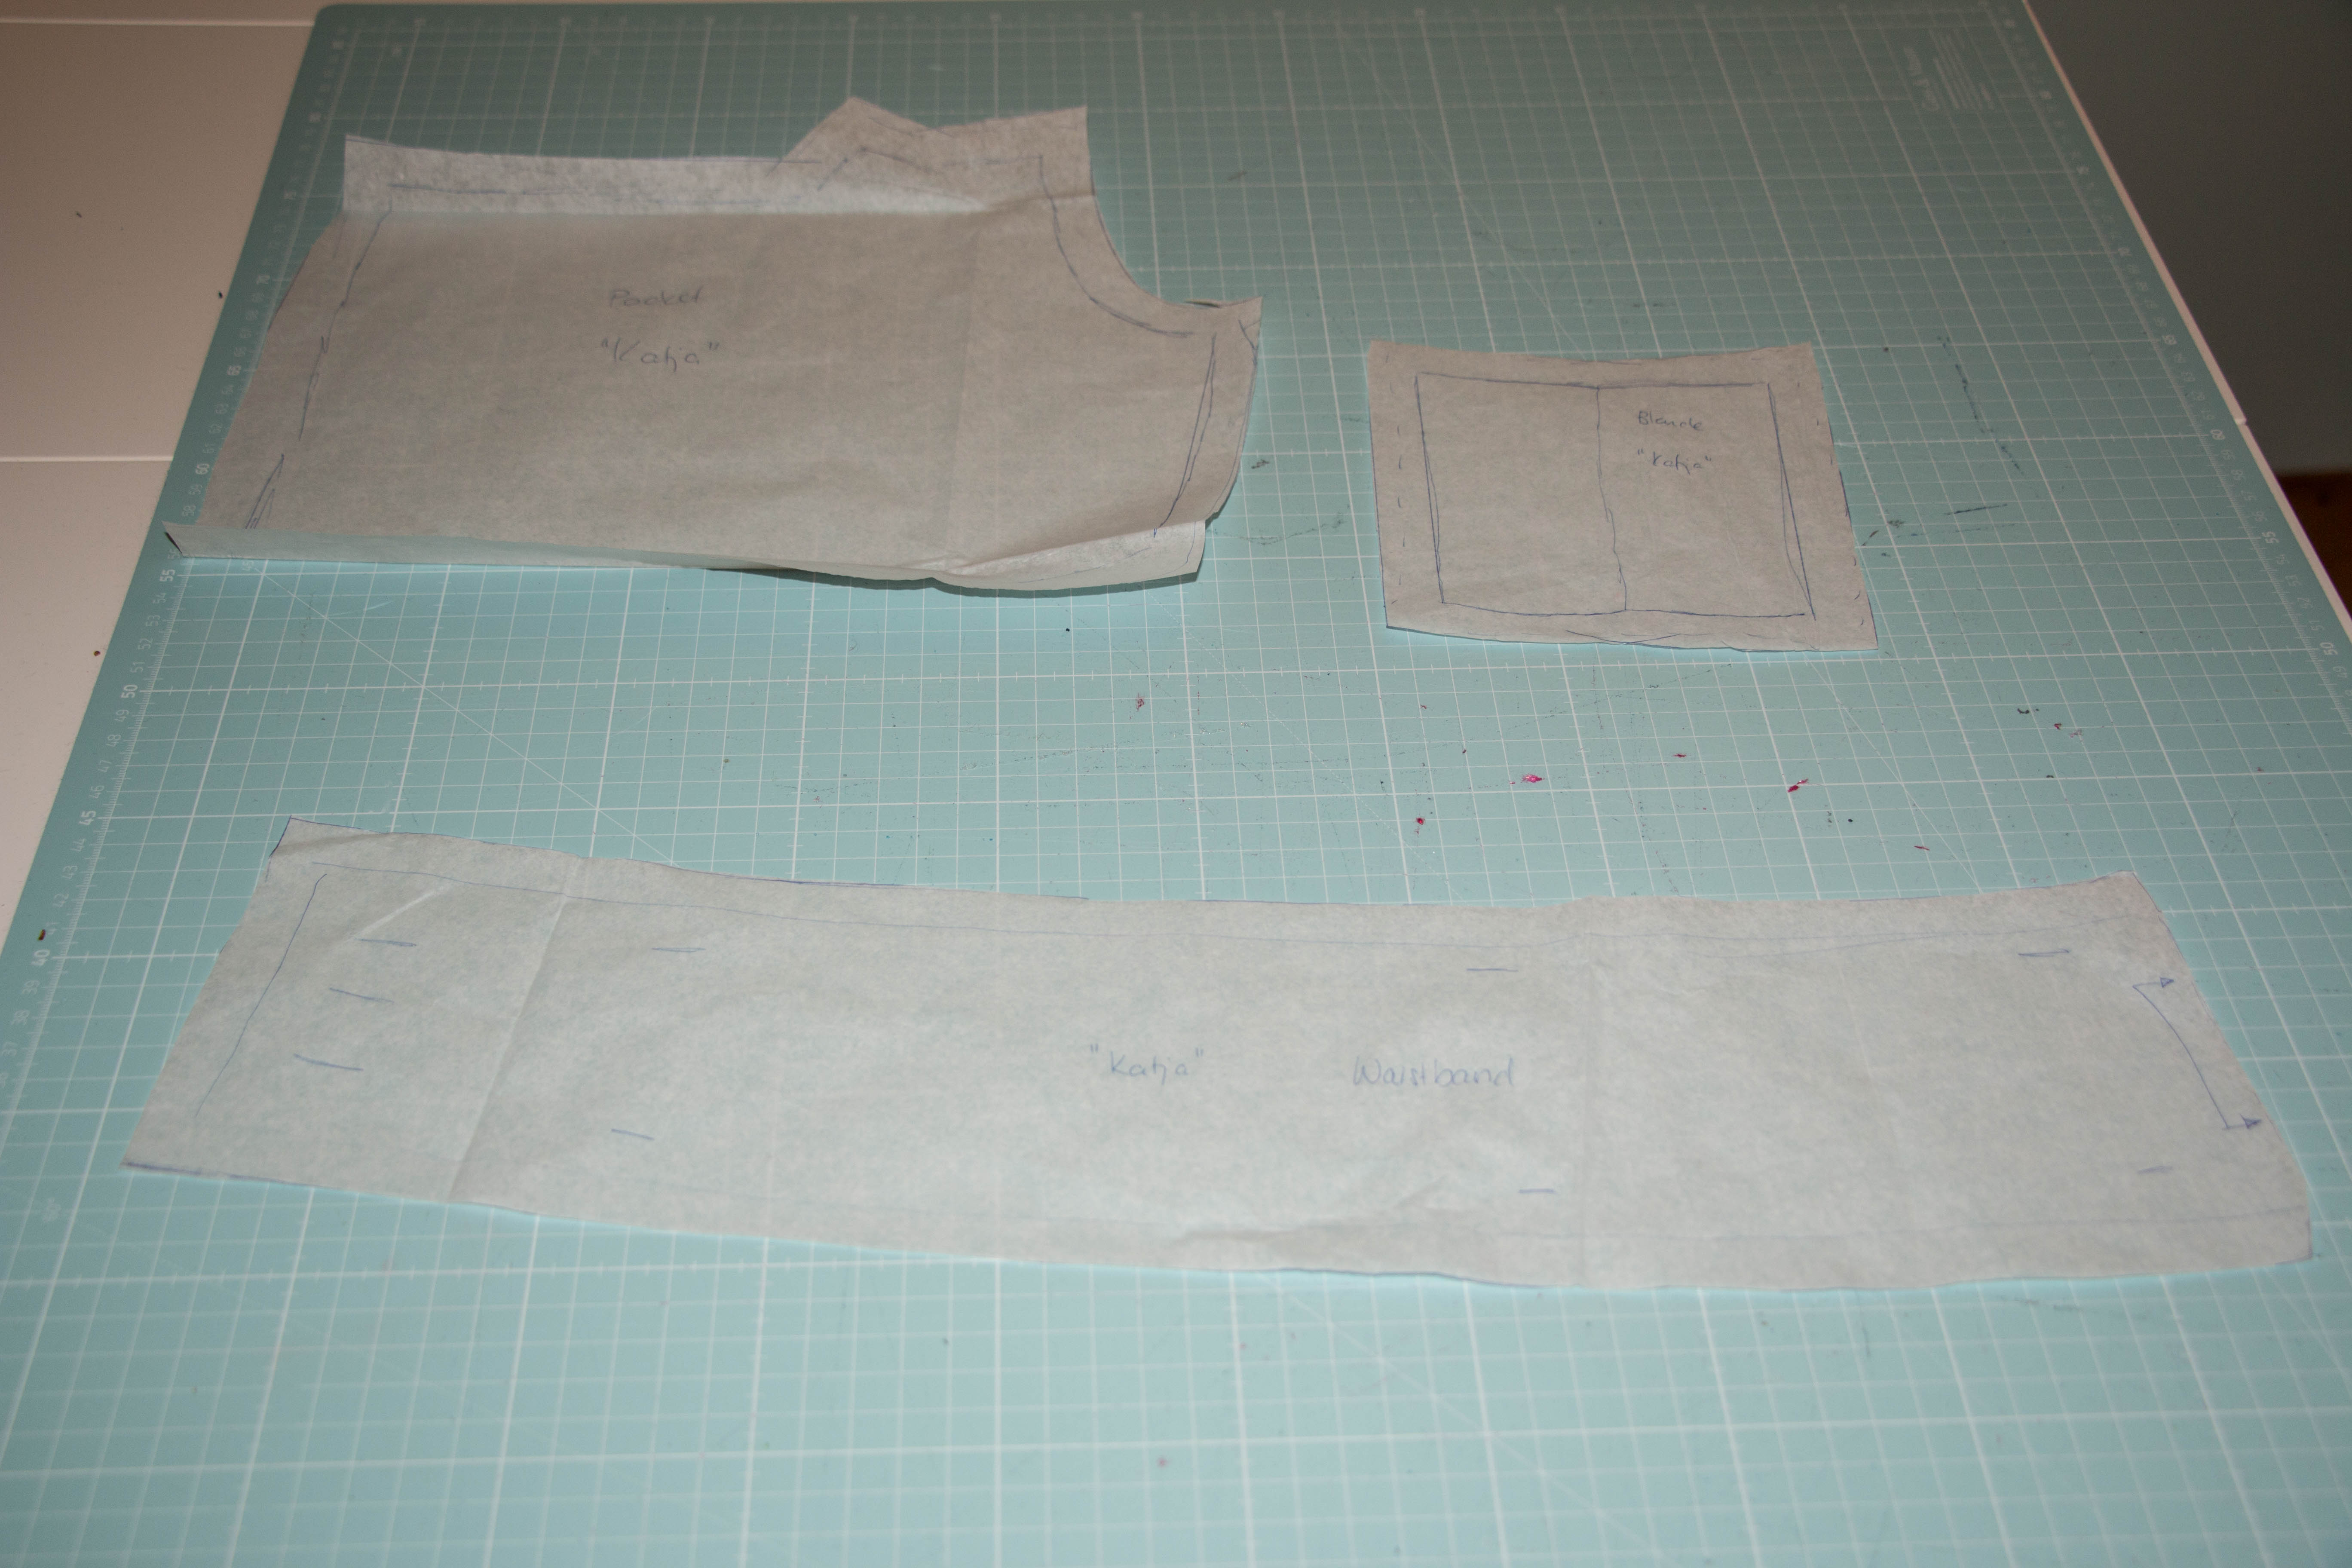
From top left: Pocket piece, zip cover (doubled, it will be sewn and turned inside out), waistband (will be cut twice and on the fold). All with 5/8″ seamallowance. The seamallowance is not added where the waistband will be on the fold.
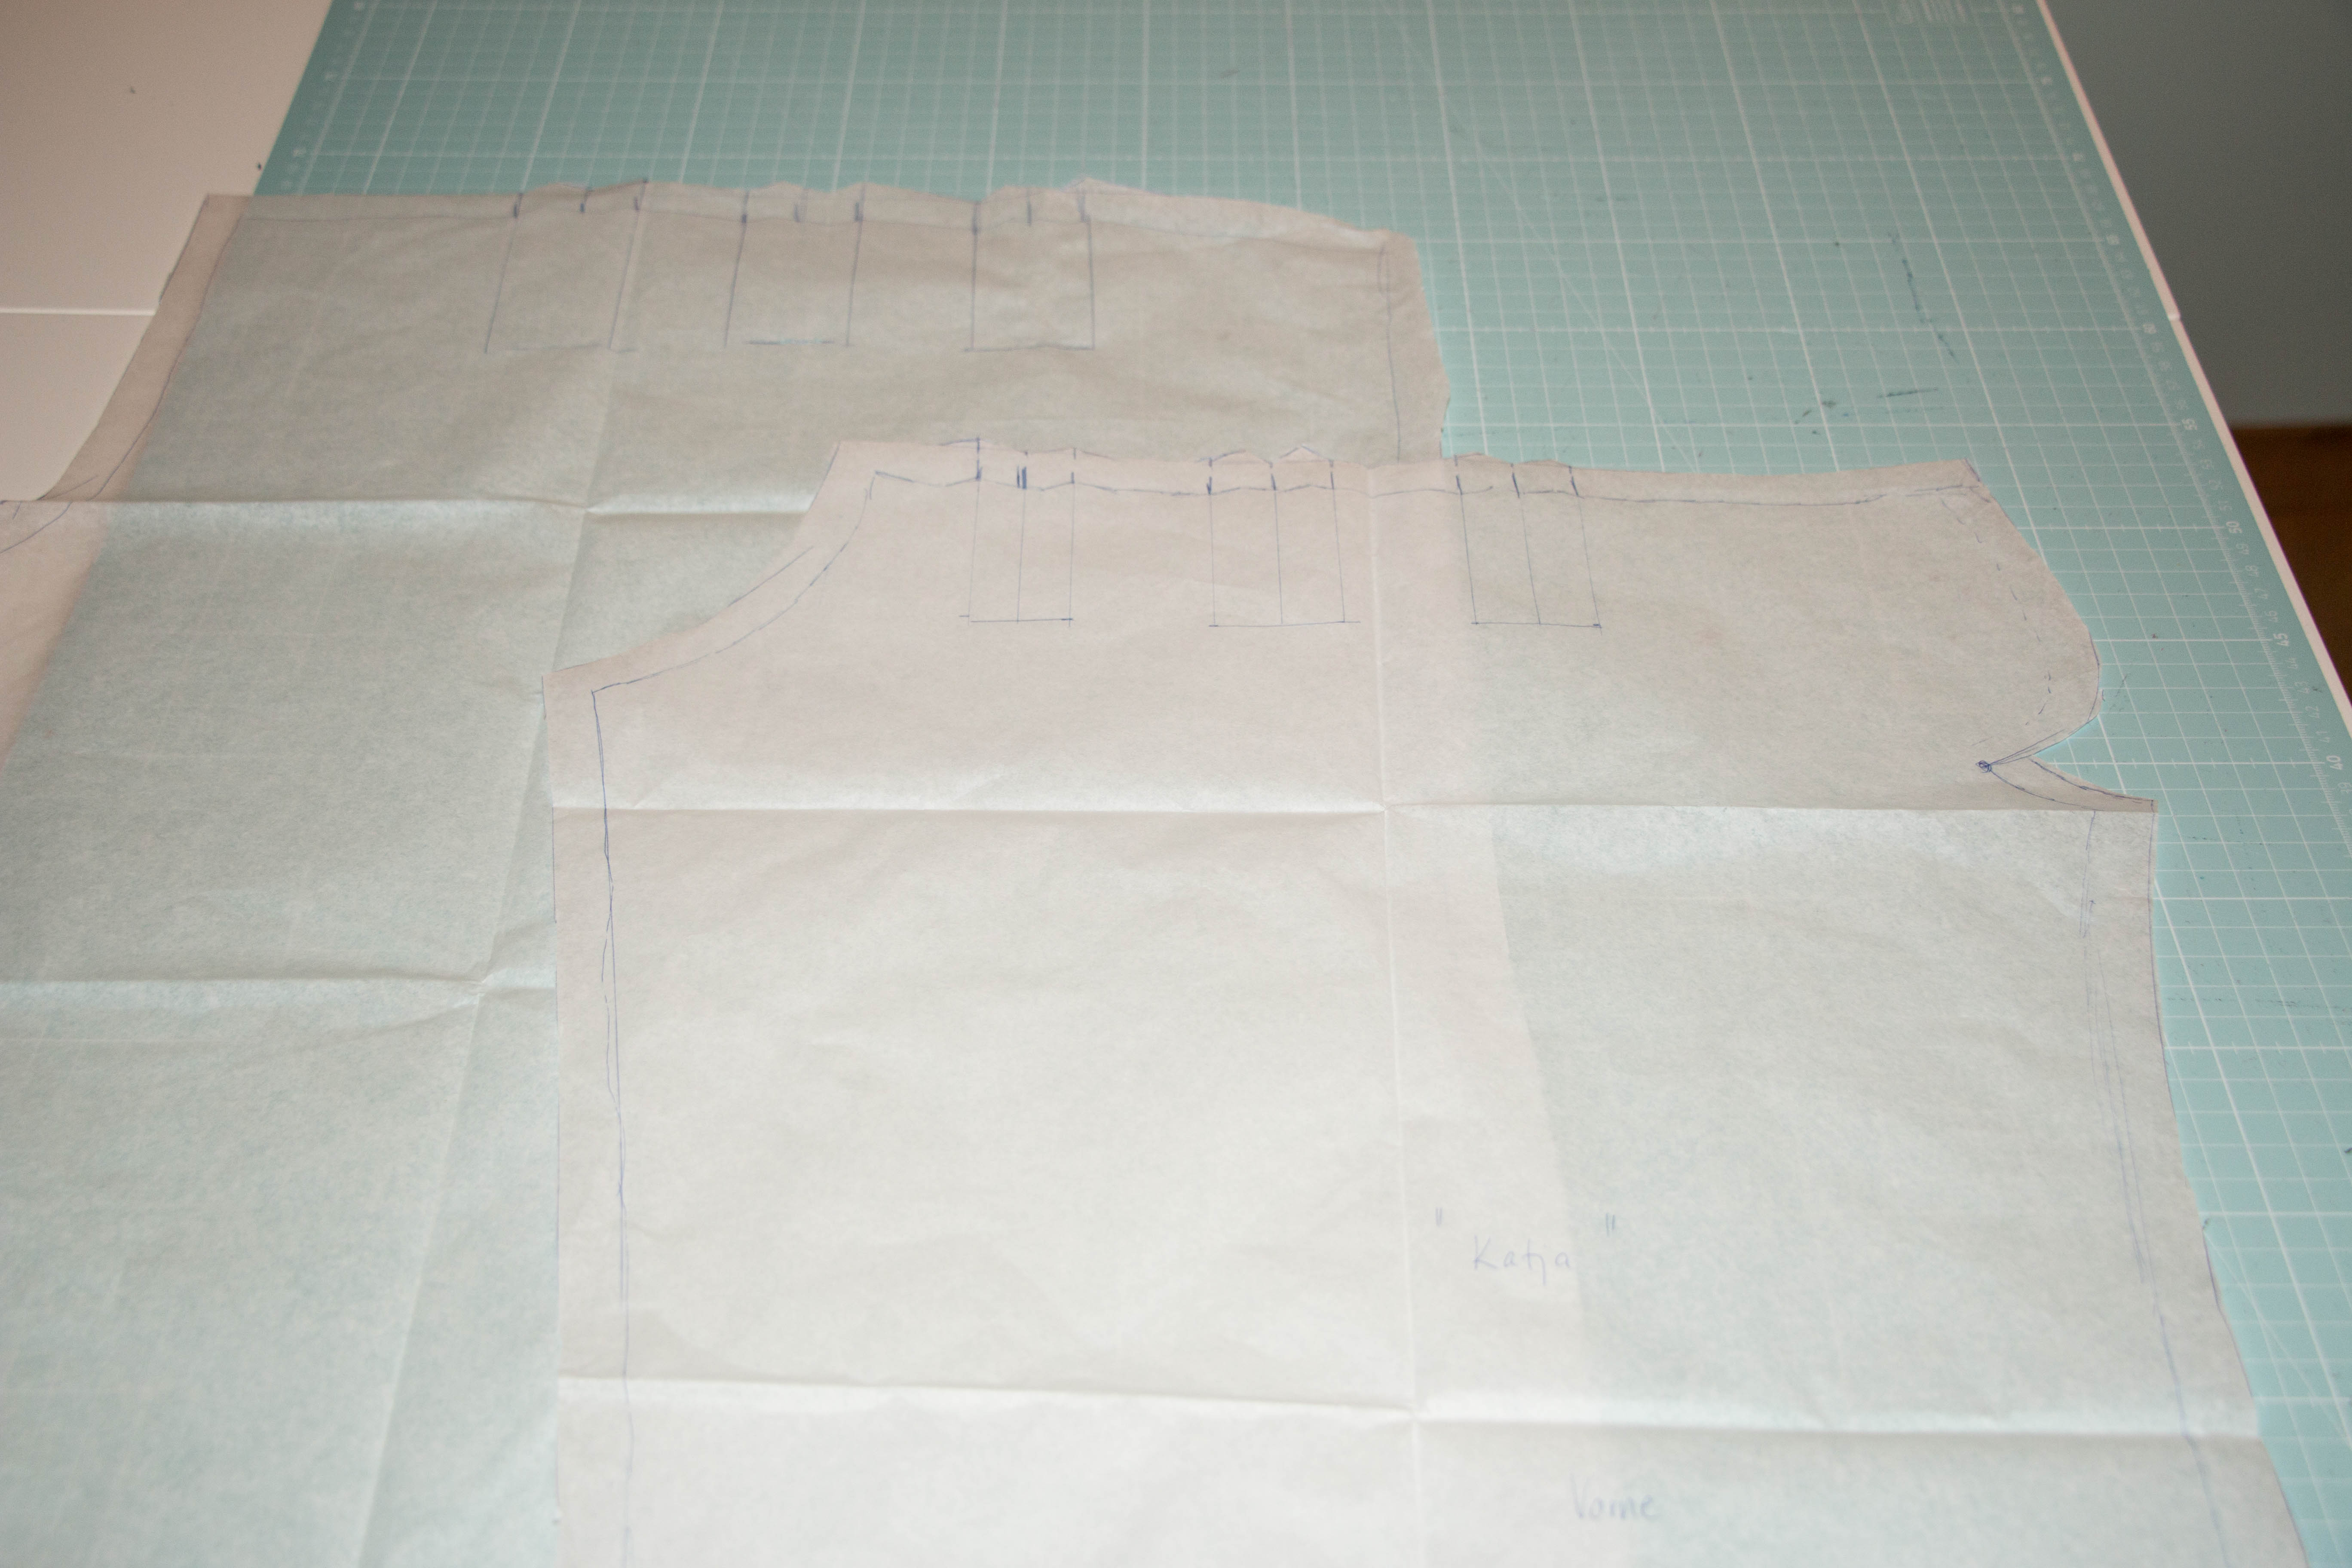
Back and front pieces with 5/8″ seamallowance and 1.5″ hem.
Cut the pieces out of your fabric.
(Re-)Assemble your jeans

Finish the facings and stitch them to the pockets.

Finish the zip cover
Turn it inside out.
Finish all of your pieces. I decided to underline my inside of the waistband (you need to have two waistband pieces) with a layer of denim.

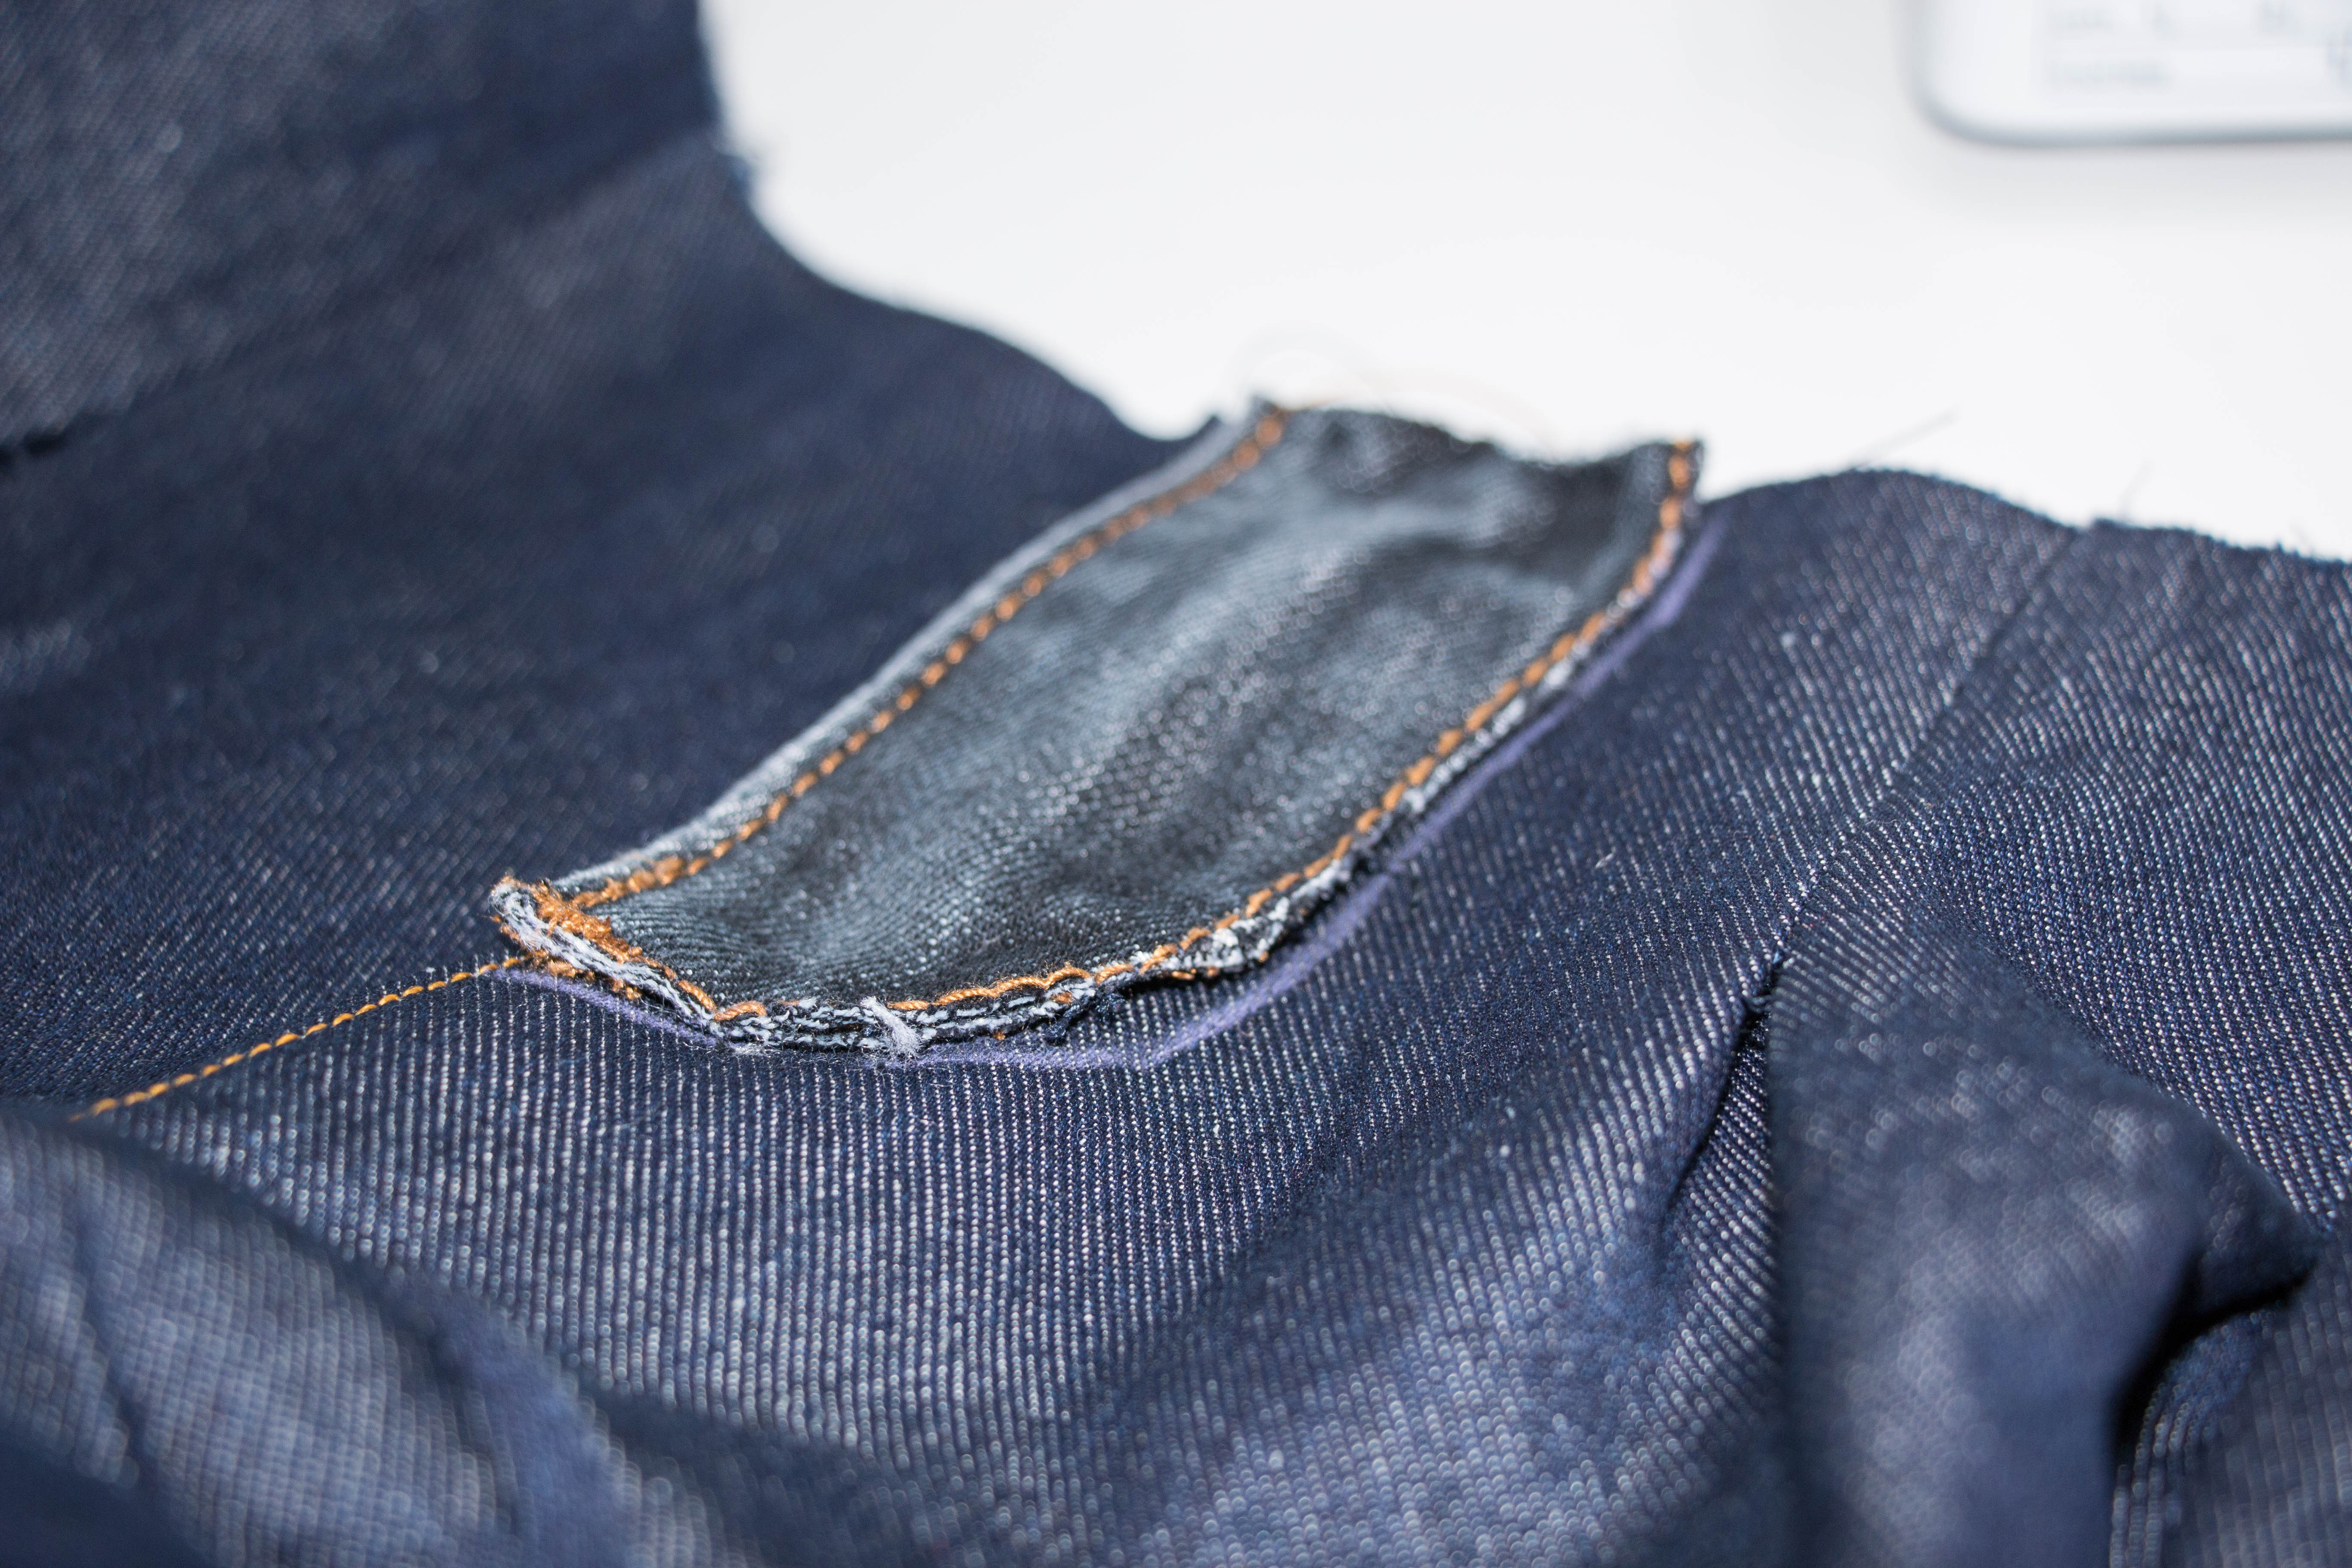
Attach the pockets to the front pieces right side to right side and press. Turn them to the inside and fold them in half so that the pocket “completes” the front pattern piece.
This is what it should look like from the front. Pin the top and side so it will not flap around while you work.
Baste the fly extension until you arrive at the point where the crotch area is finished. Continue sewing with a normal stitch length to finish the seam. Clip just under the crotch seam but be careful not to cut into your stitching.

Press the fly extension open

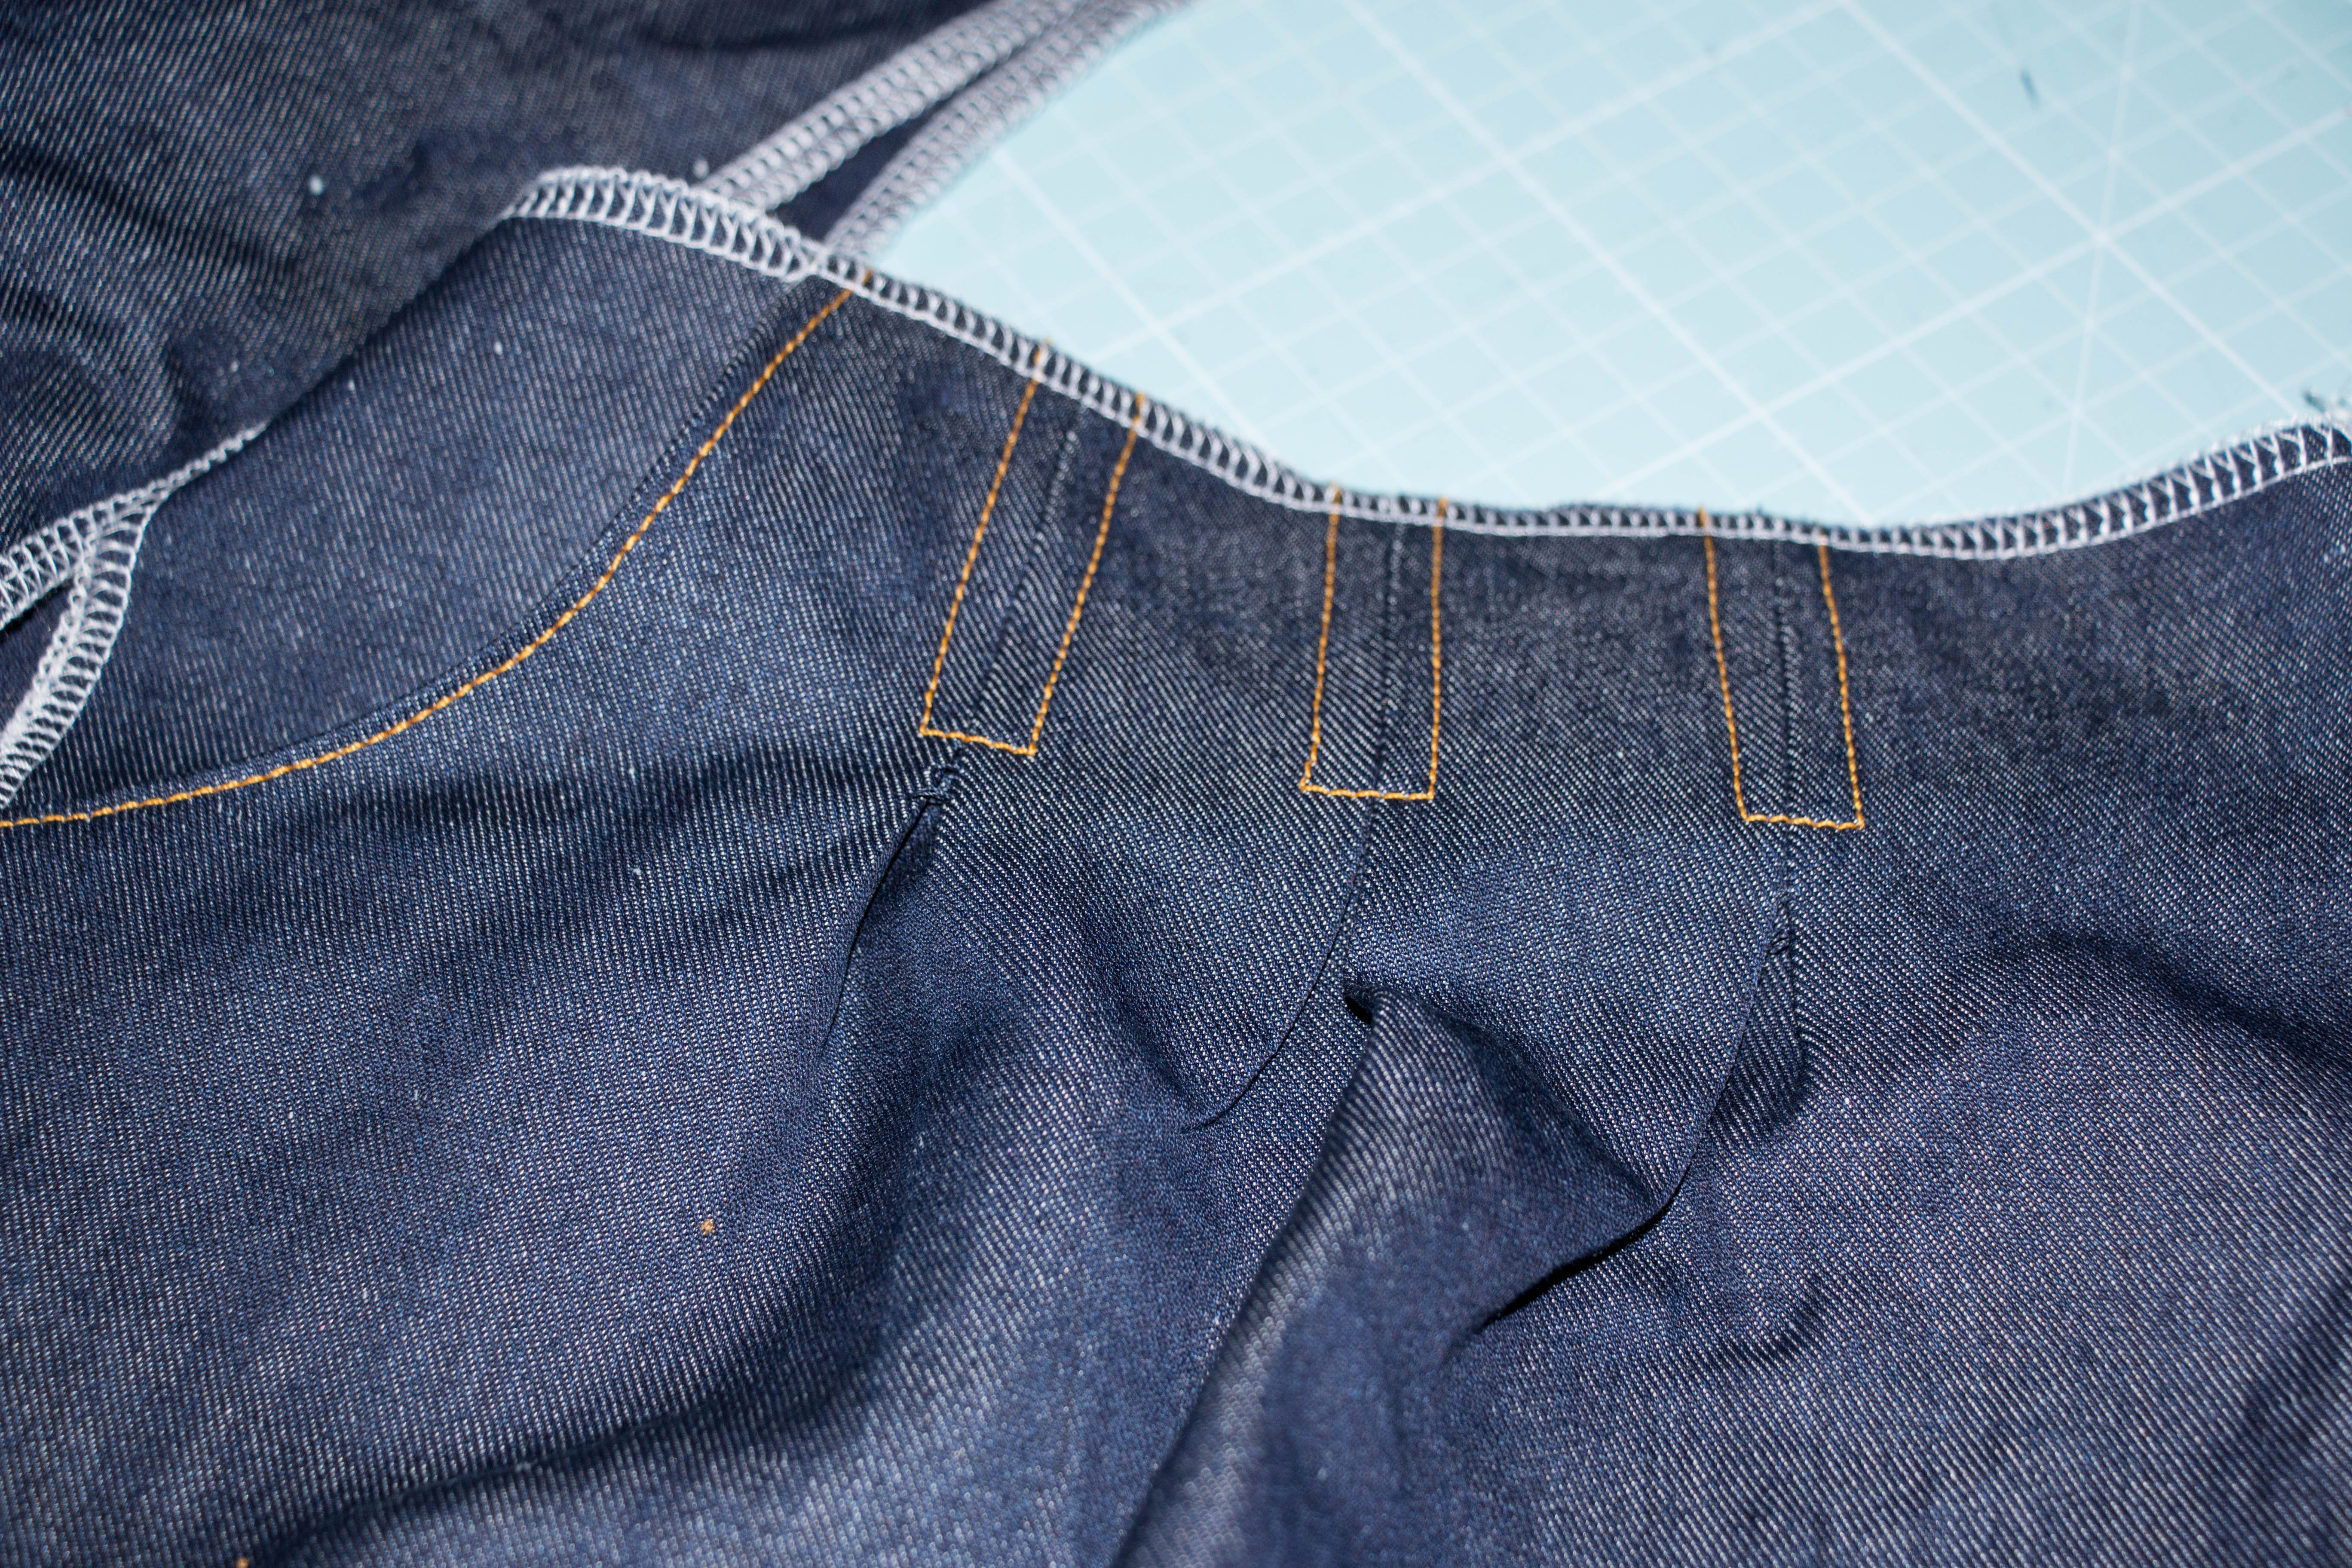
I had to baste the pleats as well to prepare them for the topstitching later.

This is what the front of Katja’s jeans looked like.
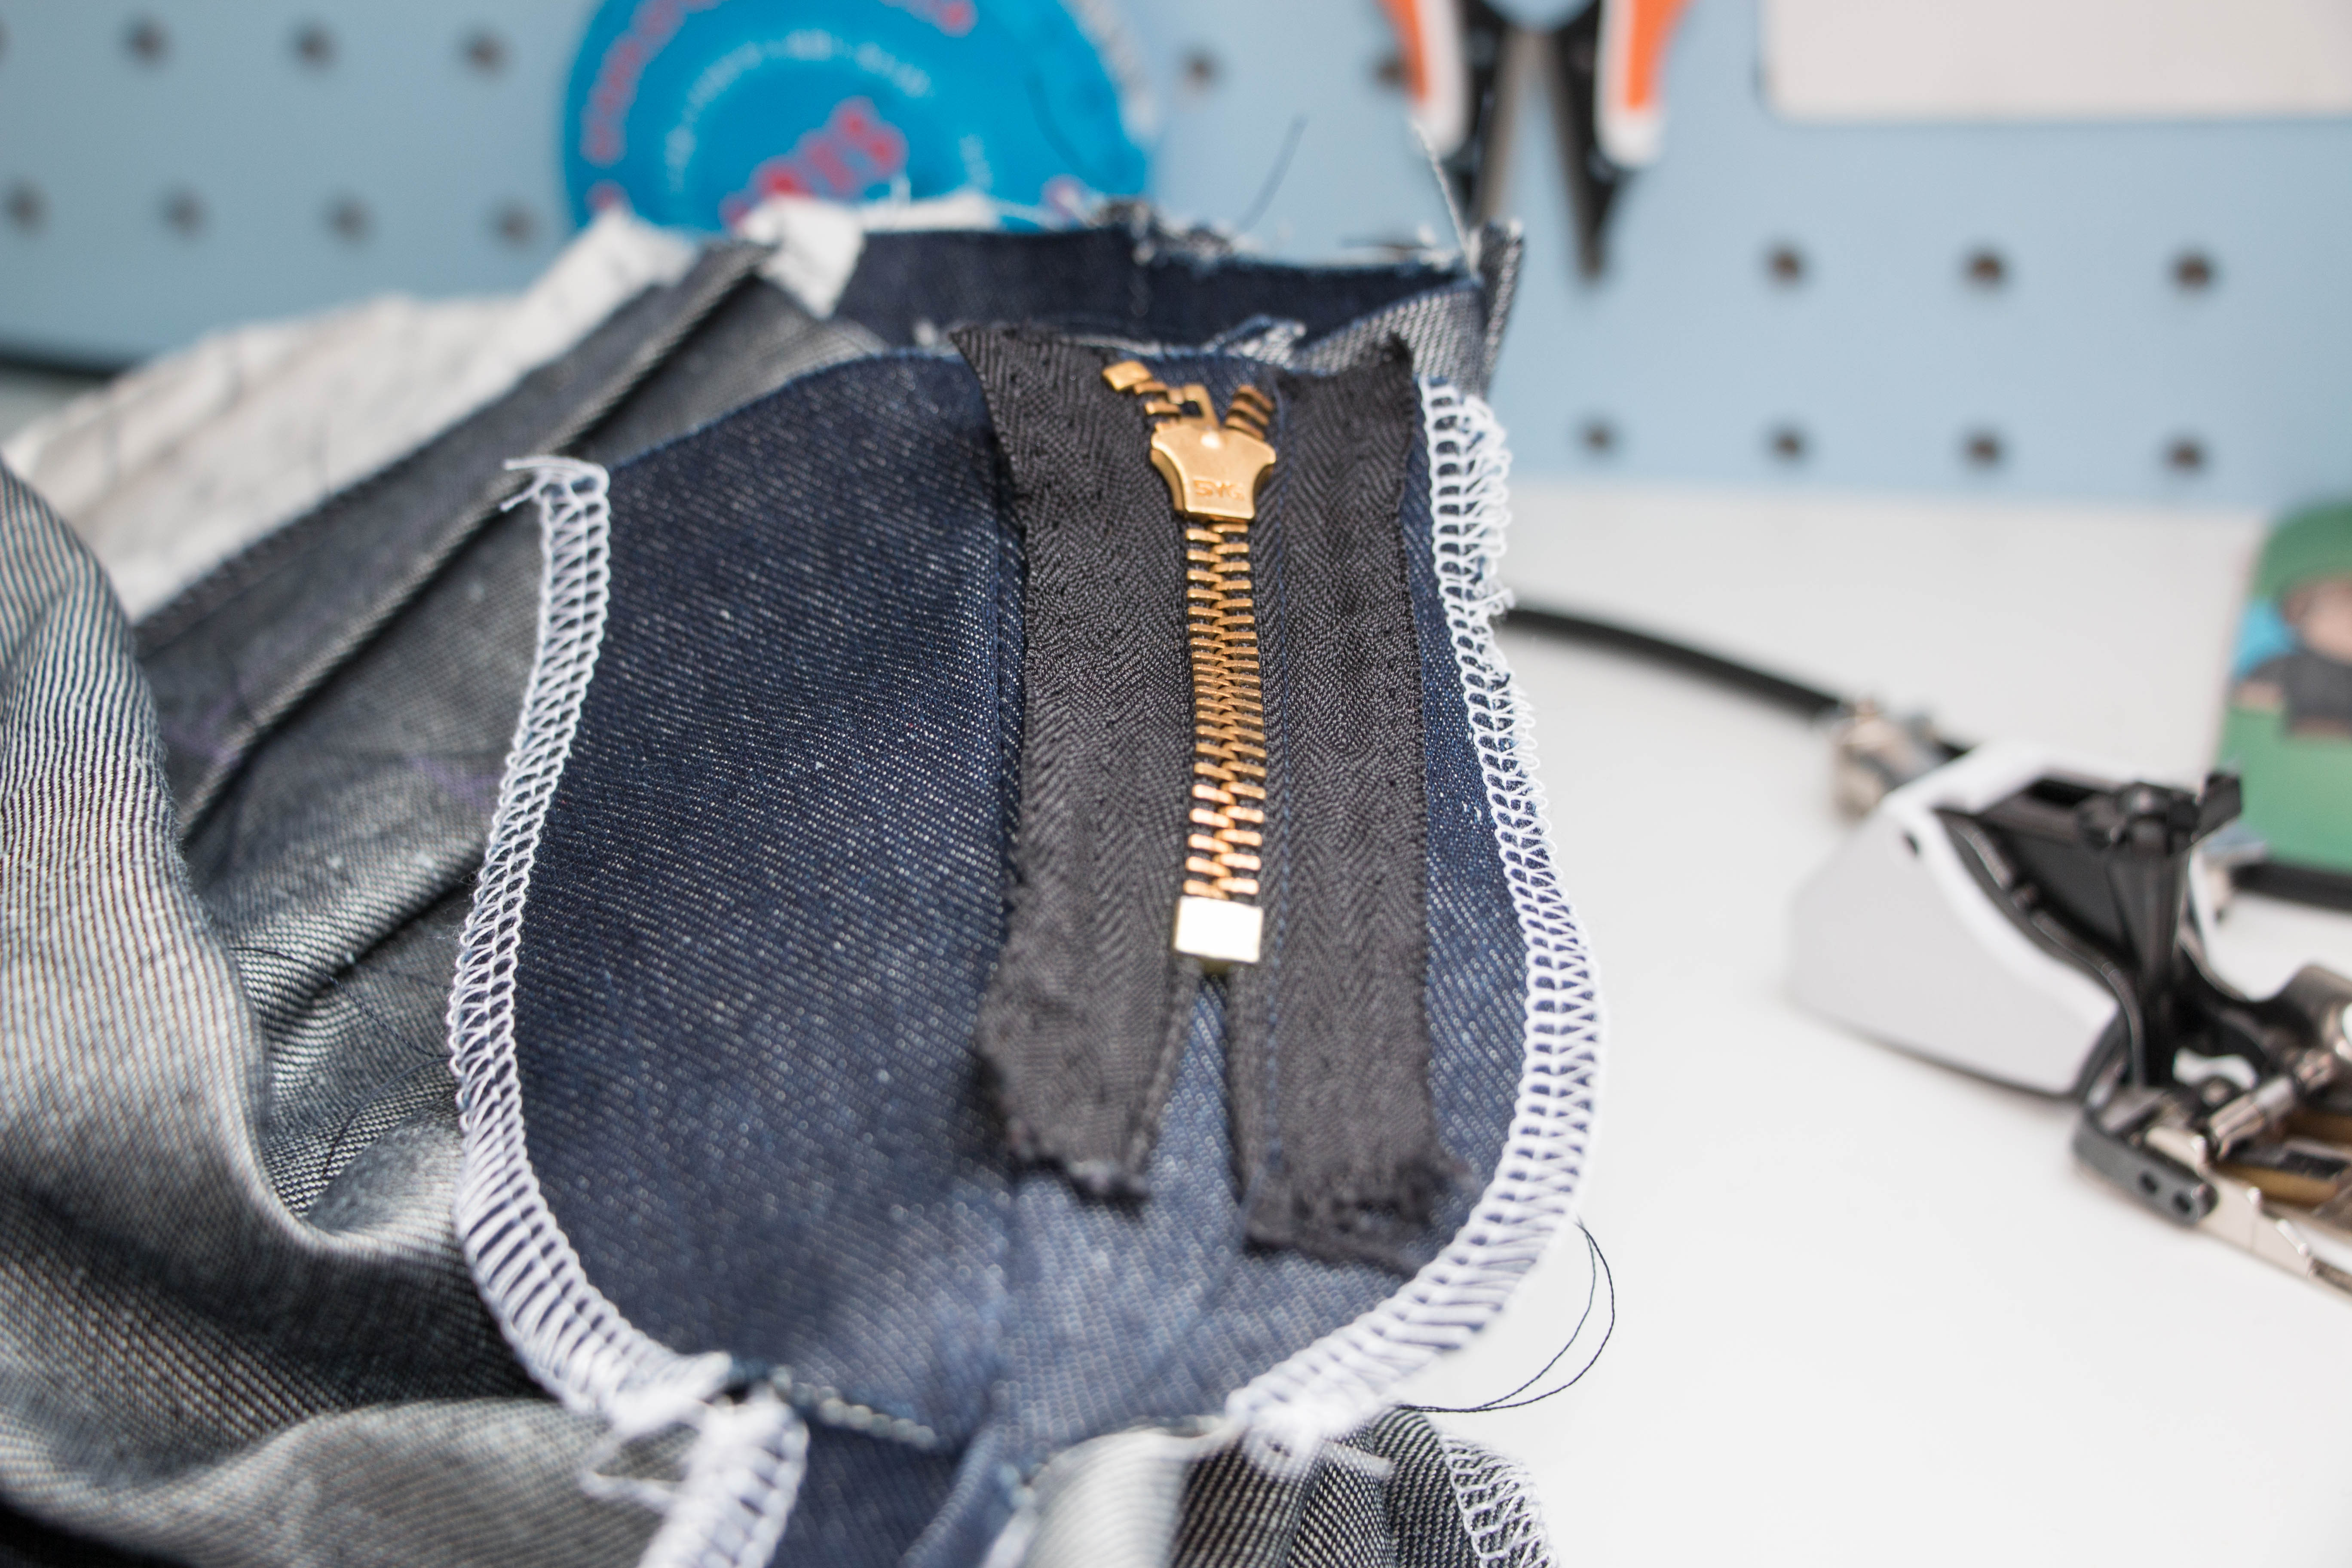
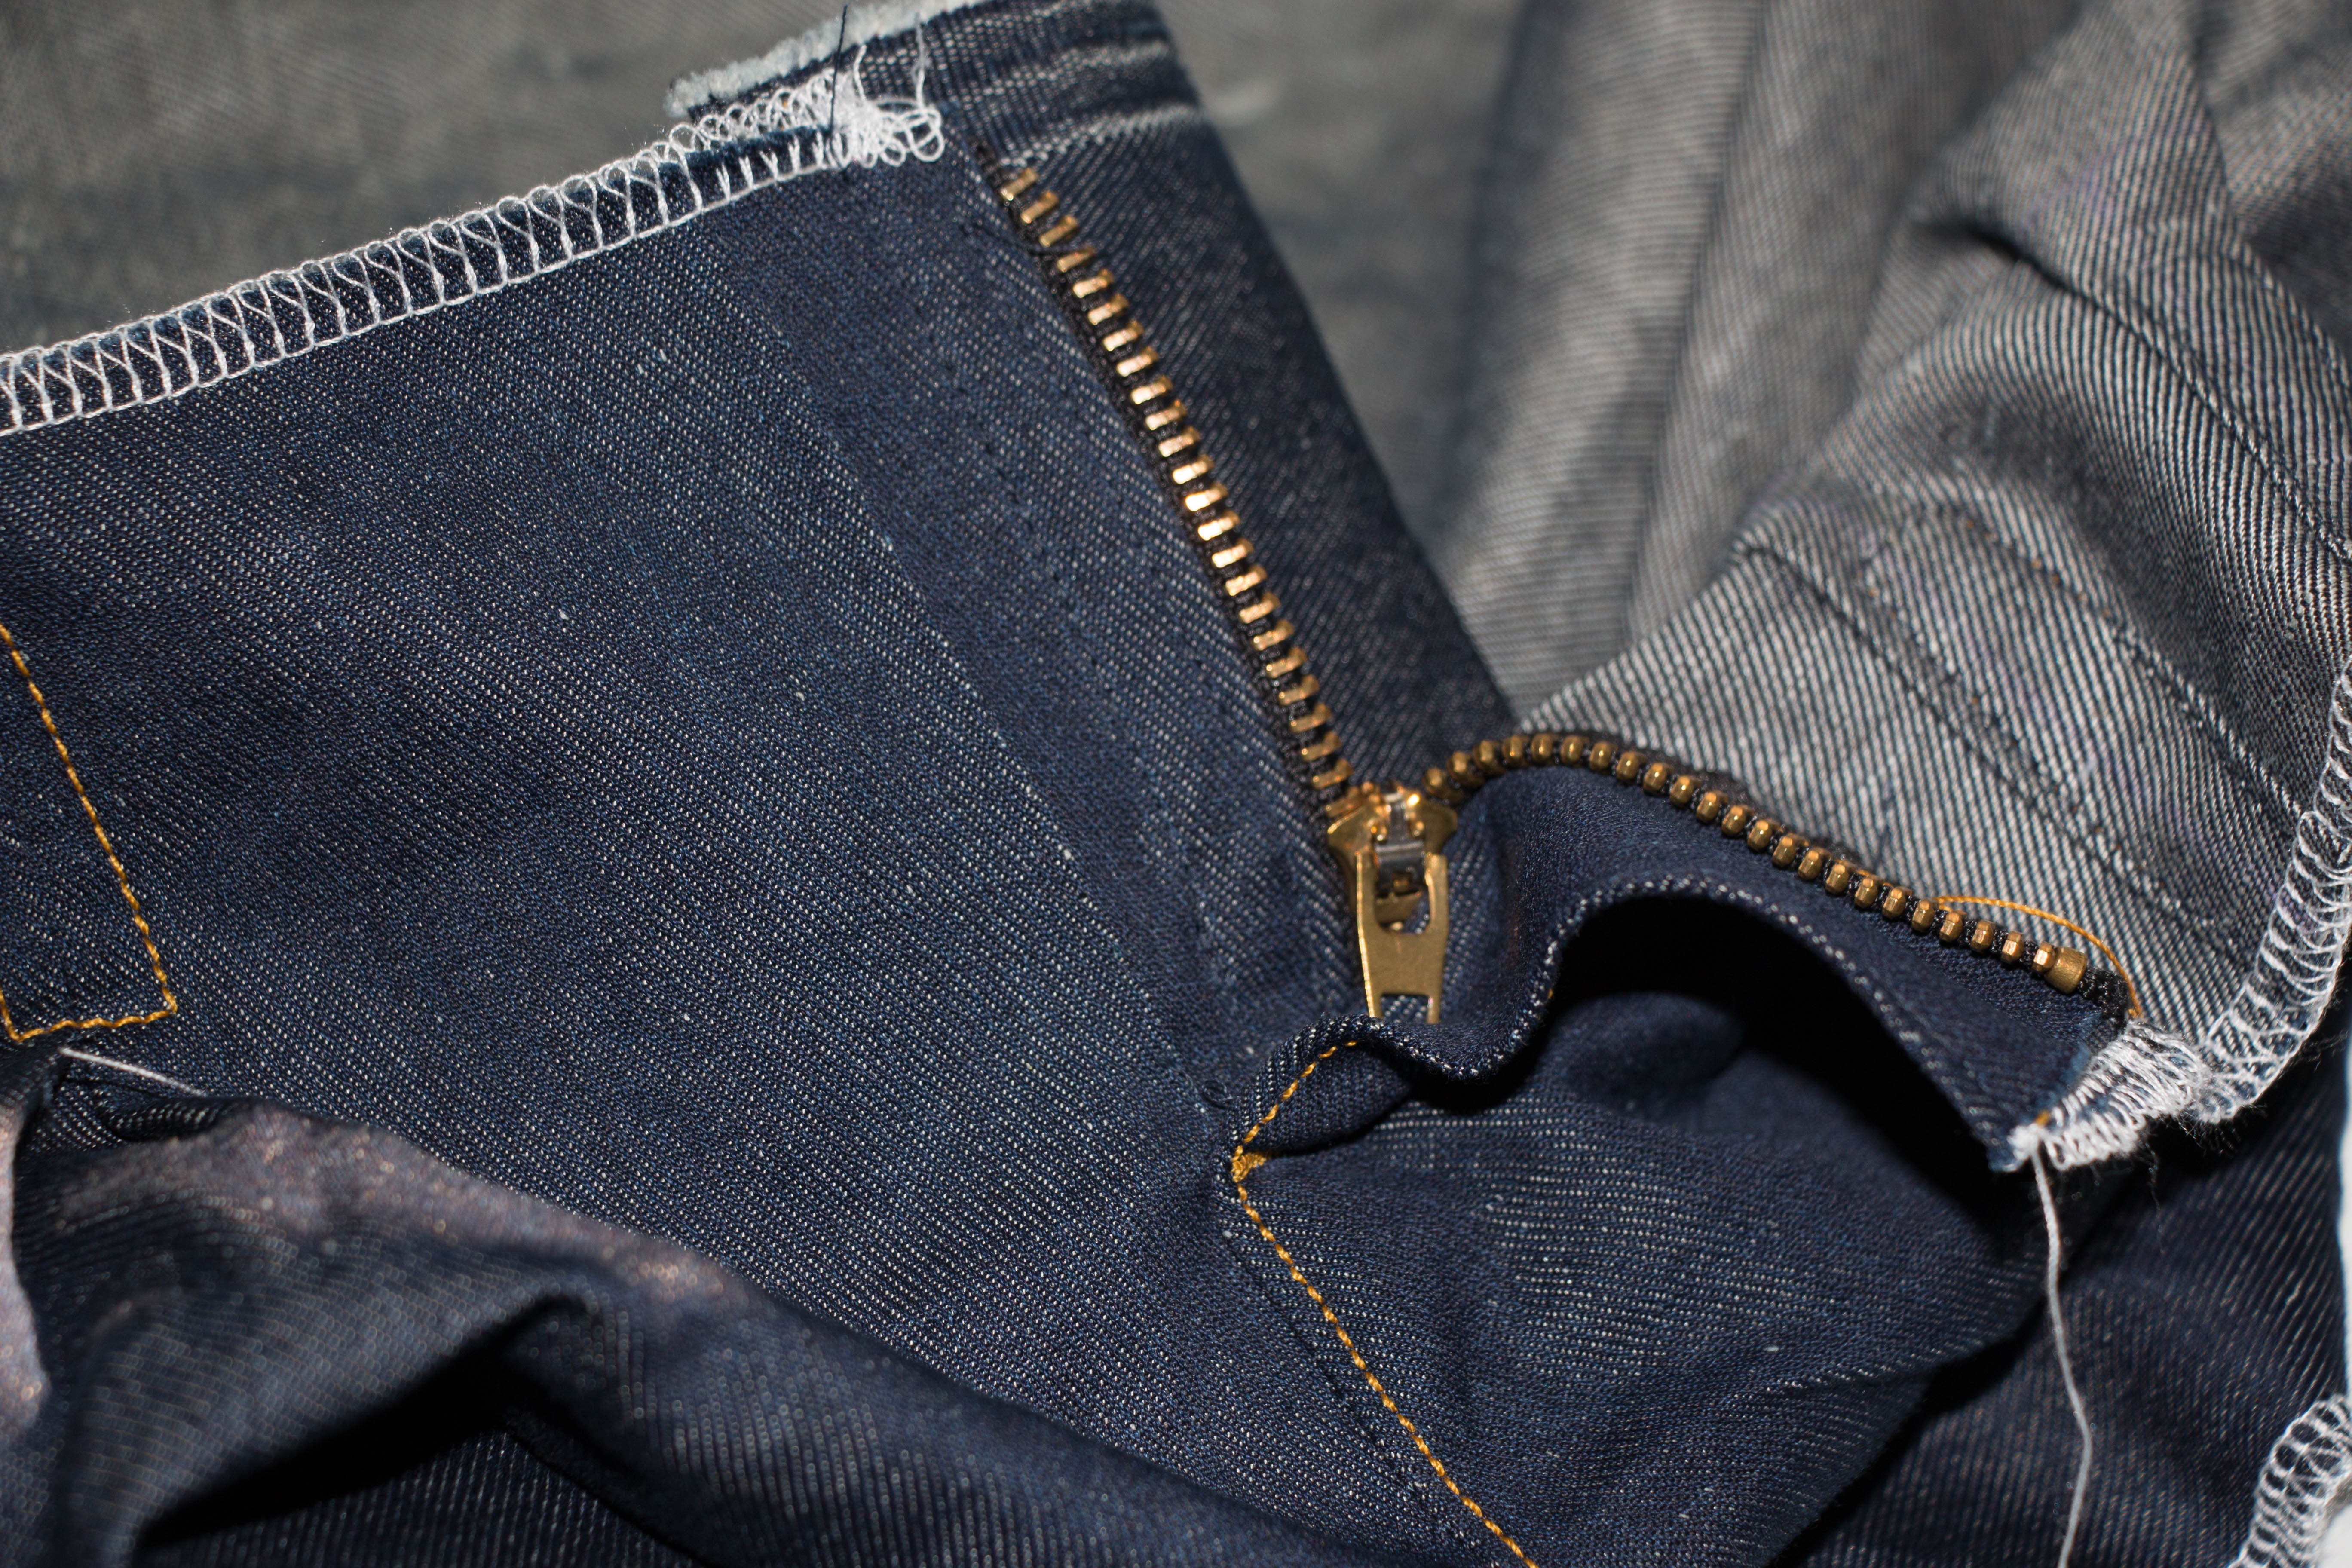
Sew in the zipper. Align the zipper tape with the seam in the middle and stitch on the right side of the zip.
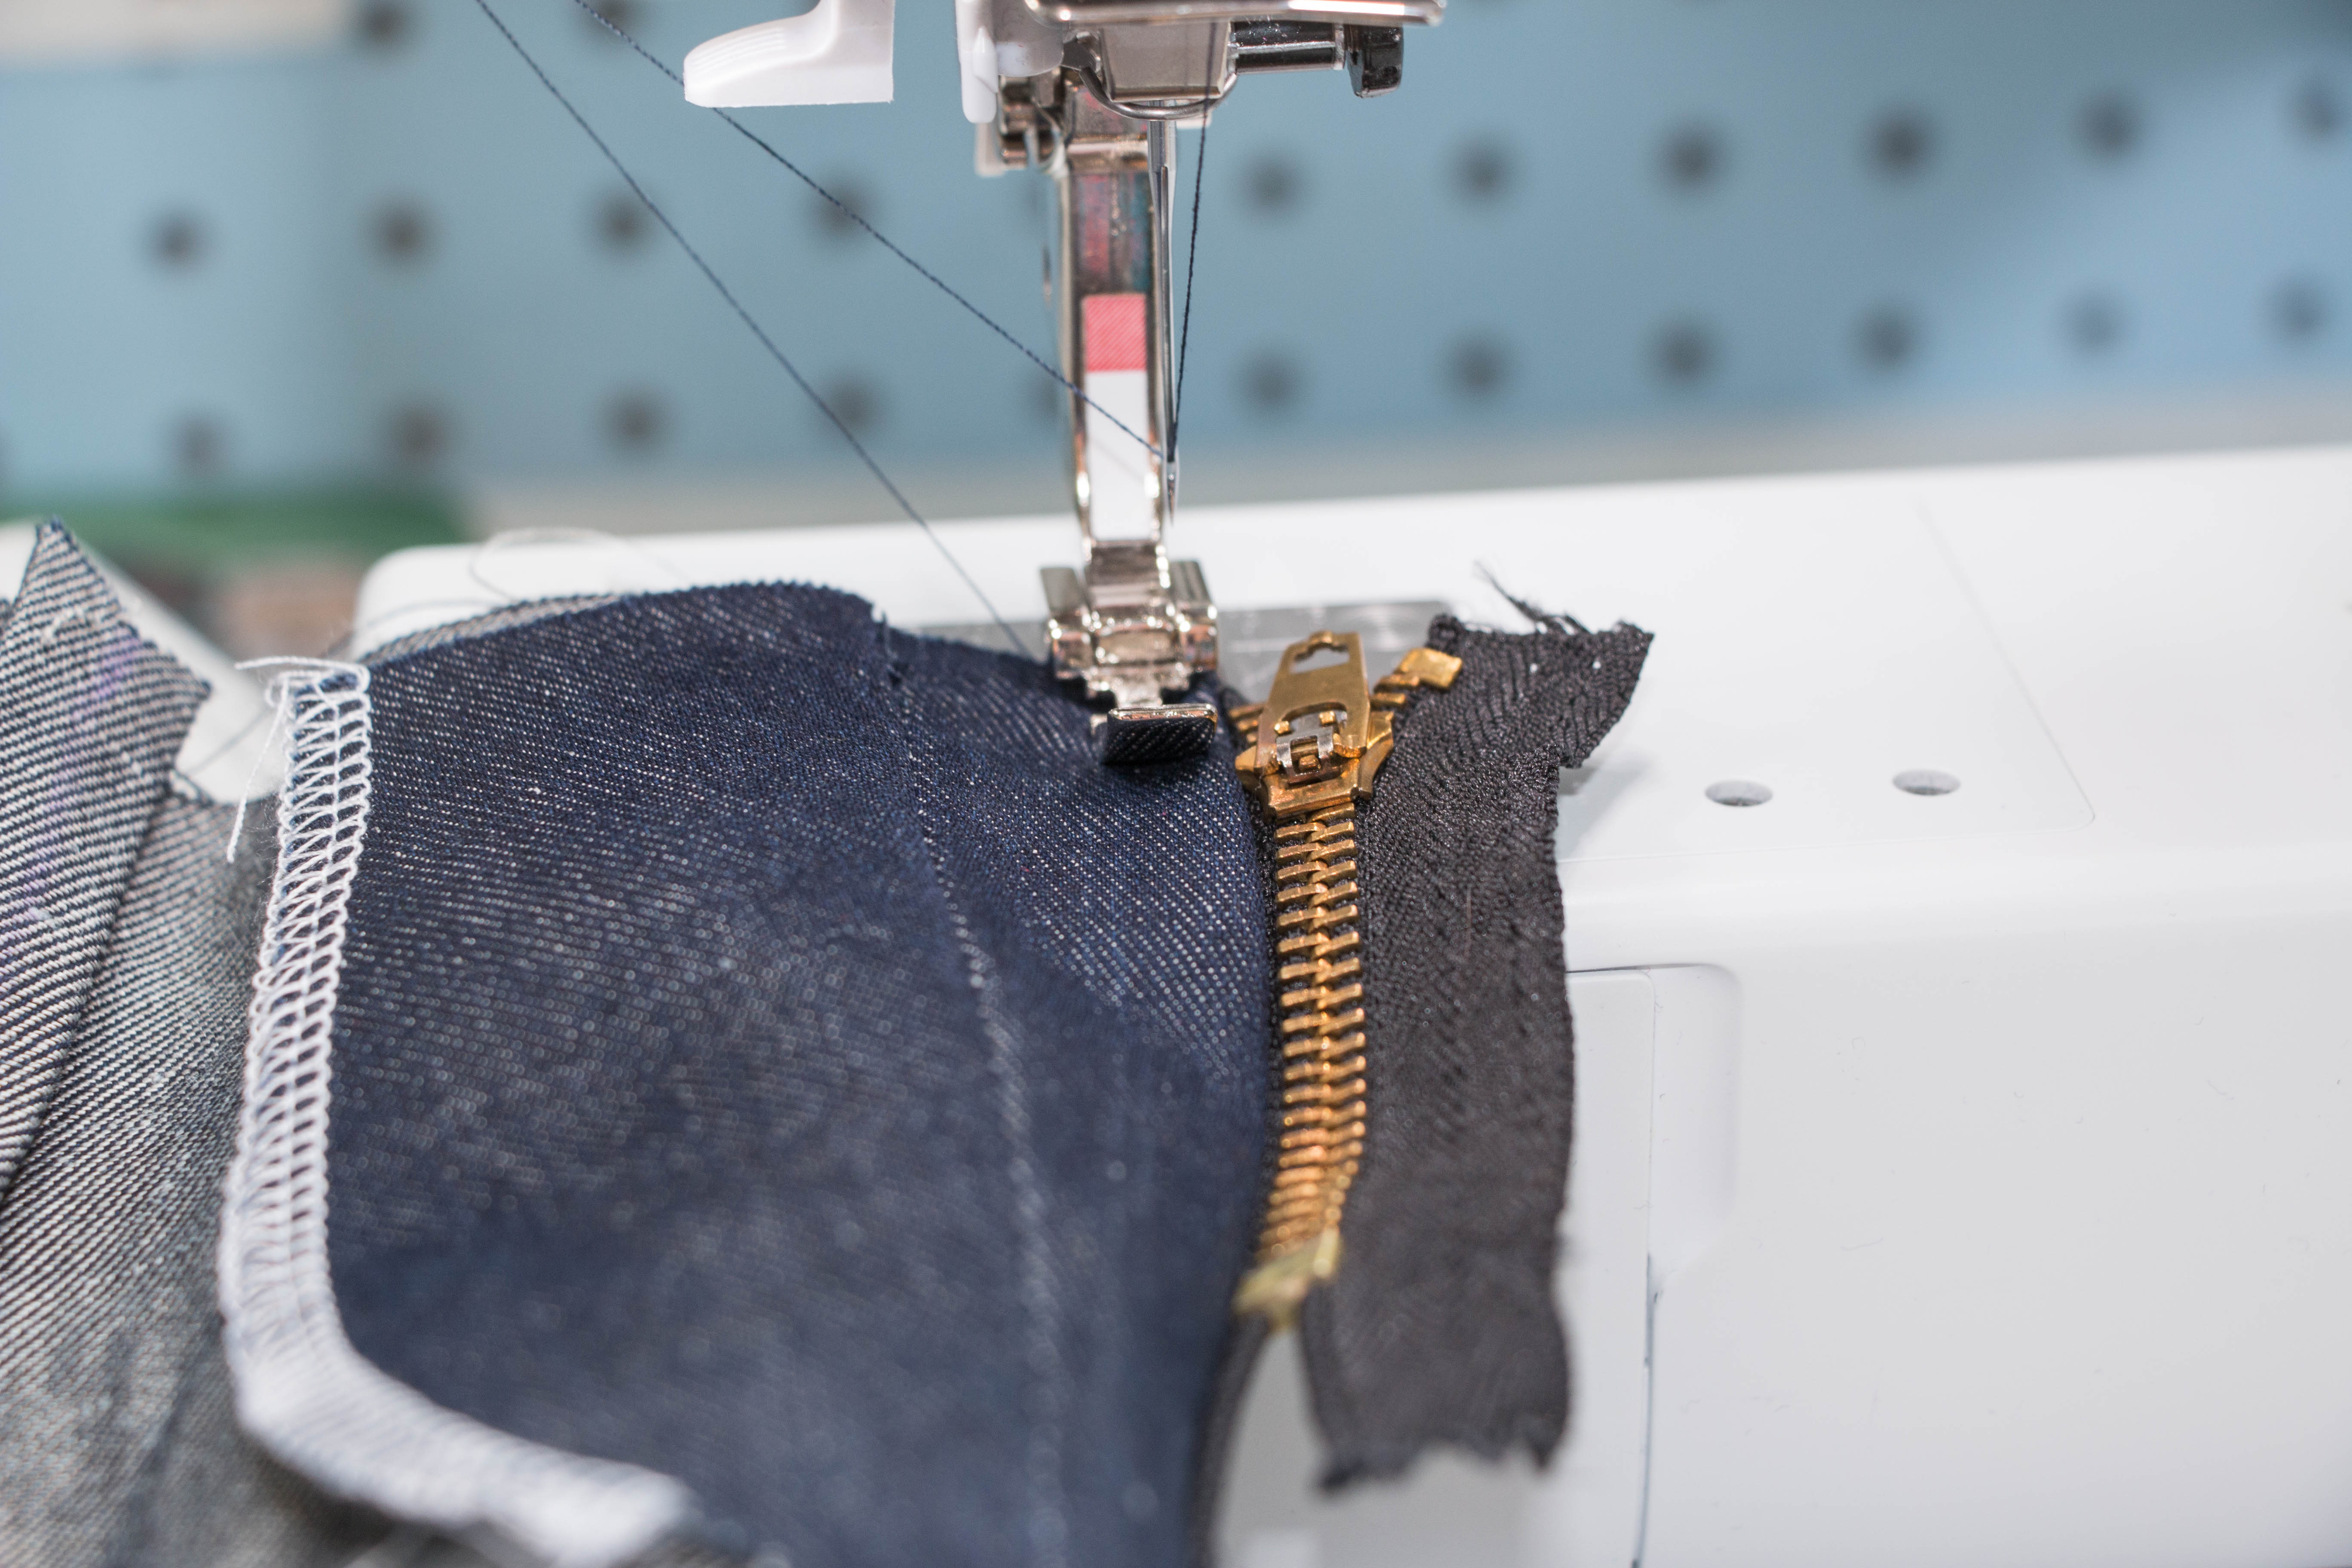
Turn the zip around and topstitch.
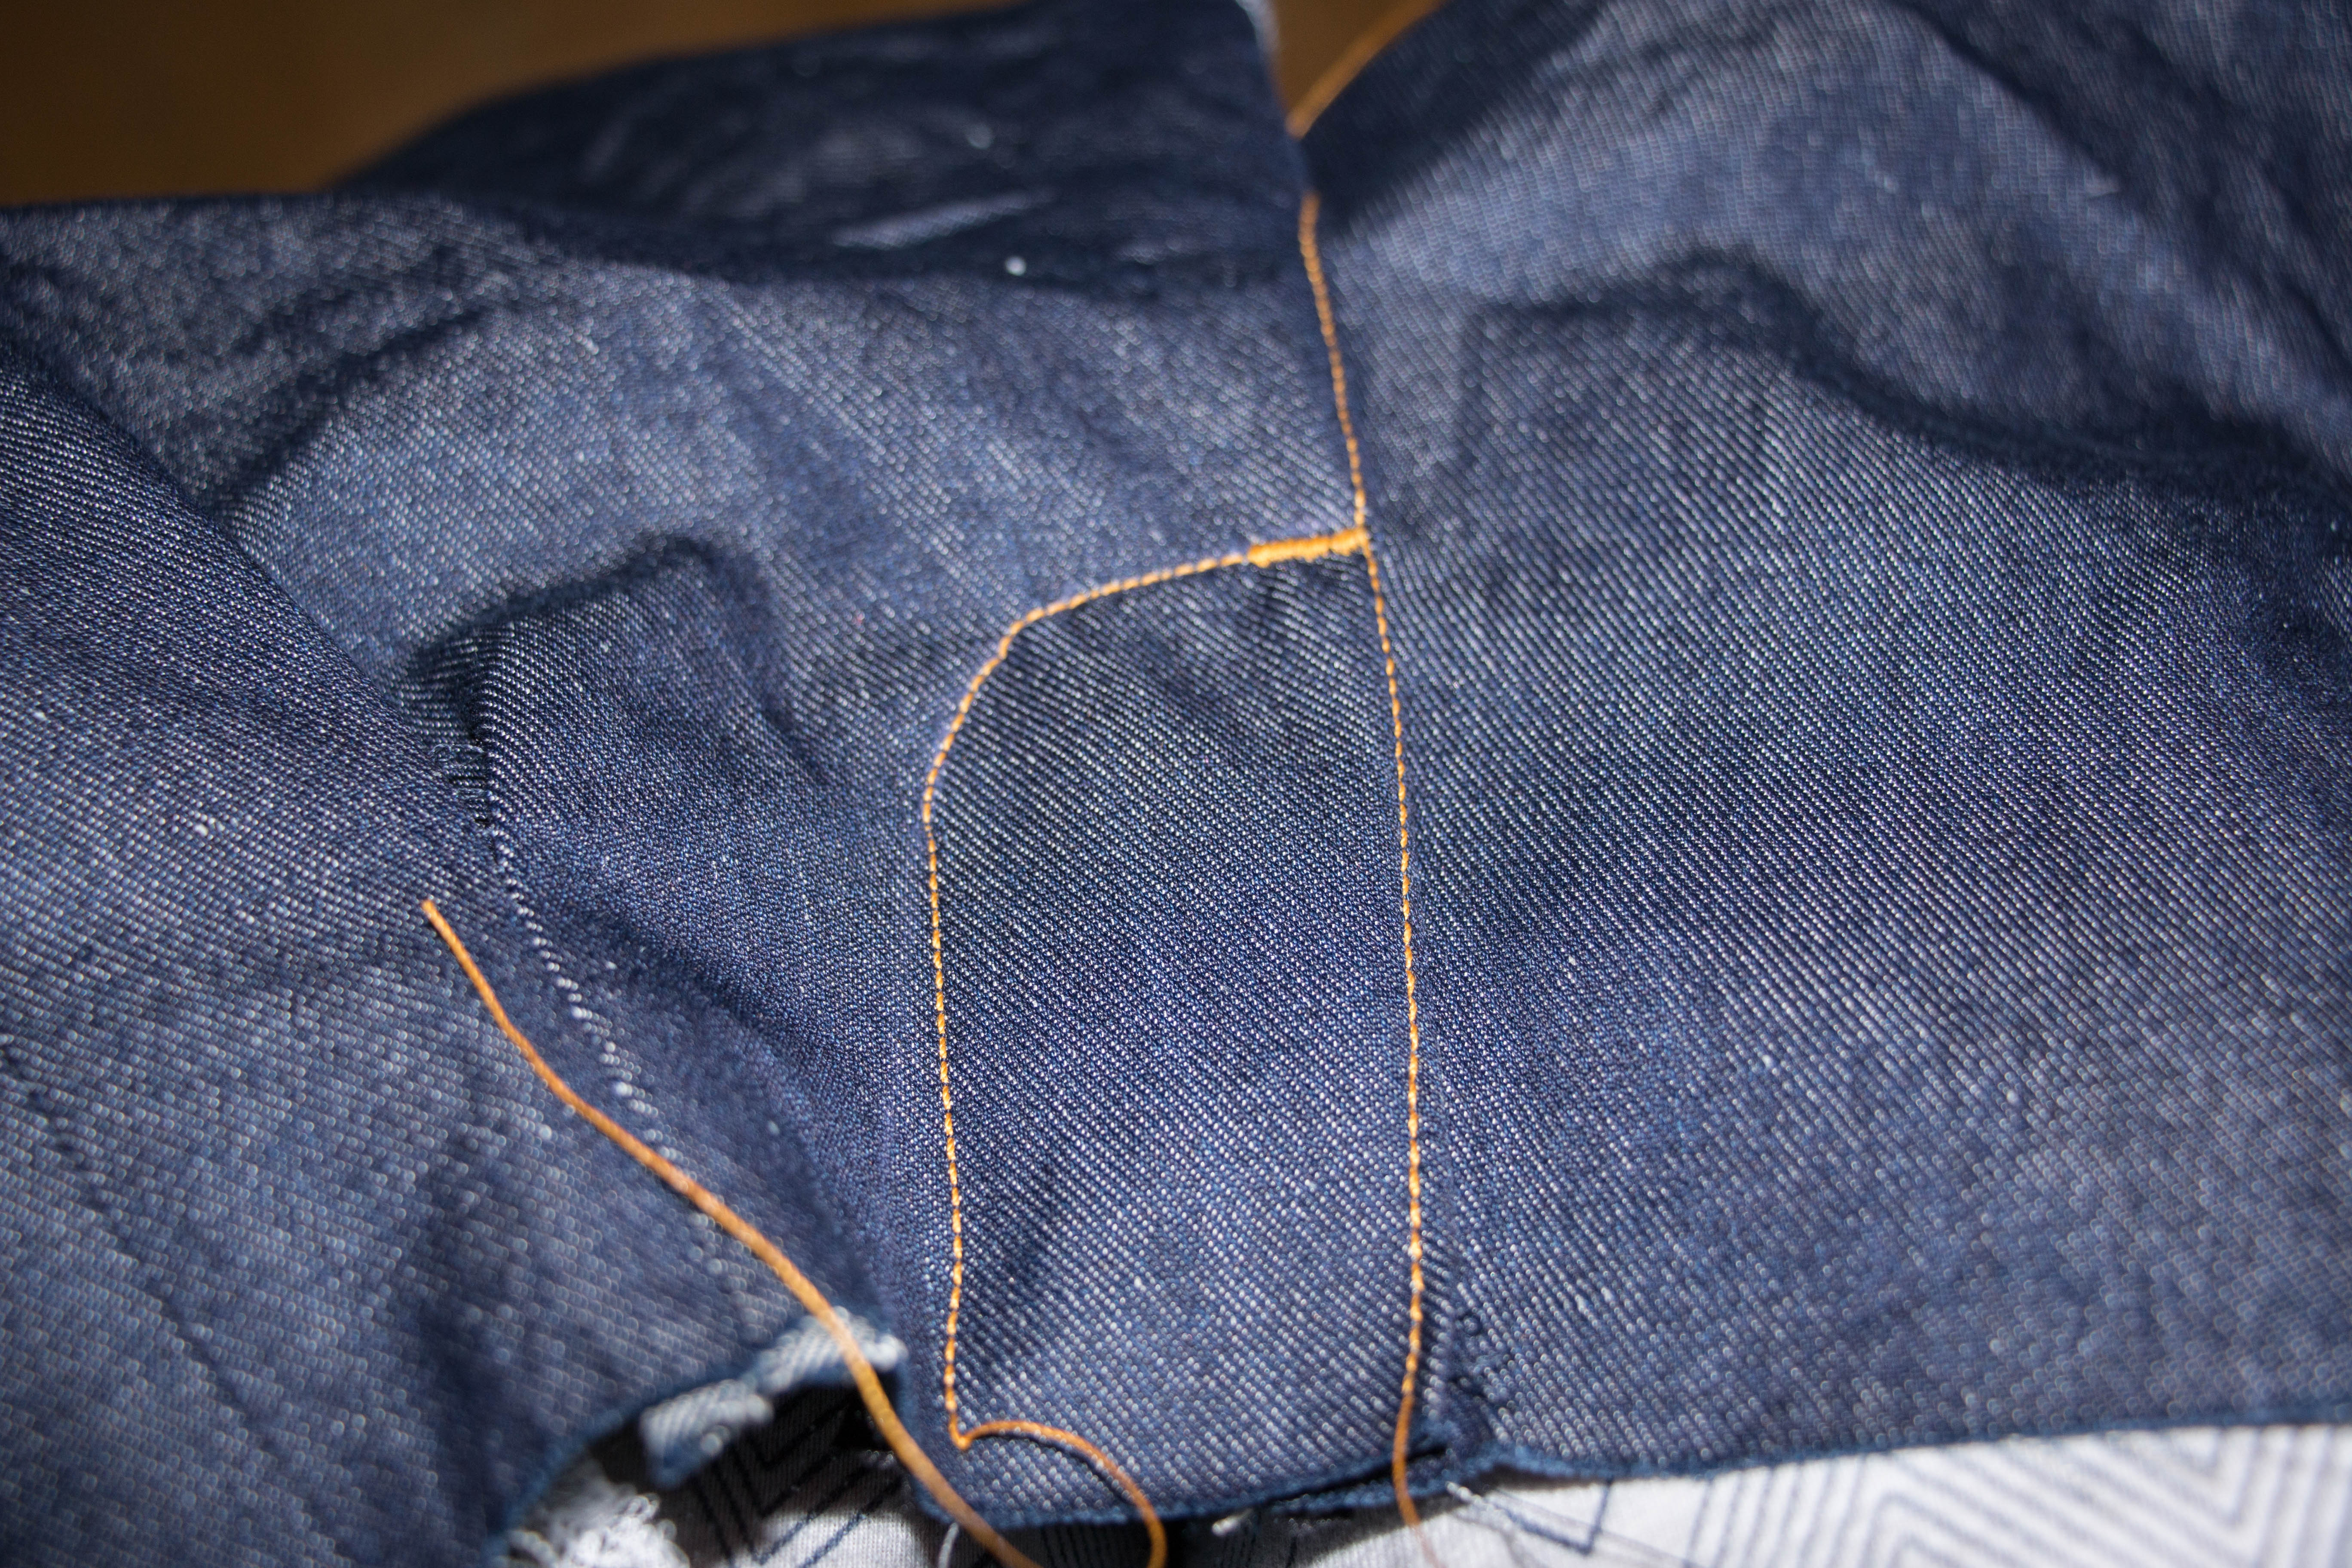
Topstitch the pocket seam (careful not to stitch the whole pocket piece). You can do this as soon as you’ve finished the pockets but I hate changing thread so I try to do all the topstitching bits together.
Topstitch the crotch seam of the front. CAREFUL: Do not sew through the zipper at this stage.
Attach the zipper to the other side of the fly extension (not shown) by folding it over and attaching it to the extension only. Then turn the jeans around and use the cut off zipextension of your old pair as a topstitching guide.
Katja’s jeans only hat one row of topstitching. Usually jeans have two.

In my case I had to topstitch the pleats as well.
… and a closeup (the pocket is to the left).
You can remove the basting stitches of your fly extension now and attach the fly cover.
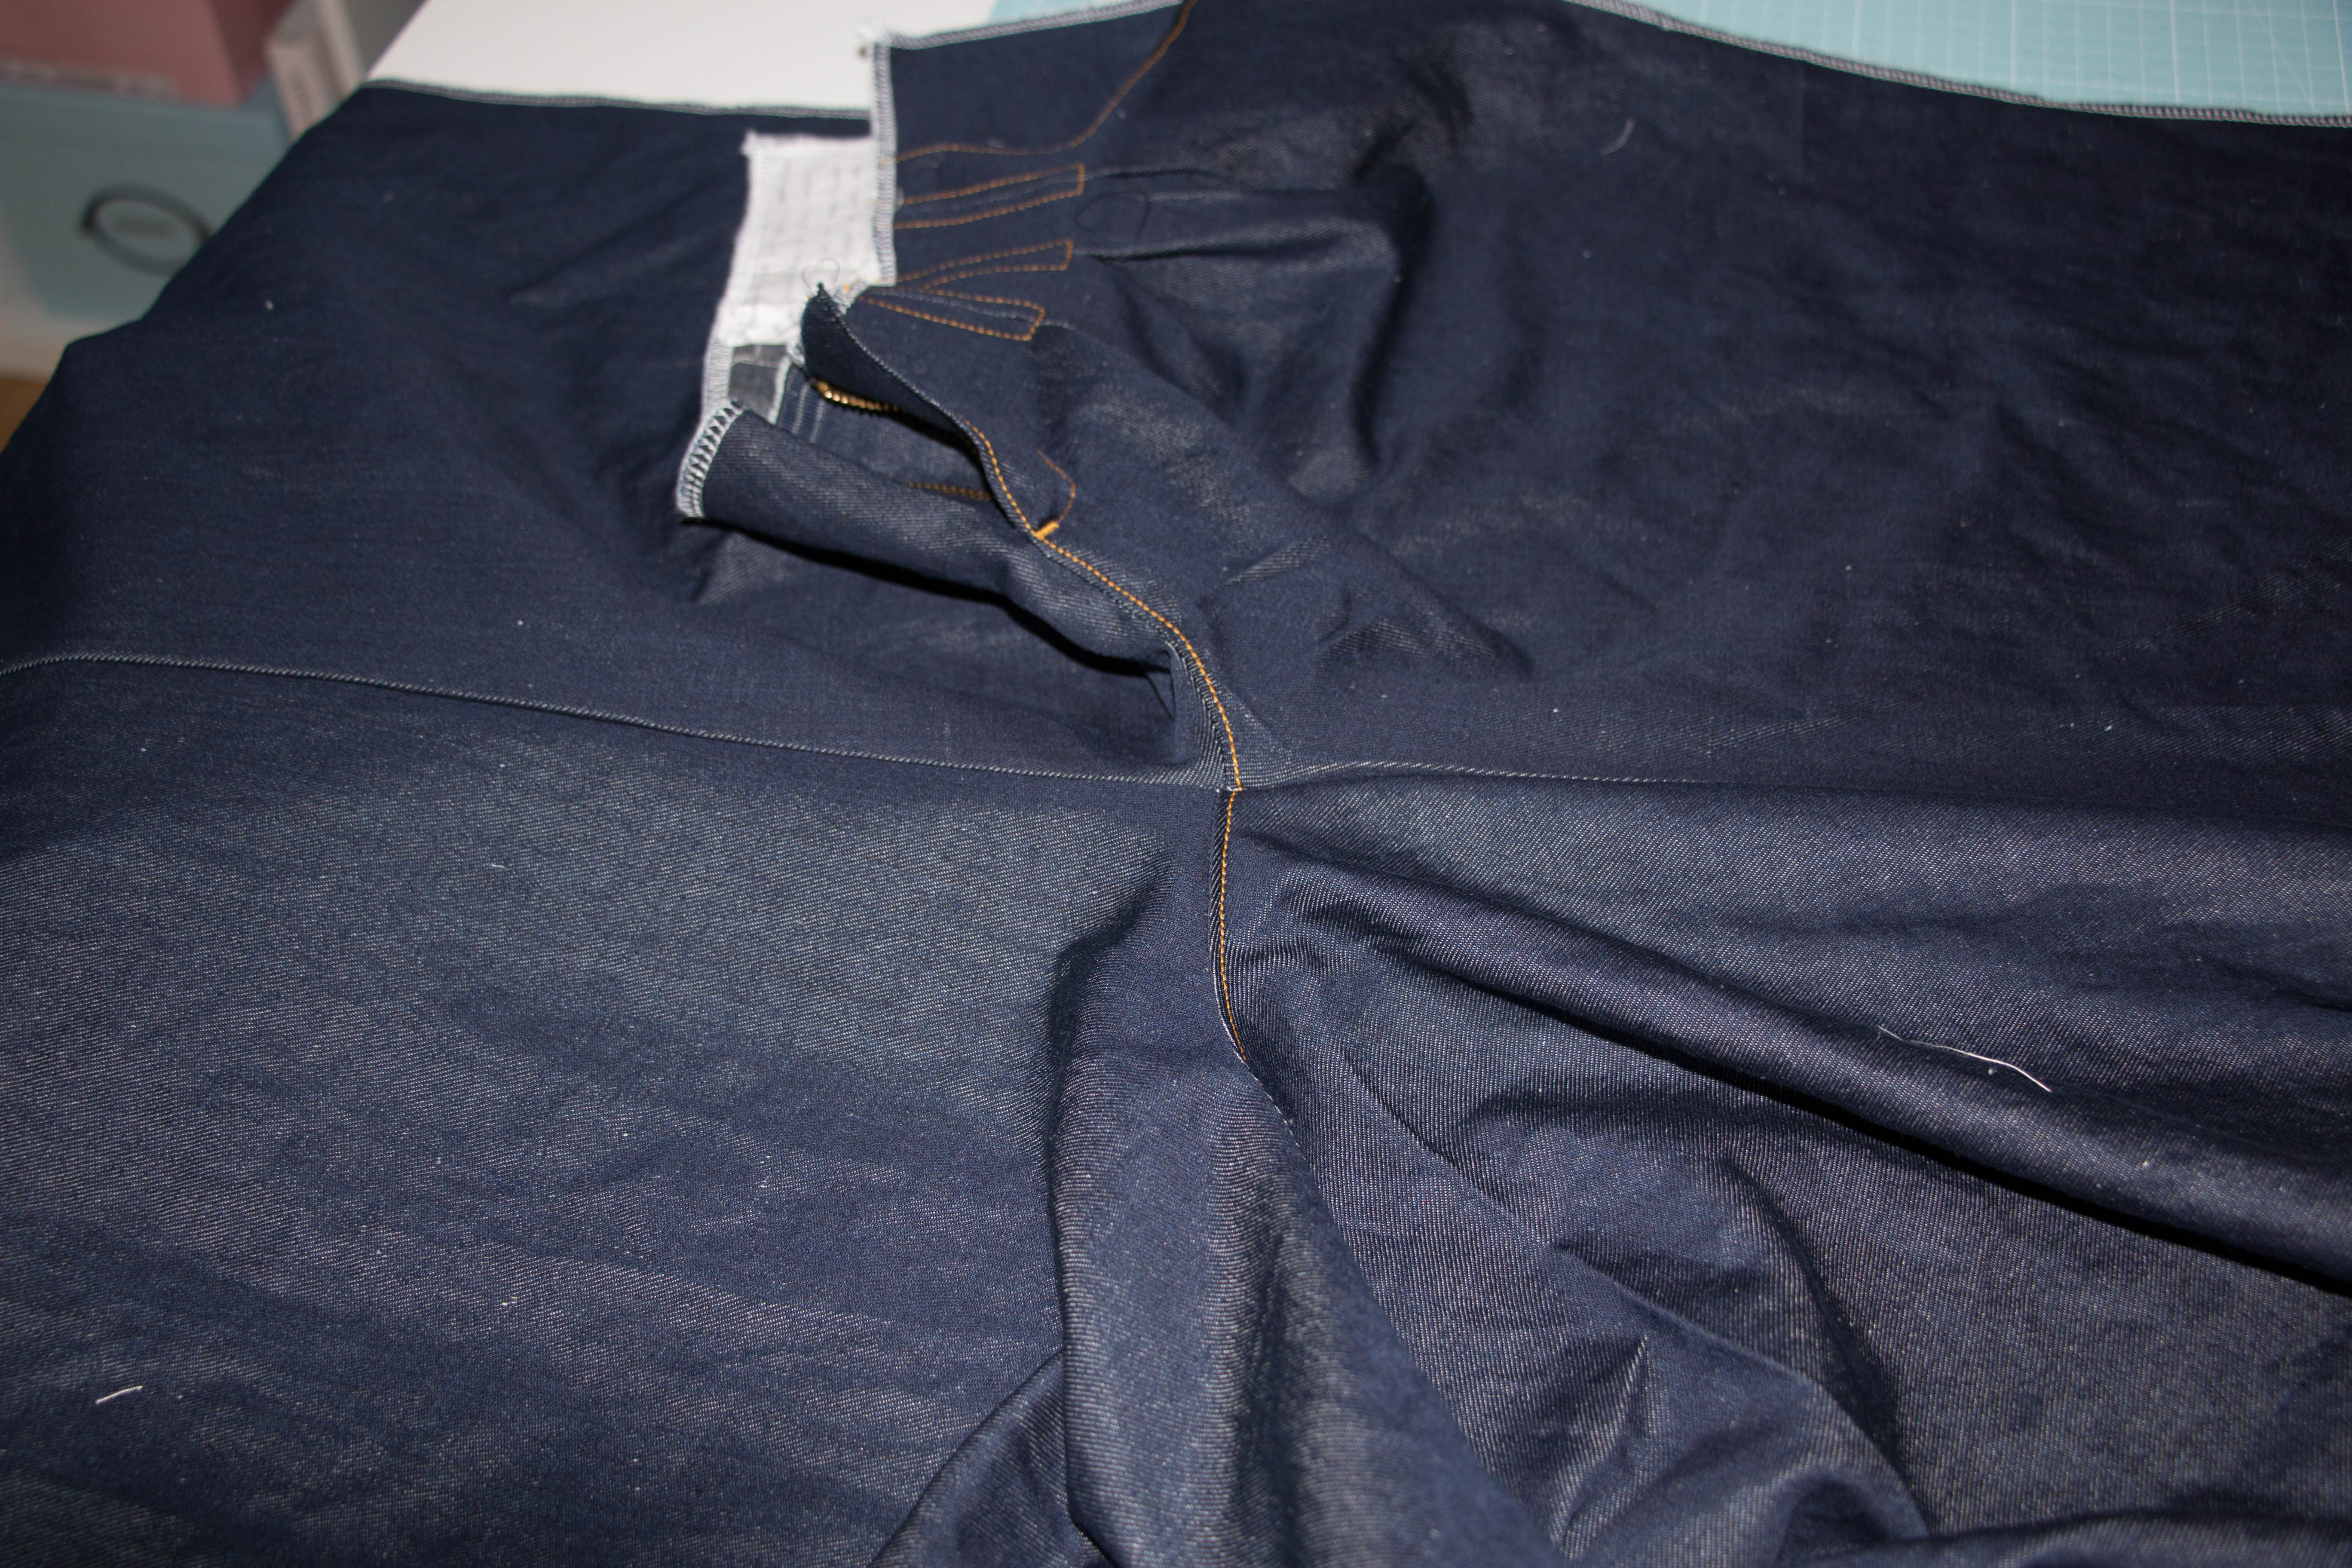
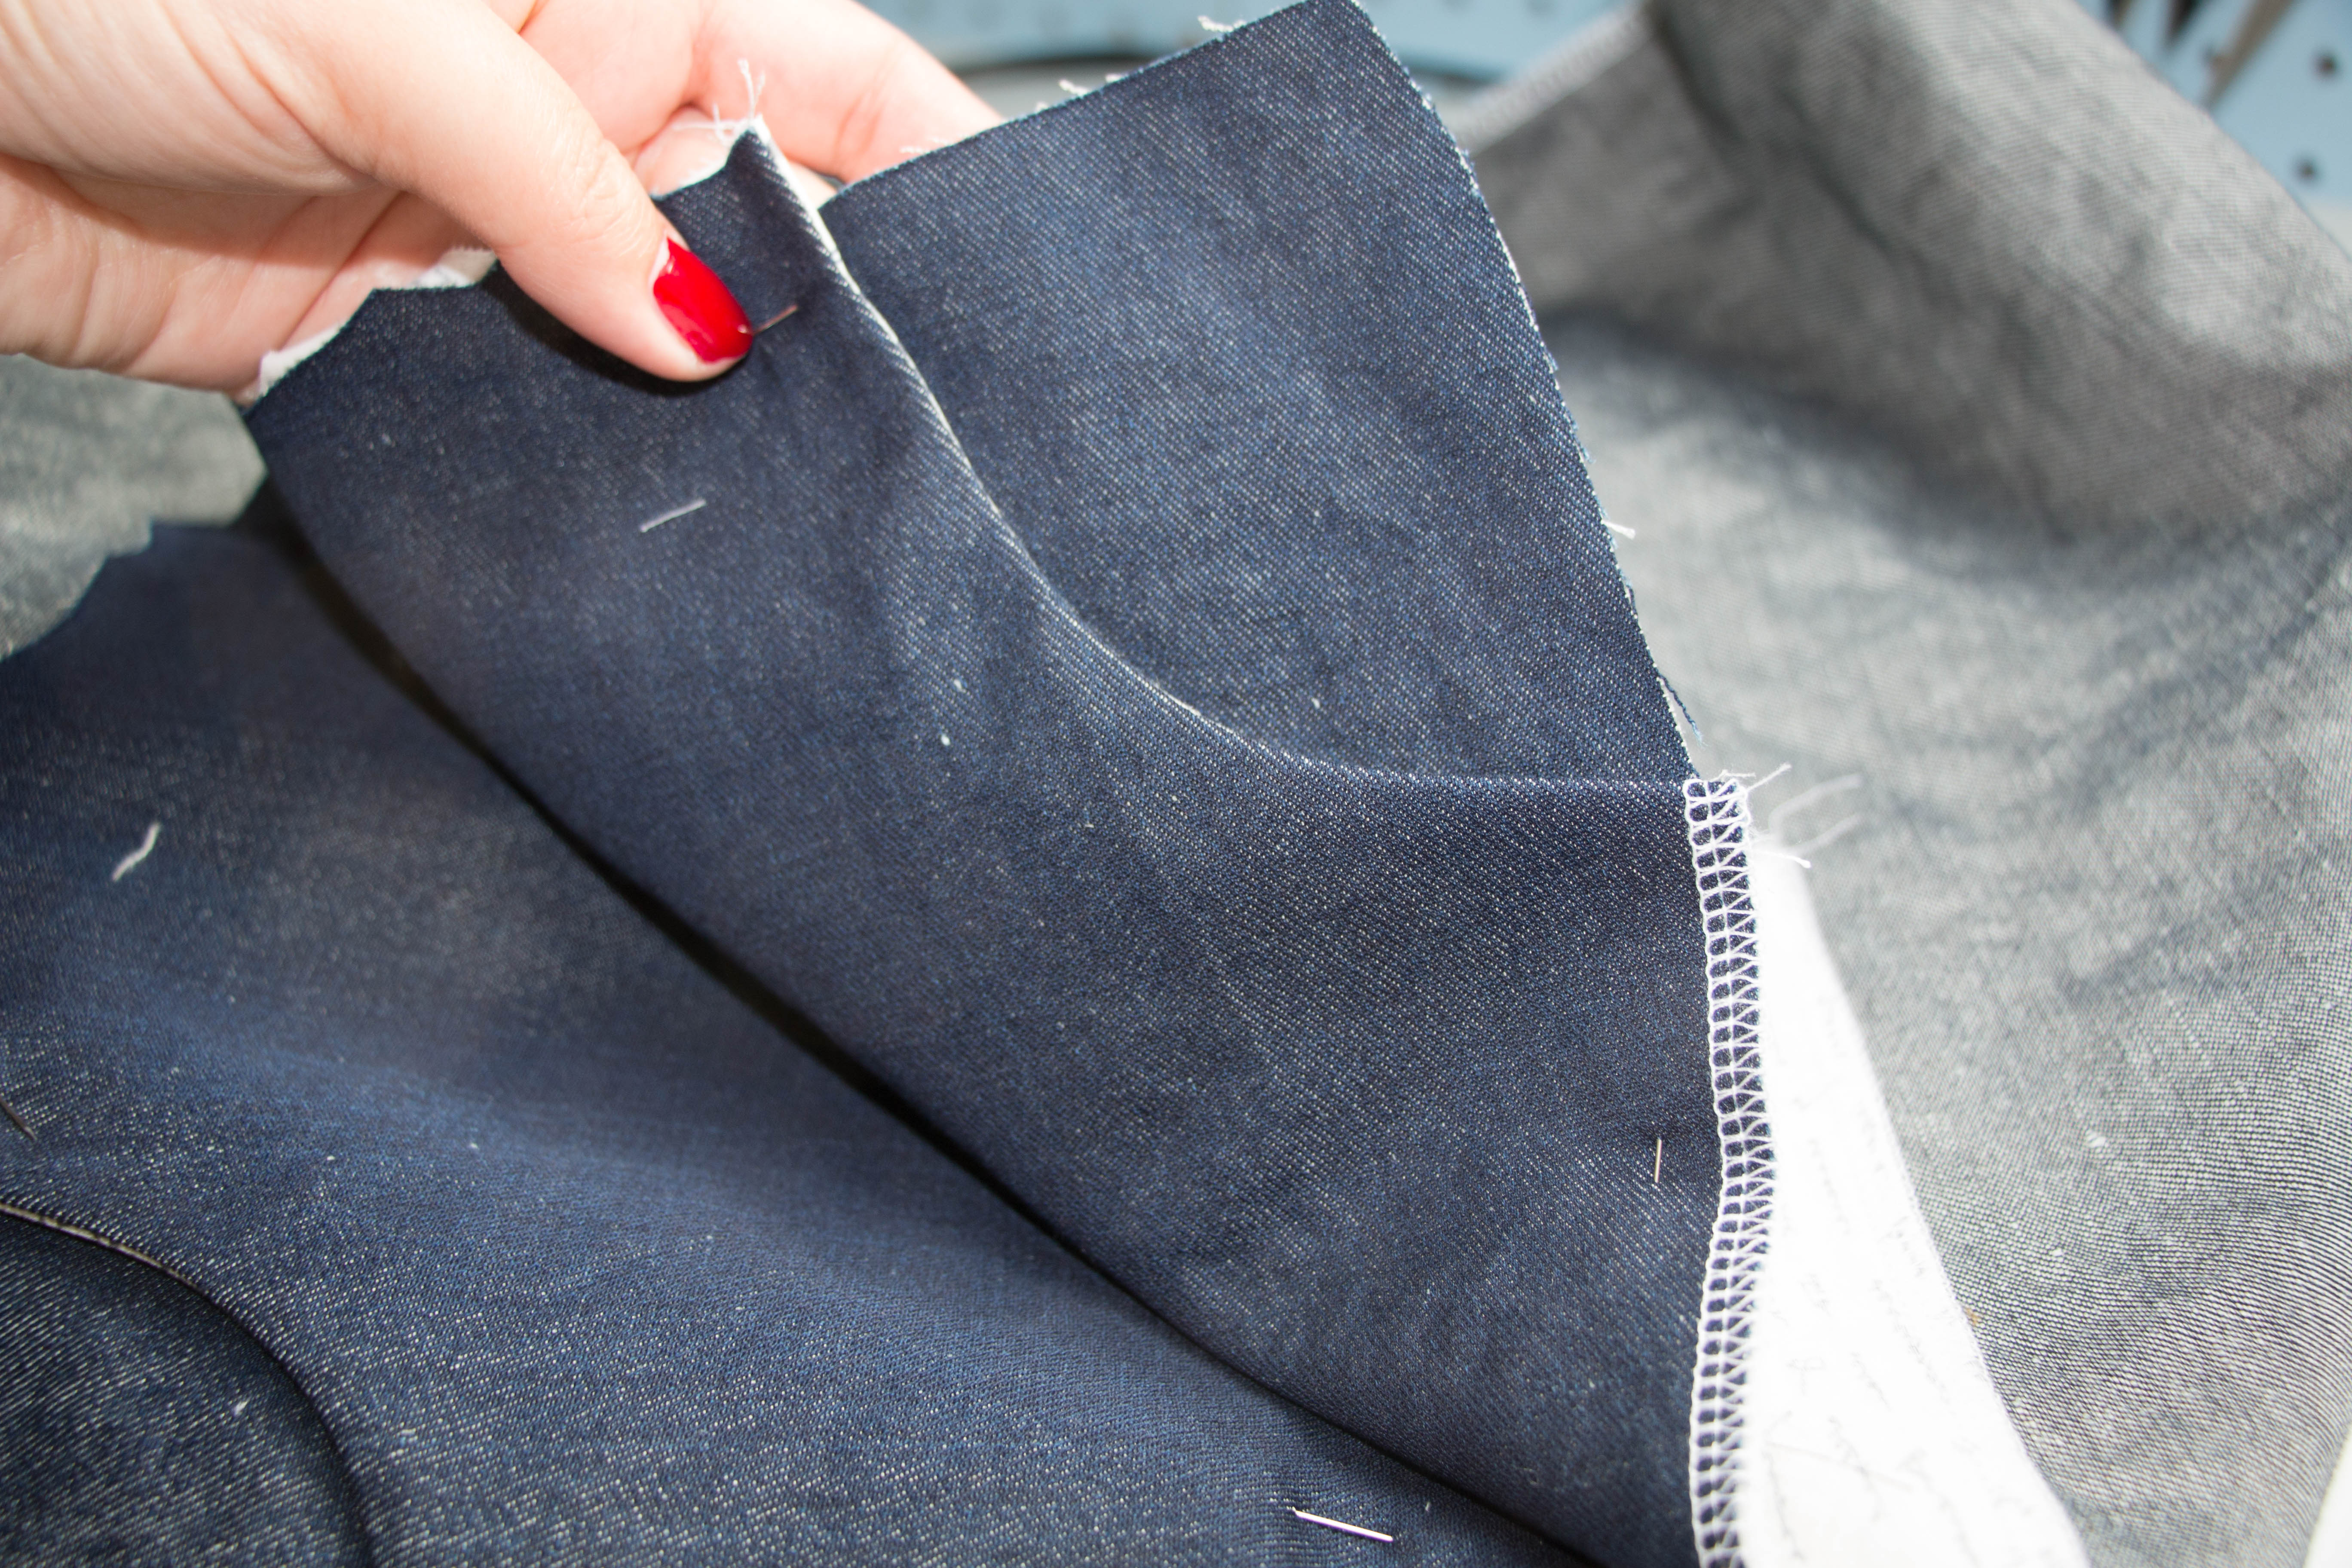
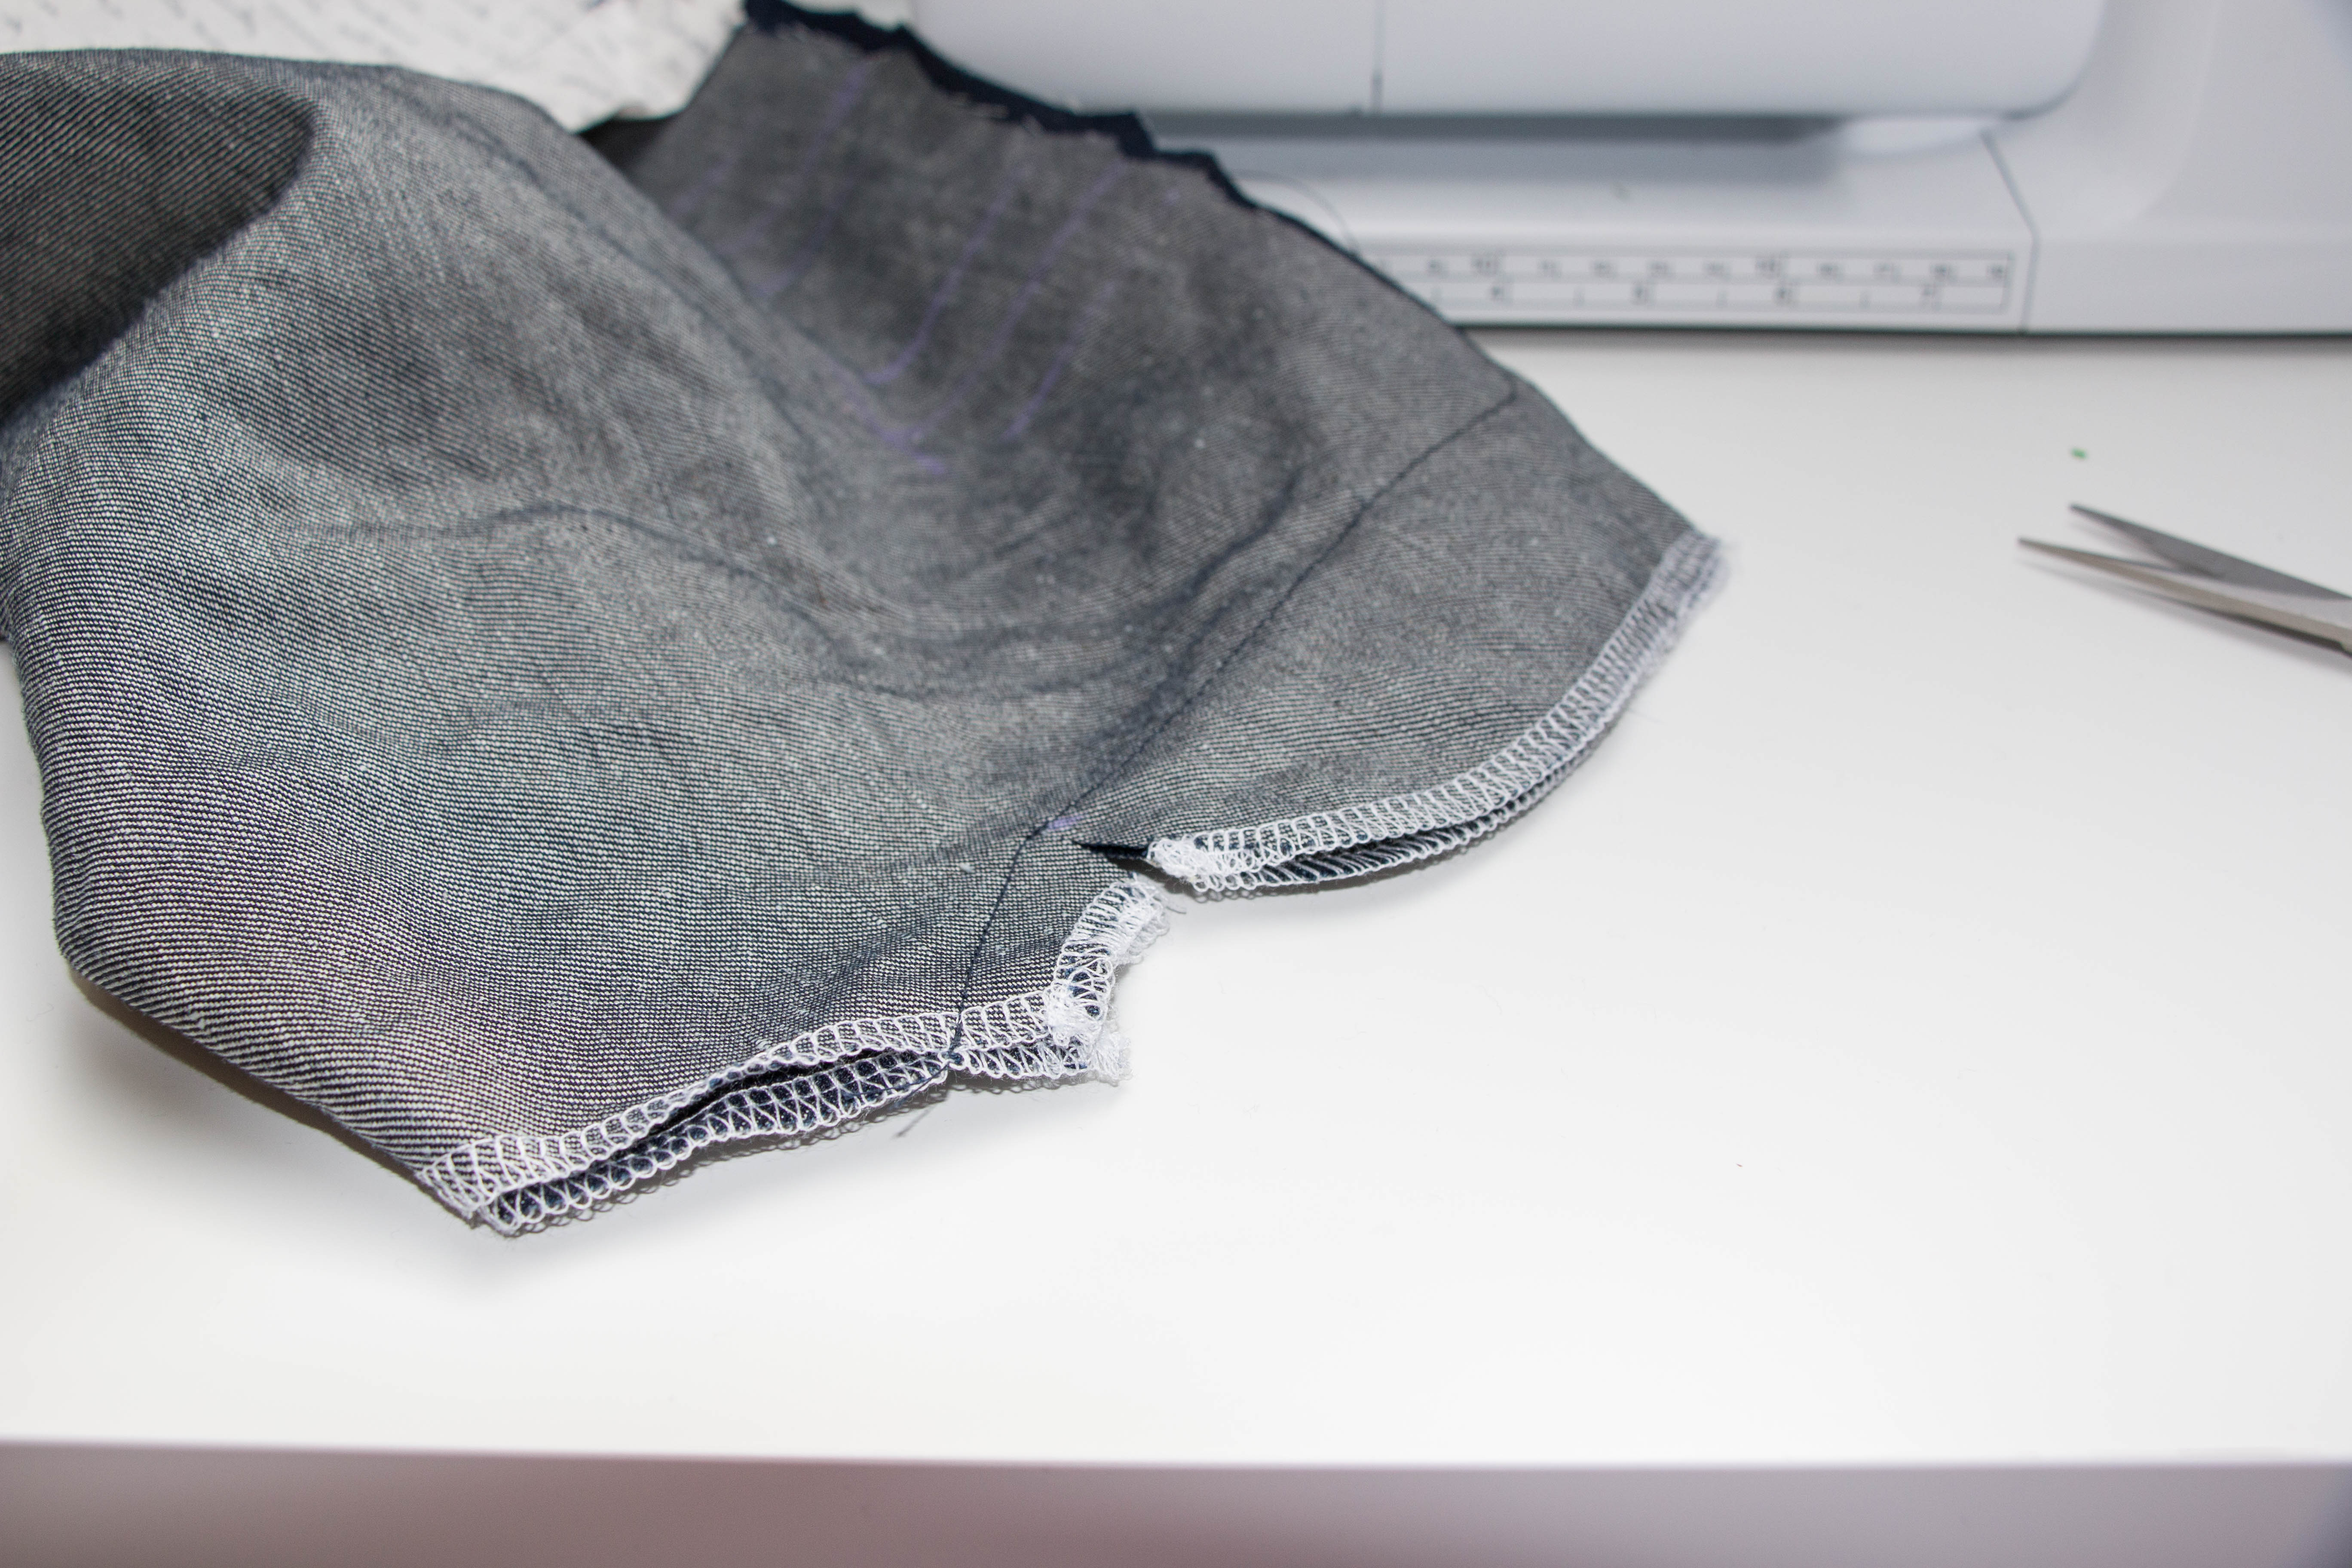
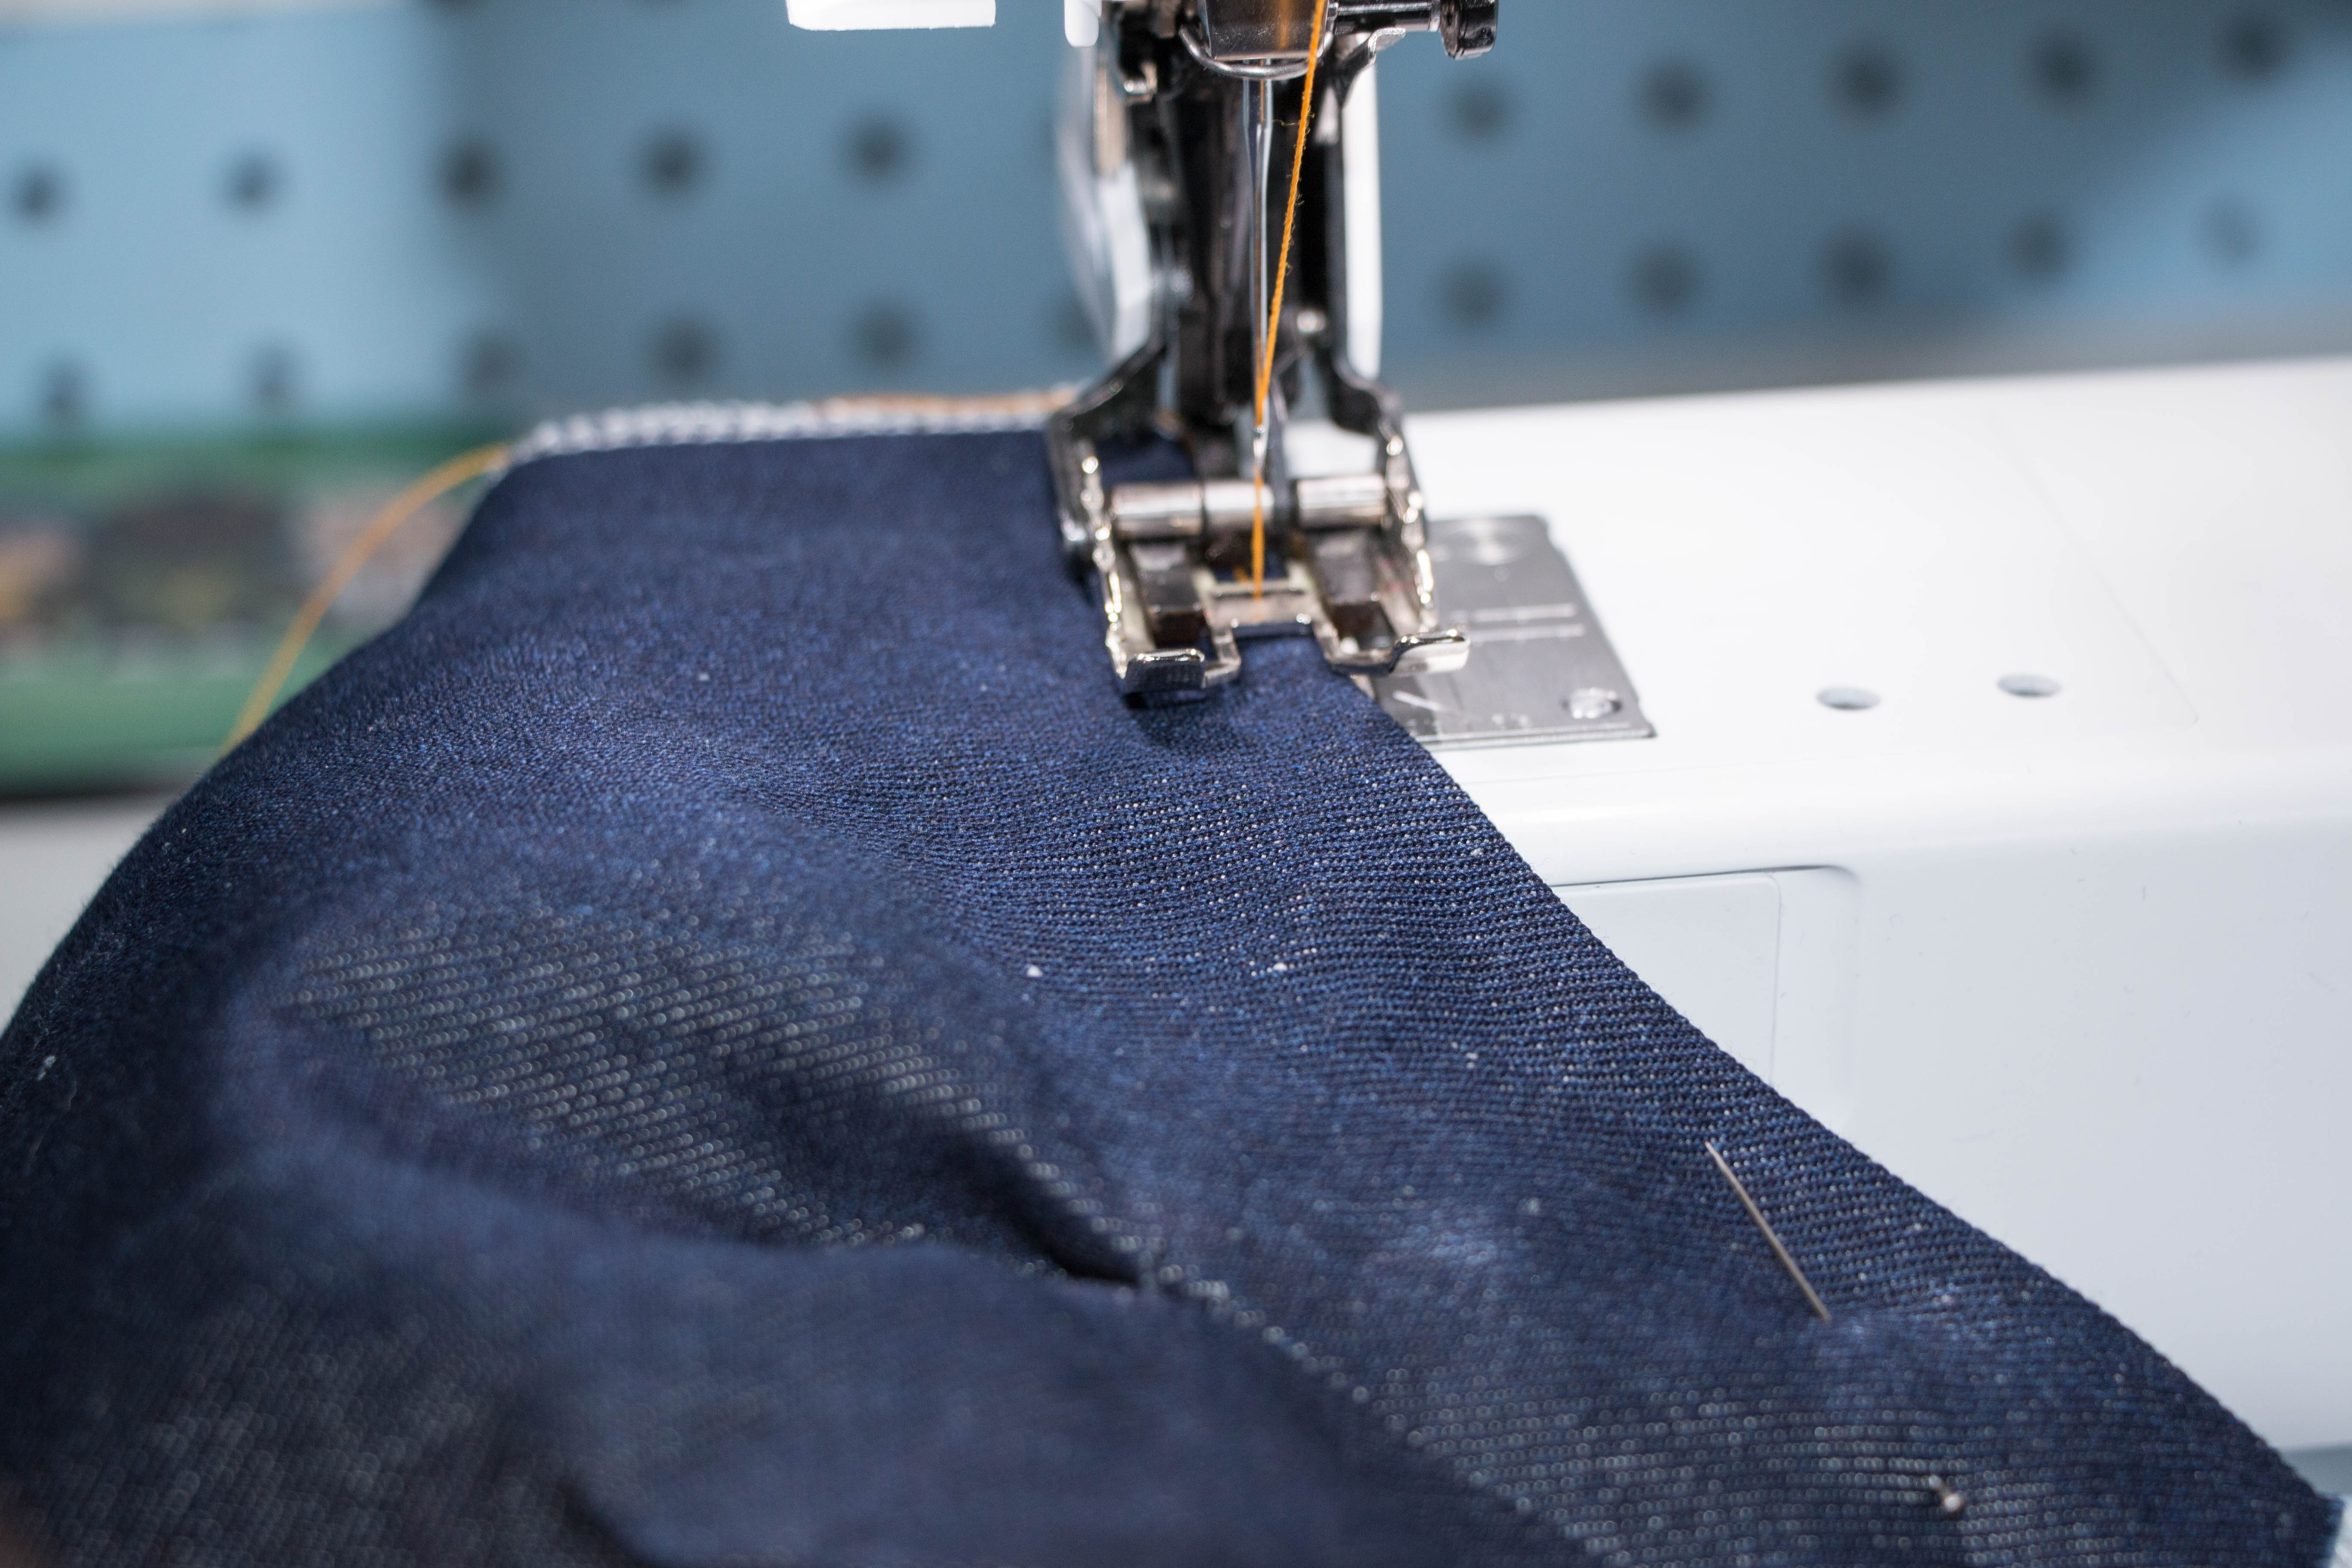
Sew the backpieces together and topstitch the crotch seam on the same side as your front so the topstitching lines will match up when the front and back are attached. Sew the inner seam of the pantlegs first and topstitch them all the way down.
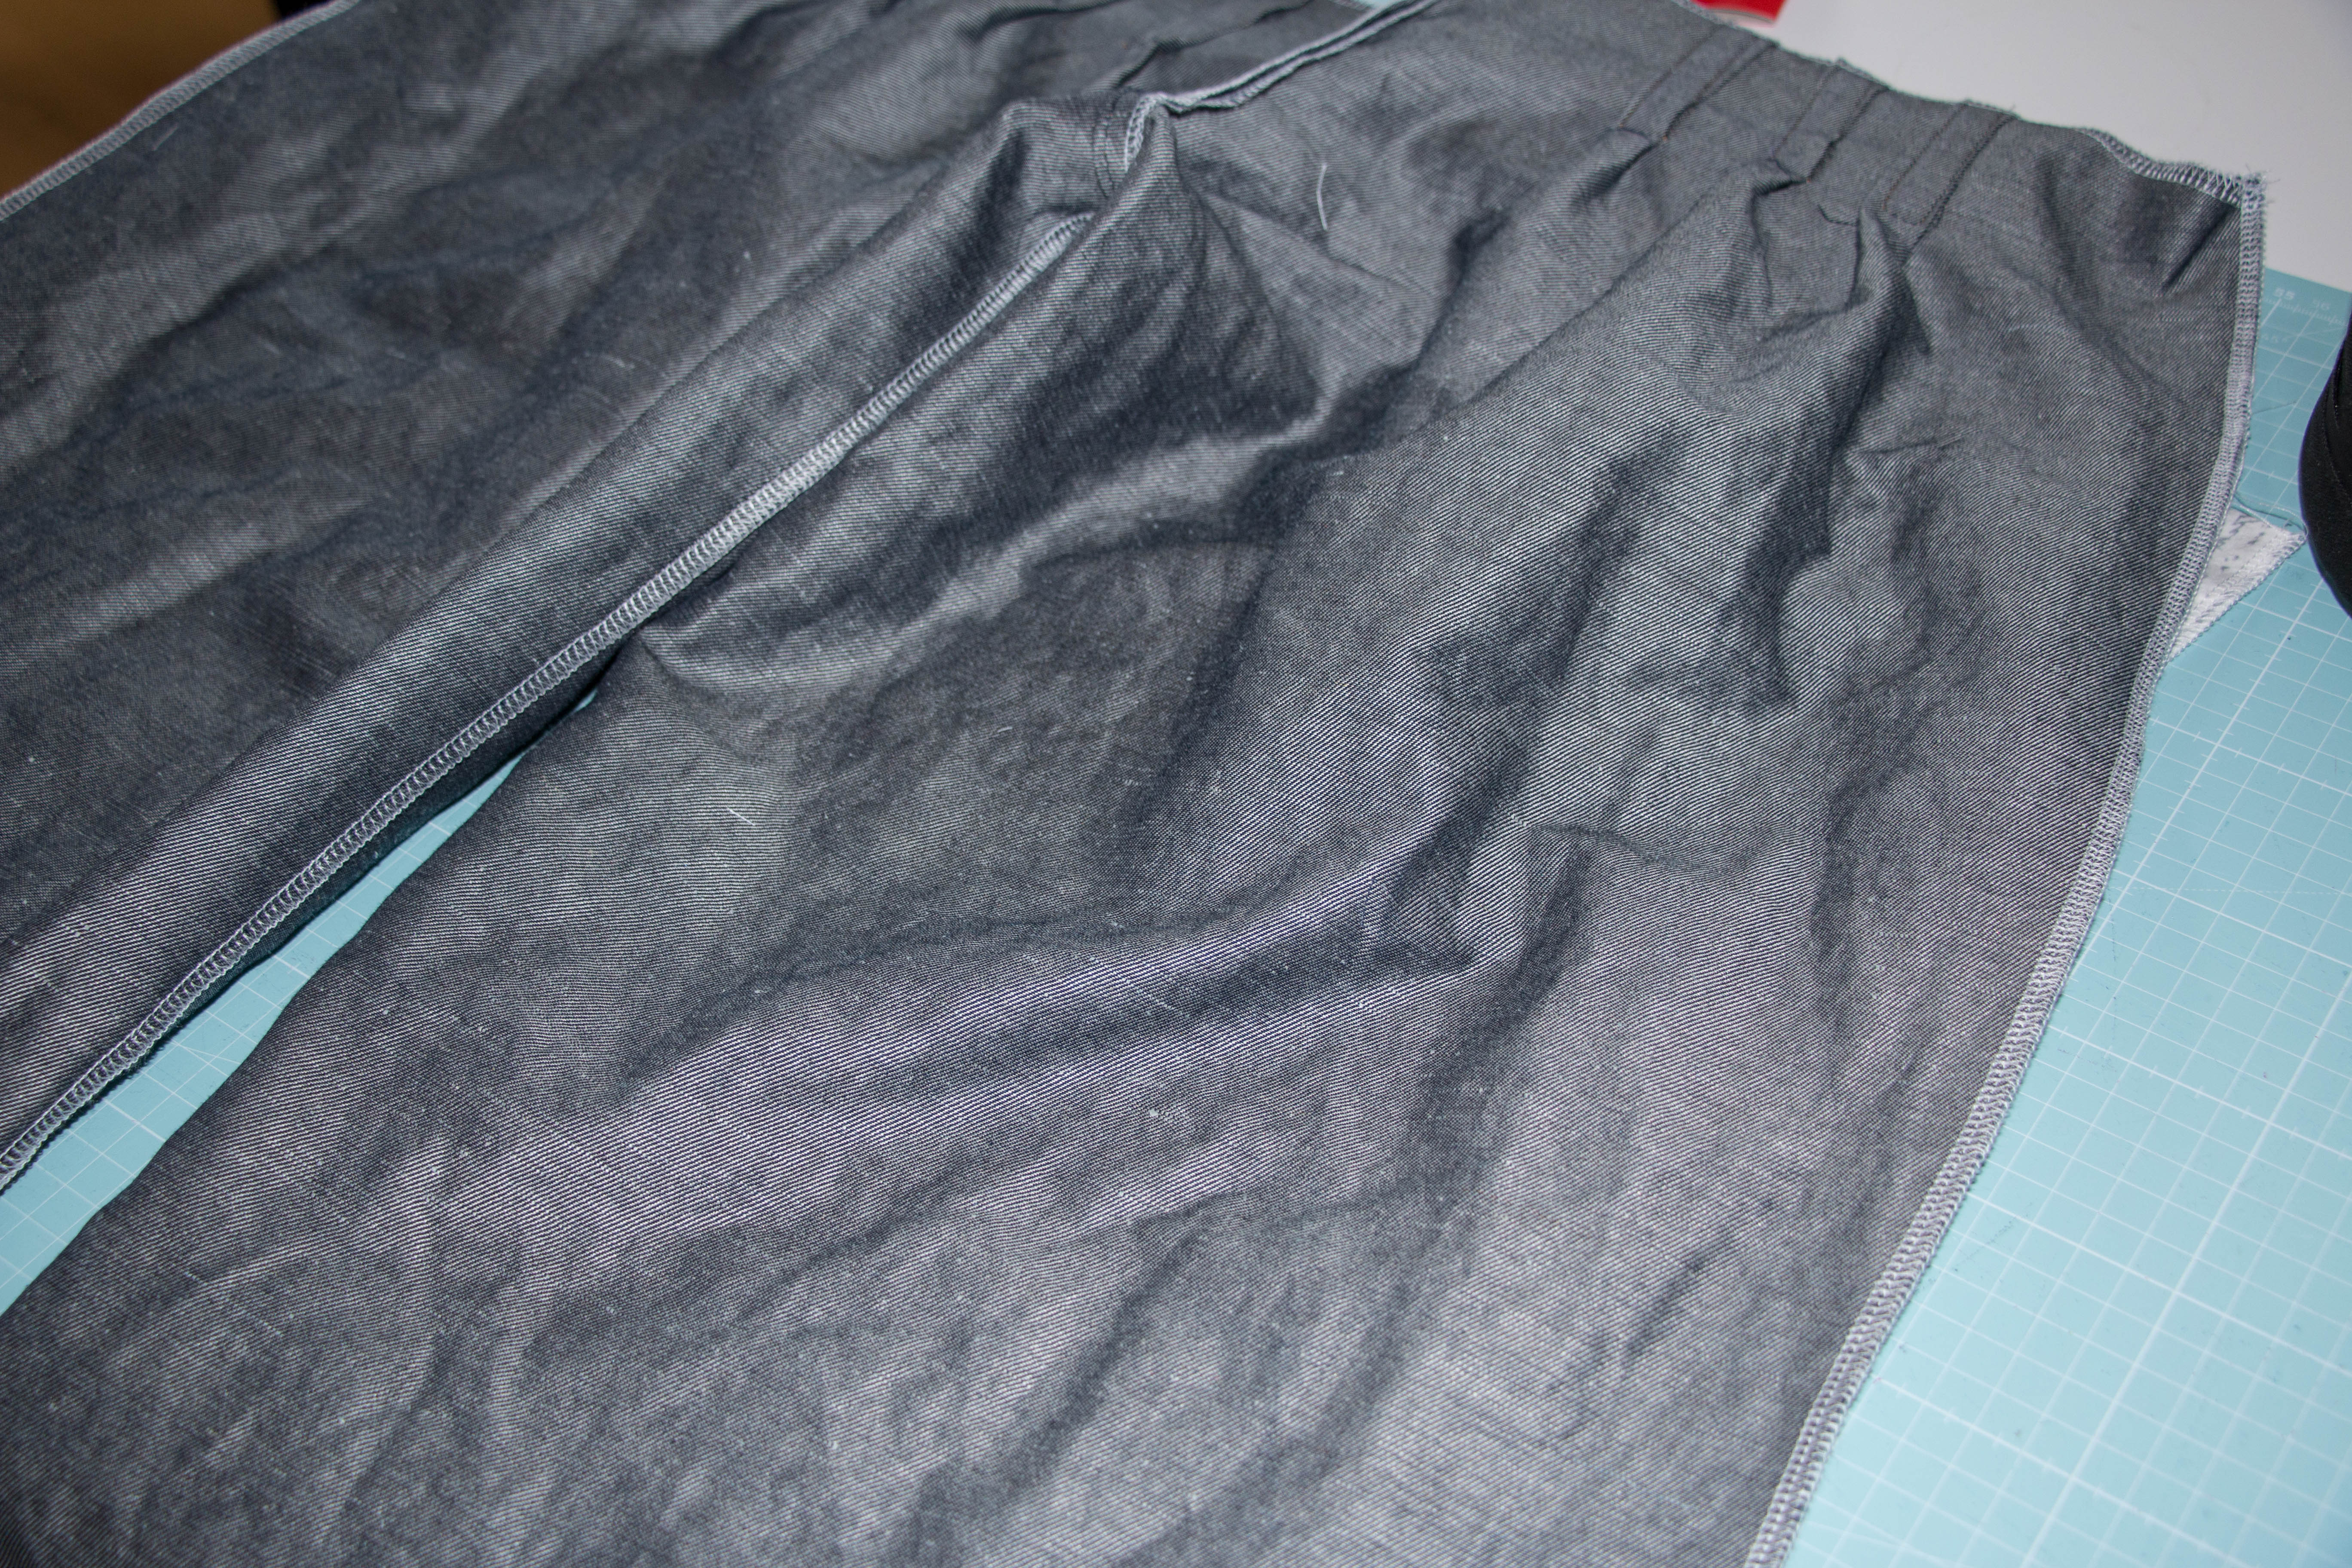
After this you can sew the outer seams of the legs.
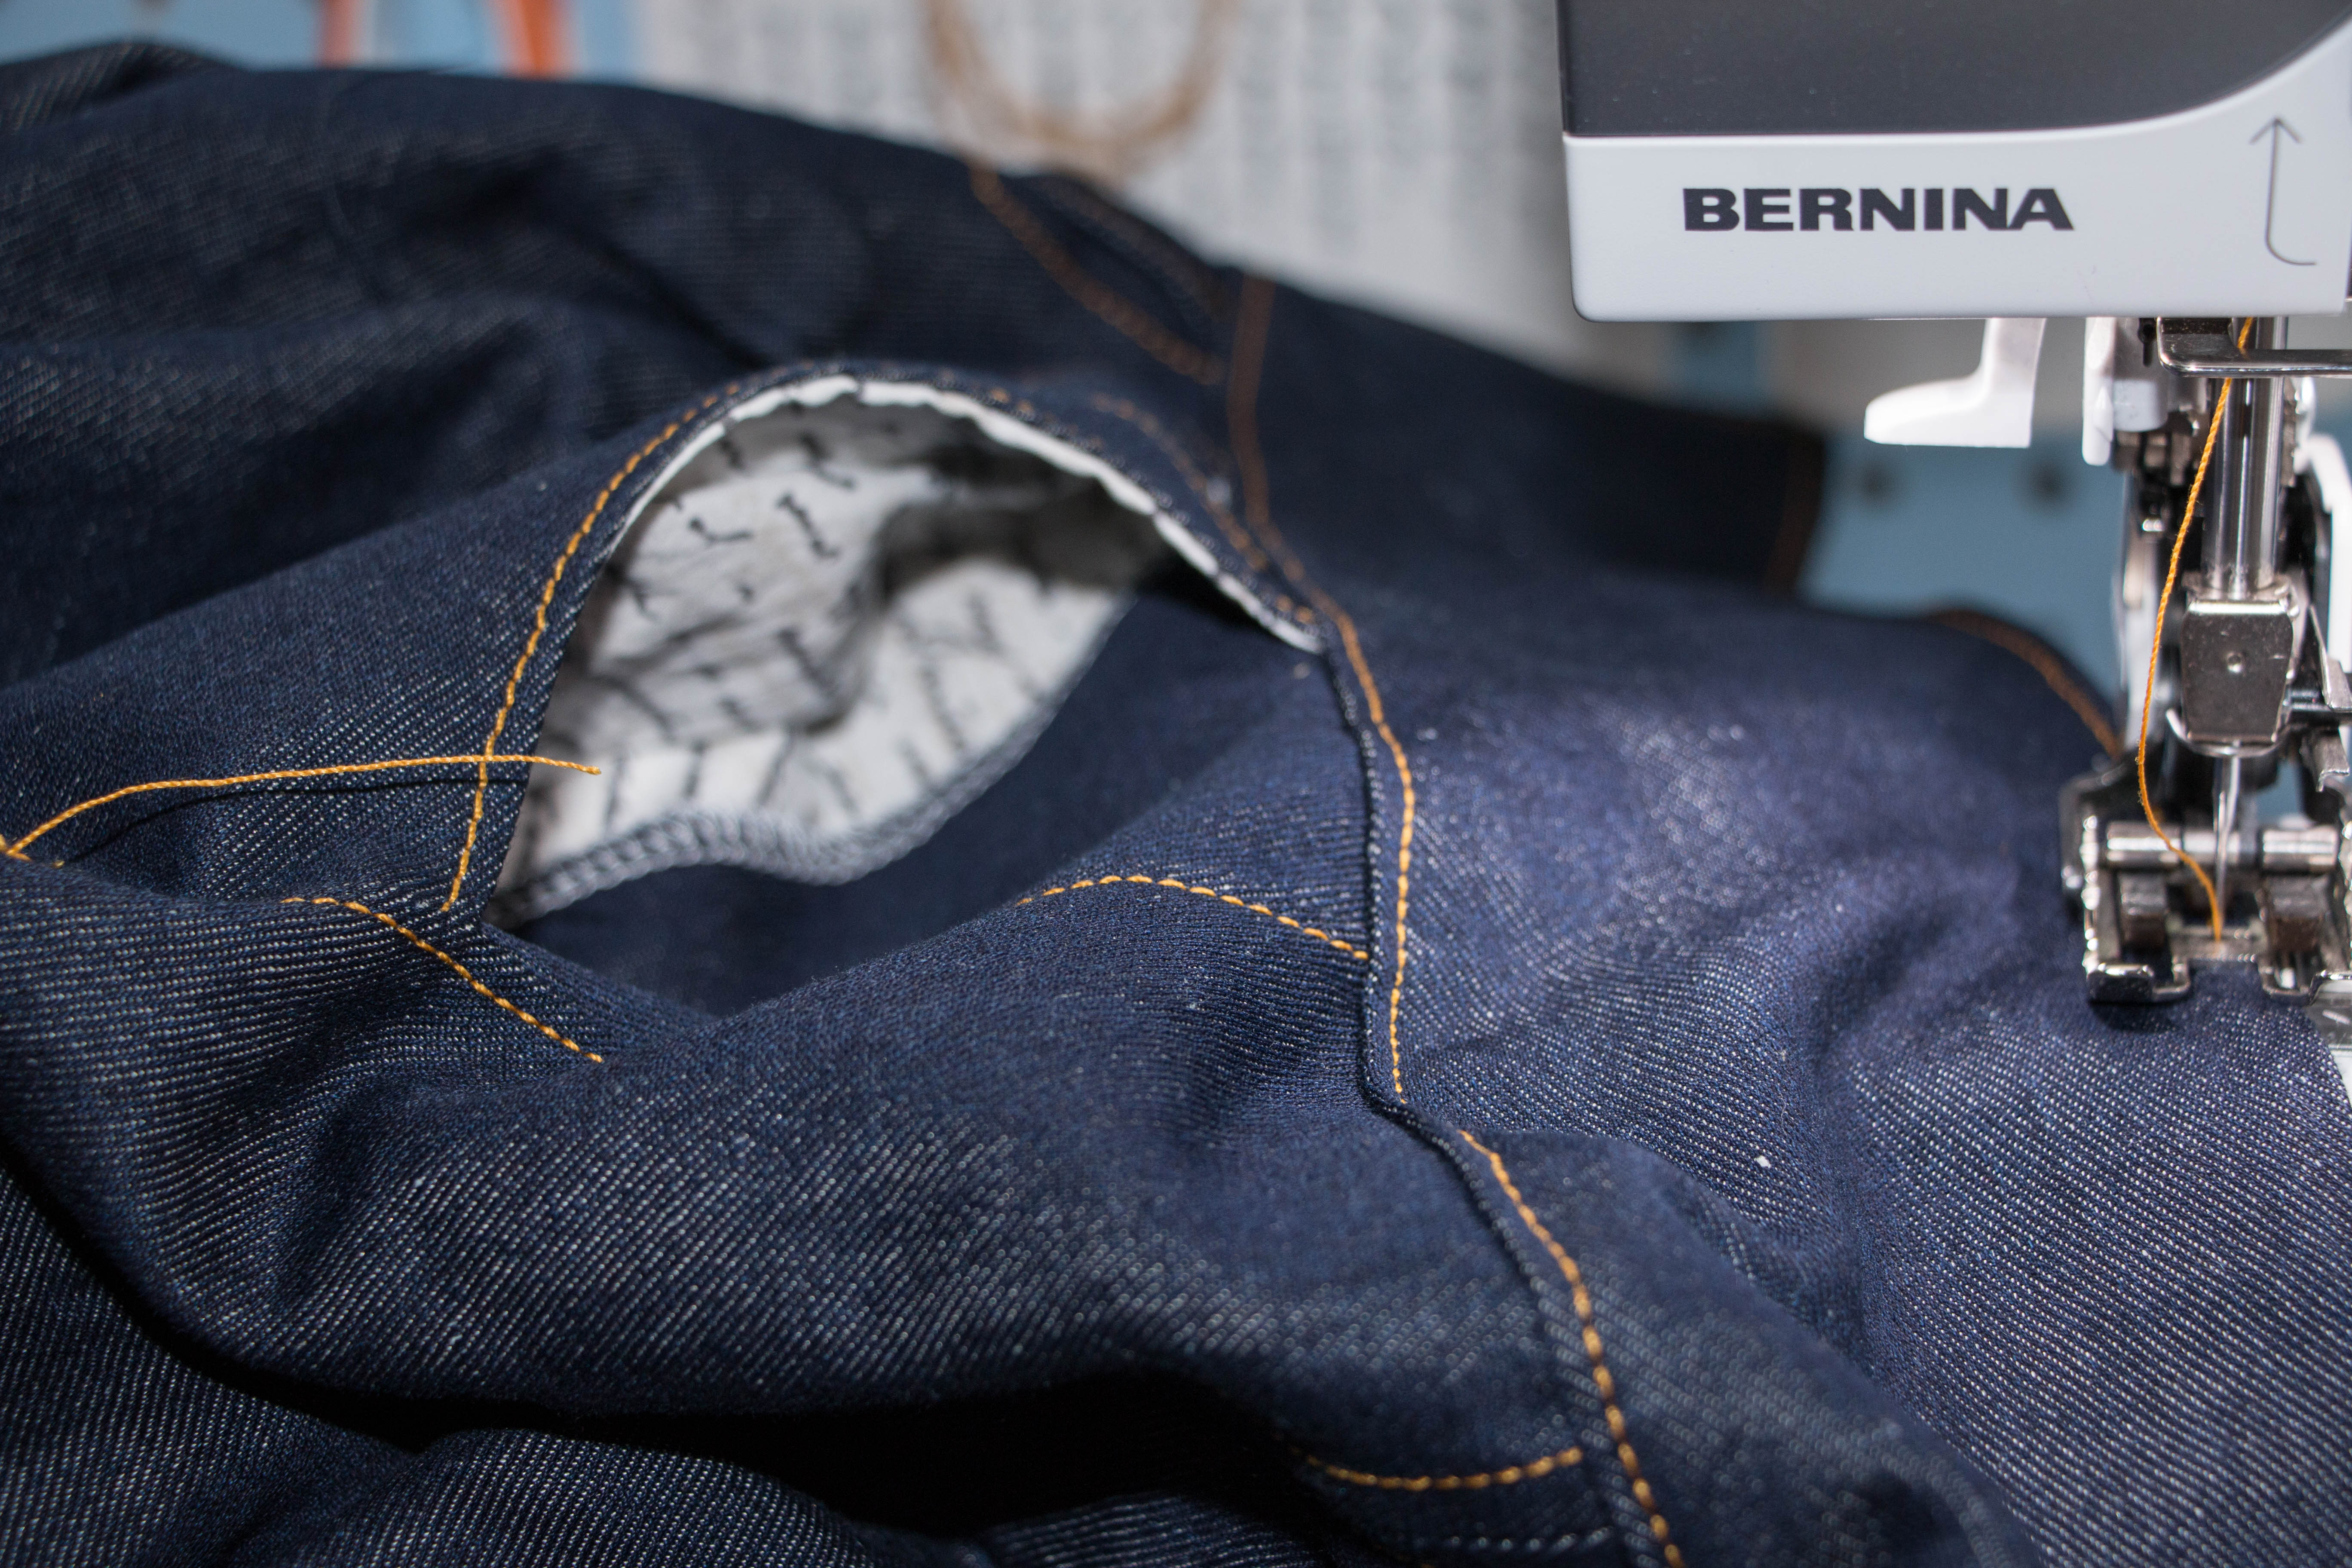
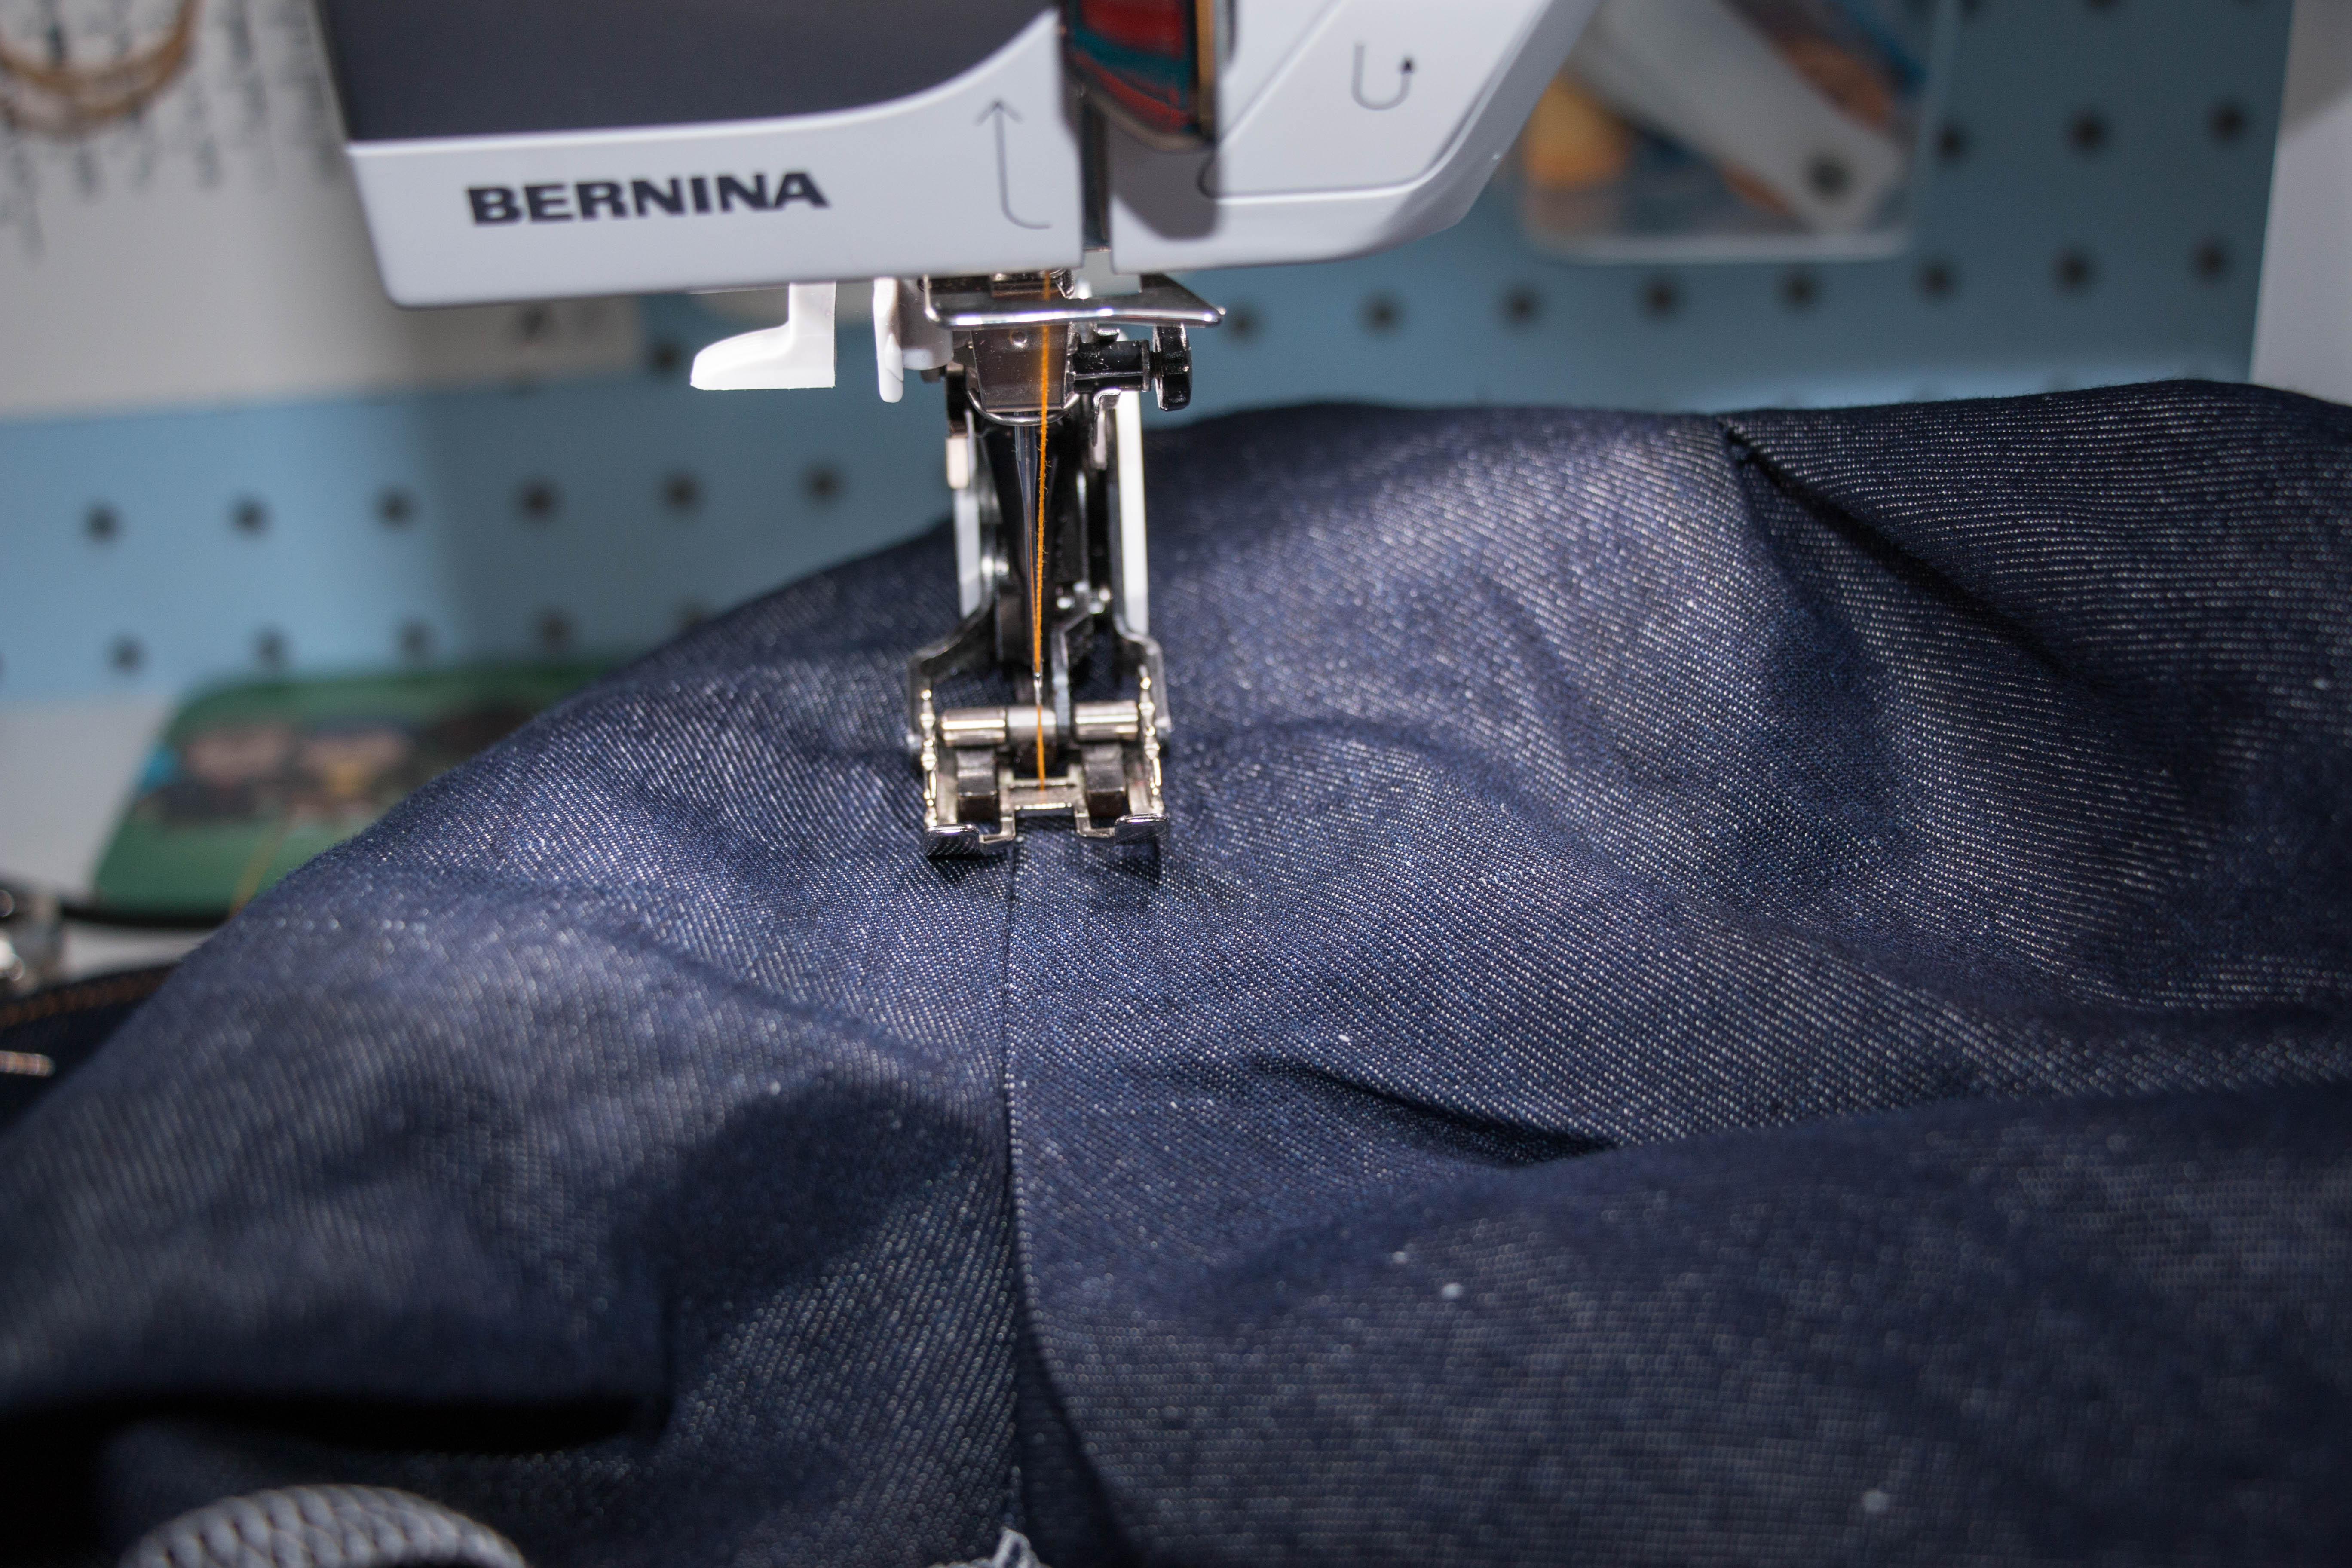
Join the two waistbands together at the top (right side to right side), press (not shown). Attach the waistband: Outside of waistband (right side) goes on the right side of the waist seam. Stitch. Sew the right sides of the waistbands together at the front but stop just before you reach the end so you can turn under the seamallowance in the next step. Turn out the waistband corners. Press the waistbands inner seamallowance to the wrong side. I handbasted my inner waistband onto the seamallowance first before I topstitched from the right side (picture).

Add in buttonholes and jeans buttons. Hem your jeans as usual and you’re done.
Needless to say: Katja was over the moon with them. A day after she got them she sent me a text with a few hearts thanking me again for giving her her favorite jeans back (she was already wearing them again). Definitely worth it!
Happy Sewing
Nadine!
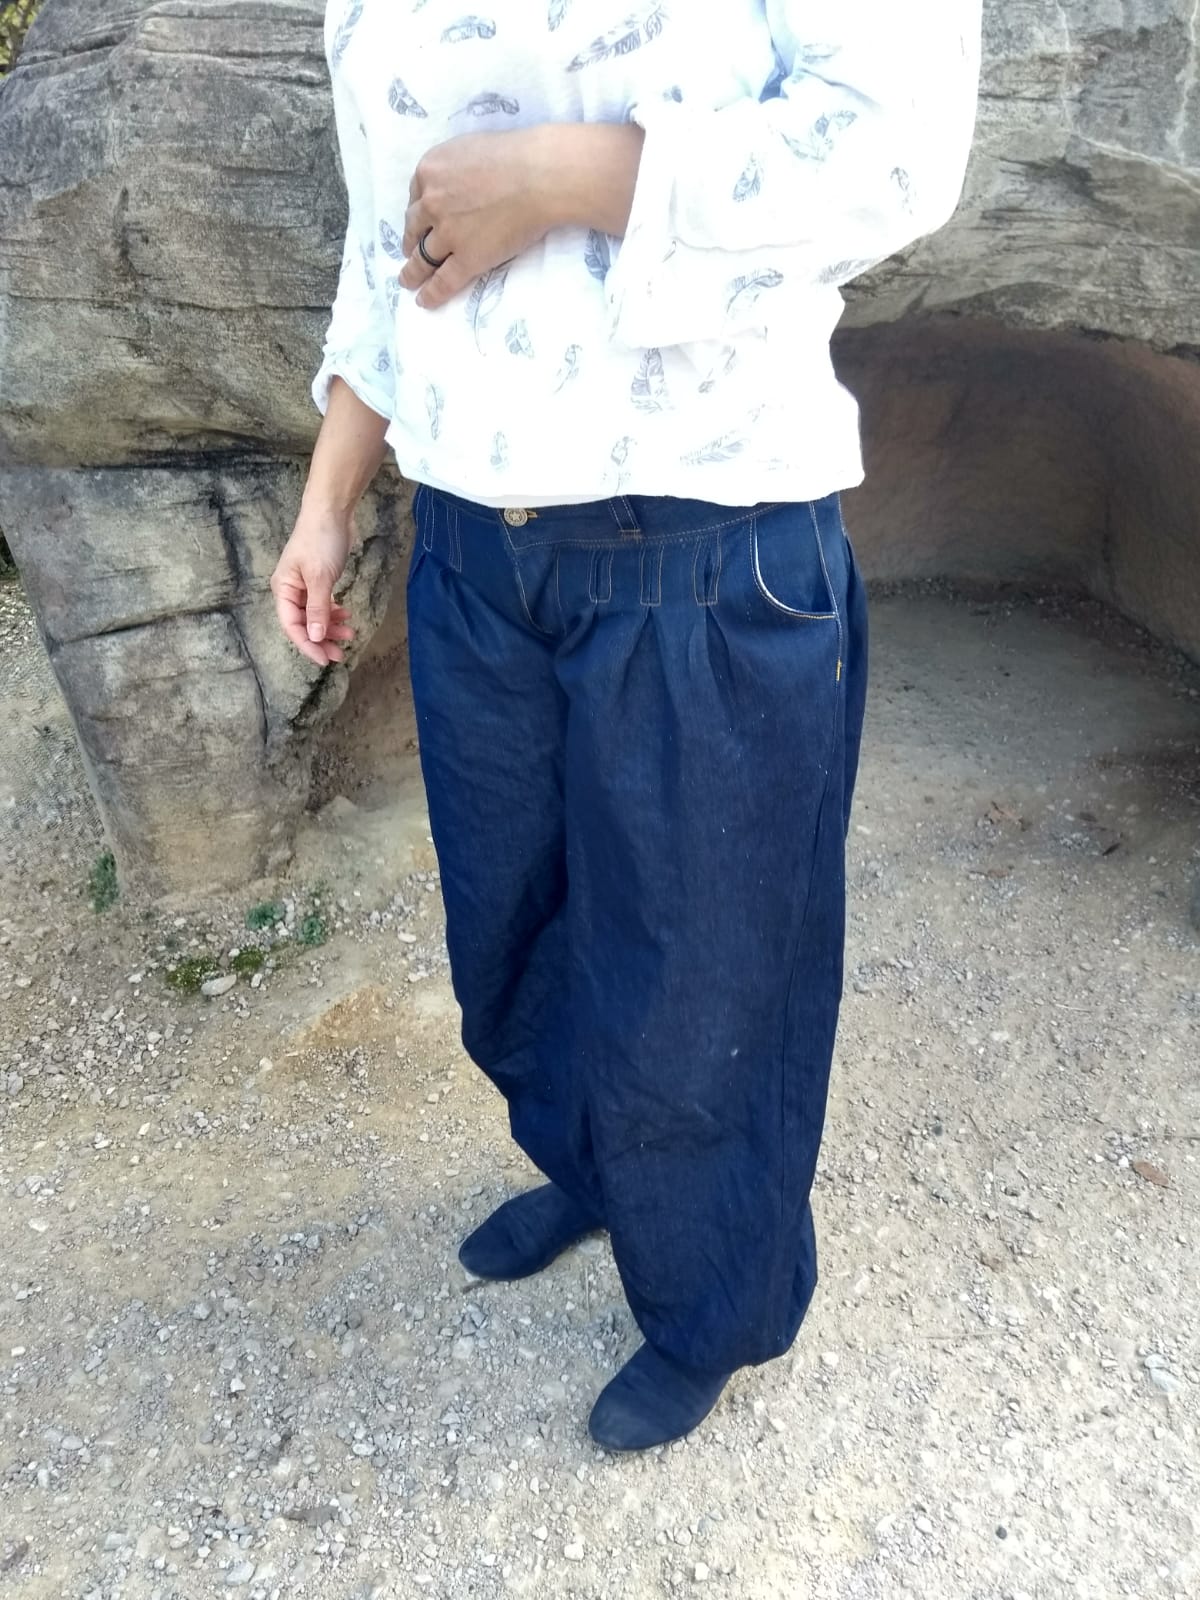
From the front…

… and the back.

Thank you for the copy jeans blog. I will use this for my class in the new year. Inspiration is always welcome.
i have just had to say goodbye to my wonderful Bernina 830. Yes sewn for my family from wedding dress to leather jackets for motorcycles for 50 years. The motor died and I really mourn this marvellous machine. Never let me down and a sheer delight to,use. Thank you Bernina.