 BERNINA Corporate Blog -
Each family owns more pillows, the same or different sizes, and purposes.
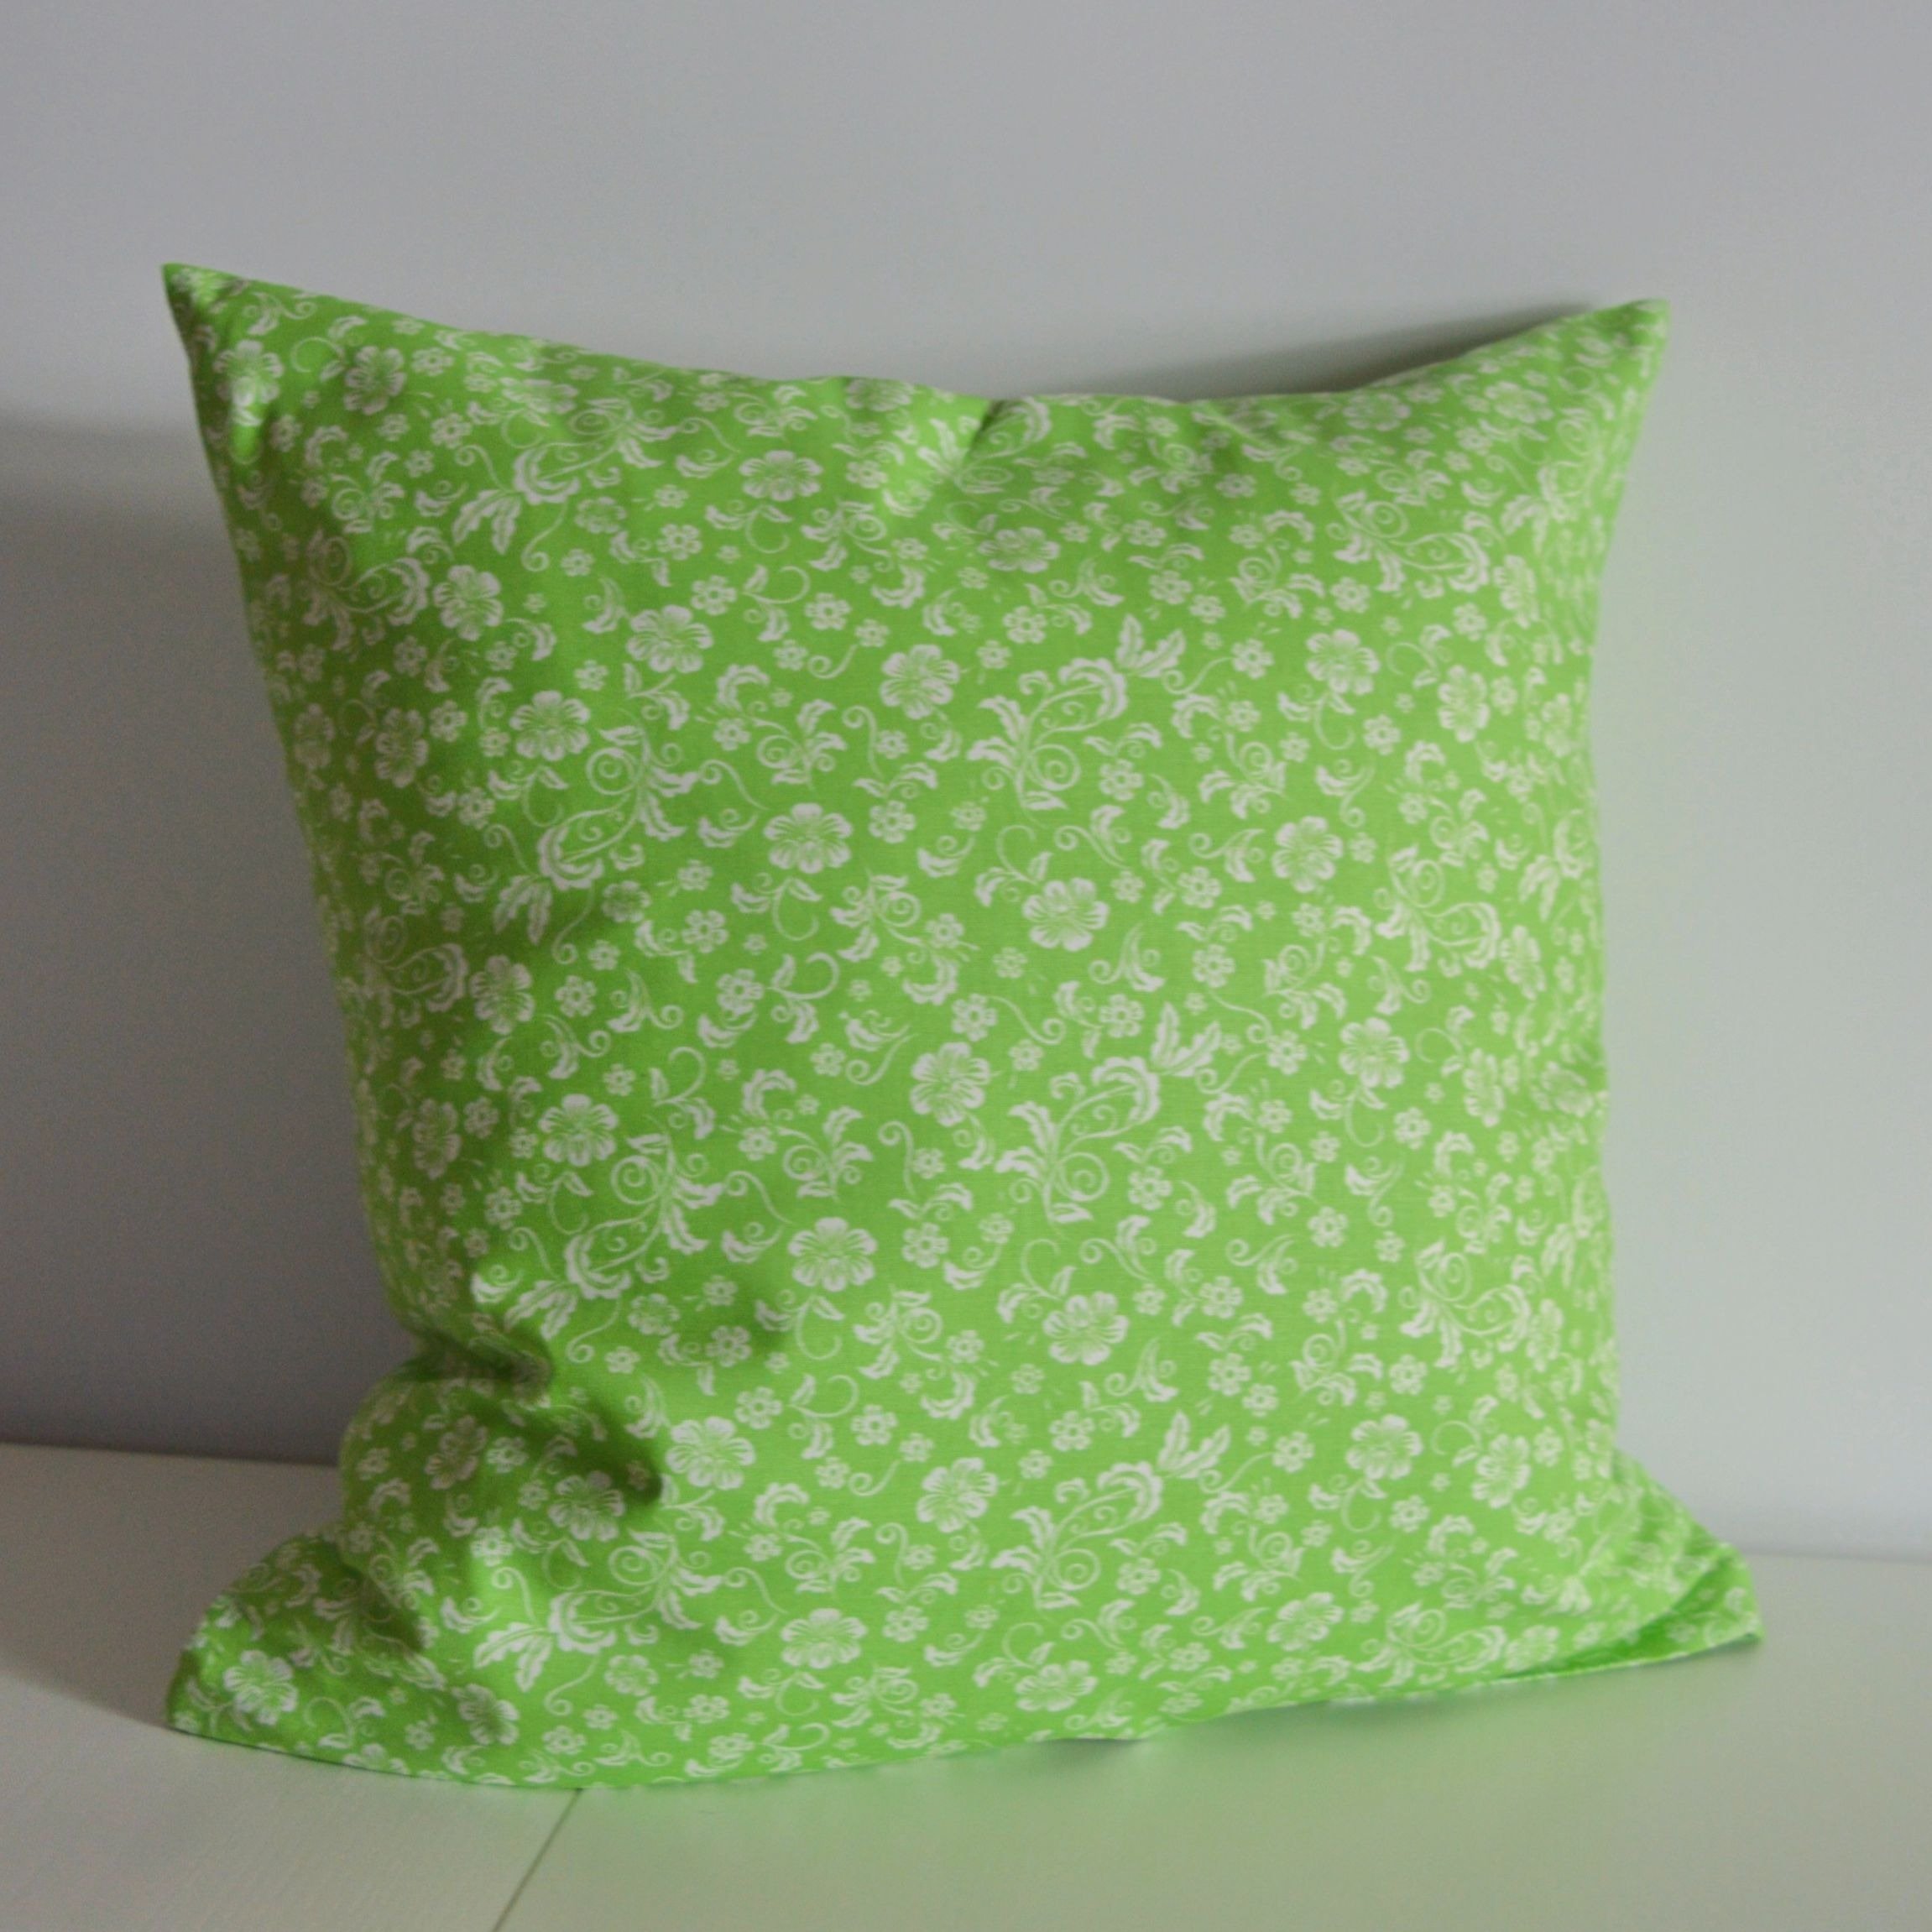
Some of the standard dimensions of pillows used in households in Europe are 65×65 (HxW) cm and 80×80 cm, often also 40x80cm, while decorative pillows come in most often sizes 40×40 cm and 50×50 cm.
Pillows are covered with a removable pillowcase, which is made of various fabrics (cotton, silk, linen, …).
Pillowcase
Sewing pillowcases are one of the easiest things for sewing.
On each pillowcase is an opening through which the pillow comes into it, and then this opening has a closure.
Whether you make a pillowcase for bedding or decorative pillowcase, their closure can be done in many ways. In continuation, will be presented three ways – closure with flap (envelope closure), with buttons or zipper. In all presented below closures, closures are not visible on the outside of pillowcases, they are hidden inside, which contributes to the elegant appearance of the pillowcase.
Besides that, there are many different ways to make pillowcase closure – zipper or buttons can be visible on the edge or the front of the pillowcase, can be used invisible zipper too, etc.
MATERIAL for sewing the pillowcase:
- fabric
- thread in the matching color
The pillowcase can be tailored from fabric in one part folded or two pieces.
NOTE: Below will be only written about the two edges that form closure of the pillowcase.
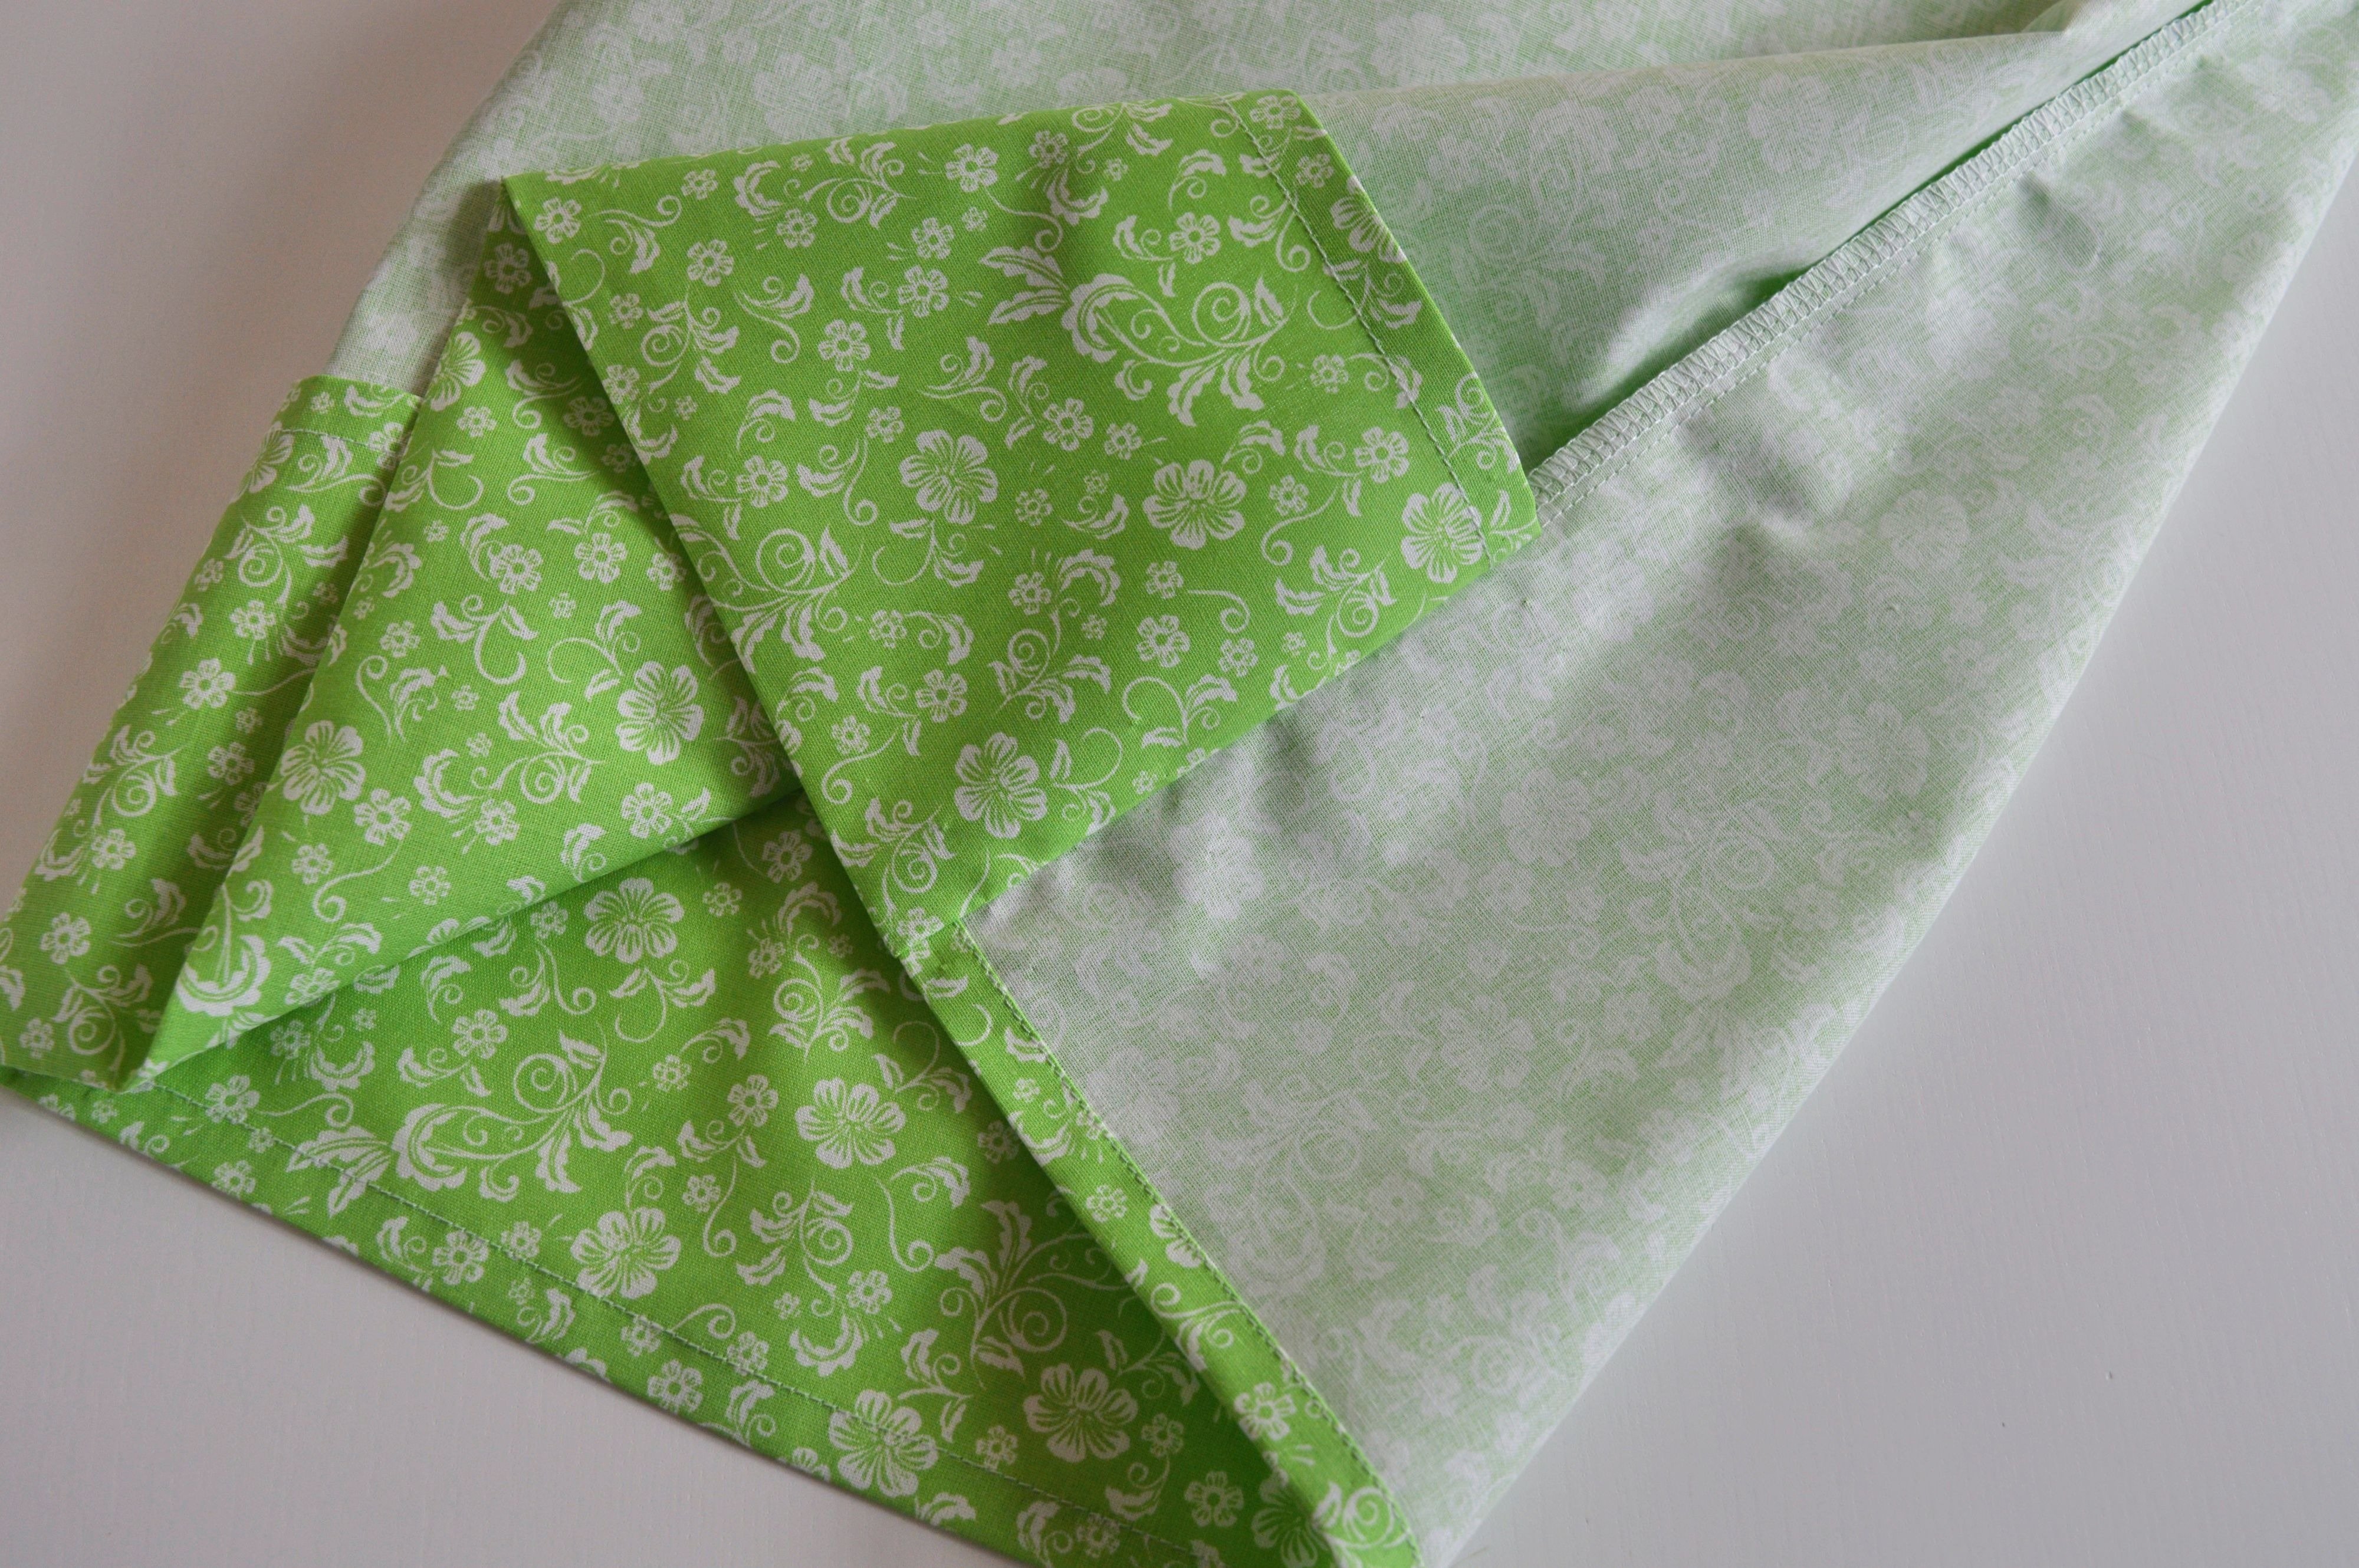
Closure with flap (envelope closure)
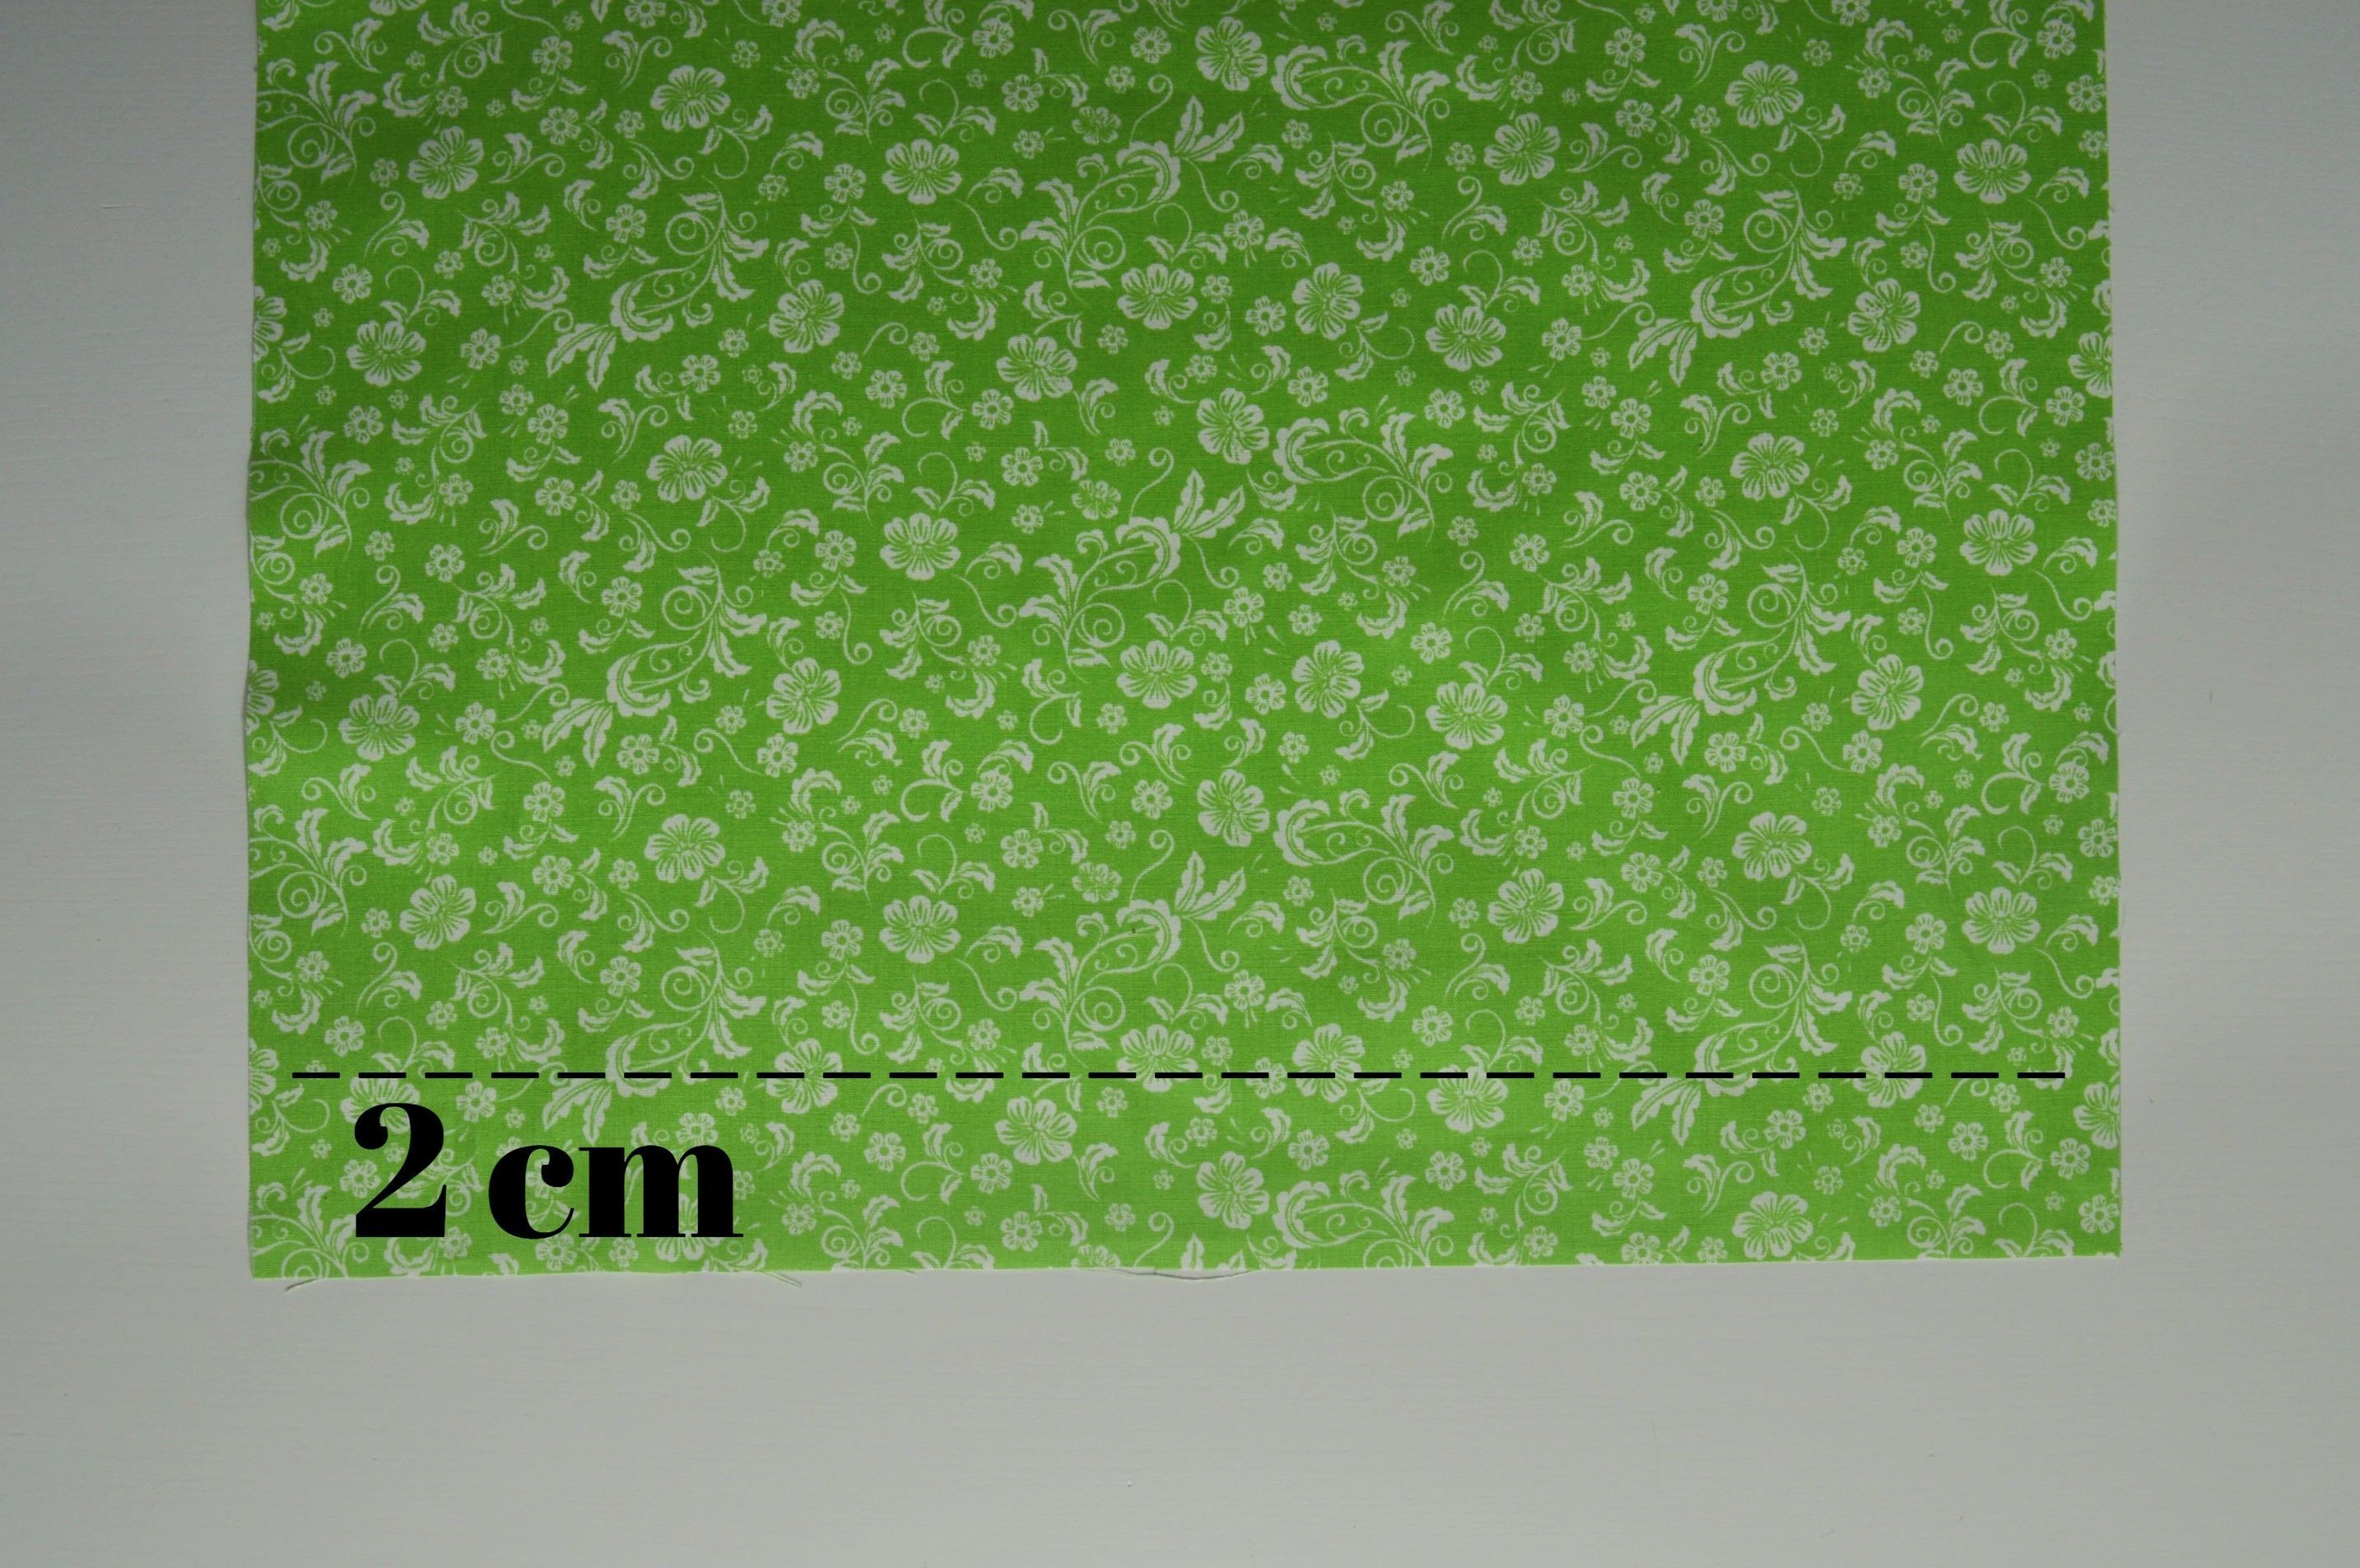
When it comes to this form of closure, on one edge add 2 cm for the hem and on the other 2 cm + X (flap) cm, for a part which will serve to form an envelope, on your cutting measures.
The flap is usually approximately 1/3 to 1/4 of the width of the pillowcase (Marked in the picture with X) and also can be cut out separately and then stitch to one side.
Closure with flap (envelope closure)

Closure with flap (envelope closure)
NOTE: For the pillowcase size 50×50 cm, the flap would be 15 cm, for 80×80 cm 20 cm or more what you decide yourself. (For this post I have sewed pillowcases for a small pillow, size 37×37 cm and for the flap I measured 12 cm.)
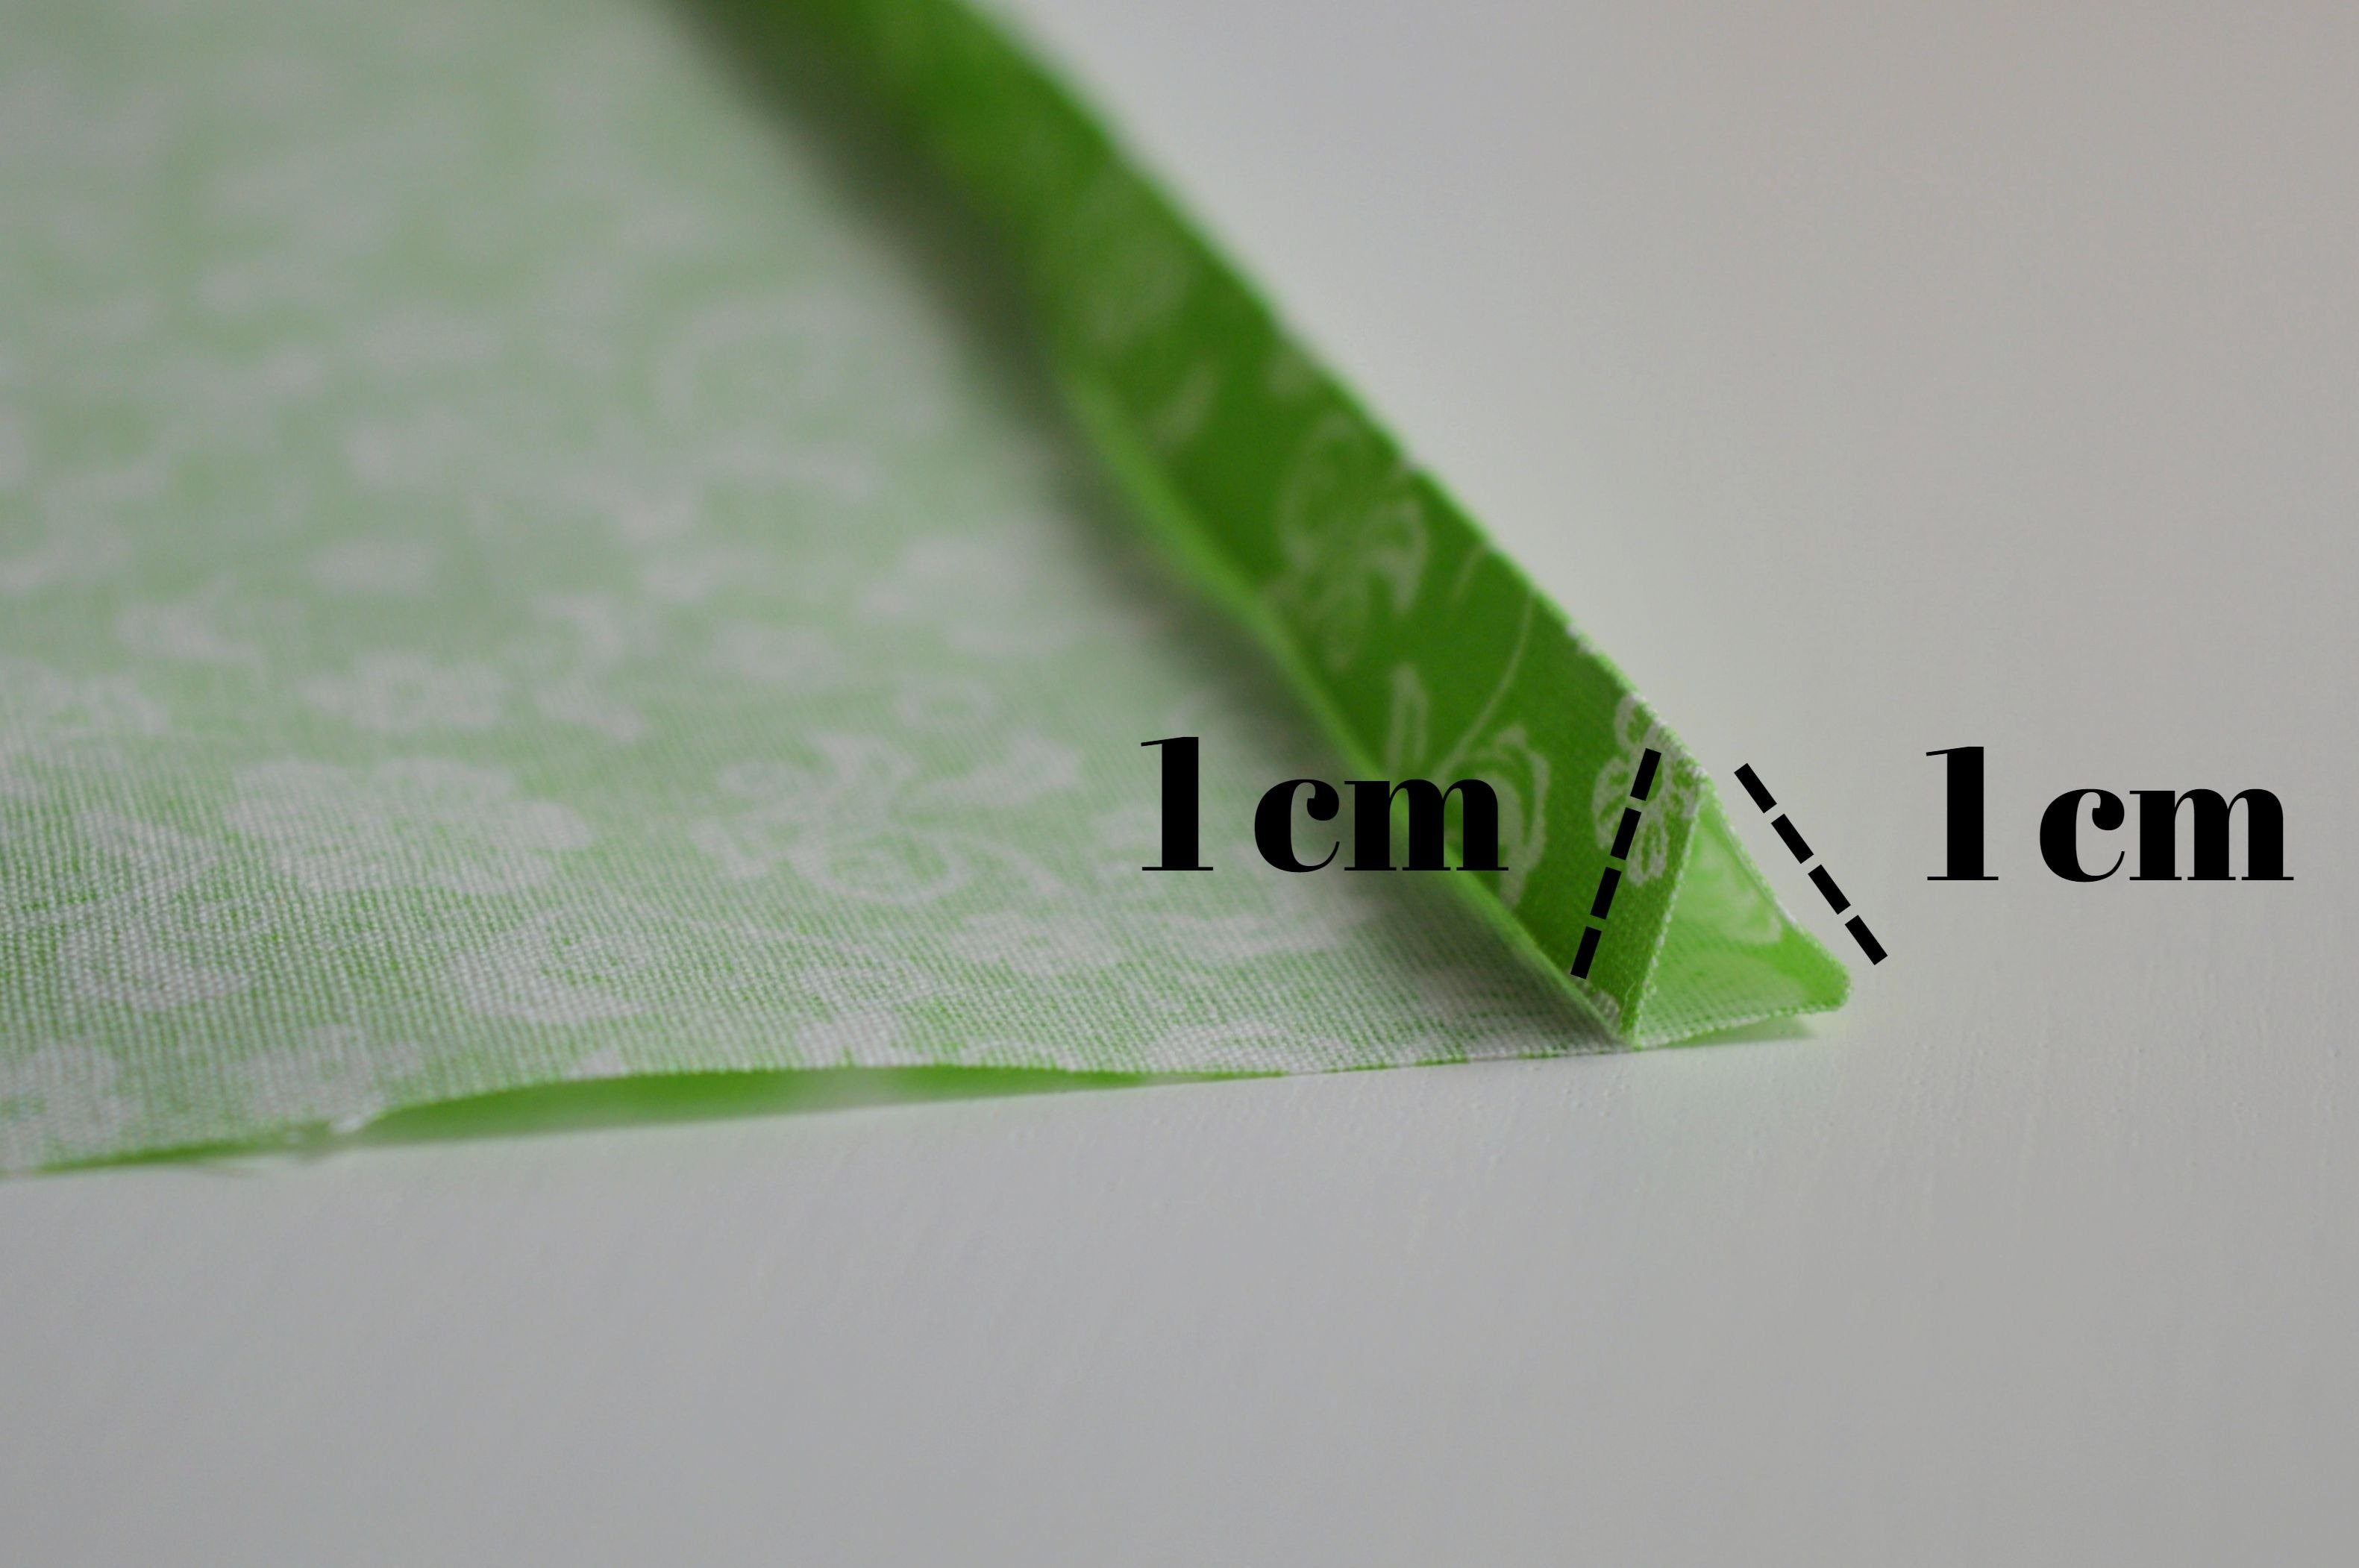
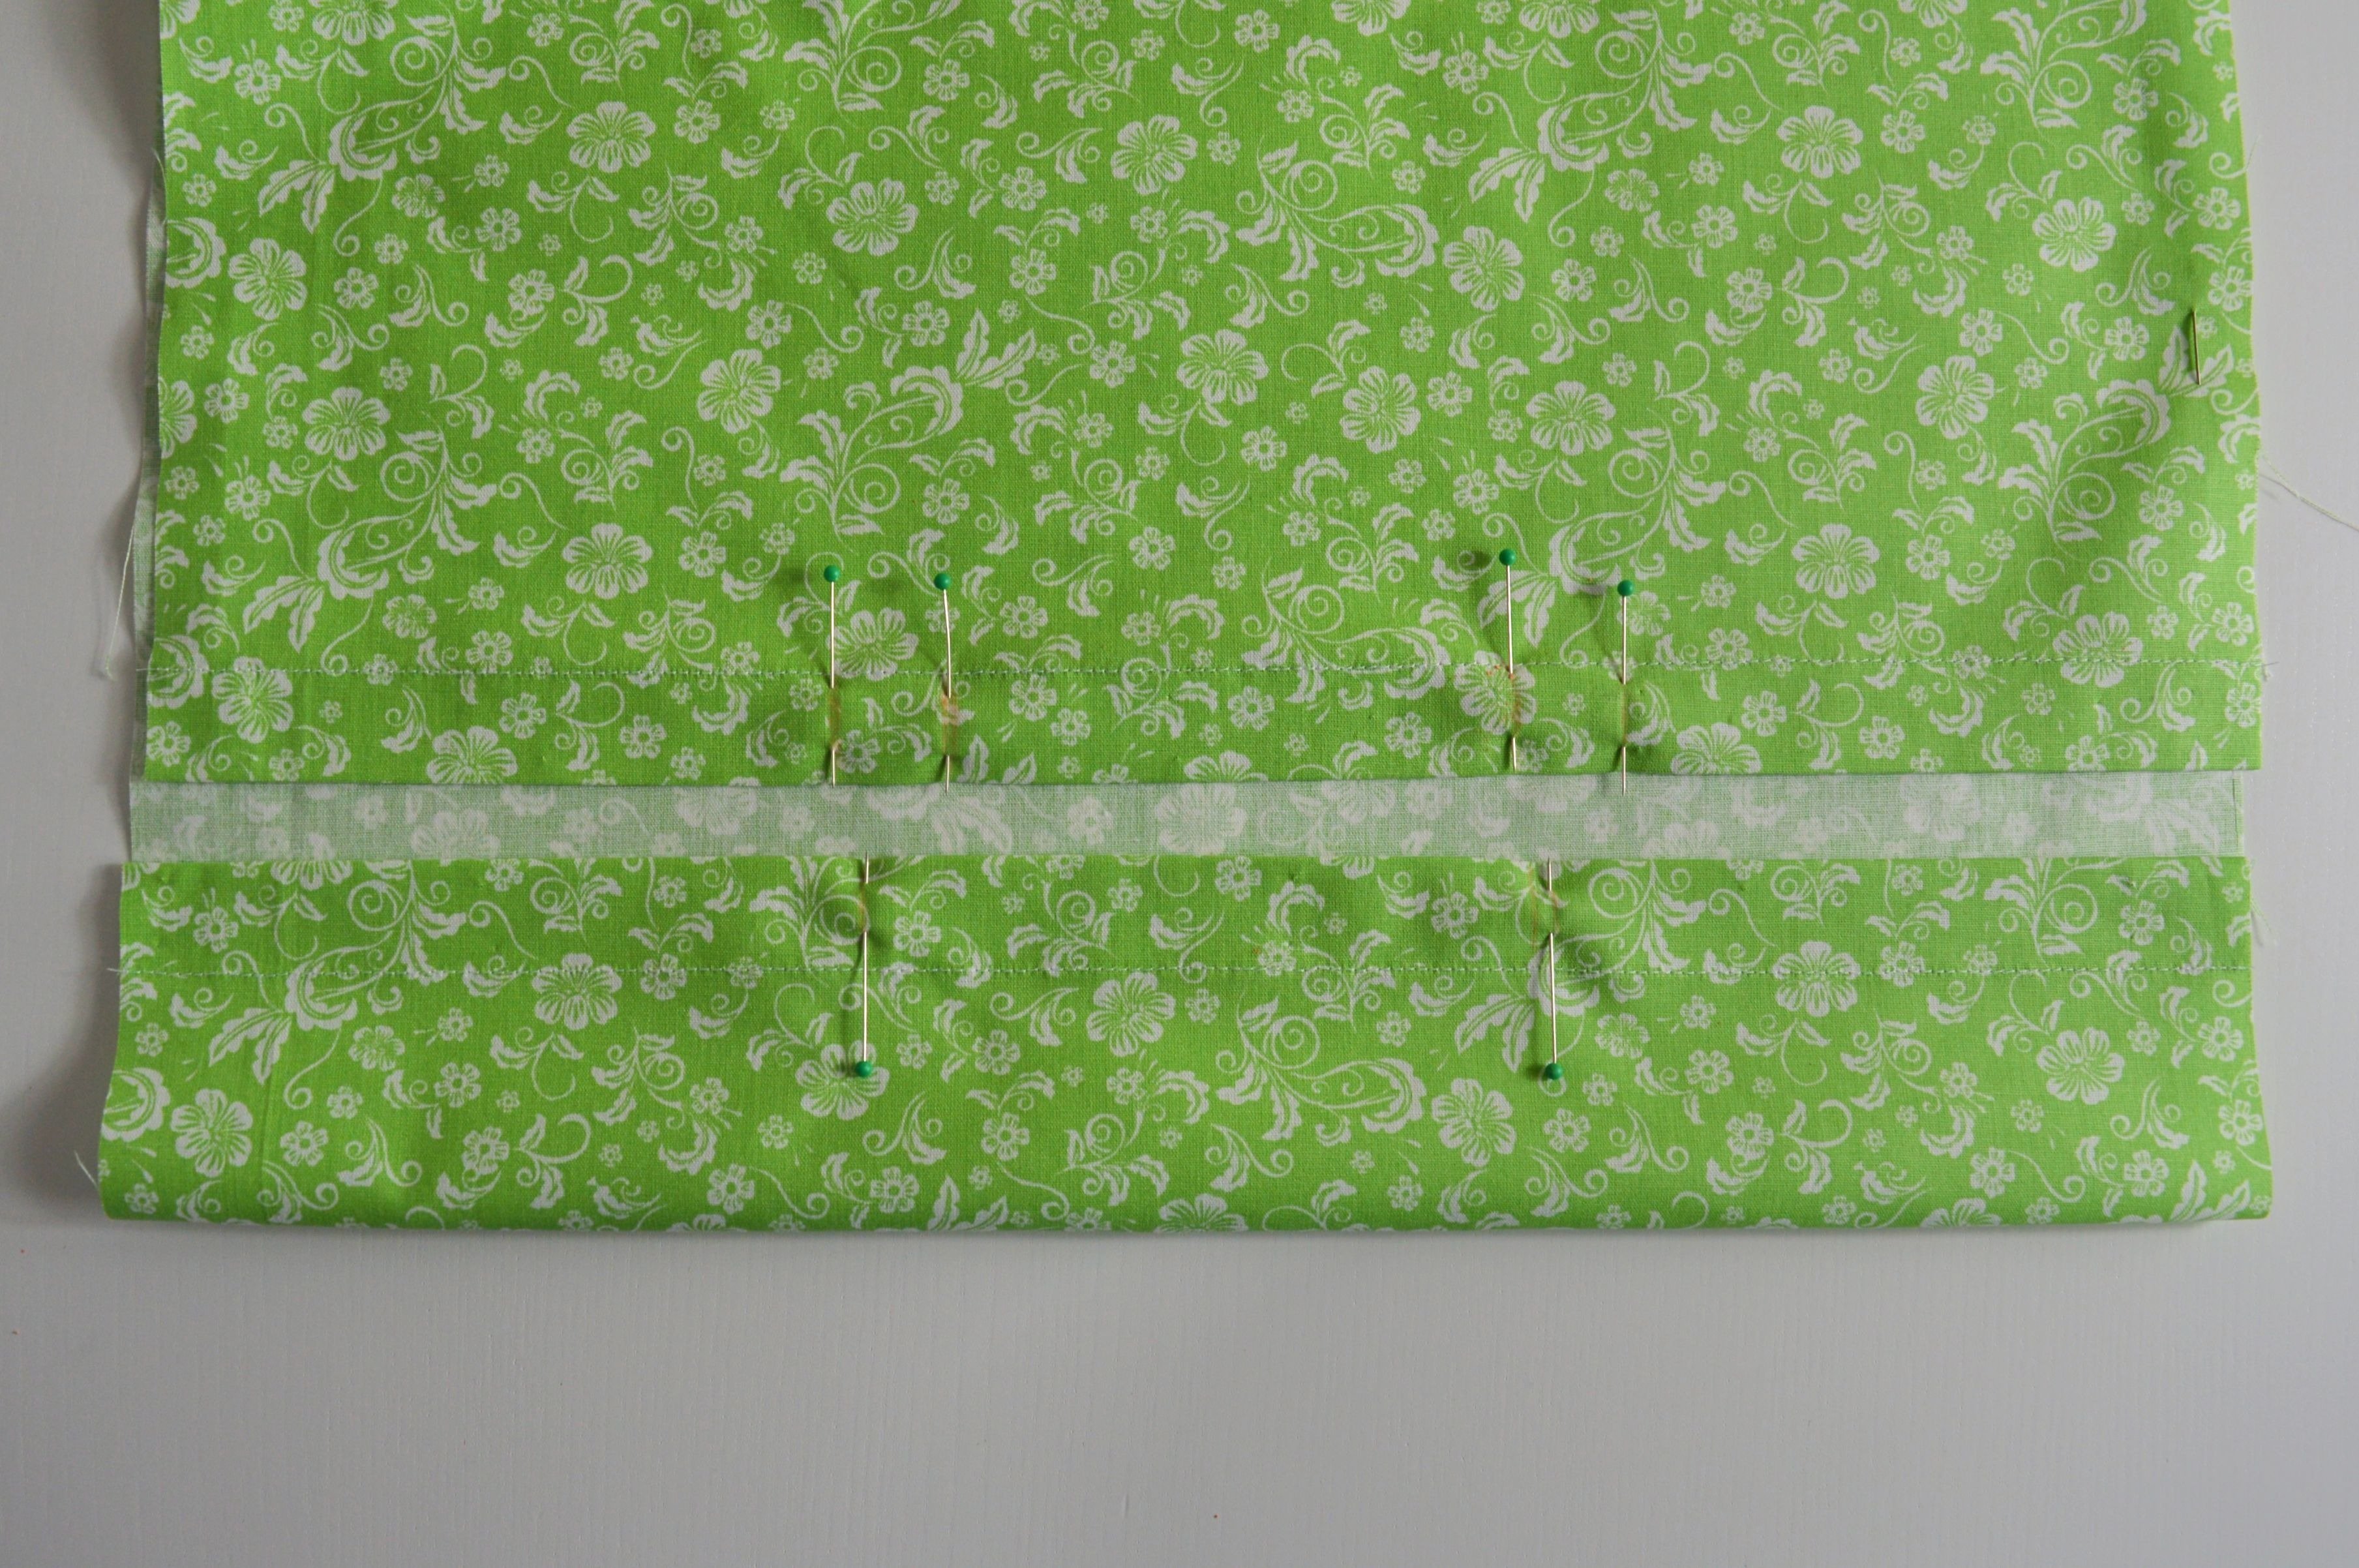
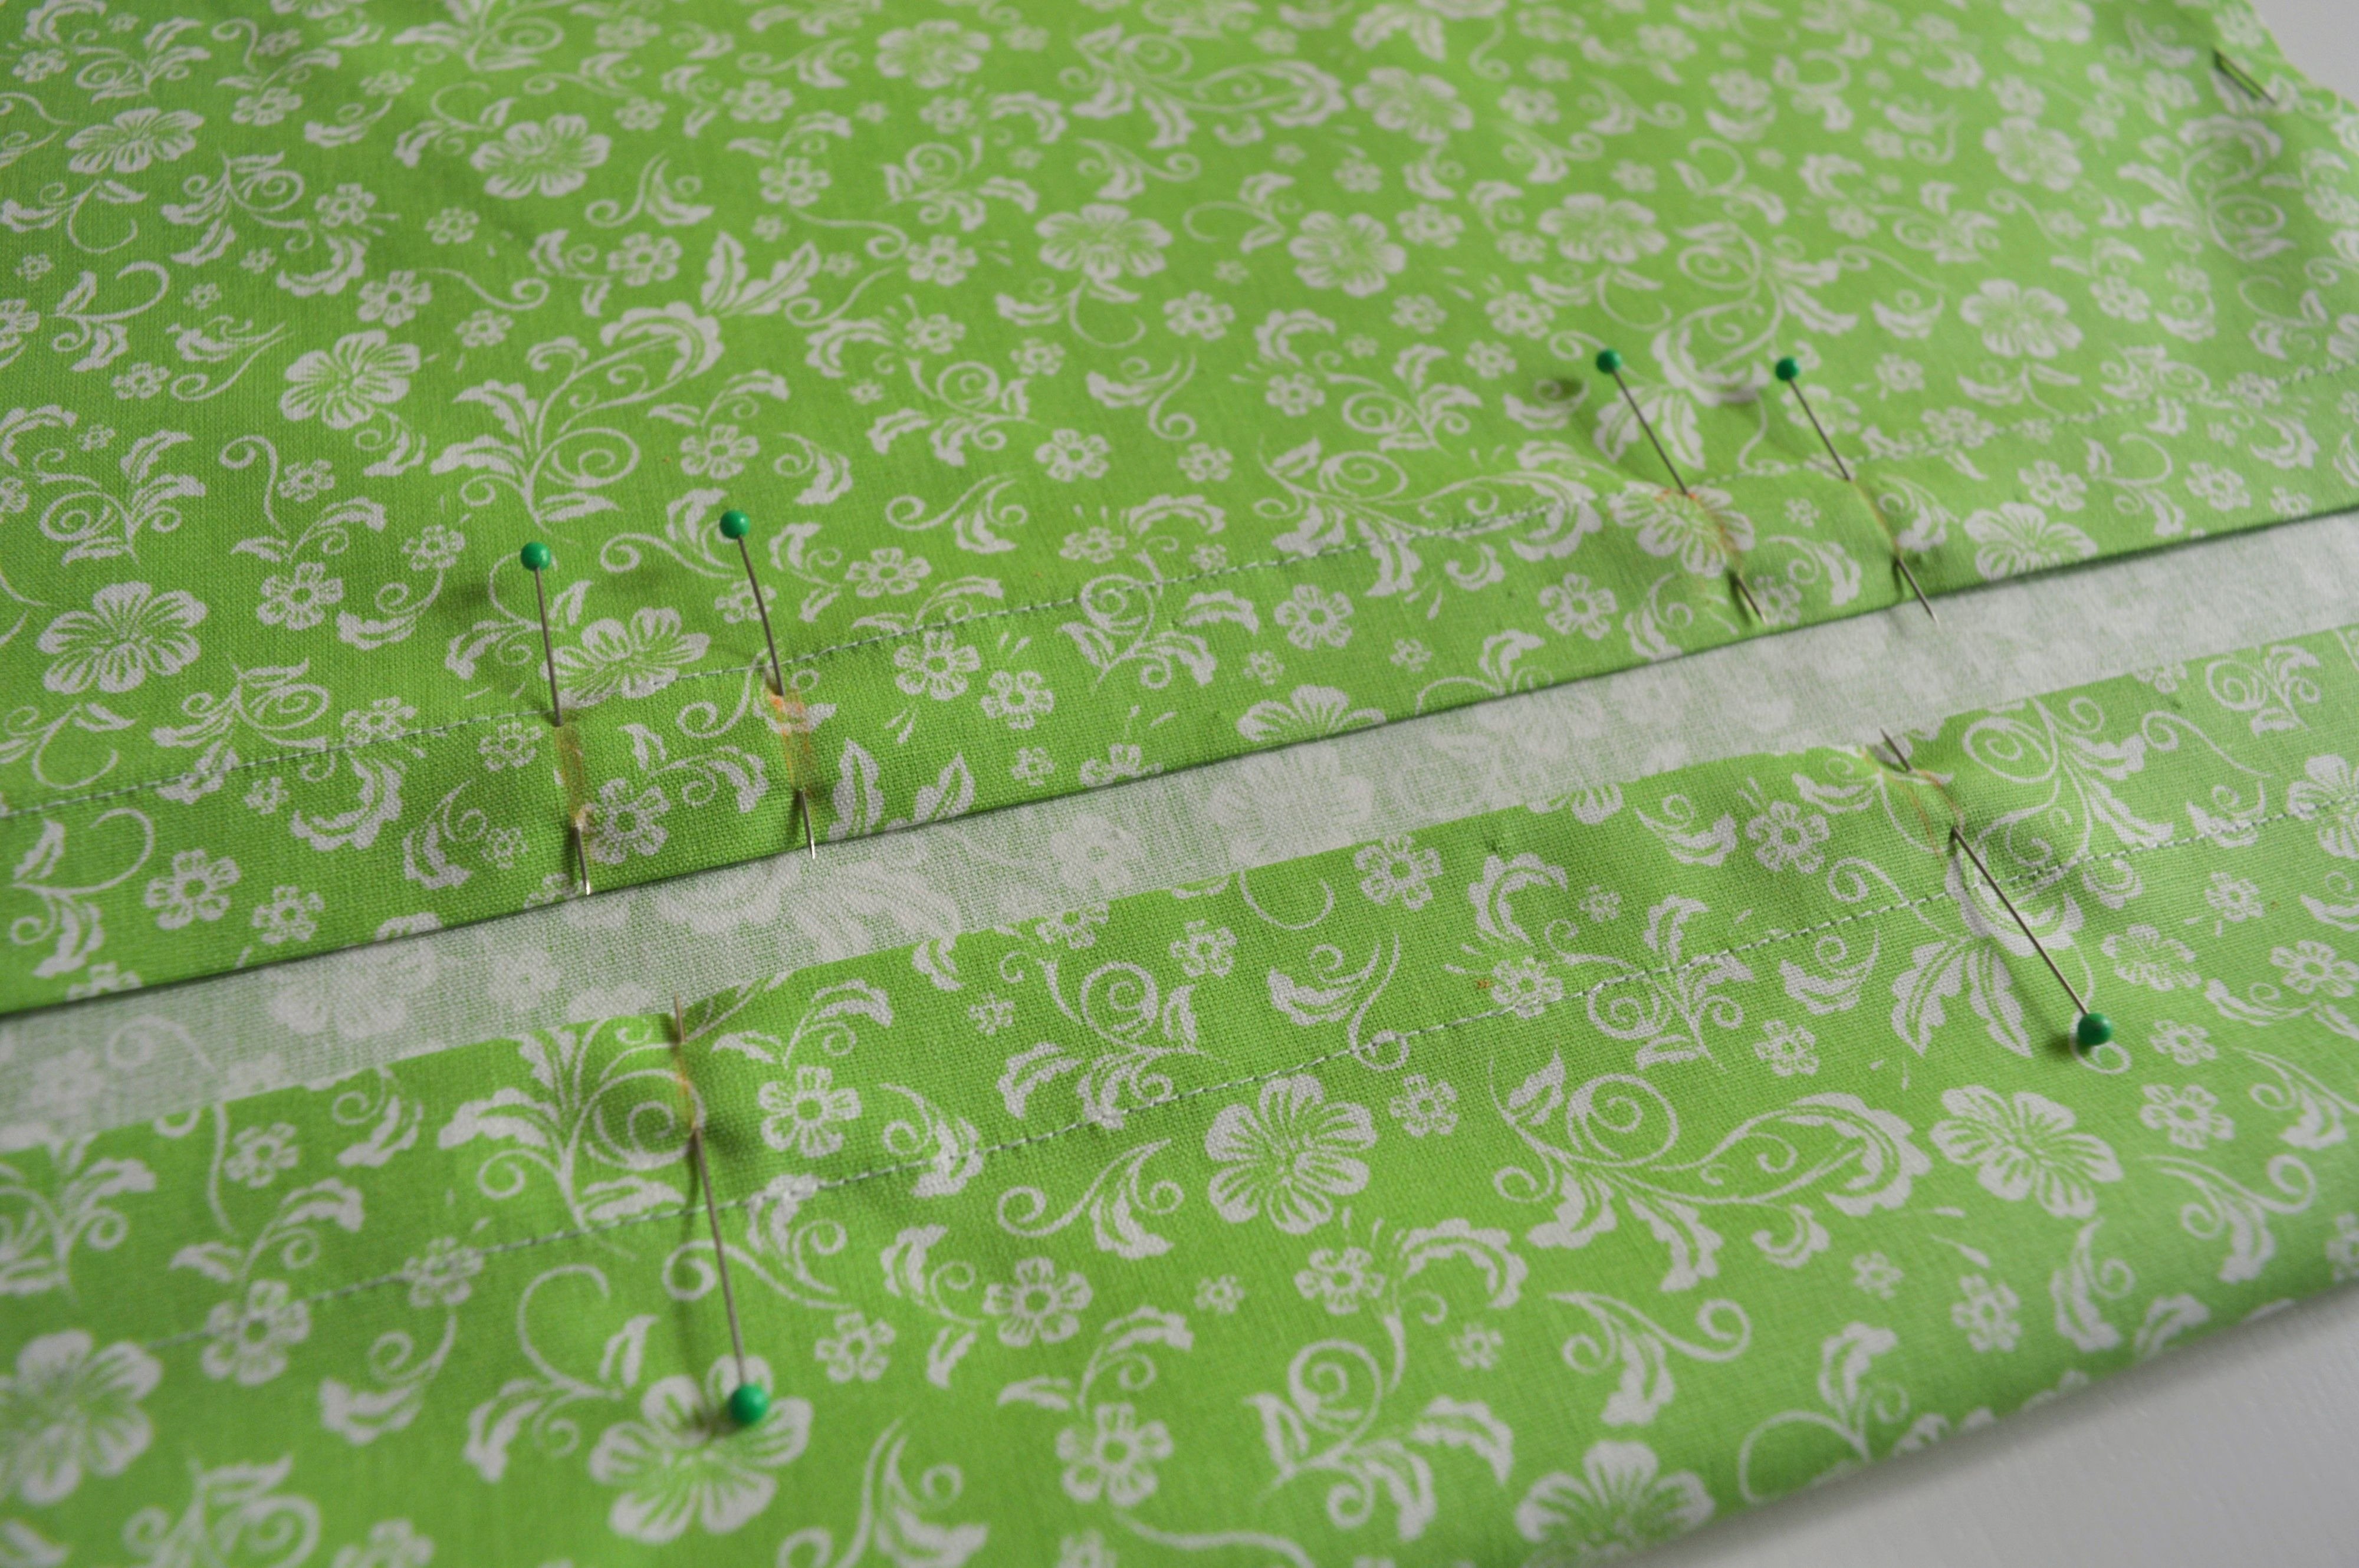
To make nice finished seams, on both edges fold 1 cm of fabric down and then 1 cm more (2 cm for the hem). It is easiest to get it correctly using the iron.
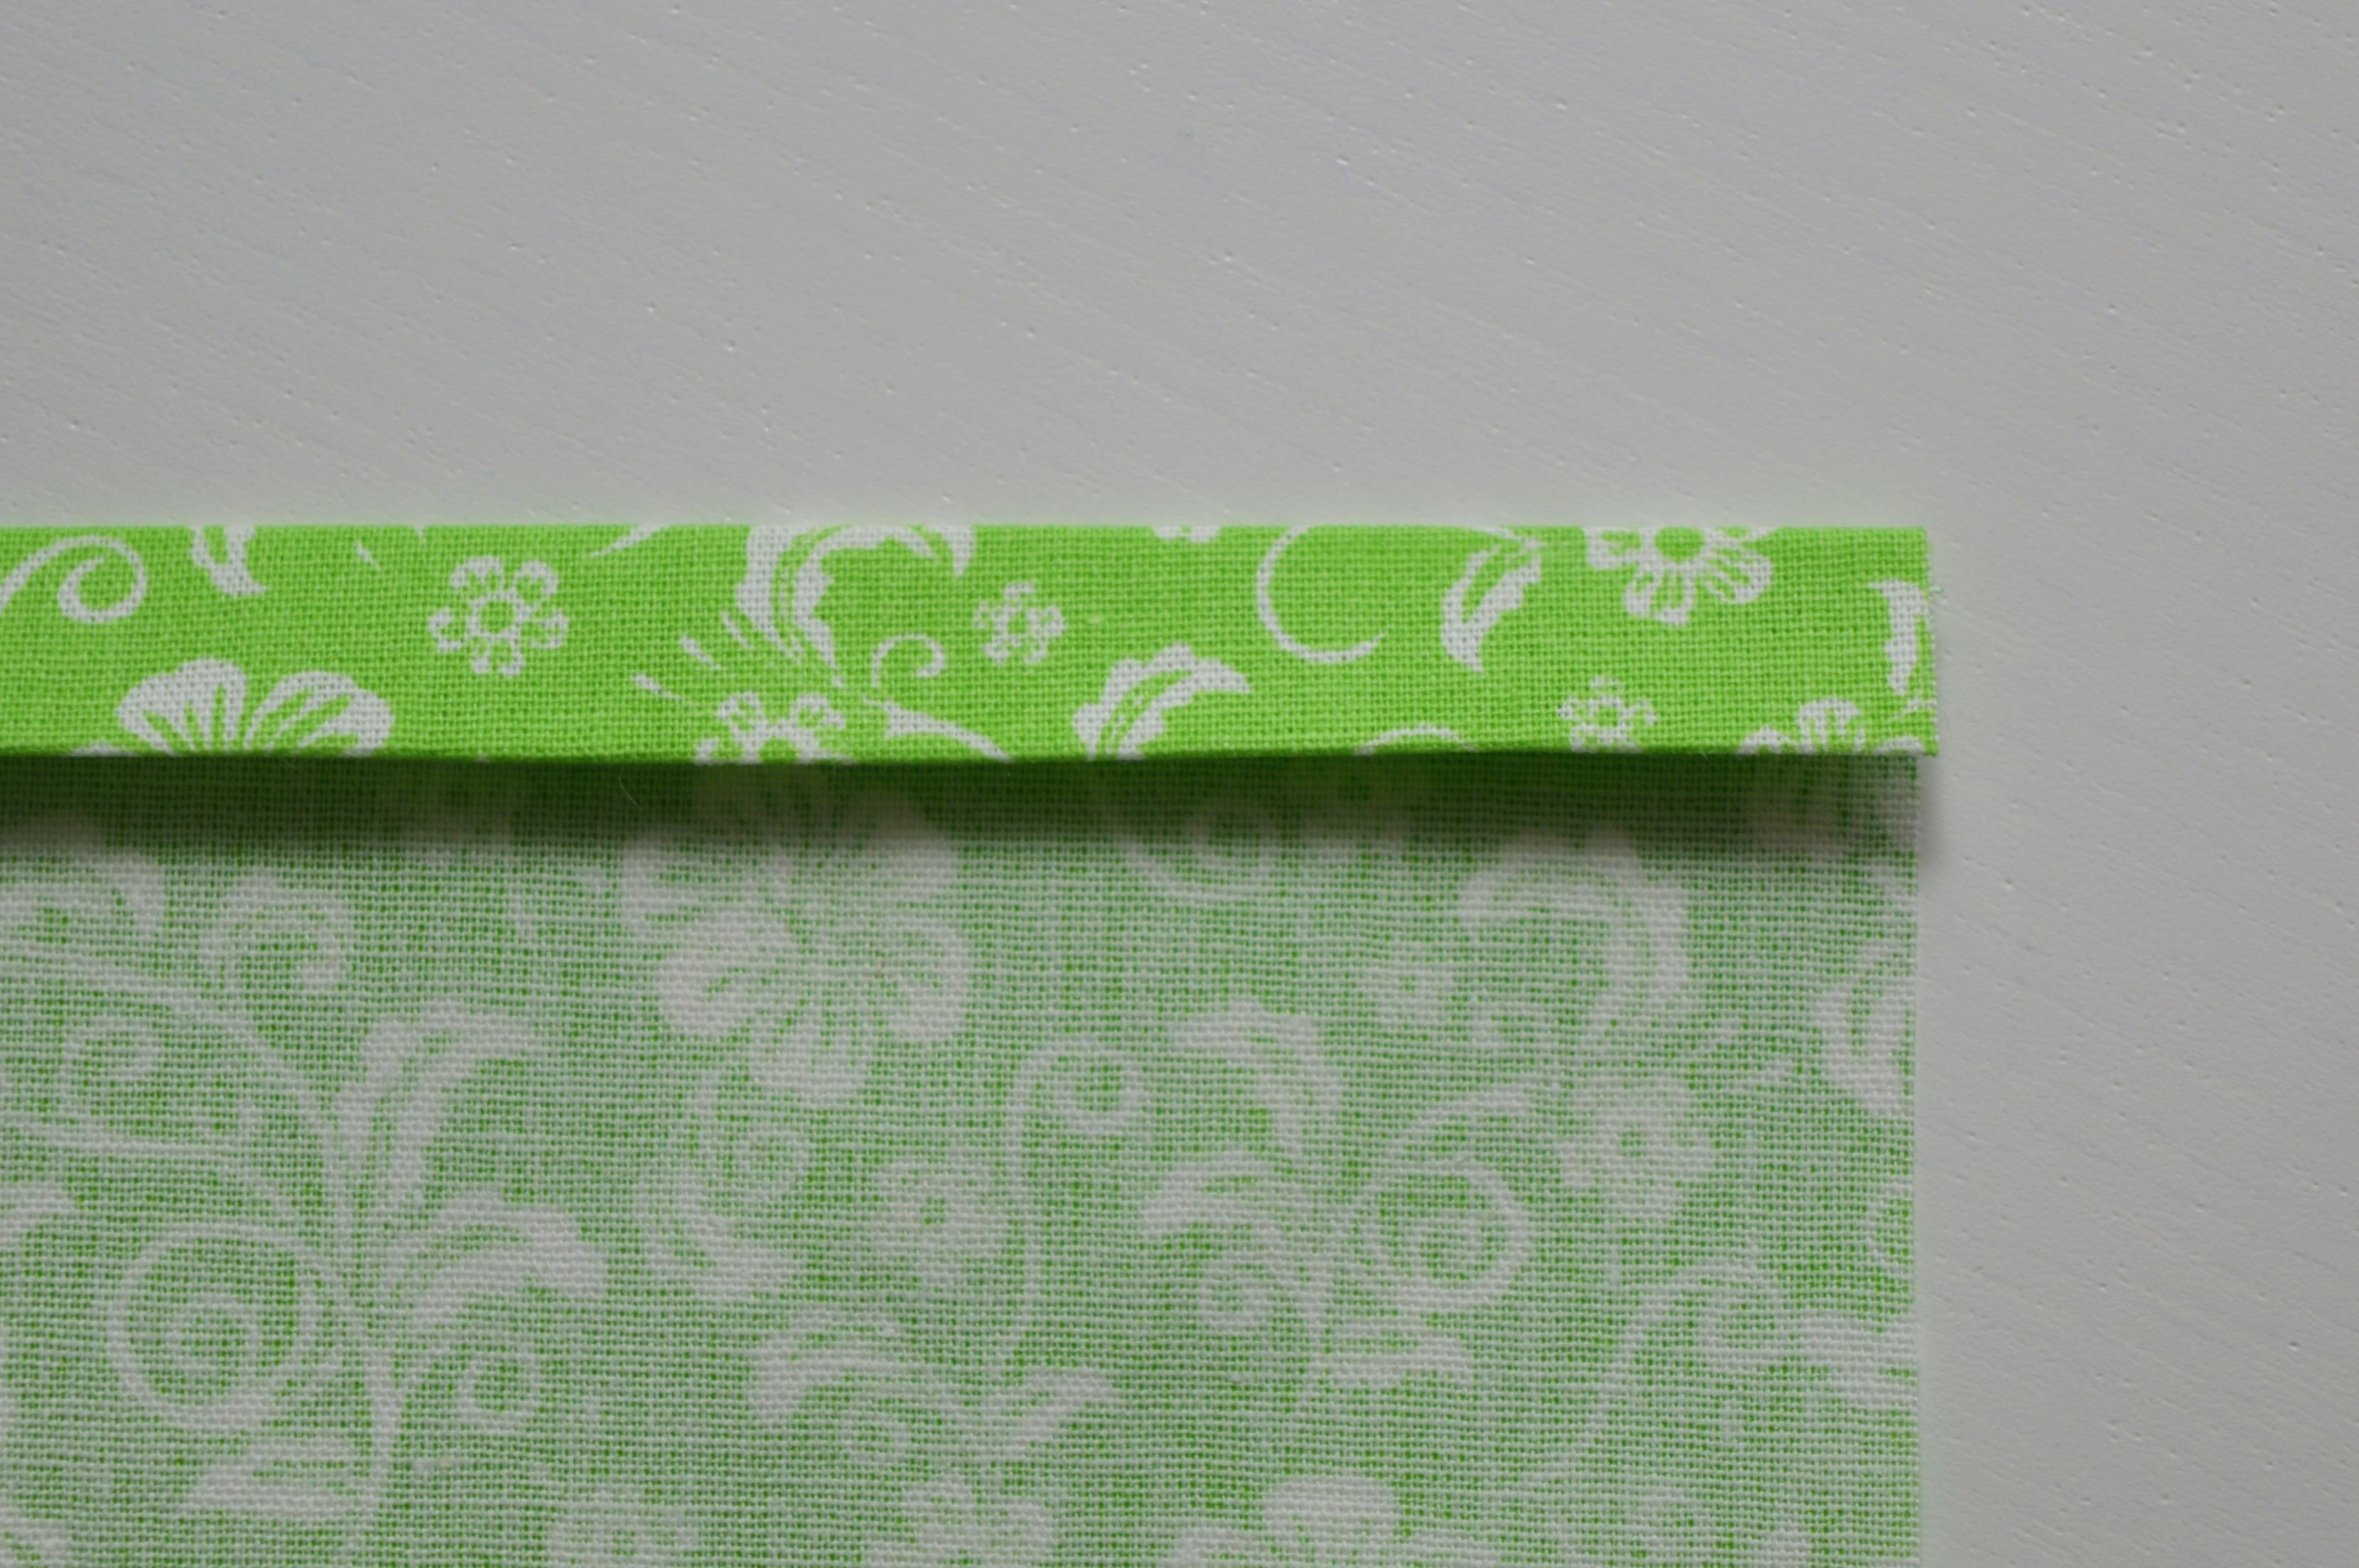
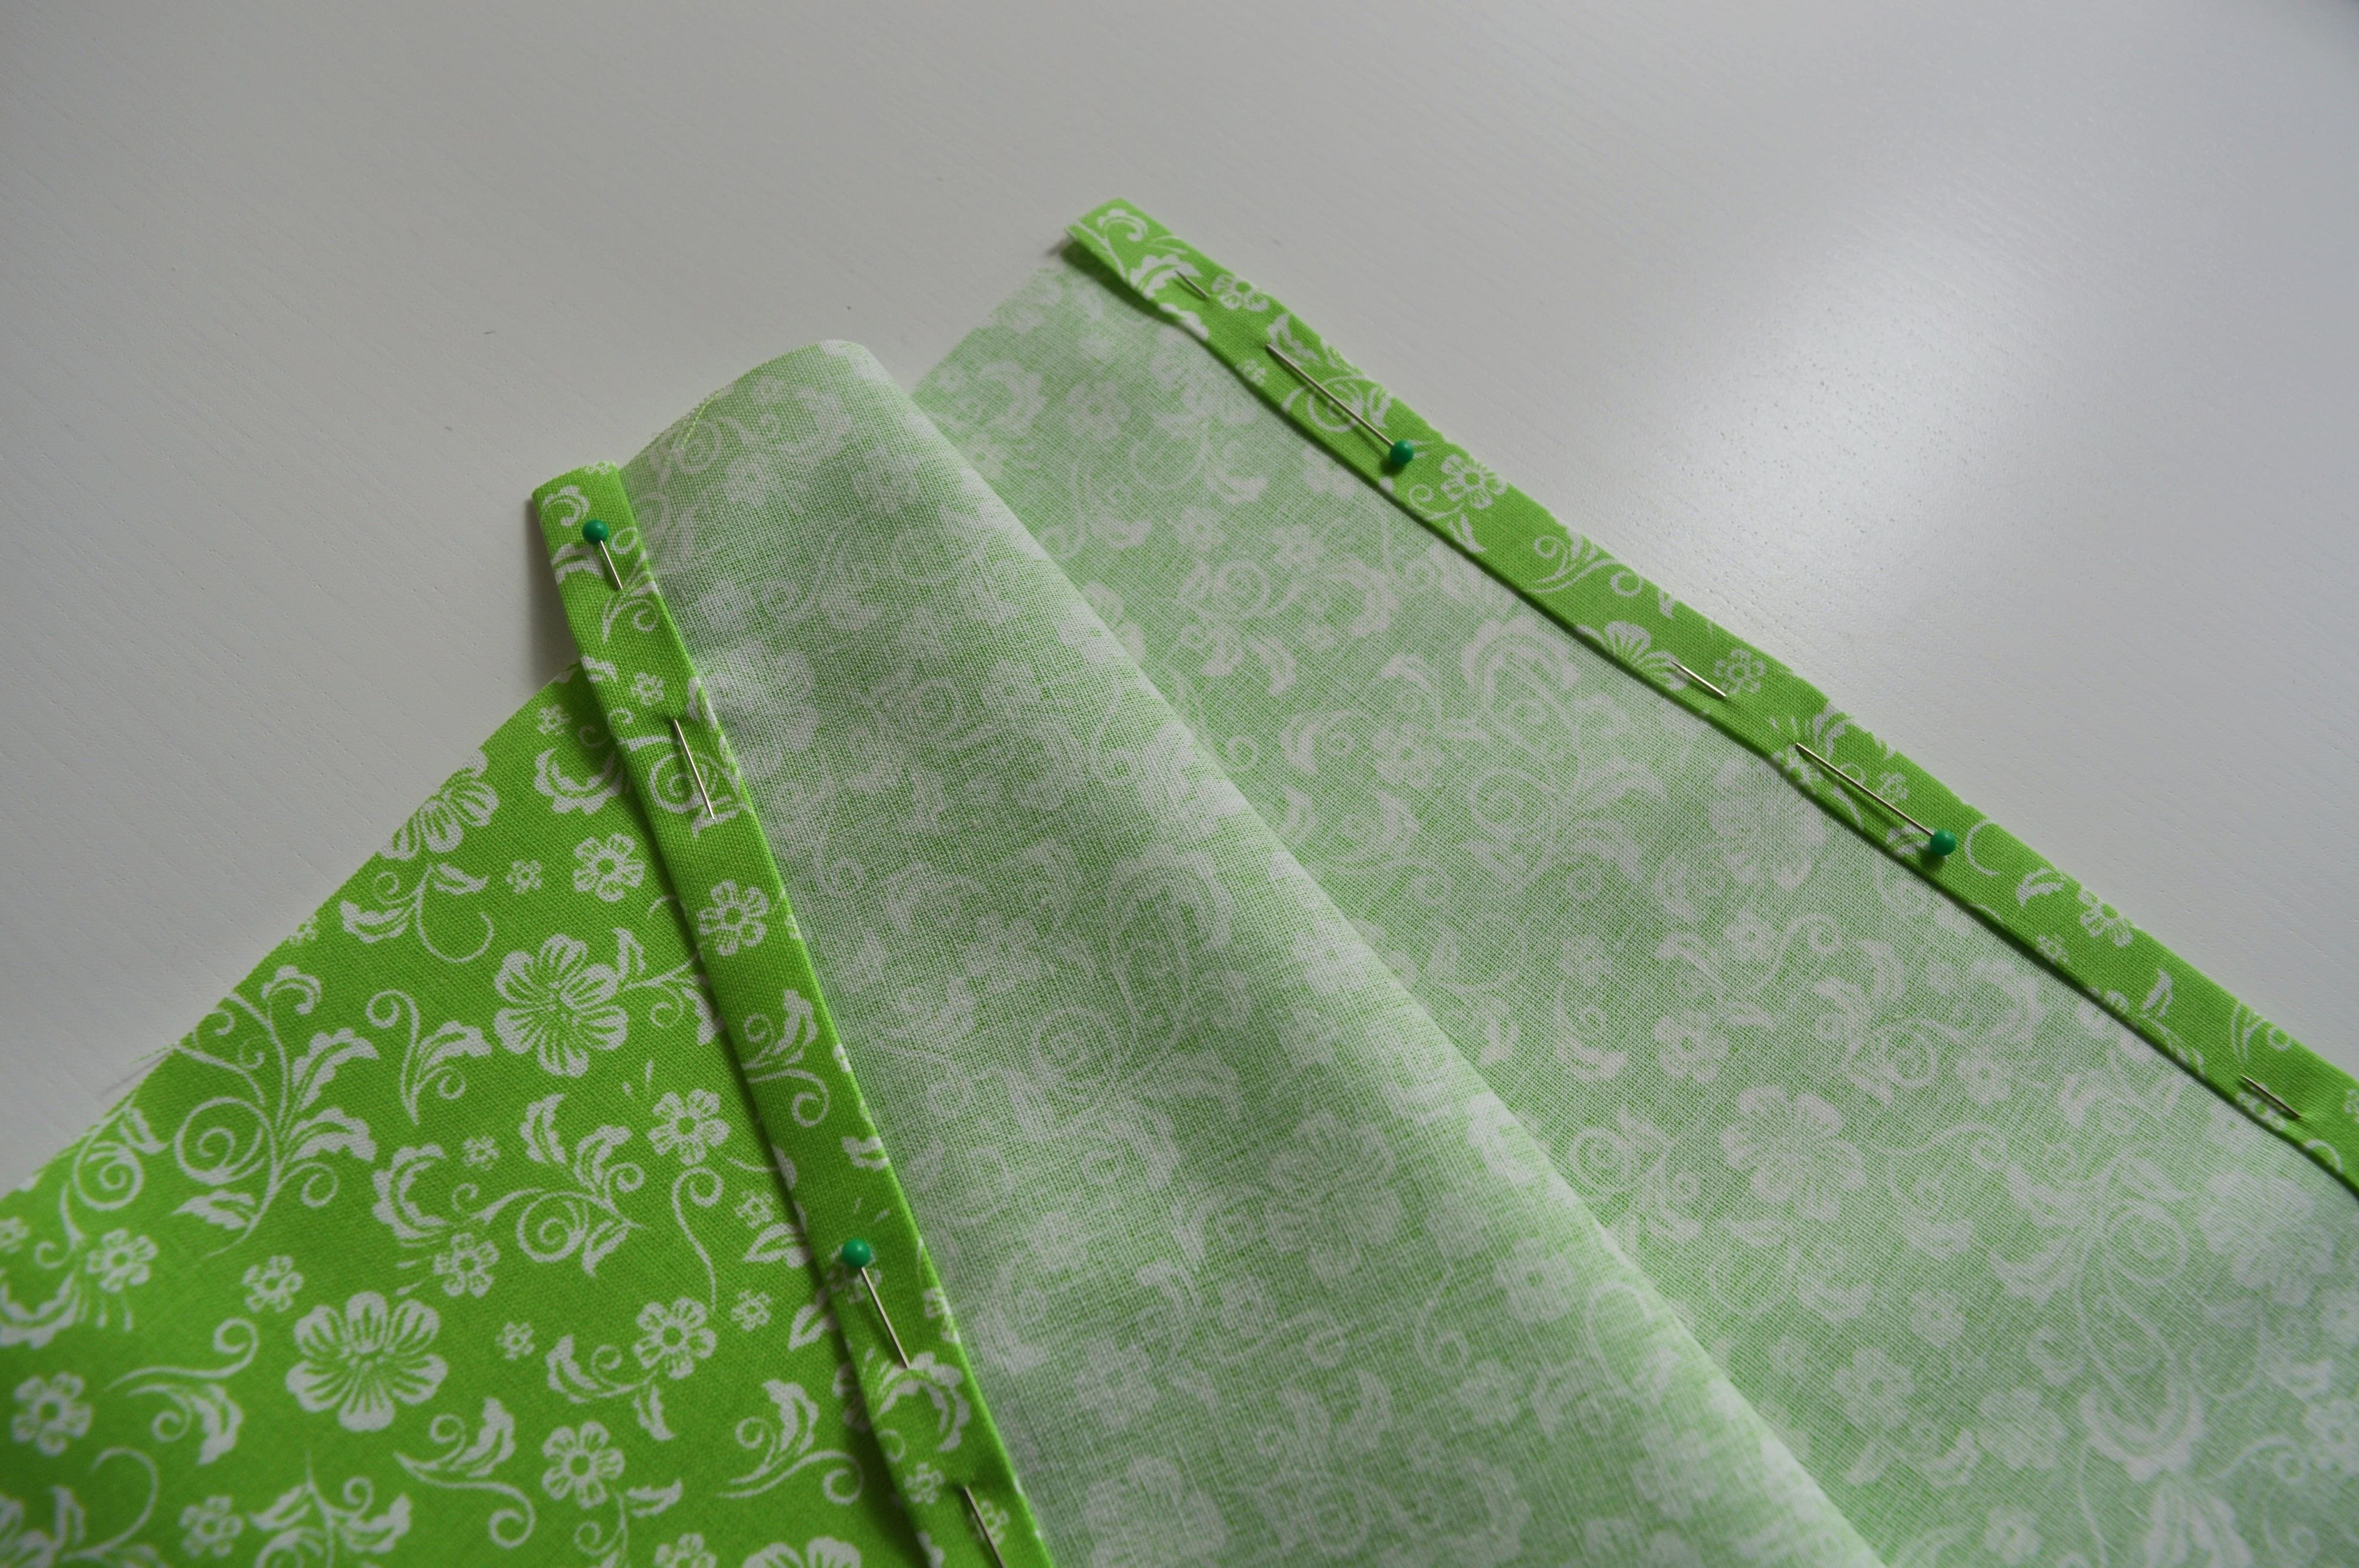
Straight stitch these seams using Edgestitch foot #10.
!!! Edgestitch foot #10, plain seam #1, the stitch length 2,5-3
(the needle is moved to the right two positions)
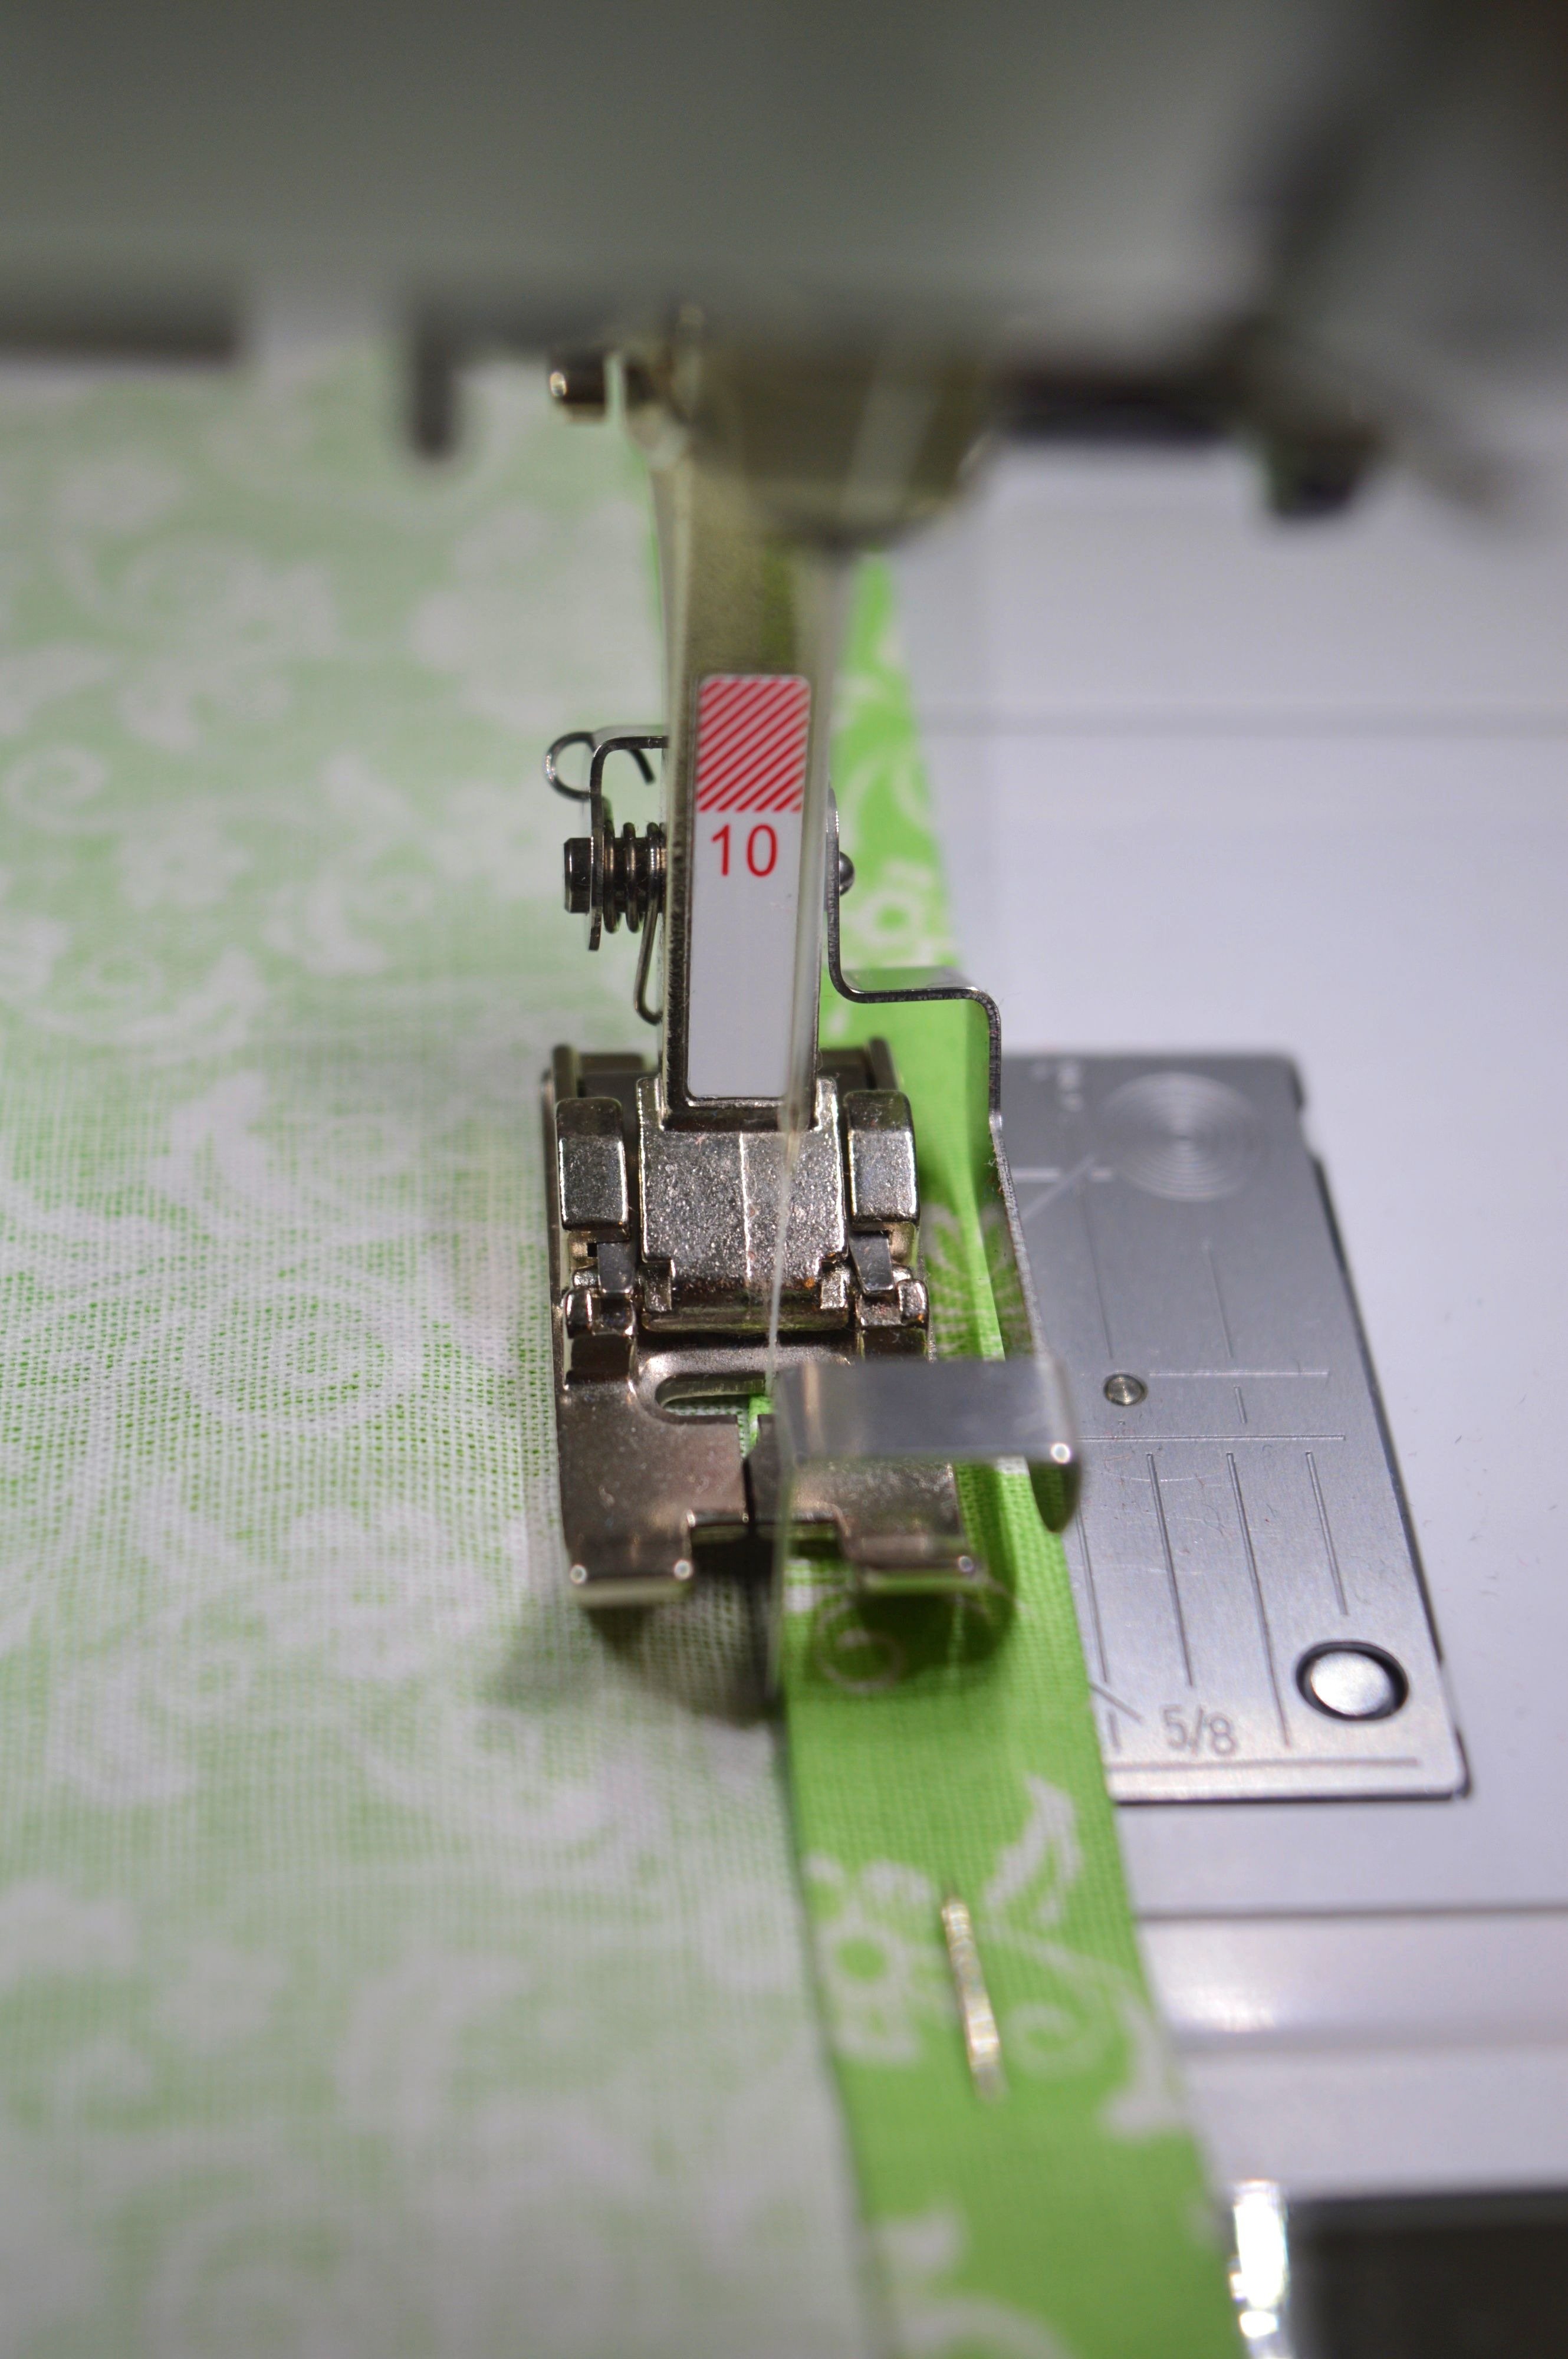
Edgestitch foot #10
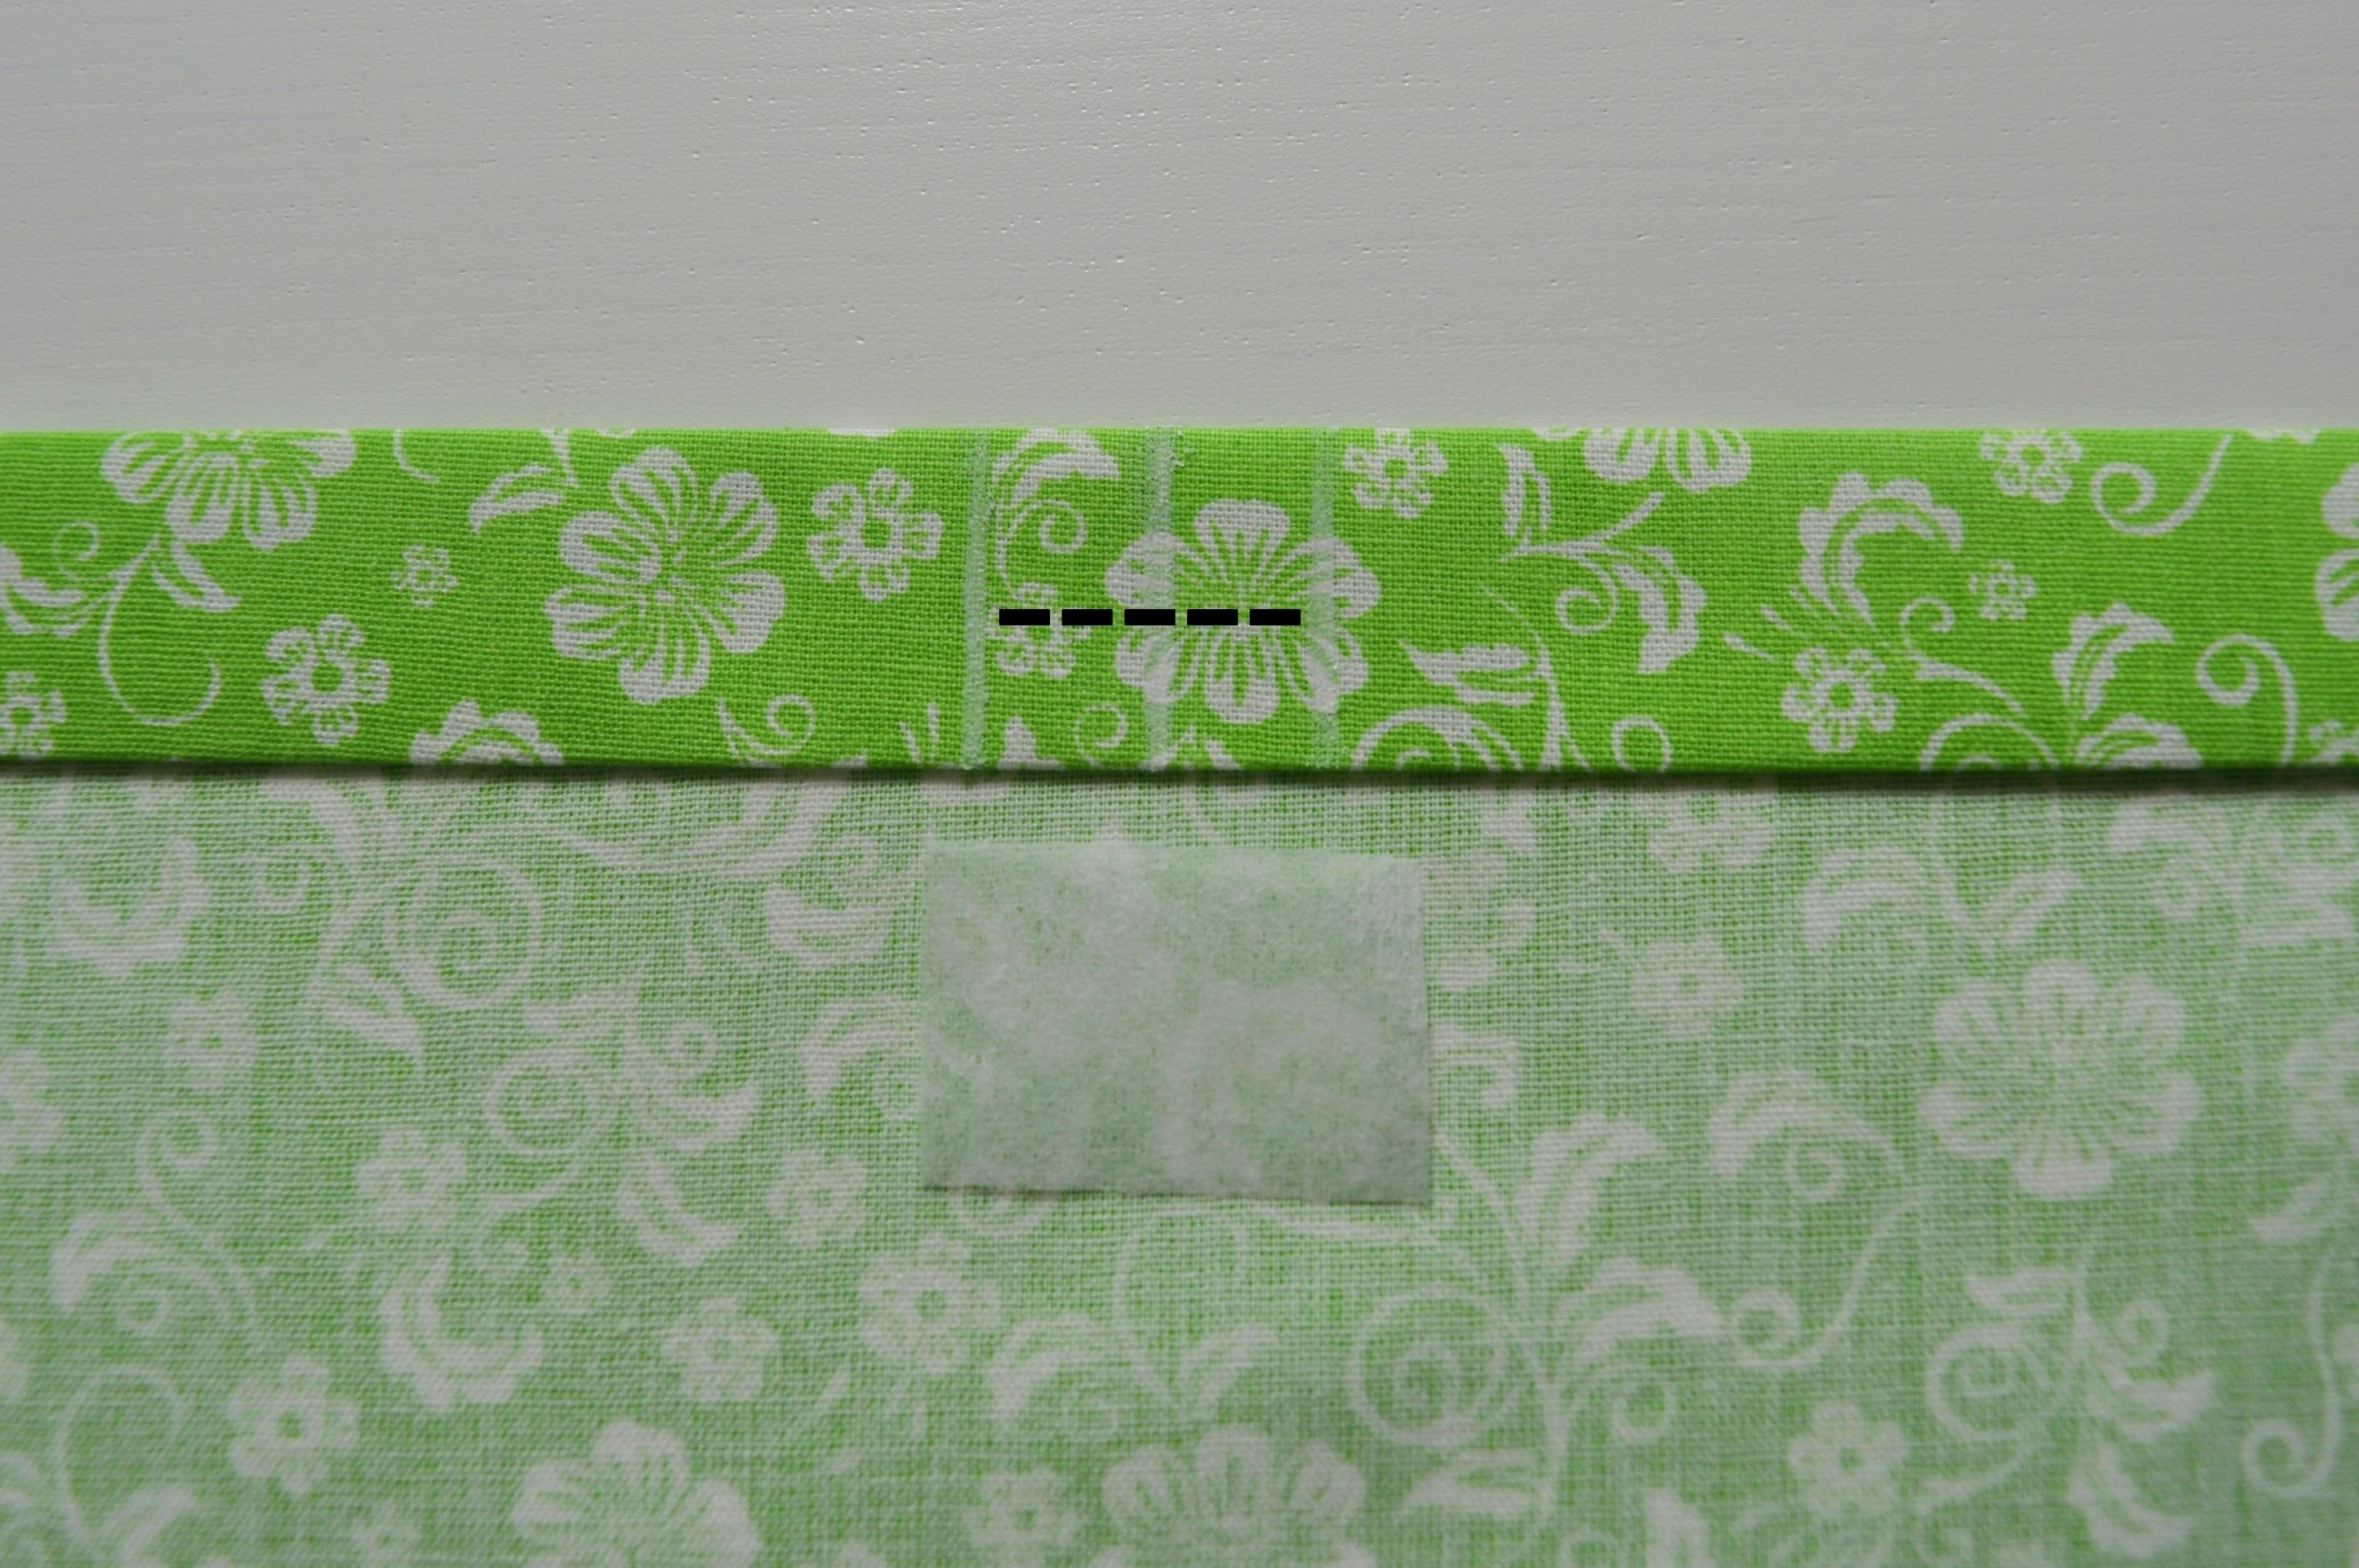
When you complete the topstitching, measure the length of the flap from one edge and mark it with the pins or press with iron inward as shown in the picture below.
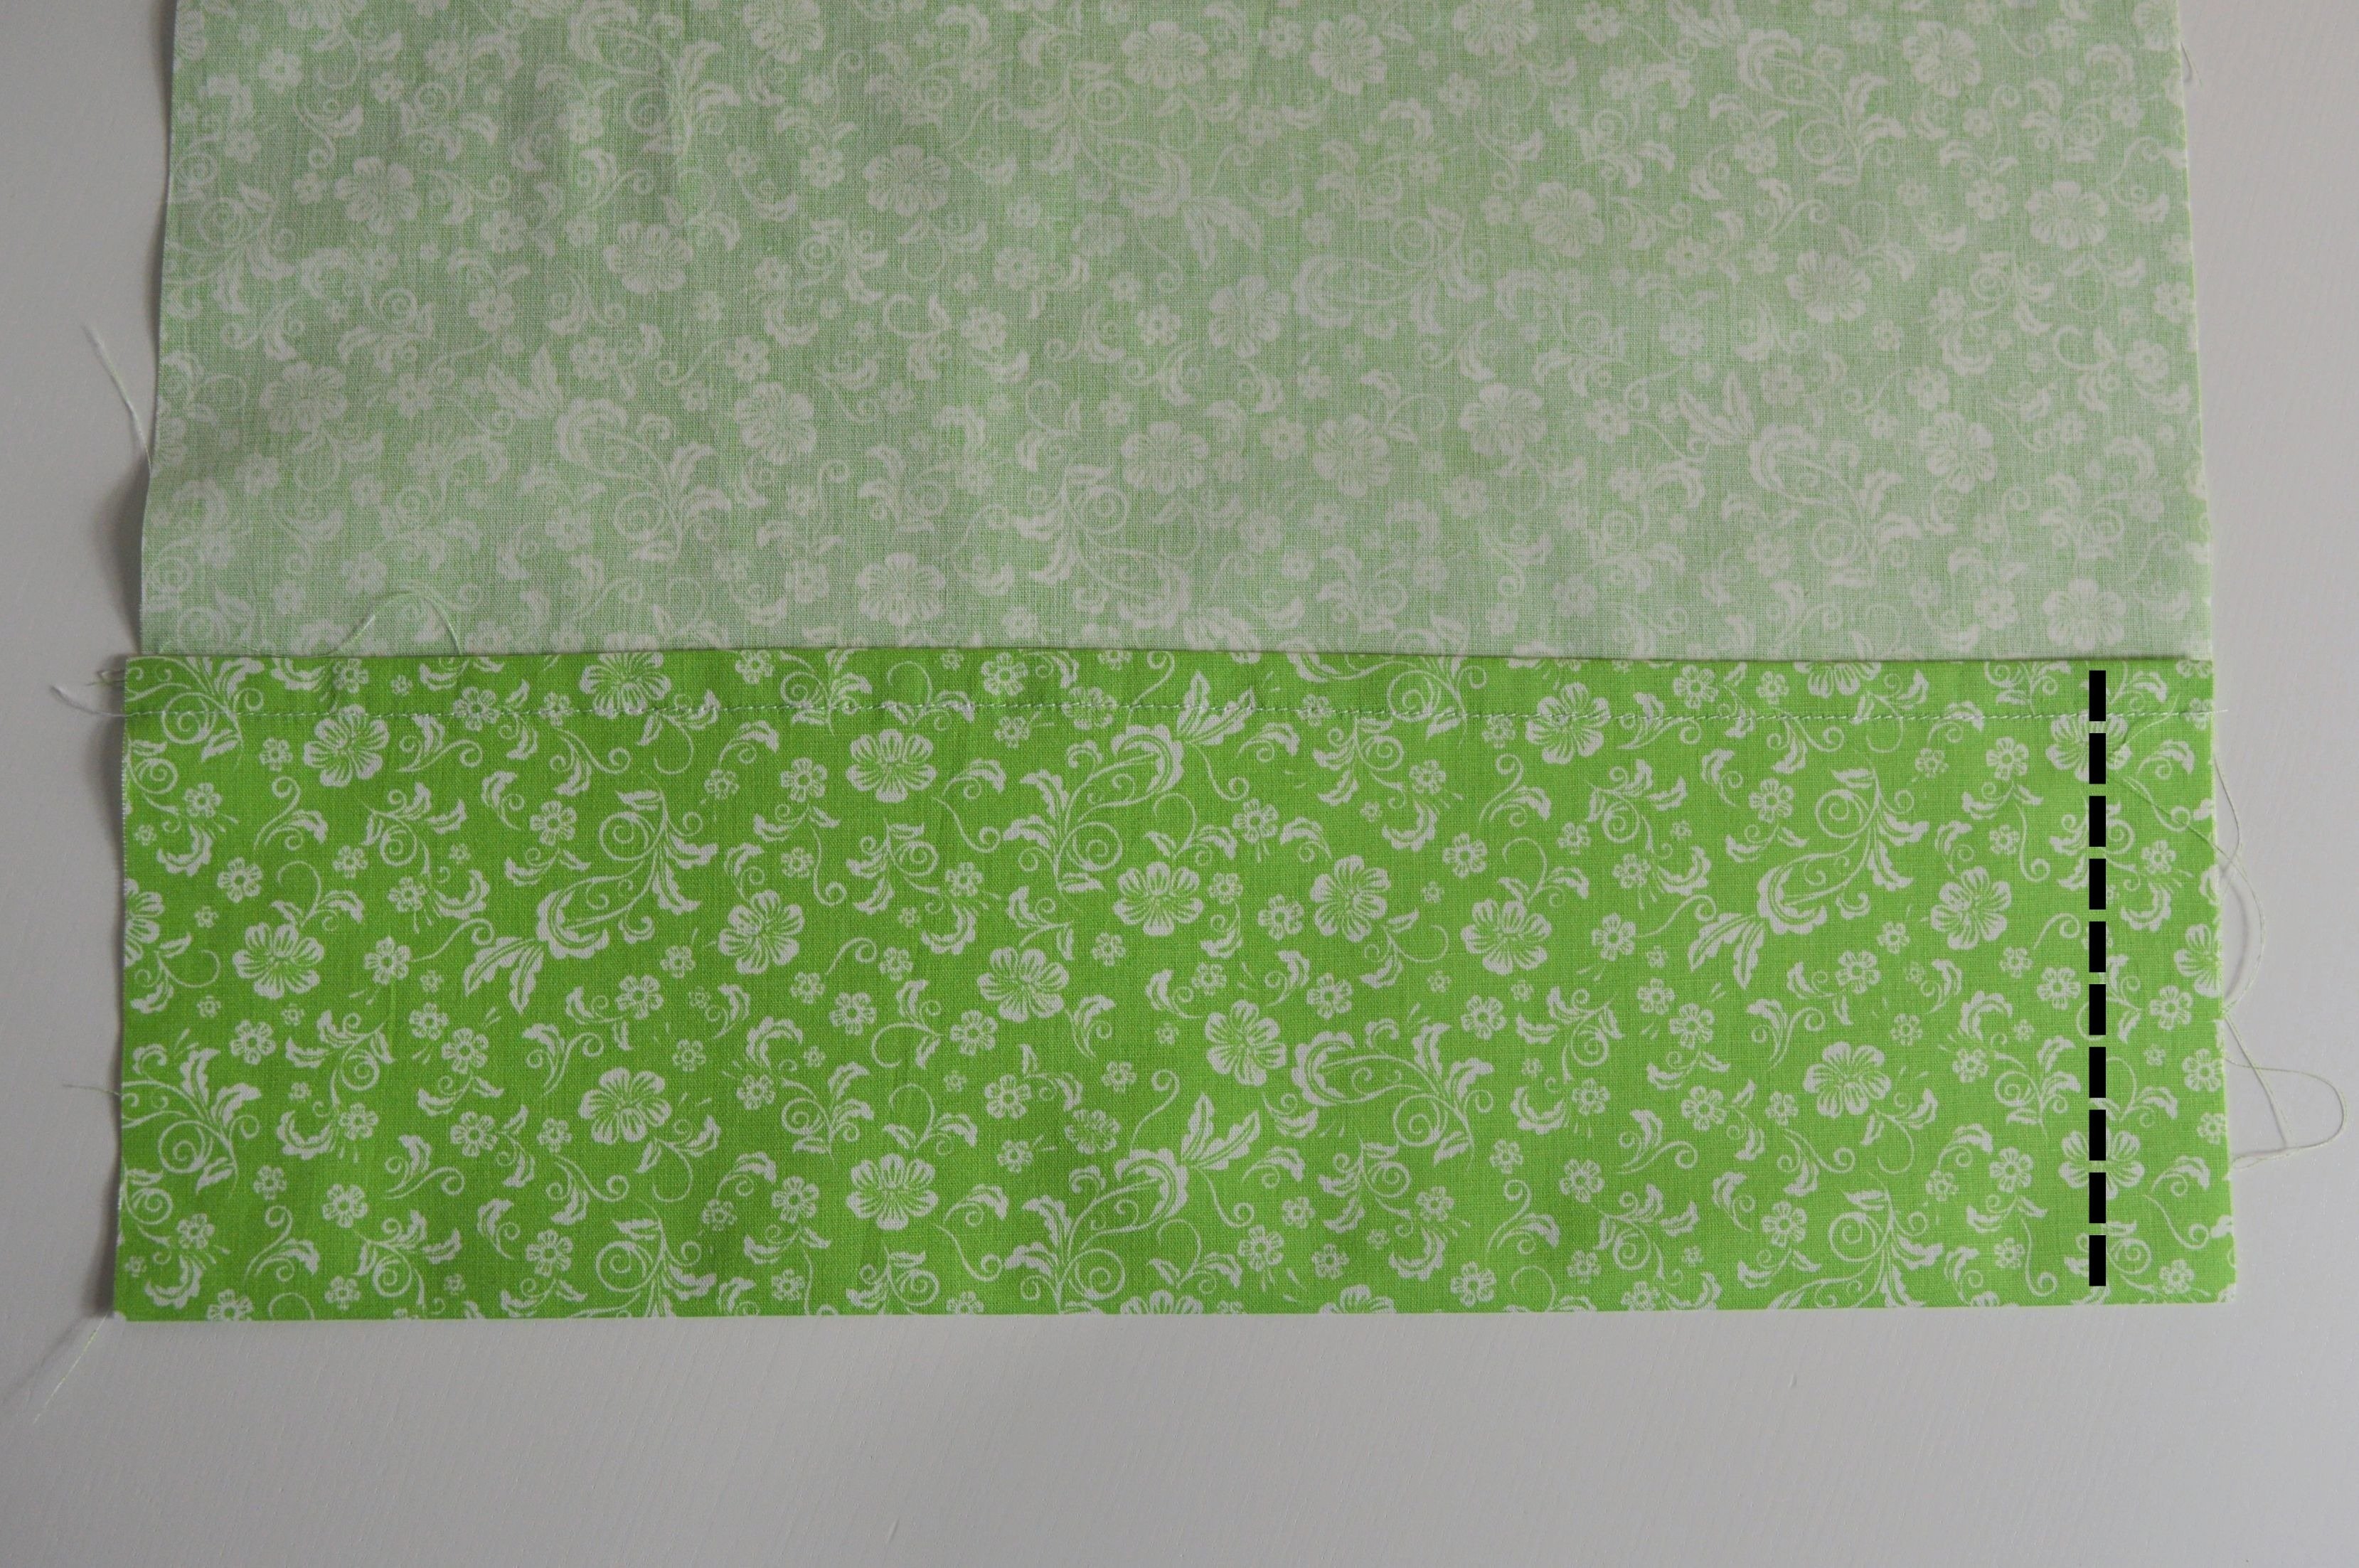
The flap
Sewing of the closure is completed, and it remains to finish the pillowcase.
On the right side of the pillowcase piece on which is the flap place the right side of the second piece of the pillowcase up to the marked line, which represents the edge of the pillowcase and the beginning of the flap.

Then fold flap as shown in the picture and stitch sides.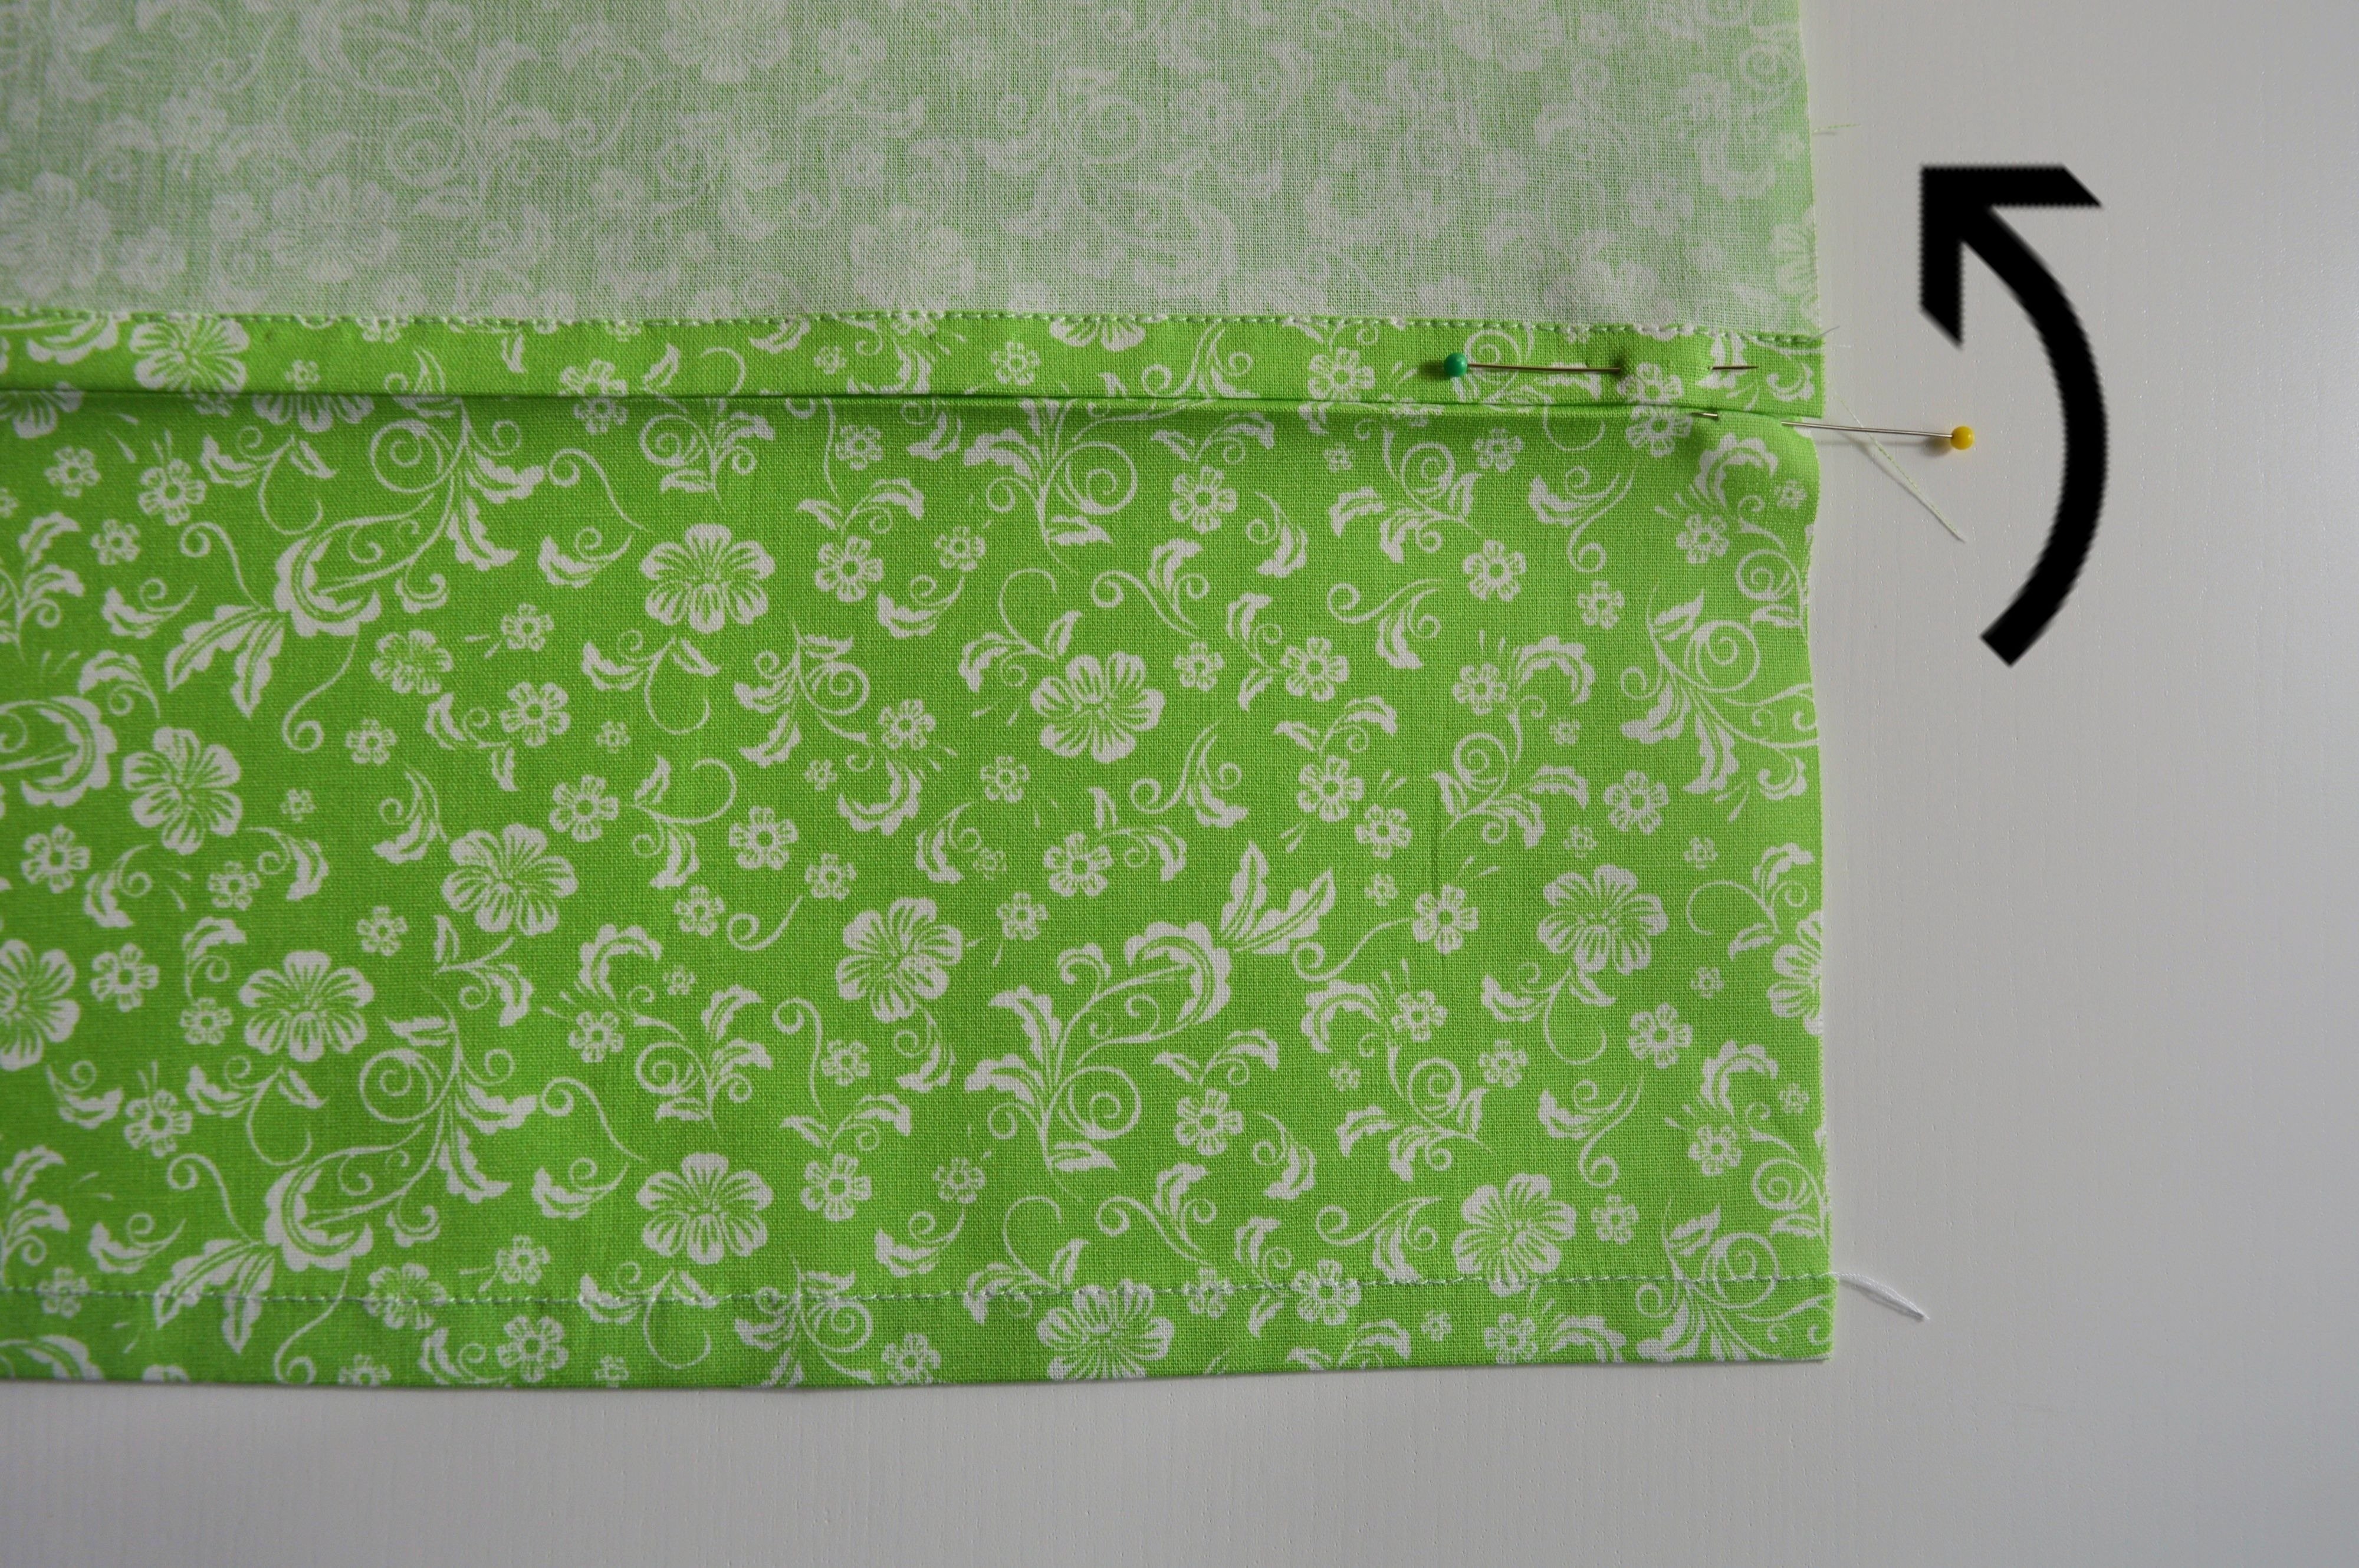

Sewing is finished, turn the pillowcase right side.

This closure is the most comfortable and most straightforward closure of pillowcase to sew, sewing is super quick and easy, without unnecessary details.
Closure with buttons
Today, indeed not too favorite closing, but before, in addition to the previous one, it was the most widespread. I remember bedding from my childhood, bedclothes with plastic buttons, mostly white or transparent because then the bedding was almost always in bright colors and from cotton.
As far as this way is concerned, it is possible to use two types of buttons, sew-through or plastic snap fastener buttons. Nowadays, these others are much more popular, but I decided to introduce the first option – the sew-through buttons.
MATERIAL: buttons
While cutting pillowcase both edges, which are intended for closure, cut out with an additional 6 cm.
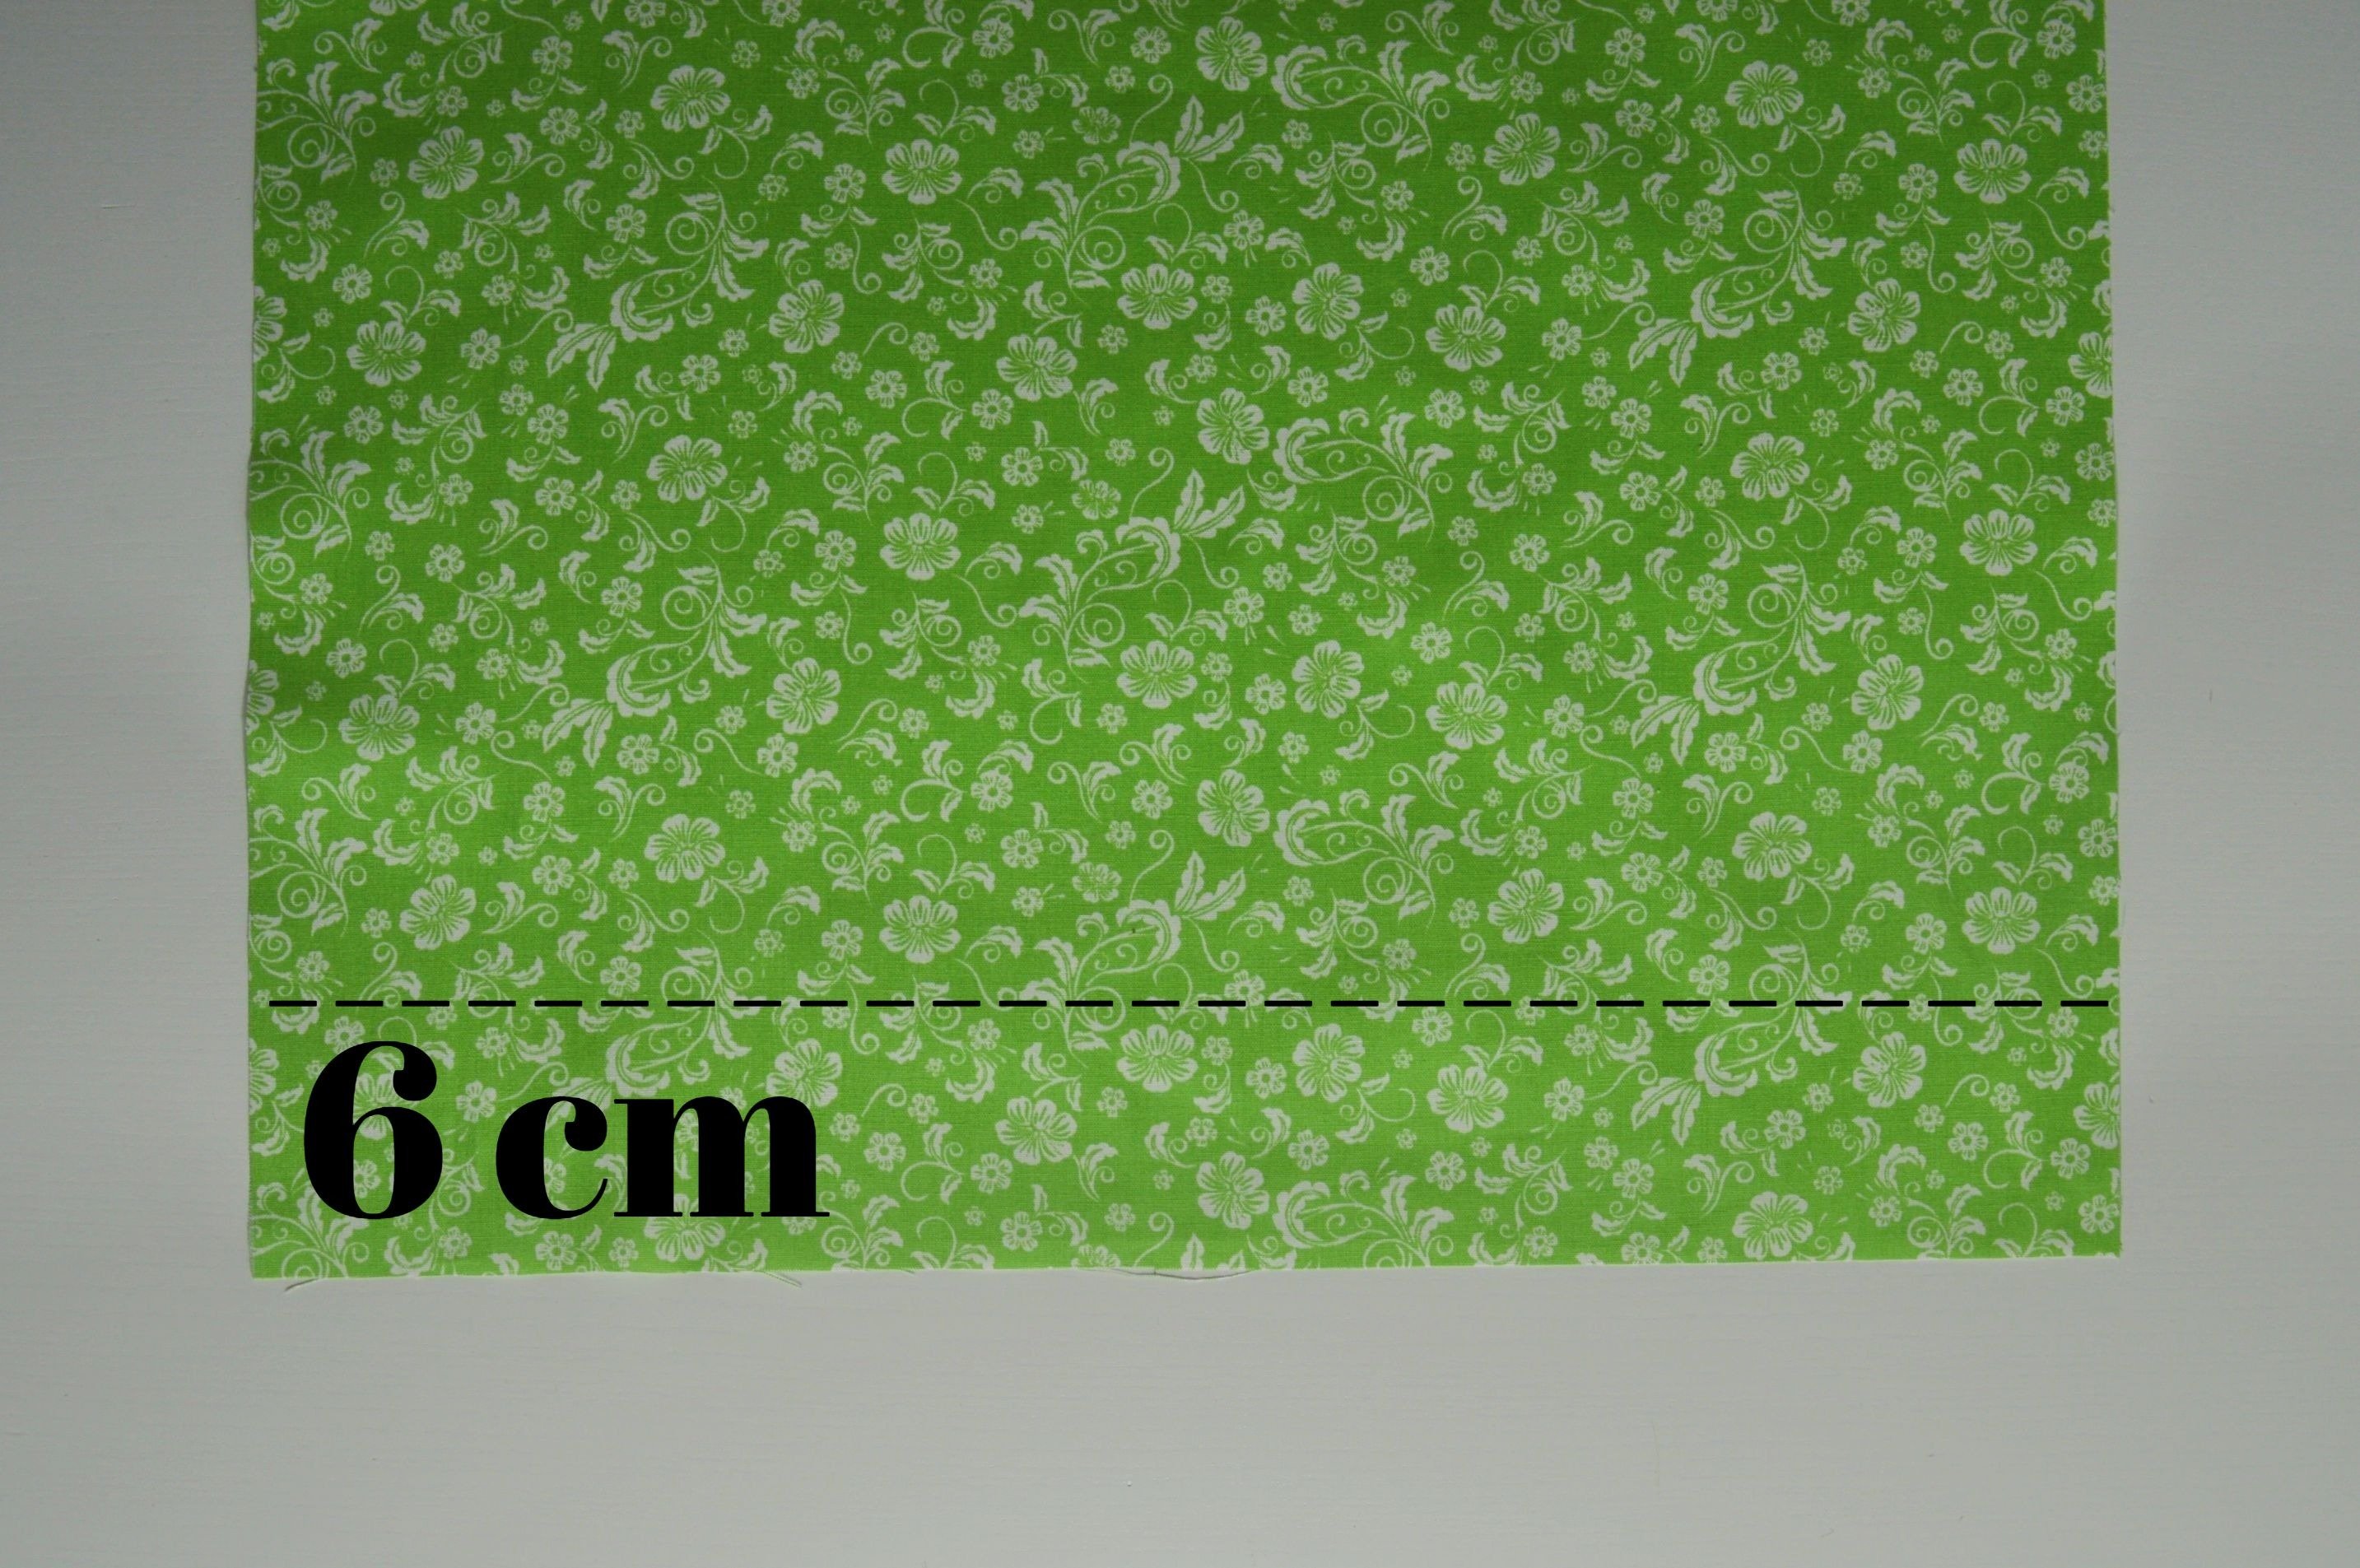
Closure with buttons
At both edges fold down 2 cm and then again 2 cm, so are bands for buttons and buttonholes made.
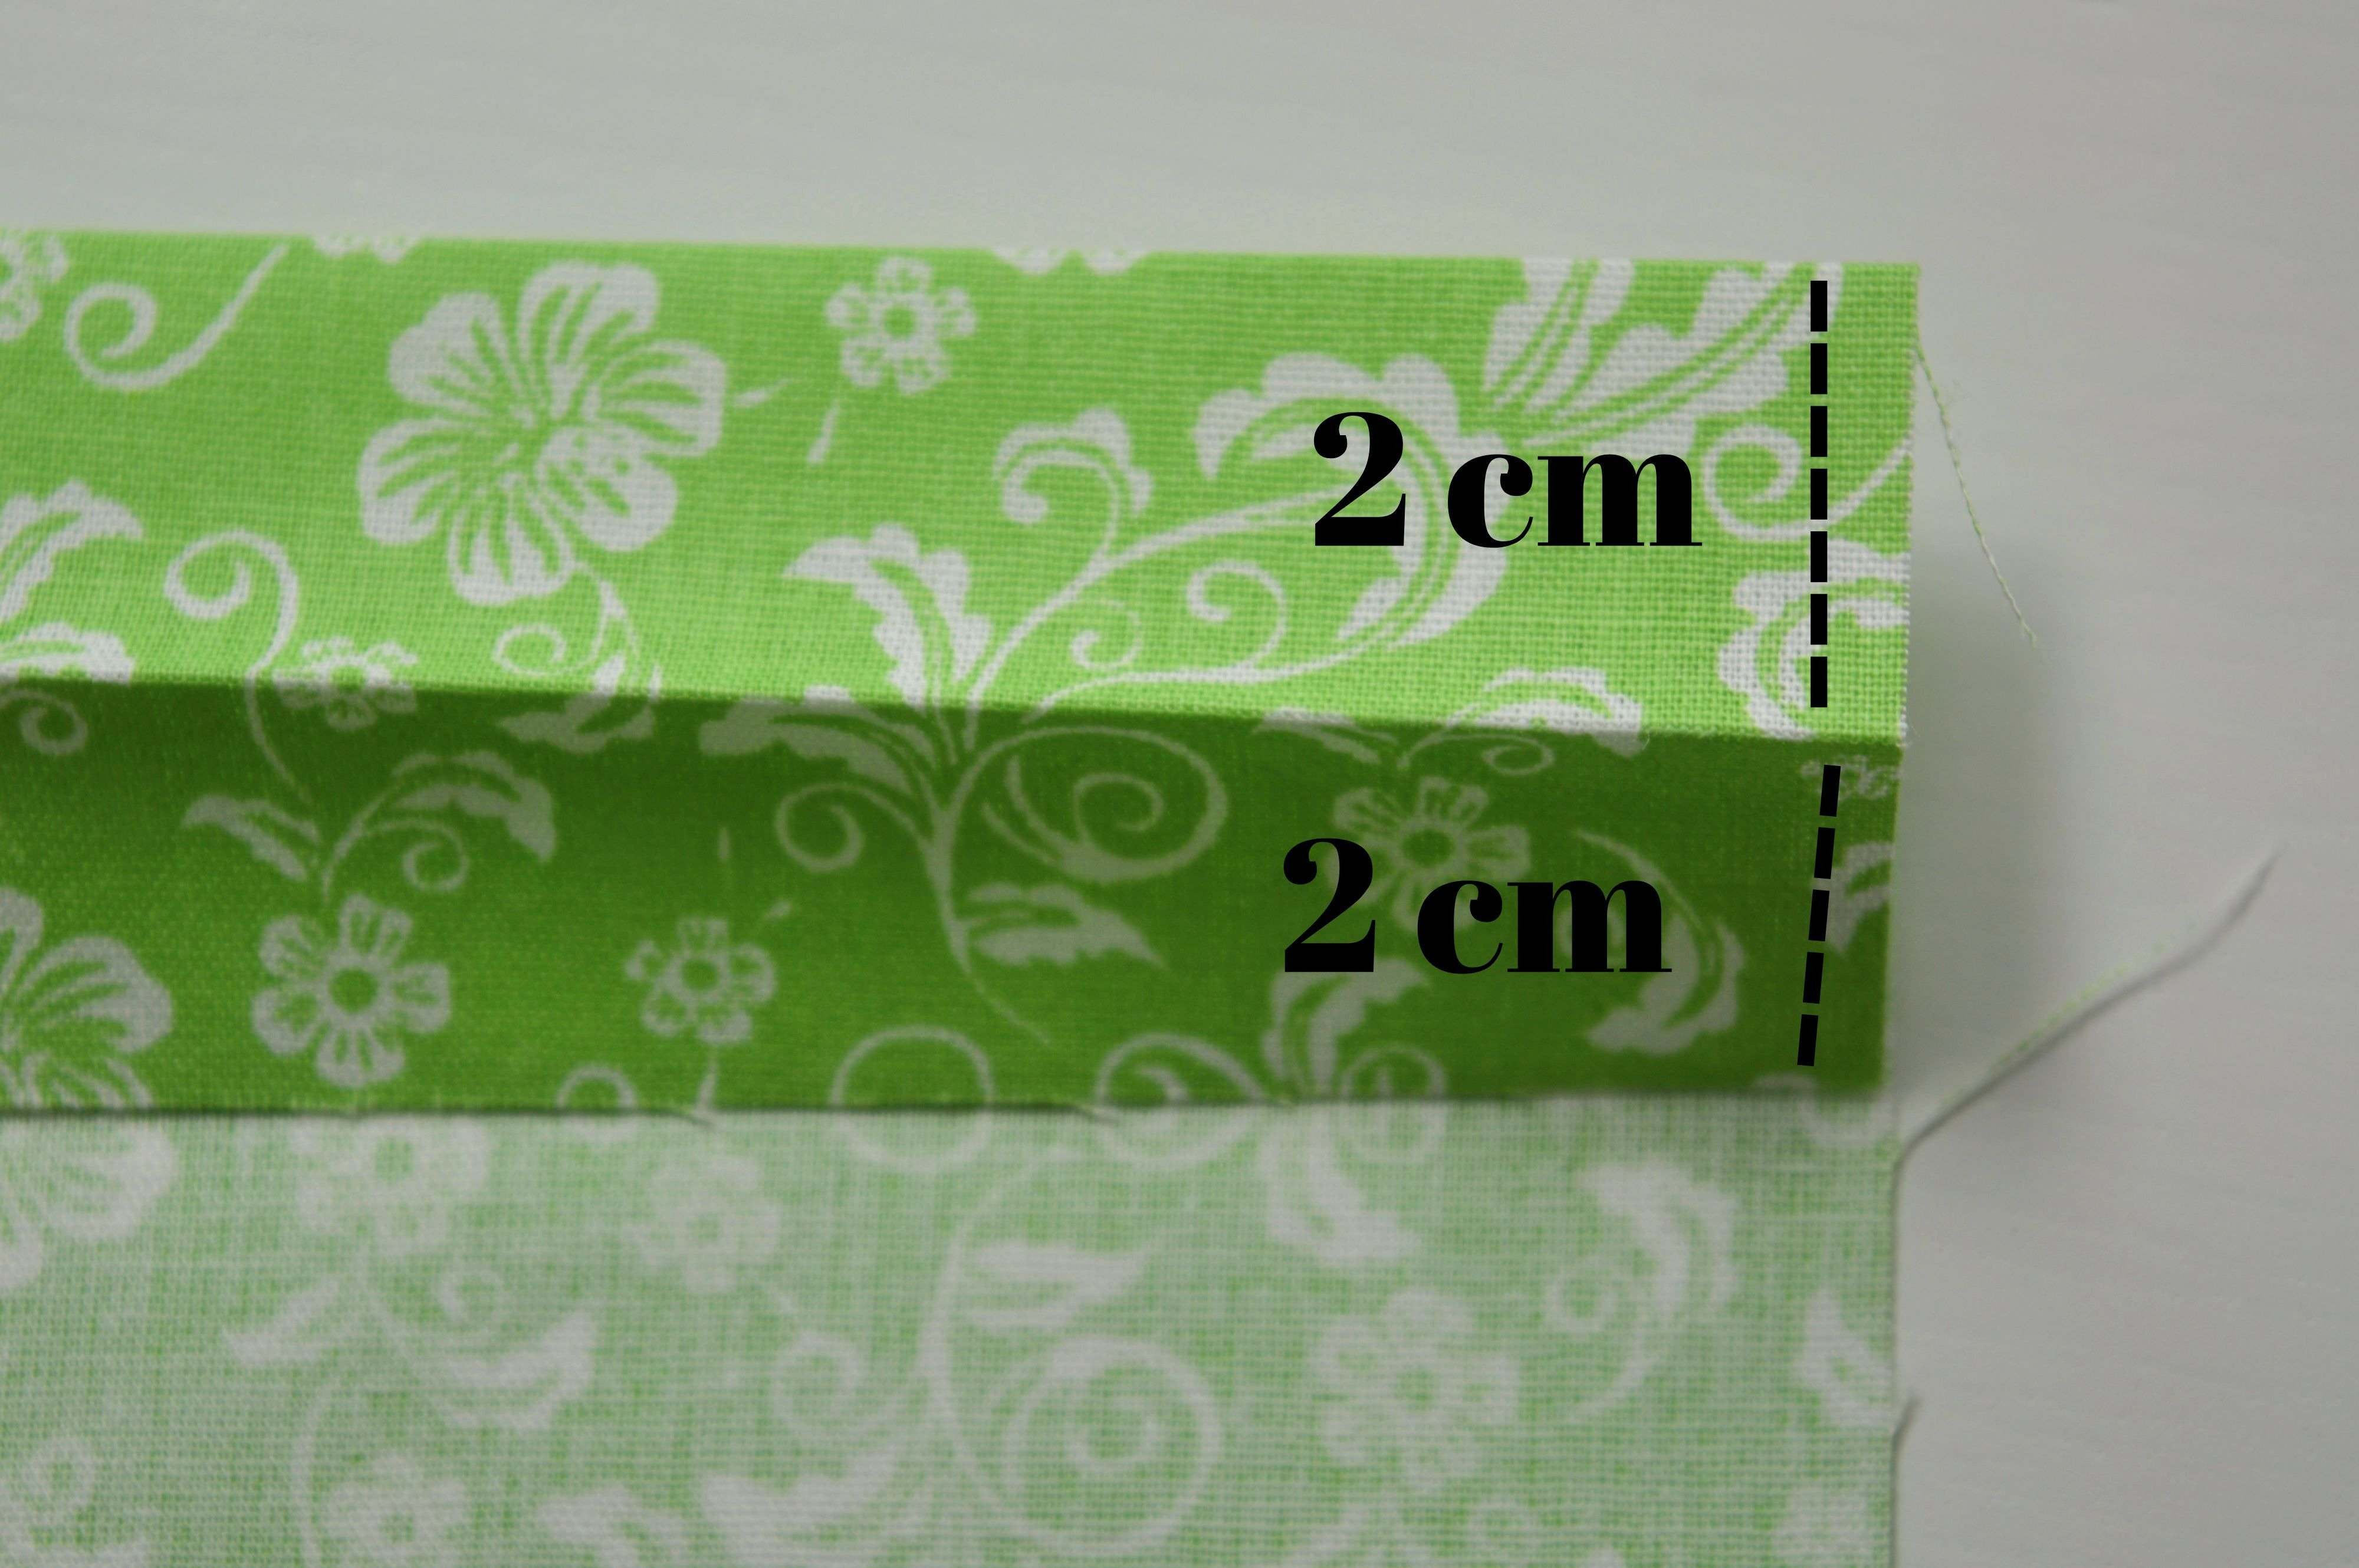
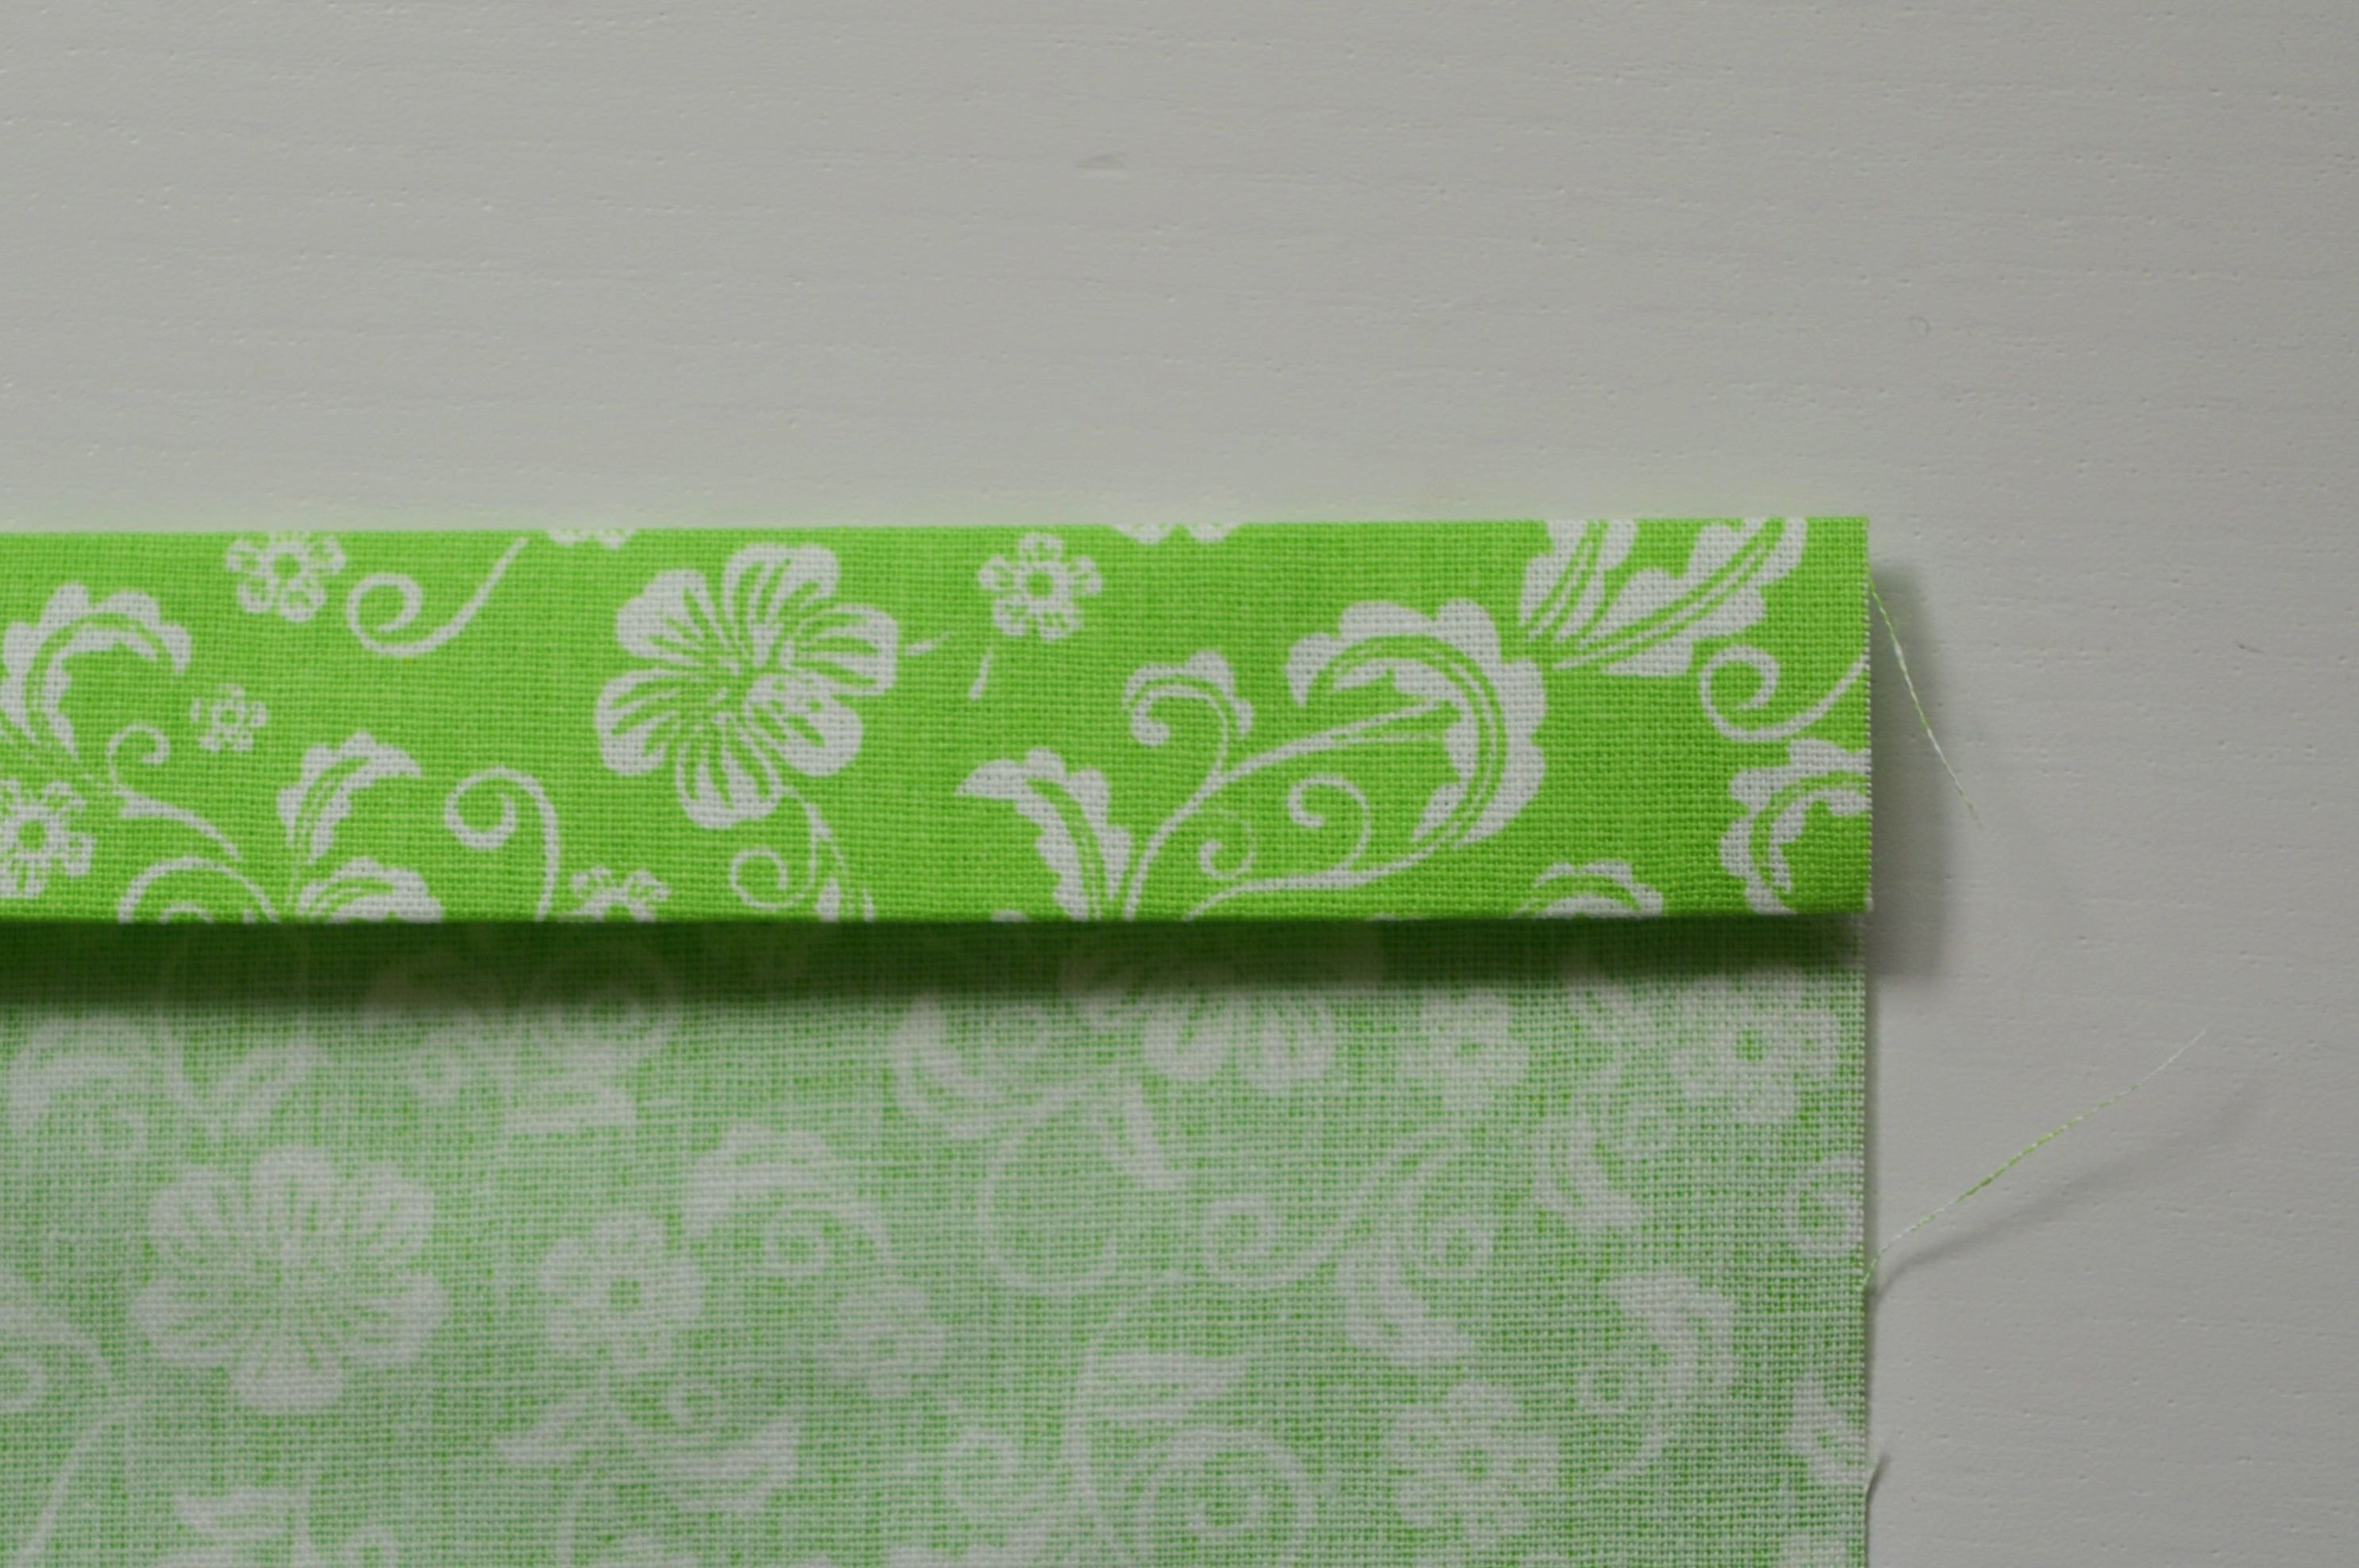
Straight stitch these seams using Edgestitch foot #10.
!!! Edgestitch foot #10, plain seam #1, the stitch length 2,5-3
(the needle is moved to the right two positions)
It is necessary to decide where the buttons will be on button band and how many will be needed. Depending on the size of the pillowcase, the buttons are placed at a distance of 15-25 cm (Distance between the two buttons).
NOTE: You can put two buttons on a 50 cm length (The distance between the two buttons is about 15 cm.).
Mark the places for buttons.
NOTE: If you have decided to use snap fastener buttons, insert them according to the instructions on places you marked.
Moreover, if you have decided on sew-through buttons you need buttonholes too, mark the places where the buttons and the buttonholes go, one on one side of closure and other on another side.
TIP: For a more cleaner look of the buttonhole and to make its sewing easier, iron fusible interfacing on the wrong side just on the part where the buttonhole is placed. Of course, do it before stitching the button band.
Do the buttonholes. Adjust the length of the holes to the buttons.
!!! Buttonhole foot with slide #3A
In this post, a buttonhole program #0 is used.

Buttonhole foot with slide #3A
!!! The sewing feet used in this post are the feet for the Bernina 530, and you, I hope so, already have similar feet for your machine.
Buttonhole foot with slide #3A has a sensor that remembers the length of the first sewn buttonhole and all following are made in the same size until length is changed. (This is one of the things that make me delight whenever I need to make buttonholes.) In this way, holes of the same size are obtained, and you don’t need to do much.
Once the buttonholes are finished, it remains to sew on the buttons.
That can be done by hand or using Button-sew-on foot #18, which gives the clean look of your work.

!!! Button-sew-on foot #18
On Bernina 530 is an automatic button-sew-on program #60, as can be seen in the picture below.

button-sew-on program #60
The program itself requires the use of the foot #18
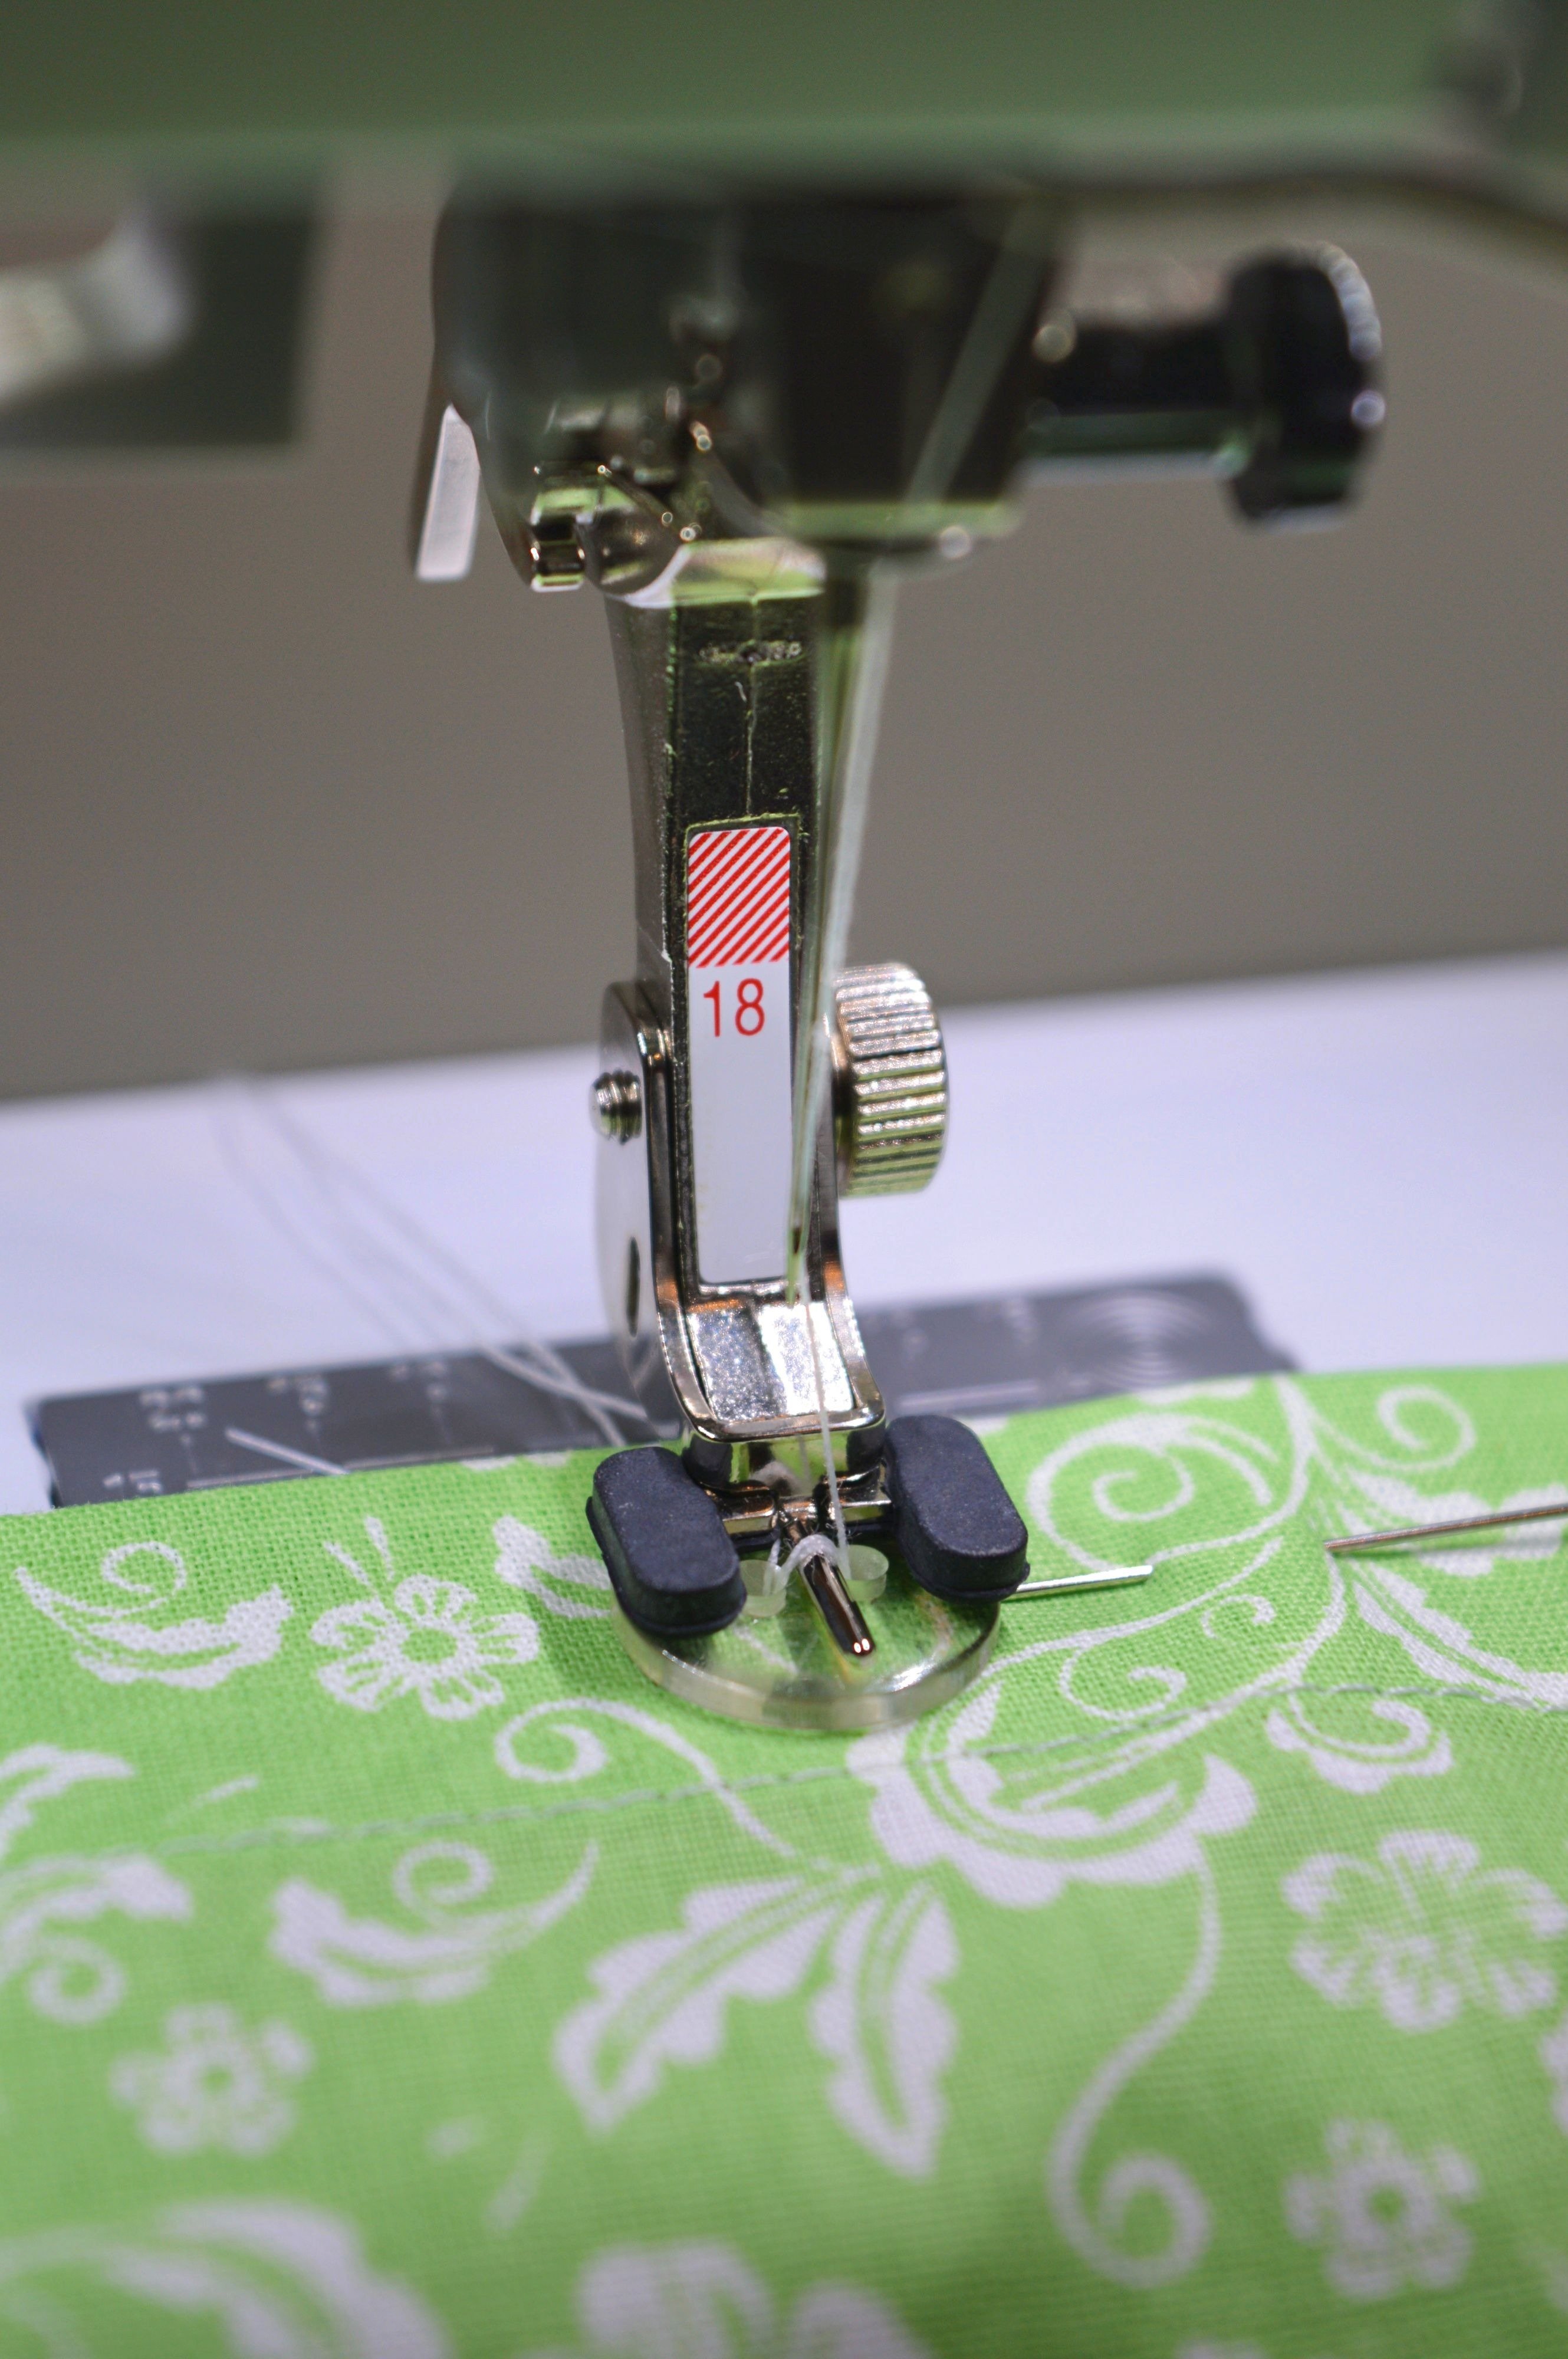
Button-sew-on foot #18
This foot, as well as all the different feet that are offered for a particular model of the Bernina sewing machine, contribute to the precision and clean appearance of your work, while also making it more comfortable.
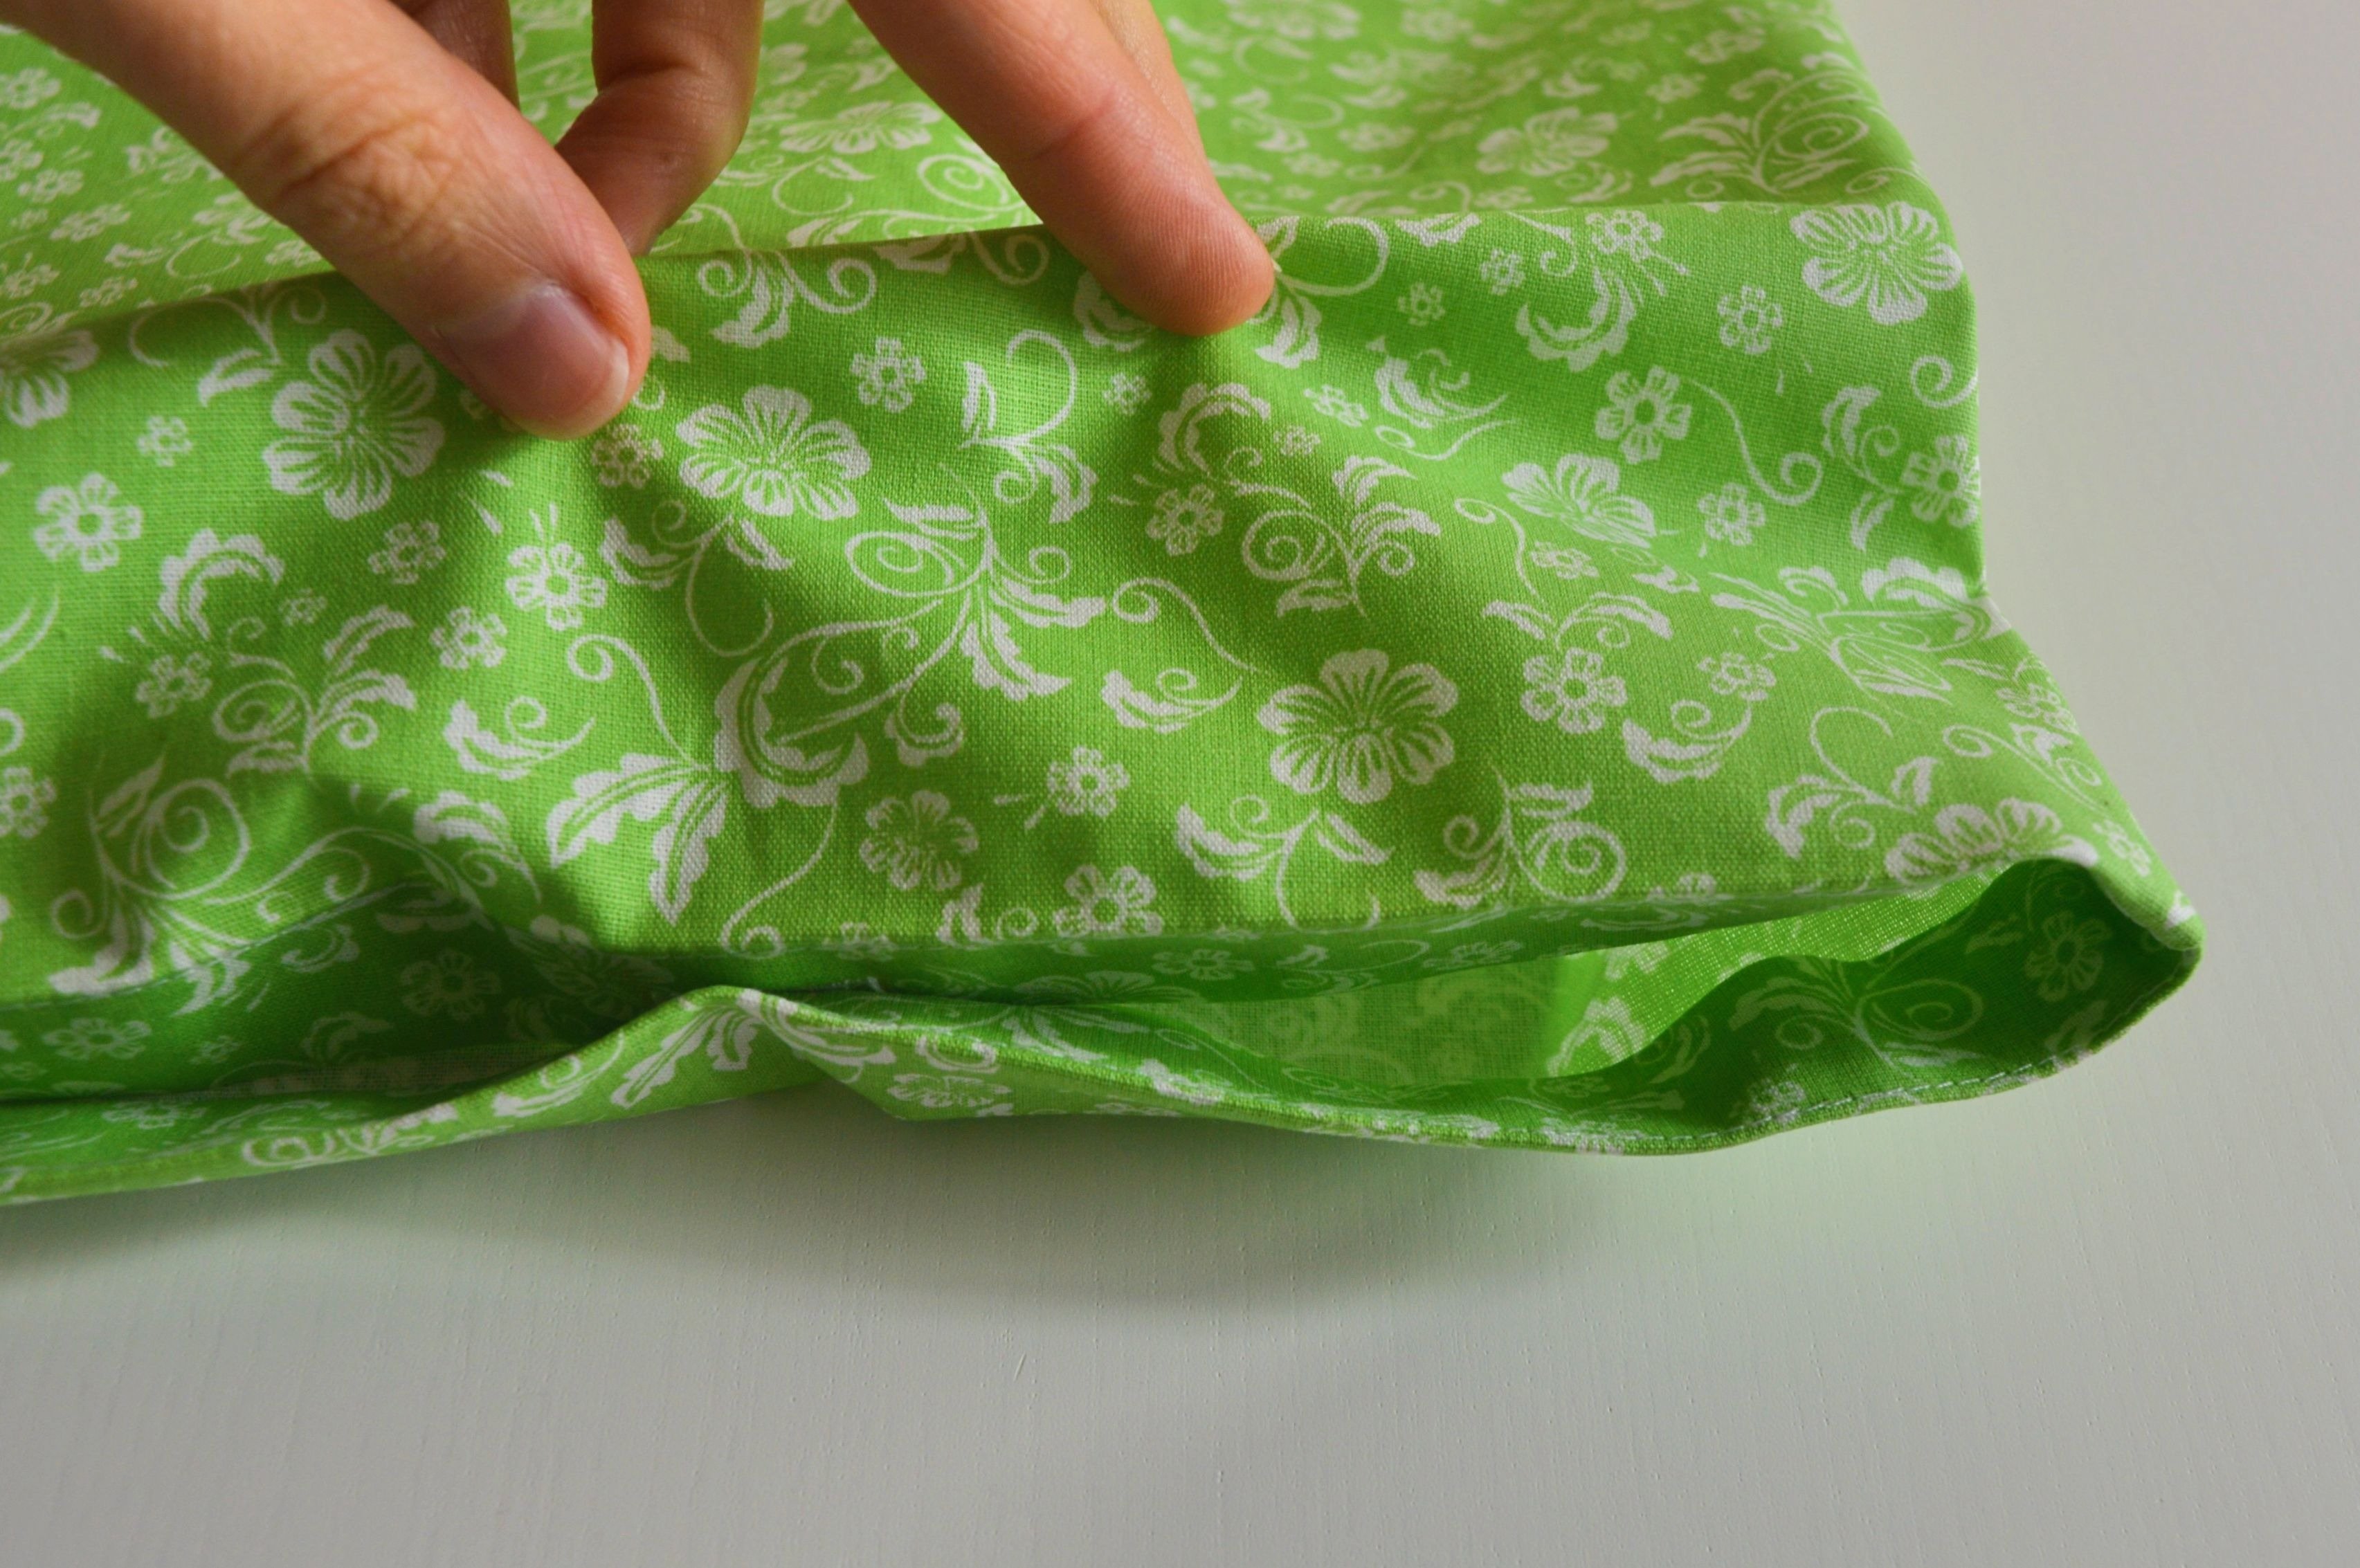
When the sewing of the buttonholes and buttons is completed, press the bands inward. If you used snap fastener buttons, after inserting them, do the same.
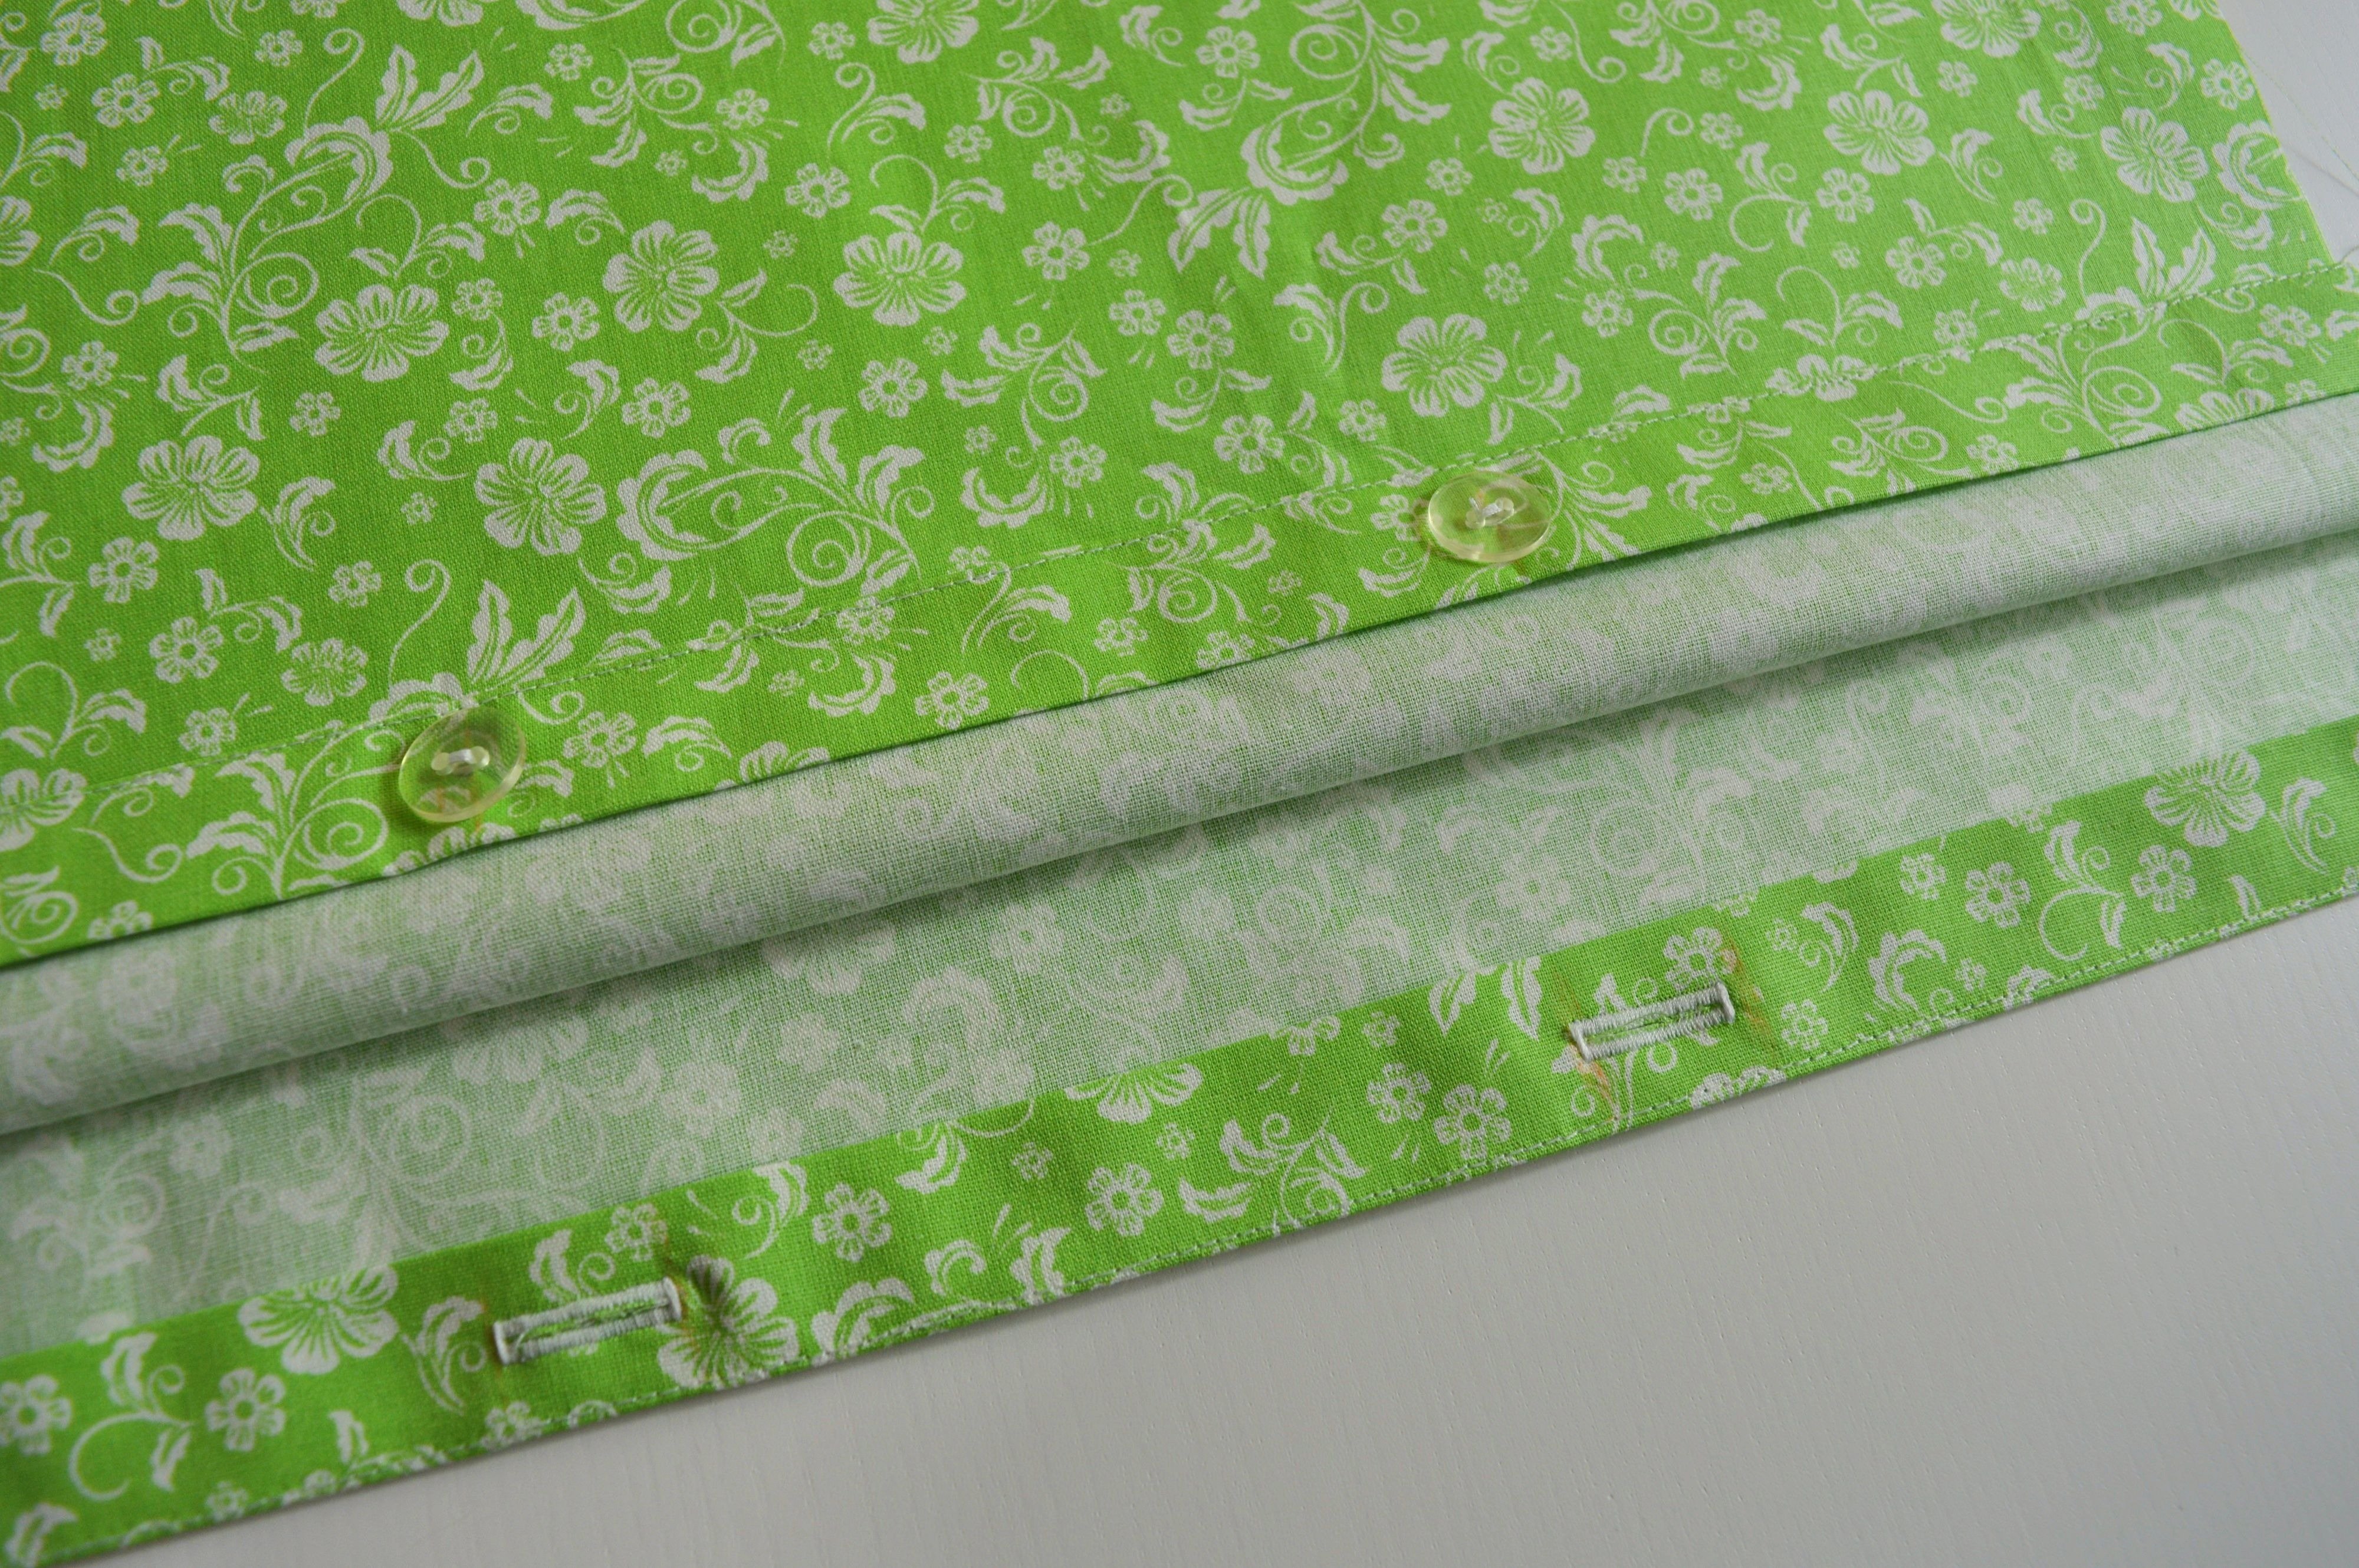
buttons and buttonholes
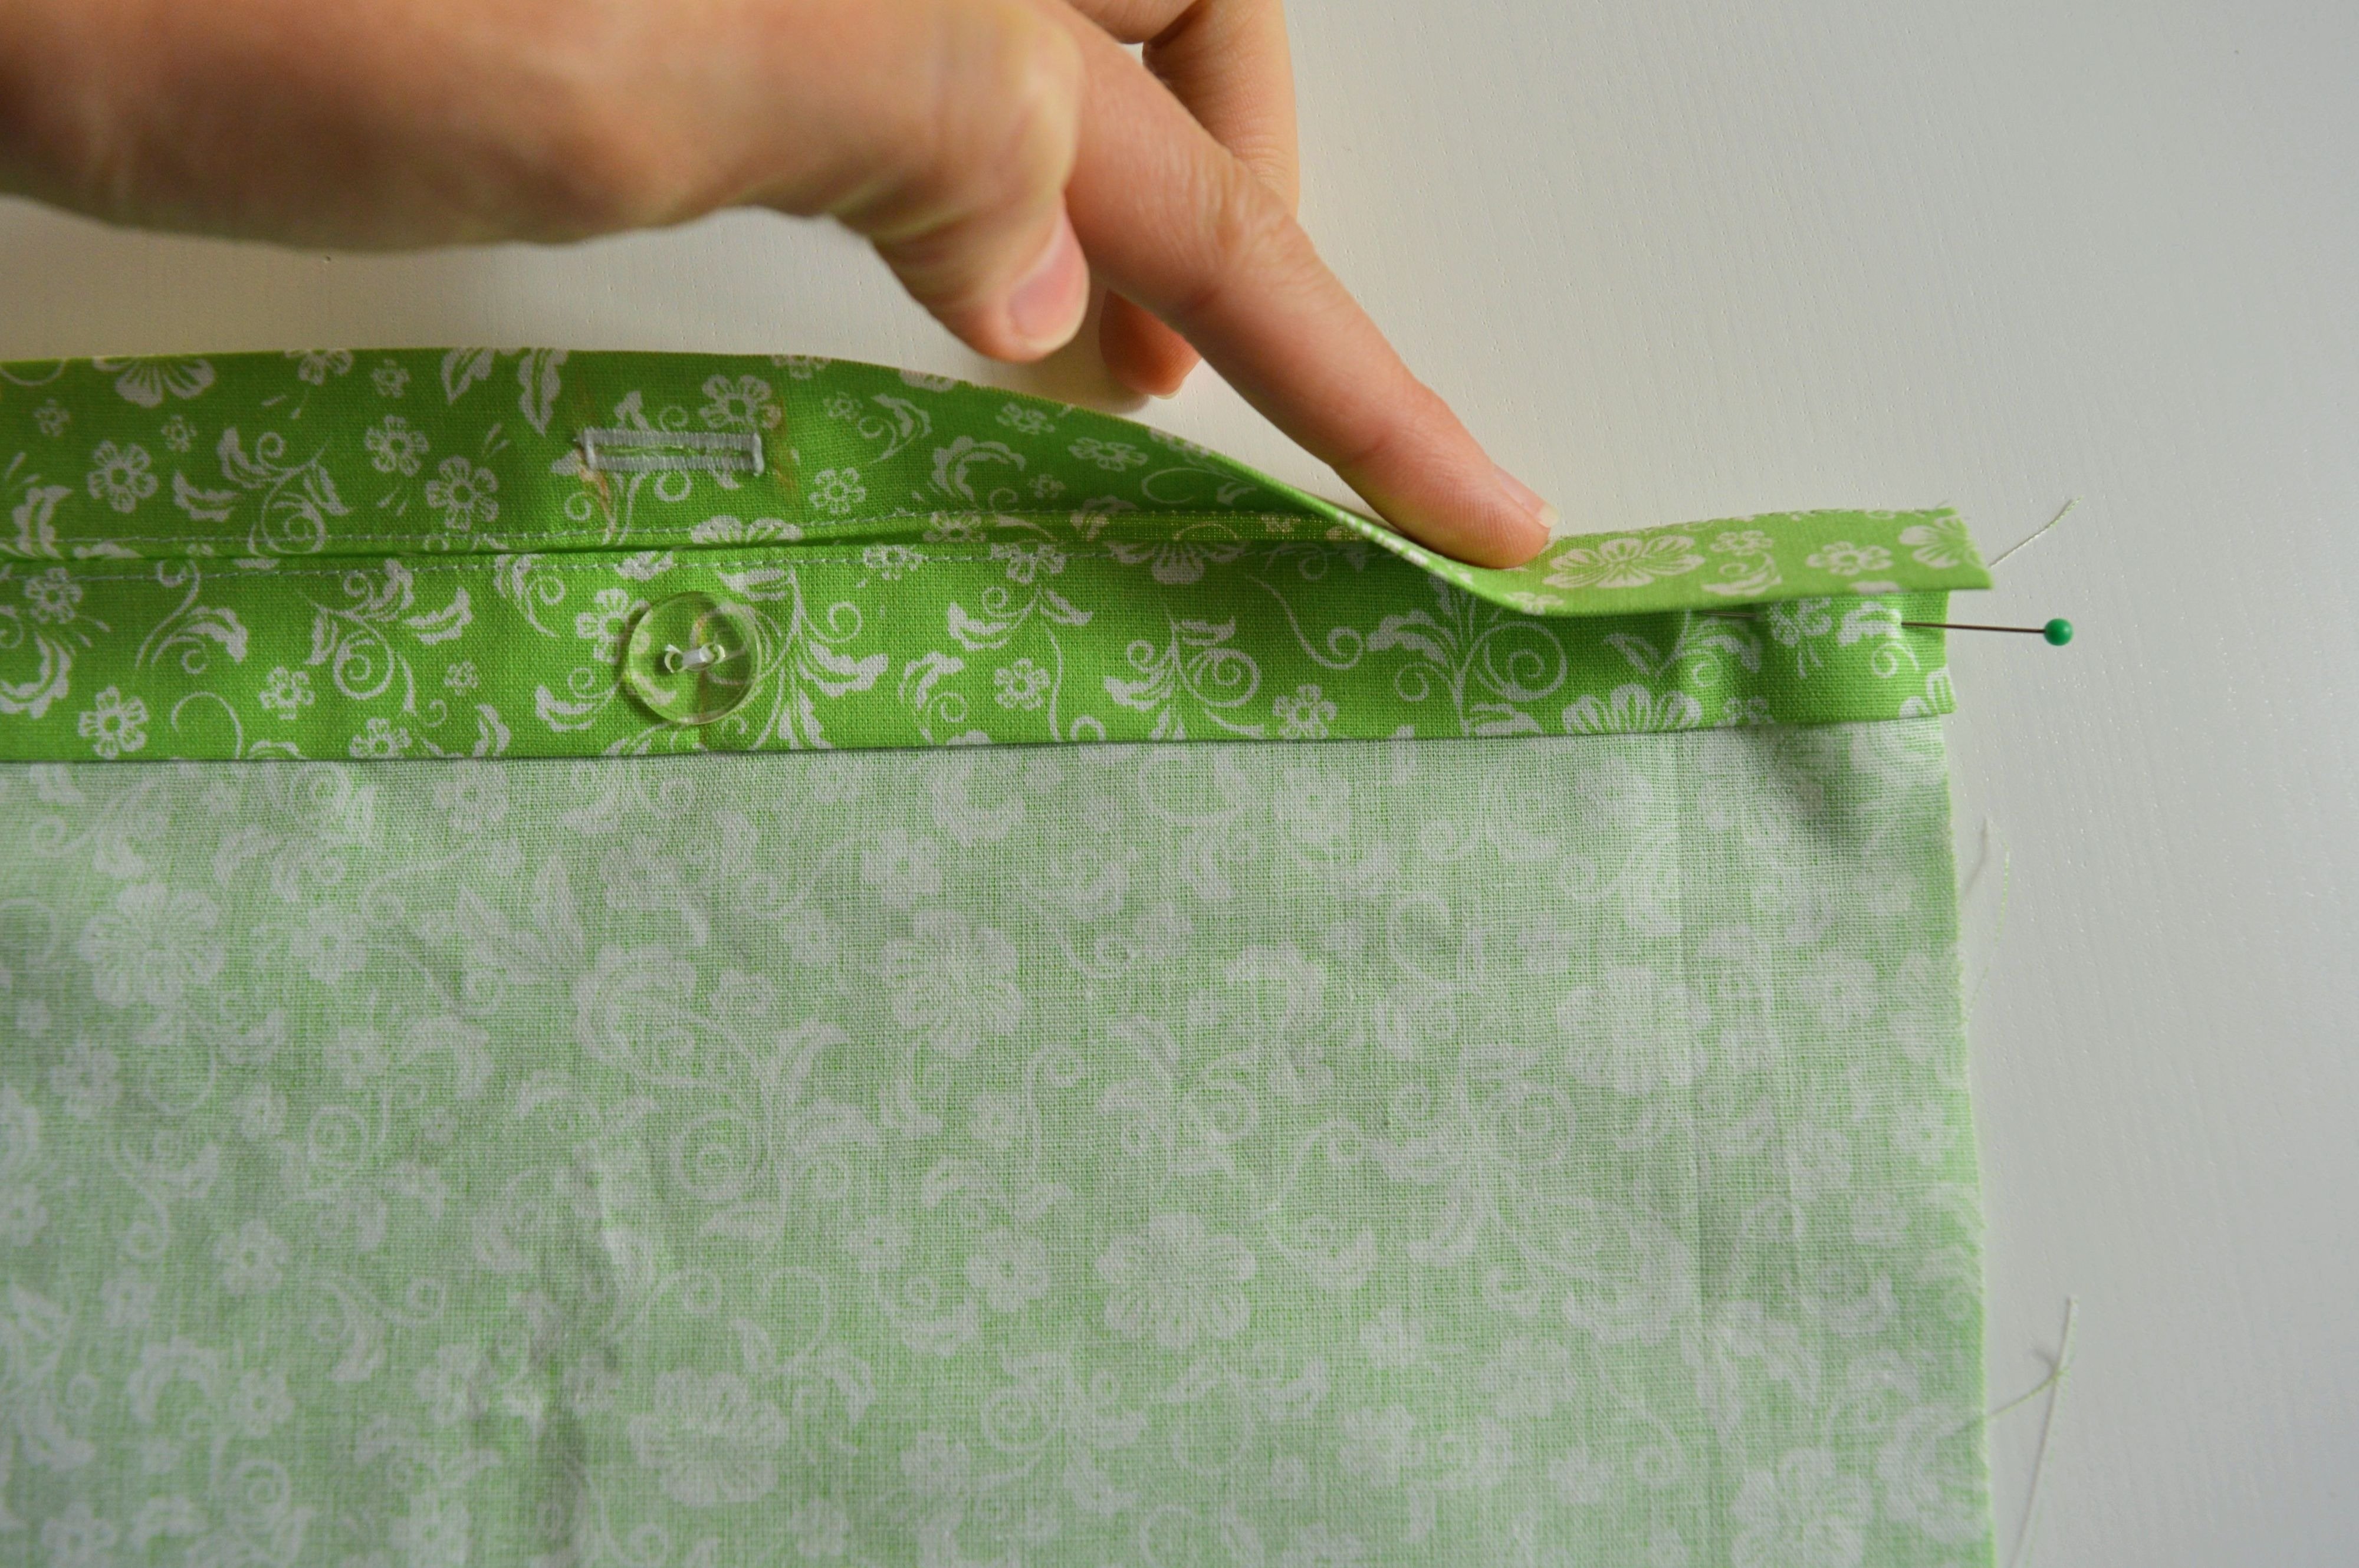
To finish with the sewing of the pillowcase, place the pillow pieces one to the other, the right side ones on the right side others so that the band with buttonholes and band with buttons remain on the wrong side of the pillowcase.
Then band with buttonholes fold to the band with buttons and stitch the sides.

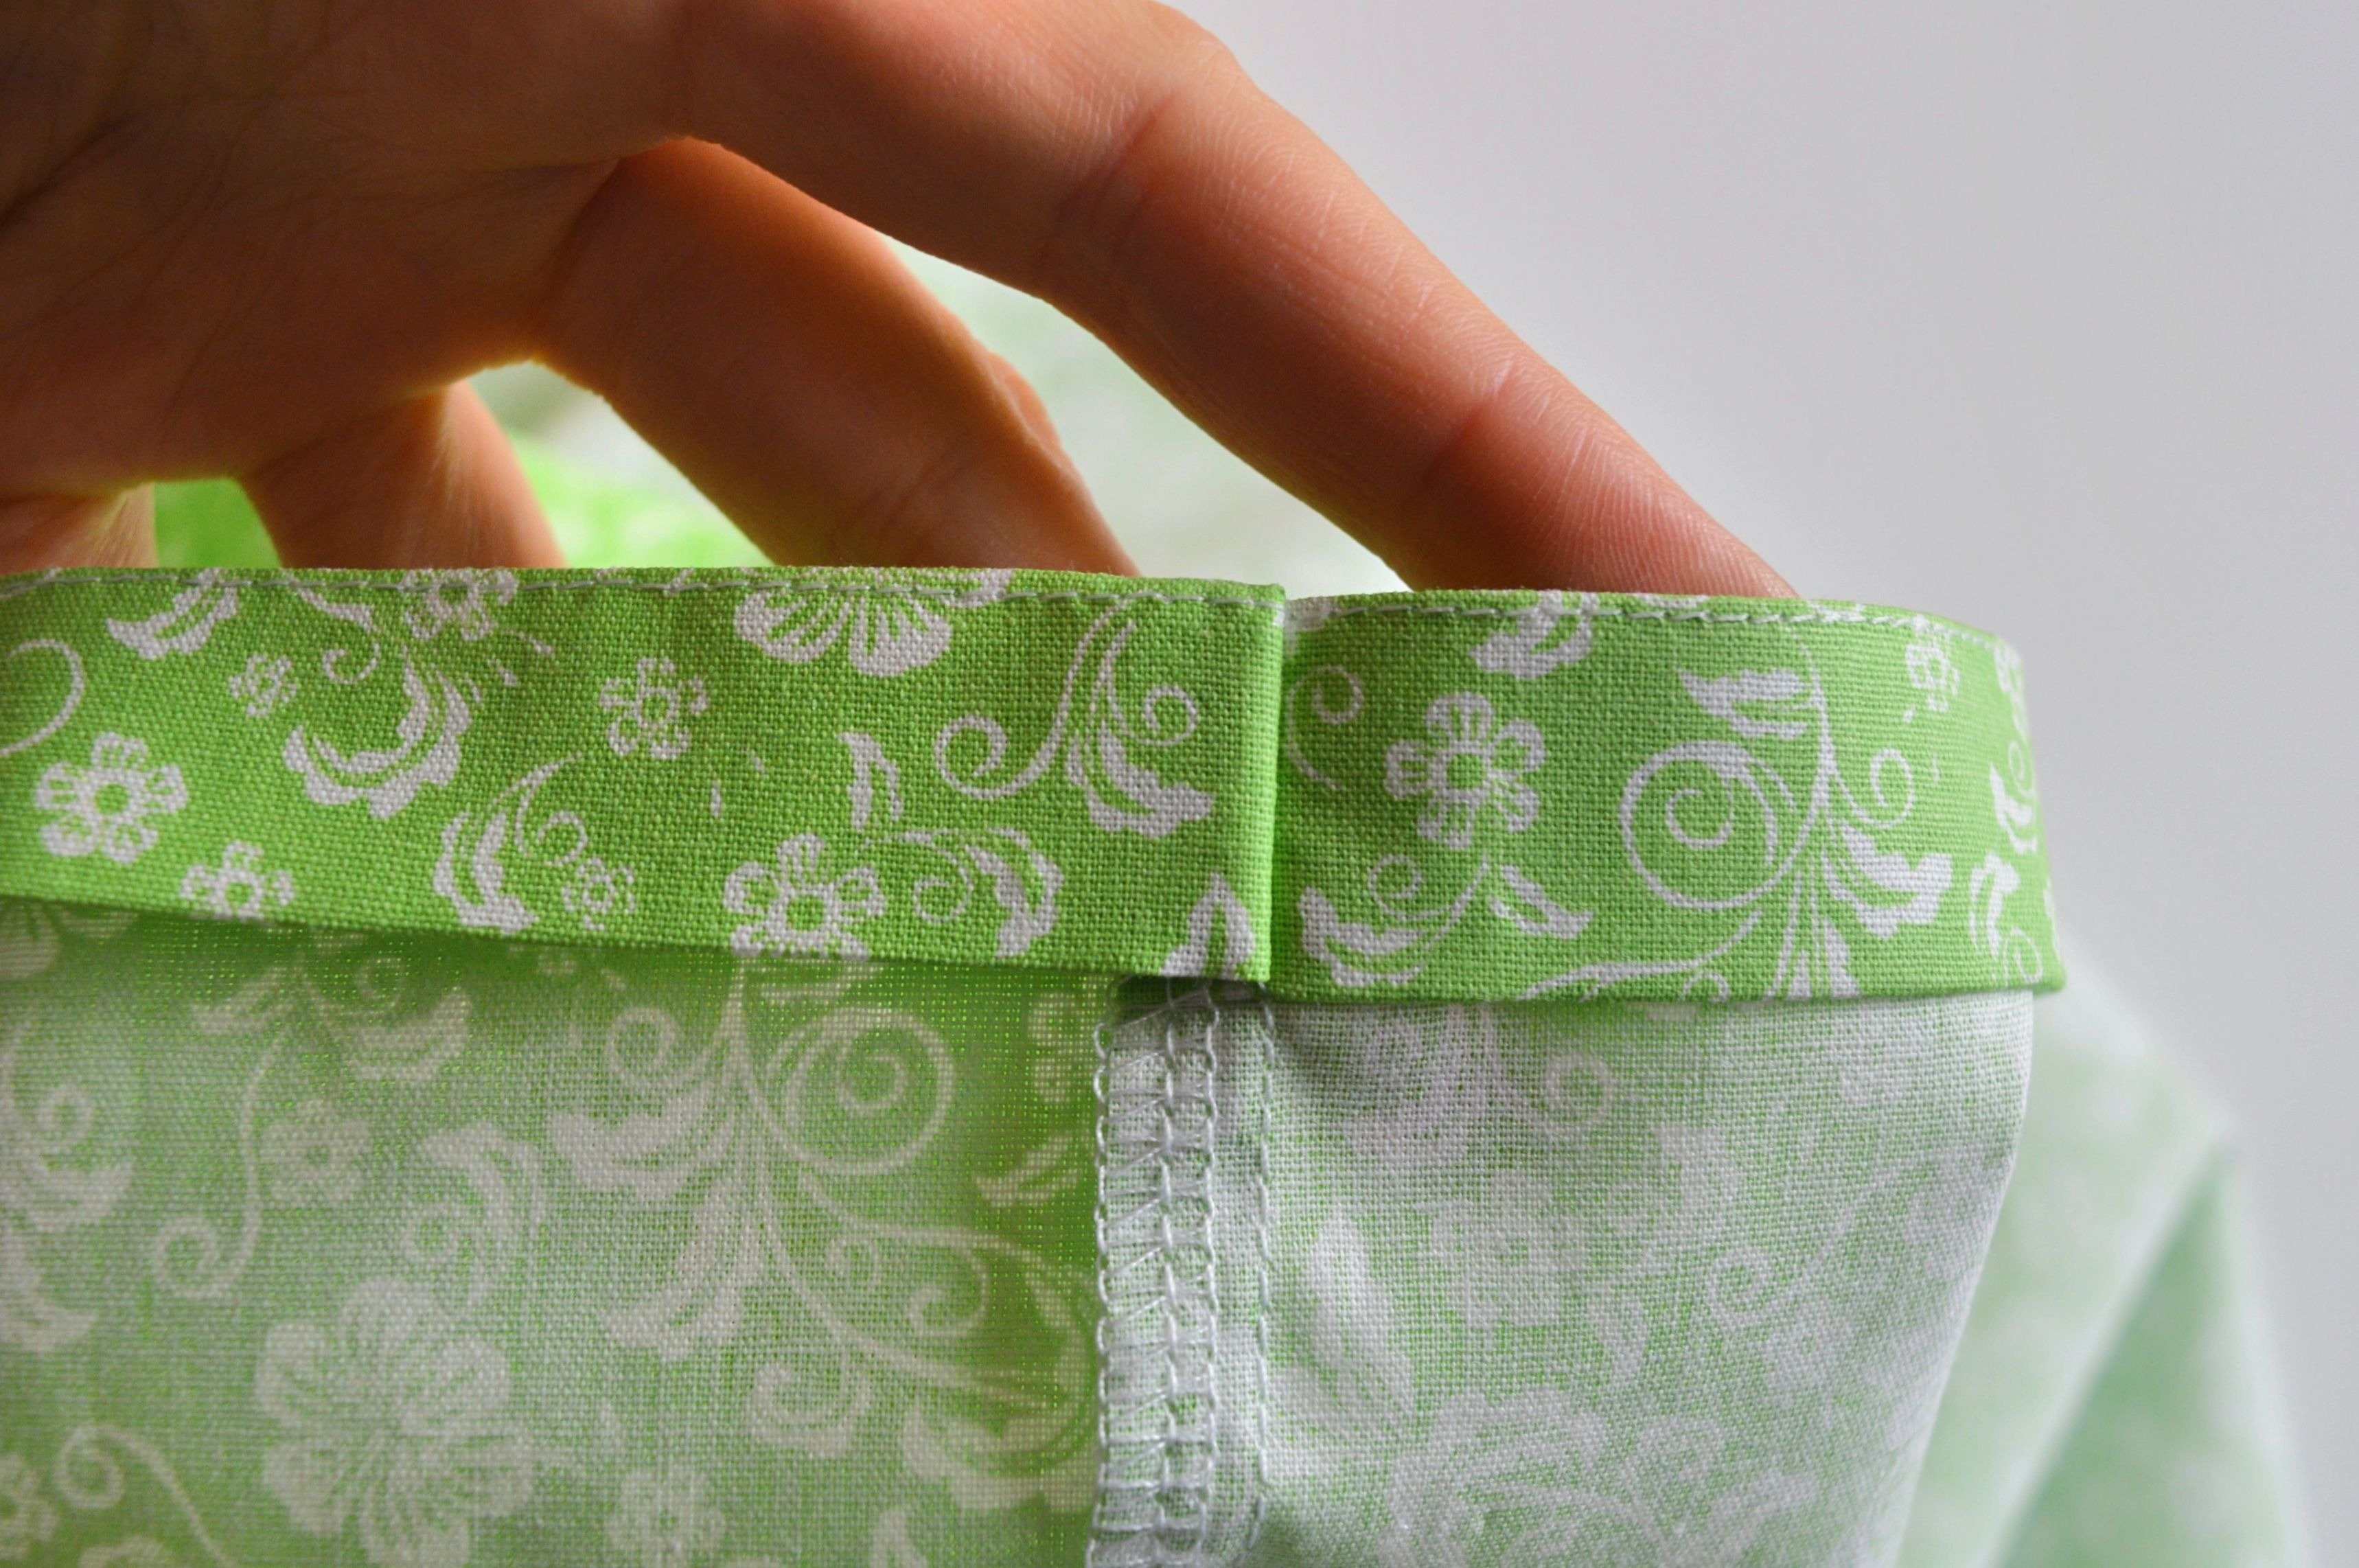
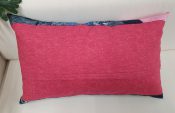
The pillowcase is finished, and the closure looks like in the picture, hidden inside.
Closure with zipper
Nowadays, almost all bedding and decorative pillowcases come with a zipper.
MATERIAL: zipper
When cutting the edges of the closure, add 1.5 cm to one and 3 cm to another.
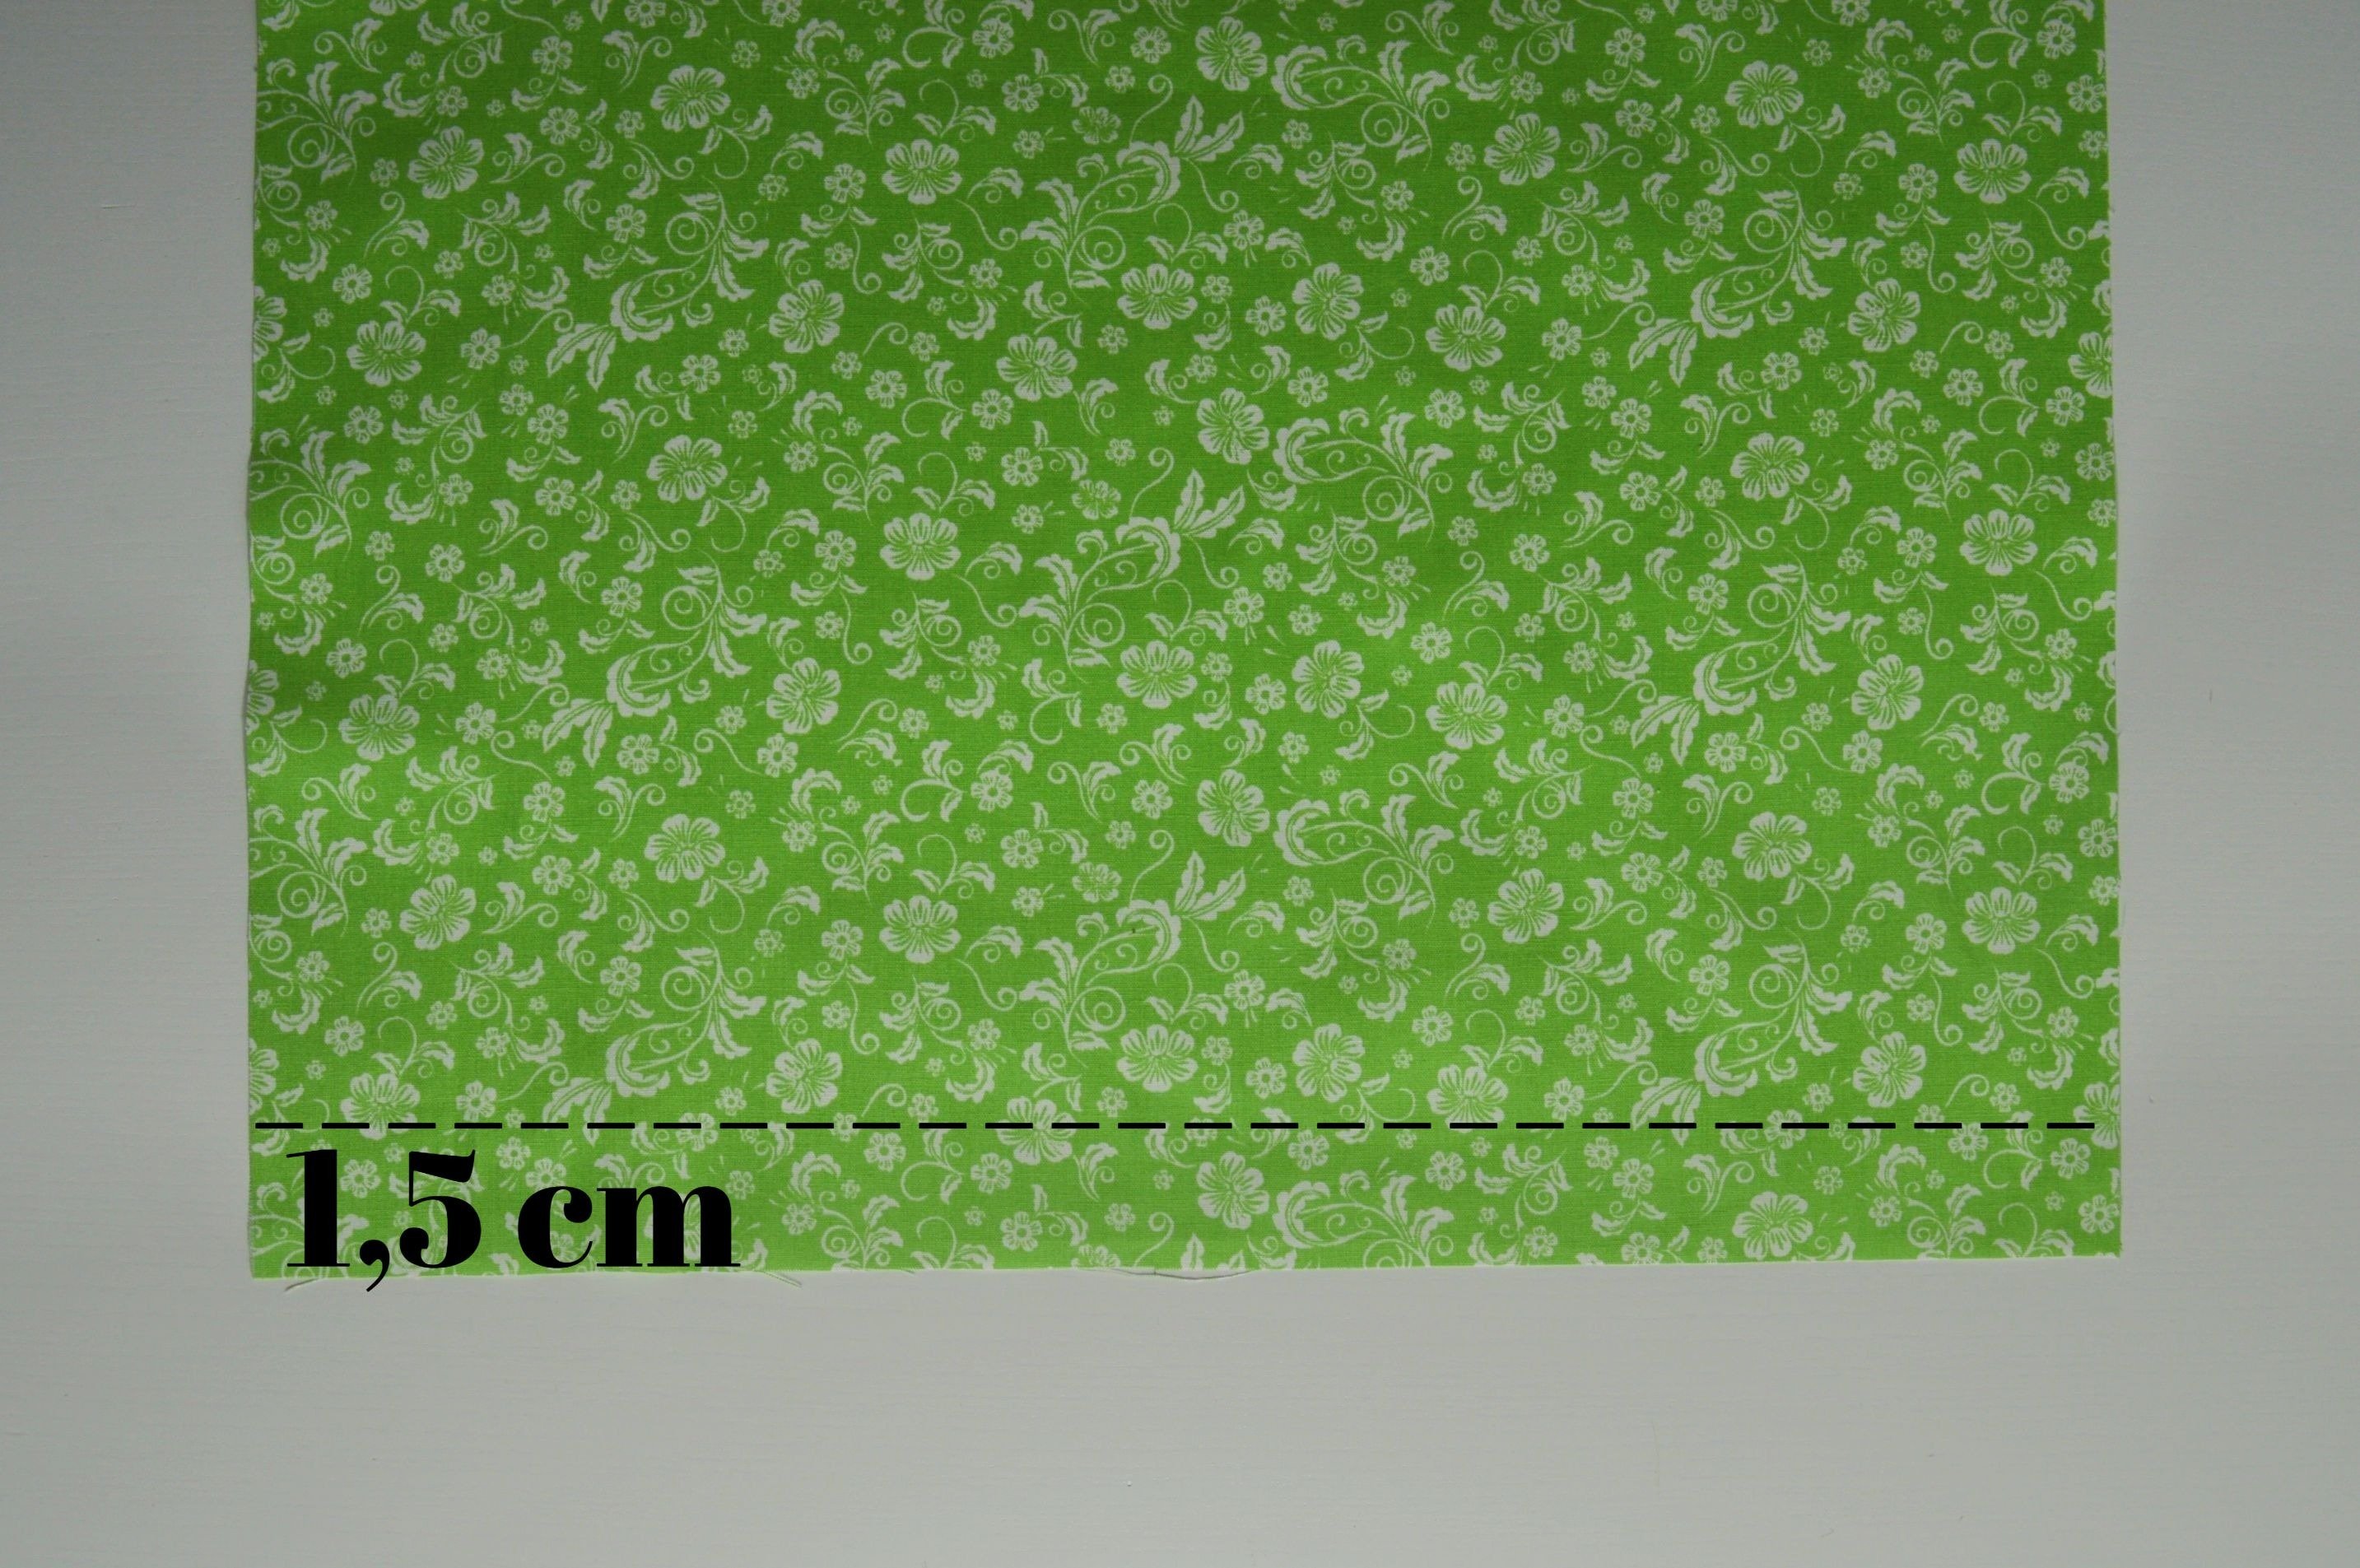
Closure with zipper
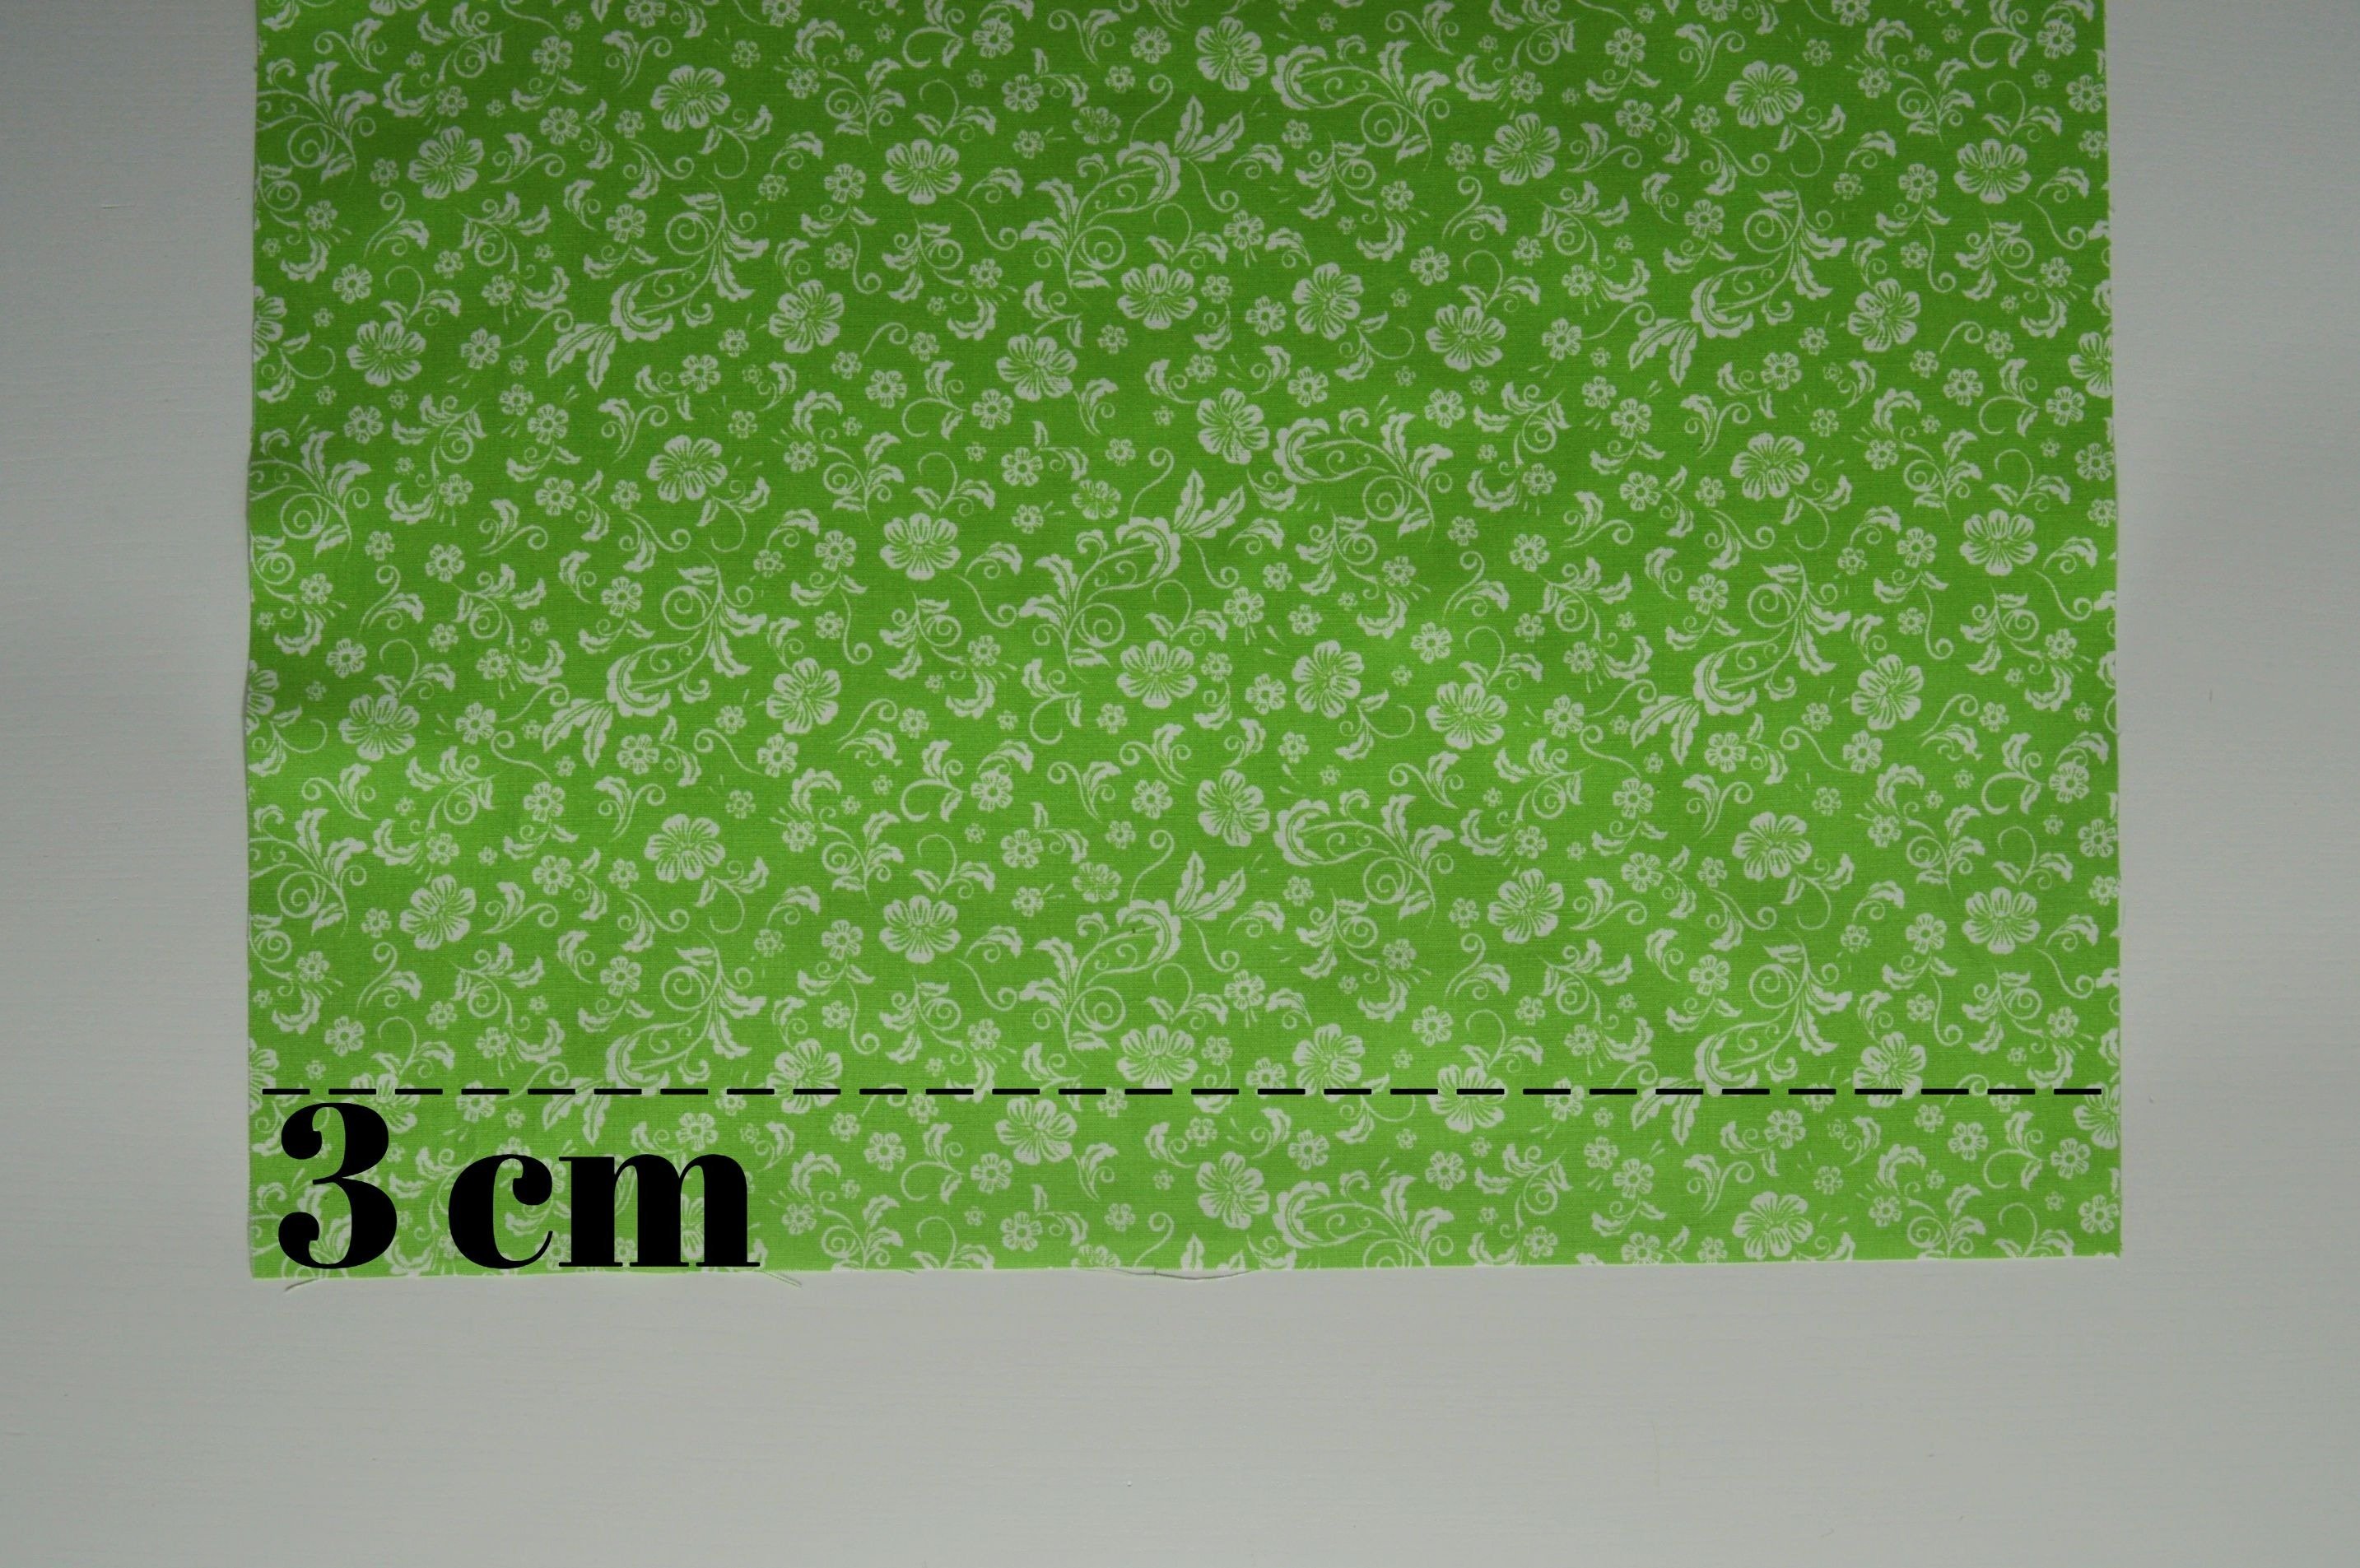
Closure with zipper
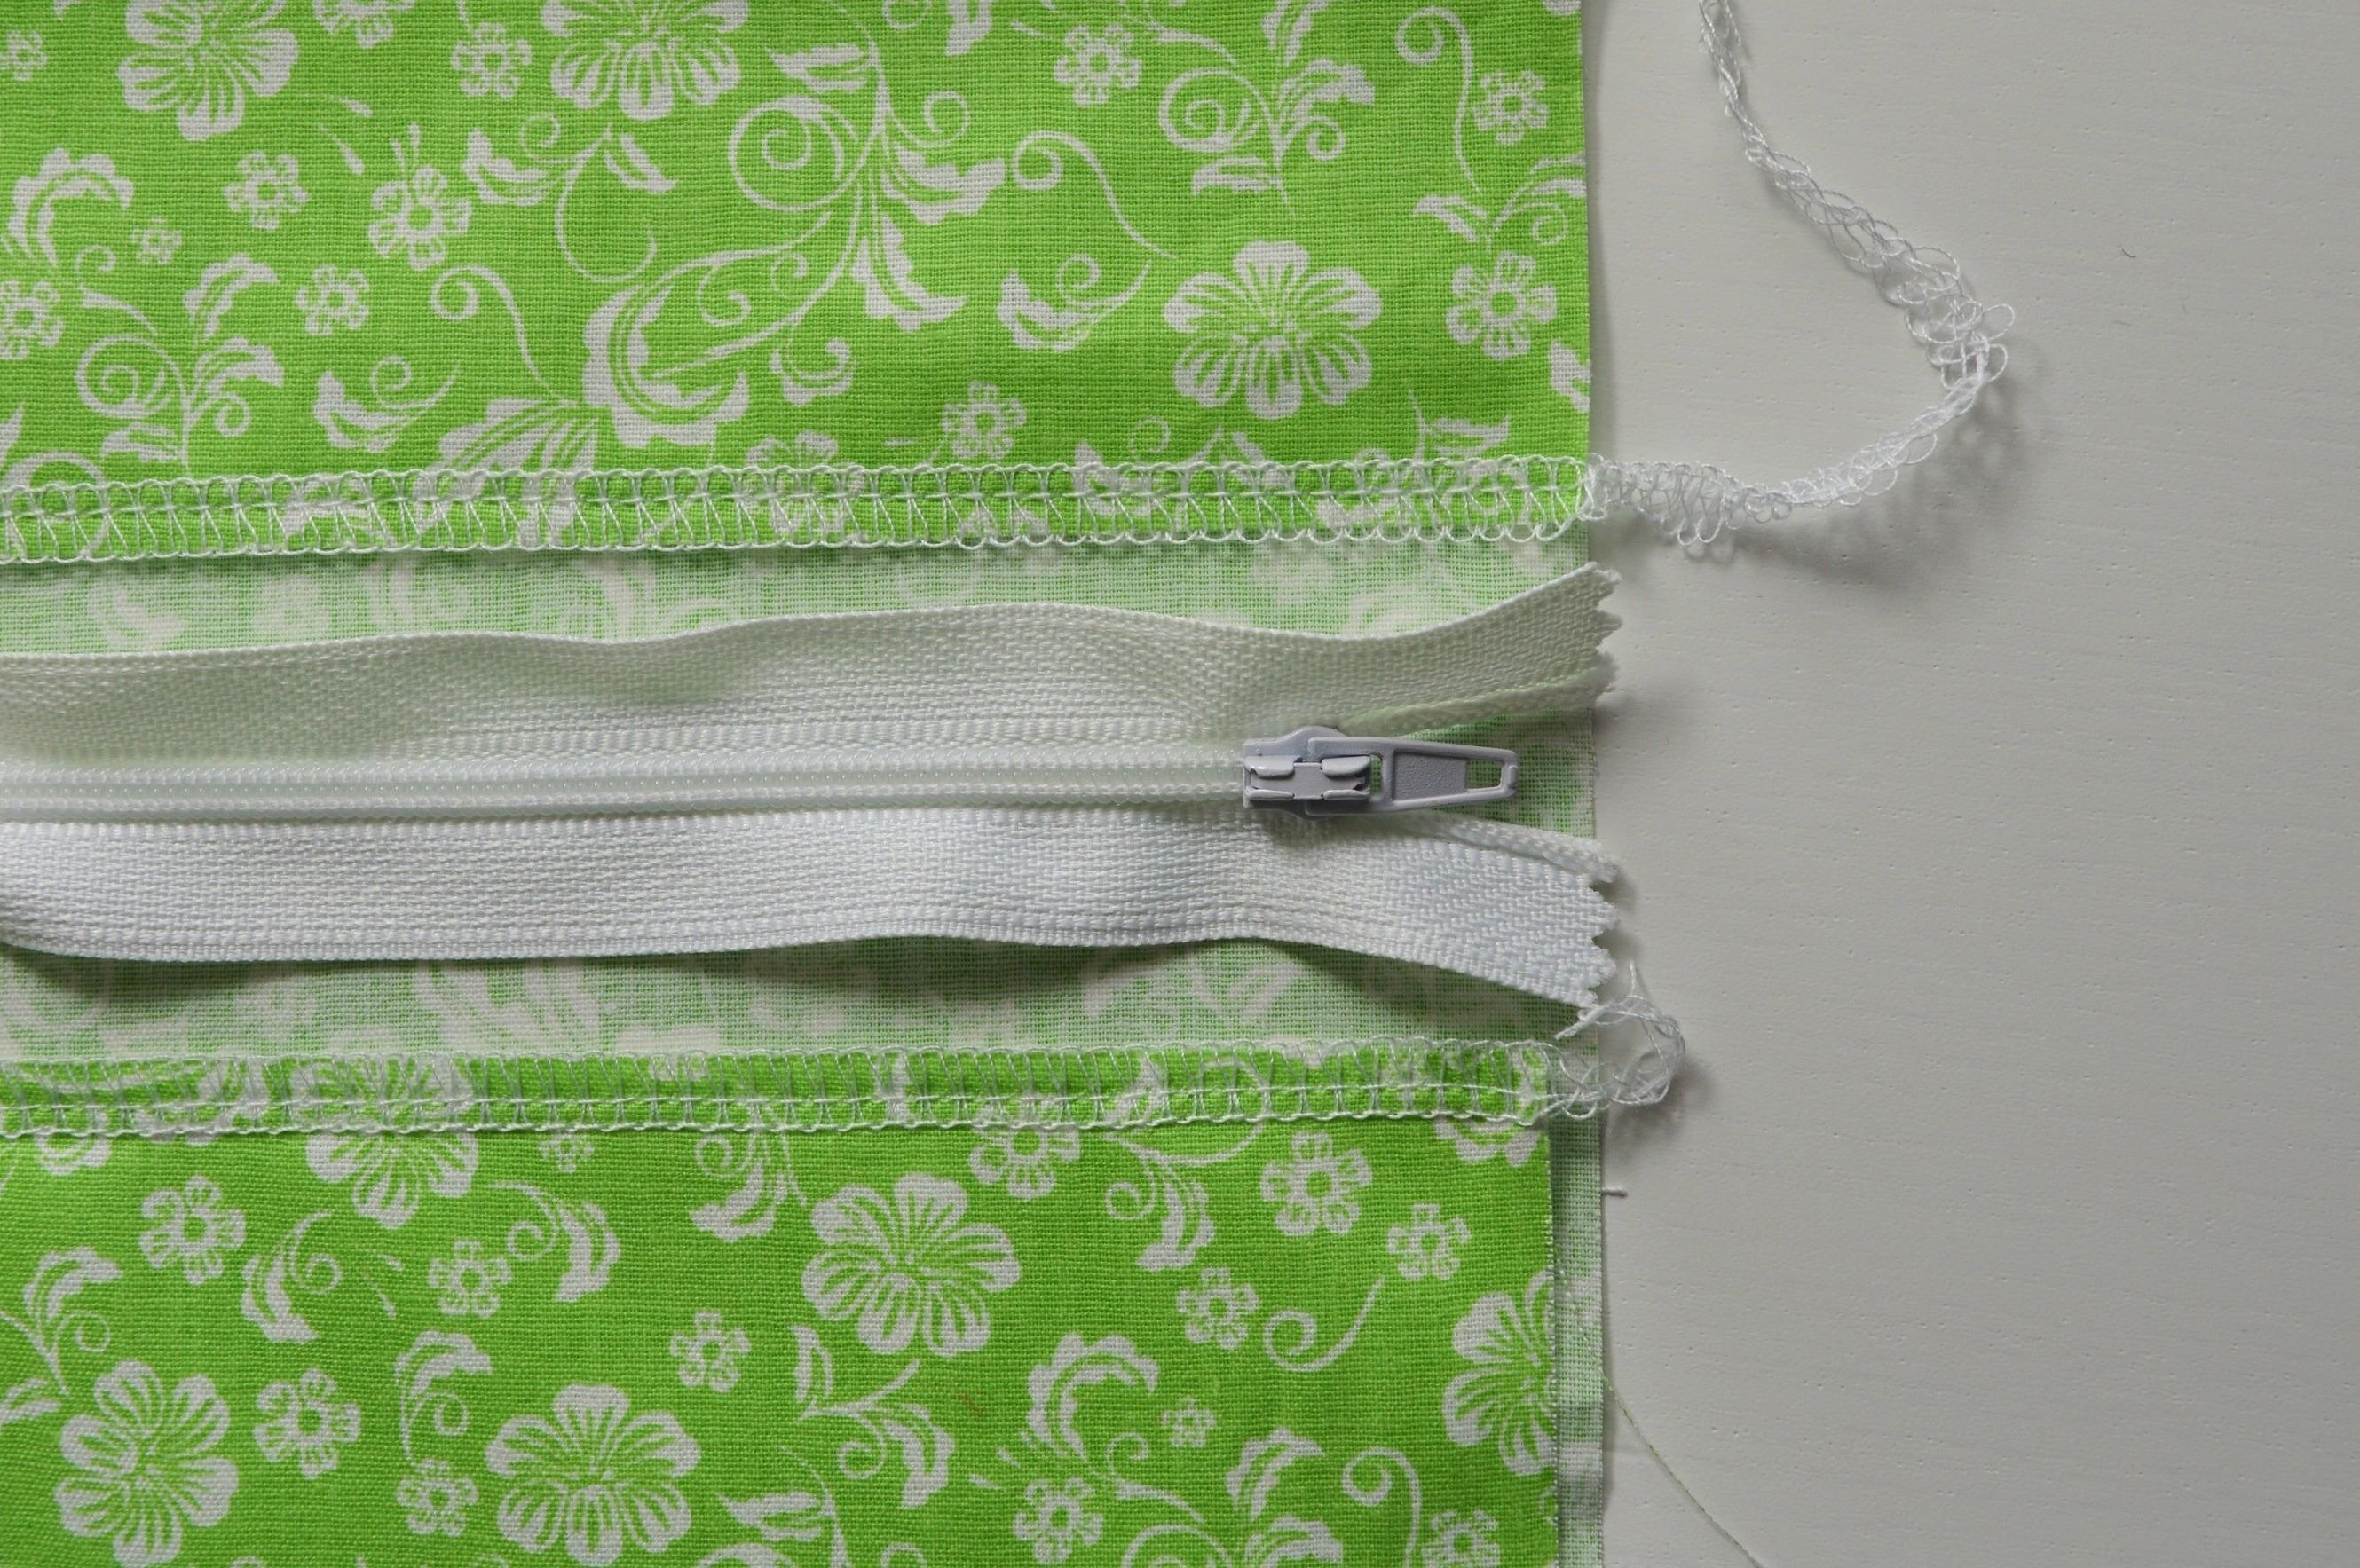
Hem these two edges of closure using Overlocker/Serger or zigzag seam #2 on your Bernina sewing machine.

Bernina L460
zipper
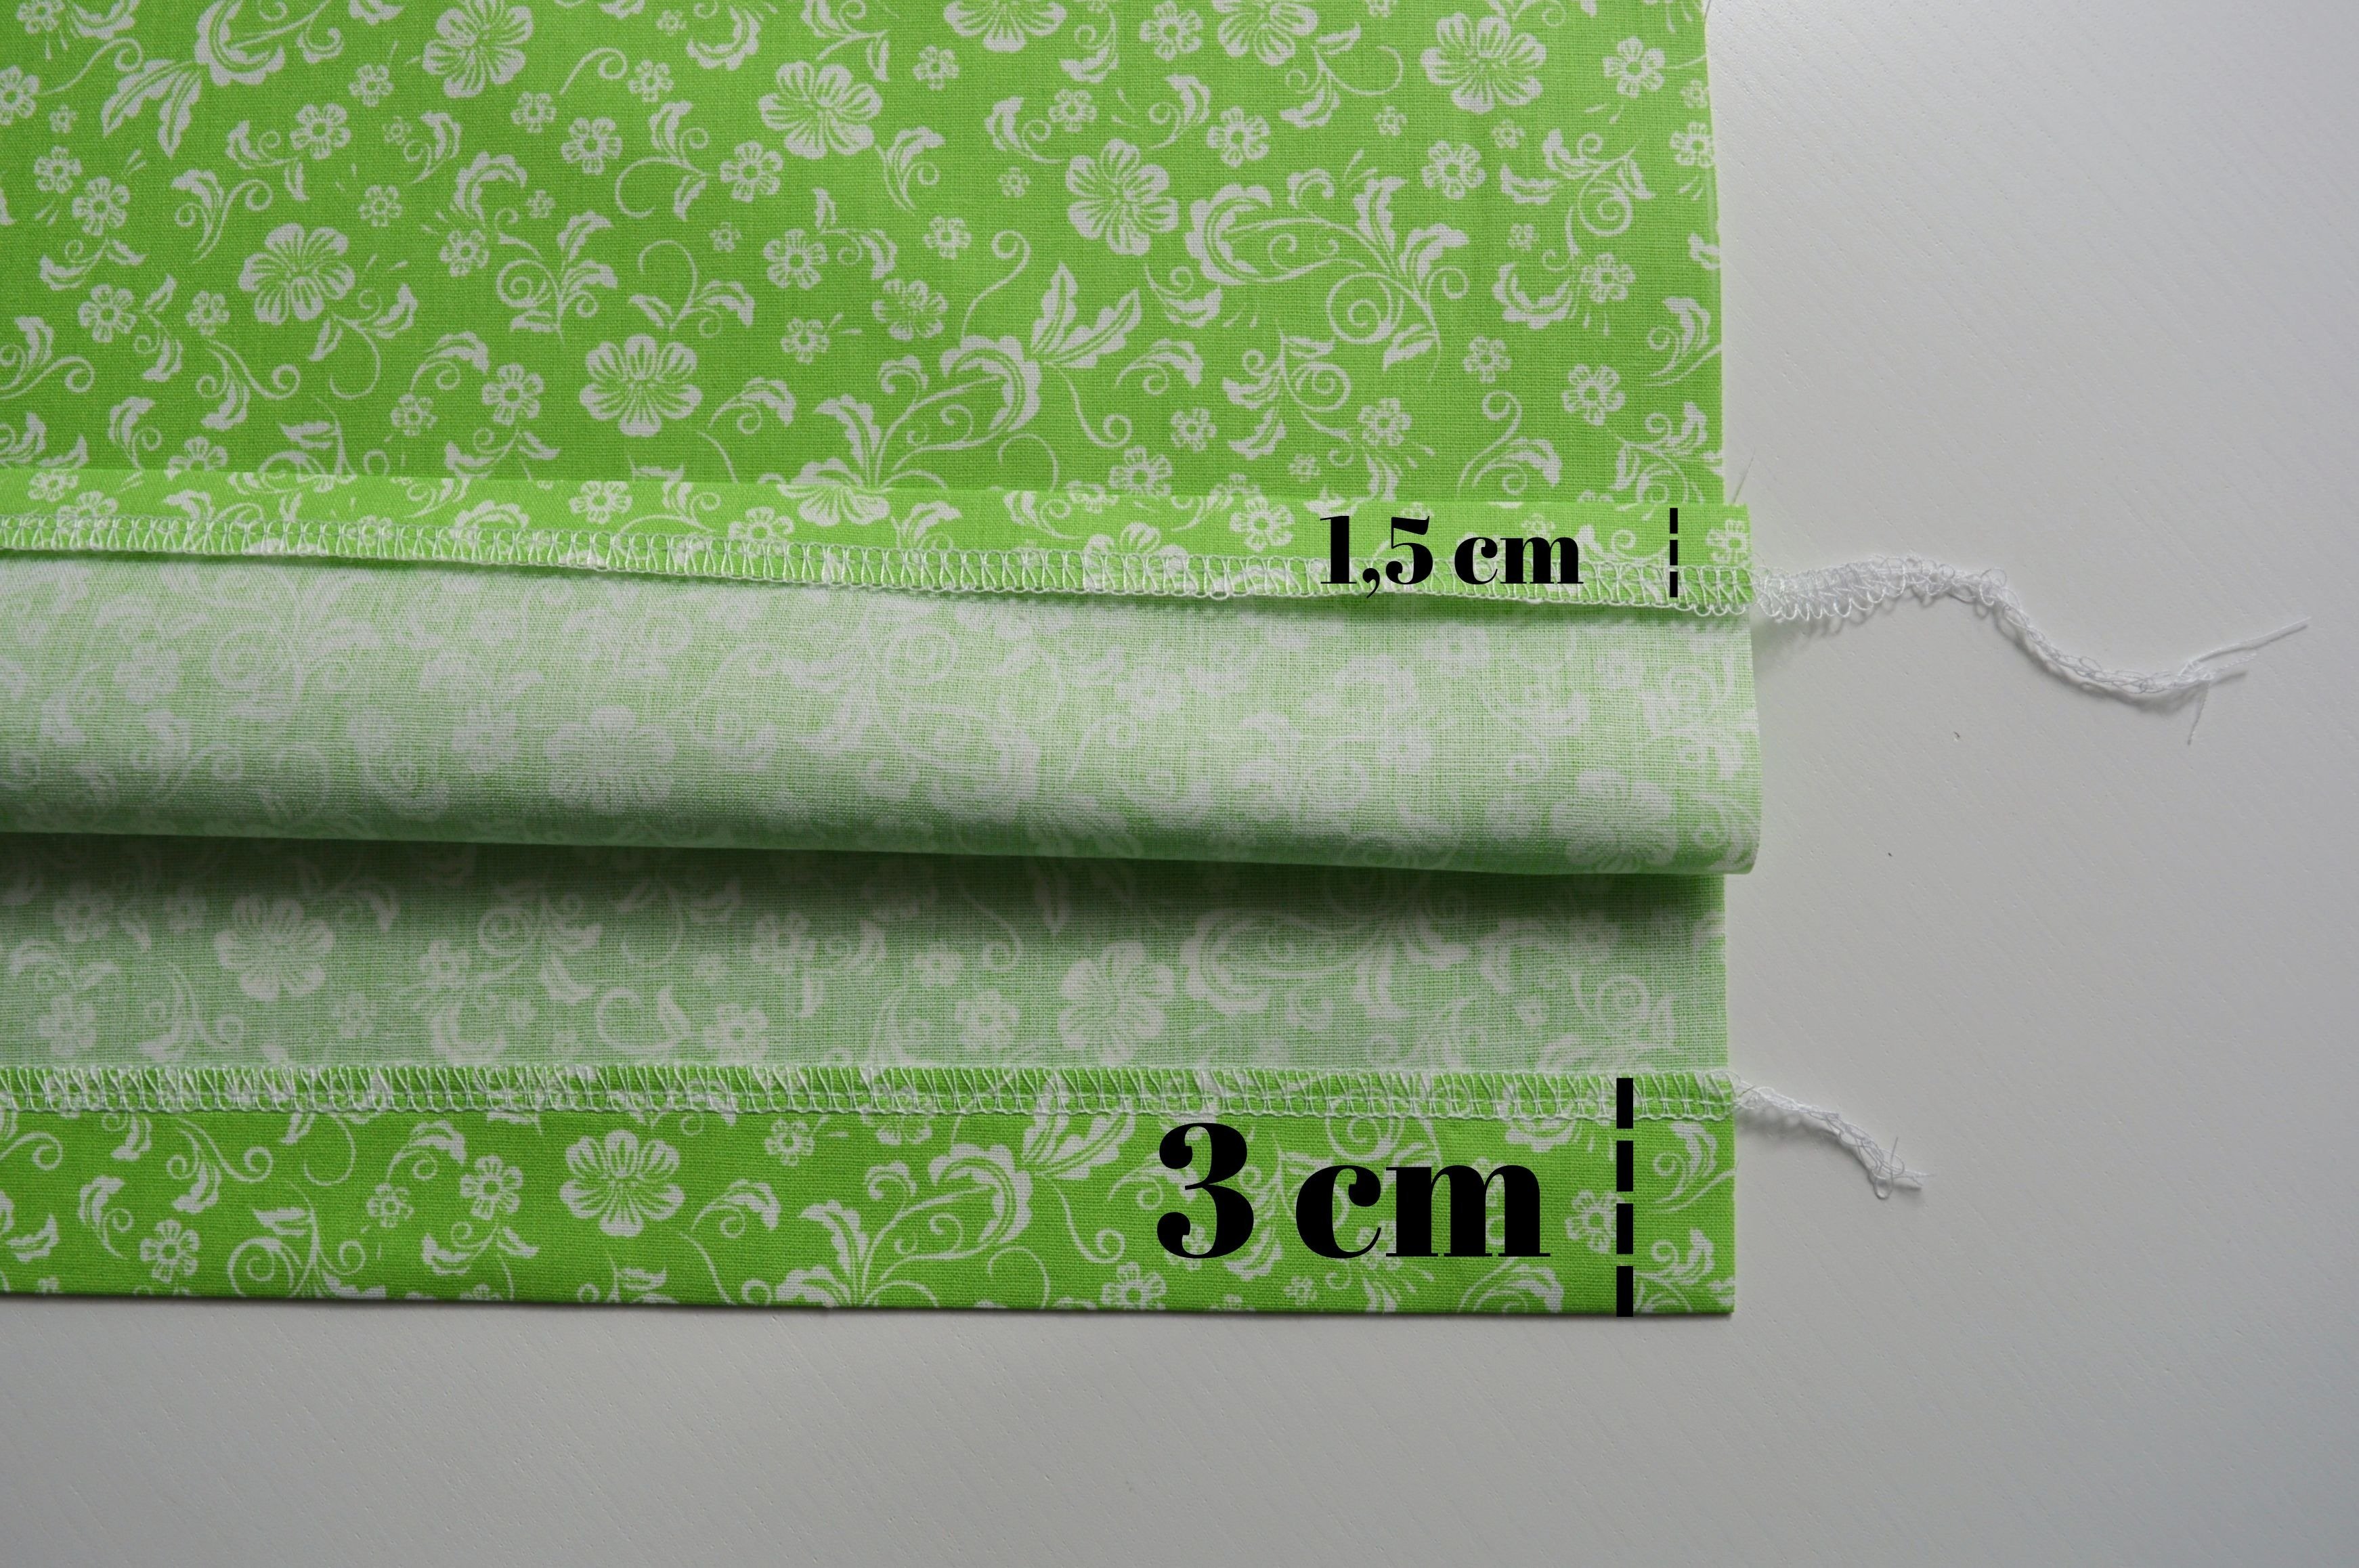
At one side, measure 1.5 cm from the hem edge, and from another 3 cm, press that with iron.
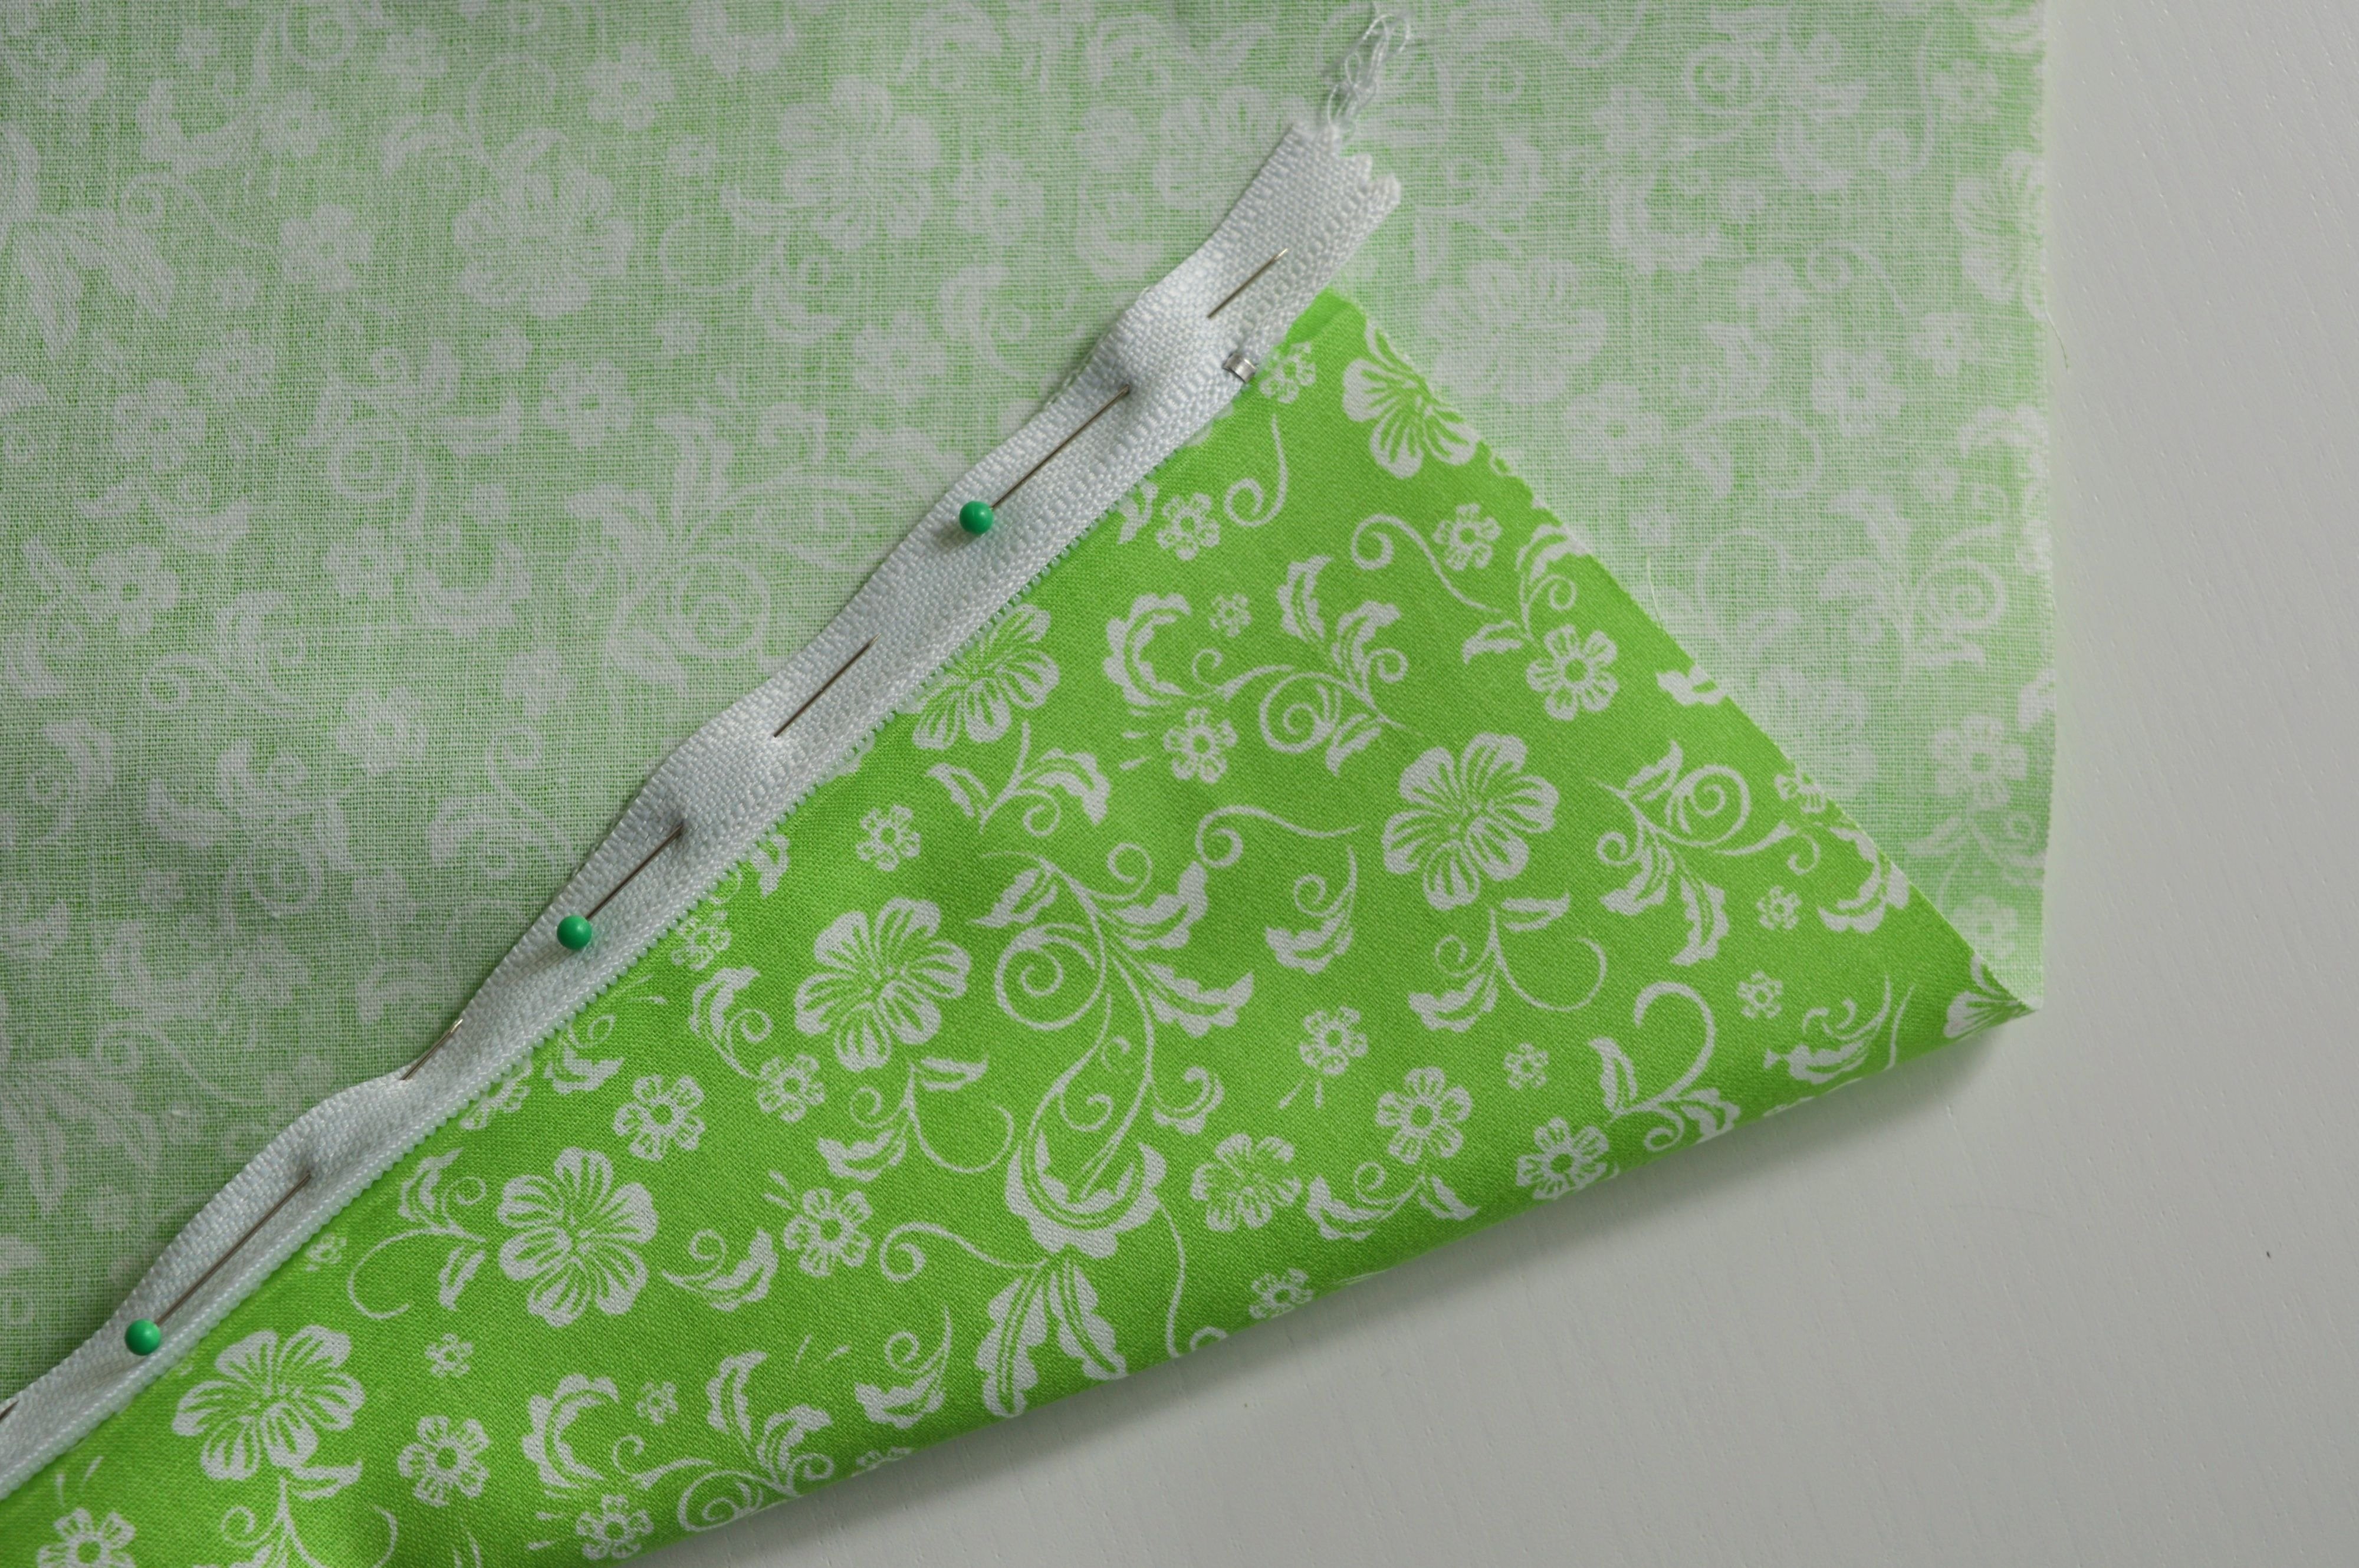
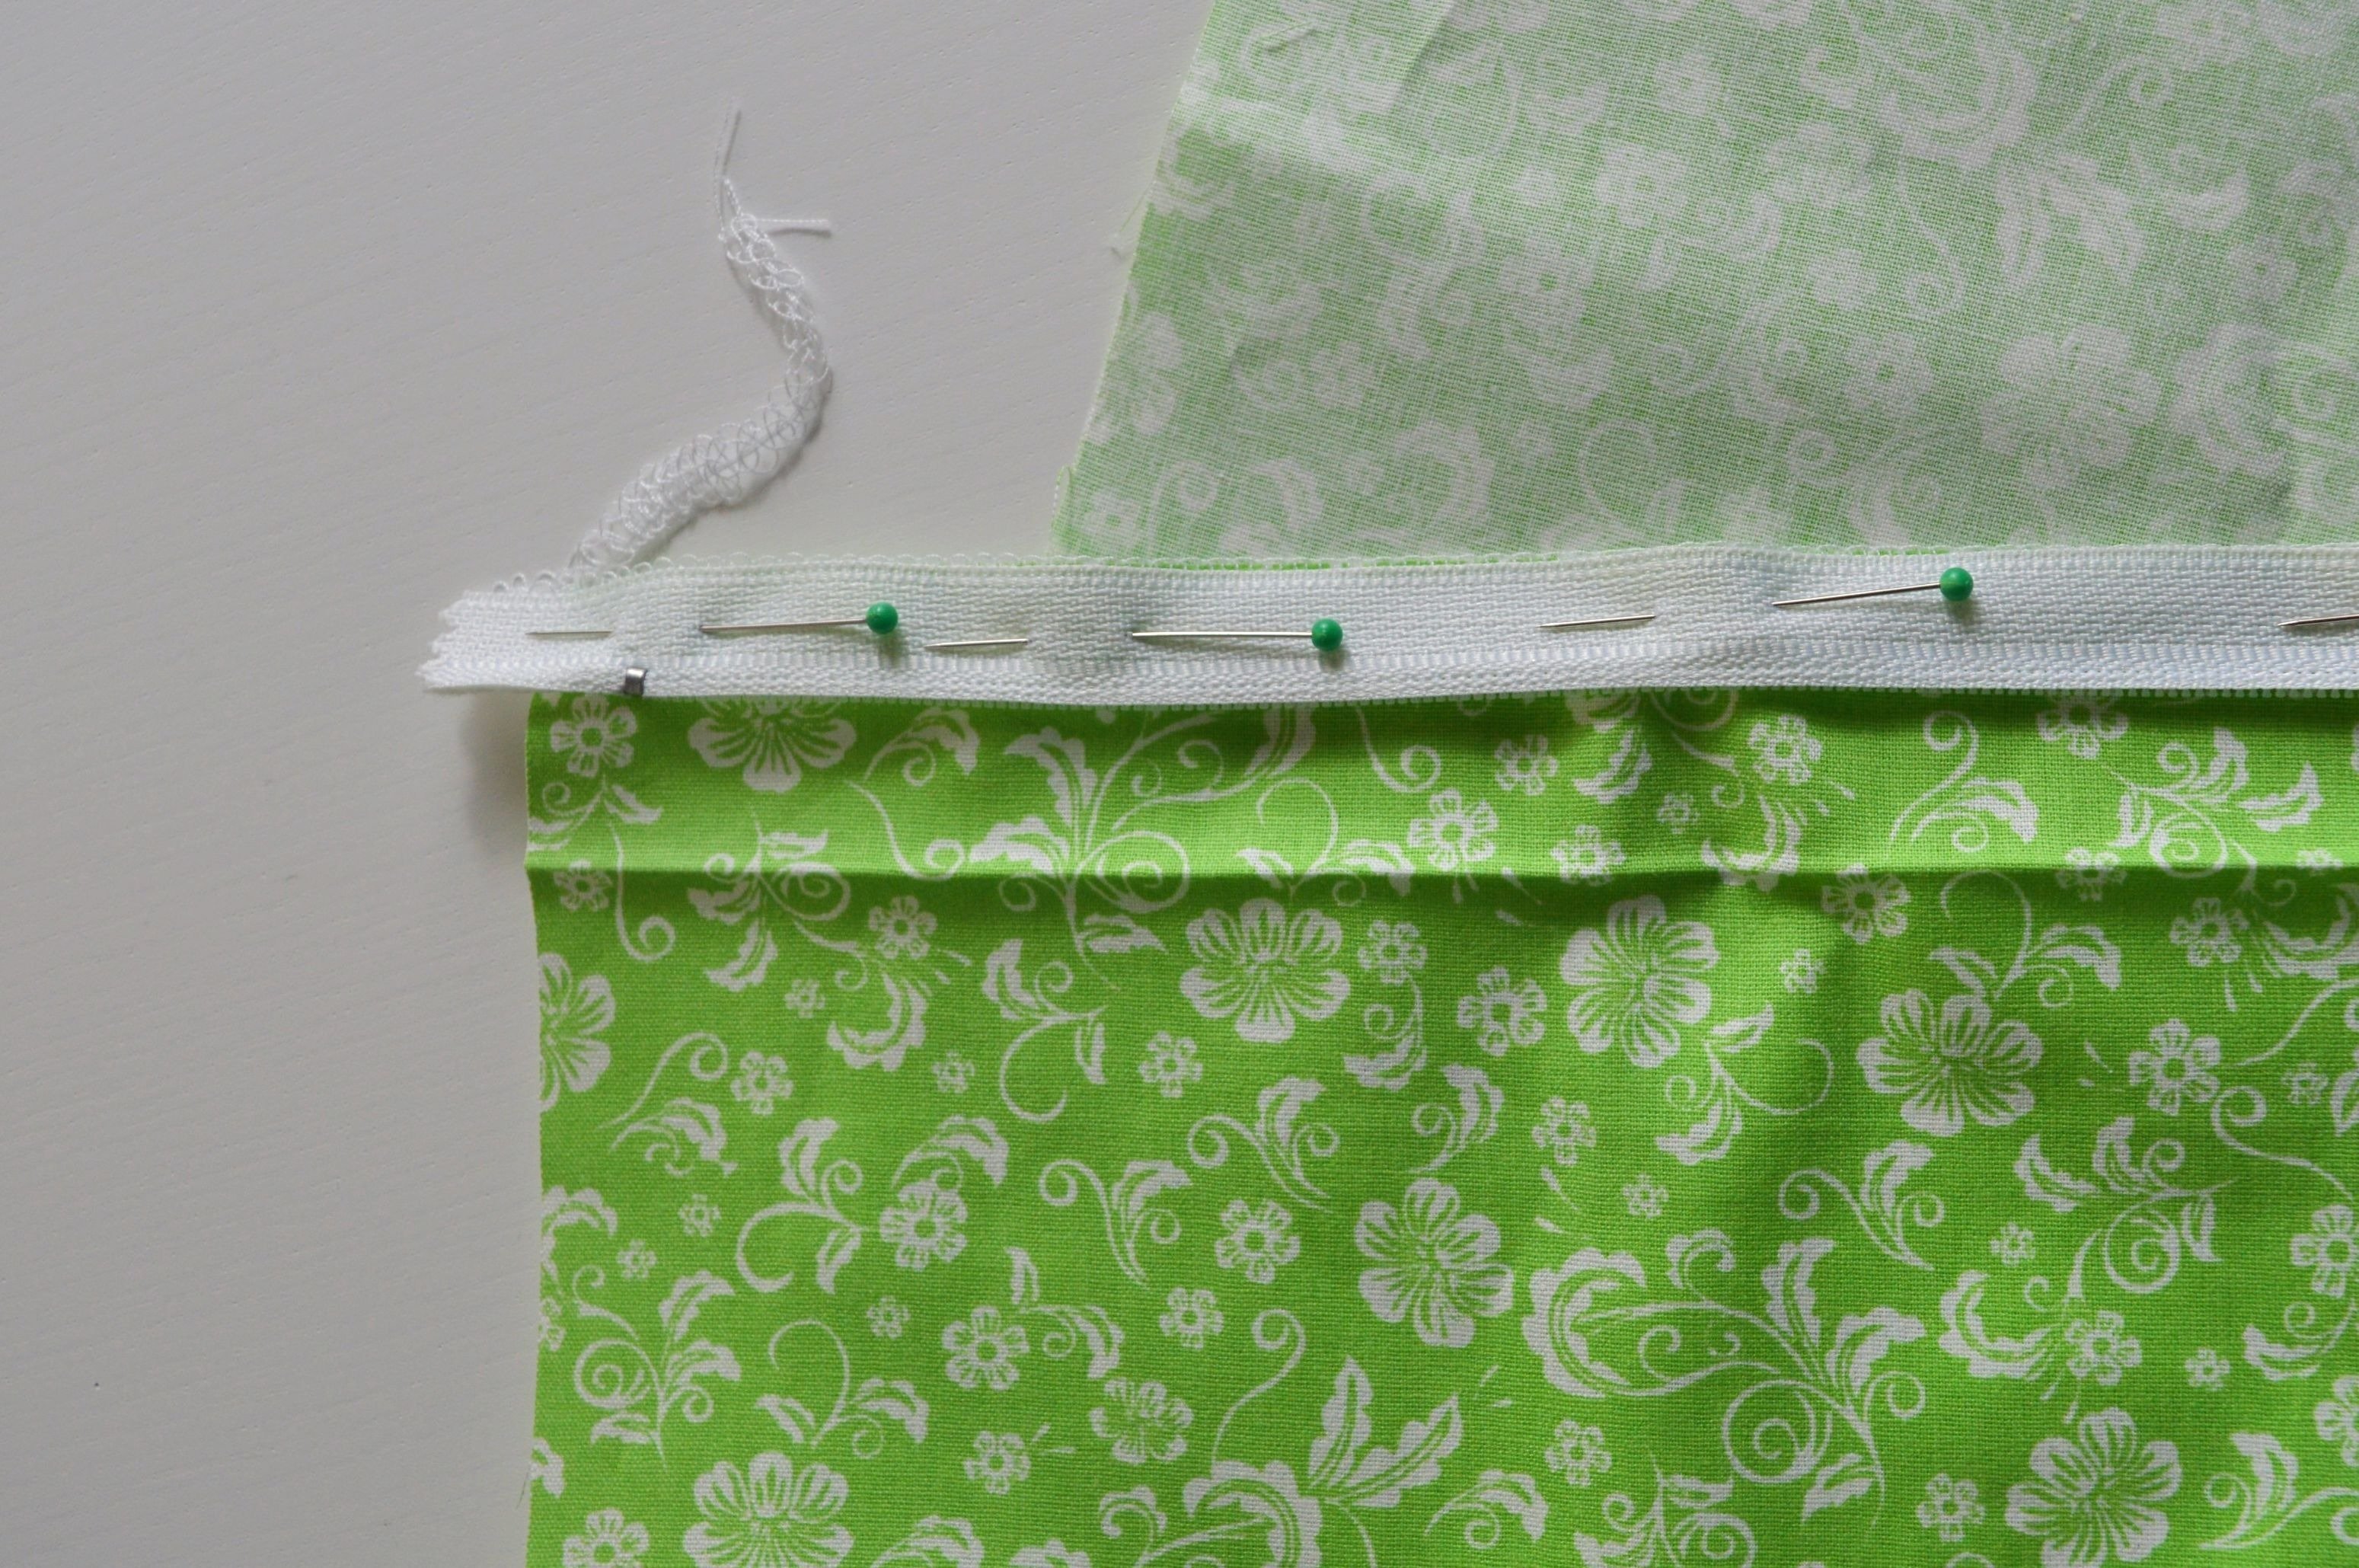
Now you’re ready to sew the zipper.
Sew zipper precisely on the hems.
For sewing on the zipper, use Zipper foot # 4.
!!! Zipper foot #4, plain seam #1, the stitch length 1.5-2.5
(Move the needle to the last position right/left)
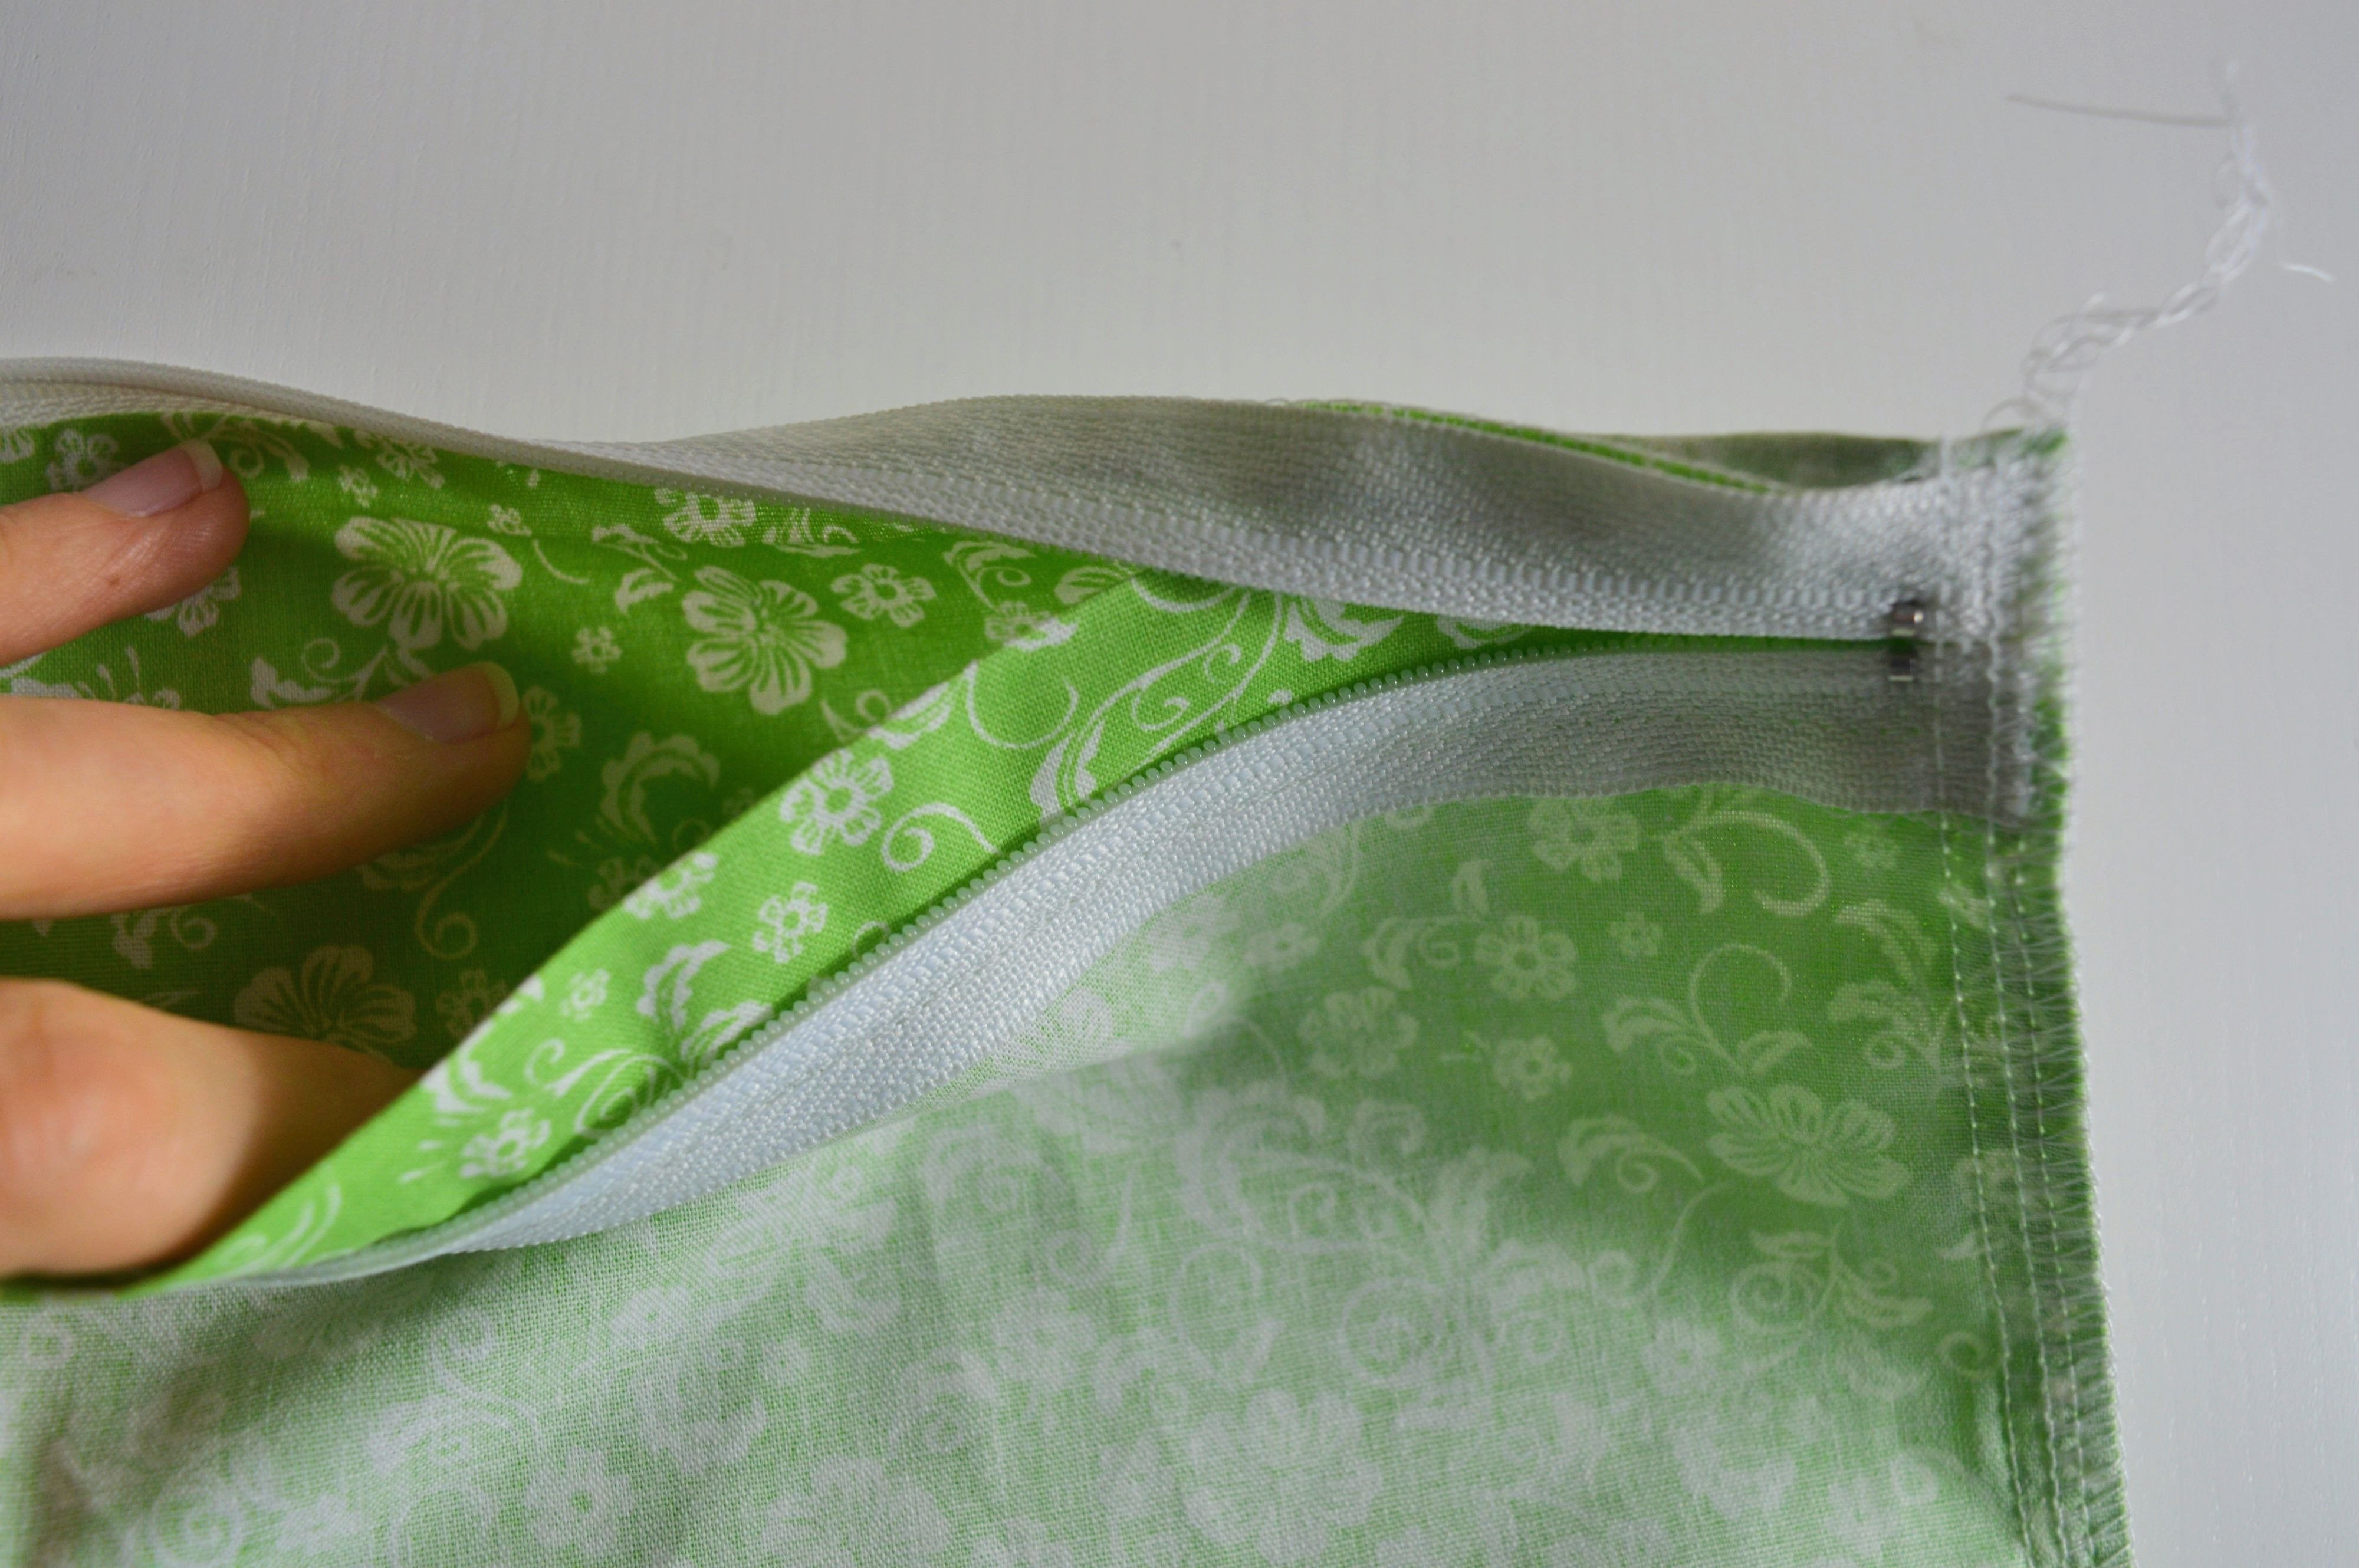
Place the foot close to the edge, and the needle in the last position on the opposite side (See pictures.)


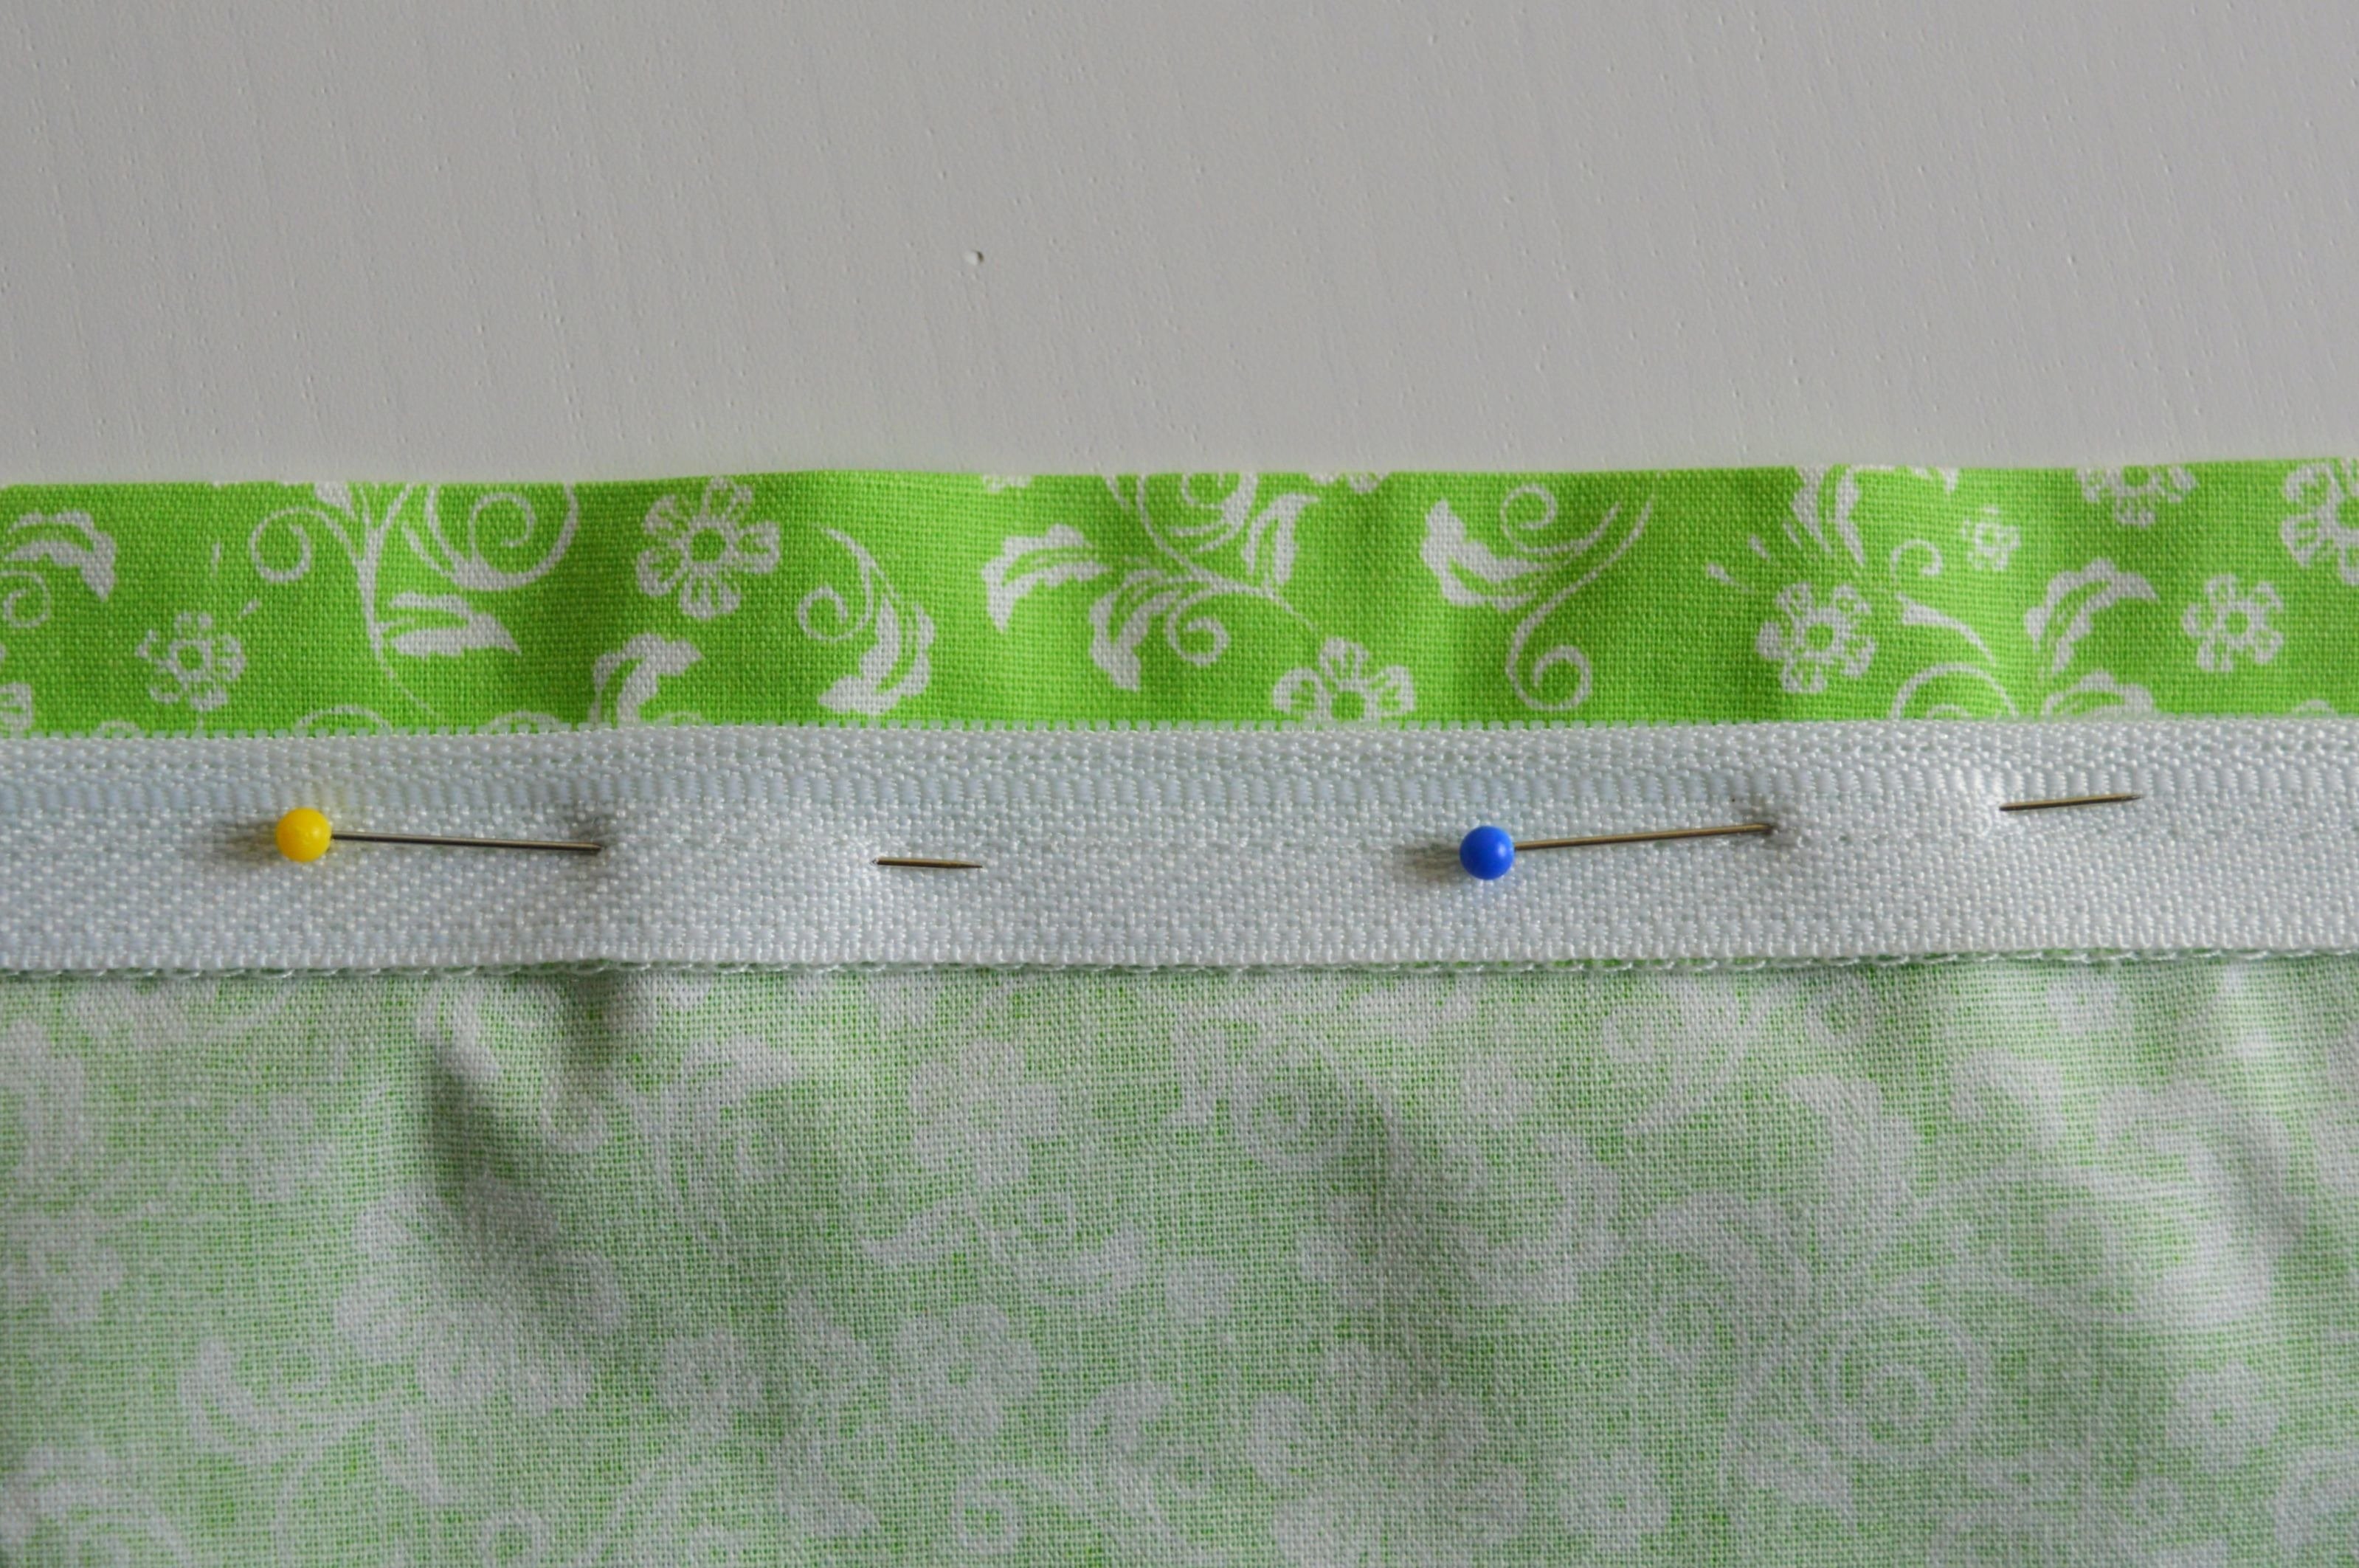
In the picture below, can be sensed how will this closure look, it is also, as well as buttons, hidden inside pillowcases.
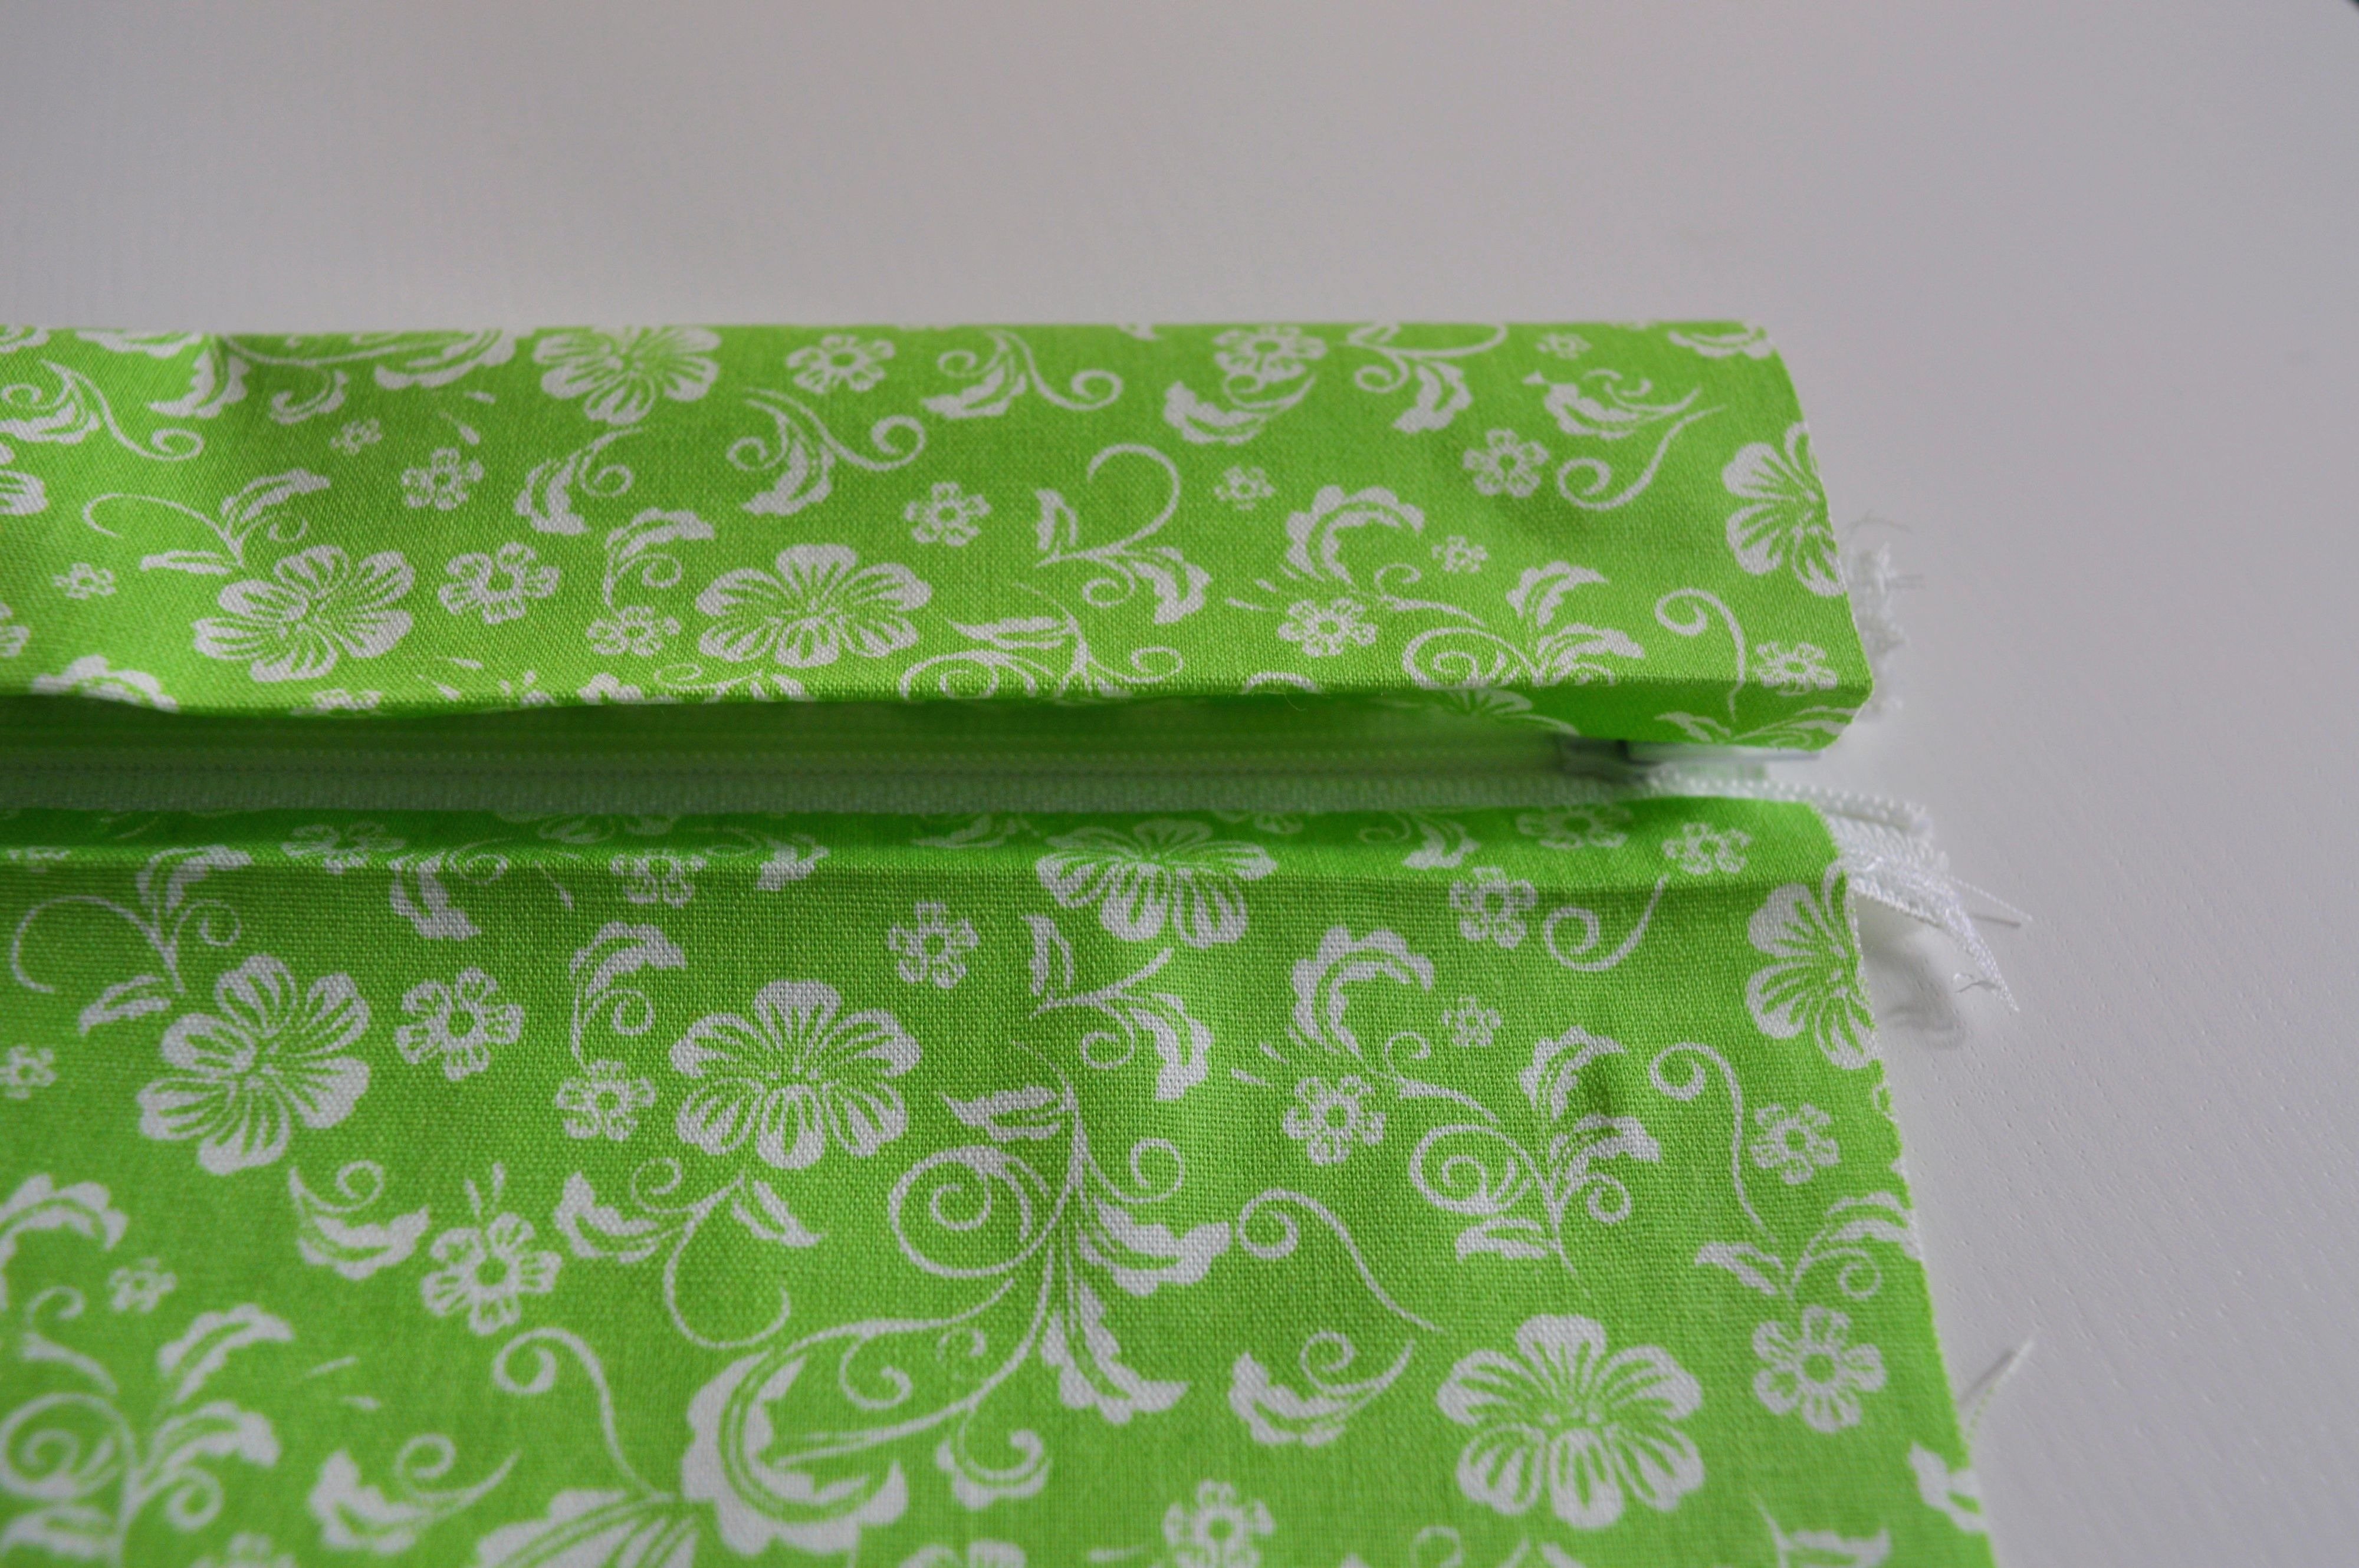
NOTE: Here is used zipper which matches the length of the opening and it is for here presented way of closing, the best solution. (I had to shorten my zipper because I needed it in a length of 37 cm, and I had a zipper 45 cm length. You can also always resort to this solution, if you use a zipper that is longer than necessary.)
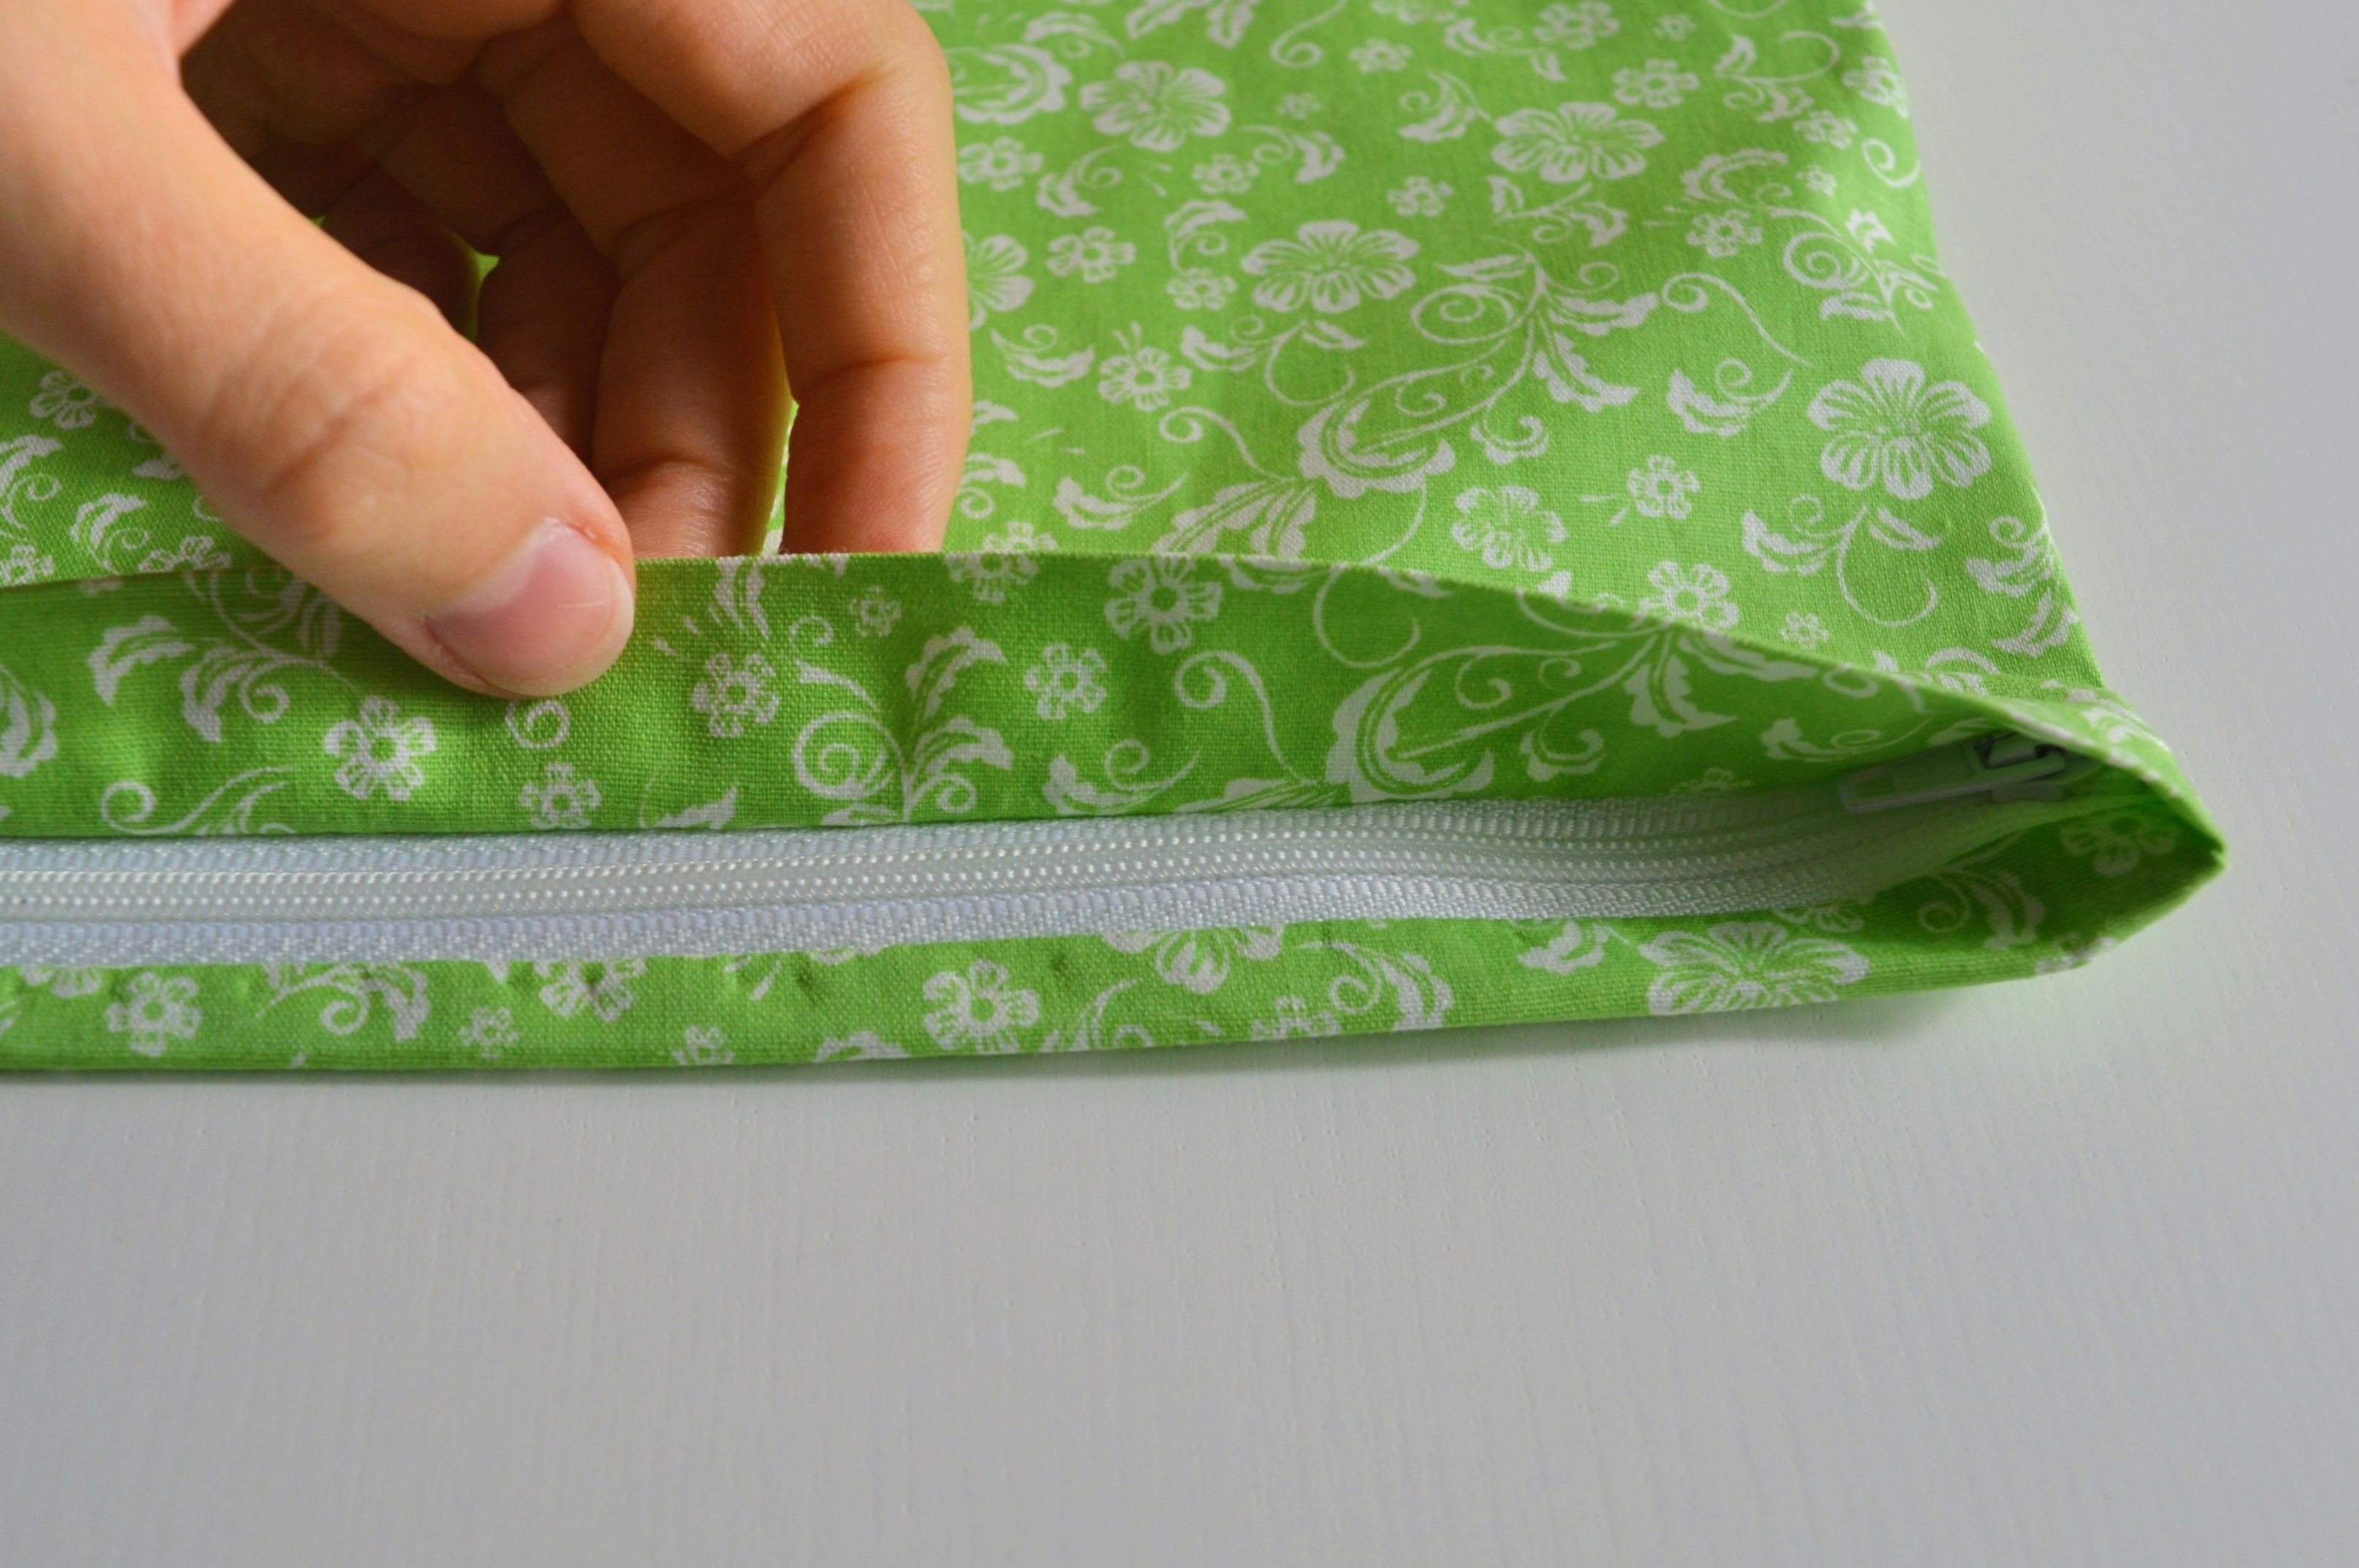
It remains to sew long flap whit the zipper to the side of the pillowcase.

NOTE: If you are skilled enough, this can be done without sewing the zipper on edge but while sewing zipper. Here it is presented in two steps.
This completes the closing of the pillowcase.
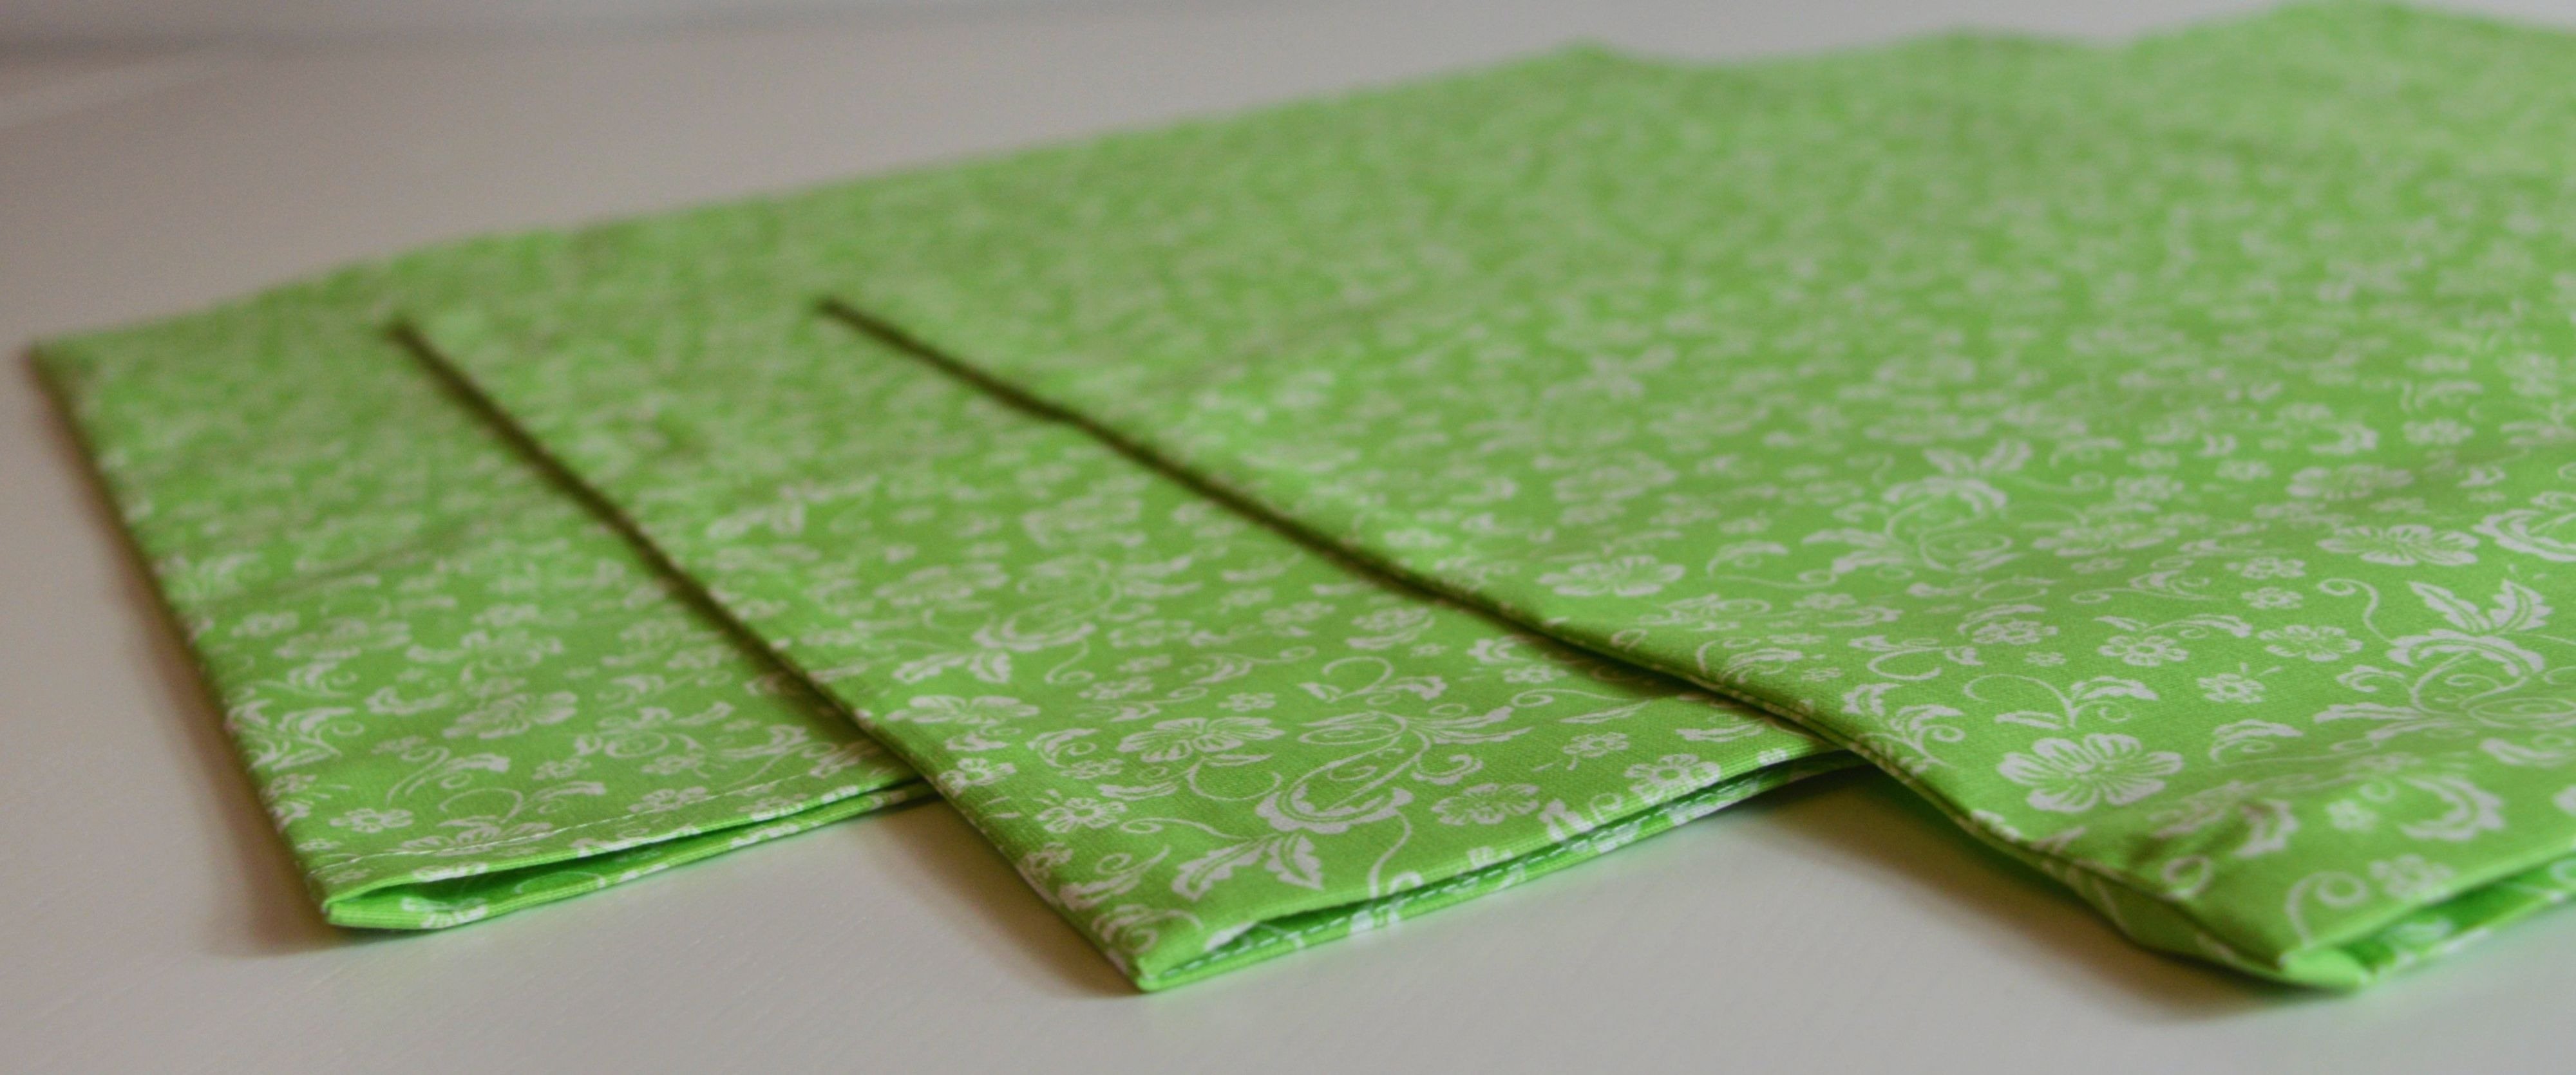
In the pictures below you can see how to sew the side edges and how this closure looks at the end.
NOTE: When you sewed the sides of the pillowcase, before overlock, cut off parts of zippers on the sides, all the way to that seam (be careful, not too much). Otherwise, the zipper can’t be fine folded when you turn the pillowcase right side.
As I wrote at the beginning of the post, the pillowcase sewing is fast and straightforward, as you might have seen. Some closures are more honest than others, but you have to admit, none of these are complicated – you have to decide for one and make it.
Moreover, on the other hand, sewing pillowcases is the ideal start of an adventure called sewing because it requires fundamental skills, and is perfect for exercise.


0 Responses