 BERNINA Corporate Blog -
 While thrift shopping, I came across a box of vintage/retro sewing patterns for sale at R10 each! (€0.64 or £0.57)
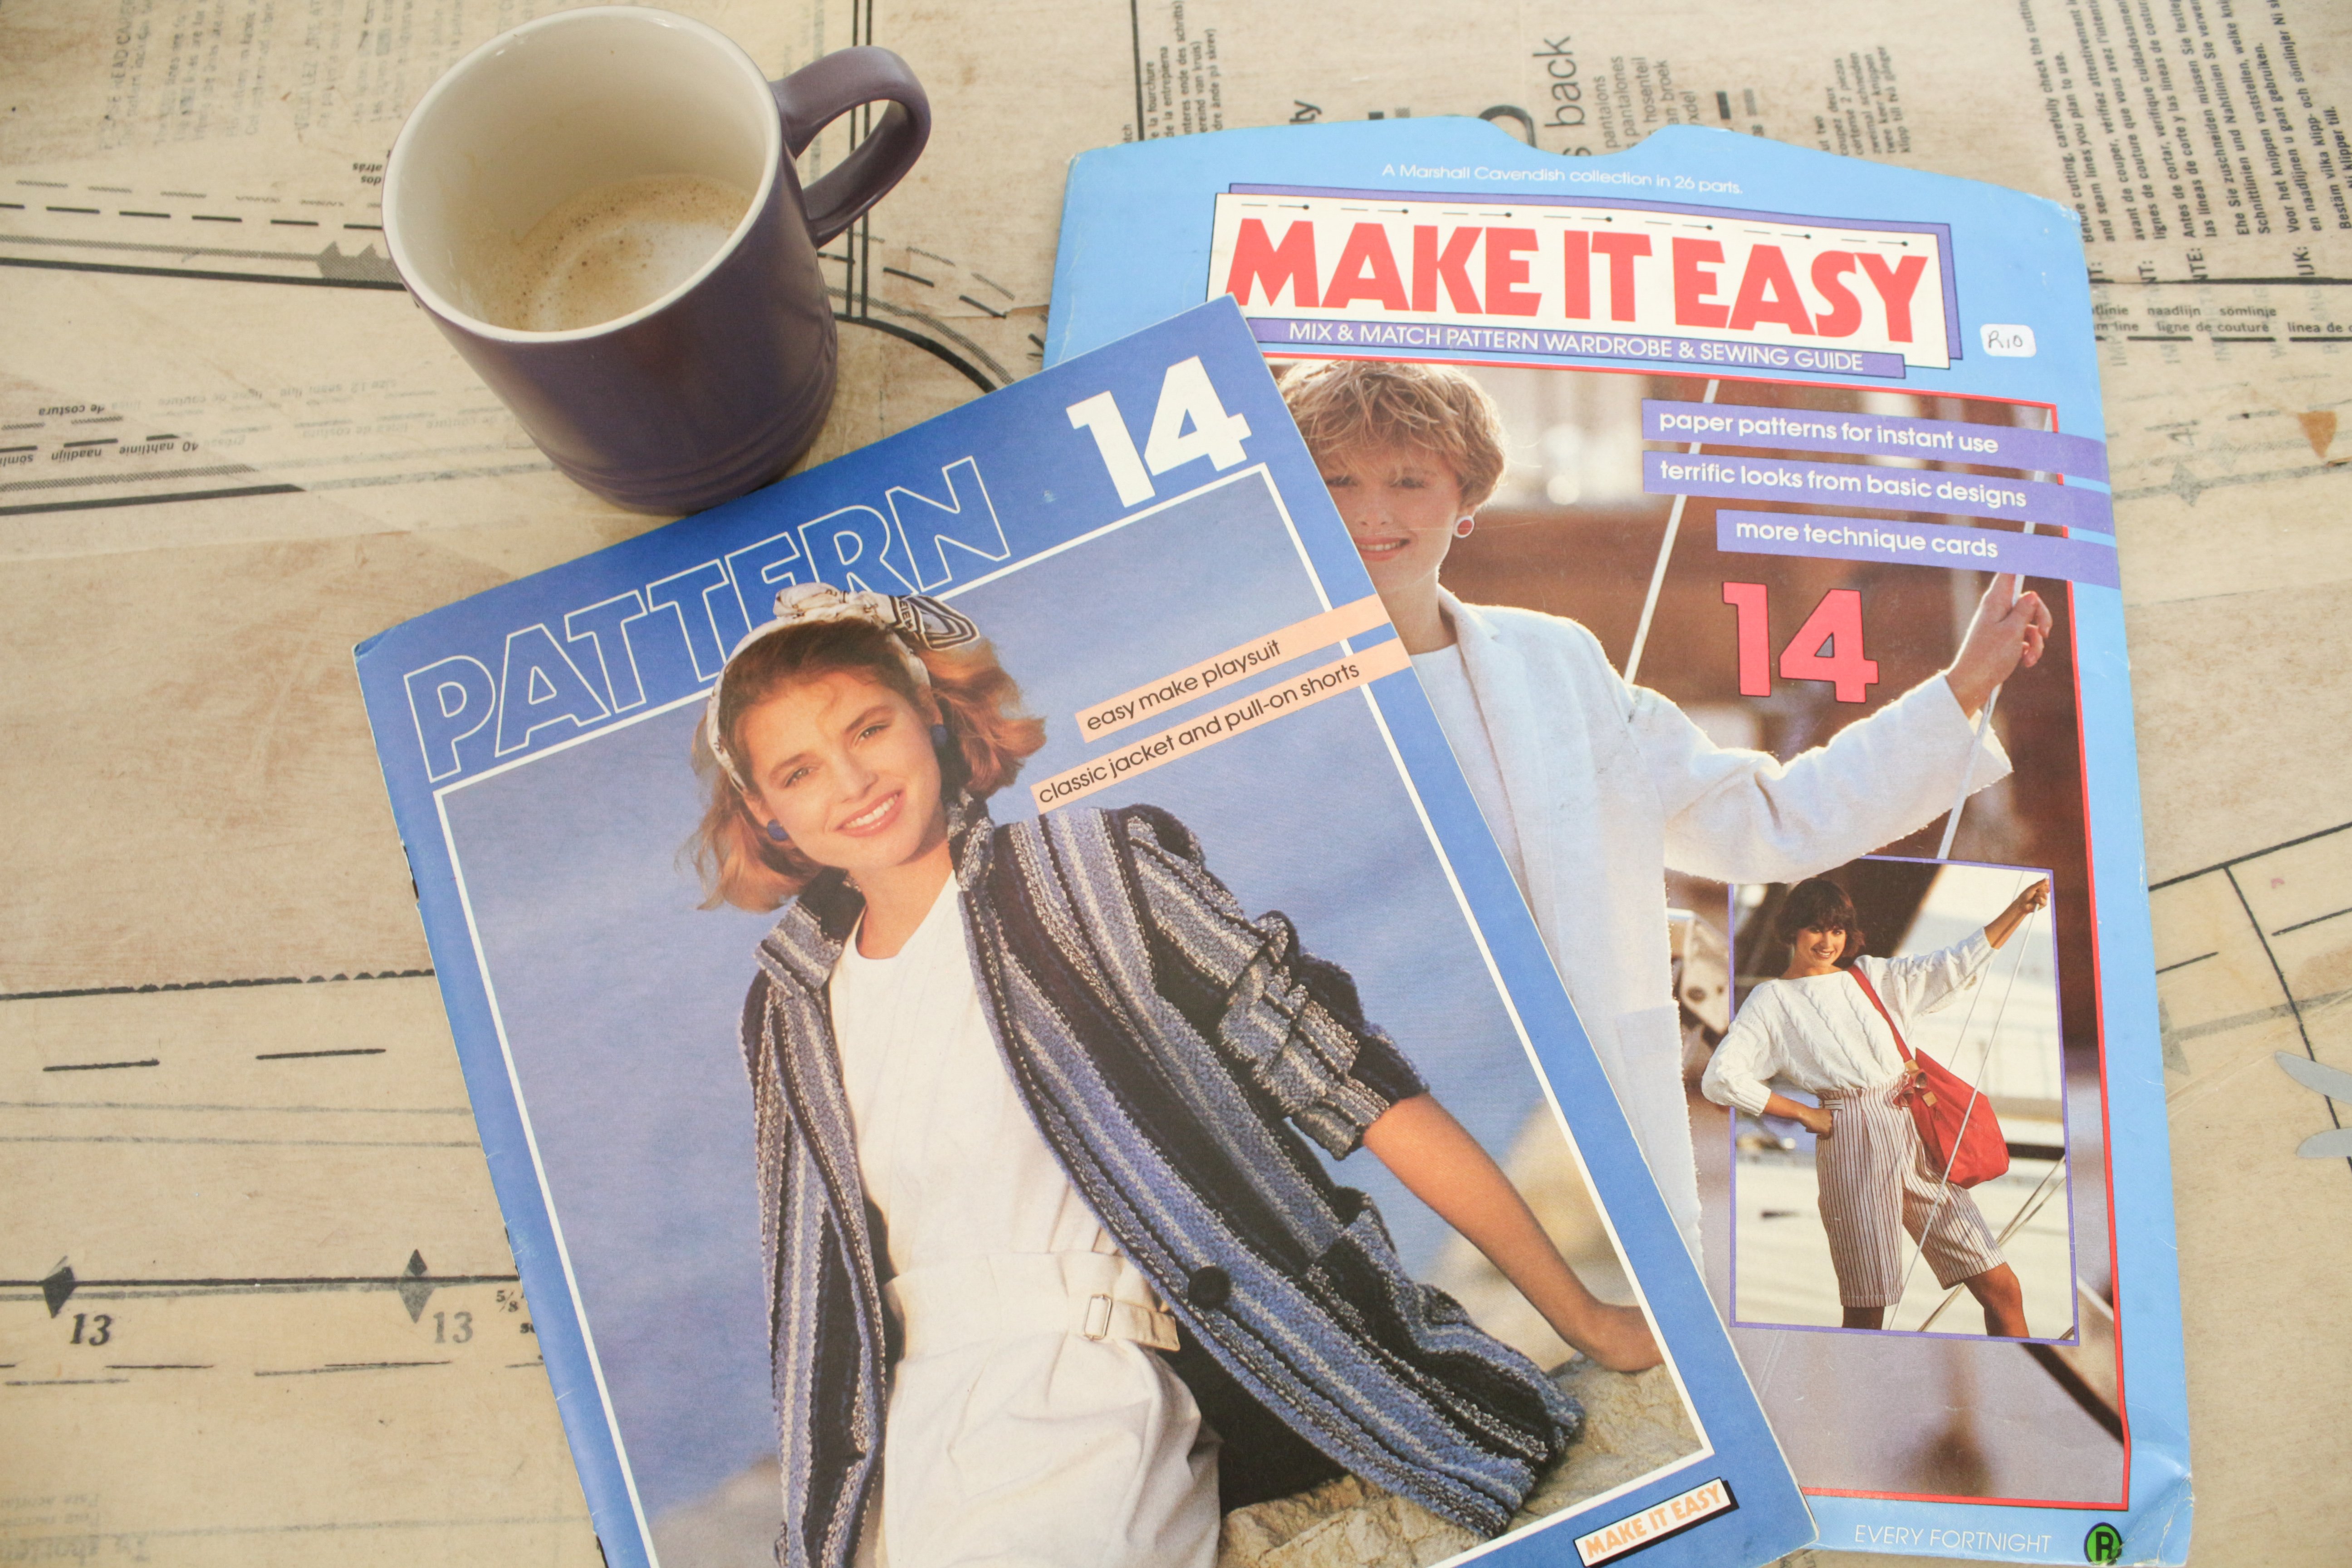
Some hadn’t even been used yet, like the “Make it Easy” mix & match pattern packs I found.
These gorgeous packs were a fortnightly sewing pattern subscription in the 80’s, available in South Africa, Australia and New Zealand. You received a booklet with instructions and style tips and patterns for 2 garments which each had 3 or 4 style versions.
I bought the Sundress & Playsuit pattern pack as well as the Pull-on Shorts & Classic Jacket pack.
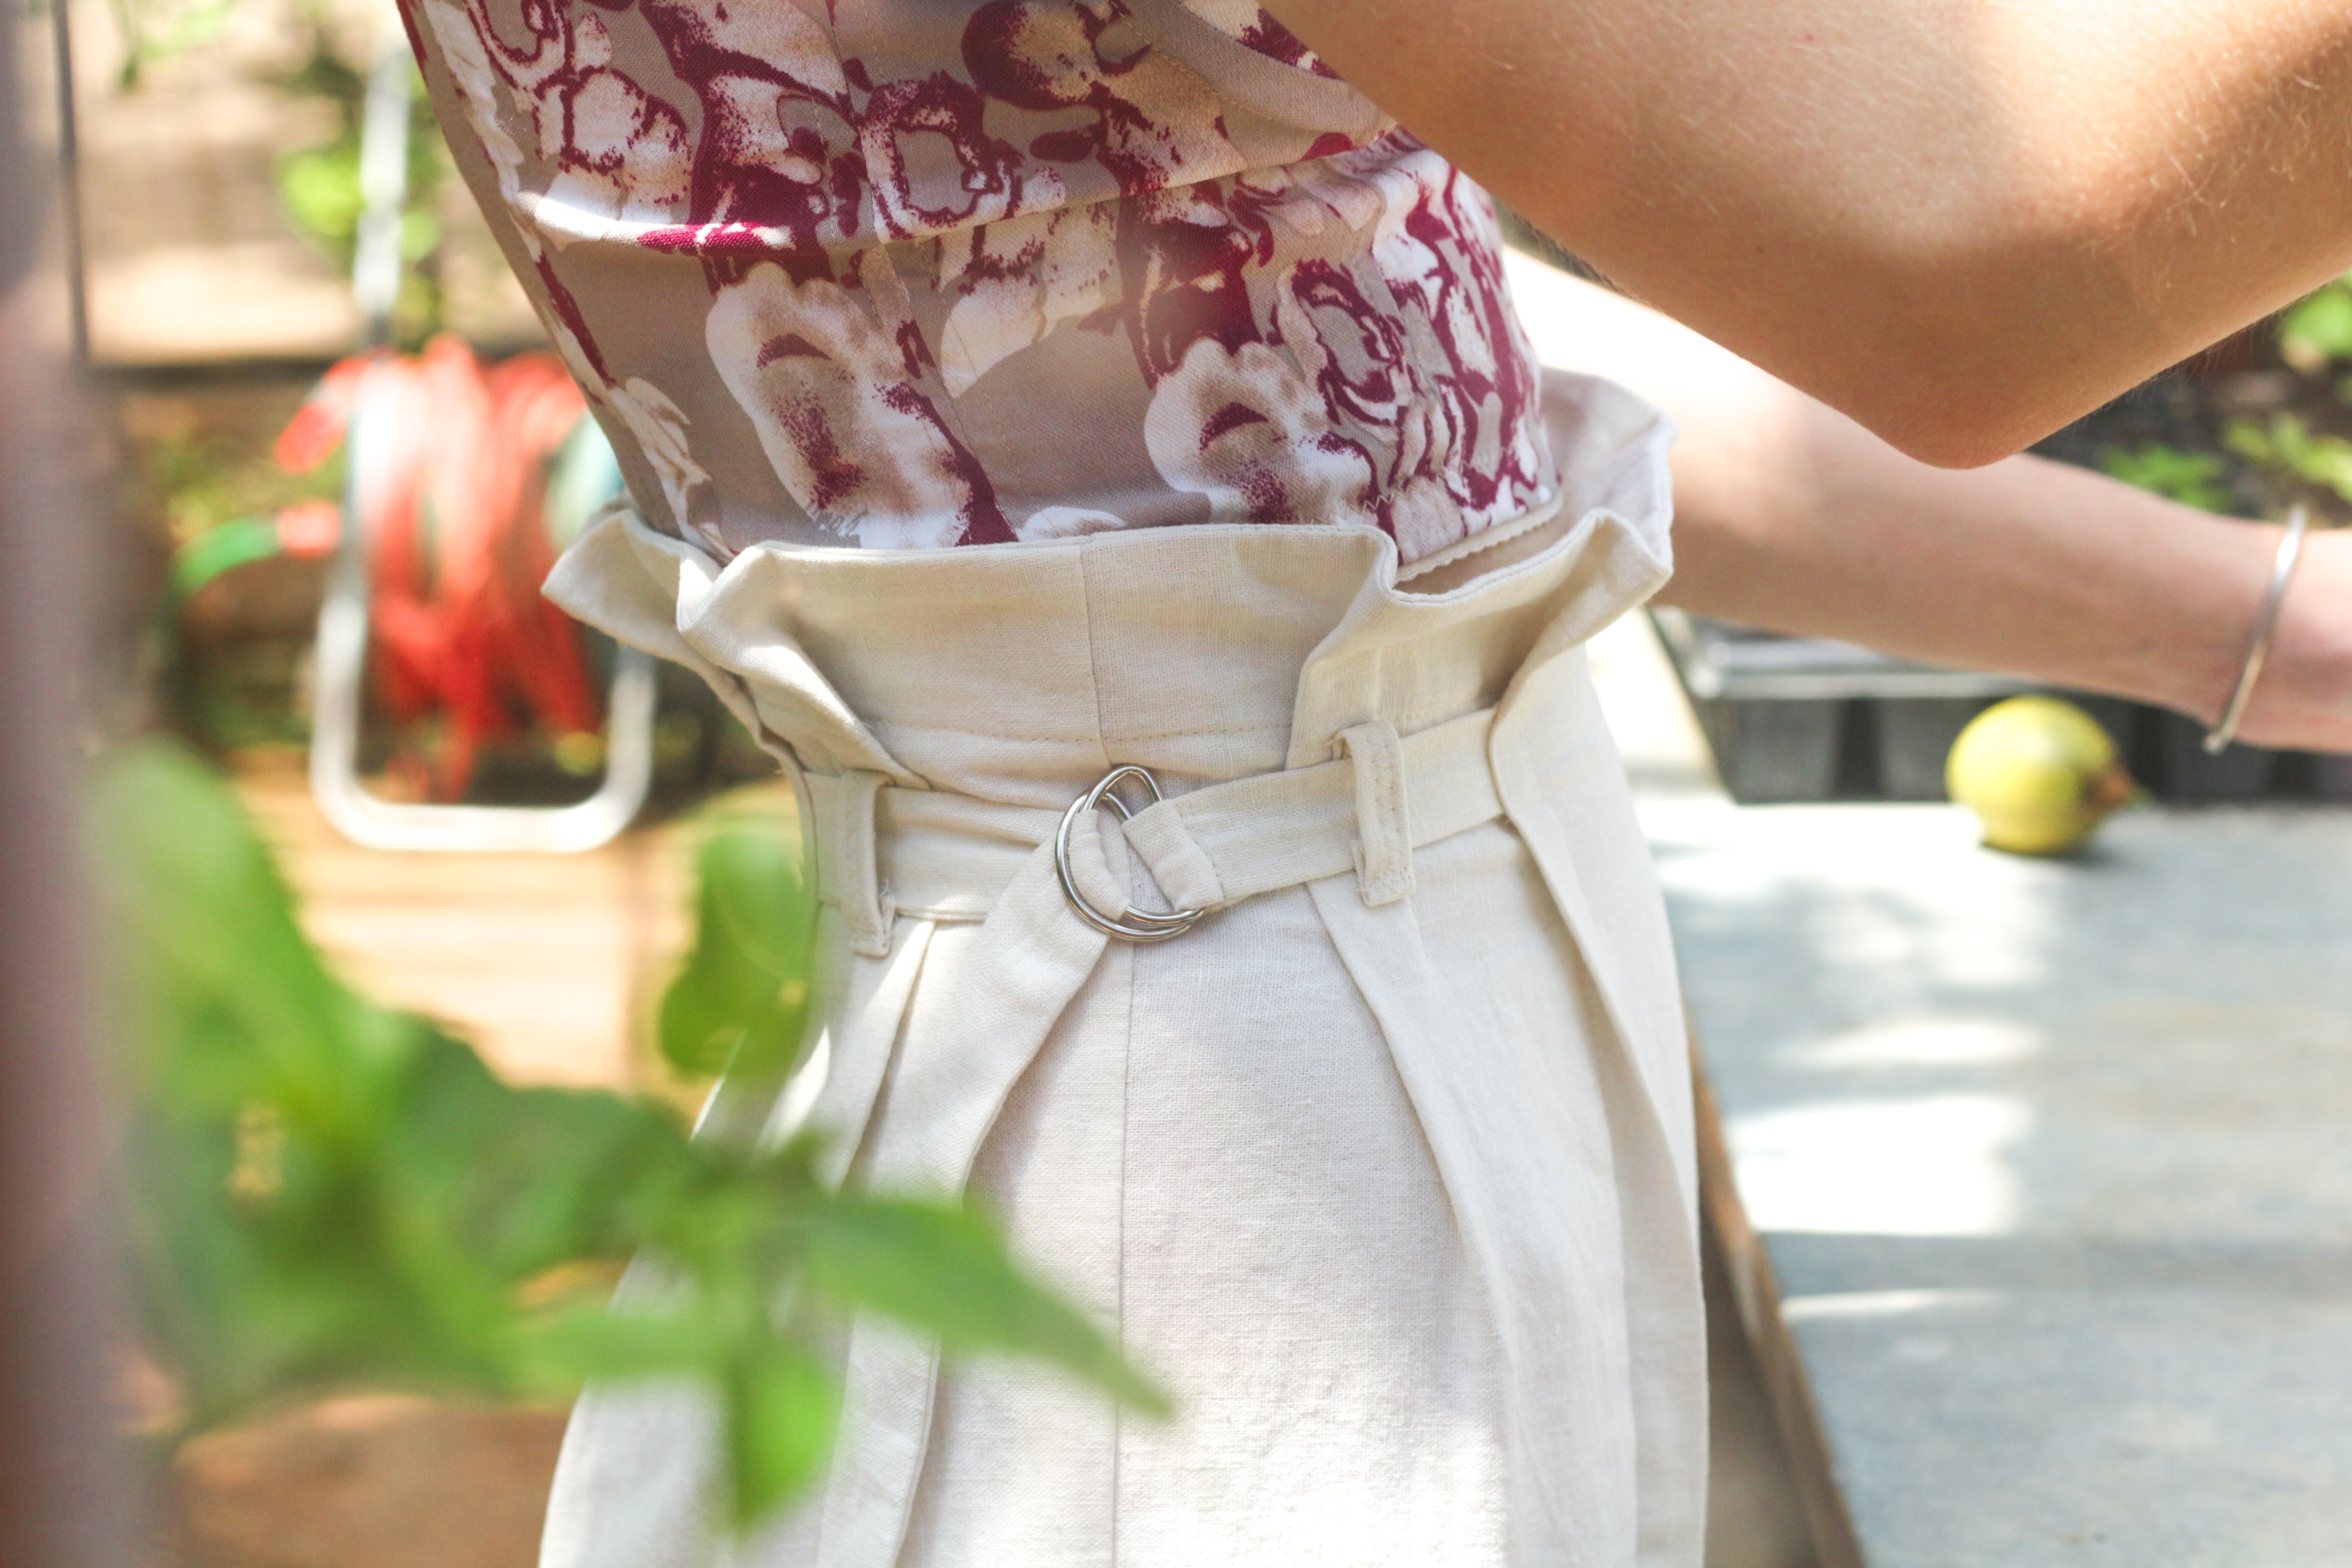
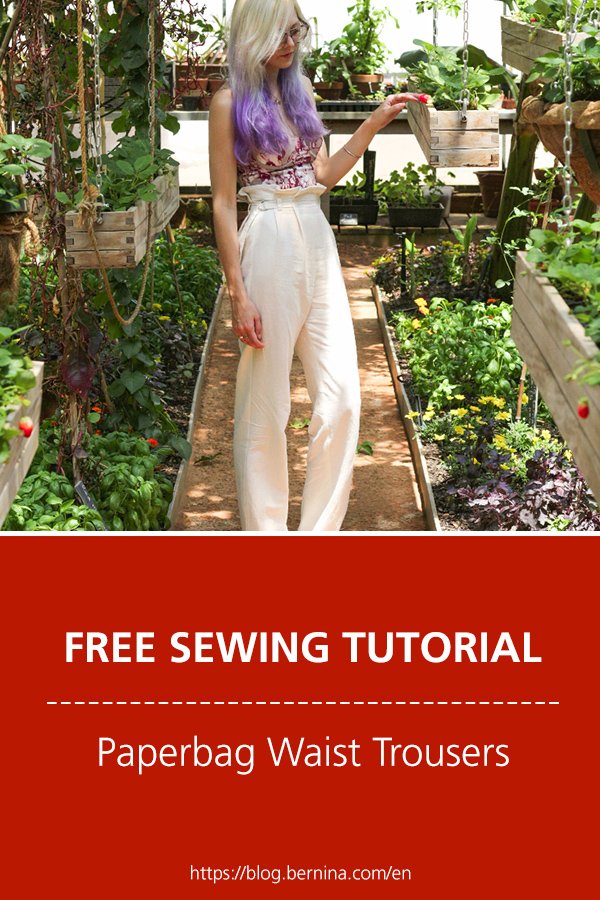
I have already made a sweet Sundress in brown Linen and a striped pair of Pull-on Shorts. Here I will show you how I built upon the Pull-on Shorts pattern to make a Paperbag Trouser.
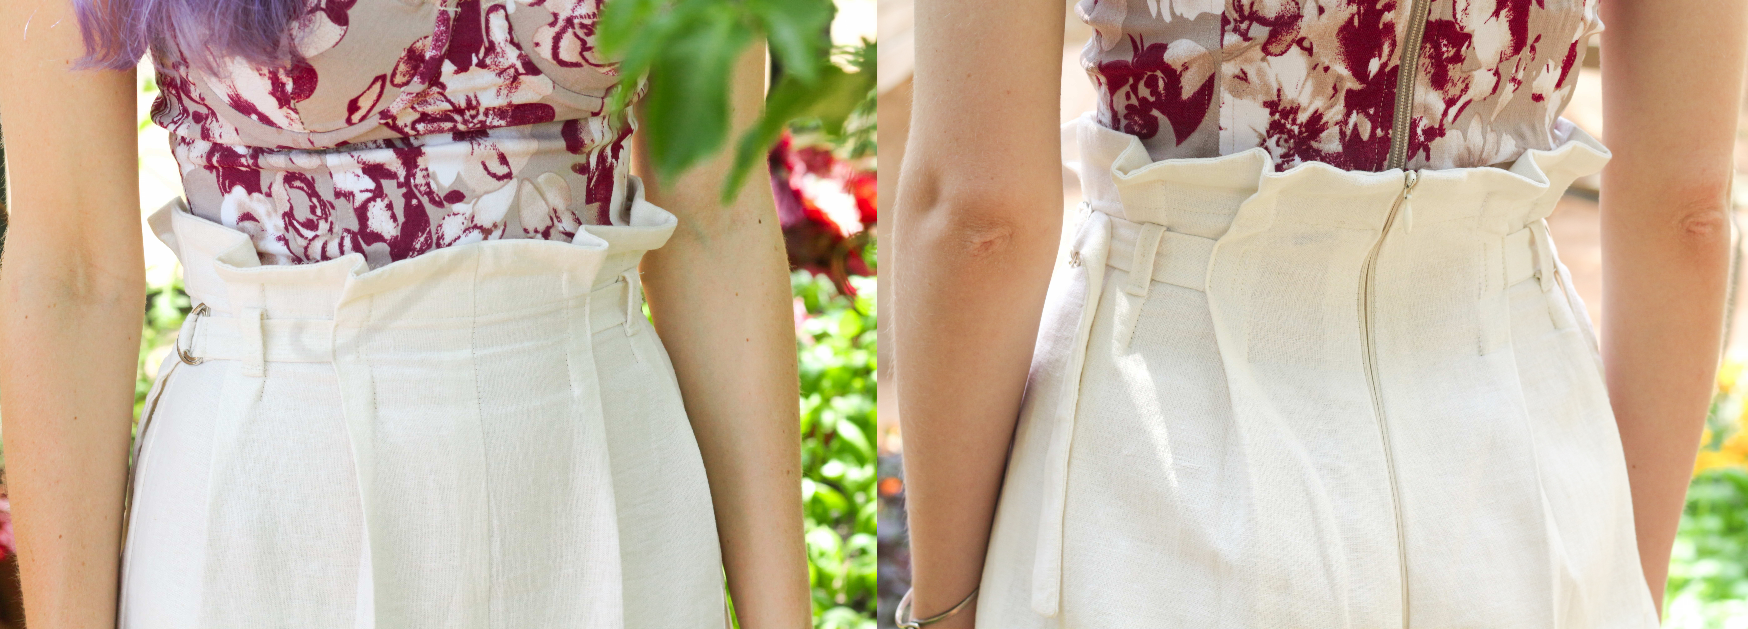
Even though this pattern is from the 80’s, it has a classic silhouette which I was easily able to modernize with a few adaptions. I lengthened the pattern for a wide leg style. I kept the side ties but secured the pleats and added a zip as I didn’t feel I could trust the trousers to stay up by just relying on the ties. Rather, I used the ties as a belt to pull the trousers in at the waist and relied on the pleats and zip for the fit.
I don’t think every vintage/retro pattern you find can easily be adapted to wear today.
But try look past the old fashioned fabric choices and cheesy photos on the pattern pack, you might find the basic silhouette is still a classic!
My “Make it Easy Pattern”
Needed
- GBSB Capri Trouser Pattern
- Pattern Adaption Guide
- Fabric (twice the trouser length)
- 4 D-rings (2.5cm)
- 25cm or 30cm Dress or Invisible Zip
- 3 or 4 matching threads
- Hand sewing needle
- Scissors (fabric & paper)
- Ruler
- Turner/knitting needle
- Sewing Machine
- Overlocker
Pattern
While I used a vintage pattern and adapted it a bit, I have provided a guide on how to make your own Paperbag Waist Trouser Pattern inspired by my Trousers.

Download and assemble the Great British Sewing Bee Capri Trouser Pattern.
We will use this pattern as a Trouser Block and adapt it to include pleats.
Follow my Pattern Adaption Guide to alter the Capri Trouser Pattern to a Paperbag Waist one.
Here is a size chart to use as a guide.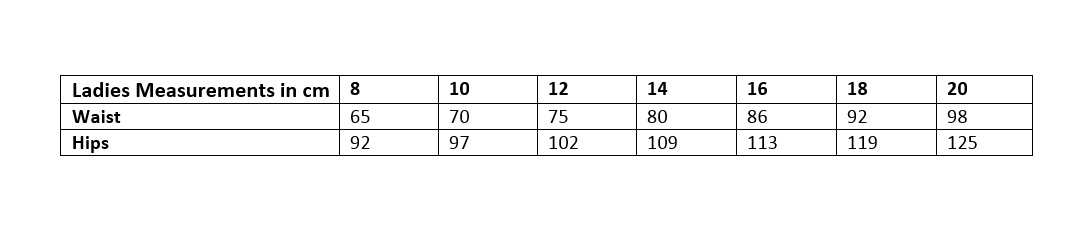
Sewing
Trouser Assembly
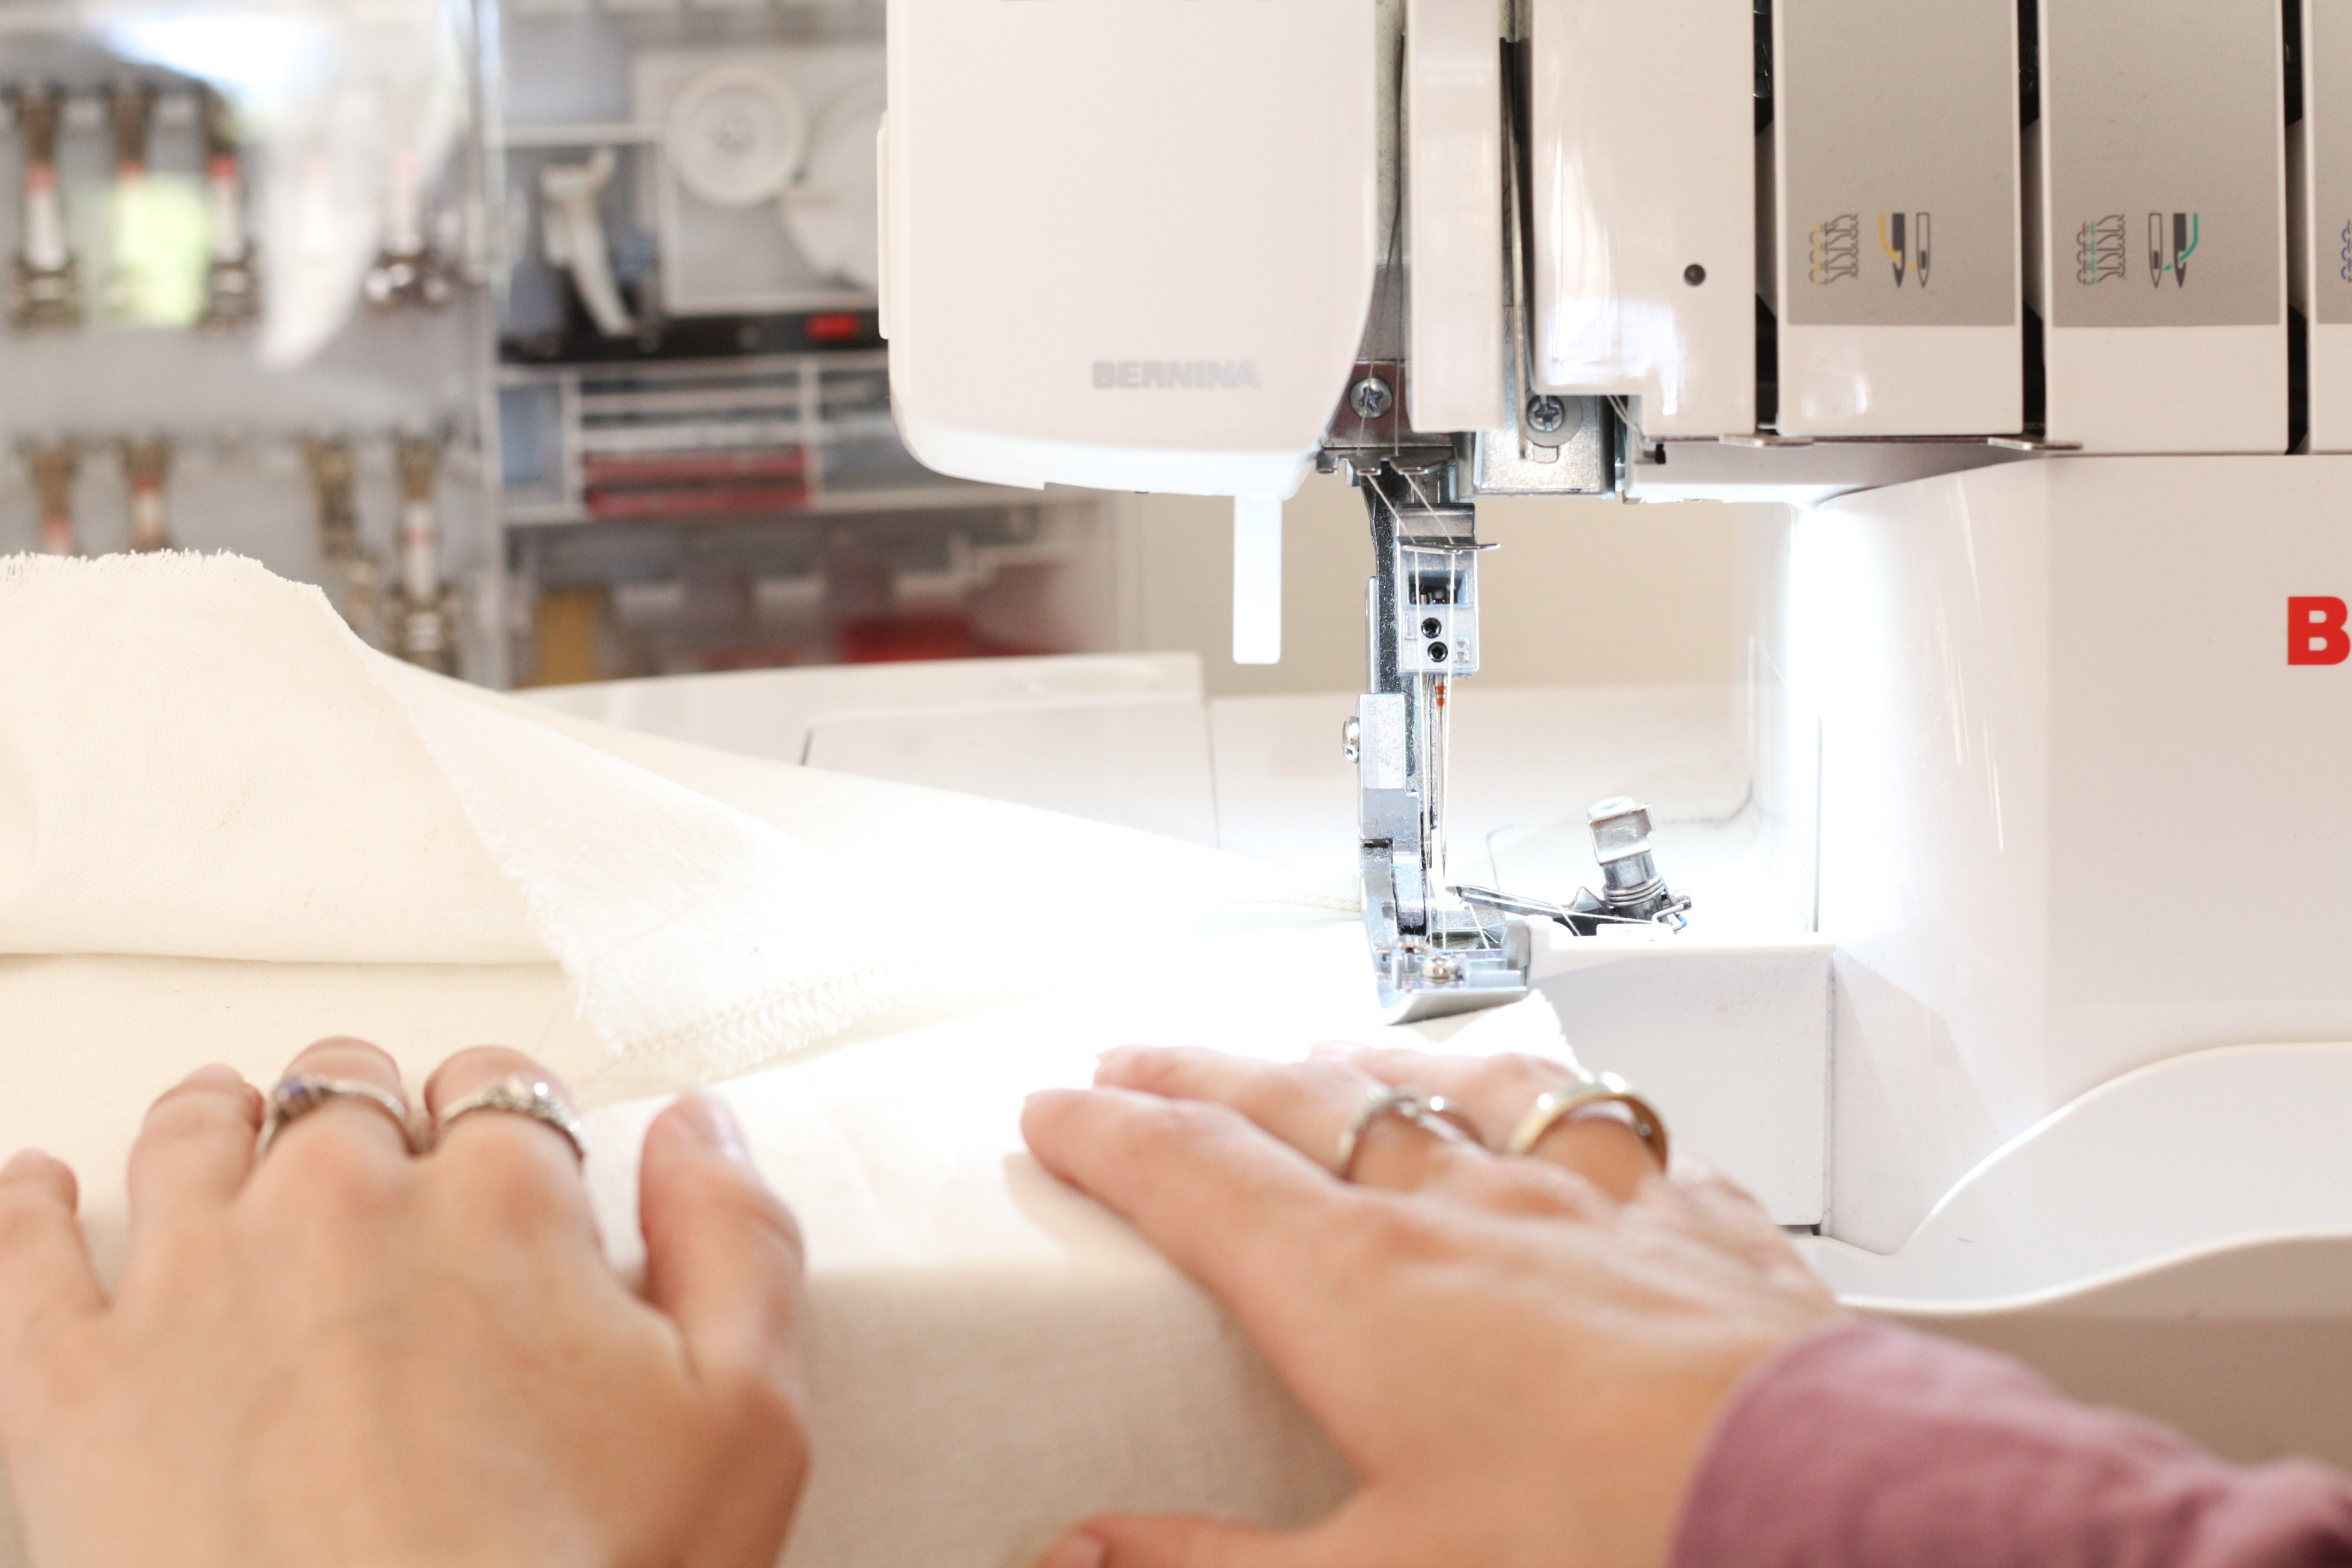 1. Overlock the Centre Back/Crotch of both Back pieces separately.
 2. Measure 26.5/31.5 cm (length of your zip + 1.5cm seam allowance) down the Centre Back.
Join the Crotch seam from this measurement (1.5cm seam allowance).
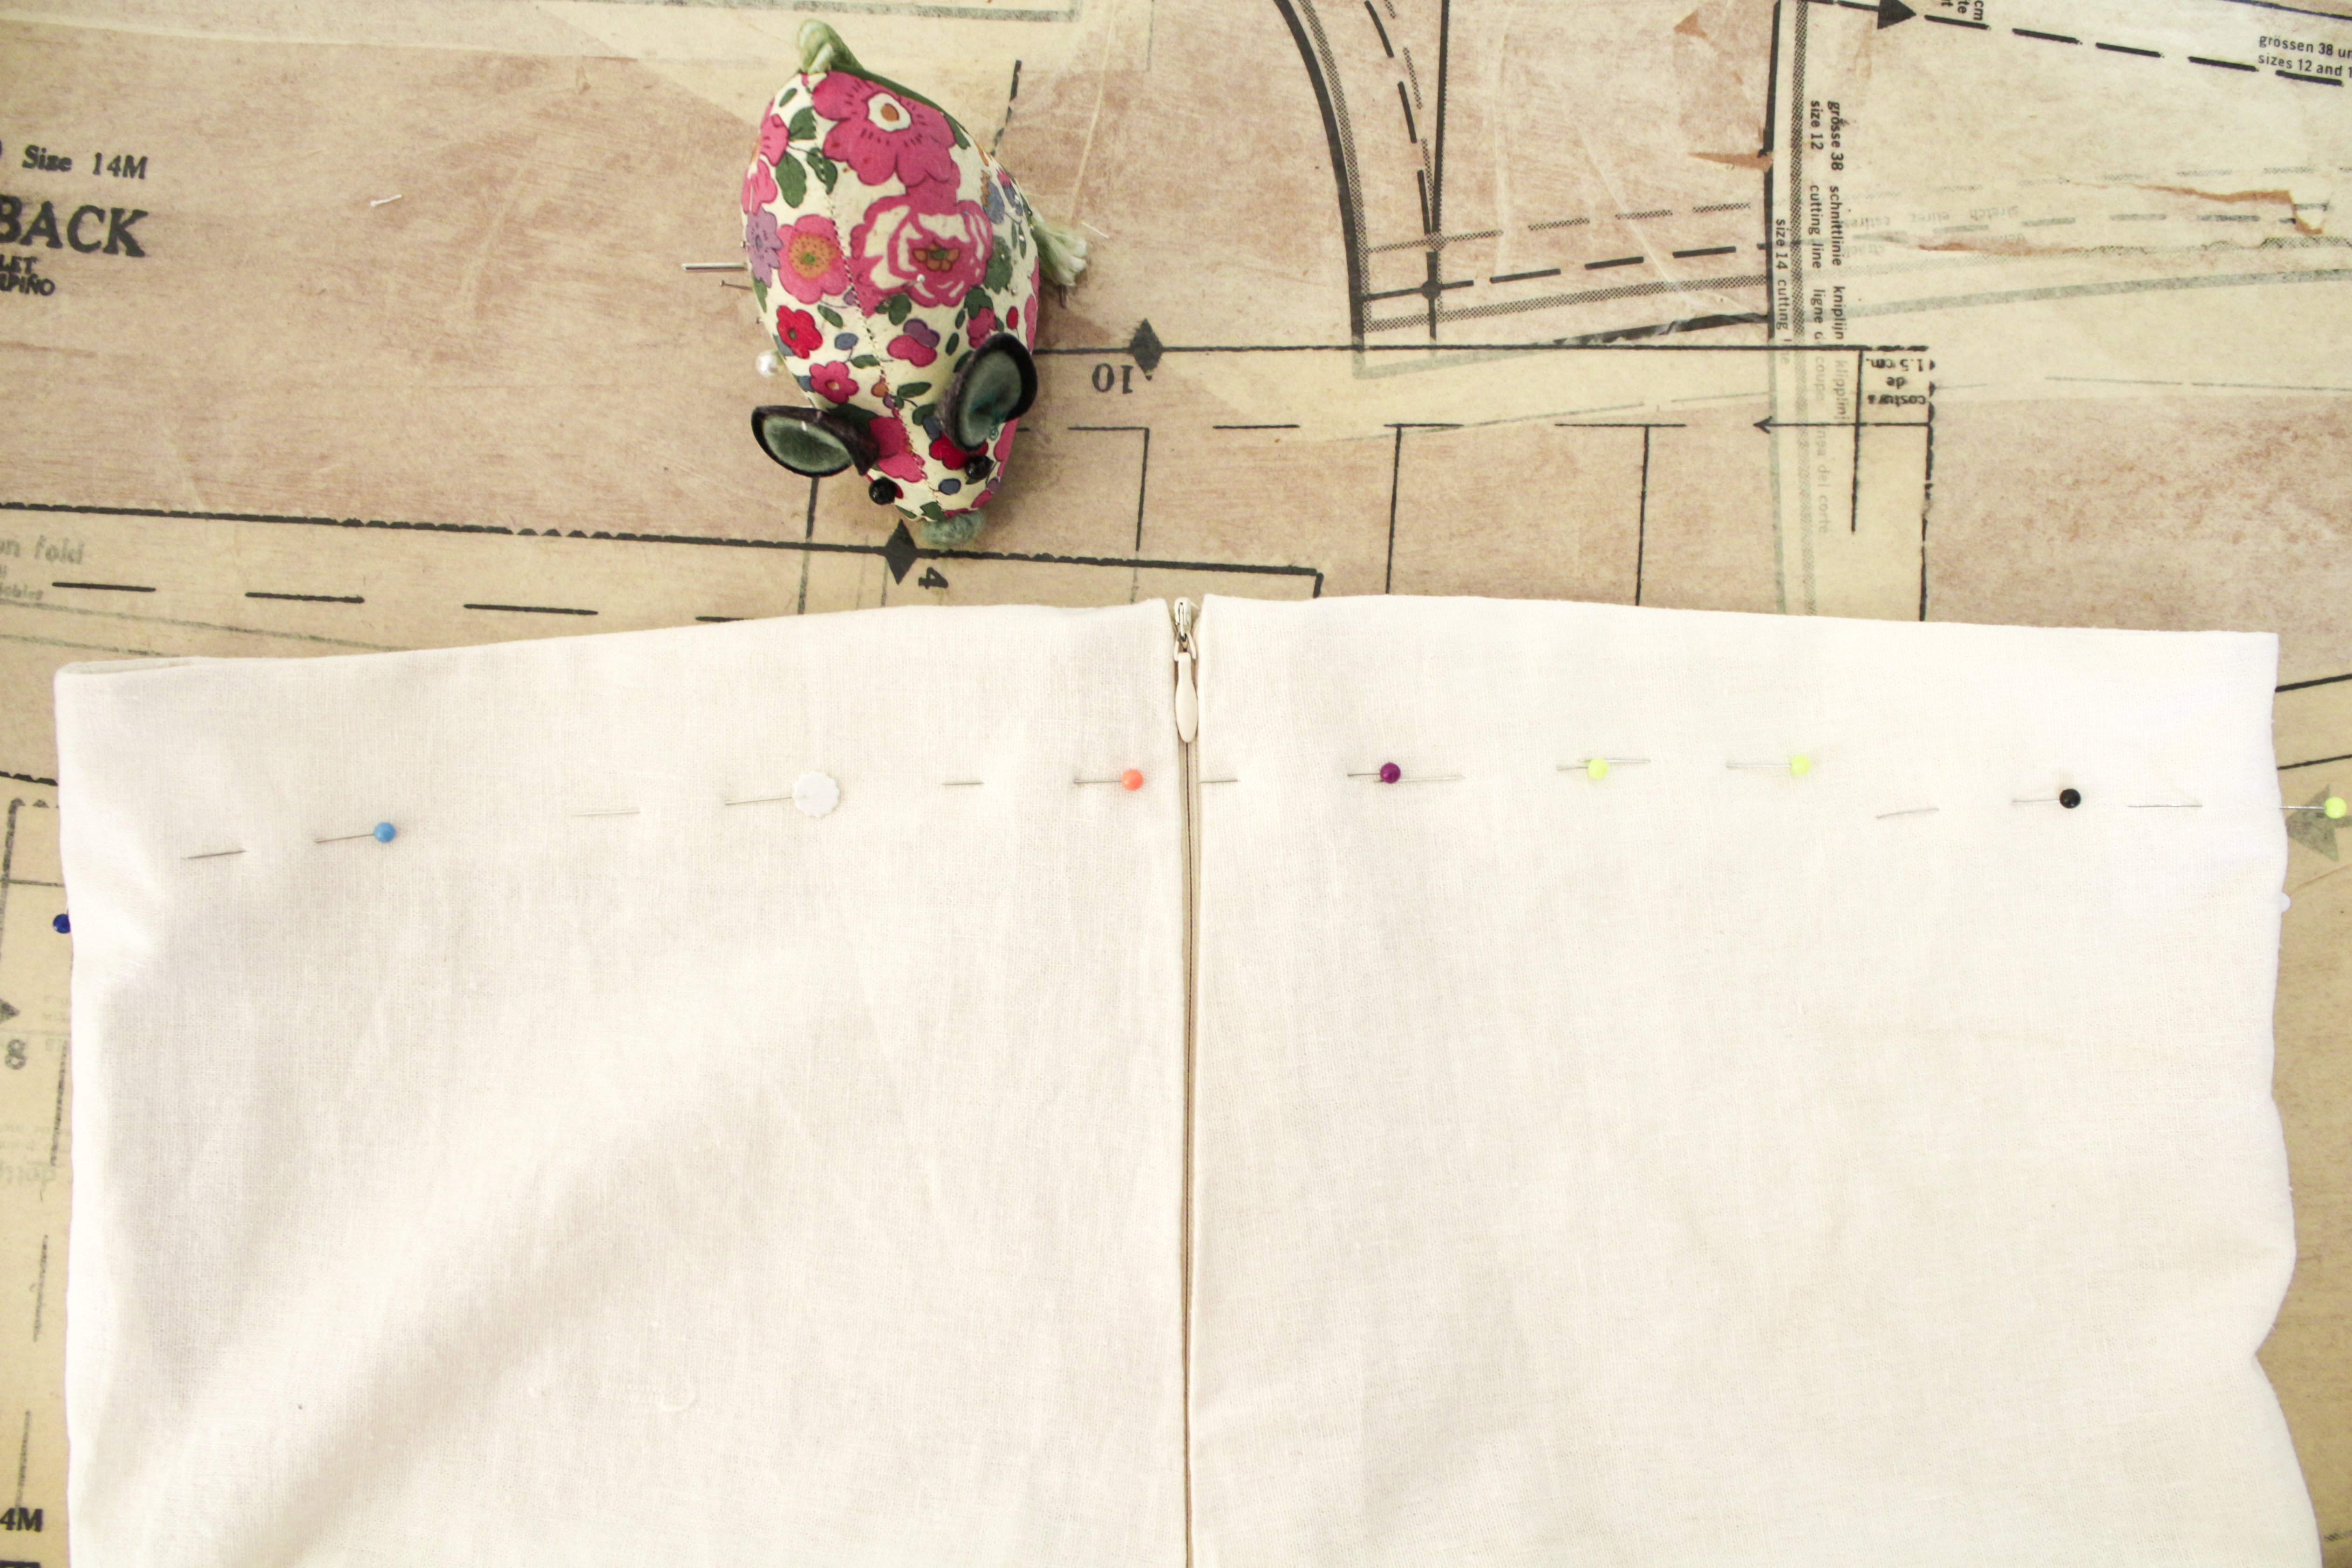
 3. Insert your zip in the Centre Back seam.
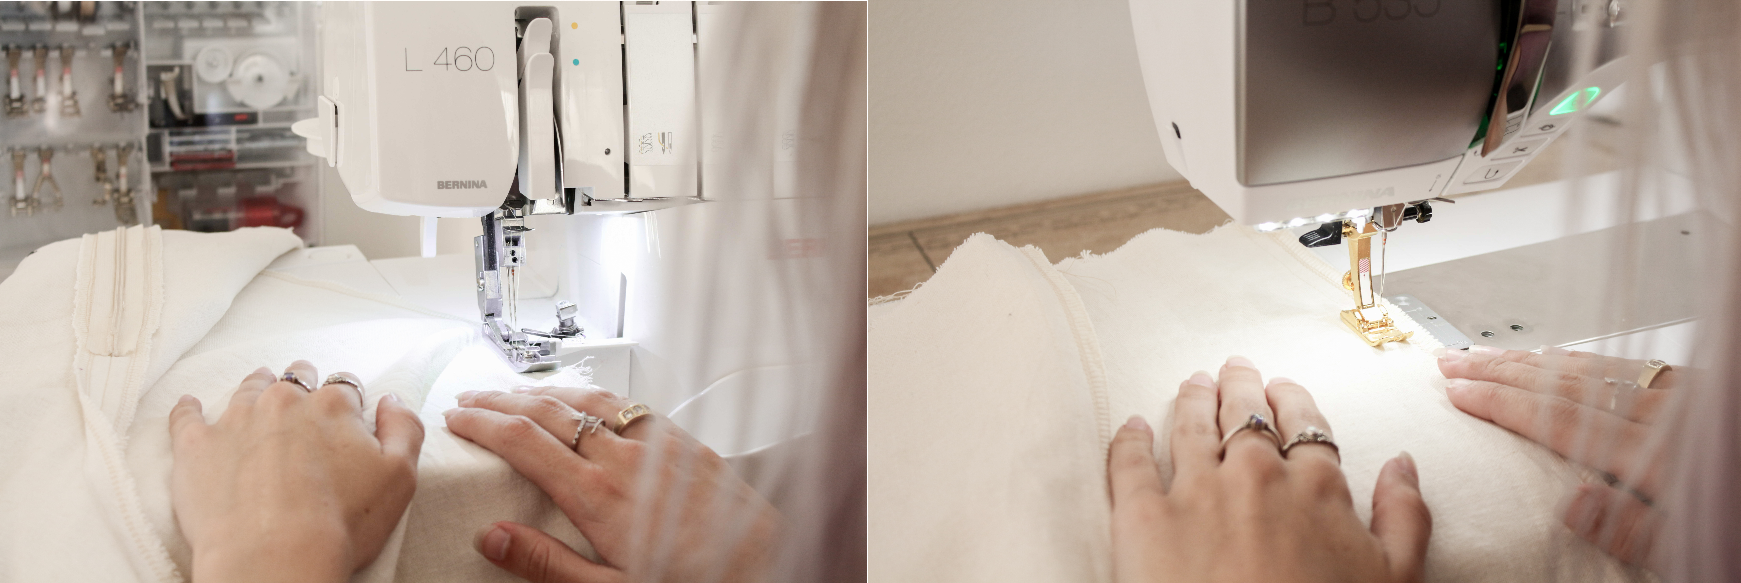 4. Join the Front Crotch seams and the Outseams (1.5cm seam allowance)
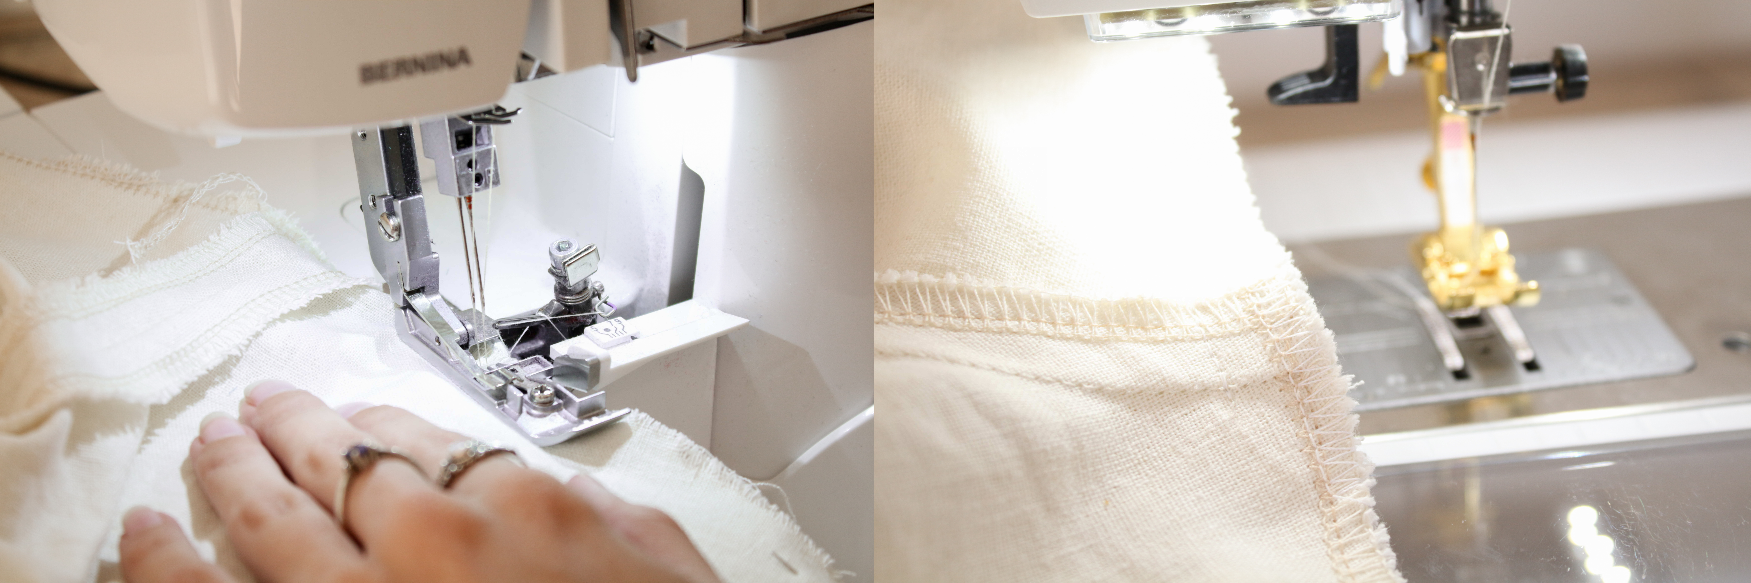 5. In order to join the Inseams, start in the middle (at the crotch) and work outwards.
If you sew the entire inseam (from the base of one leg to the other) the fabric may distort and the crotch seams won’t align properly.
 6. Join your facing pieces together and overlock the bottom edge.
Join the facing to the top of the trousers (1cm seam allowance)
 7. Hand stitch the facing in place at the zip.
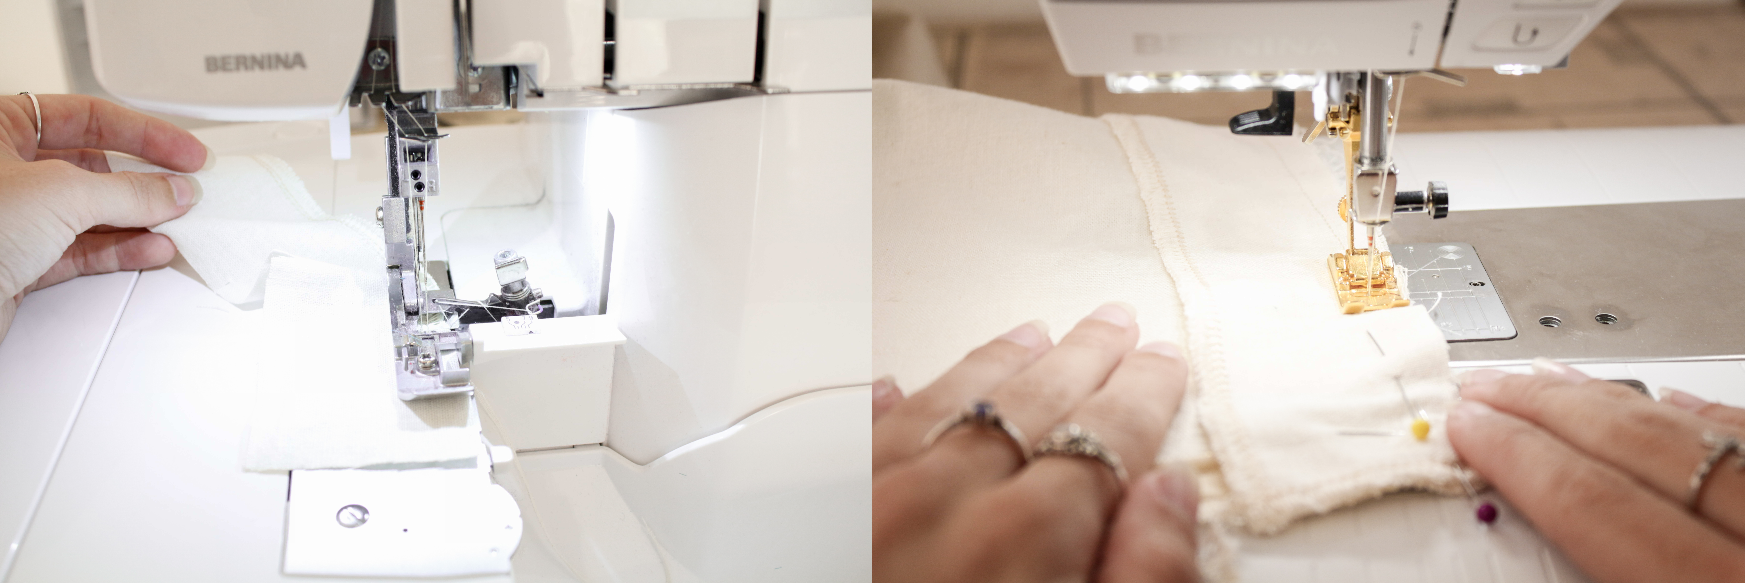
 8. Pin and sew along the base of the facing.
 9. Pin and sew your free-standing pleats. Refer to your pattern for placement.
Start the top of the pleats about 2cm down from the top of the trousers.
The pleats should be 2.5cm wide and 5cm long. However, it is up to you if you want them a bit longer.
Ties & Belt loops
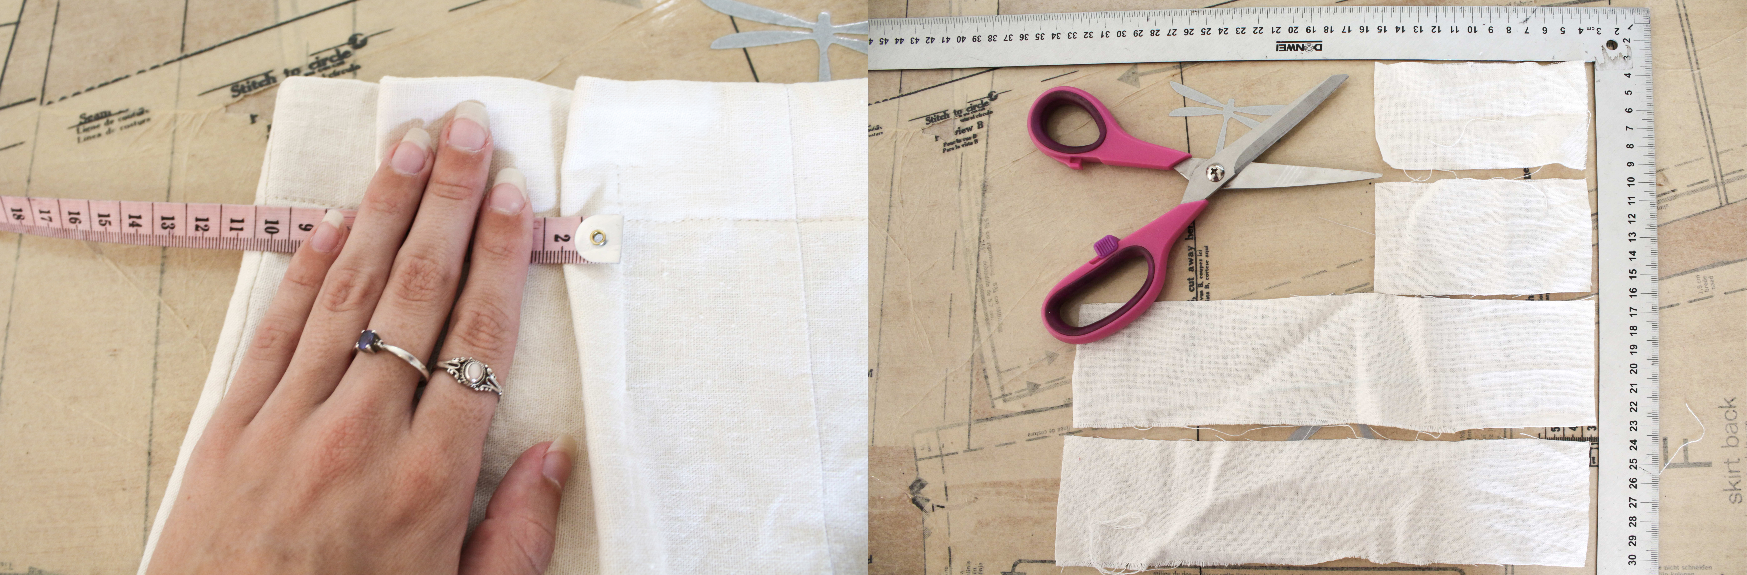 10. Measure from the pleat closest to the Centre Front seam to the Outseam.
Cut the length of 2 tie pieces to this measurement (plus 1.5cm)
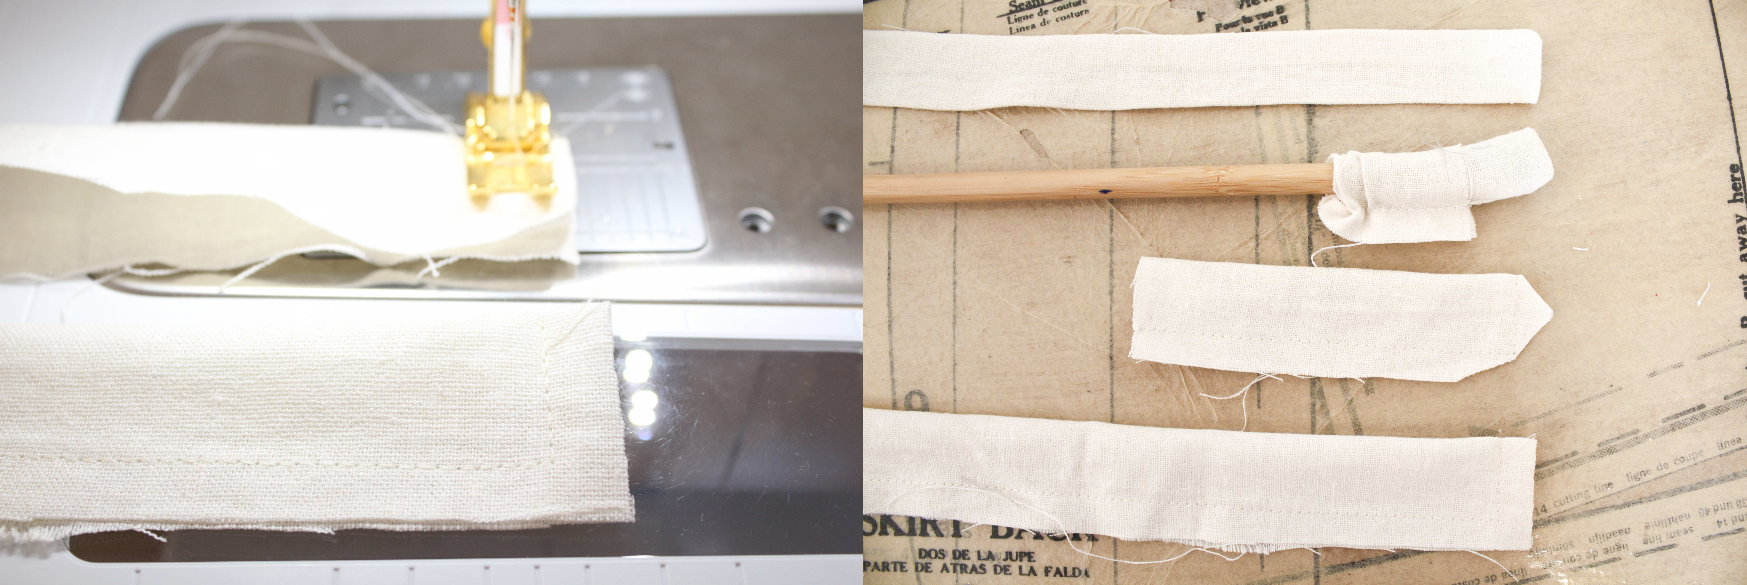 11. Fold the 4 tie pieces in half lengthwise and sew along the 2 edges.
Nip the corners and turn them right-side out (I used a knitting needle for this).
Overlock the open ends.
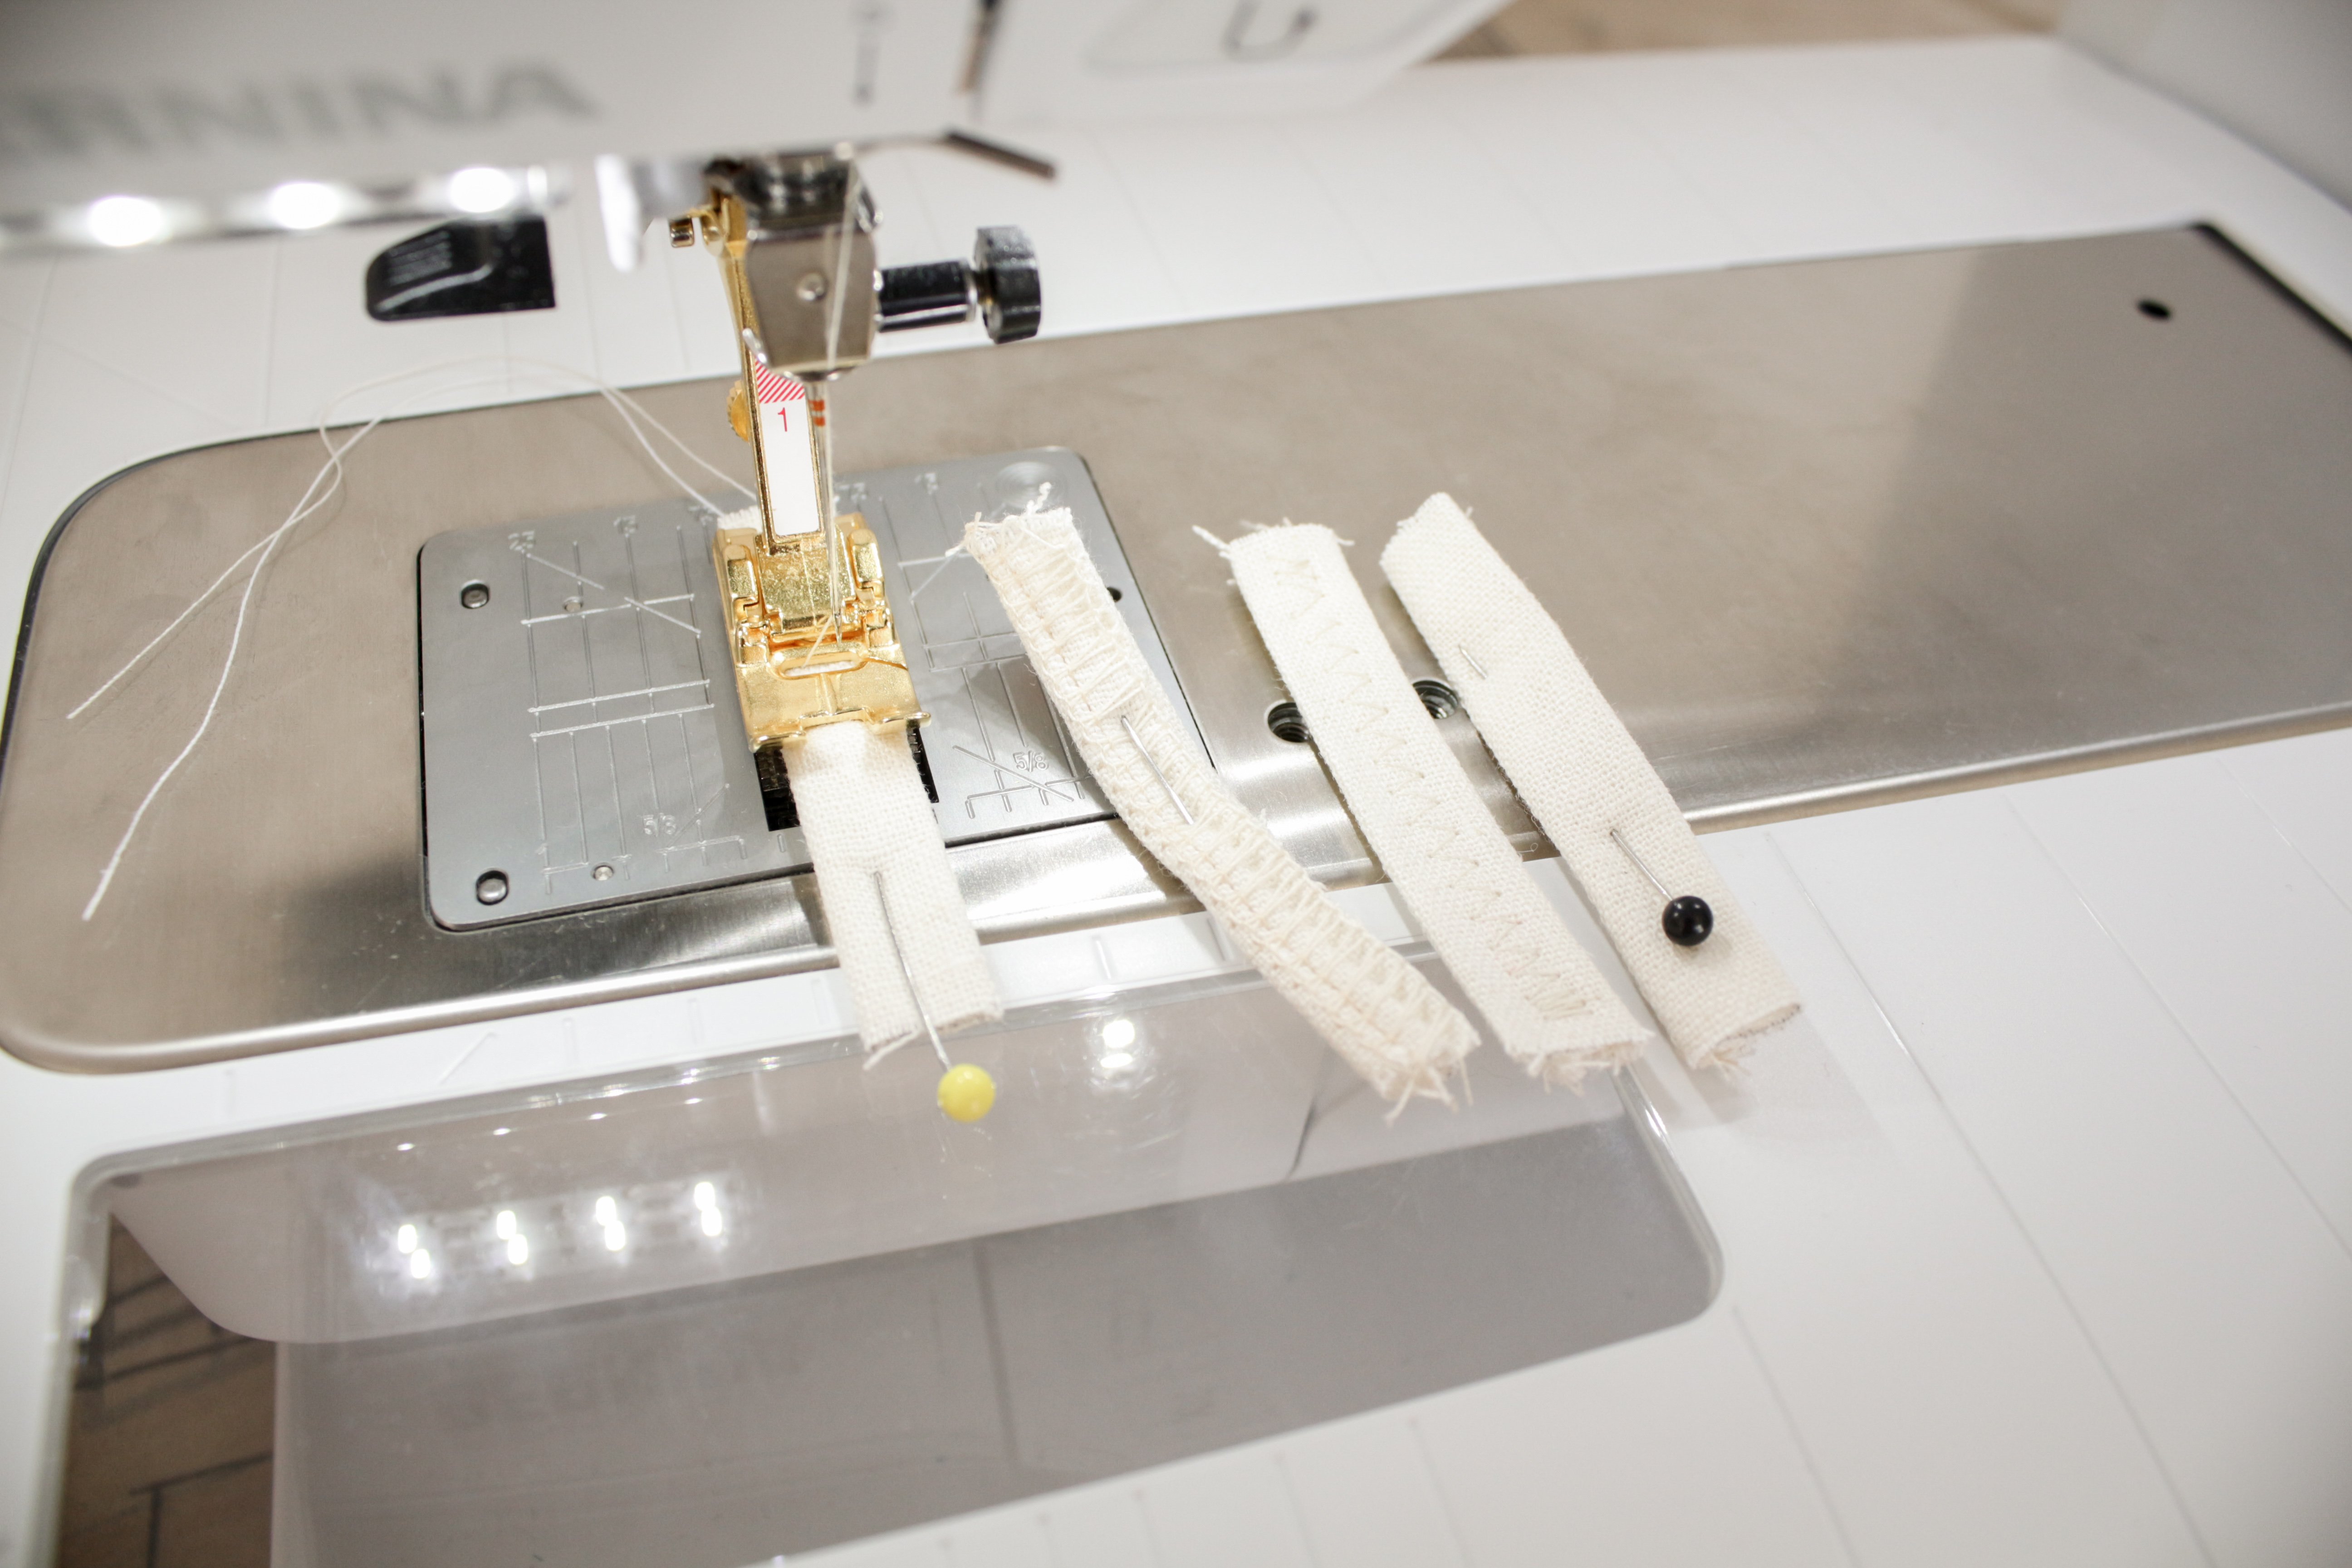
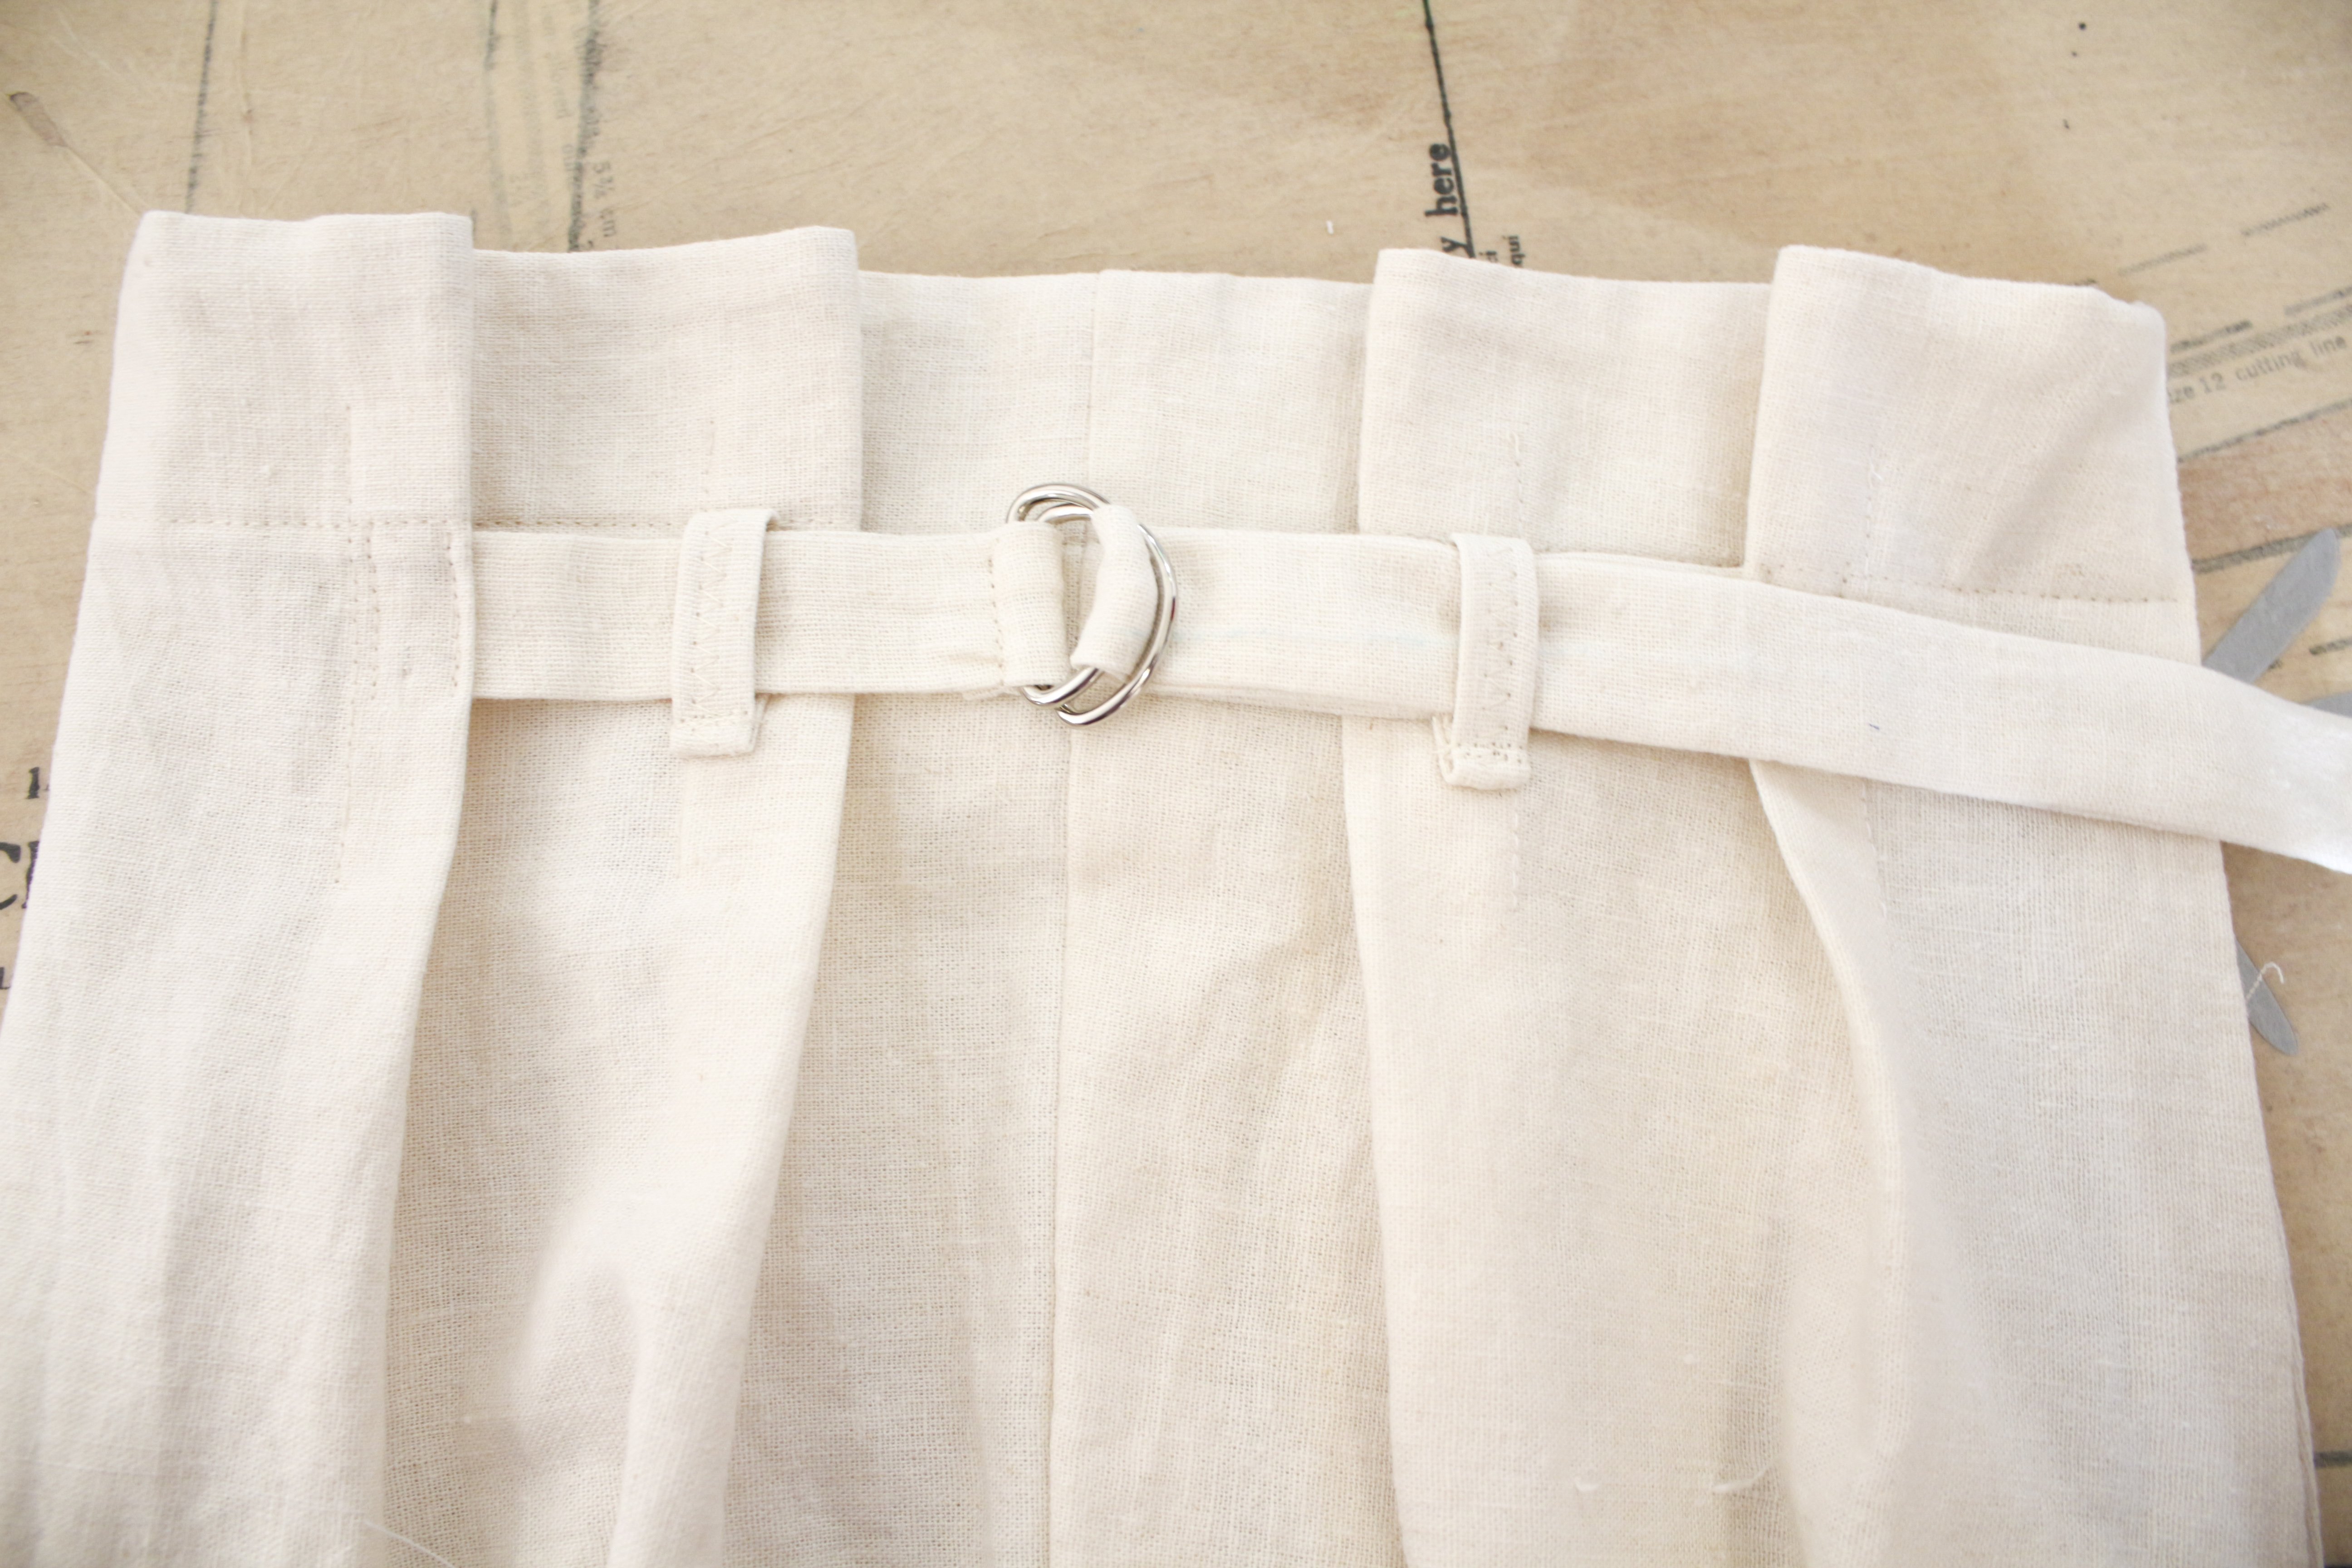
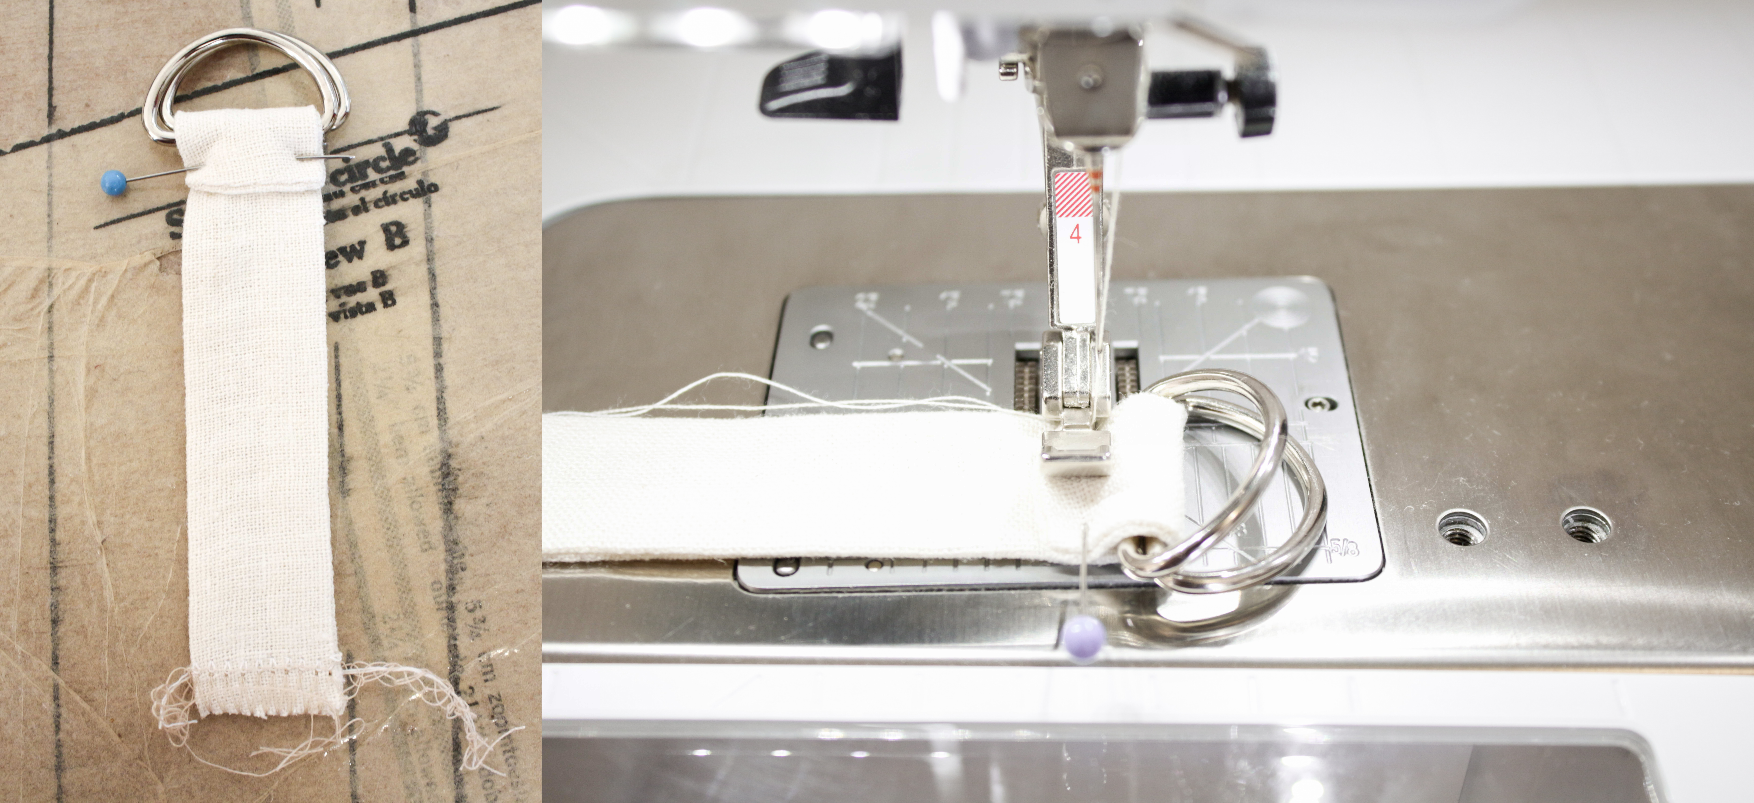 12. Using the 2 short ties: Fold the closed end around 2 D-rings and secure in place.
I found that the #4 zipper foot very helpful in sewing close to the D-rings.
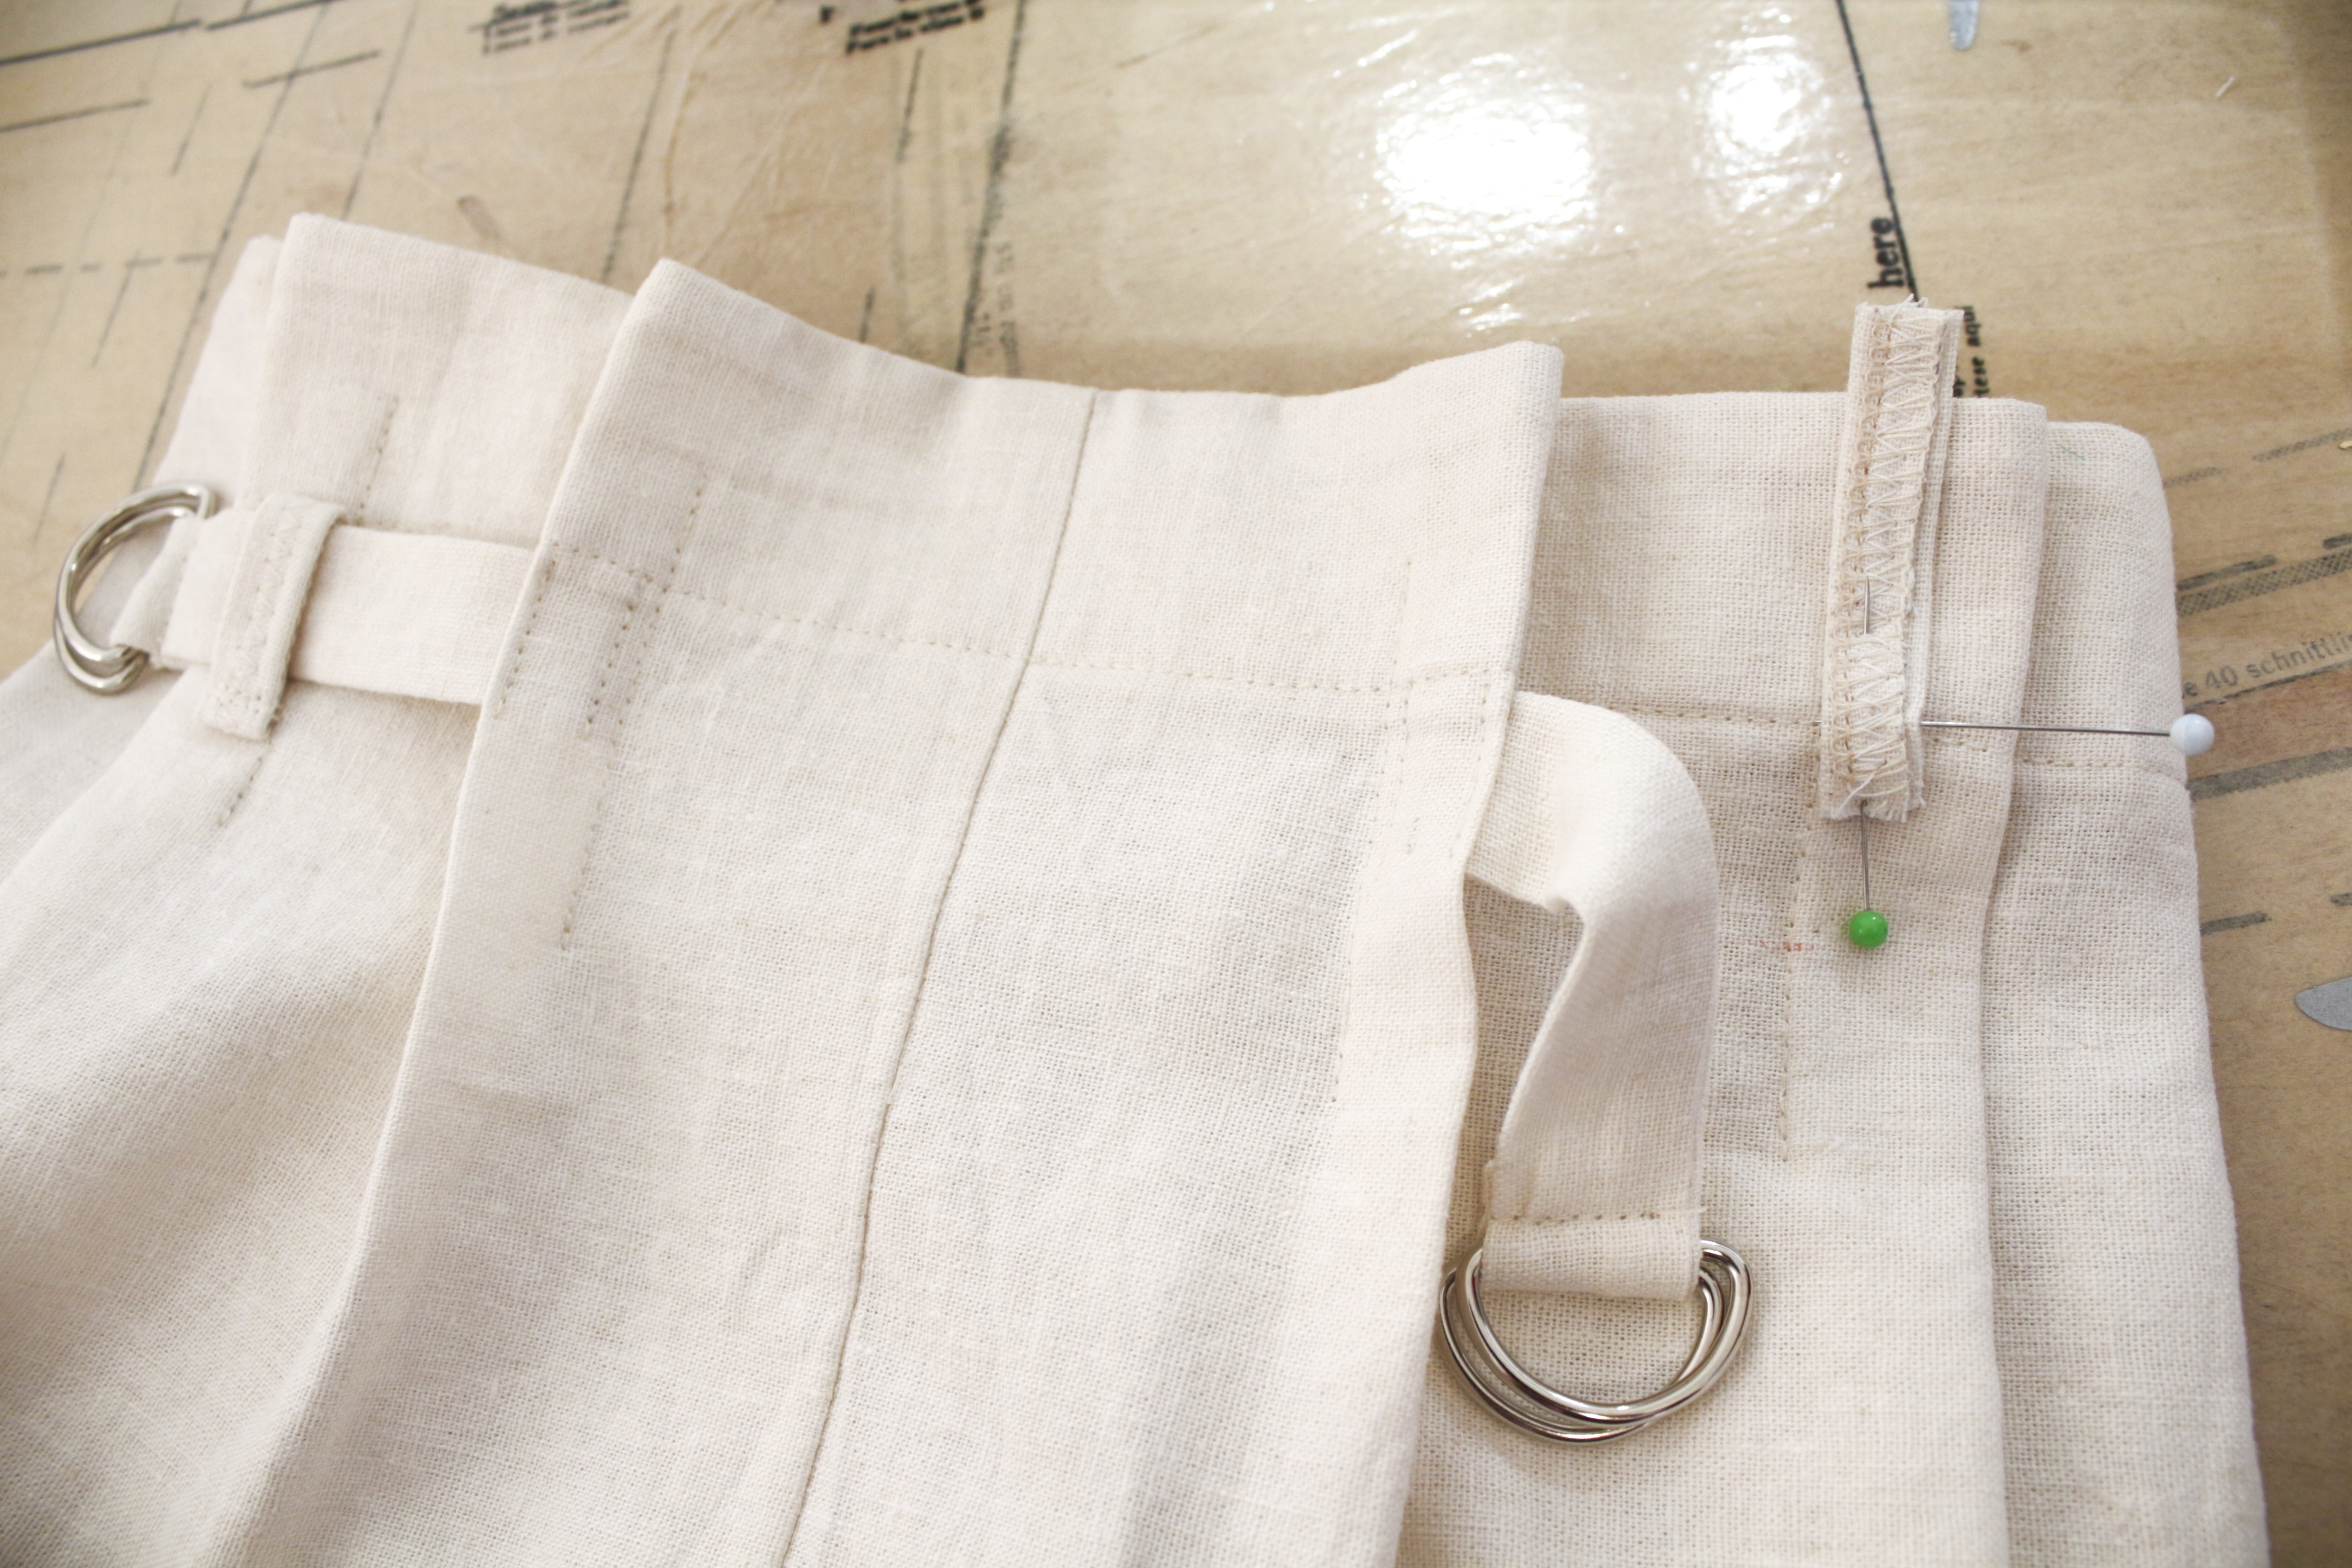
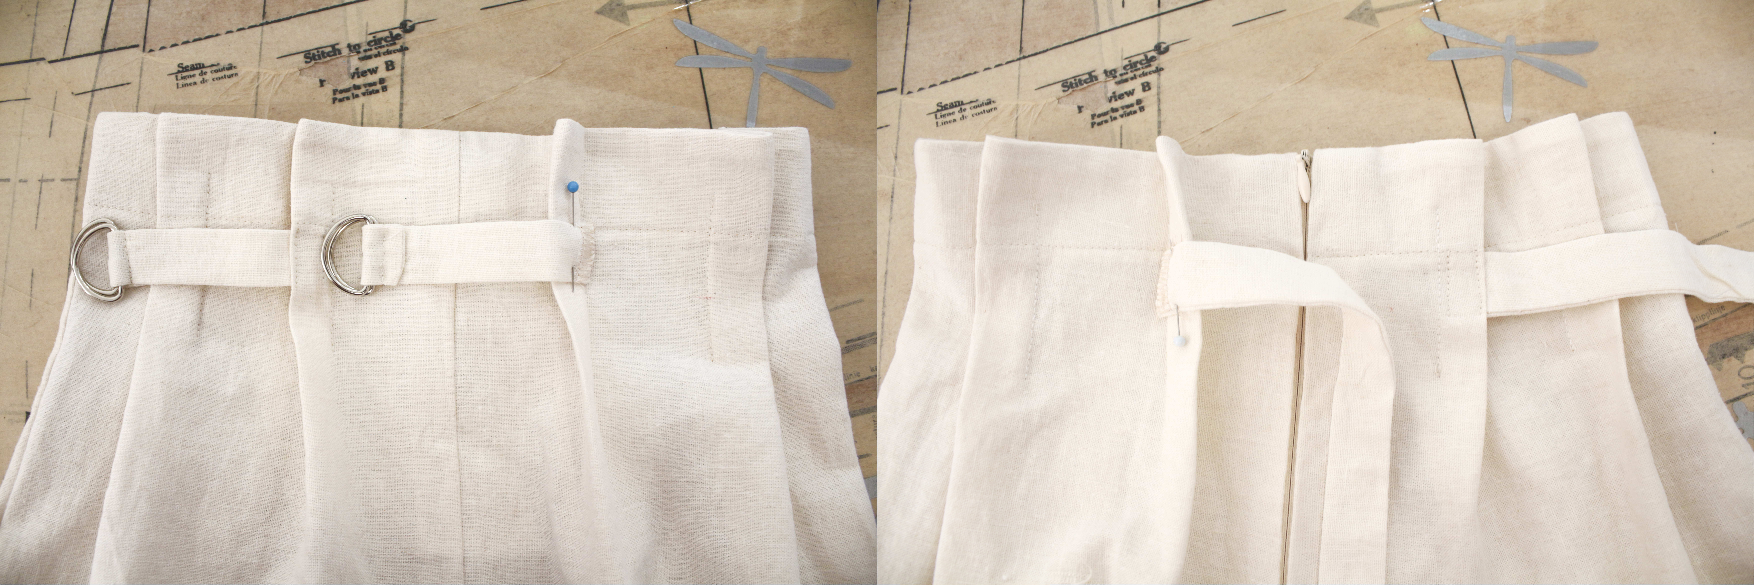 13. Secure the 2 short ties on the inner front pleats and the 2 long ties on the inner Back pleats.
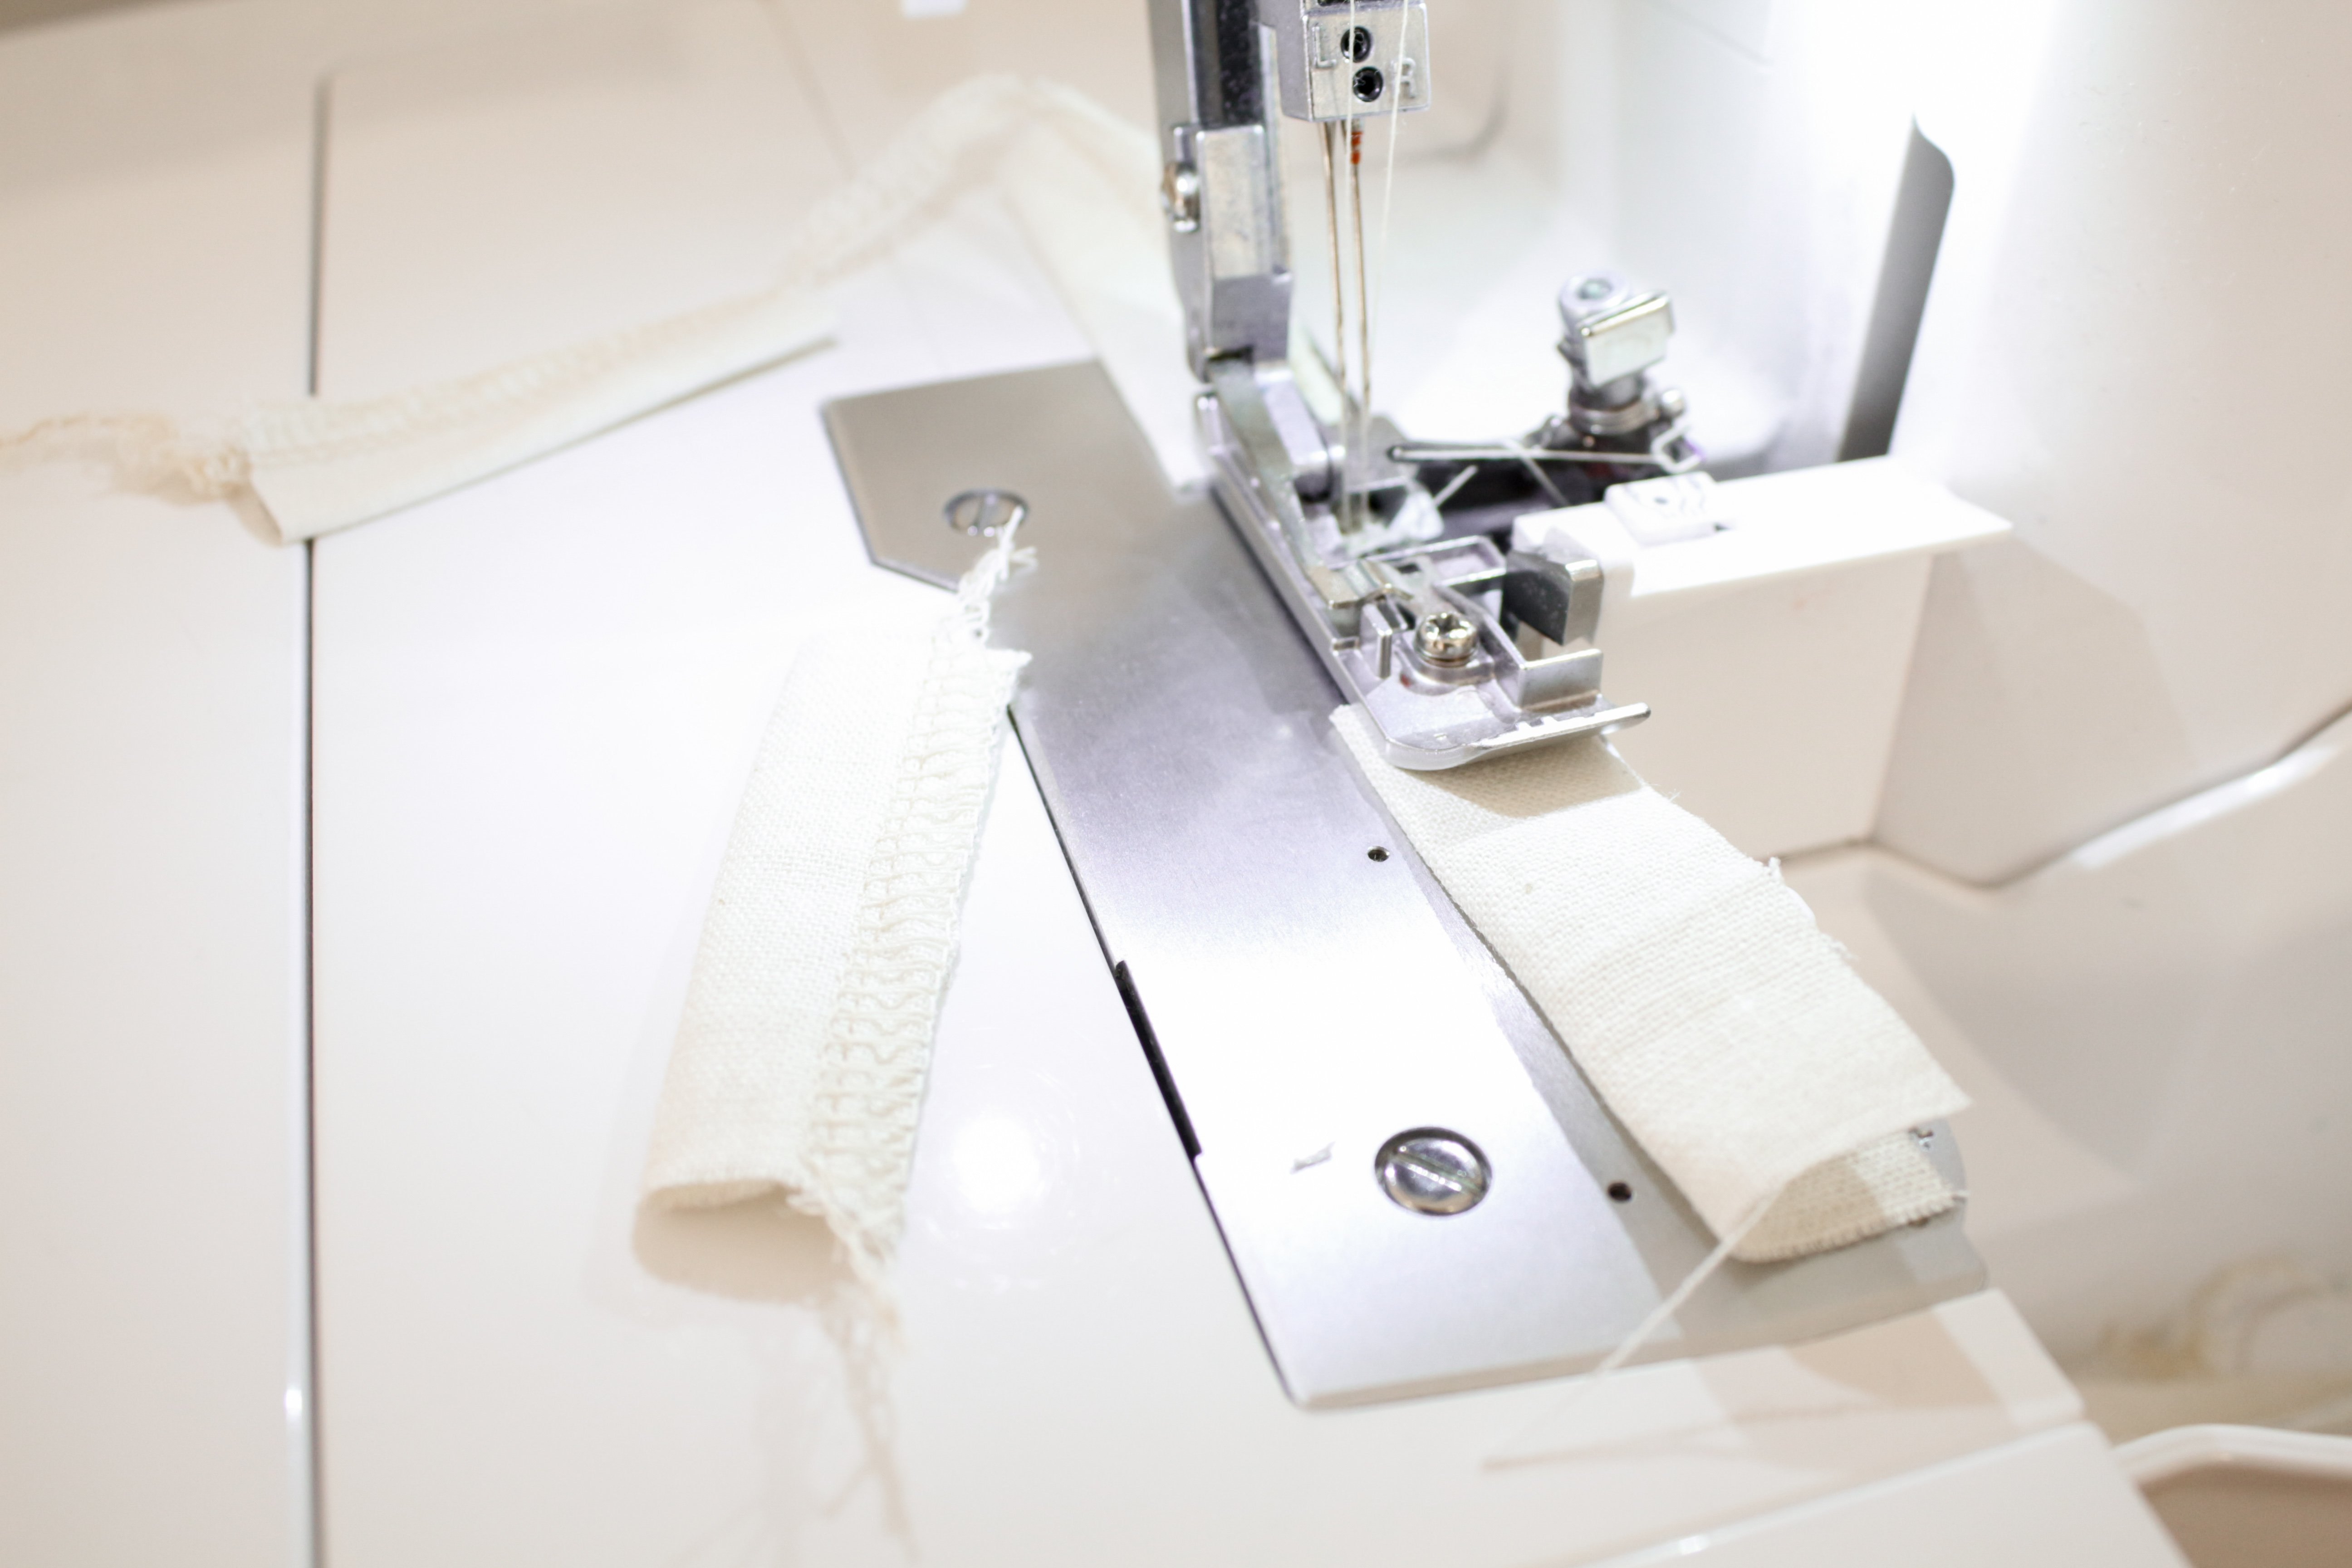 14. Fold the Belt Loop pieces lengthwise (wrong sides together) and overlock along the long edge.
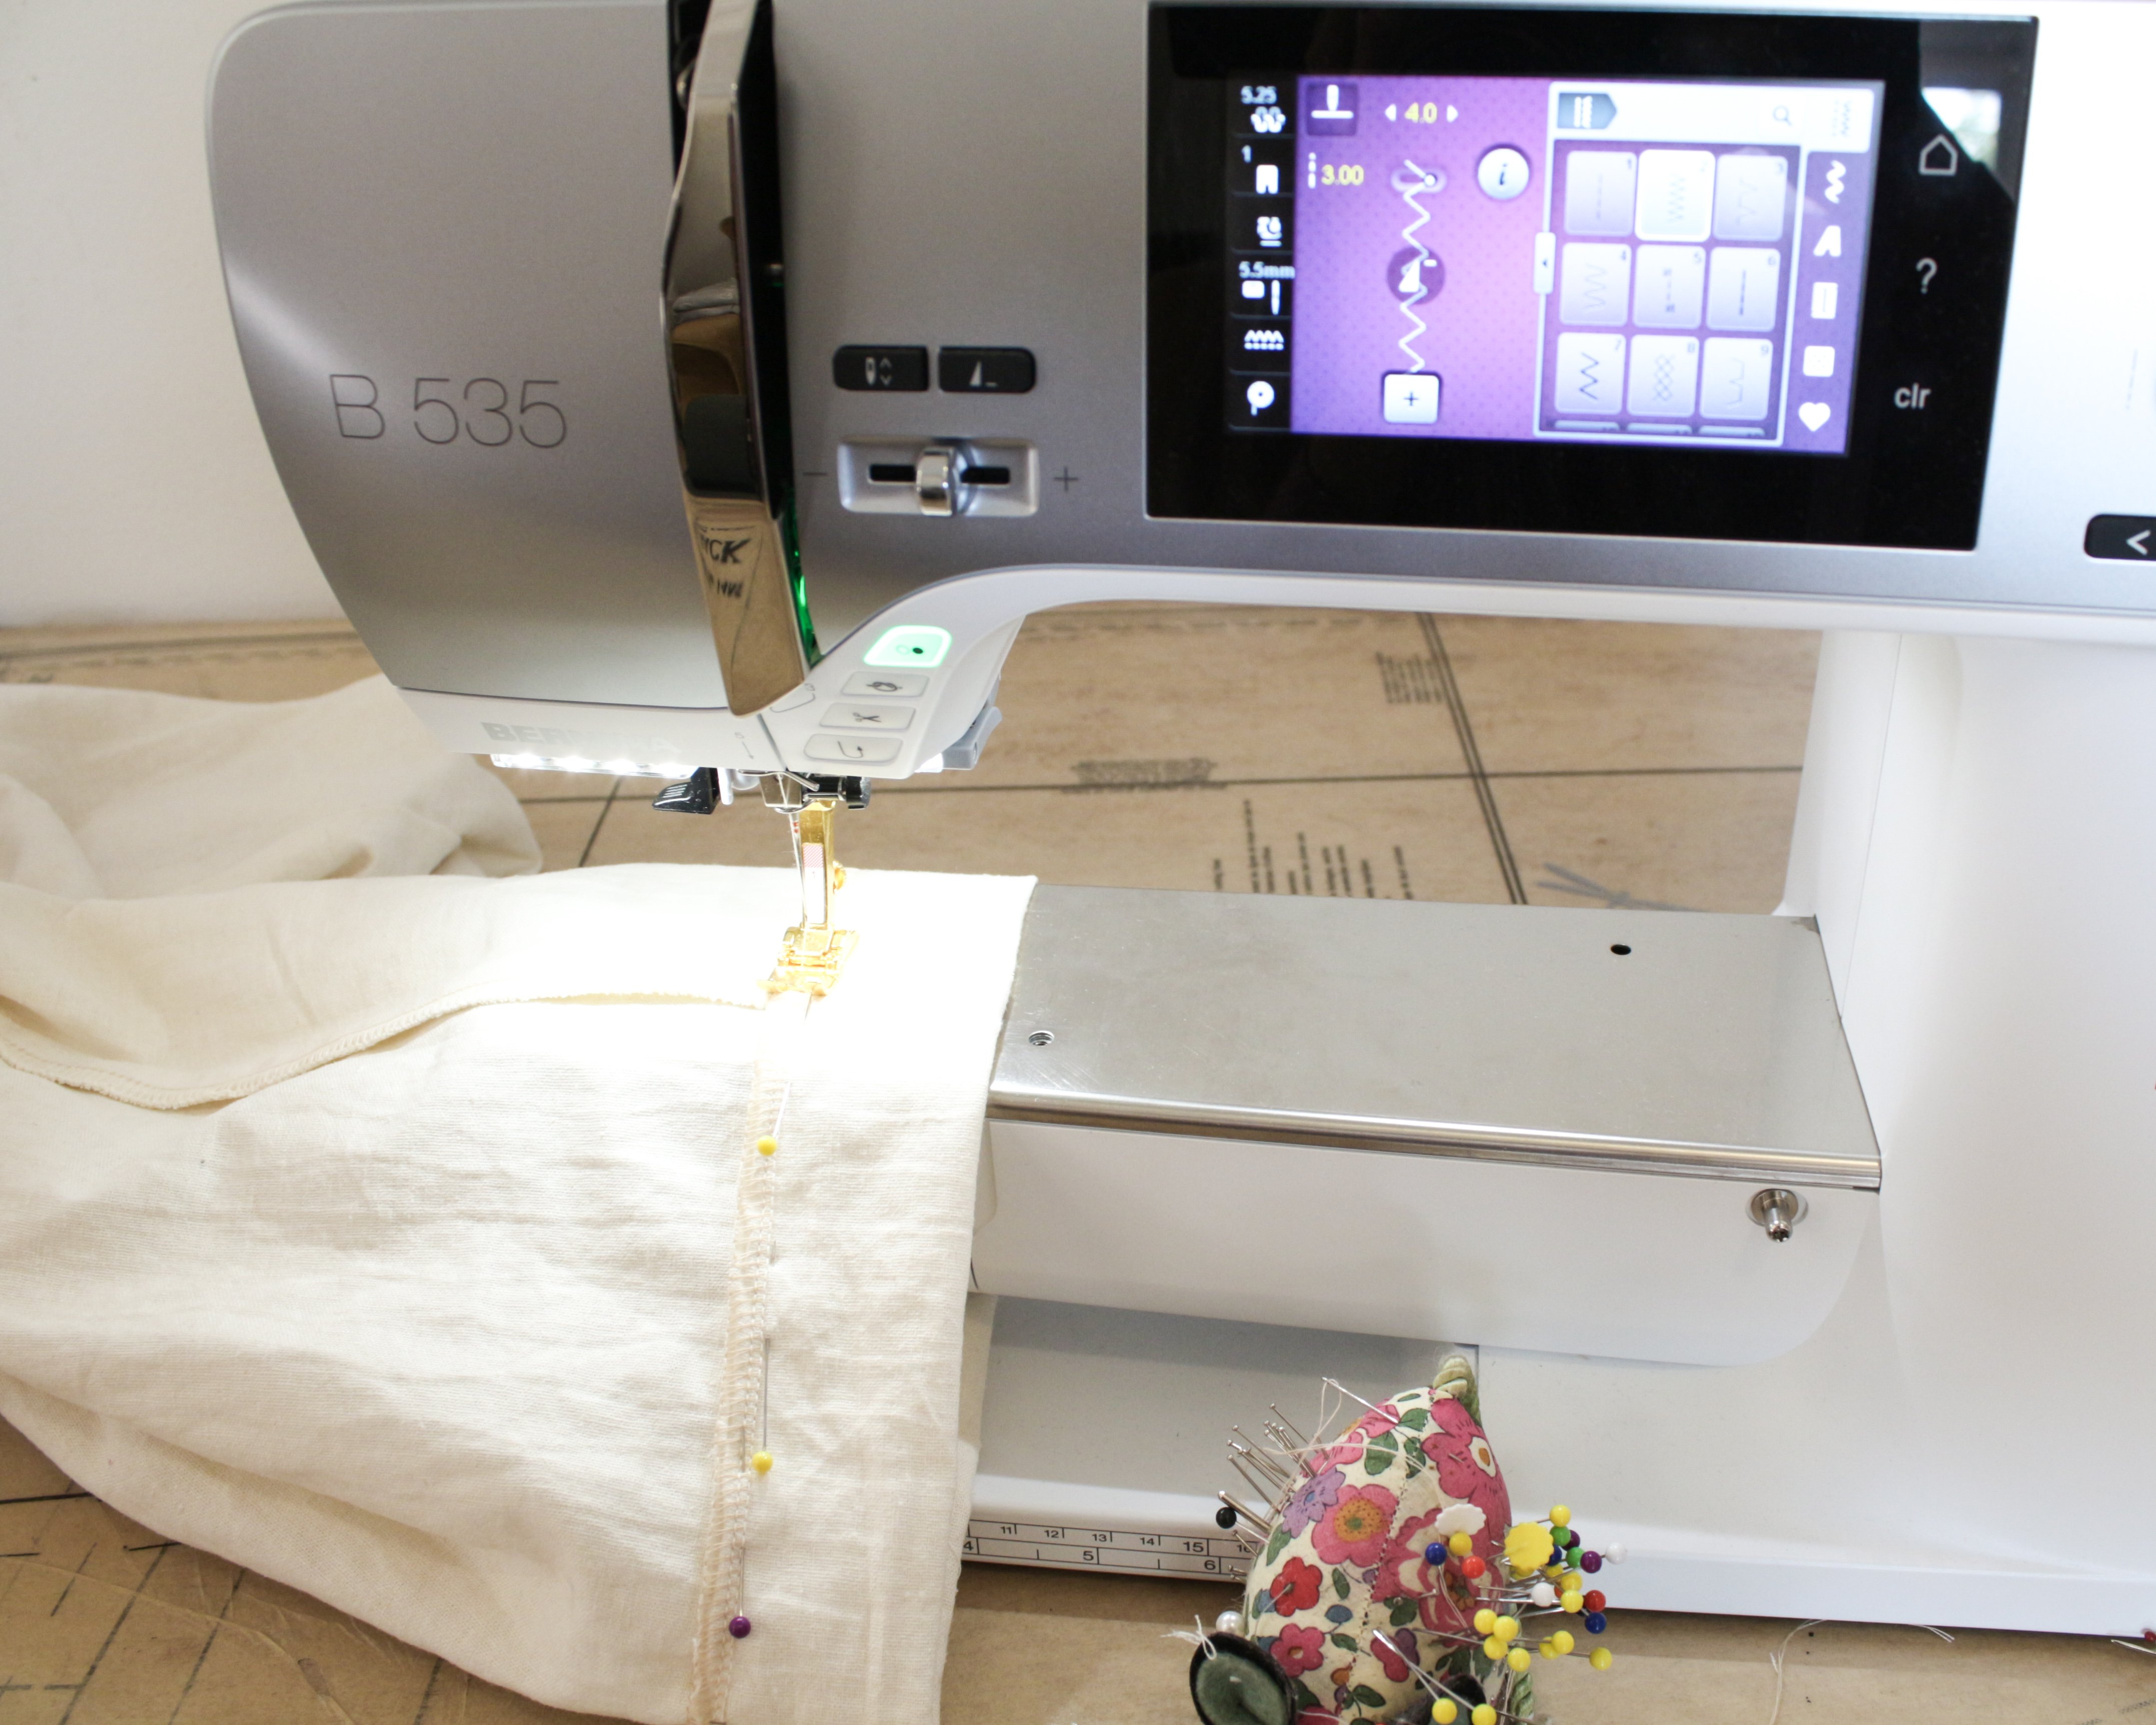
 15. Fold the overlocked edge to the back and secure it with the zig zag stitch on the front.
 16. Secure the belt loop on the outer pleat along the waistline stitching.
Keep the edge of the belt loop 1cm below the line.
Be careful not to secure the pleat to the trousers, the pleat must remain free standing.
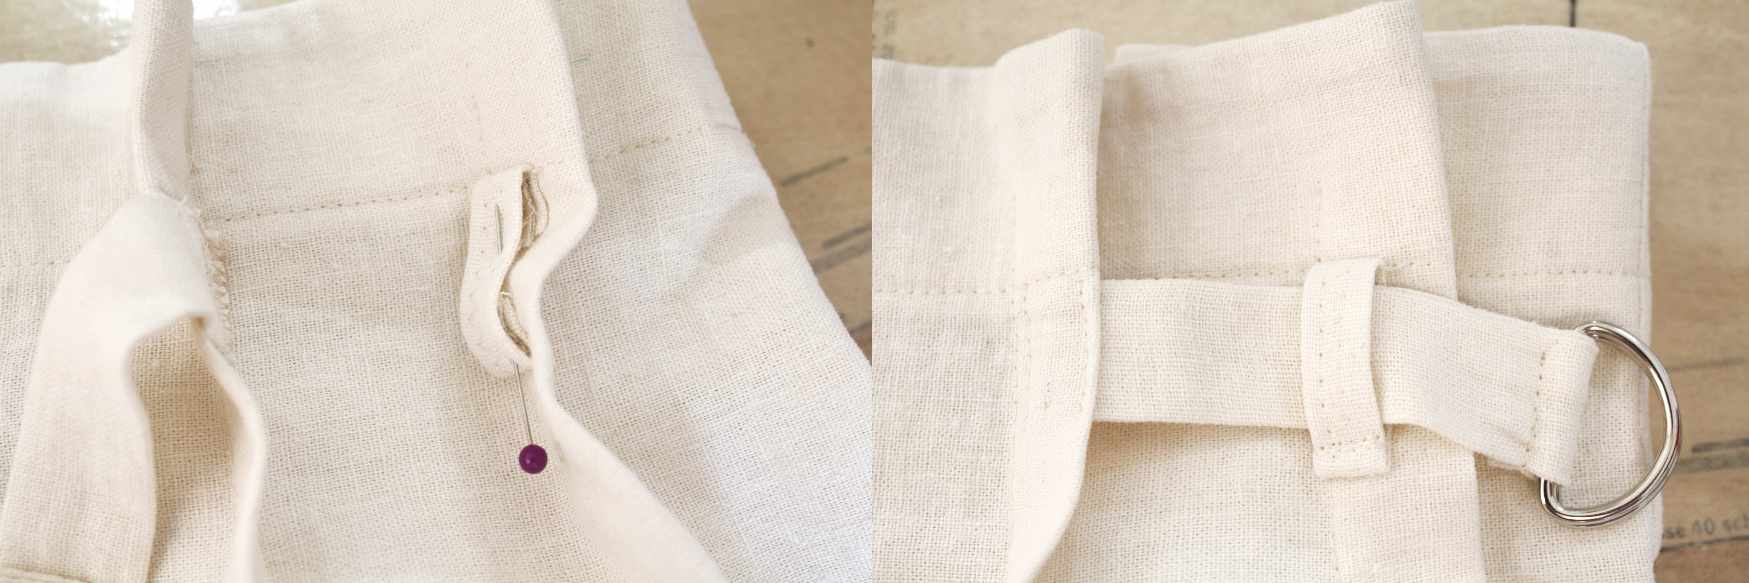 17. Fold the belt loop down and fold the other edge 1cm under.
Stitch the base of the belt loop in place then feed tie through.
 18. Repeat the same steps for the other 3 belt loops.
Side view: Feed the Back ties through the D-rings.
Turn-up
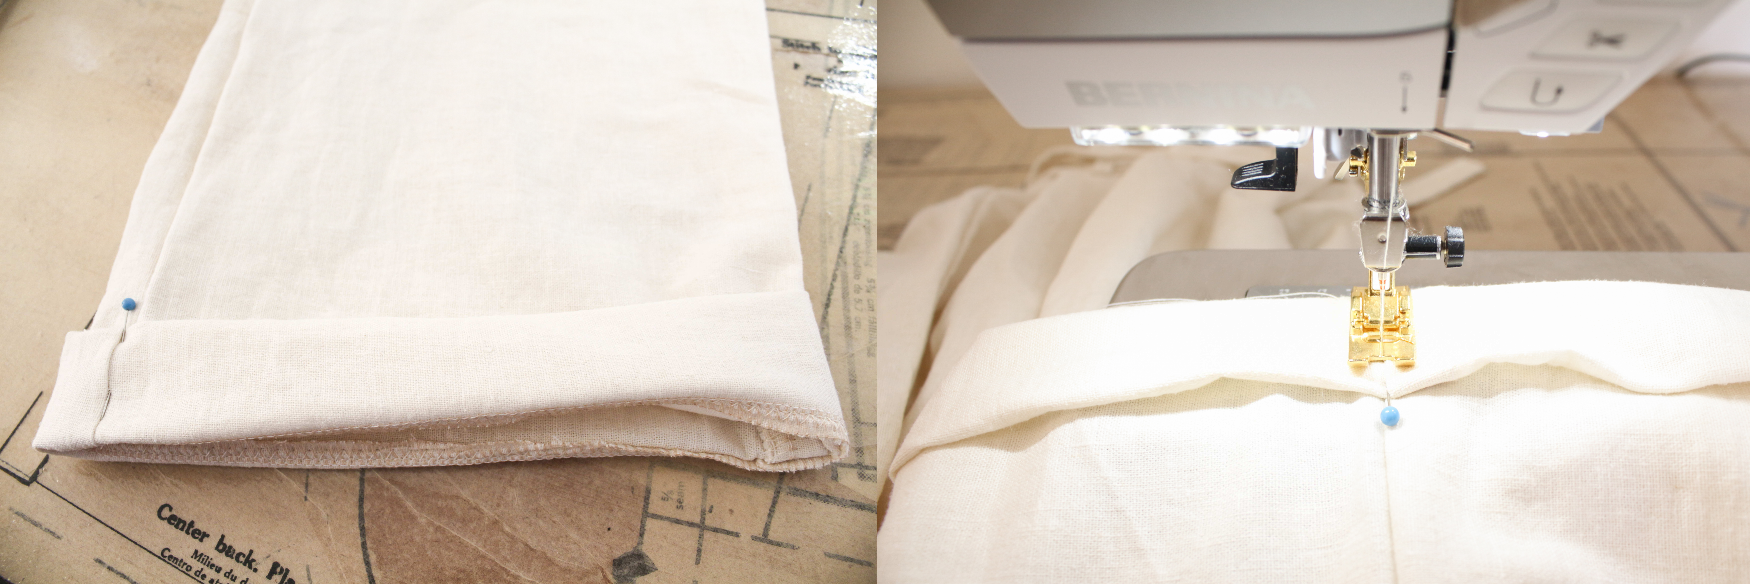
 19. Overlock the hem.
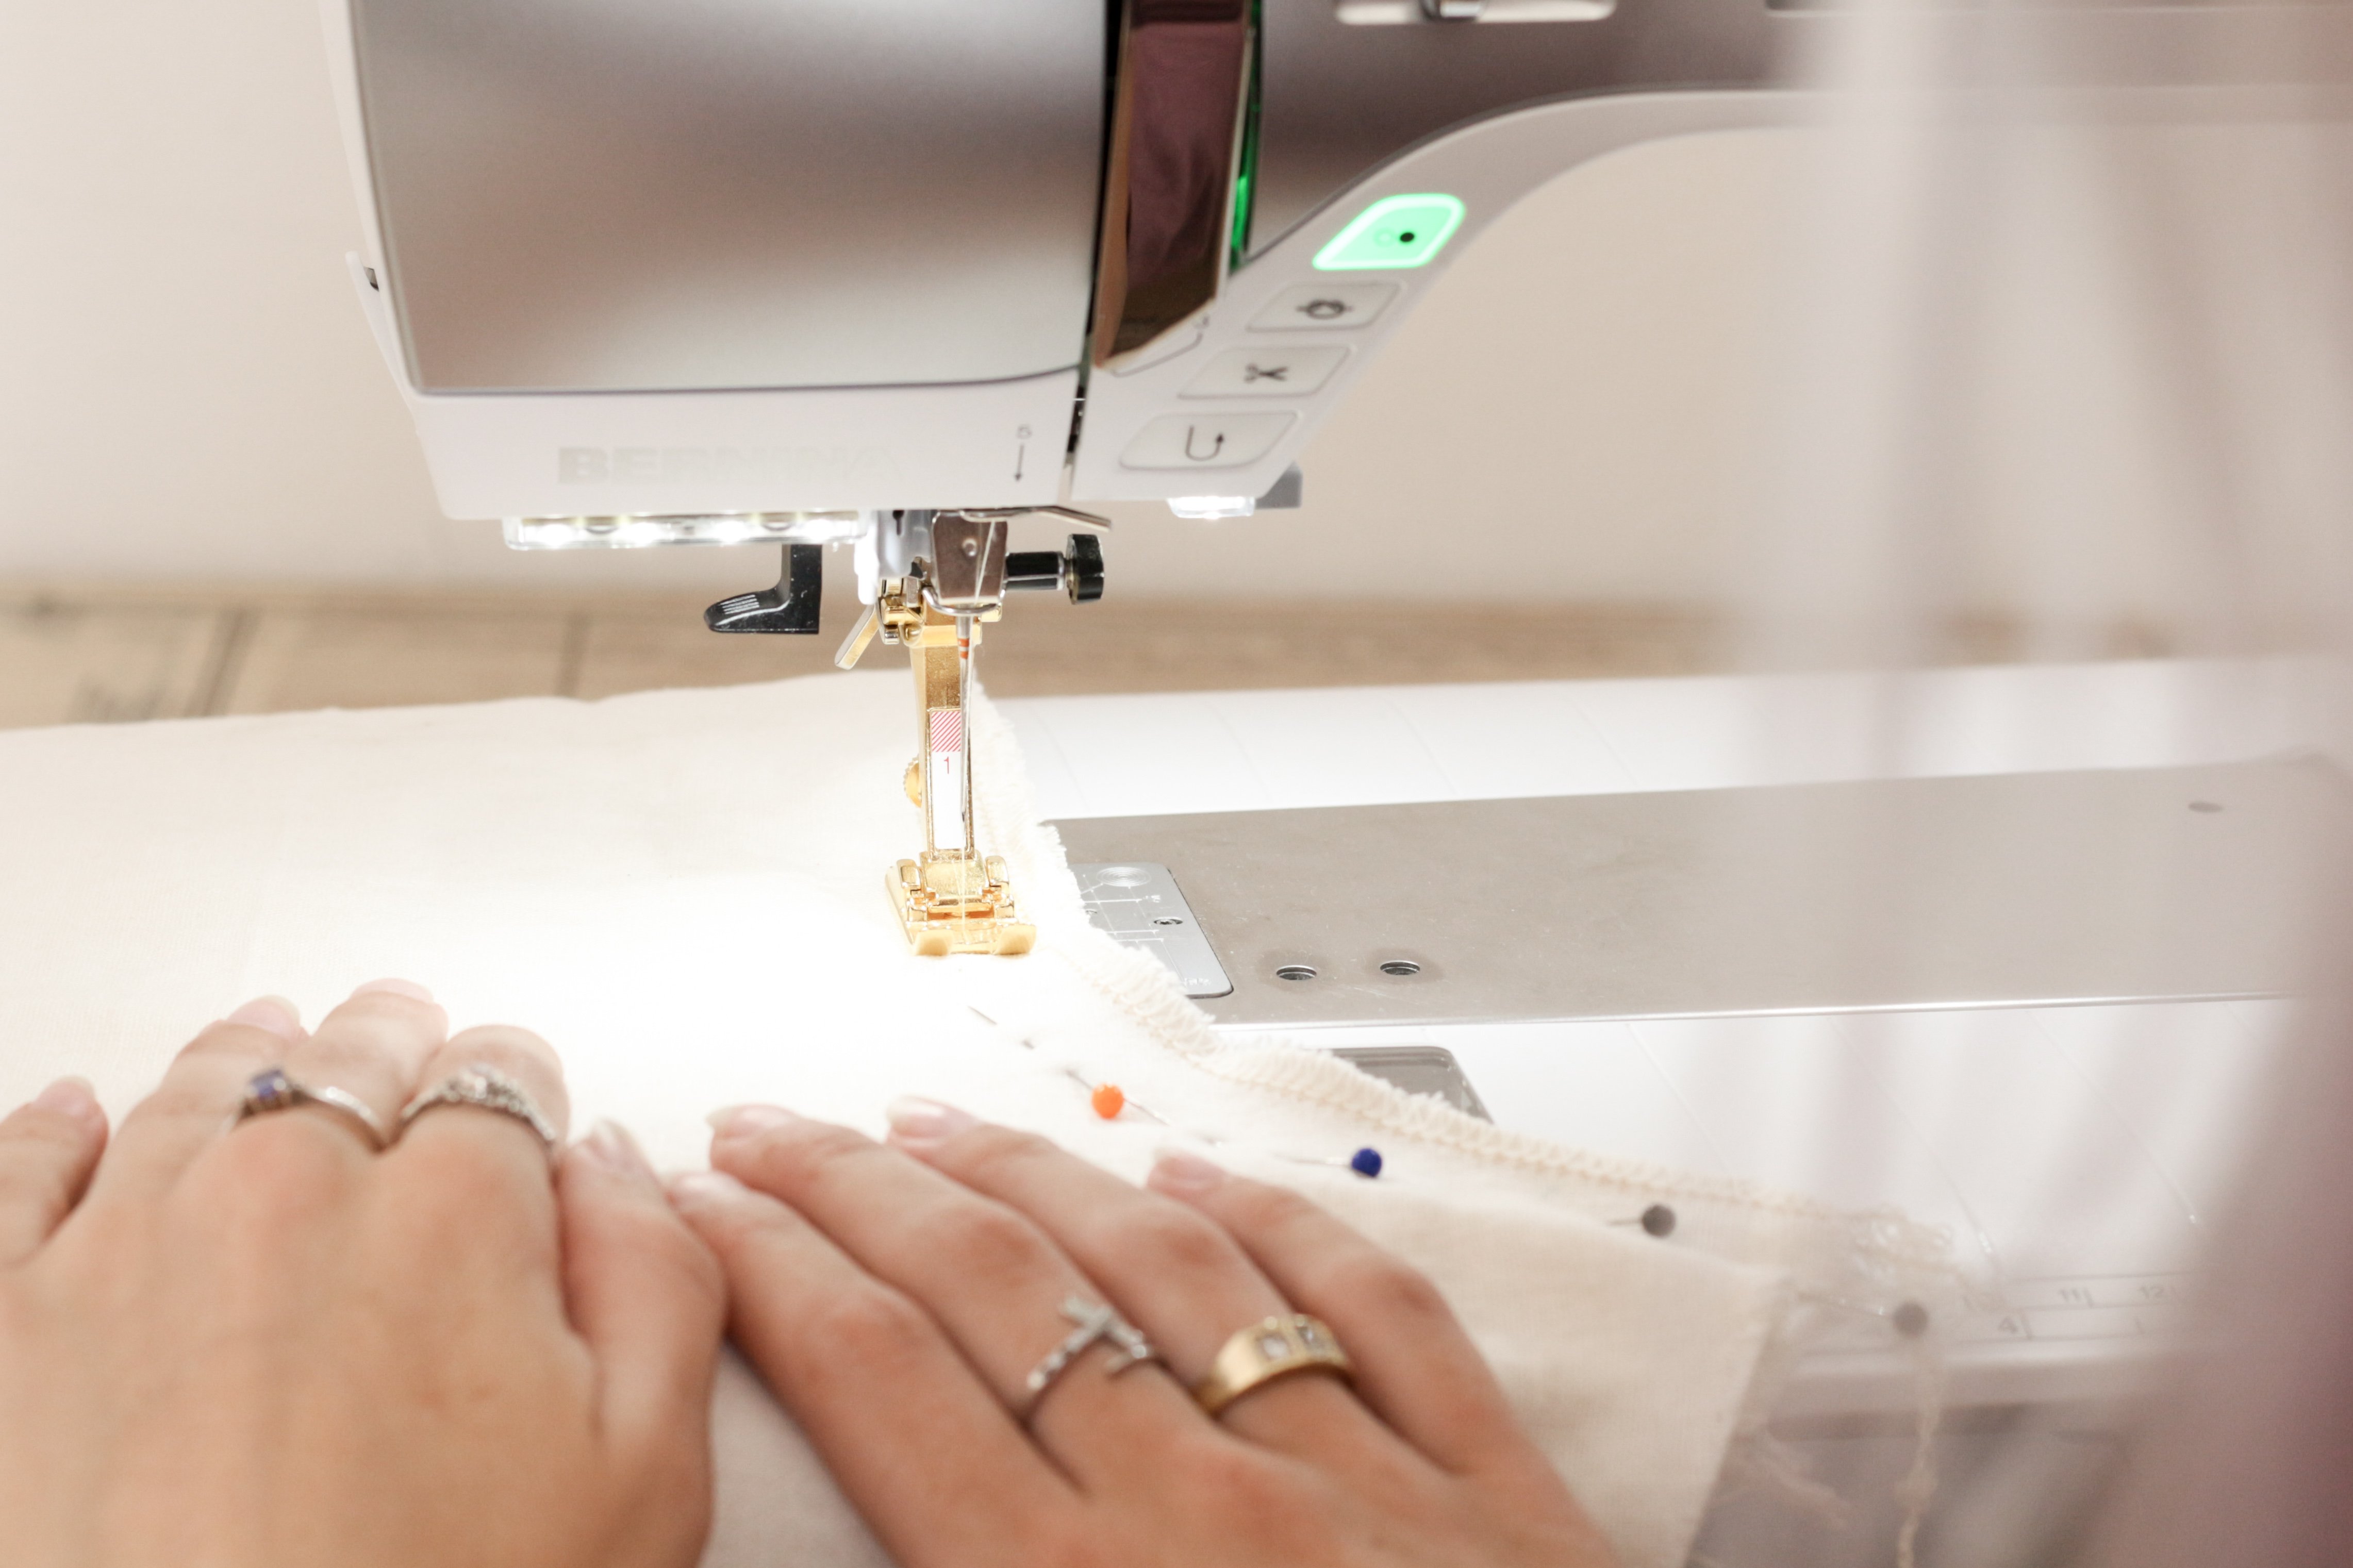
Fold up 2.5cm (wrong sides together) and pin along the overlocked edge.
 20. Using a medium zig zag, sew along the overlocked edge.
 21. Turn the fold outwards, ensure the overlocking is hidden inside the leg.
Secure the turn up in the side seams.

Tips
- Keep in mind that the trousers made in this blog post aren’t necessarily going to be exactly how yours look.
The pattern adaption I provided is inspired by the trousers seen here. - Instead of D-rings, you can keep the ties long and just tie them at the side like i did for these Shorts.
- To see a how I made a pattern for a similar Bustier, check out my blog post Refashion: Jeans to Bustier
I would love to see your trousers, please feel free to share with me!
Instagram
Facebook
-Hannah-Rose


Hi for the life of me I cannot find the capri trouser to download. Help
Dear Nerida,
You can find the download when you click on the first item in the “Needed” list:

This will take you to a second Website, where you can download a lot of different patterns. I cannot say if the A4 is US format or not, so you might first check on that first before printing the whole file.
Afterwards you can use the pattern adaption guide to change the Capri pattern to the paperbag waist trousers. Enjoy sewing!
Kind regards, Ramona from BERNINA International
Hi Nerida
The Capri Trouser pattern is the 3rd listed under the A4 section and 4th under the A0 section as Ramona has shown in the screenshot.
Here is a guide to the paper sizes:
Due to copyright laws, I cannot provide a direct download of the pattern hence the link to the website 😉
I hope your trousers turn out amazing!
– Hannah-Rose
Thank you Ramona for your assistance 🙂
Dear Hannah,
You are very welcome 🙂 And thank you for checking on the paper sizes!
Hi Hanna, it’s me again, I’m making these beautiful trousers and I have done the adaptation and now I’m gonna cut the pattern in the fabric but before I do that I wanna ask you if the pattern I just adapt it have the seam allowance already or I have to add it?
Hi Ada
Oh awesome!
It is my understanding that the Trouser Block Pattern (the Great British Sewing Bee Capri Trouser Pattern) has a 1.5cm seam allowance included in the pattern.
So unless you want a different size seam allowance, I think you are good to go ahead. 🙂
There is a video for this tutorial? ? I don’t understand almost everything ? or maybe someone can explain me how I put my size of my hips in the pattern.
Hi Ada
Here is the size chart for the Great British Sewing Bee Capri Trouser Pattern.
Choose the size based on your Hips measurement.
If you have a basic Trouser Pattern you prefer, you could use that instead and follow the steps in the Pattern Adaption Guide.
I hope this helps 😉
thanksss a lot Hanna!!!
There is a video for this tutorial? 🙁 I don’t understand almost everything ? or maybe someone can explain me how I put my size of my hips in the pattern.
I still have my Make It Easy collection, including the Special Collection. I don’t think I ever made many of the items as shown but I often mix and match features such as sleeves and neckline with other patterns. Whatever you need is in there!
That is awesome!
It is so great to be able to make something your unique.
I also rarely make my garments exactly as the pattern intended. By mixing, matching and altering you can make the pattern go so much further.
Happy sewing!
Thank you SO much Moira! That really means a lot coming from you 🙂
Hi Hannah-Rose. Once again an excellent post with clear instructions. Love your ideas.