 BERNINA Corporate Blog -
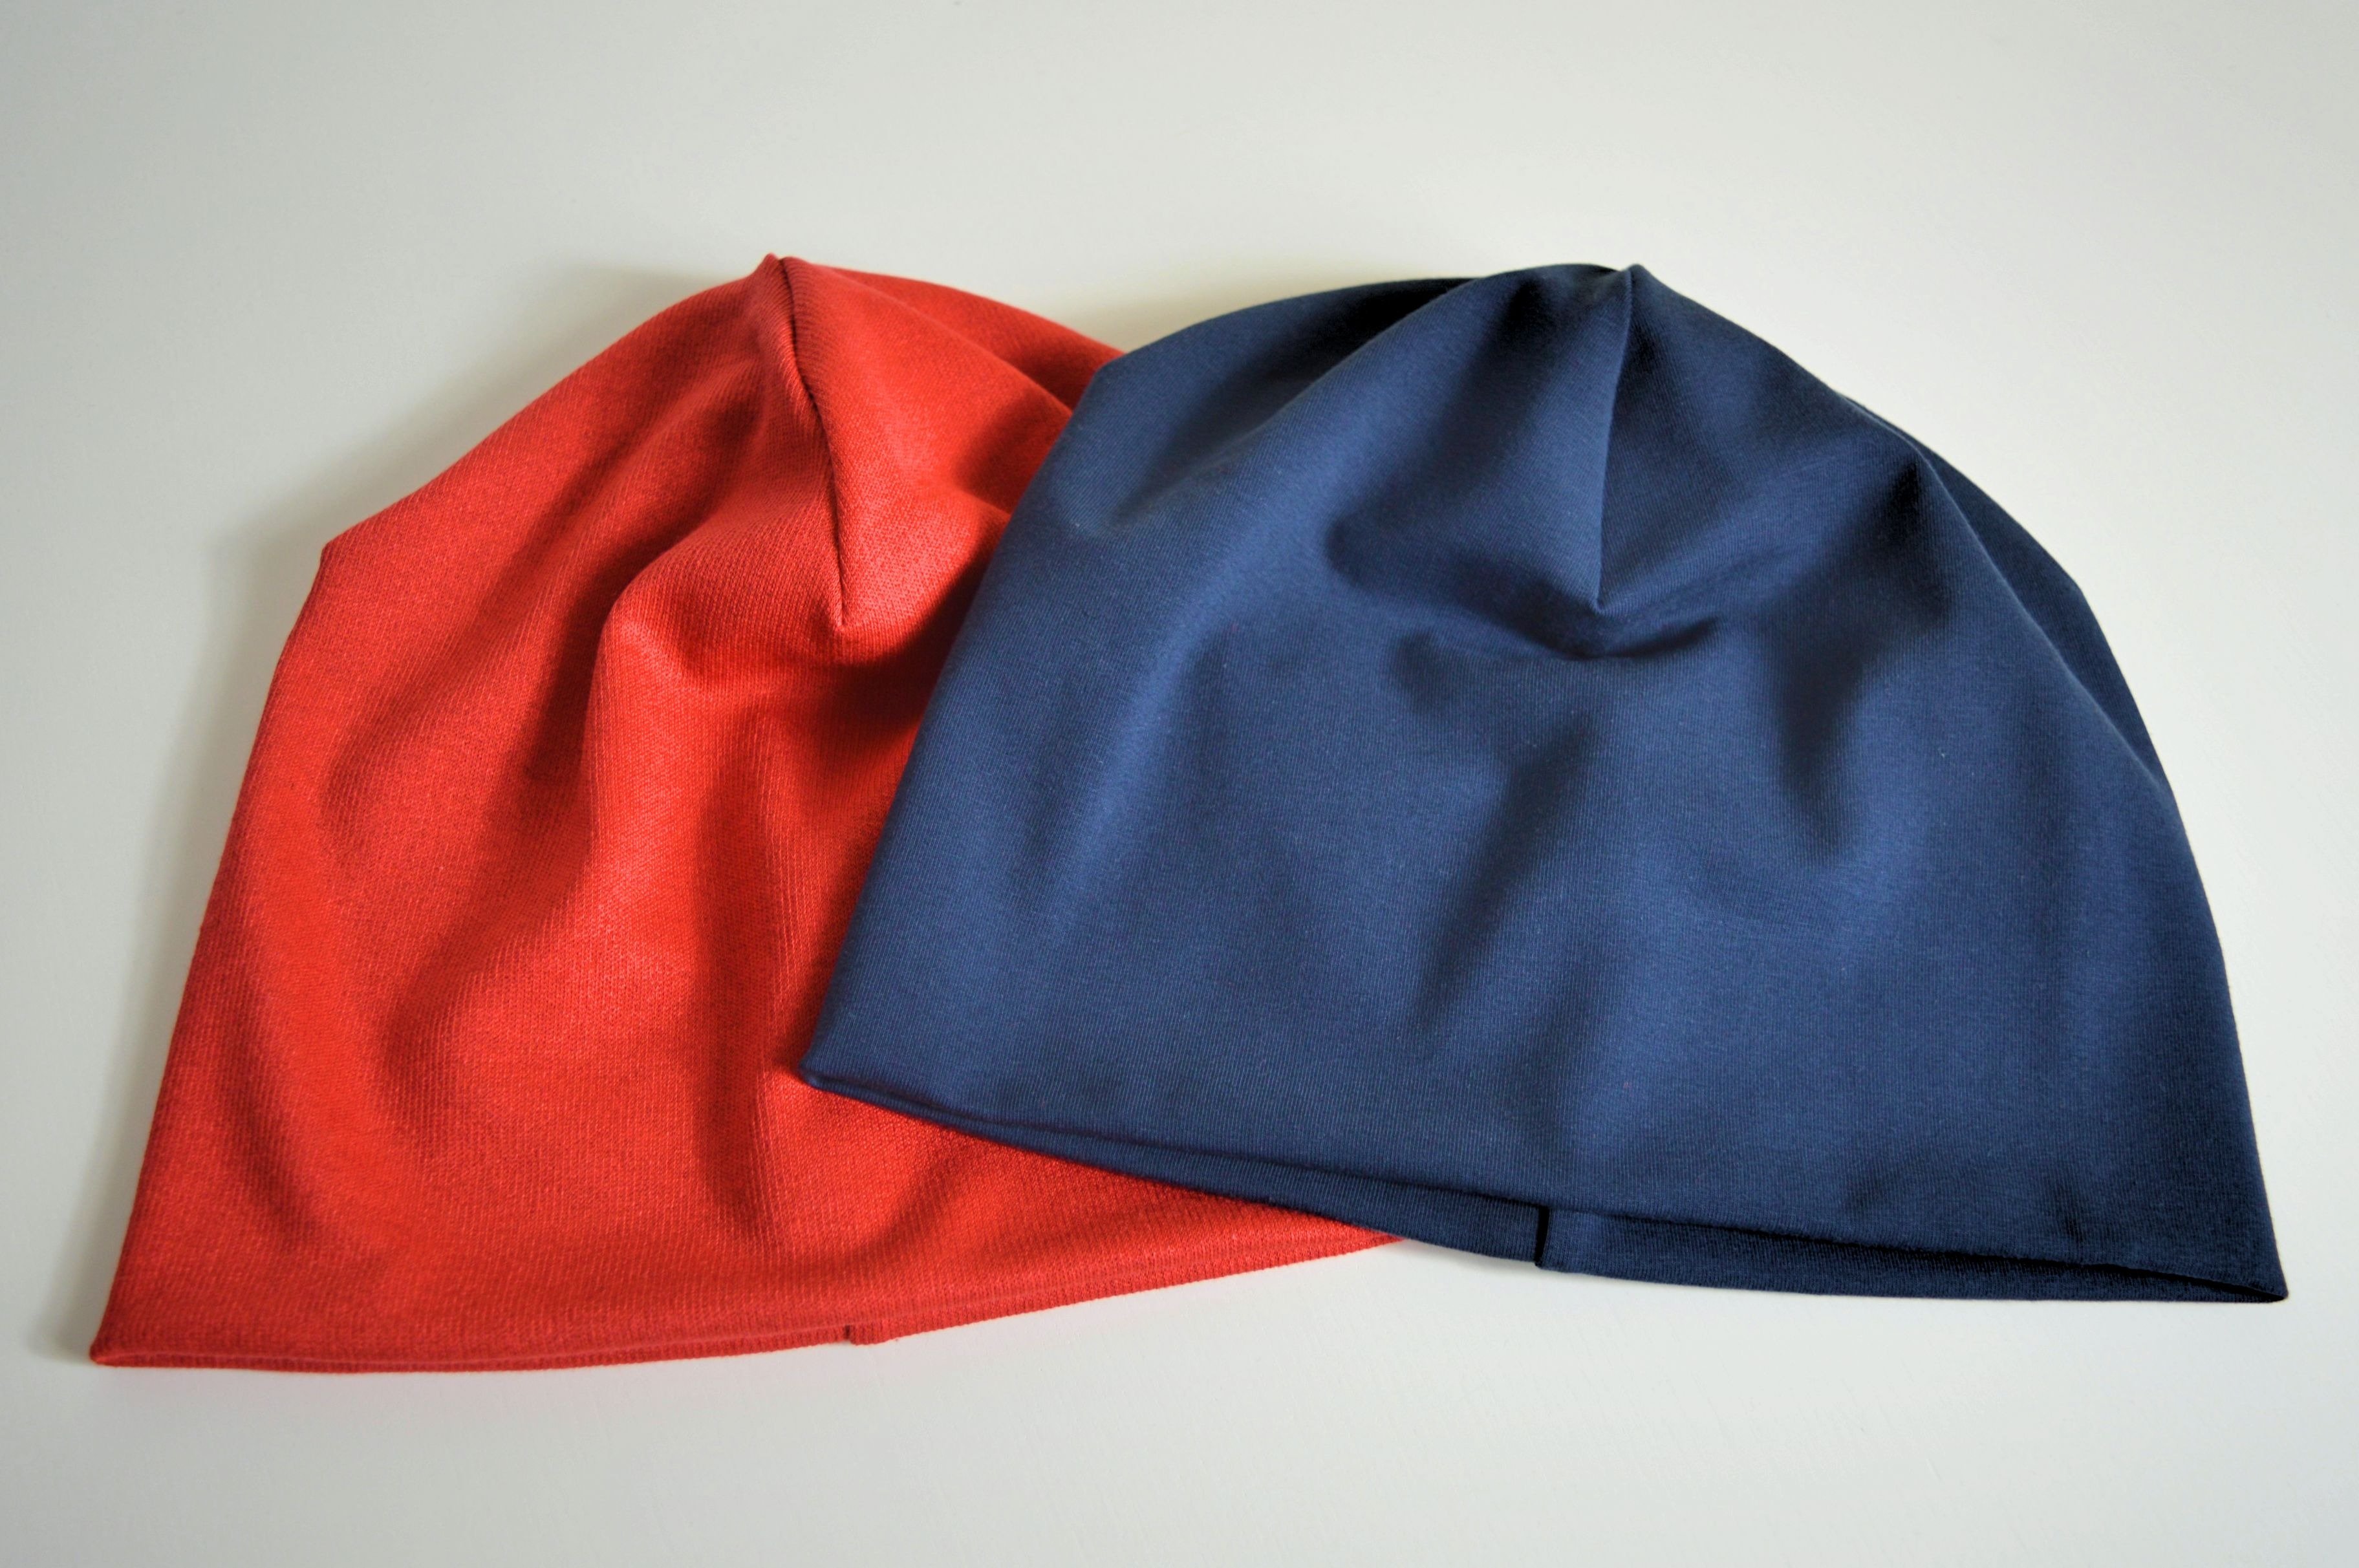
When outside is cold, one of the things that provide coziness to the head is undoubtedly a hat. On the other hand, hat, beanie or something that covers the head becomes an exciting fashion accessory. People are wearing them during other seasons, not only when your head needs covering and warmth.
In this post will be presented with a simple beanie model, which is quick and easy to sew.
First, to make a beanie, you need a pattern, and you’ll make it yourselves.
That is not difficult at all, and it takes only a few minutes.
Beanies
PATTERN INSTRUCTIONS
Circumference and length define each beanie, and below is the table with the circumference and the recommended range for beanies. The value corresponds to a certain age specified in the table.

Description of the process of drawing a pattern corresponding measurements given in the table for Teenager/Adult small/Woman follows below. For all other sizes, the process of making this pattern is almost identical, the only difference is using of corresponding numbers.
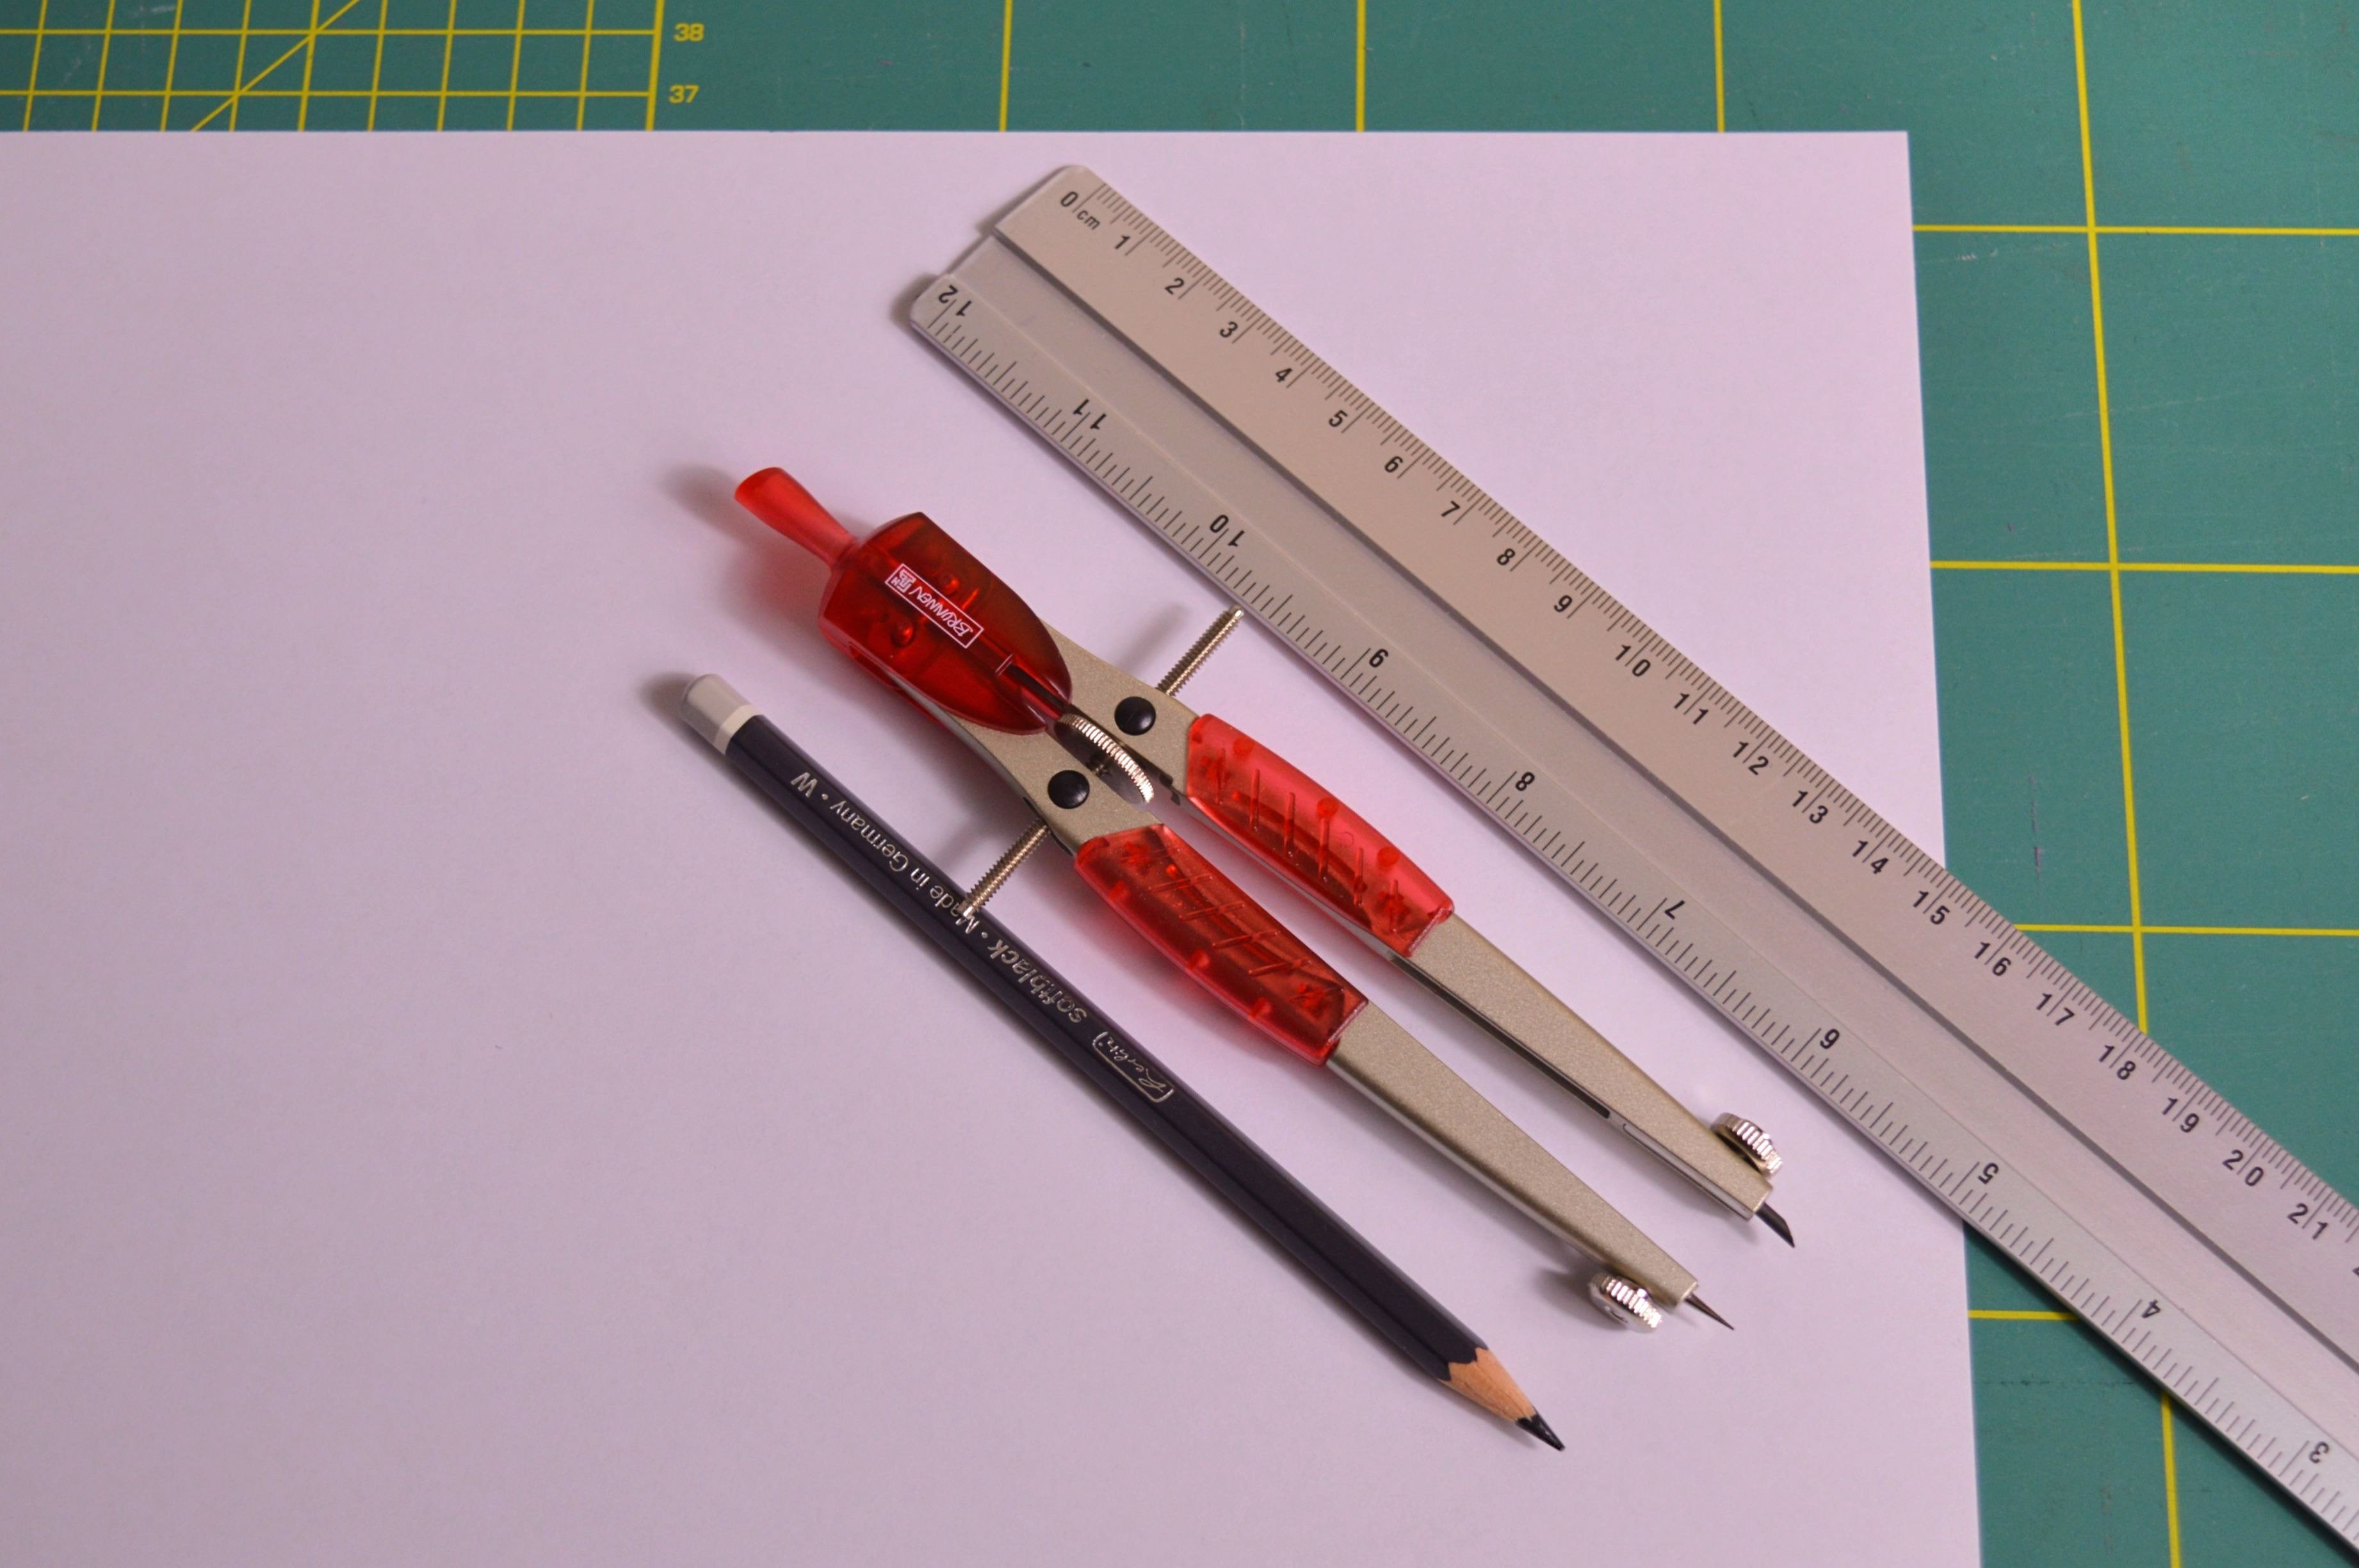
Material required for making the pattern: large format paper or pattern paper (I used three A3 paper), pencil, lining, and geometry compass.
The beanie’s circumference in the table under Teenager/Adult small/Women is 54 cm, and for a length, you can decide how long your hat would be. In the table are given recommended ranges, which doesn’t mean that you can’t choose something that isn’t supported if you want a longer or shorter beanie.
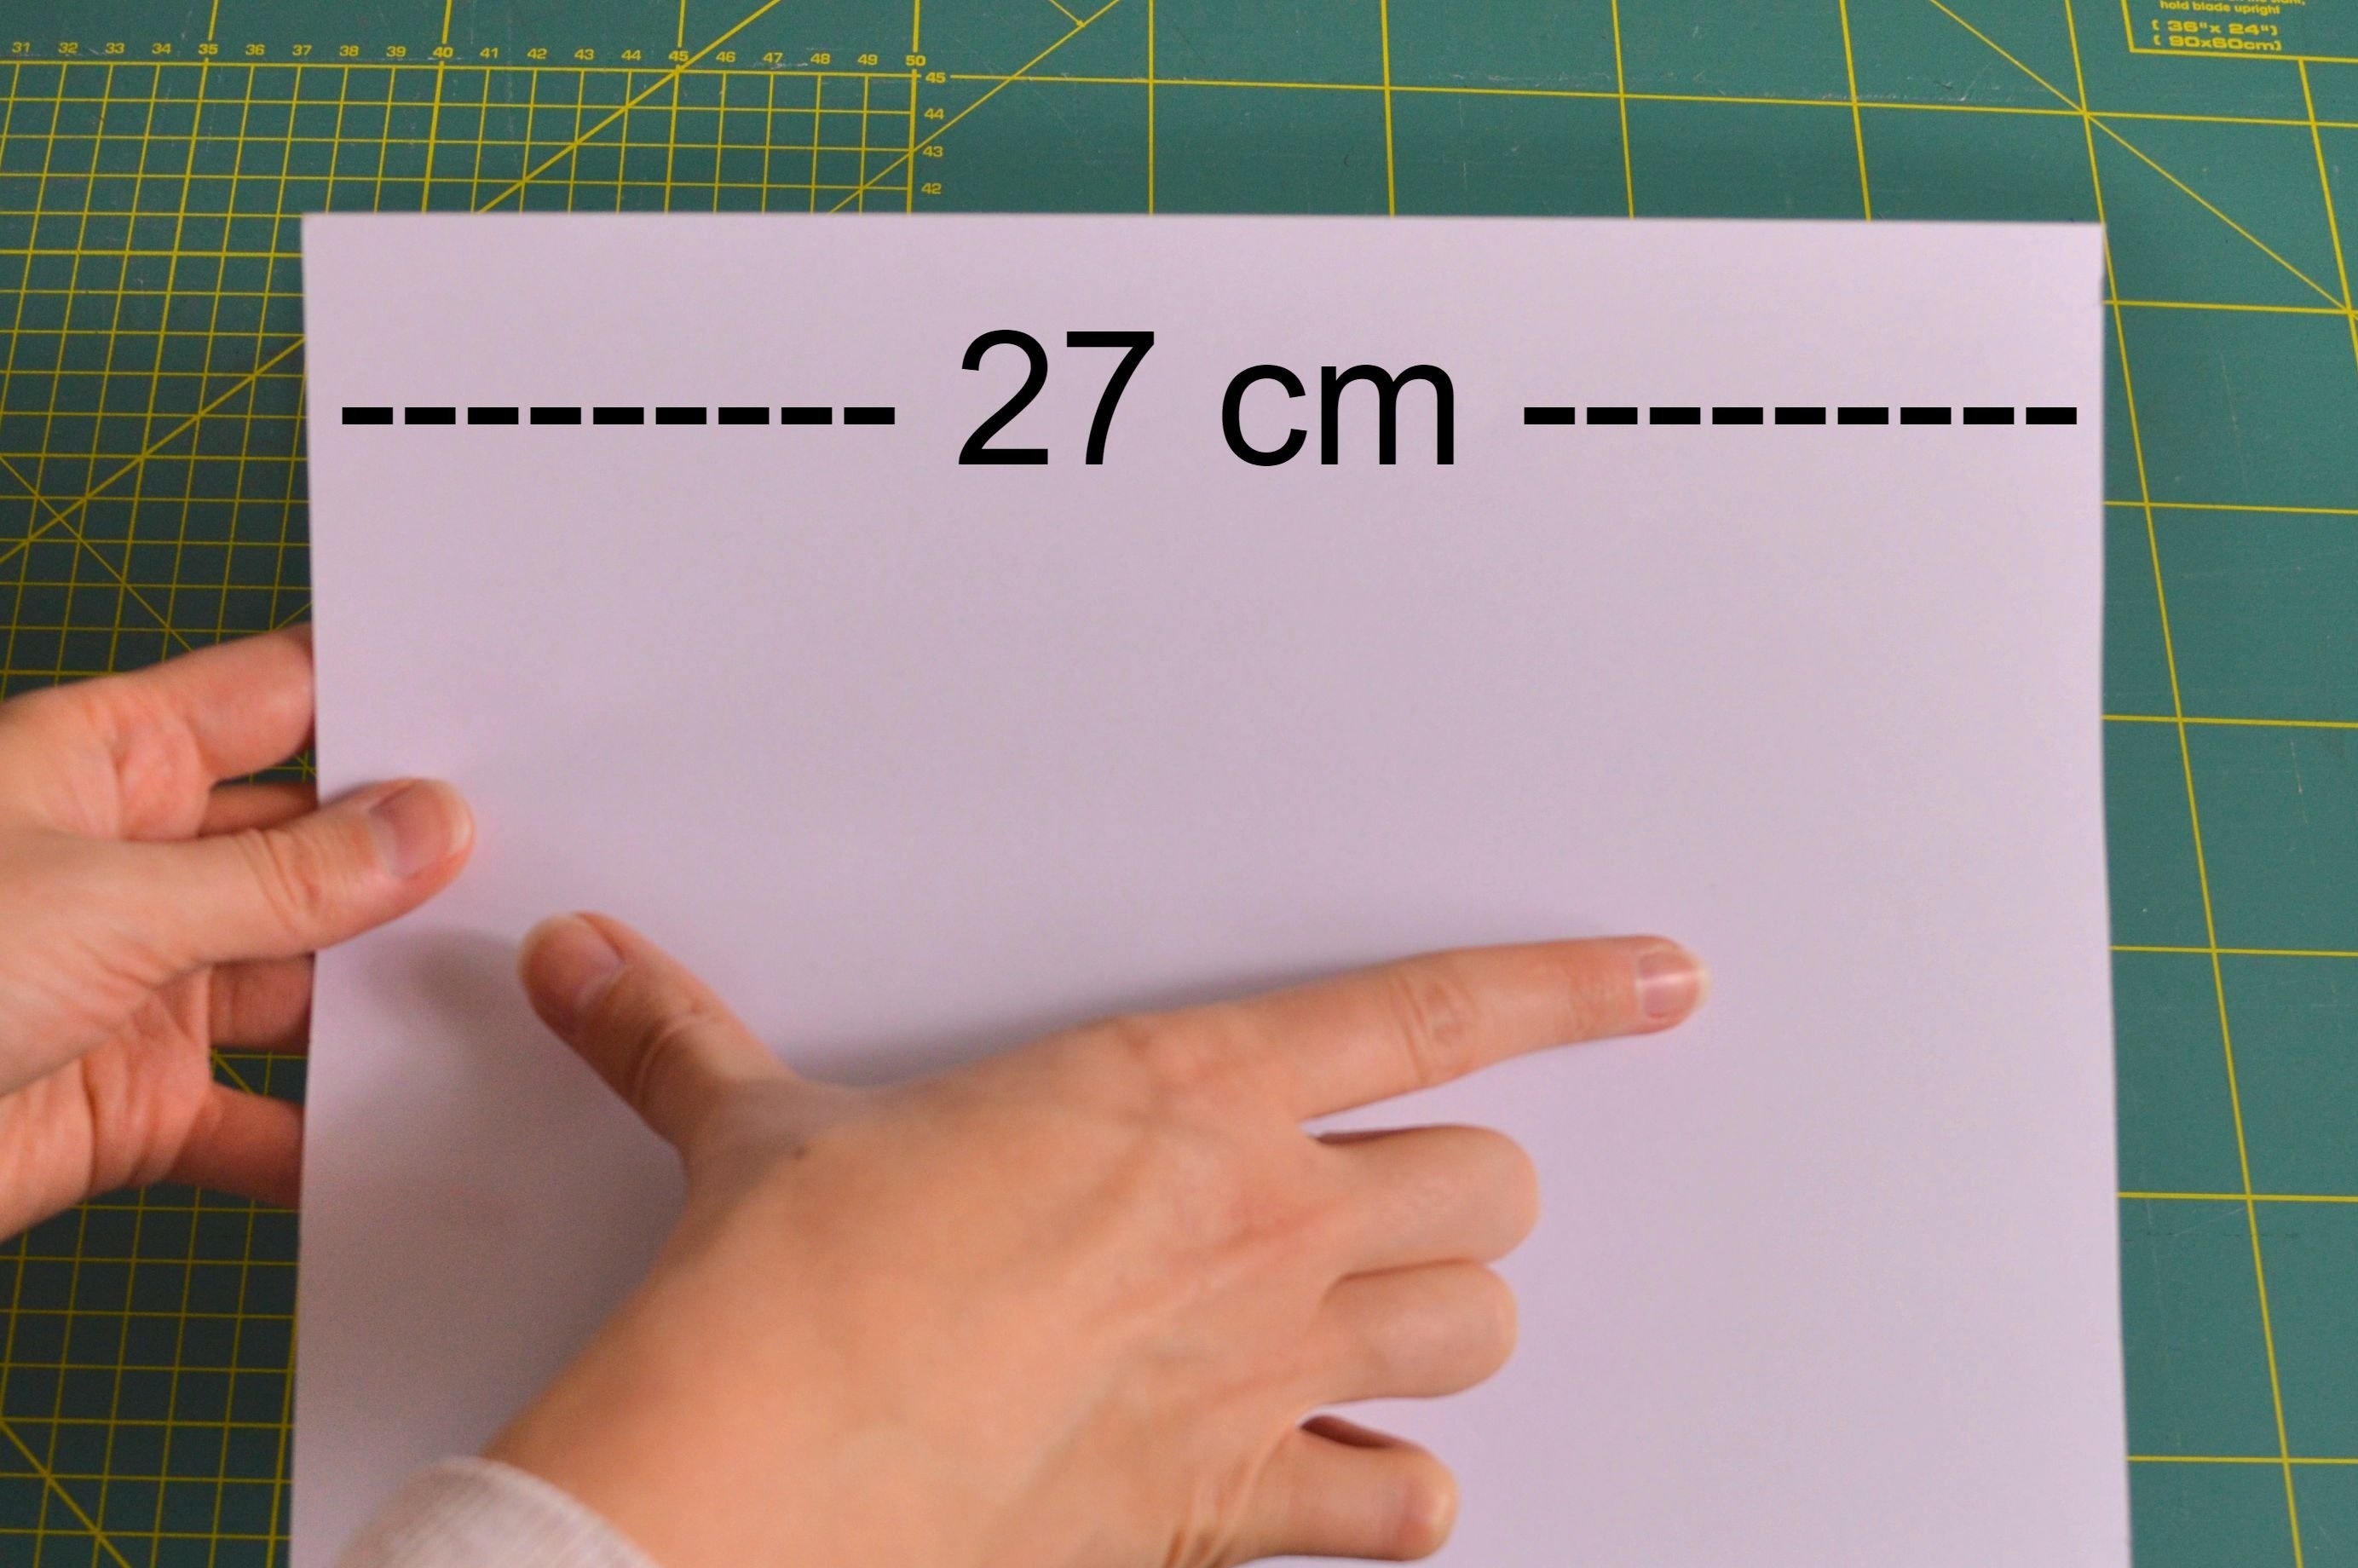
Since both halves of the beanie are identical, it is enough to draw a pattern for only one half, so we just need half the volume, and it is 27 cm.
In this pattern, the most important thing is the top part of the hat, where are darts located.
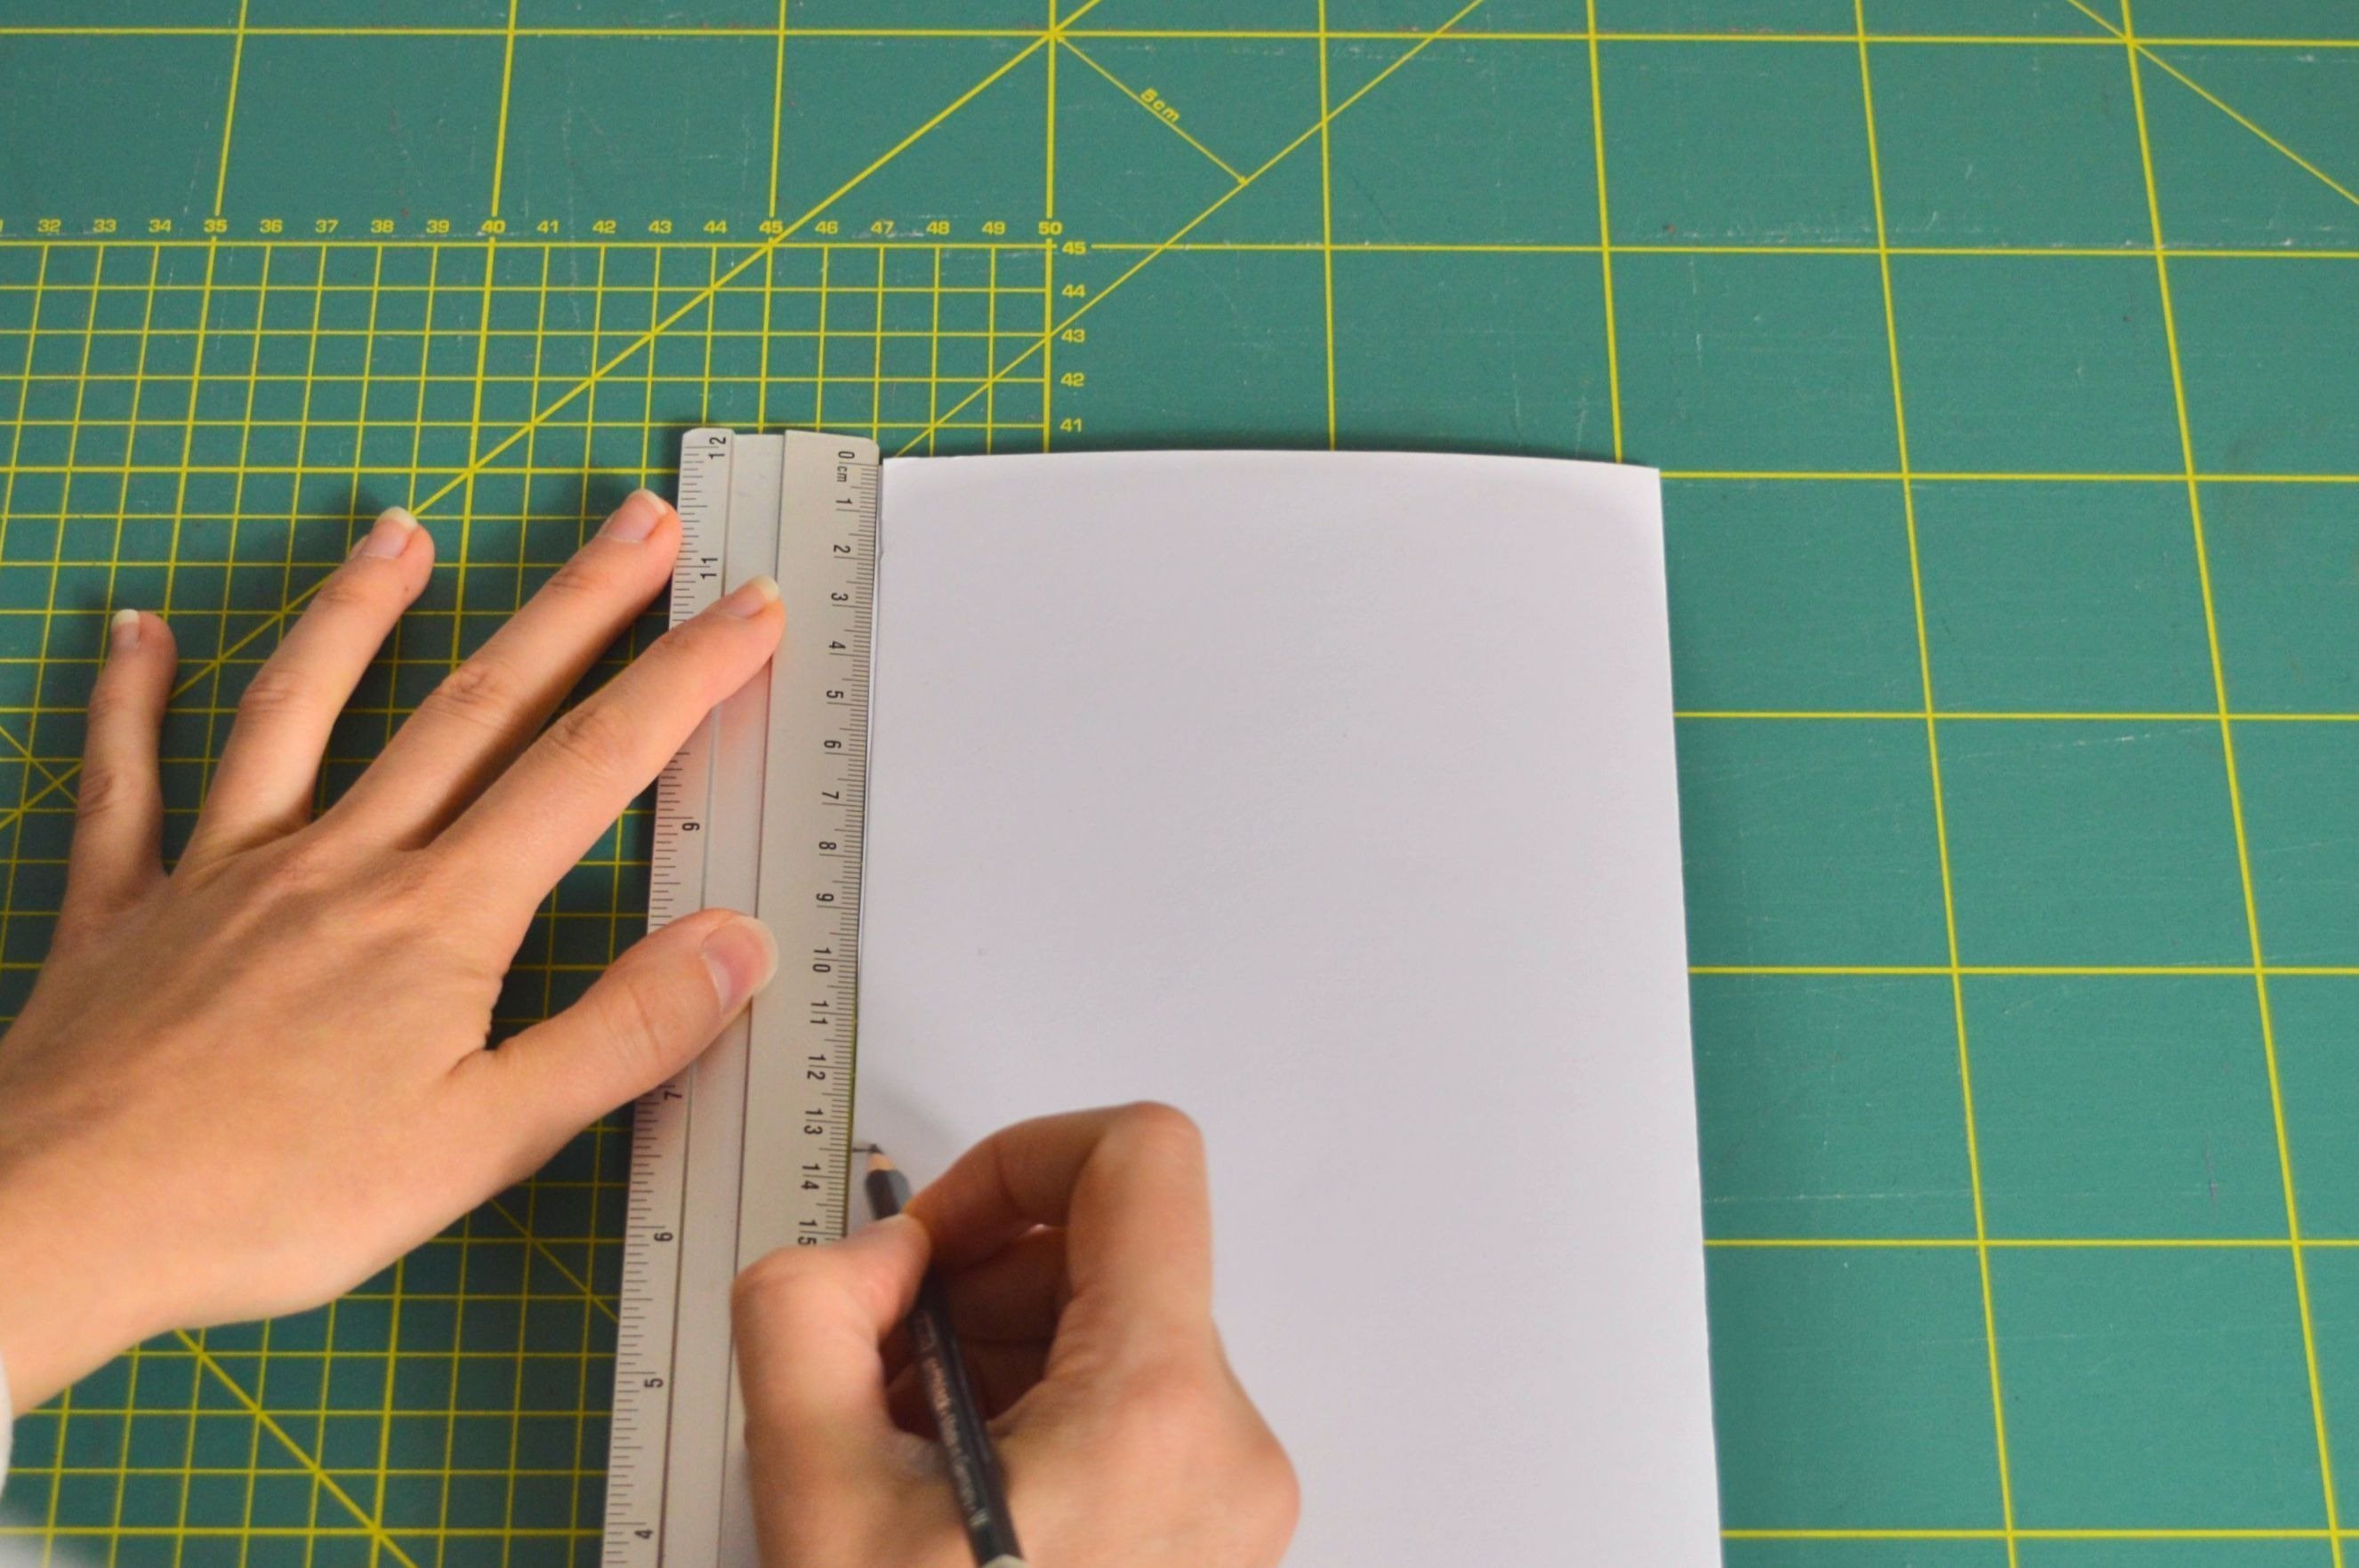
Cut out from paper piece width 27 cm, length 35 cm.
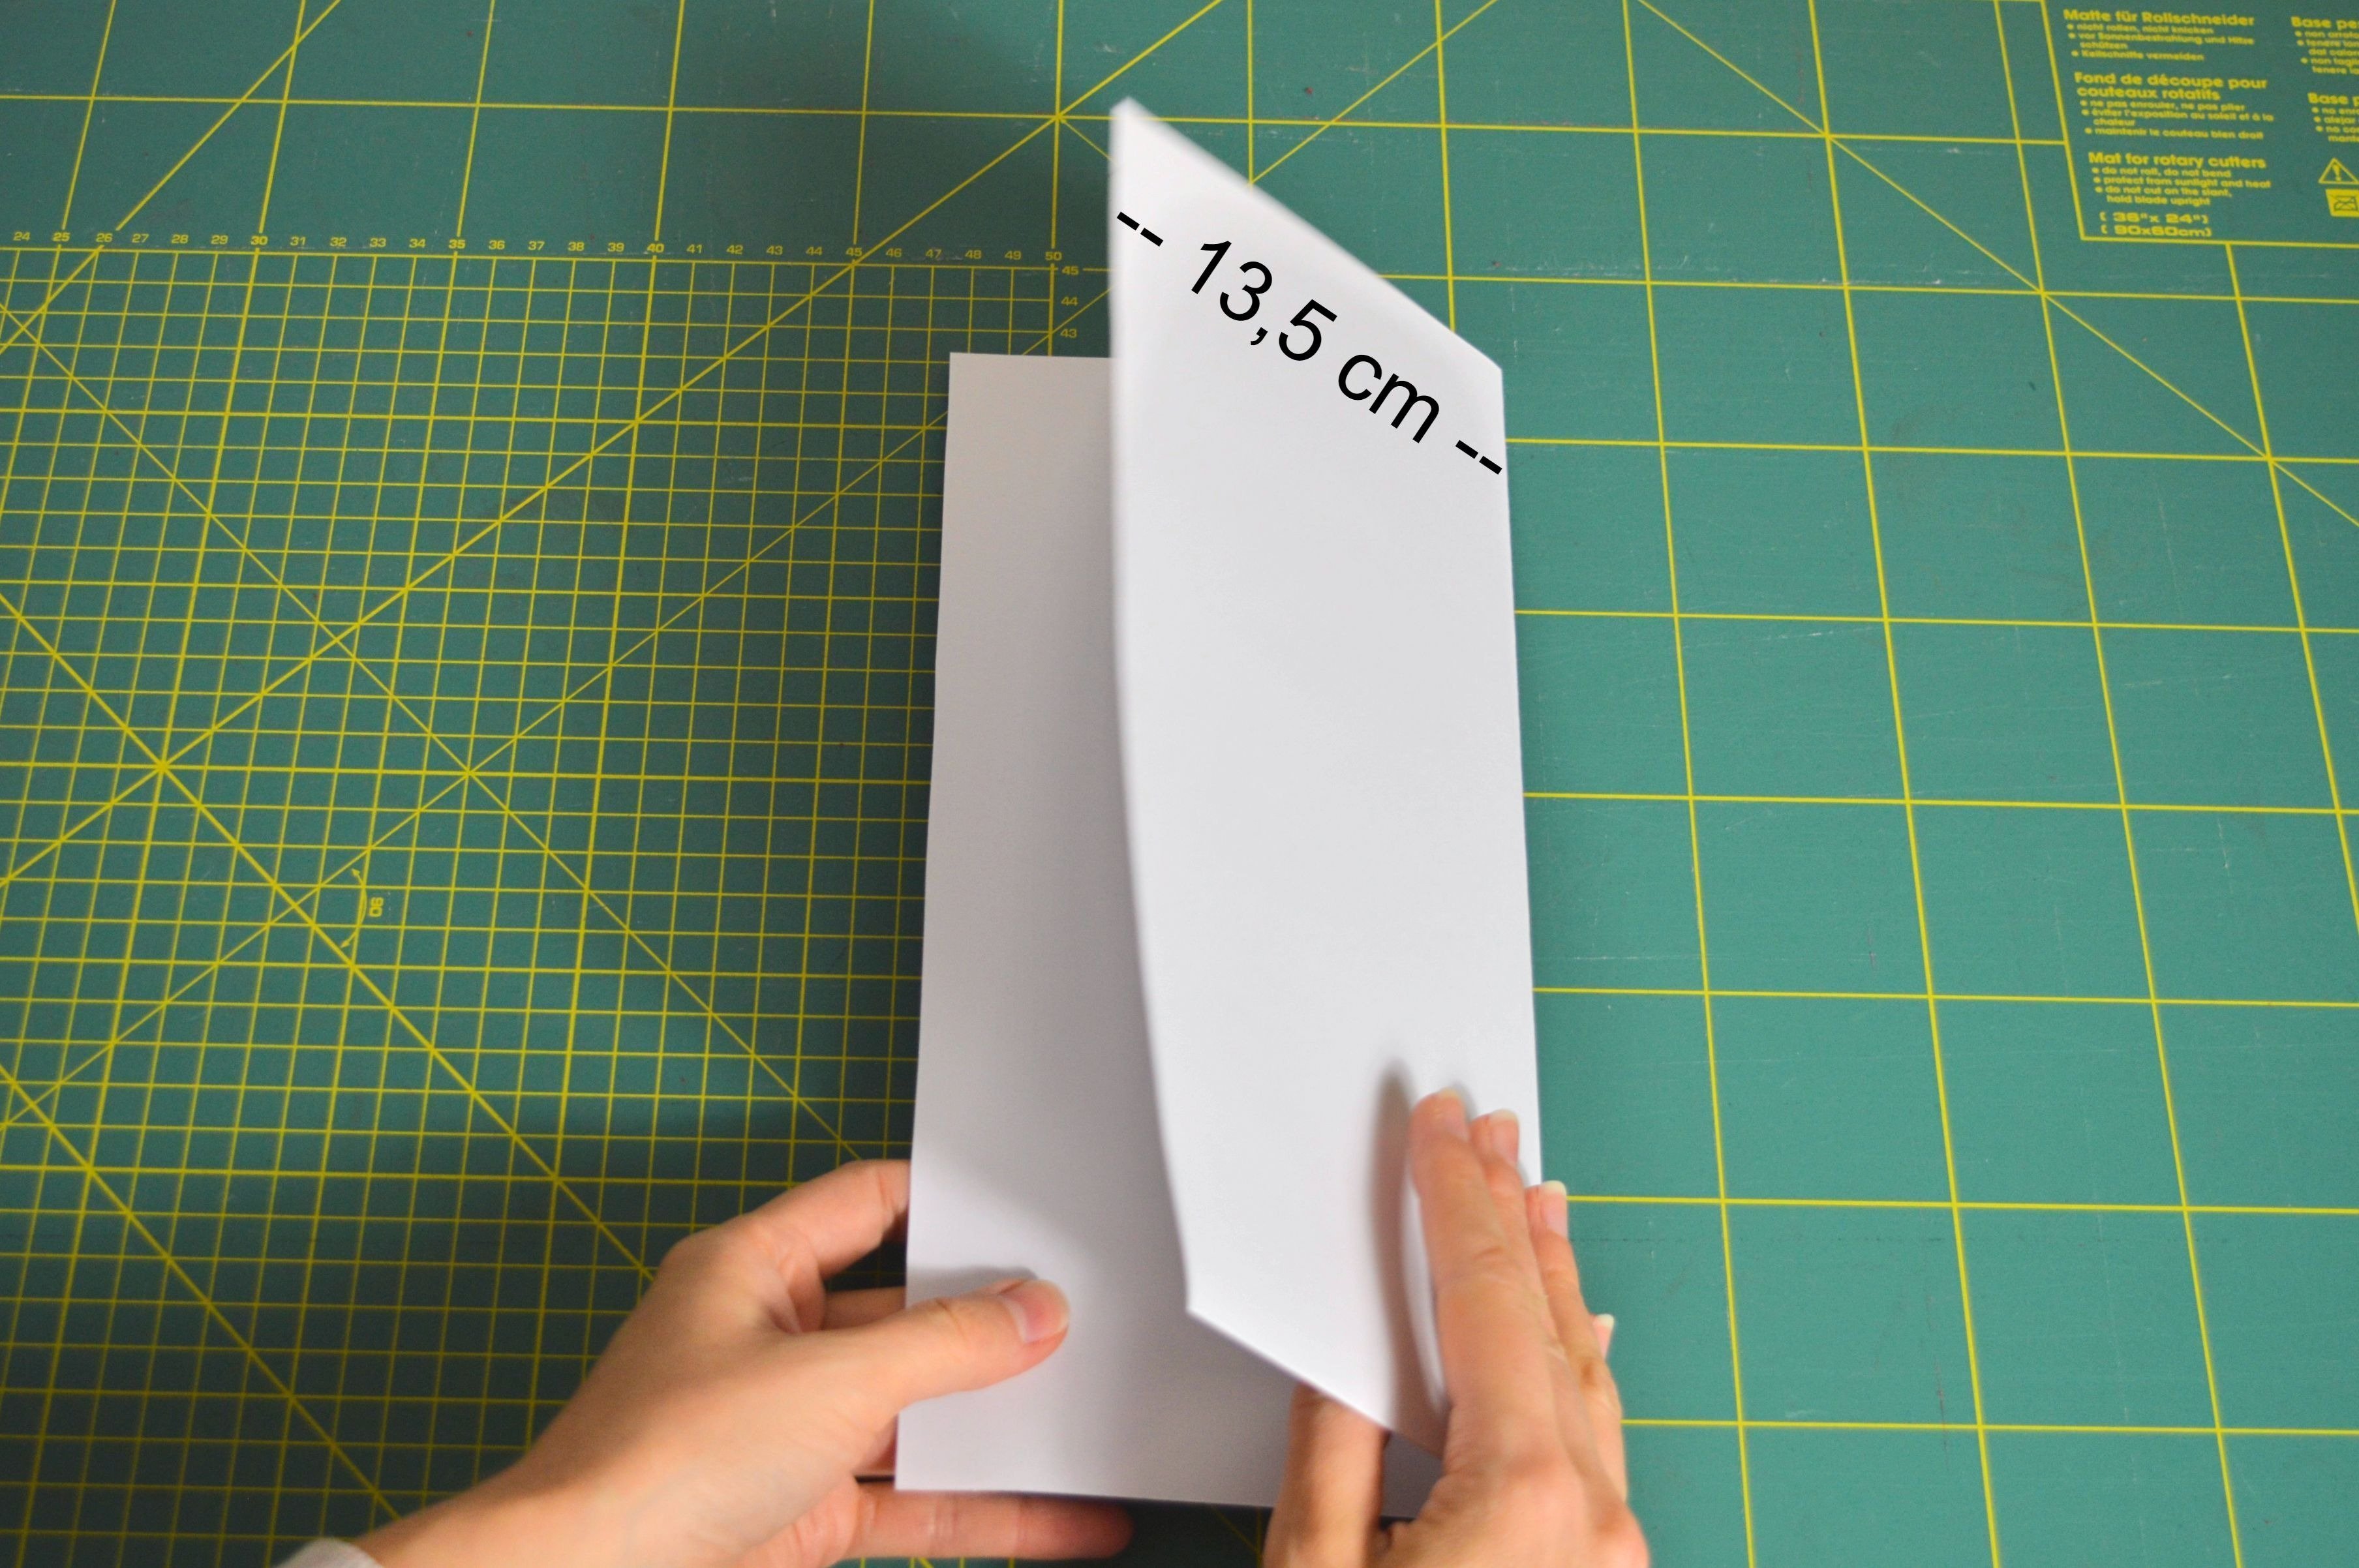
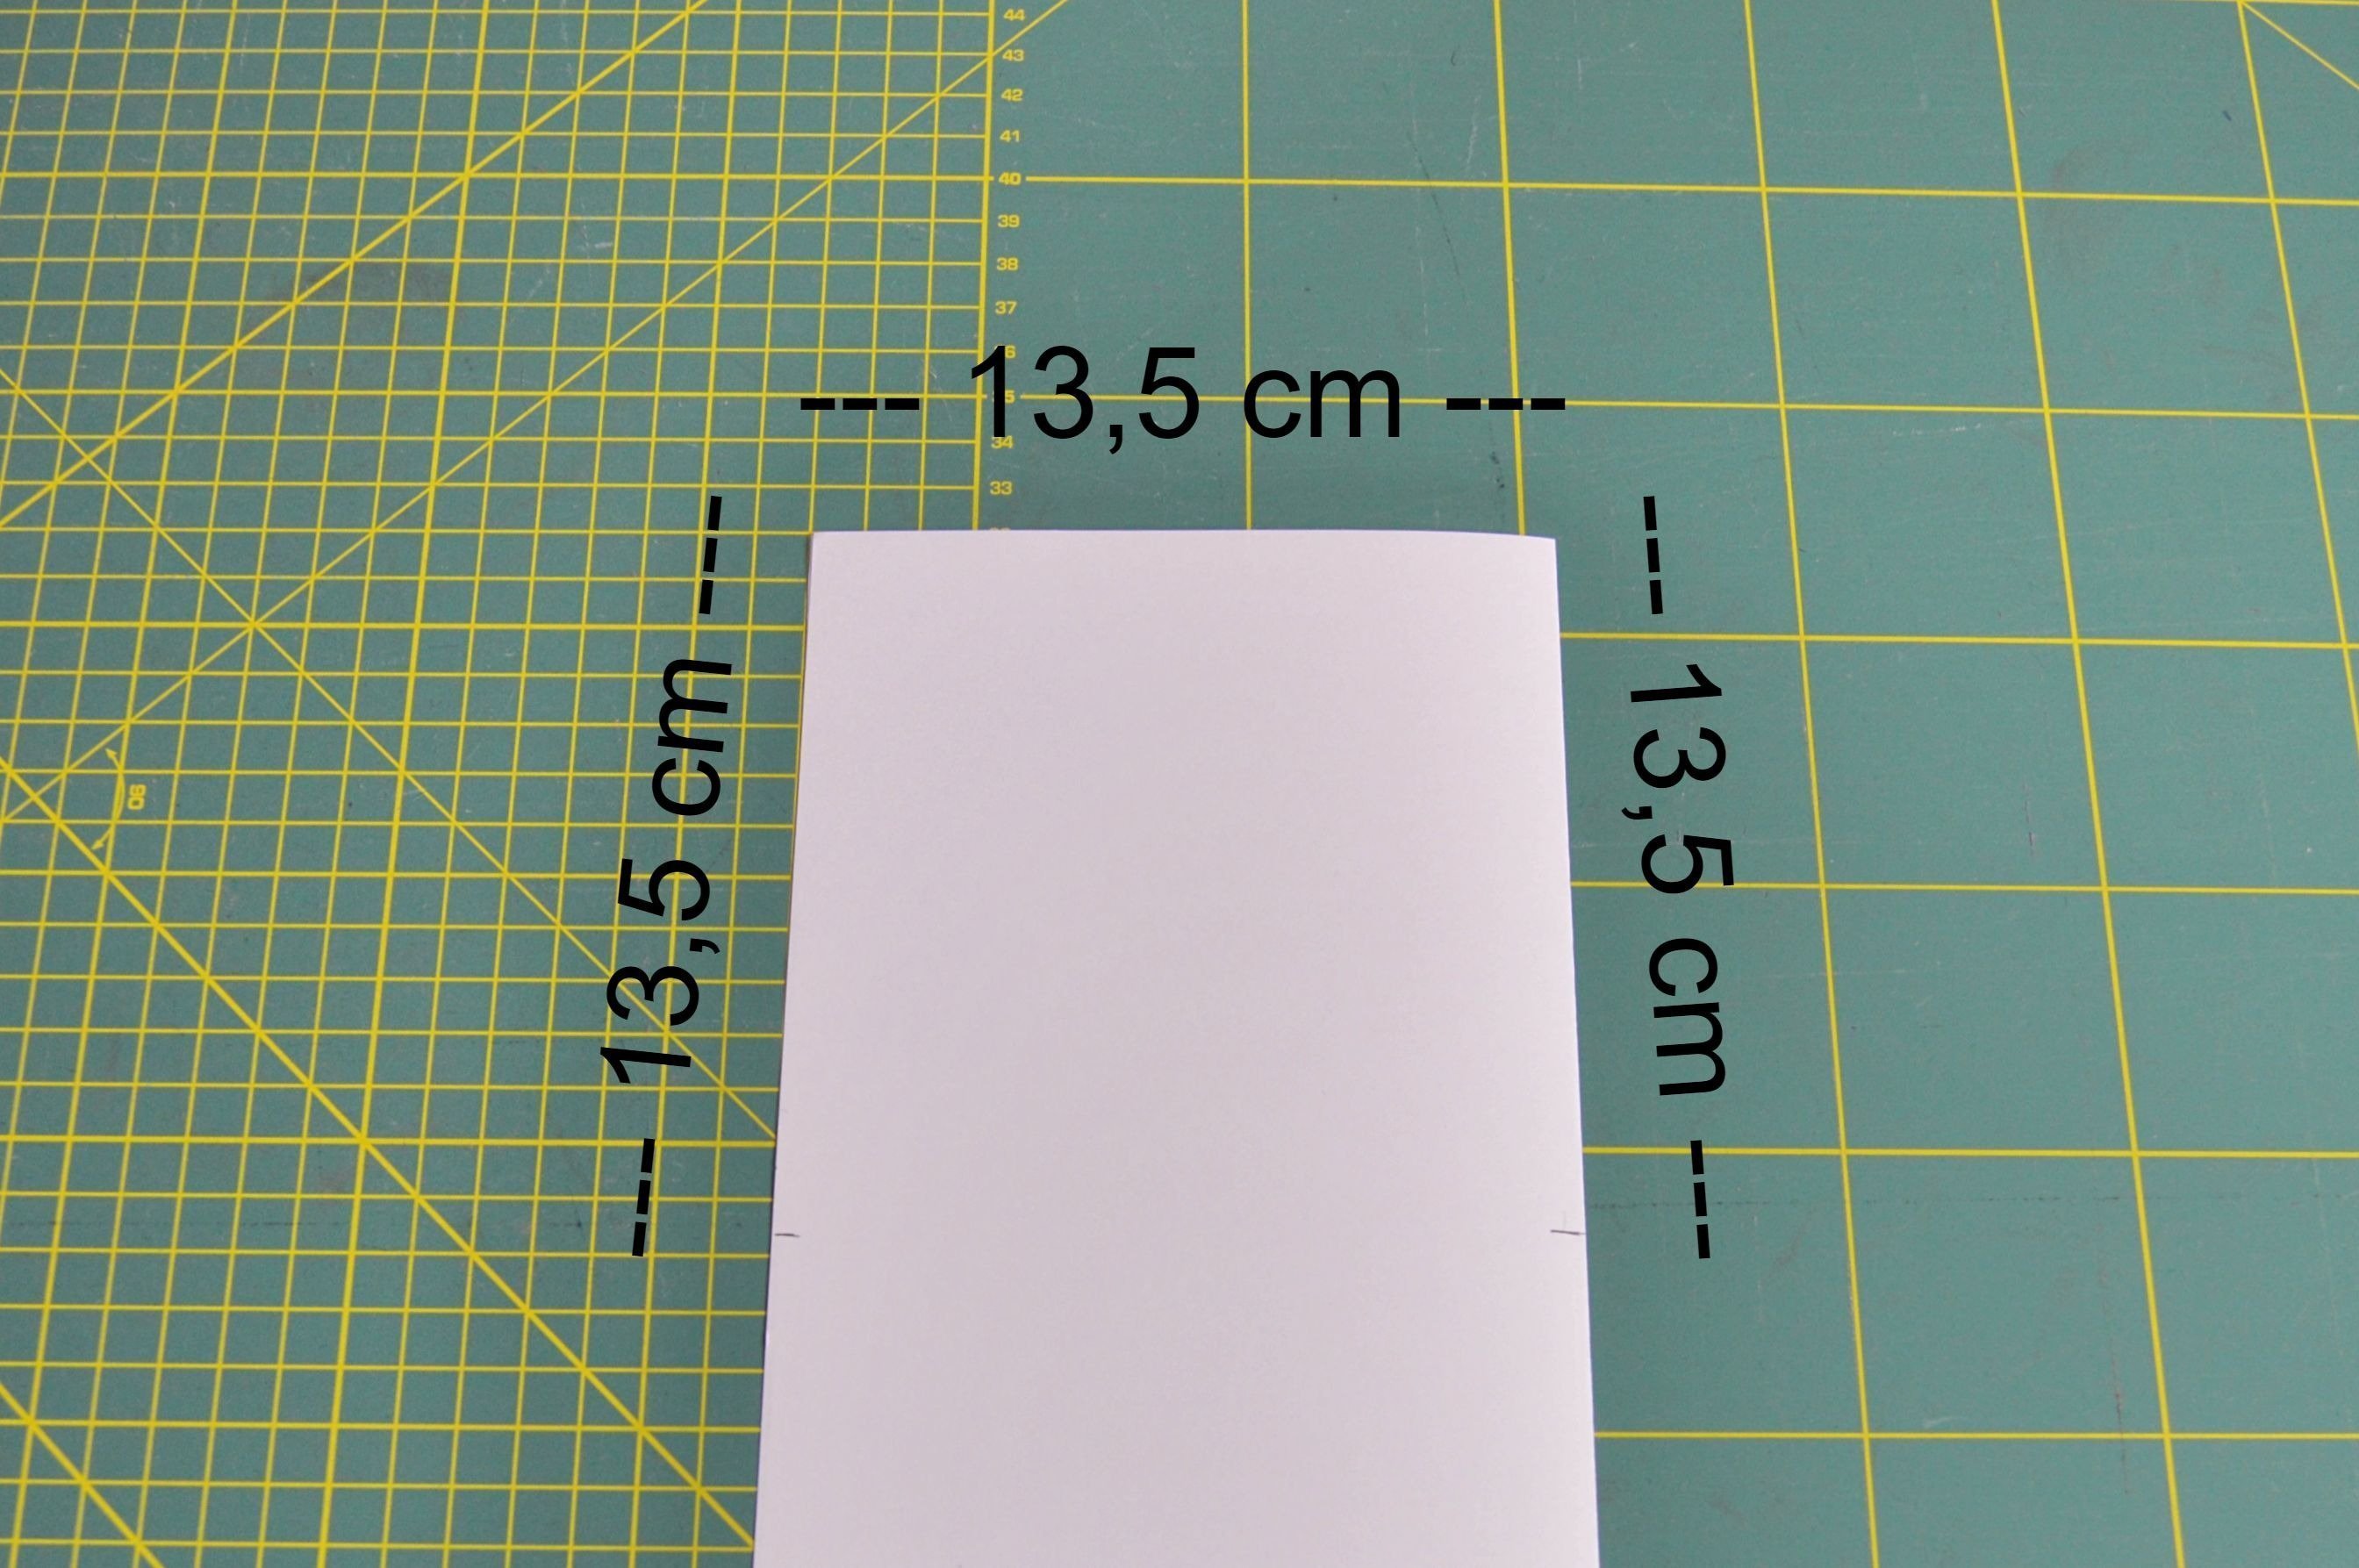
Fold over the paper vertical in half so that folded paper is 13,50 cm width.

Then, from the top edge of the paper measure at both side edges, 13,50 cm.
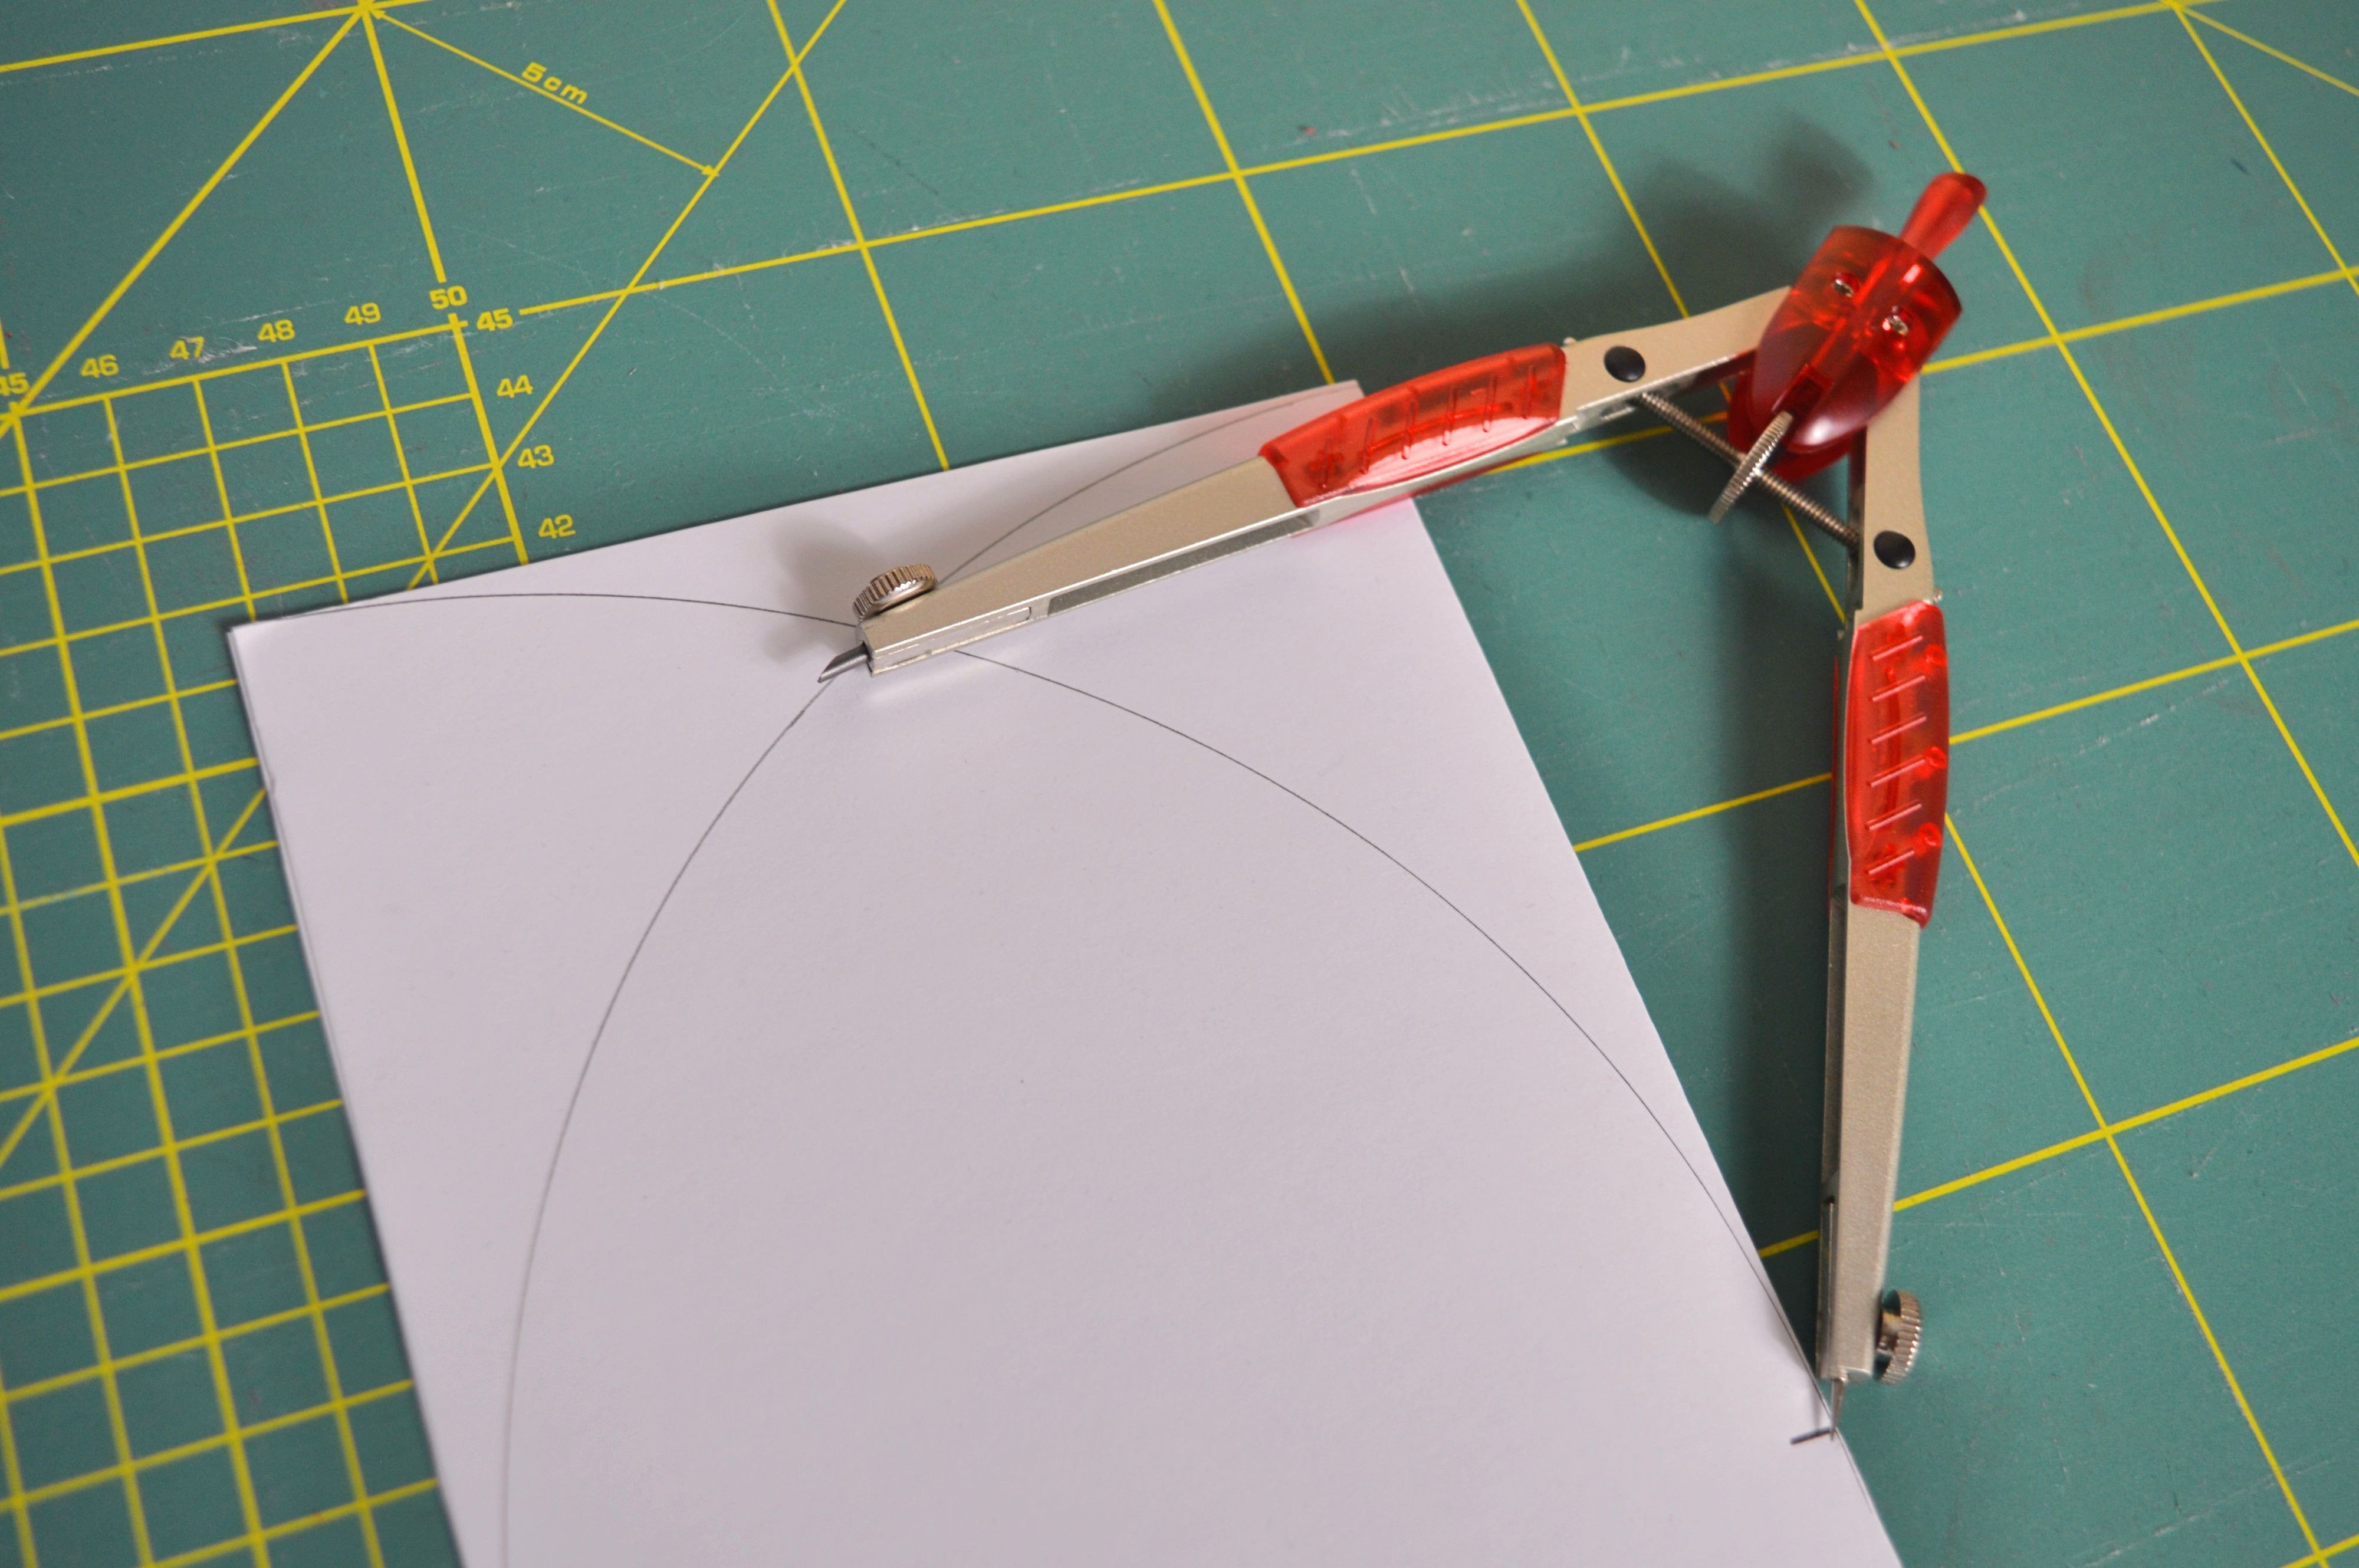
In each of these two points on the sides place a geometric compass open 13,50 cm and pull the line in the direction of the opposite corner on the top.

These two circular lines intersect at one point, which represents the top of the beanie.
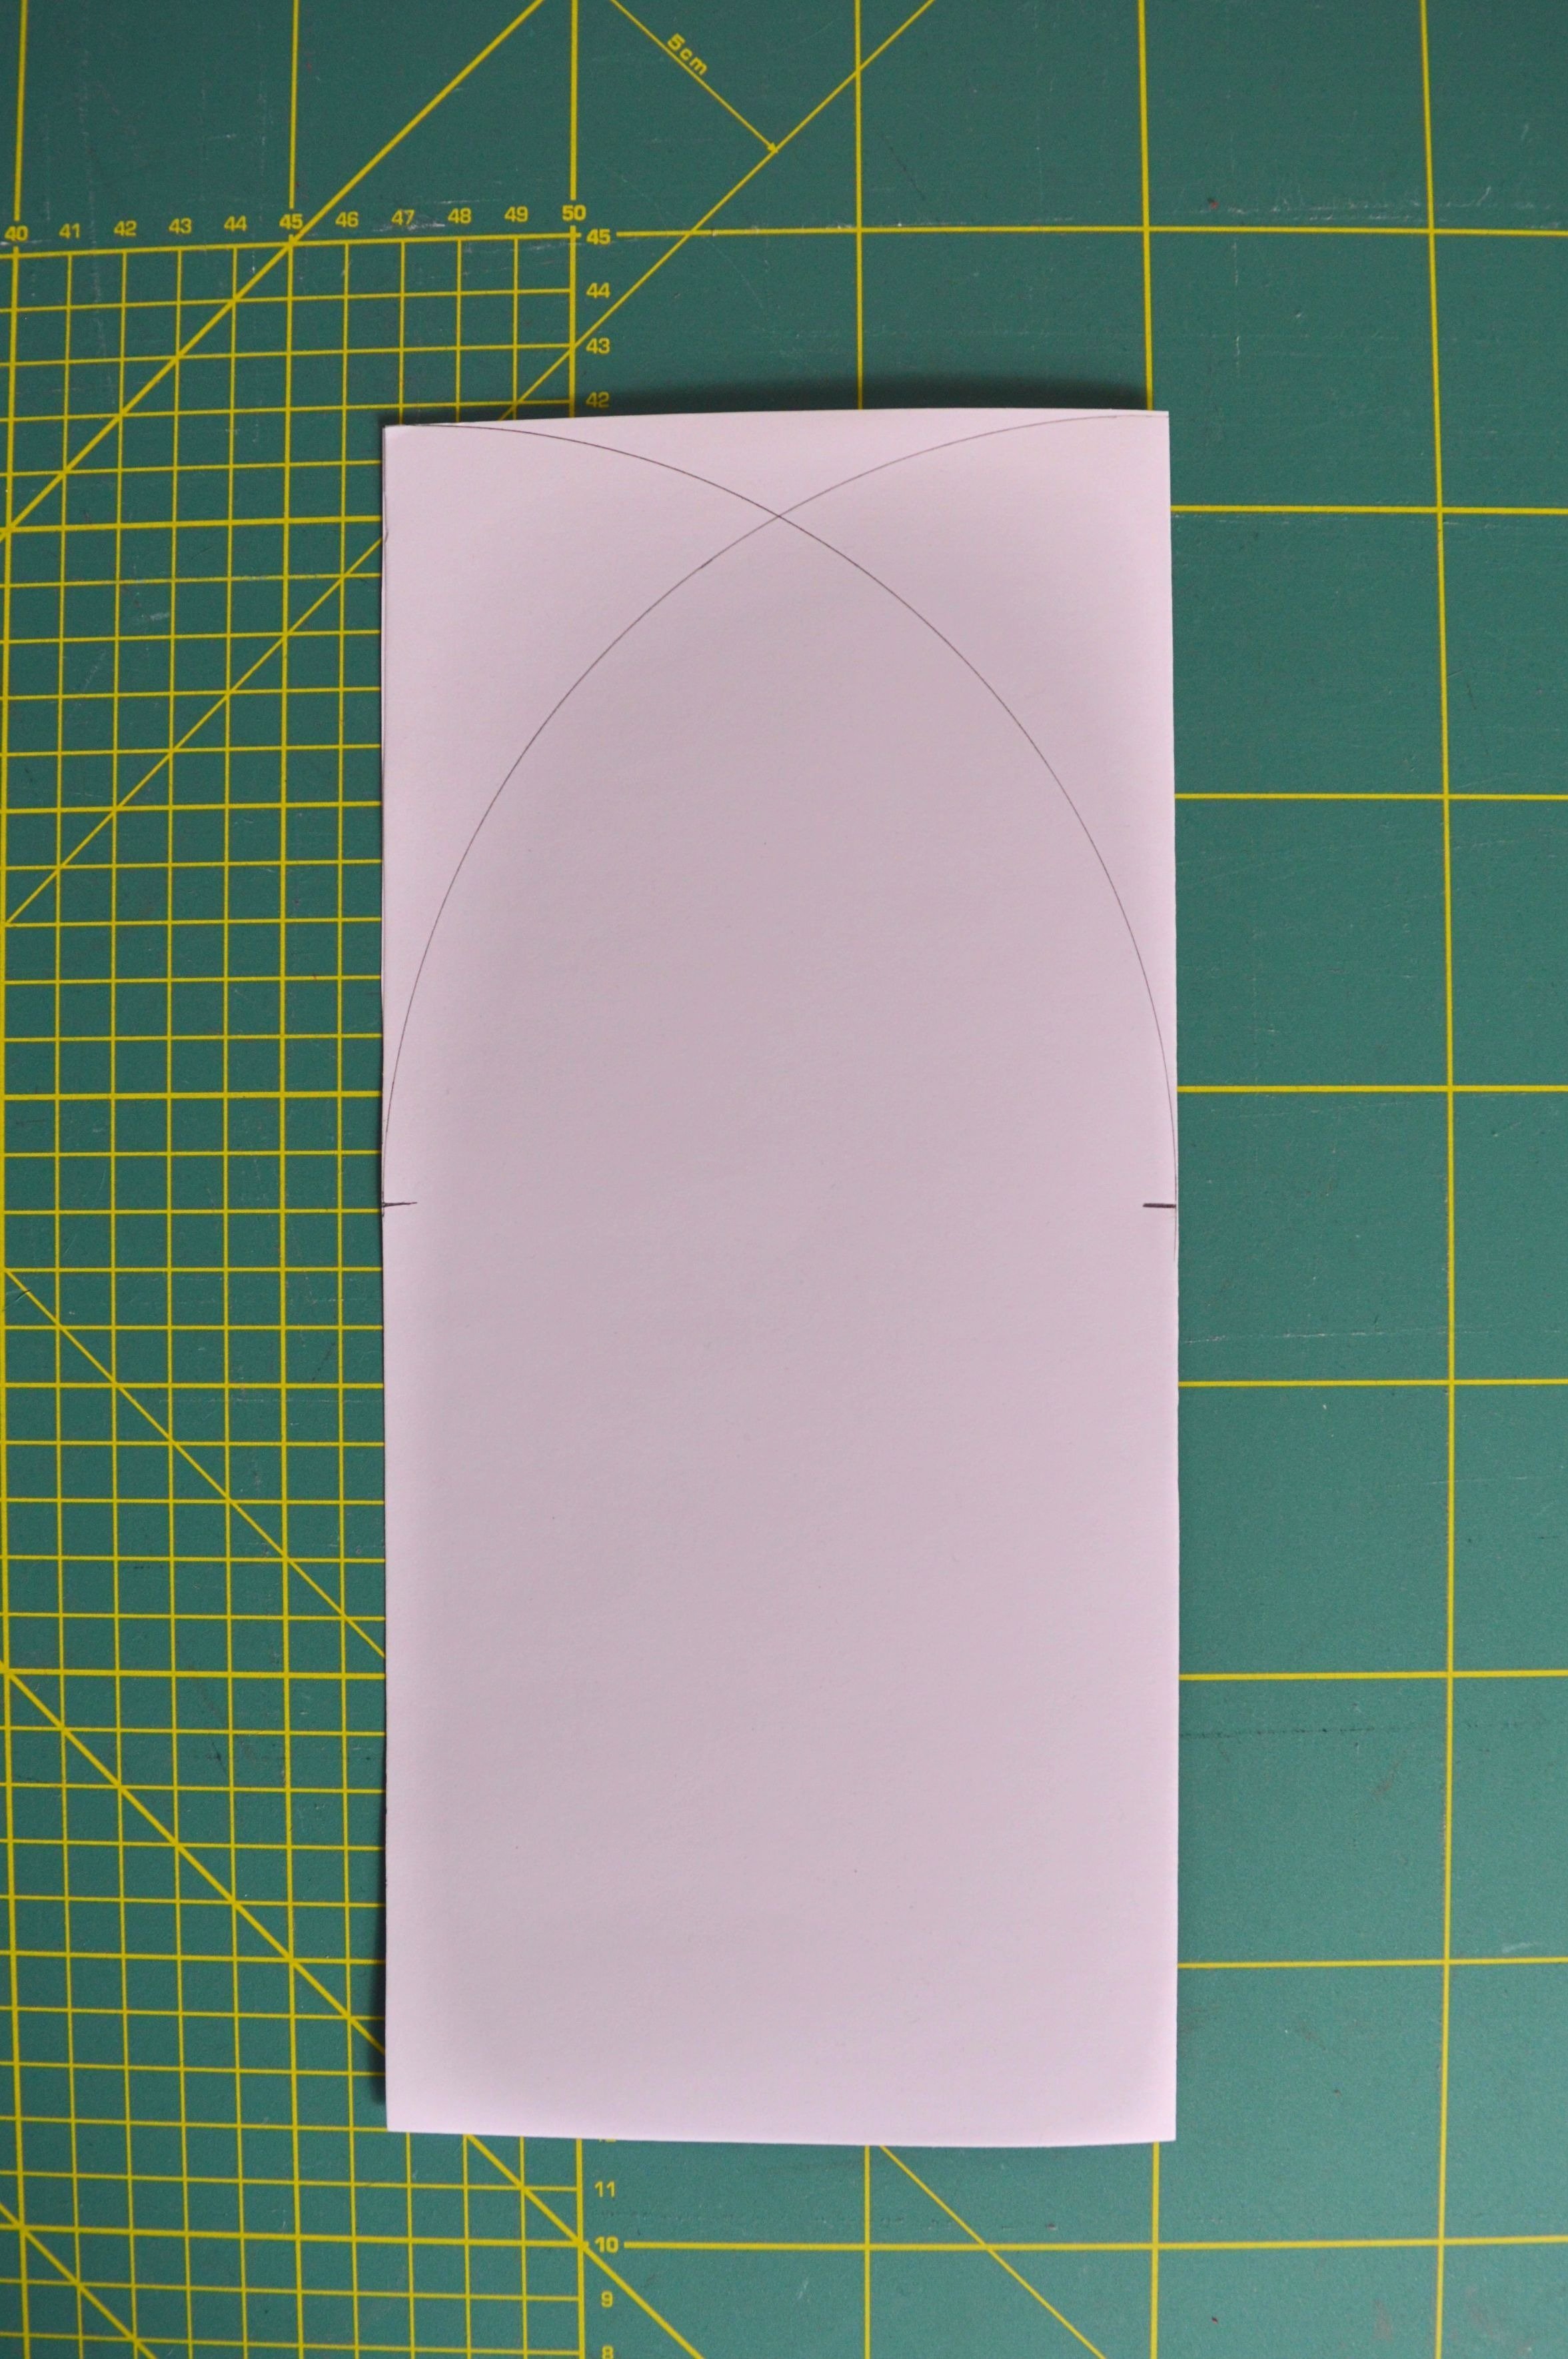
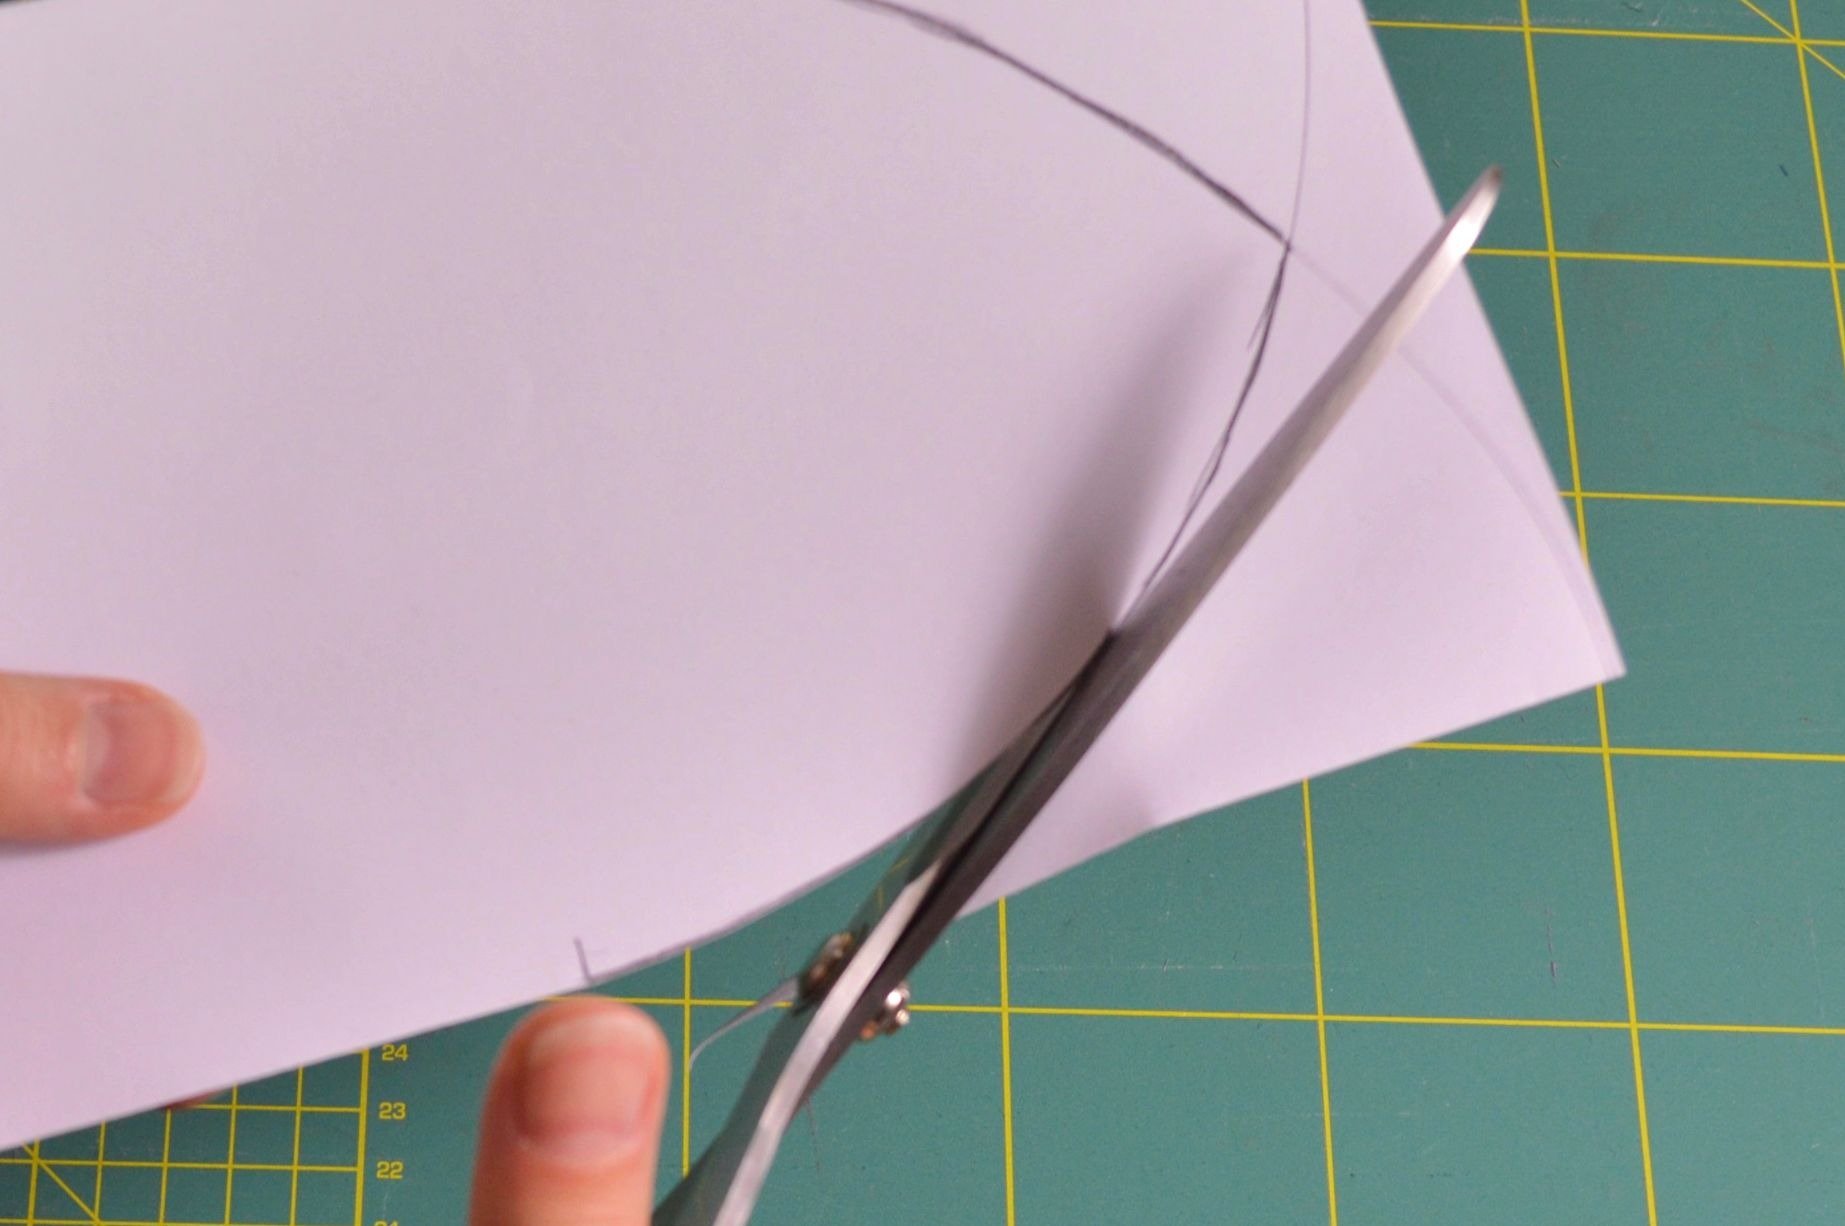
Now cut out the paper by the obtained circular lines.
Do not forget; the paper is fold-over. When you cut it, you cut both folded sides together.
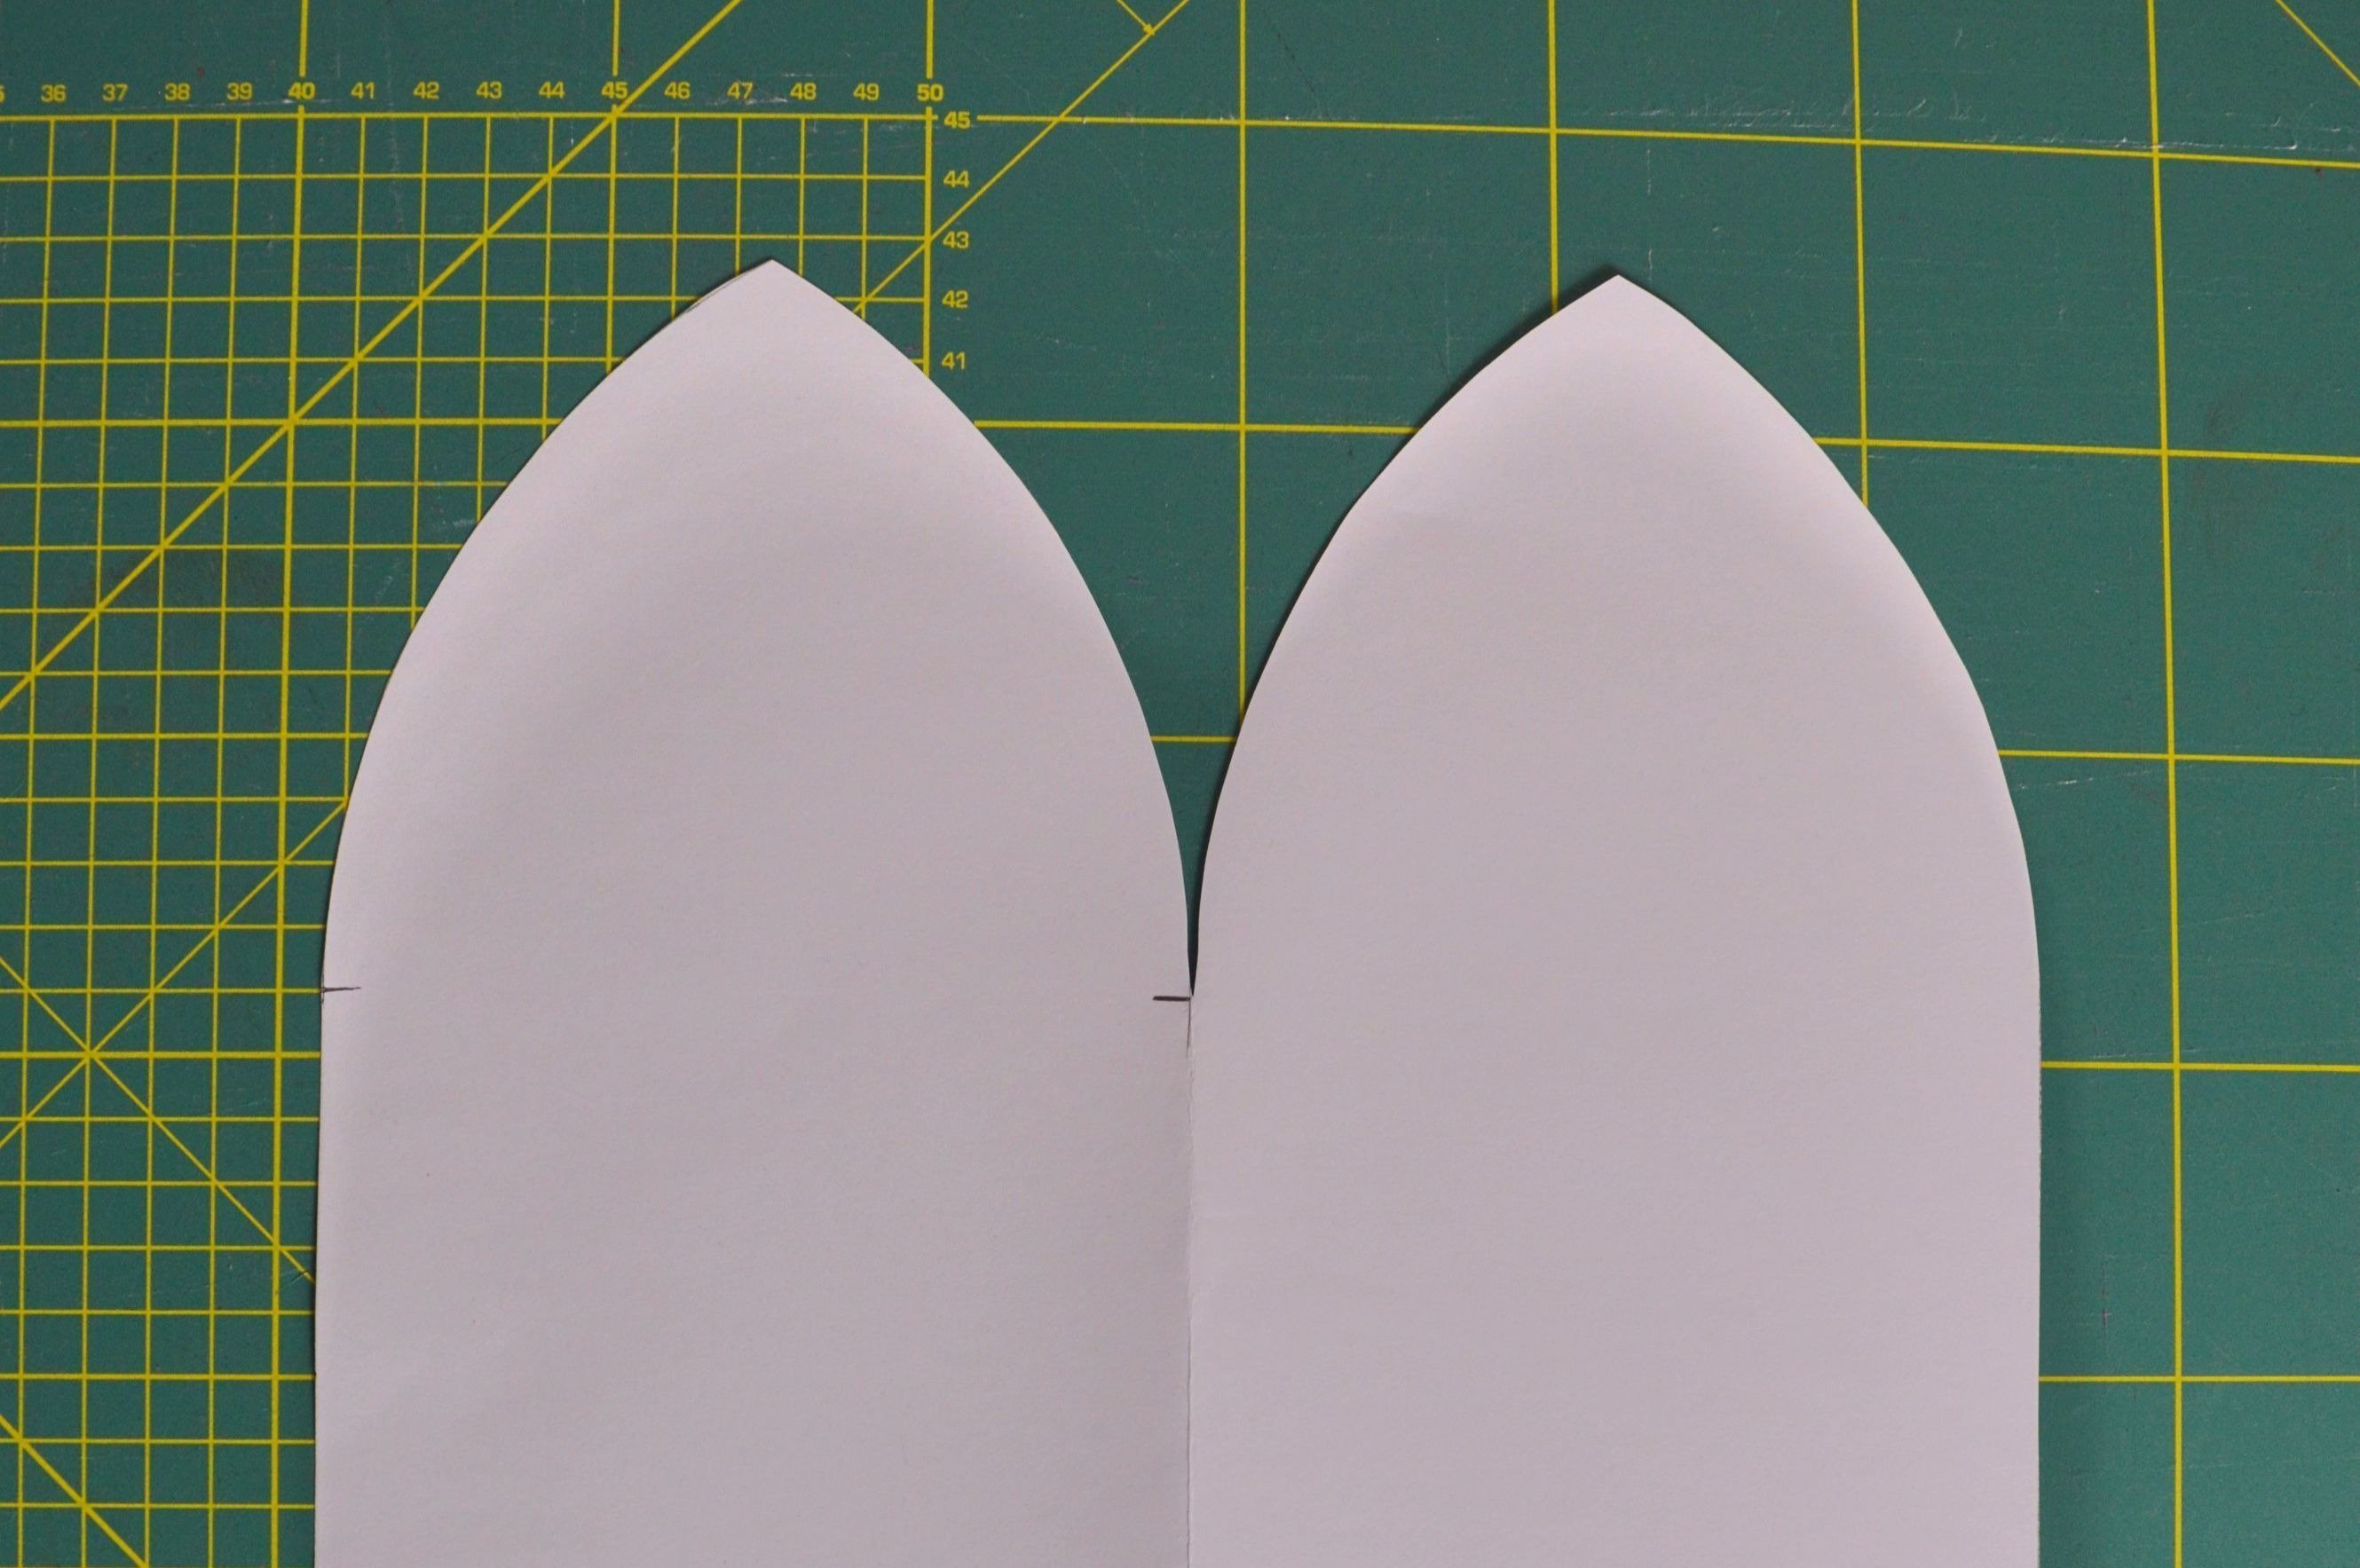
Unfold the paper to get a pattern.
As you can see, the picture below shows the top part with the darts.
Now measure vertically about 25-30 cm from the ends of the top depending on the length of beanie you decide on.
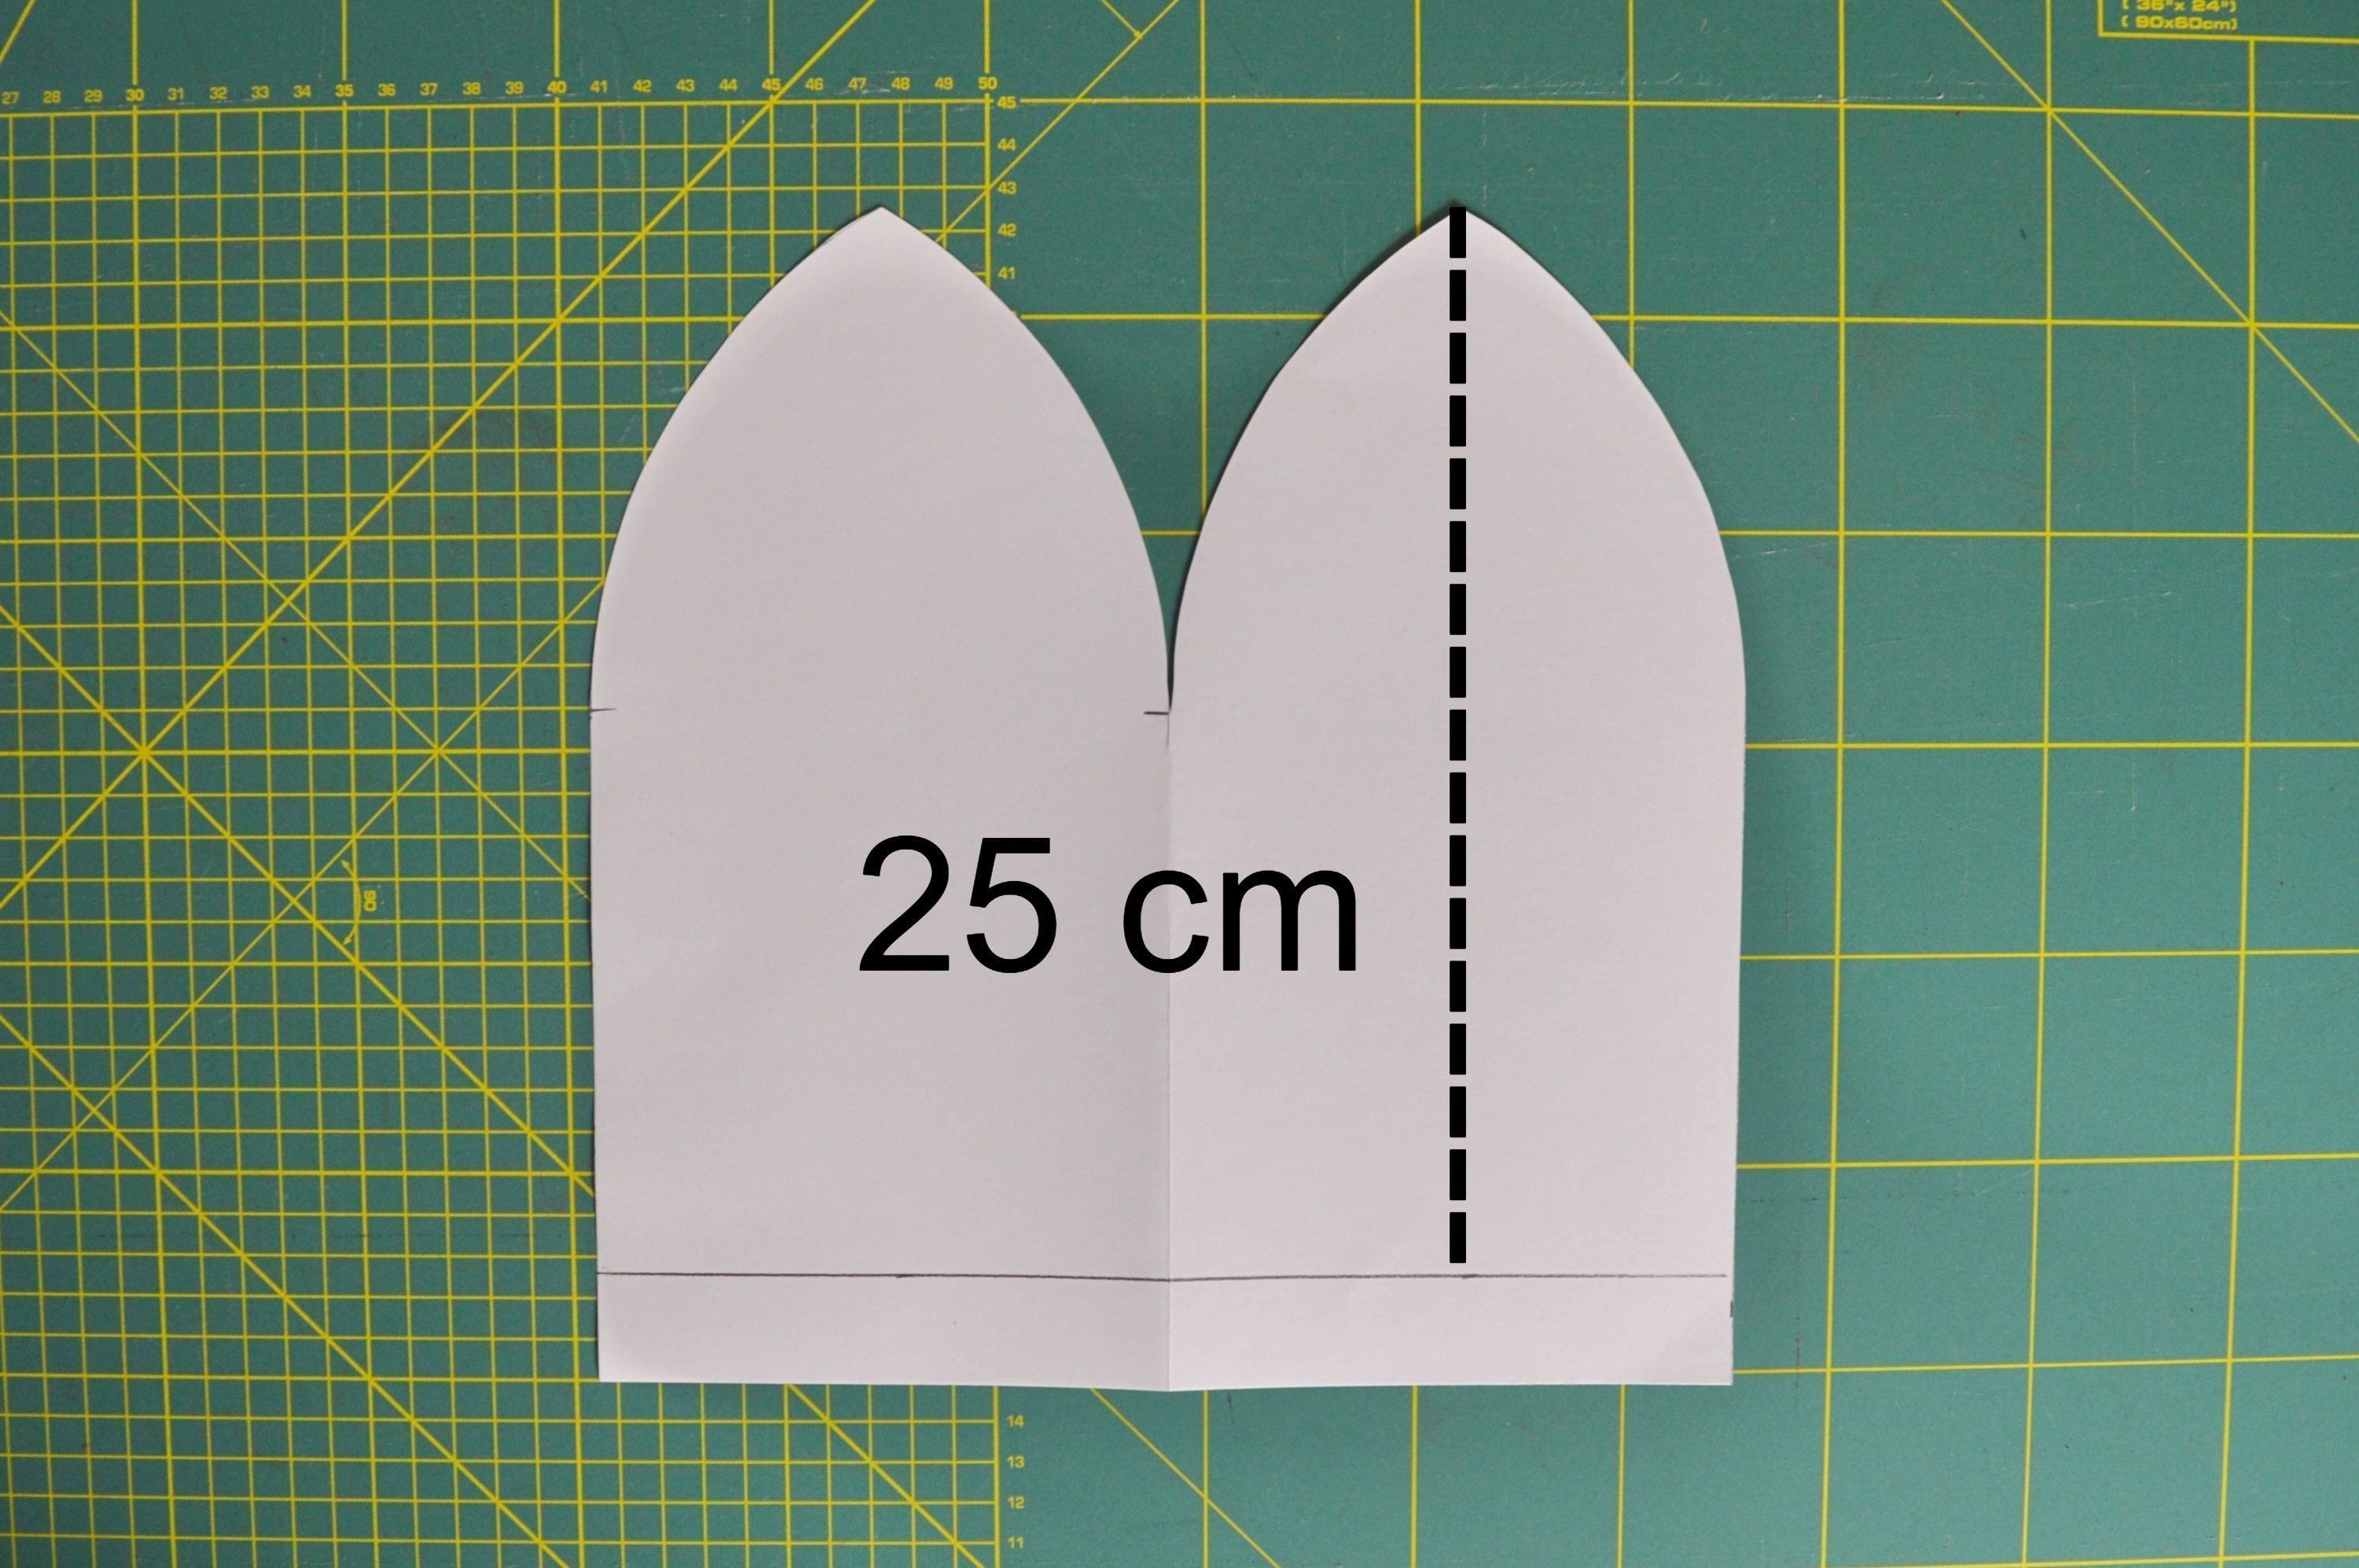
The picture above shows the length of 25 cm.
You are finished with the construction, it remains to complete the pattern.
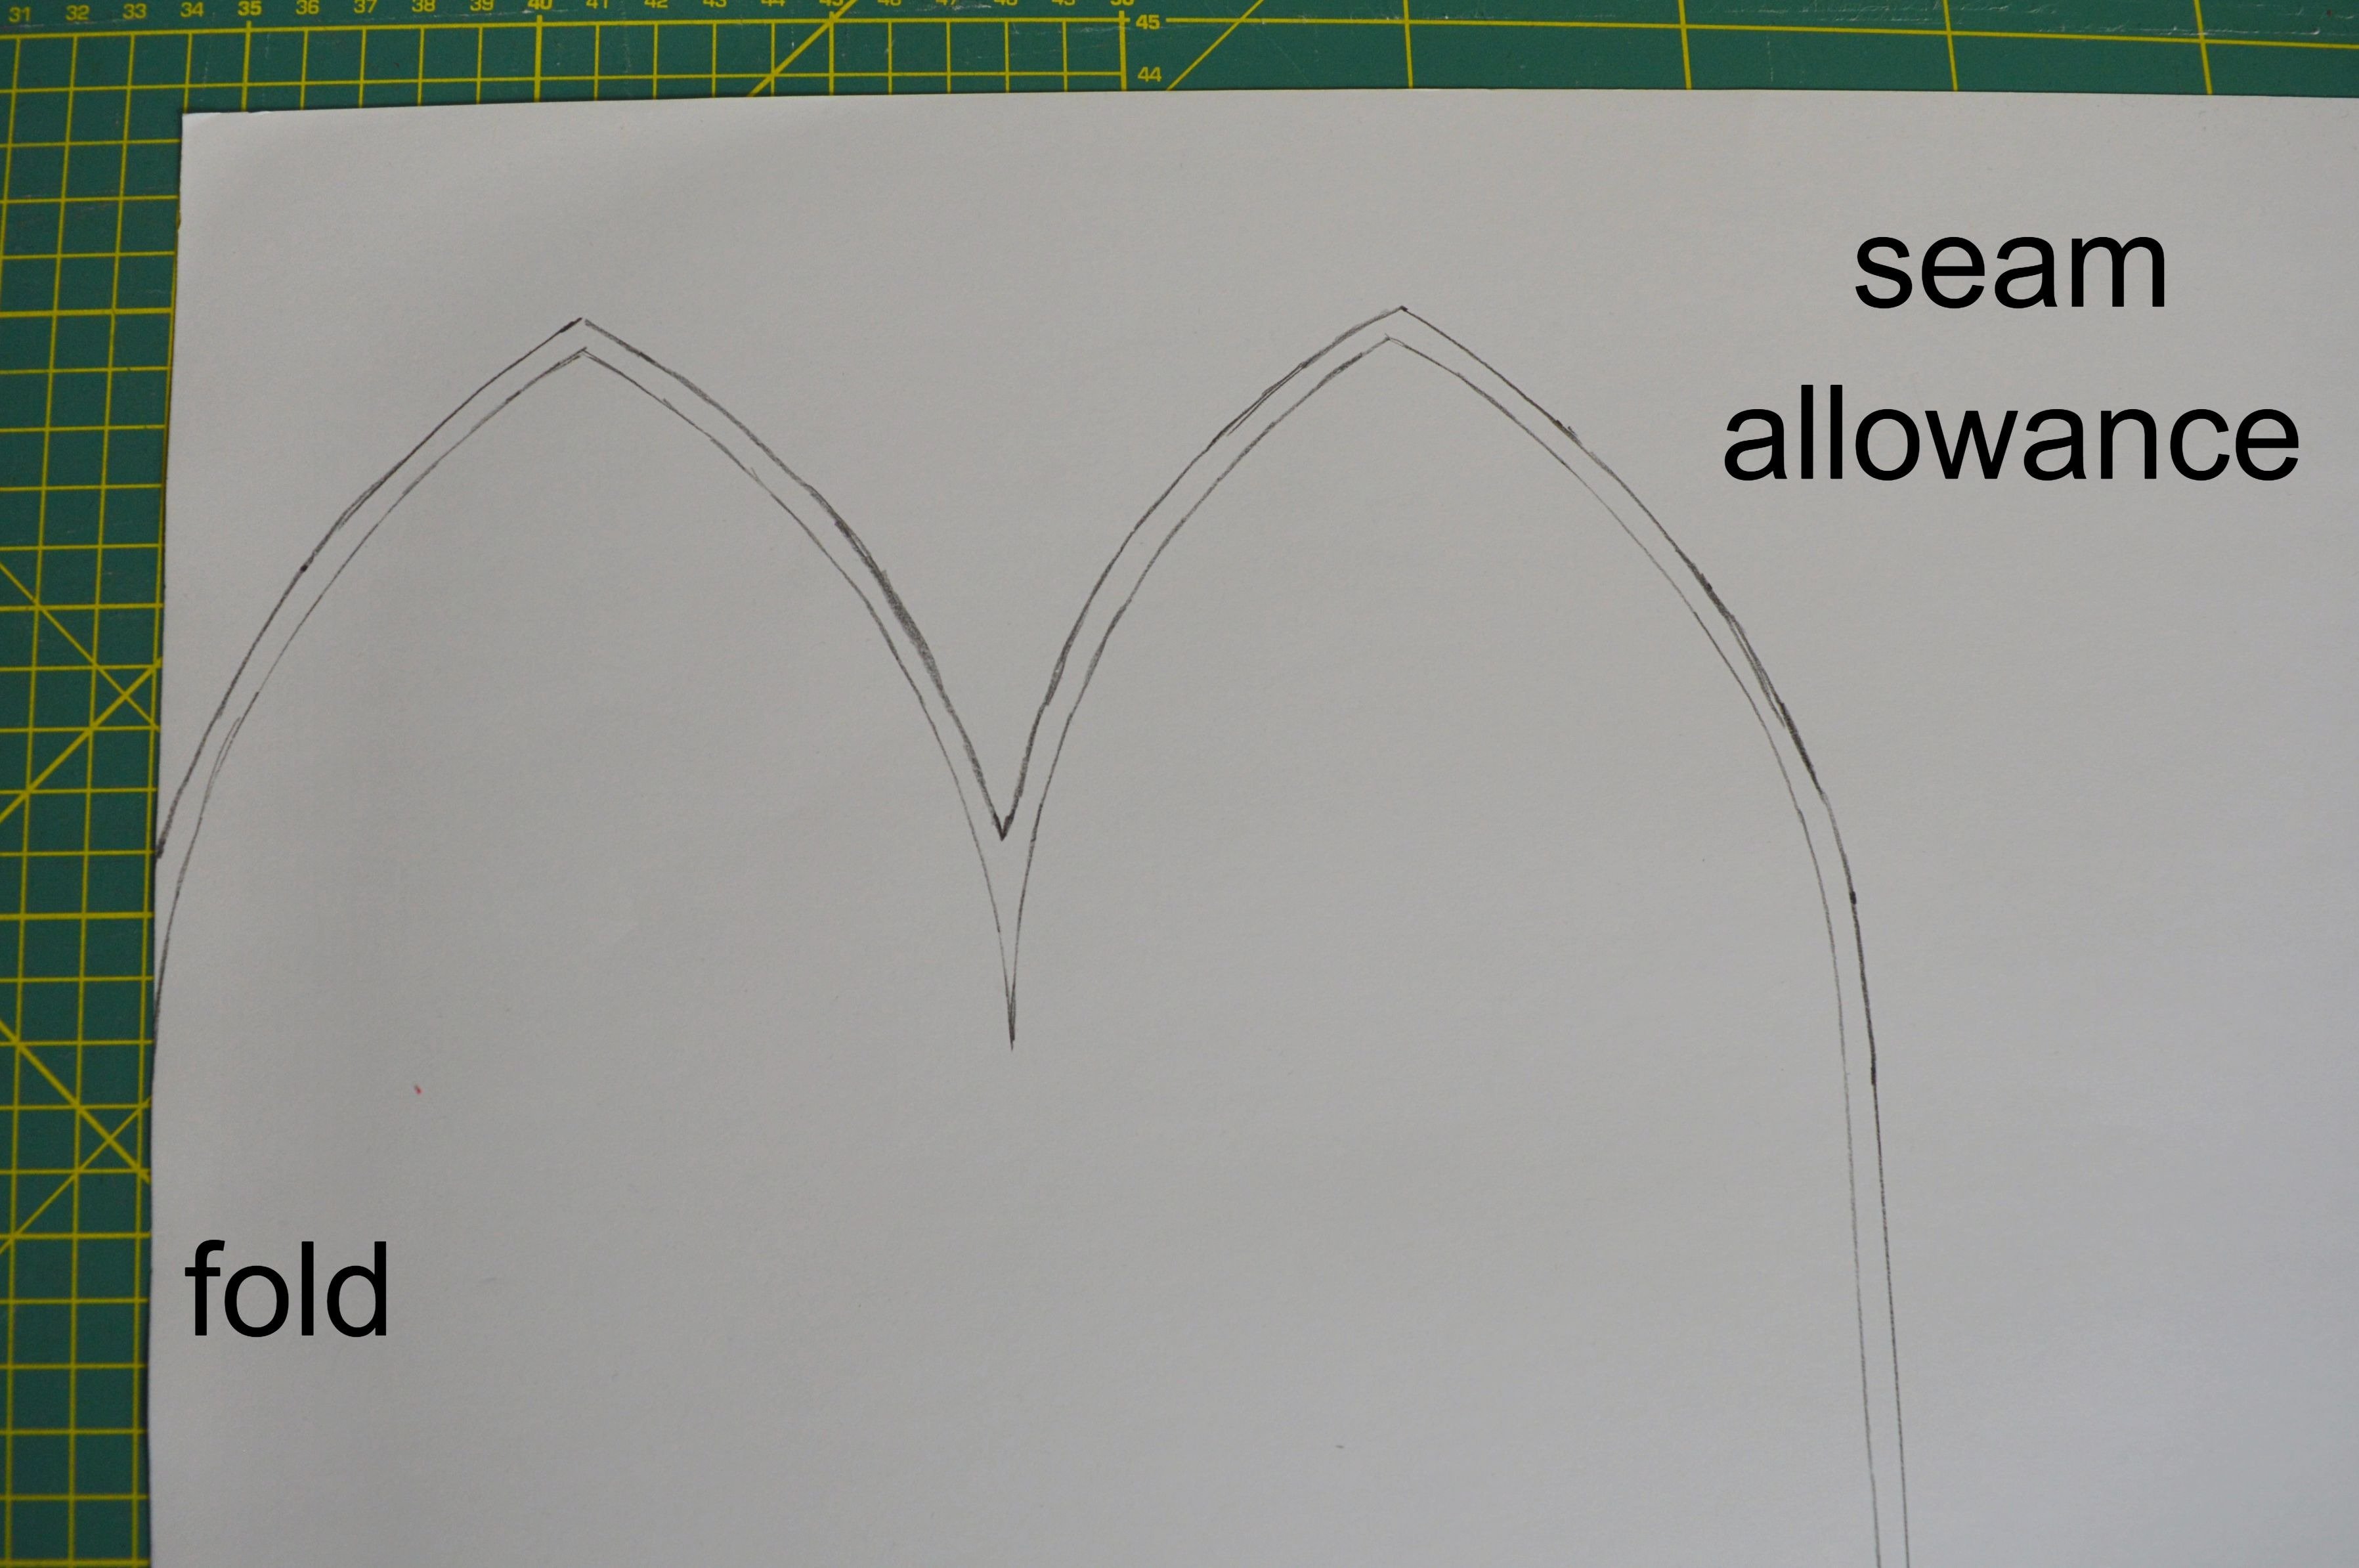
You don’t have to add a seam allowance if you’re used to working without it, and I’ve added it to make it easier by cutting the fabric.
Copy to another paper the obtained model and add the allowance to the top edges and one side of the pattern because on another side comes folded fabric.
In the pictures, the seam allowance is 0,50 cm, and you can add as much as you usually add. (Someone, like me, got used to having a seam allowance of 0,50 to 1 cm, and someone else up to 1,50 cm.)
Copy this pattern with seam allowance once more and connect the bottom edges this two parts. Pay attention to the side edge with the seam allowance.

That is a completed pattern for the beanie – Teenager/Adult small/Woman with 25 cm length.
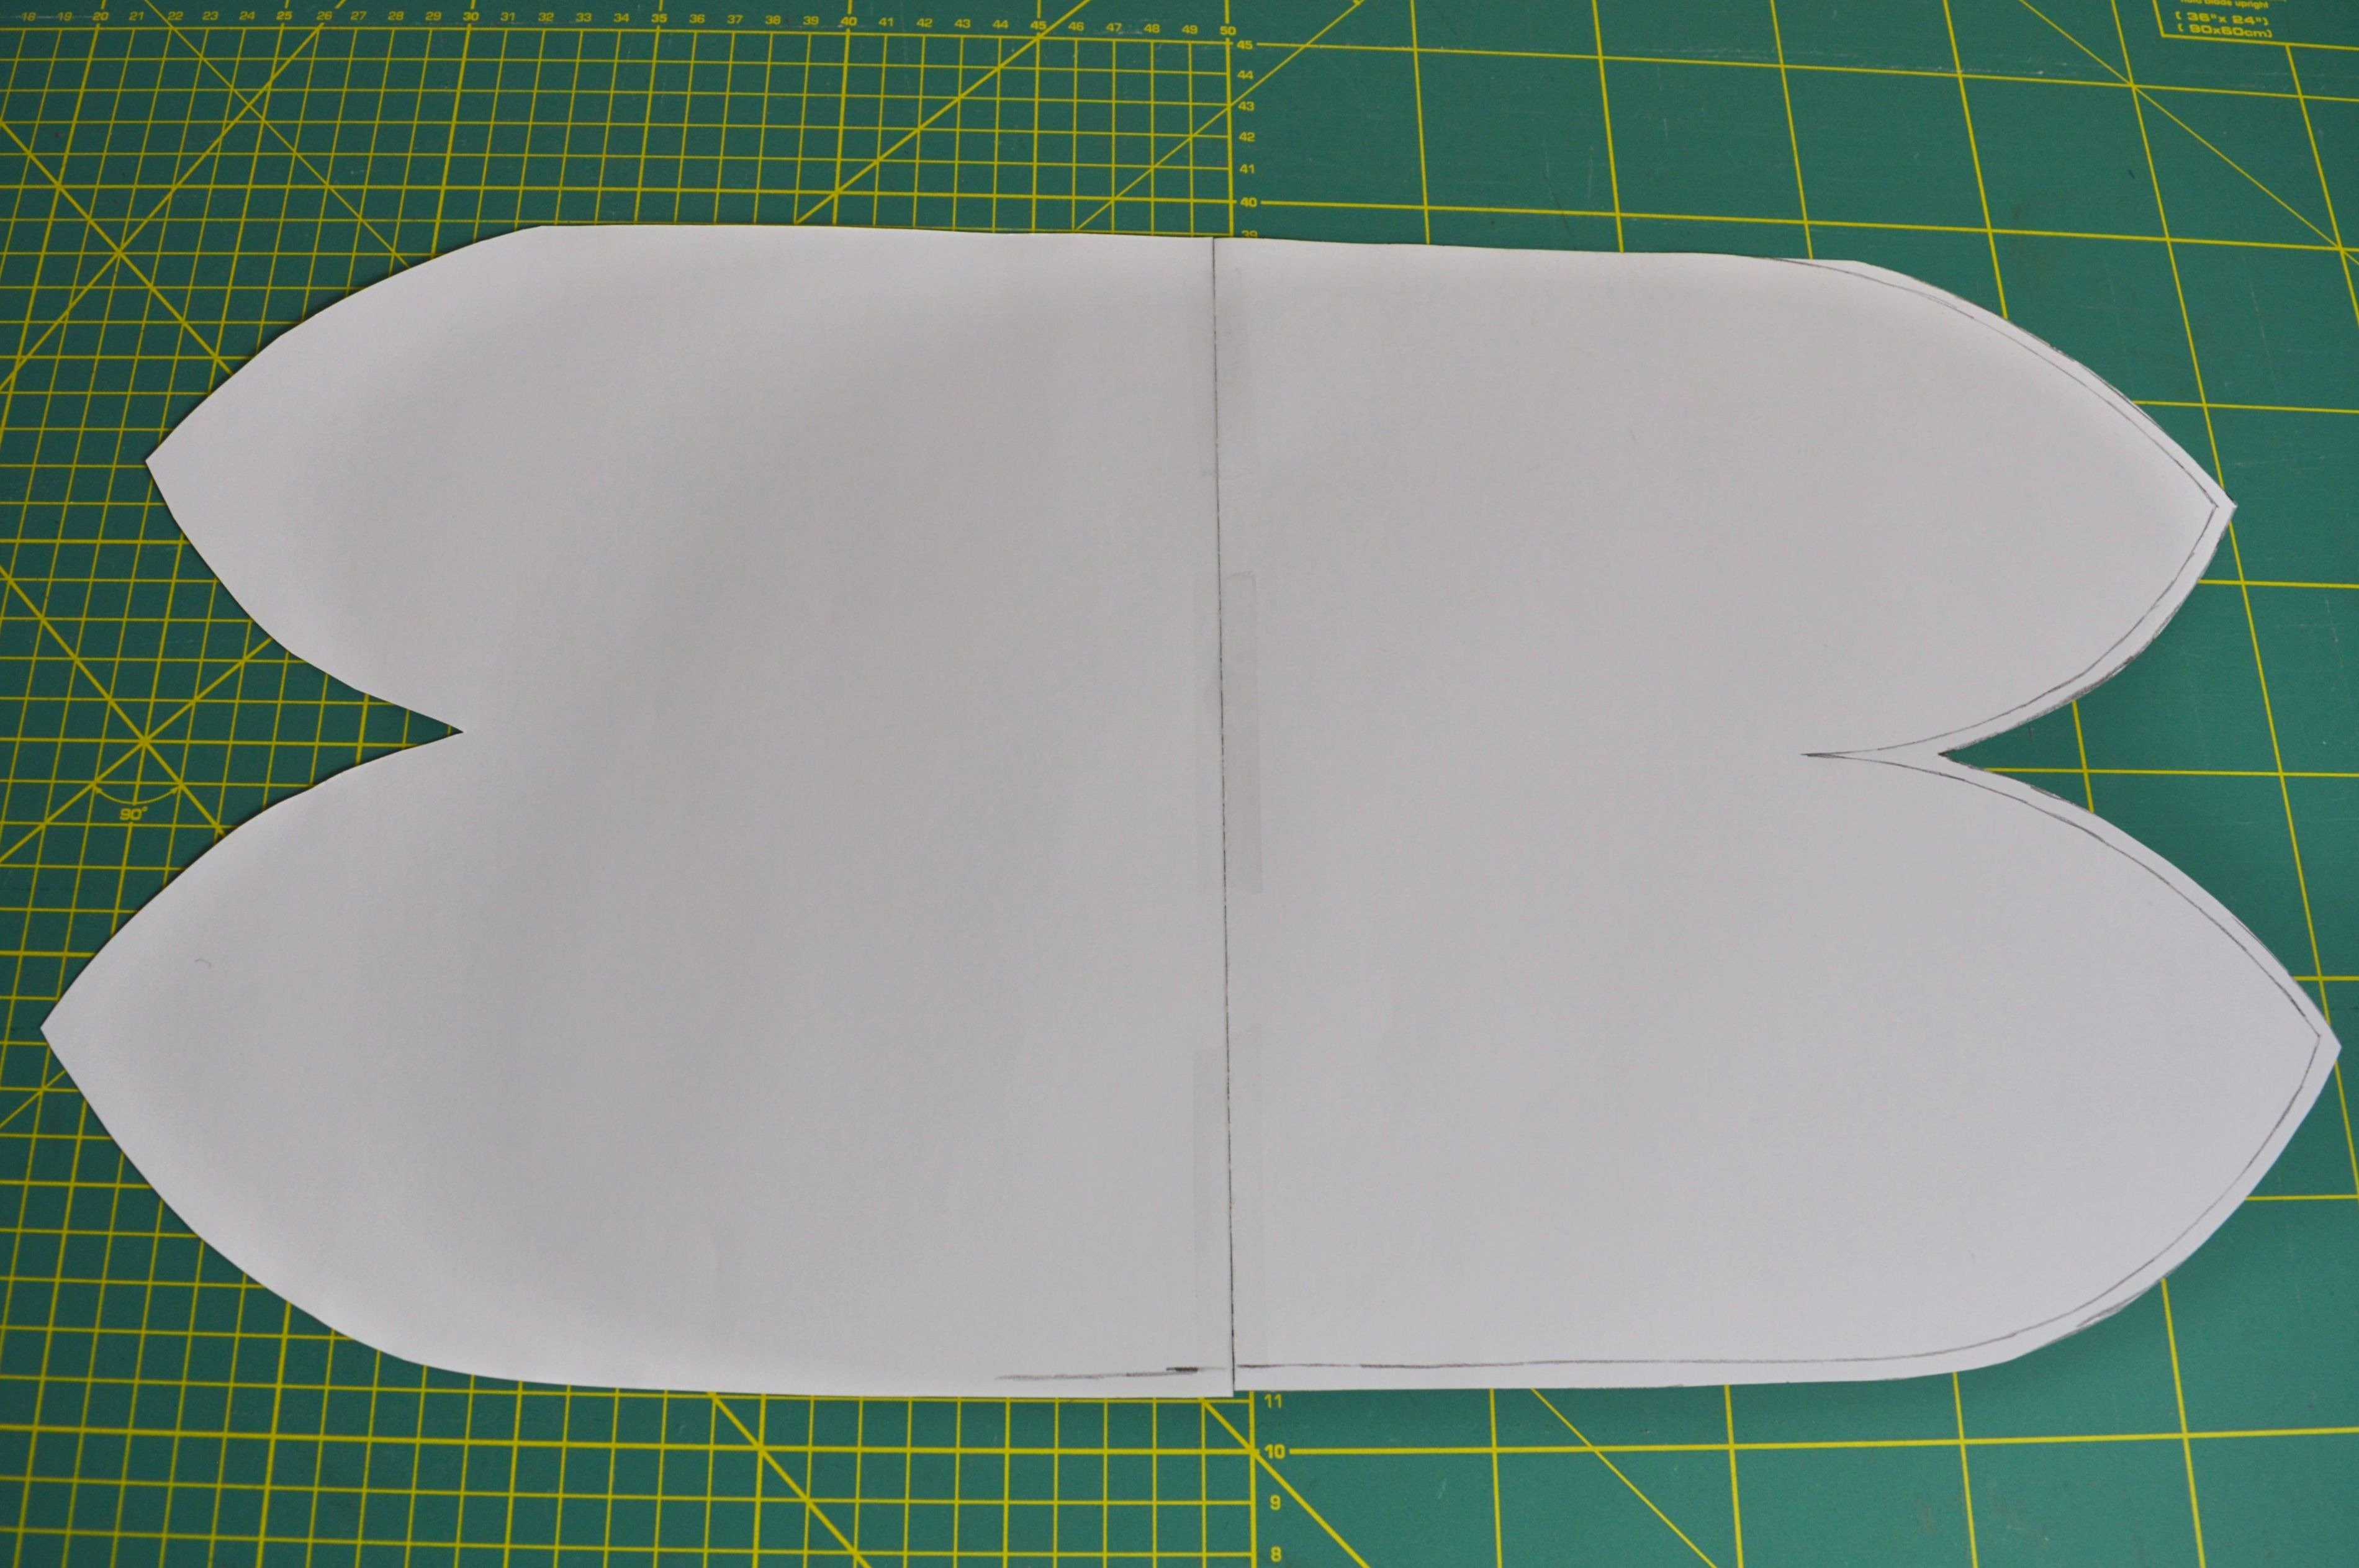
Pattern
SEWING
MATERIAL for a beanie:
- jersey, stretchy knit or stretchy fleece whose length depends on the length of the beanie (max 65 cm)
(If the length of the hat is 25 cm, then it will take up to 55 cm of fabric where 5 cm is added for the seam allowance if you go for a 30 cm long hat, you need a max 65 cm fabric, i.e., 2×30 cm +5 cm seam allowance.)
- thread in matching color
!!! Use only stretch fabrics!
!!! Pay attention on which direction the fabric stretches!
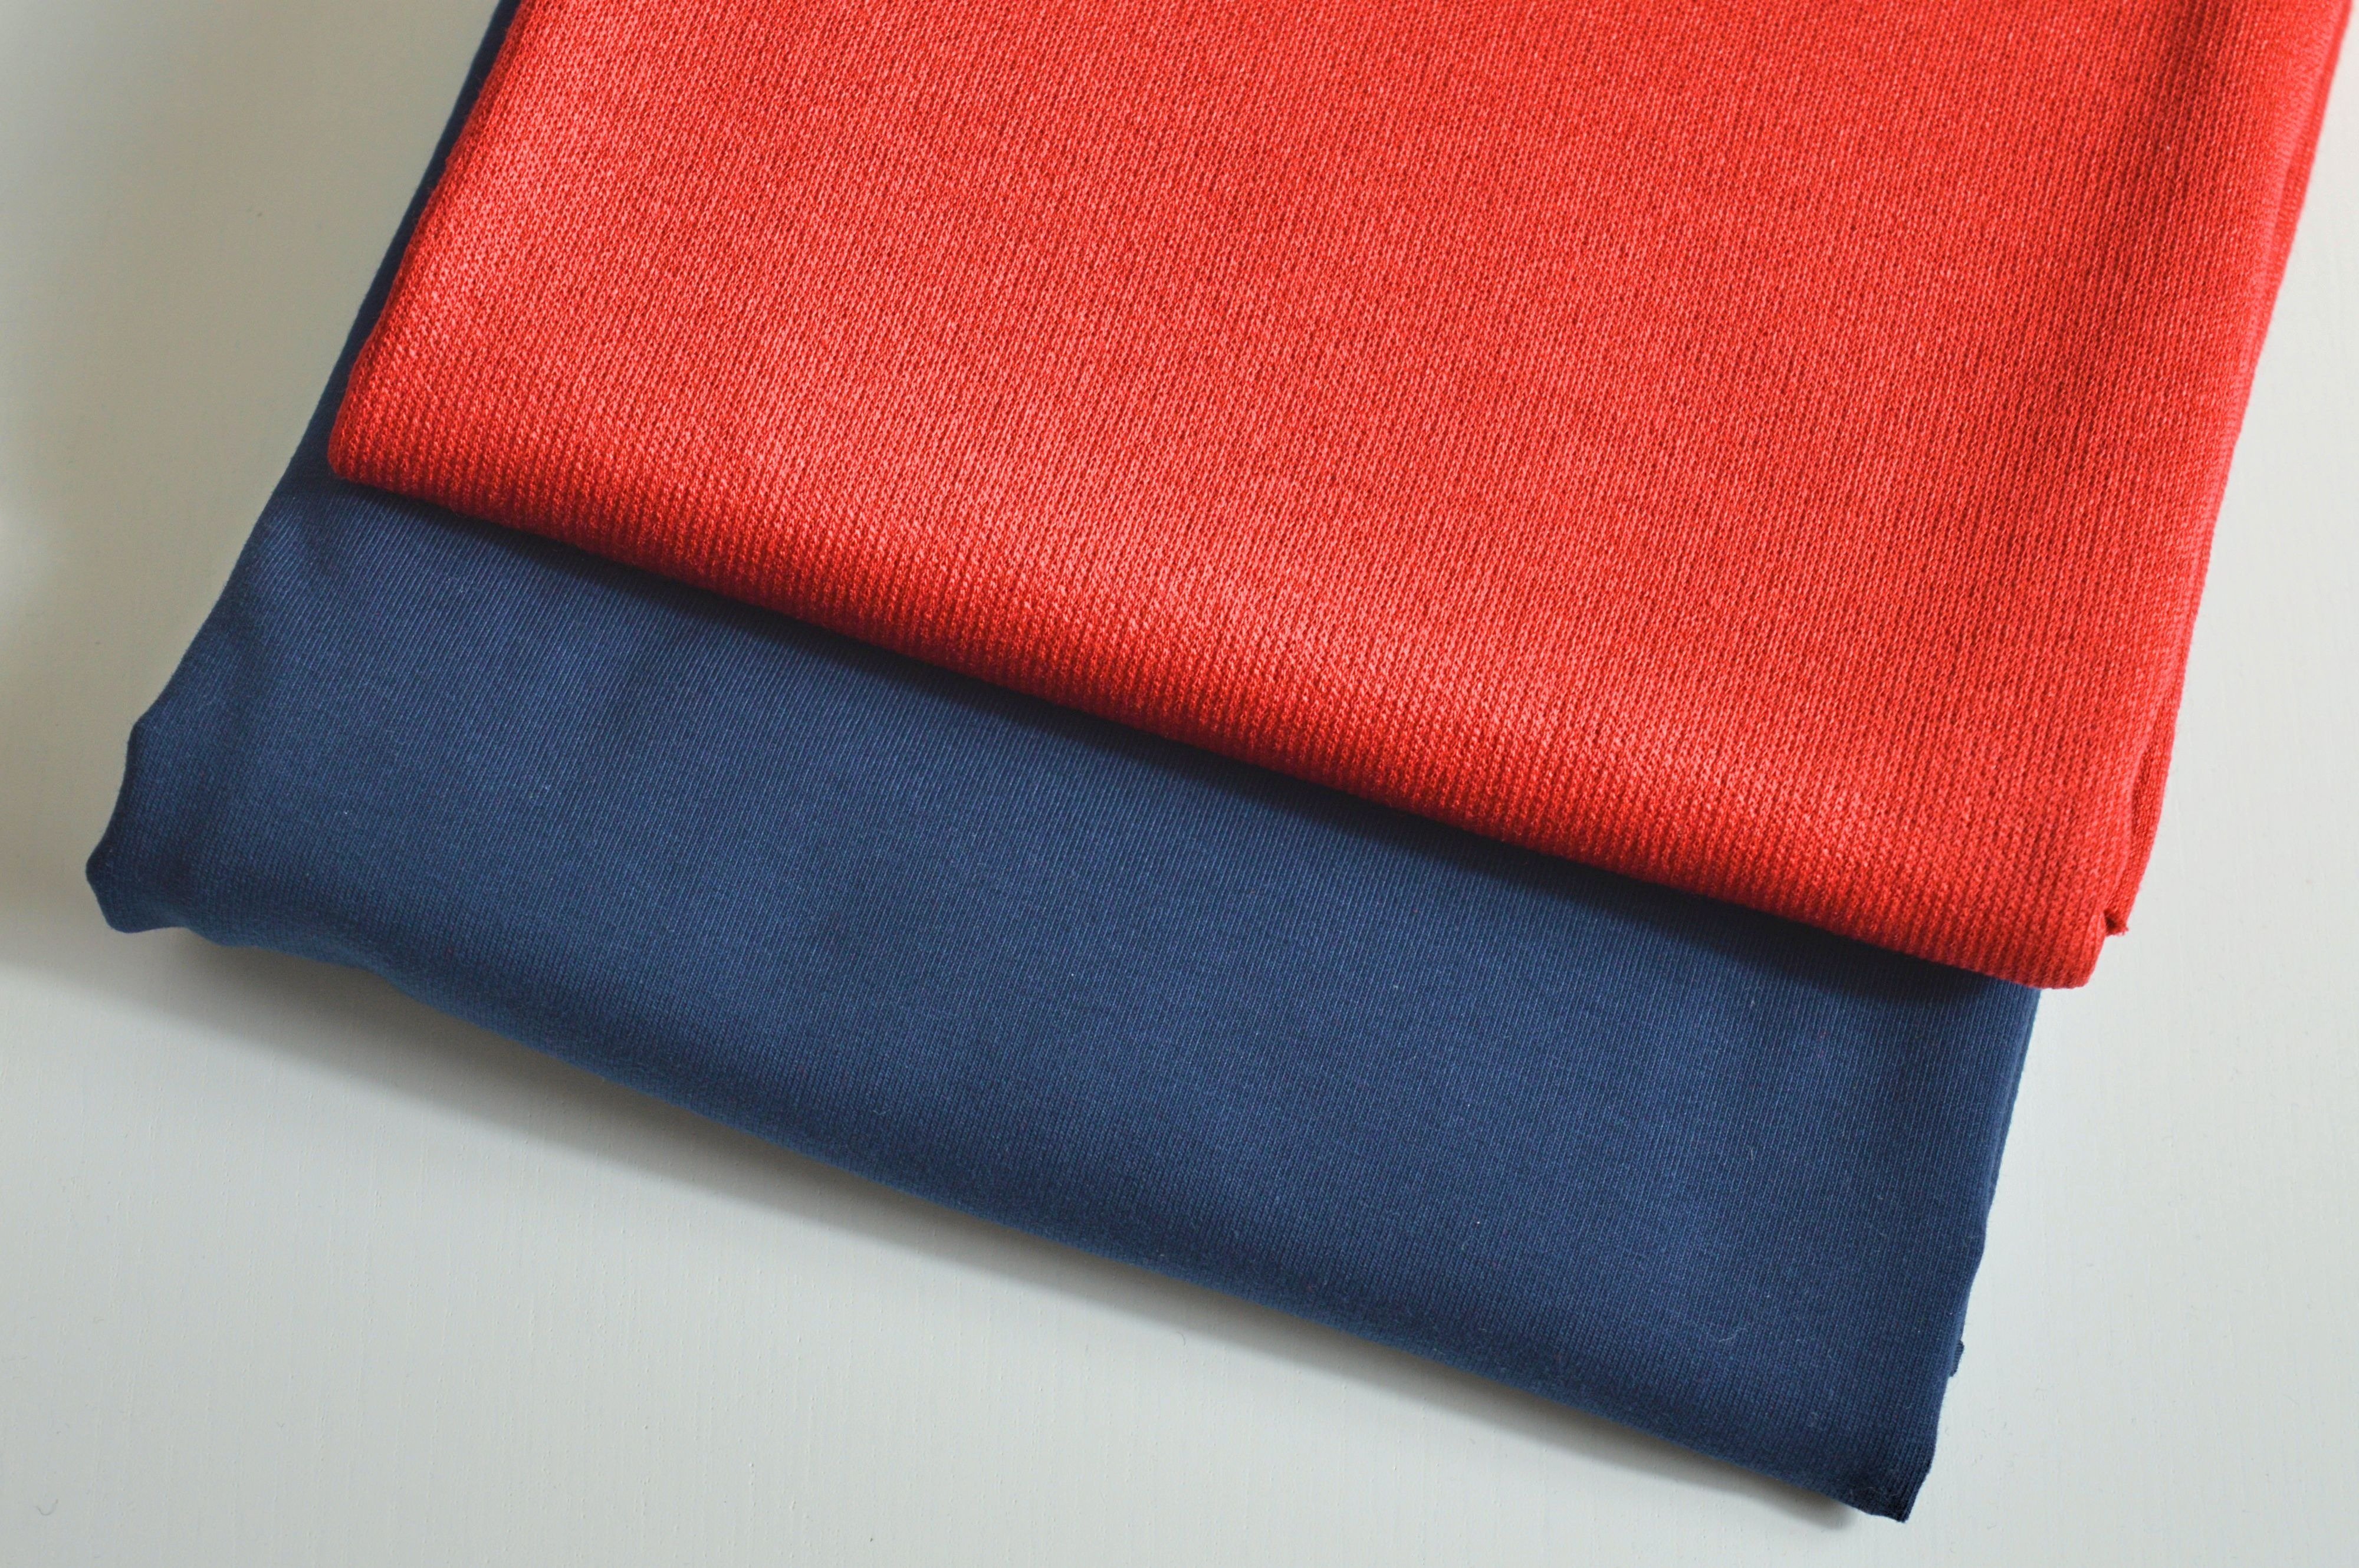
Fabrics
NOTE: Here is used a dark blue jersey composed of 95% cotton and 5% elastane, and in the picture can be seen too, a red knit fabric composed of 65% polyethylene, 30% viscose, and 5% elastane, which I liked, and both were 55 cm length.
NOTE: If you purchase a fabric of a standard width 140 cm, it is enough for 2-3 caps, depending on the size or sizes.
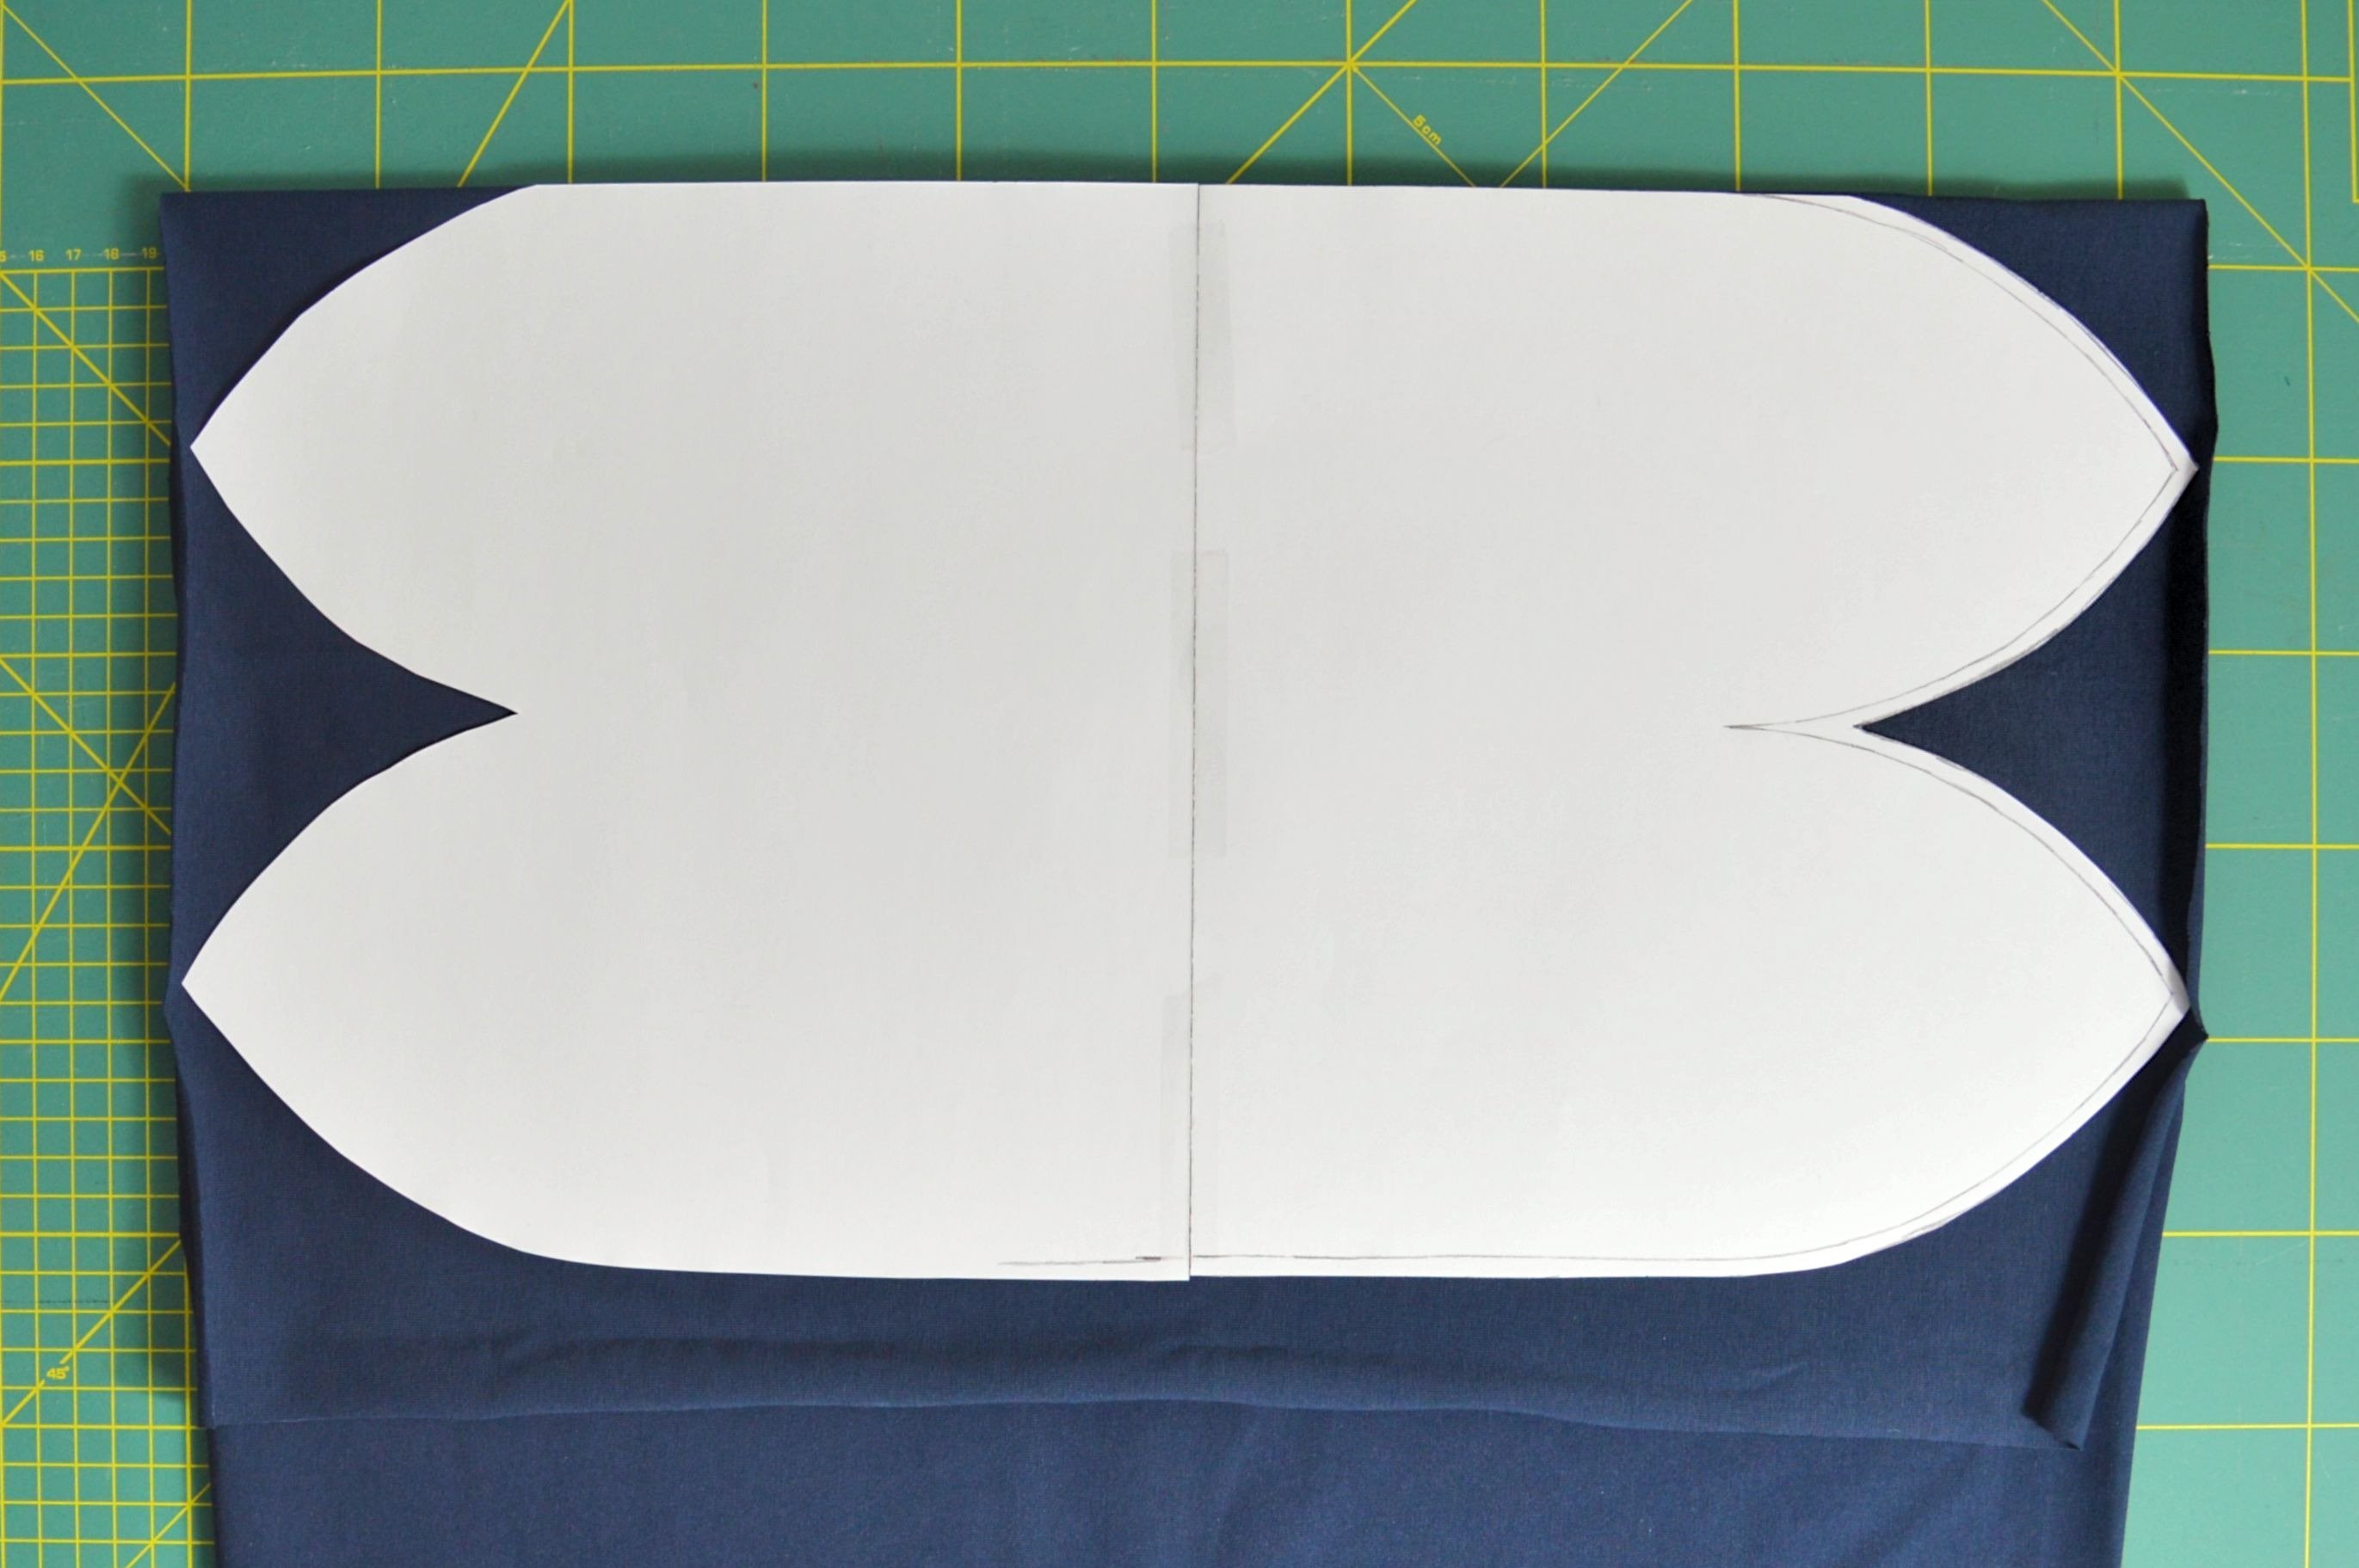
Beanie is cut out from one piece of fold-over fabric.
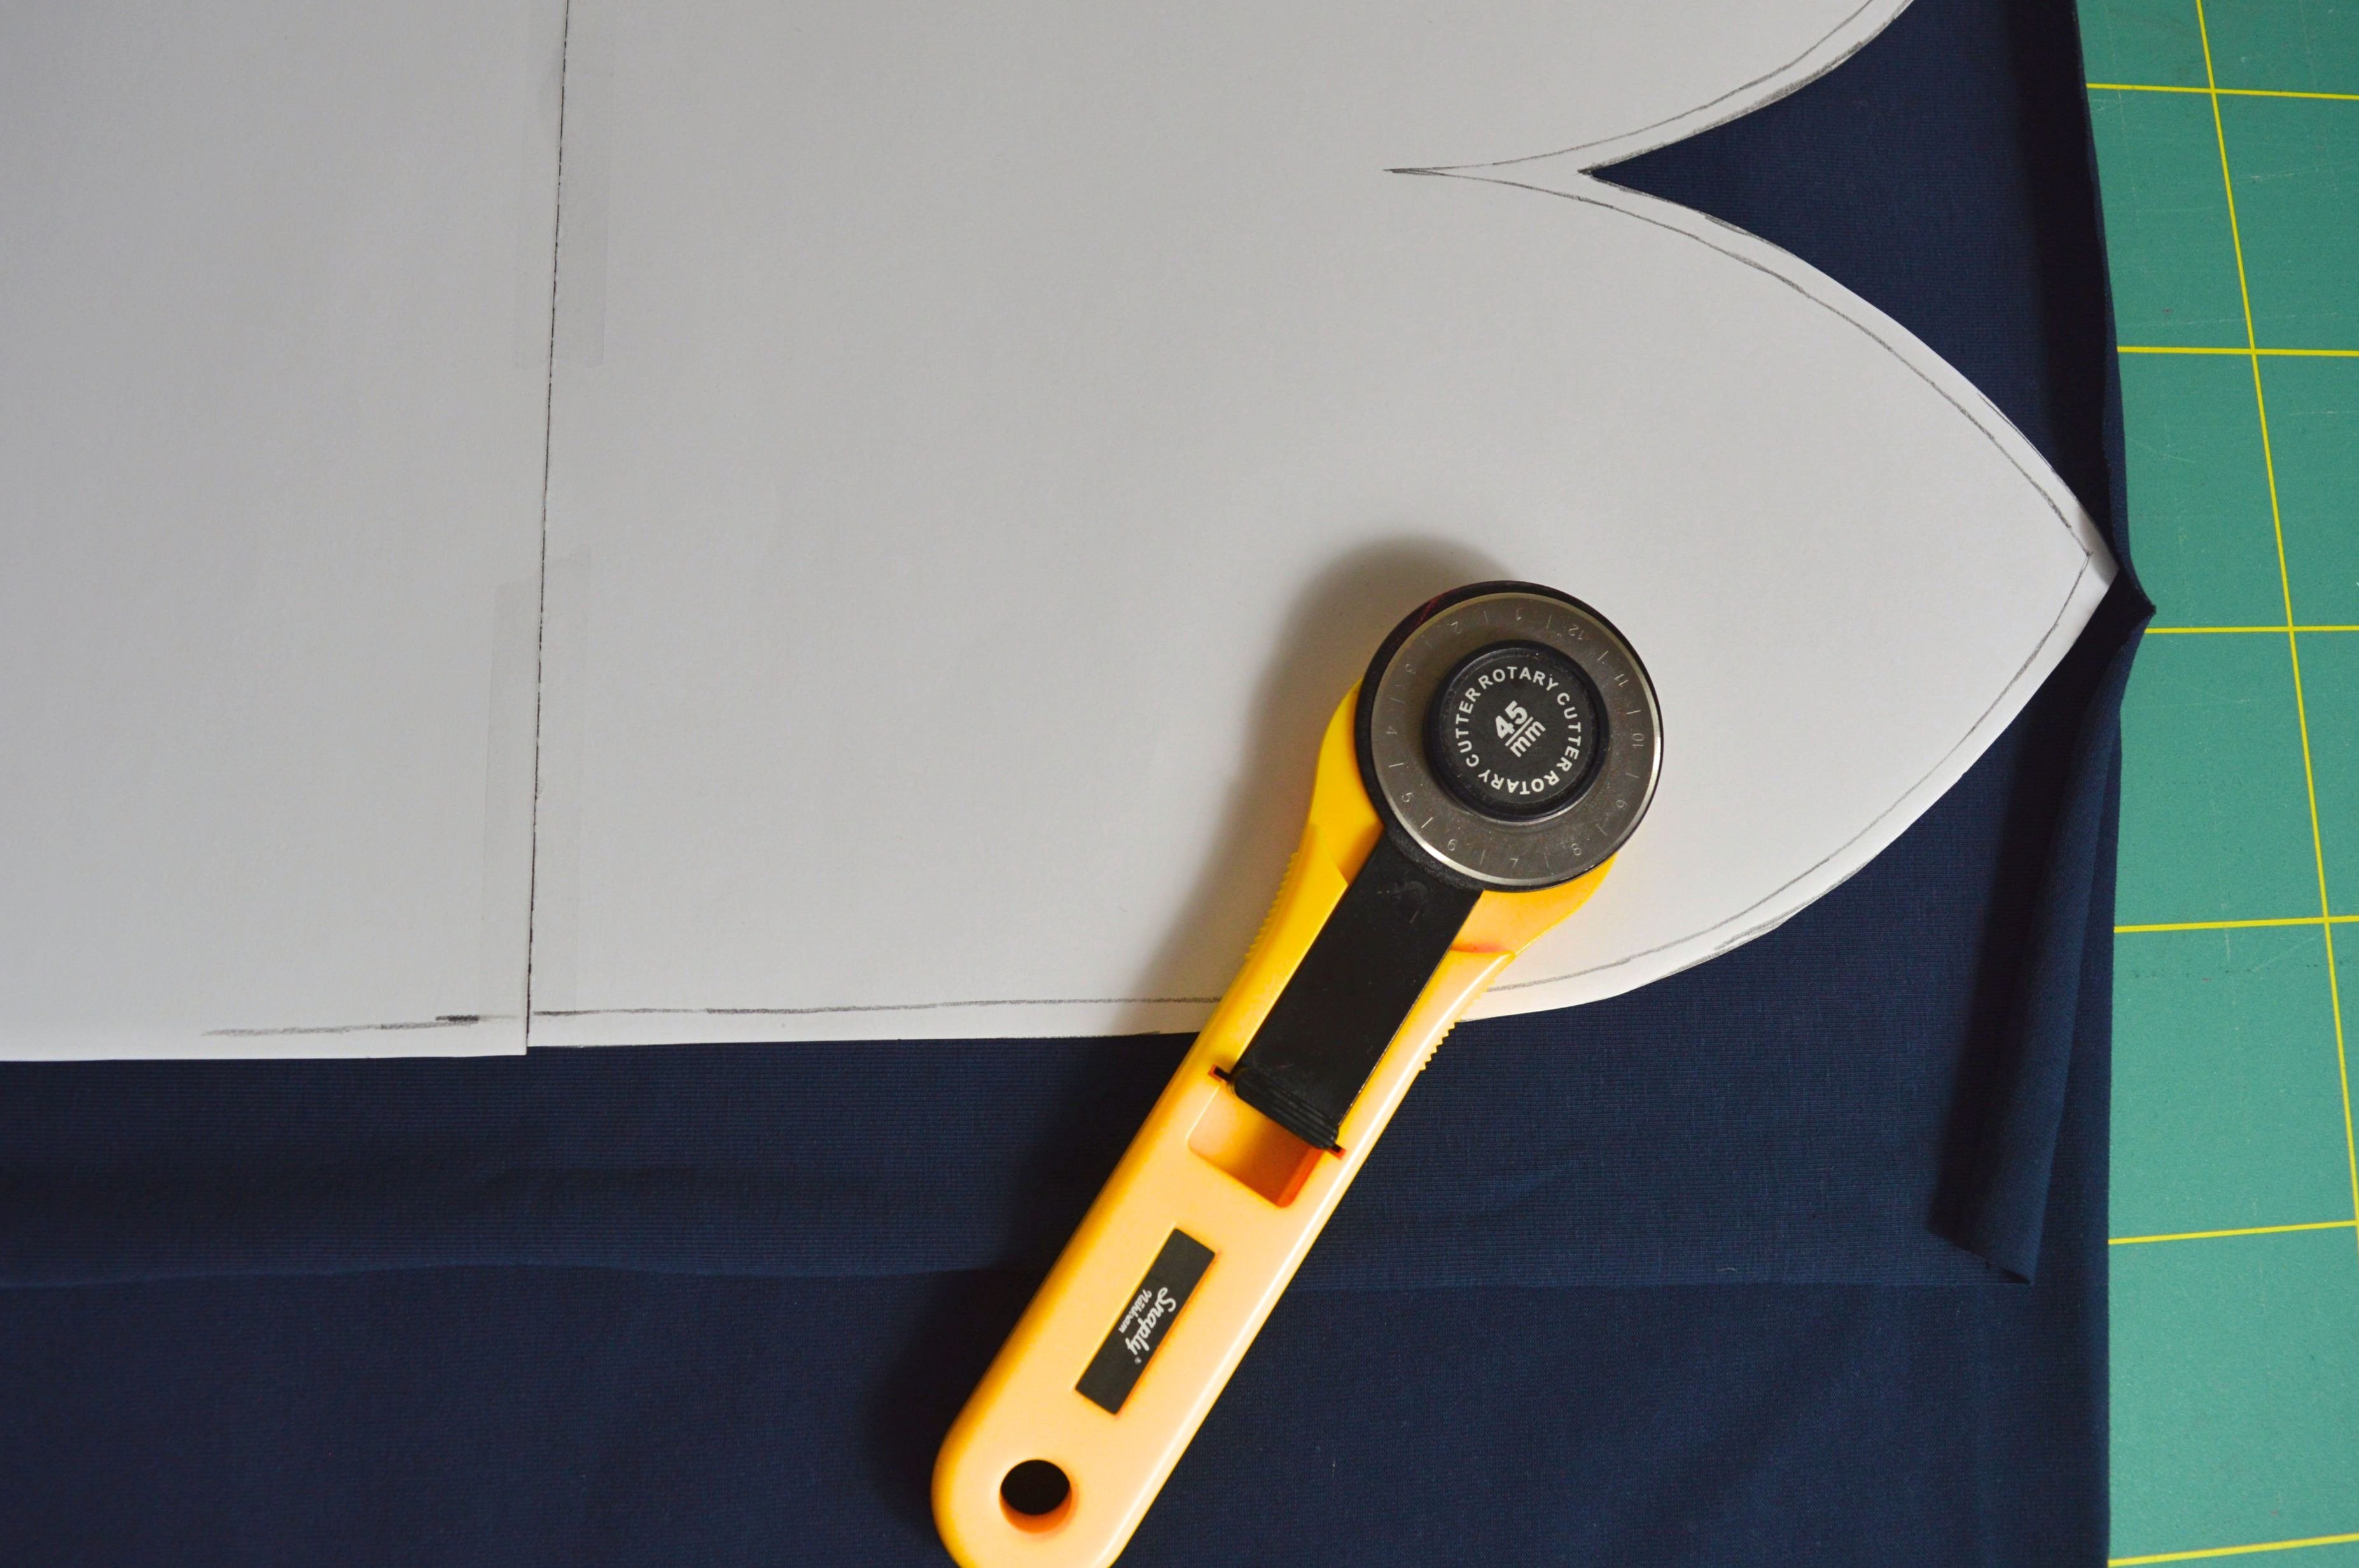
TIP: The edges of the jerseys twist, and before washing, you can overlock them, this will prevent twisting after washing and by cutting.
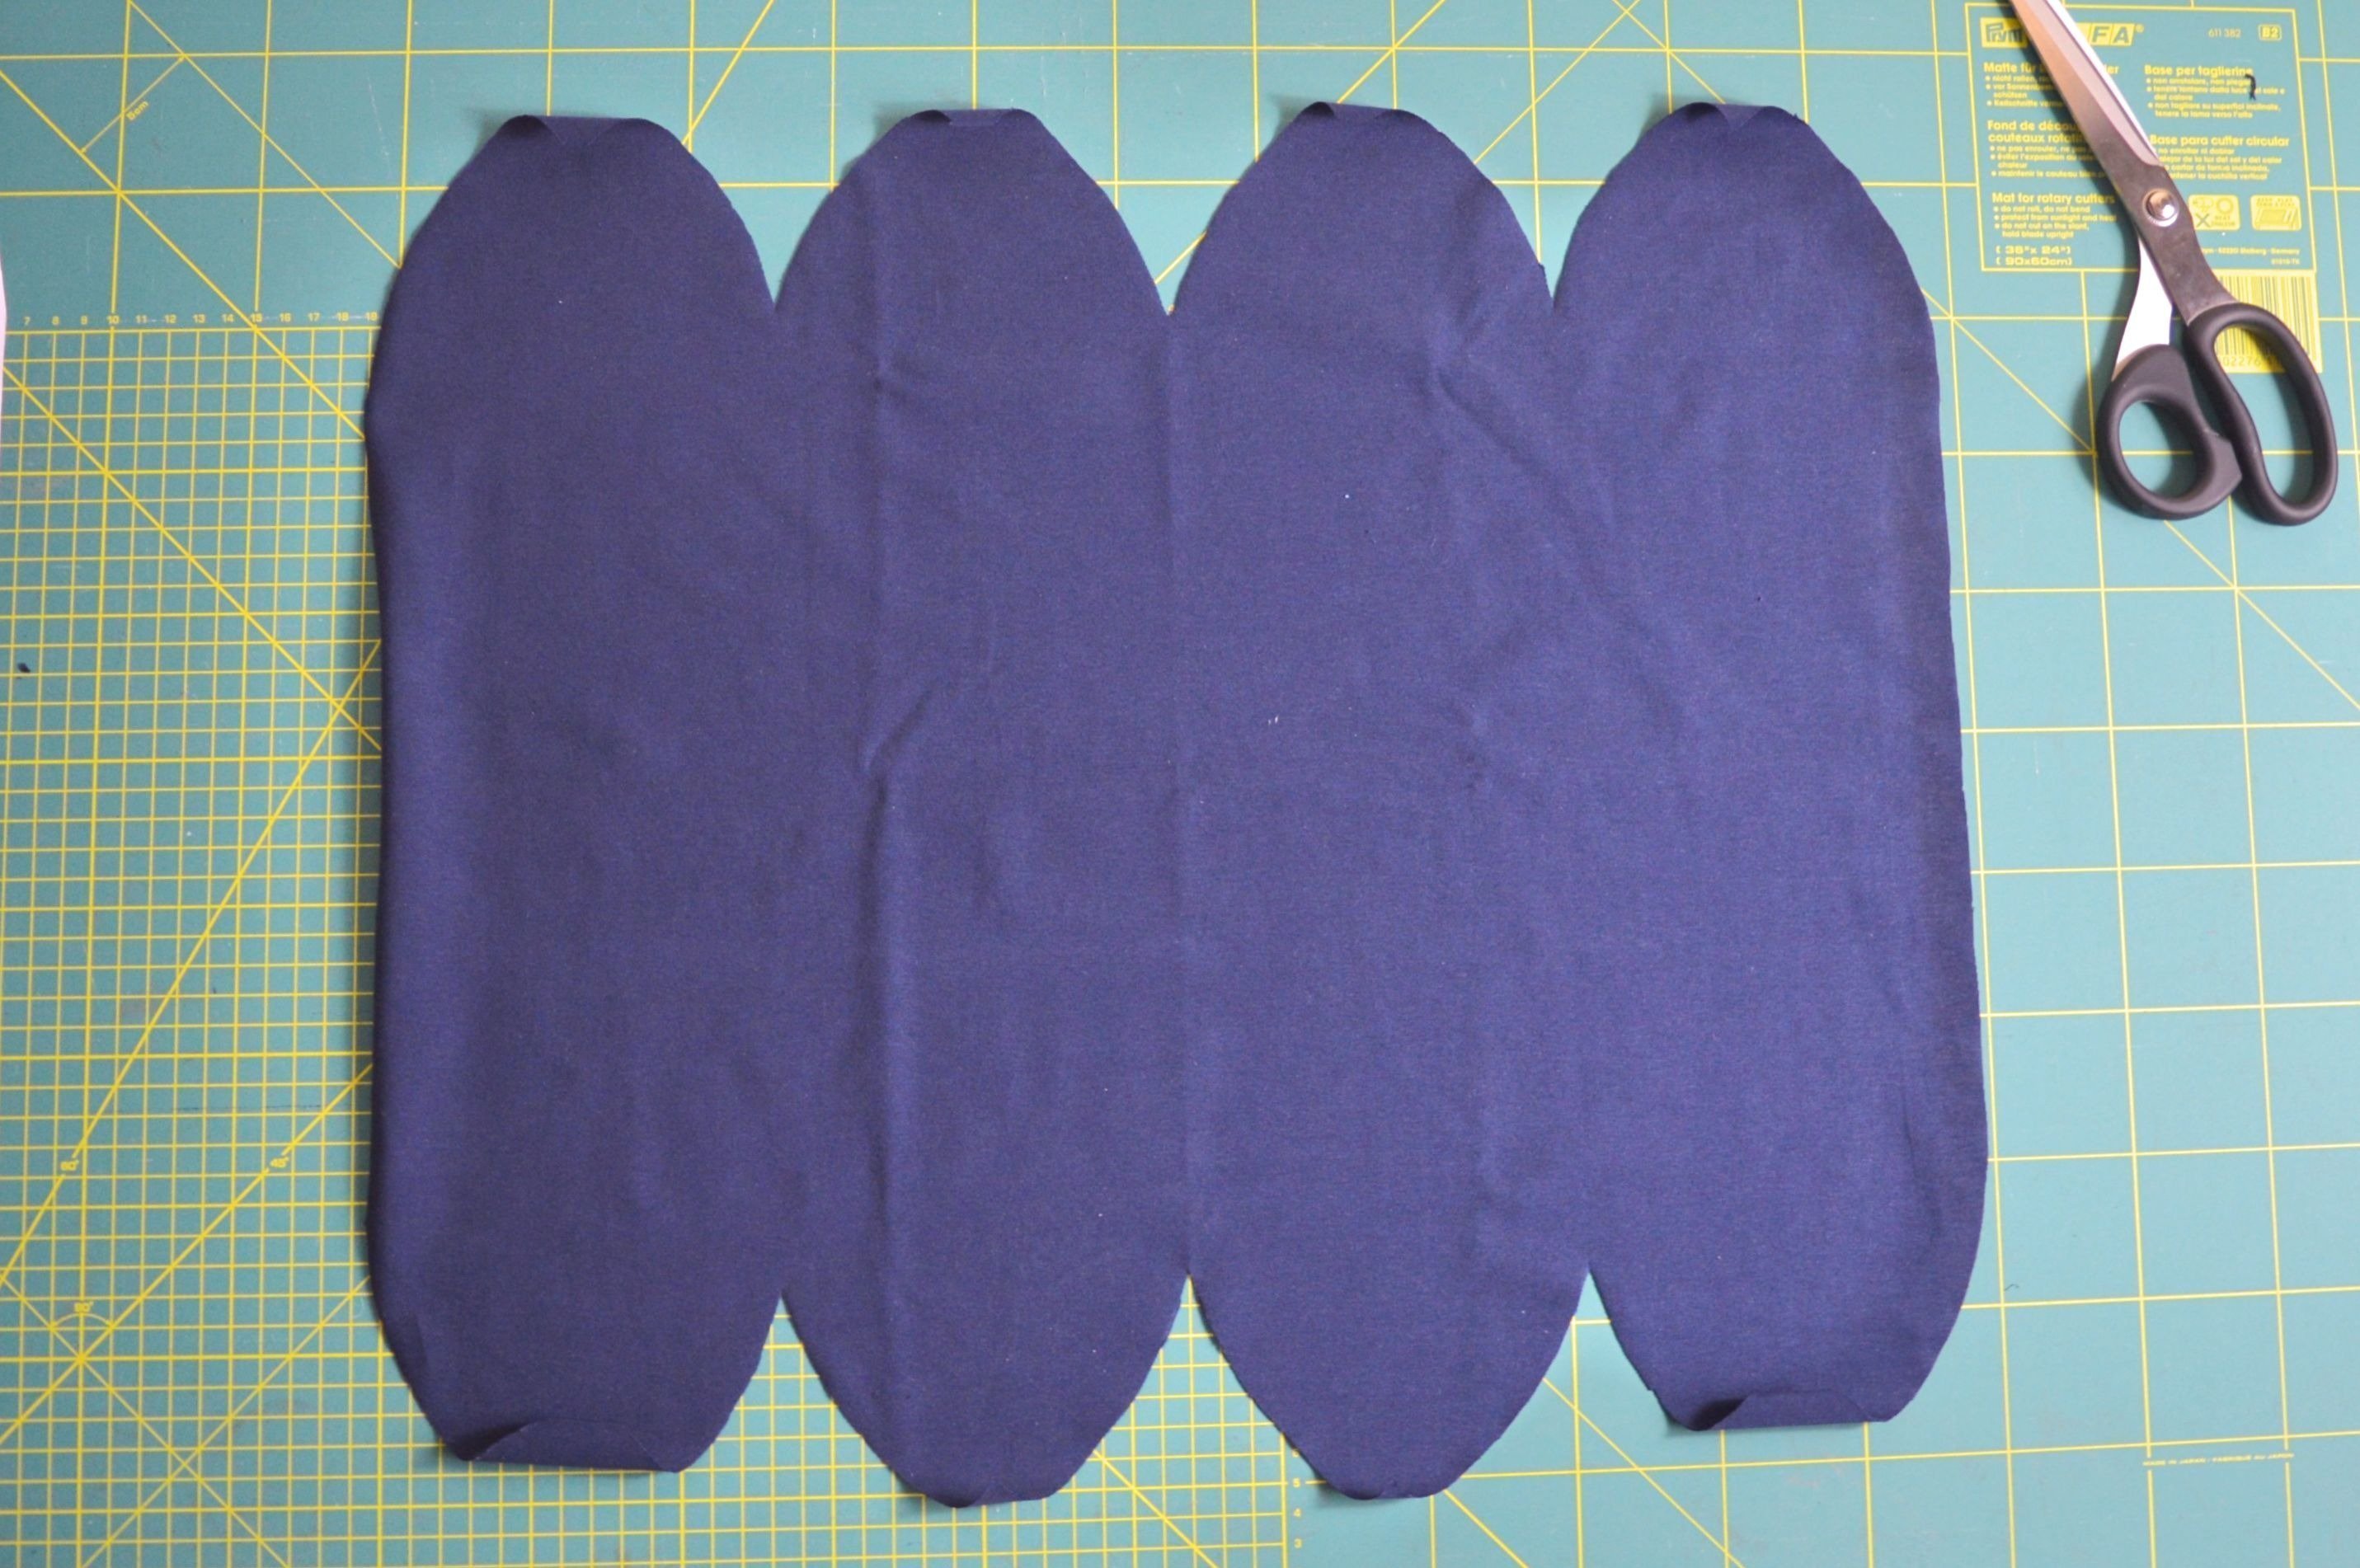
Cut out the fabric by the pattern using scissors or rotary cutter.
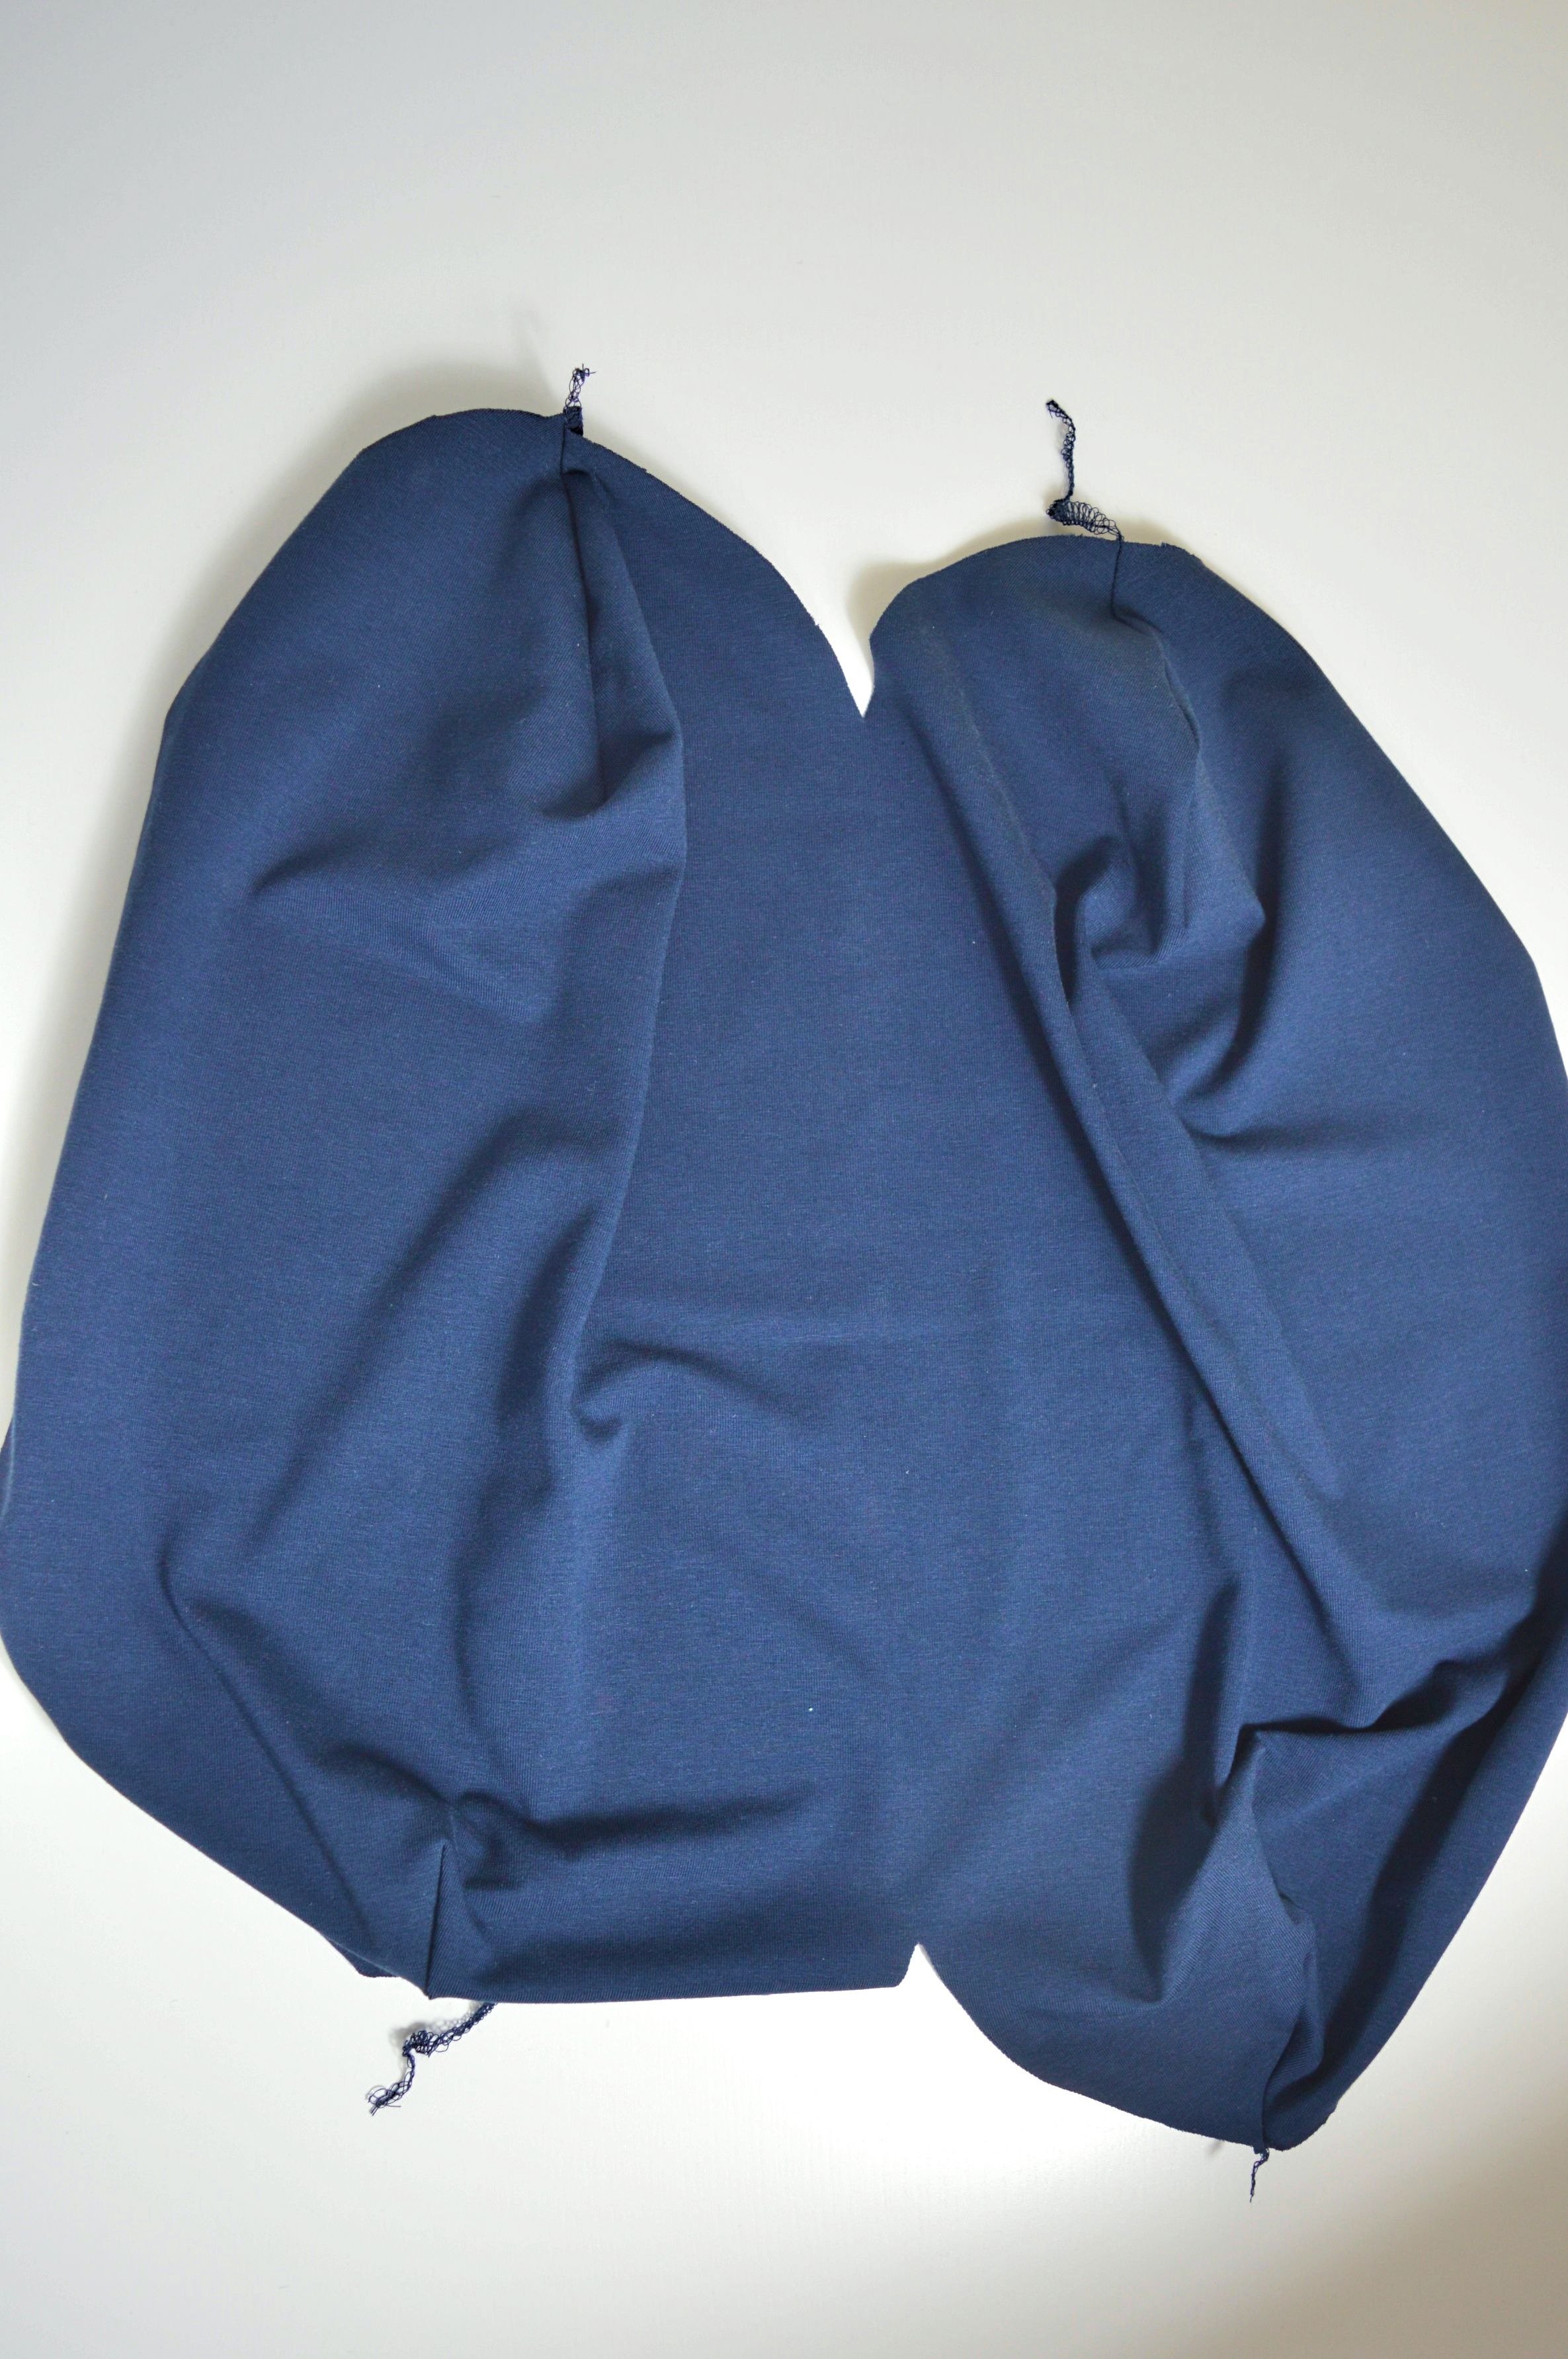
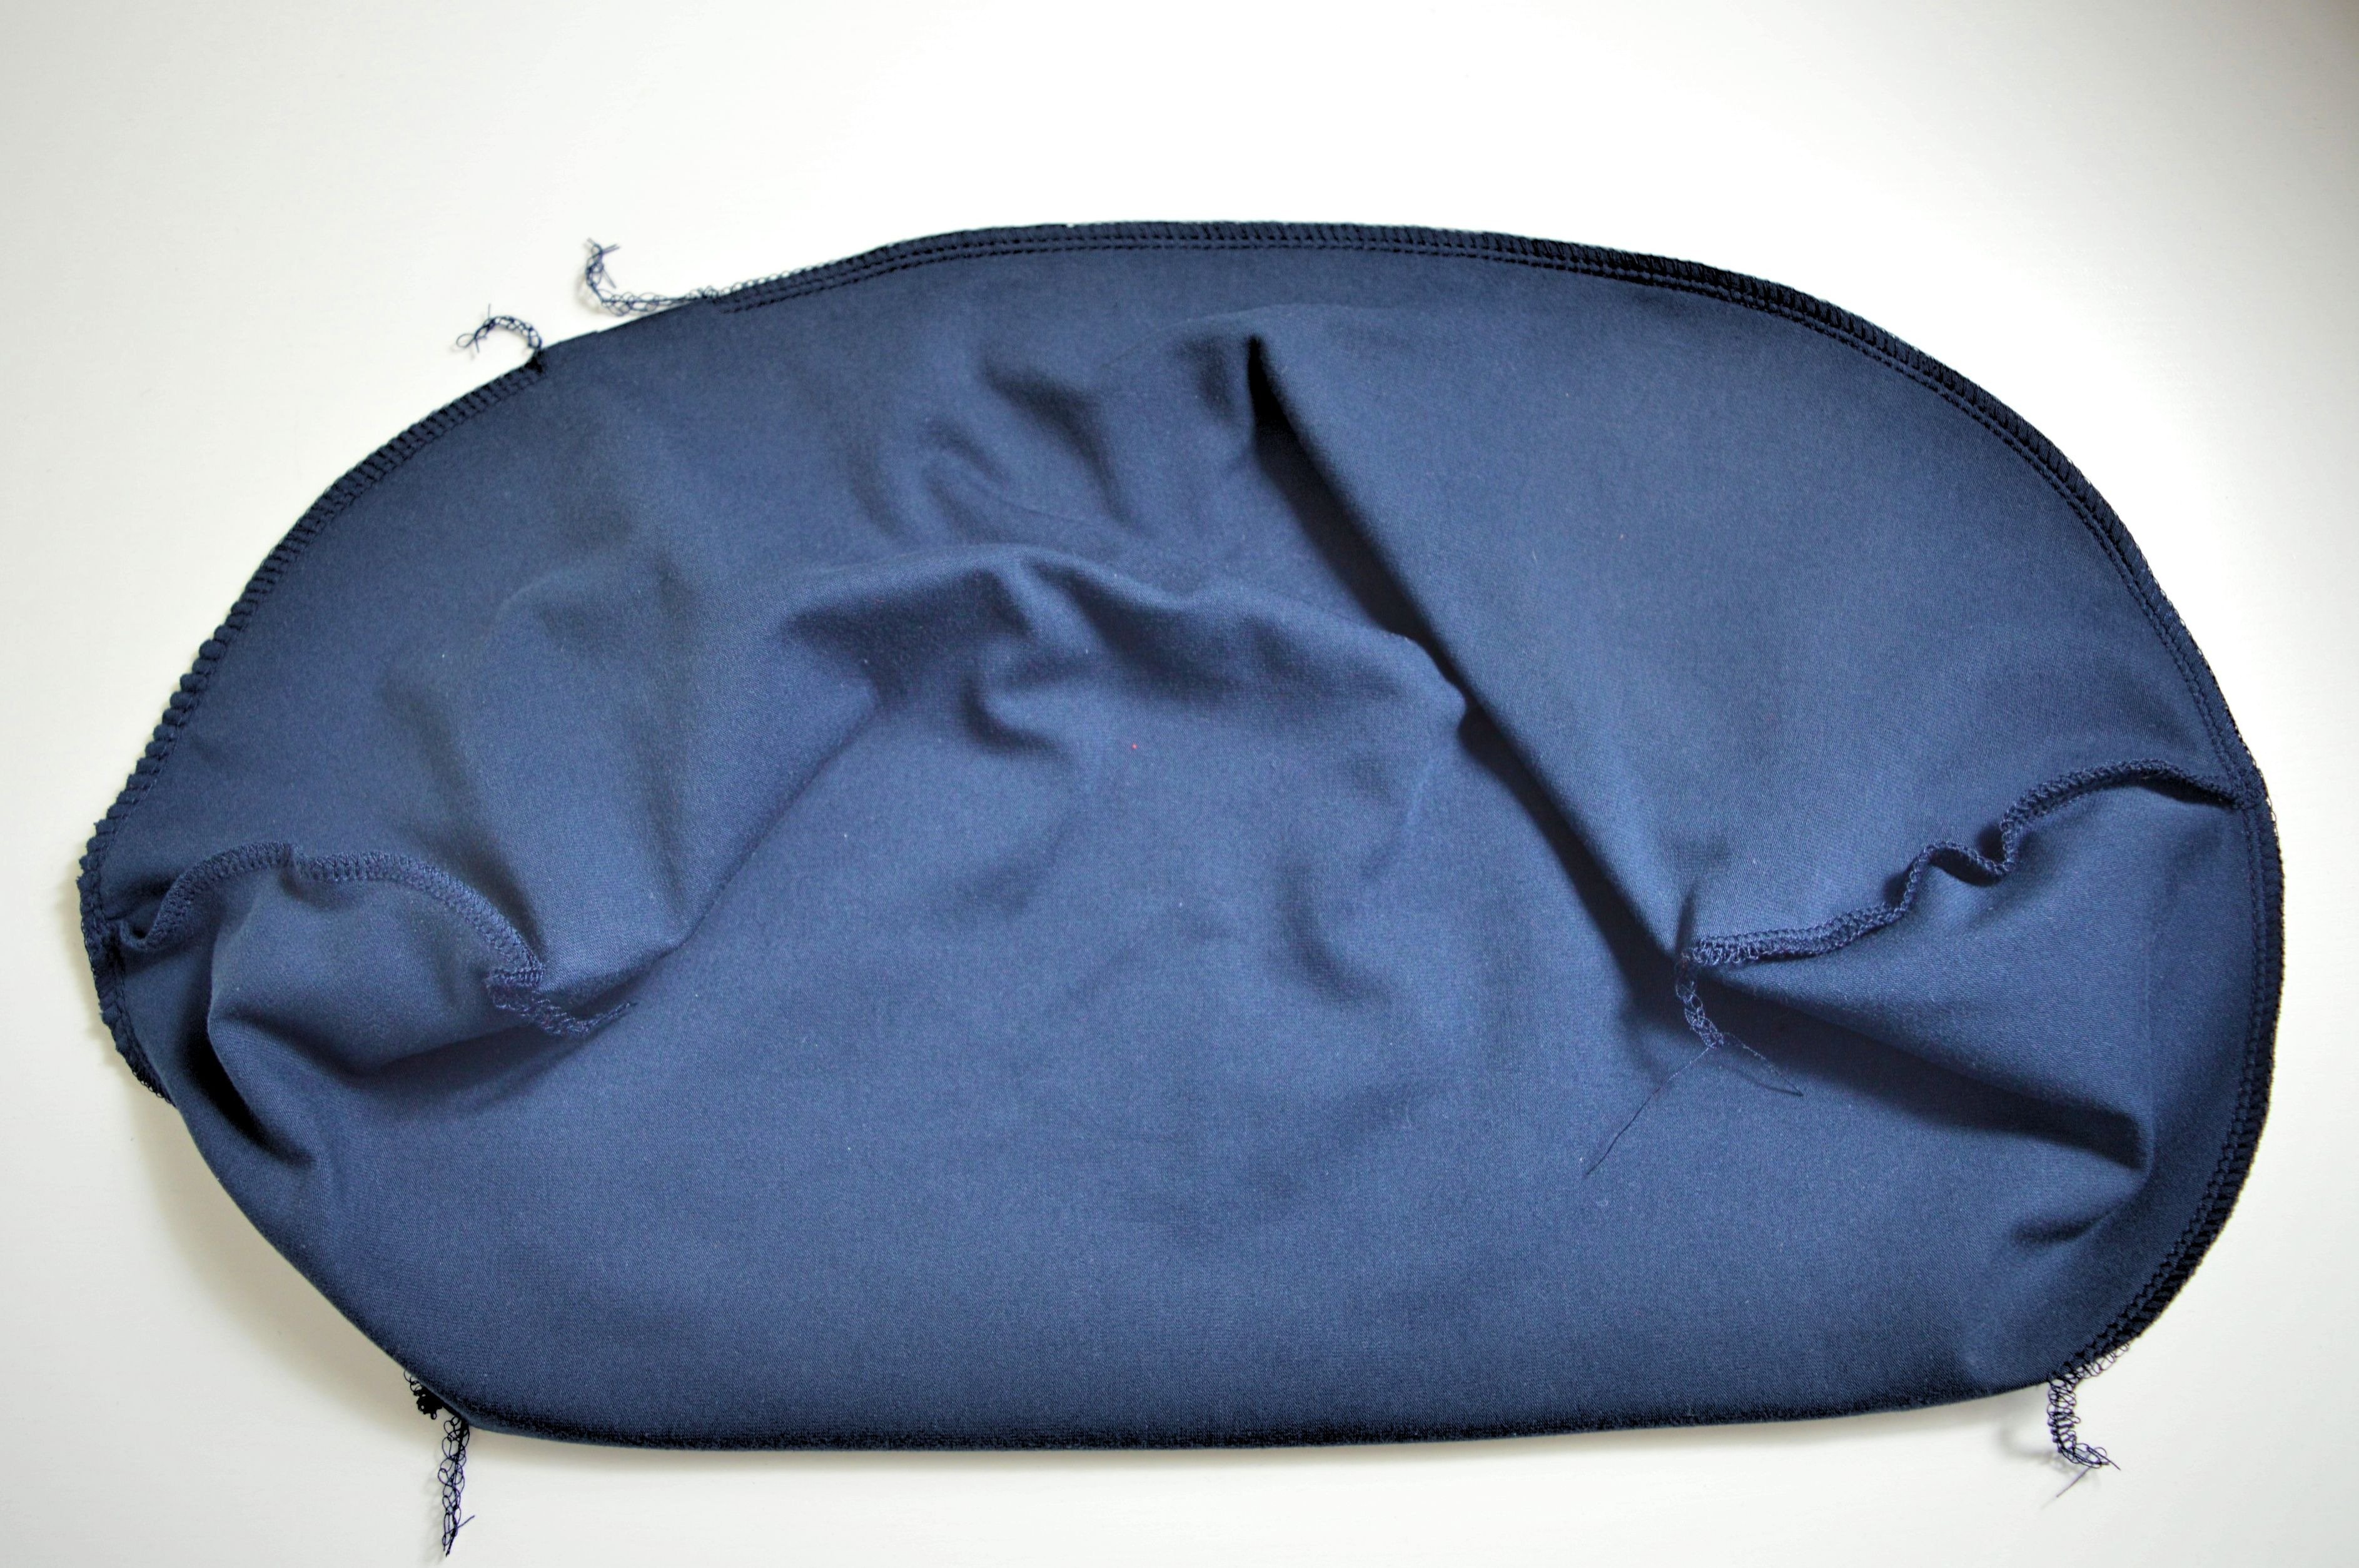
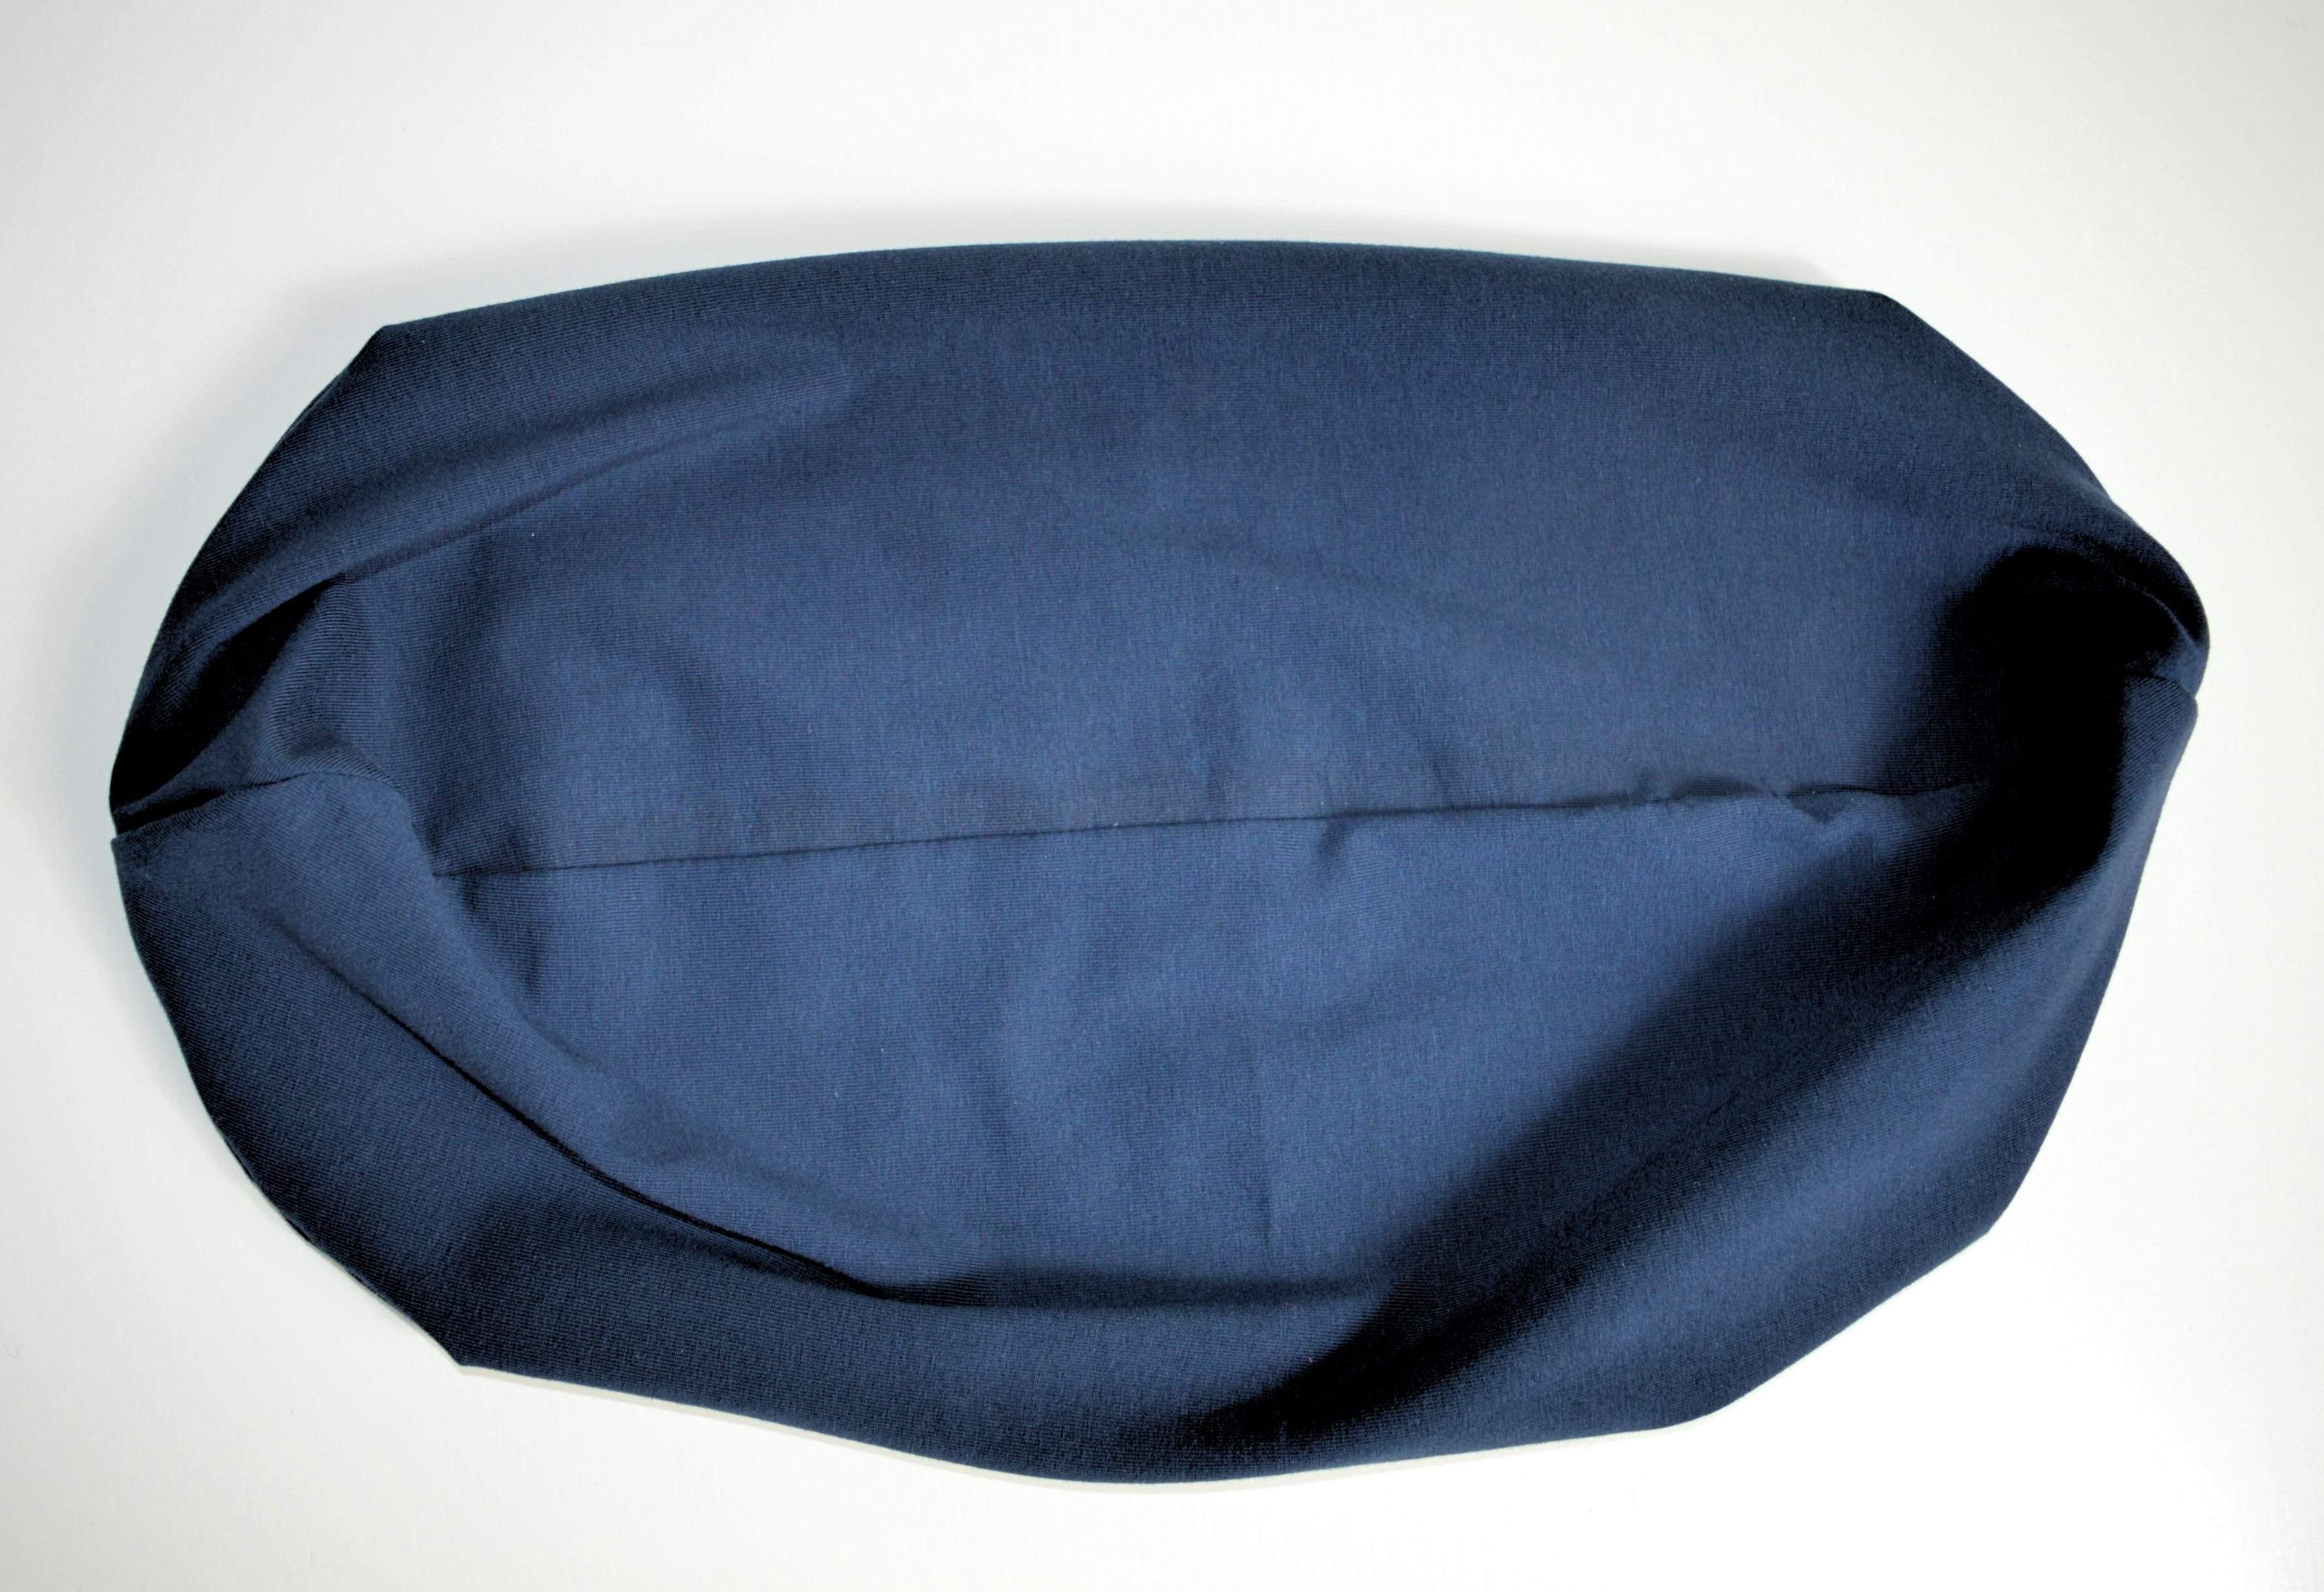
In the picture below you can see how beanie looks like before sewing.
Fold the sides towards the middle, as shown in the picture, right side to the right side of the fabric.
All stitching is done on the wrong side of a beanie, i.e., on the wrong side of the material.
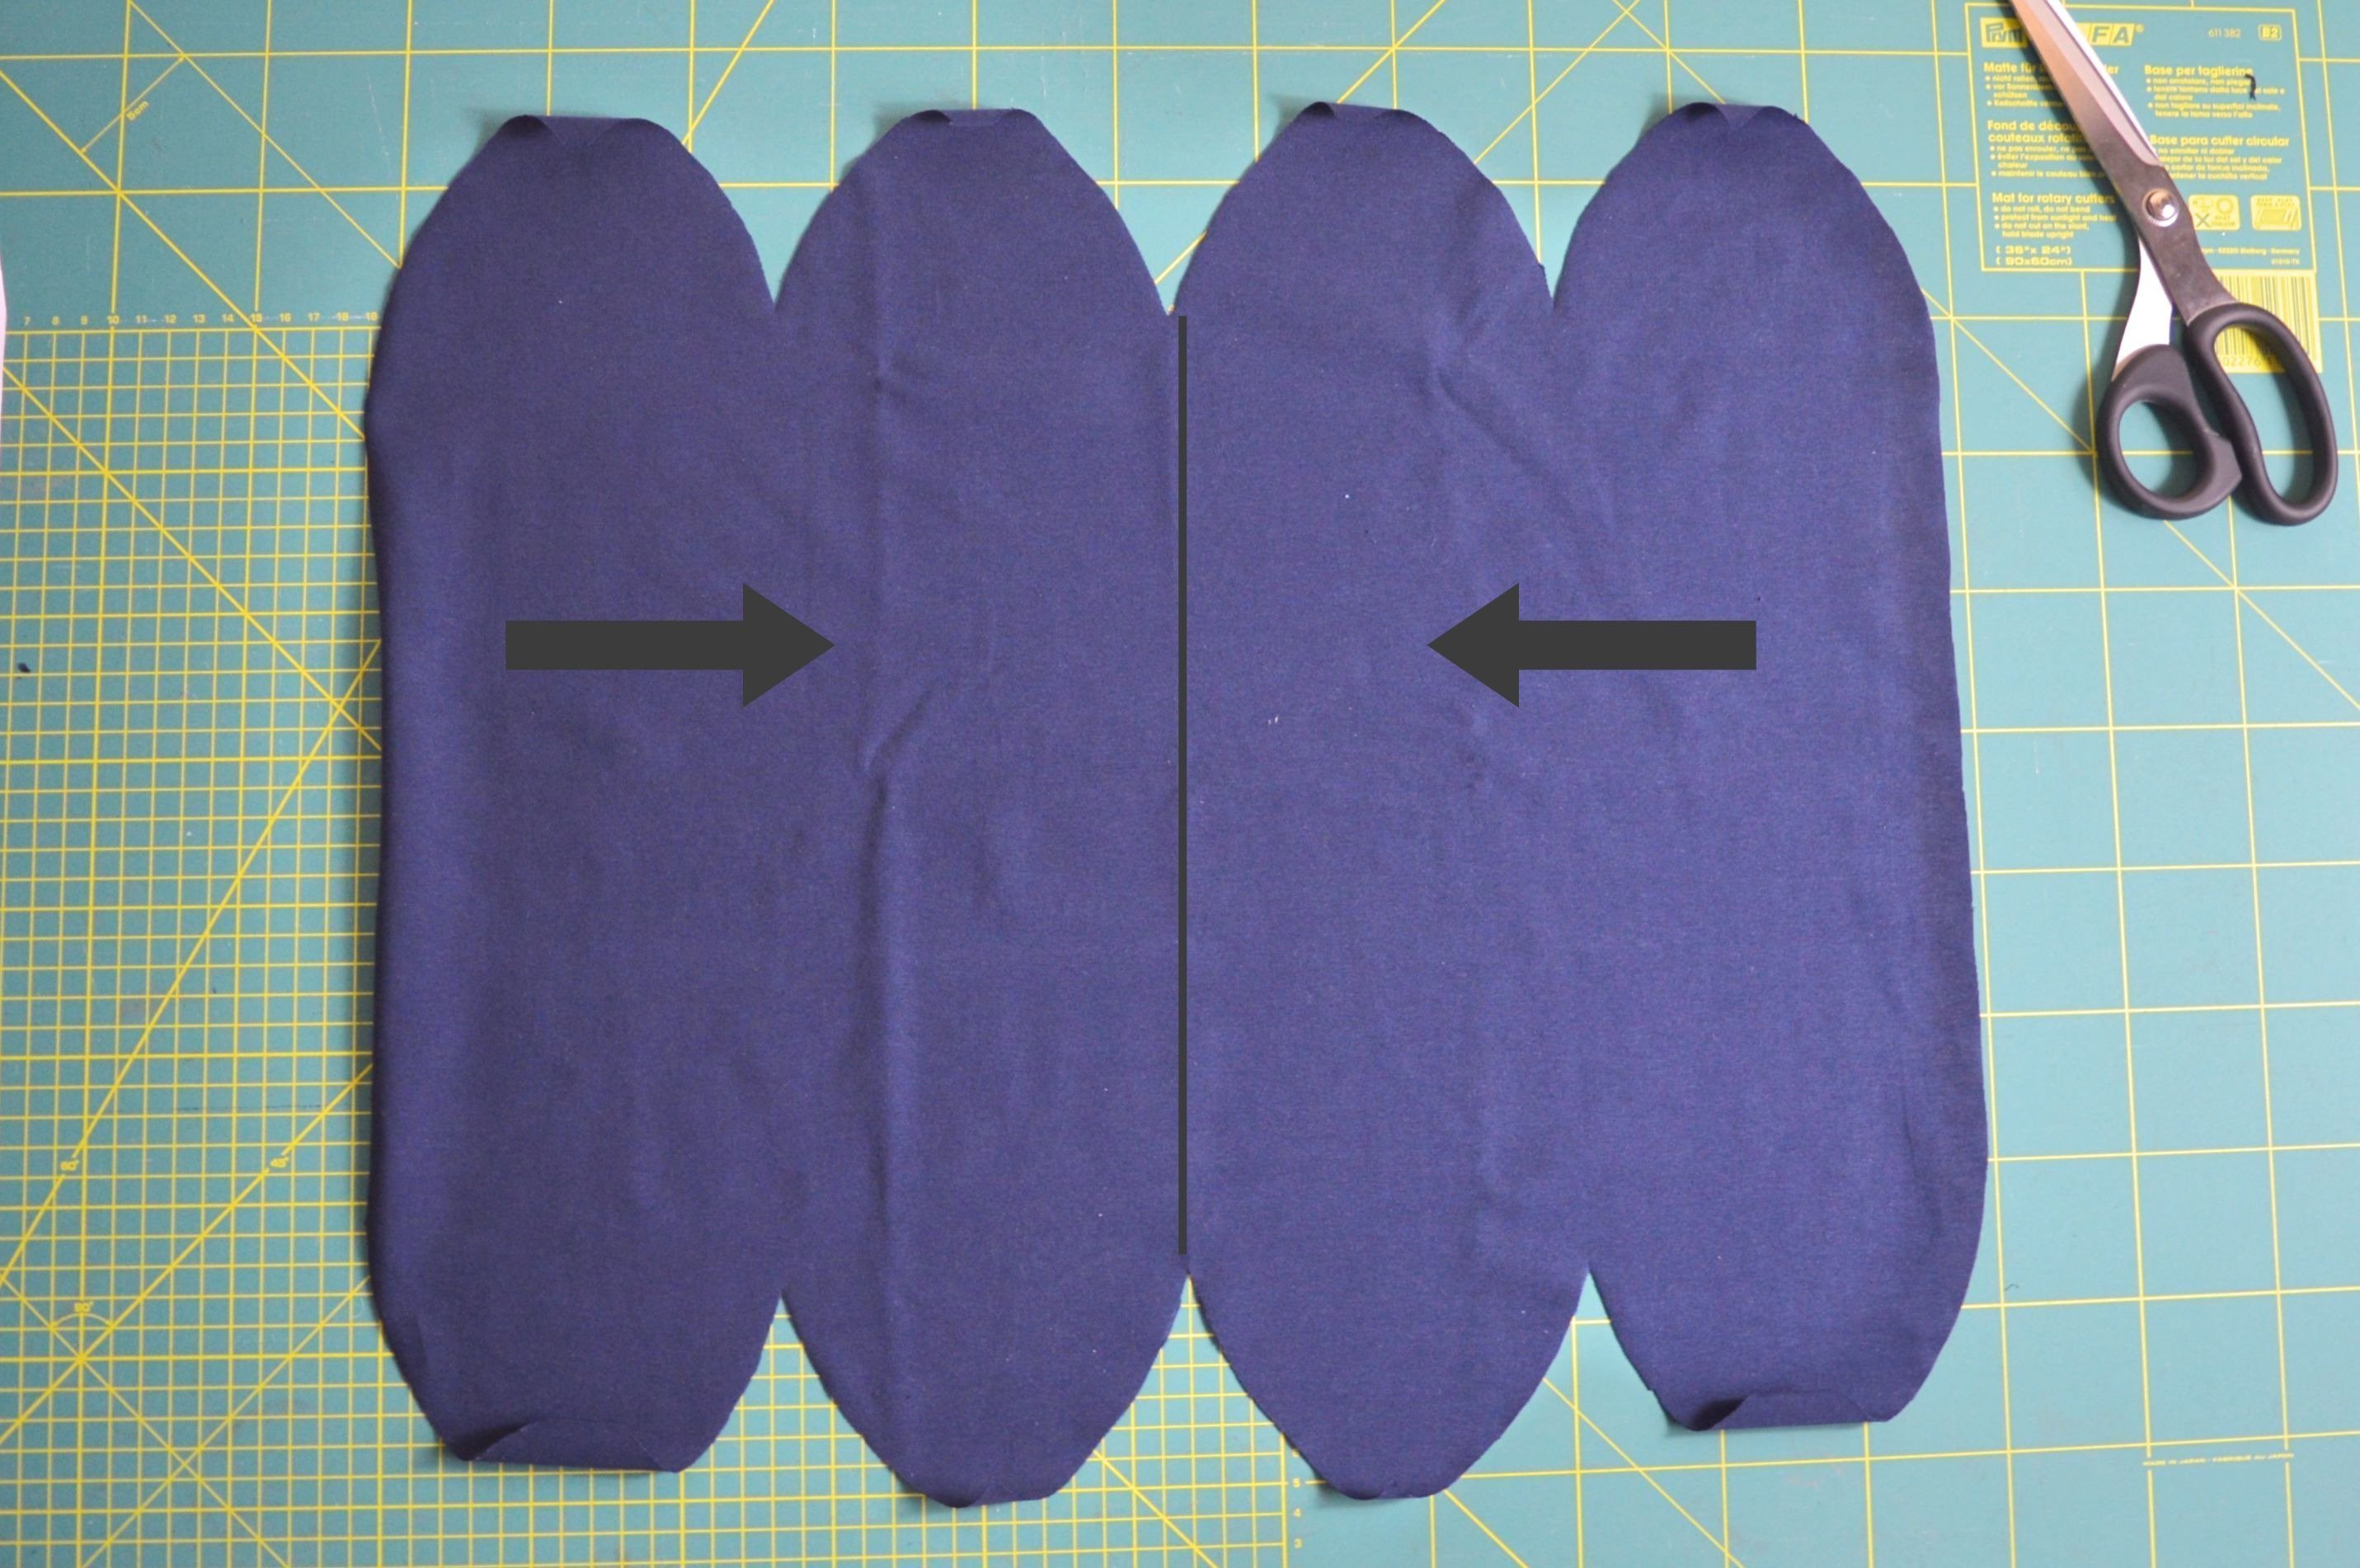
Sew the darts seams shown in the picture below.

As for sewing, here is used Serger/Overlocker Bernina L460, which should be set up for stitching the fabric you are using, but instead, you can use a sewing machine and narrow zig zag.
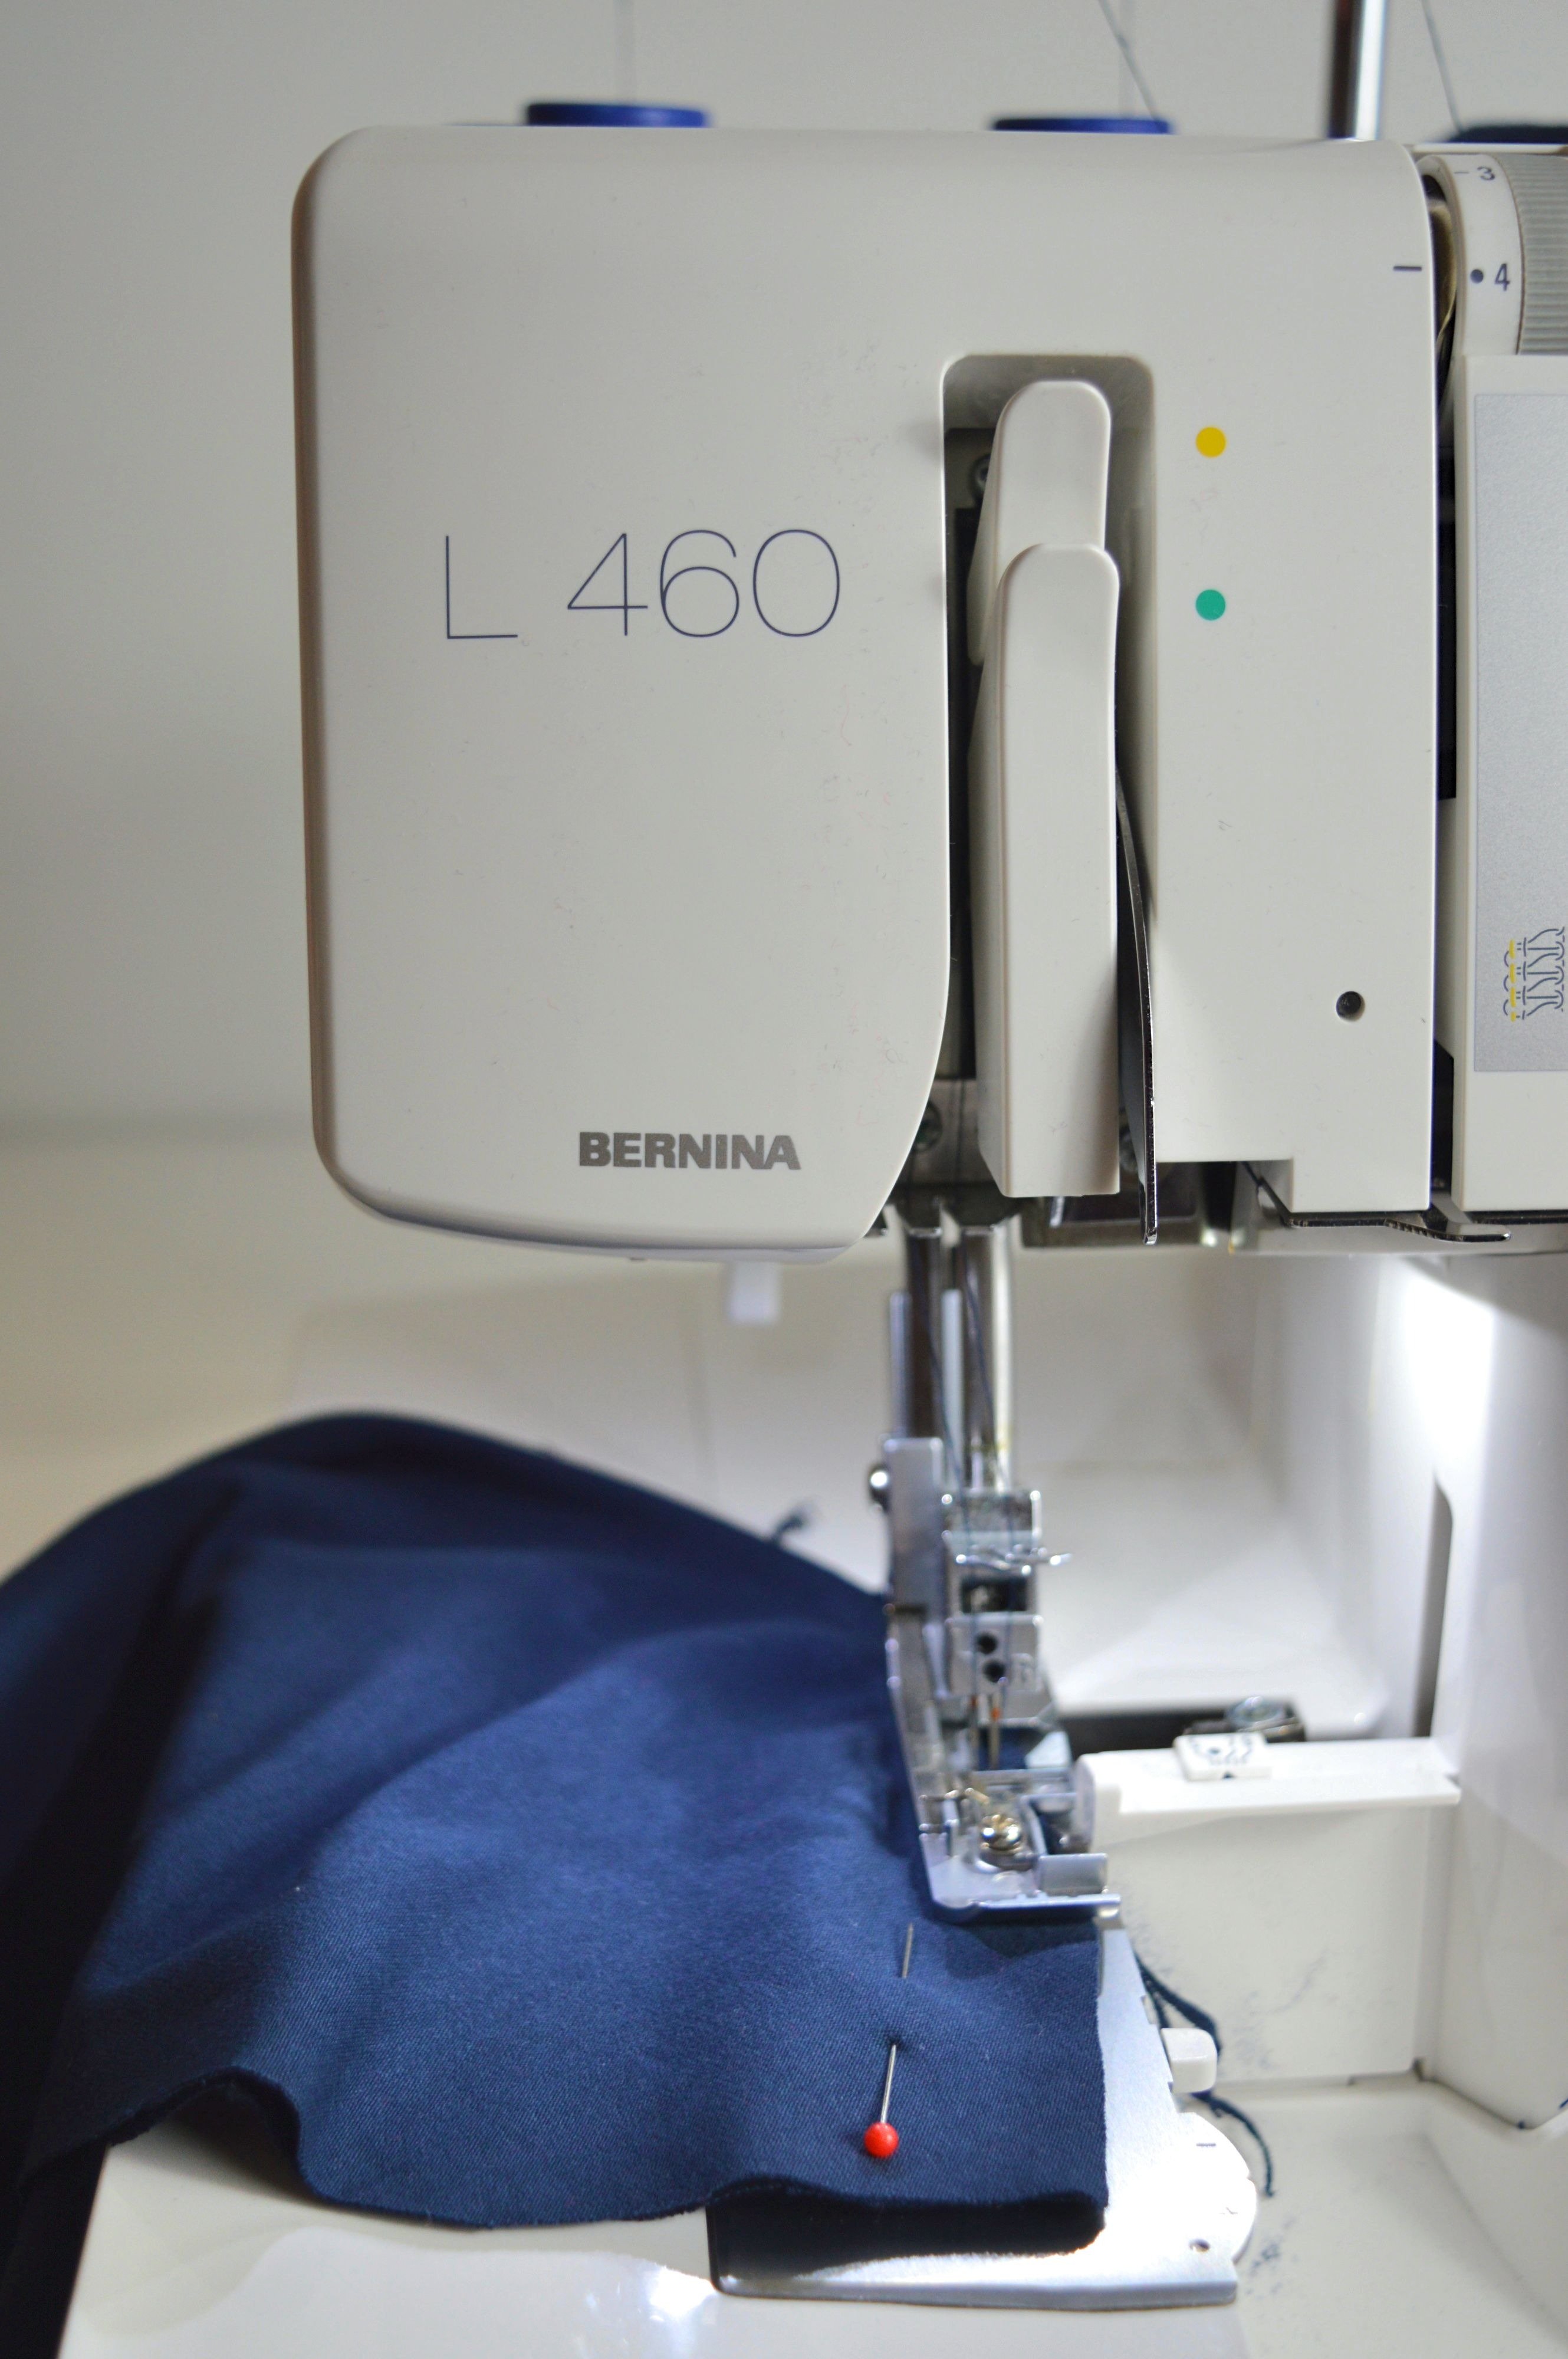
Bernina L460
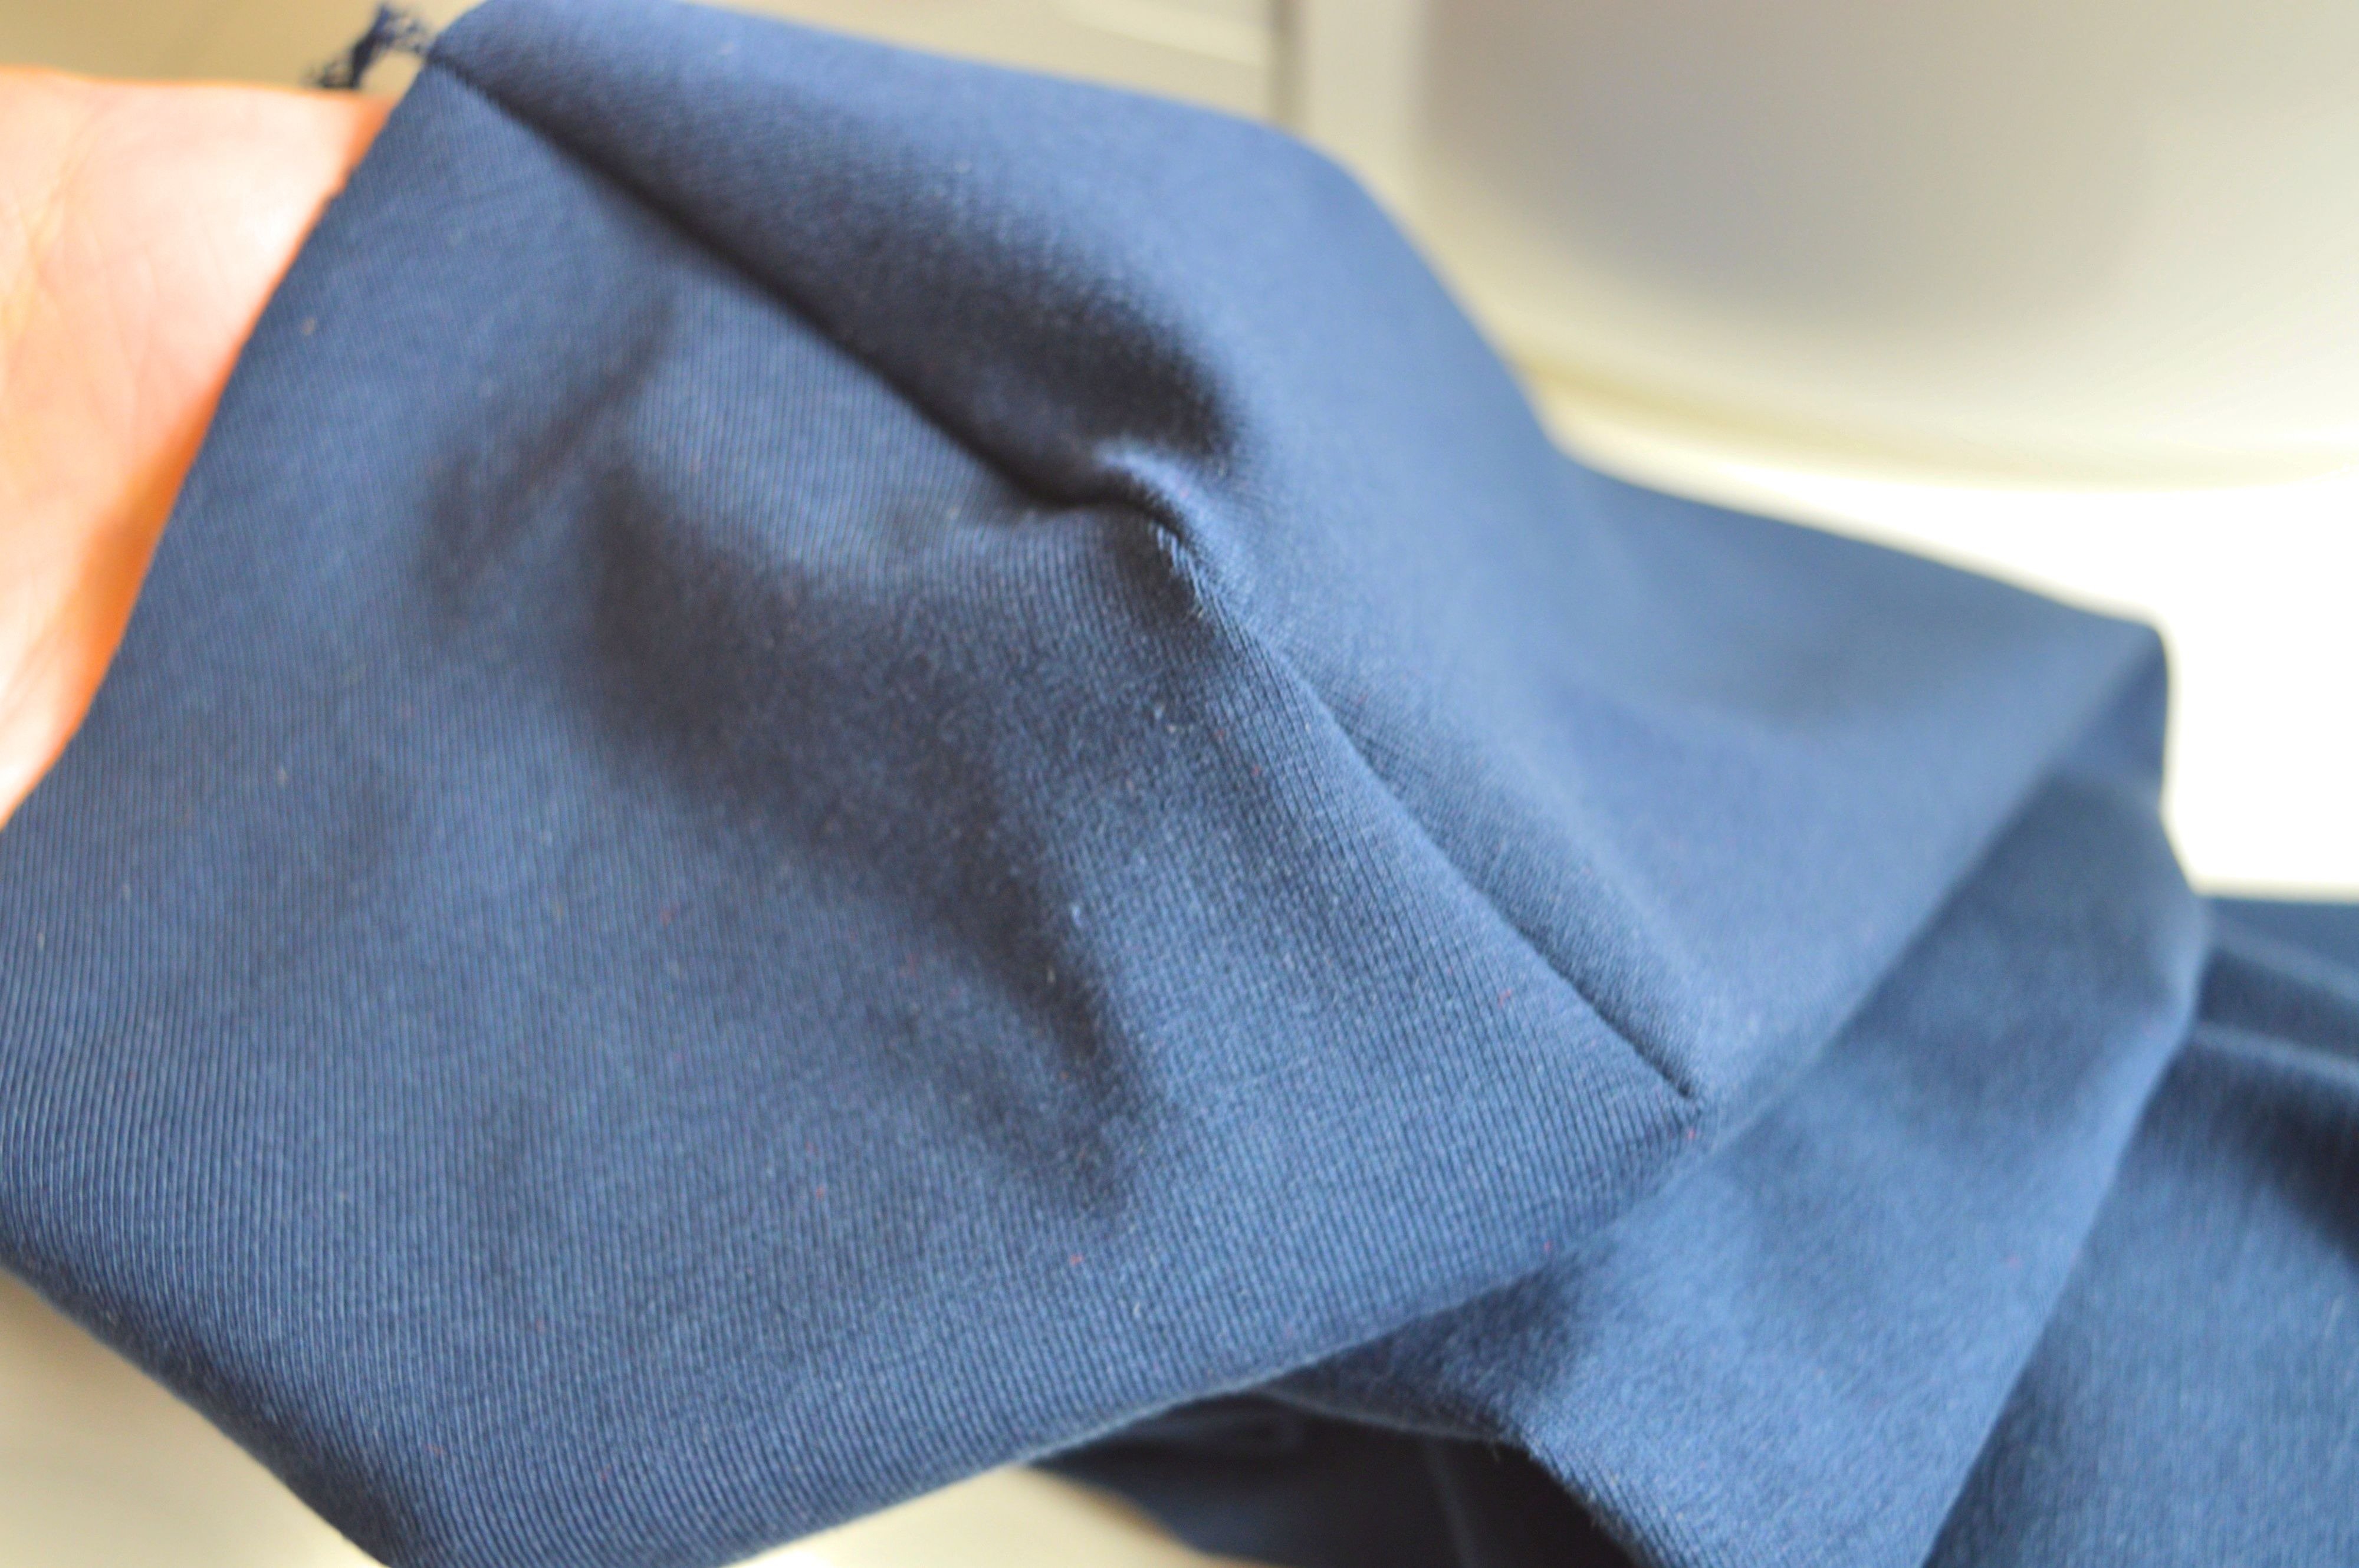
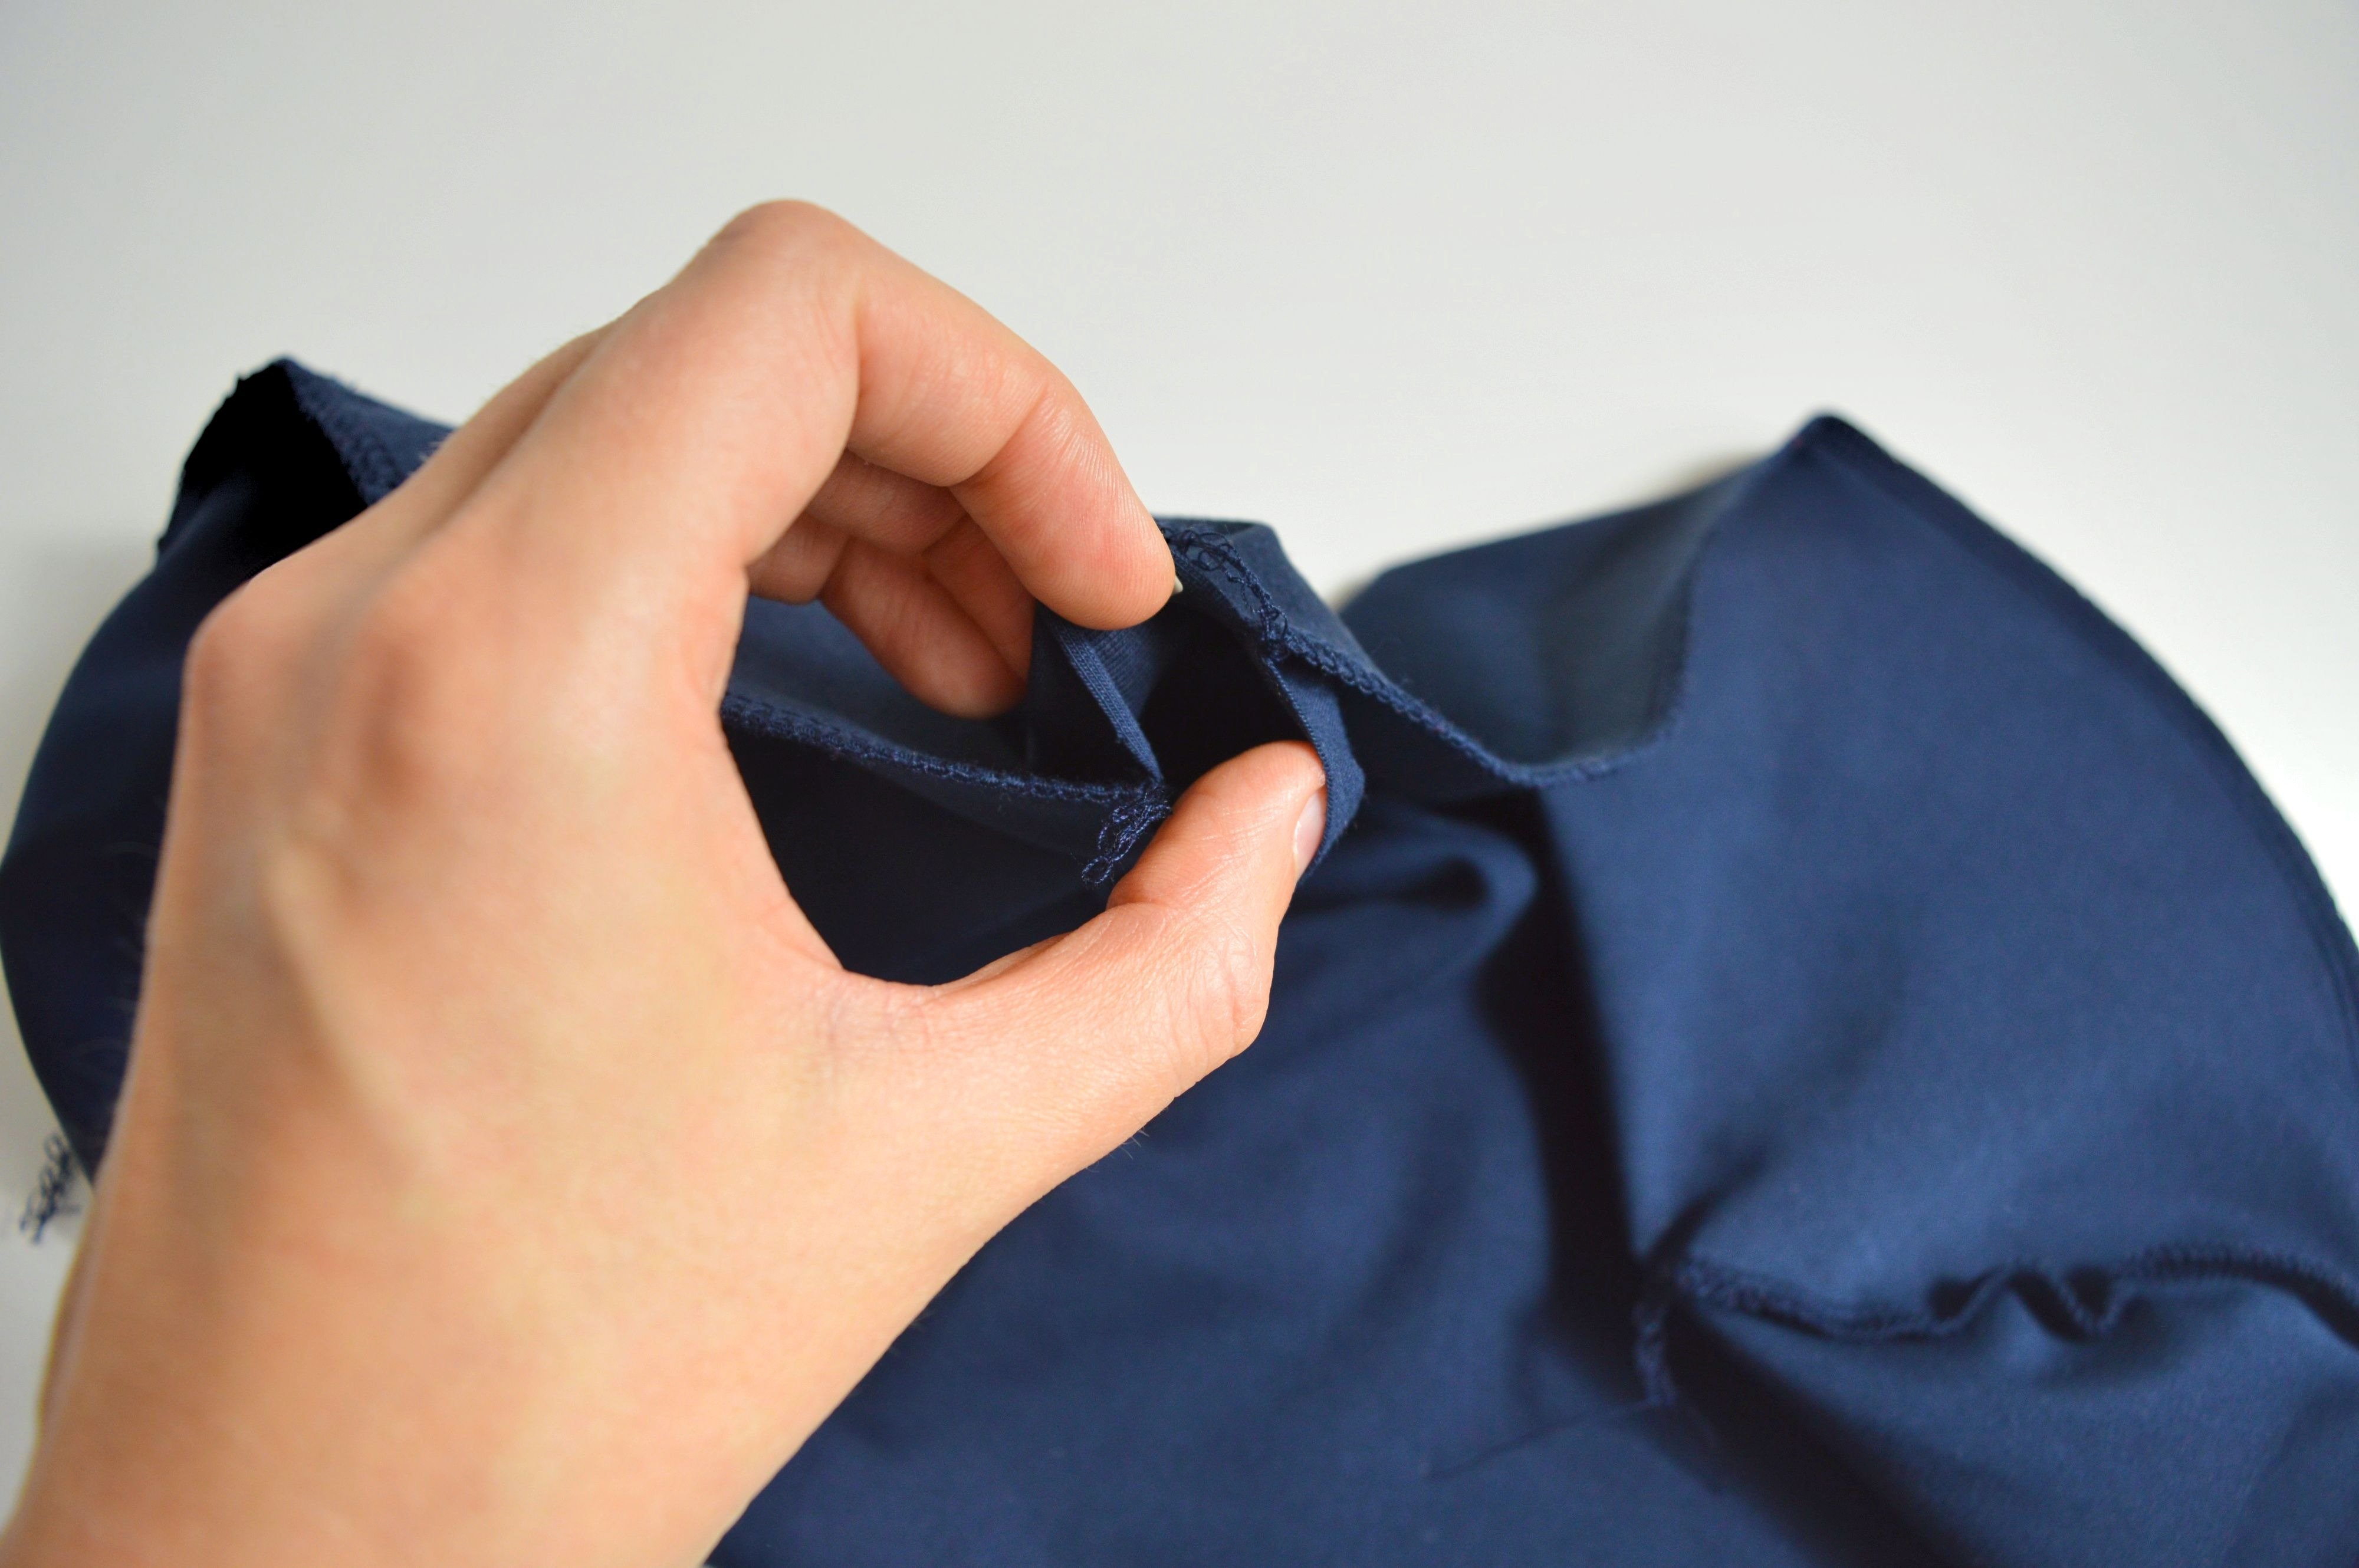
It remains just one larger seam to stitch, and to do it, match up the darts, which you previously sewed, with other next to on the top, and then pin the edge.
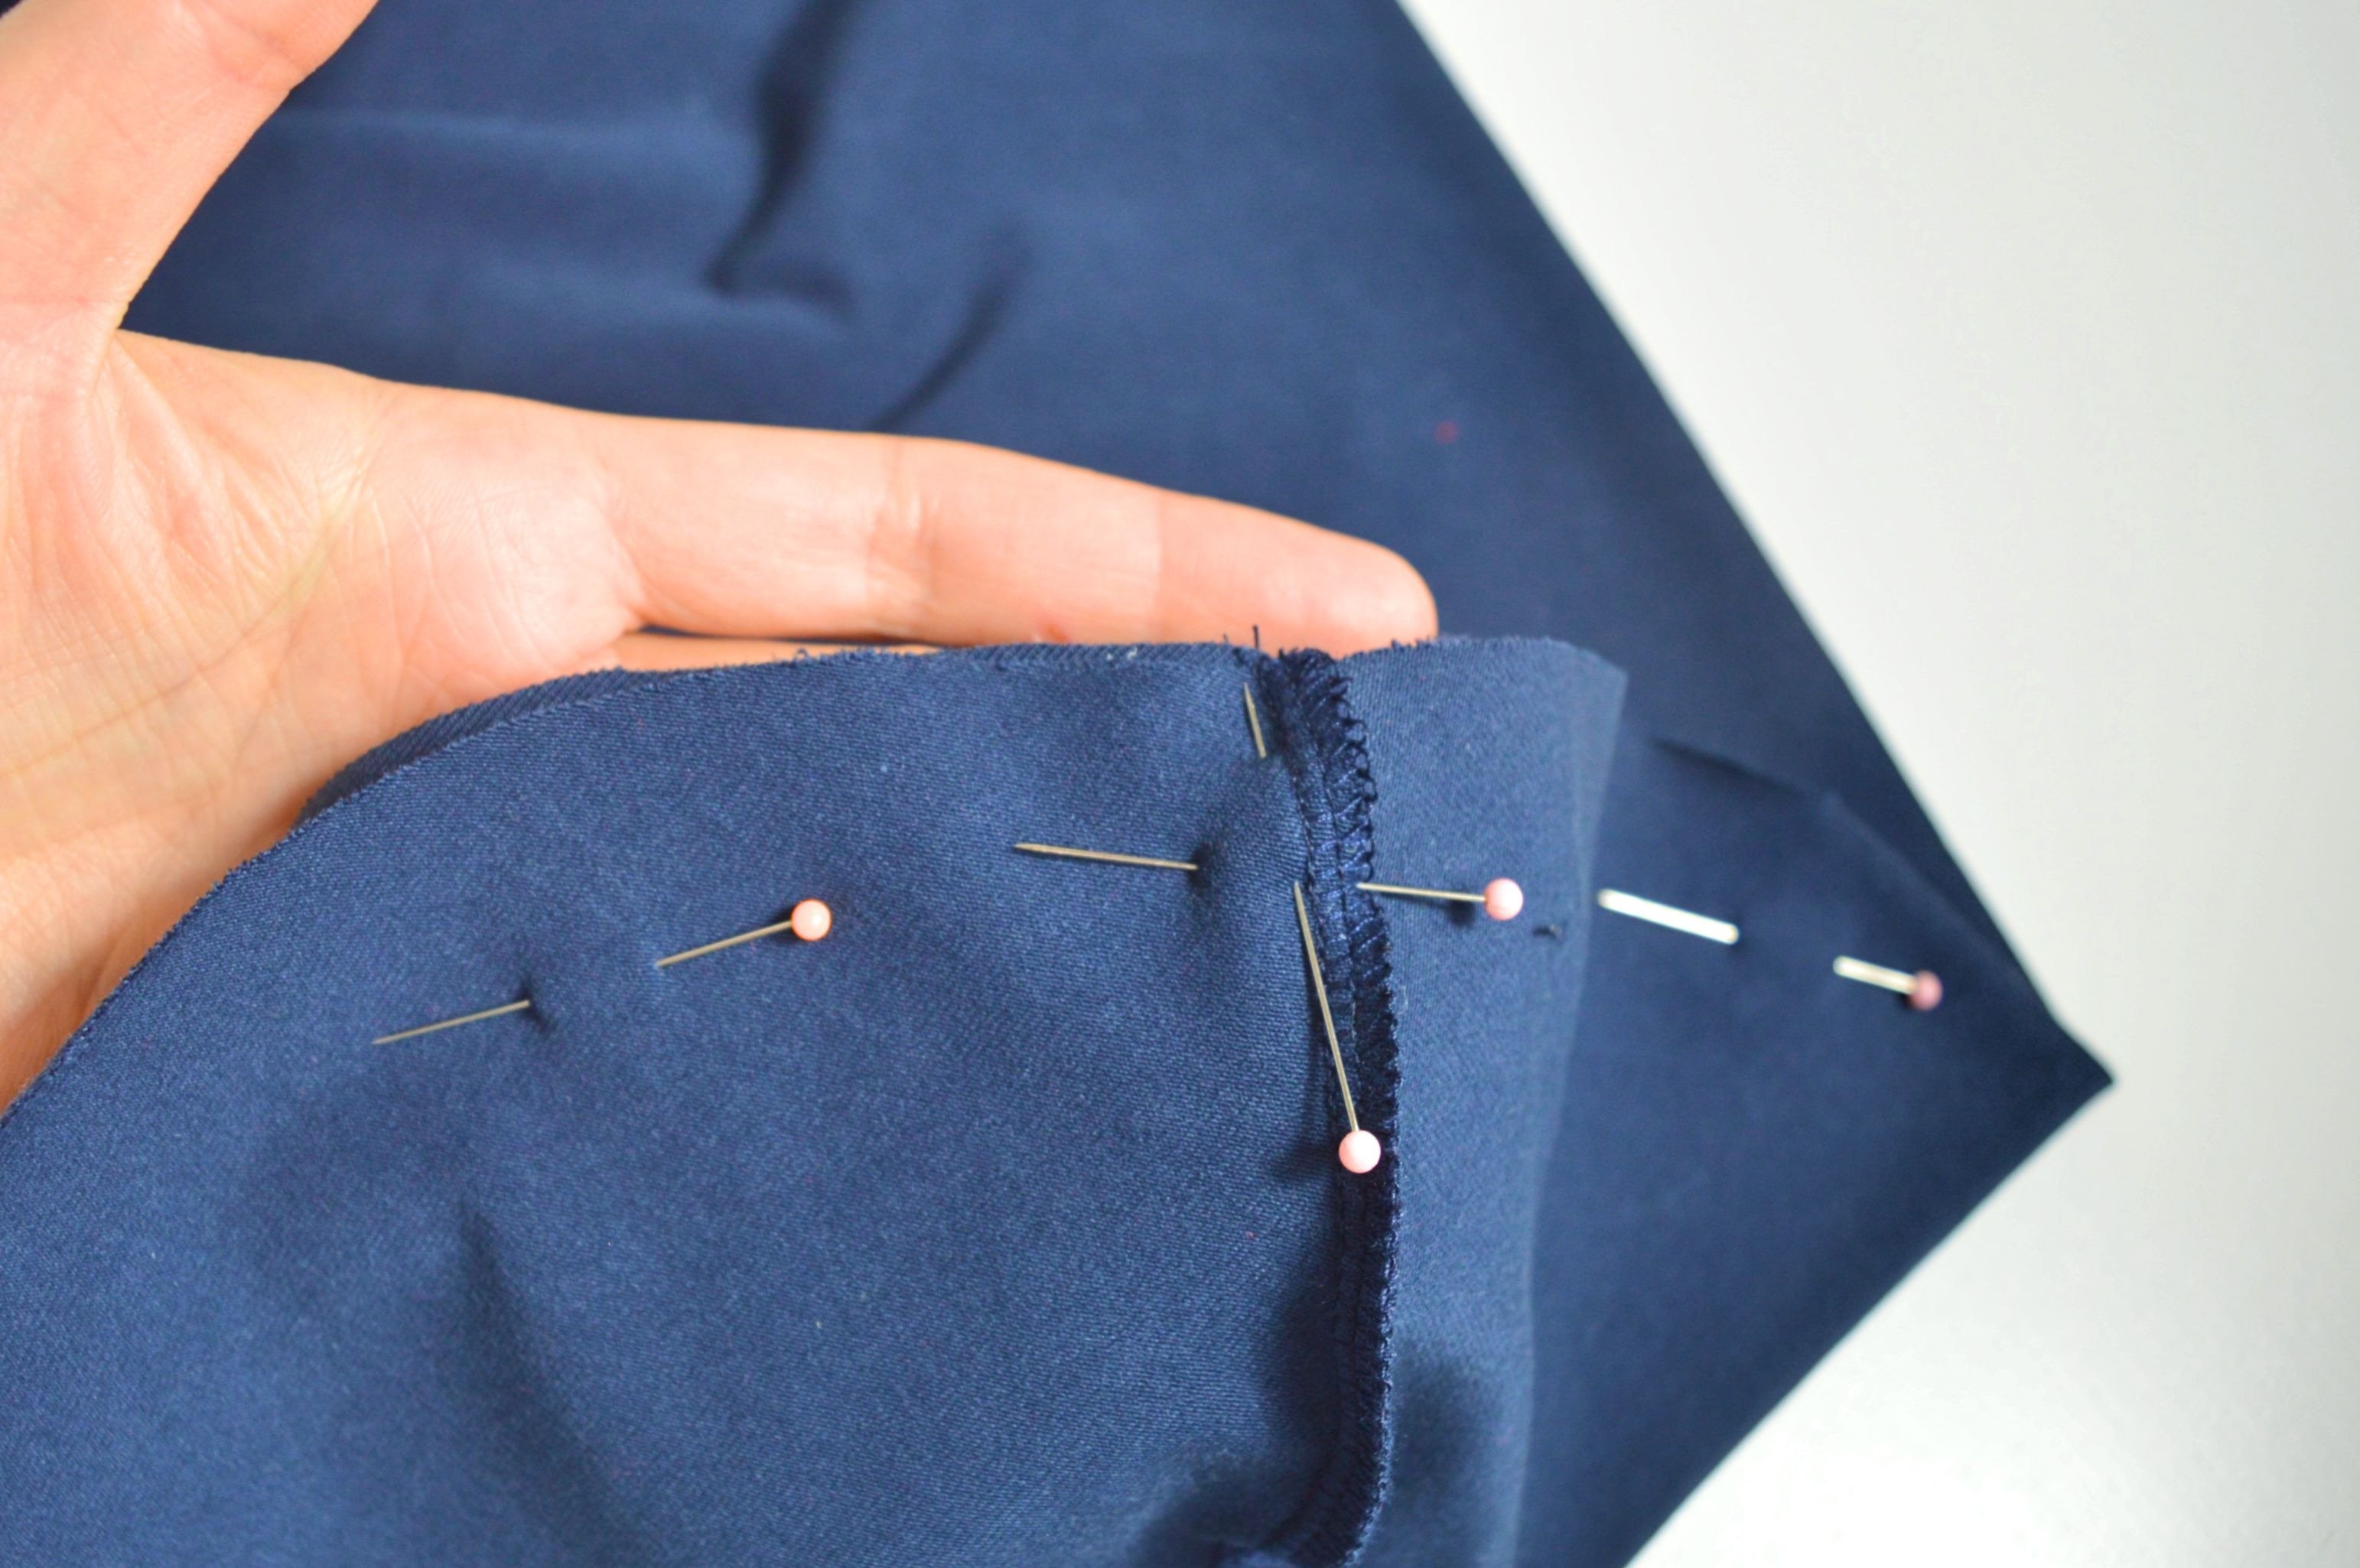
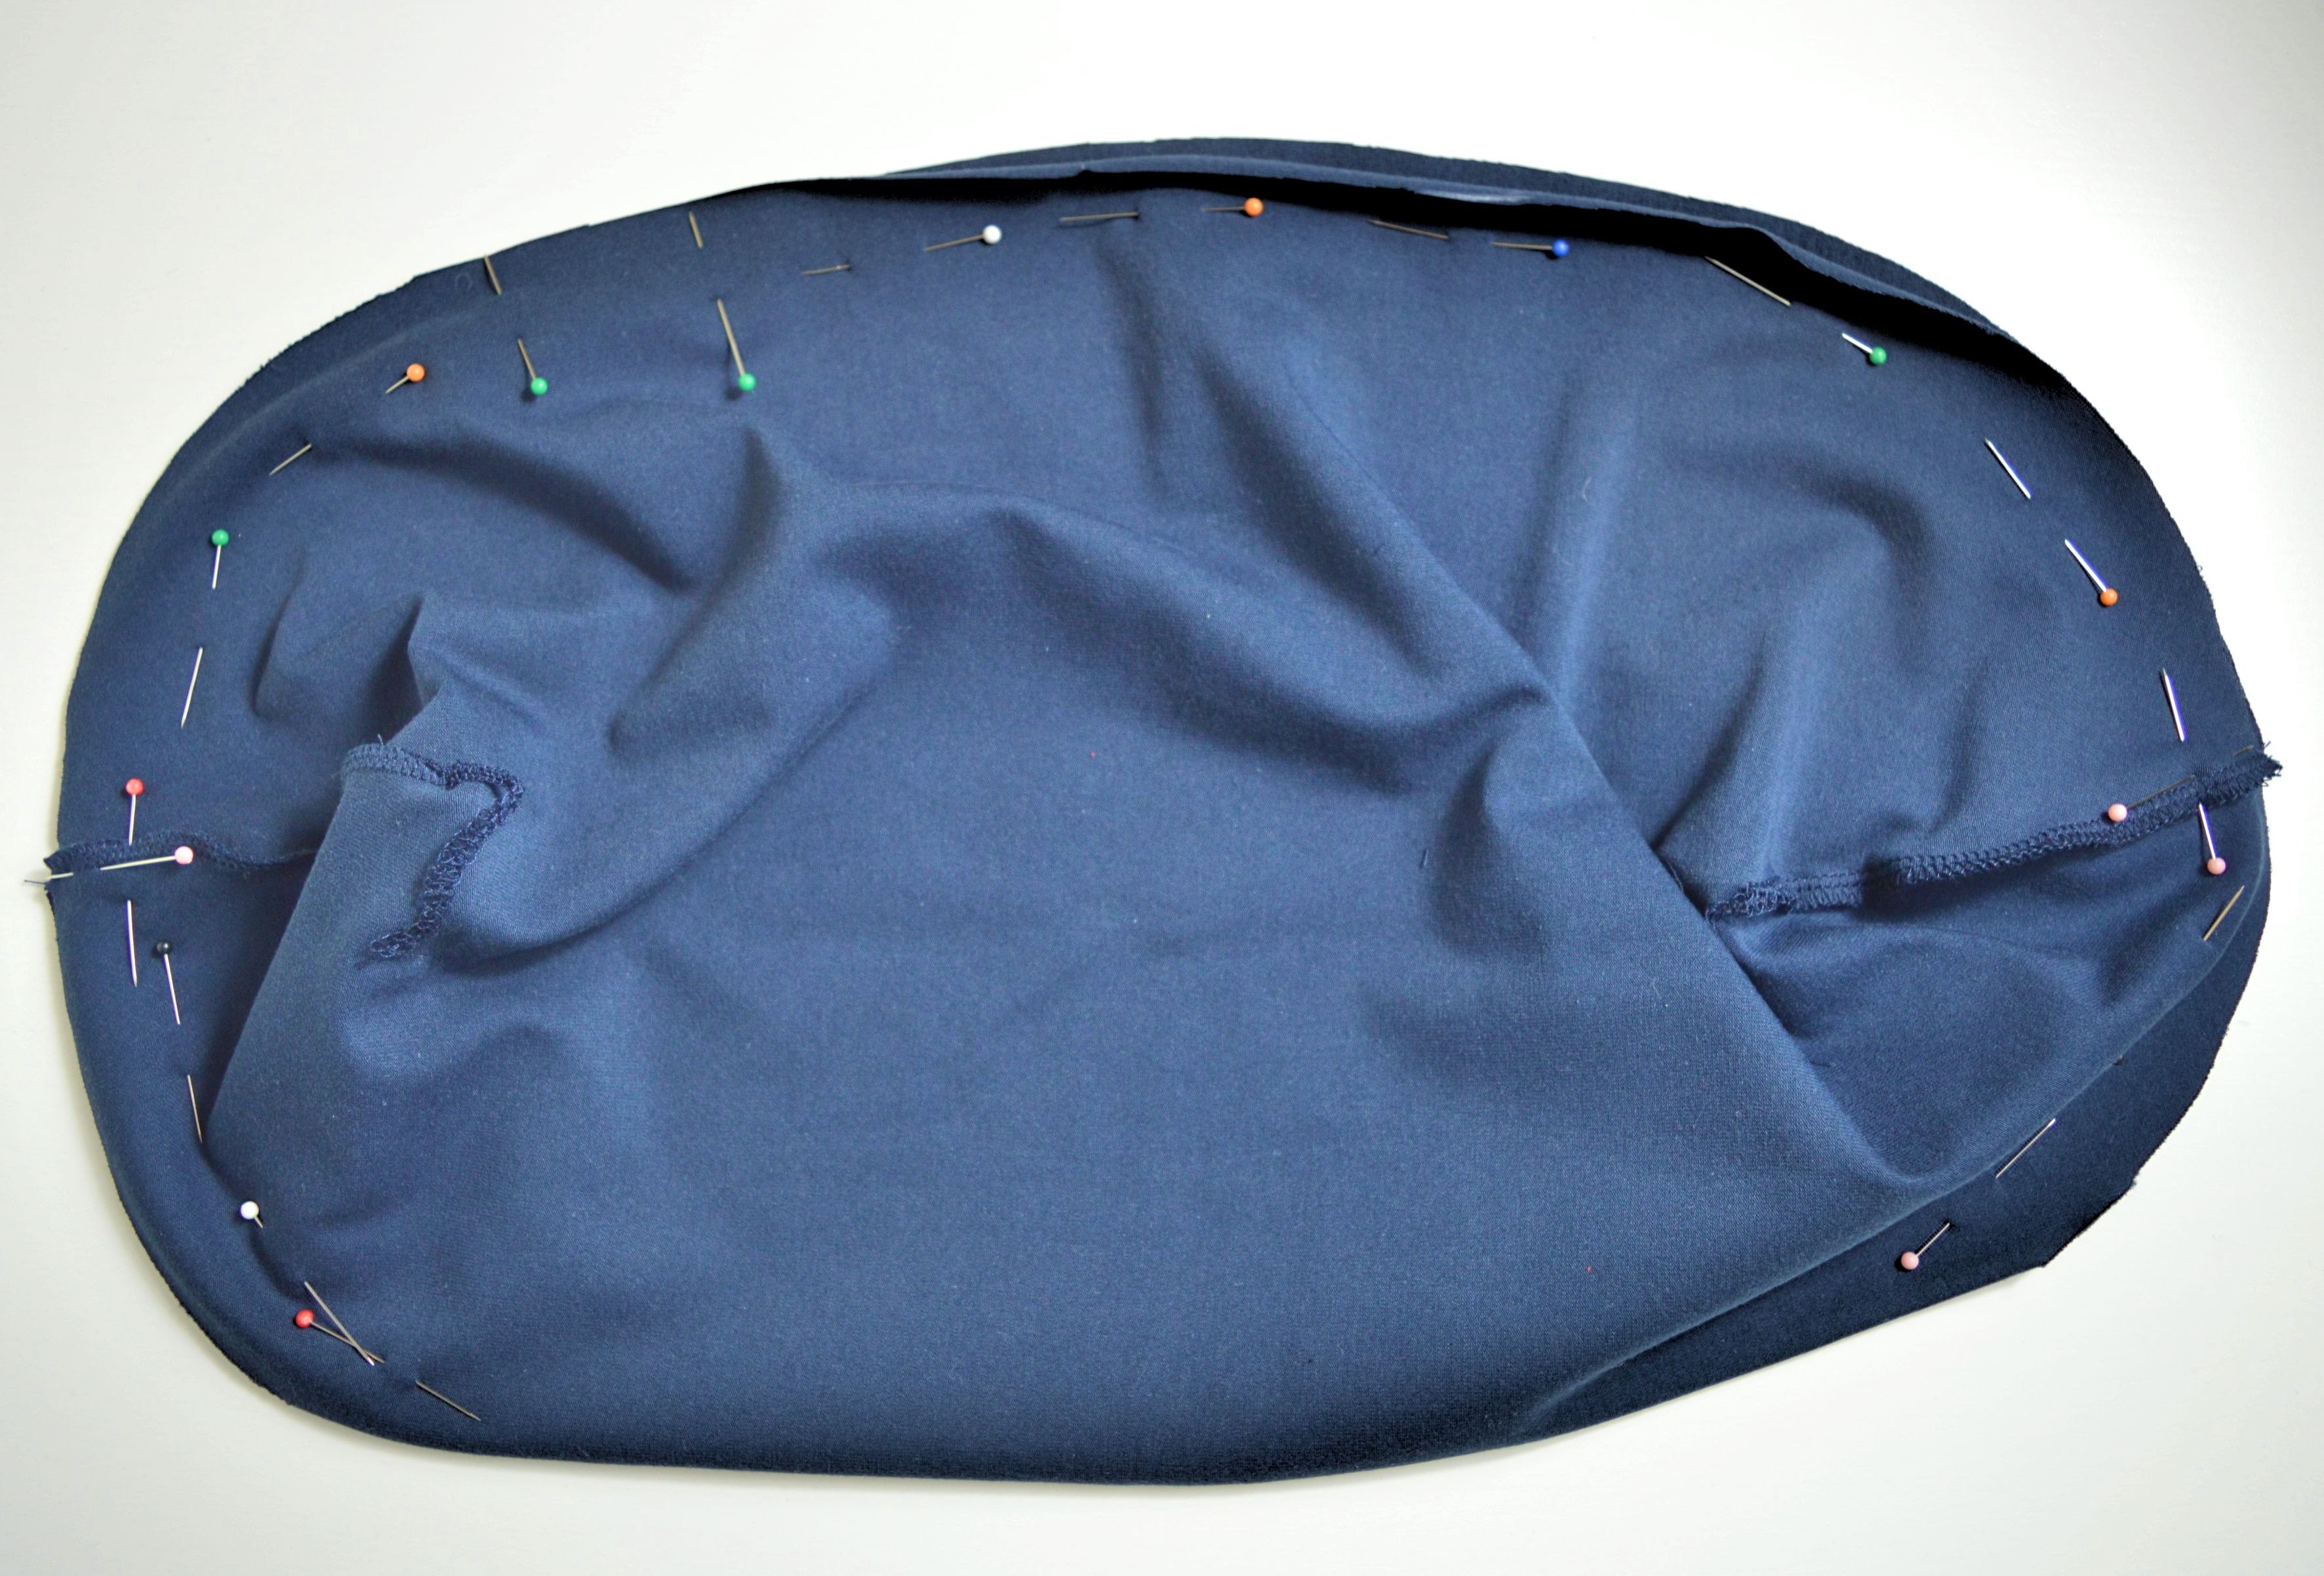
When sewing, closer to one top of the beanie, leave a 3-4 cm unstitched.
Because through that opening, you would turn the hat on the right side.
Stich that seam with serger/overlocker or sewing machine, so that the opening stays unsewed.
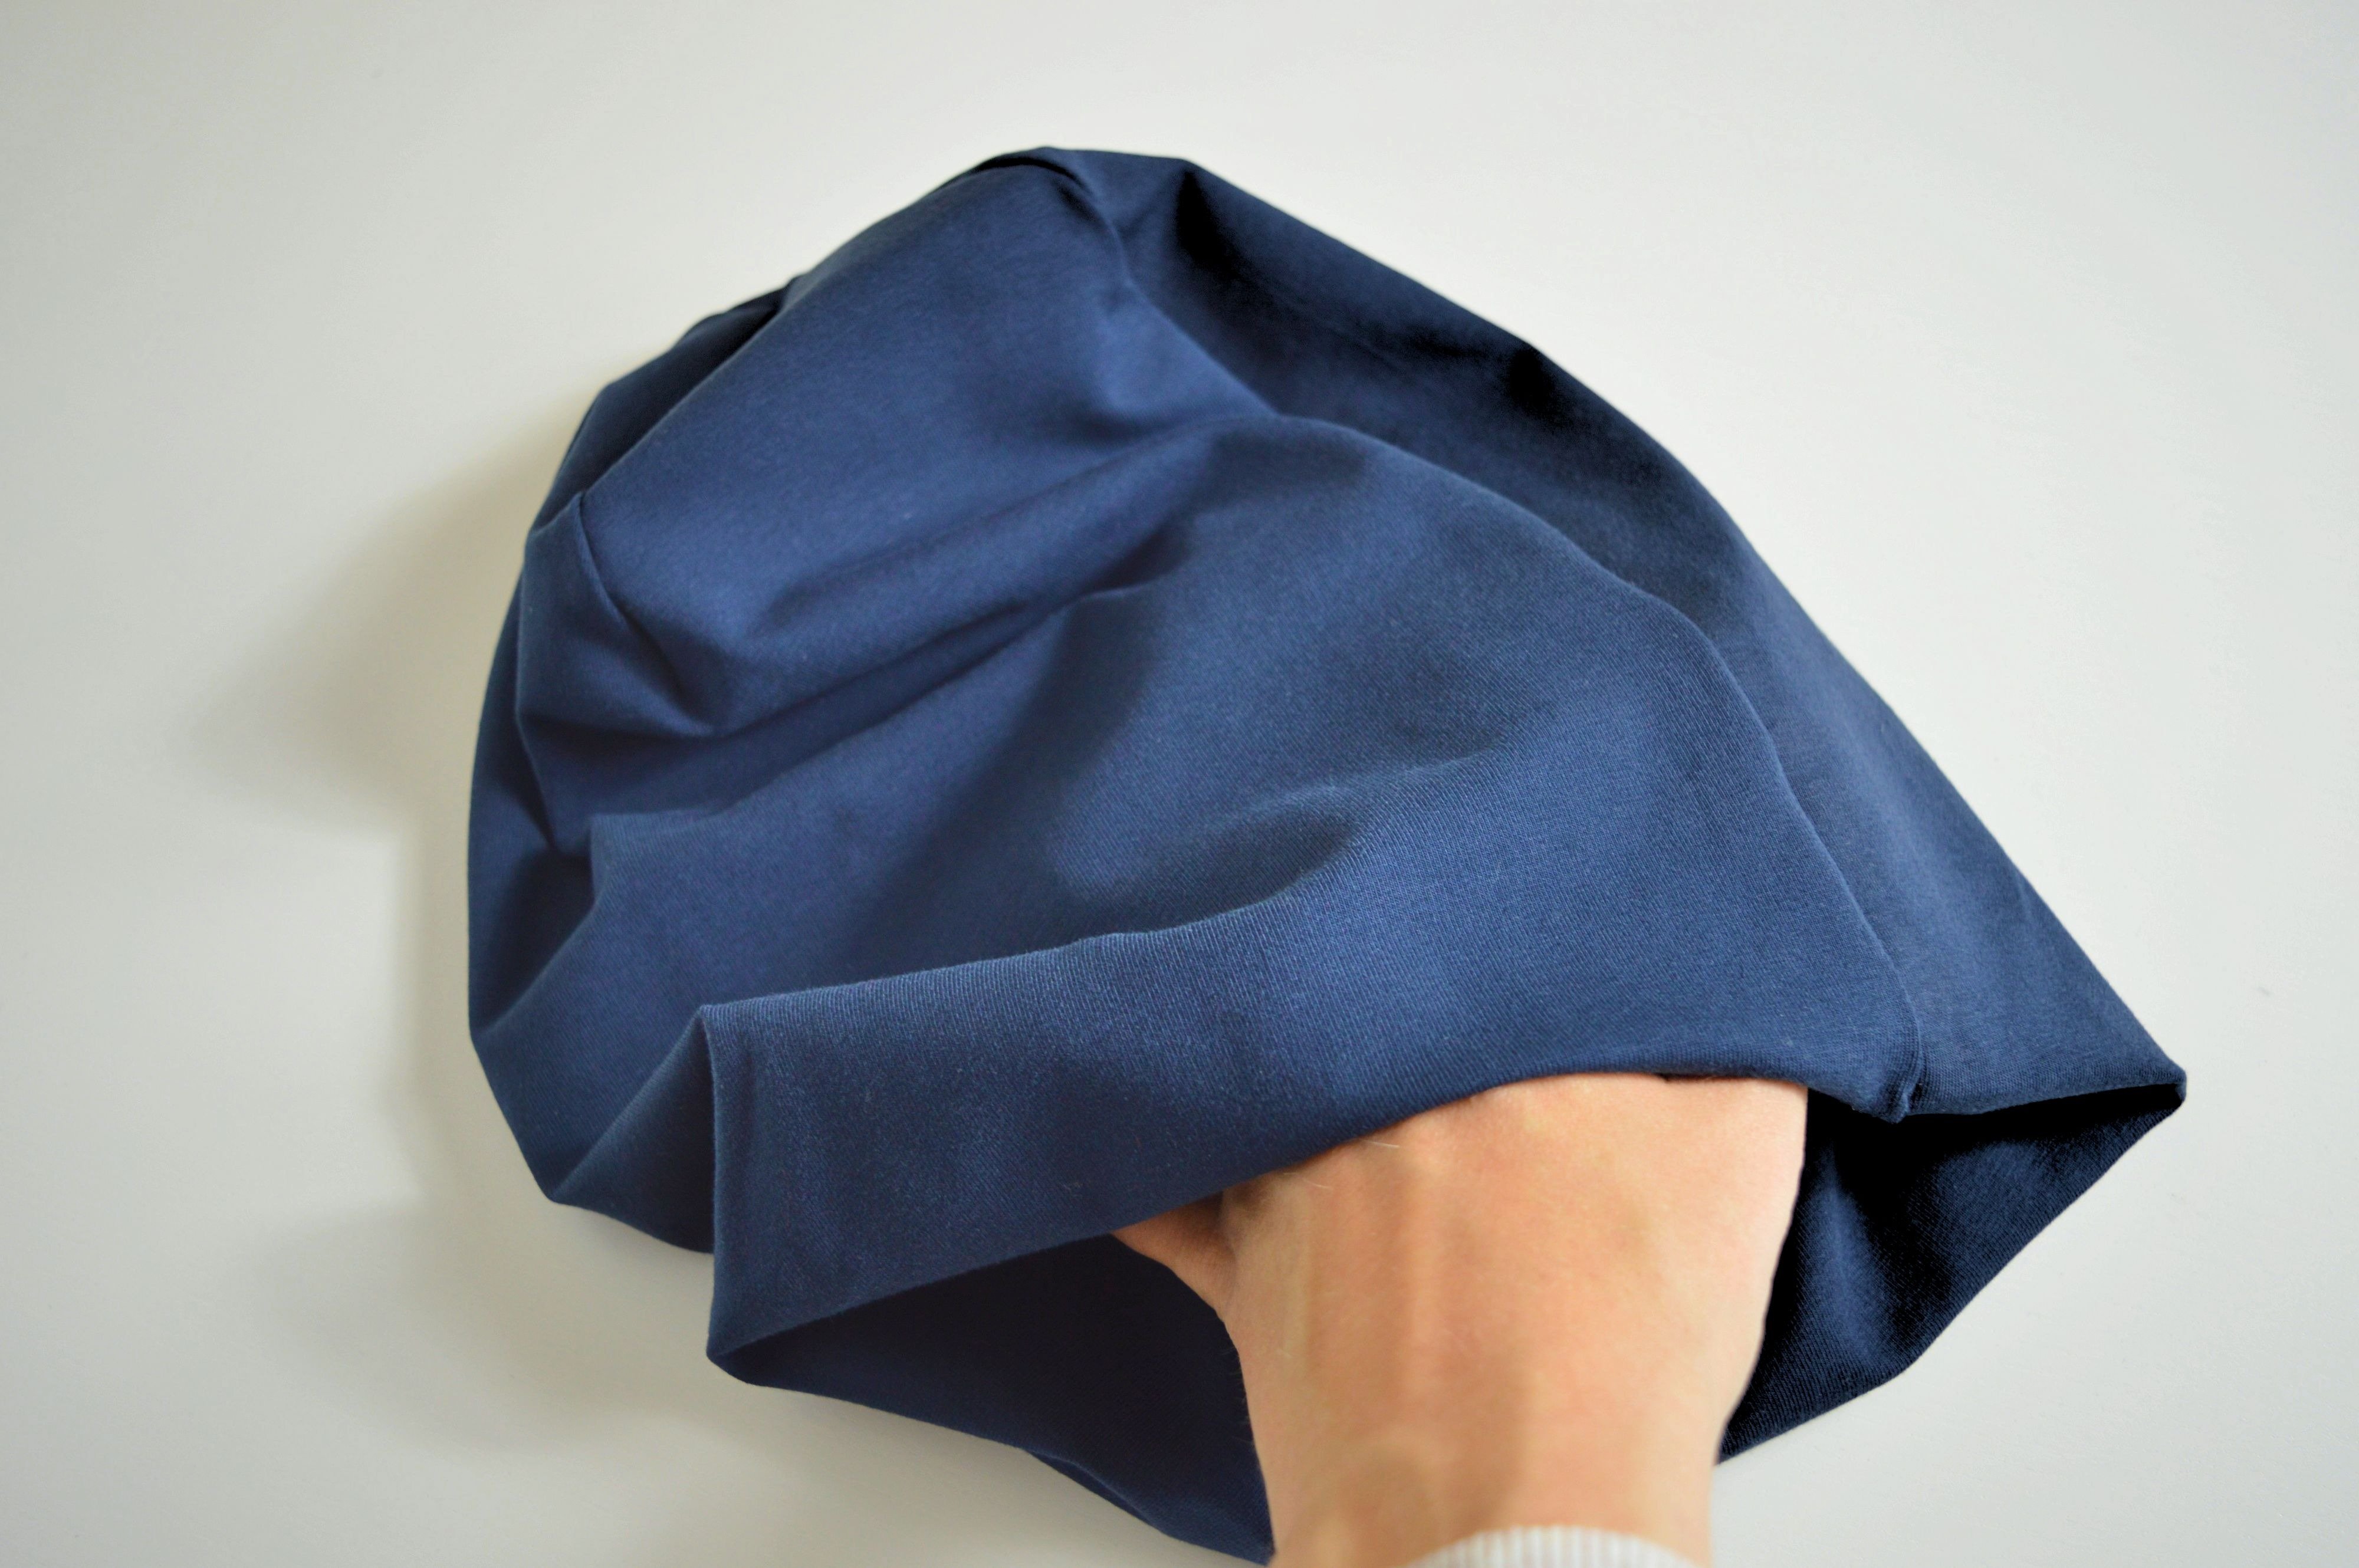
Turn the beanie on the right side.
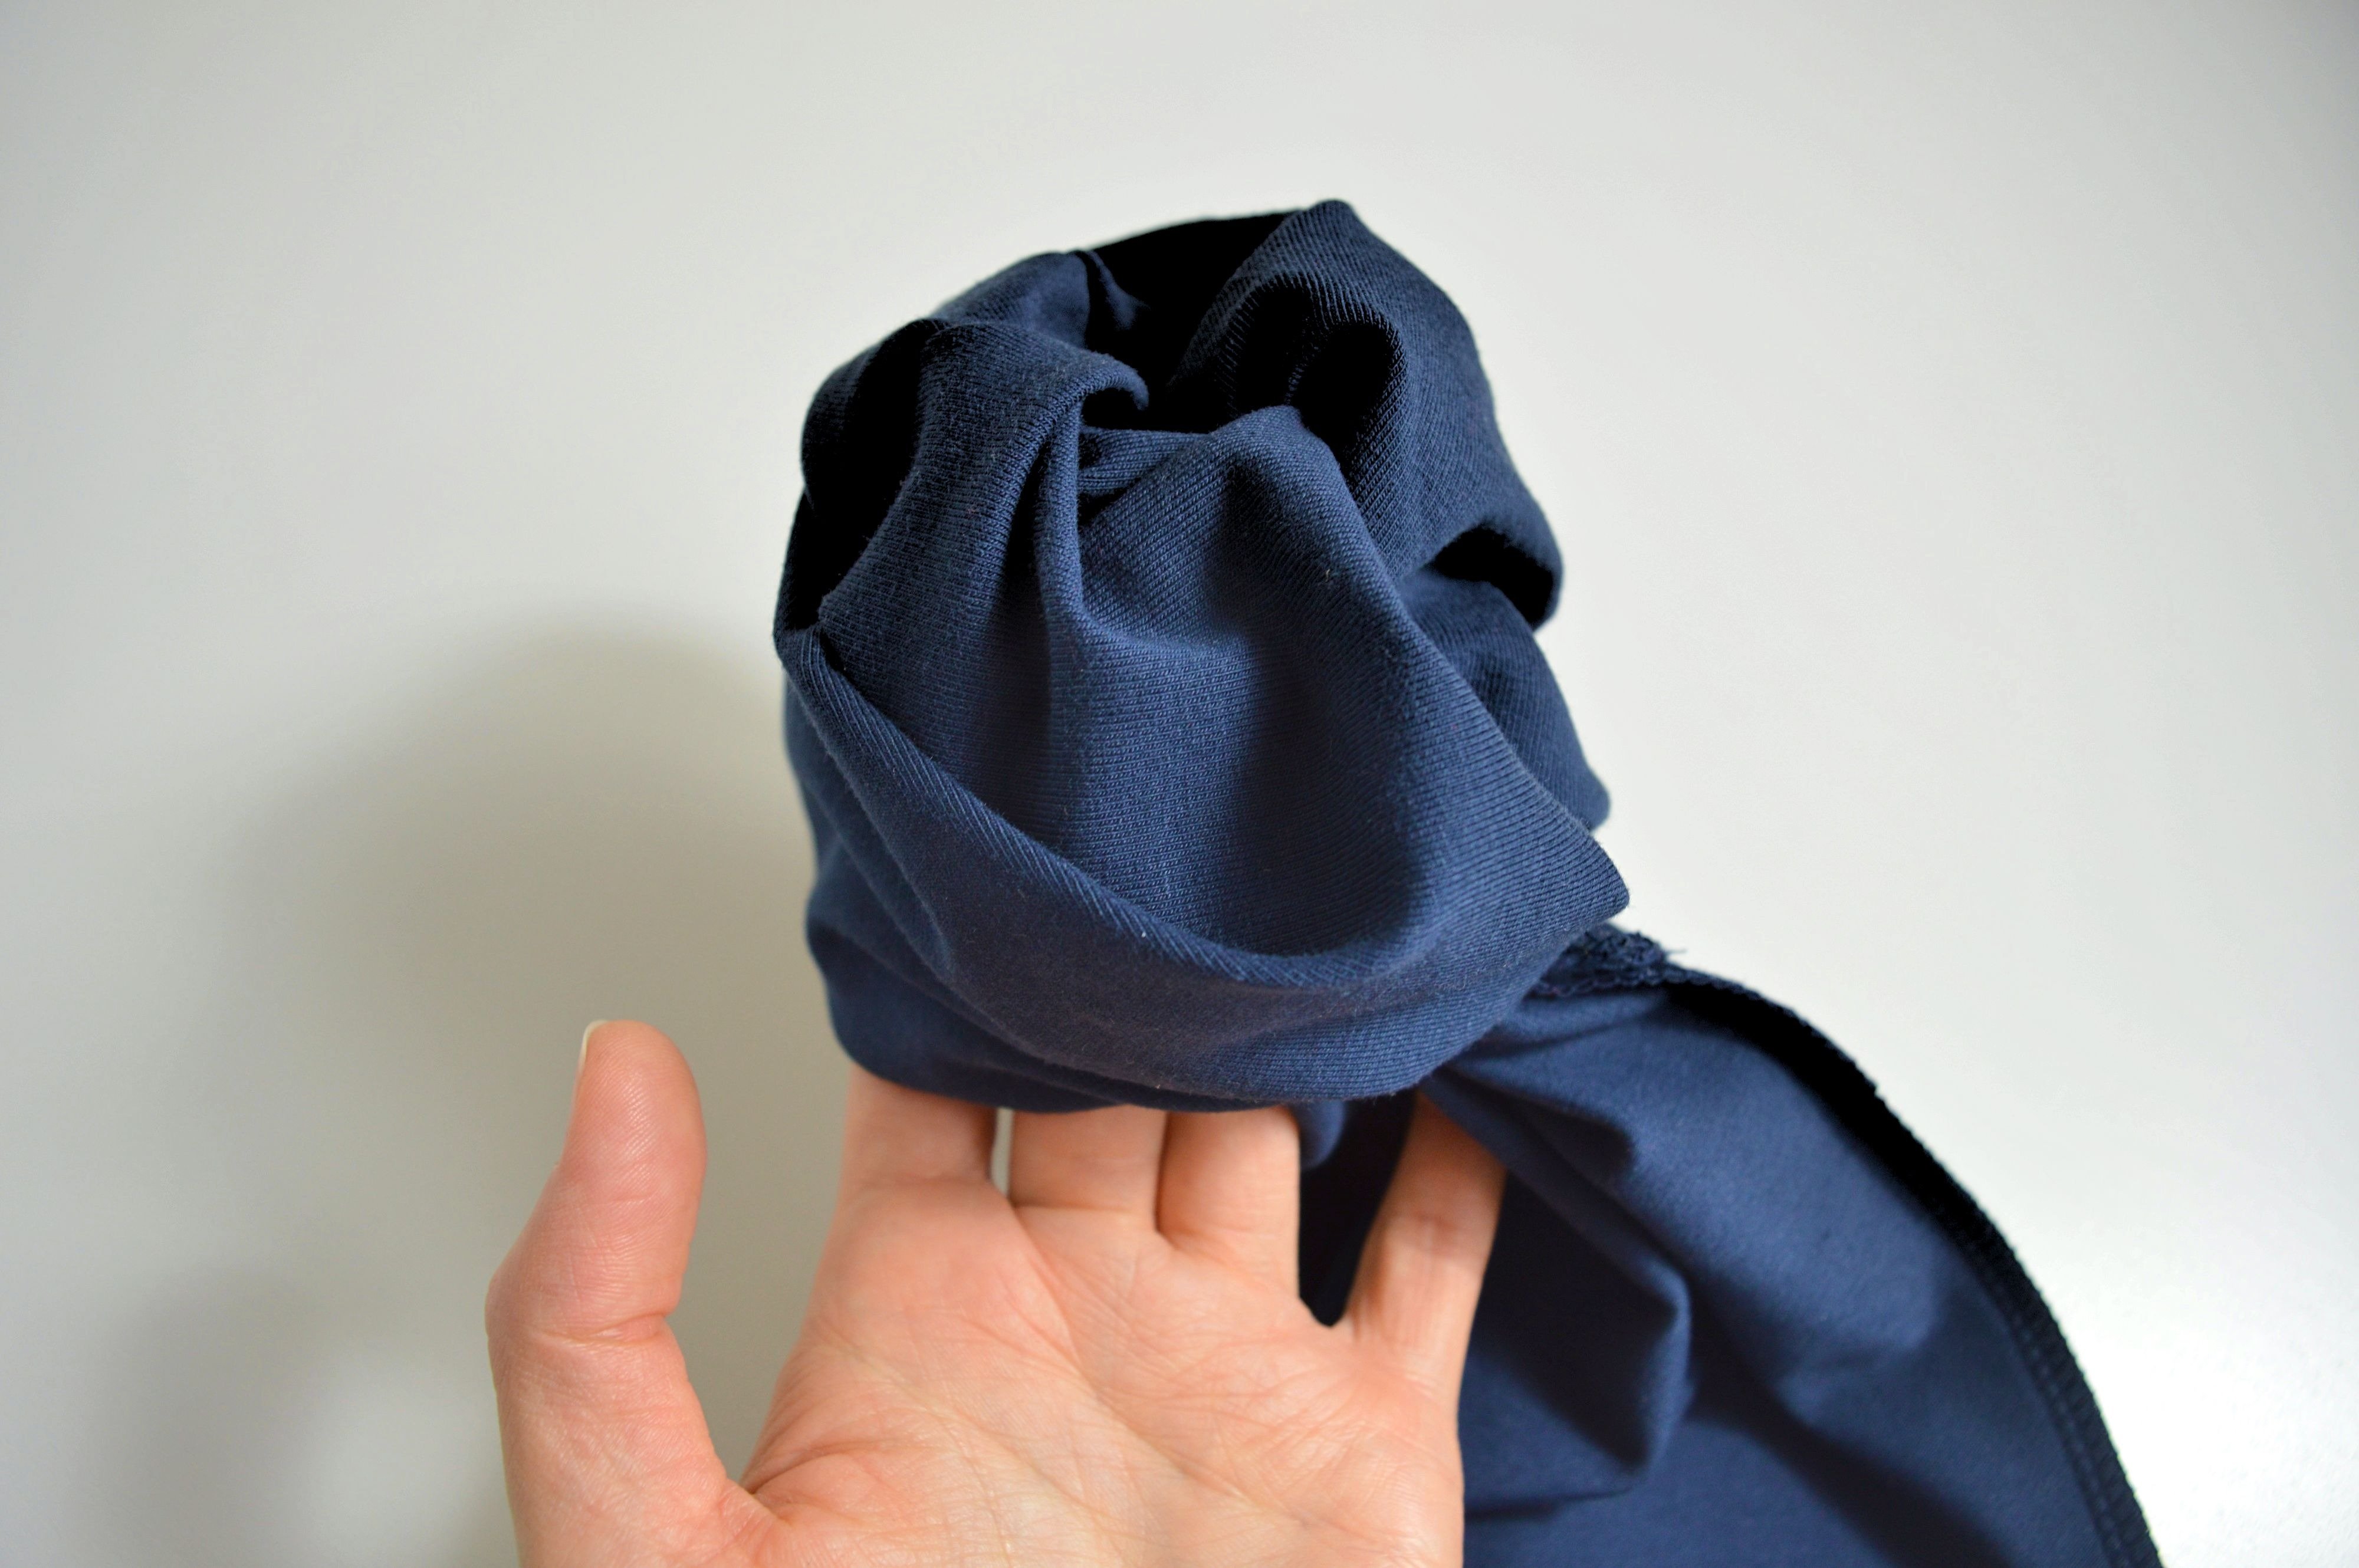
Stitch opening by hand.

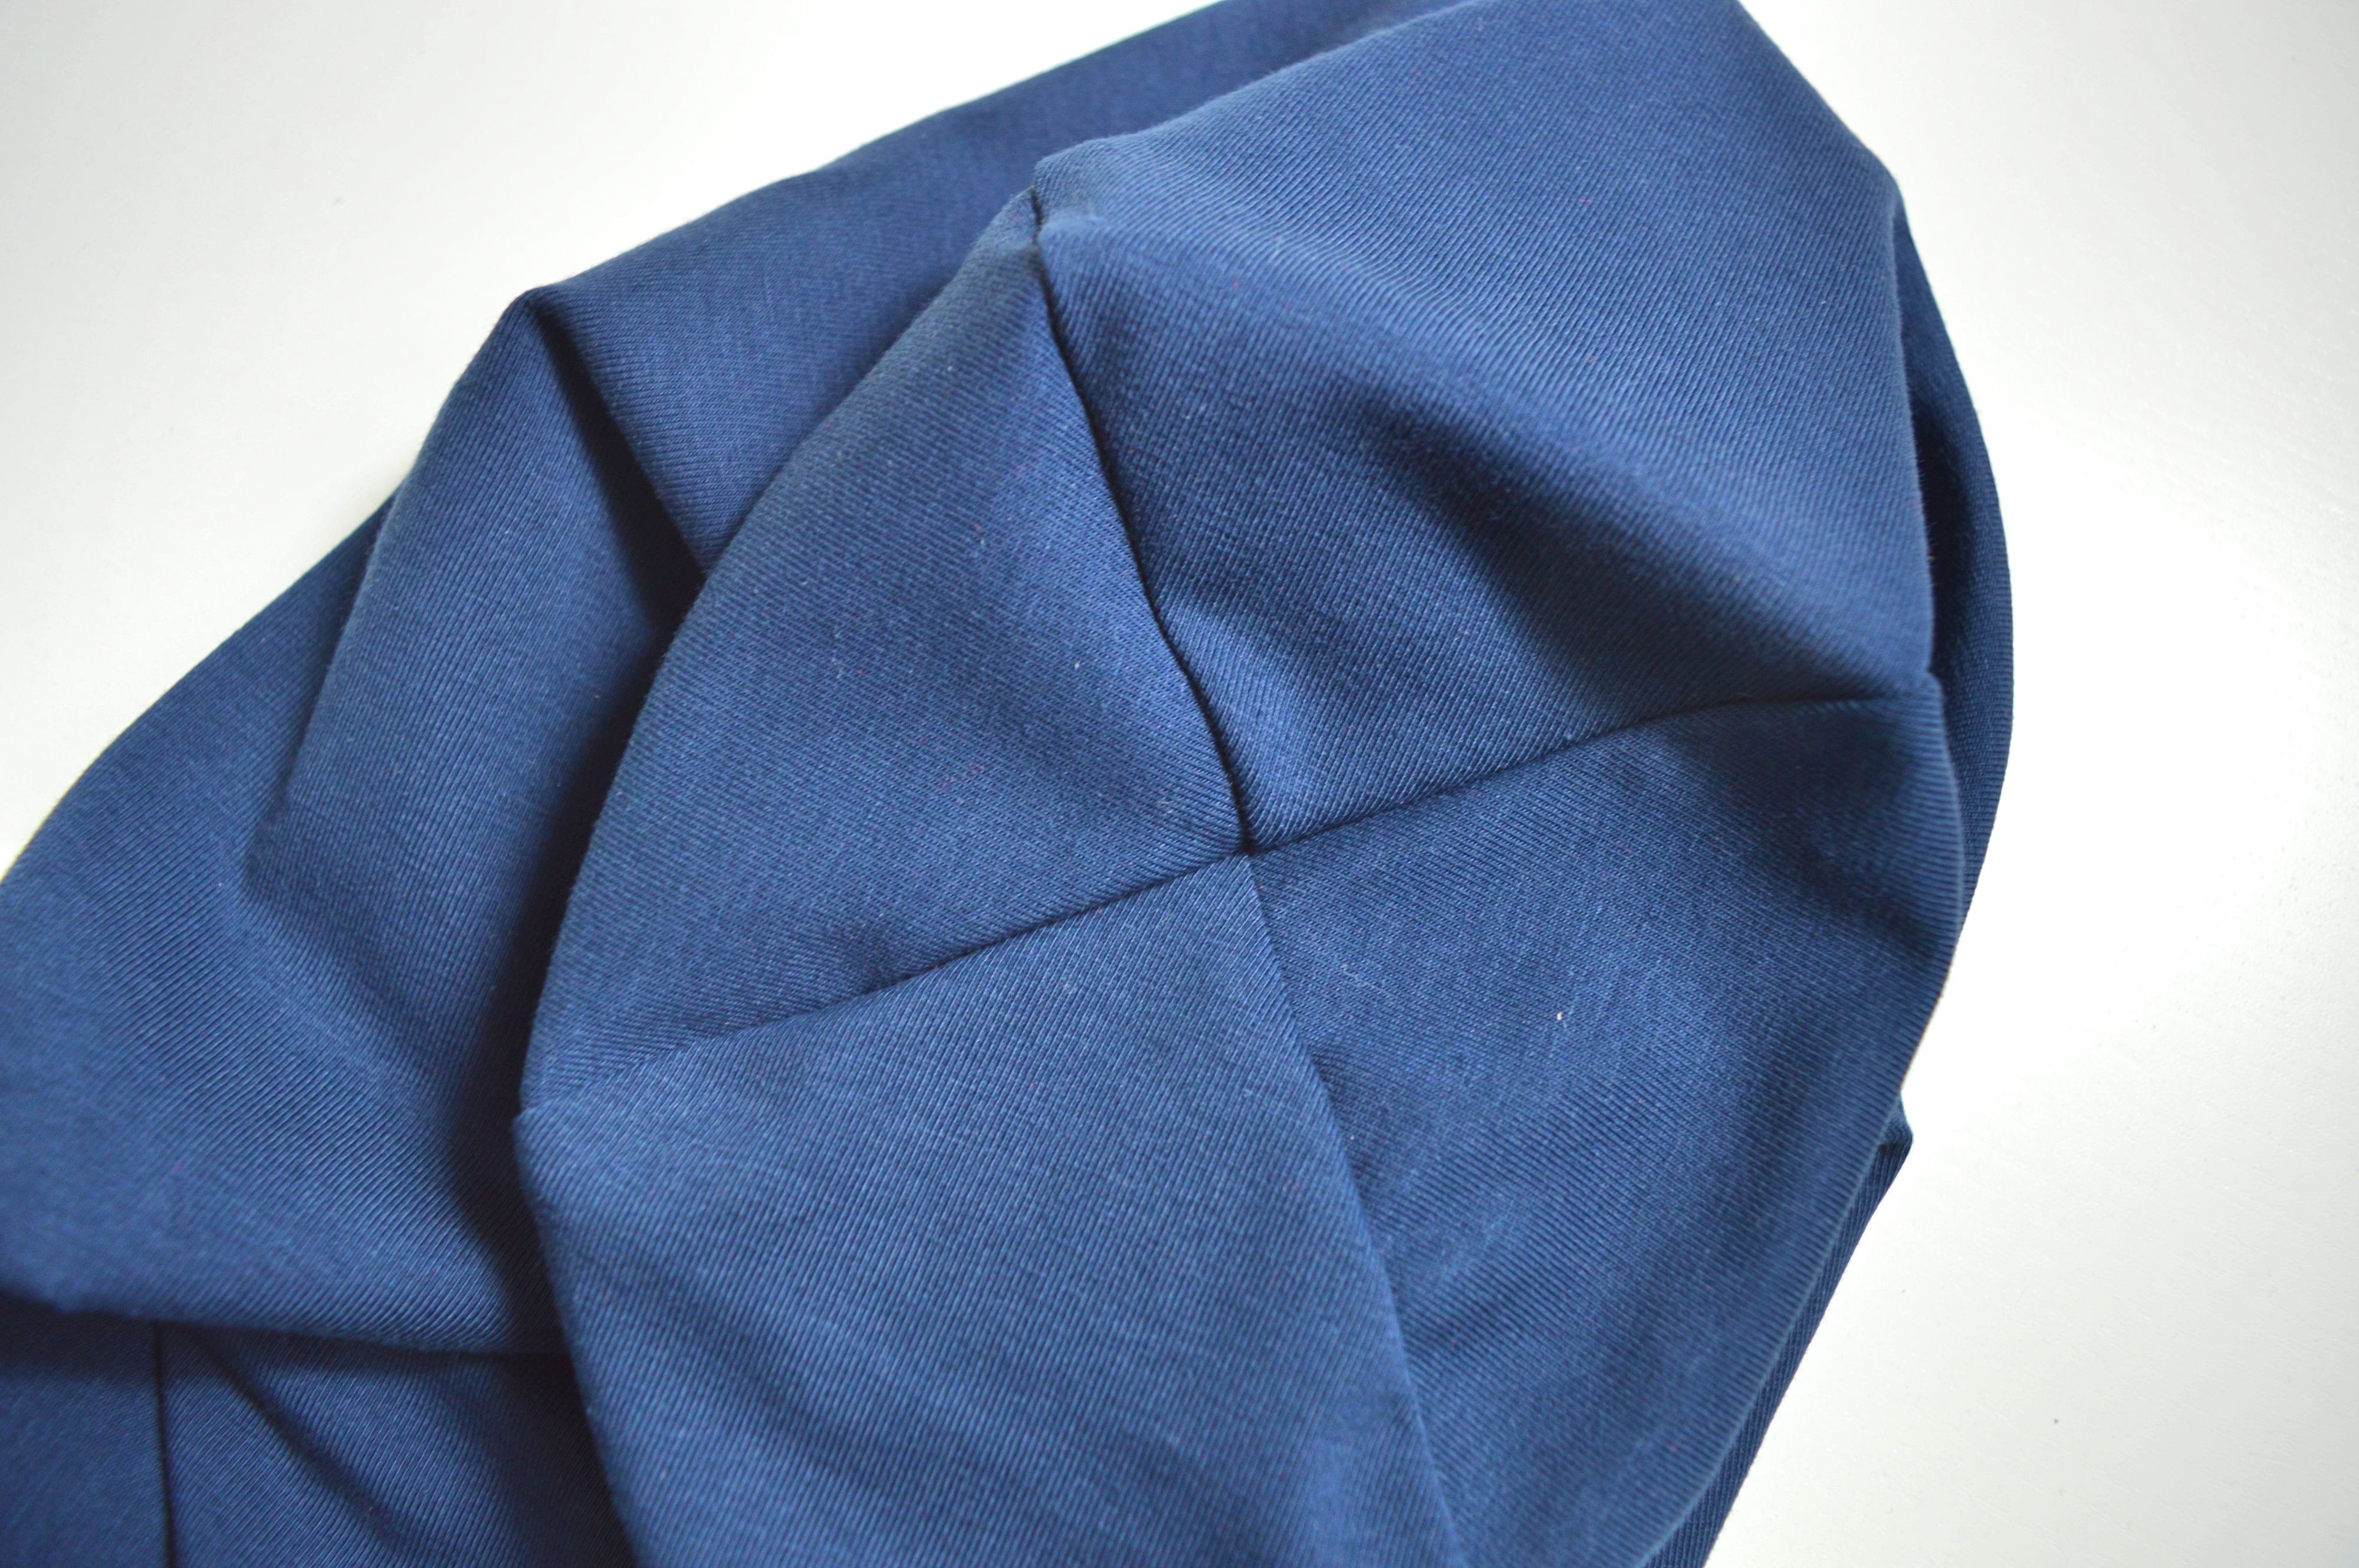
Form the beanie so that one end with the darts is inside the beanie and the other stays outside.
Beanie
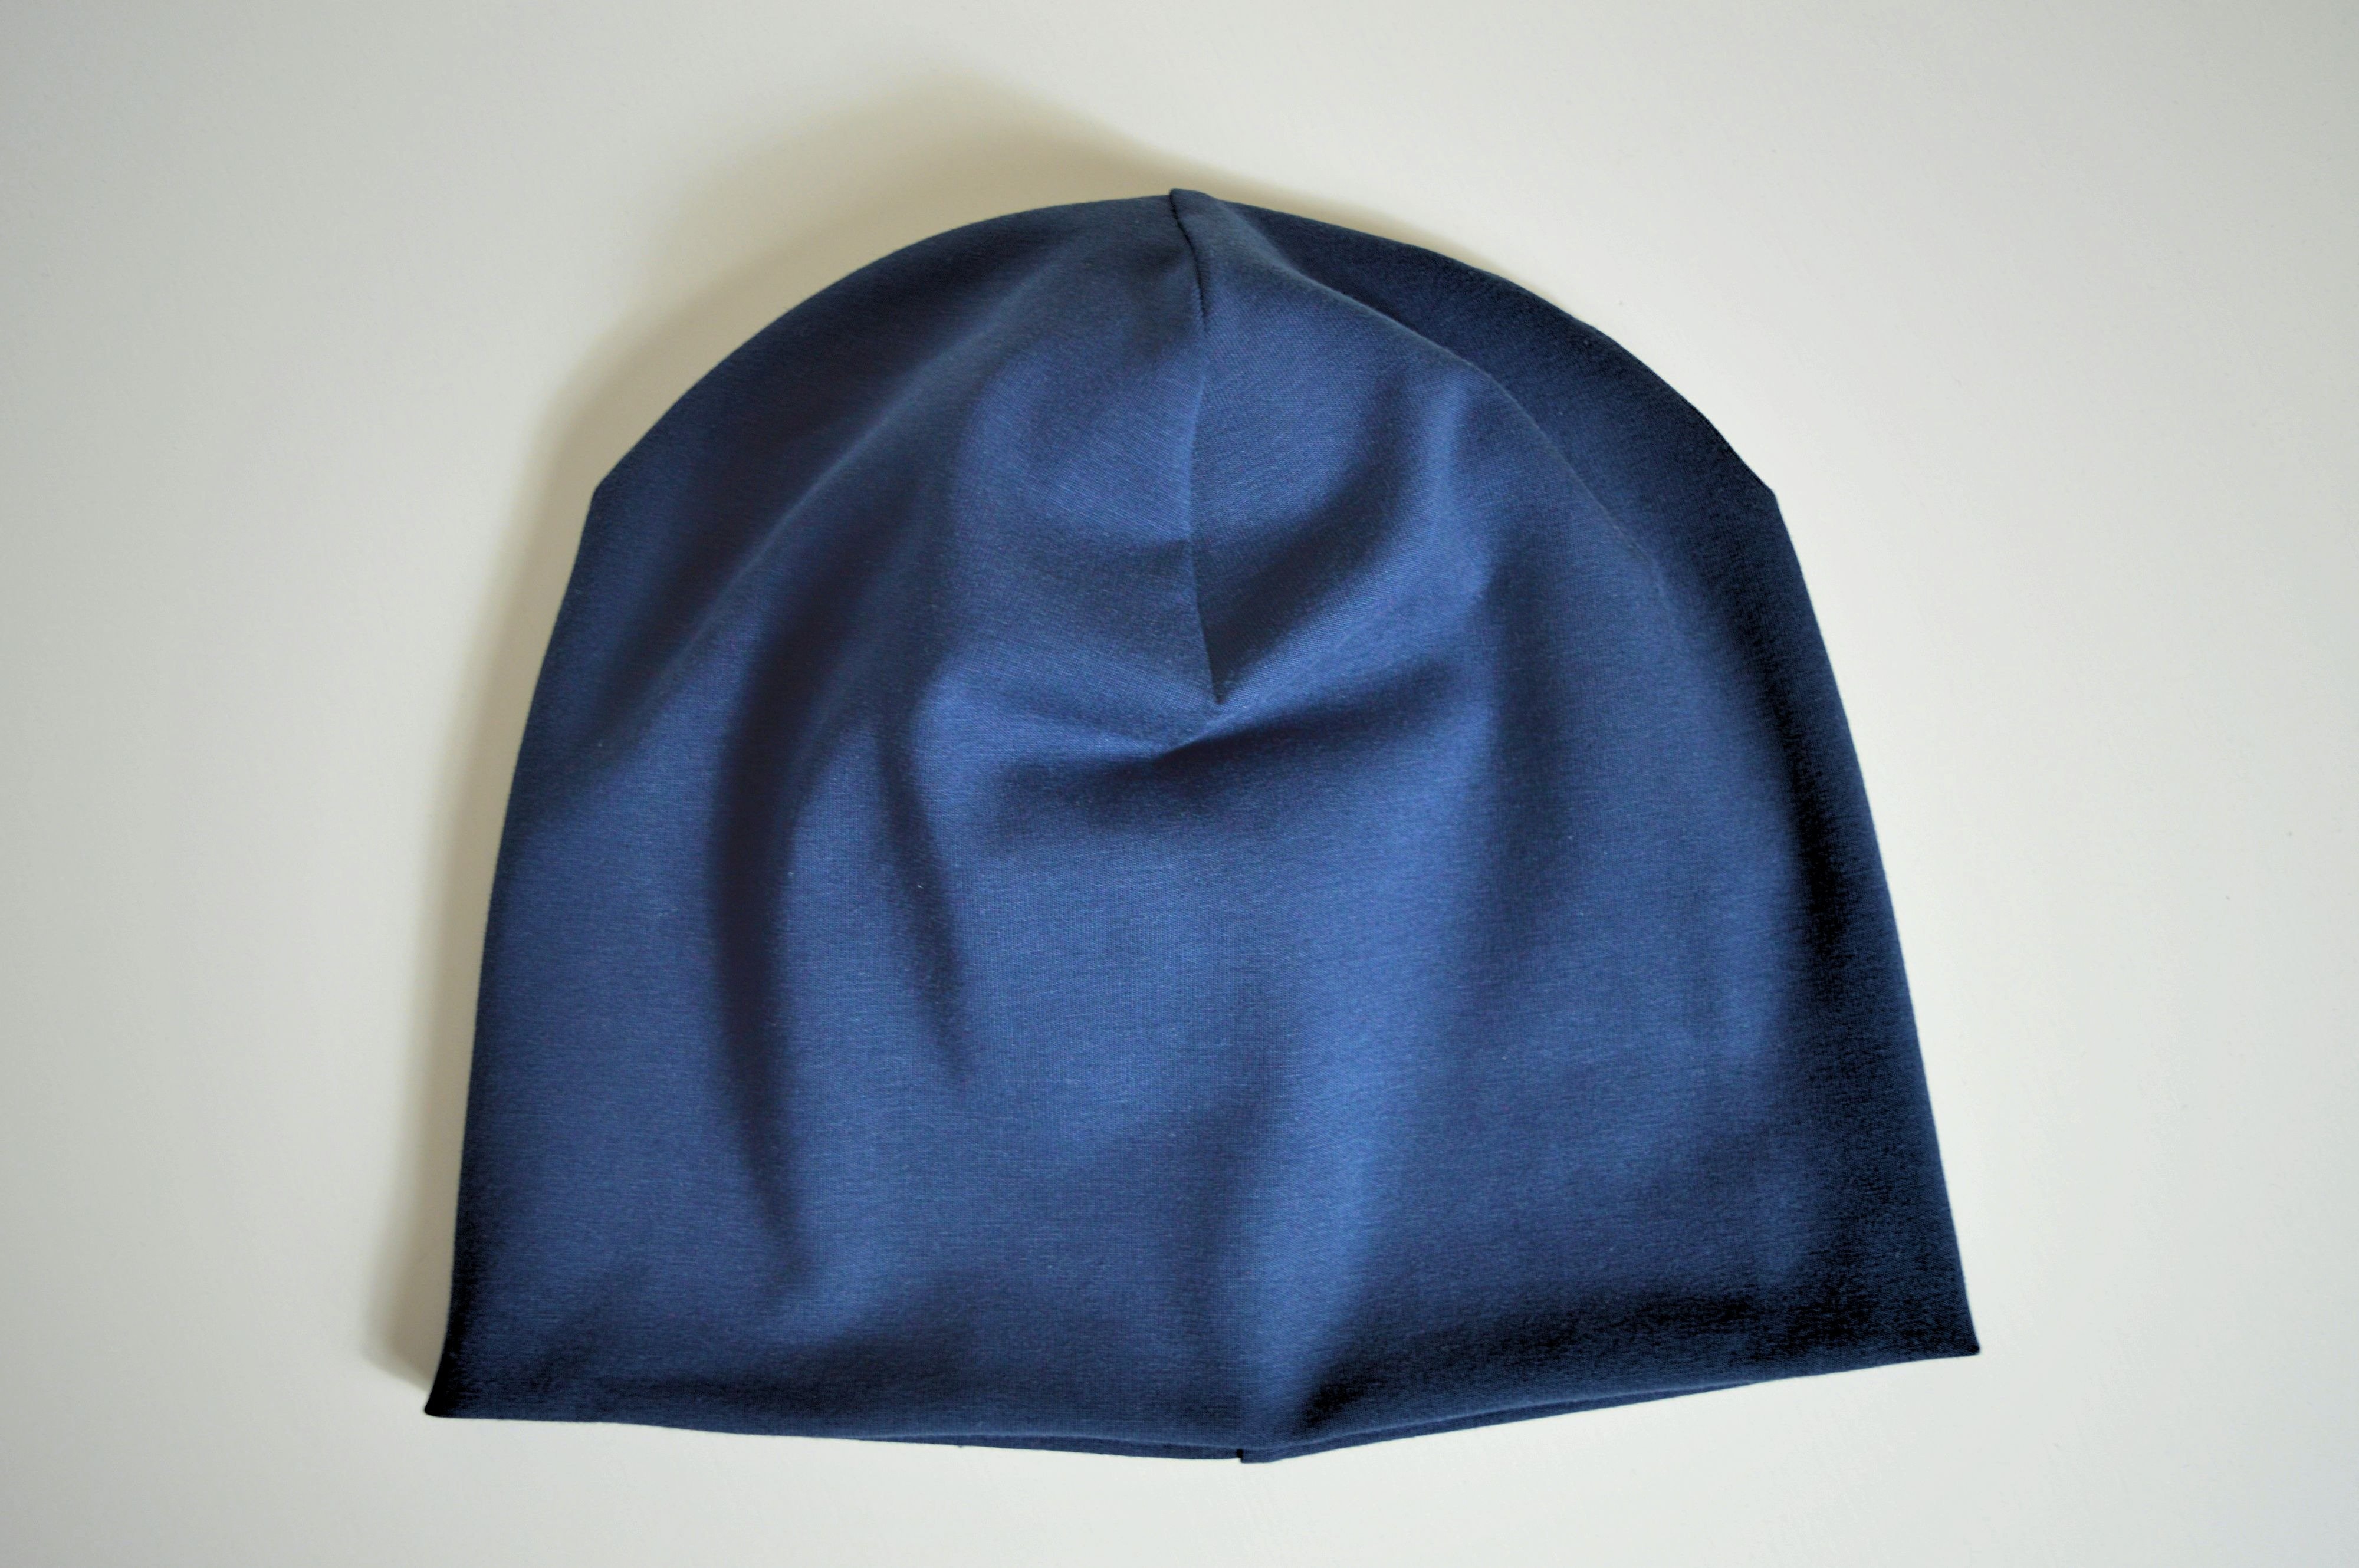
Beanie


Amazing! Just what I was looking for. Thank you!
Just finished making one of these for my sister. I hope she loves it…..very easy to make and quick
Is the dart seam straight or curved? How far in from the edge? It would help to see the stitching line.
Dear Martha,
The dart seam is slightly curved, and how far in depends on your sewing allowance 🙂
Best instructions I have seen for Beanies. Page is bookmarked and tomorrow is Beanie Day
Same here! Best instruction I’ve seen too for a beanie, and my tomorrow is also beanie day! I just got a thrifted sweater to repurpose today.
Love this! So easy to follow! I’m making my third one already! So glad I found this! Thank you very much!!)
Thank you this is ideal !
I found the pattern instructions impossible to follow.
Dear Ellen,
Sorry to hear that. Which steps are hard to follow? Maybe I can help you.
Best regards, Ramona
wooo awesome, my wife has also similar machine with program, when you sew that clothes you don’t have a problem wich units, but sometimes we need a online help like a https://amazingconverter.com/metric-conversion/metric-conversion-from-inches
Love love love this pattern. I make fleece and cotton knit beanies for cancer patients and this pattern rocks!!! thank you
I have just made fluffy, warm liners for our knitted hats; great addition to keep the wind out. Thanks for the pattern.
This was the first beanie that I’d made like this (but I lined mine with light fleece) and must say I am thoroughly impressed with how it turned out. Thank you for the great instructions.
Very sloppy
I cannot believe that I am the only one who simply could not make this beanie due to the lack of clarity in the instructions! I have spent HOURs trying to figure out how to put it together, and had to discard the material in the end. back to creating my own patterns. very disappointing
Your not the only one. I think the grammar used is arse first.
I had a difficult time too. I made one for my son tonight and finally got it, but this was really hard to follow halfway through. I converted to inches and at first missed that the starting number got cut in half twice to get the 13.5 cm. Fixed that before I actually started sewing, and after awhile finally figured out where I was actually supposed to sew the darts and match everything up…and then the 3-10 year old size was too small for my 4 year old. It fit really tight and my fabric is fairly stretchy, but I measured the circumference of his head (which I wouldn’t consider larger than average – he’s actually small for his age) and it’s around 20 inches. The circumference used for that age converted to inches is only 18.89 inches so maybe you just need a really stretchy fabric, but seems too small to me.
13.5 cm is equal 5,314960625 inch
https://inchintocm.com/
I love learning new things to sew.
Thanks so much for this pattern! Any tips on making this large enough for someone with waist length dreadlocks? Is it just a matter of adding a few inches to the length of the pattern?
This great pattern keeps on giving!
Using my L460 I made 40 child-sized beanies for donation to a children’s clinic.
Since the fabric was donated, I had to adapt the length, but the kids don’t care. They love the variations and comfort.
I made this today, good instructions but I had to translate cm to inches. (1 inch equals 2.54 centimeters) Then I rounded it to get my measurements. I think it came out really nice, will make more! Thanks for the pattern.
Ohhhh, I got it, hah. Nevermind!
When you say to match up the darts, what exactly do you mean? To put one on top of the other? I don’t think I’m reading it right, unless I am and I’m just not really getting it, mine seems to get all tangled when I try to do what I think you’re saying to do. I might be reading it wrong, or doing it the wrong way, I’m not sure.
I’m also confused about this, can you clarify how it’s supposed to be done?
I would like this in inches please for children ages
Hi Sheila,
here is a link where You can find the convertor.
If that does not help, let me now, I’ll convert it for You.
Best regards,
Jelena
When making the pattern for sizes other than the adult small (54cm width), do you change the compass setting from 13.5cm? For example, if you’re making a hat for a toddler (44cm width), you do a compass setting for 11cm?
Thanks!
Hi Laura,
the answer to Your question is yes.
Depending on the circumference of the beanie, it is also changed compass setting.
For the hat pattern, that is 44 cm width; the compass opening needs to be adjusted to 11 cm. (The compass setting is always 1/4 from the circumference of the beanie, that is made.)
Best regards,
Jelena