 BERNINA Corporate Blog -
Dear community,
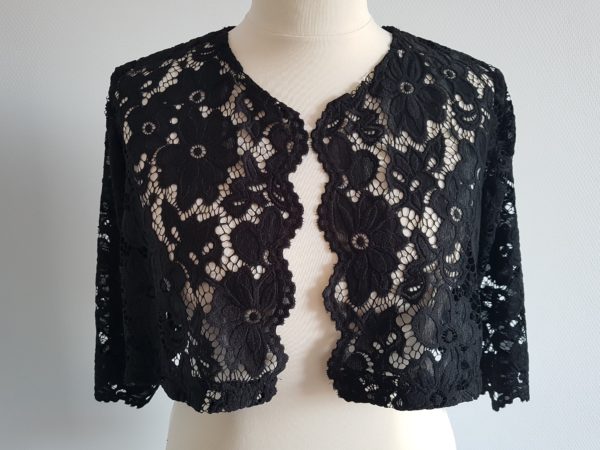
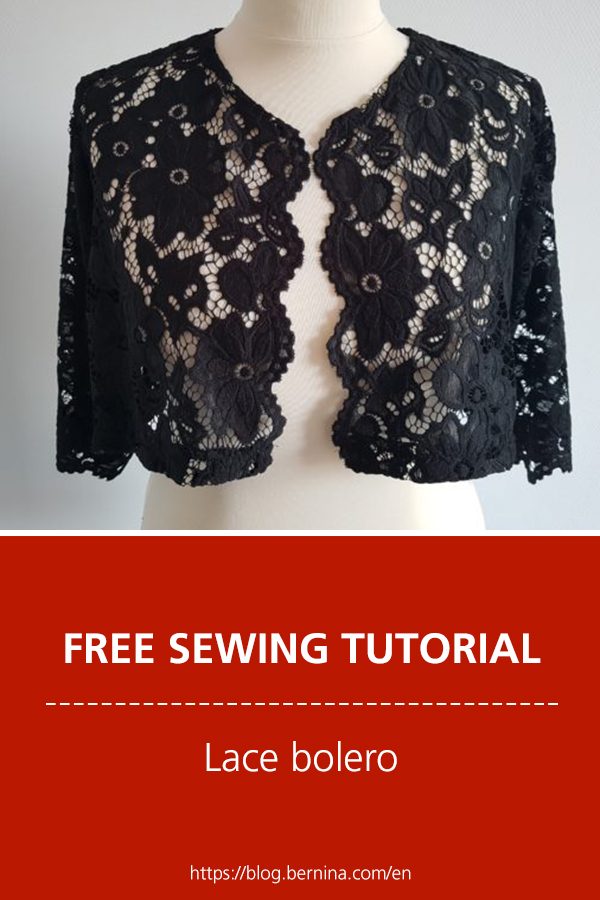
in this blog post you can find easy instructions for sewing a lace bolero – perfect for Christmas and New Year’s Eve.
Quick and easy DIY lace bolero: finish off your Christmas outfit.
Are you ready for the festive season? The menu, a theme, decoration, (homemade) gifts for everyone? And what are you going to wear? My Christmas outfit is completed with a lovely lace bolero. In this blog, I’ll tell you how you can make one yourself, in a flash!
What do you need?
Lace is available in so many types and colours. It always gives me a fancy feeling and just rounds off an outfit. This bolero is made using an existing blouse pattern. You can basically use any blouse pattern for this. Take a pattern you’ve made before and rest assured that your bolero will fit nicely. In addition to the basic materials, you’ll also be needing these:
- Blouse pattern
- Pattern paper
- Lace (about 1 to 1.5 metres)
- Matching thread

Adjusting the pattern
To make the bolero, we use the front, back and sleeves of the blouse pattern. My blouse pattern fits loosely, but you can of course use a more tailored pattern. First, measure approximately how long you want the bolero from the shoulder hem. I opted for waist length. Transfer the pattern parts to pattern paper and adjust the parts as follows:
- Front: cut the pattern on the middle centre line. If the pattern has a cut seam, cut it off. Shorten the pattern at the bottom, keeping a hem of about 2 cm.
- Back: shorten the pattern at the bottom so that it has the same length as the front part. When shortening the pattern, take into account any front seams.
- Sleeves: shorten sleeves to the desired length. I chose a three-quarter sleeve.
You can also cut extra length when shortening your pattern and finally pin the bolero at the right length For this bolero, I used a lace with a scalloped edge so there is no hem at the front and the sleeves. Using lace without a scalloped edge? Then make sure you keep around 2 cm for a nice finish.
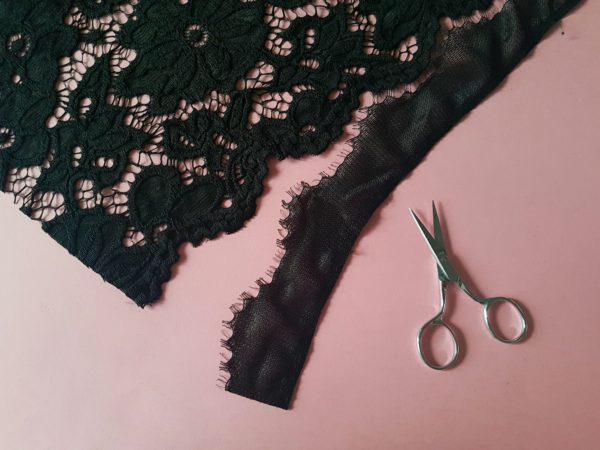
Cut the fabric
The lace I used for this bolero is slightly coarser. It has a scalloped edge on the selvedge. I used the scallop as a focal point in the centre front and on the sleeves. Align the pattern line from the centre front to the line of the scalloped edge. For the sleeves, I put the lace on the bottom of the sleeve. As a result, there’s no hem on the sleeves and you rotate the pattern piece a quarter turn from how you would normally cut it.

Assembling the bolero
Most blouse patterns have a front seam, so stitch it. Now sew the shoulder and side seams of the front and the back piece. Finish the seams with the overlocker or make a French seam.
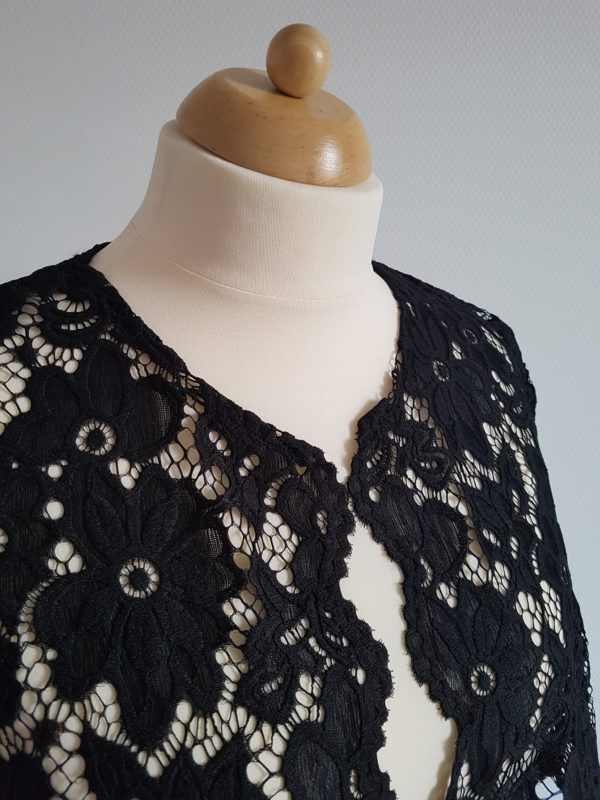
For the neckline: fold the lace 1 to 1.5 cm inwards and stitch in place with a zigzag stitch. Using lace without a scalloped edge? Fold the centre front seams 2 cm inwards and sew in place with a zigzag stitch, or make a narrow seam.
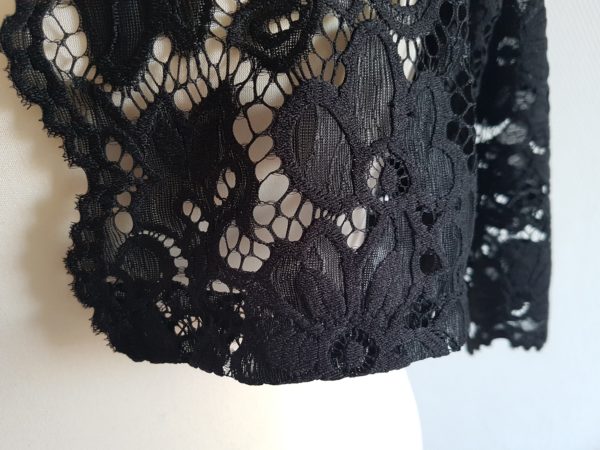
Sew the sleeve seam and set the sleeve. You can also finish this seam with the overlocker. If necessary, finish the bottom of the sleeve by folding it inwards or sewing in a hem.
Sew the hem at the bottom of the bolero.
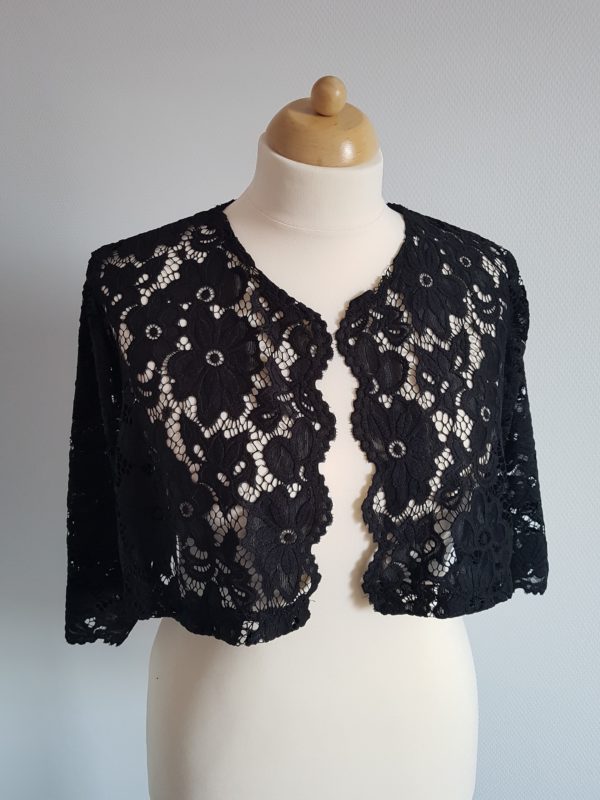
Shine!
Behold, your bolero is finished! Match it to your favourite outfit and enjoy the festive season.
Have you made this bolero? I would love it if you could tag me on Instagram @Lisa_sews
Merry Christmas!


Beautiful Lace pattern blouse. Very nice information. Good look.