 BERNINA Corporate Blog -
Dear community,
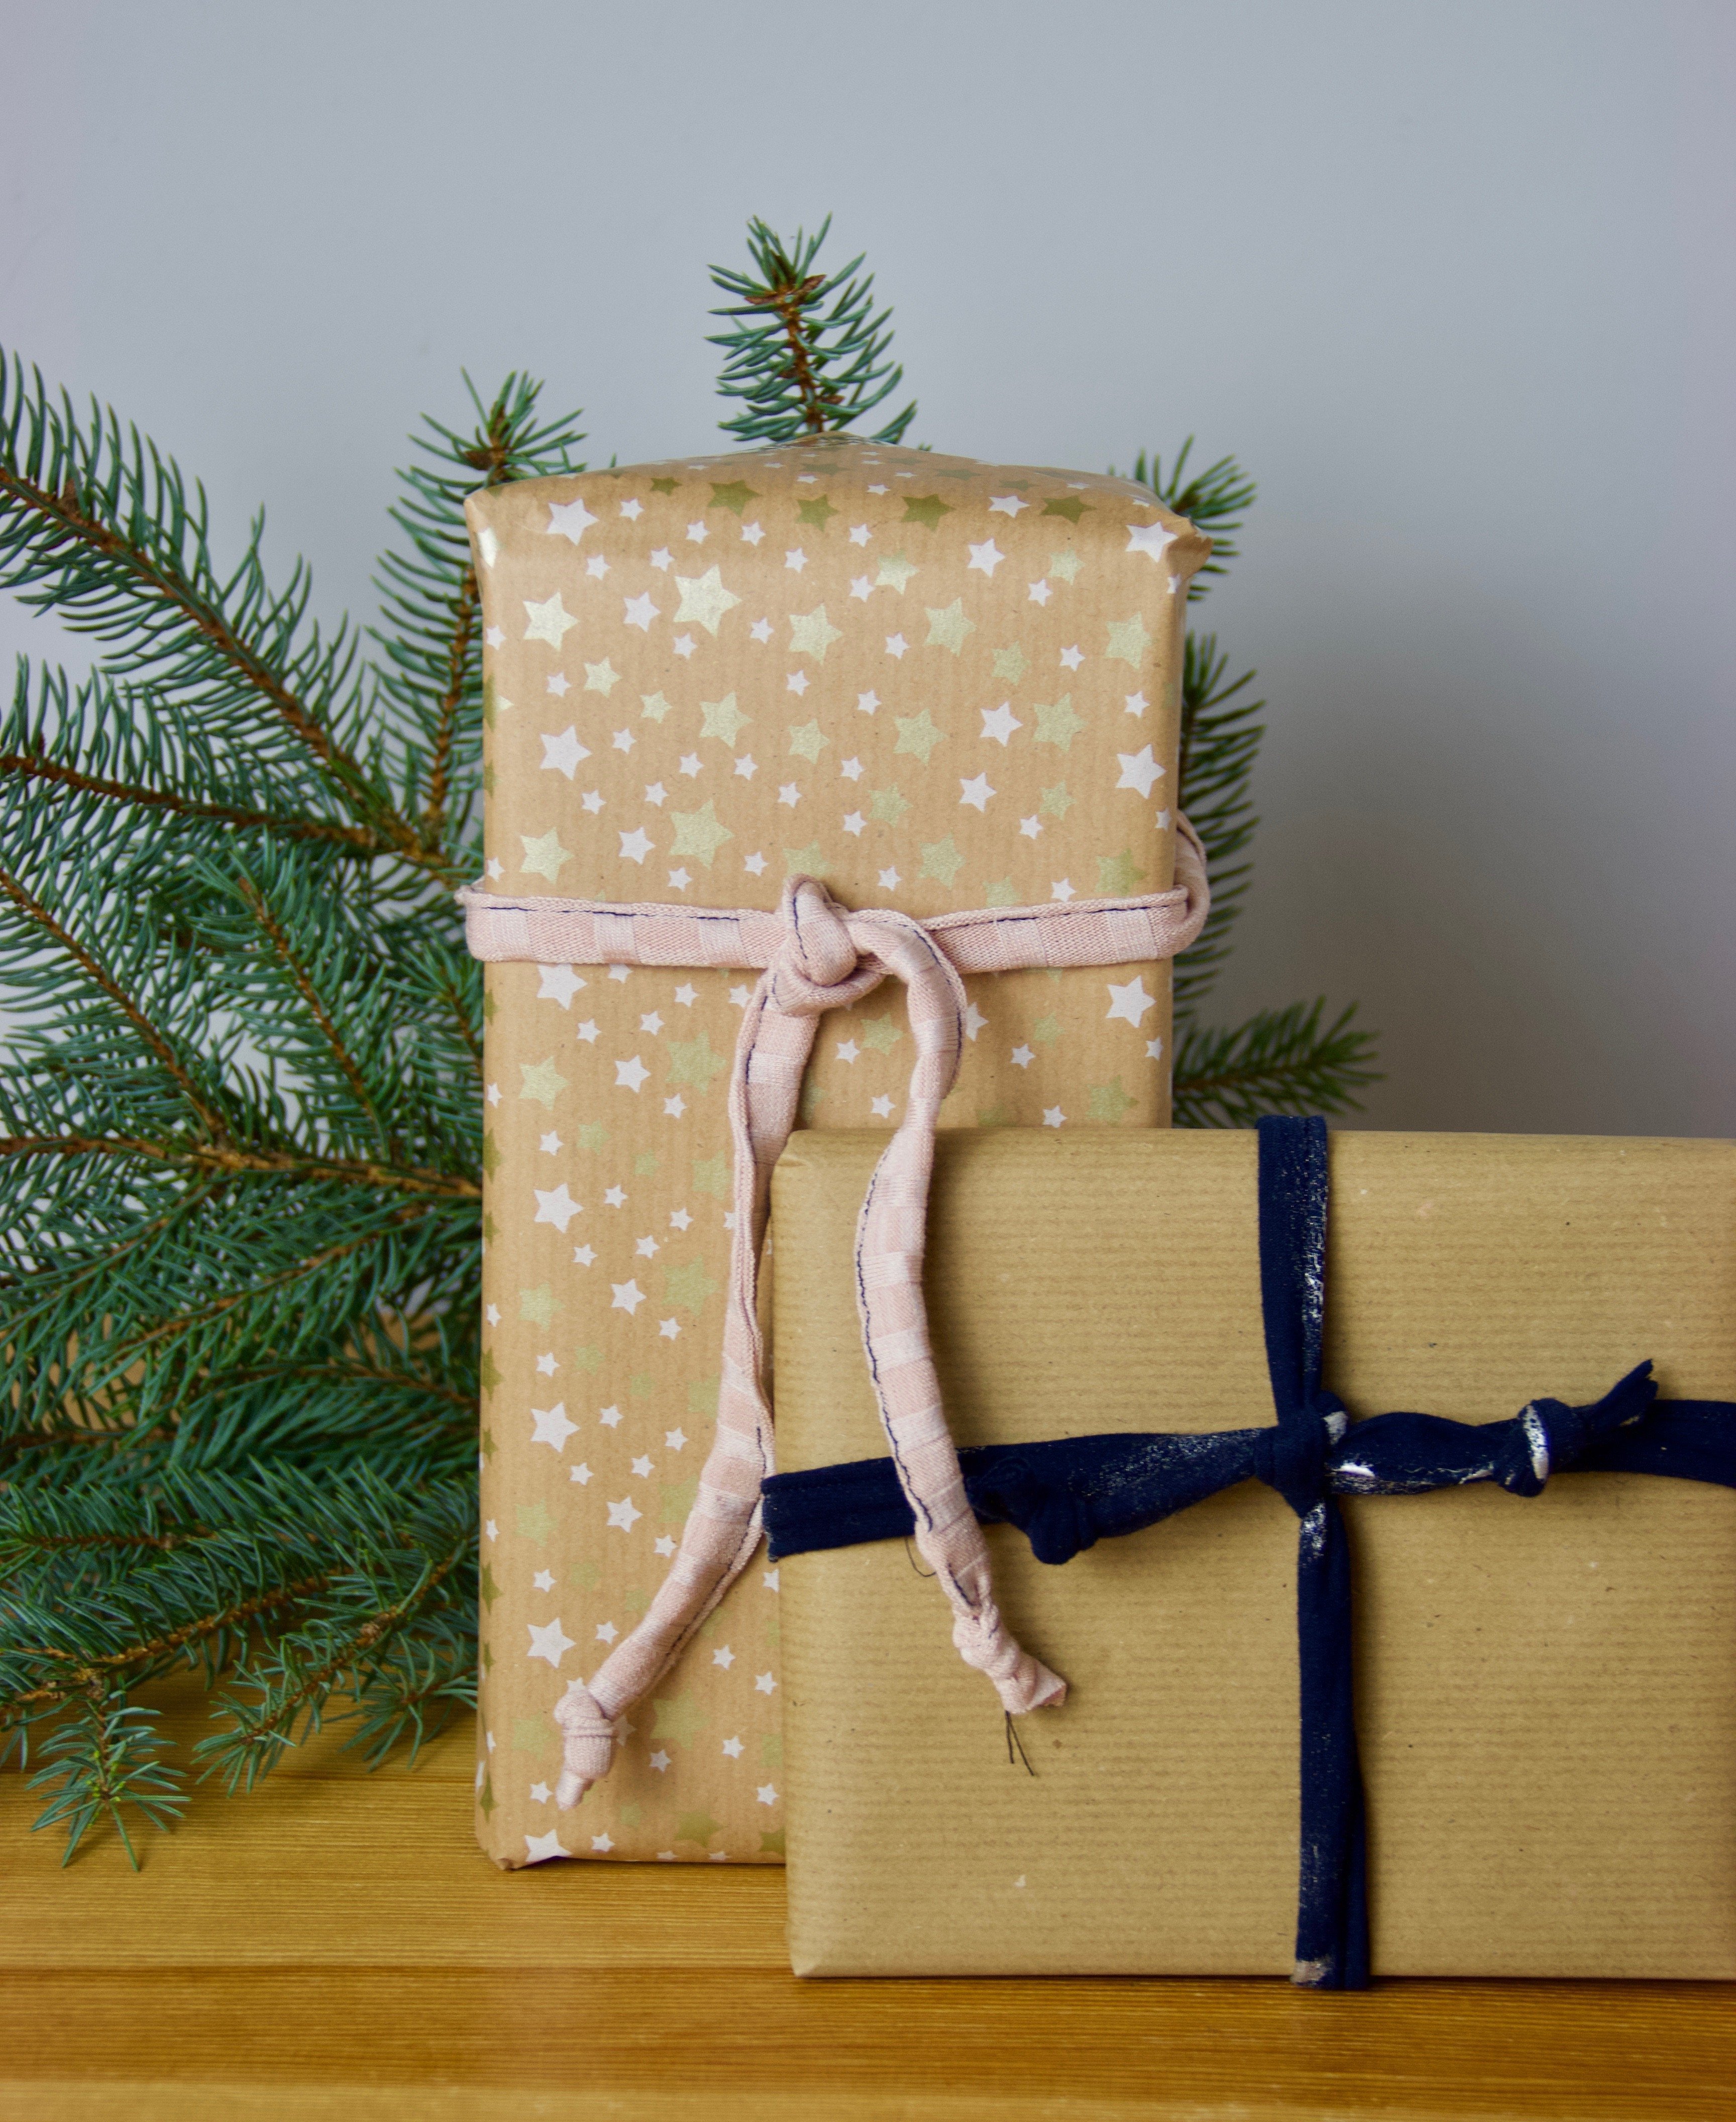
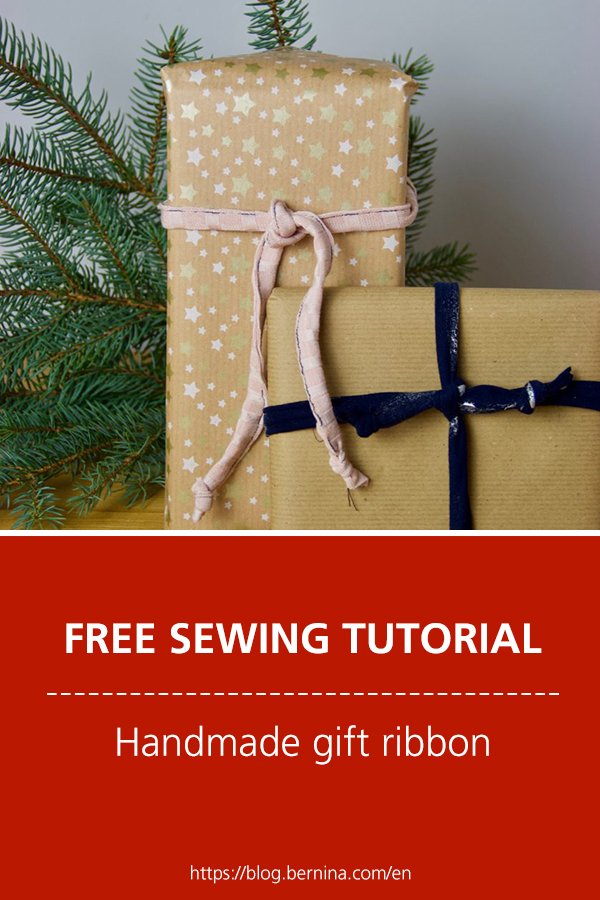
in this blog post you can find detailed sewing instructions for a self-sewn gift ribbon – perfect for your individual christmas wrapping!
For those of us who may not have all our gifts ready yet, let yourself be inspired by the BERNINA Advent calendar. Here we have already seen so many wonderful tutorials begging to be followed.
Today I will be showing you how to package your Christmas presents in a uniquely personalized way. With just a little effort you can conjure up packaging that the recipient won’t soon forget. 😉
Self-Sewn Gift Ribbon
You will need:
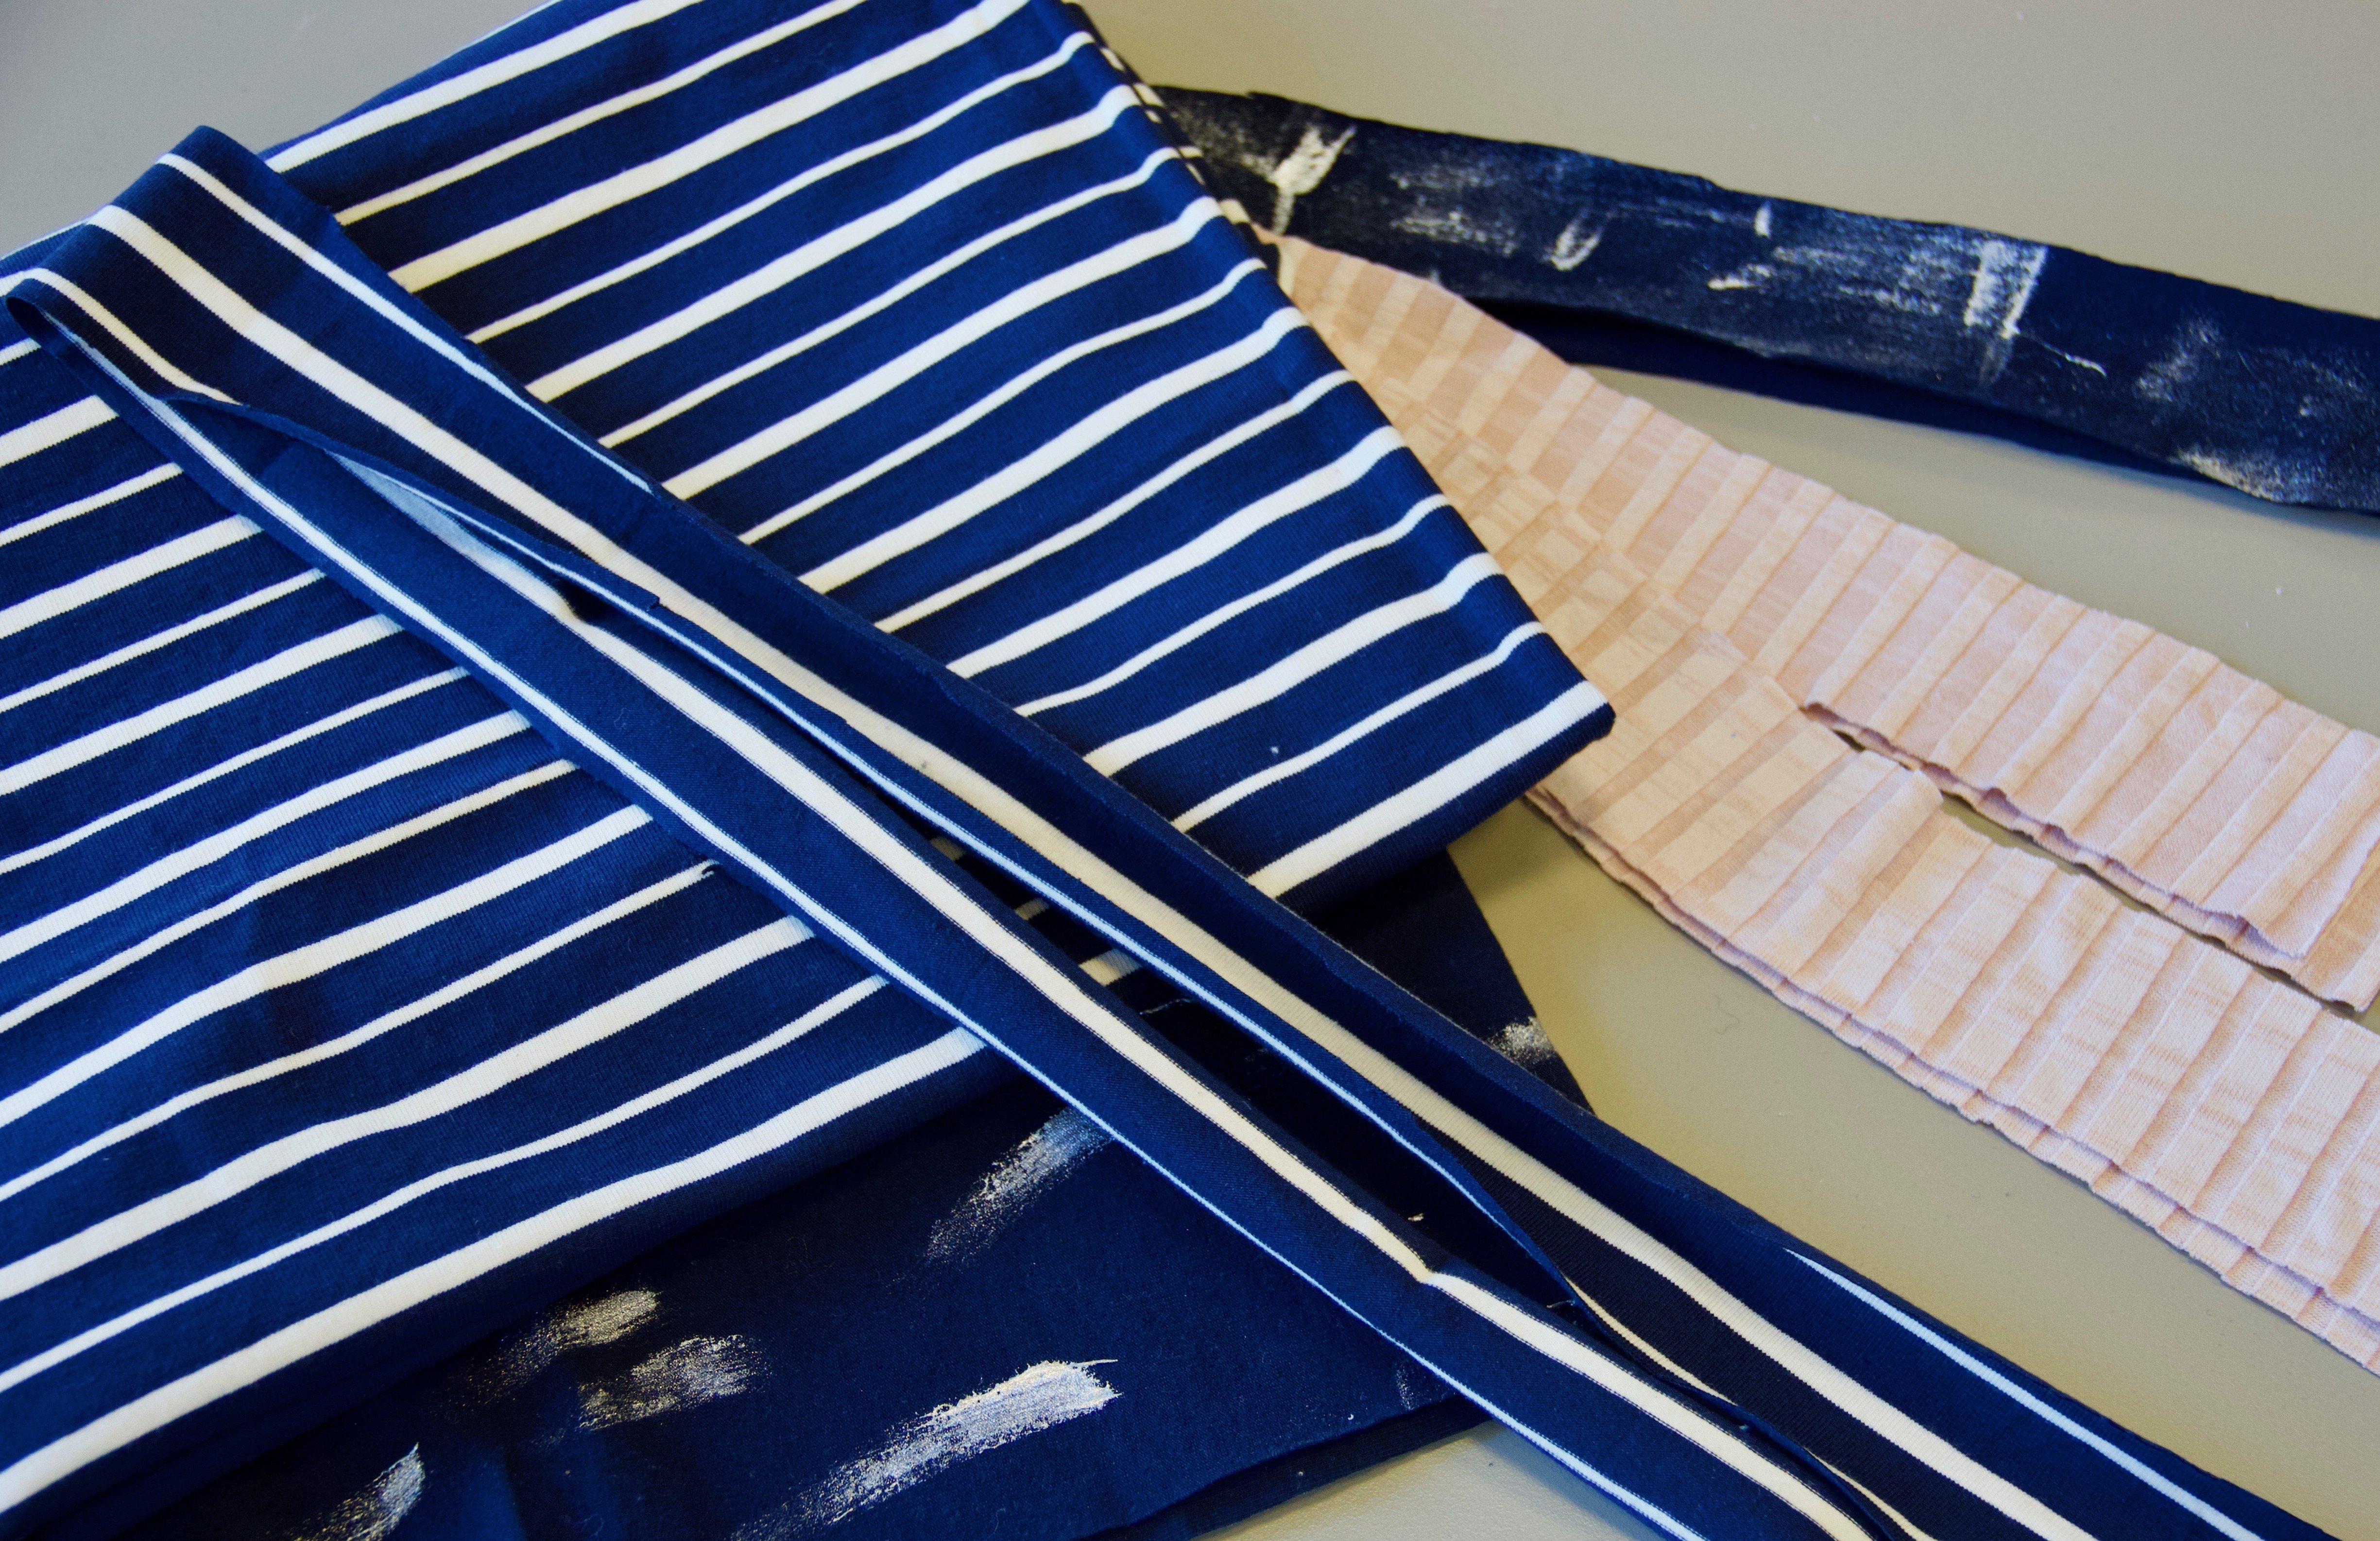
Fabric strips, both elastic and non-elastic usable (length: at least 50 cm, may vary)
Ruler, fabric scissors
BERNINA Binder Attachment for Unfolded Bias Tape #88 and Binder Foot #95
Optional: fabric paint and brush
Let’s get started:
First we will start by cutting our ribbons. Depending on your binder attachment, we need a width of 28 mm, 32 mm, or 38 mm. I marked this on my triangle rule with adhesive tape. This lets me cut the fabric strips beautifully. The length of the ribbons will vary according to the size of your gift. The larger the present, the longer the ribbon has to be. I recommend using the full width of the fabric here.

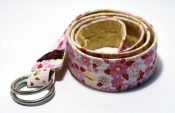
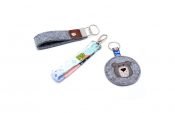
Fabric scraps work great as ribbons, regardless of whether they are jersey fabric or woven material. If you want, you can even paint your material with fabric paint. I have drawn a schnauzer by hand using silver fabric paint. Of course, you can also thread on a large wooden bead to personalize your gift ribbon. Your creativity has no limits. That’s the beautiful thing about sewing.
Once you have cut your fabric strips, we will move on to threading. It is easier to cut the start of the strip at an angle so that it is more easily inserted into the binder attachment. Here is a great video that explains how to secure the binder attachment to your sewing machine and what to look out for
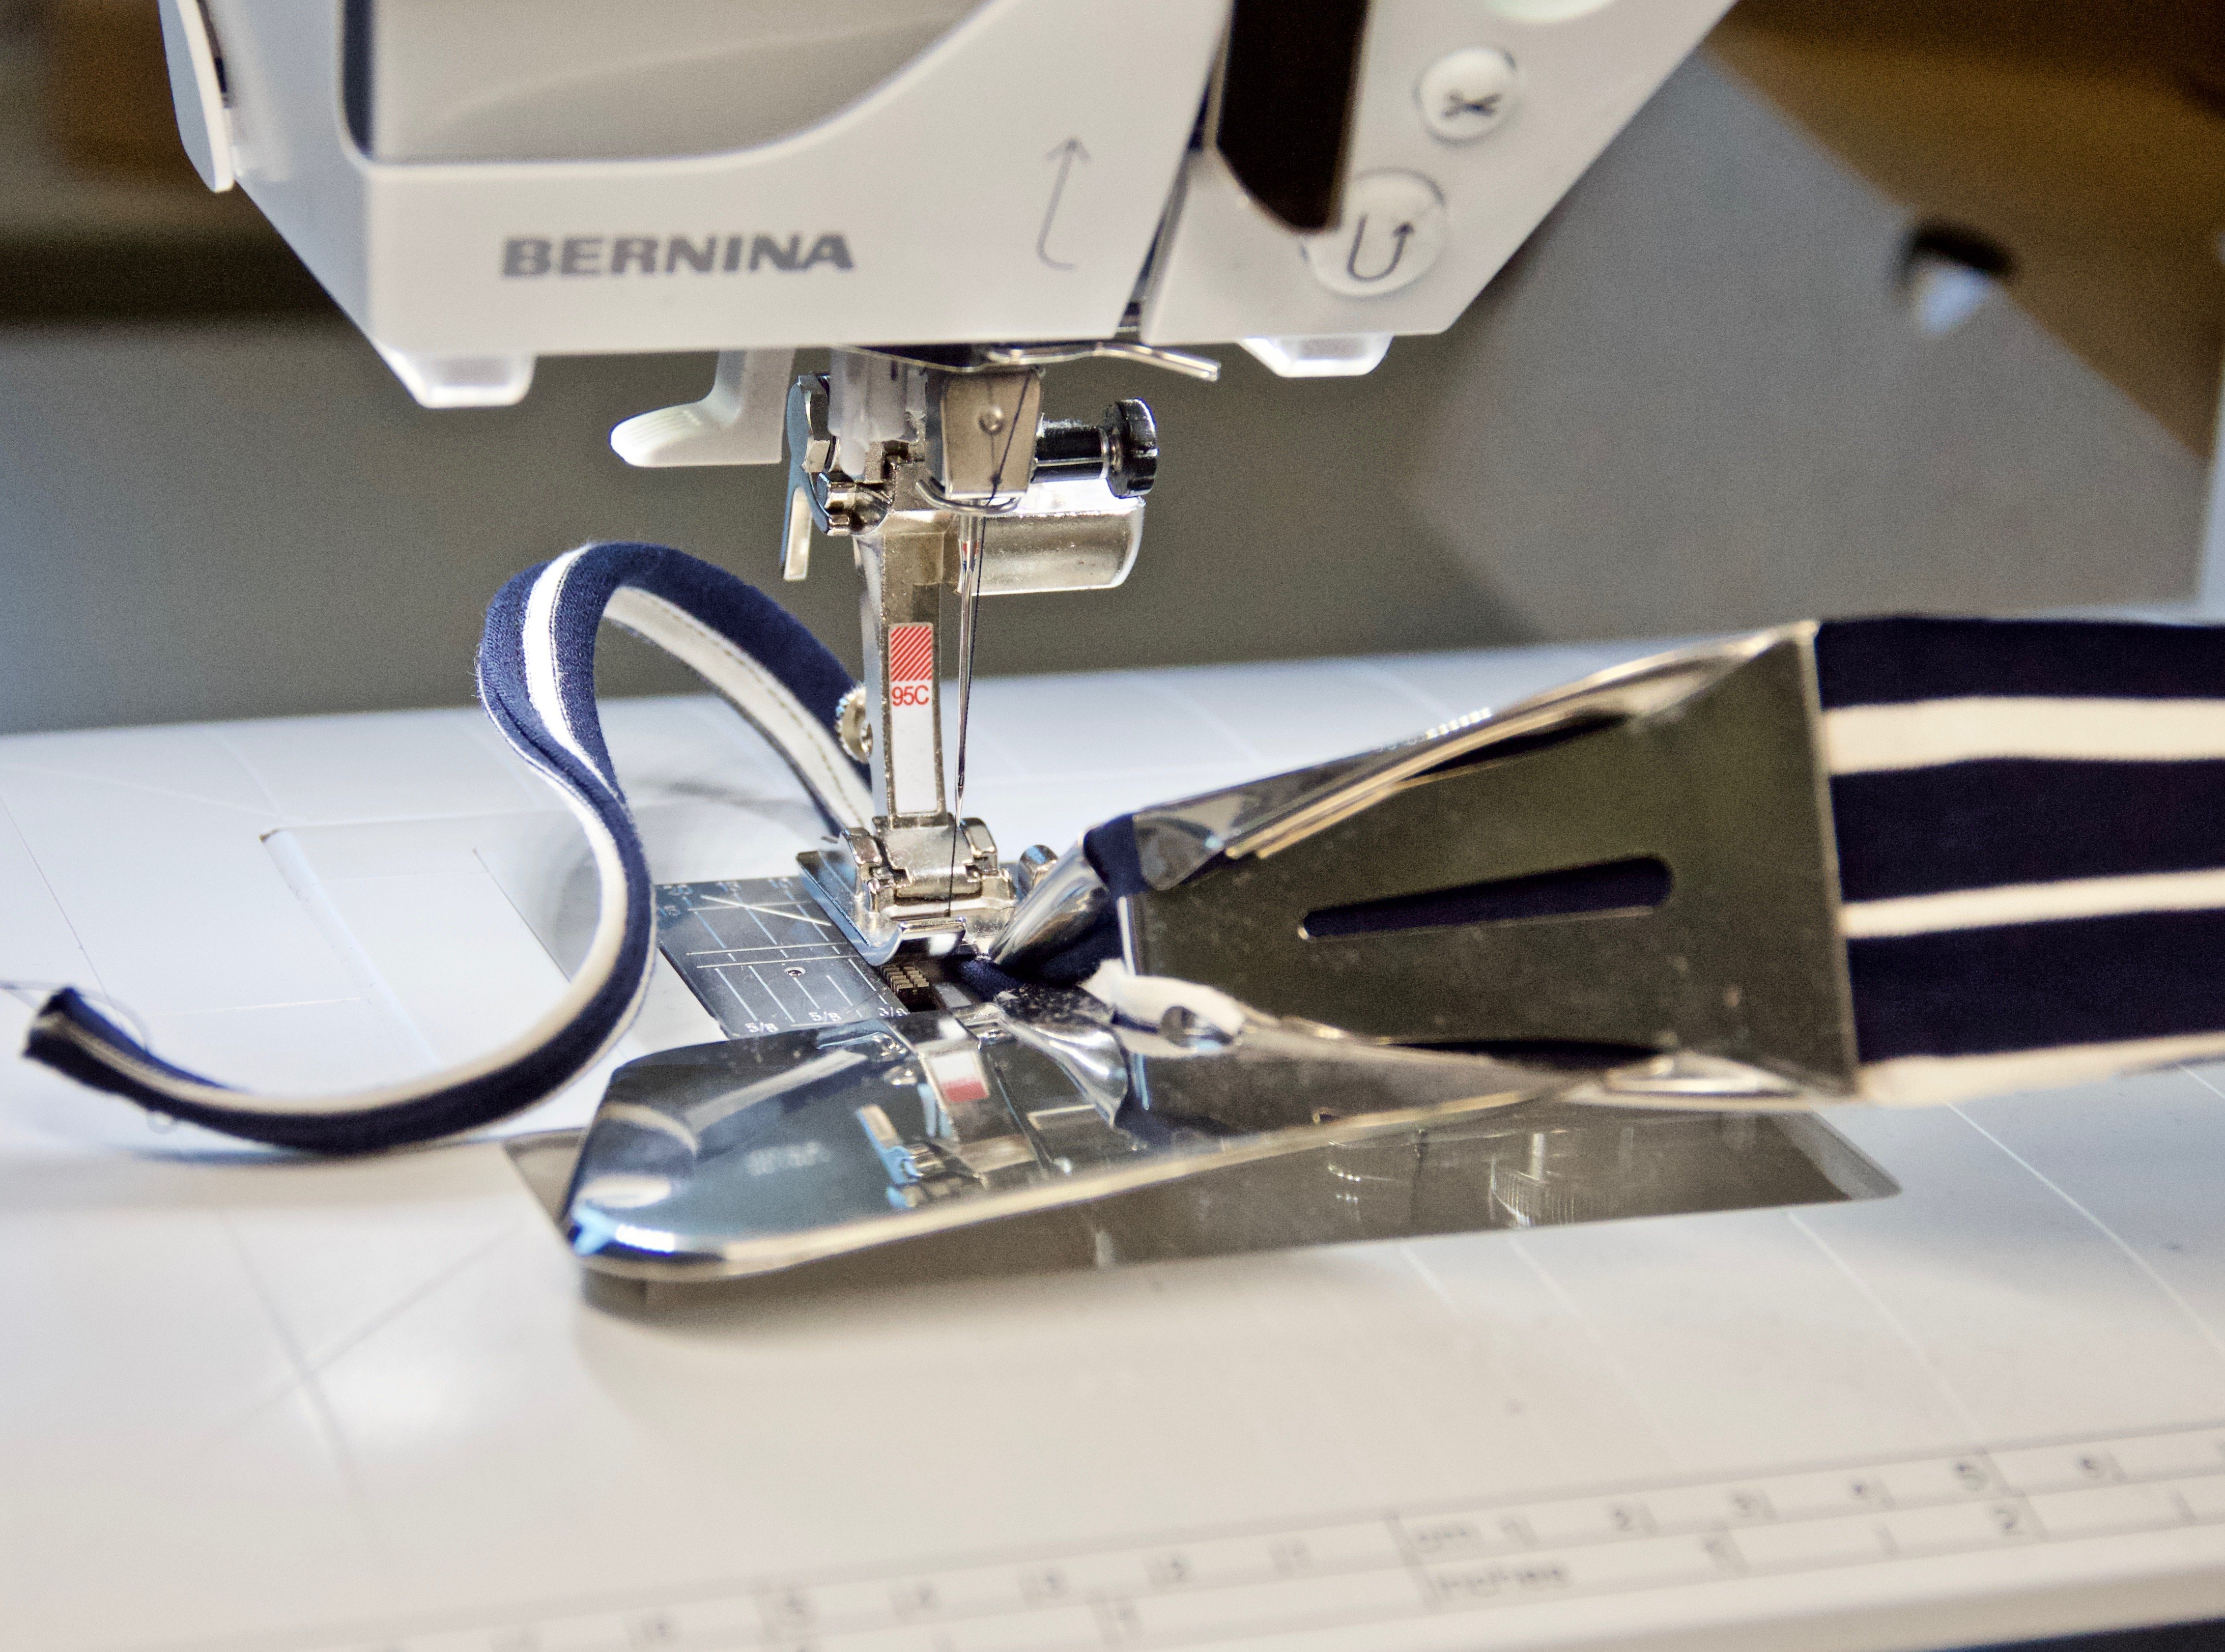
And now for the sewing. My tip: Make sure that the strip is pulled in smoothly and does not get twisted. Otherwise your ribbon will not come out as pretty as you want.
That’s it!
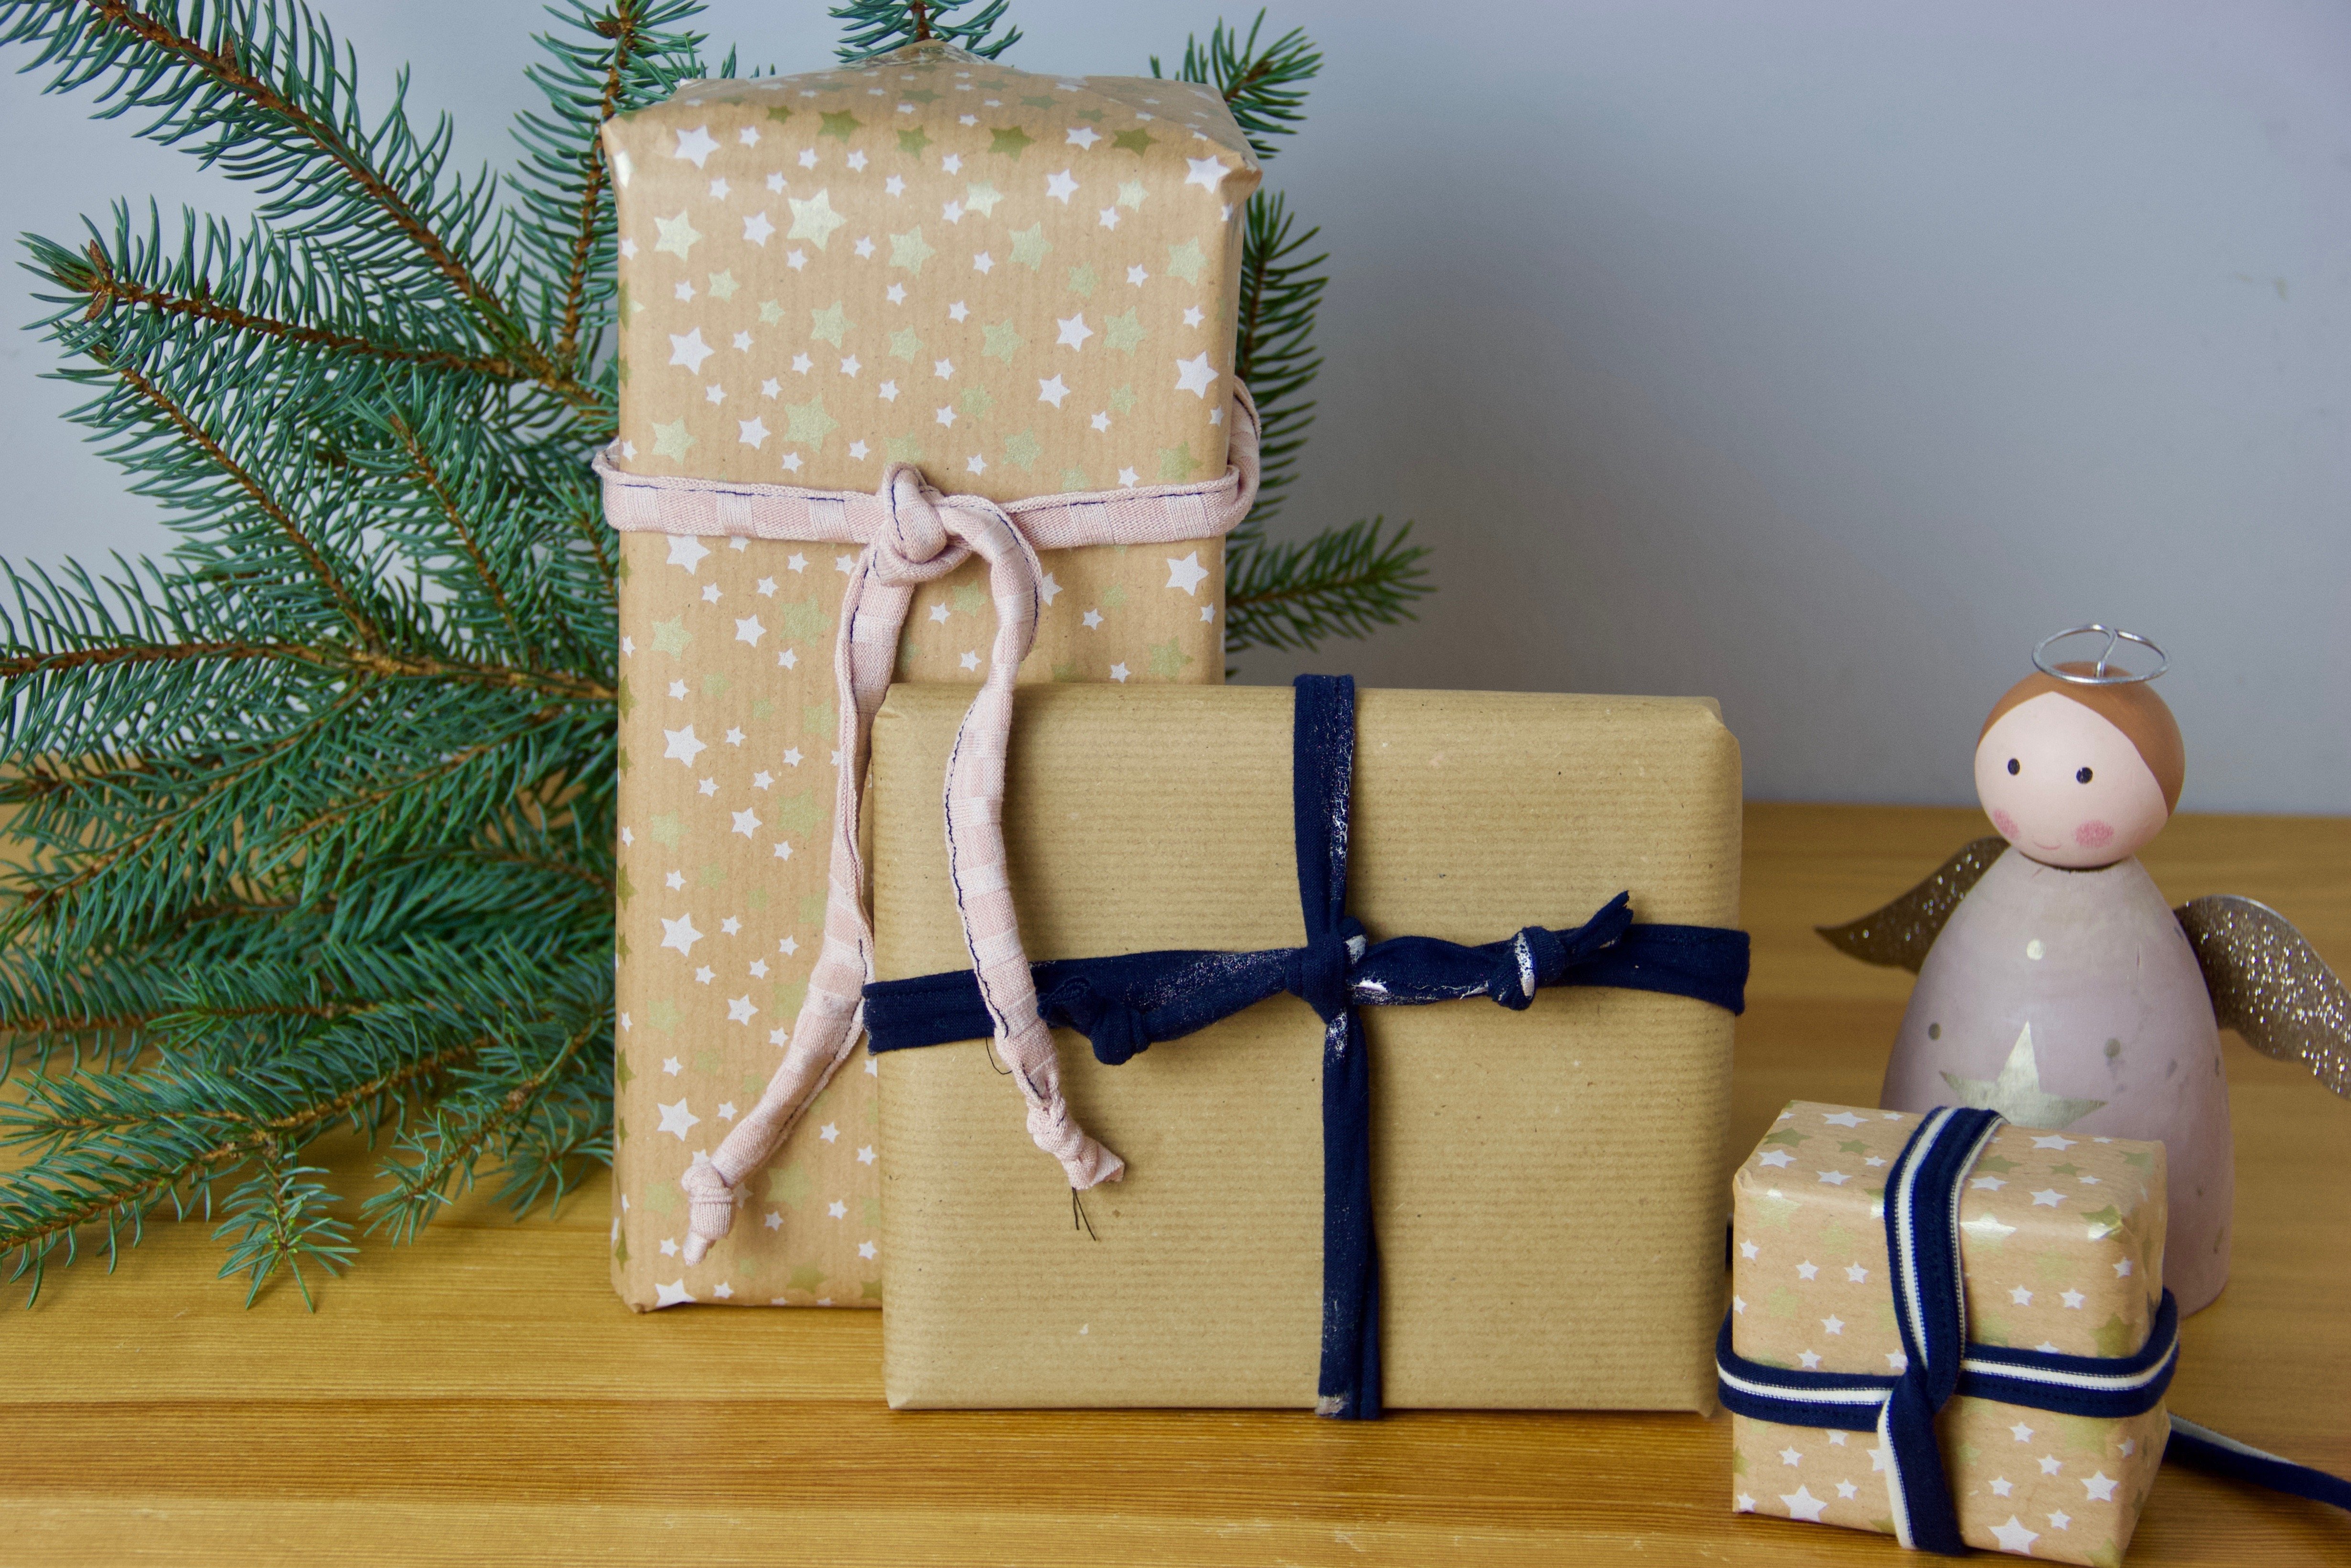
Now all you have to do is pack up your present and decorate it with your newly sewn gift ribbon. And voila, you now have a quick and easy upgrade for your gift packaging. This is sure to liven up even the simplest of wrapping paper as well.
Wishing you a thoughtful and tranquil Christmas!
Vivien


0 Responses