Dear community,
in this blog post you can find easy instructions for sewing a star-shaped candle holder – perfect as a table decoration for Christmas and the holidays!
Today we are opening the fourth window of this year’s Advent calendar. Plenty of time left to sew something before Christmas. Hiding behind today’s door is a star-shaped candle holder that can works great as a table decoration or as a small gift.
Materials
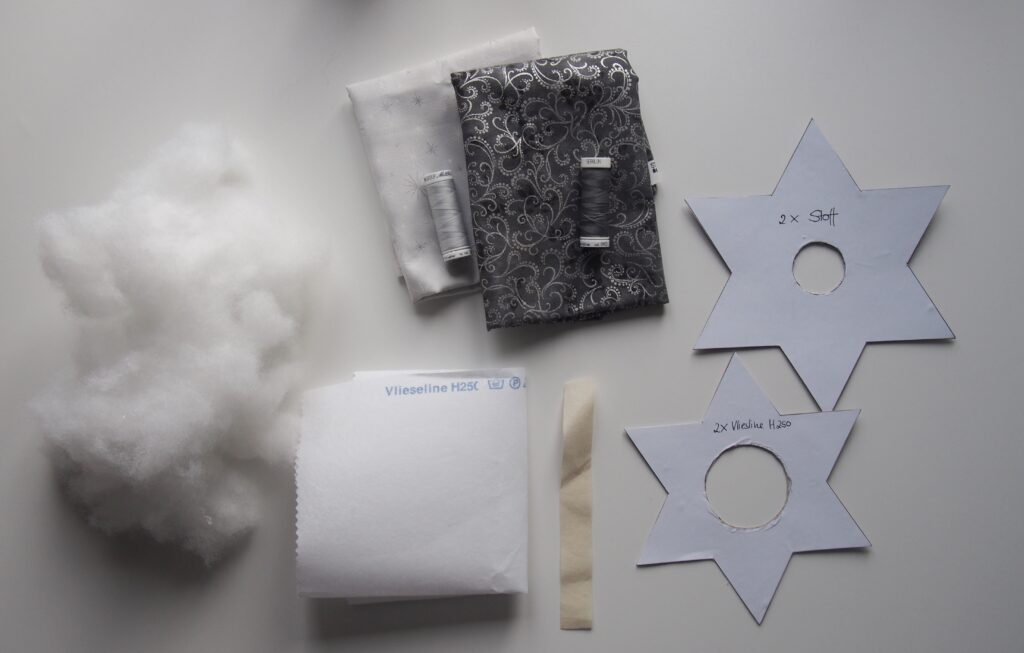
- Cotton and patchwork material of your choice, approx. 40 cm x 40 cm
- Mettler Seralon thread in a matching color
- Insert
recommendation: Vlieseline H250 fusible interlining, approx. 30 cm x 16 cm and a strip of Decovil 2 cm wide - Fiberfill
- Pattern: Tealight Star Material Pattern and Tealight Star Lining Pattern
The pattern is good for a glass tealight with a diameter of 4.6 cm. This is a standard commercial tealight size. If you want to use a different sized candle, the center hole will have to be adjusted accordingly.
The pattern uses a seam allowance of 1 cm.
Cutting
- Material:
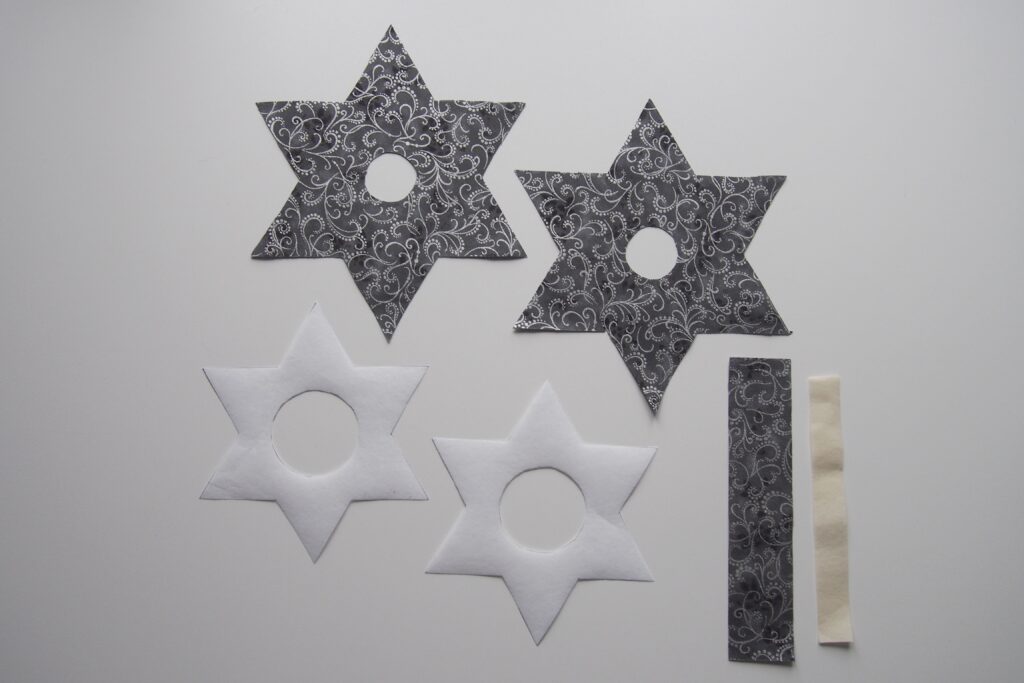
– 2 x the larger star with the small center hole
– a strip measuring 4 cm x 18.5 cm - H 250: 2 x the smaller star with the larger center hole
- Decovil light: a strip measuring 2 cm x 16.5 cm
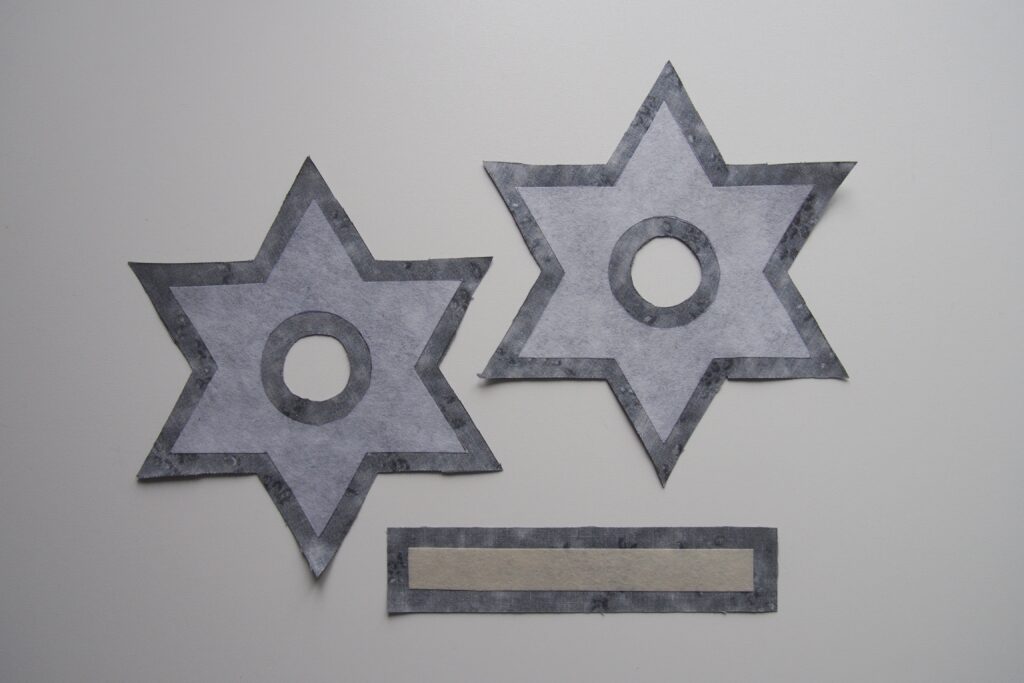
Iron the insert onto the cut out pieces of material according to the manufacturer’s directions. Leave exactly 1 cm free.
Iron a lengthwise edge on the strip of material.
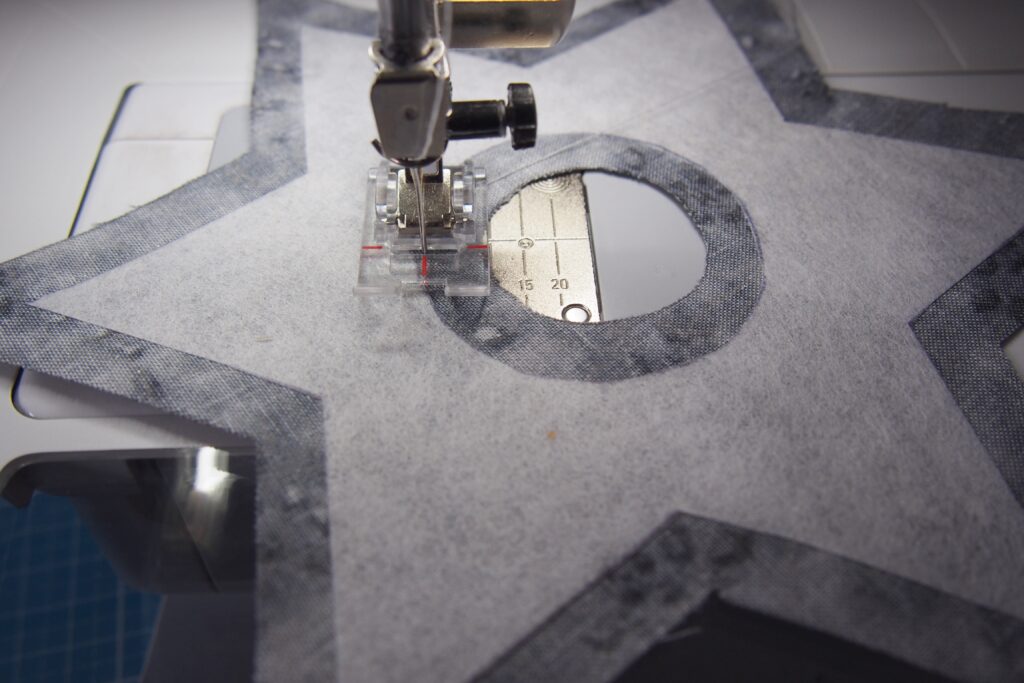
Sew the strip on the upper star:
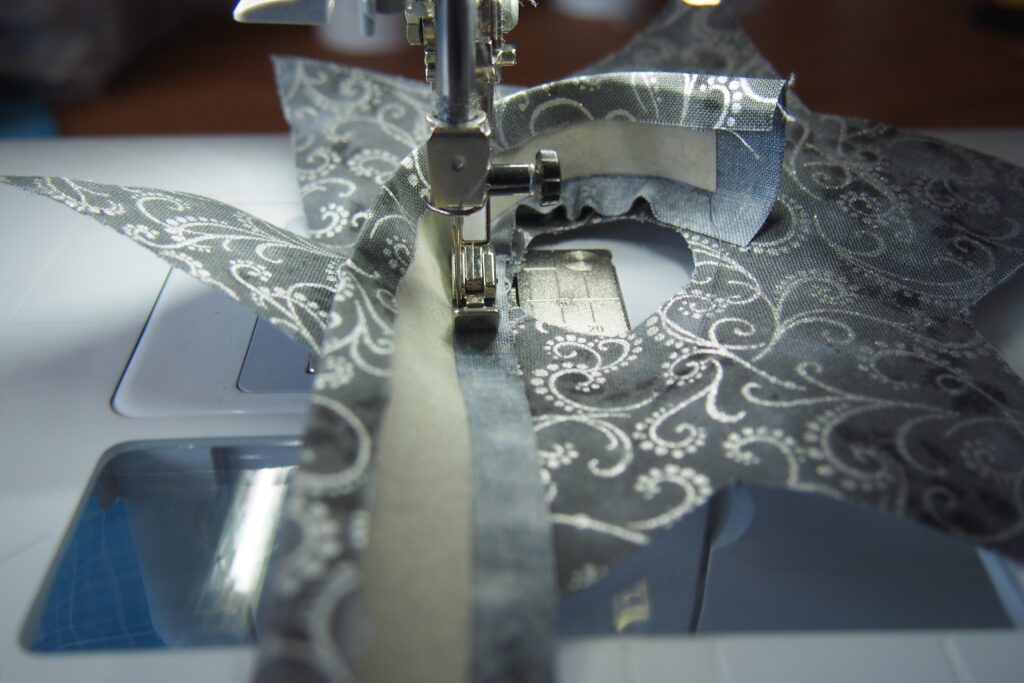
For the first seam – this is the trickiest part of the whole star – follow these directions:
- Zipper foot #4
- Stitch length 2.2 mm
- Needle position below
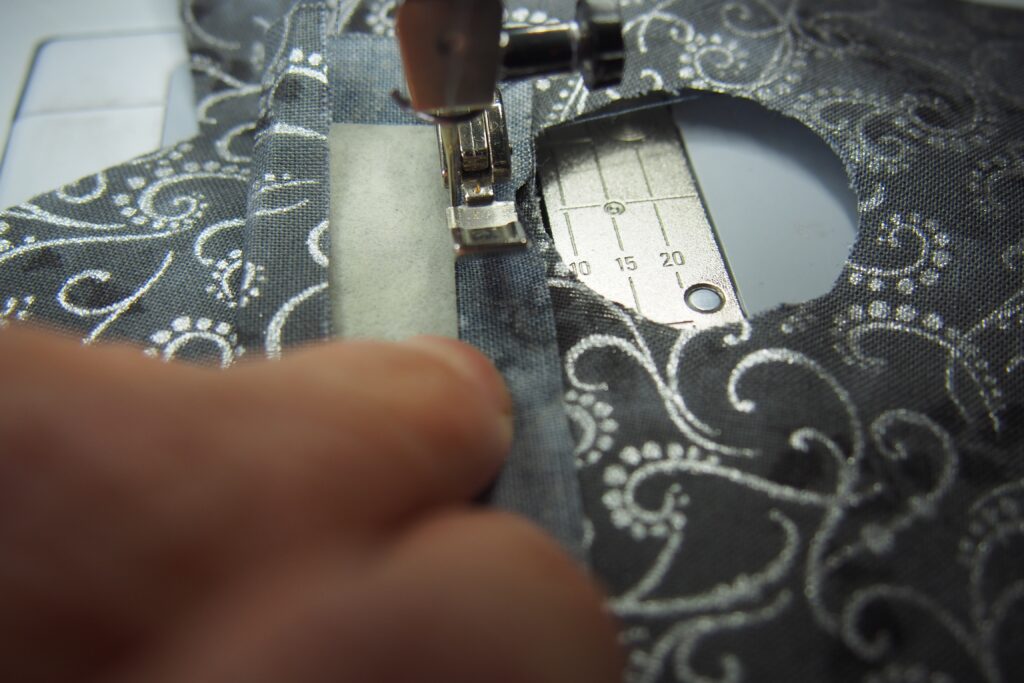
Place the strip with the unironed edge, right side to right side, flush with the inner hole of the upper star pattern. The start of the seam is exactly where the ironed insert begins.
Secure the start of the seam and sew three or four stitches, lift the presser foot on the bottom of the needle using the knee lever,
turn the material a little in a circular motion, and sew another three or four stitches.
Use this method to sew around the circle. It should work quite well thanks to the small stitch length and the zipper foot. It is important to remember to secure the end of the seam (right where the Decovil stops) and to make sure it is at the same height as the beginning of the seam. Fold away the short side of the seam start when making your last stitches so that the seam allowance is not stitched down.
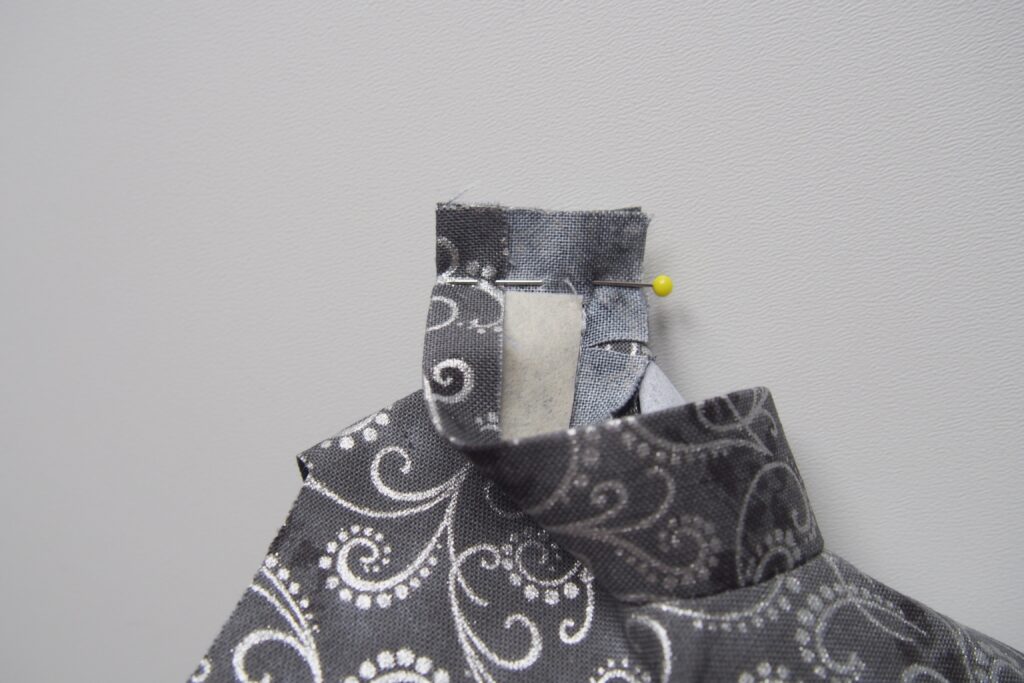
Now fold the star so that the short ends of the strip can be placed flush on top of one another, right side to right side. You can trim the ironed edge of the long side or fold it over for this seam. Close the ring with this short seam using a regular stitch length.
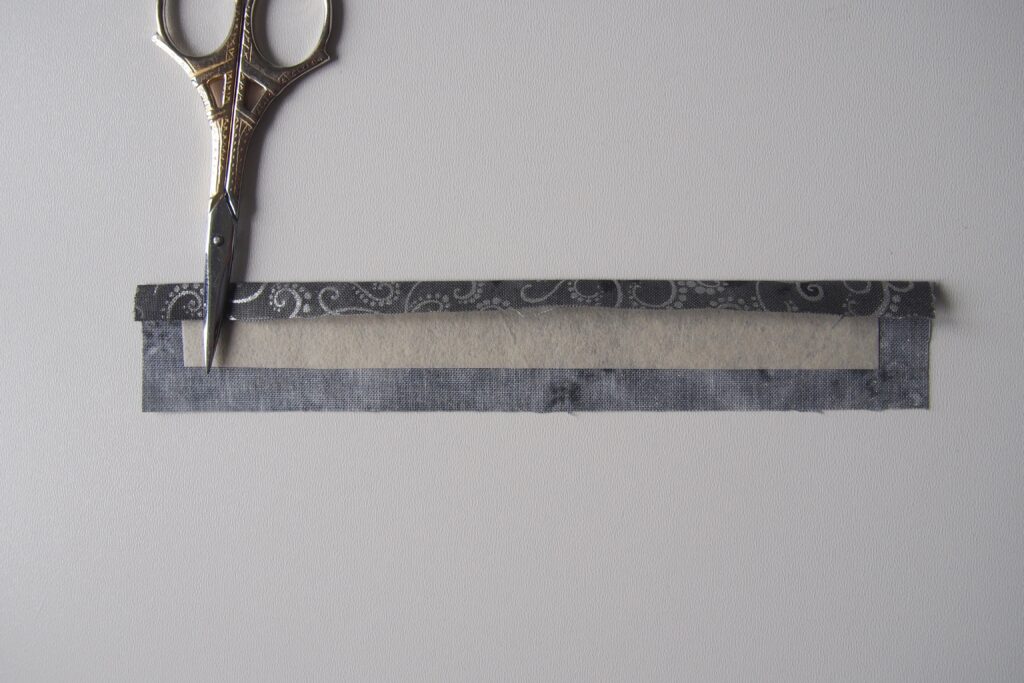
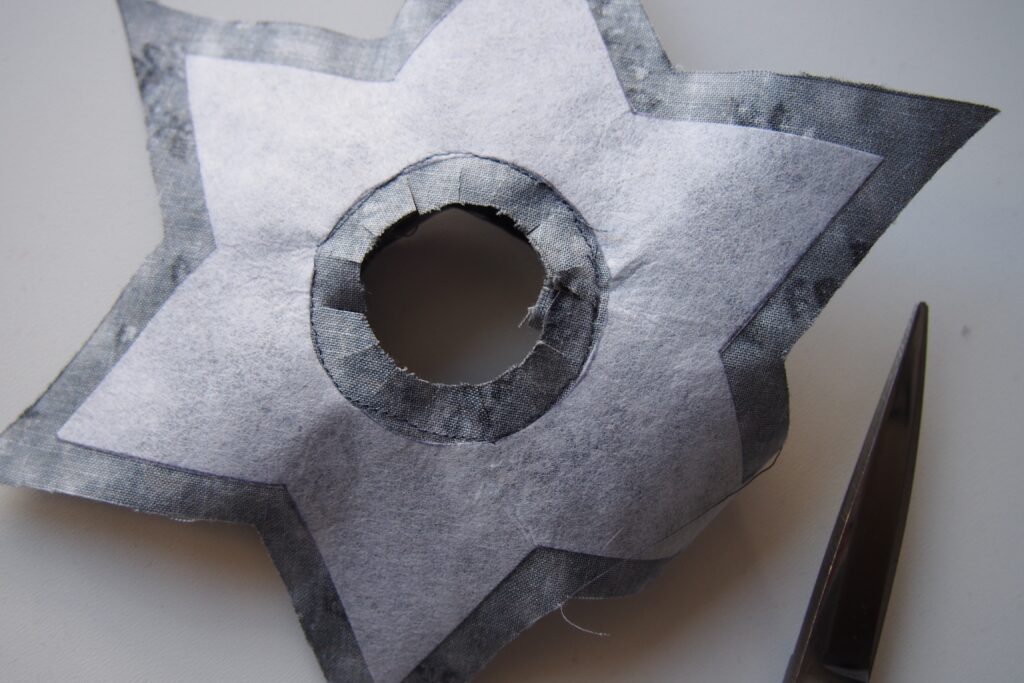
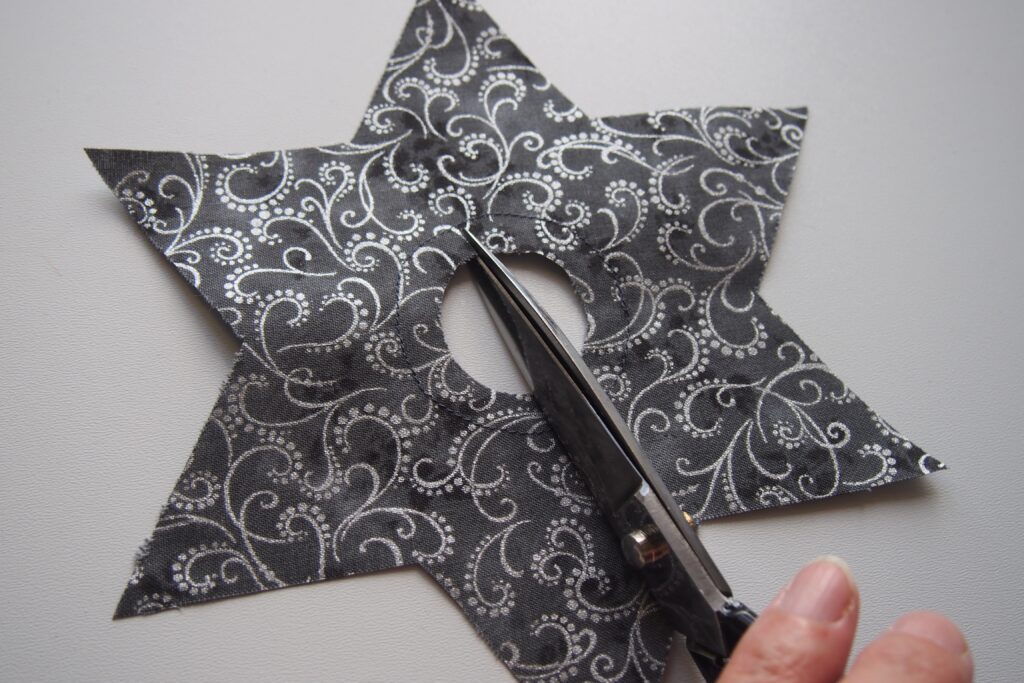
Now cut the seam allowances in the inner ring. Take a pair of scissors with a good cutting tip and cut the seam allowance all the way around until just before the circular seam.
Now iron the star, especially the part where the ring begins.
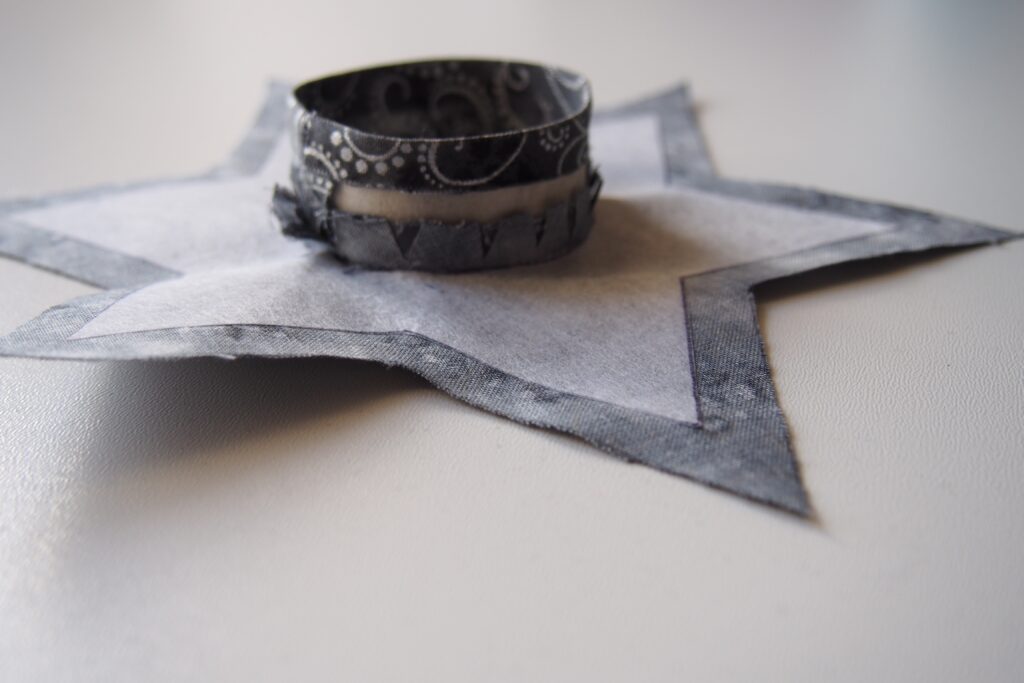
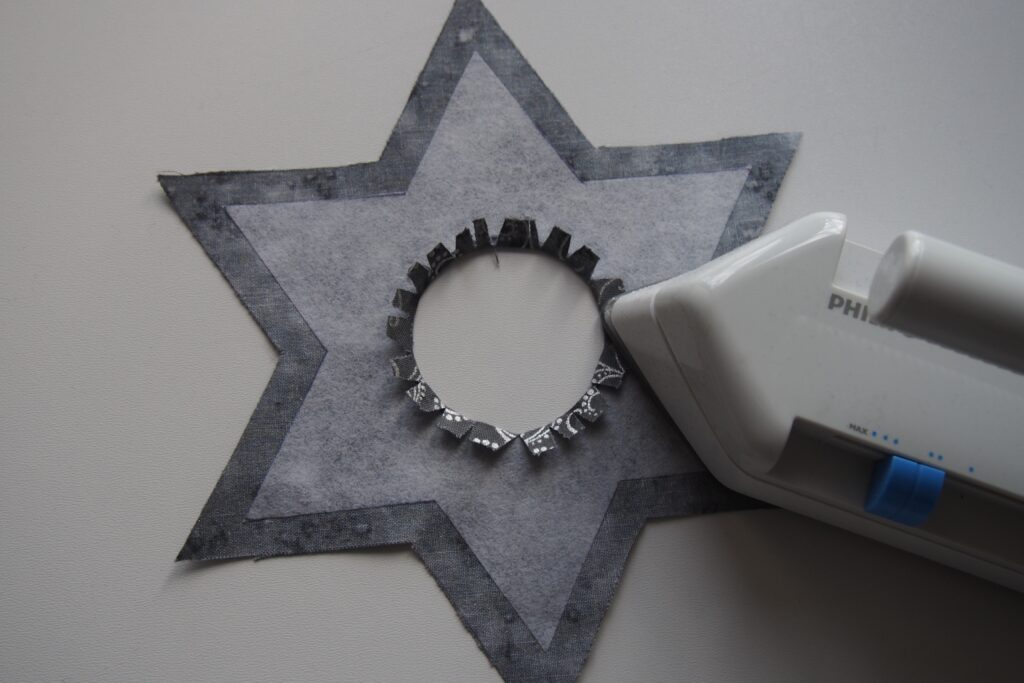
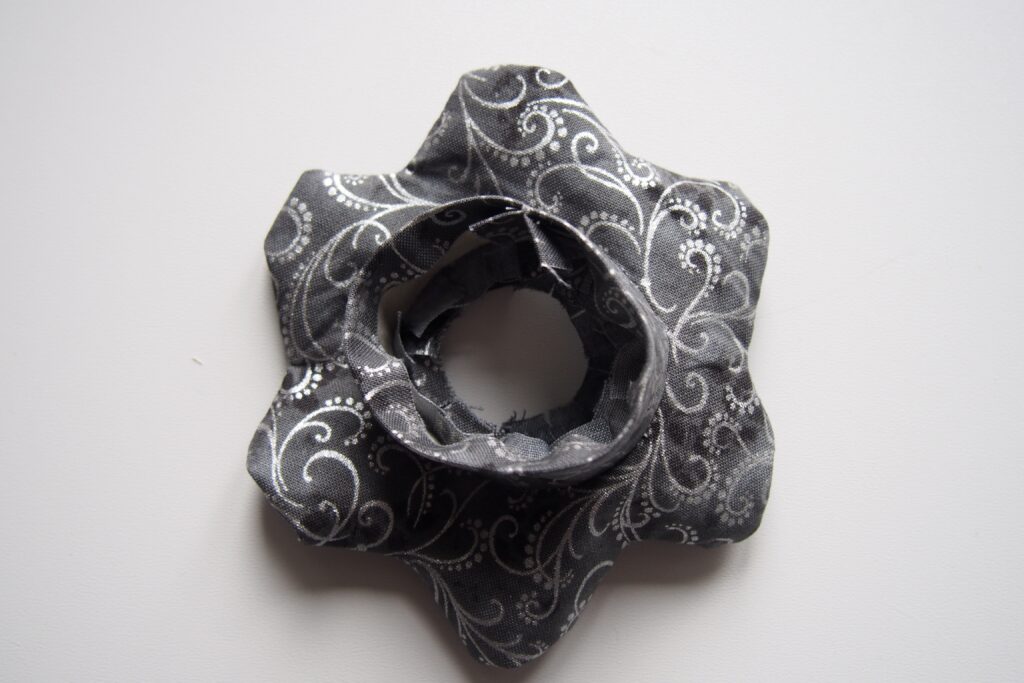
Fold the sewn ring of material onto the left side of the upper star and iron it well. In this picture you can see the cut seam allowance and the ironed edge.
Assemble the lower star and the upper star
Now take the other fabric star. This will form the underside of our tealight star. Sew a marker seam at 1 cm intervals around the inner ring, i.e. right where the edge of the insert is. For this, I like to use the presser foot #34 with a clear sole so I can see the curve better.
Cut the seam allowance here all the way around until just below the marker seam.
Then iron the cut seam allowance in a counter-clockwise fashion.
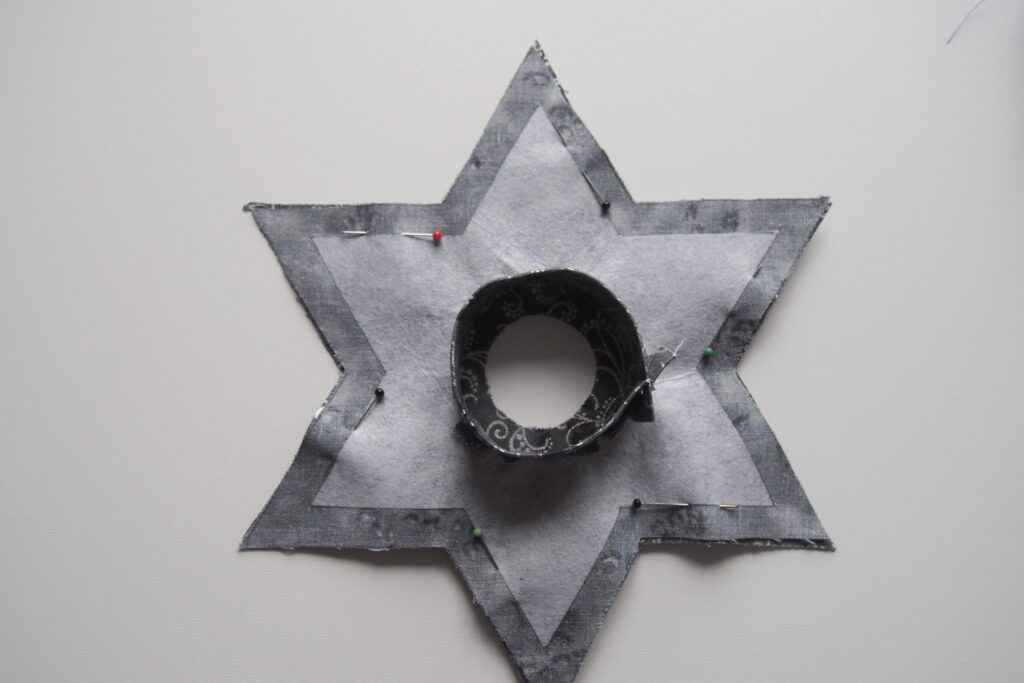
Now place both stars on top of each other, right side to ride side,
pin them, and
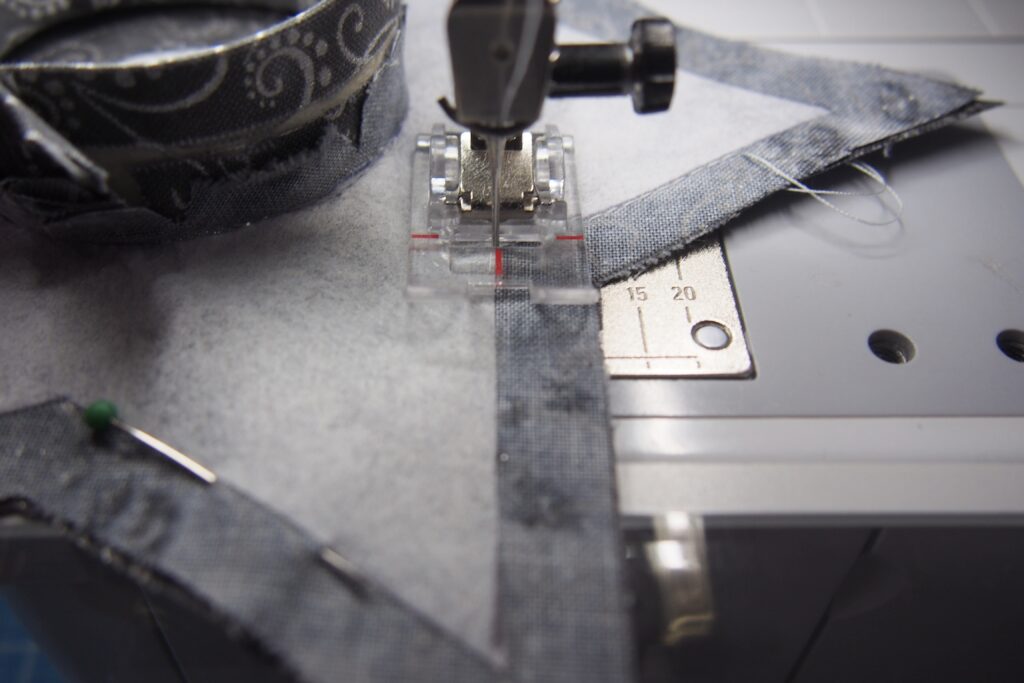
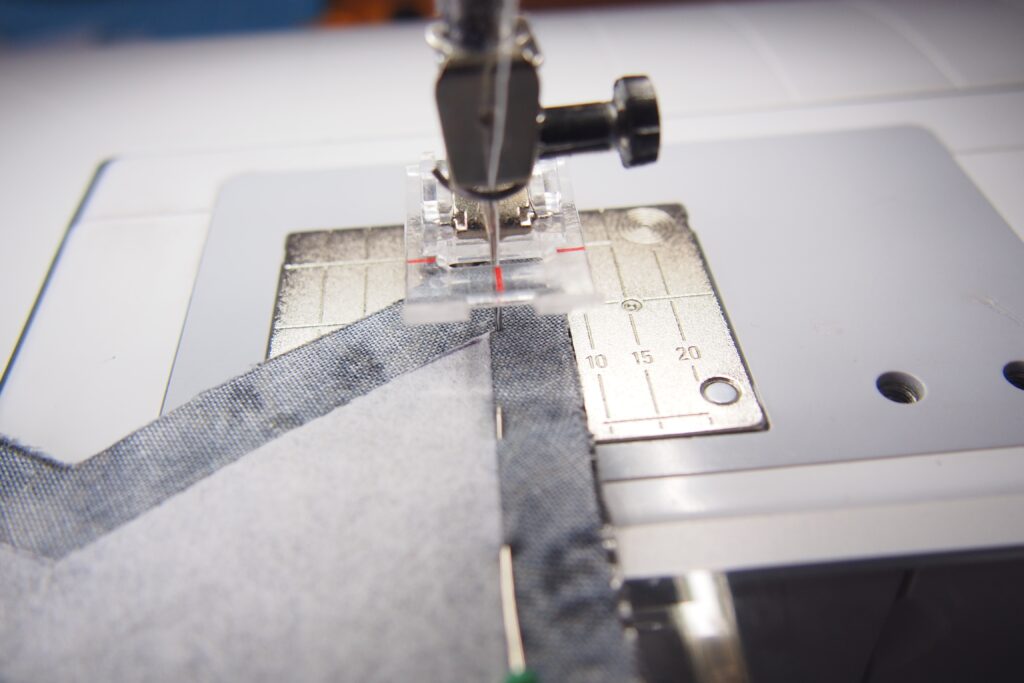
sew them together with a seam allowance of 1 cm.
When you get to the inner and outer corners: Lower the needle, lift the foot high, and turn it as needed, then lower the presser foot and continue sewing.
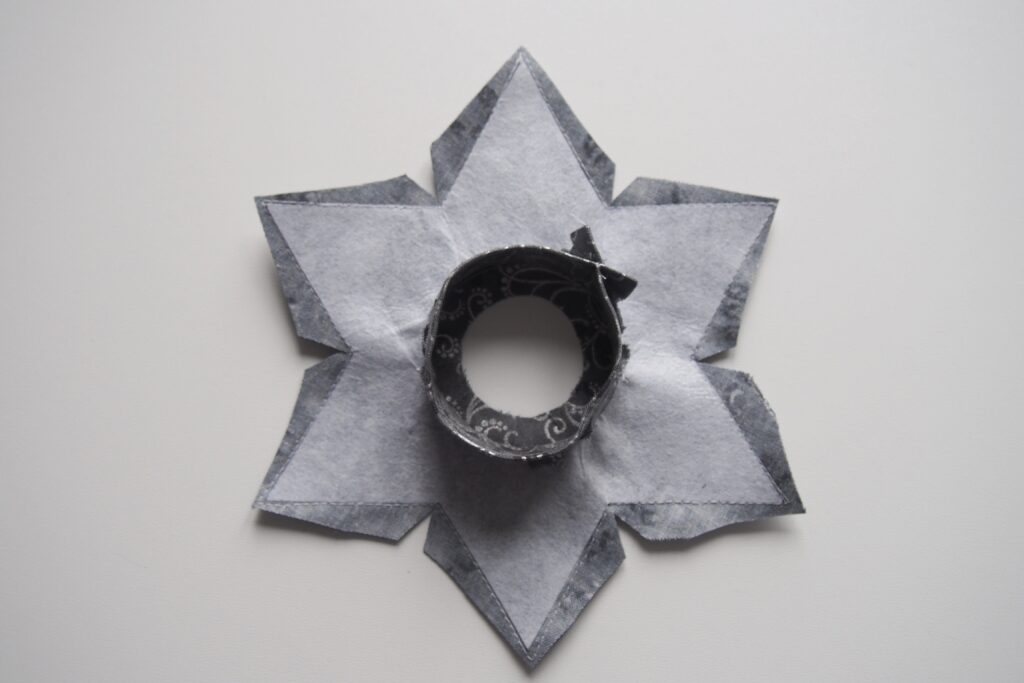
There is no need to leave an opening, simply sew the end of the seam a little over the start to secure it. Then cut back the seam allowances. In addition, cut out a small wedge of the inner corners and cut away the seam allowance at the outer tips right down to the tip.
Completing the candle ring
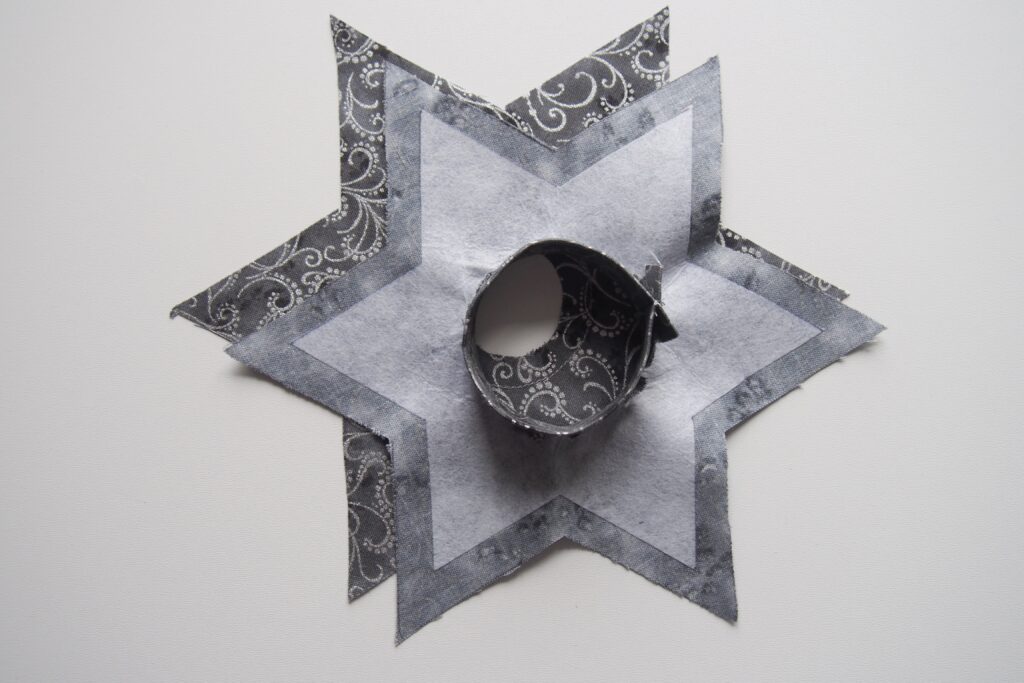
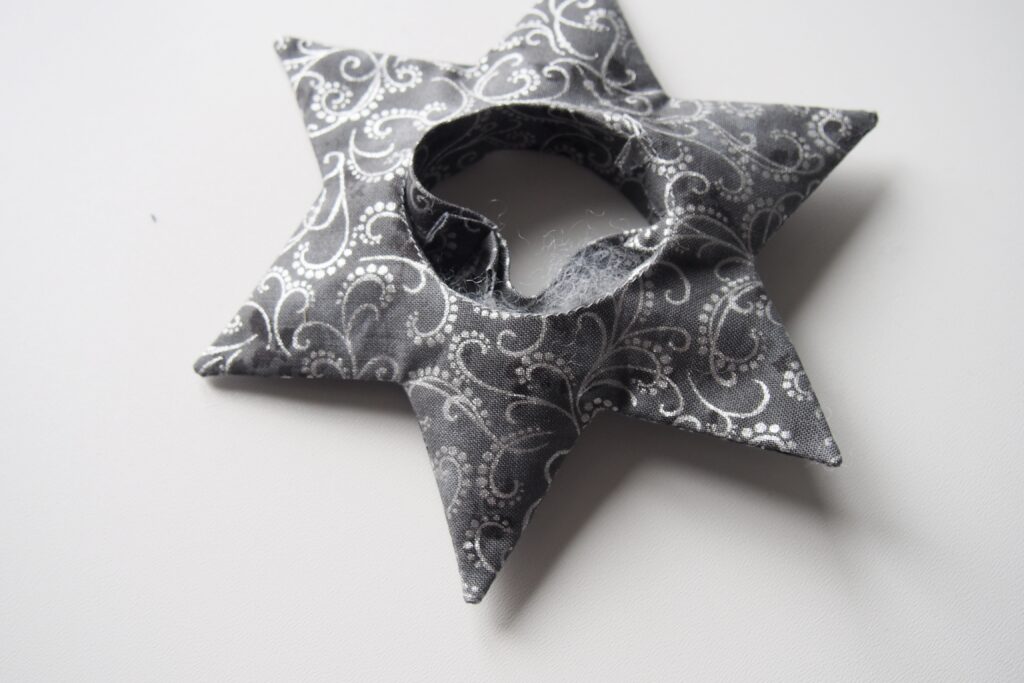
Now turn the tealight star through the inner circle,
shape the corners (I like to use a pin for the tips), and iron the star.
When you fold the ring inward, you will see the beginnings of a three dimensional shape.
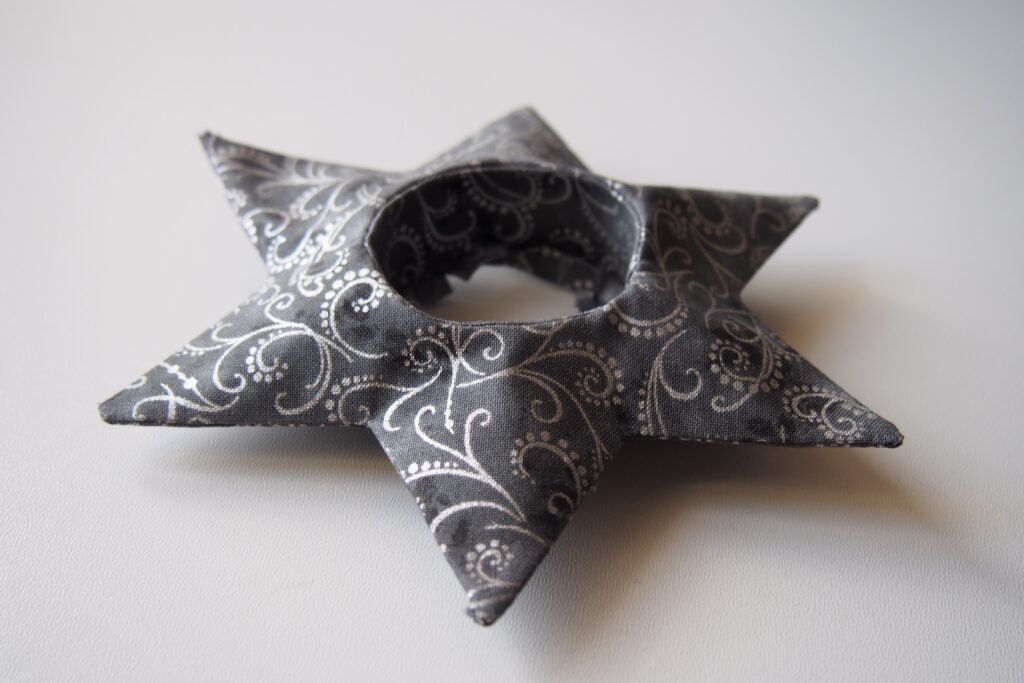
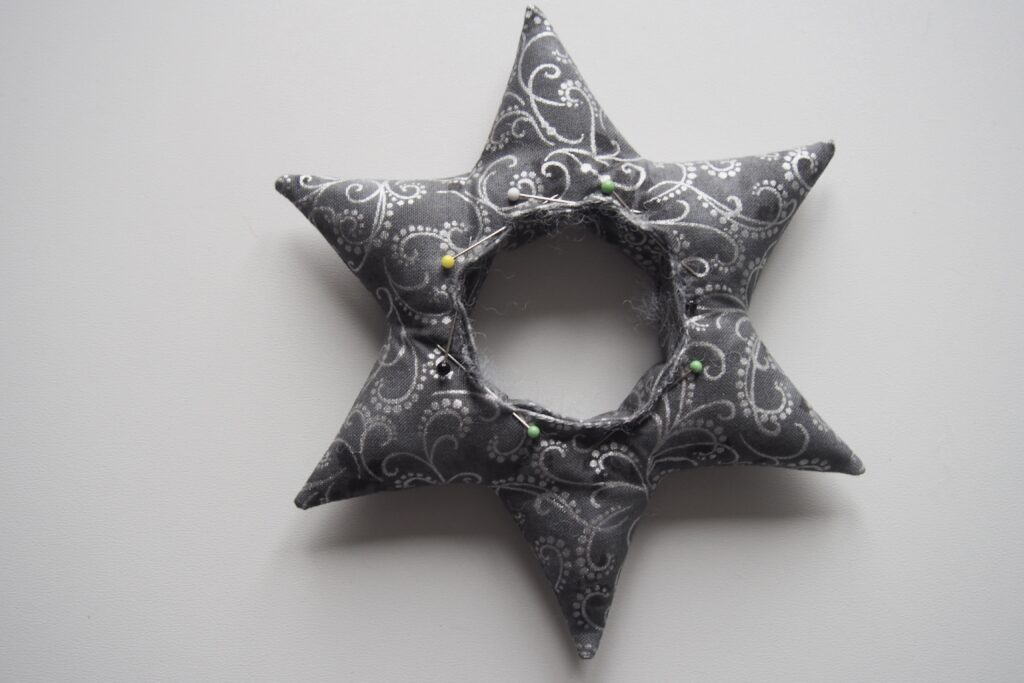
Stuff the star with fiberfill. Make sure to completely fill the star with fiberfill all the way to the outer tips and the space in between.
When the star is filled, affix the strip on the bottom of the star using pins. Be sure that the seam allowances on the strip point inward, as they do on the bottom star.
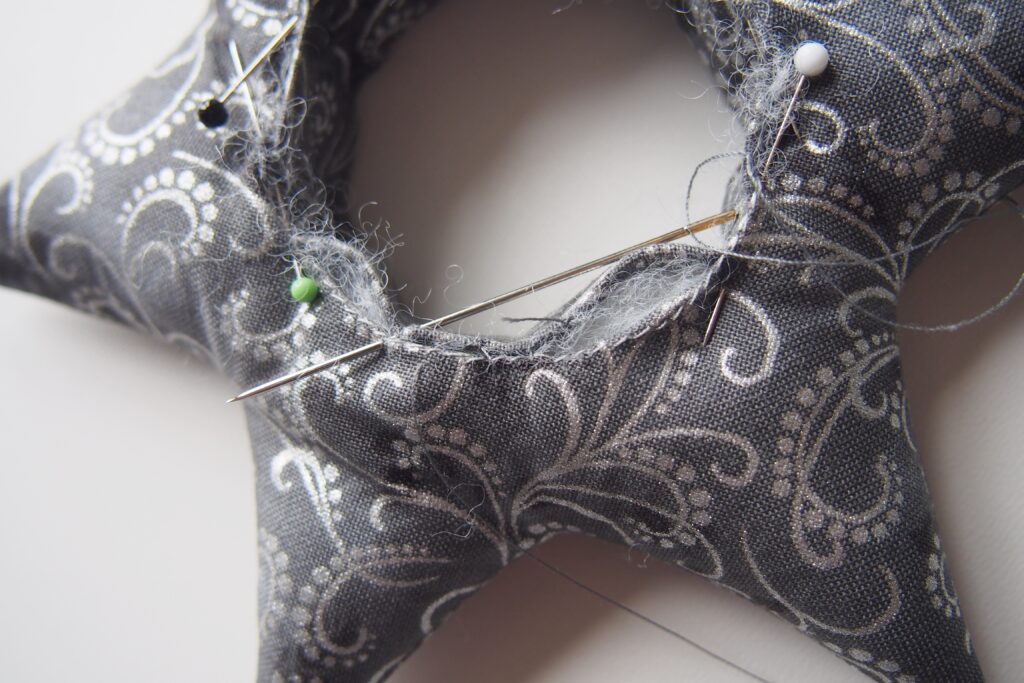
Now take a slightly longer stable sewing needle and sew the star together from below with a length of thread. For this I used a simple overlock stitch that is a little more visible but useful in this narrow circle. Because the thread needs to withstand tension, I appreciate the stability and strength of the Mettler Seralon thread.
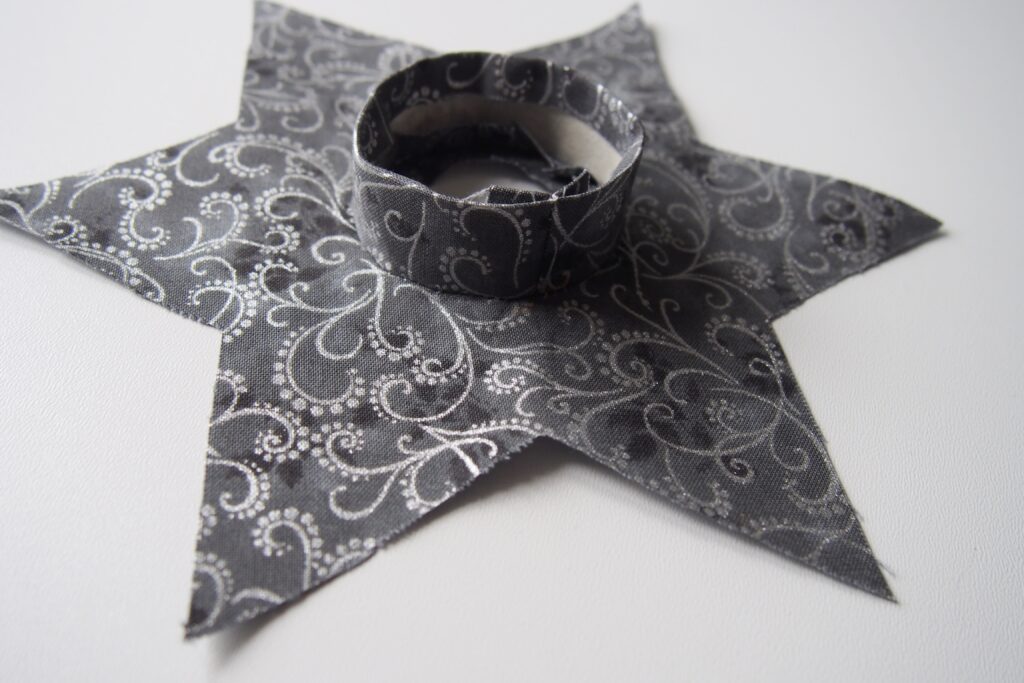
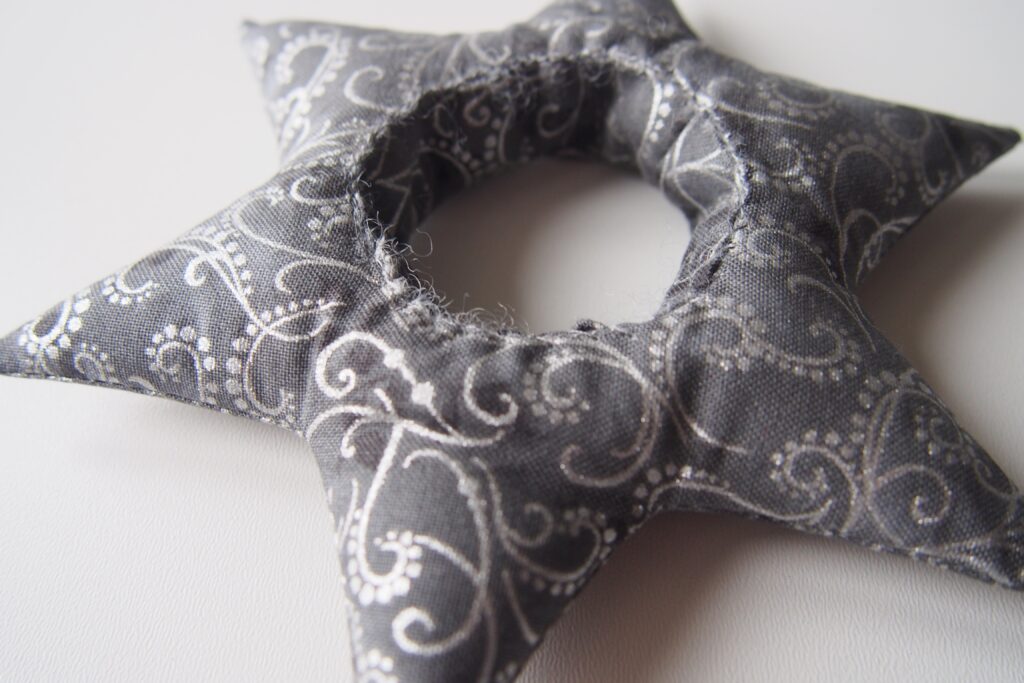
Here is the complete star from below…
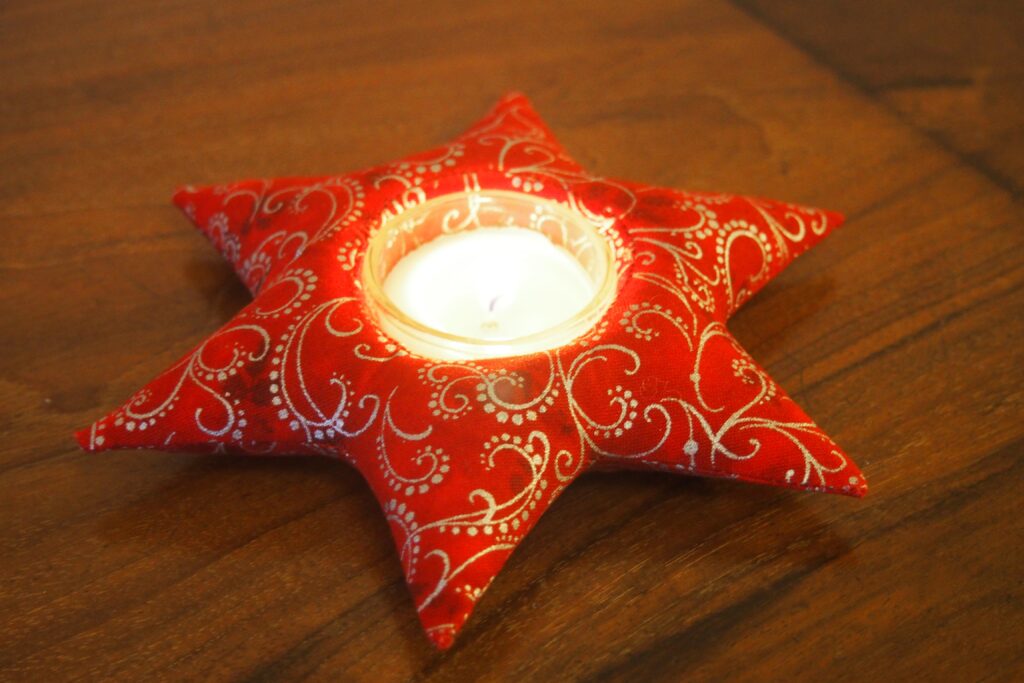
… and from above.
Have fun sewing and I hope you have a good Advent season!
 BERNINA Corporate Blog -








I love it Ines.