Dear community,
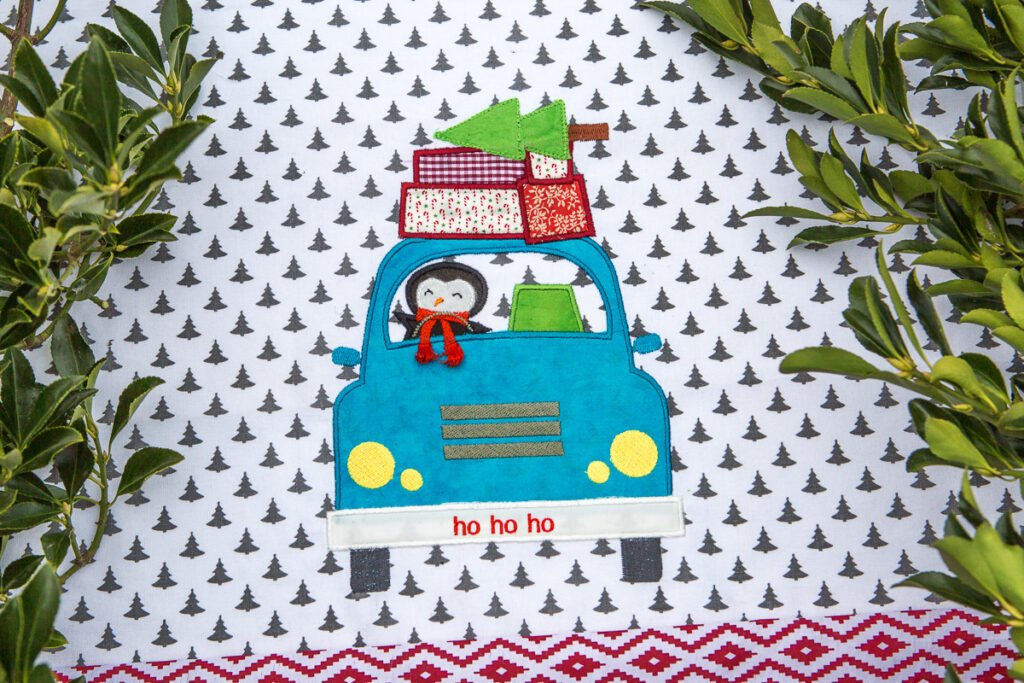
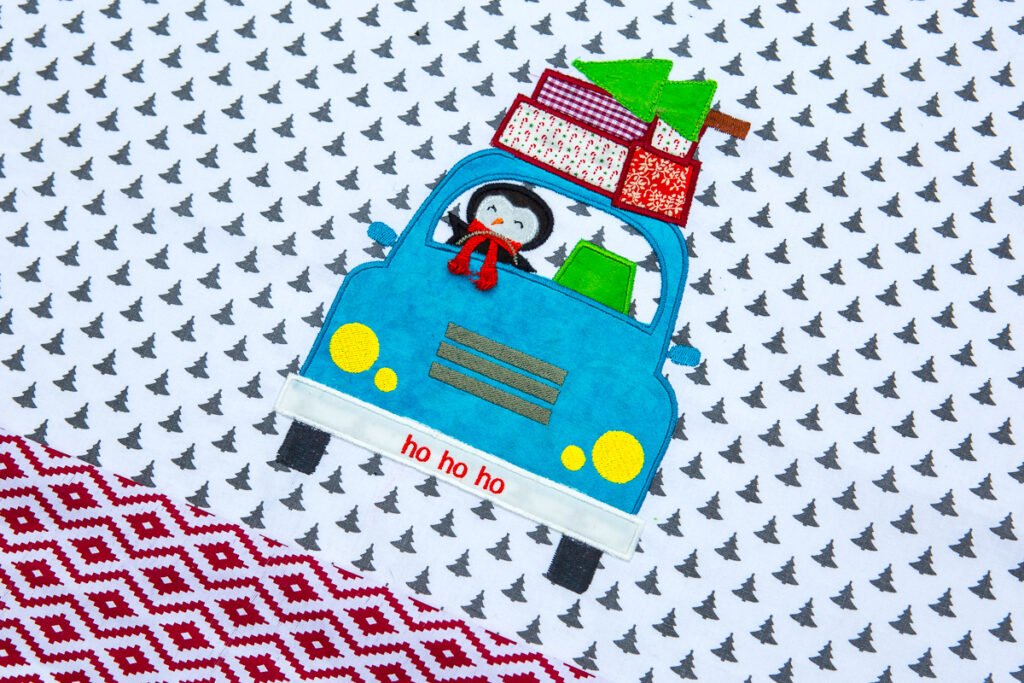
in this blog post you can find a free Christmas embroidery pattern with detailed sewing instructions.
The Christmas season offers so many opportunities to get creative. For example, will you wear a homemade dress for this year’s Christmas dinner, or will you surprise your loved one with a homemade gift? You could even add some Christmas spirit to your home with a few homemade decorations. There are plenty of reasons to get creative.
About two years ago, I discovered the possibilities of an embroidery machine. As an avid seamstress, I’d never really thought about the possibilities of an embroidery machine, until my work enabled me to take a course on embroidery machines and all the possibilities they offer. A whole new creative world opened up for me and I’m still often surprised by all the possibilities. You can make so many nice things with an embroidery machine, like lace, stuffed animals, appliqués and quilts, to name just a few. I’d like to share my enthusiasm for embroidery with you, so I’ve designed an embroidery pattern!
With embroidery, there’s so much room for your own creativity. The choice is yours regarding what you want to embroider the design on, and even the colours you want to use.
What do you think about a last-minute pillow? Or maybe a place mat for Christmas breakfast? Or perhaps you even prefer to embroider the design on an apron?
But that’s not all! This pattern is the first block for the 12 month mystery embroidery quilt-along!
In total, there are 12 blocks, all made with an embroidery machine. Once this is done, the different blocks are made into a quilt using your sewing machine. Sounds good, right? More information on the BERNINA blog soon! There will be a second version from this design, specially for the Embroidery Quilt Along.
During the mystery embroidery quilt-along, different techniques are used which are very instructive, as well as being a lot of fun!
For the design I made for the advent calendar [block 1 of the mystery quilt], I used an appliqué technique. You’ll also learn how to make fringes.
Below is an extensive step-by-step explanation for creating the design.
Good luck!
What you’ll need
- Fabric for the background
- Different colours of embroidery thread
- Pieces of fabric for the appliqués
- Scissors to cut away the fabric
- Interfacing, such as Stitch-n-Tear
- Embroidery machine with a minimum range of 5 x 7 inches
- This design fits into a large oval embroidery frame (14.5 x 25.5 cm)
- Embroidery along blok 1
Before you begin:
Make sure the embroidery pattern is on your embroidery machine, for example via a USB stick.
Cover your embroidery frame with interfacing, such as Stitch-n-Tear or mesh, and the fabric you want to make the appliqué on.
Step 1
A. Embroider the placement line for the penguin
B. Place the fabric for the penguin, withthe right side up, over the penguin
C. Embroider the attachment line for the penguin. Cut away the remaining fabric against the stitching
D. Select the desired colour of thread for the penguin and embroider the satin stitchoutline
E. Repeat these steps for the white of the face.
F. Embroider the penguin’s eyes (black) and beak (orange)
Step 2
A. Embroider the placement line for the chair
B. Place the fabric for the chair, with theright side up, over the chair
C. Embroider the attachment line for the chair. Cut away the remaining fabric against the stitching
D. Select the desired colour of thread for the chair and embroider the satin stitchoutline
Step 3
A. Embroider the placement line for the car
B. Place the fabric for the car, with theright side up, over the chair – Tip! Make a small cut on the window so you can easily cut away the fabric
C. Embroider the attachment line for the car. Cut away the remaining fabric against the stitching
D. Select the desired colour of thread for the car and embroider the satin stitch outline
Step 4
A. Embroider the wheels of the car in the desired colour
B. Embroider the placement line for the bumper
C. Place the fabric for the bumper, with theright side up, over the placement line for the bumper. Embroider the attachment line and cut away the fabric against the stitching
D. Embroider the headlights in the desired colour. Embroider the grille of the car in the desired colour and then embroider the scarf in the desired colour
Note:Long satin stitches are embroidered at the end of the scarf. After embroidering, cut the bobbin thread of this stitch to create fringes.
Would you like to see how this technique works? Take a look at this YouTube video.
Step 5
A. Embroider the placement line for the first gift
B. Place the fabric for the car, with theright side up, over the gift
C. Embroider the attachment line for the car. Cut away the remaining fabric against the stitching, select the desired thread colour for the first gift and embroider the satin stitch outline
D. Repeat these steps for the other gifts
E. Embroider the trunk of the Christmas tree and then the rest of the Christmas tree
F. Embroider ”ho ho ho” in the desired colour.
You’re done!
Looking for more fun designs/ideas? Then visit my website or follow me on social media!
The best of luck and have lots of fun with your designs. Until next time!
 BERNINA Corporate Blog -



0 Responses