 BERNINA Corporate Blog -
Dear community,
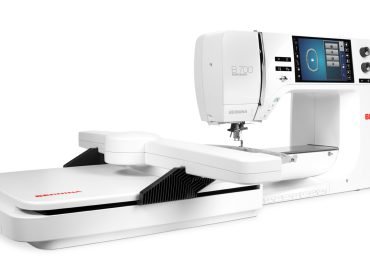
In this blog post you can find easy instructions to embroider Christmas cards on the BERNINA 700
How exciting! Today, the real countdown to Christmas begins.
Every year, I look forward to counting down through this lovely, cosy season to the liveliest party of the year.
This year, I’m honoured to kick off with the series of fun projects that BERNINA offers to so many creative people.
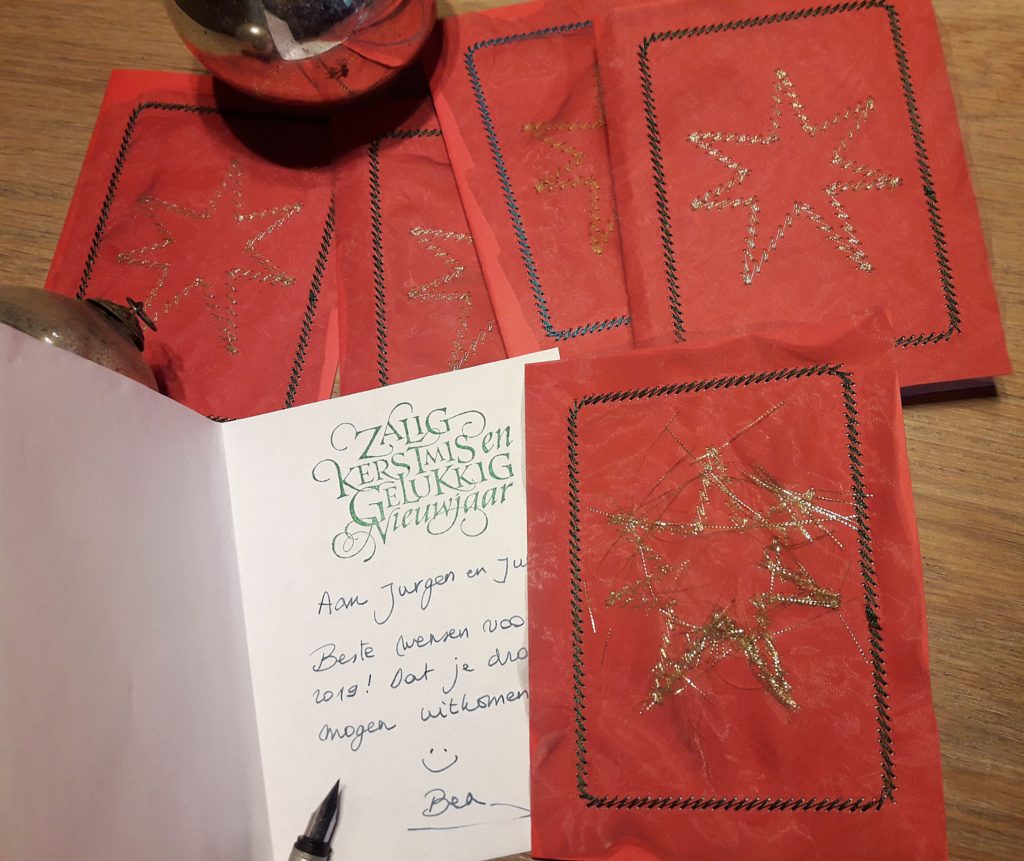
In the ‘quick project’ topic, we start by making a Christmas card. Once you know how to do it, it should take you about 15 minutes per card. In this digital age, I keep the tradition of real handwritten Christmas cards alive for my closest friends.
Let’s get started together! It’s going to be a folded card that fits inside a standard envelope.
What do you need?
- For each card, you’ll need half a page of A4 paper (sturdy, somewhat luxury-looking paper) and half a page of normal white A4 printer paper.
- Some Mettler Poly Sheen embroidery thread in the colours ochre yellow (or gold) and dark green.
- Stabiliser
- Spray adhesive
- Paper glue
- The embroidery file (in Art 80, exp and pes): BERNINA 2018 Kerstmis Christmas
- The Midi embroidery hoop
- Cutting mat, rotary cutter and ruler.
- Organza
Let’s get started:
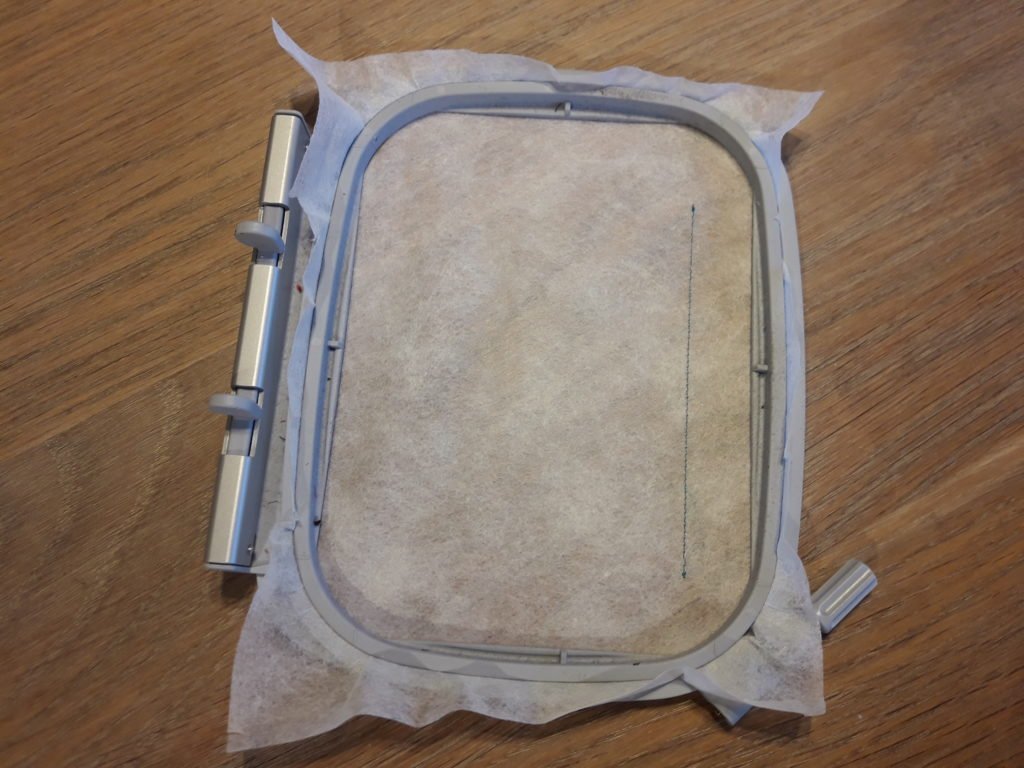
Clamp the stabiliser in the ring. Set the speed of the embroidery machine lower.
The first embroidery line is a vertical line. It indicates where you have to put the card. Feel free to use colour 2 for this, so that you have one less colour change to worry about.
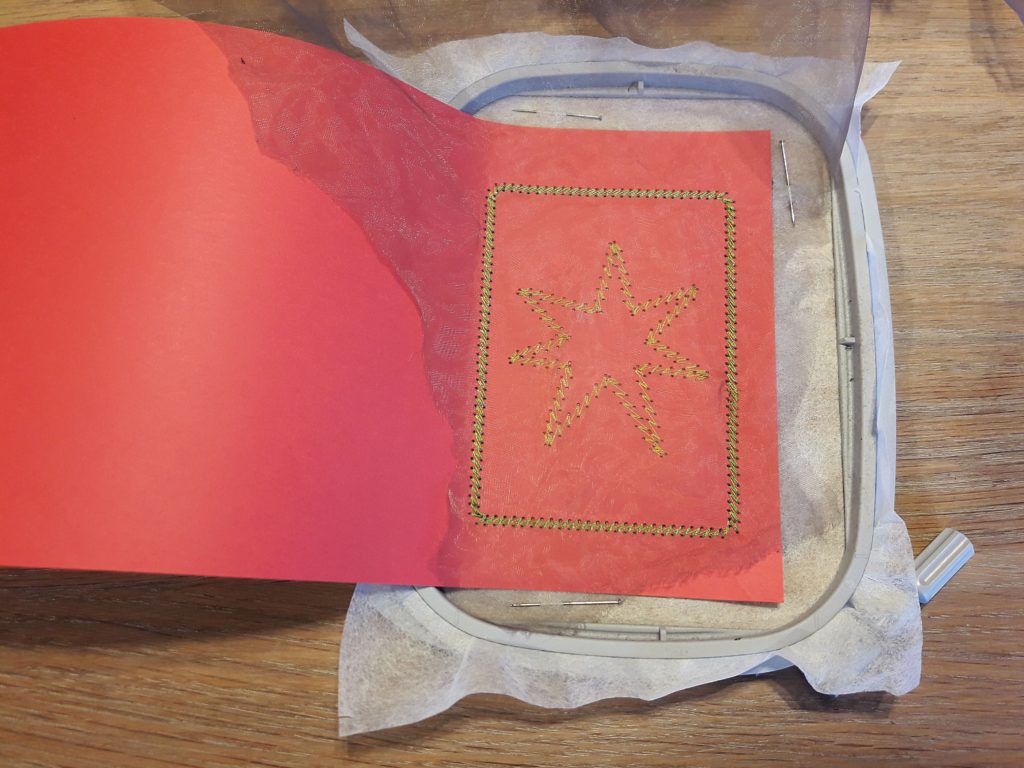
Spray a small amount of adhesive on the back of the paper, trying to aim at the half to be embroidered.
The next embroidery color is the yellow/golden star.
Now we have the fun part!
Place the organza on the card, with a small overlap on the stabiliser so that you can pin it.
Now embroider the frame of the card on top of the organza. This fixes the organza fabric in place. Afterwards, cut back the organza fabric just like you want it: rather casual in corners, nicely smooth, artistically bigger than the card…
Remove the embroidery from the ring and tear away the stabiliser.
On the left side, now draw a line with a semi-sharp object (like the back of your seam ripper) at 1.25 cm from the embroidered frame. This is ‘creasing’ and helps to fold the card right on the line.
Cut a page of white A4 paper through the centre. Glue the folded white paper insert to the inside of the card.
Using the rotary cutter, cut the right edge, top and bottom the card at 1.25 cm from the embroidery. If you want the organza fabric to be bigger than the card, you should fold it a little when cutting with the rotary cutter.

If you want some variation, you can add extra gold threads or glitter under the embroidery and/or the organza. Cut the gold threads 4 to 5 cm and make sure you set the speed very low, It will help you to react quickly if threads tangle up.

If necessary, cut the thread to size. Now finish them with organza and the card is ready. Instructions to embroider Christmas cards were handy, I hope.
My best wishes for a fun Christmas period and a creative 2019 for all readers and employees of BERNINA!


This is my second year making my own cards. I would suggest creating the front face on an A4 card, cheap to buy and toss if the project’s a bust. The folded stationary w/envelope more costly. I run the stationary through the printer, inside sentiment and glue the completed A4 card stock on the outside. I bought both OESD greeting card, applique cards, but find inspiration everywhere!
Nice to read about your method how to make cards. It’s an interesting variation!