 BERNINA Corporate Blog -
Dear community,
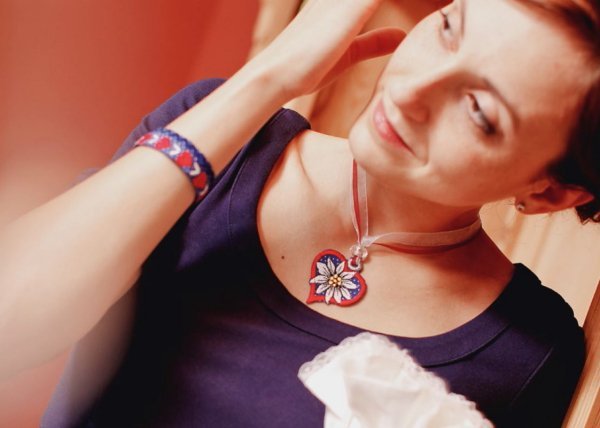
in this blog post you can find detailed sewing instructions for last-minute embroidered gifts: Pendant and bracelet with romantic Alpine design.

The highly symbolic Alpine flower adorning a red embroidered heart – almost makes you want to yodel.
The fourth to the last window should be an inspiration for your sewing and embroidery diary in 2019. Who knows, maybe you are already preparing your New Year’s resolutions. A little tip from me: take it easy and take a seat at your sewing machine.
You could have wonderful last-minute gifts!
The pendant and the bracelet will turn any woman into Heidi, and these accessories with the romantic Alpine design will make her an absolute stunner. And these don’t just go with a dirndl. The traditional Tracht costumes are trendy, even in small doses like this pendant and bracelet, and can be worn with a blue t-shirt dress just as well as with jeans and a white blouse.
Last-Minute Embroidered Gift
This is what you will need for the pendant and bracelet:
Size
- Pendant: 4.75 cm wide, 5.4 cm high
- Bracelet: 2 cm wide, 16 cm long
Fabric recommendation
- Cotton material or patchwork material
Fabric requirements
- 110 cm wide, 25 cm long
Additional supplies
- General purpose thread coordinated to your fabric
- 60 cm organza ribbon in white, 1 cm wide
- 60 cm organza ribbon in red, 0.3 cm wide
- 1 adjustable fastener for the necklace with chain, 1 cm wide
- 1 adjustable fastener for the bracelet with chain, 2 cm wide
- 1 glass pearl with a large eye
- Scrap piece of double-sided Vliesofix bondaweb, approx. 20 cm x 10 cm
Thread and tear-away stabilizer for embroidery
- Tear-away stabilizer: standard tear-away stabilizer
- Bobbin thread: embroidery bobbin thread
- Top thread: embroidery thread in red, silver gray, yellow, and black
Hüttenzauber embroidery design
The embroidery design can be download using the following link: Huettenzauber-Embroidery-Design (ZIP; 4MB)
Let’s get started by embroidering the pendant.
Cut a 20 cm long piece from the fabric, place the tear-away stabilizer underneath the fabric, and stretch it out in the medium embroidery hoop.
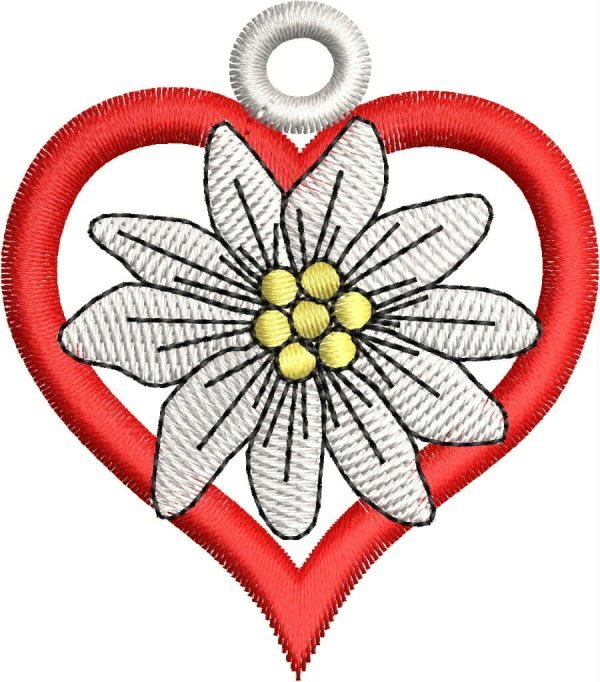
Open the “Edelweiss_Rosi” embroidery pattern on the machine.
Color 1, red
The machine will embroider the outside contour of the heart.
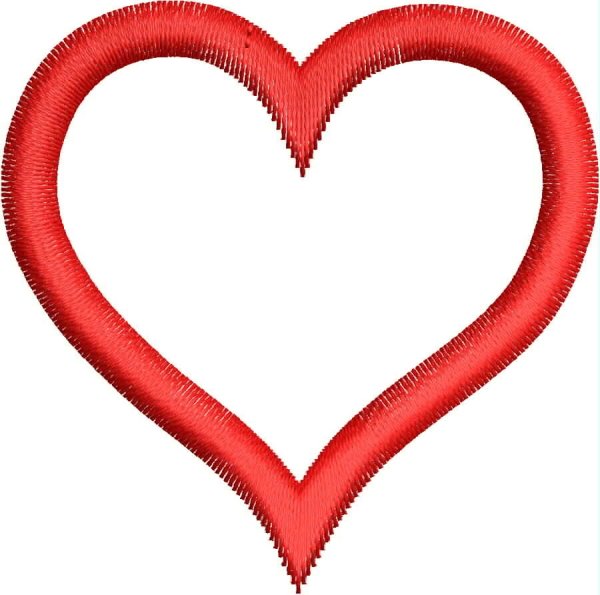
A simple heart will take shape.
Color 2, silver gray
Now the loop will be embroidered.

The heart will be affixed to this later.
Color 3, white
The edelweiss is made.
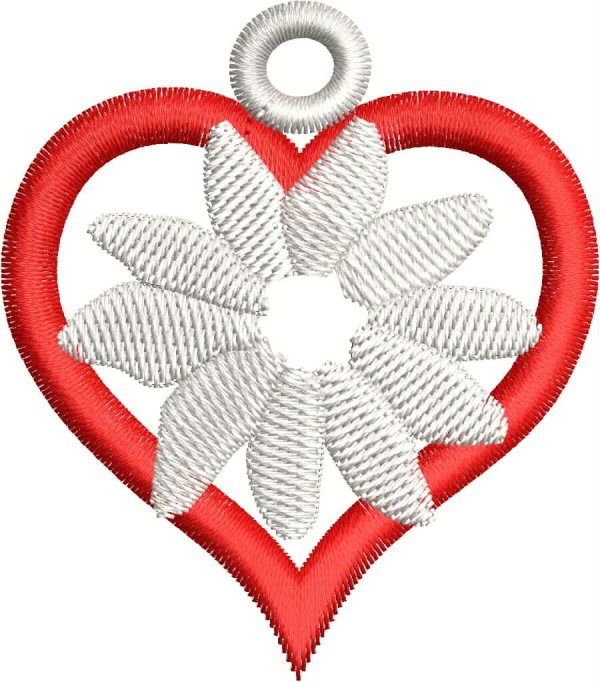
Things are getting exciting. Our accessories are taking shape.
Color 4, yellow
The machine stitches the calyx in the center of the flower.
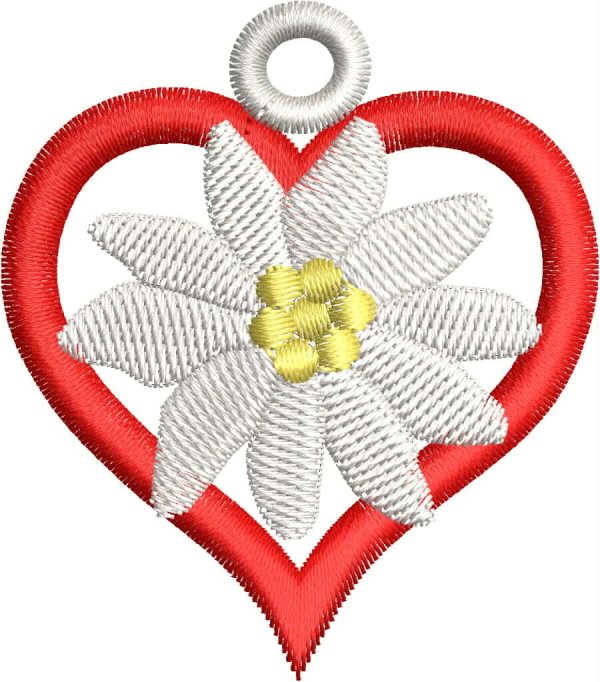
Piece by piece, the project from day 20’s window is becoming recognizable.
Color 5, black
Finally, the contours are embroidered in and around the petals.
Working with the embroidery machine is always fascinating.
Take the fabric out of the embroidery hoop and remove the tear-away stabilizer. Also remove the stabilizer between the flower and the heart as much as possible and iron the material using a lot of steam.
Now I will show you how to finish your pendant.
Cut a 6 cm x 6 cm square from the Vliesofix bondaweb and two additional squares measuring 8 cm x 8 cm. Cut an 8 cm x 8 cm square from the fabric. Iron the small square onto the back side of the embroidery and let it cool. Tear off the paper and iron it onto one of the larger squares of the bondaweb. There are now two layers on top of one another. Iron the last piece of bondaweb onto the back side of the fabric square and let it cool.
Tear off the paper from both pieces, then lay both pieces on top of one another and iron them. Let it cool for at least 10 minutes. You now have 3 layers of bondaweb between the embroidery design and the fabric. This gives the pendant the stability to retain its shape.
Use the scissors to carefully cut the overhanging material back to the embroidery design. The fabric may be visible approx. 1 to 2 cm around the embroidery.
Complete the necklace
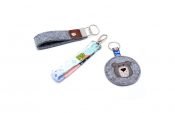
Use the punch pliers to cut a hole in the middle of the embroidered loop. The hole should be a little smaller than the embroidered loop. Be careful not to harm the embroidered design.
Pull both organza ribbons through the pendant. Thread the pearl with both ends of the ribbon through the loop and push the pearl all the way to the front down to the pendant. Adjust the lenth of the ribbon to fit you and affix the fastener to the ends.
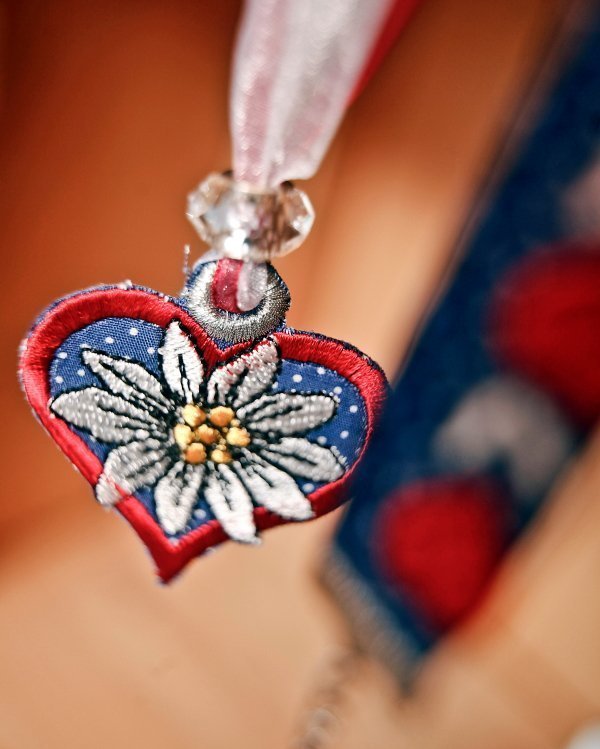
Our new charming pendant.
Let’s keep up the pace and continue on to the bracelet
Like before, cut a 20 cm long piece from the fabric, place the tear-away stabilizer underneath the fabric, and stretch it out in the embroidery hoop. Open the “Armband_Julia” embroidery design in the machine.
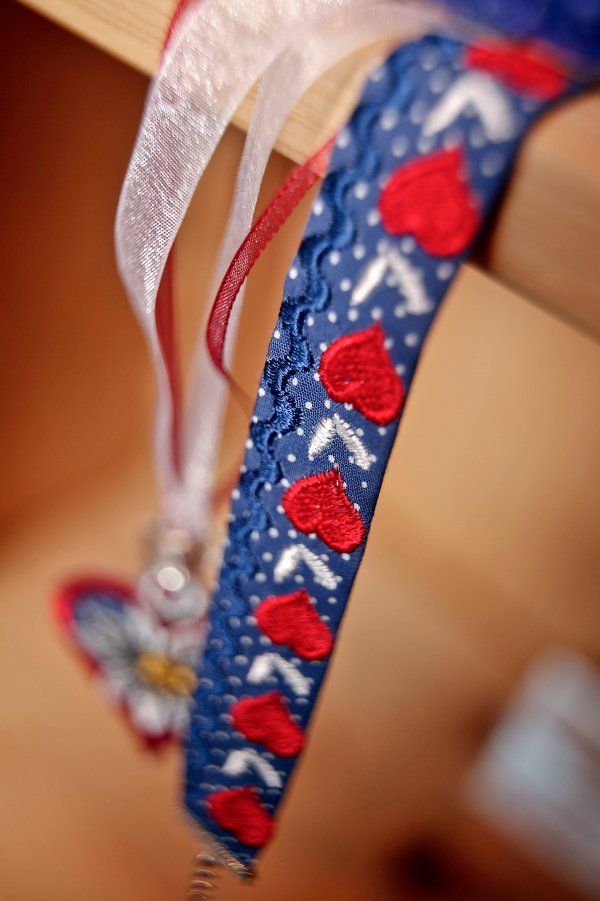
Color 1, blue
The machine will embroider the rickrack design.
What will it turn out to be?
Color 2, red
And then the little hearts.
How cute!
Color 3, white
And now the petals will be embroidered.
![]()
After this is done, take the fabric out of the embroidery hoop and remove the tear-away stabilizer. Iron the material with a lot of steam.
Complete the bracelet
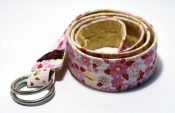
Cut the bracelet to be 6 cm wide and 18 cm long. The pattern is in the middle. Iron a long edge 2 cm inward. Fold the opposite side in 1 cm and iron the break flat.
Then fold it 1 cm more and iron again. Sew up the back side with a few stitches by hand.
Adjust the length of the bracelet to fit and affix the fastener on the ends.
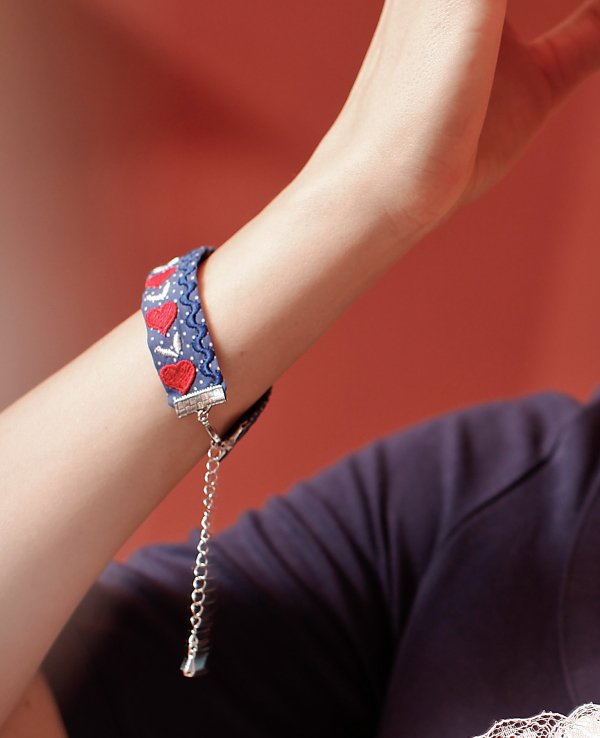
Our embroidered bracelet looks quite nice.
I have prepared the embroidery files for you in standard format here:
You can find additional embroidery projects and information in my book: Sticken – meine Ideen auf Stoff.
Which, by the way, would make an excellent Christmas gift. You can also find the book in your favorite fabric store.
And now we have an enchanting bracelet and a charming pendant.
That only leaves me to say THANK YOU for the wonderful year we have had together. Enjoy the quiet moments in the next few days in the company of your loved ones.
Crăciun fericit
which means:
Merry Christmas in my native language of Romanian.
Yours, Gaby Seeberg


Thank you ! I love my Bernette b70 Deco.
Very nice. Happy Mothers day.
I absolutely love this! So cute.I thank you for your generosity.