 BERNINA Corporate Blog -
Sewing table decorations, besides sewing pillowcases, is most common sewing. Almost everyone, who once about sewed, has made a tablecloth, or table runner perhaps thought napkins or similar items.
Table decorations are simple and easy things to sew. Almost always patterns characterize straight lines and right angles, except for unique models.
On the other hand, they give a different and more exciting table setting, especially if they are made thematic, for holidays or celebrations.
Here you can find the instructions for sewing a placemat, coaster and cutlery pocket using pre-folded bias tape, that you stitch all around the edges using Binder attachment #87. Bias binding gives an item clean and attractive finished edge.
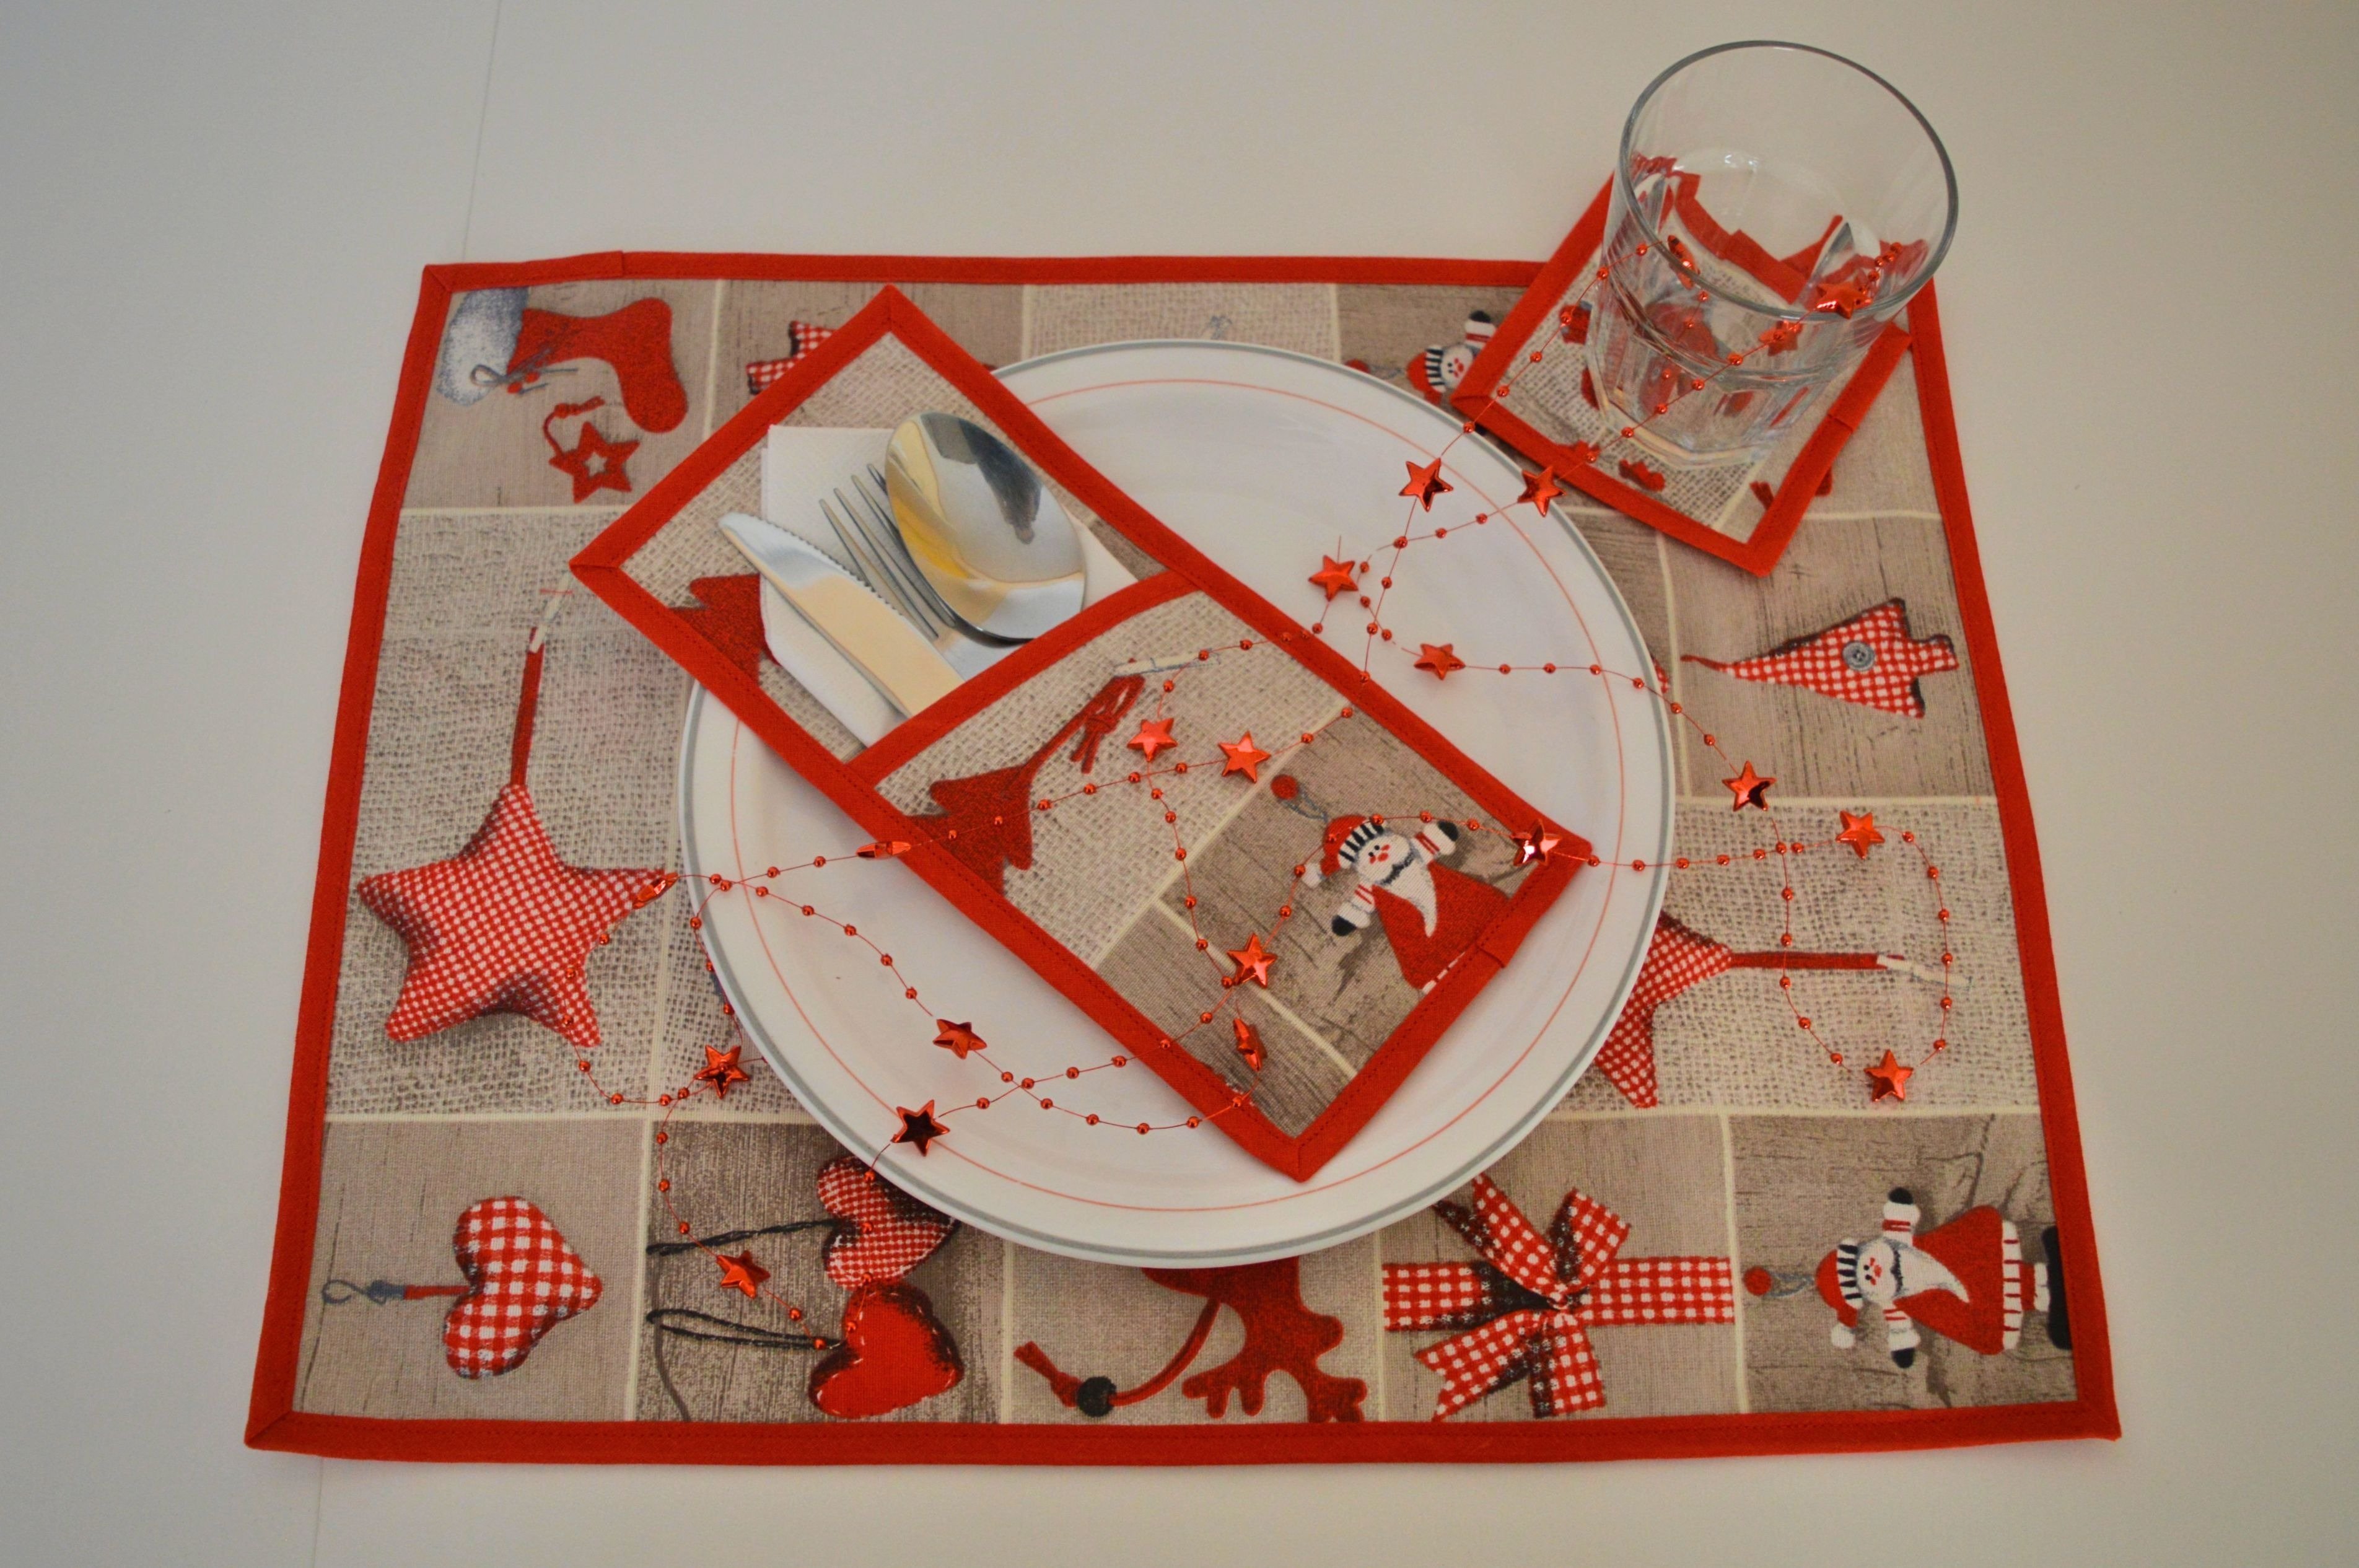
Table decorations
MATERIAL:
- fabric (home décor fabric suitable for sewing tablecloths, heavyweight cotton, linen or similar)
- pre-folded bias tape
- thread in matching color
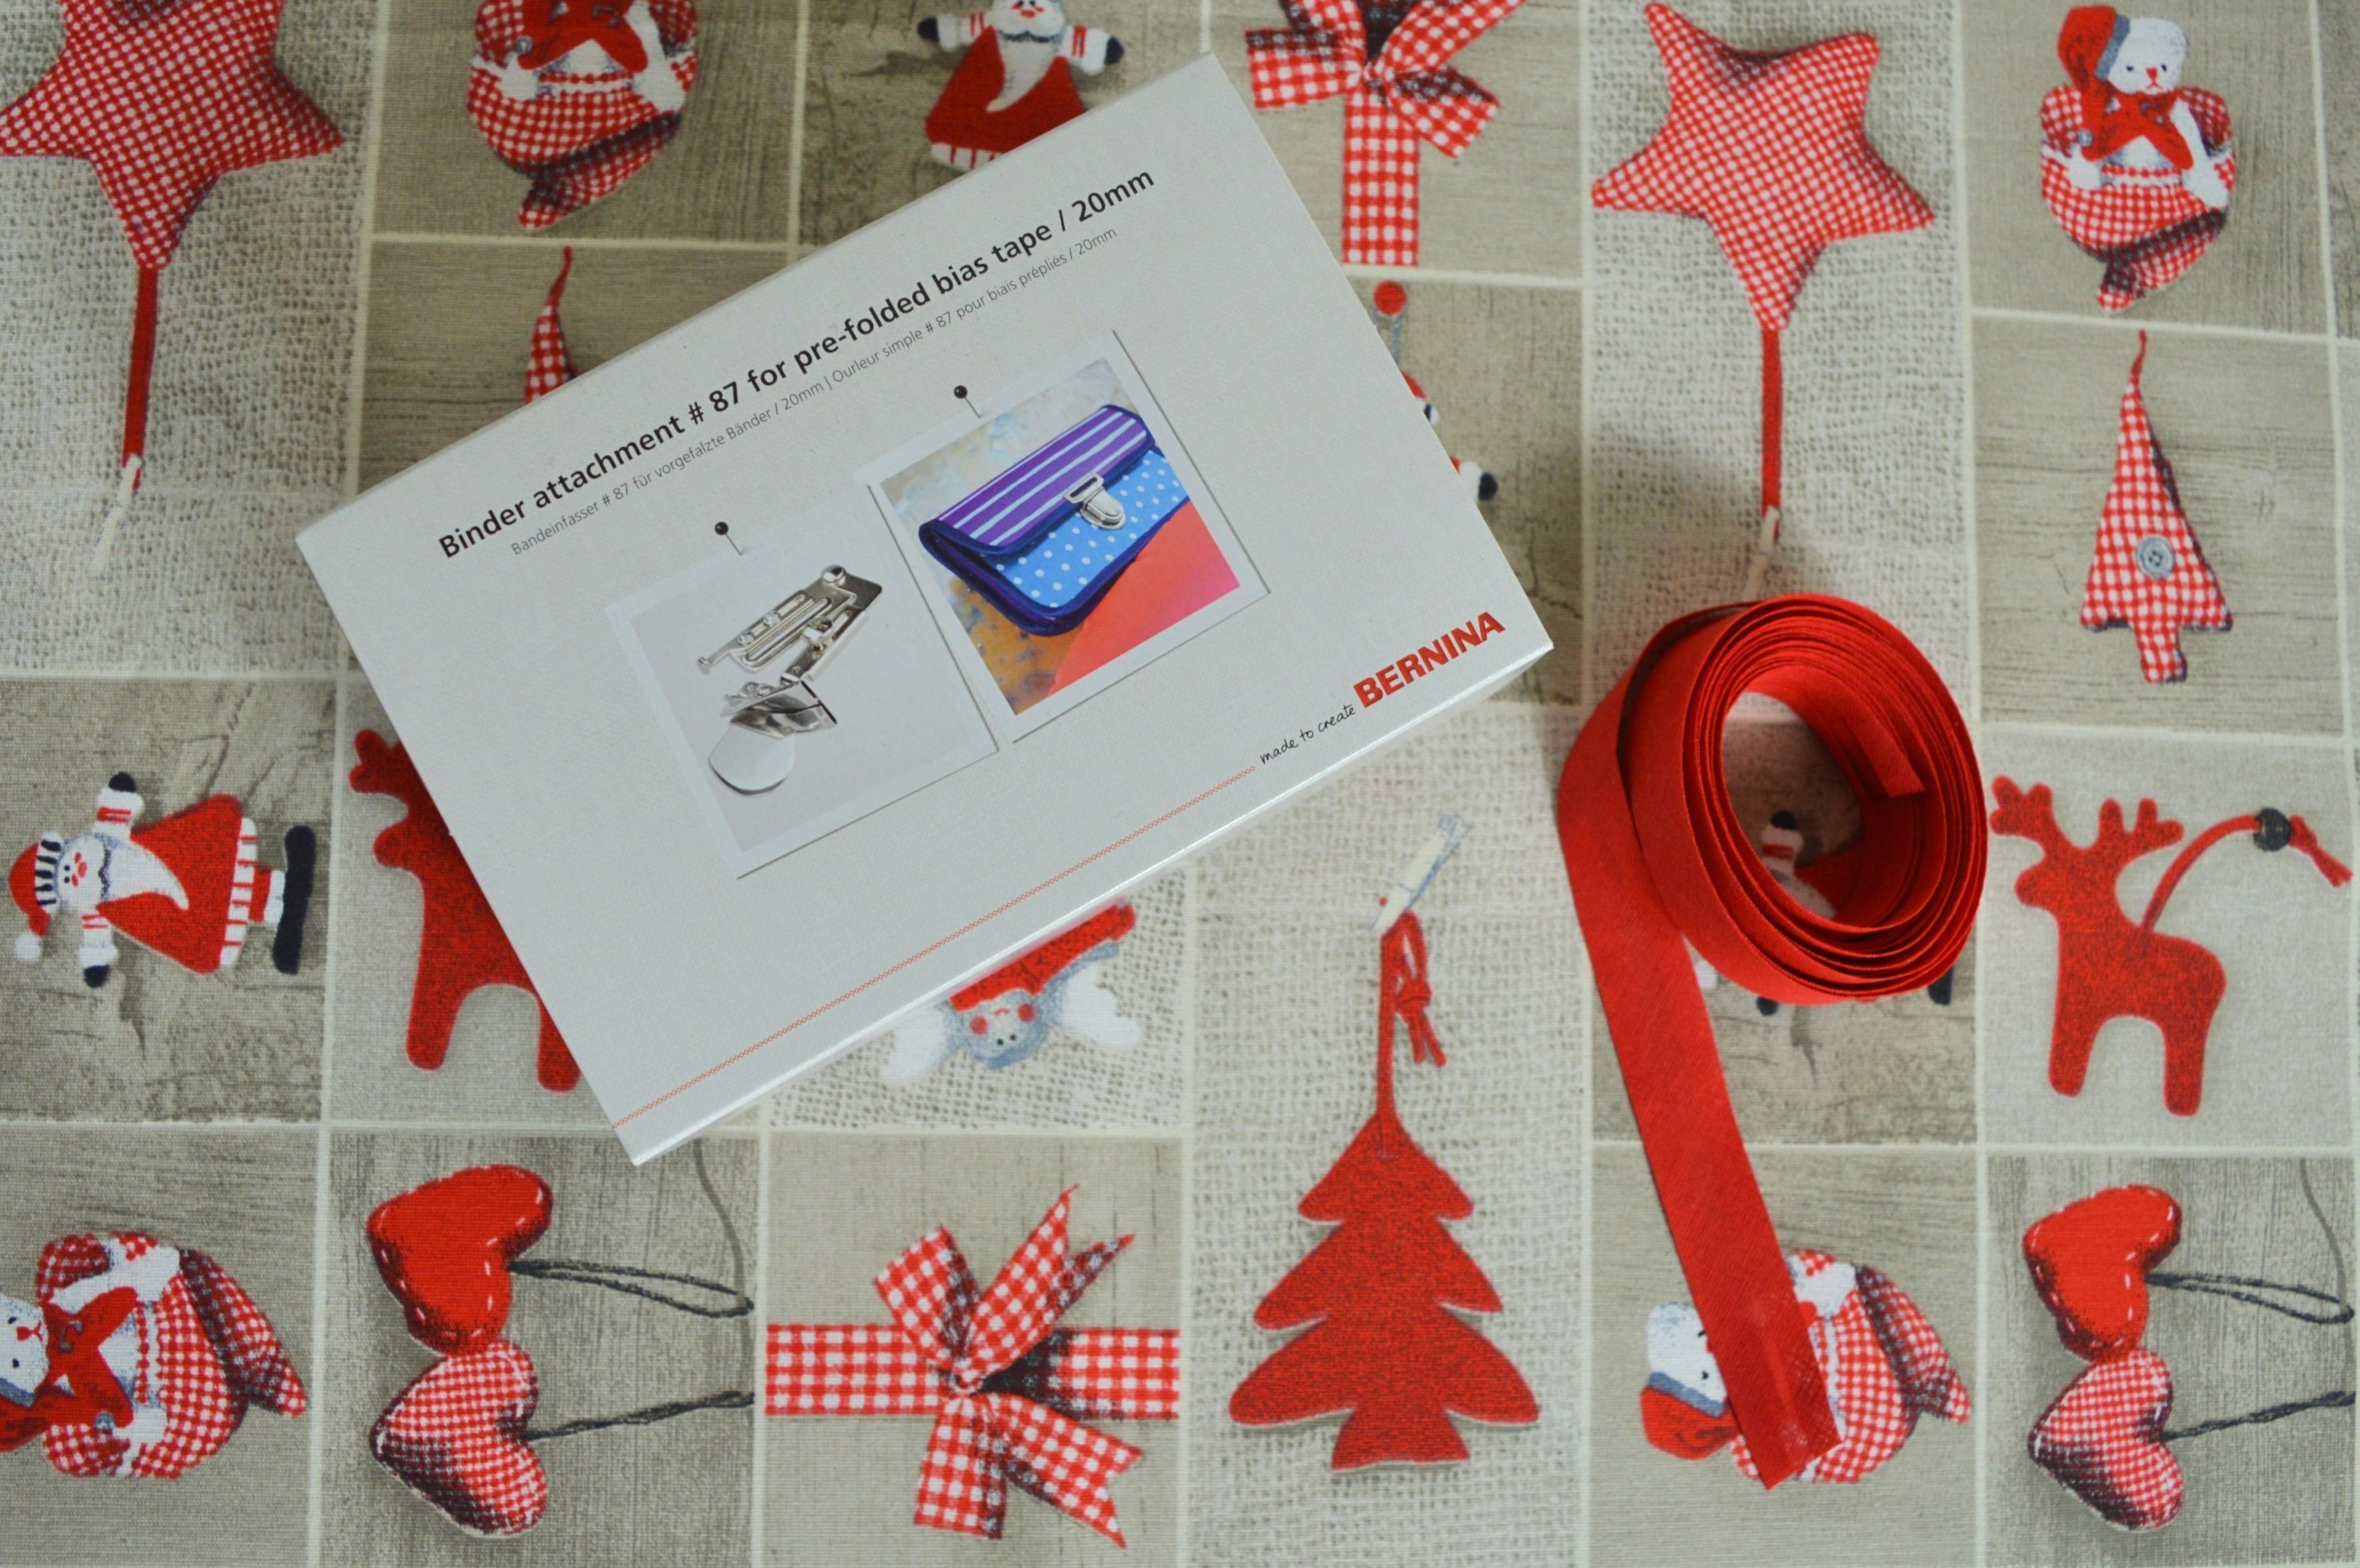
!!! The most important in this post: Binder attachment #87 for pre-folded bias tape and Binder foot #95/95C.
NOTE: Binding attachment #87 is available in 3 different widths, and allows you to work with pre-folded bias tape 13, 20 or 25 mm wide.
In this post, you can see Binding attachment #87 for pre-folded bias tape 20 mm wide and therefore suitable for it, 20 mm pre-folded bias tape.
You still need: sewing machine, scissors or rotary cutter, ruler or measuring tape, tailor’s chalk, pins.
Fabric
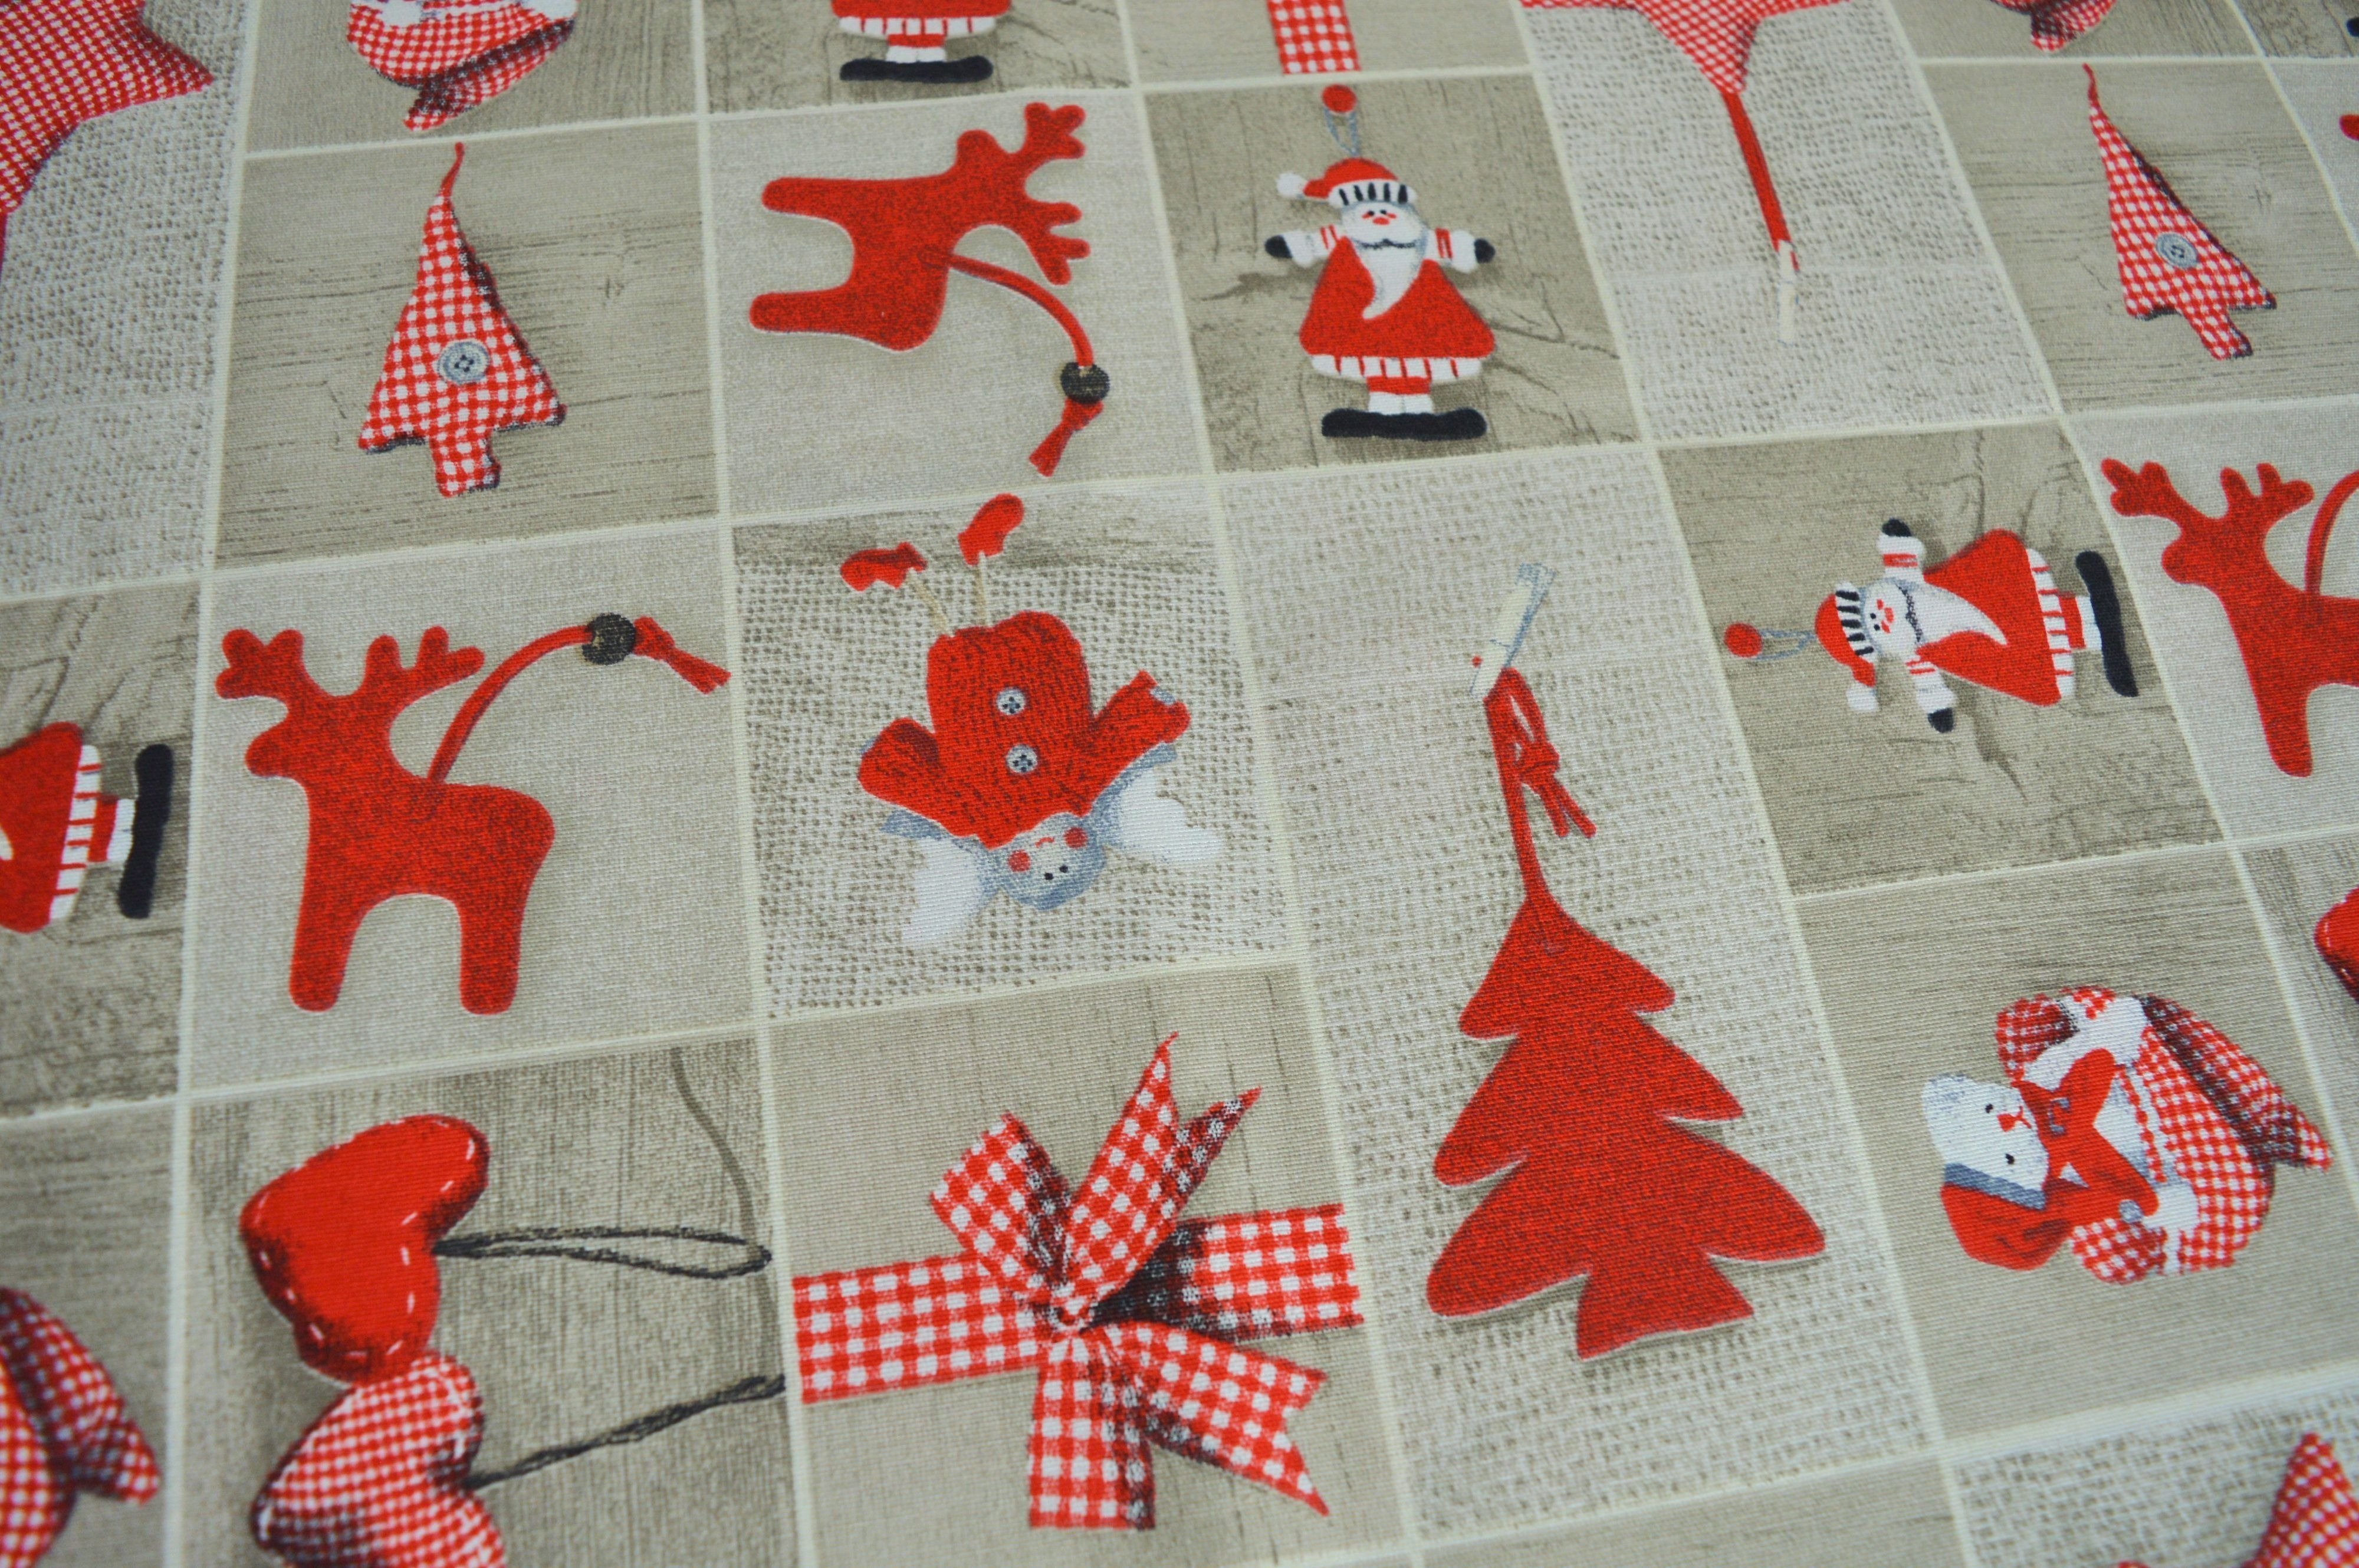
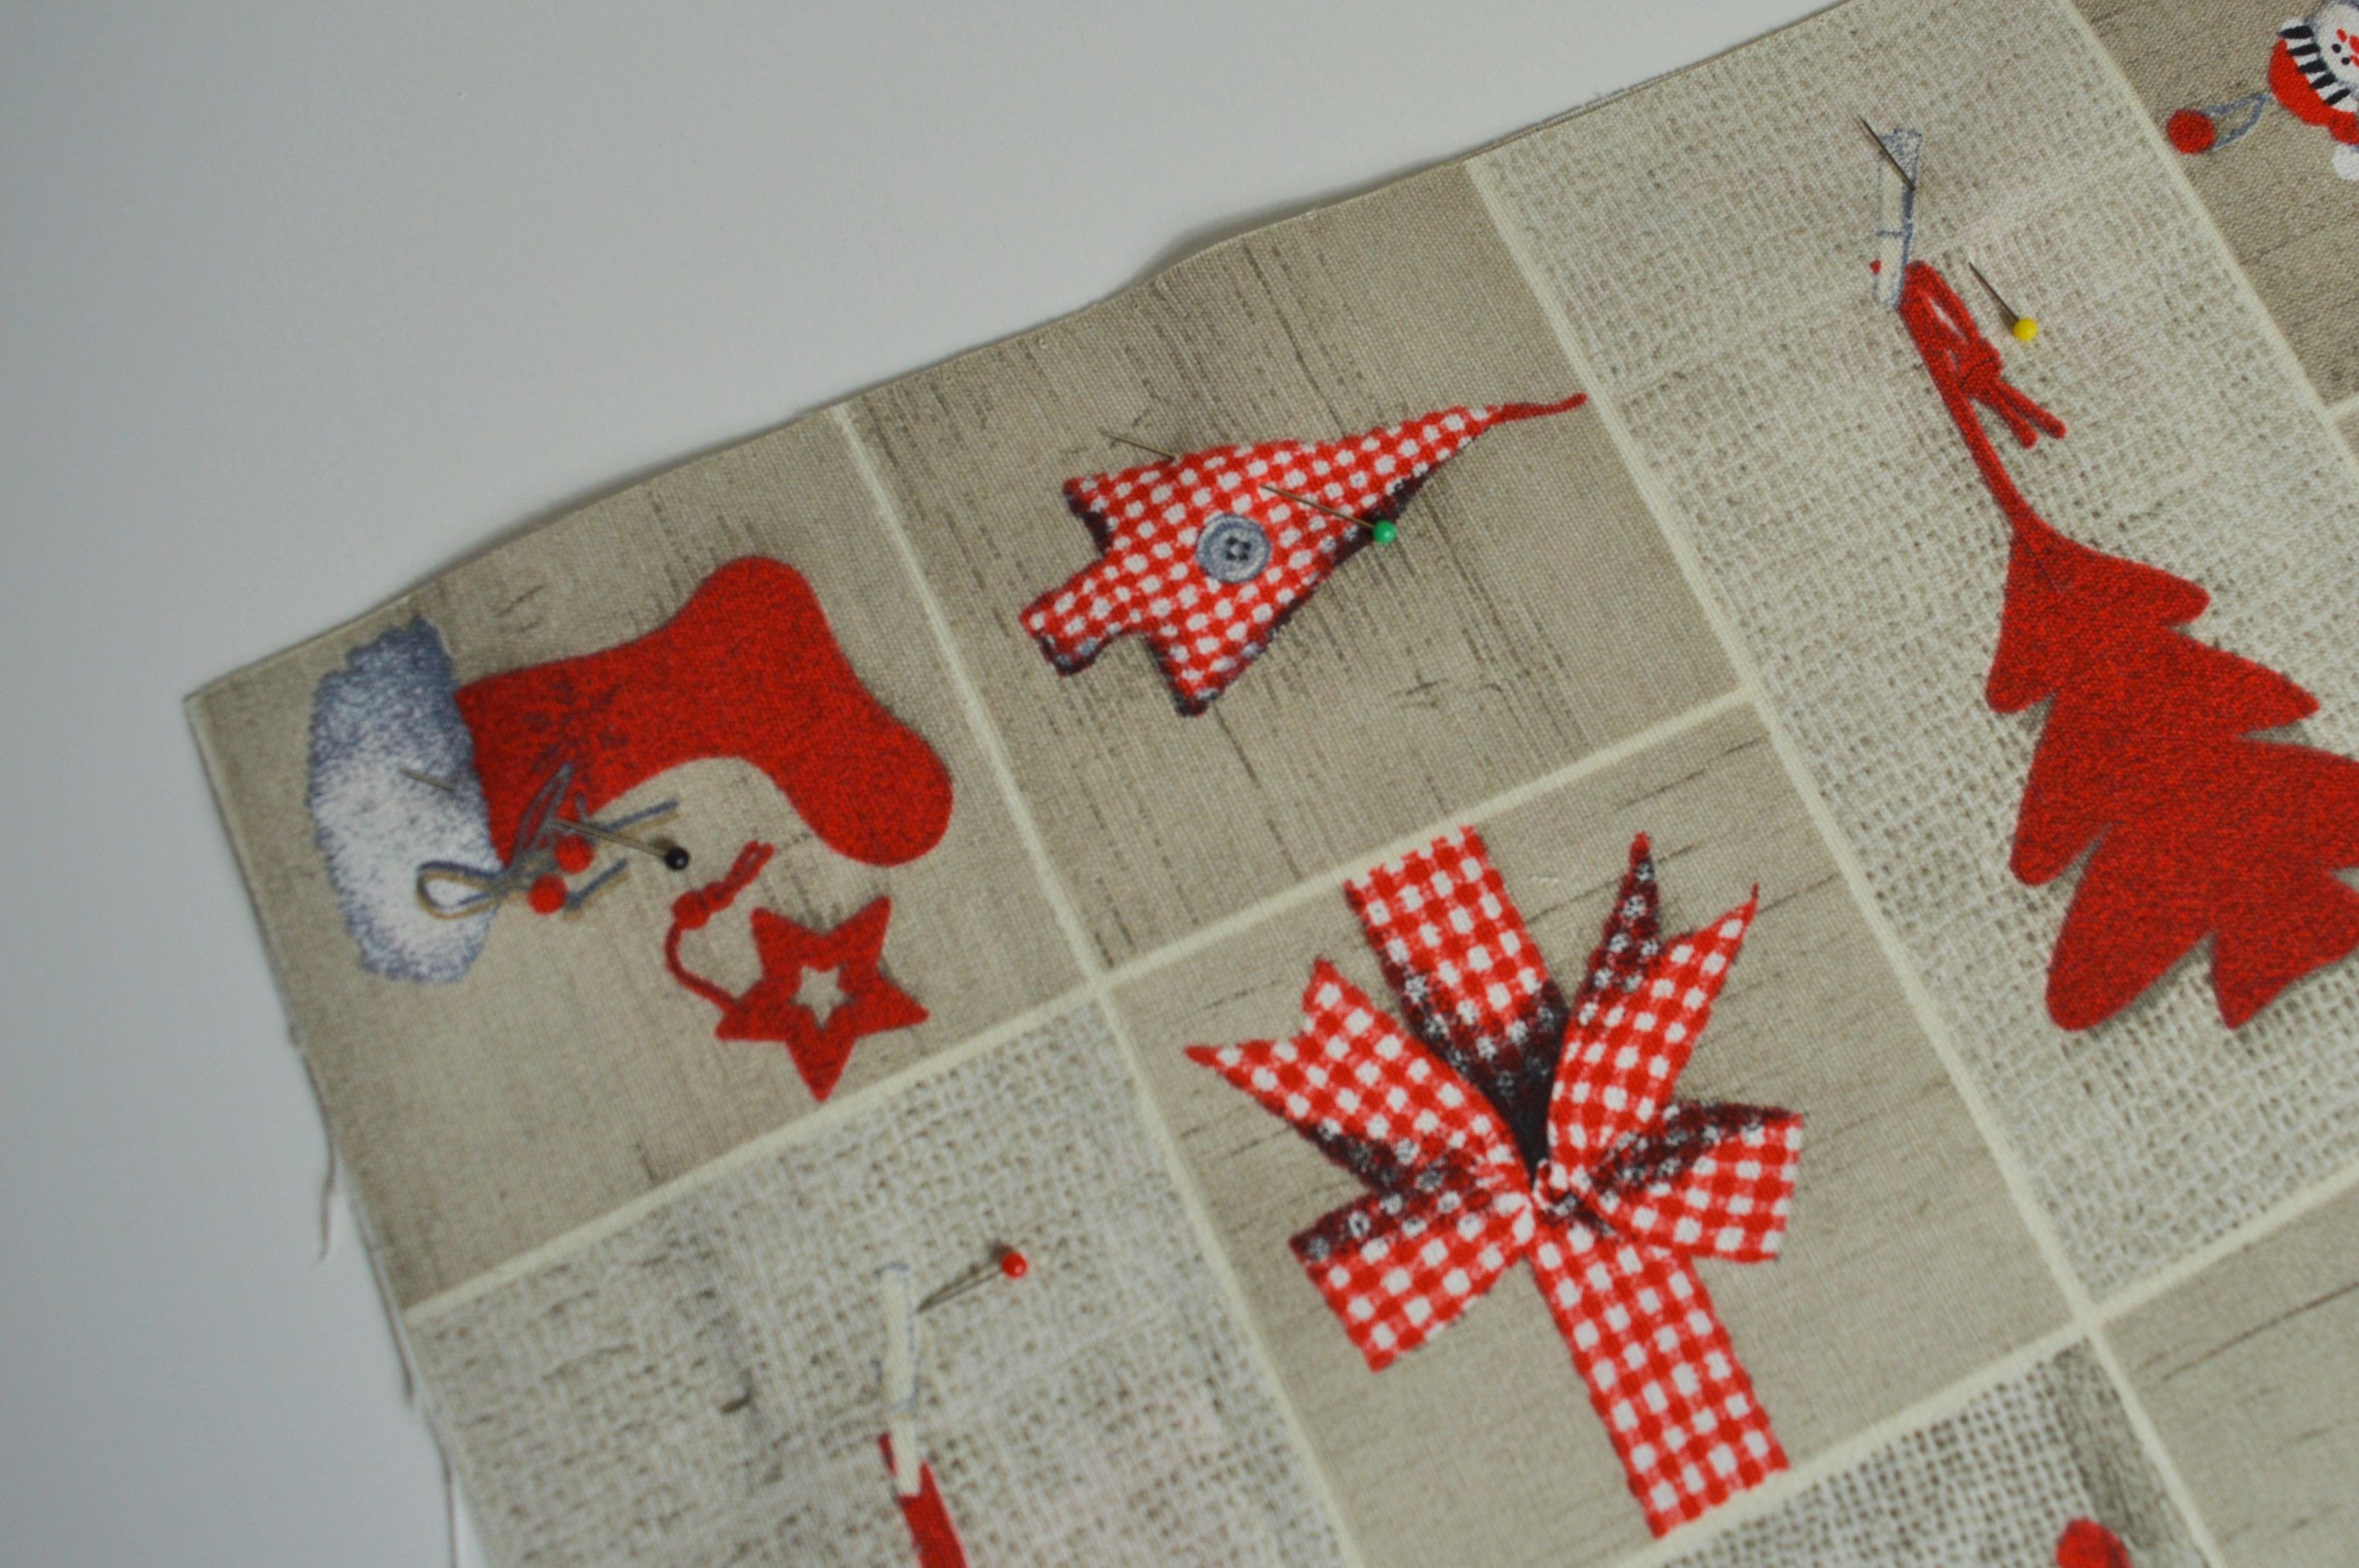
I used heavyweight (200g/m2) cotton fabric (80% cotton and 20% polyester) with a Christmas print, but you can use any print or solid home decor material suitable for tablecloths or pillowcases.
!!! Pre-wash fabric
NOTE: I shall mention the required amount of bias tape for each type of decoration as it comes to that in the text, and at the very end, the total amount of fabric and bias binding needed for making all these items.

Bias binding
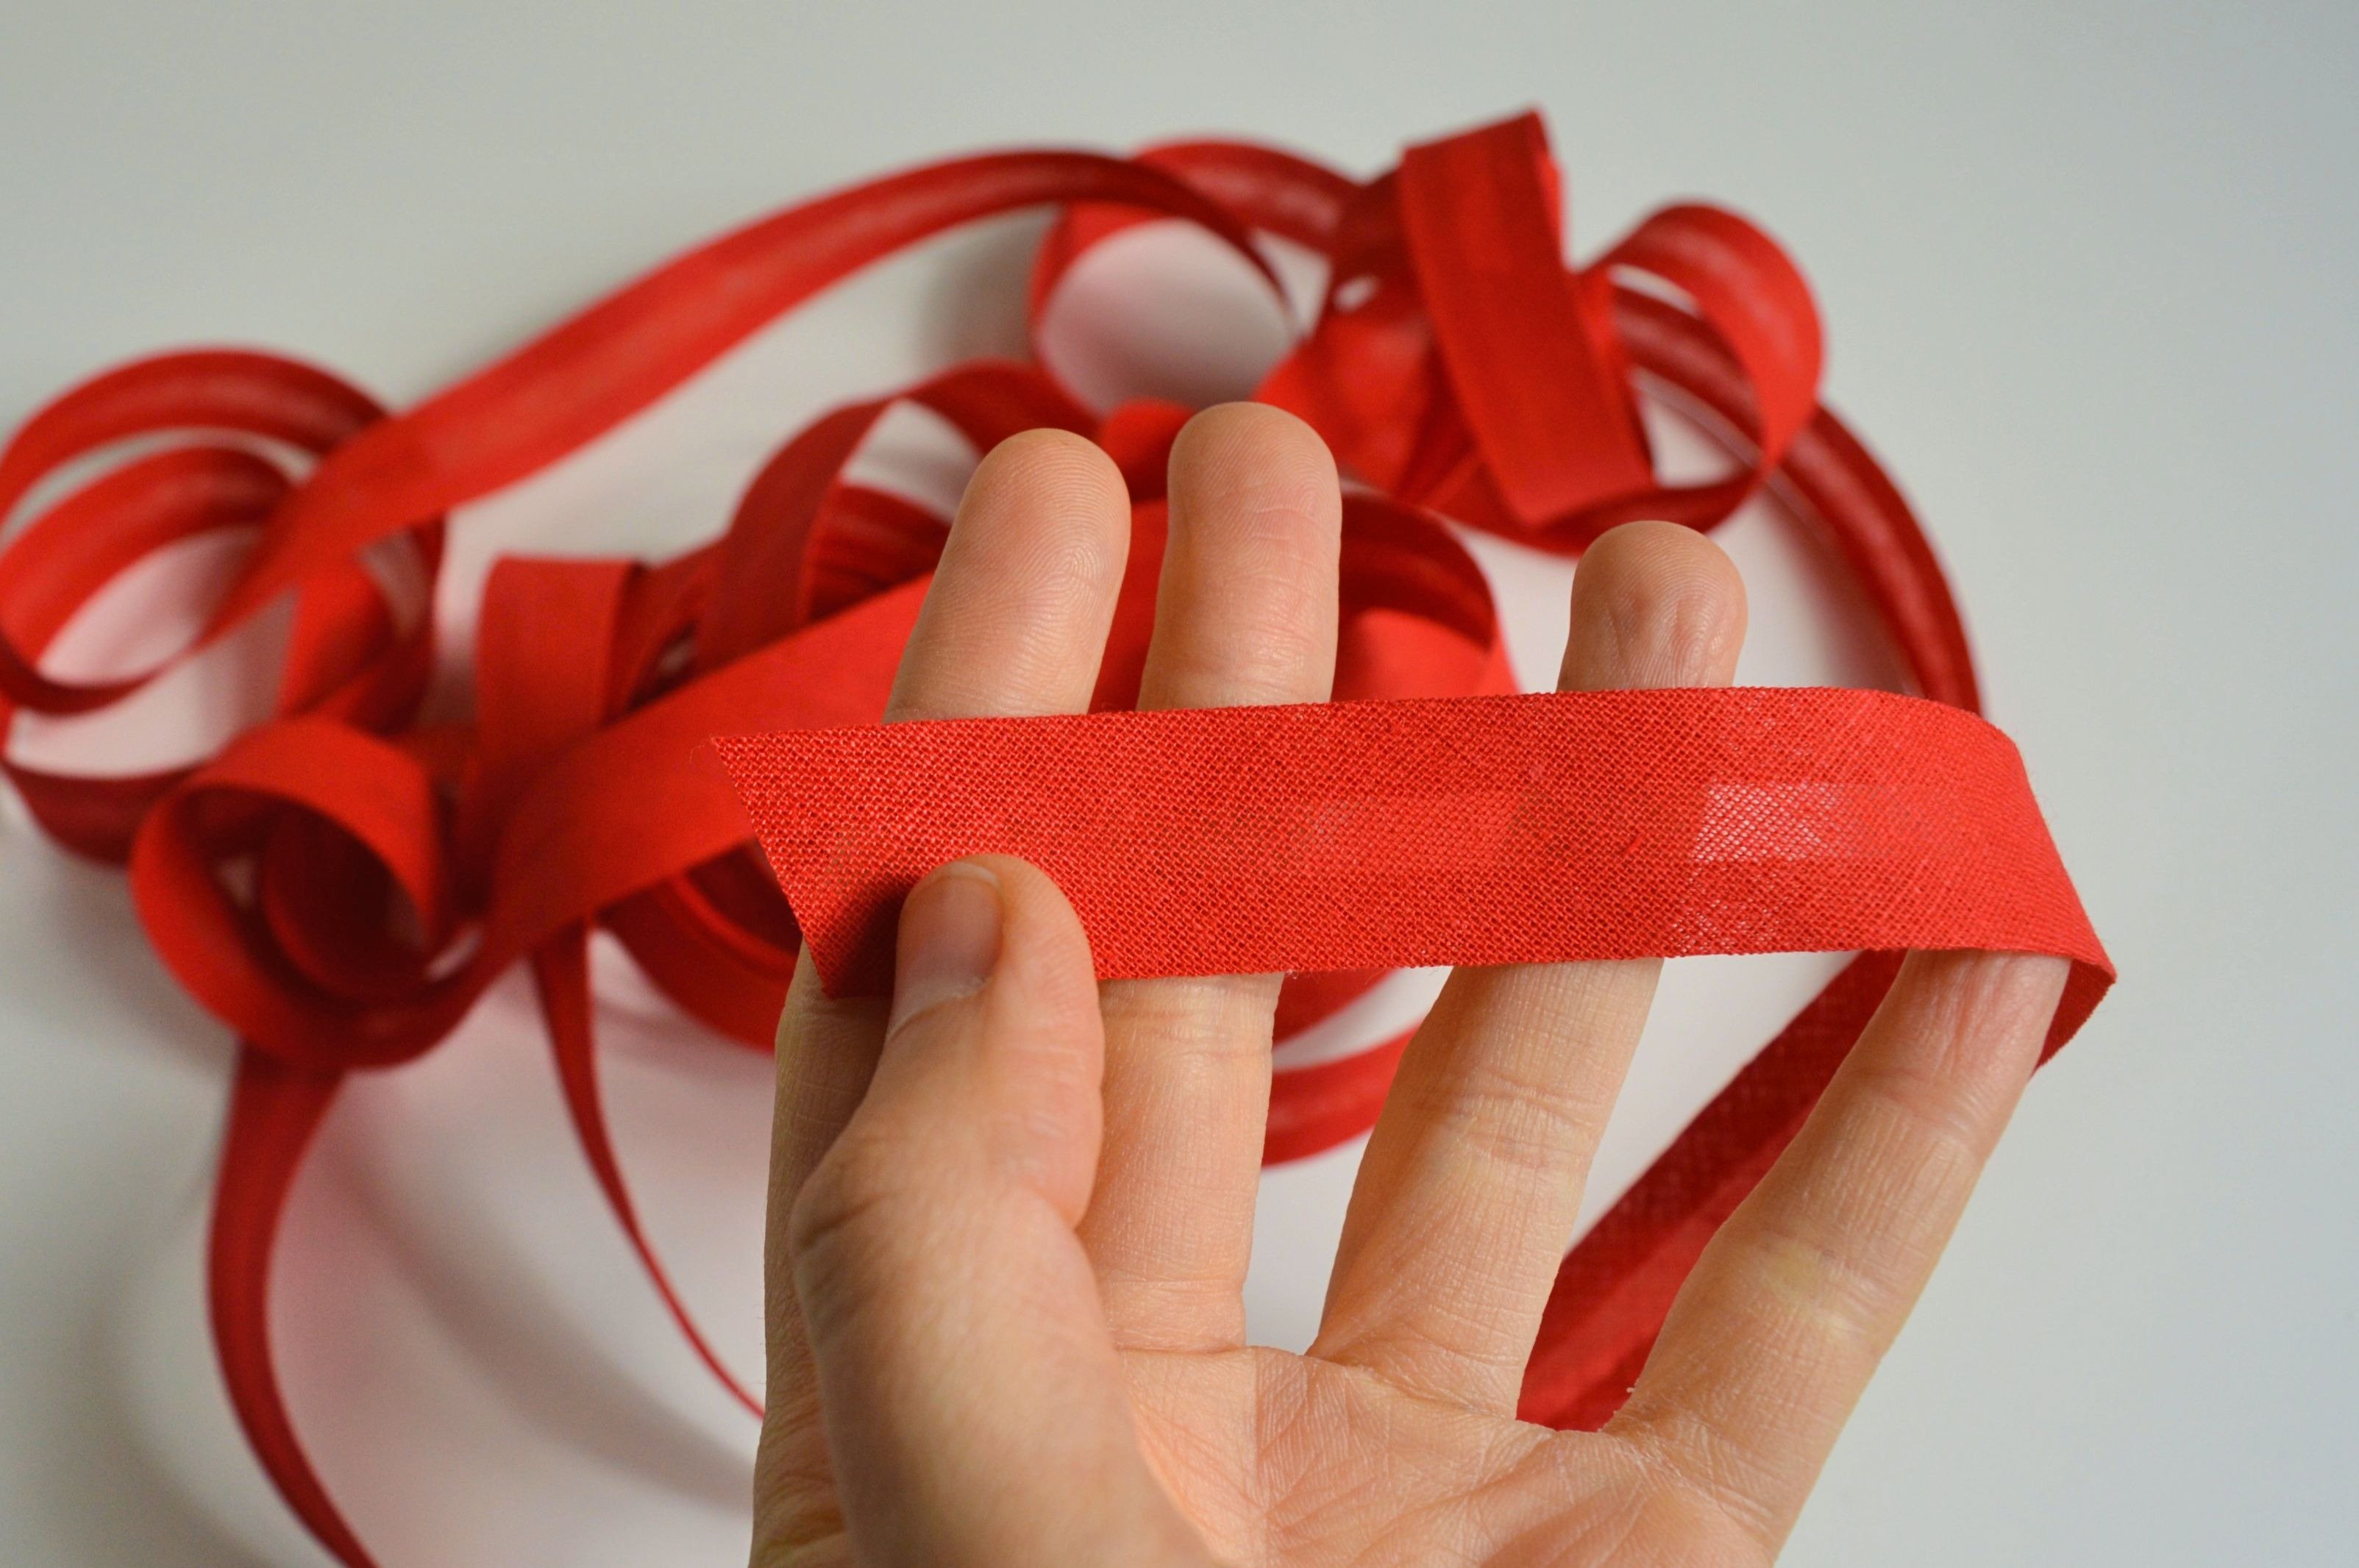
Bias tape or bias binding is a narrow strip of fabric. It is cut on the bias (the diagonal grain), that makes it more convenient for different application.
Pre-folded bias tape is bias tape with each edge folded in toward the center, wrong sides together, and pressed. It is used for covering an edge.
Pre-folded bias tape
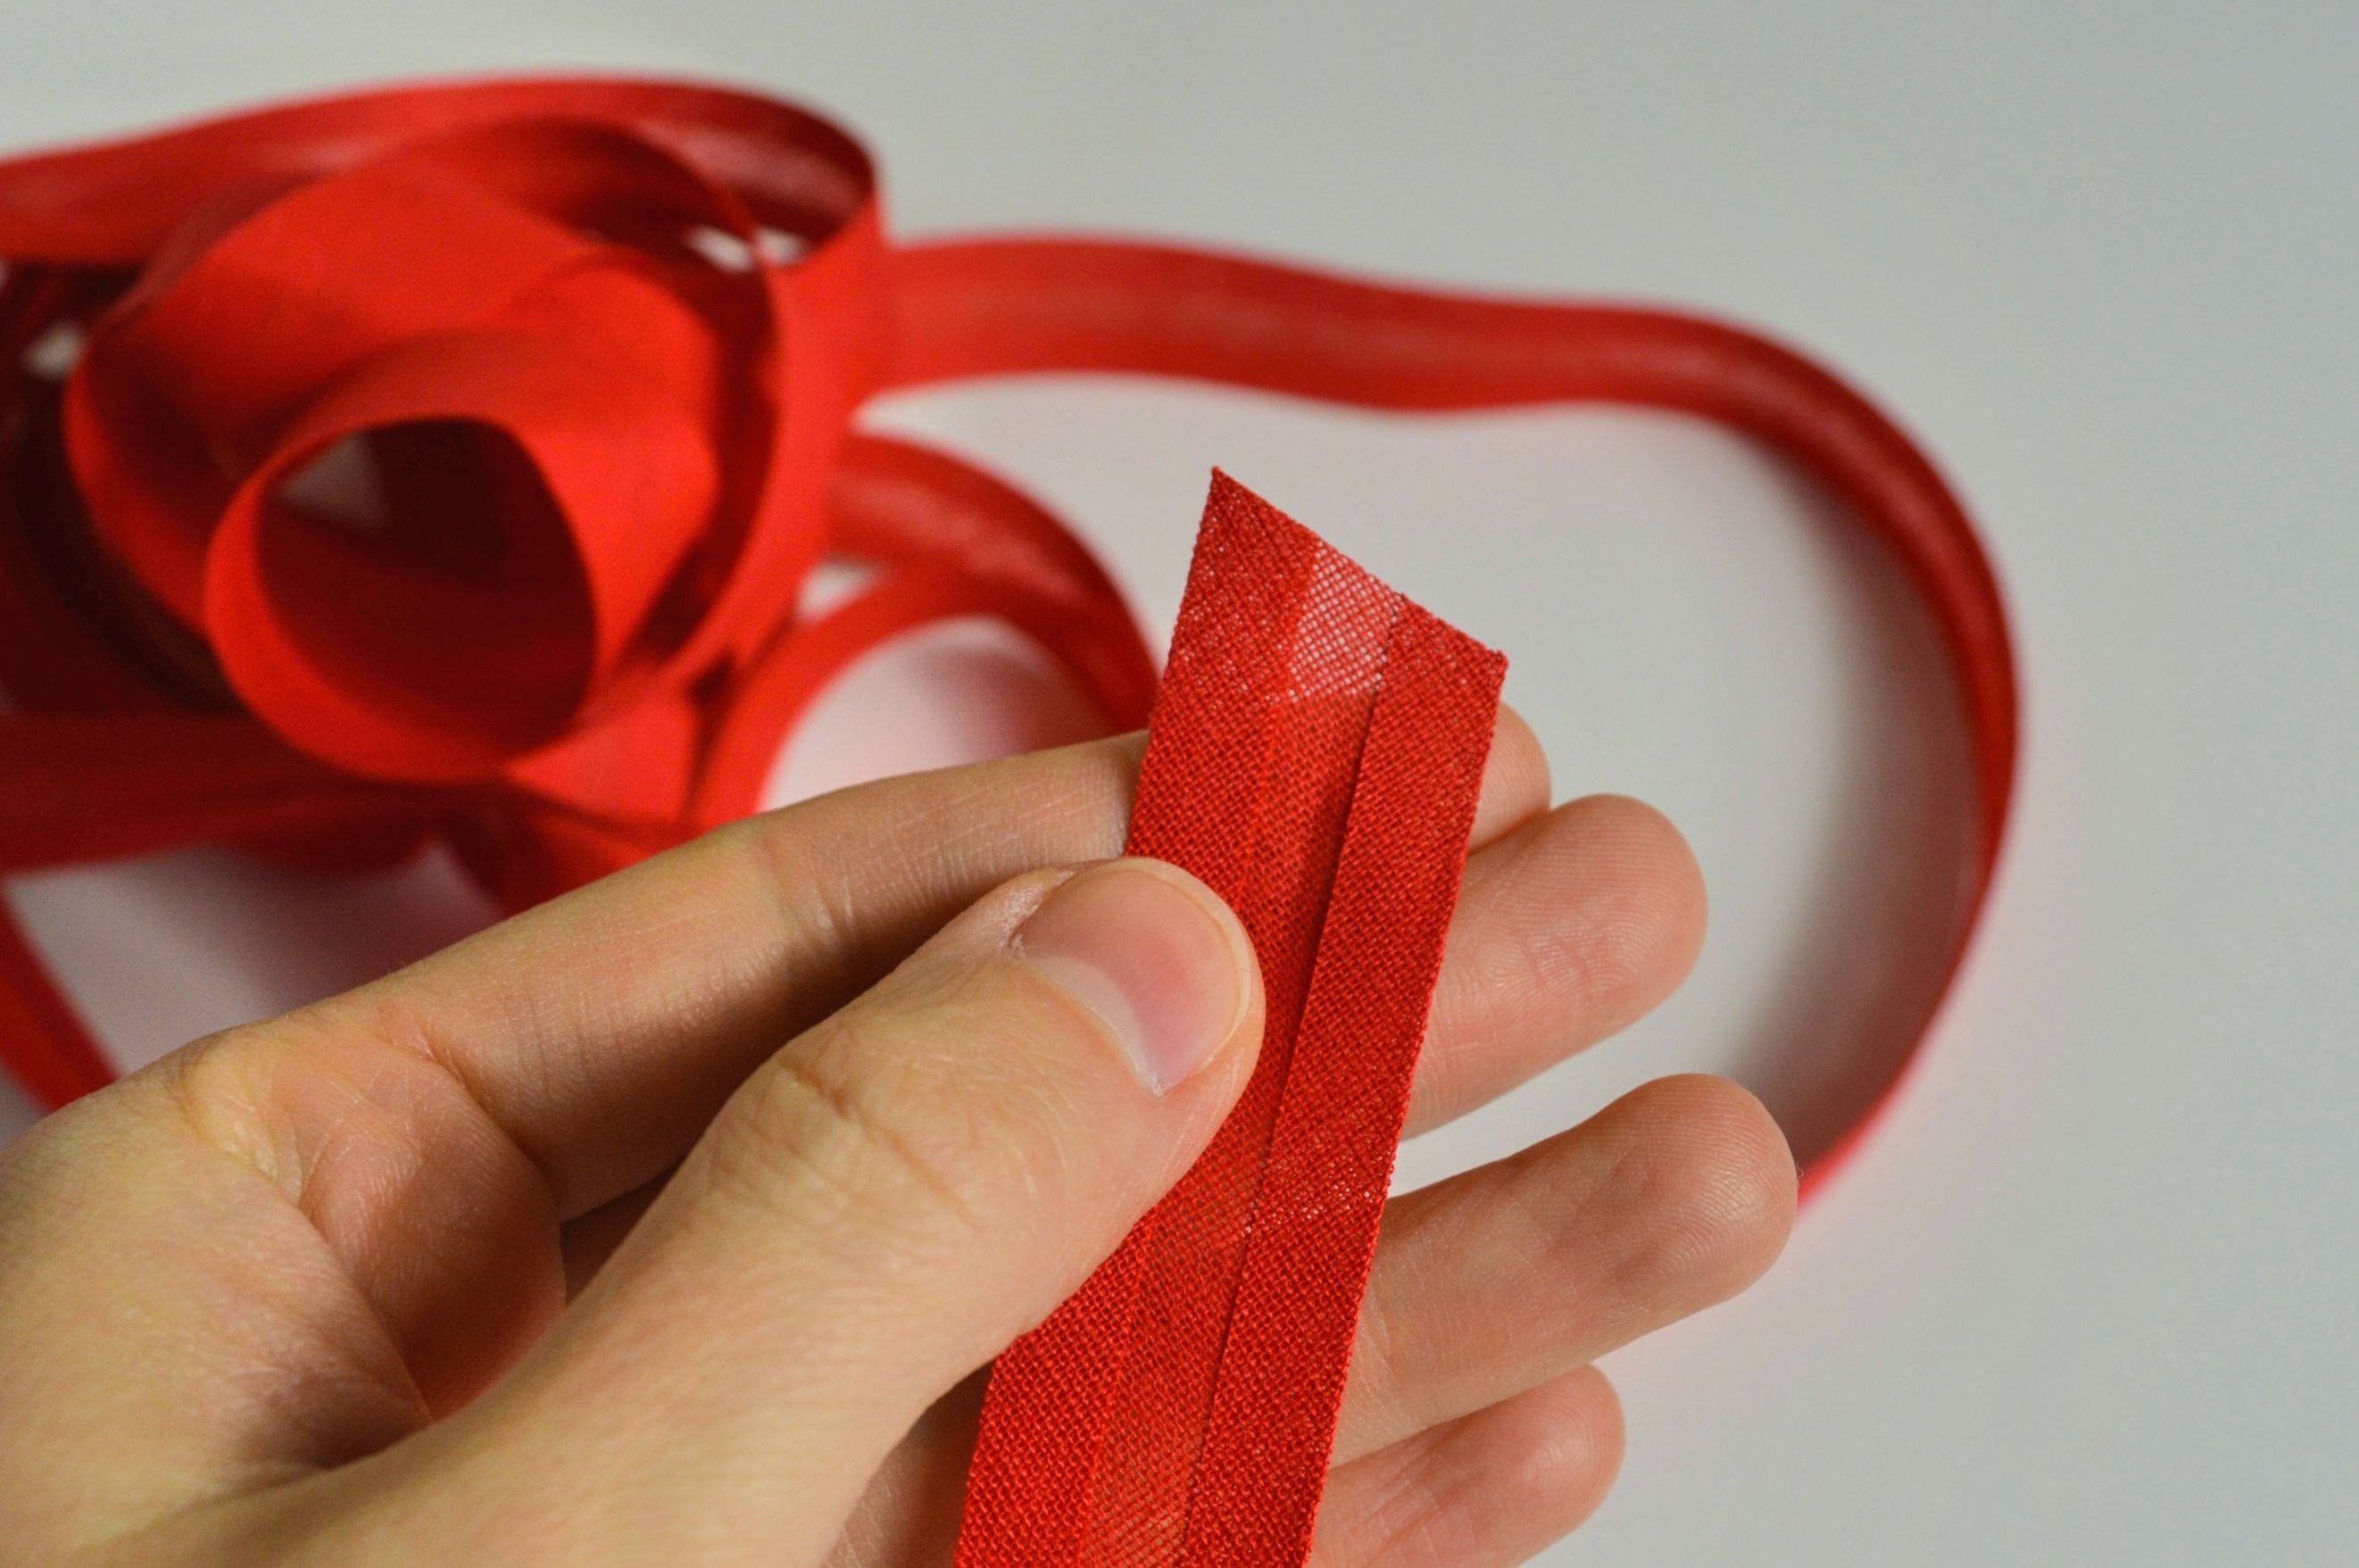
Pre-folded bias tape
You can buy pre-folded bias tape already made, or you can make it yourself by hand or using a bias-binding maker. You can choose it to match your project, in a contrasting fabric or in something extraordinary.
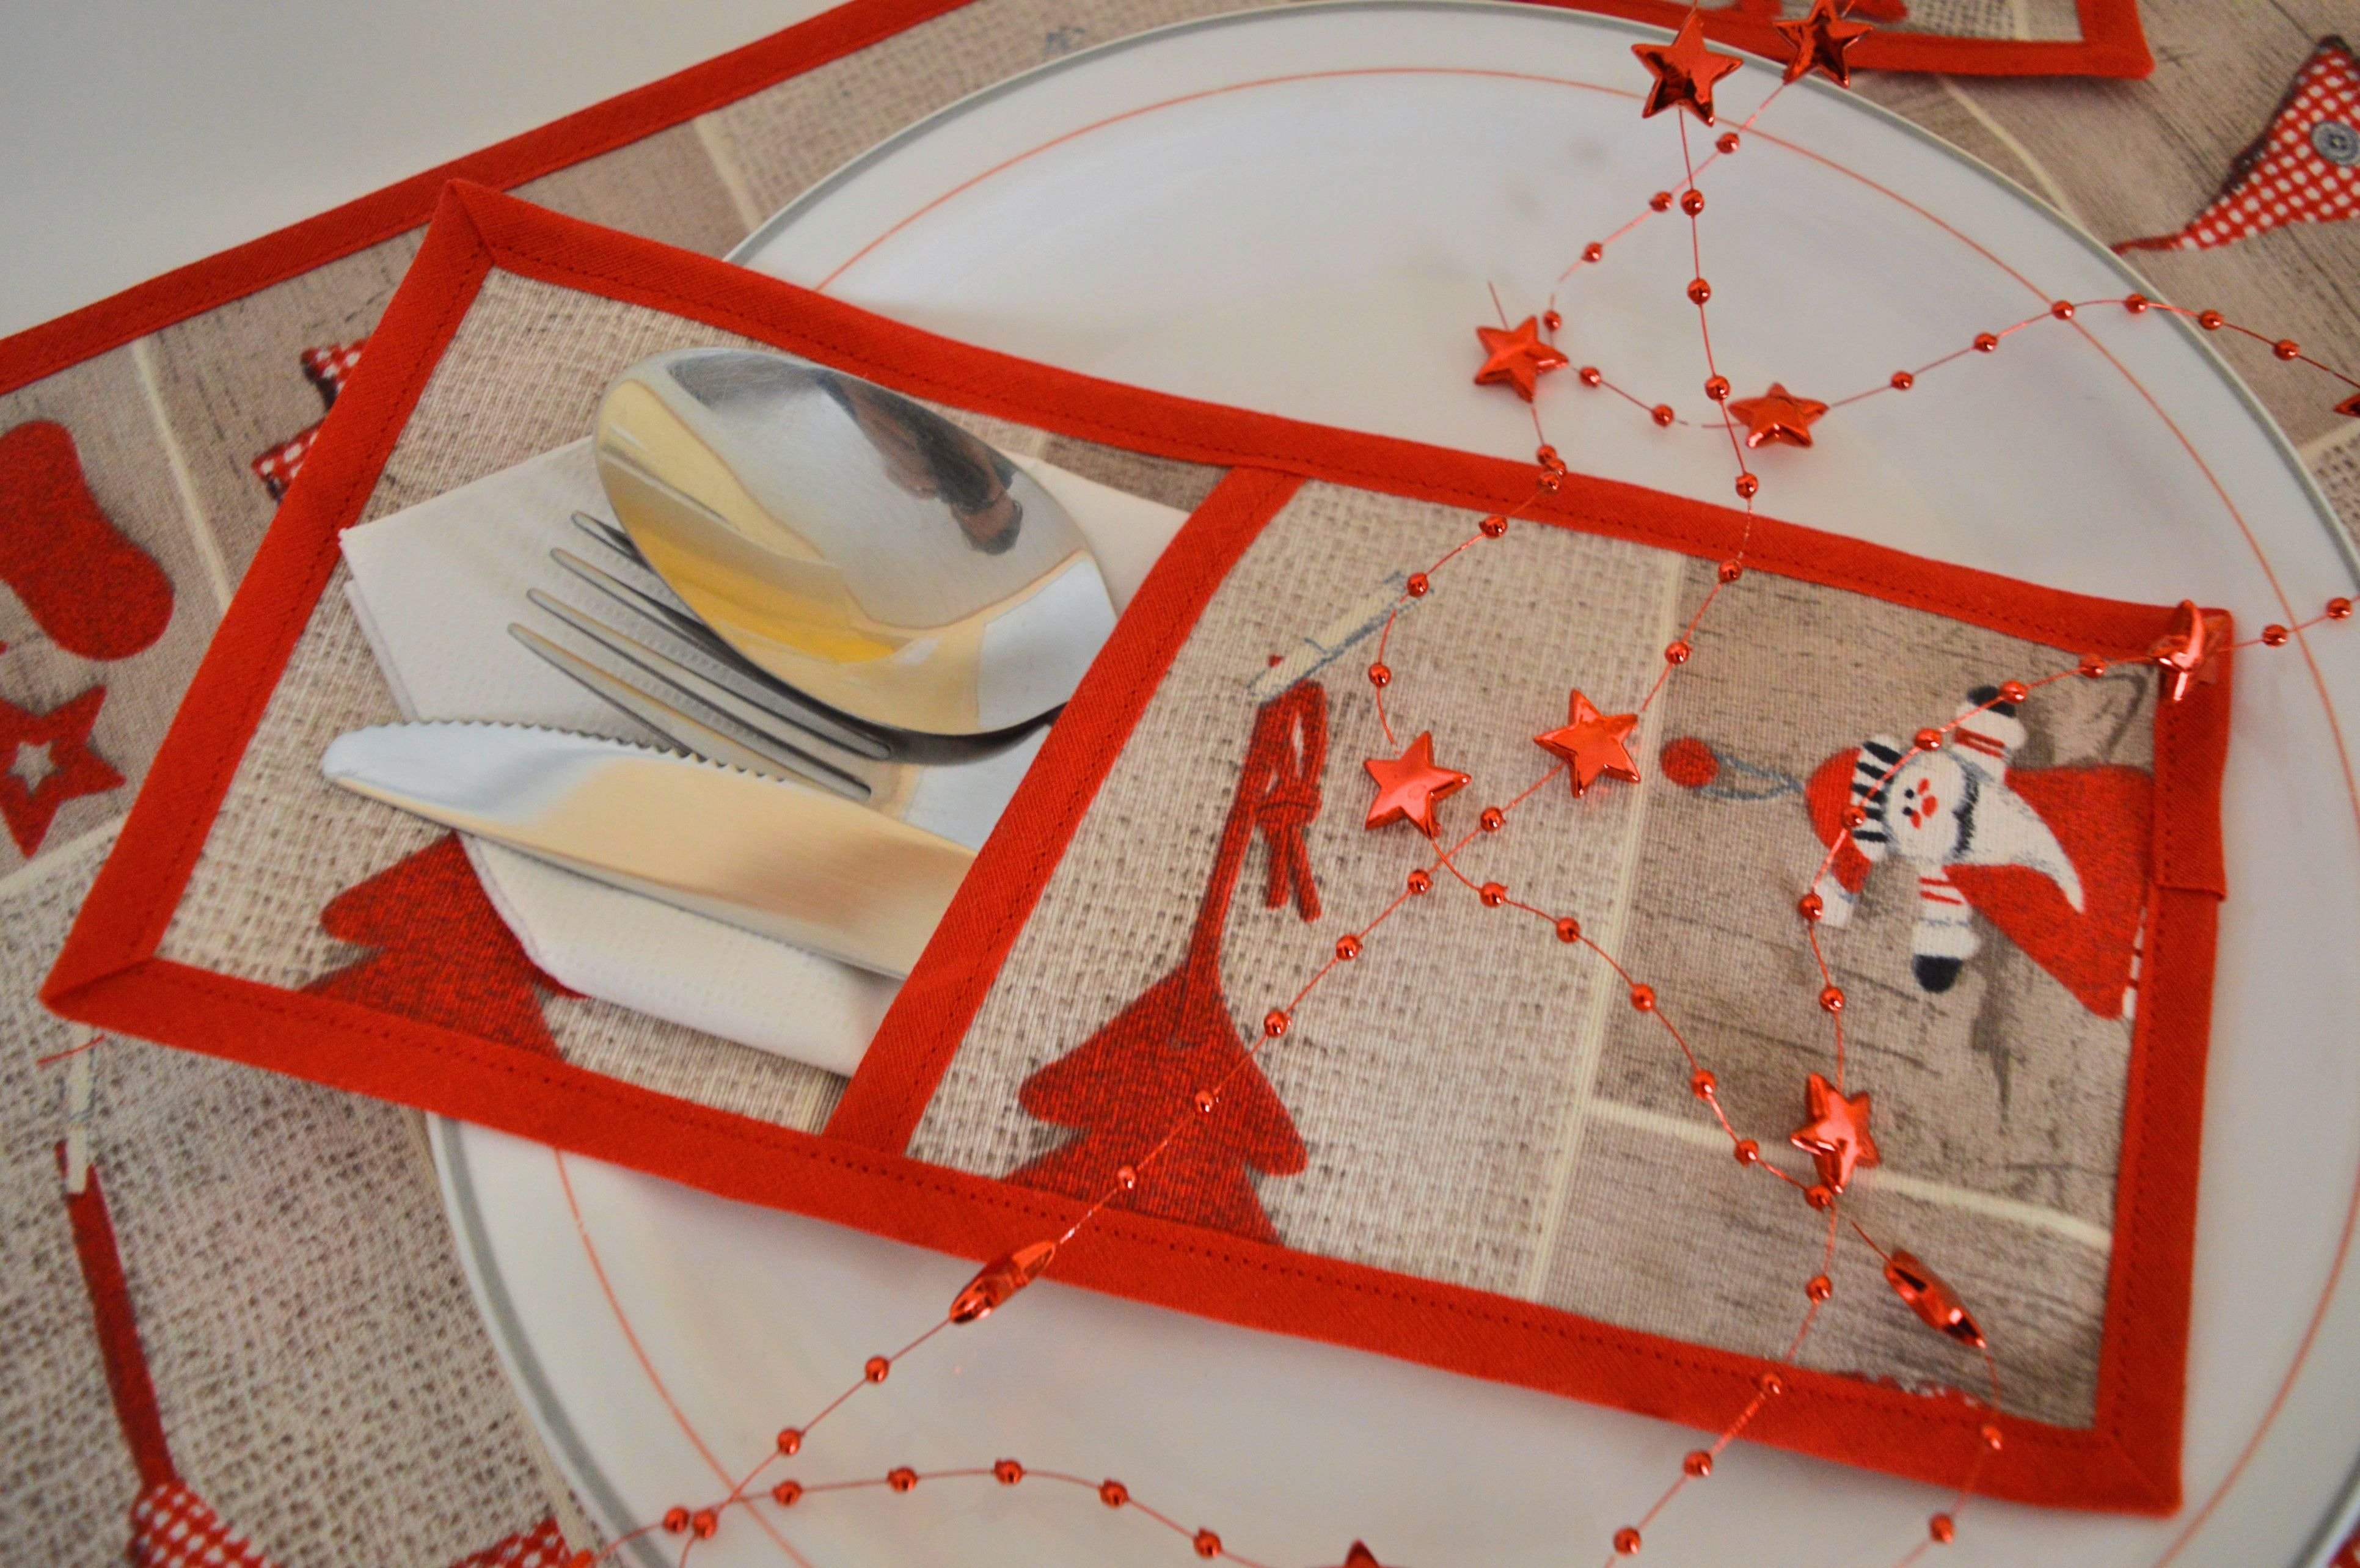
PLACEMAT
The placemat is used to cover an individual place setting. They are made from different materials and have several purposes: to protect, decorate or, in some cases, advertise. Cloth placemats are usually used for decorations.
Placemats are made in different sizes and shapes.
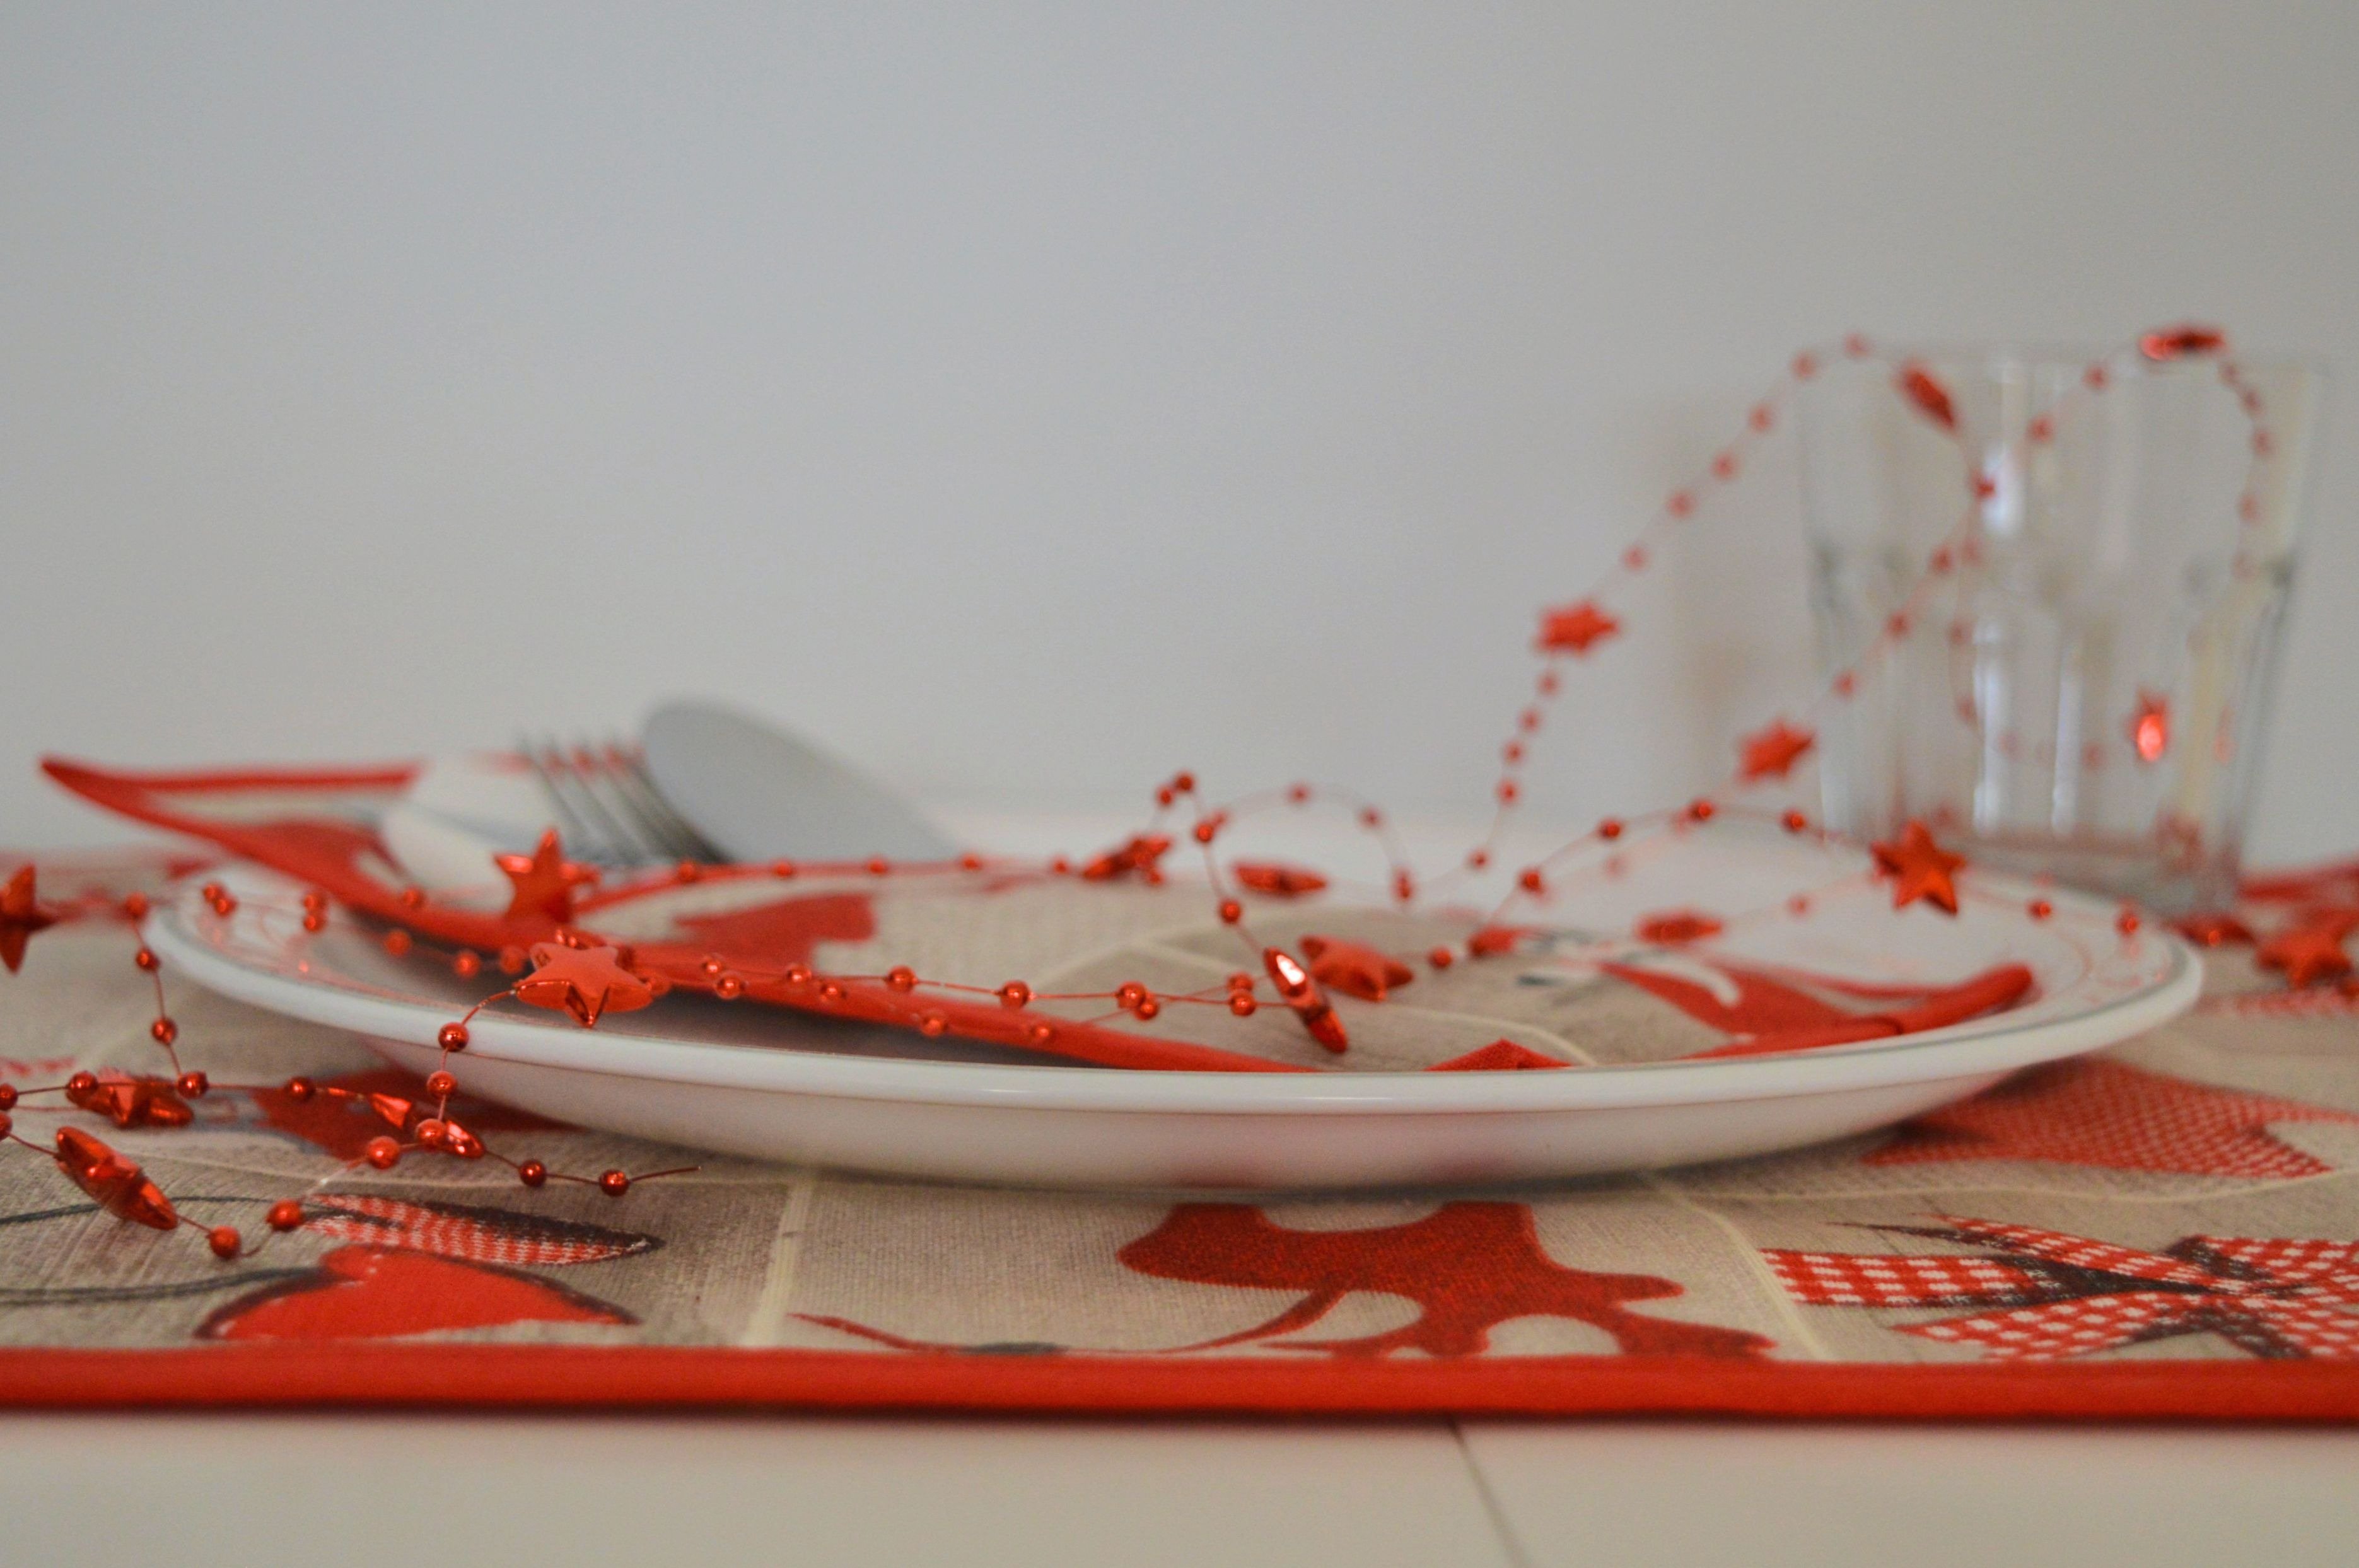
This specifical pattern consists of two rectangular pieces 45 cm long and 33 cm width, sewn together so that around the edge is sewn pre-folded bias binding.
Cut two pieces size 45×33 cm.

Pin pattern pieces together, so that wrong side one piece goes on wrong side another one. Because of that, you can use both sides of the placemat.
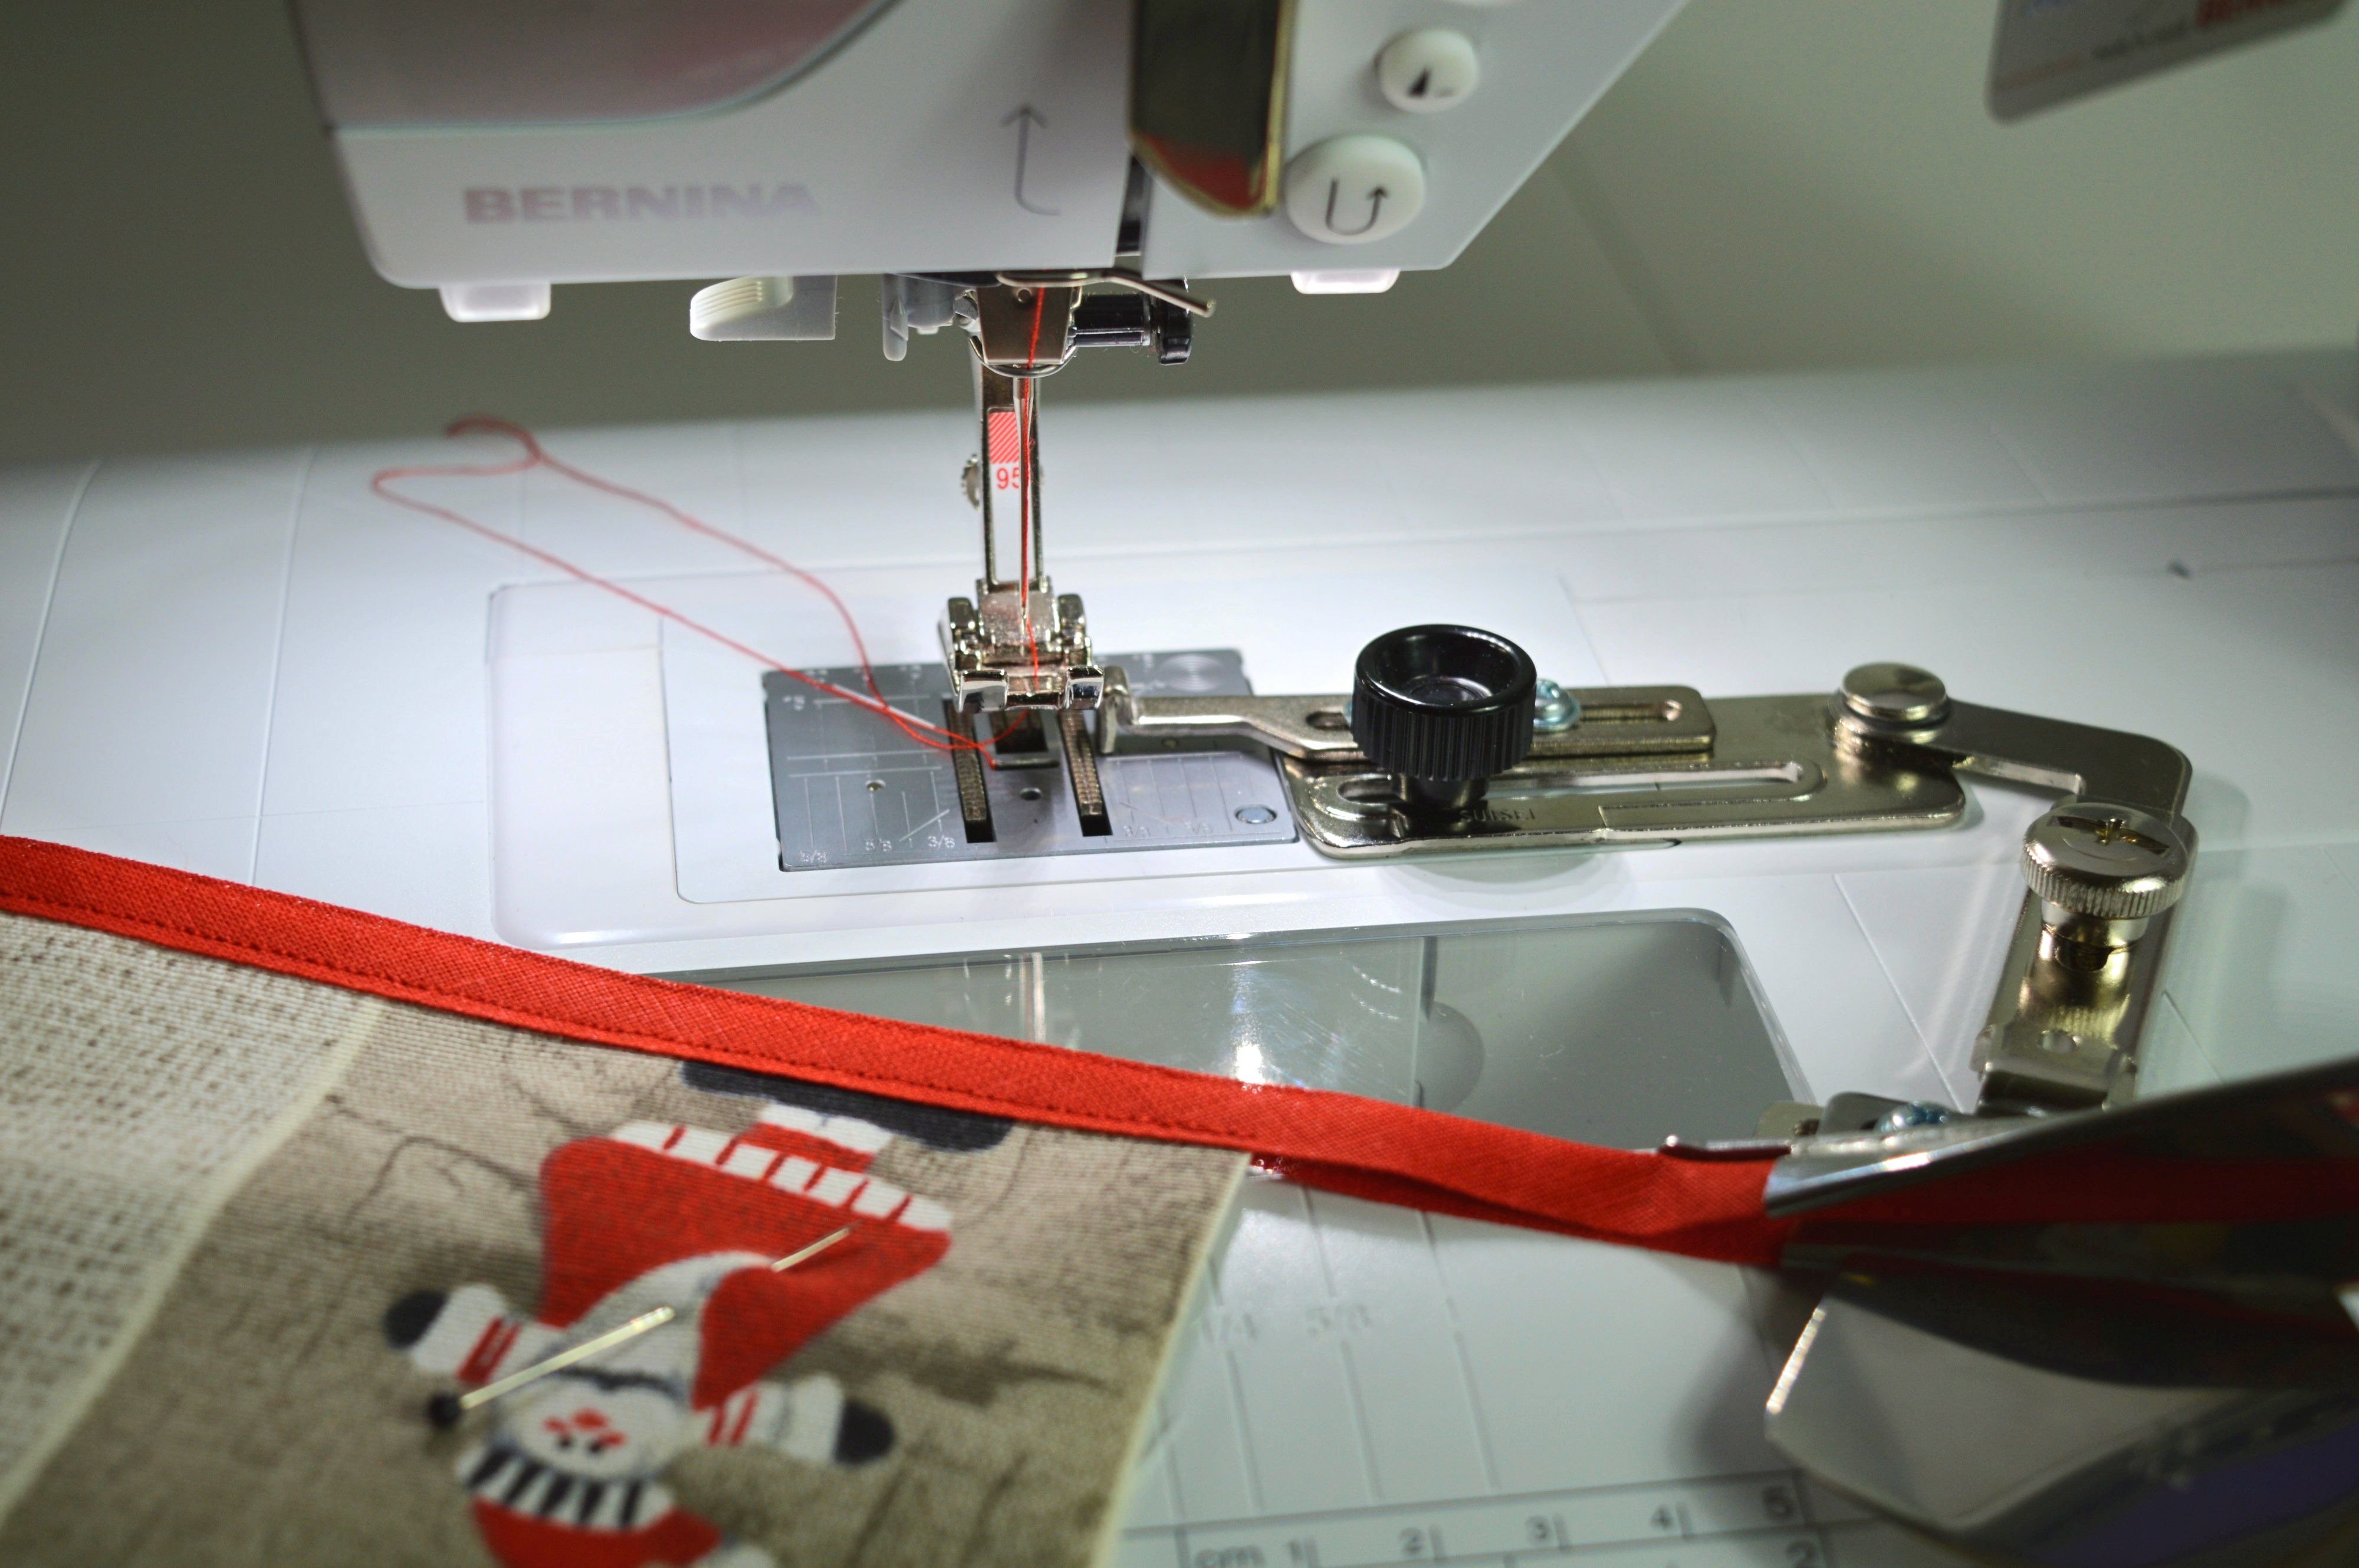
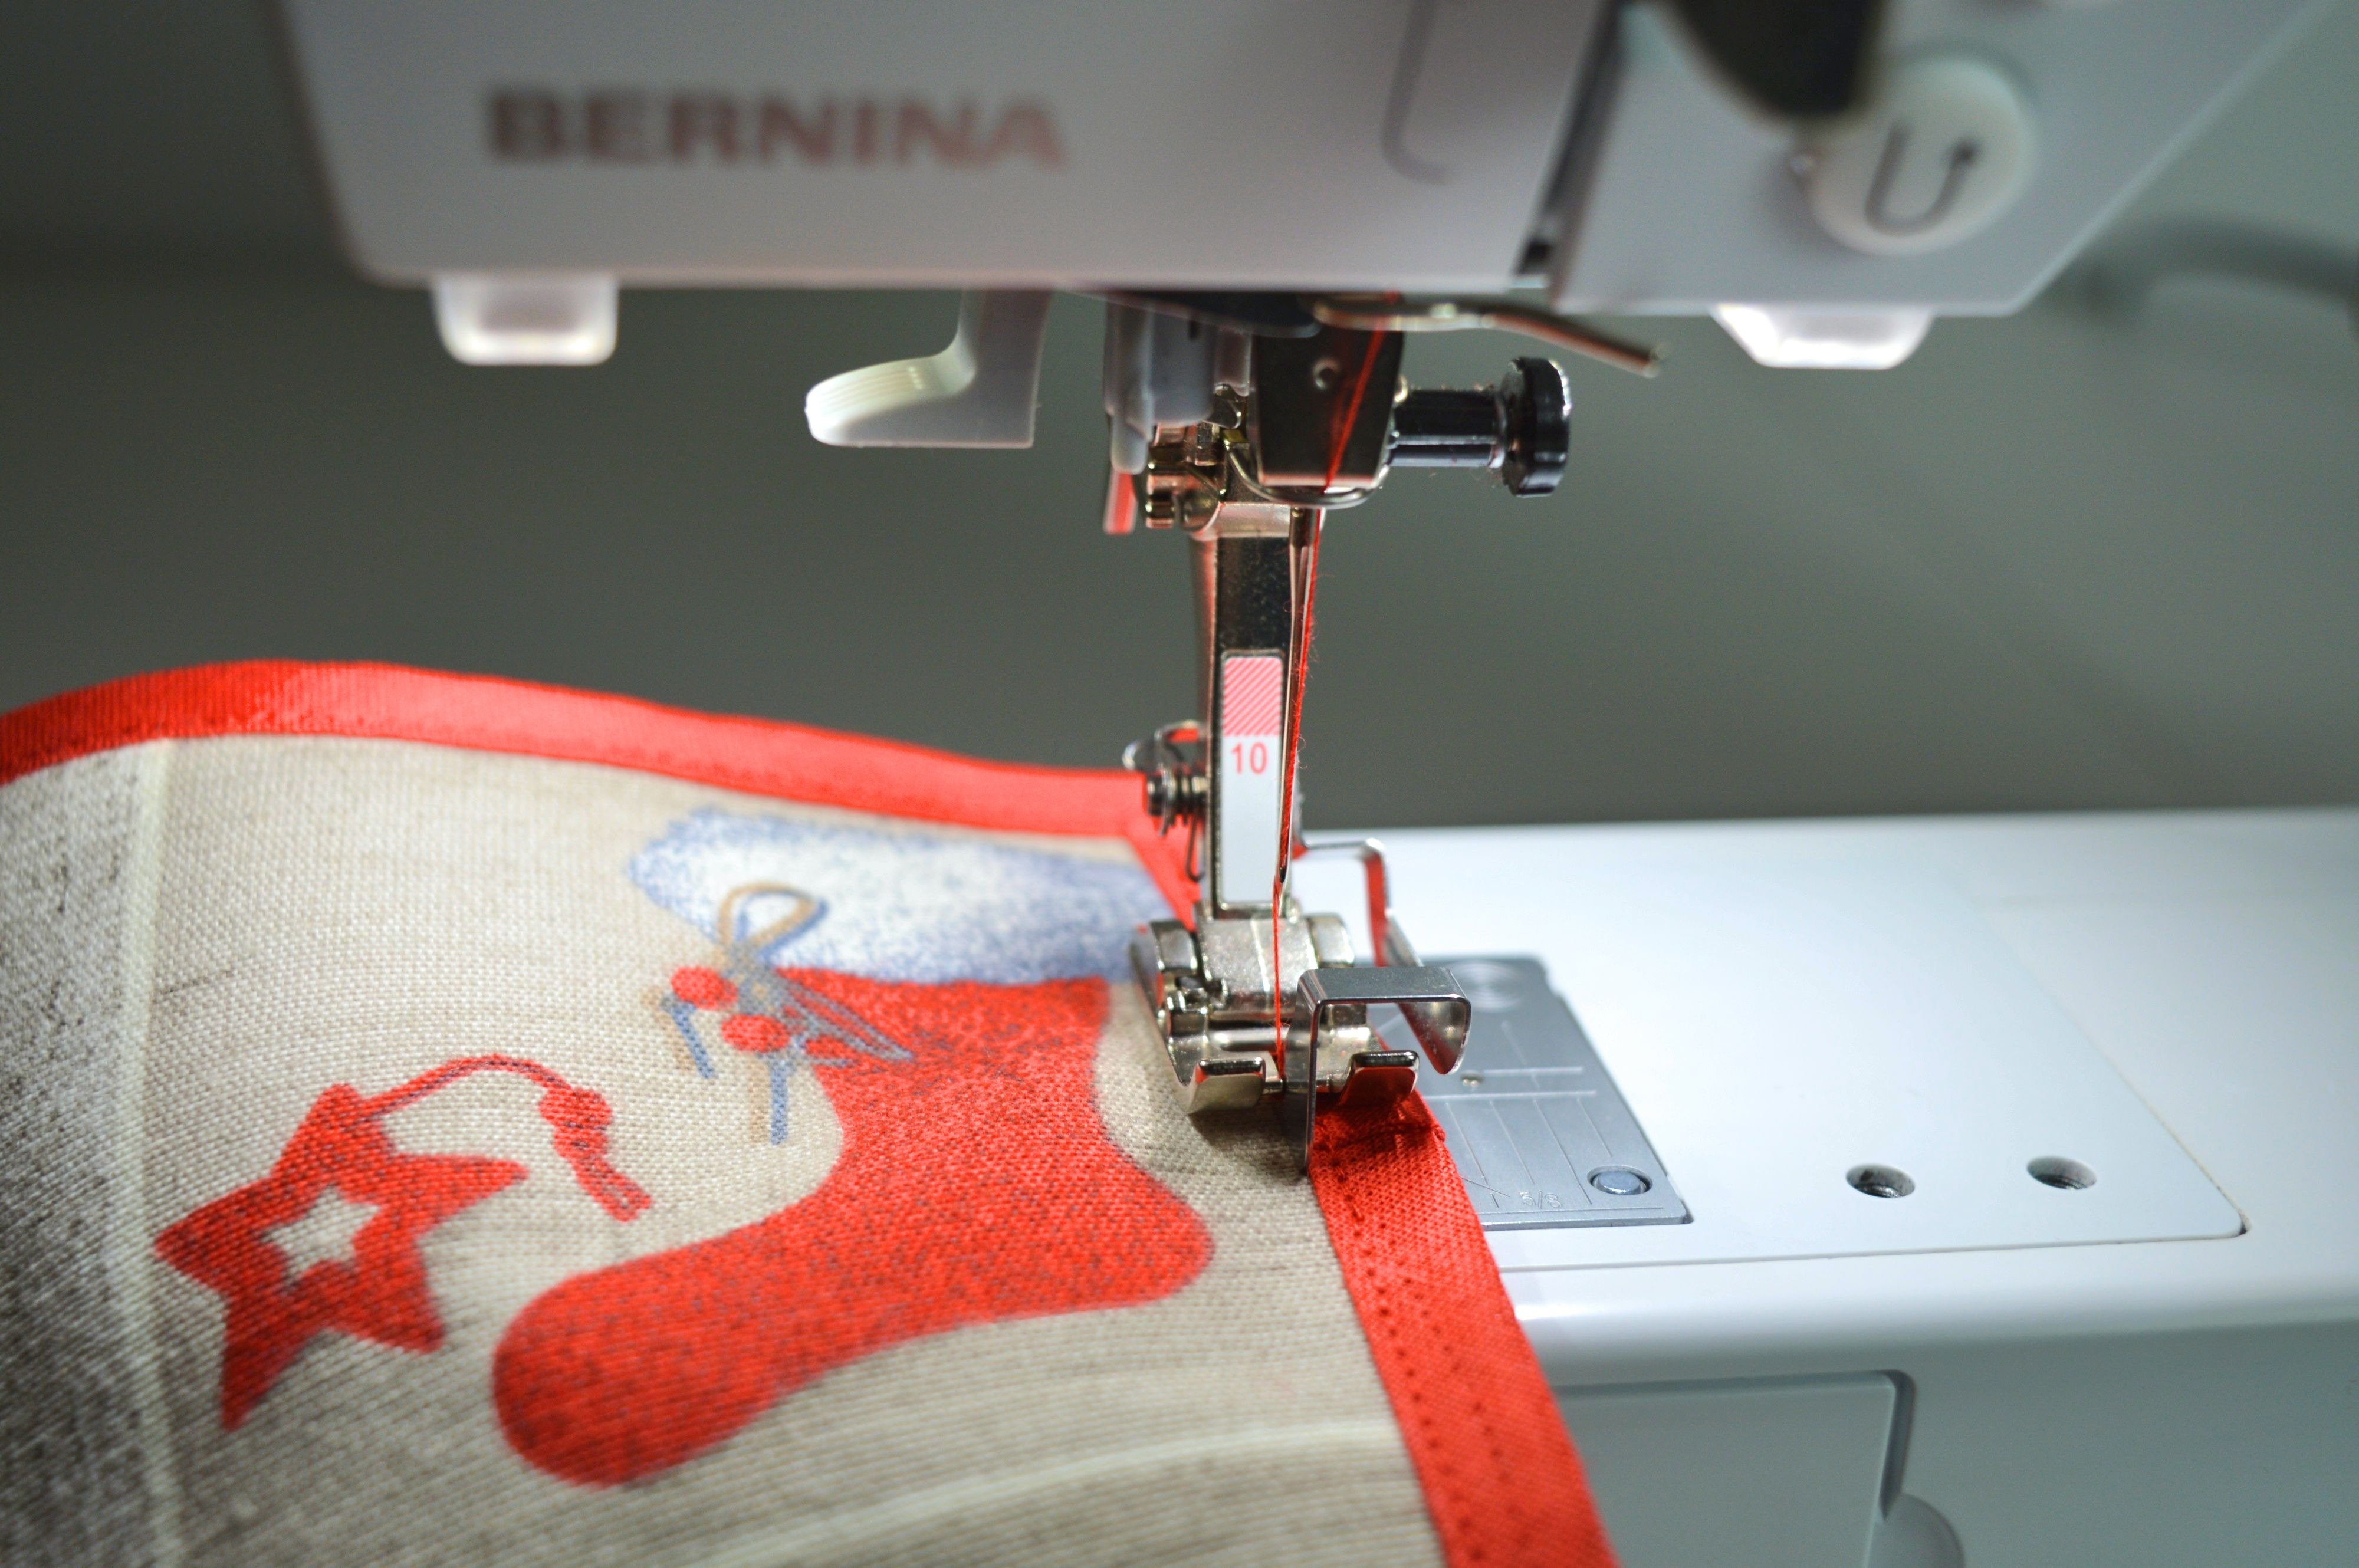
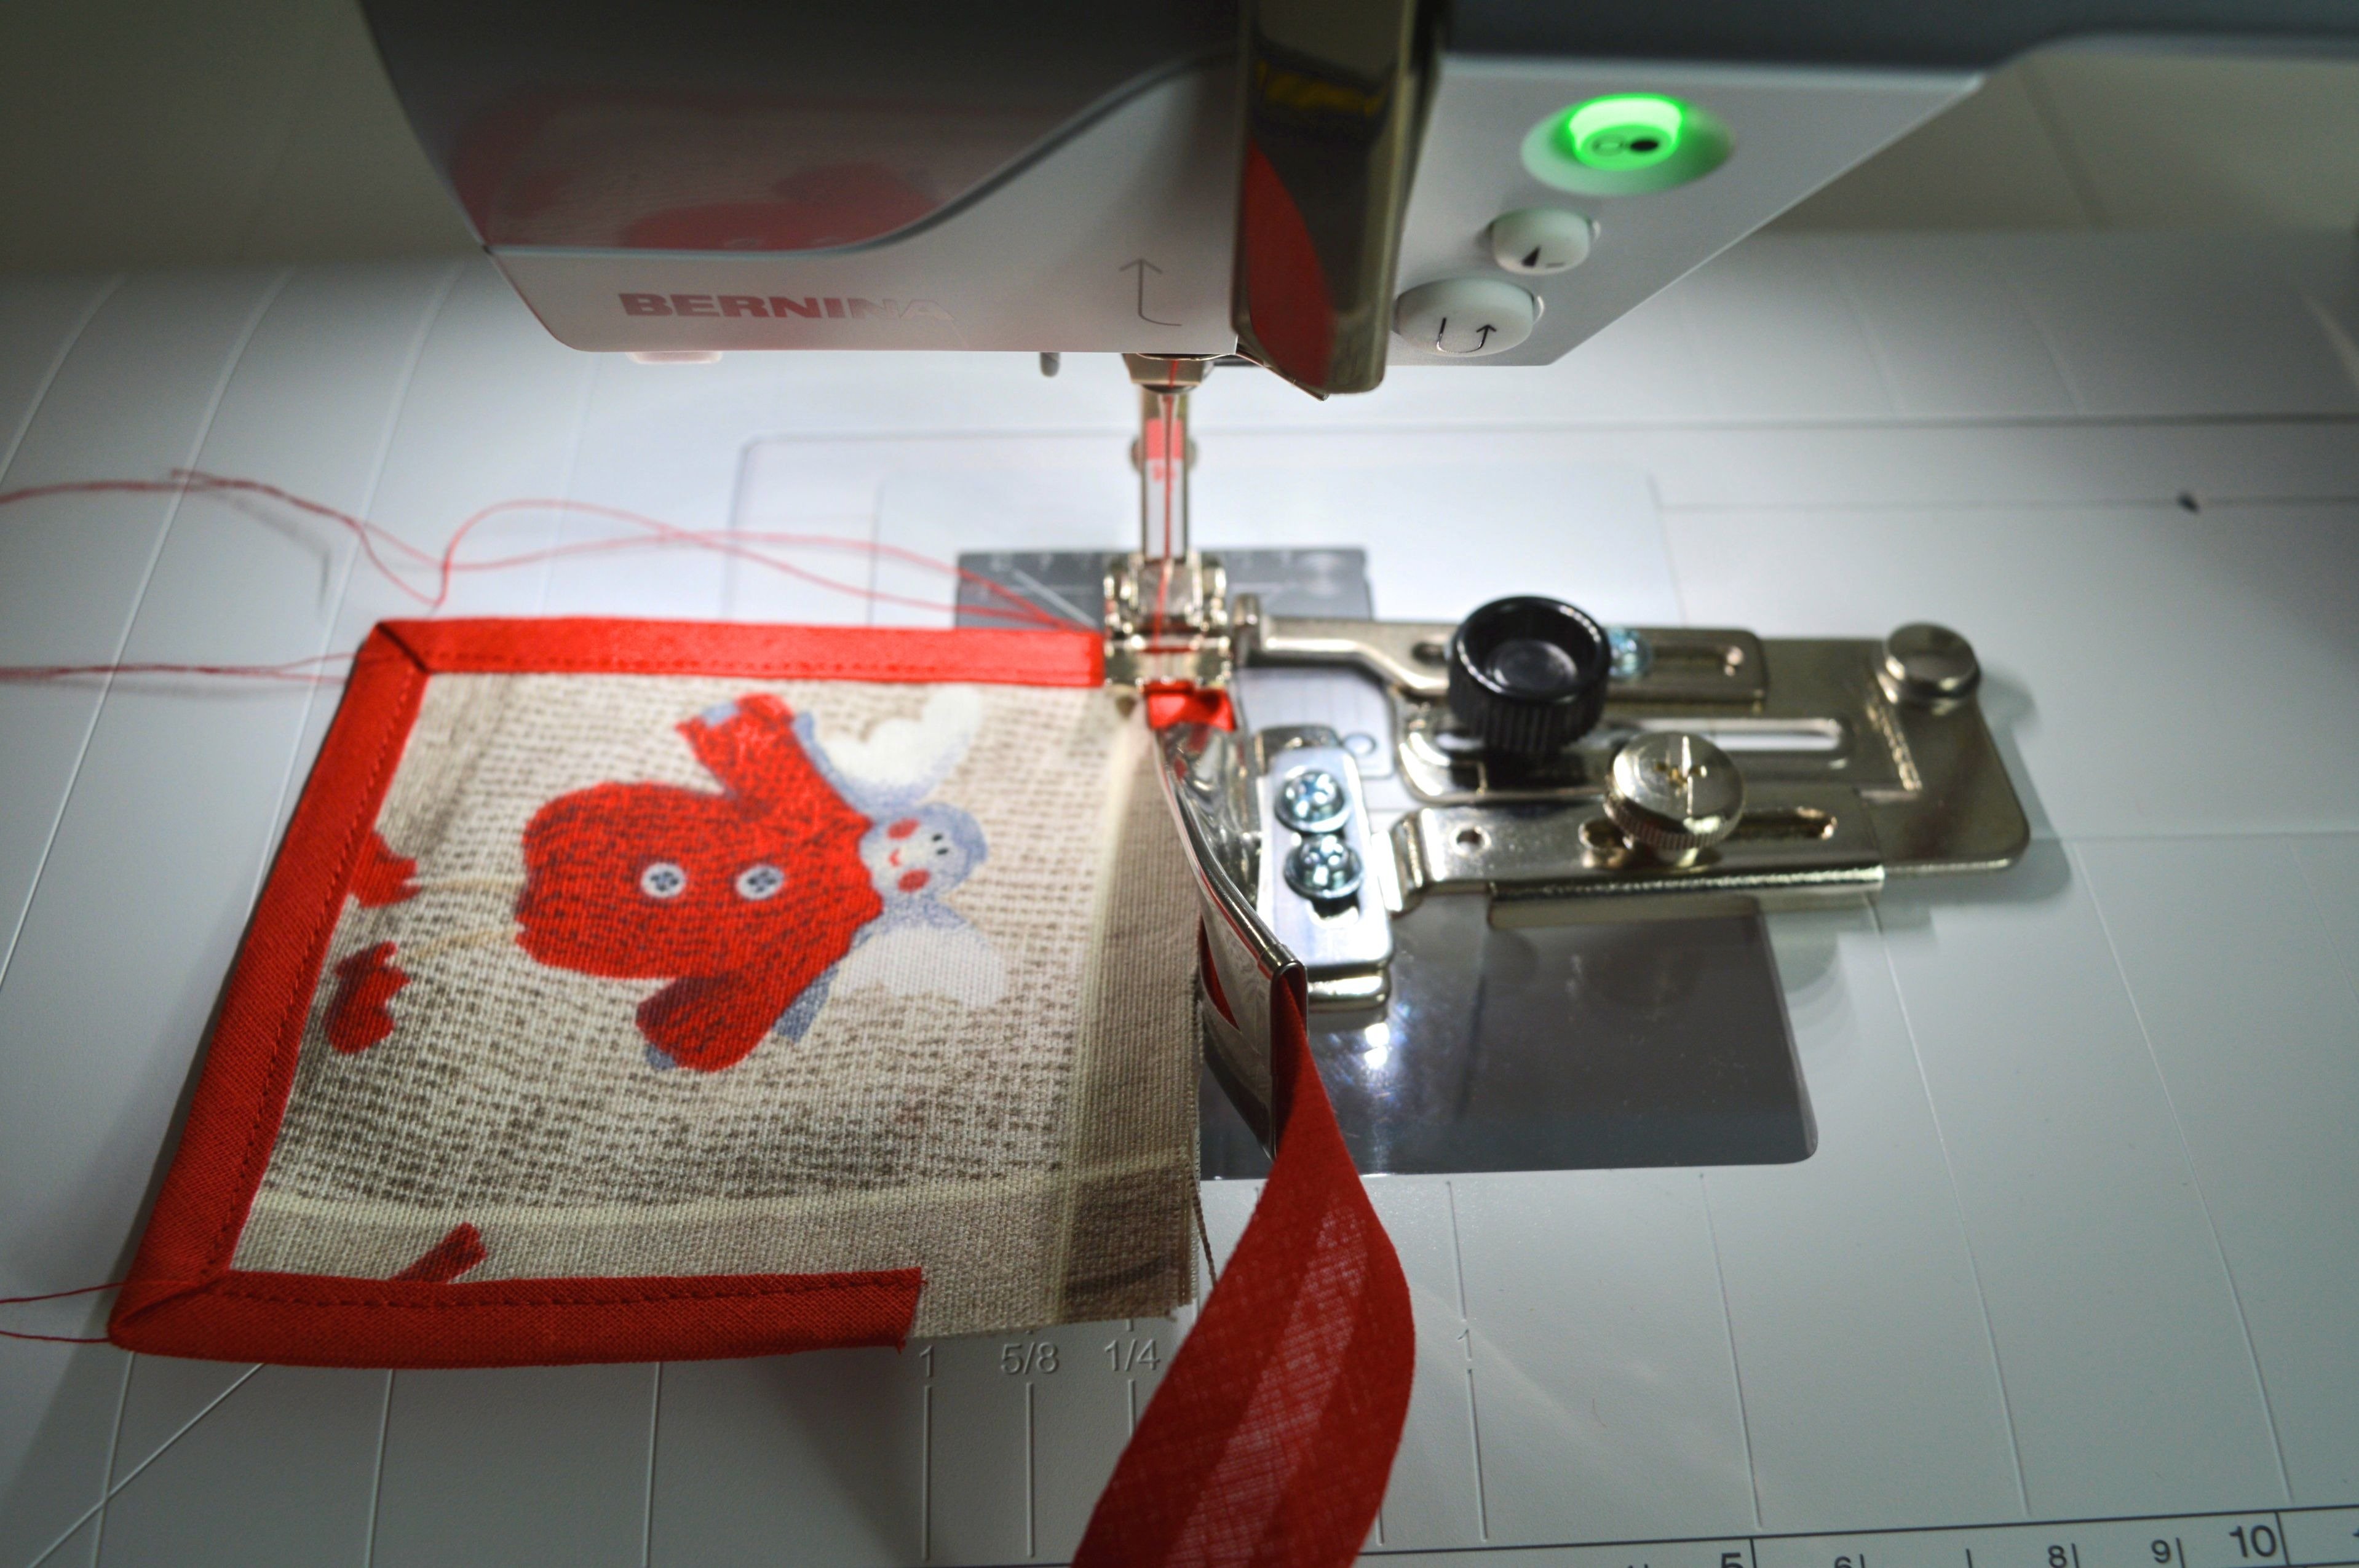
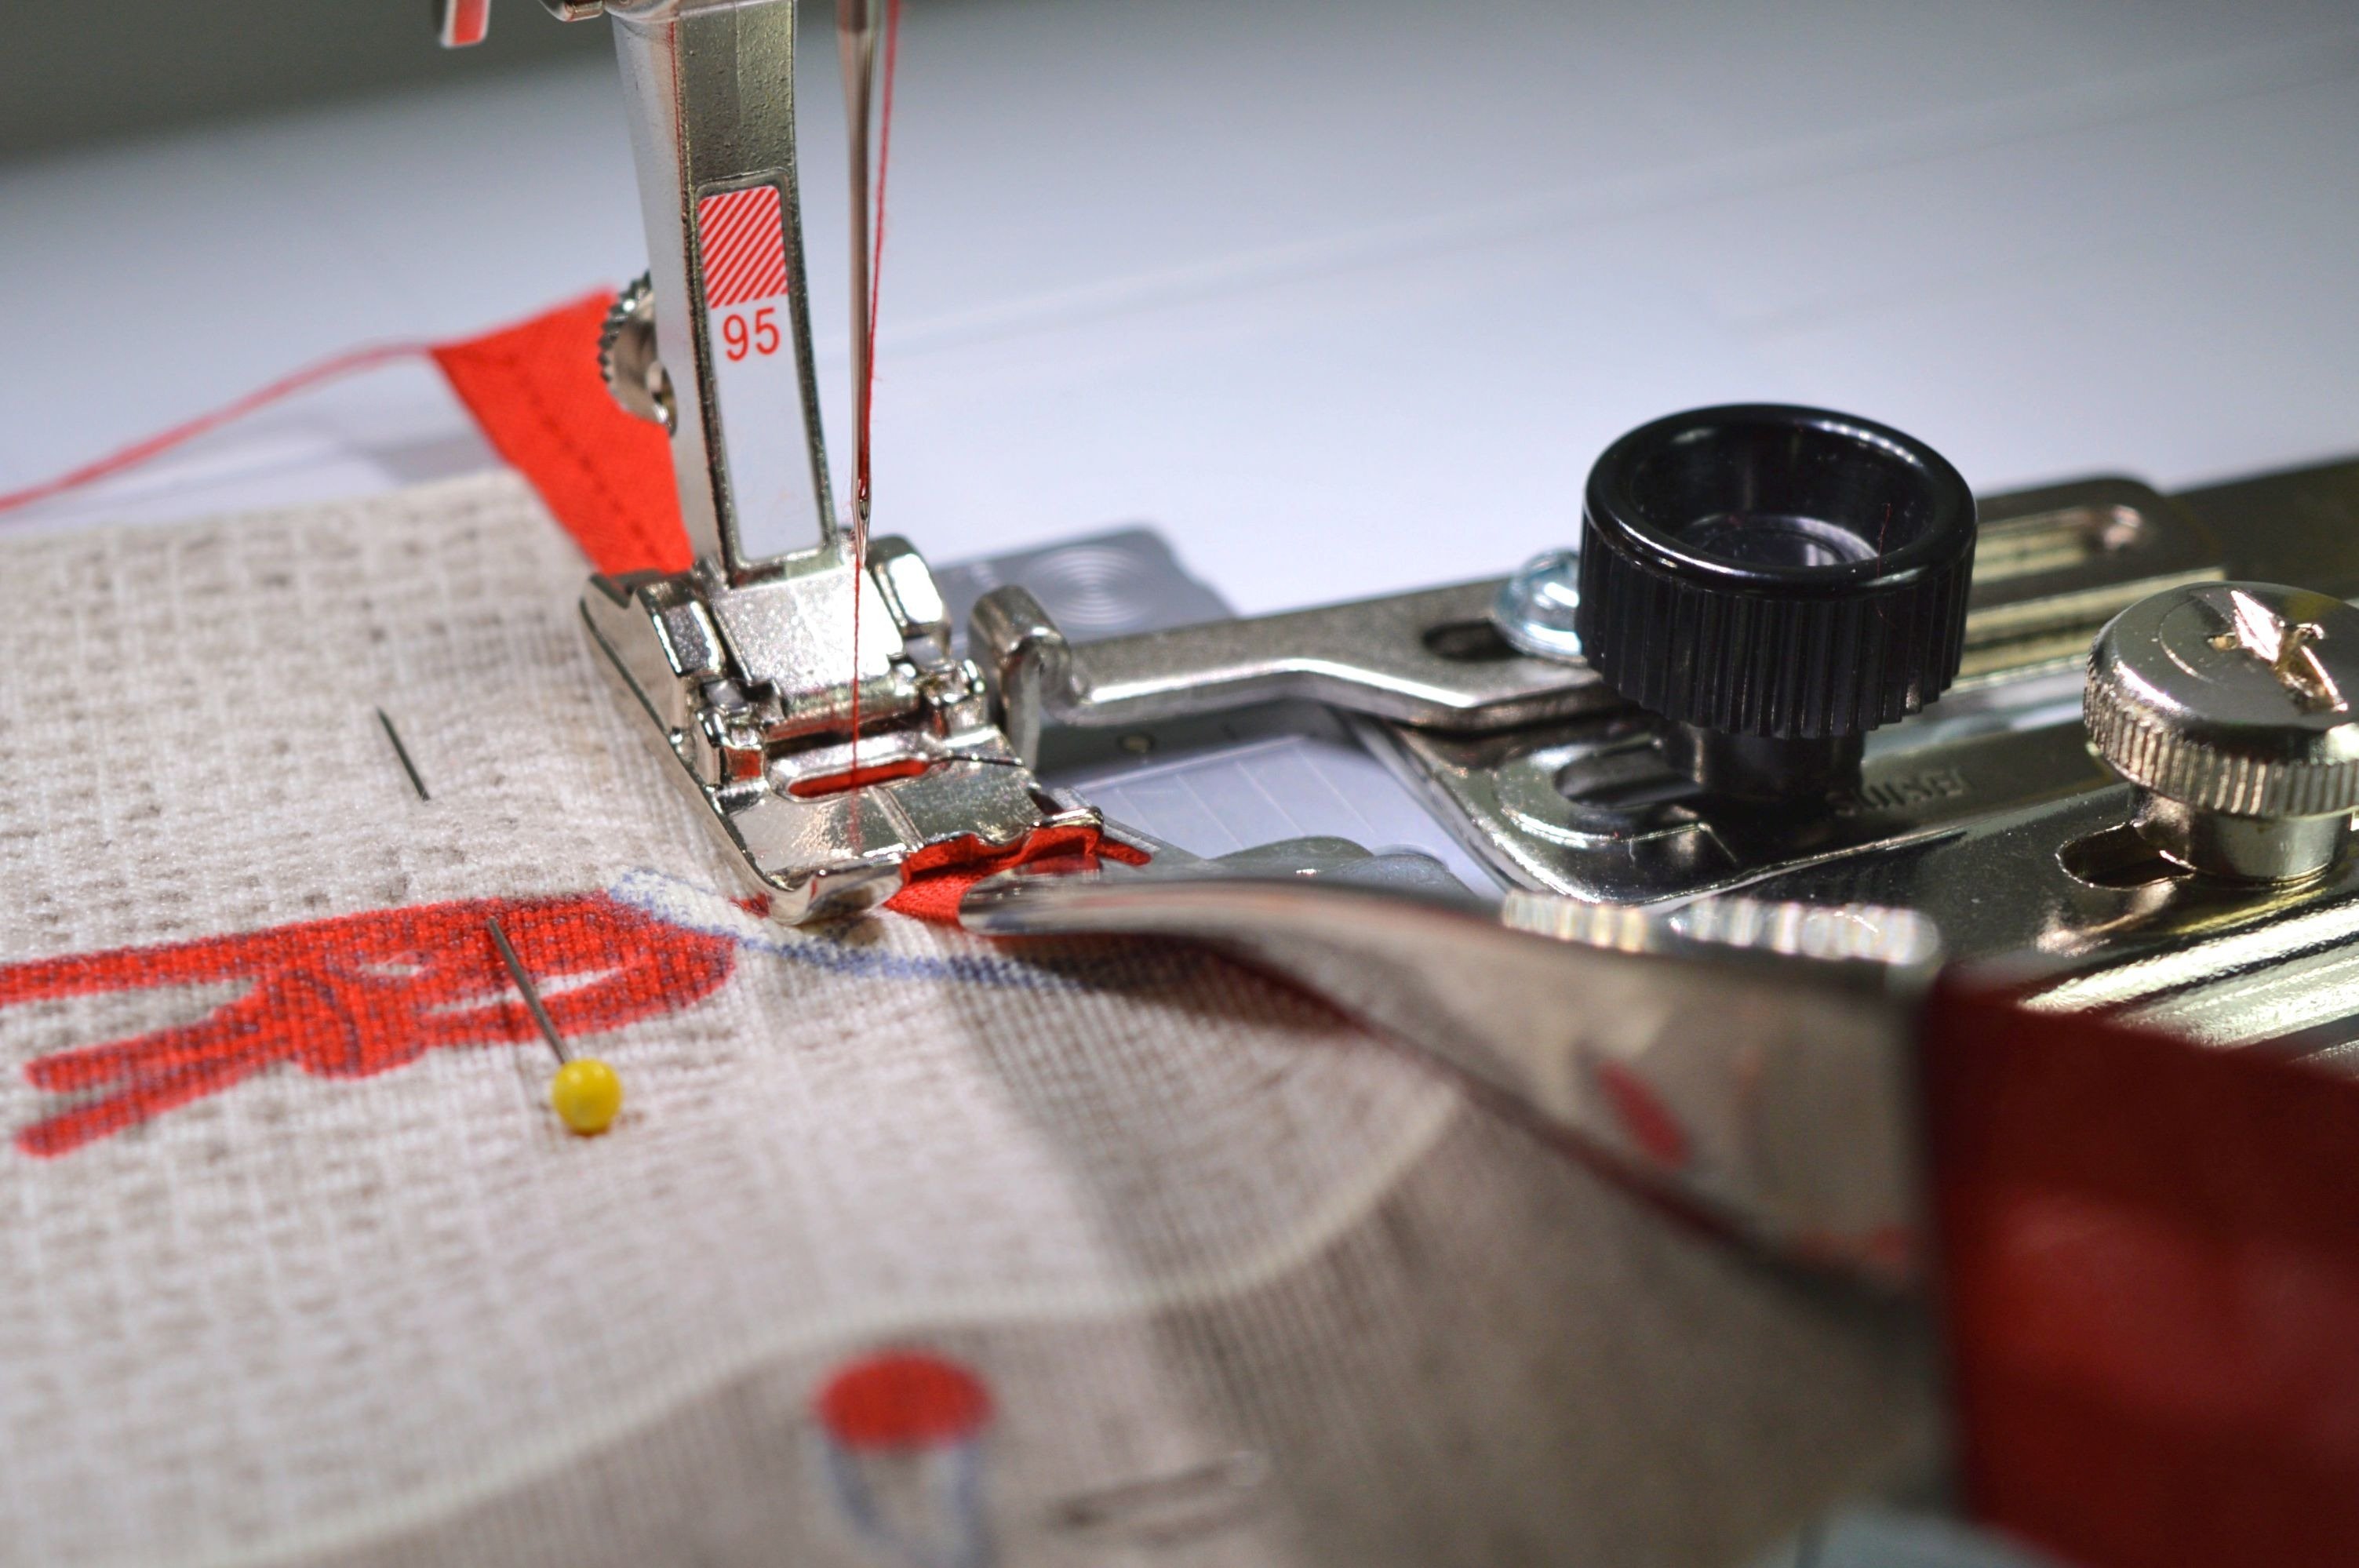
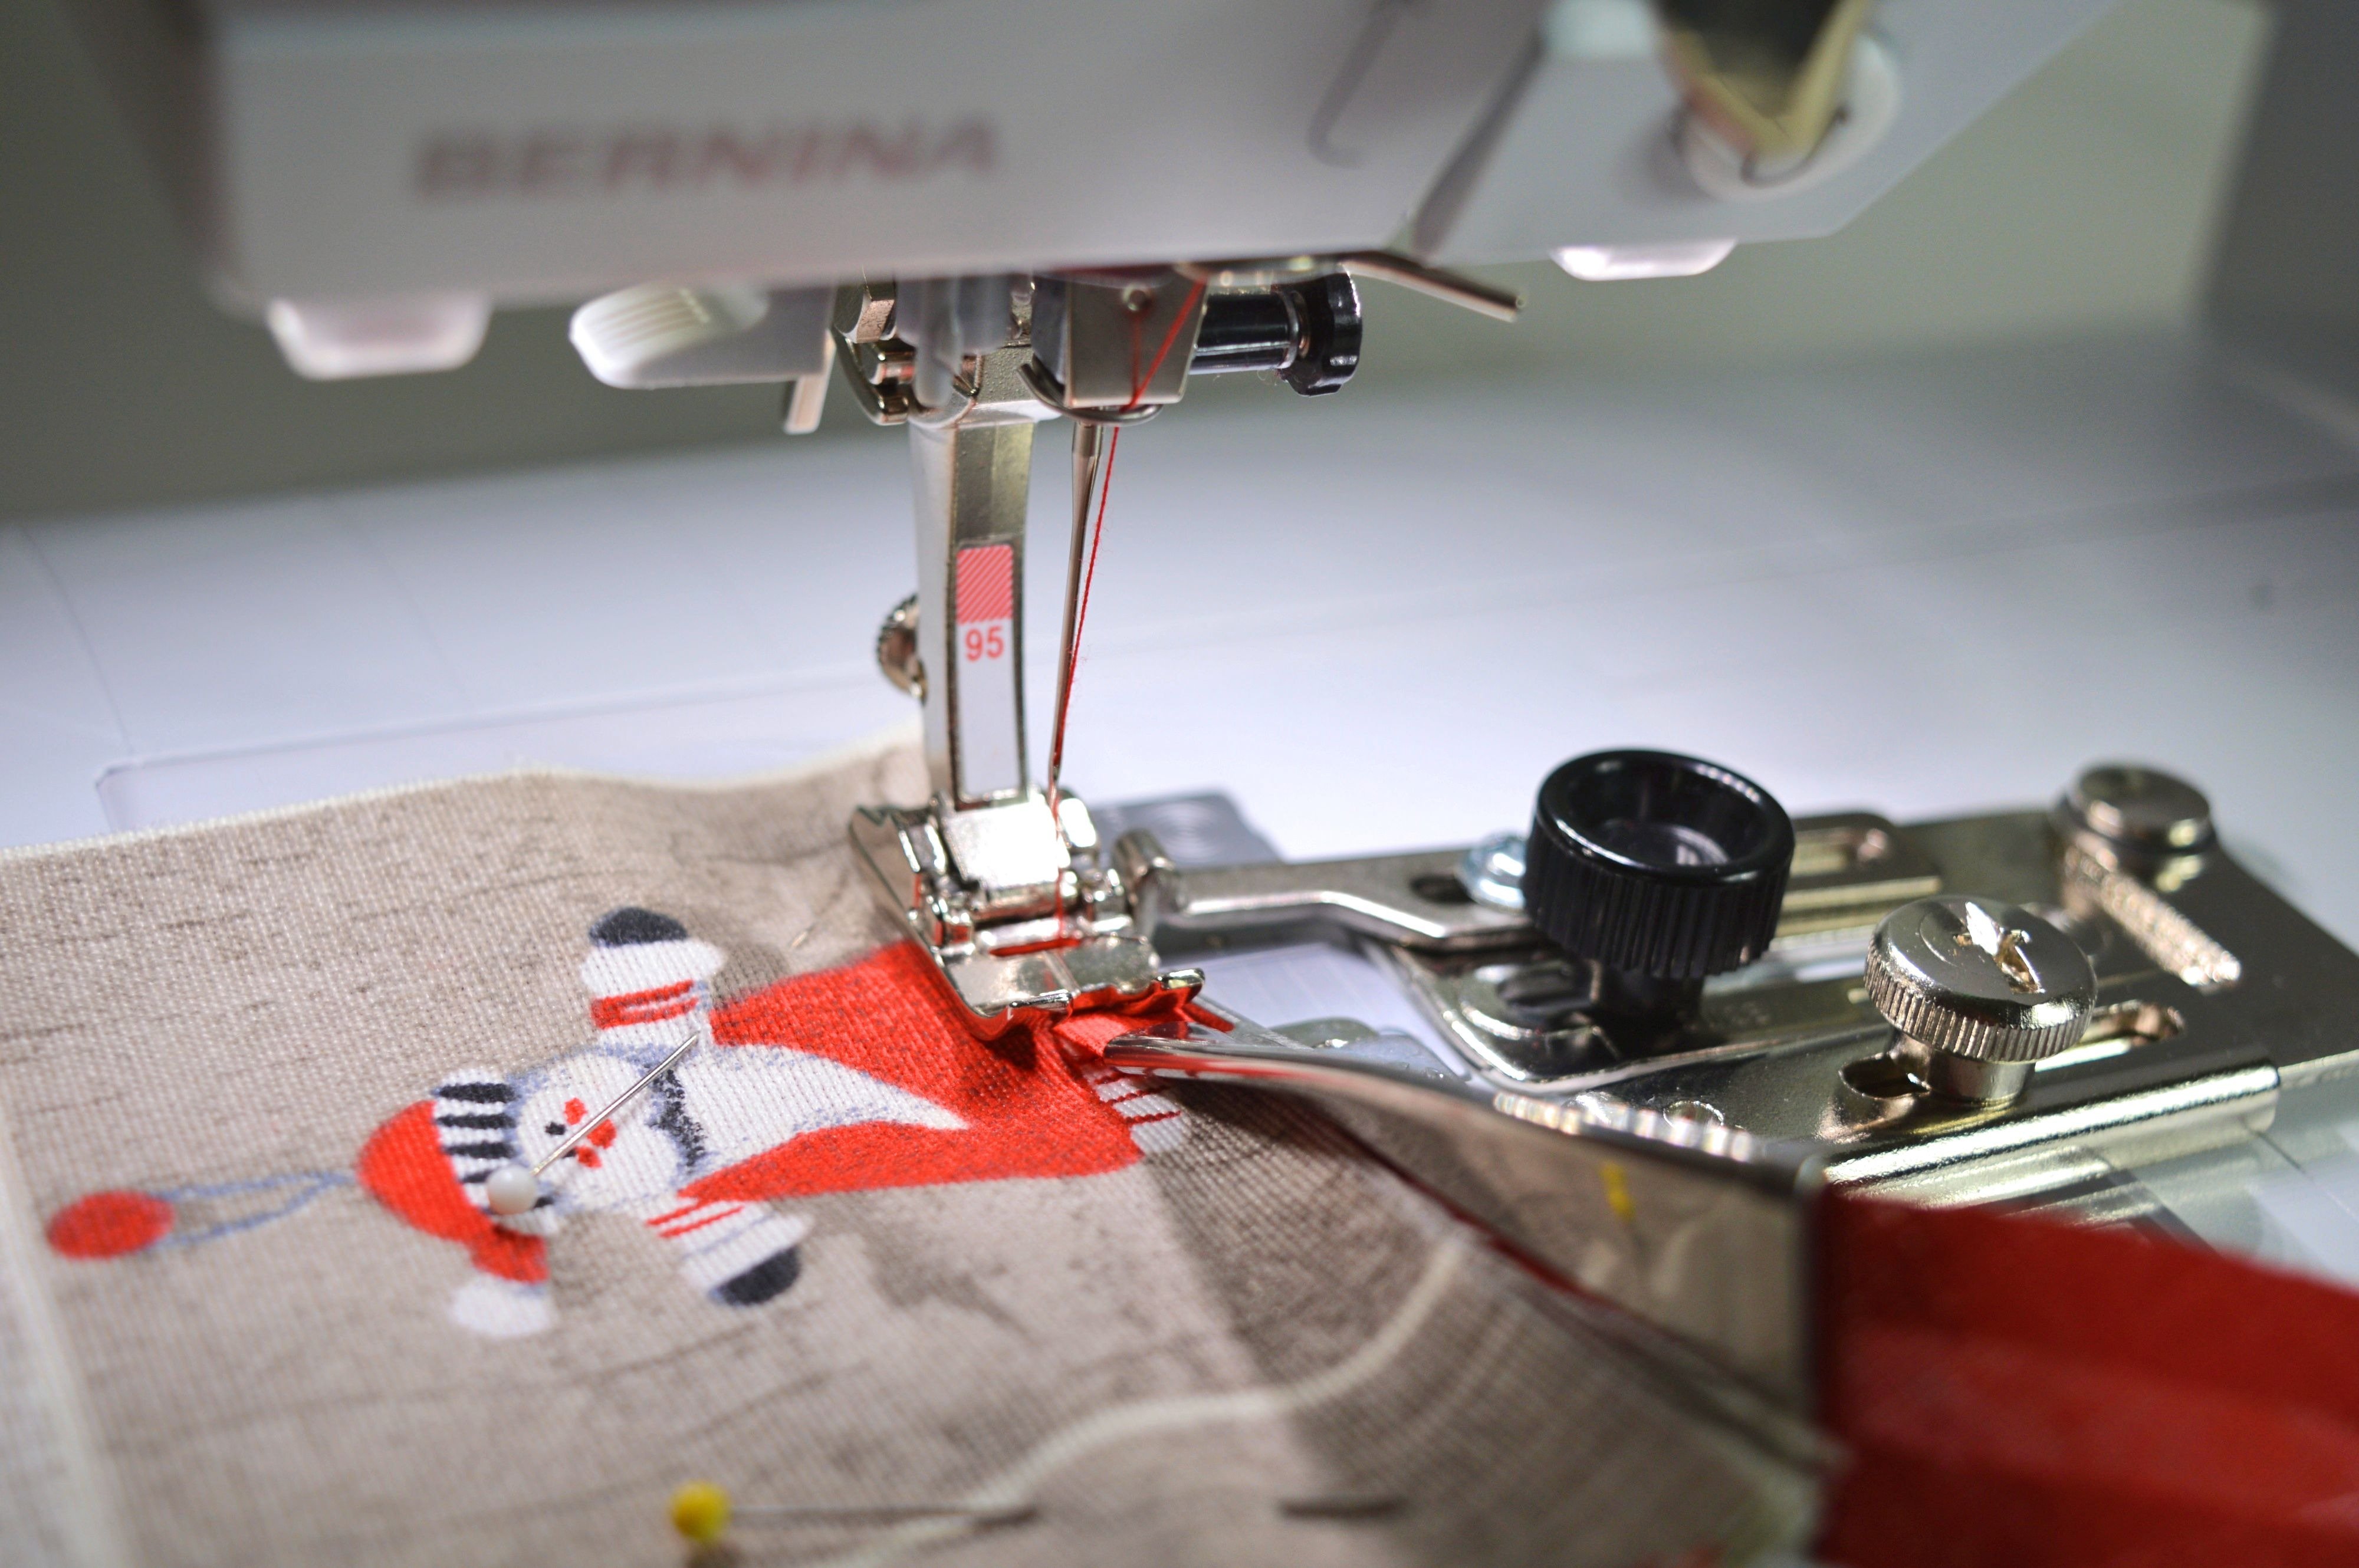
For applying pre-folded bias tape, you need Binder attachment #87.
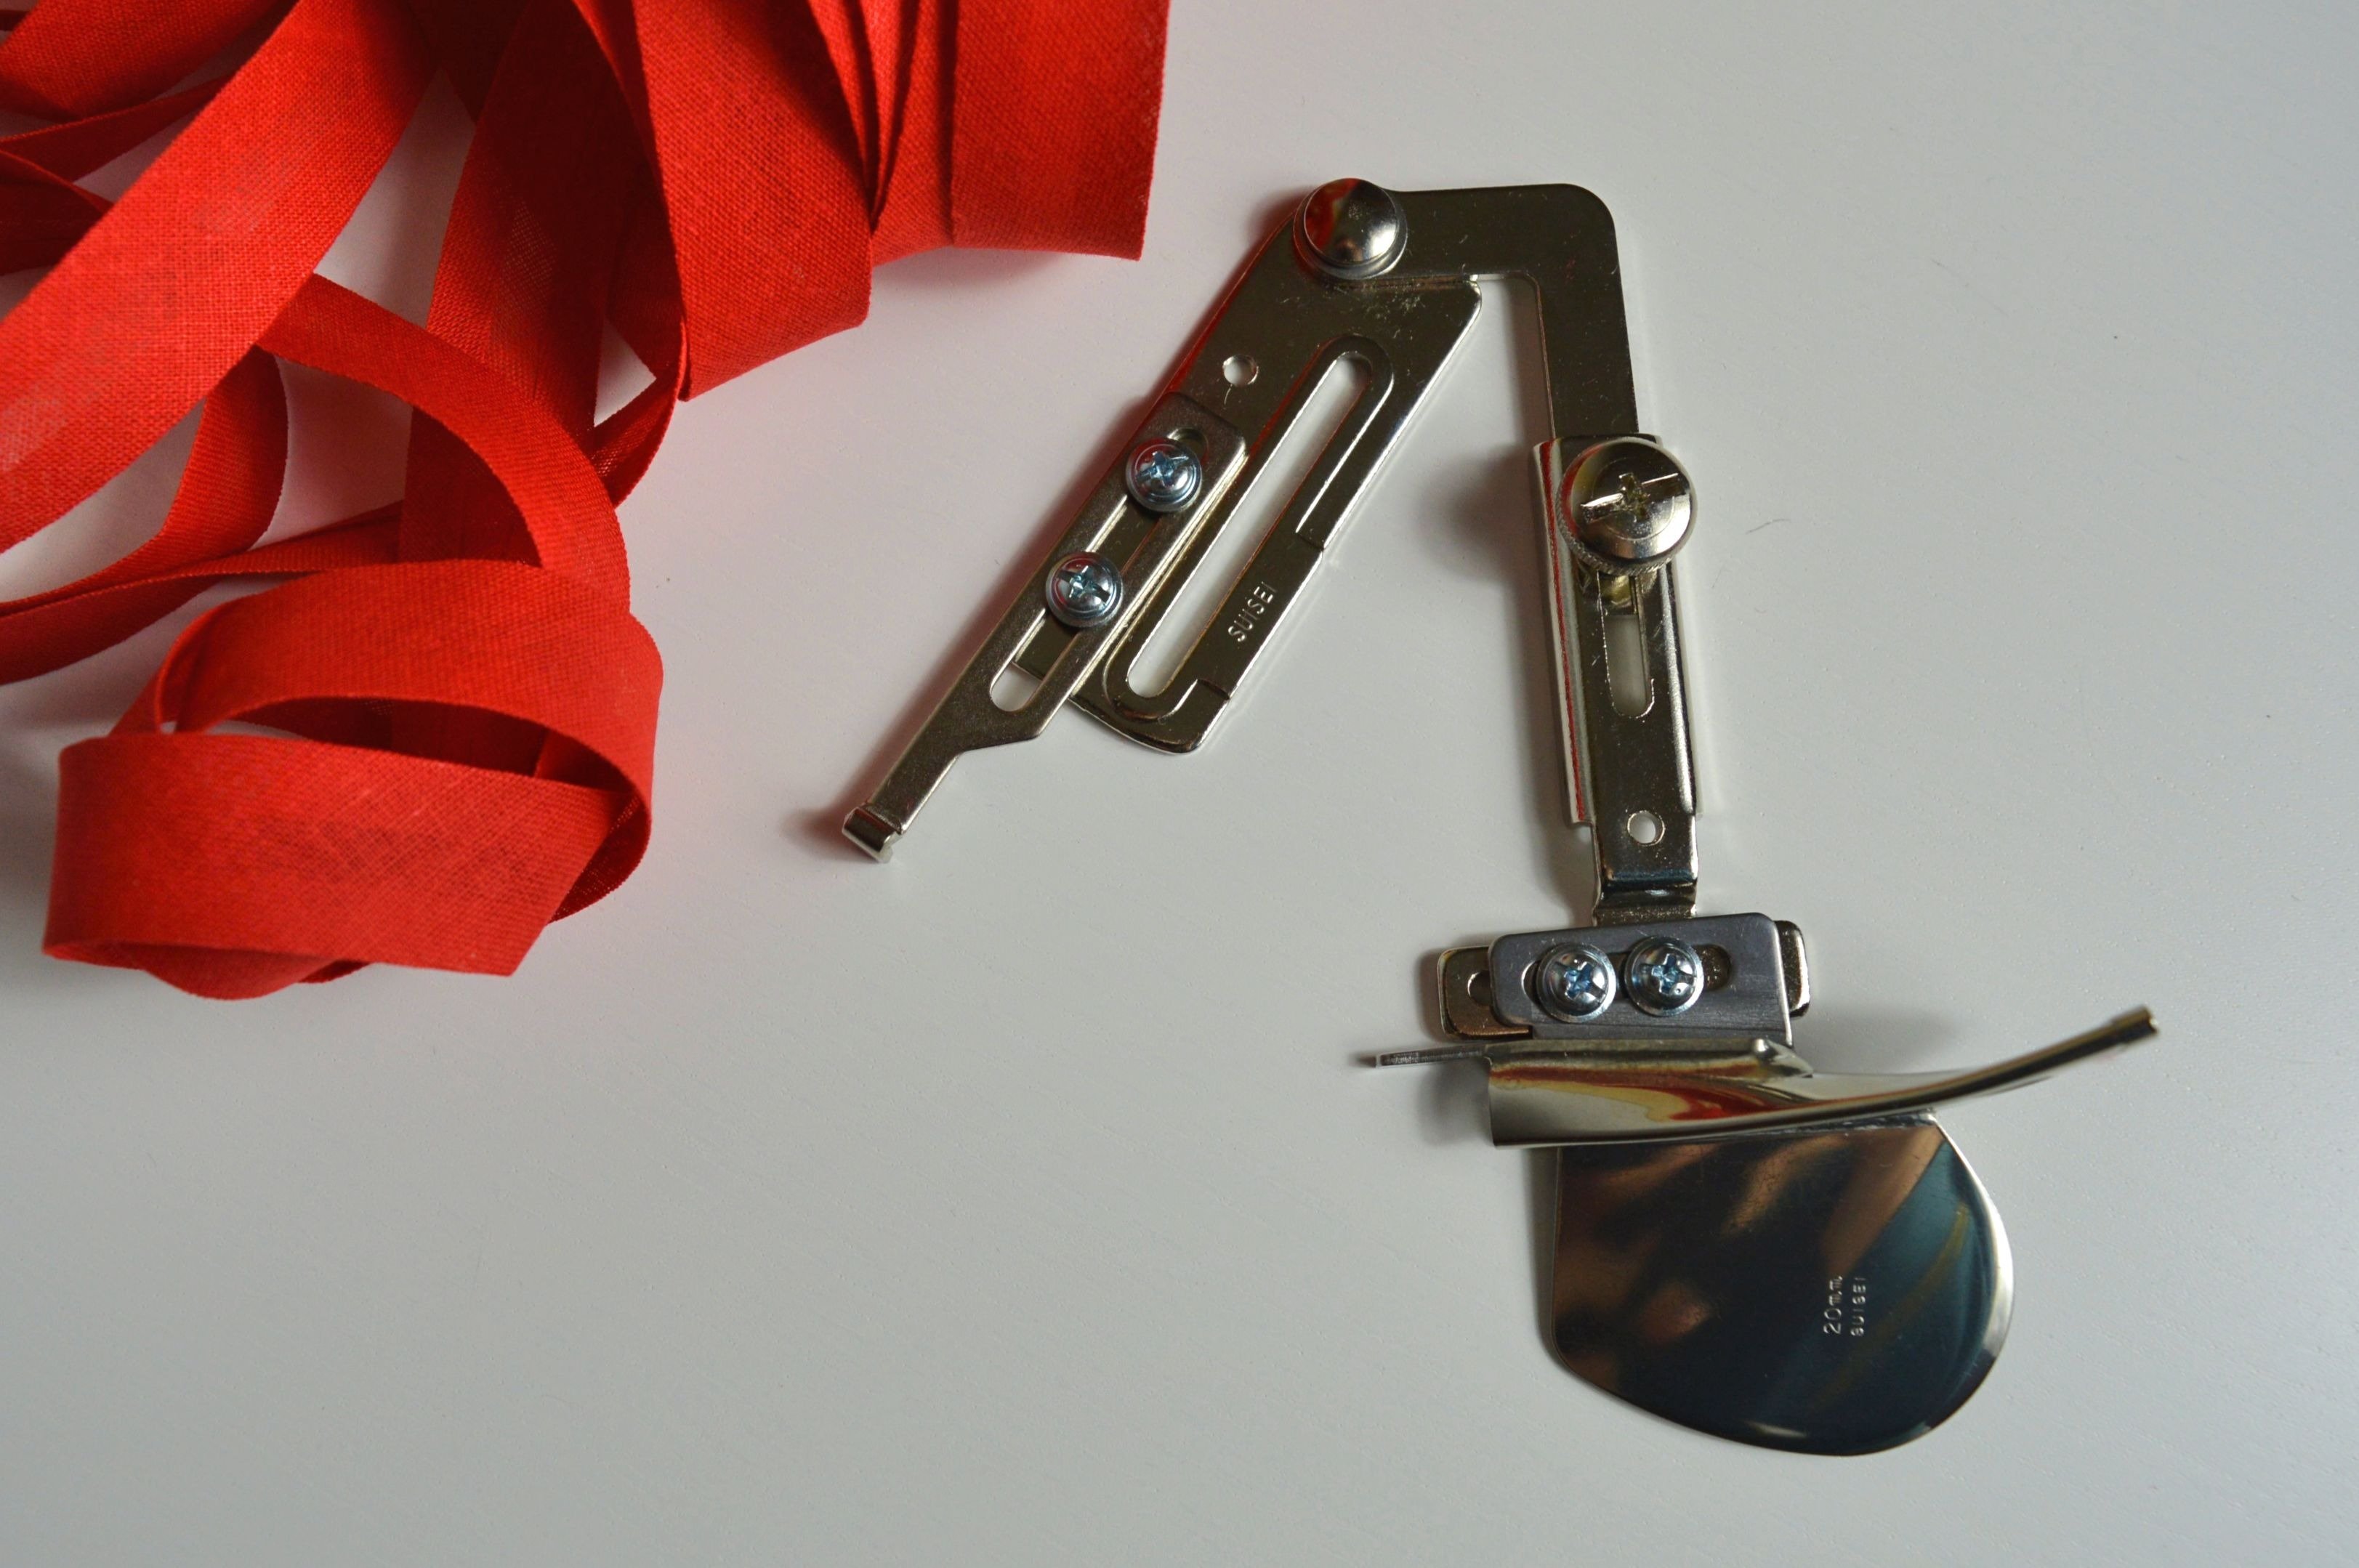
Binder attachment #87
This attachment cannot function without Binder foot #95/95C!

Binder foot #95
Place the attachment.

Instructions on how to apply the binder attachment, you can see in the video below.
Thread the bias tape through the tape holder. The left side of the tape looks through it.
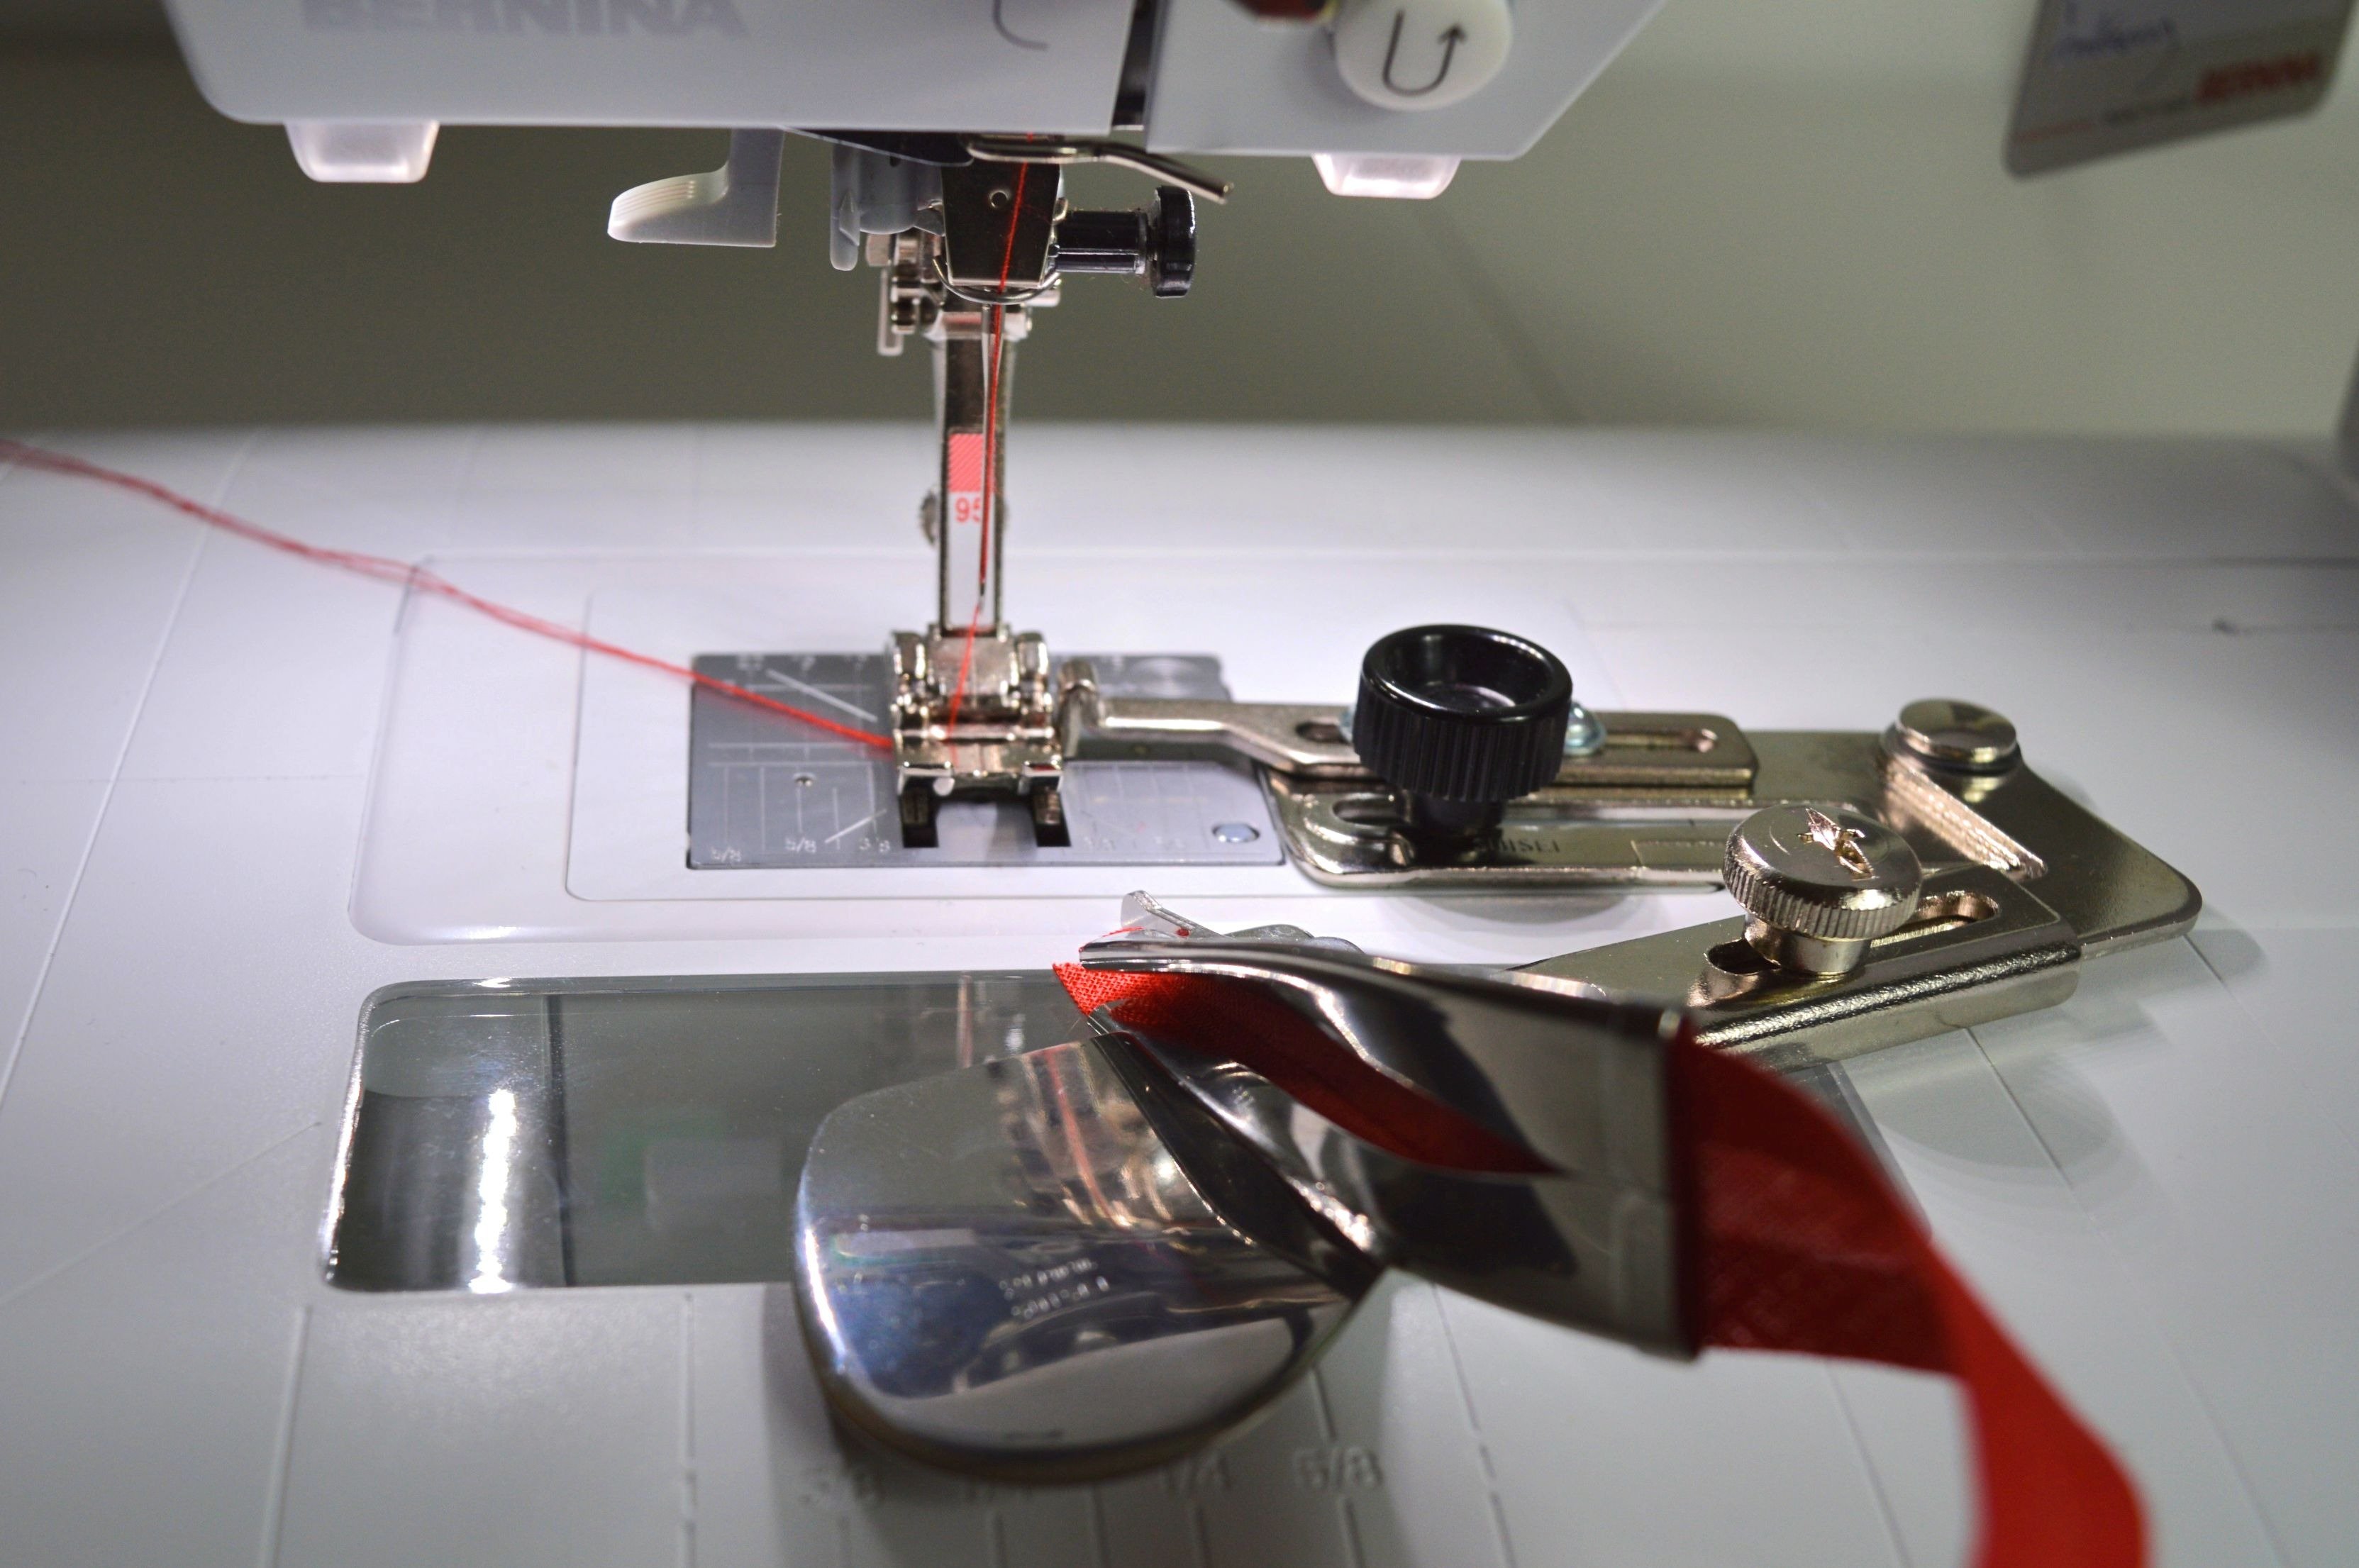
Push the tape holder up to the foot.
Pull the tape further, so that it goes correctly under the presser foot and put the placemat edge in between.
Start sewing, ensuring that the tape and the placemat properly go to the Binder attachment. But it can be tricky and for that is tweezers useful.
!!! If you do not have experience with using Binder attachment, try it several times before starting the sewing, because it takes some skill to make it elegant and correctly.
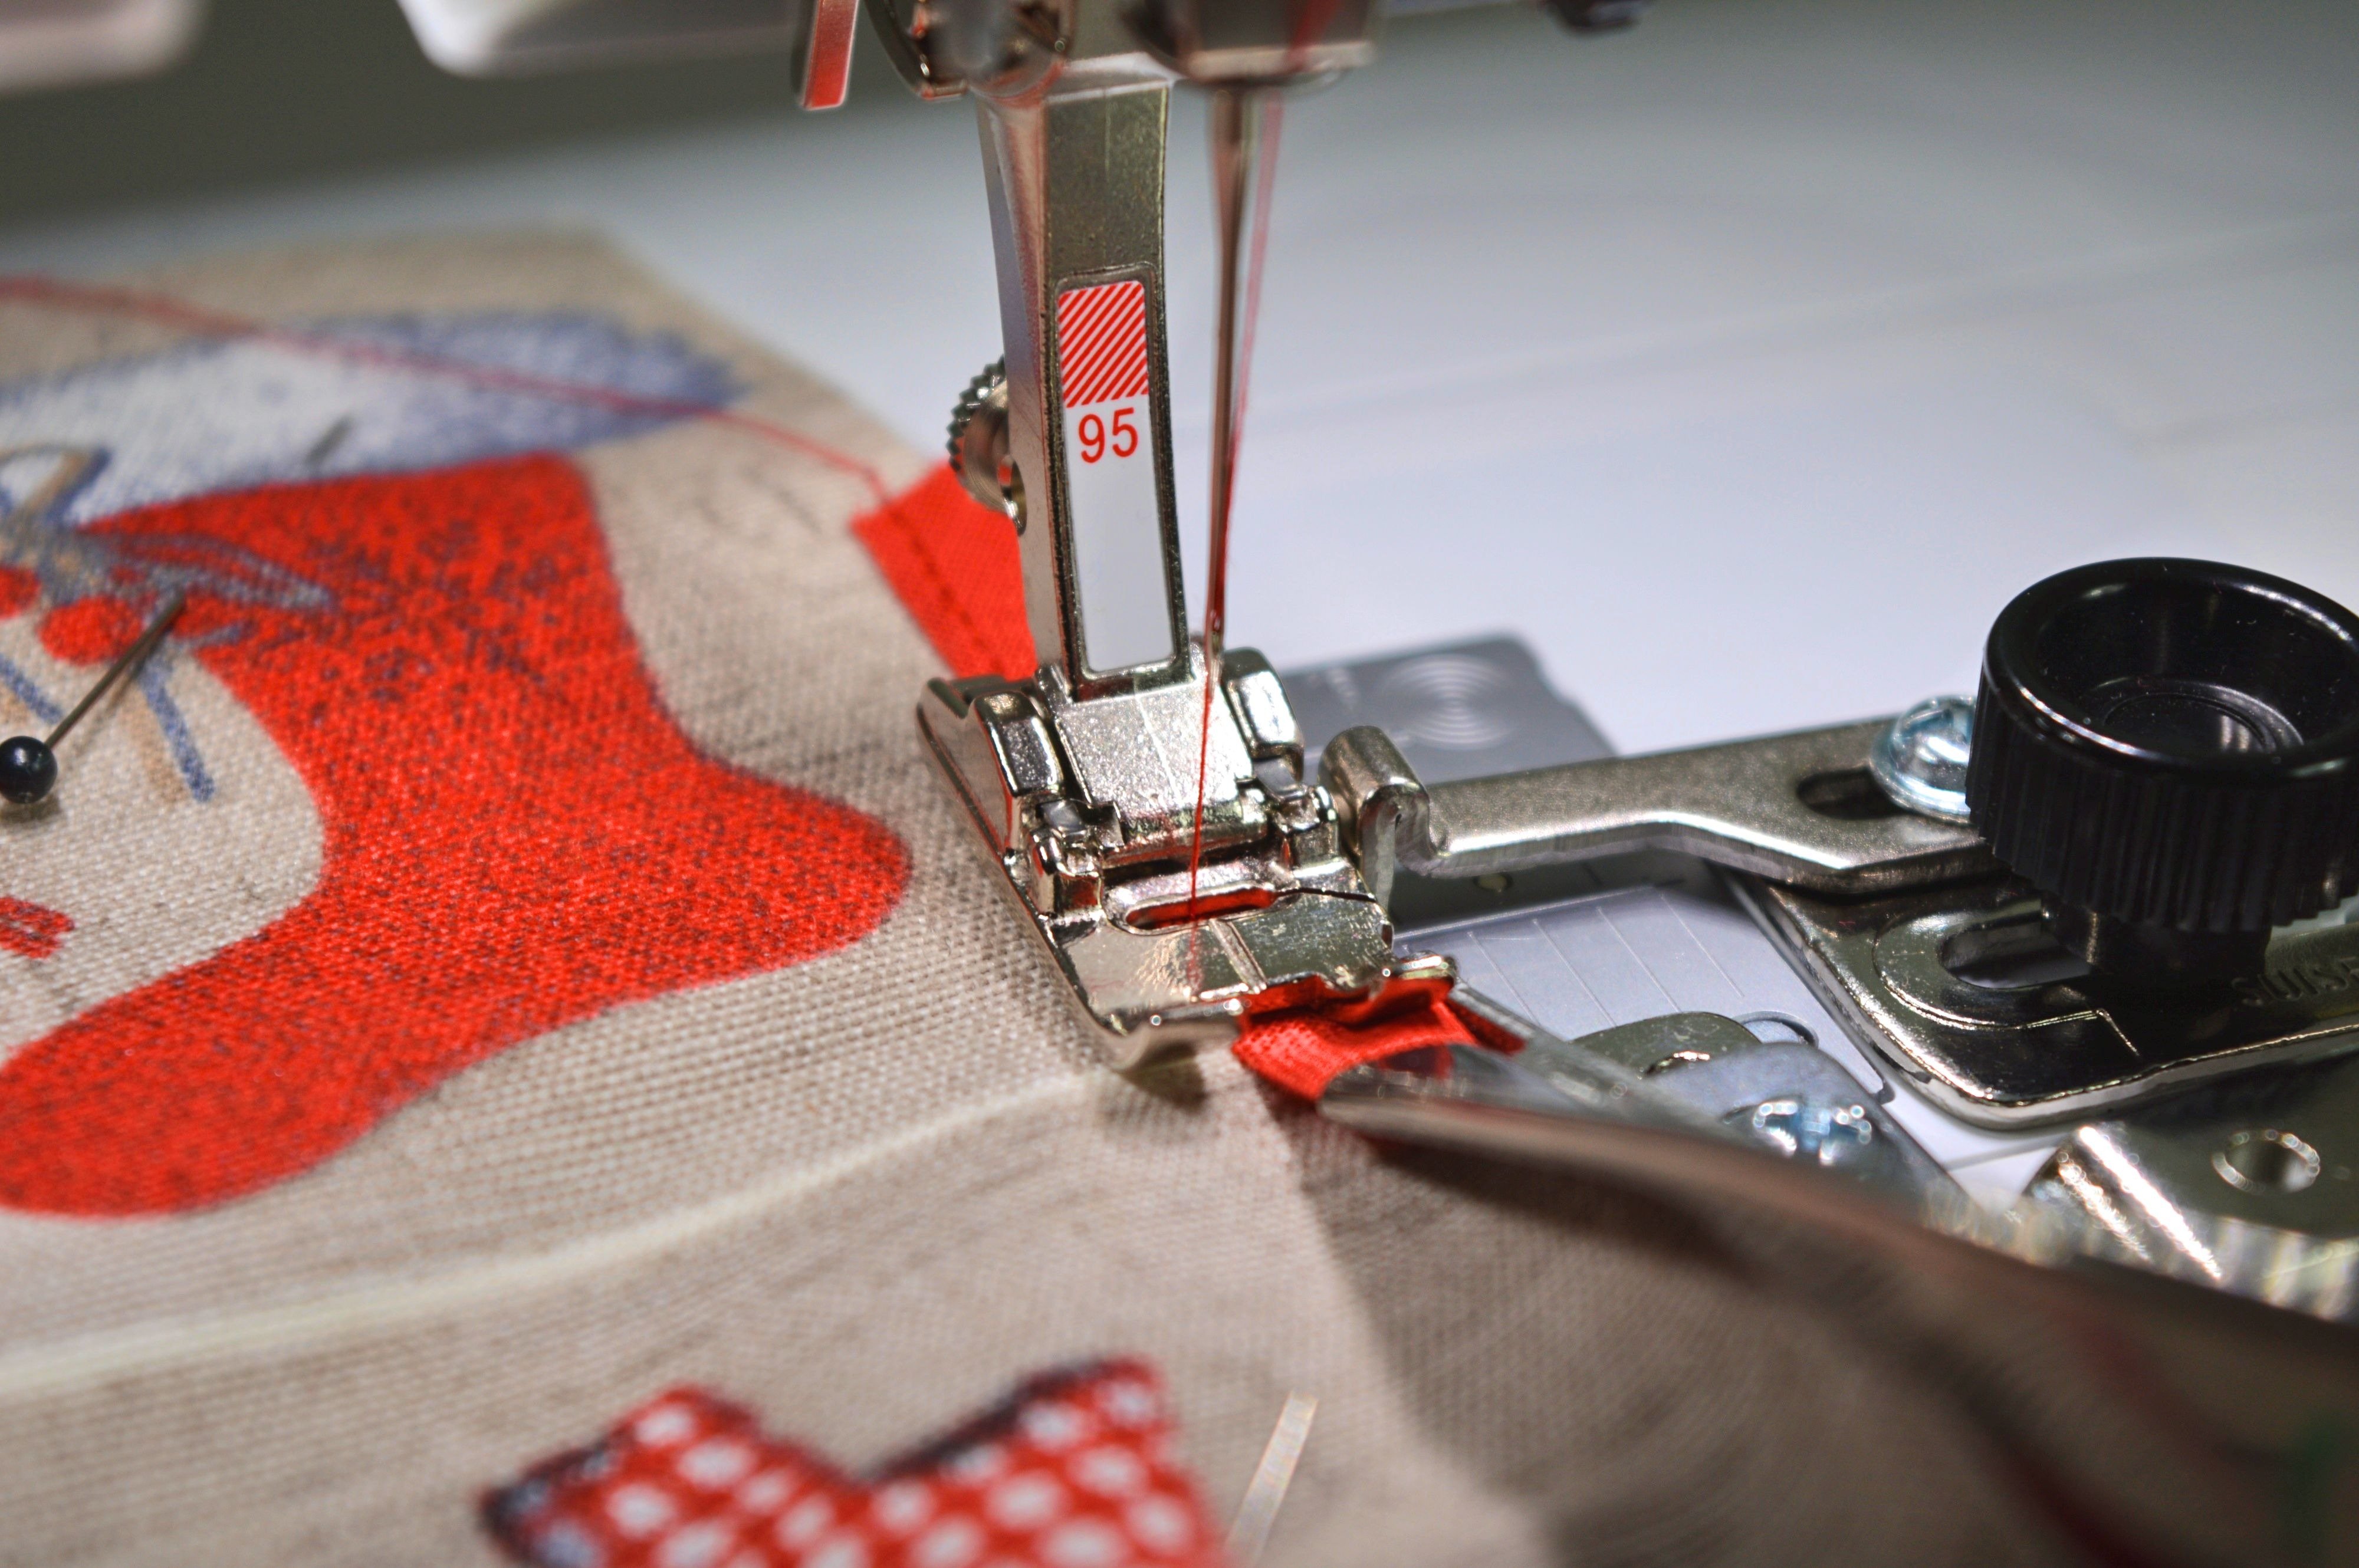
When it comes to the corner, sew precisely to the edge and secures the seam, stitching a few stitches backward.
Pull out the placemat, raising the presser foot and pulling the tape holder backward. Pull out the tape too, but make sure that the end of bias tape stays in the holder.
Cut off the threads.
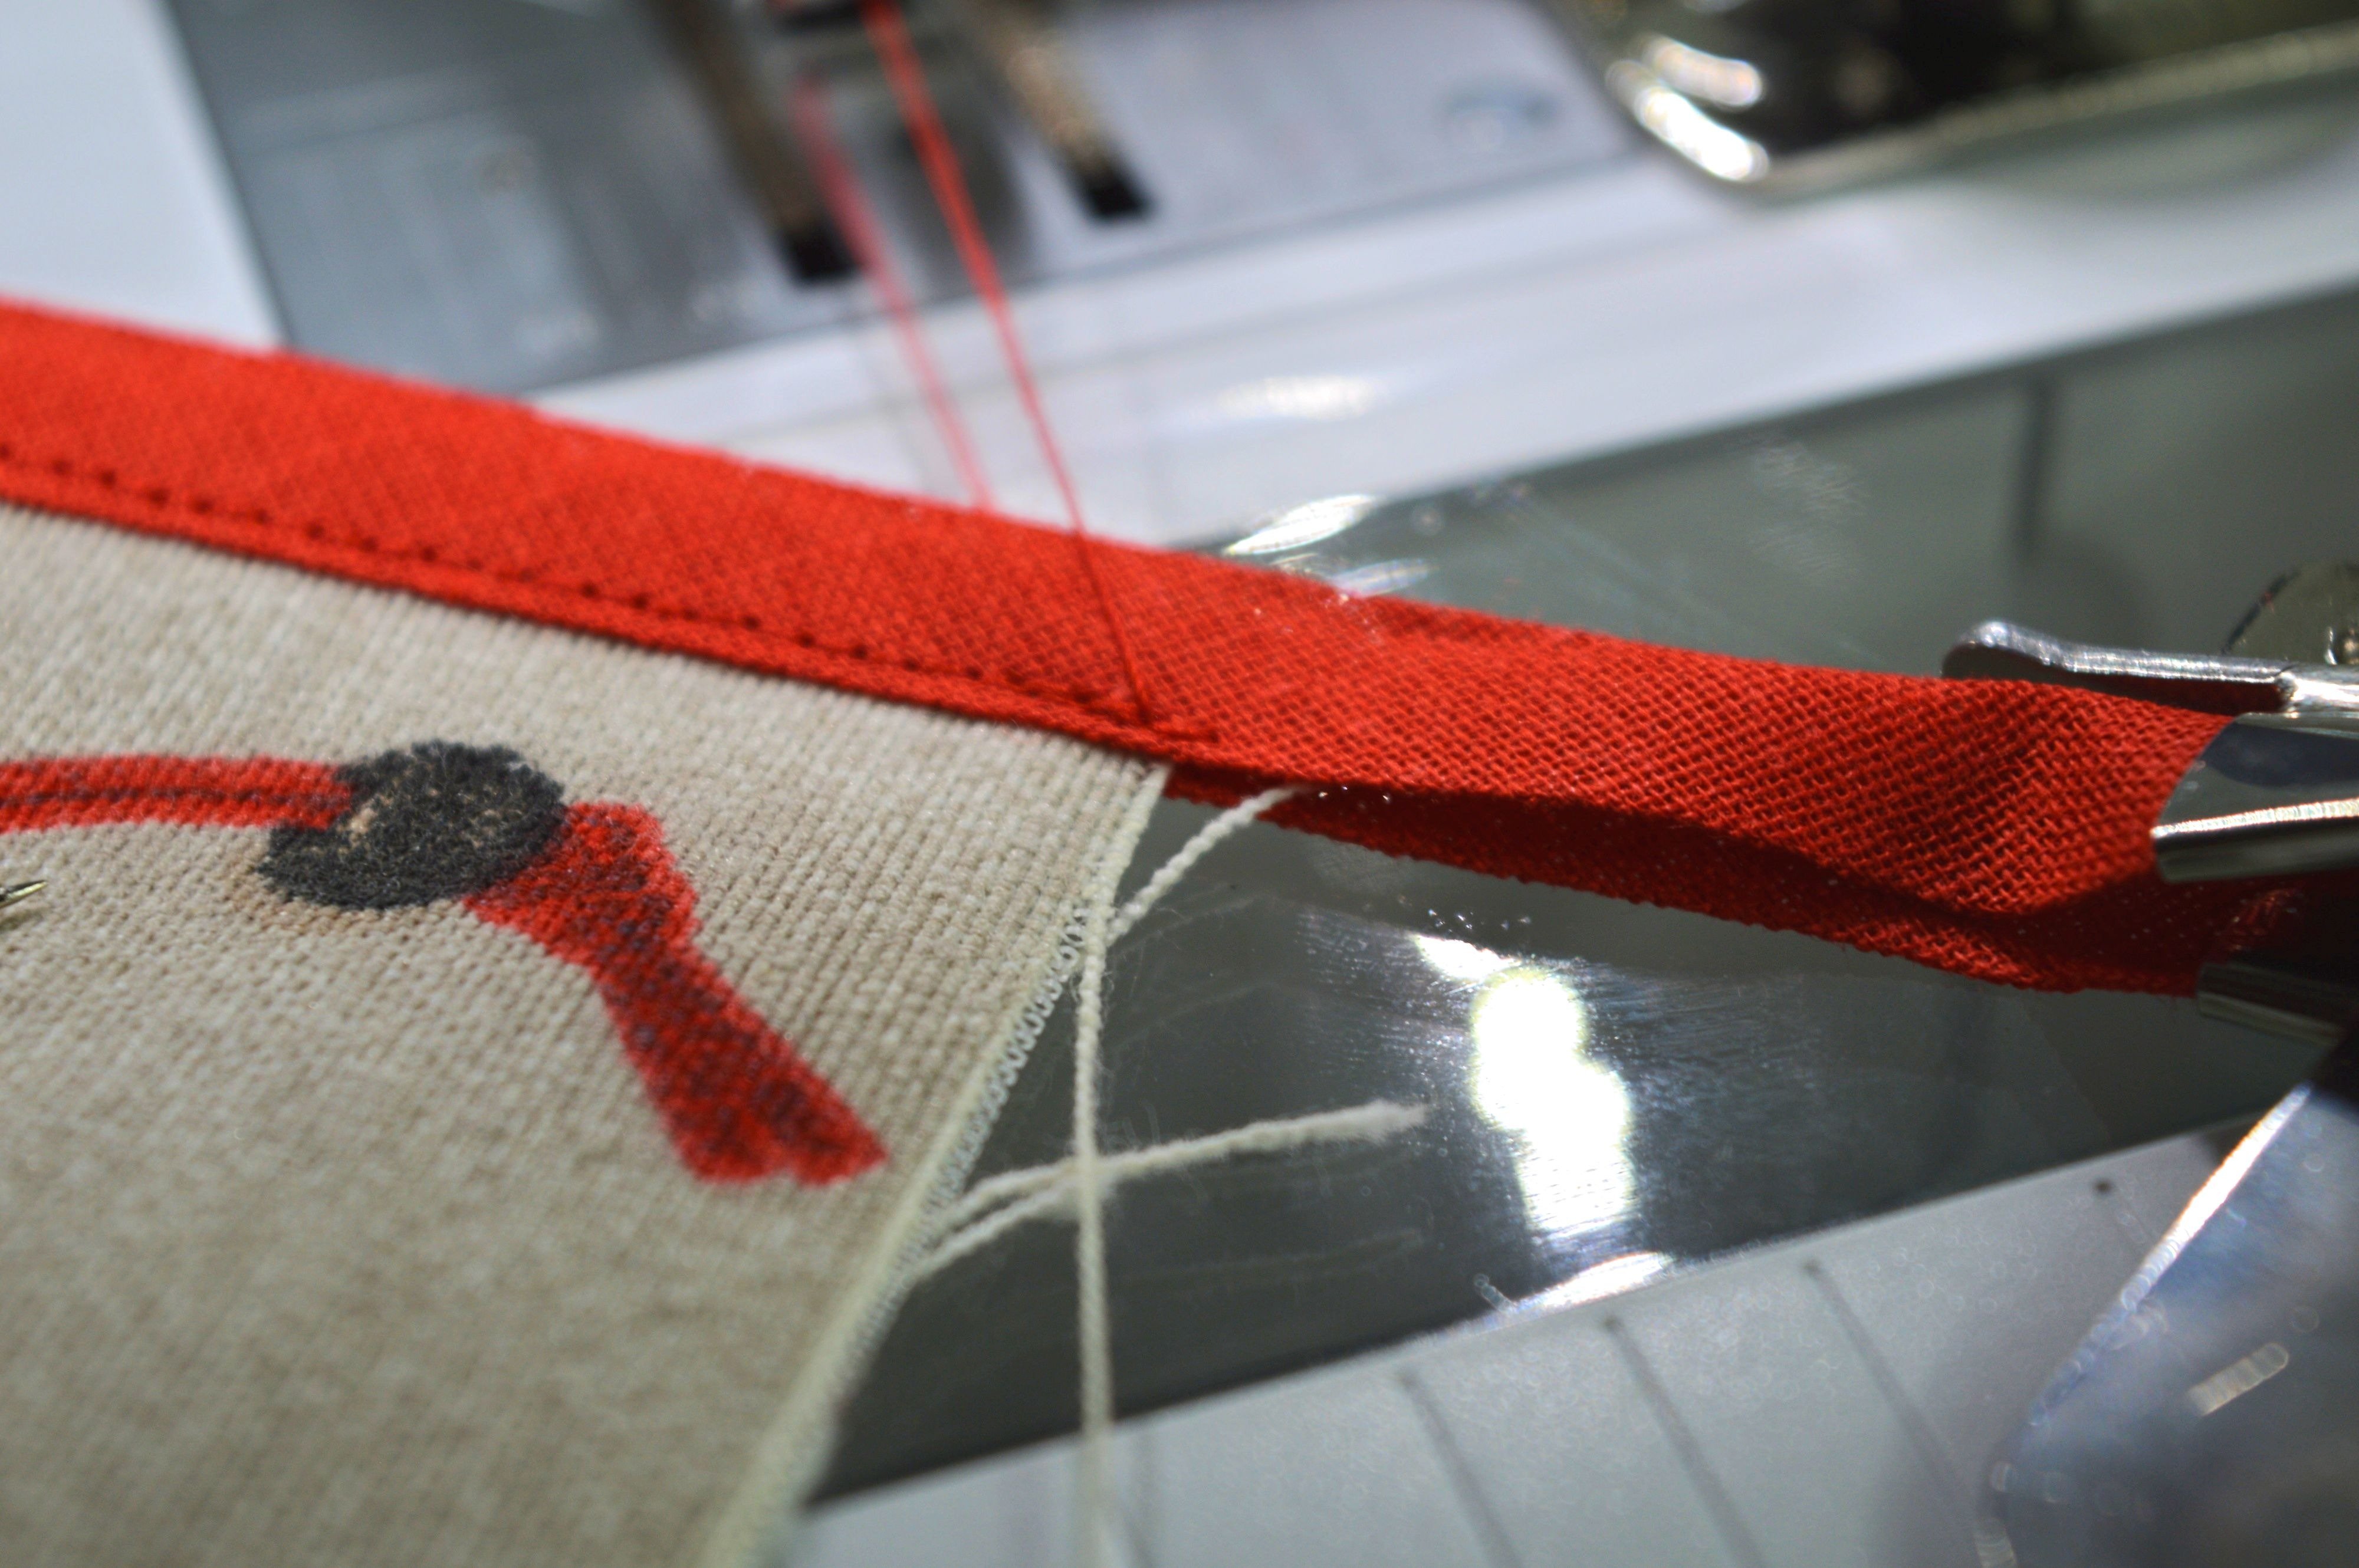
Now pull the bias tape to the corner, so that the edge comes in the middle of the tape.
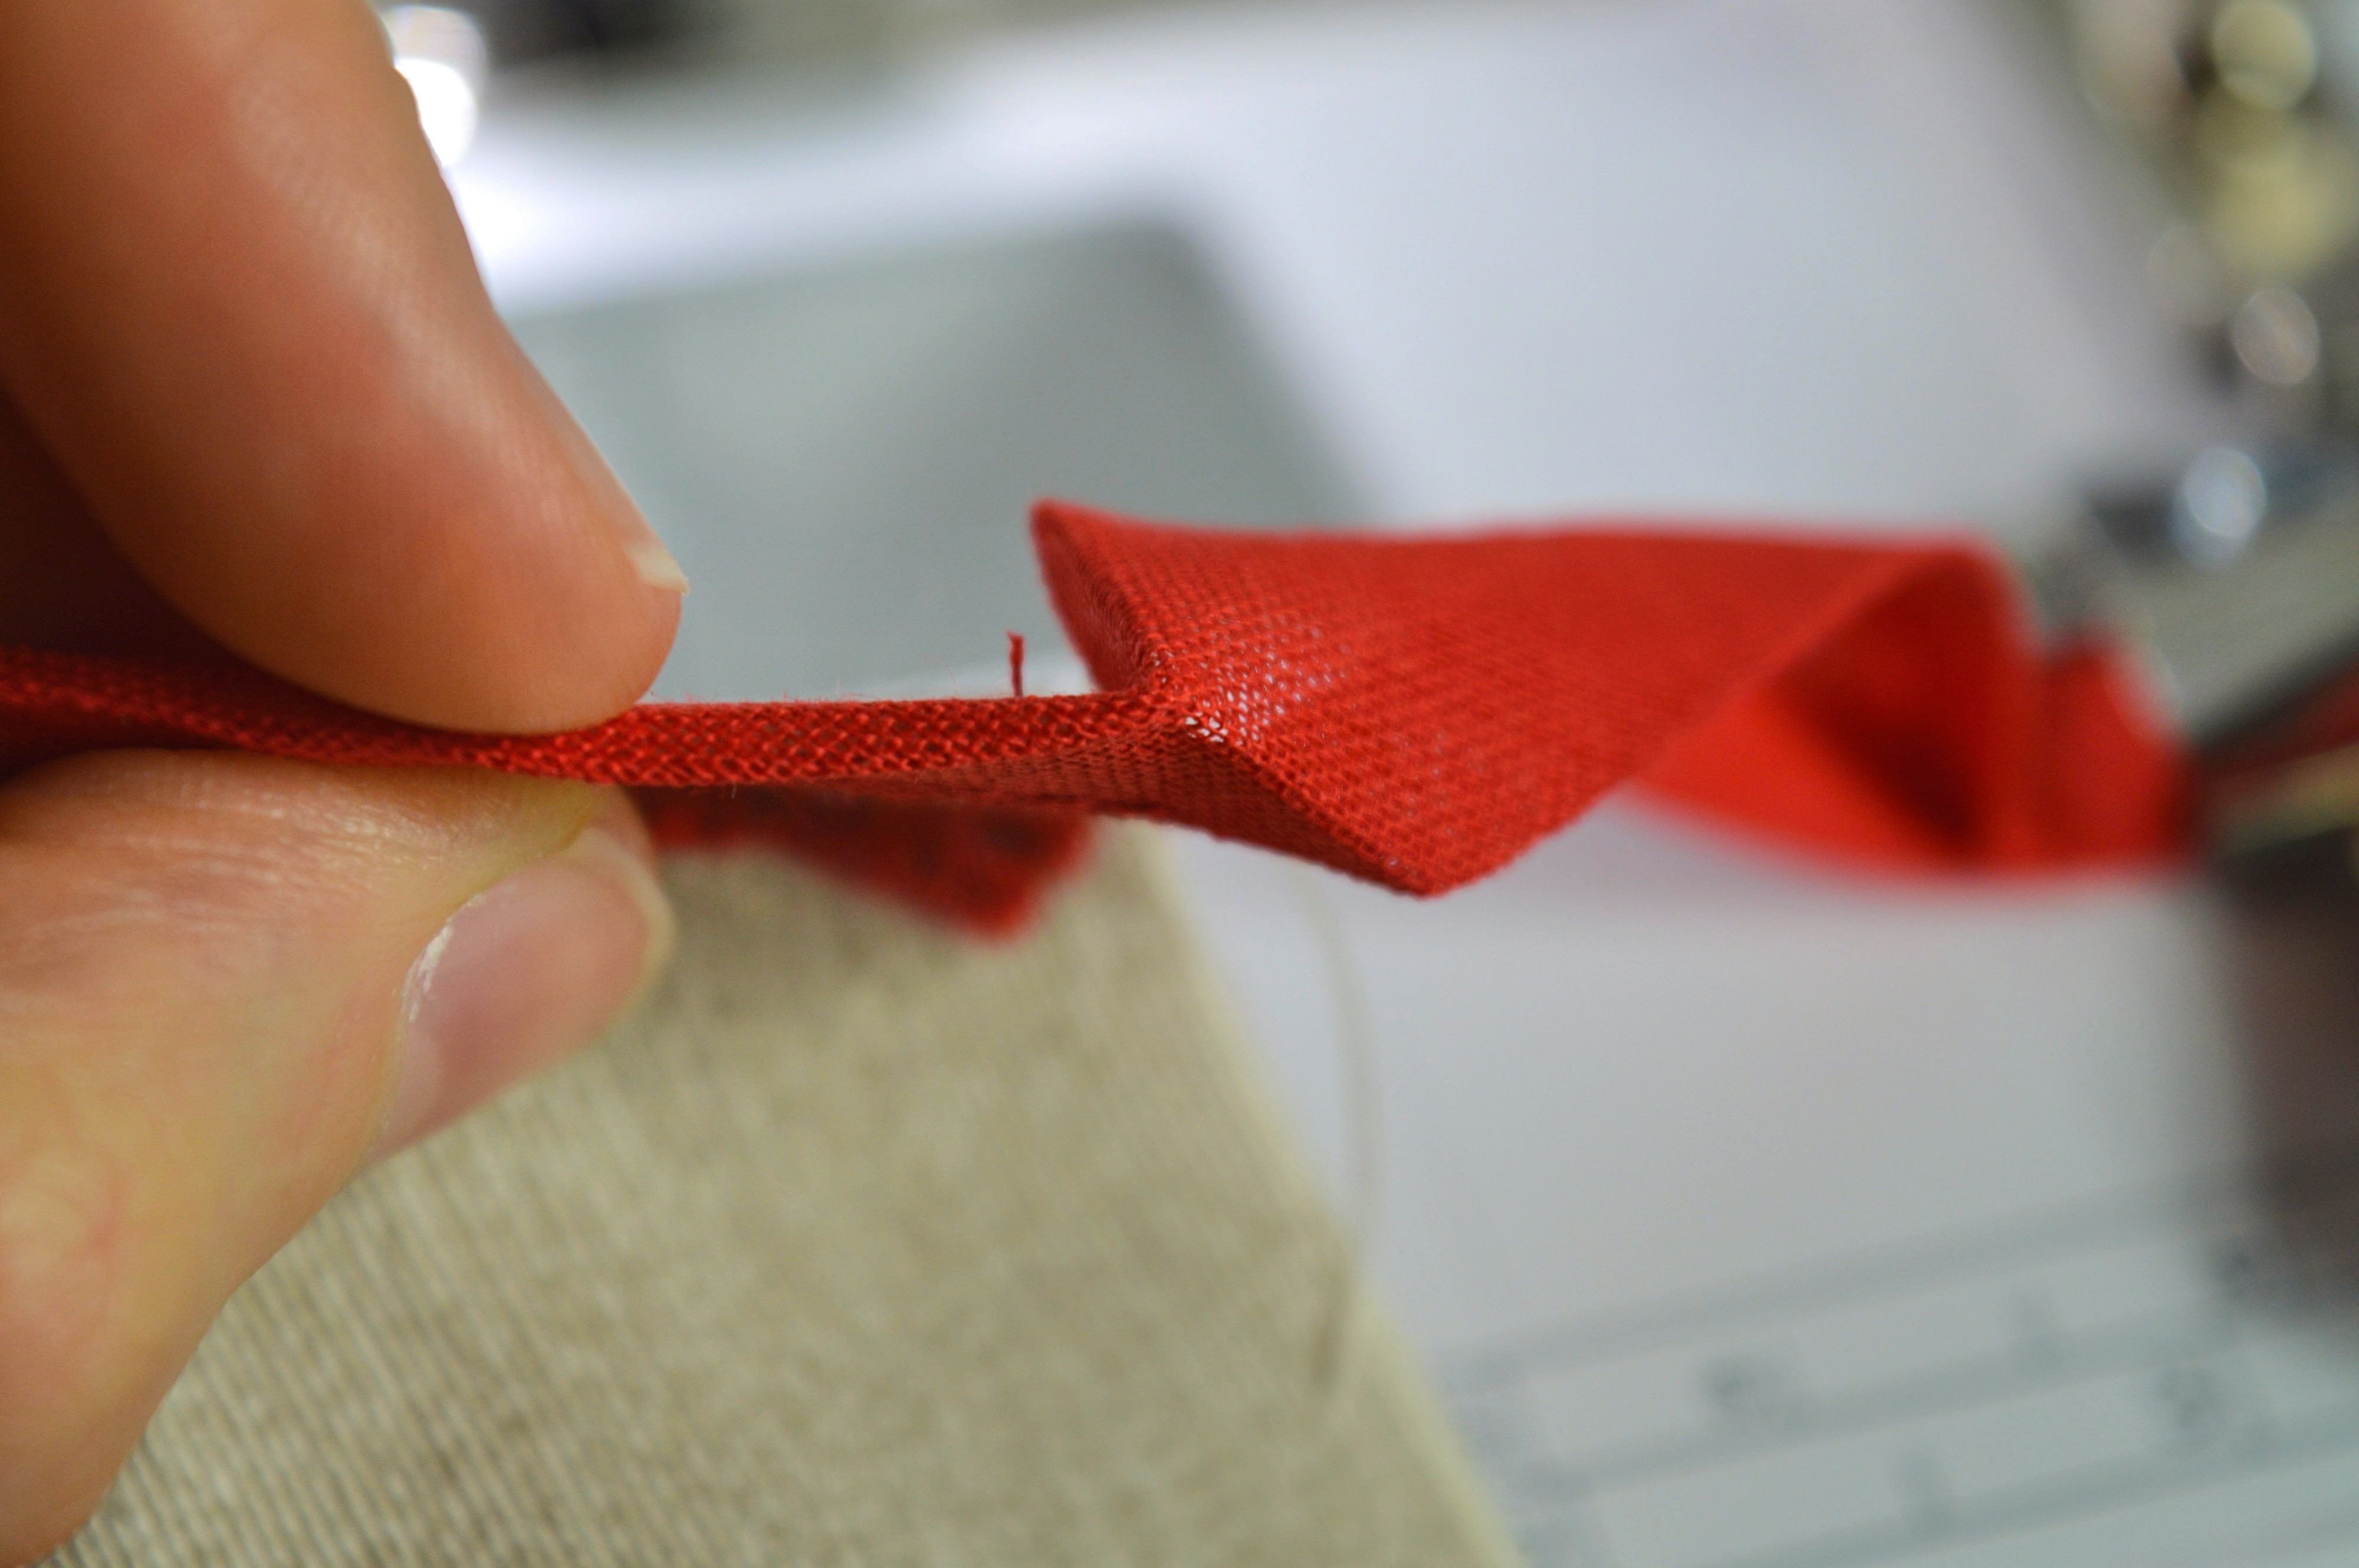
Fold with the fingers sides of tape toward placemat and pin the corner.
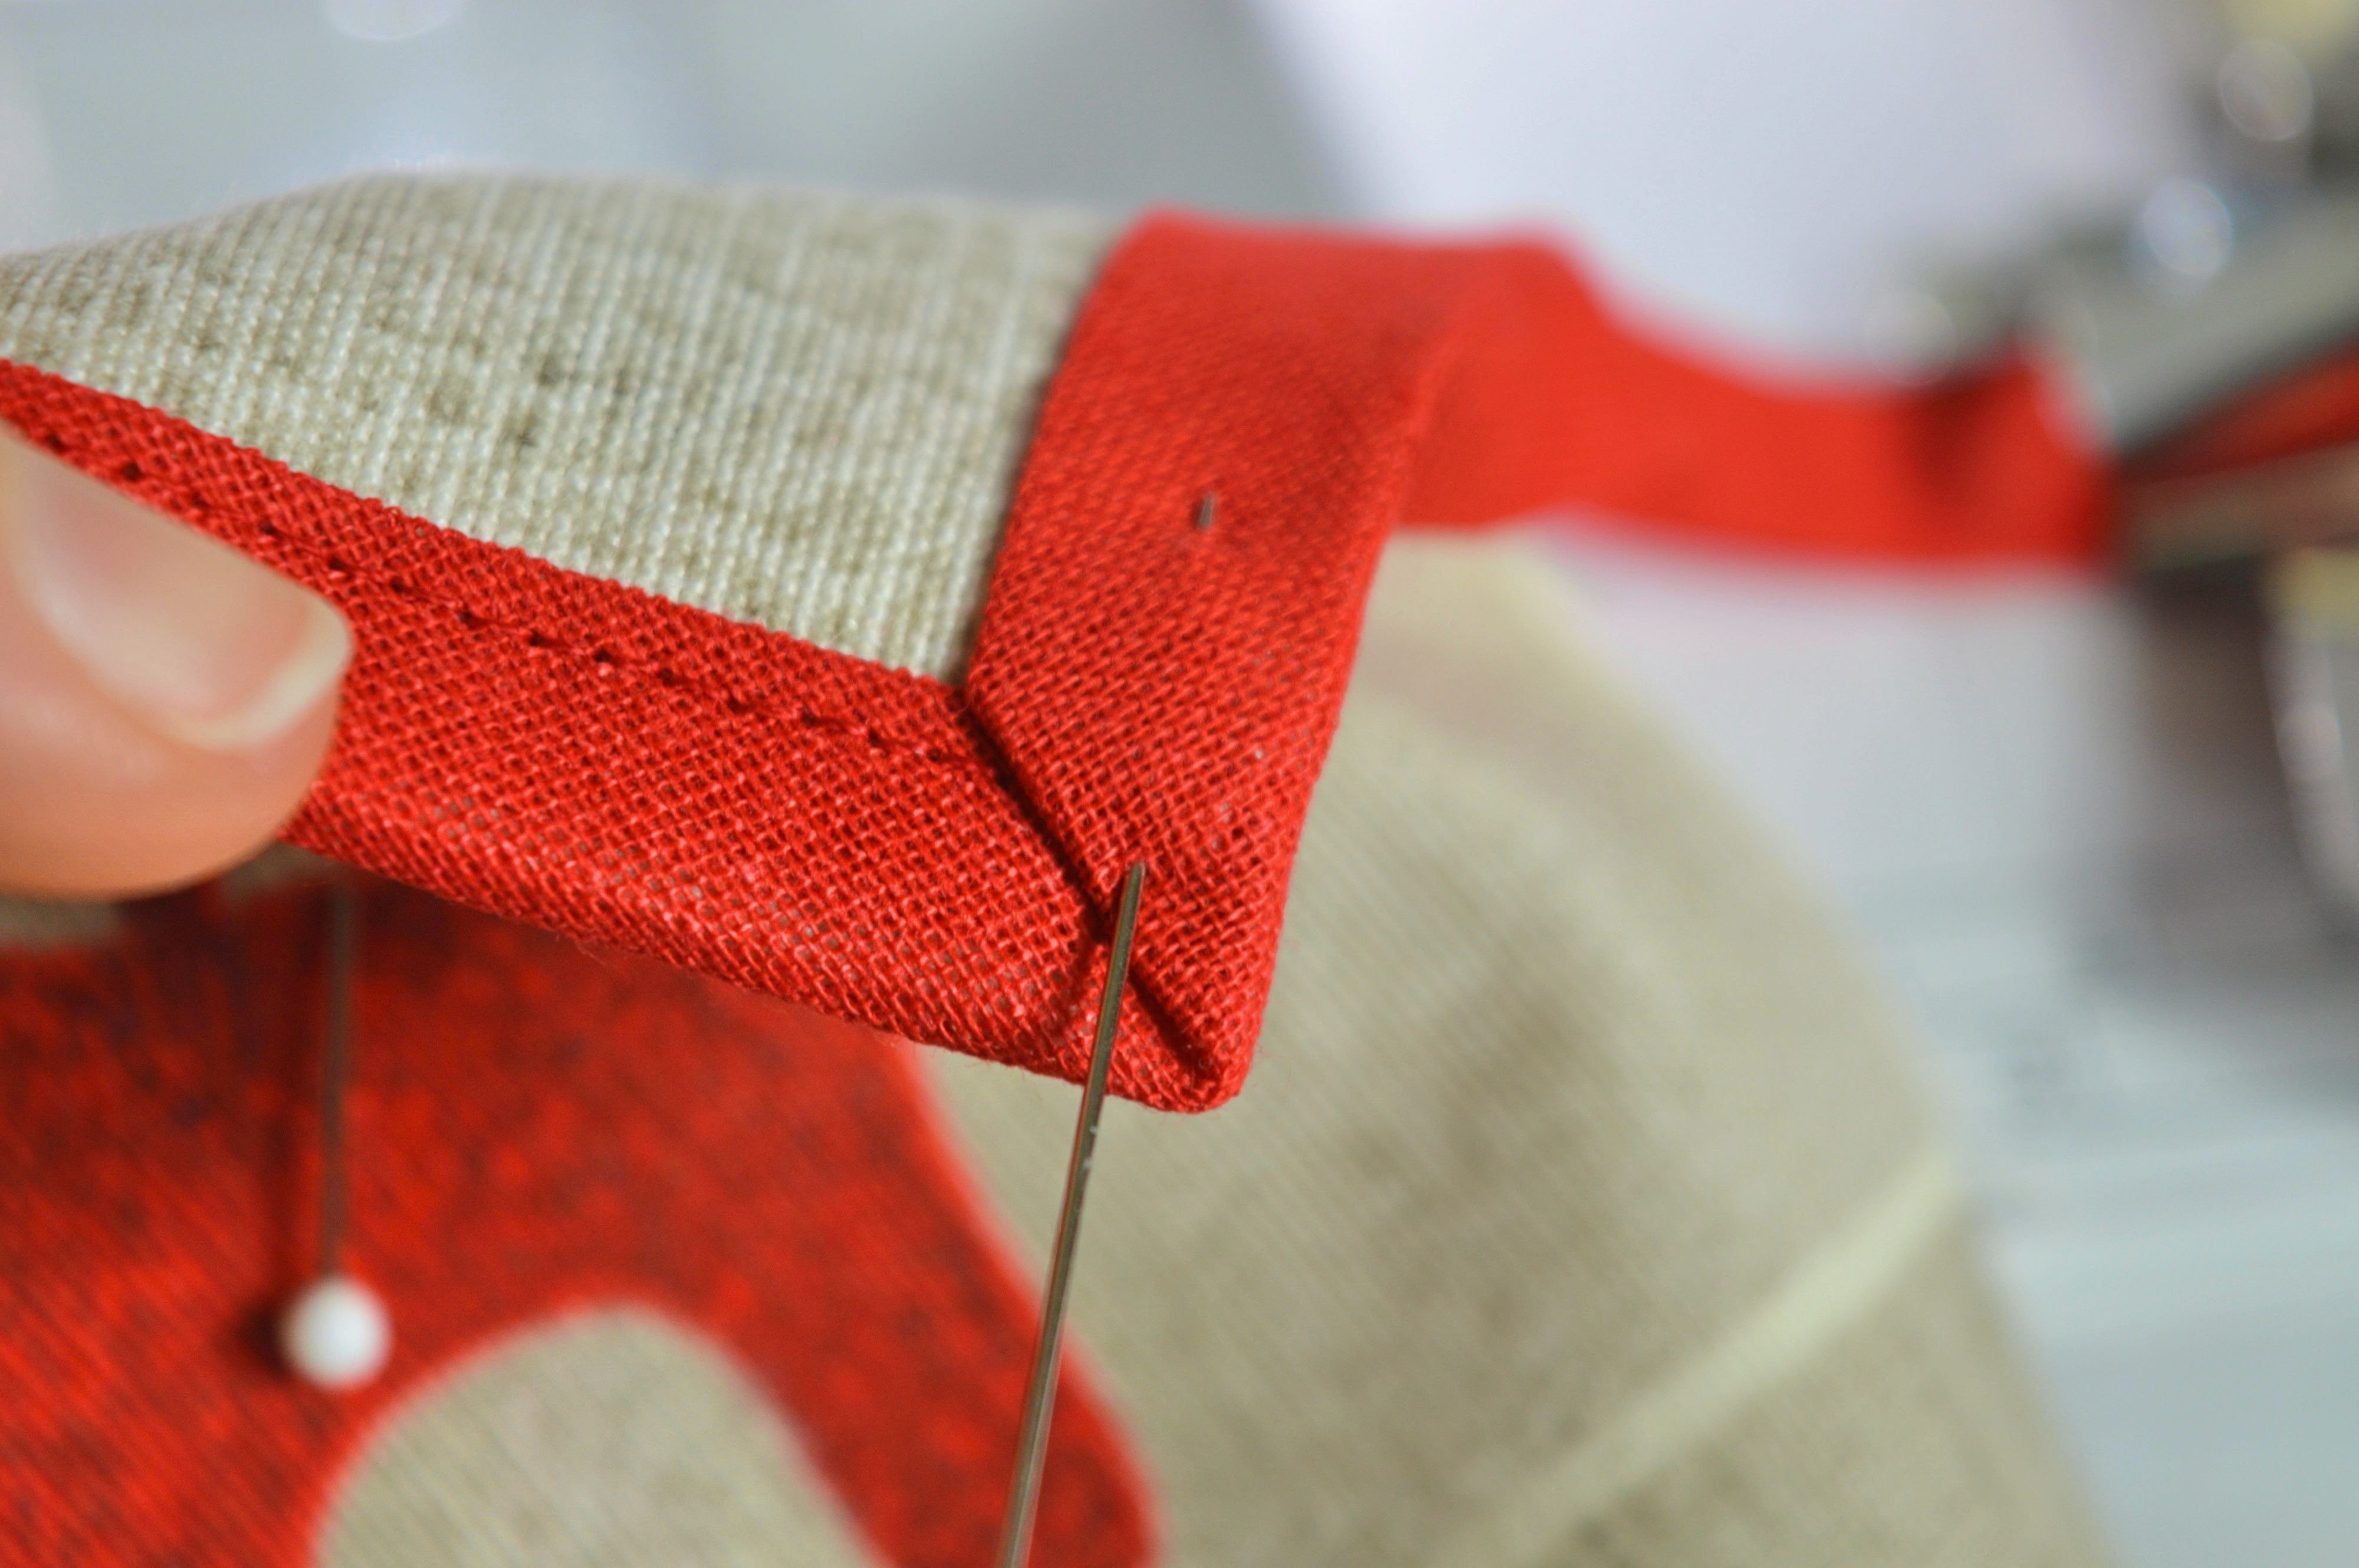
Carefully, set the corner under the foot and press it. At the same time, pull the right side of bias tape through holder pushing holder to the presser foot, just as much as you need to continue sewing correctly.
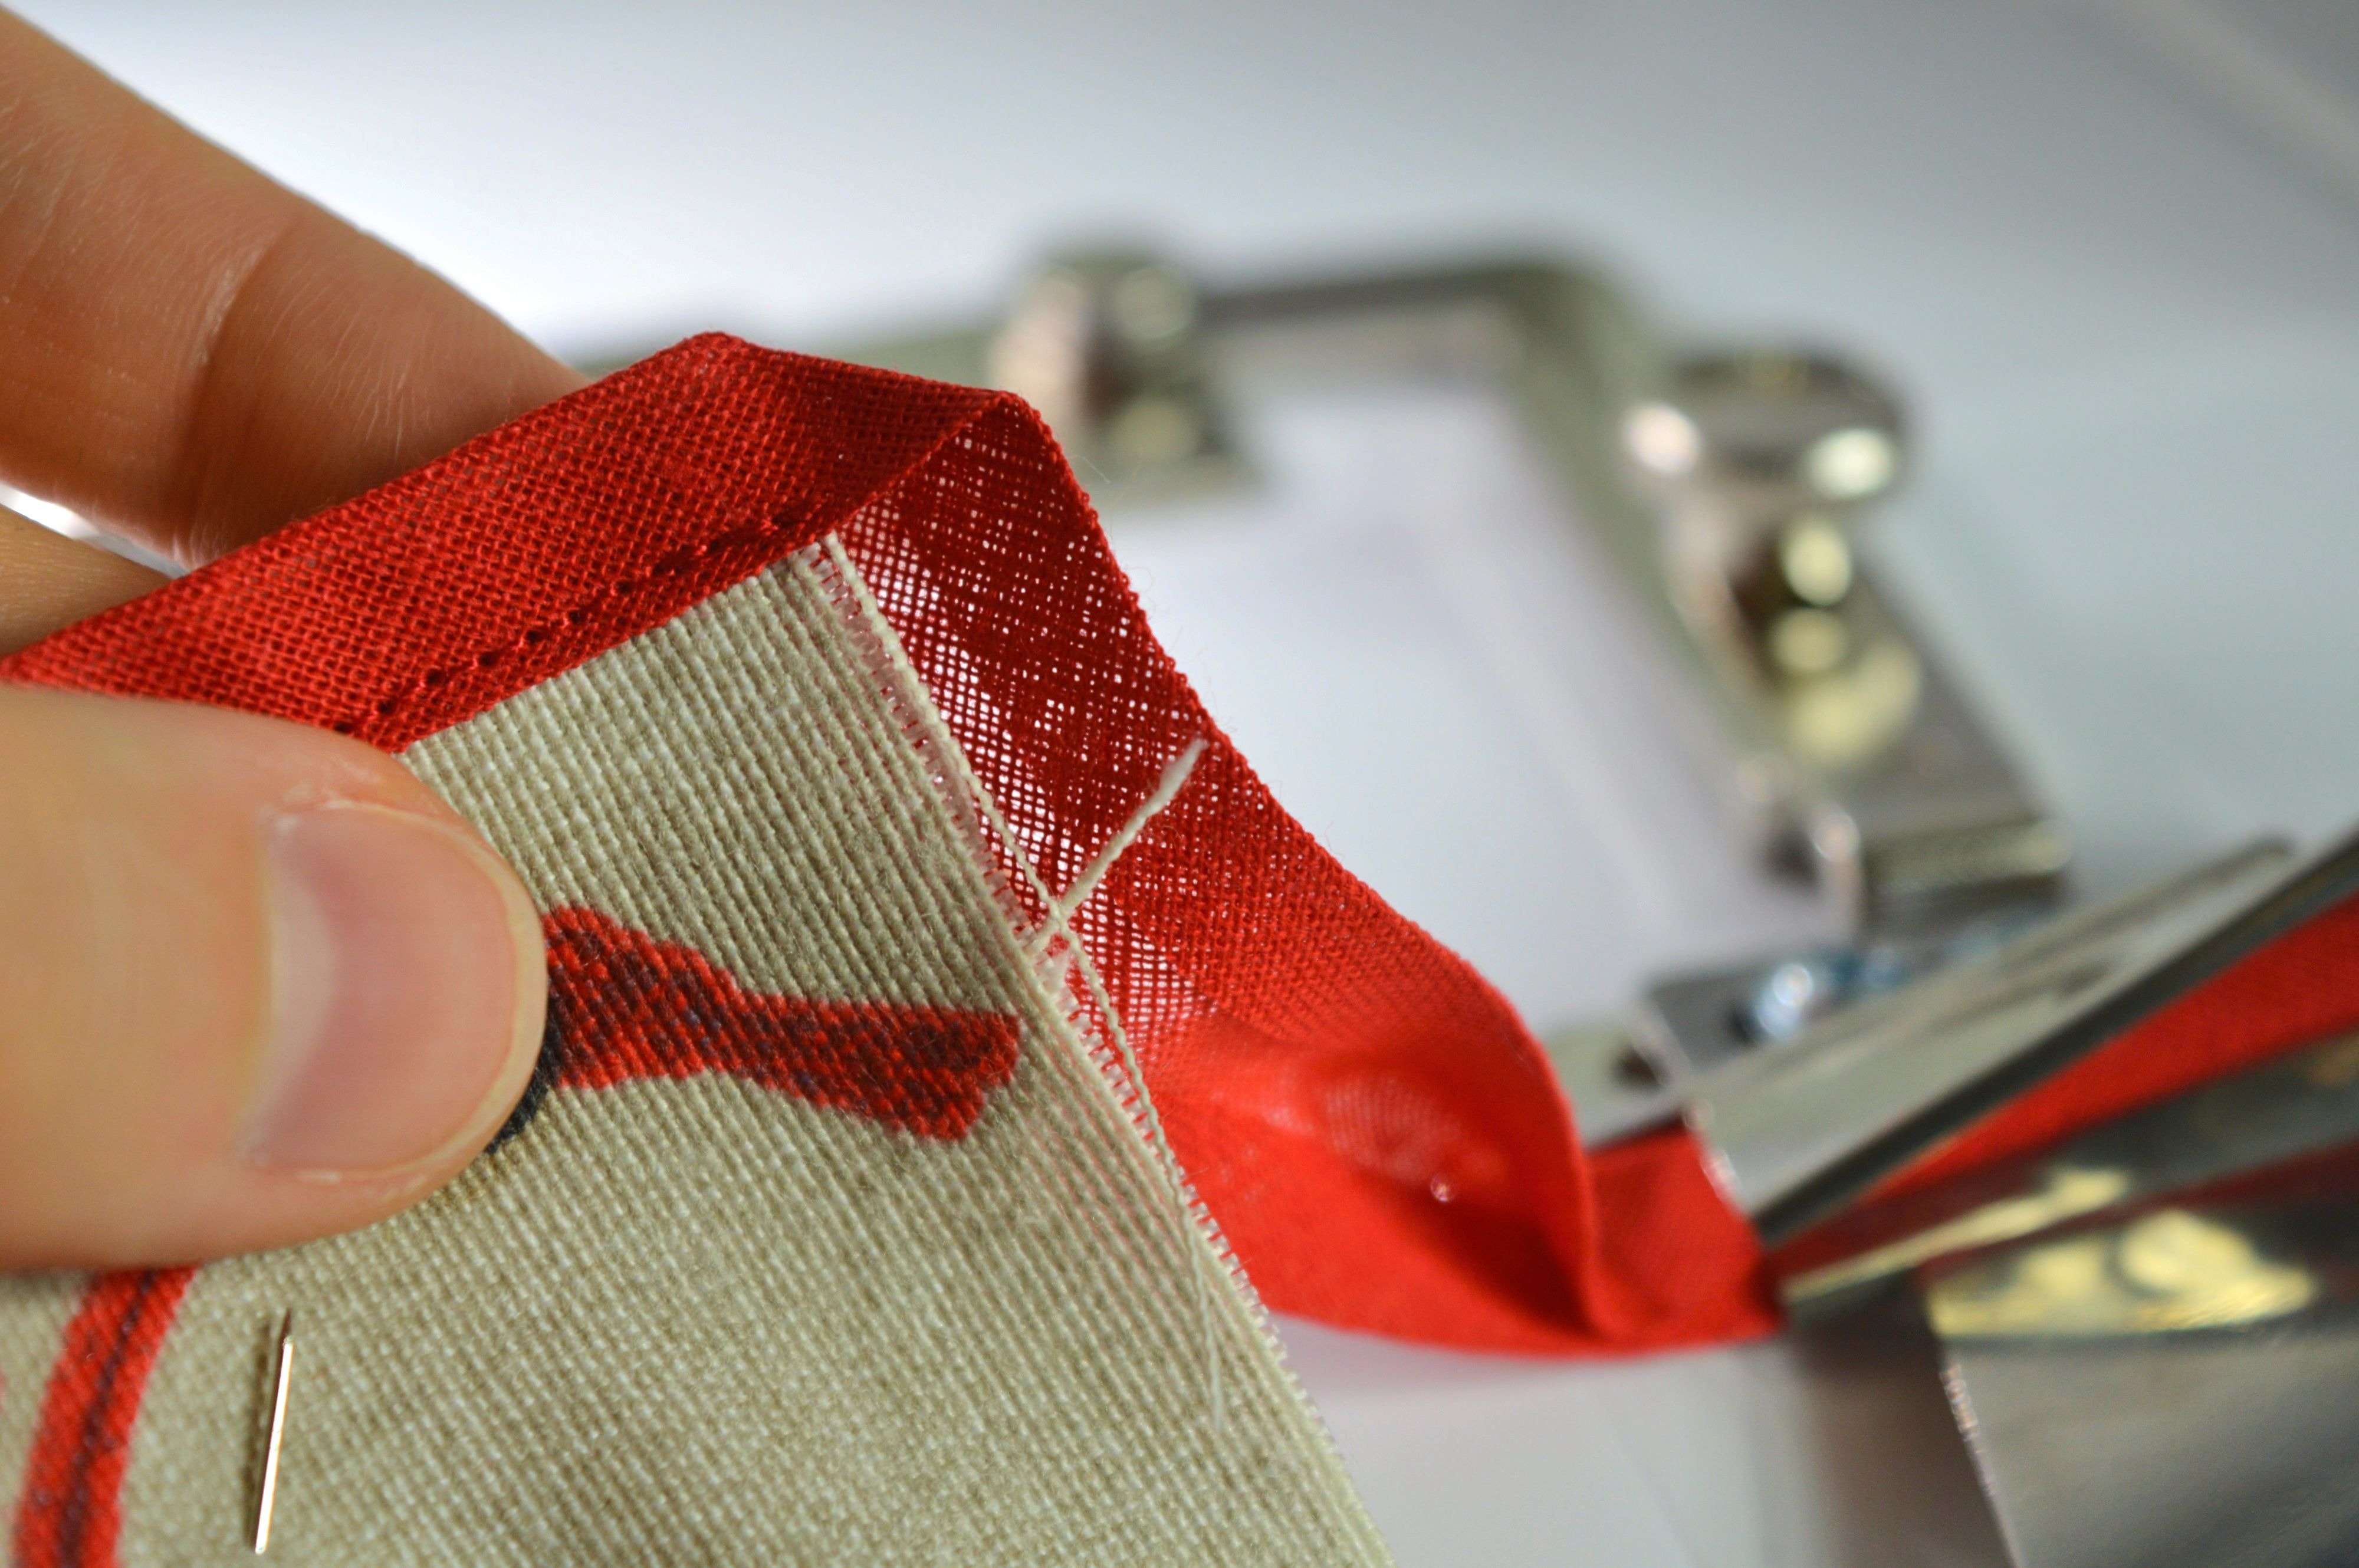
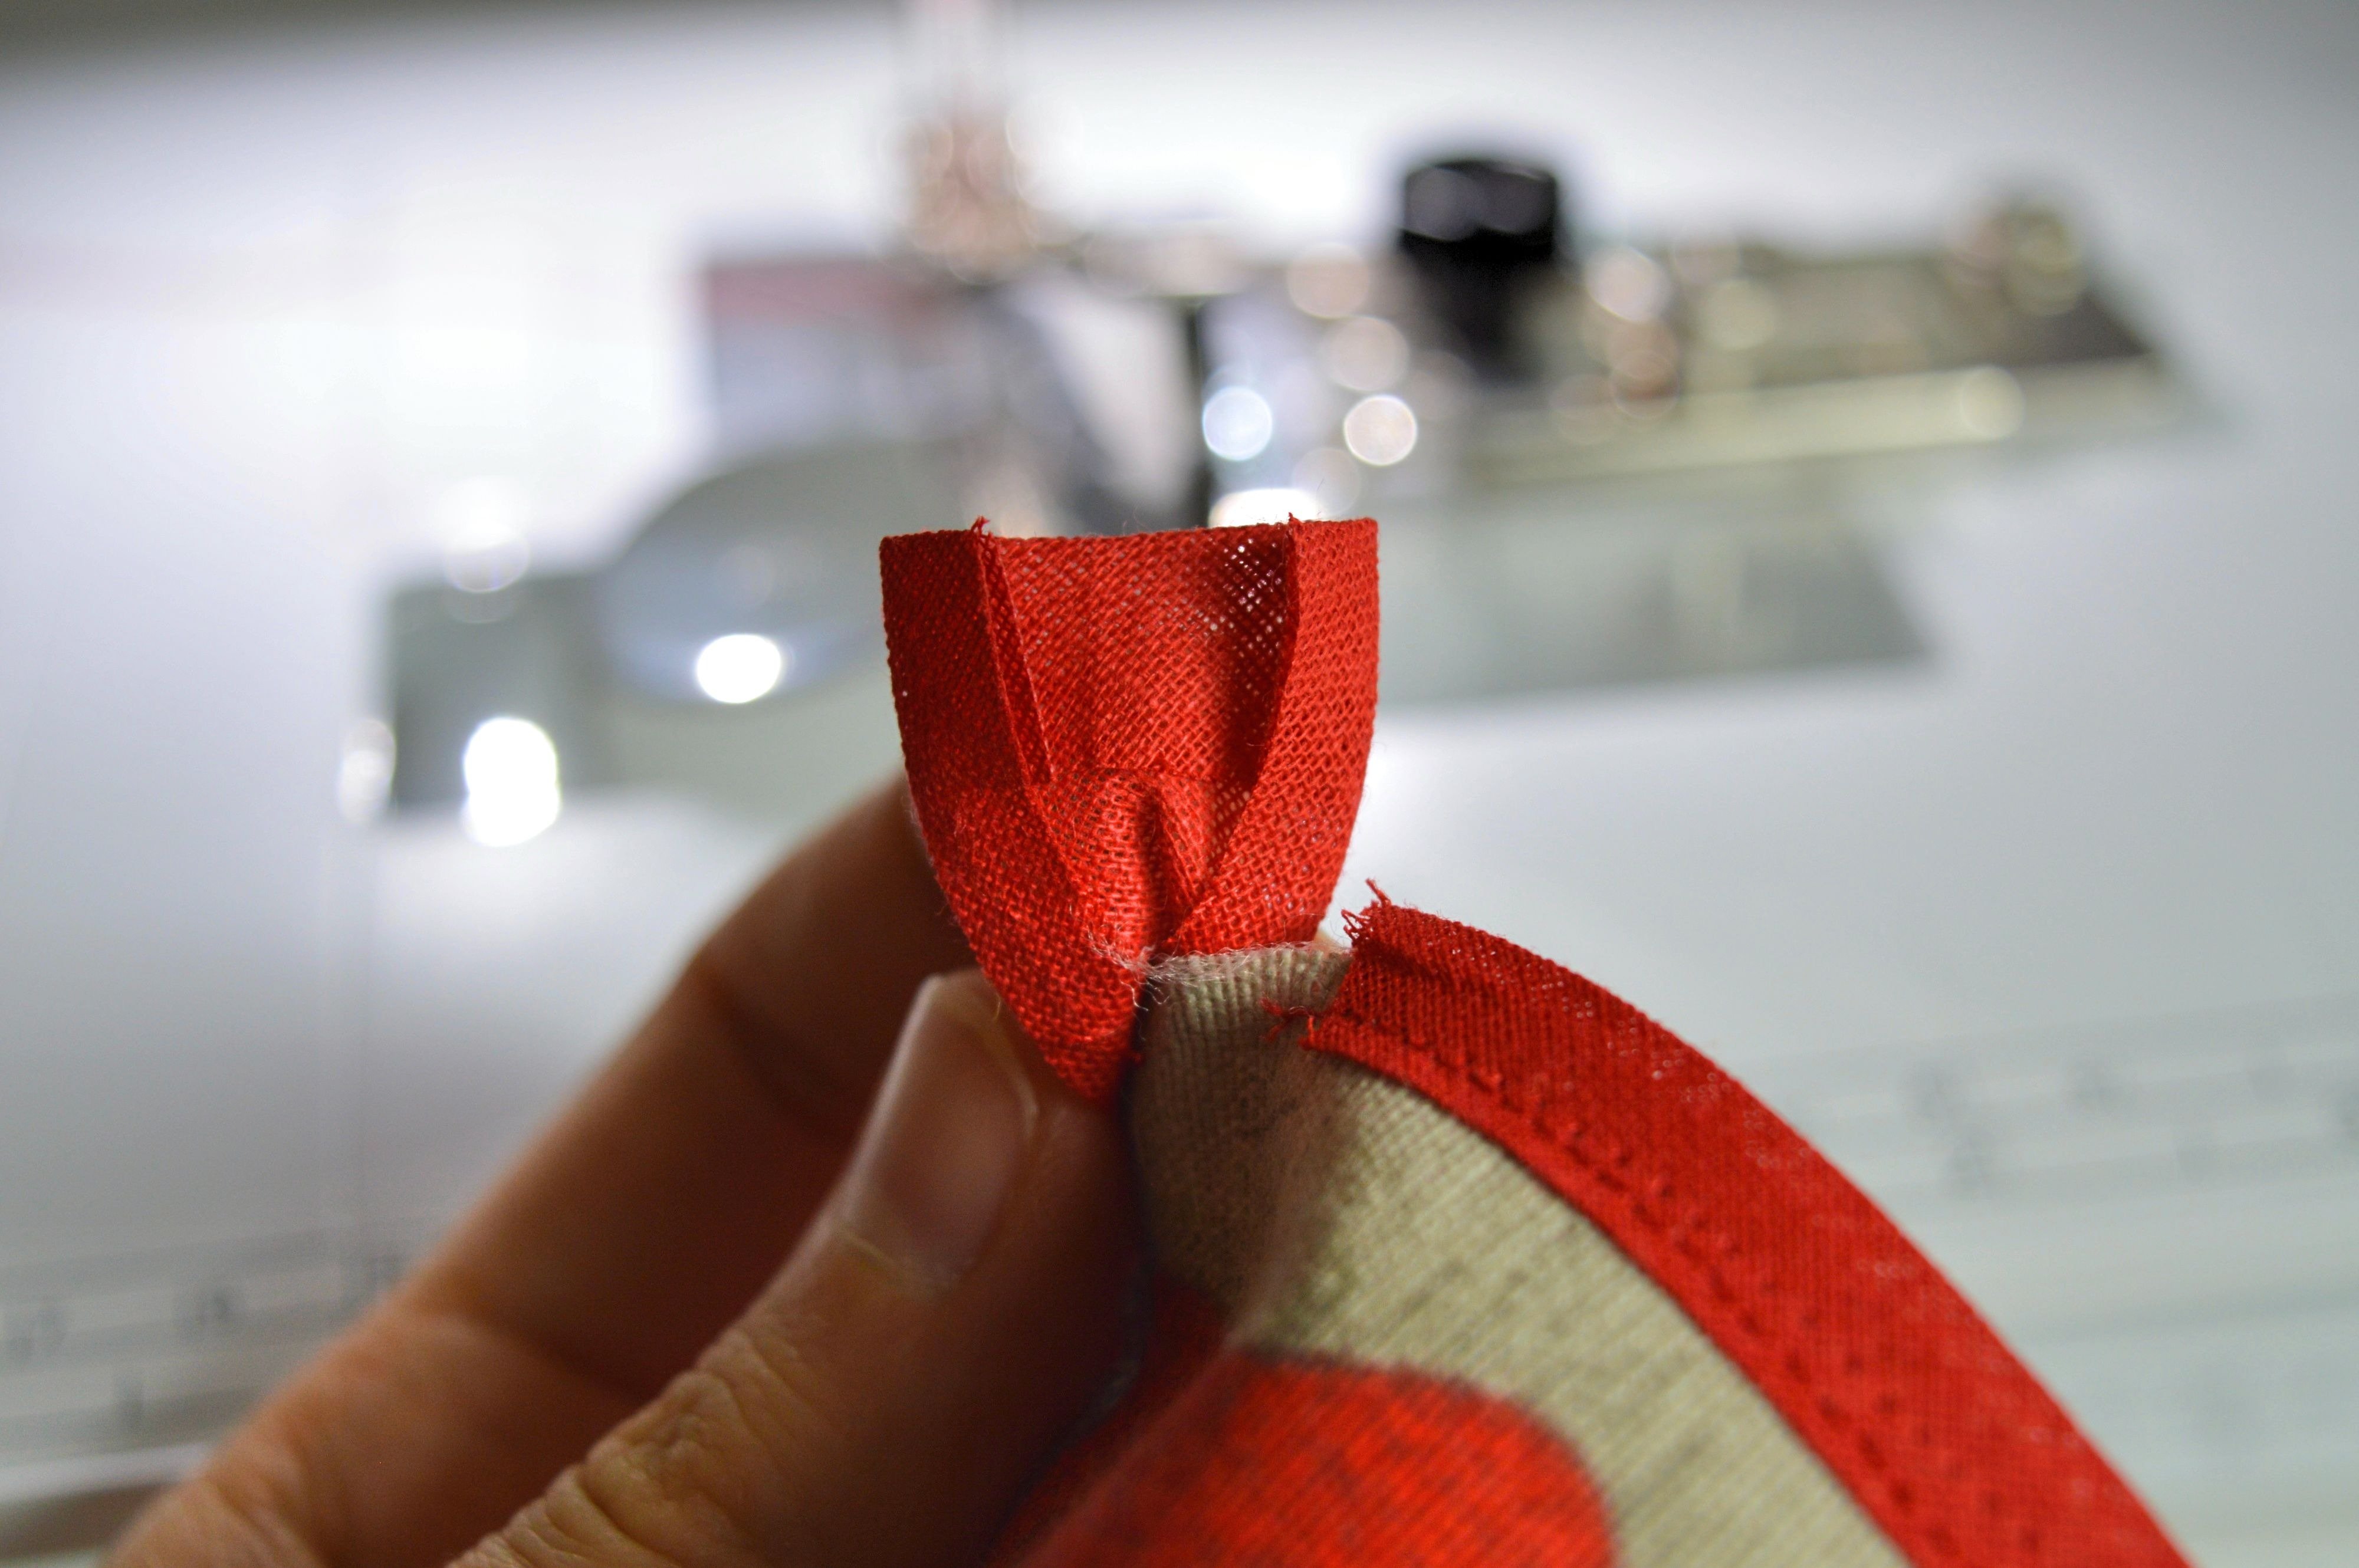
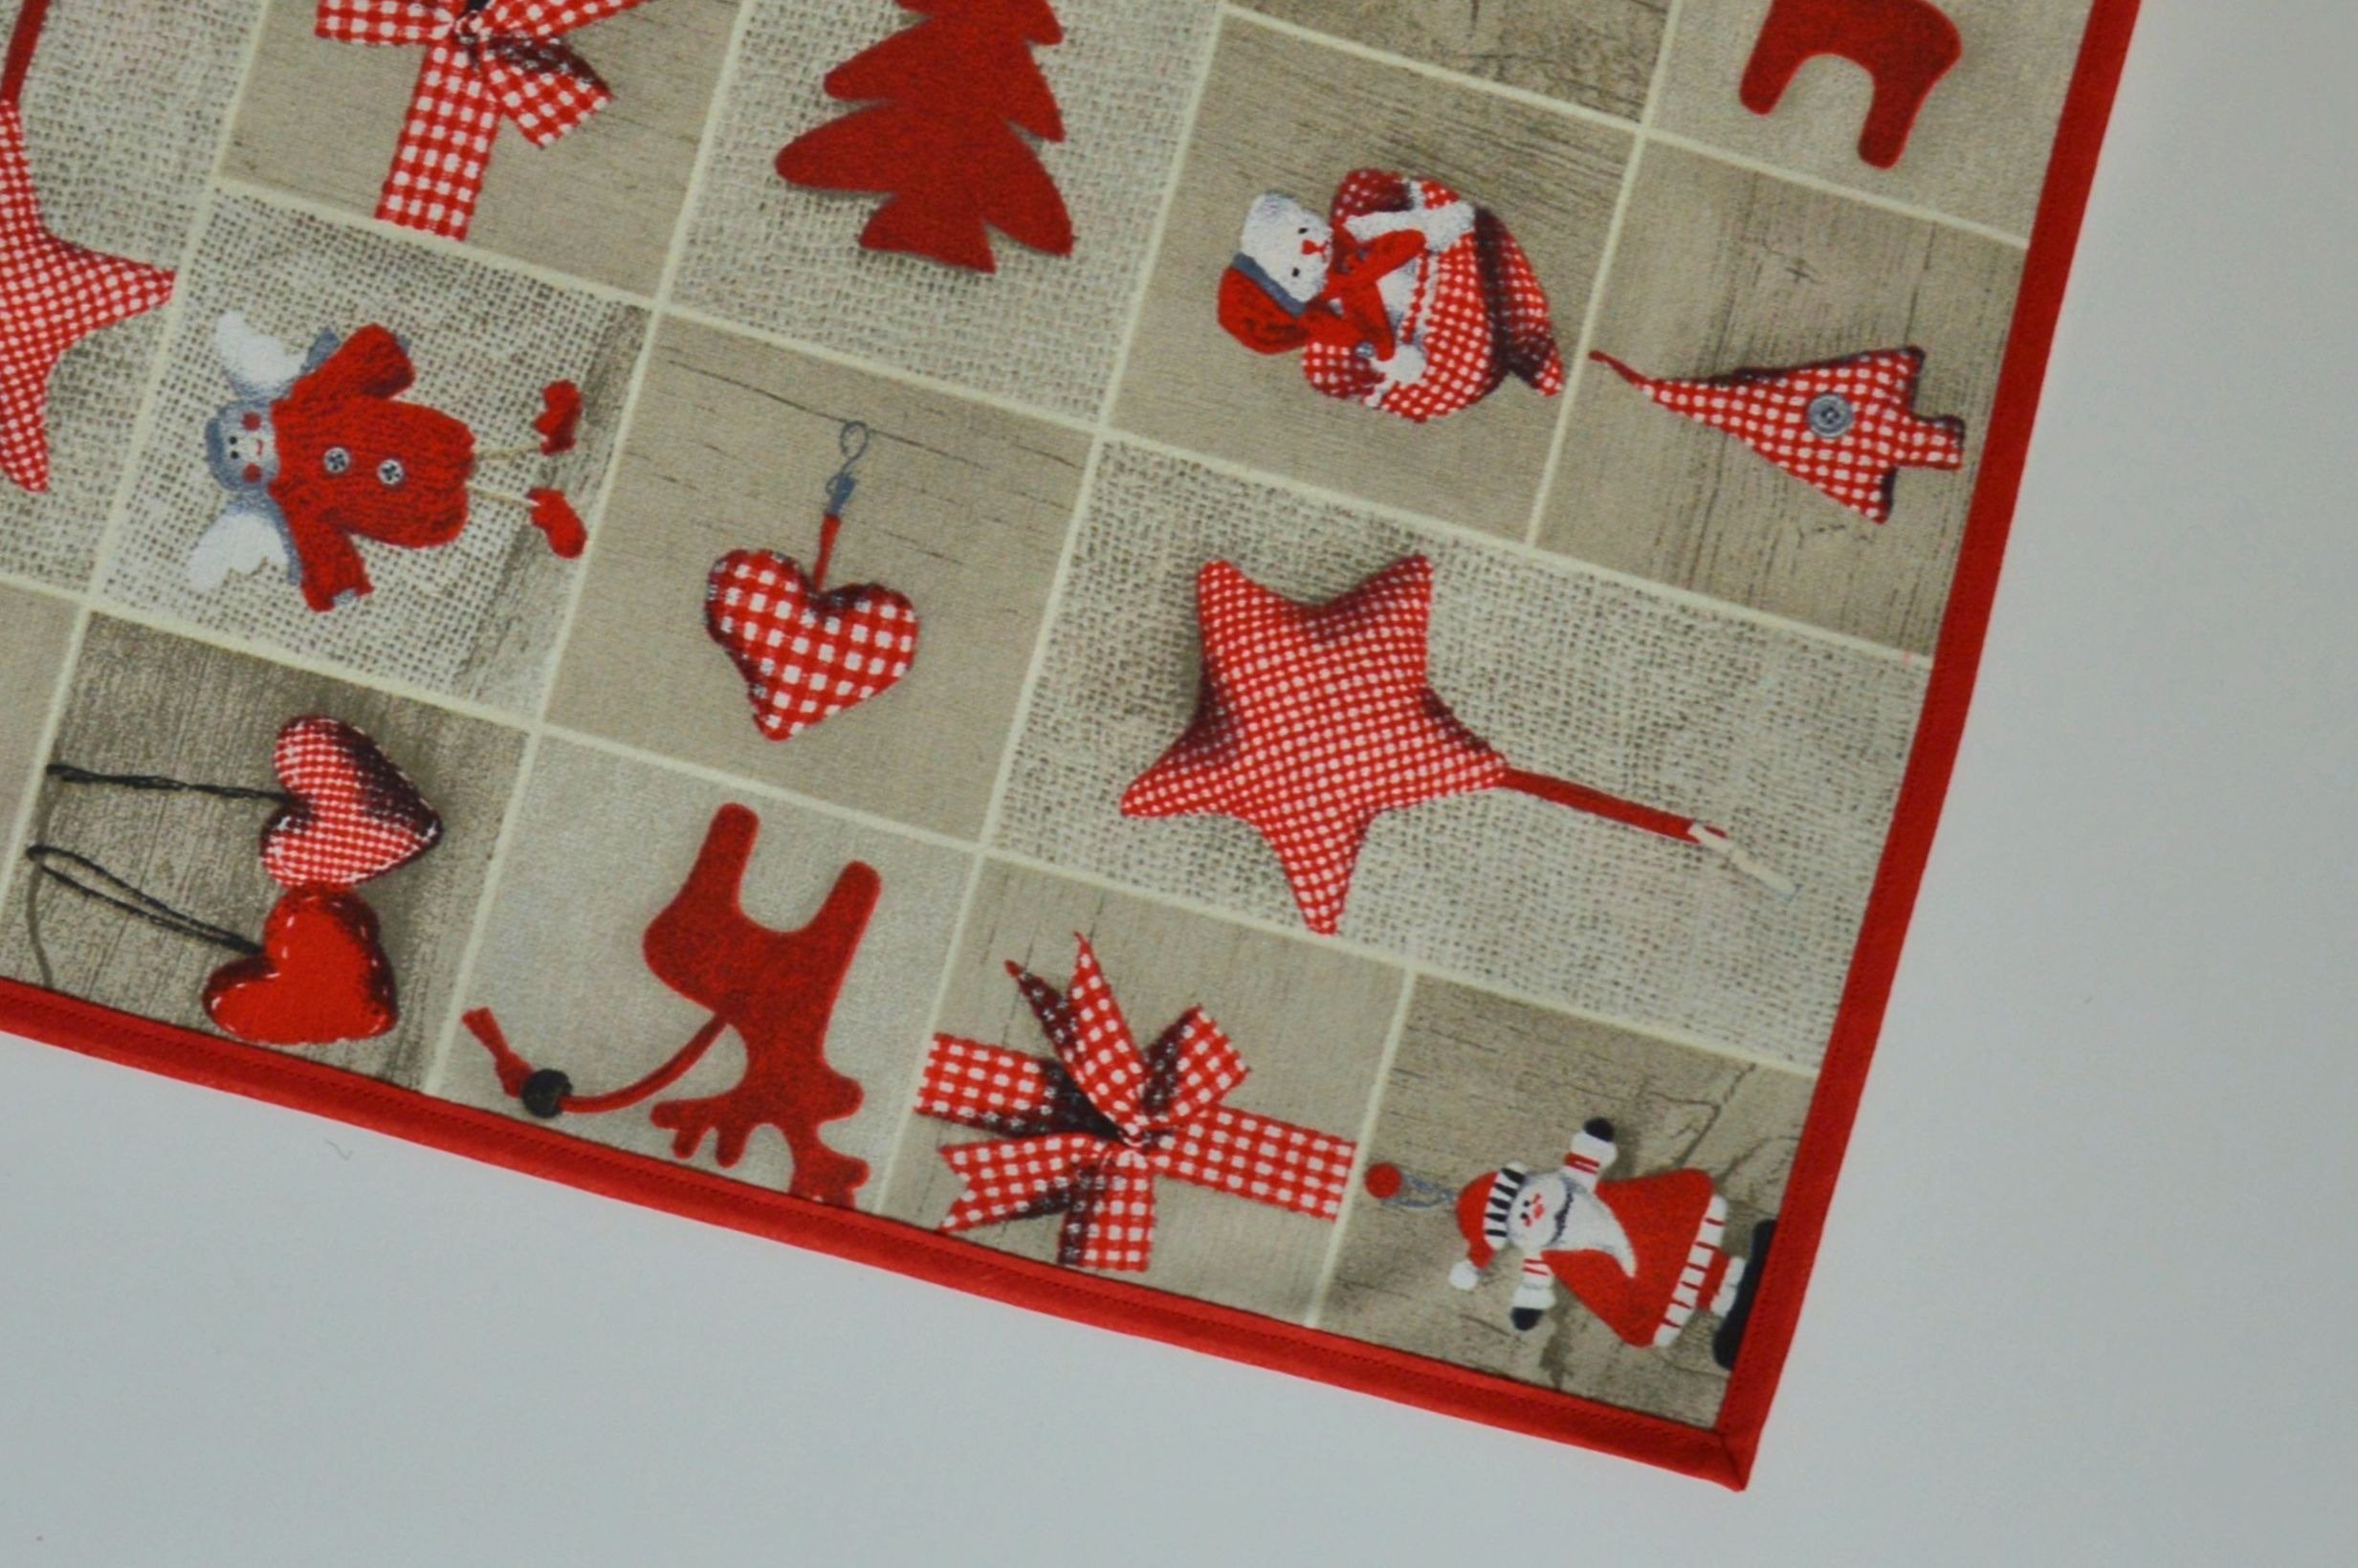
In the end, after securing the threads, the corner looks like in the picture below.

Sew further, making corners as described above, until you reach the beginning of the sewn bias tape on the placemat.
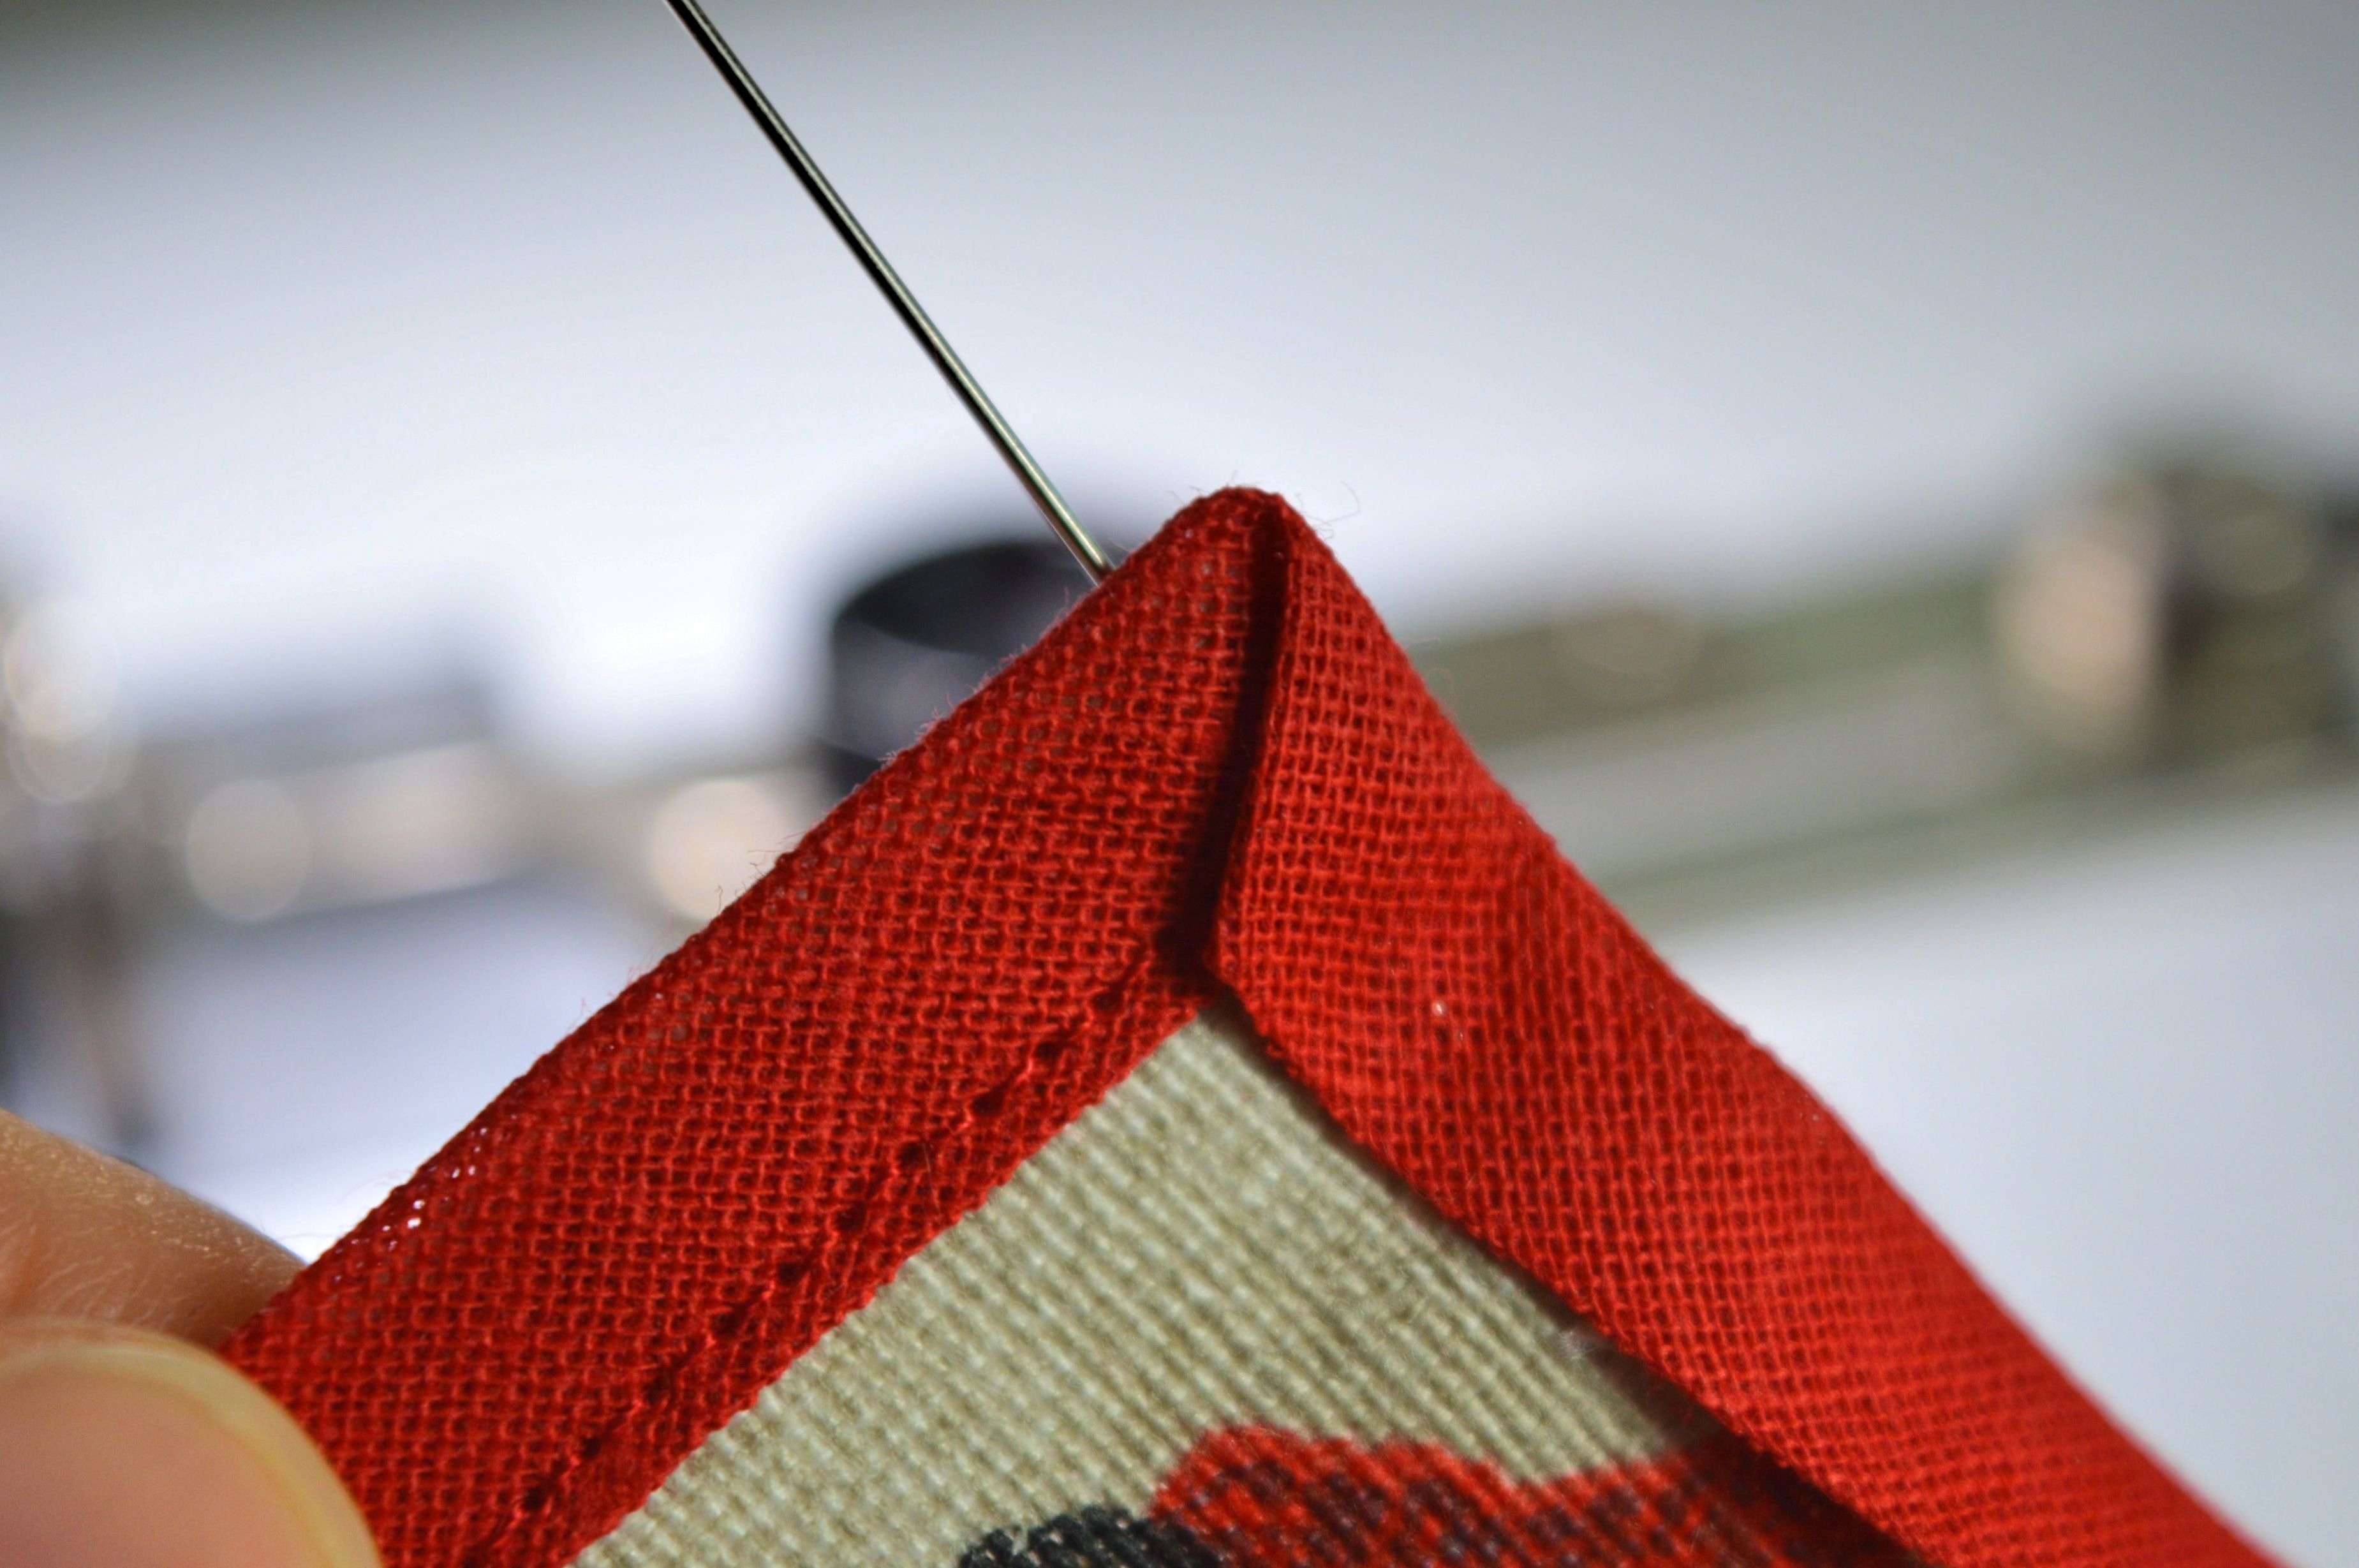
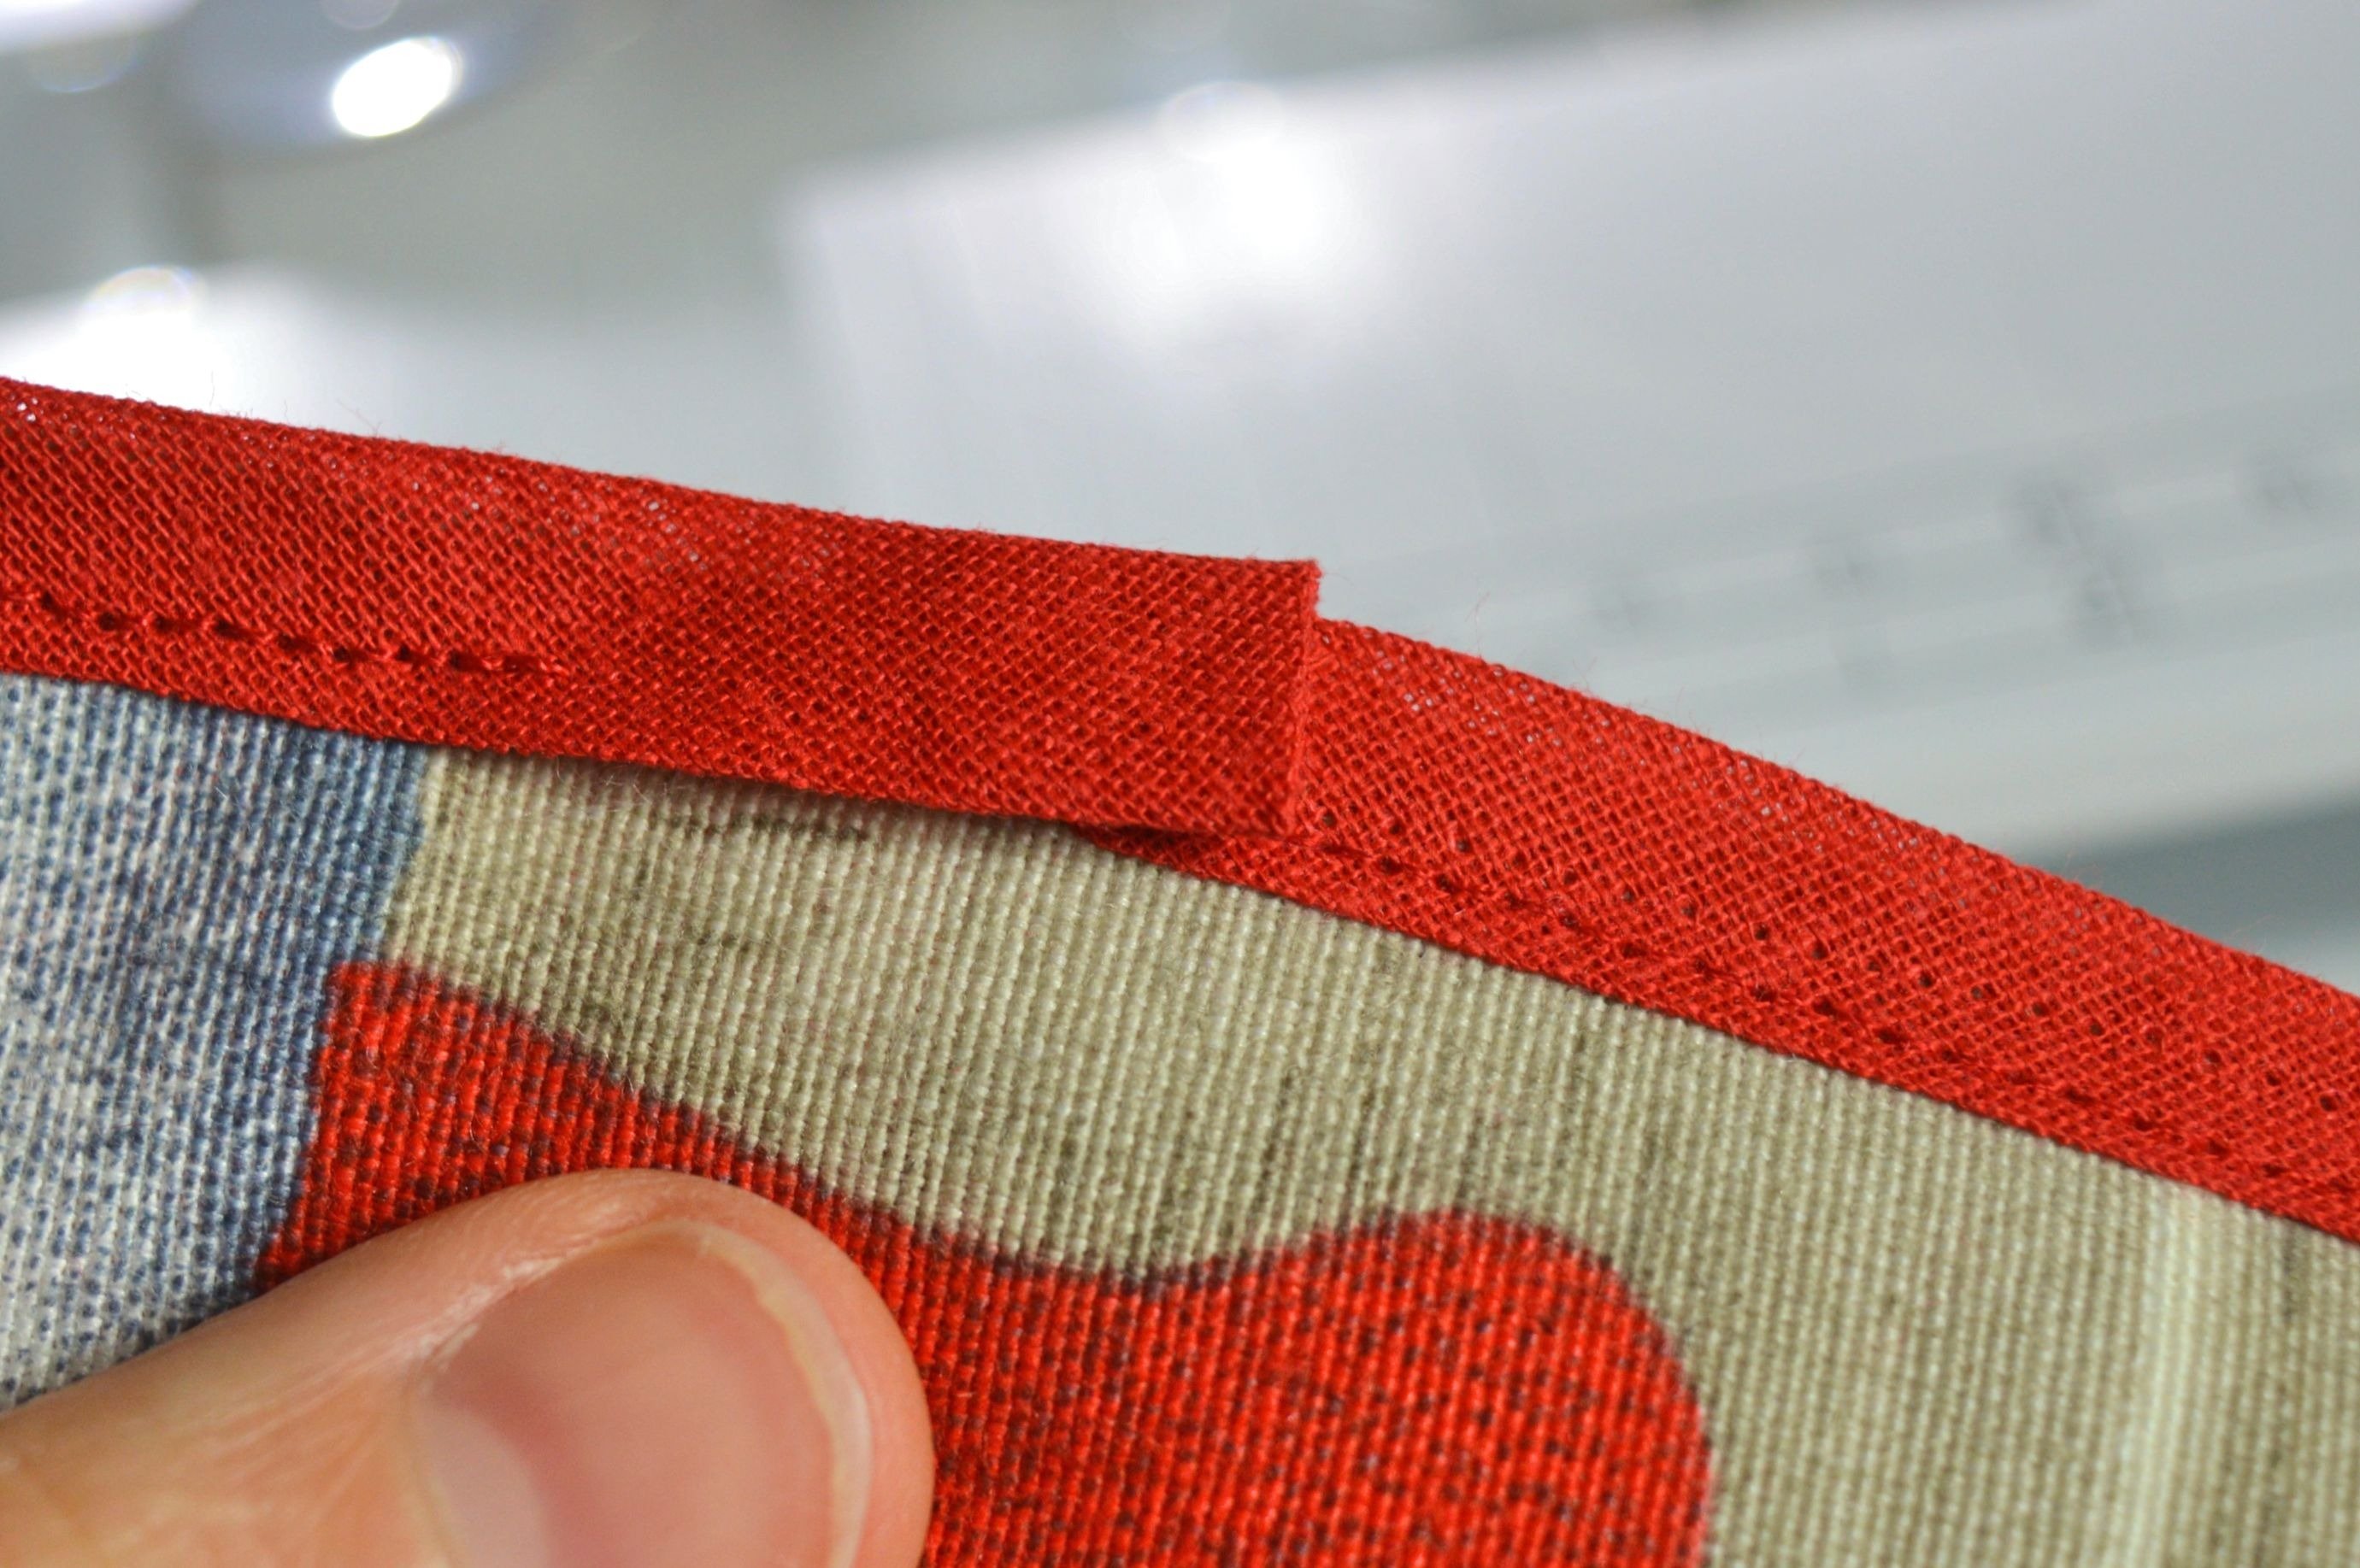
Another important thing is the ending of sewing the bias tape.
Just before you find yourself in front at the beginning of sewn bias tape, stop the stitching, secure the seam.
Cut the tape 2-3 cm longer, so that that length goes over the already sewn bias tape.
Amount of bias tape needed for one placemat is approximately 1,60 m.

Fold the end of the bias tape inward, so that you form a clean finished edge.
Place the end of the tape on edge and pin it.
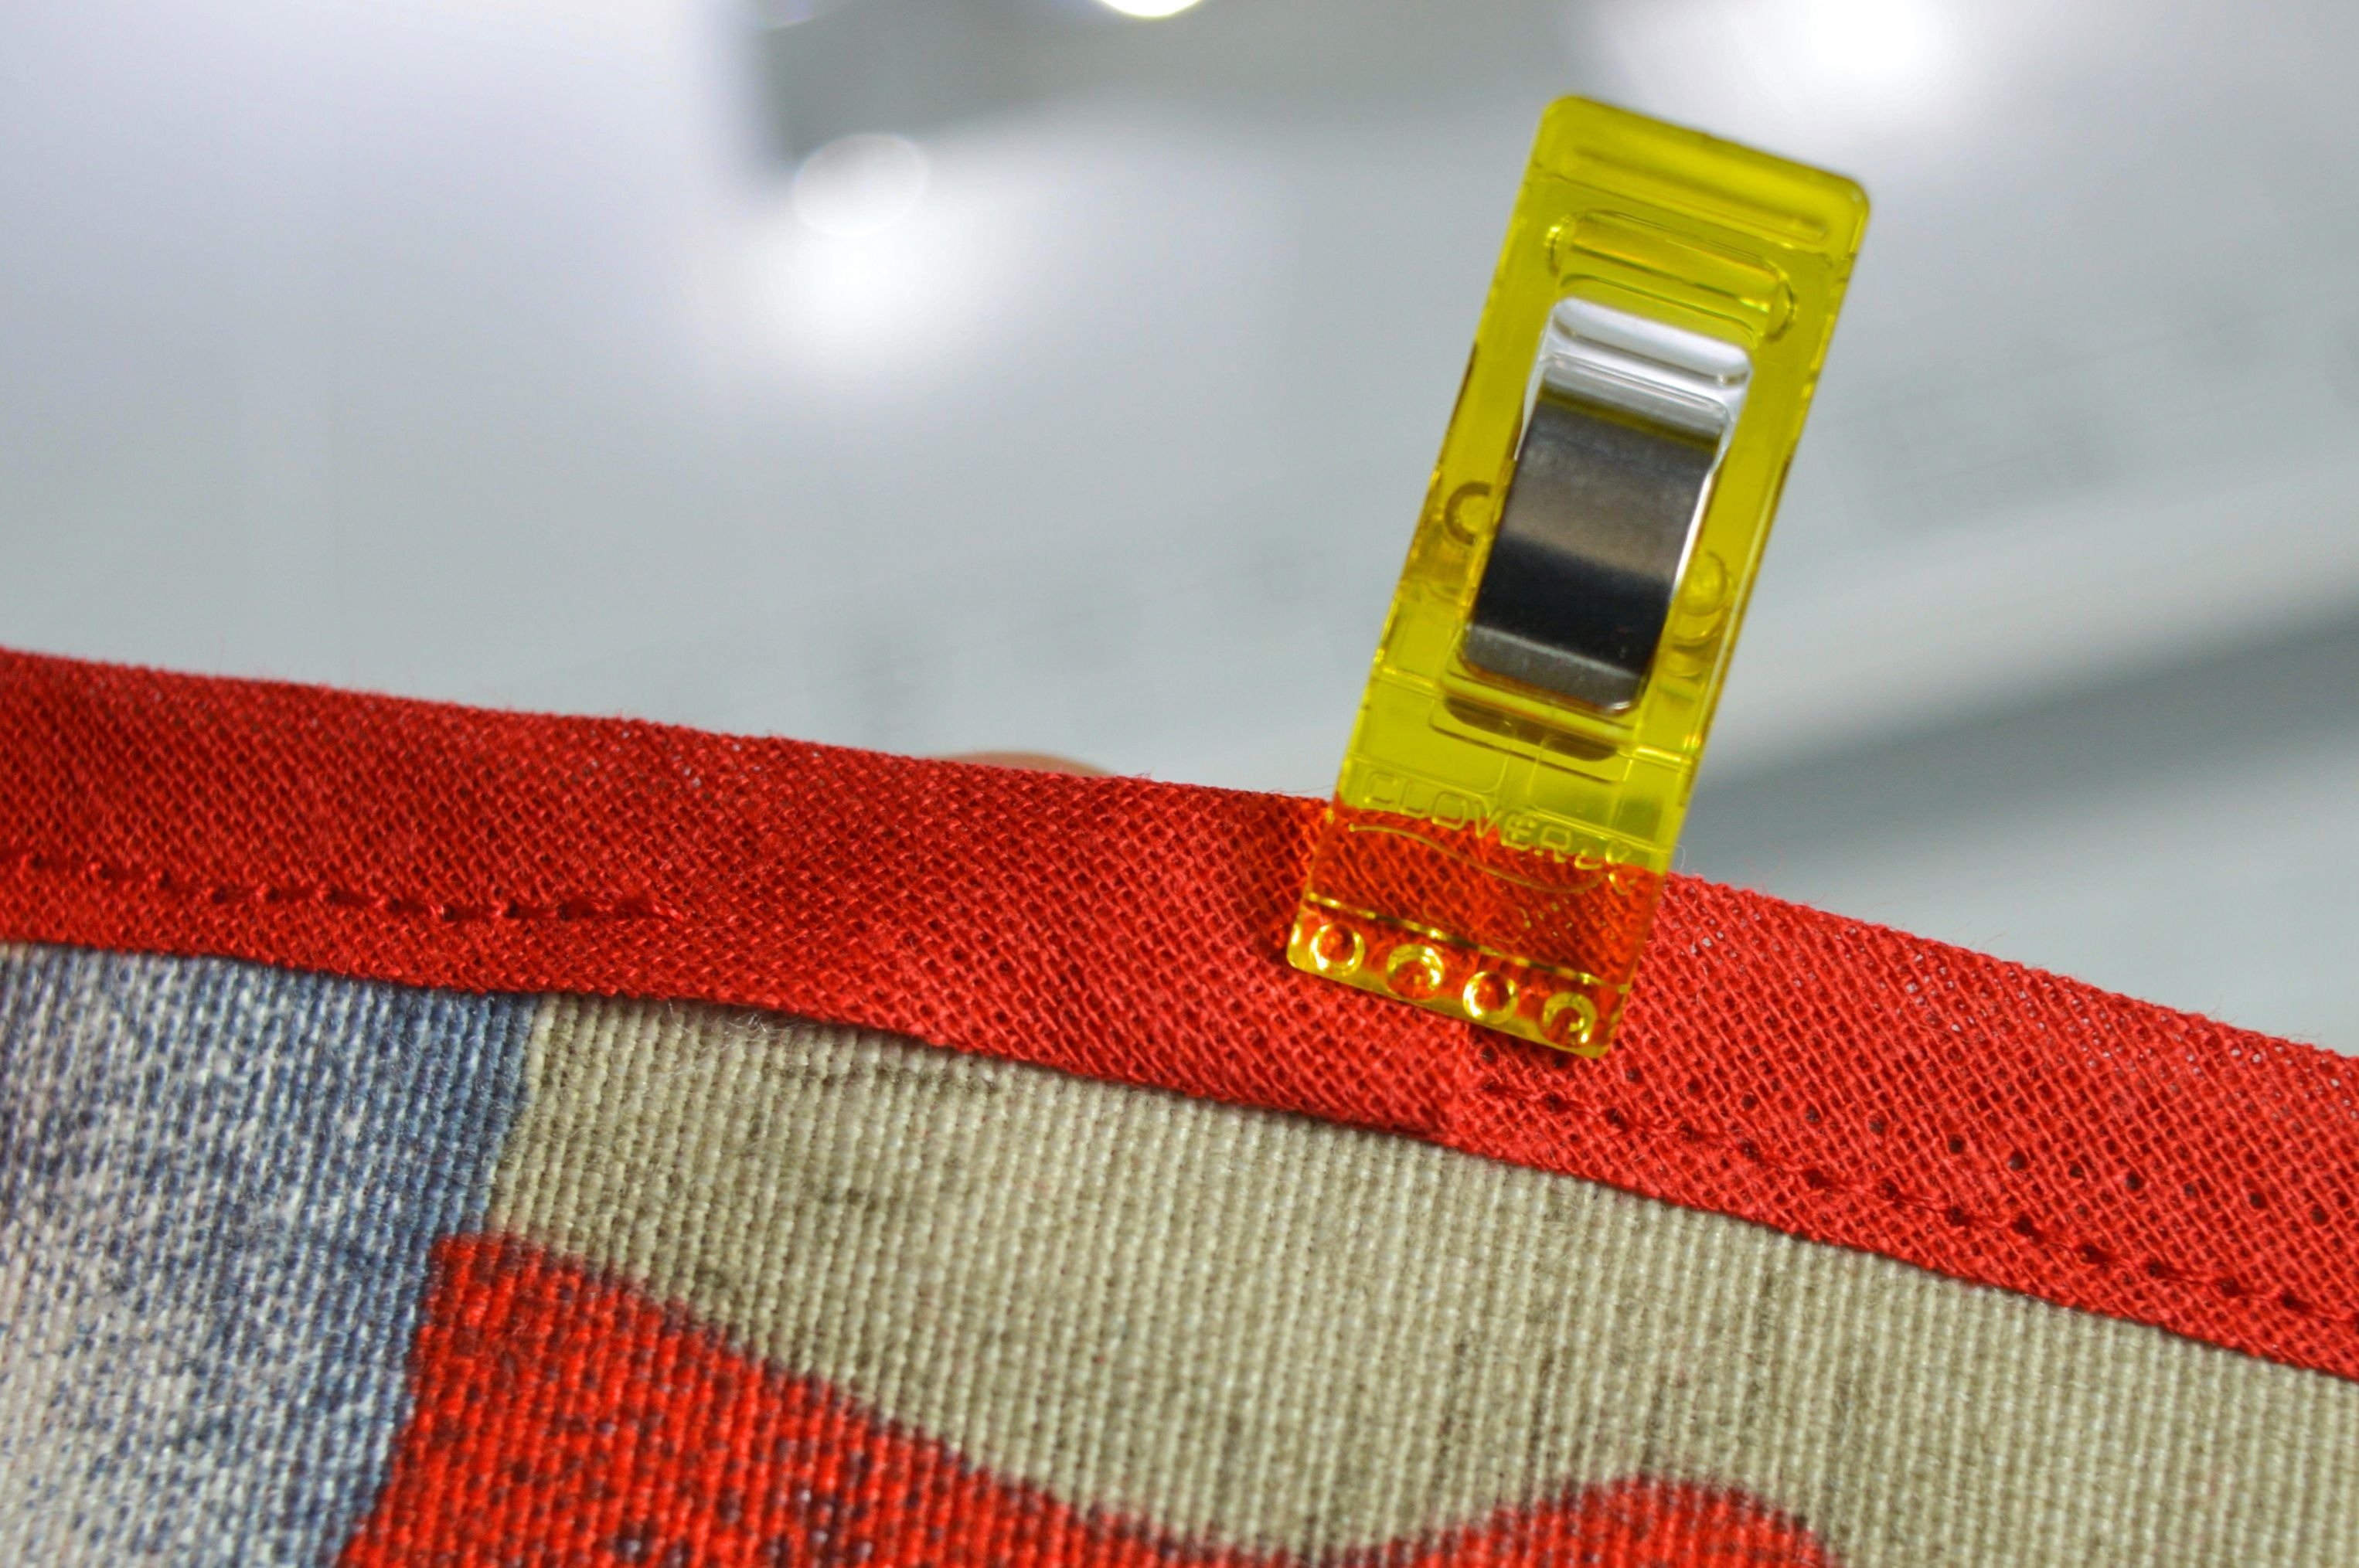
Using the Edgestitch foot #10 stitch the rest (approximately 2-3 cm unsewed tape) and secure the threads.
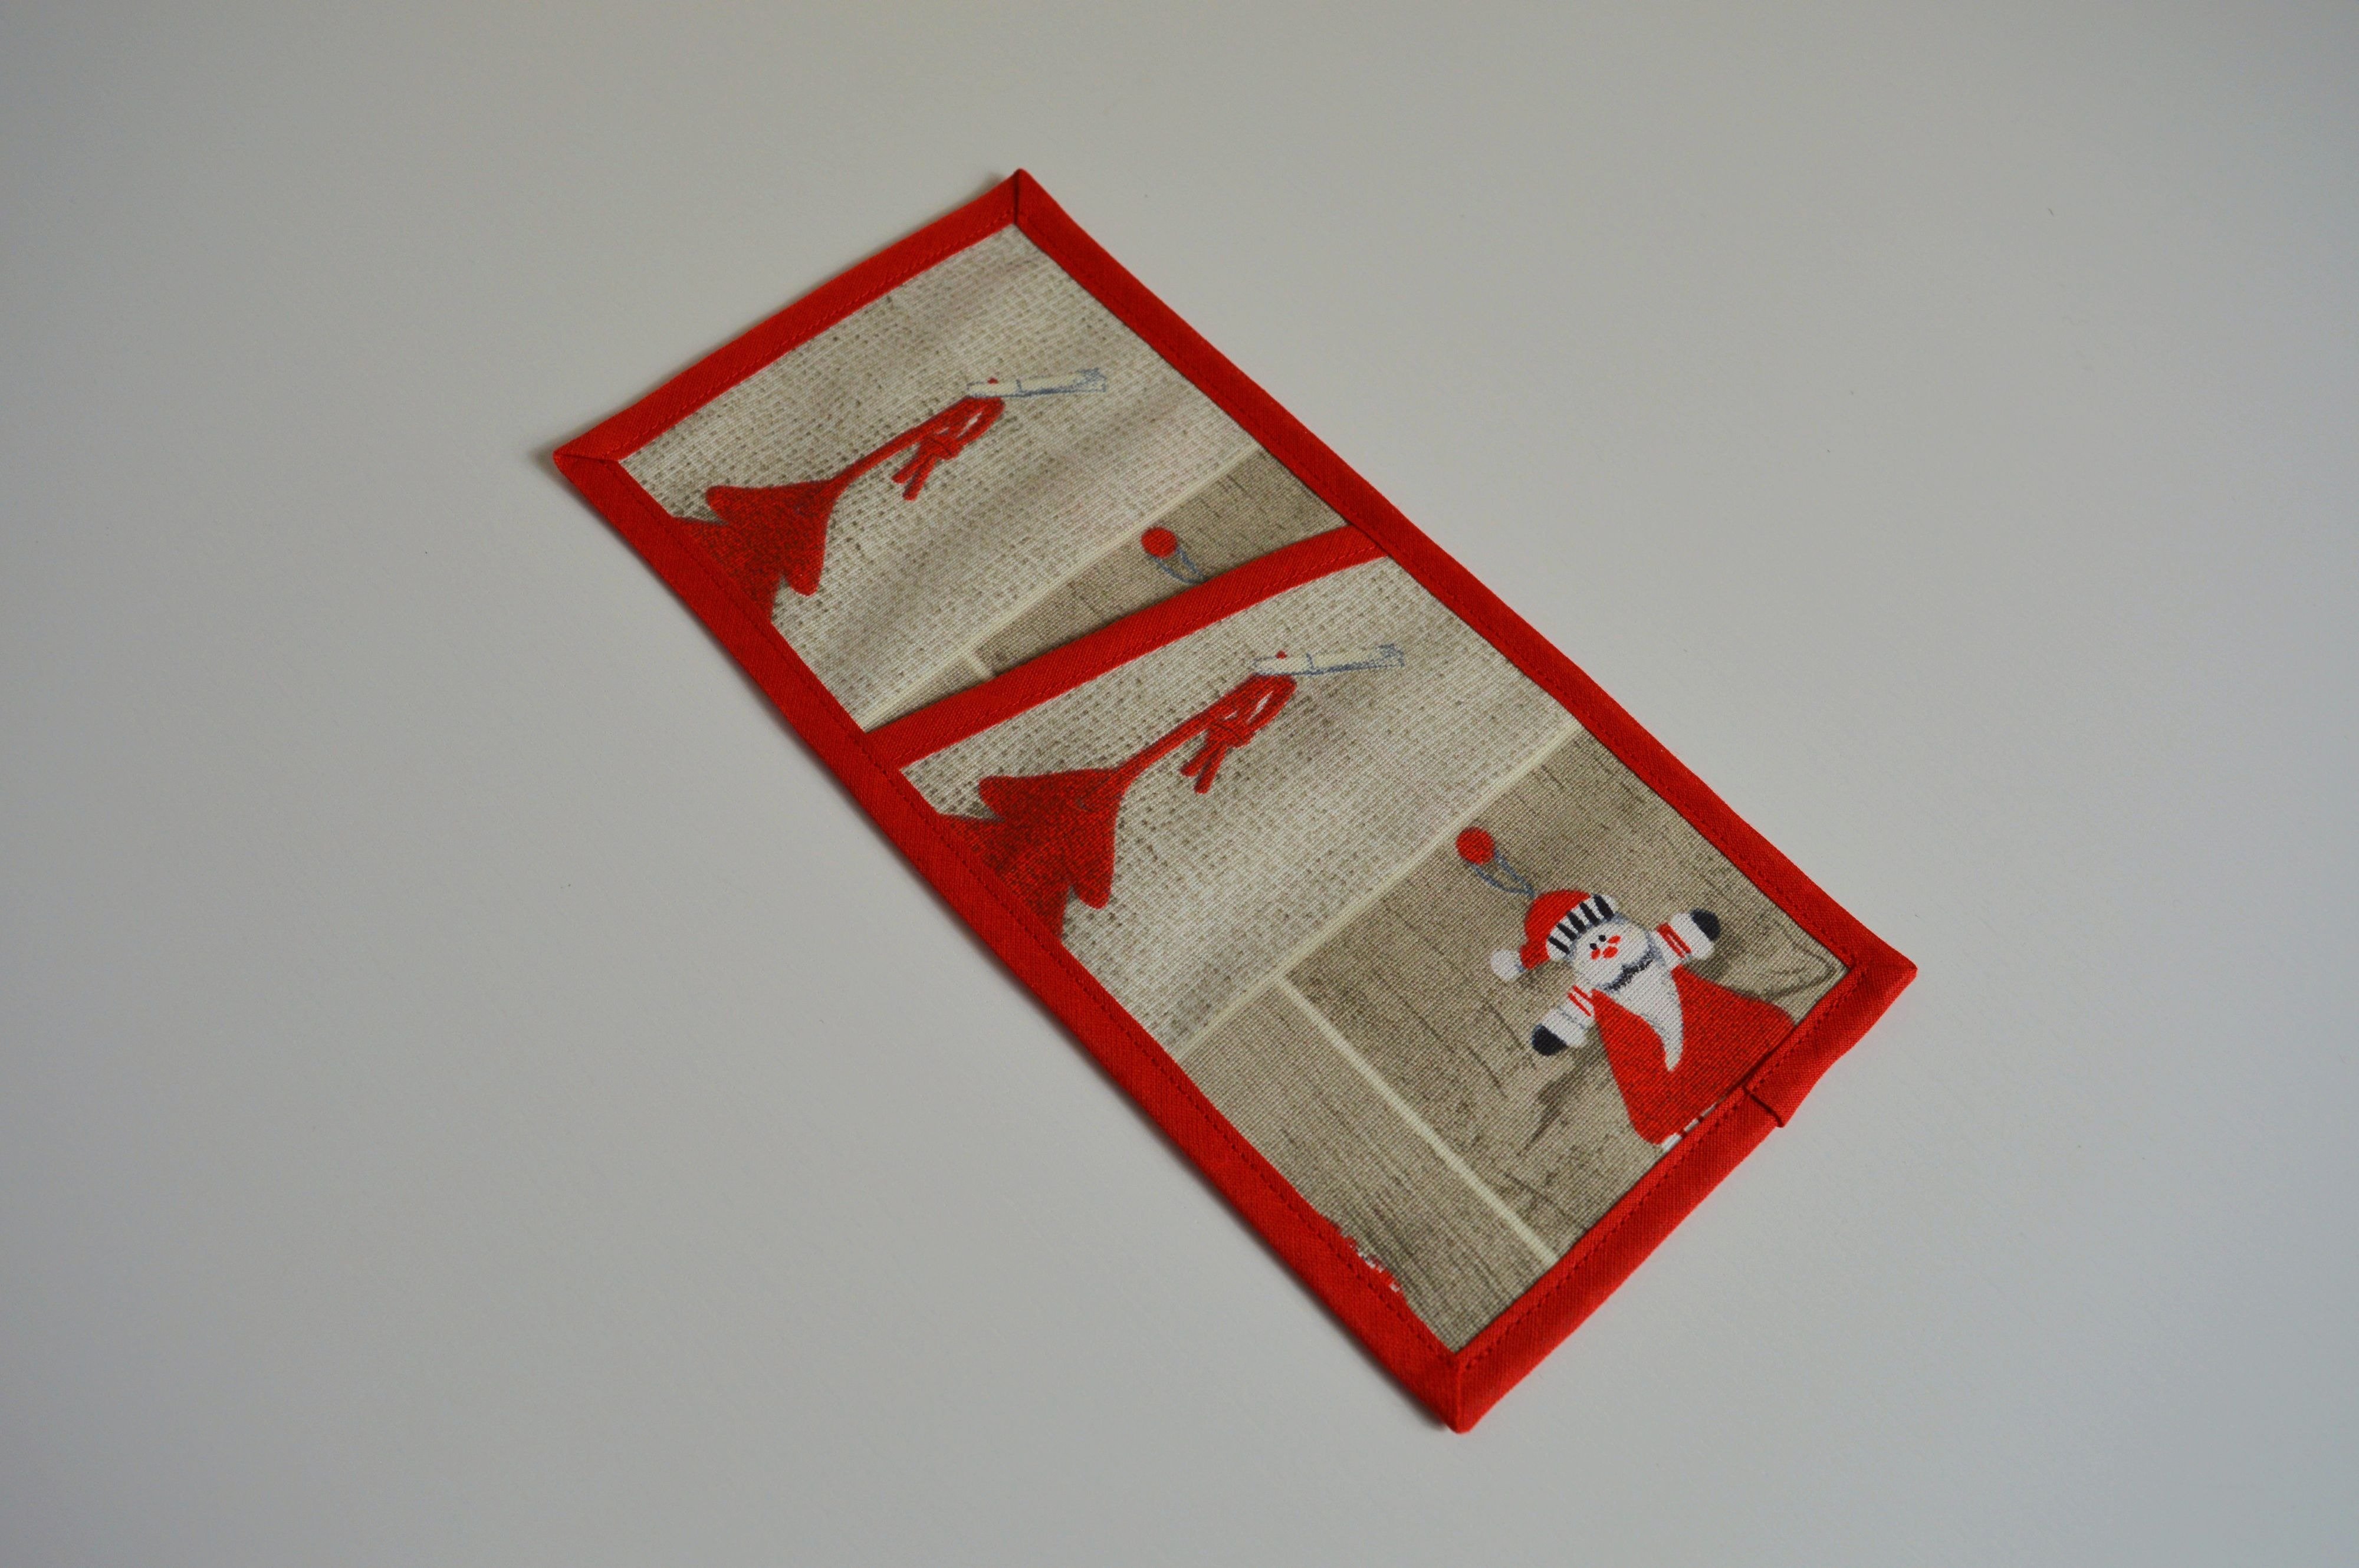
And the placemat is finished.
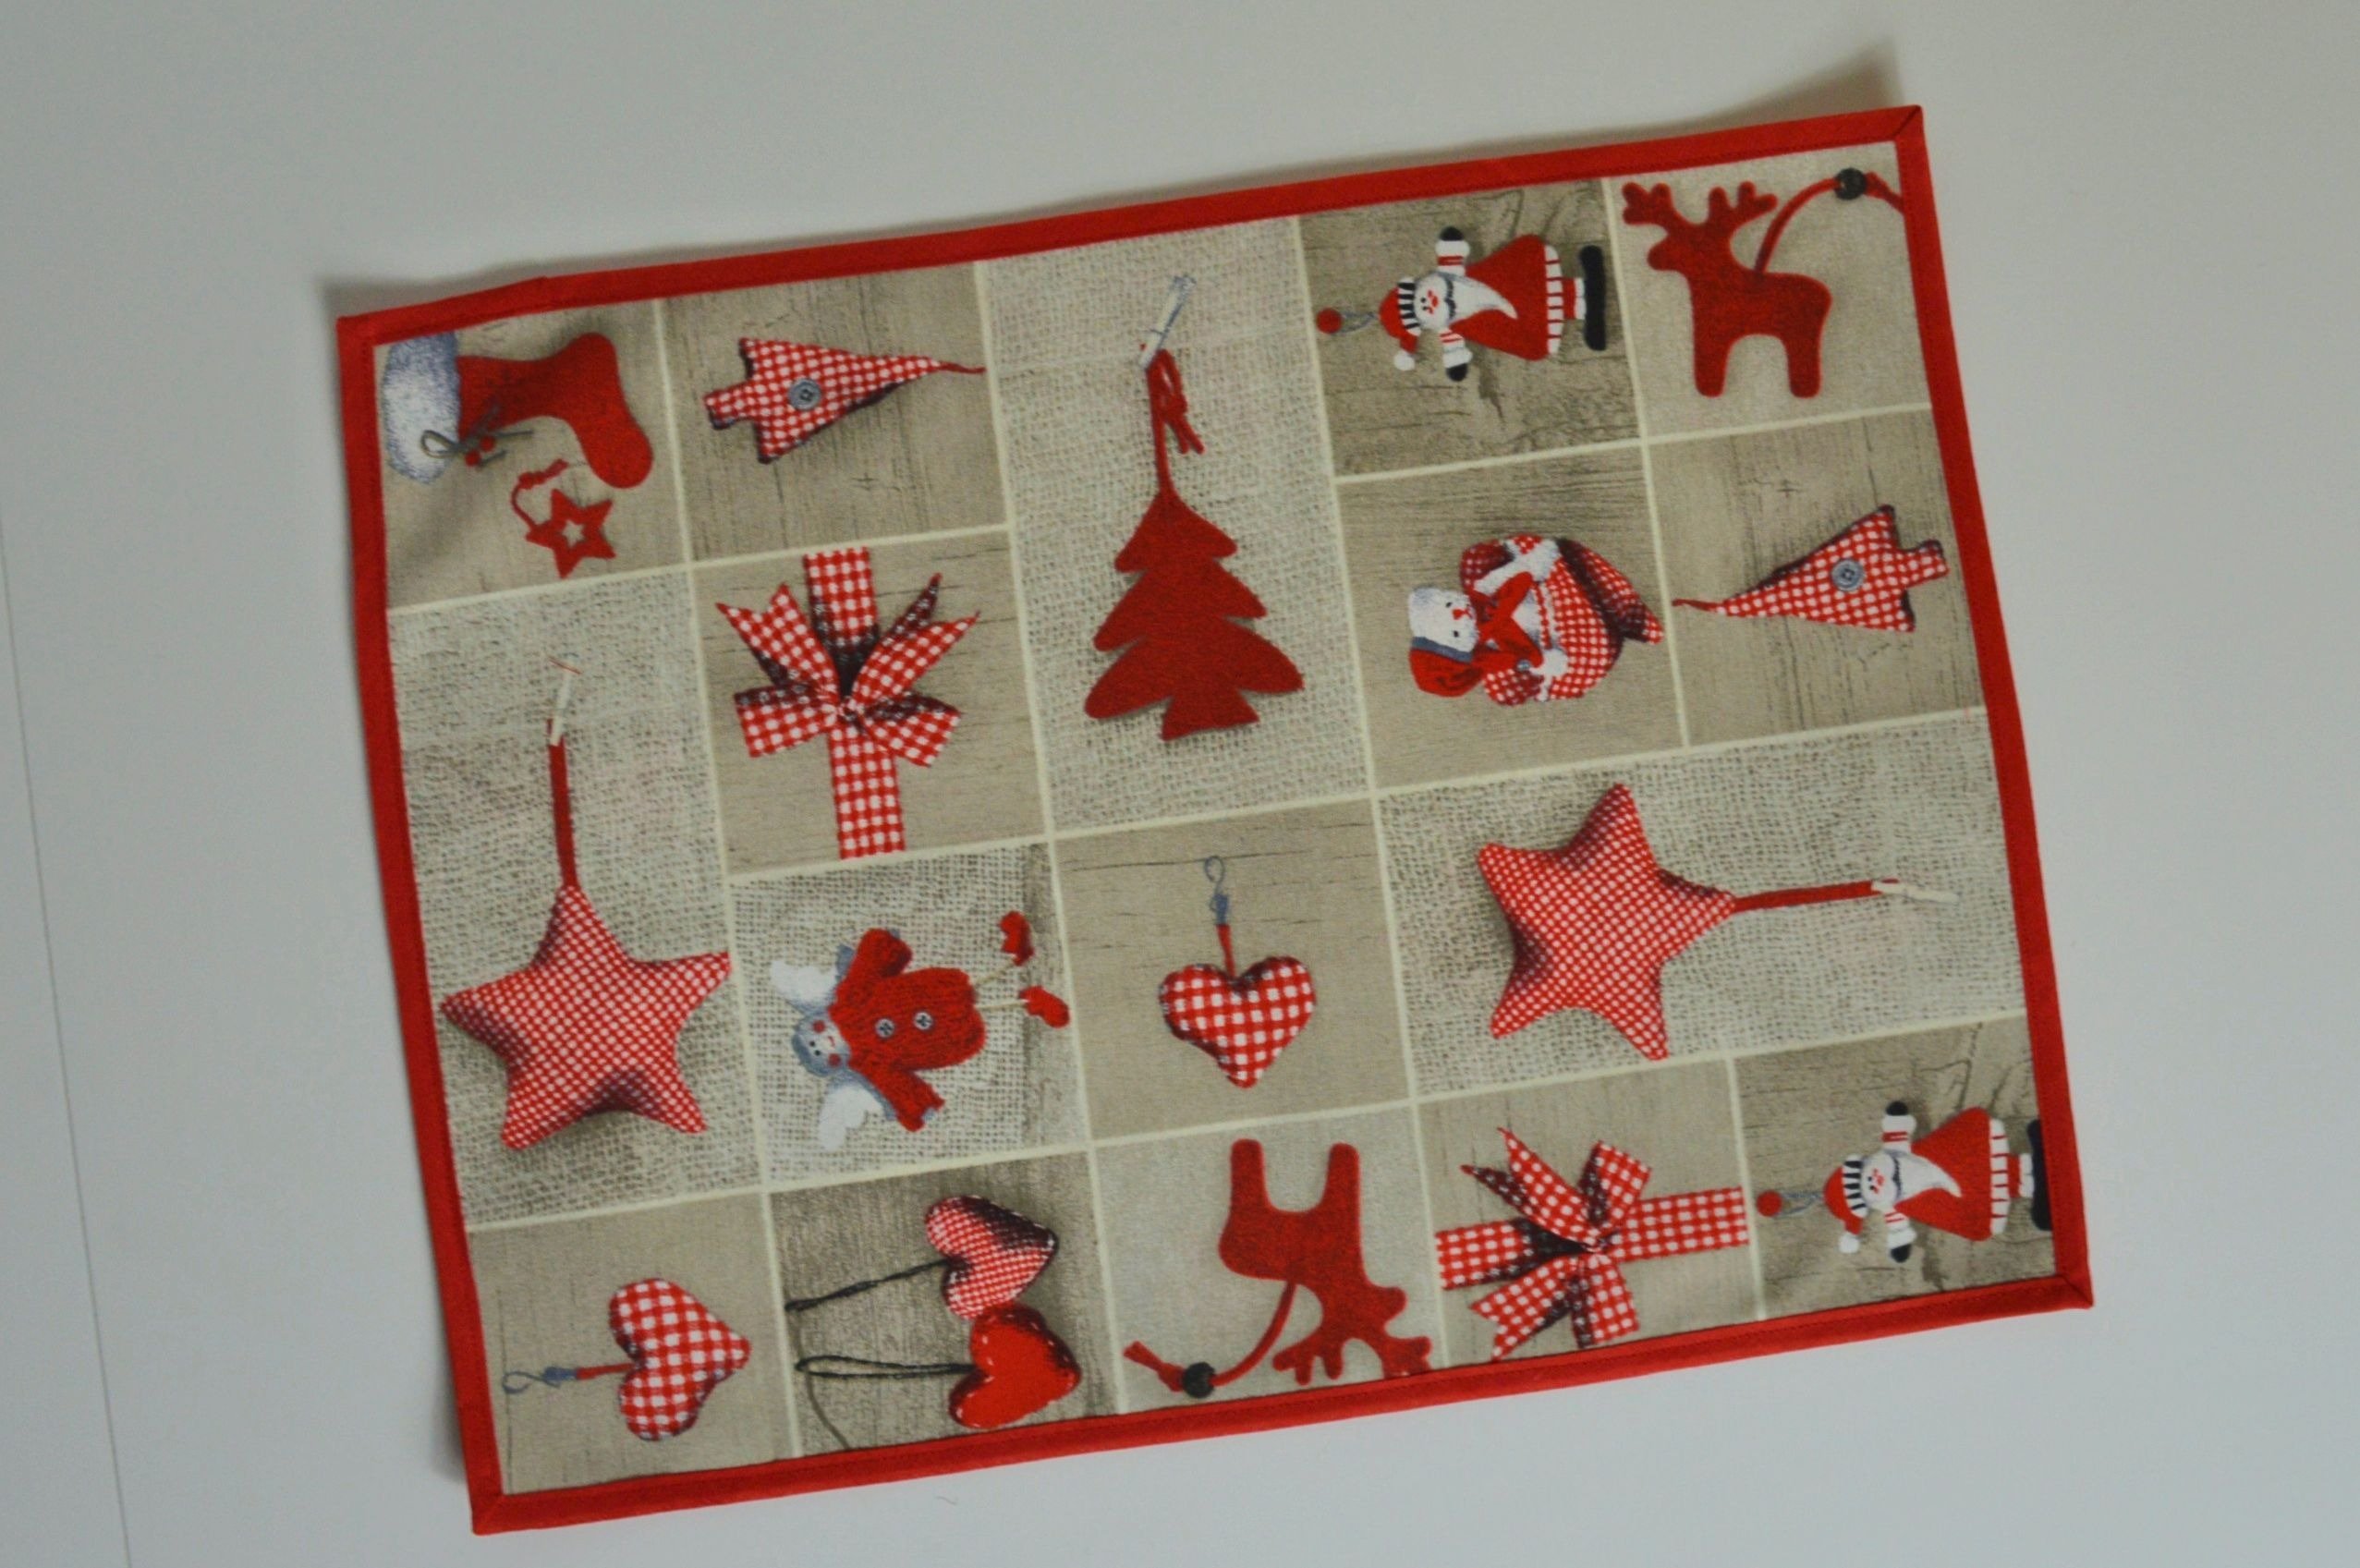
Placemat
COASTER
The coaster is an item used to place a glass on it, to protect the surface of the table. They are made of different materials, and the most common forms, in which they can be found, are circle and square.

Coaster
As with the placemat, here also the pattern consists of two square pieces.
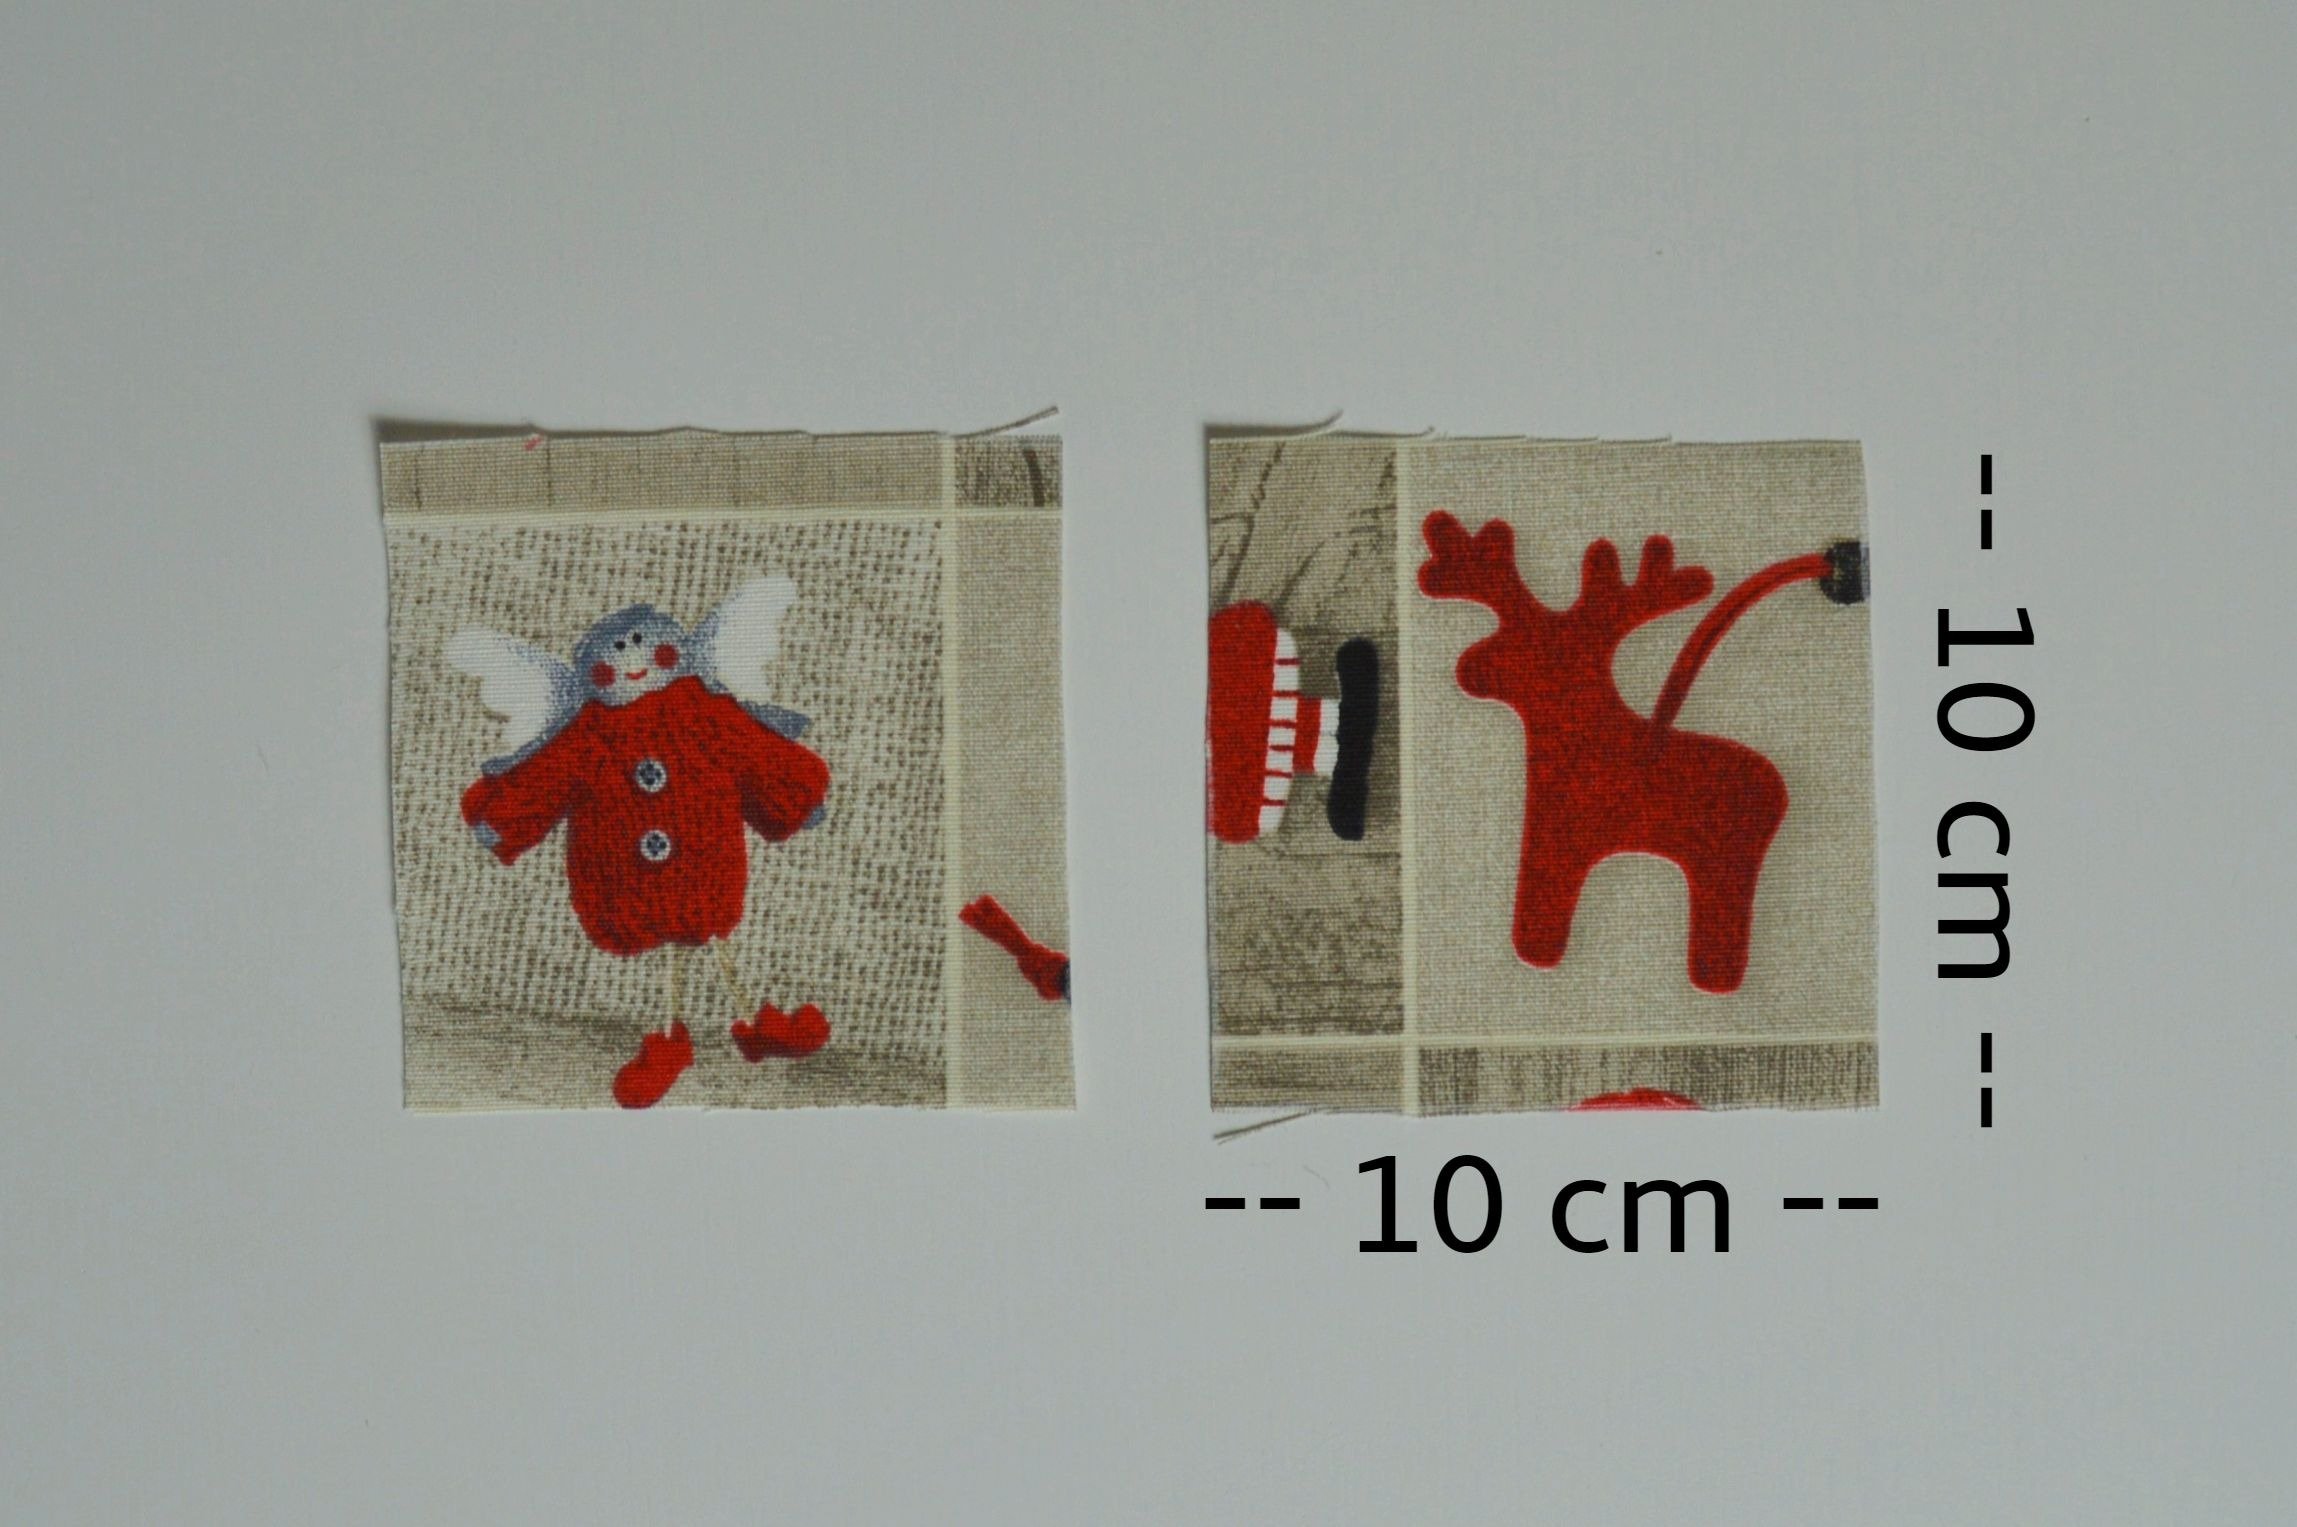
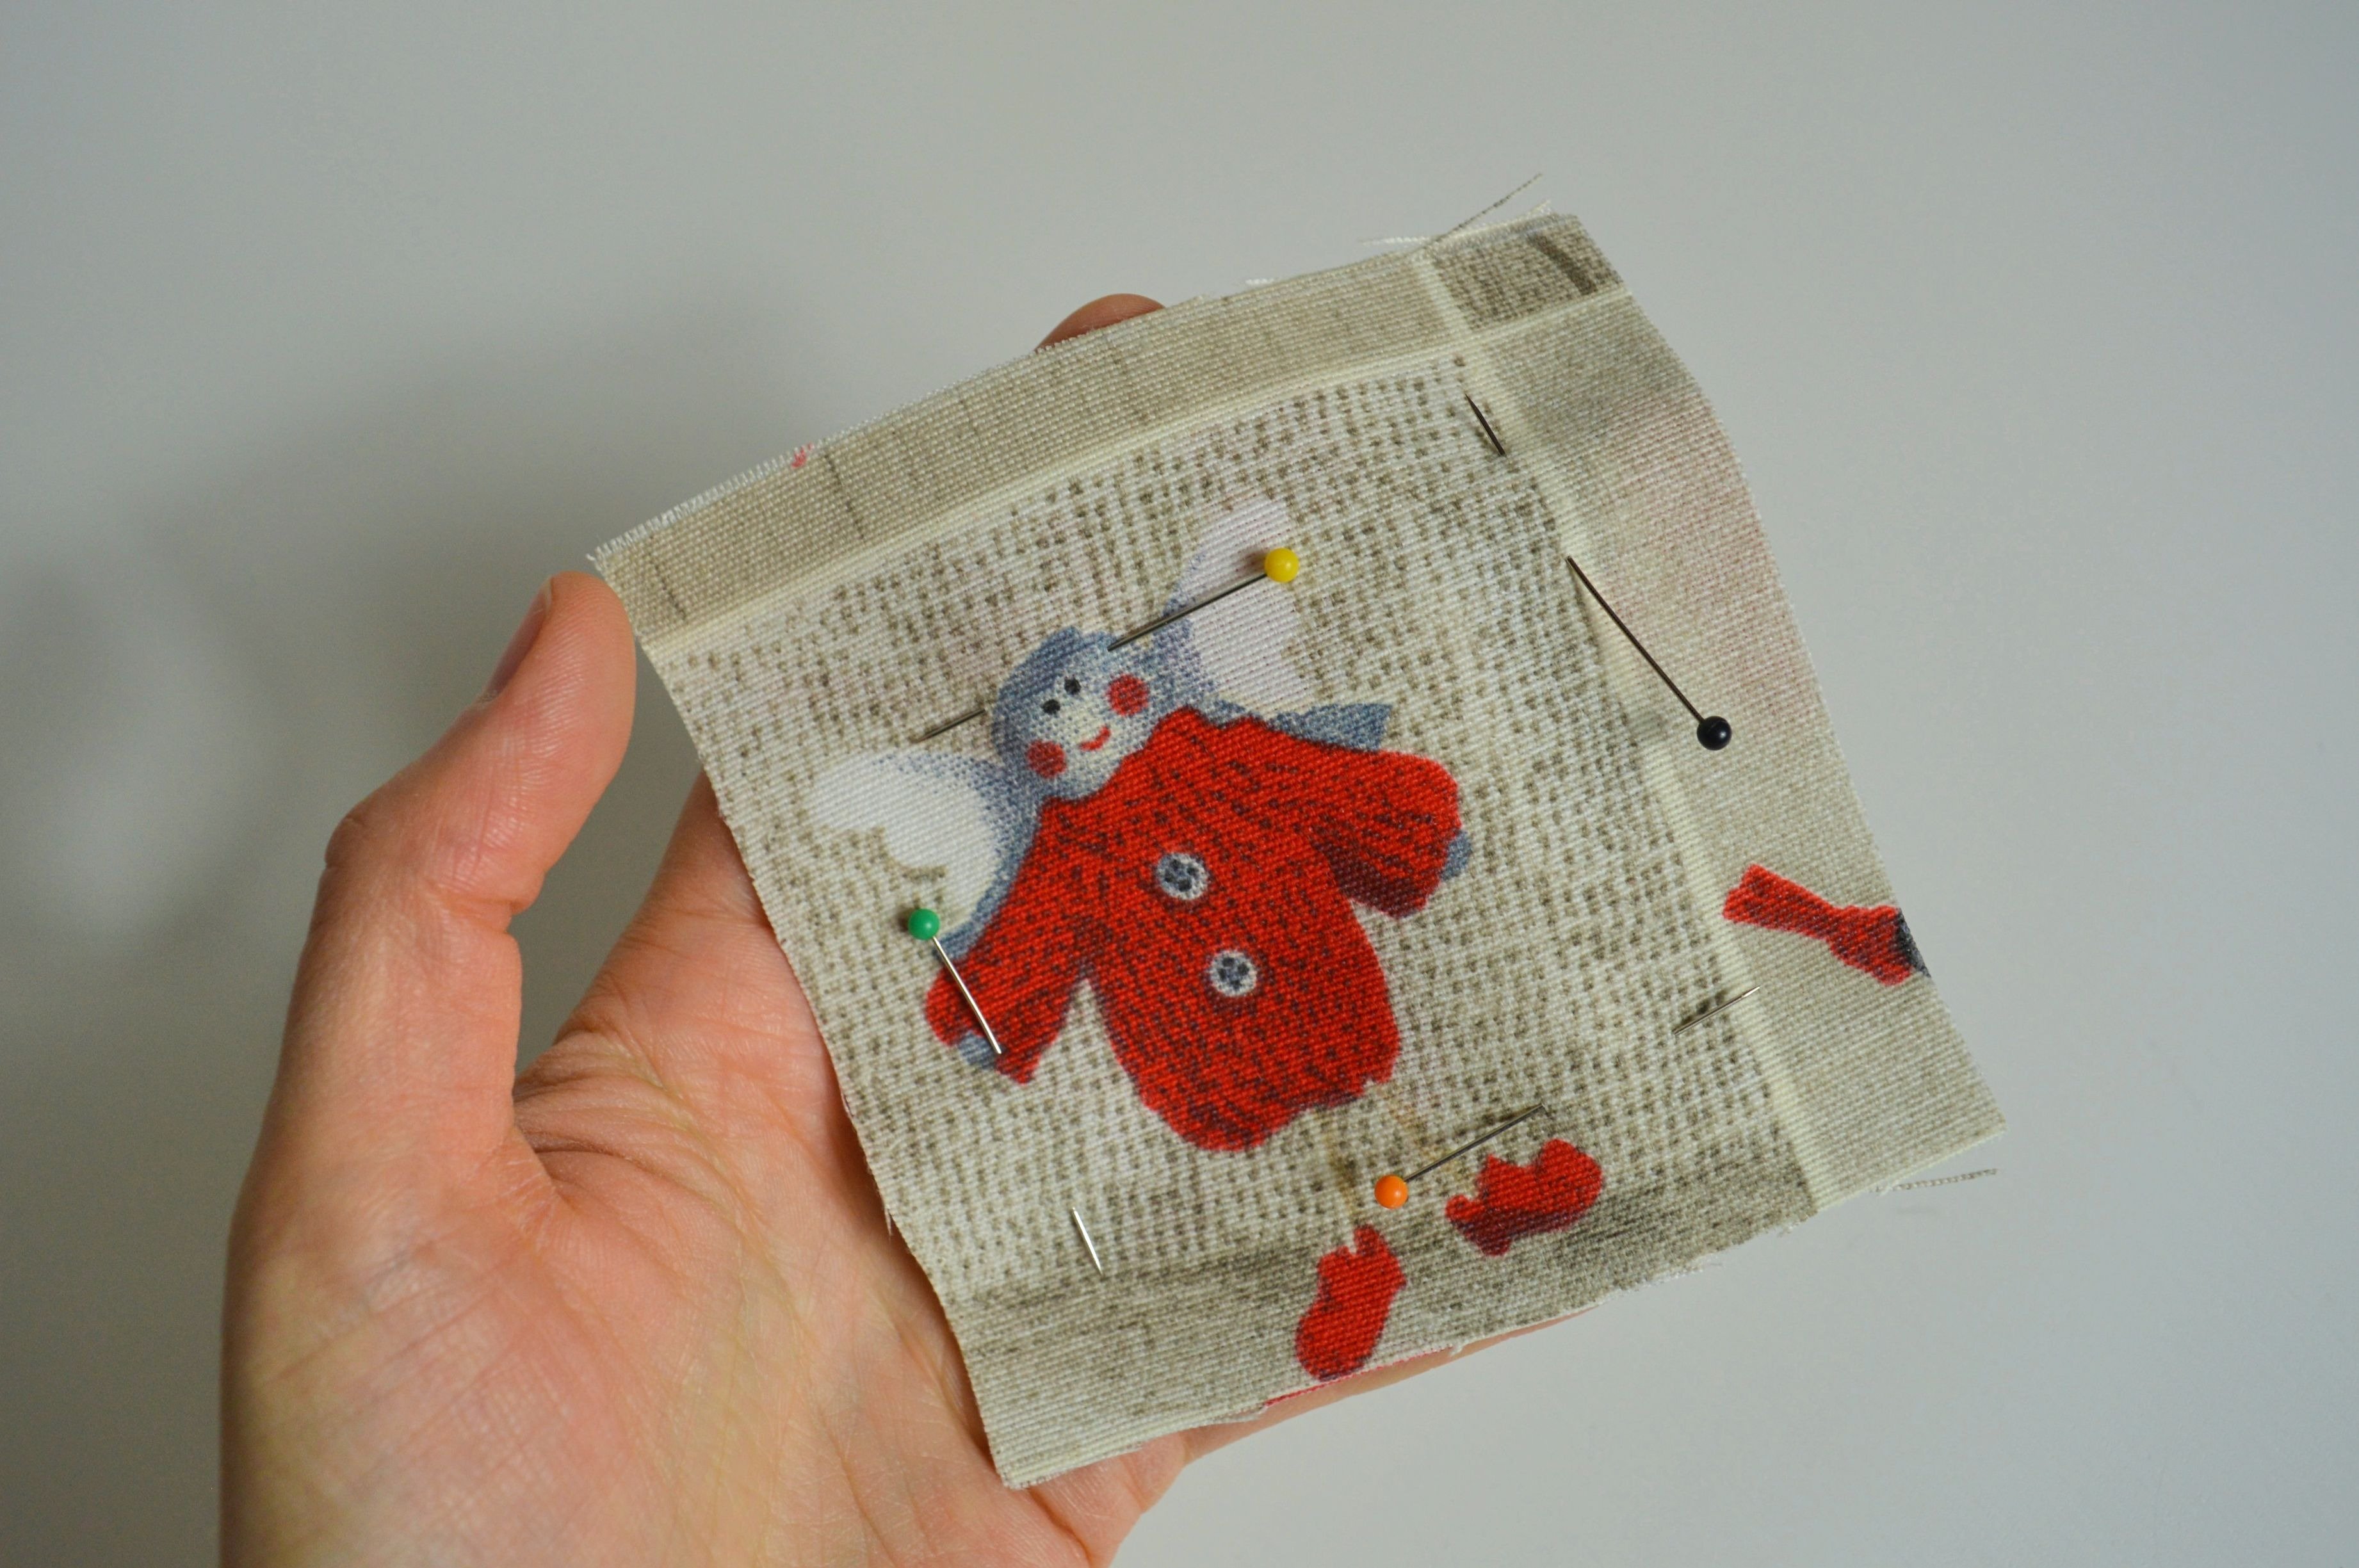
Cut from fabric two square pieces 10×10 cm.
Pin it, the wrong sides together.
Sew on bias tape using the Binder attachment, as it is already previously shown.
For one coaster, you need approximately 0,43 m pre-folded bias tape.
The coaster is done.
Now, you can make more of them.
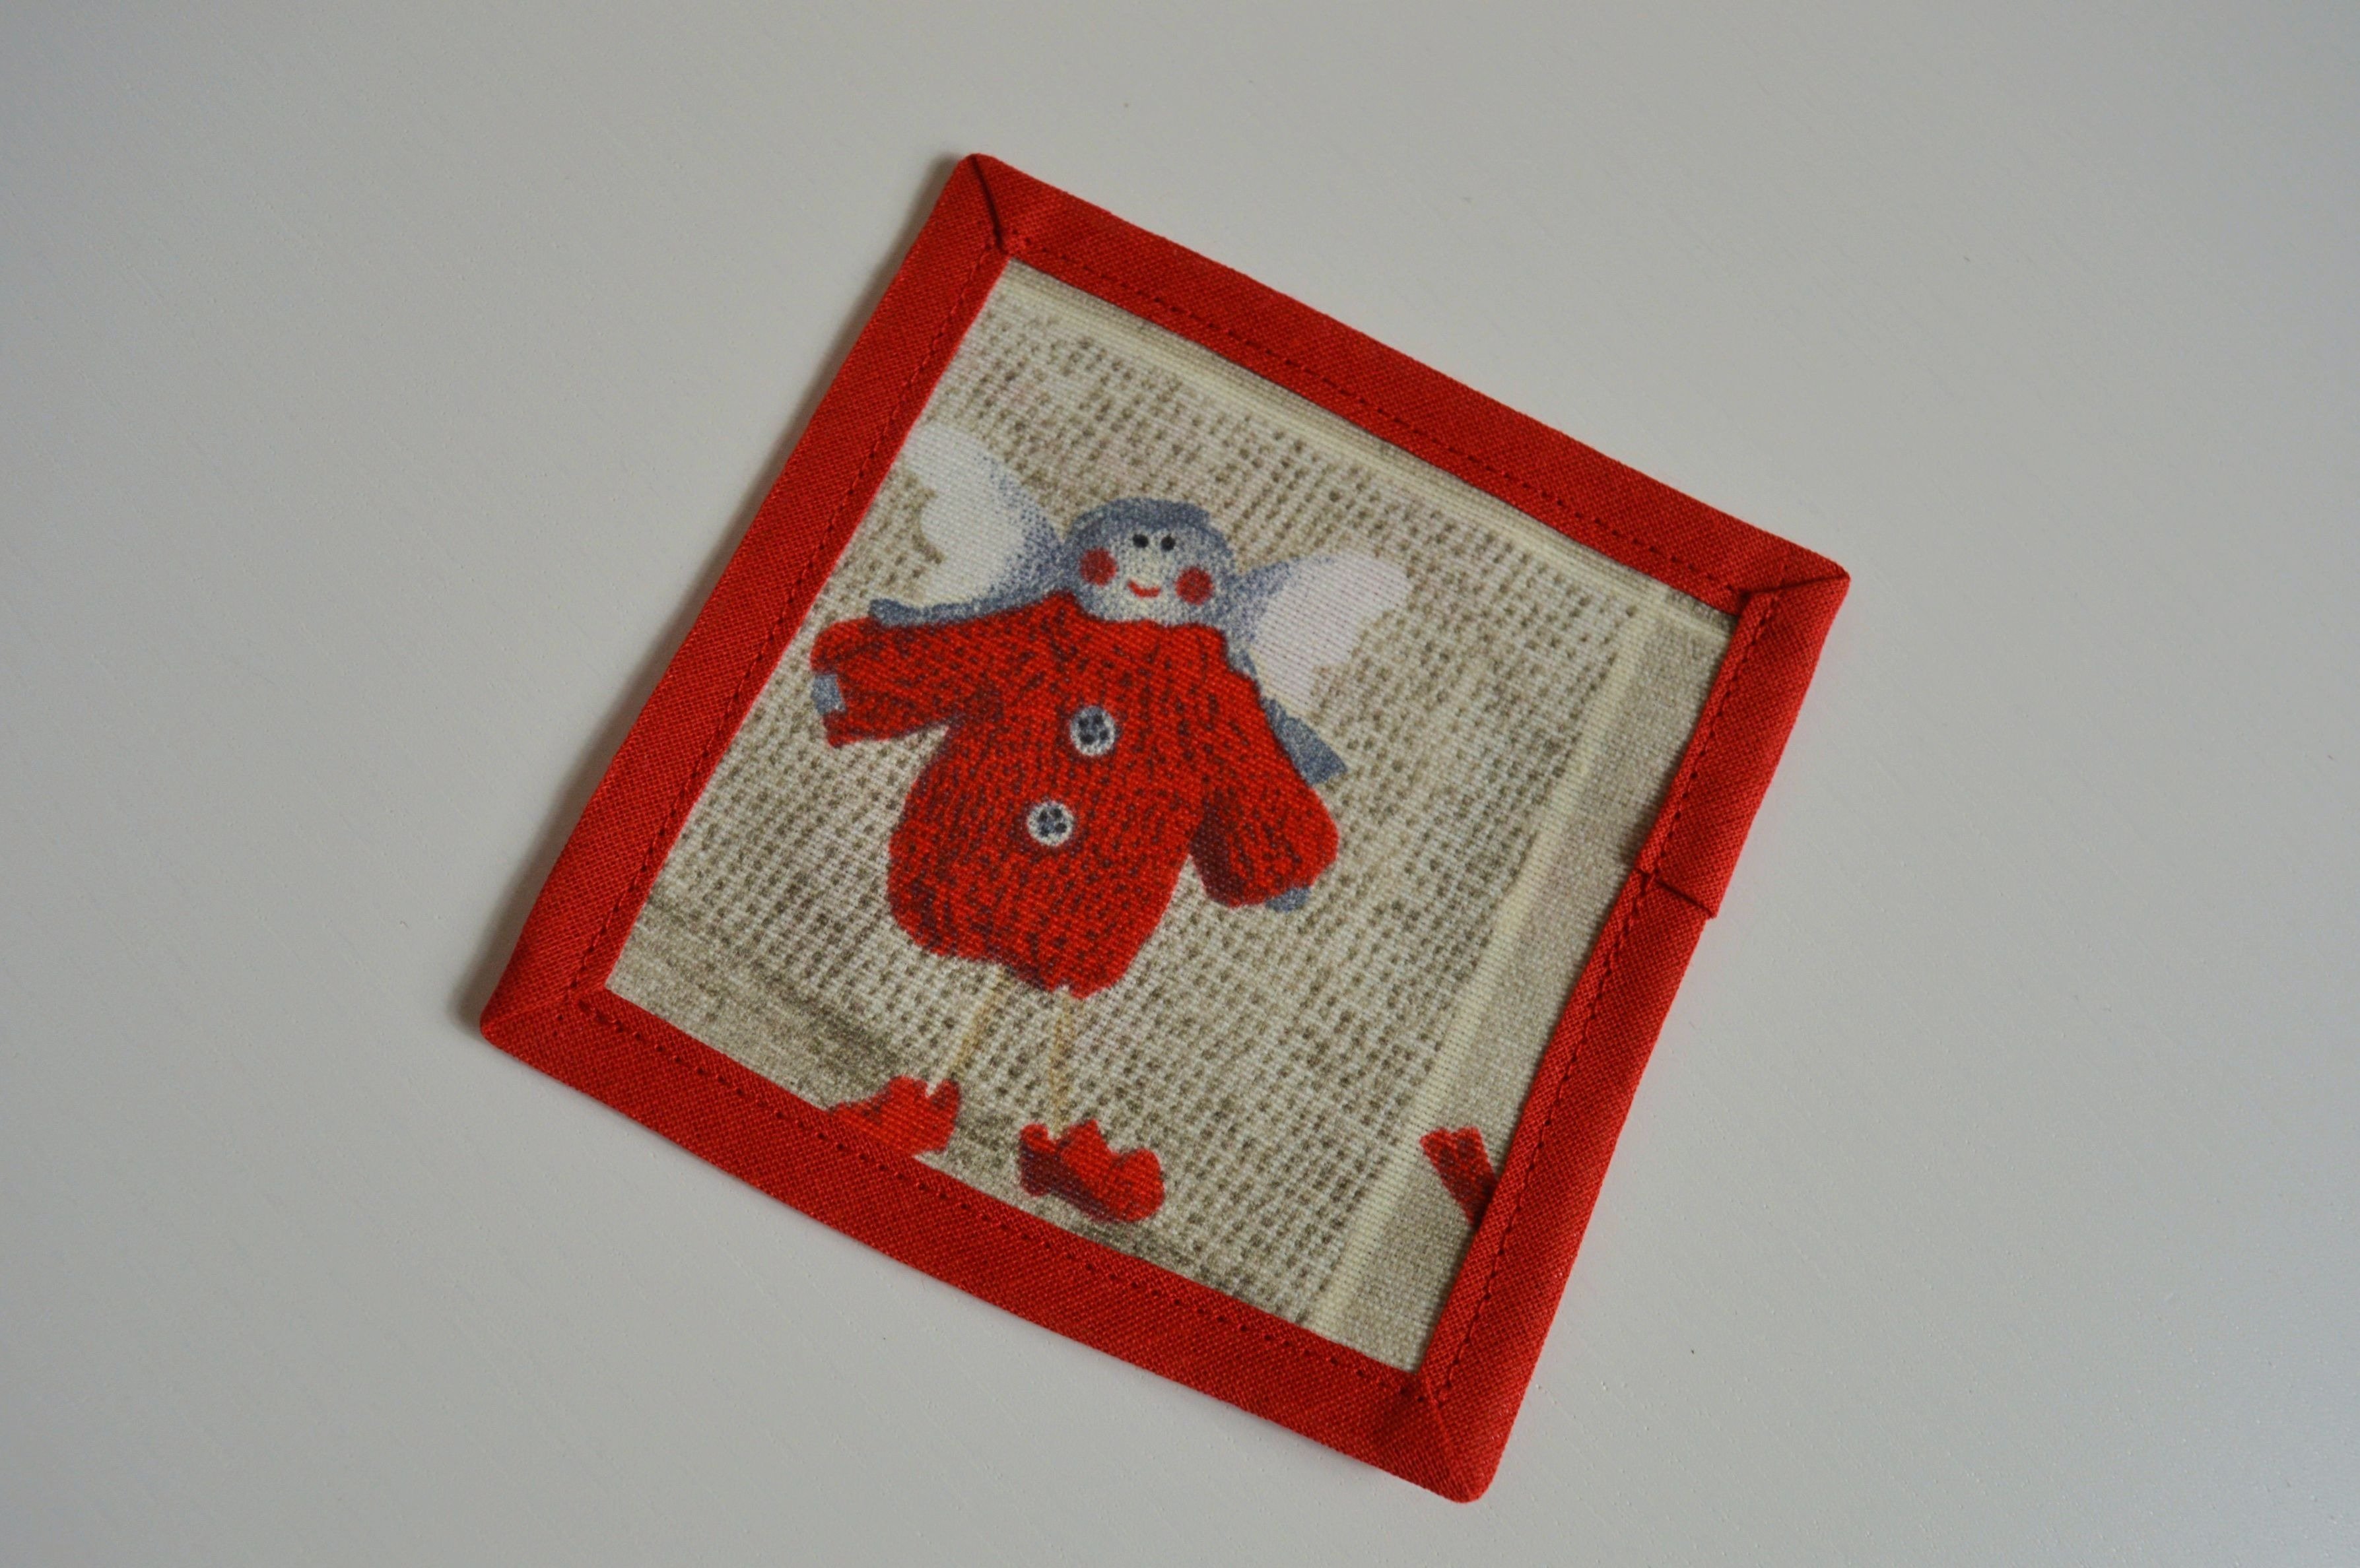
Coaster
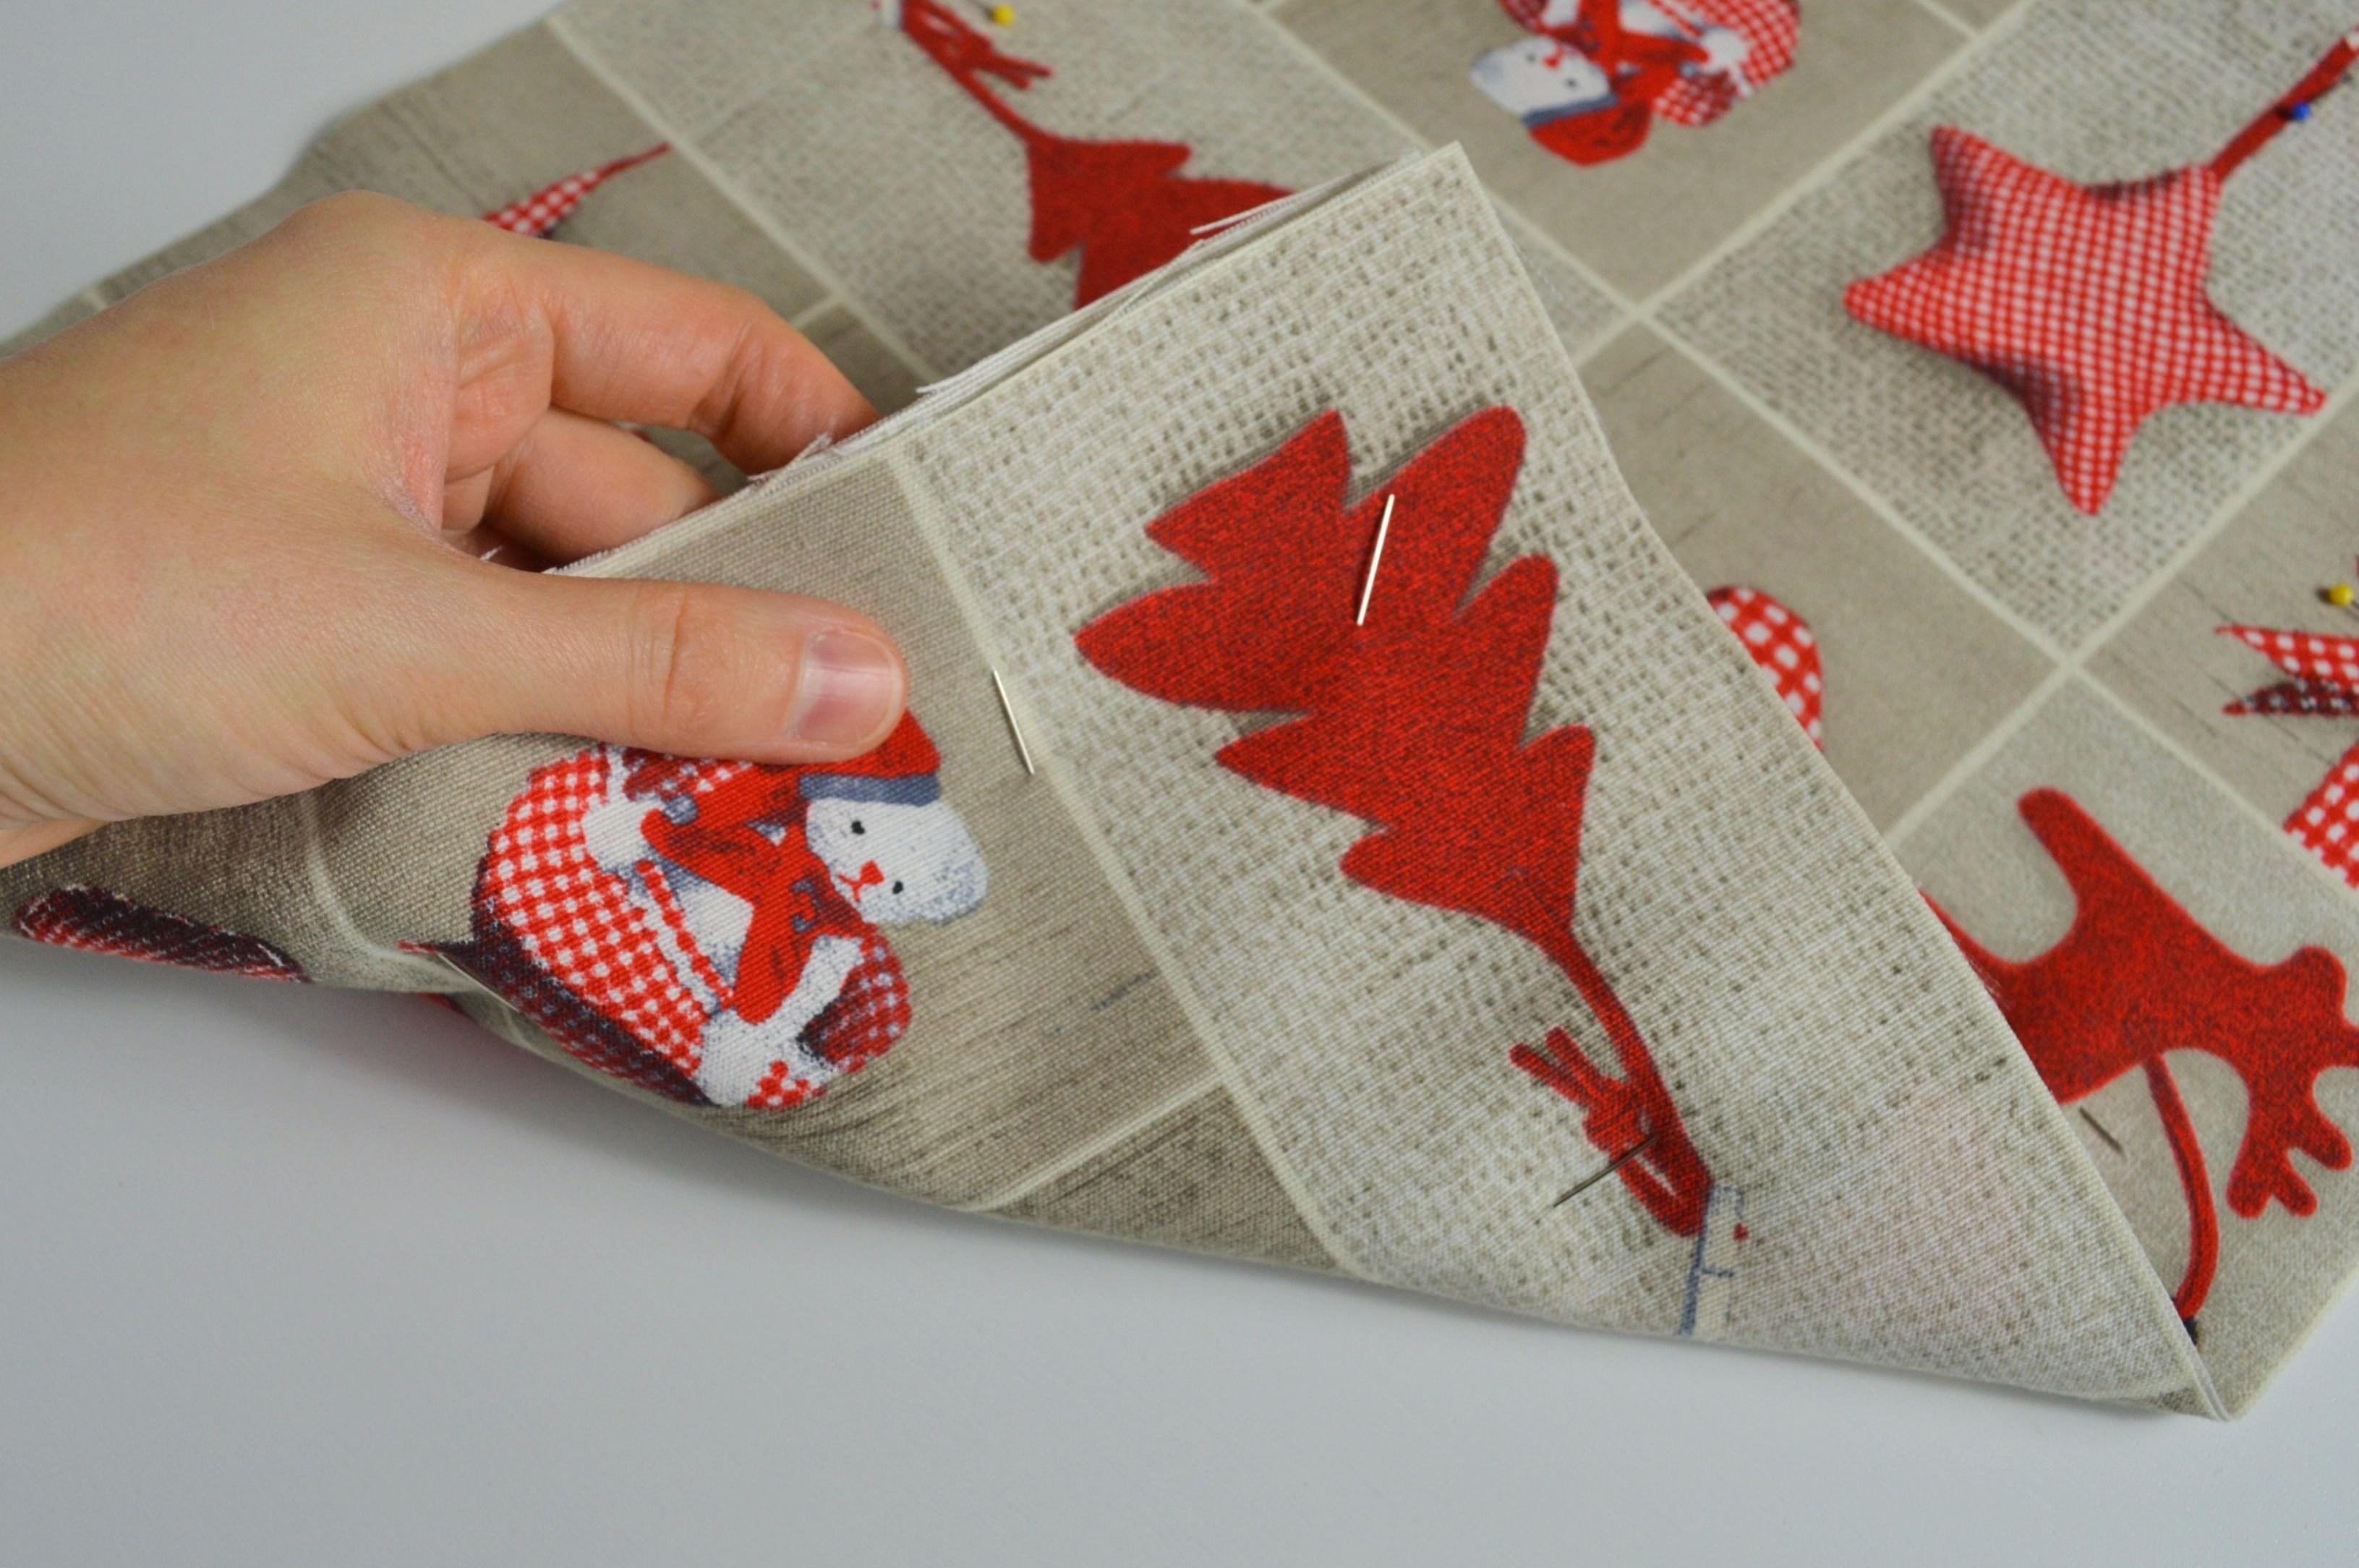
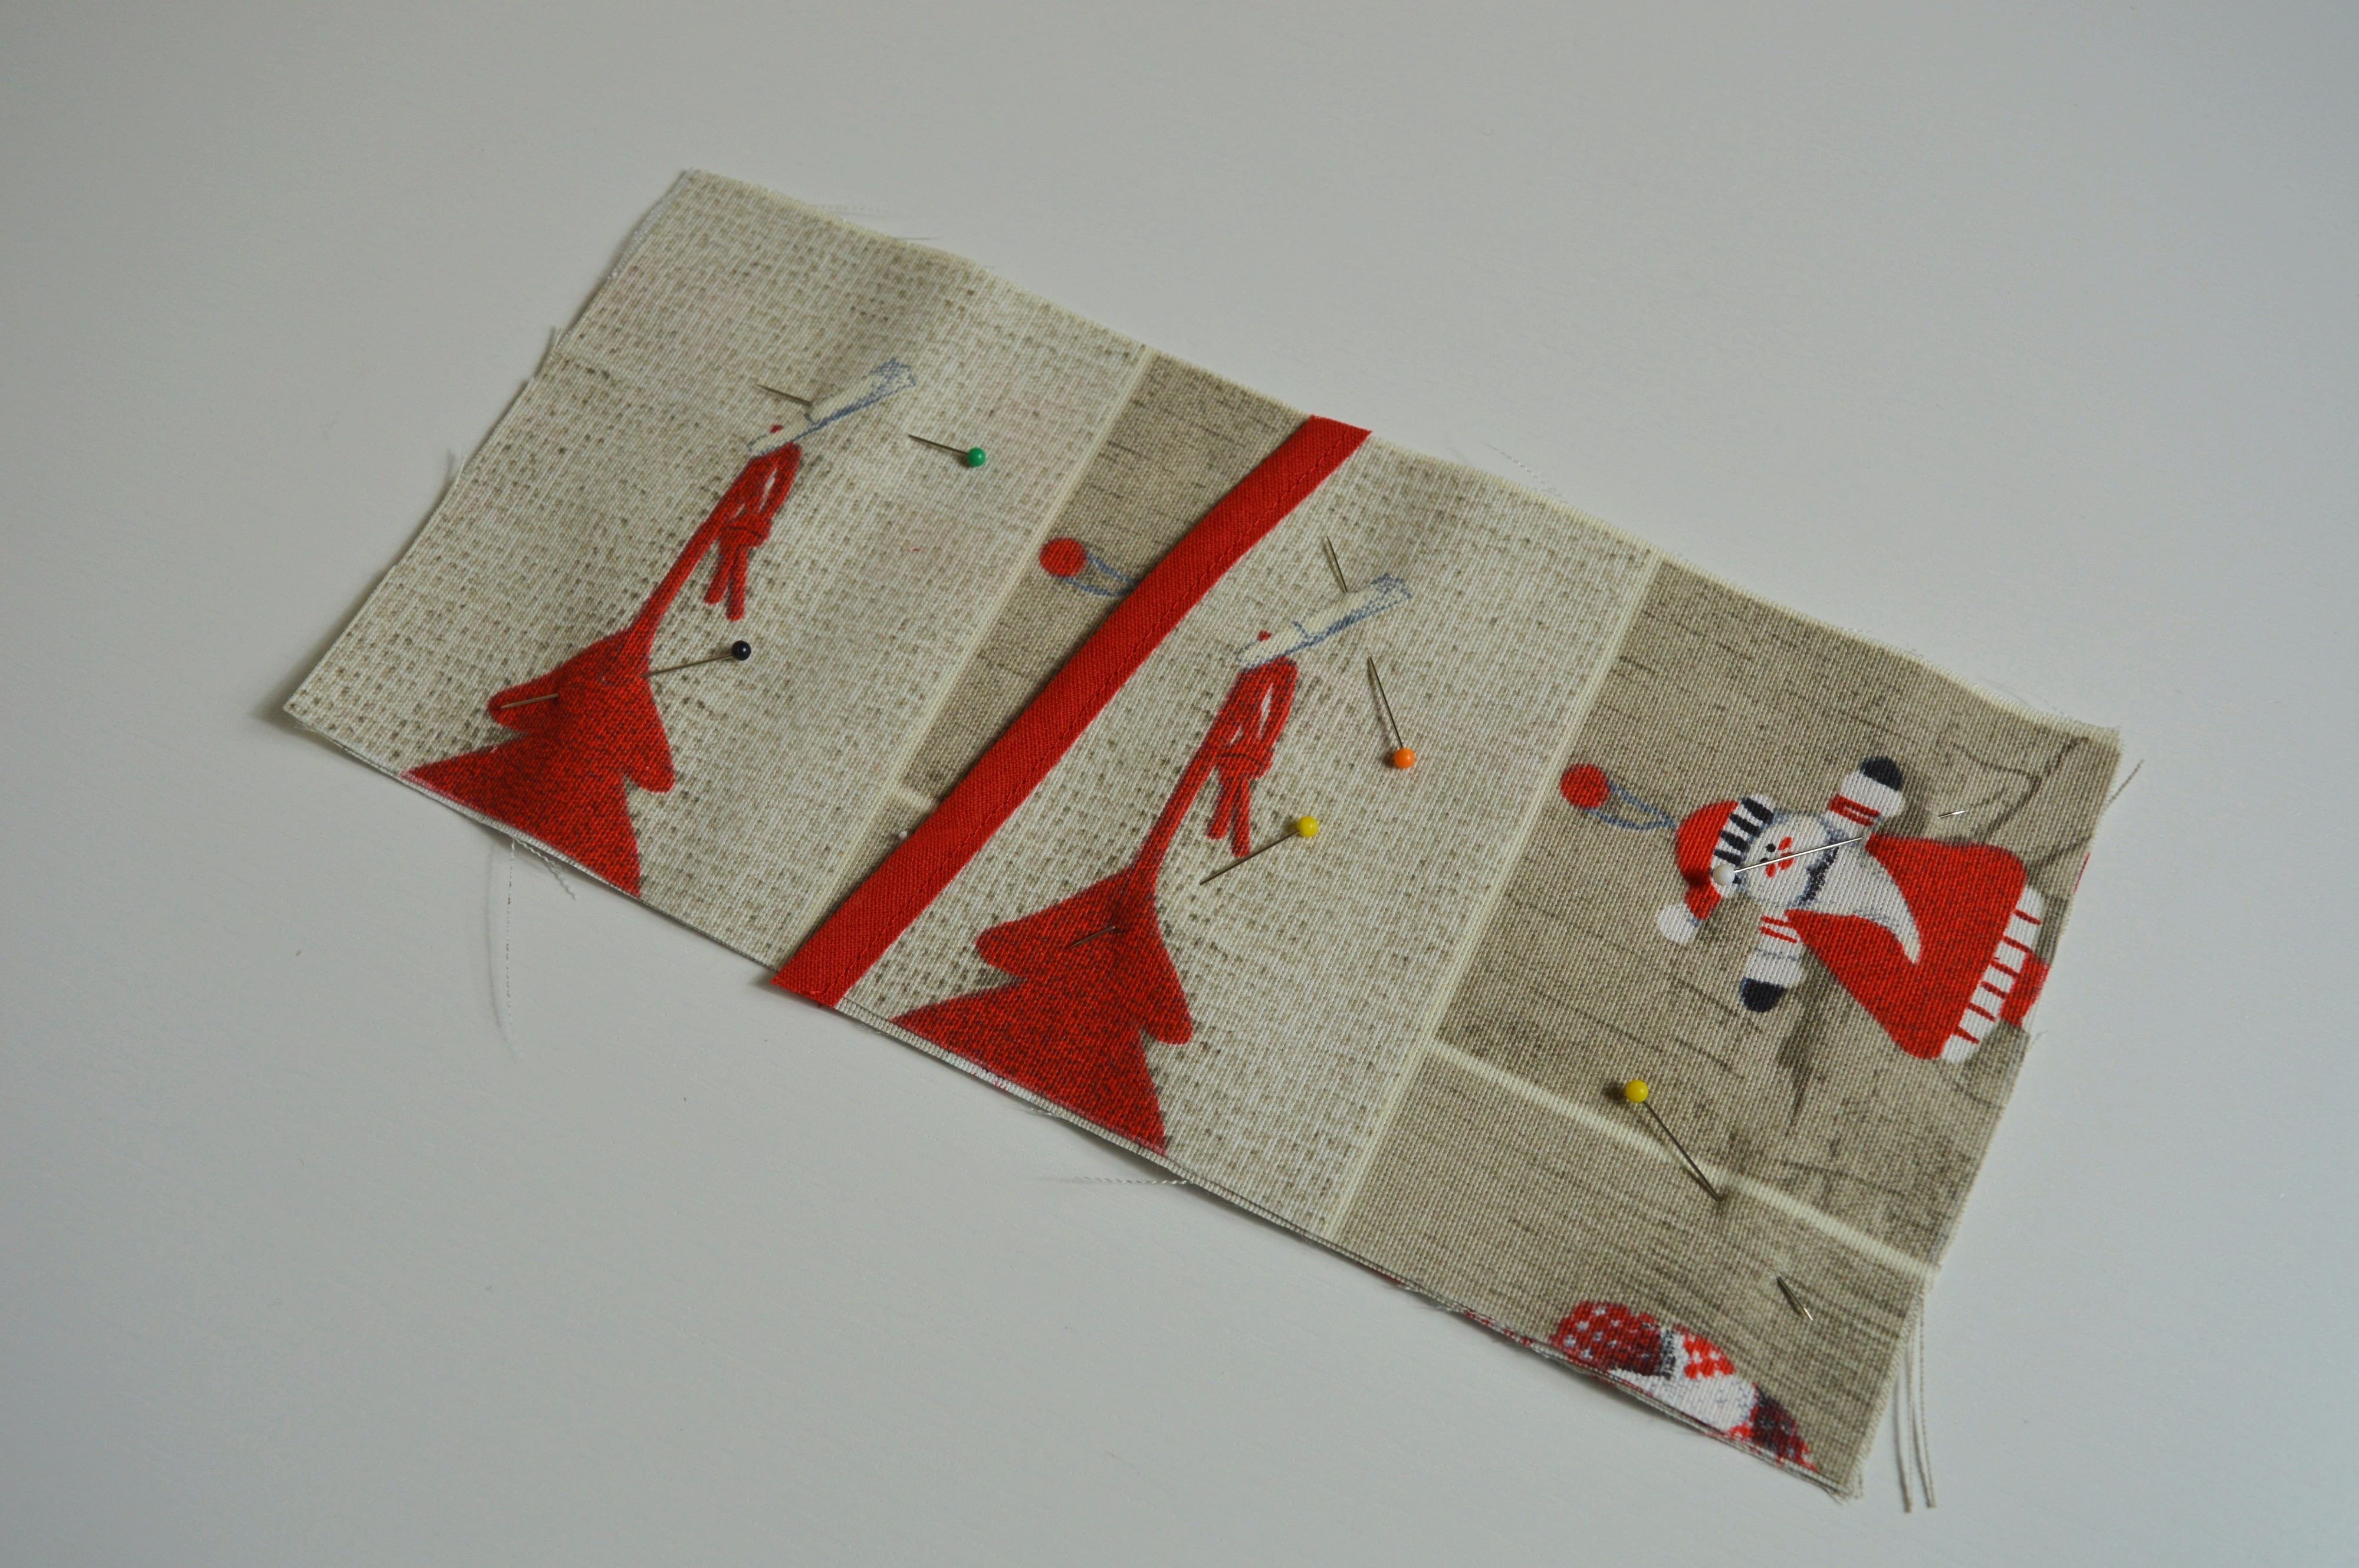
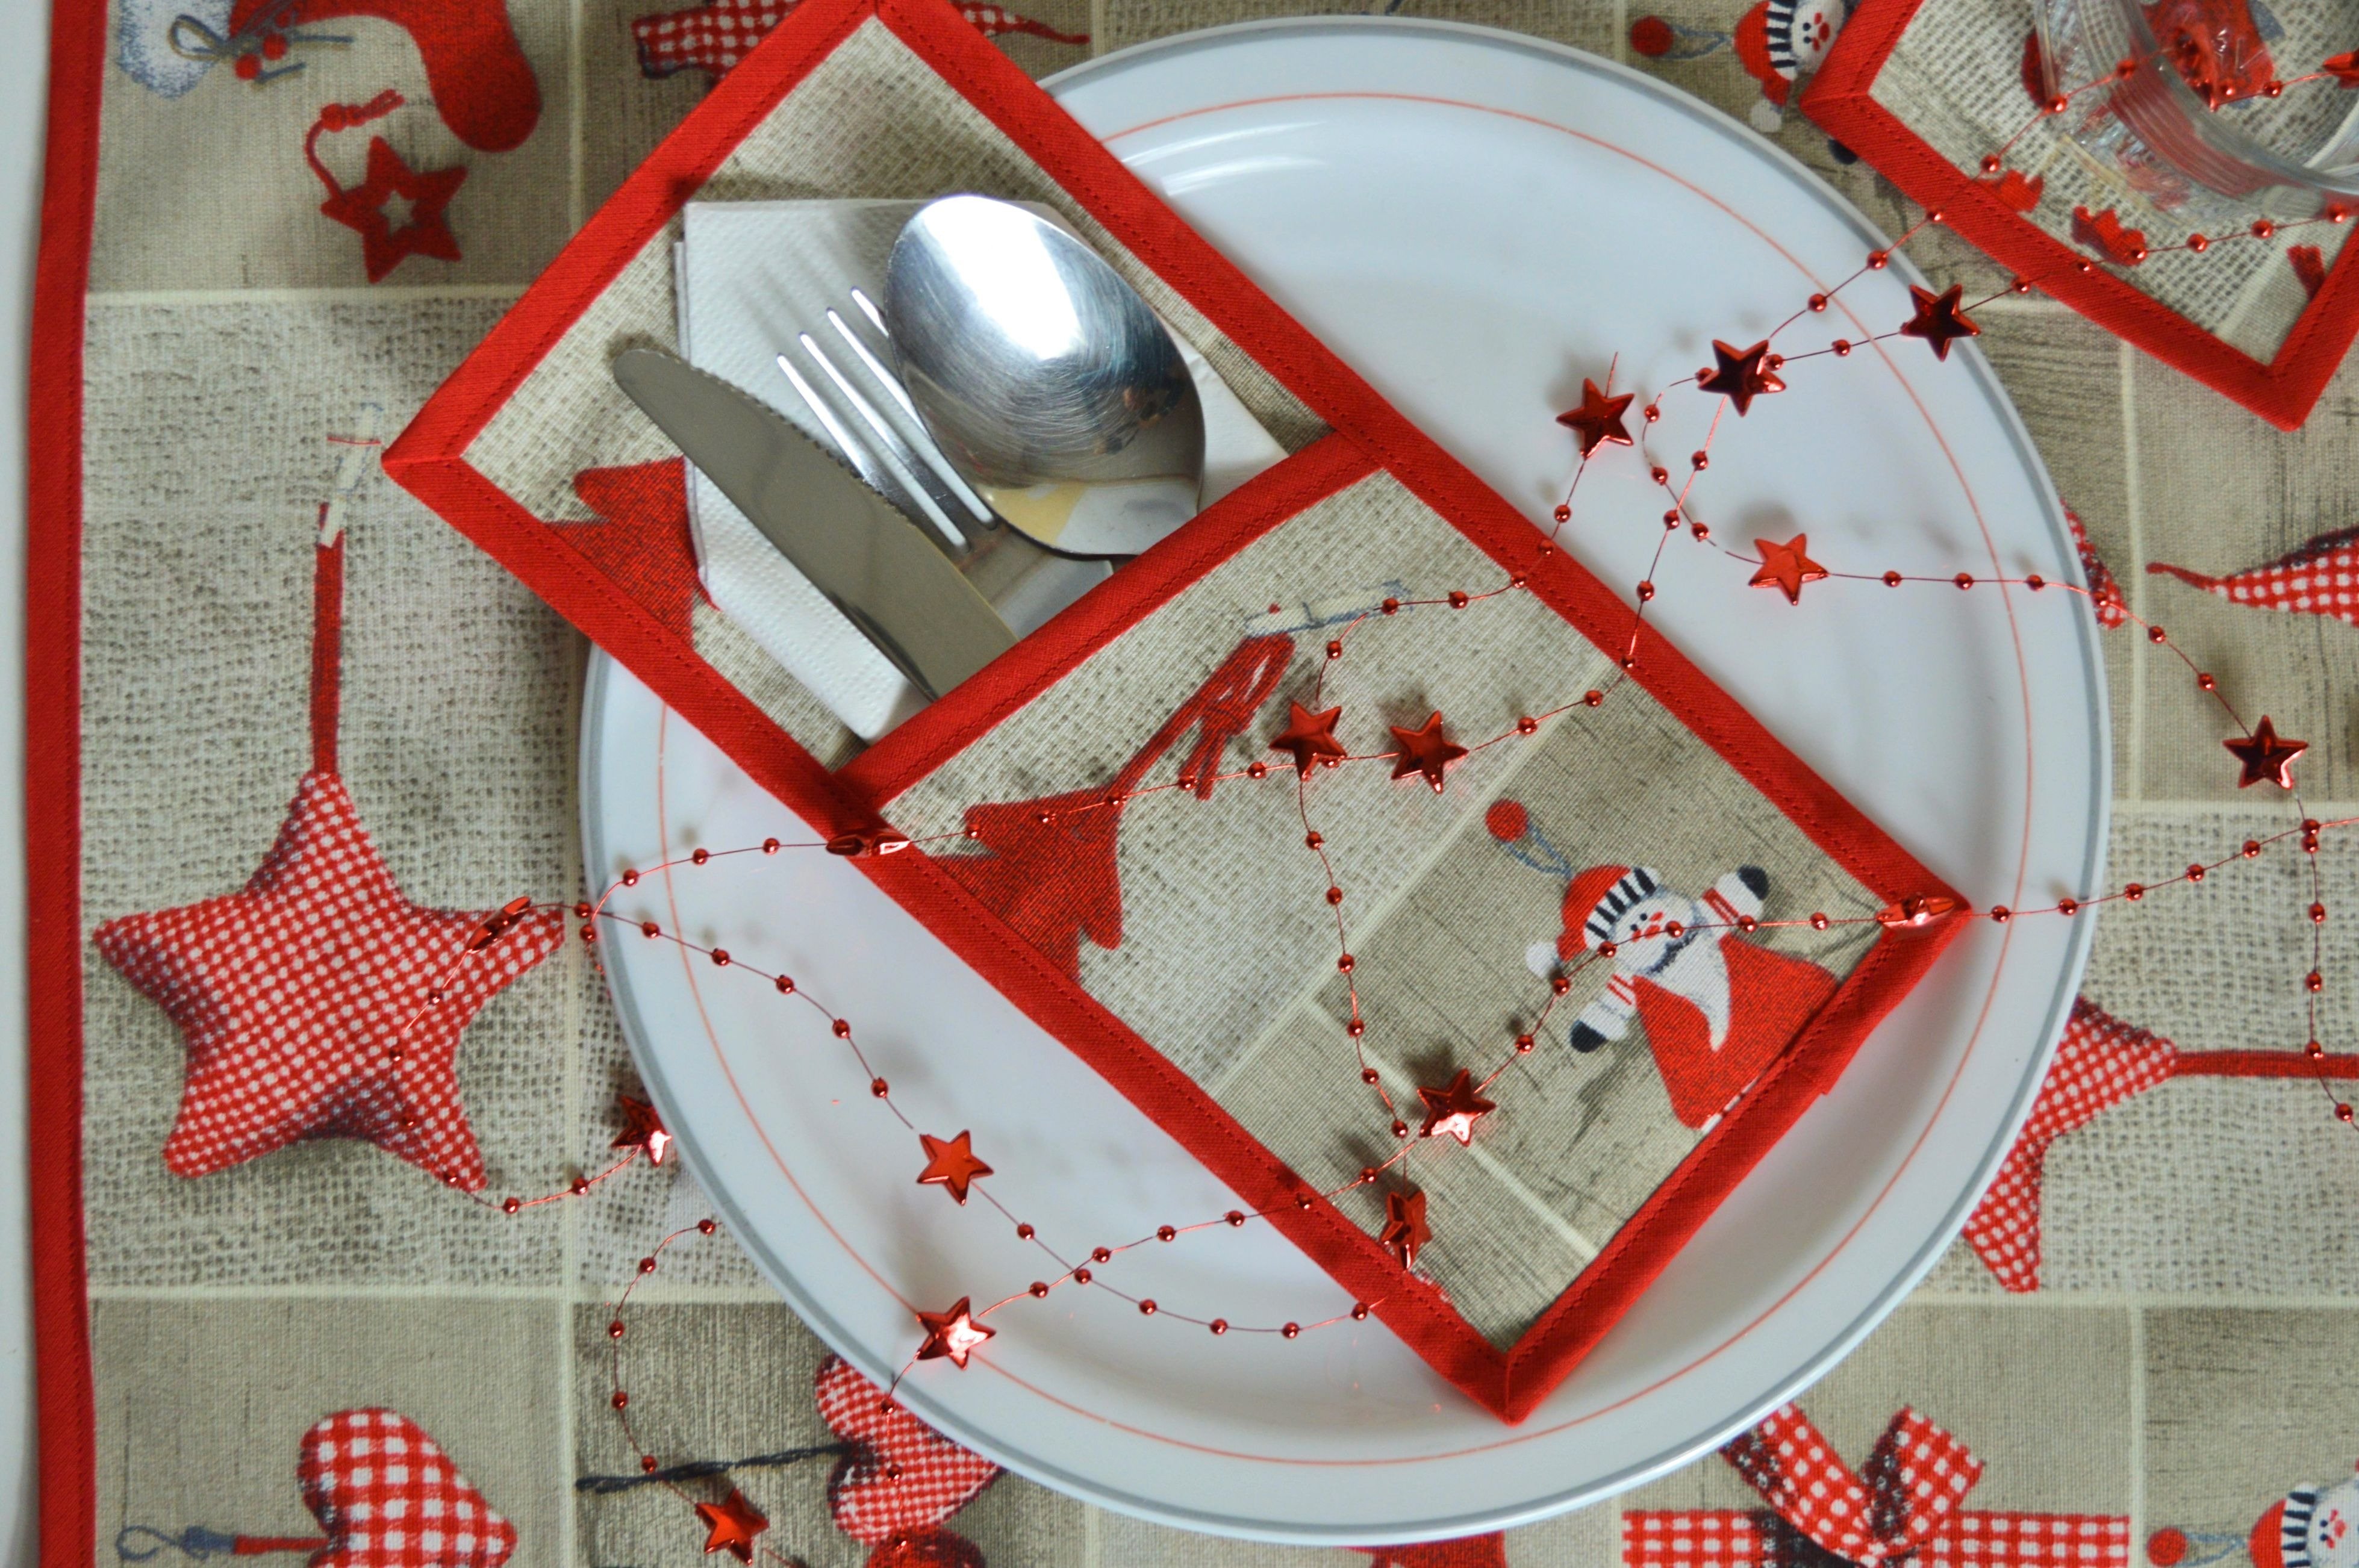
CUTLERY POCKET
Cutlery includes items used in preparing, serving, and eating food in Western culture. The most used elements of cutlery in western civilization are the knife, fork, and spoon.
Cutlery pockets are a fascinating and beautiful decoration for a table, one of my favorites.
Cutlery pocket
The pattern consists of two parts, of which you tailor both twice. On the picture below are measurements of each piece.
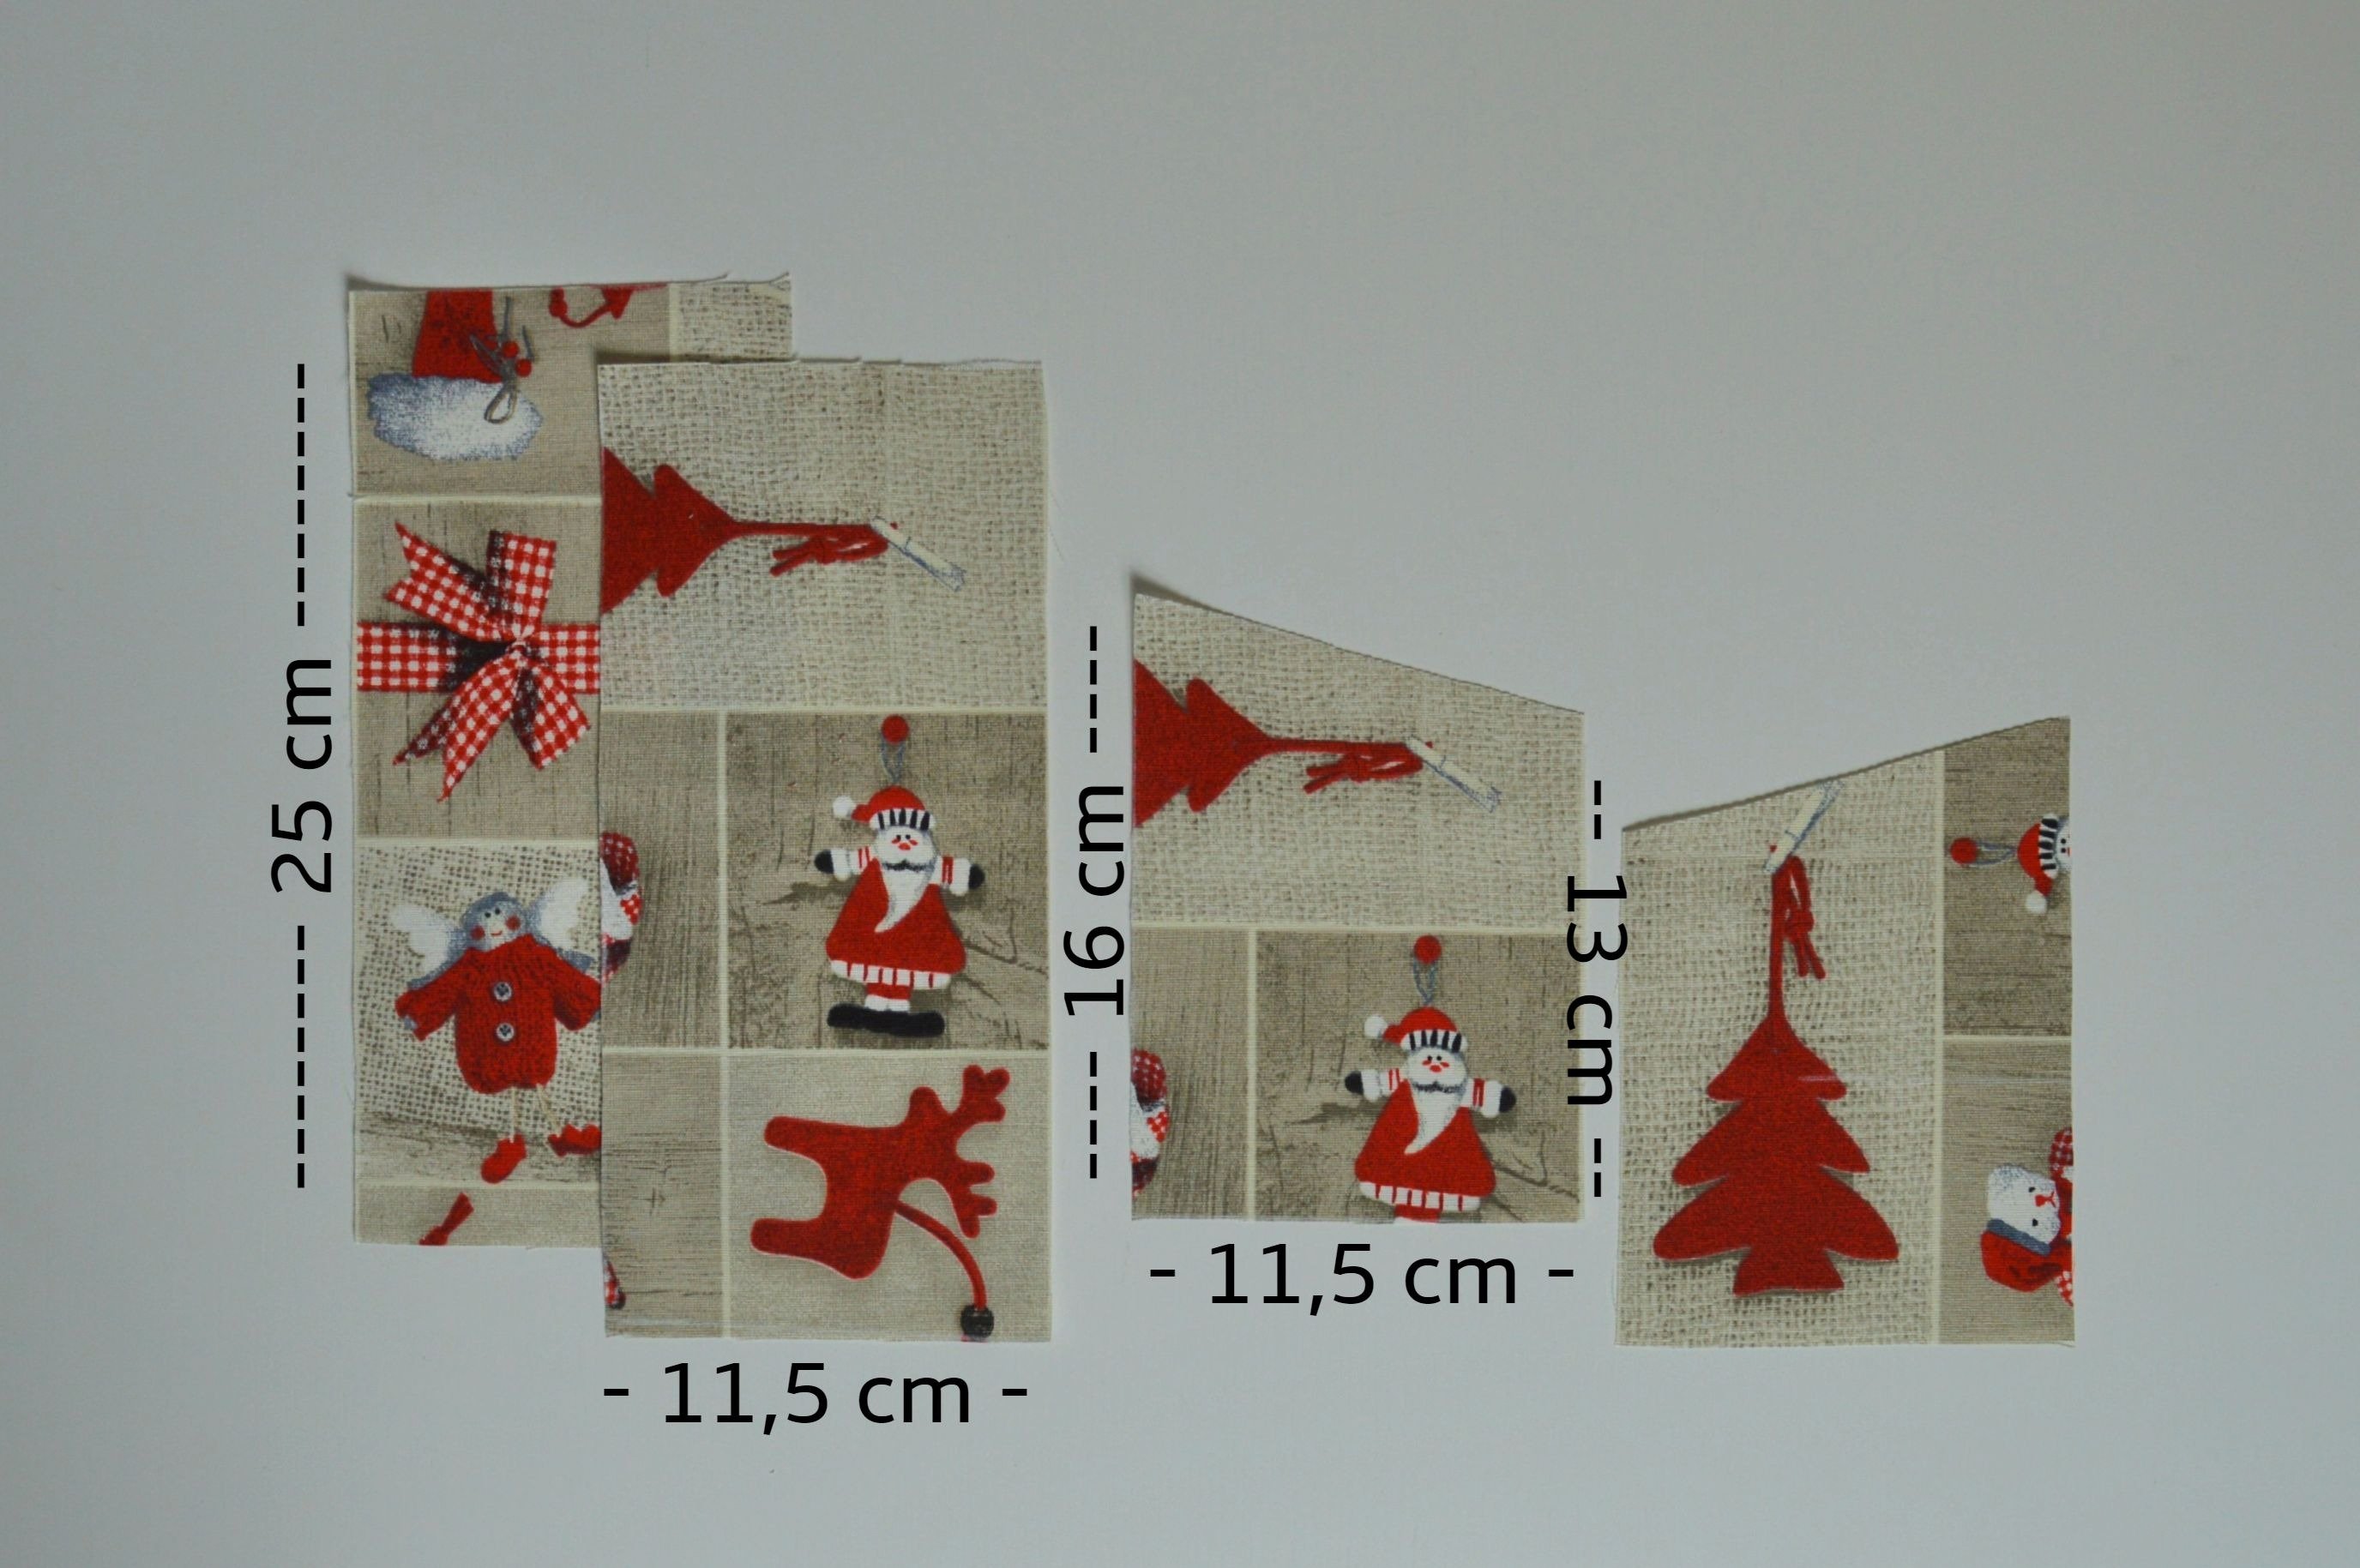
!!! Be careful by cutting a smaller part. You cut two sections, with different sides measurements.
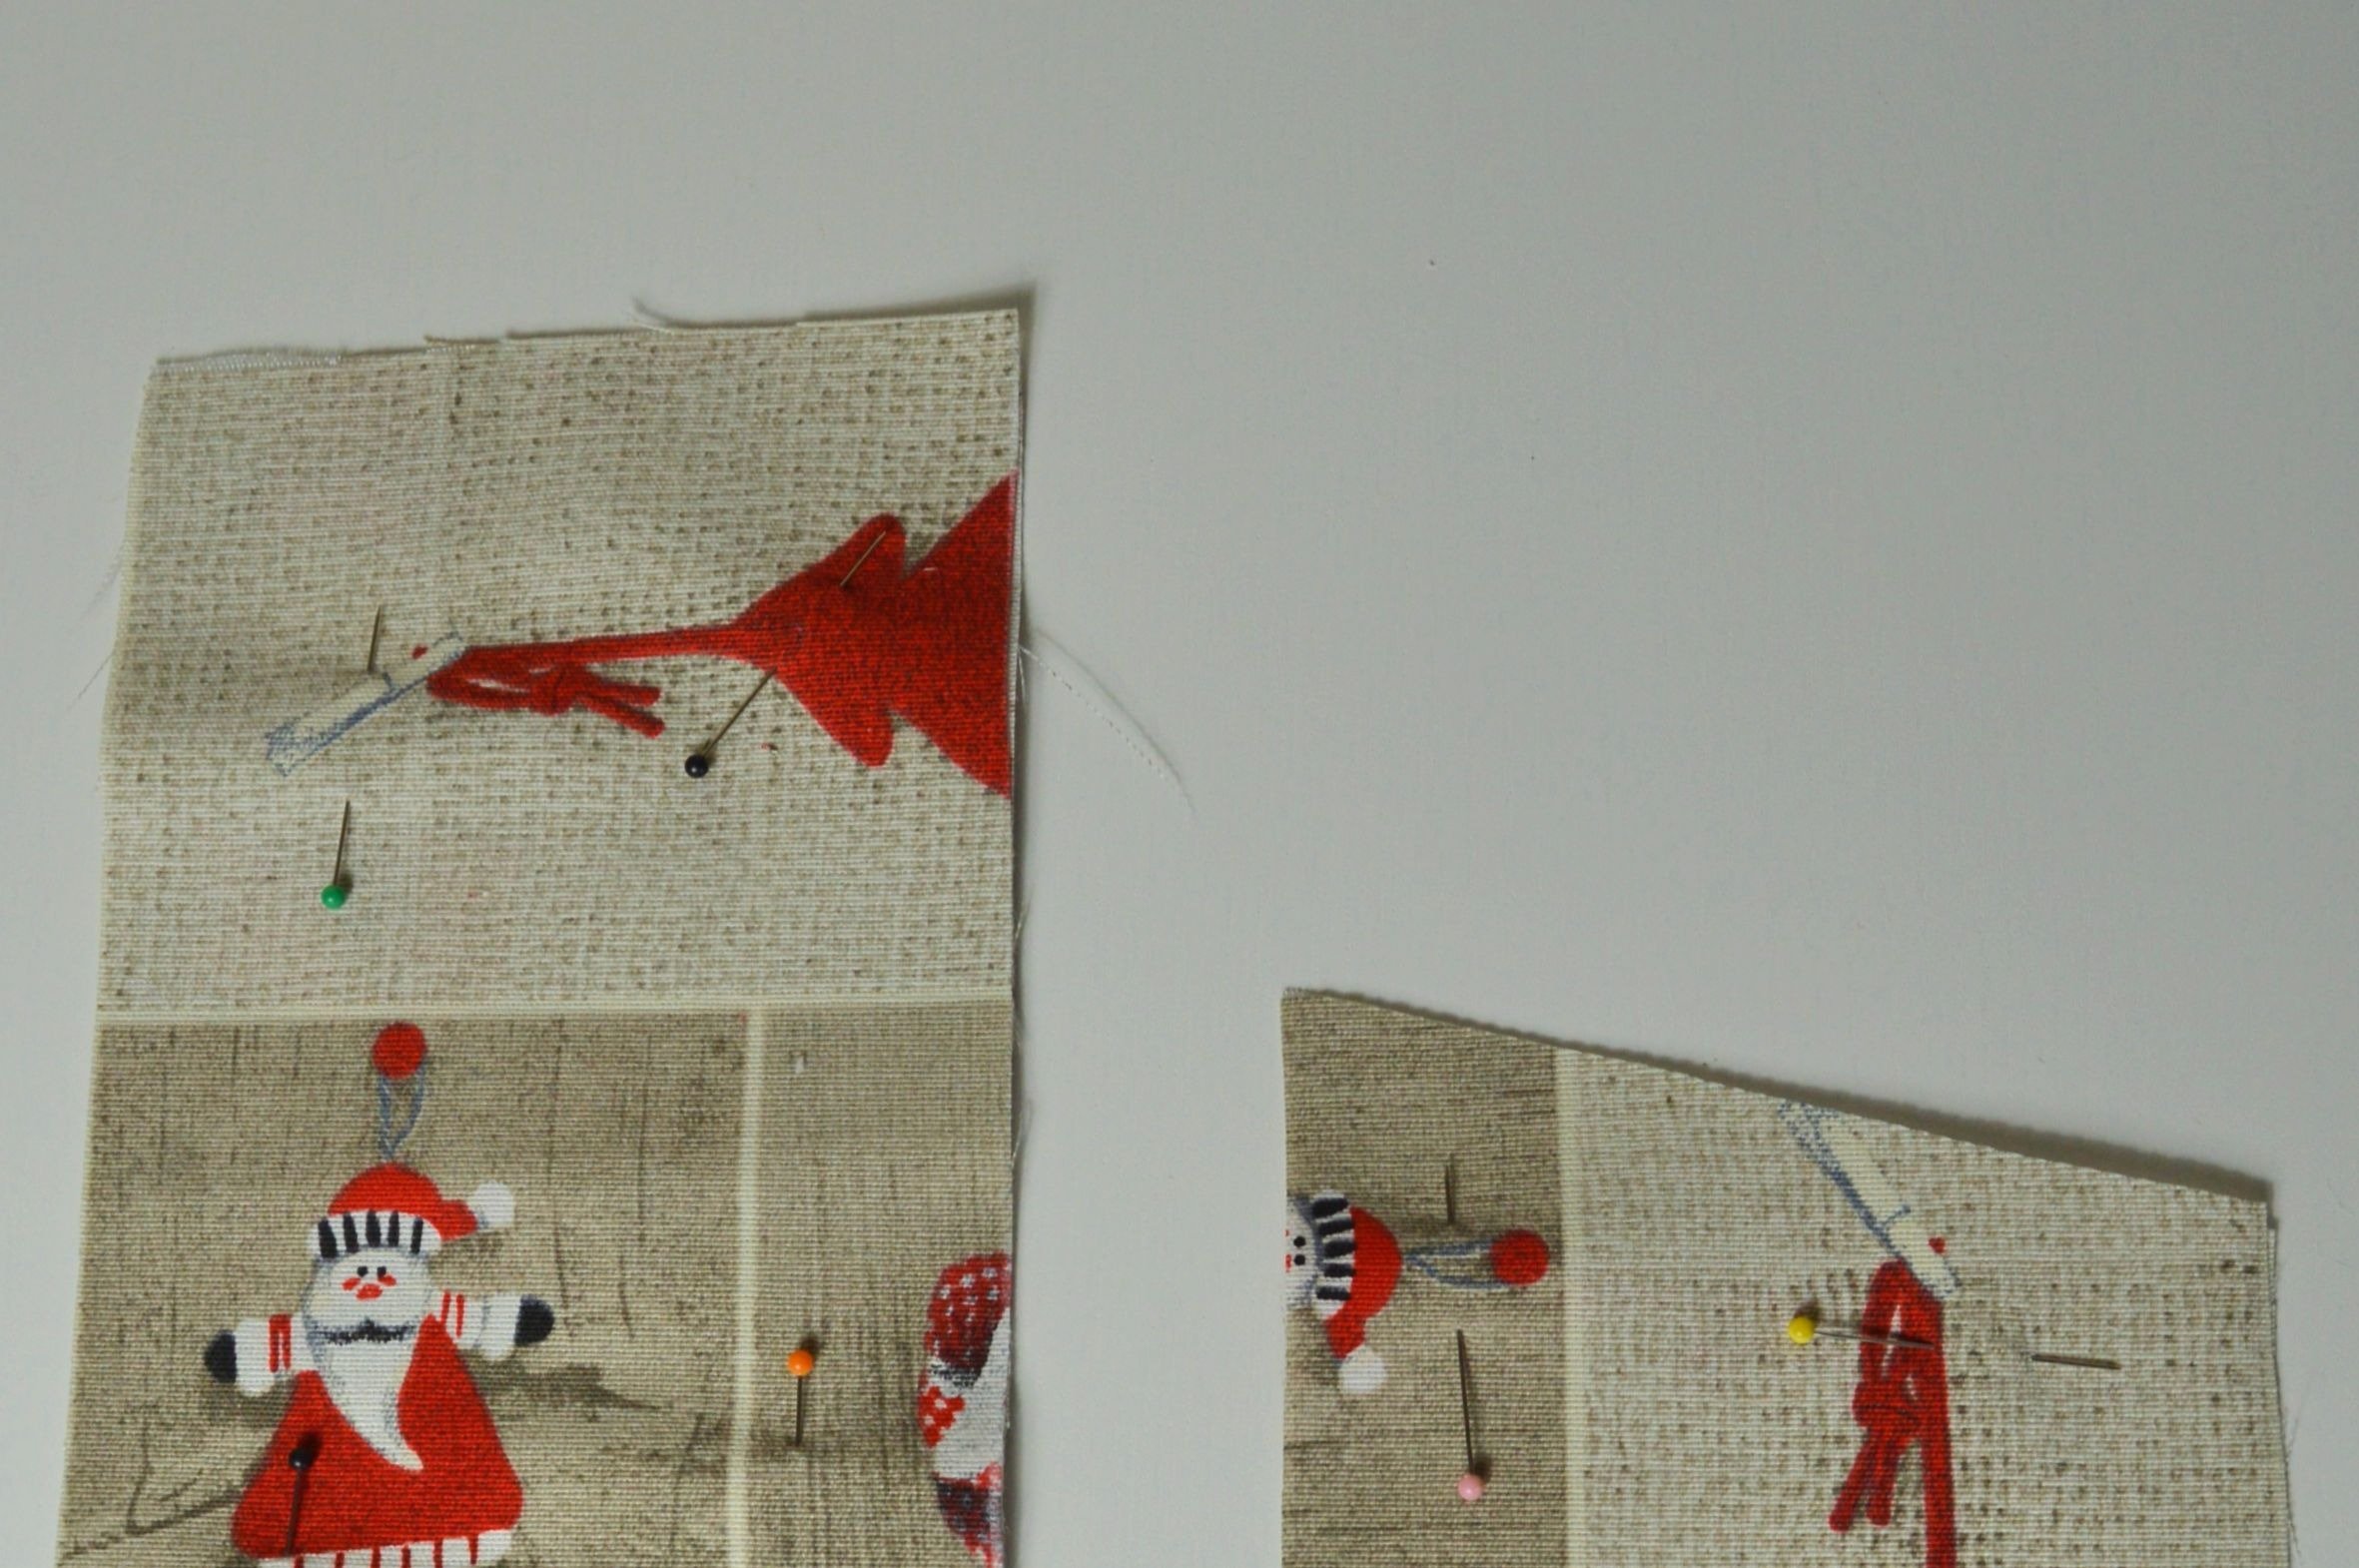
Pin the same pieces, the wrong sides together.
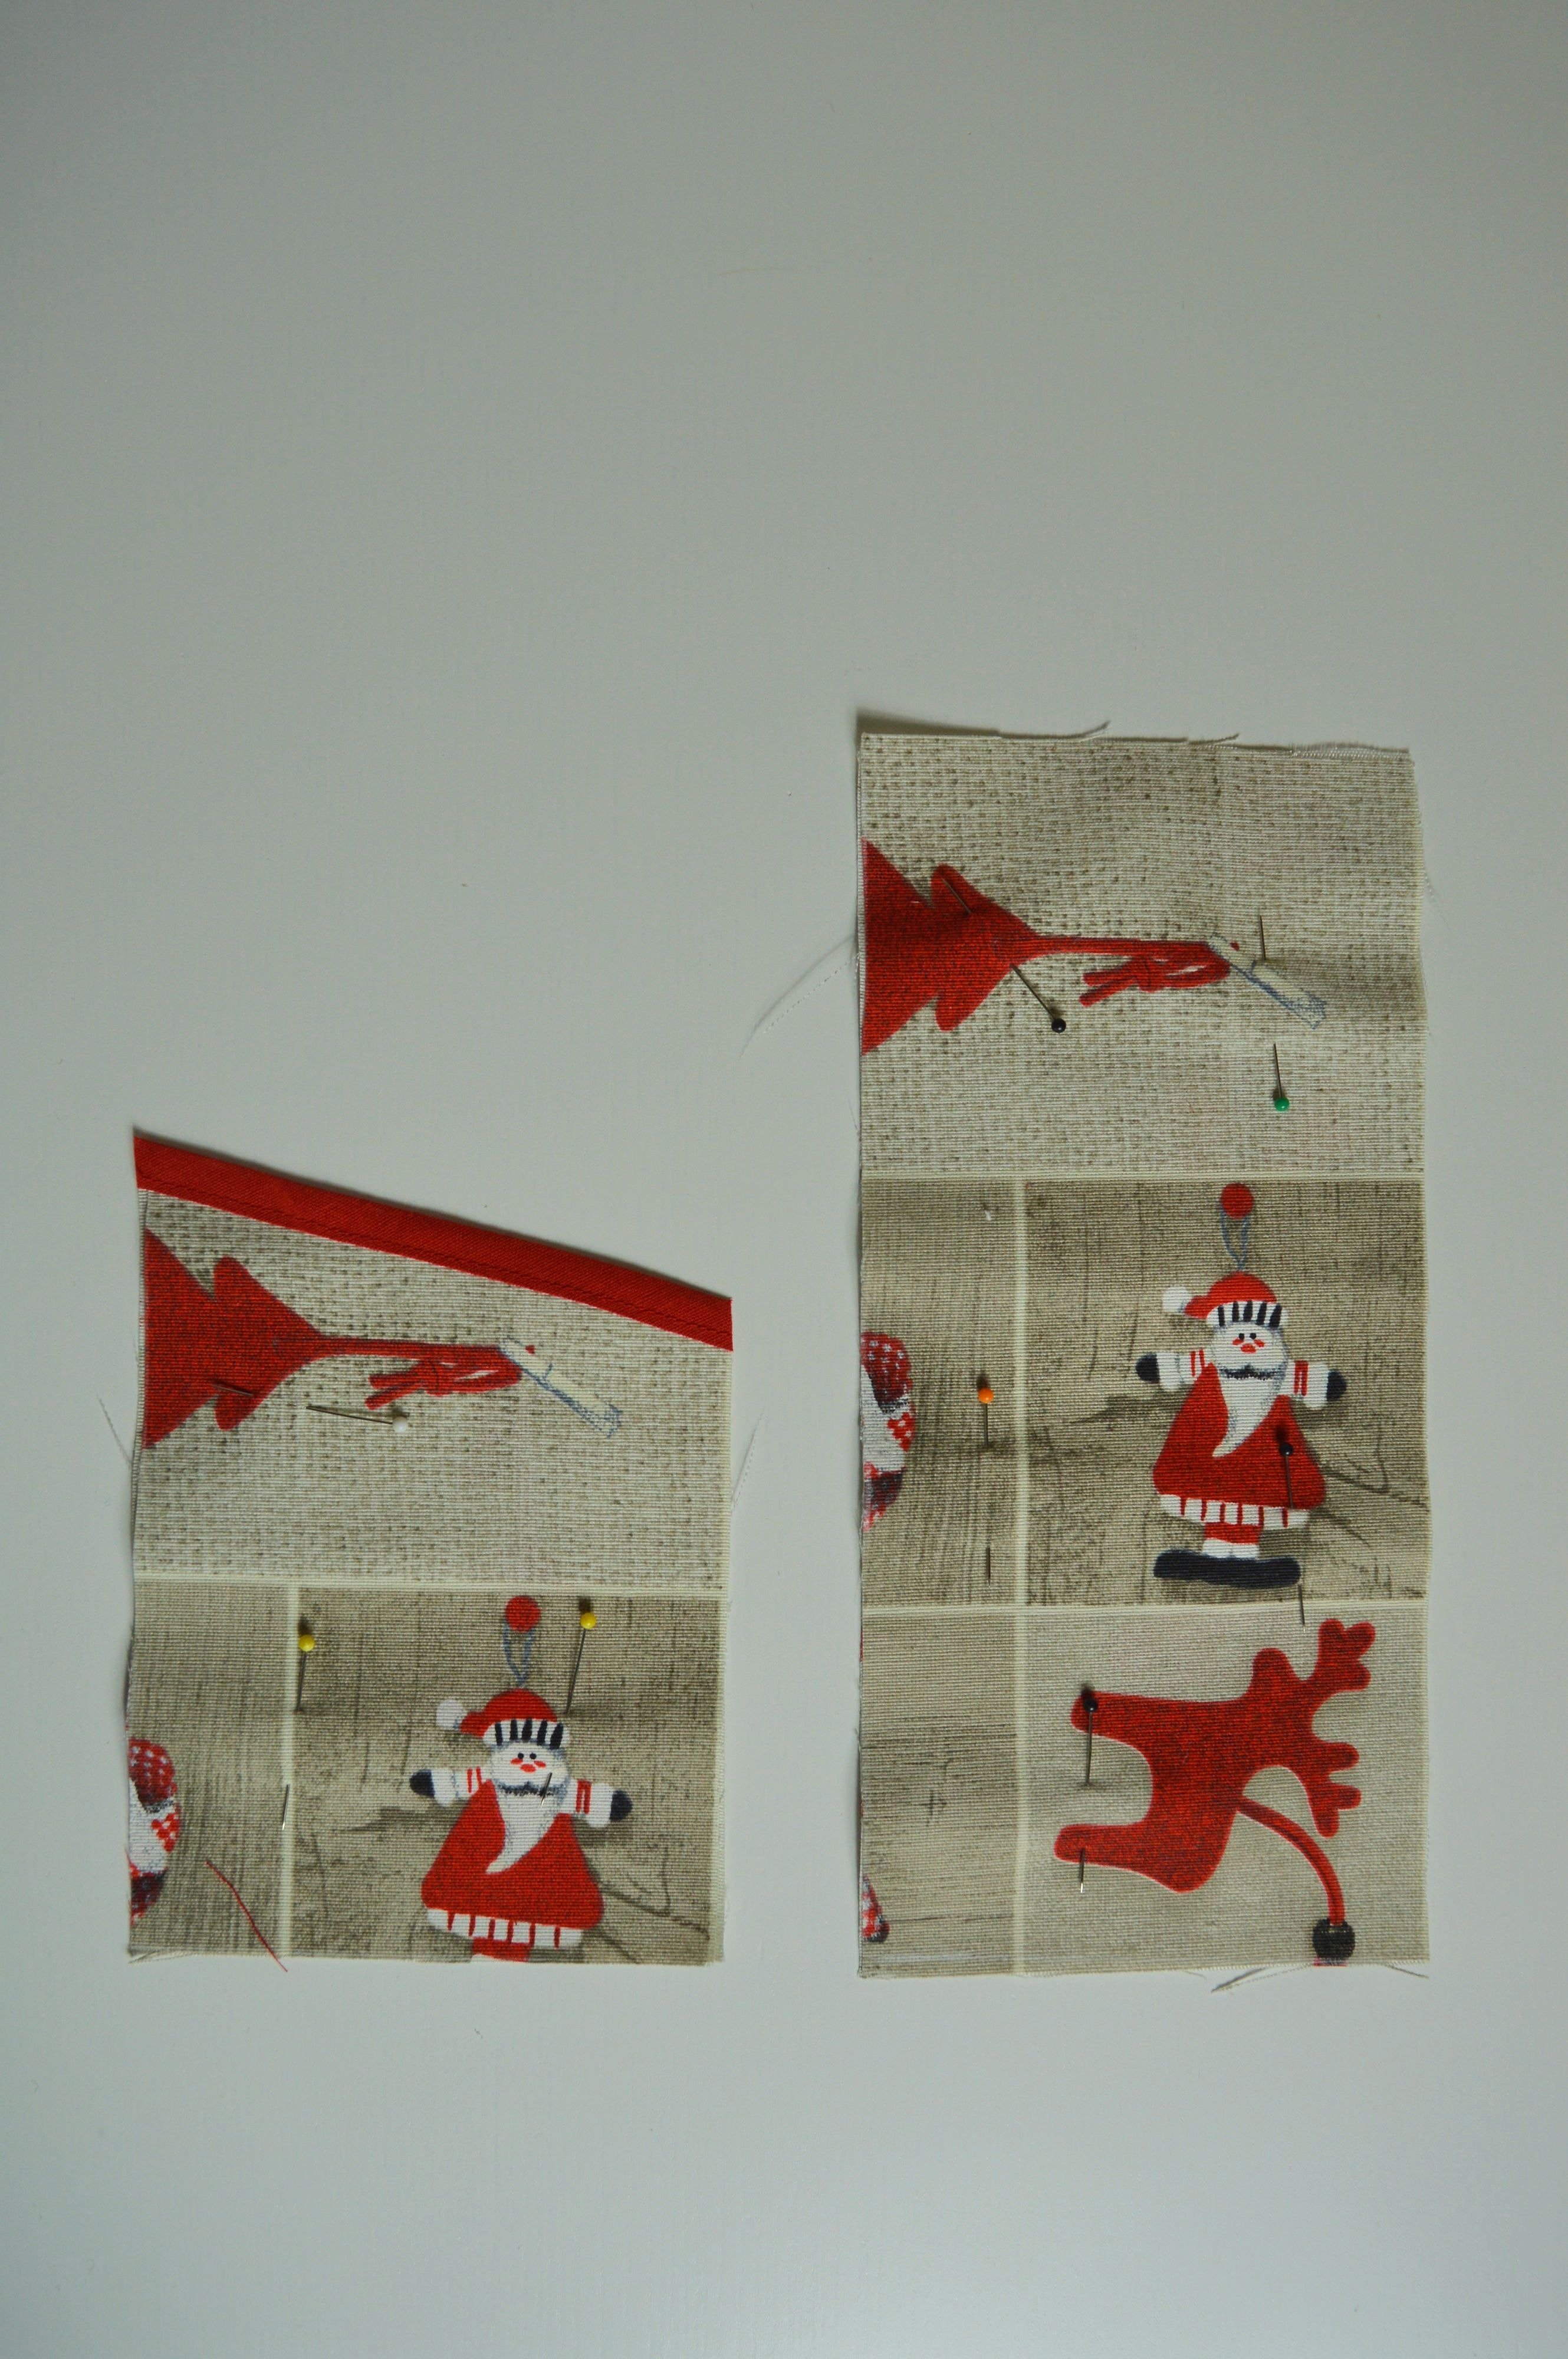
First, sew bias tape on the inclined edge of the smaller part.
Pin pattern parts together.
Sew bias tape on edges, as shown previously.
For one cutlery pocket, it is necessary approximately 0,90 m pre-folded bias binding.
The finished cutlery pocket is on the picture below.
Cutlery pocket
This set of these three items looks beautiful, unique and exciting for a table setting used at the Christmas party.

As I mentioned almost at the beginning of the text, the table below shows the approximate amount of fabric and pre-folded binding tape required for sewing 2, 4 or more individual items.
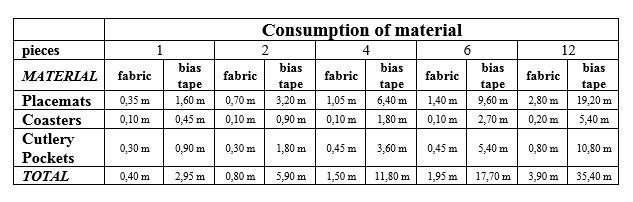
Assumed that the fabric width is 140-145 cm.
Now, you need to calculate yourself whether it is more profitable to make yourself or buy a bias tape already folded because its amount in some cases is substantial.
No matter if it is a special occasion you are preparing for or everyday dining, in this way, you can make your table and every individual place setting excellent and exciting. Sewing placemats, coasters and cutlery pockets is quick and easy, and you can make them unique design, personalized or thematic, but the most important thing is that you can sew them yourself and in color you want.


0 Responses