 BERNINA Corporate Blog -
Hello everyone!
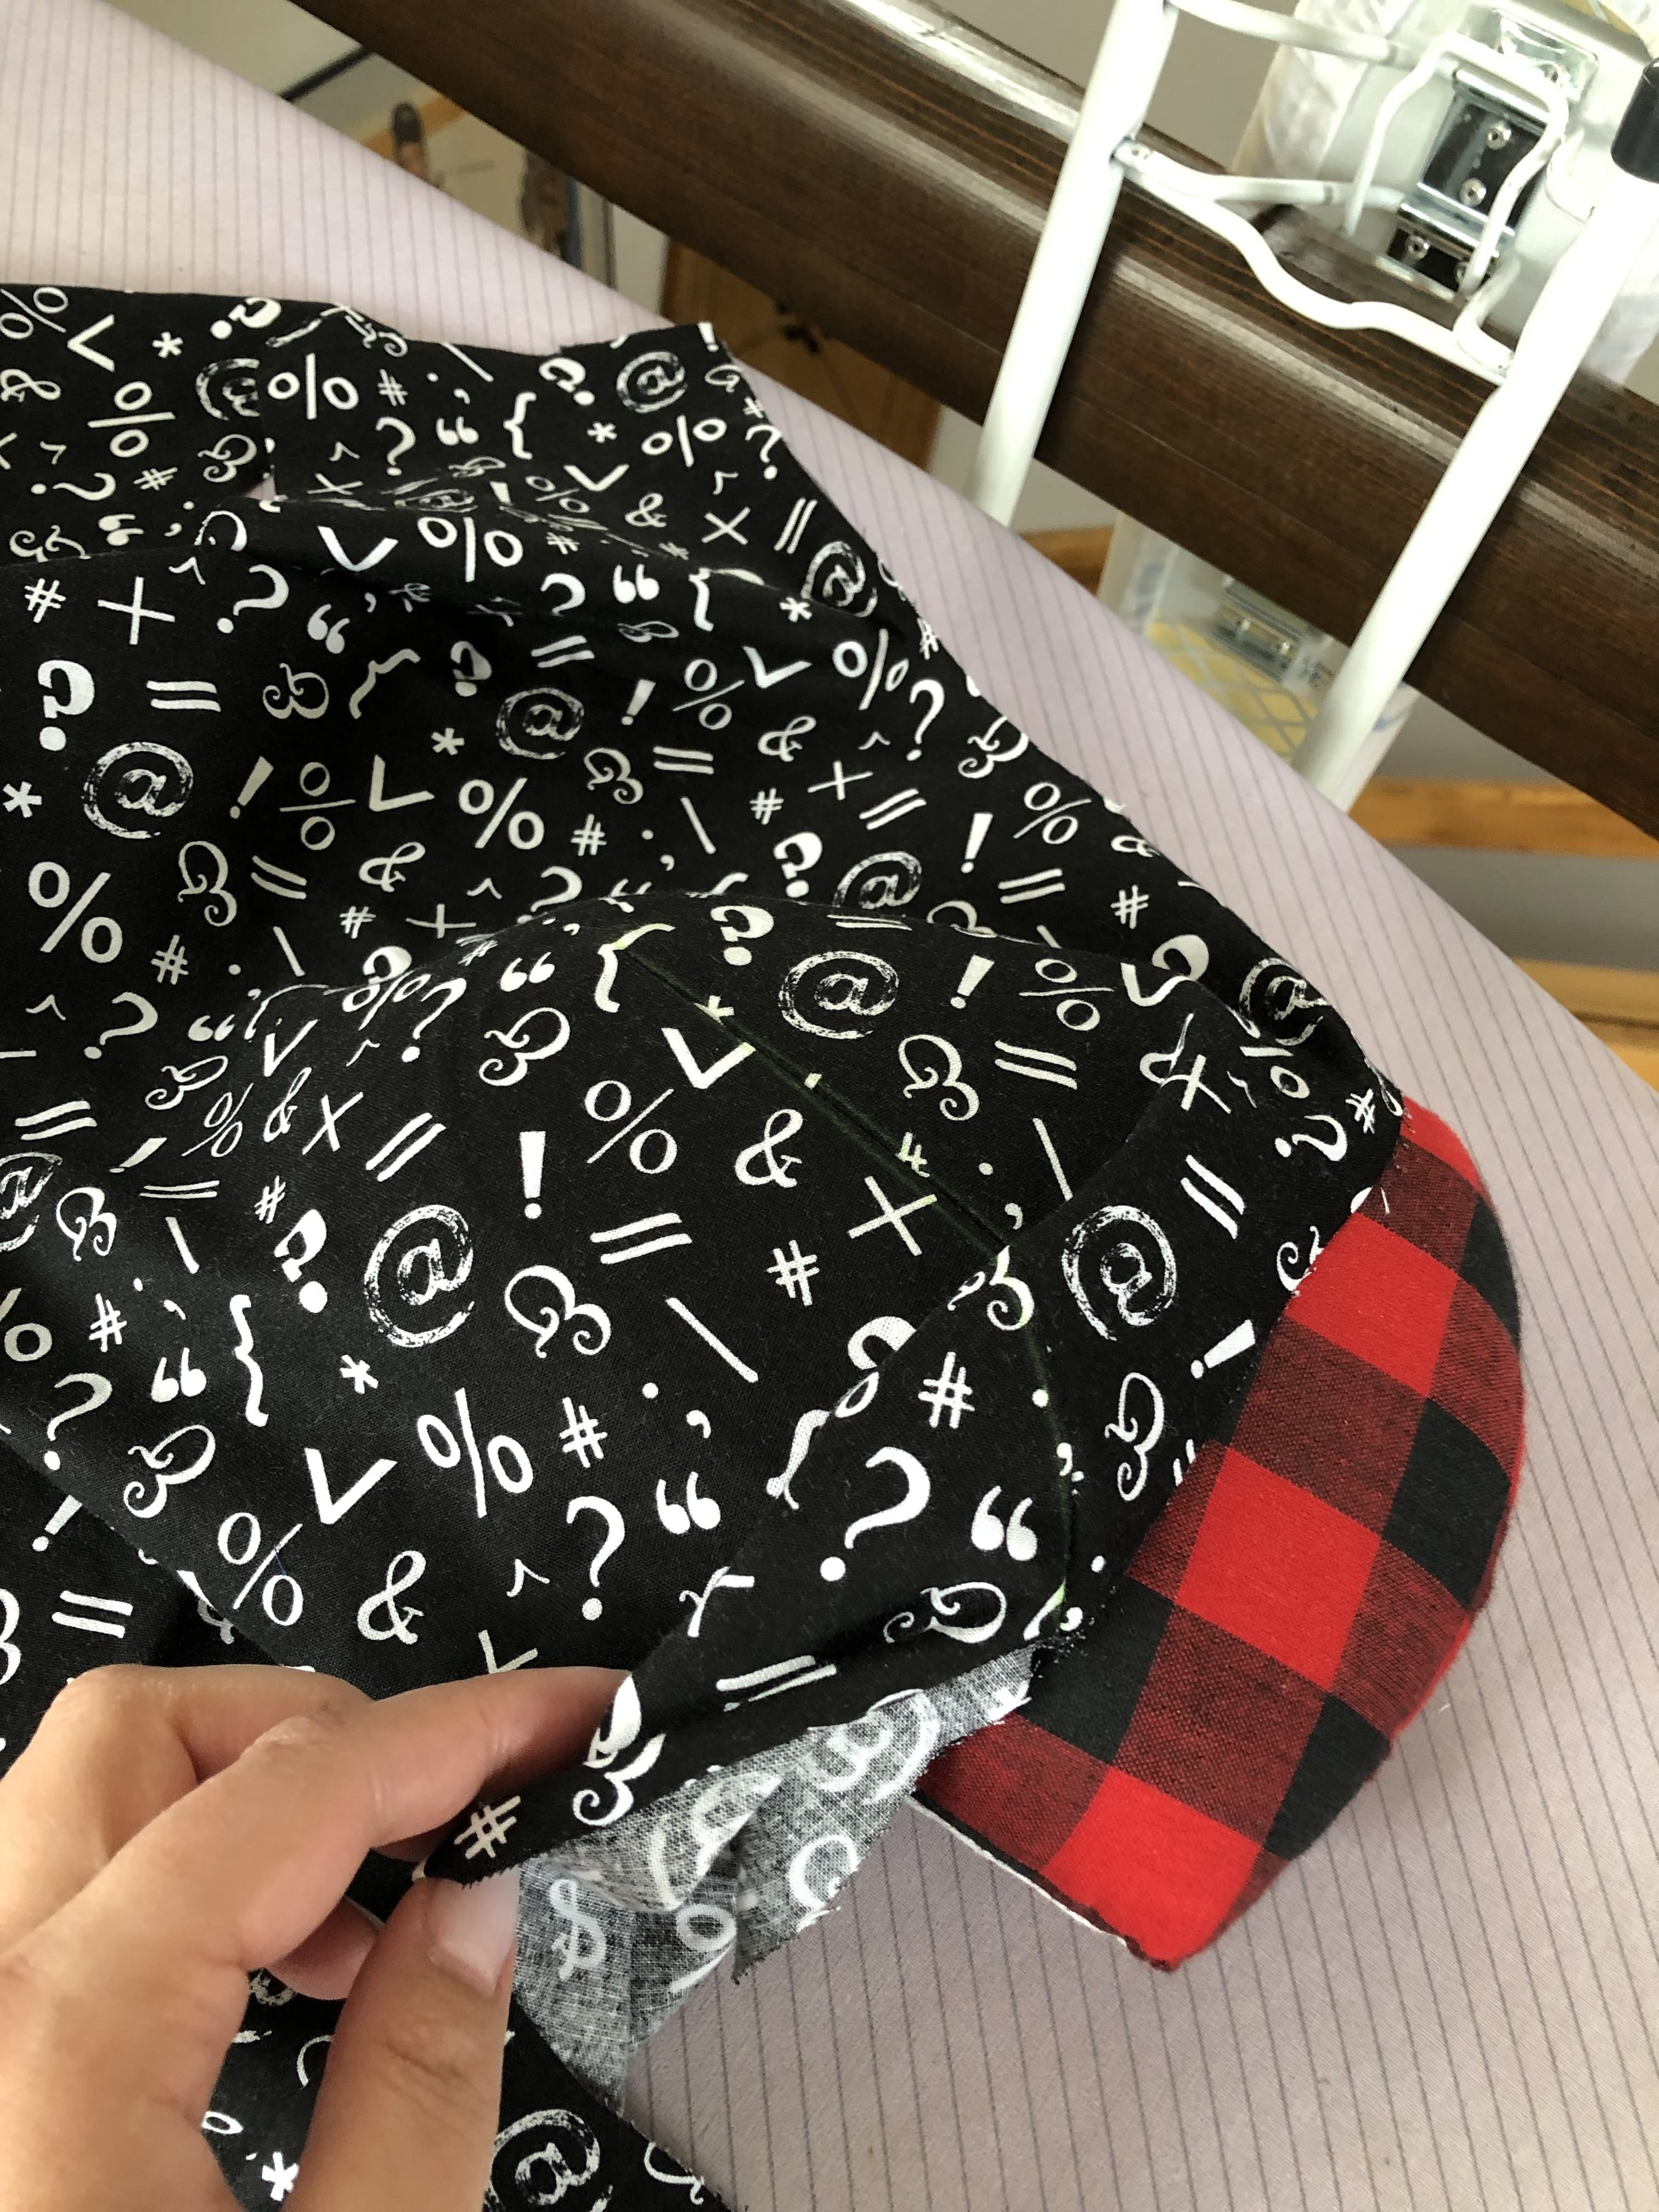
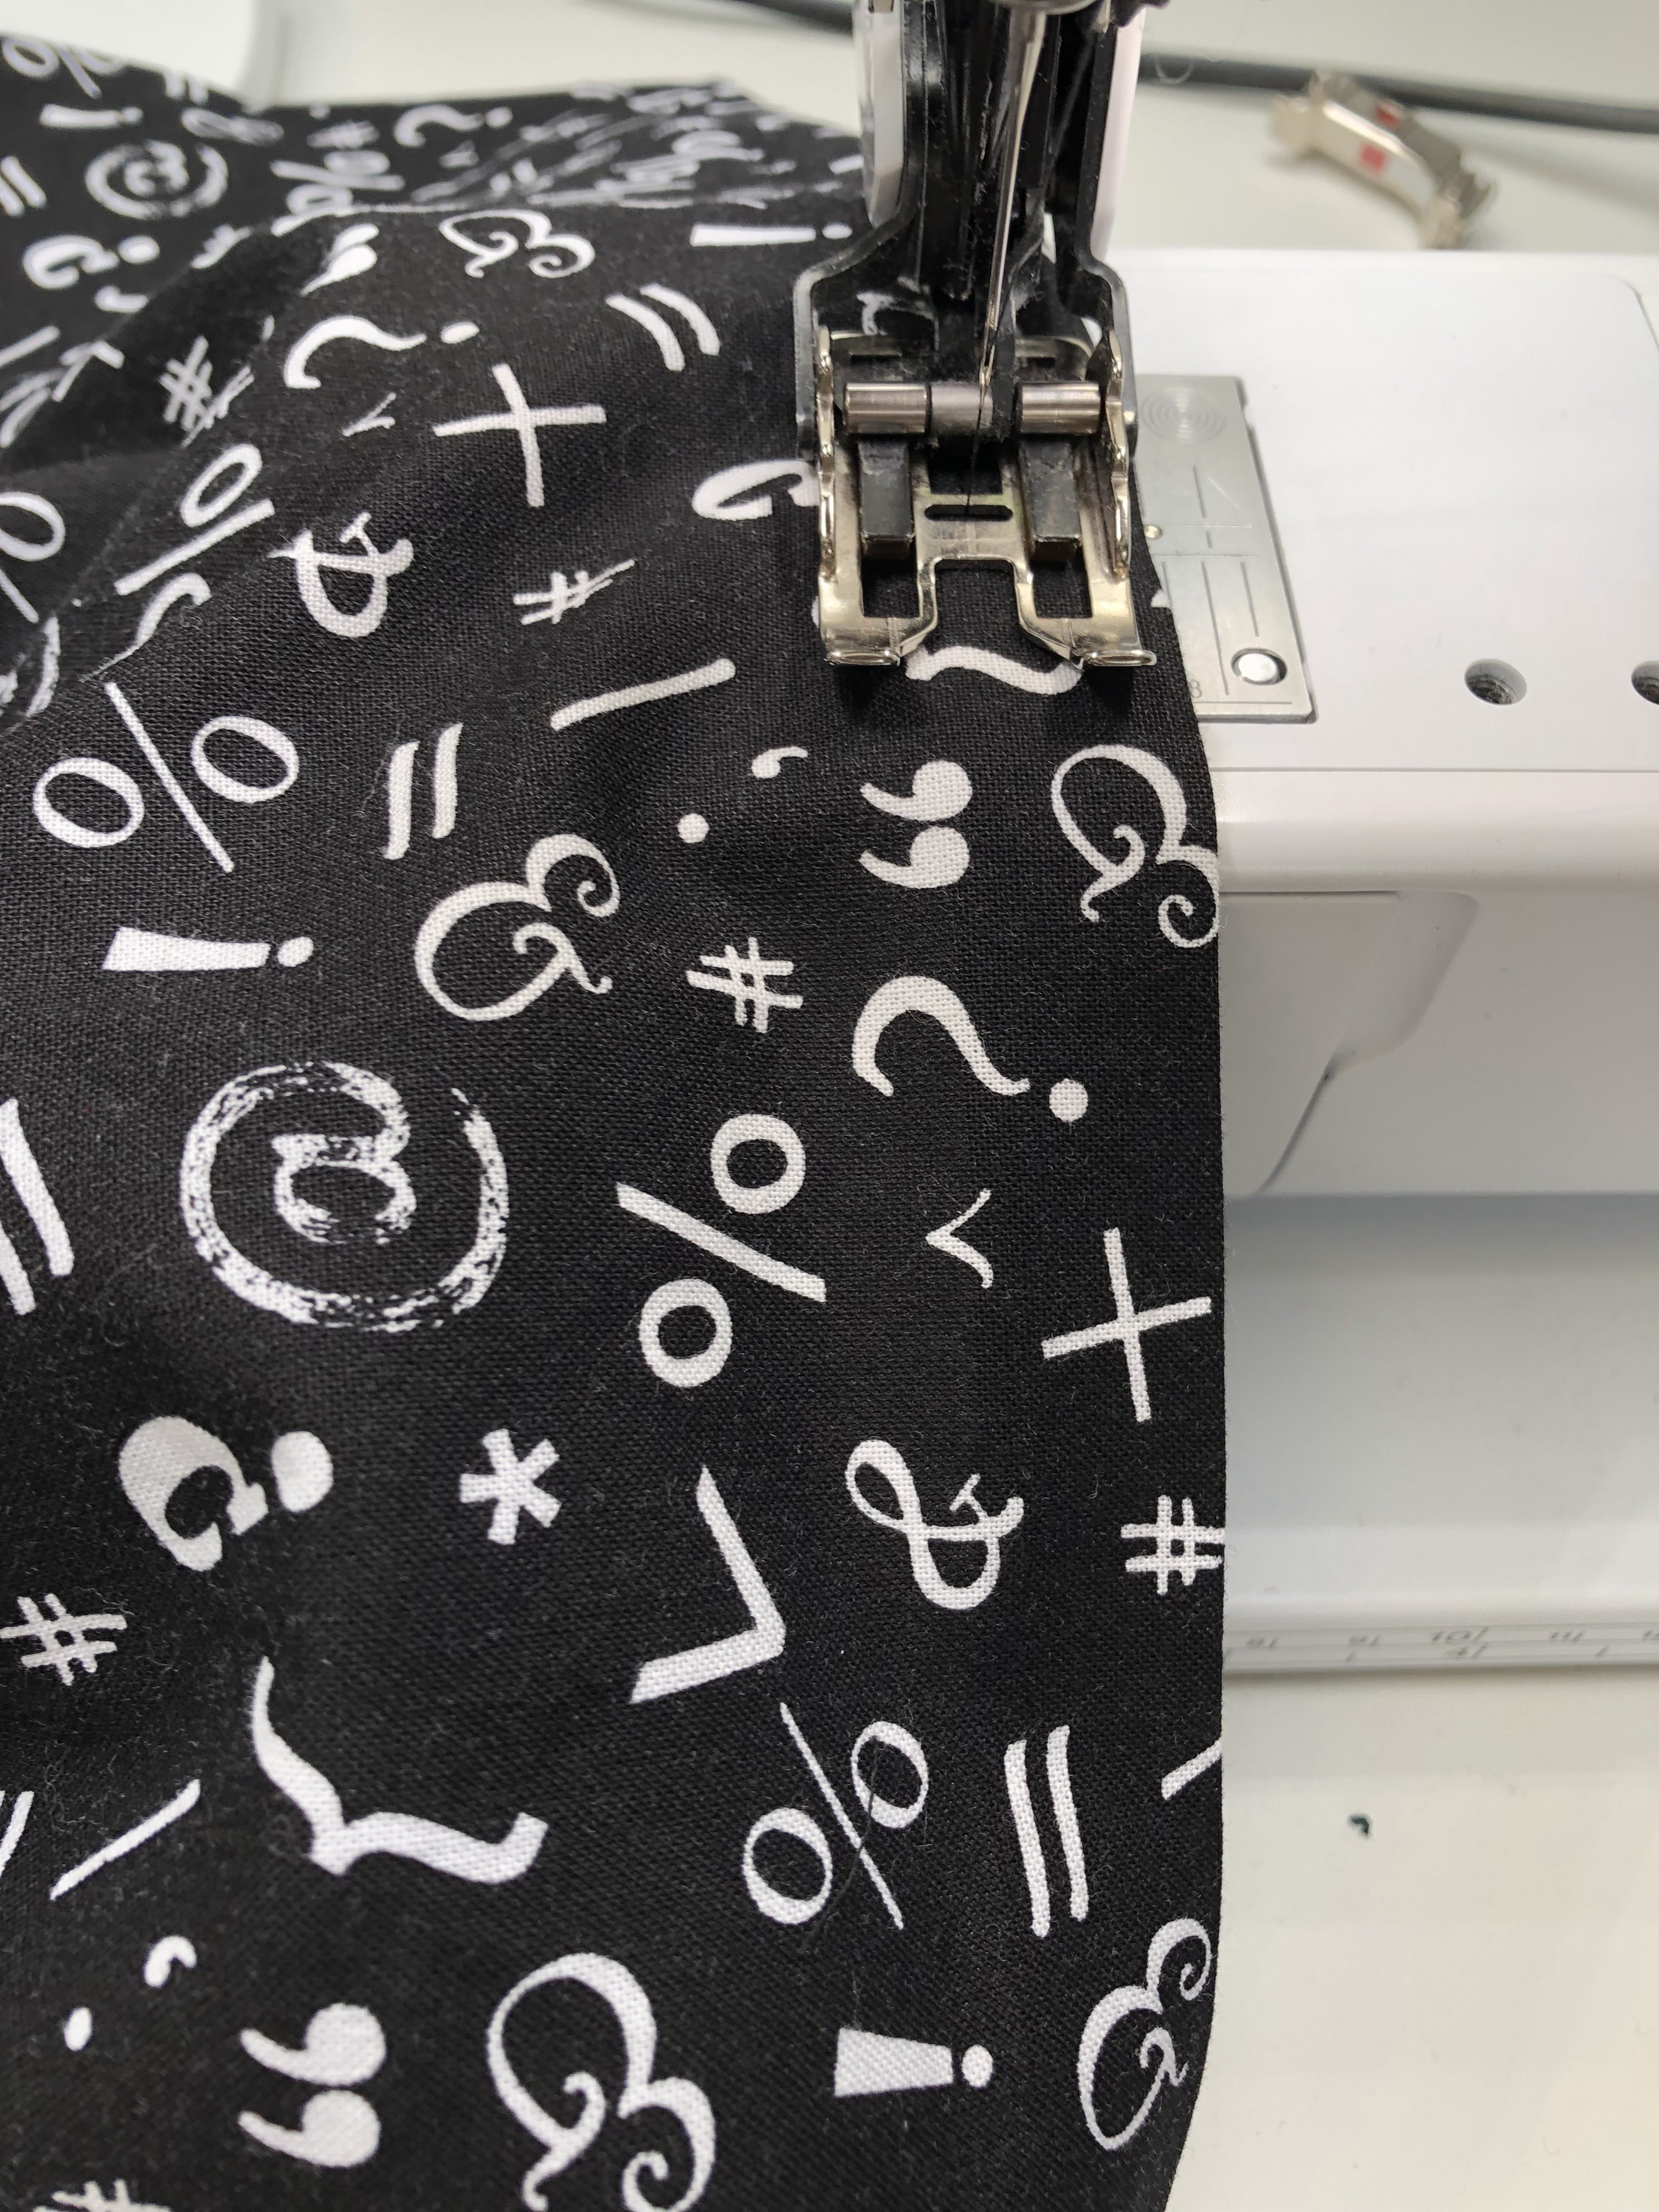
Today I am sewing up the Sew Over it Zoe dress in a Michael Miller fabric from a local store. The Zoe dress is a shift dress with French darts, princess seams and a concealed back zipper. I prefer this slightly more contoured silhouette to the SOI Ultimate Shift dress which is more loose.
The fabric I got from rotkaehlchen.de. It’s a cotton with a symbol print. When I first saw this fabric I knew I had to have it. Sadly there is no paragraph on it, which would have been perfect (I am a legal counsellor by trade).
I made this Zoe dress before in a white blended fabric with a small amount of stretch. I sewed up a size 16 and a size 18 in the hips. The result was a gaping neckline and an armhole that was not high enough. The back was too wide as well.

There is still a lot of room here…

So I knew I had to adjust for my bigger bust. I graded to a size 14 at the top and made a full bust adjustment of about 1 inch (2.5cm). I did my adjustment directly to the paper pattern.

My pattern after the FBA.
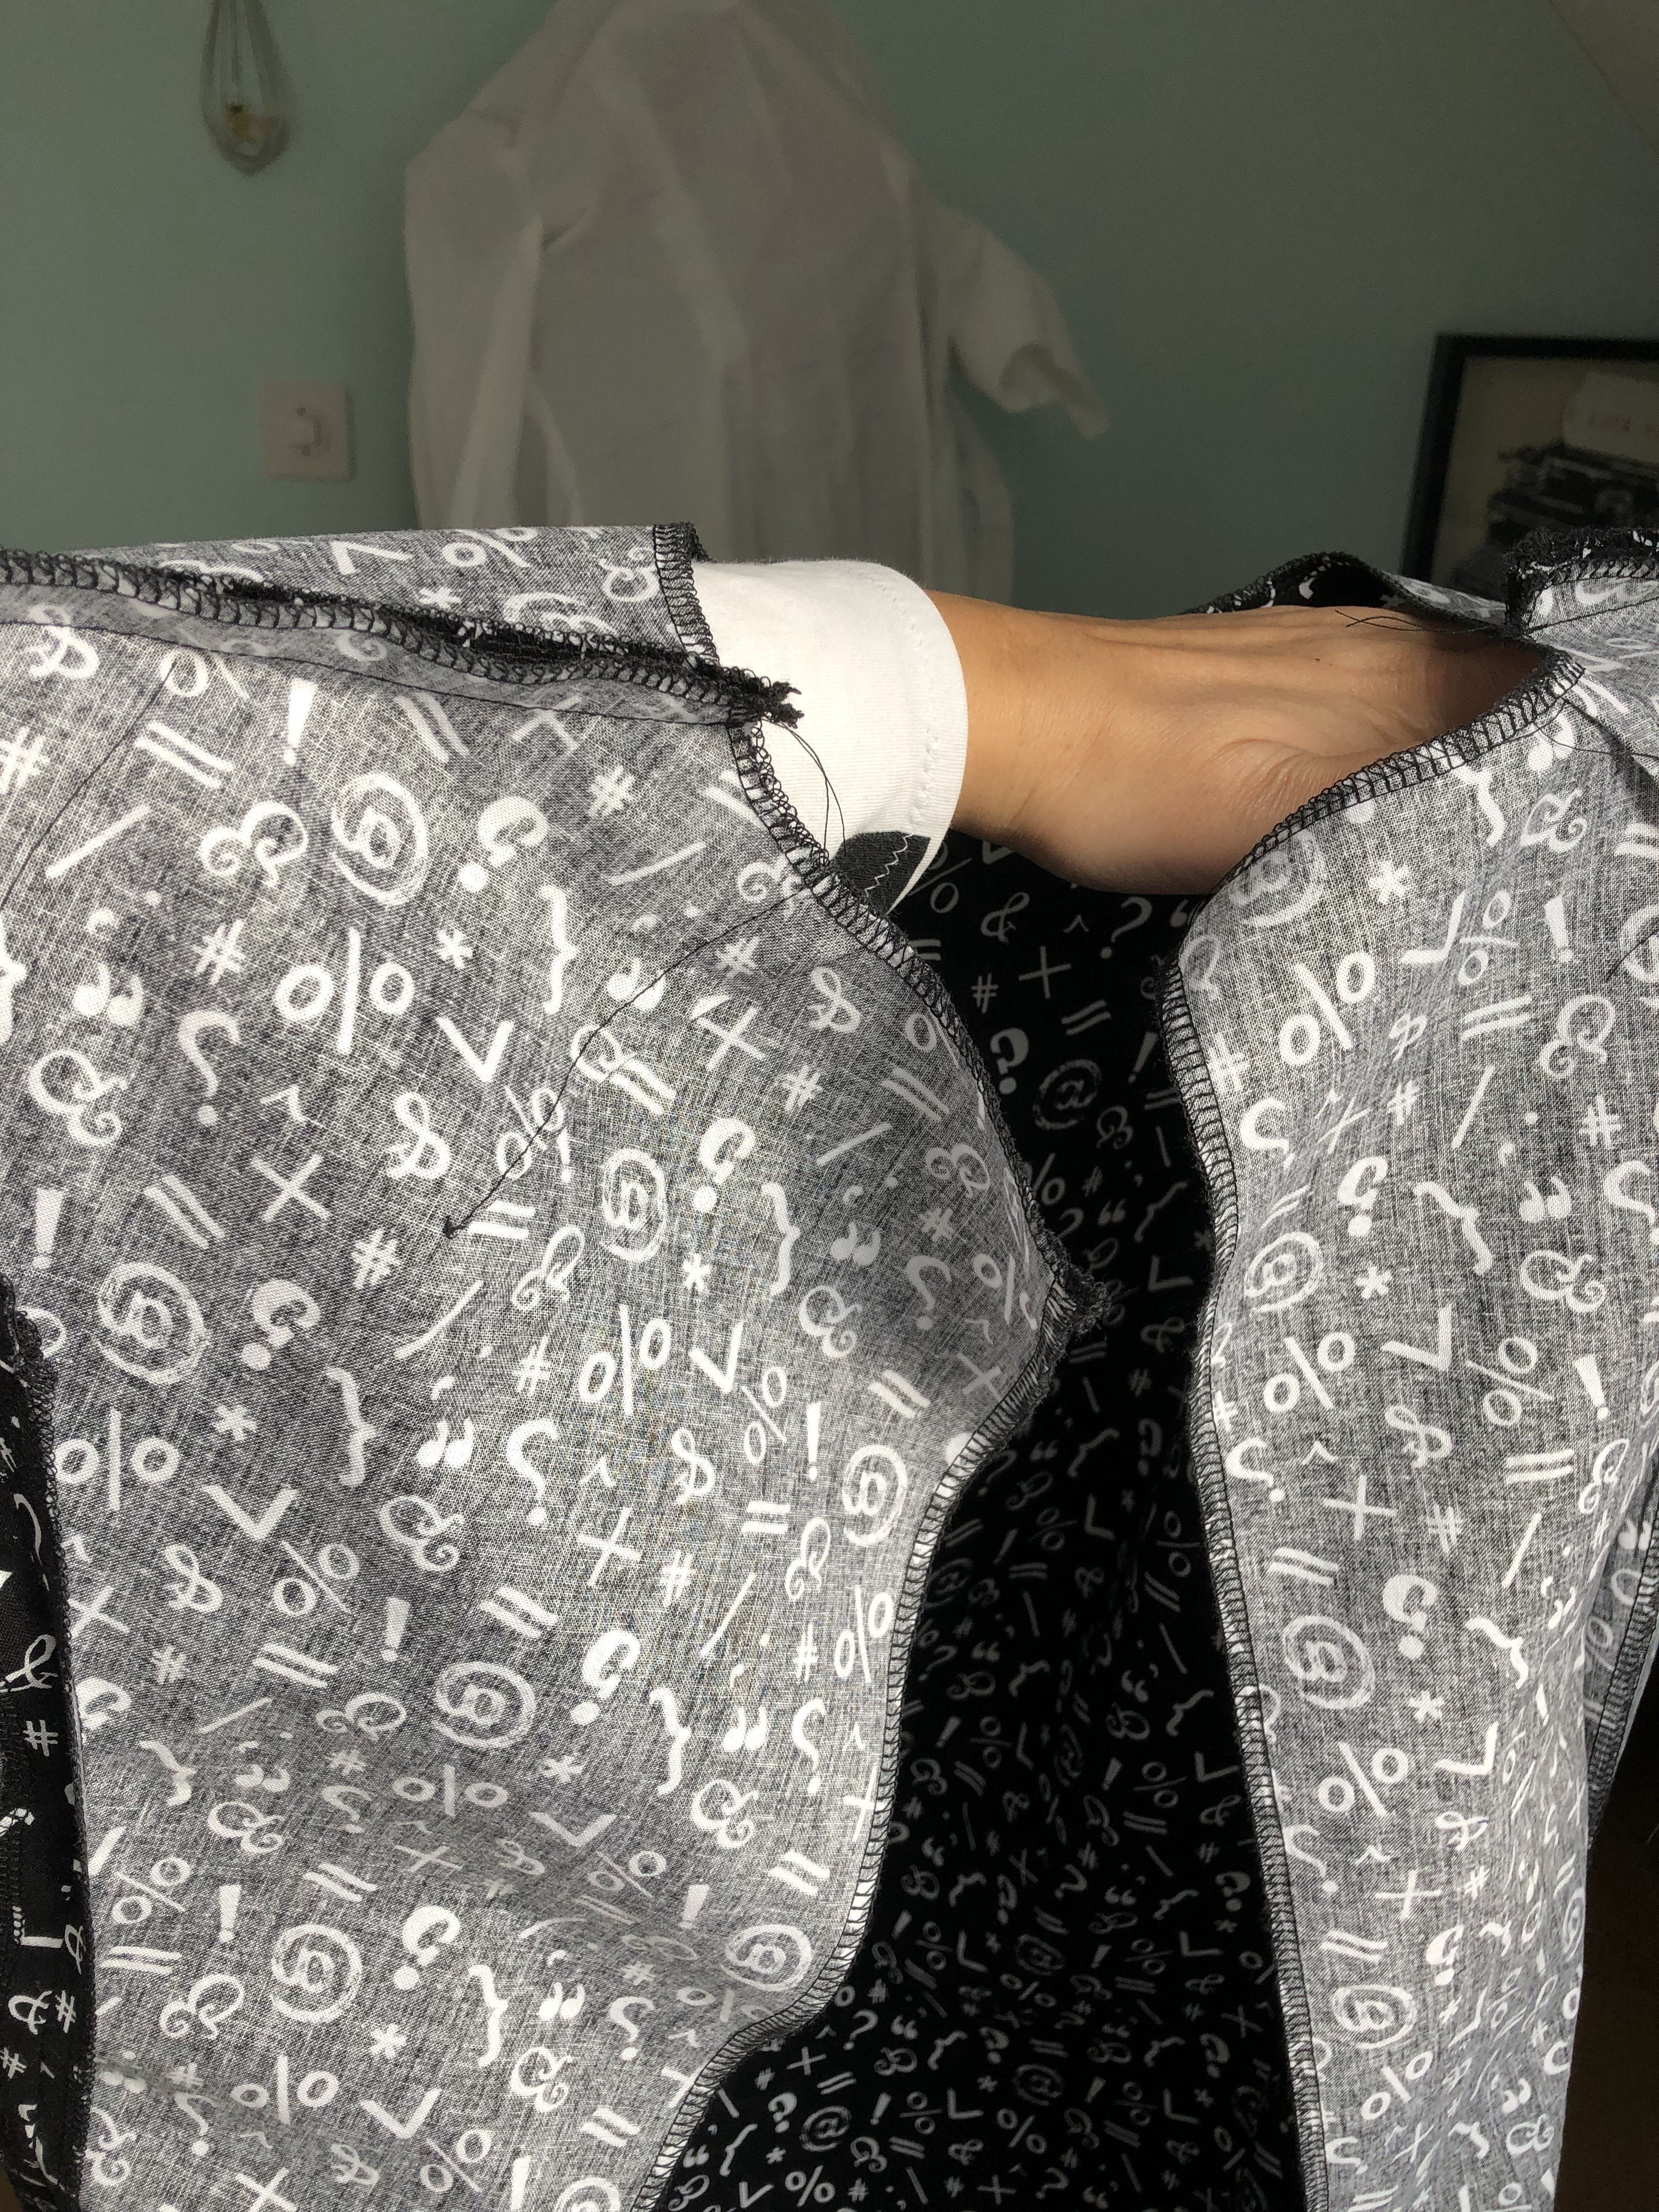
After cutting out I first applied all the fusible interfacing and overlocked all the individual pieces except for the front and the back pieces (because of the darts). Sew all the darts and then finish the back and front pieces as well.

Overlocking all the pieces
I started the assembly process by sewing the side pieces to the front and then the back pieces to each side piece. Press and then sew the two shoulder seams together.
A pressing ham helps pressing curves such as bust darts. A real life saver…

Before closing the darts…
After joining the facing pieces you sew the facing to the neckline of your Zoe dress. Press the seam open and then towards the inside. Clip the seam allowance and then carefully understitch.
Understitching the neckline.
I topstitched the facing to the main fabric by sewing a line “in the ditch” at both shoulder seams. Additionally I sewed attached the front facing to the front with a few hand stitches so it would not ride up.
Now it’s time to do the sleeves. After sewing the sleeves and hemming them (I like to hem them before they’re attached to the actual garment so I don’t have the bulk) you sew two rows of gathering stitches at the head of the sleeves. Insert the sleeves by carefully distributing the excess fabric at the top. Voilà
The finished sleeve from the inside.
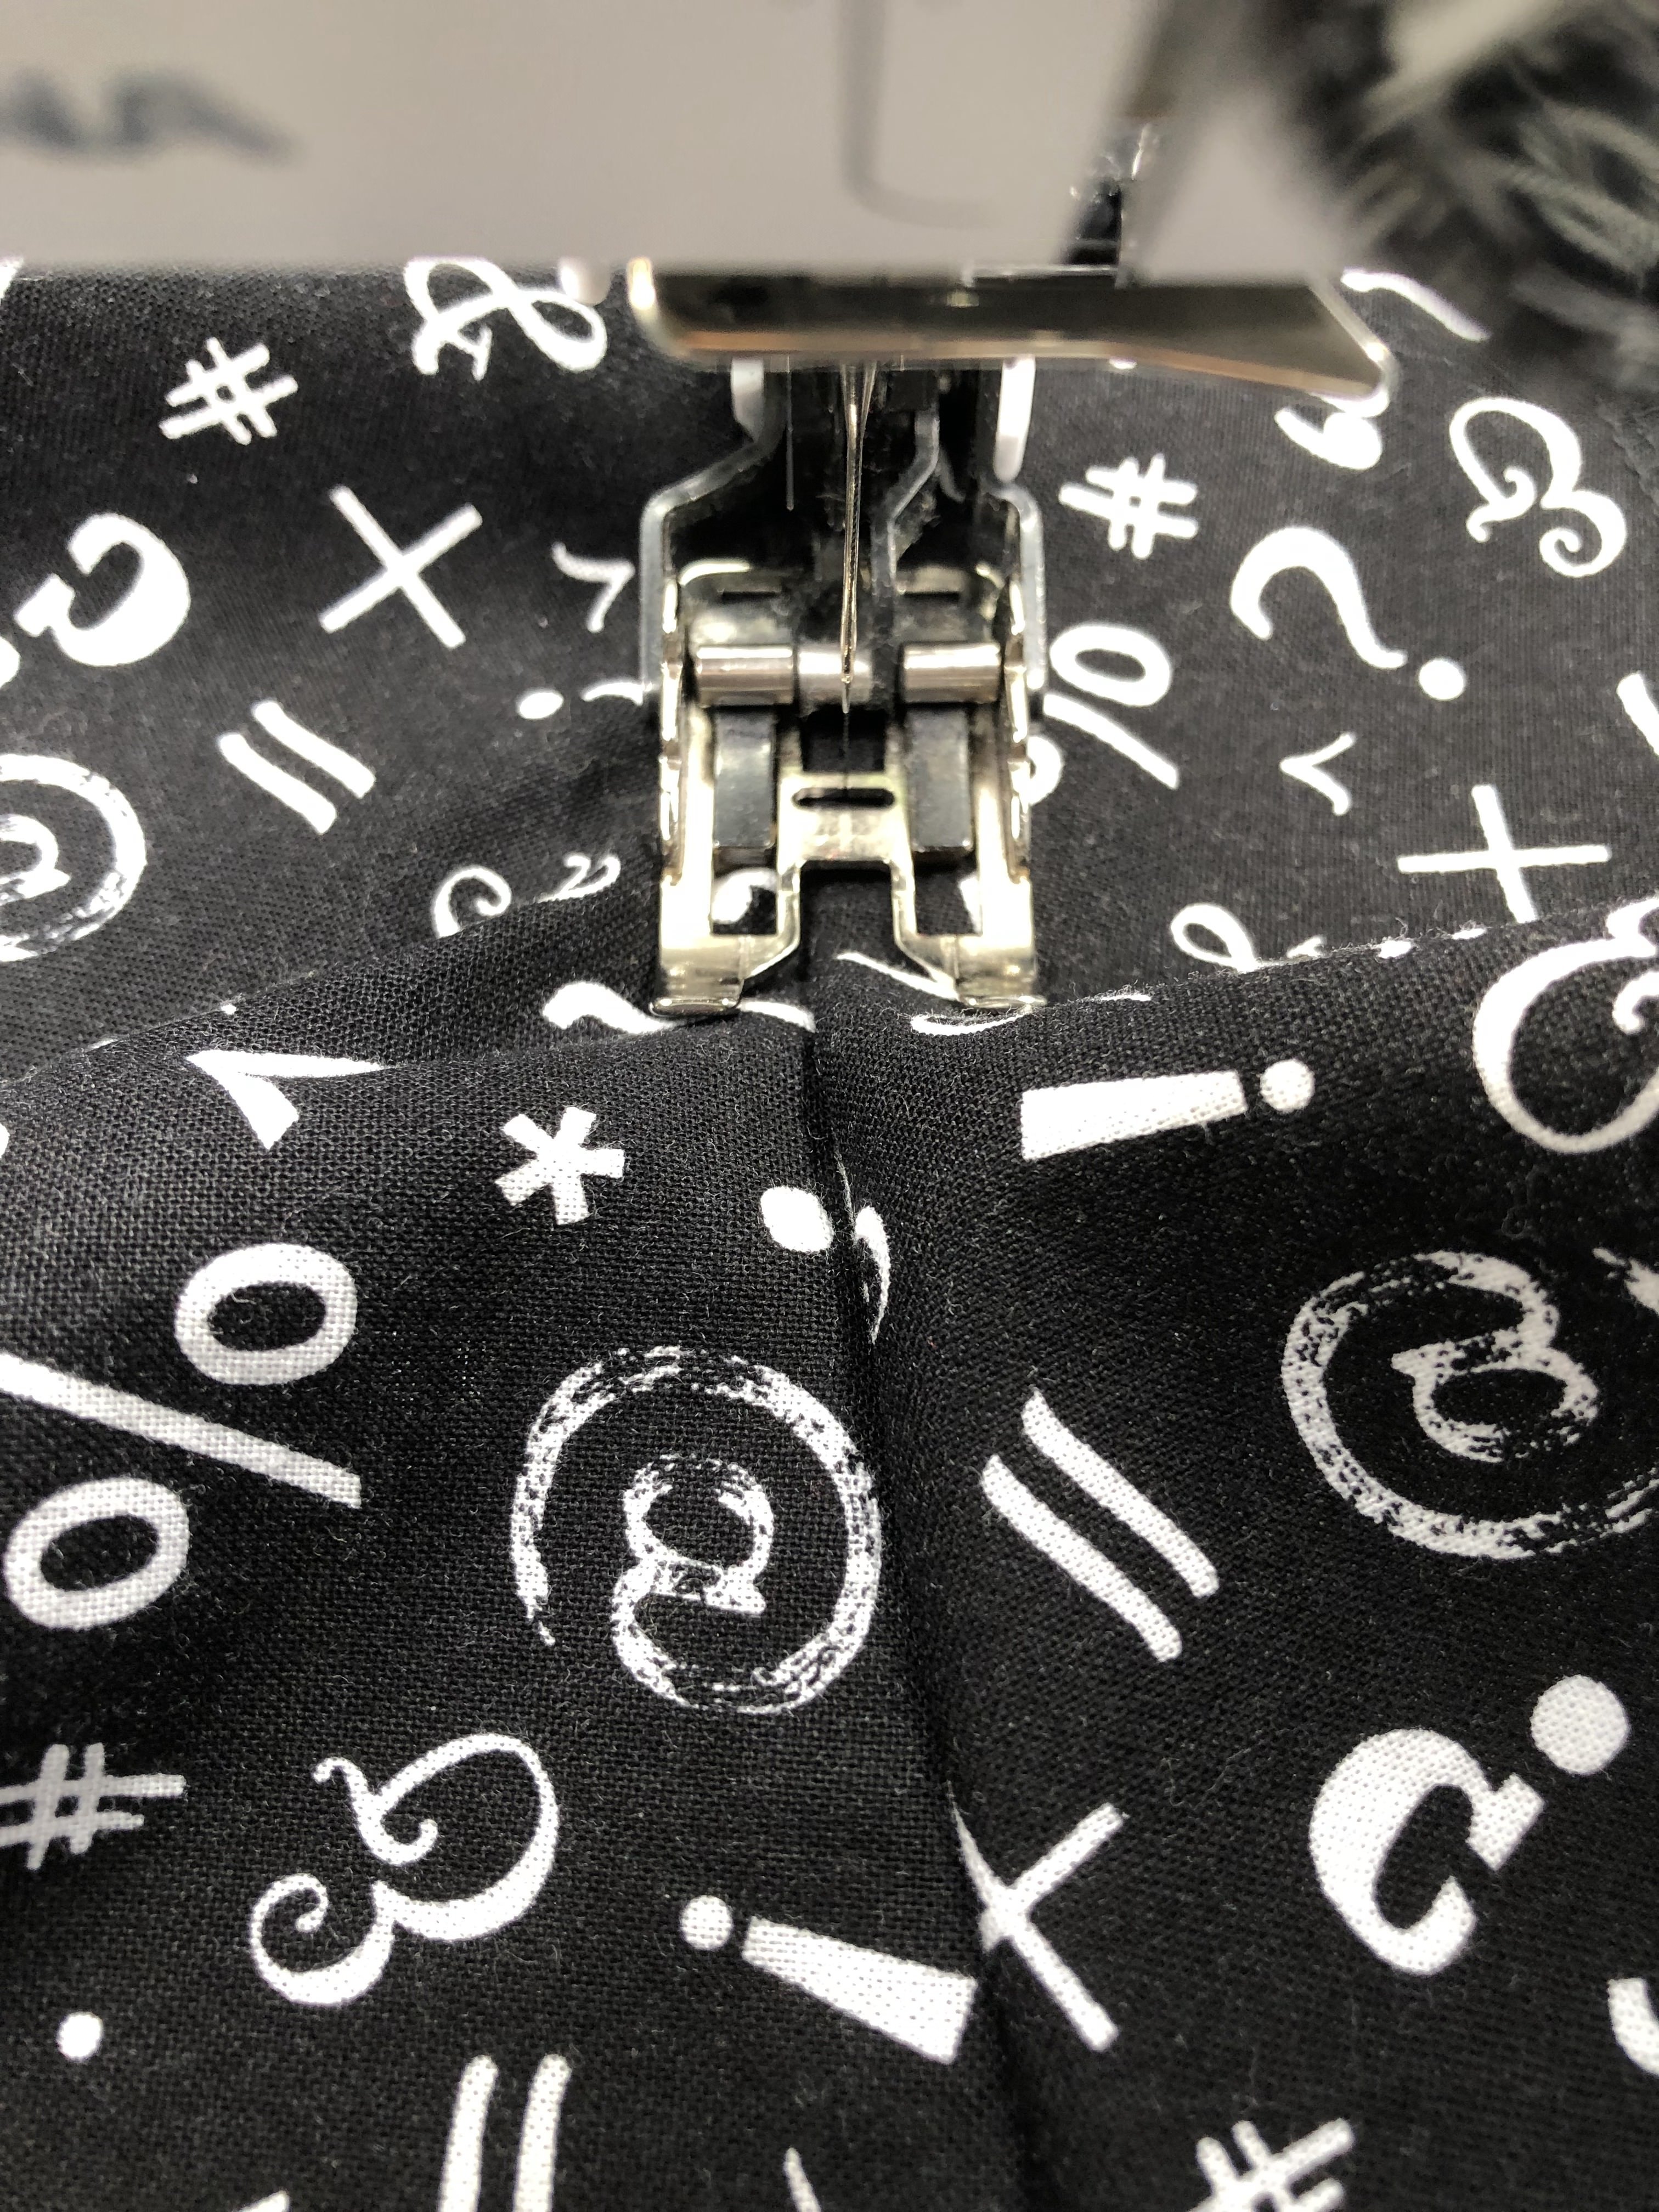
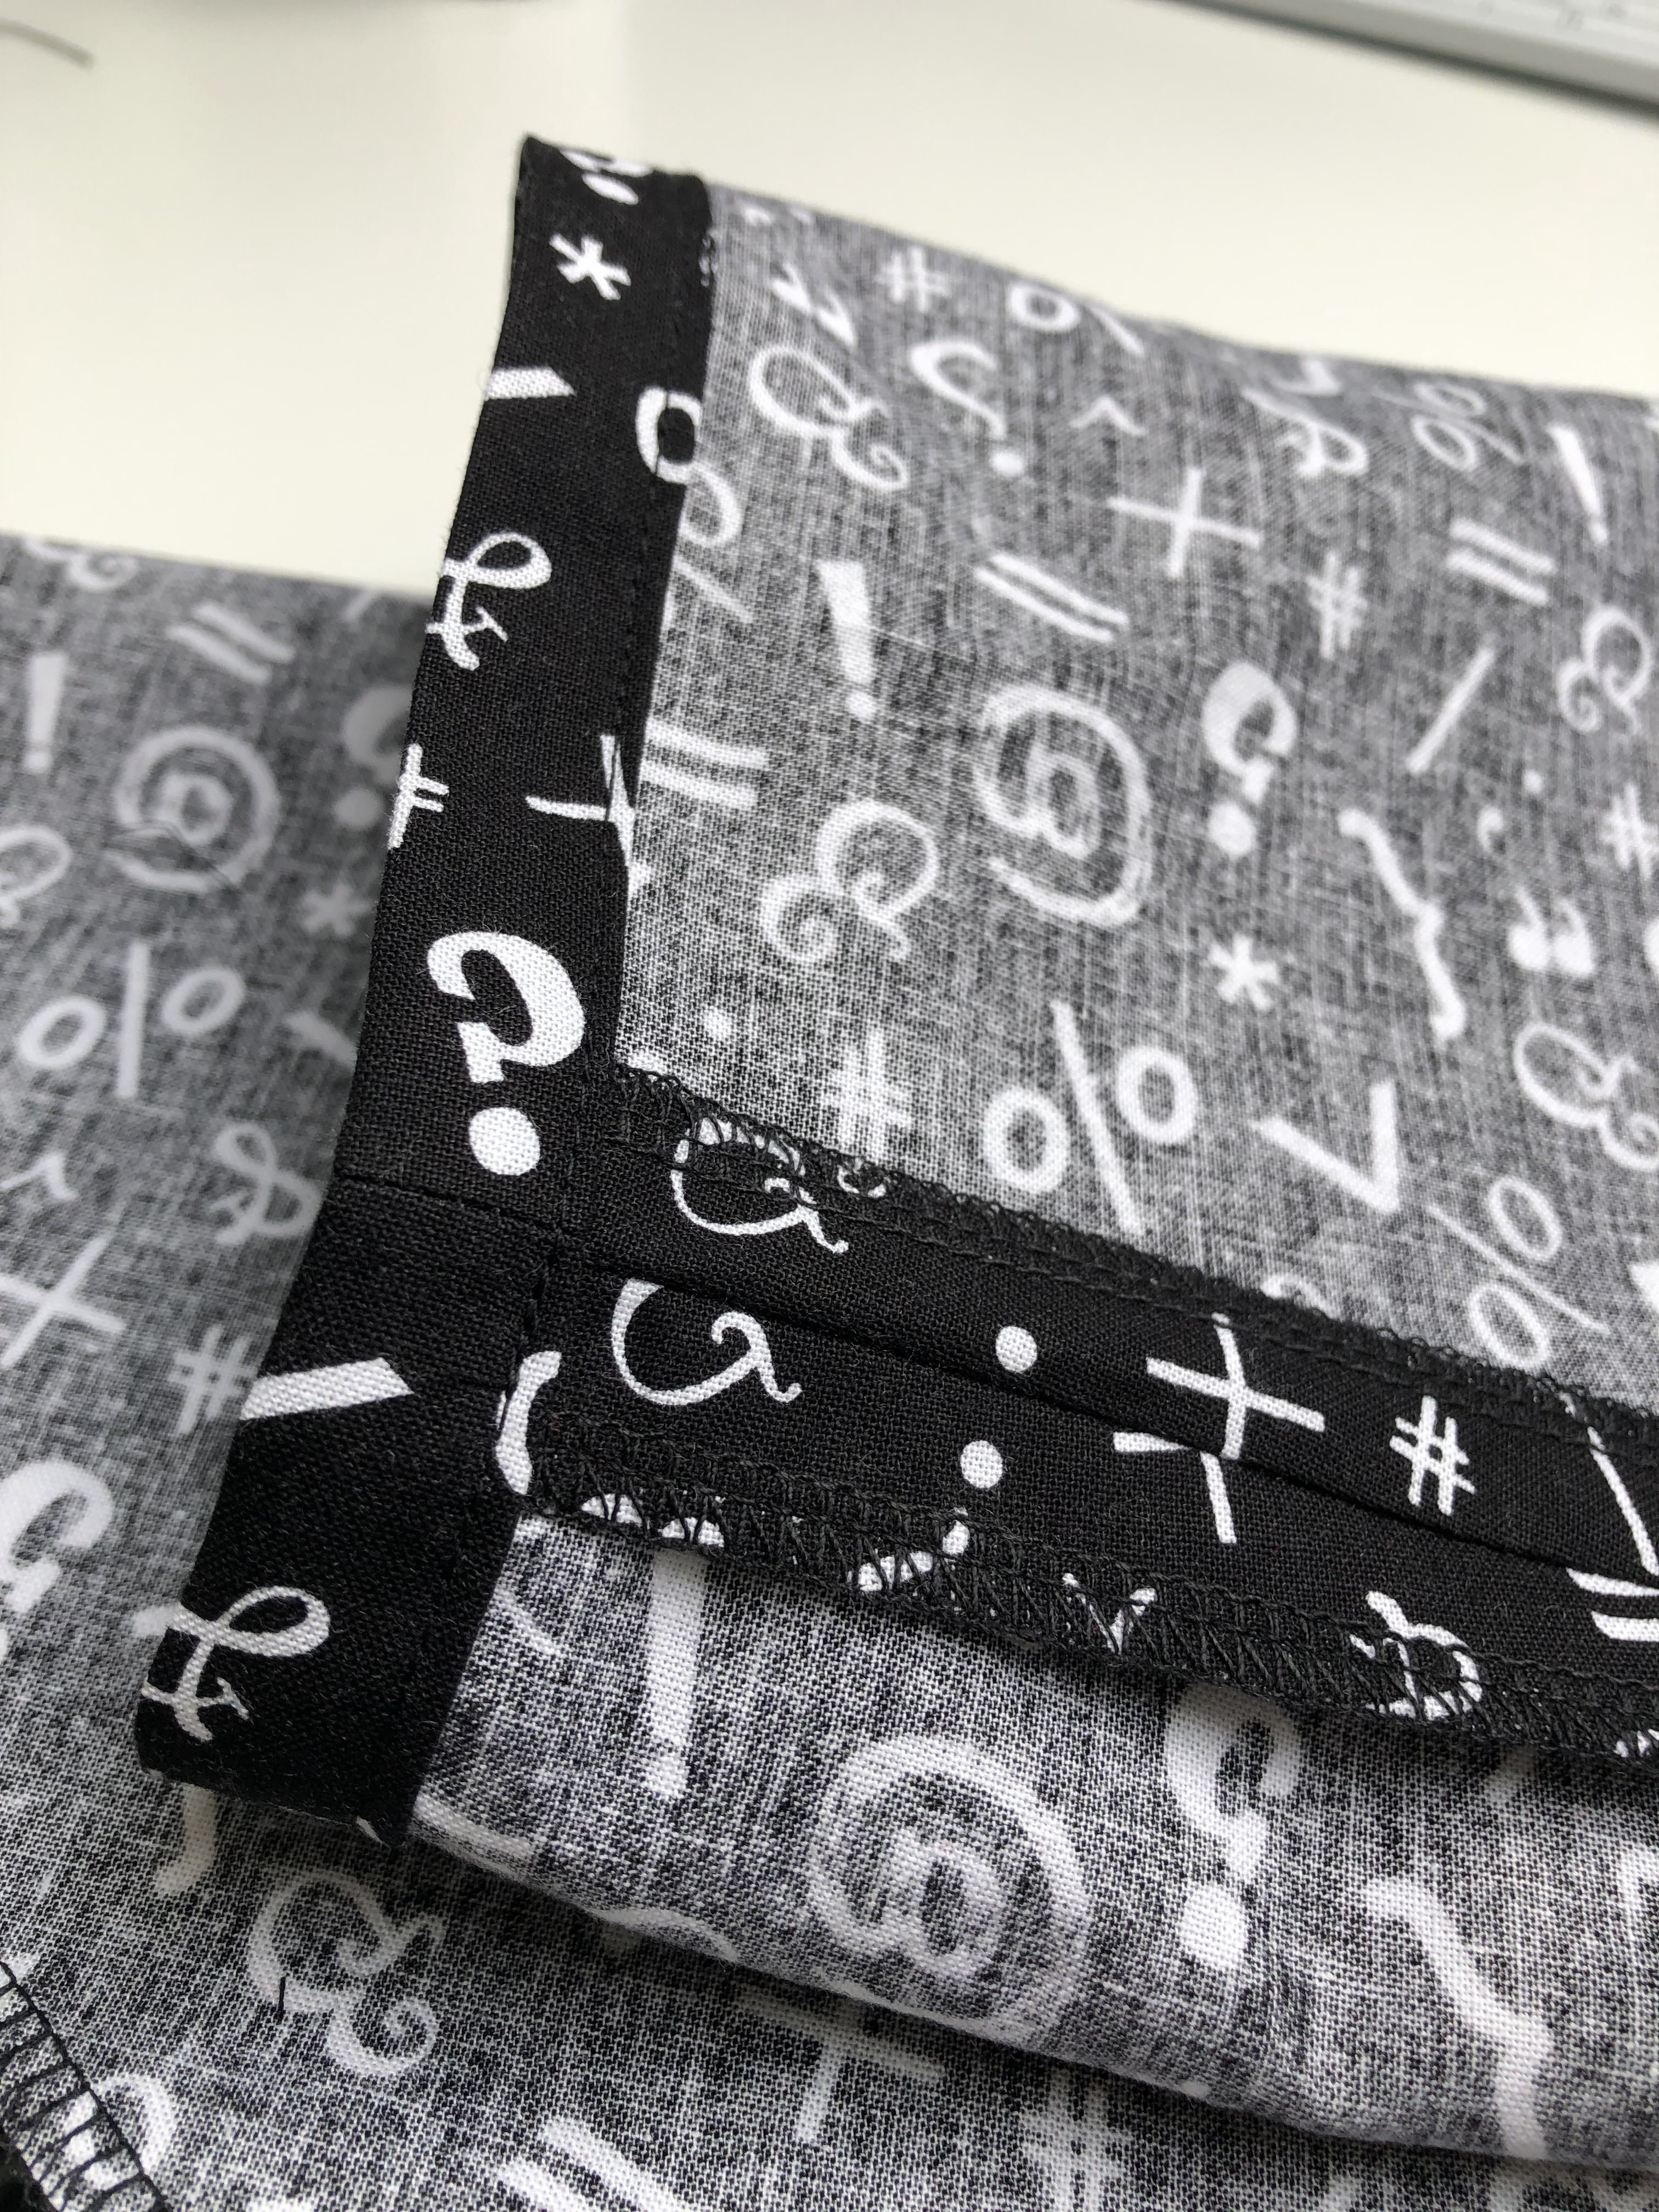
Let’s insert that concealed zipper, shall we? Of course ever since I bought my trusted invisible zipper foot, zipper insertion is no longer a problem for me. After inserting the zipper I finished the back seam with the regular zipper foot and hemmed the dress.
Hemming process

The zipper is in and straight…
The construction of this dress is surprisingly easy but you need experience inserting a zipper and sewing darts. Other than that – you’re good to go.
Want to read more about my sewing journey? Head over to my blog or follow me on Instagram.
Happy Sewing,
Nadine

And this is the fab result. I might improve the fit of the sleeve next time (just a cm more room would be perfect). Lots more Zoes to come my friends…!


0 Responses