When working with stretchy knits, using a serger is of great help. But unless you have a coverstitch machine, hemming still needs to be done with your sewing machine. And as we all know, that can be a challenge! But there is actually an extra foot you can attach to your serger and that is rather helpful for hemming knits: the blind hem foot. This foot is designed to let you hem without leaving a (very) visible line of stitches on the outside. It’s mostly used for fancy garments where a visible hem would be distracting. It’s also possible to sew these invisible hems by hand. But when you’re using a knit, a hand stitched hem won’t be very stretchy, which is a big problem.
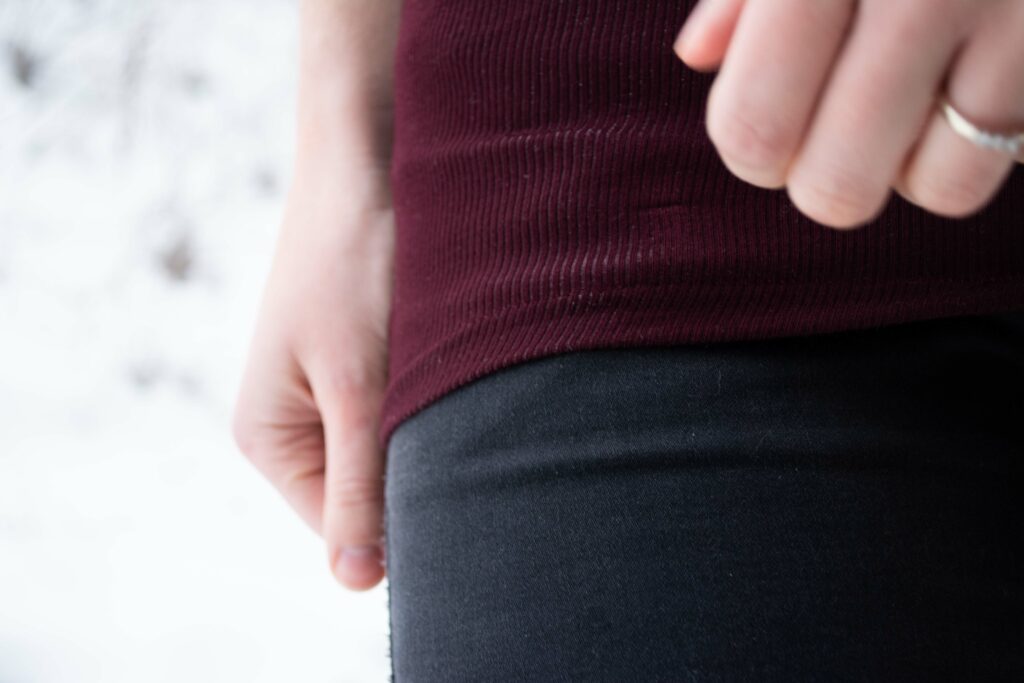
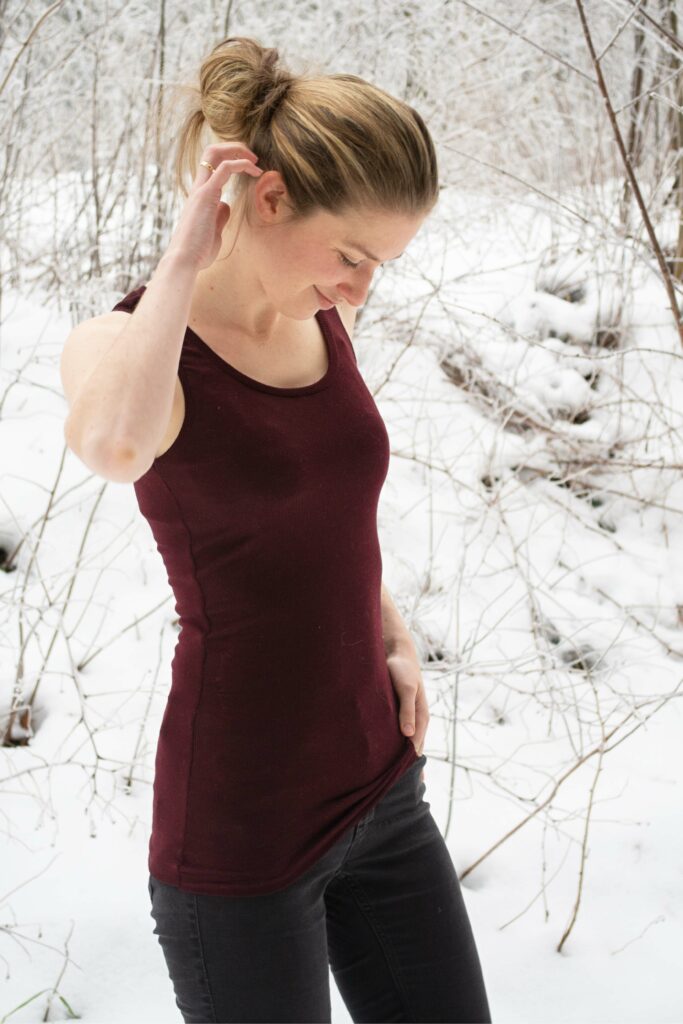
Here, the blind hem foot is a great choice, since it gives you a durable stretchy seam at the hem, while being (nearly) invisible. The downside, however, is that using the blind hem foot, especially with knits, needs some careful adjustments and some practice. I sewed a Kila Tank by Allie Olson using a very slinky and thin rayon rib knit and hemmed it with the blind hem foot. Read on if you’re in need of some tips using this handy little foot:
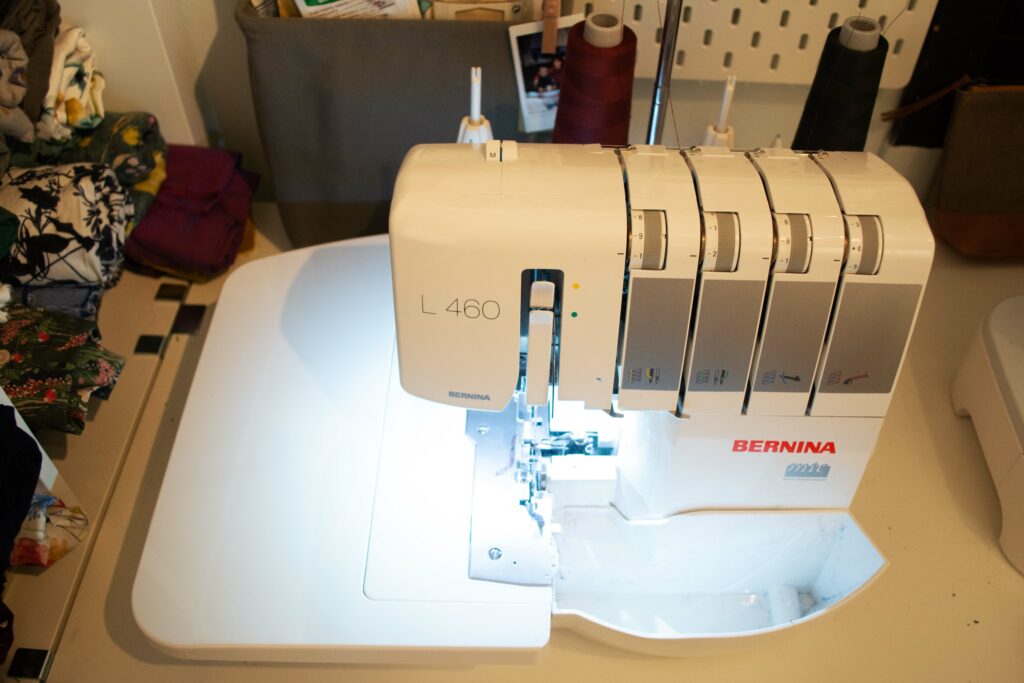
First of all, you need to adjust your serger. When using the blind hem foot, you only sew using the right needle. The goal is that the needle only just catches a fold of the fabric, making the seam nearly invisible on the outside. Take out the left needle and adjust the number of cones you will be sewing with – there are several options that are suitable for only sewing with the right needle. I chose to sew with only two threads, since the seam ended up less bulky.
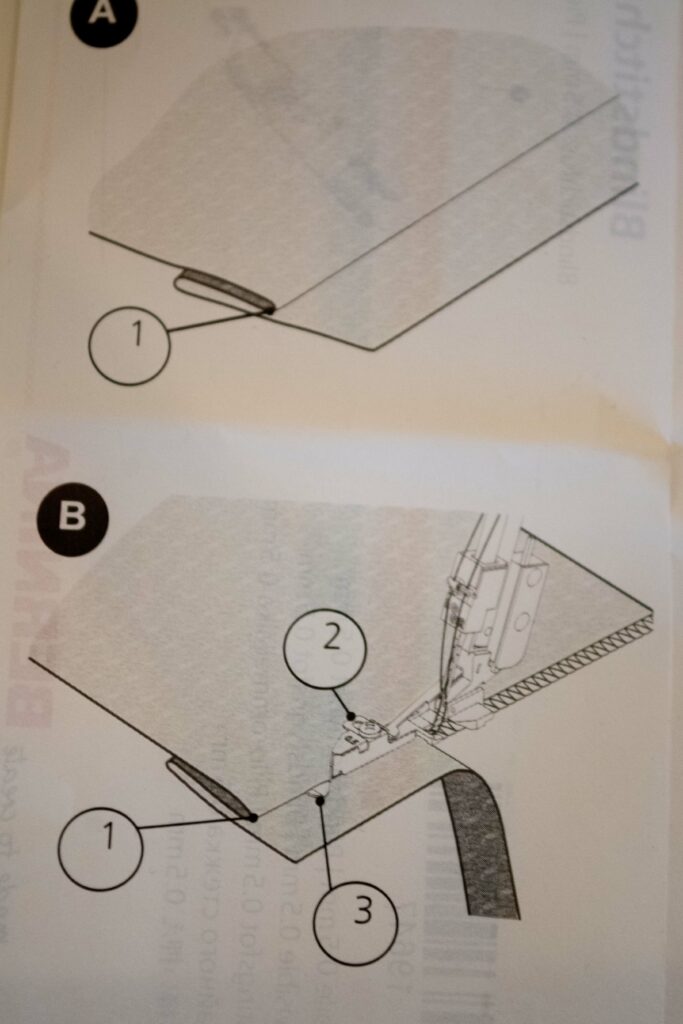
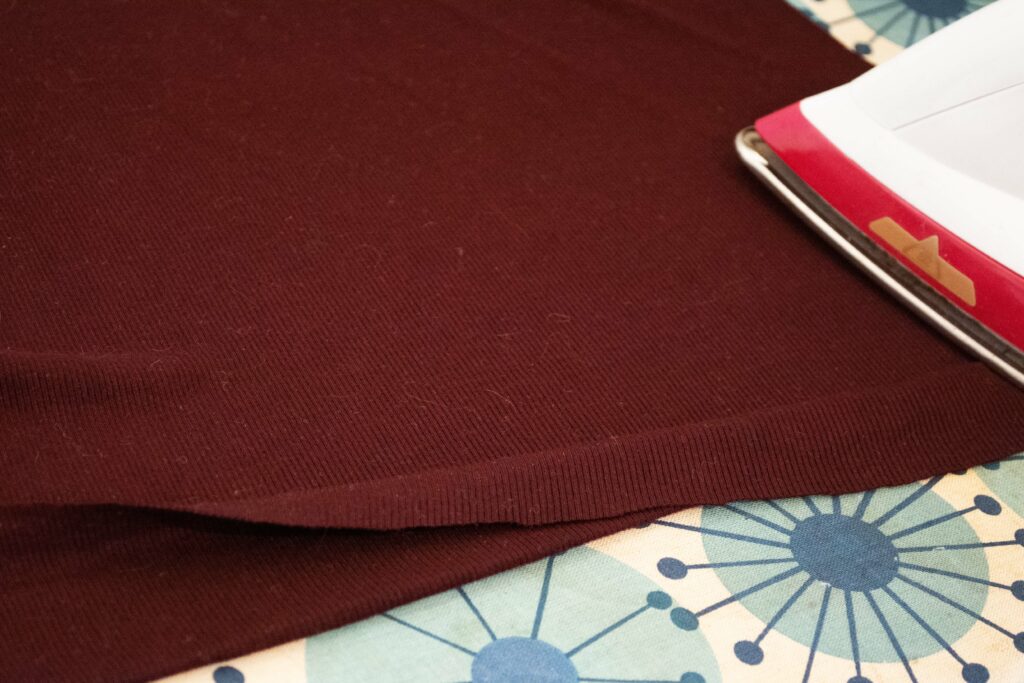
Here’s a photo of the instruction booklet, showing you how to fold the fabric and how it is supposed to glide through the blind hem foot. My first tip is to actually press the fabric in the recommended way. If you only fold the beginning and try to fold the fabric correctly as you sew, you will probably end up with a wonky hem.
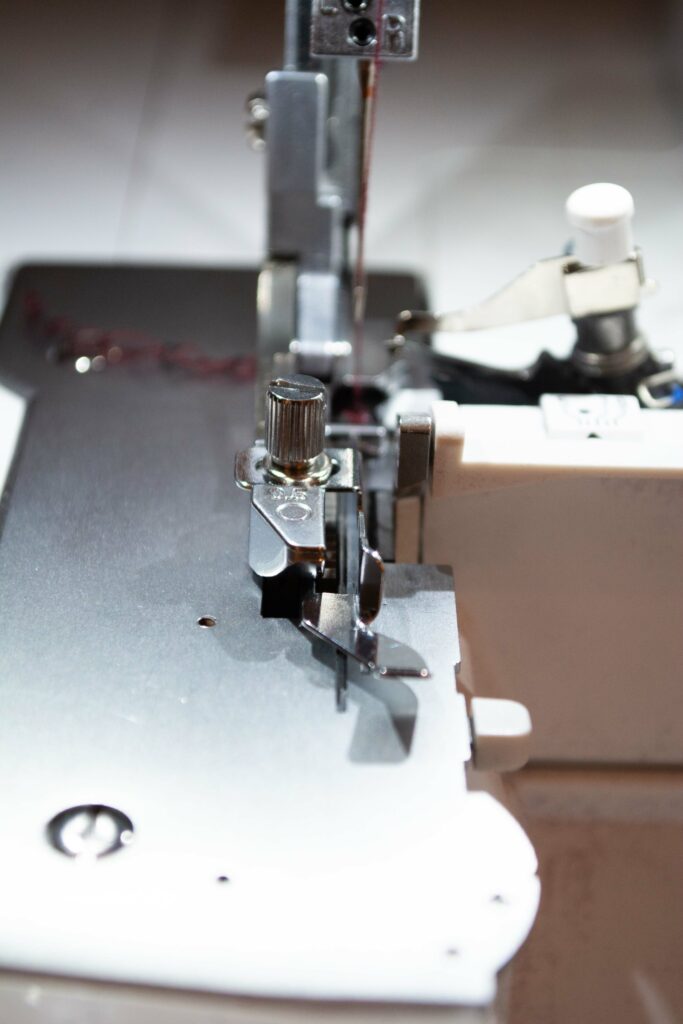
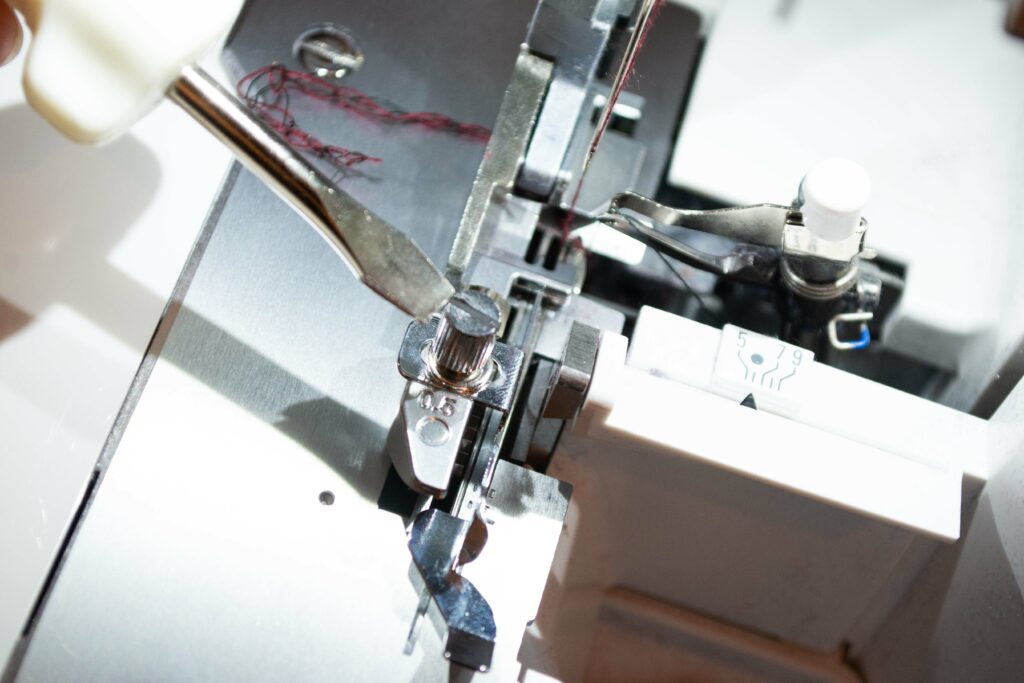
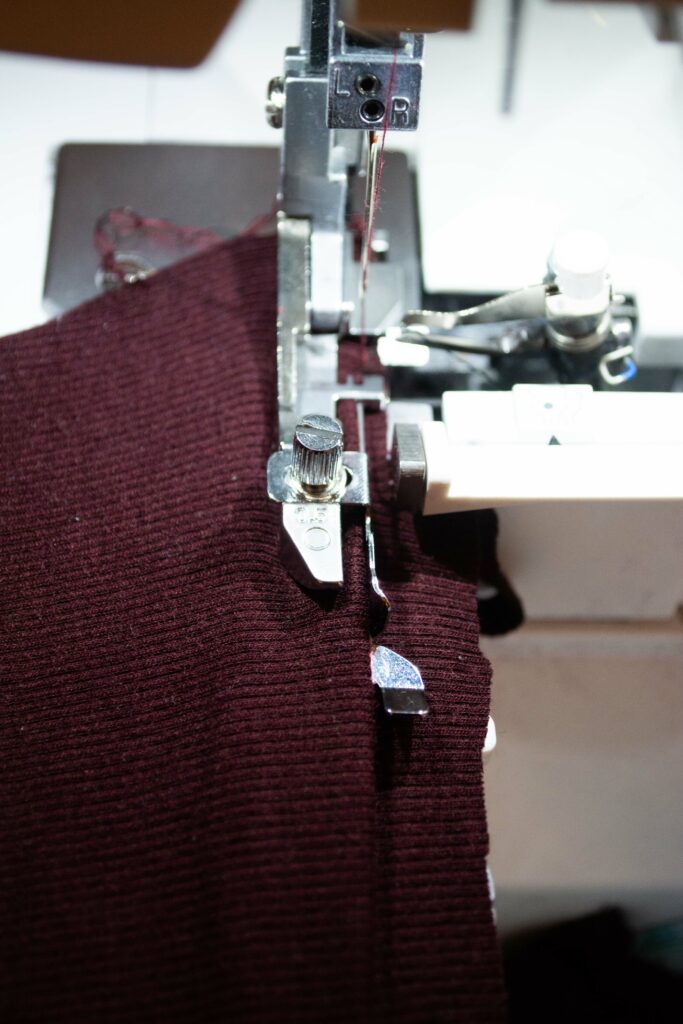
My second tip is to take your time to figure out the correct settings, using scraps of your actual fabric. The point of the blind hem foot is that the needle only barely catches the folded edge of your fabric. Since every fabric is different, you will need to adjust the blind hem foot every time you sew by loosening the little screw on top of the foot. That way you can move the guiding edge of the foot a little further out or in before tightening the screw again.
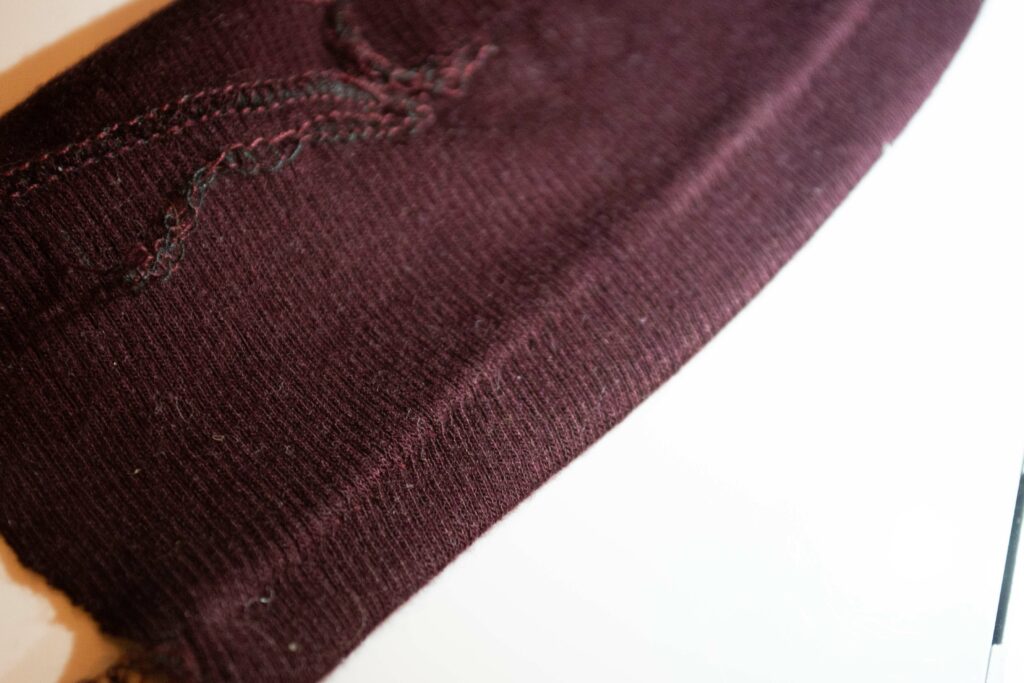
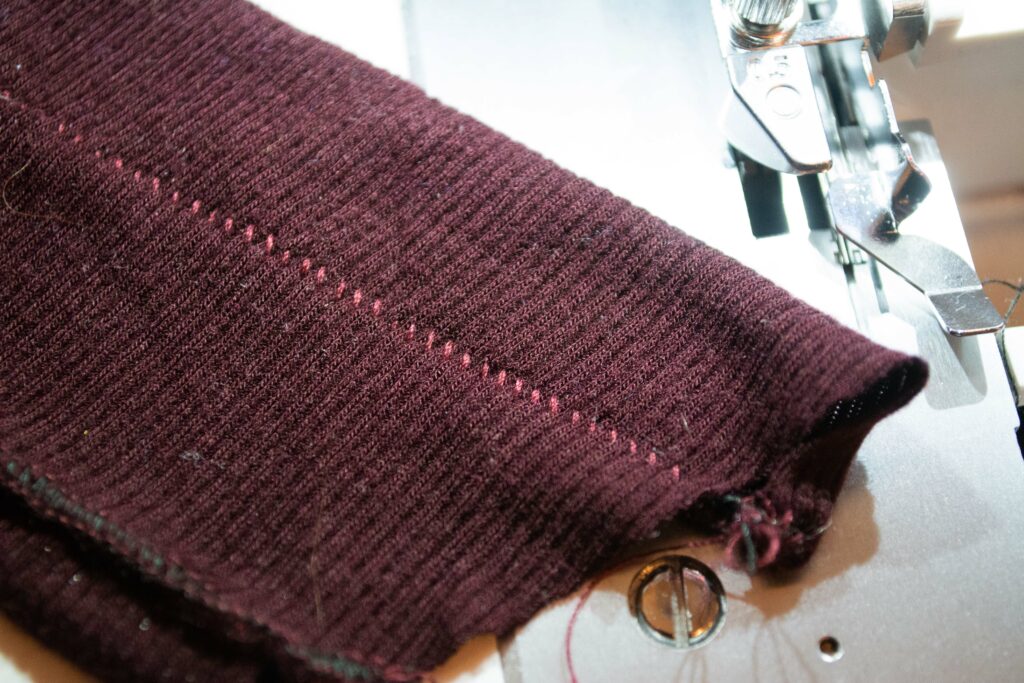
If the needle doesn’t catch the folded fabric edge, you will need to move the edge of the foot a tiny bit towards the right. If the needle is catching too much of the fabric, you will need to move the edge a tiny bit to the left. This is really trial and error, as you will need to move the foot millimetre by millimetre to figure out the correct position. Here’s a photo of a seam where the needle caught too much of the fabric, making the seam show on the front:
My third tip is: At least the thread threaded through the right needle should match your fabric. That way it won’t matter as much if the thread shows a little bit on the front. I found it nearly impossible to adjust the blind hem foot perfectly, at least when working with stretchy fabric.
My next tip is: hem before you sew your side seams together! You will not be able to guide the bulk of a side seam through the blind hem foot. That makes this foot only suitable for garments that can be hemmed before trying them on and that don’t need to hang before hemming them (like a rayon circle skirt, to name one example). This tank top was a good choice, since I didn’t need to try it on prior to sewing the hem – one inch more or less wasn’t very important in this case.
My fifth and last tip regarding the blind hem foot: Sew slowly and steady, paying attention to the fabric and if it folds correctly. That way you will end up with a very stretchy, durable and (nearly) invisible hem!
 BERNINA Corporate Blog -


0 Responses