 BERNINA Corporate Blog -
The use and shape of what we today call a handkerchief, has varied over the years and through different cultures but it has often carried a common thread as a symbol of love.
Nowadays, handkerchiefs are mainly used my men but they were widely used by men and women until the popularity of disposable tissues.
Handkerchiefs were often used as a form of secret communication and flirtation in the 1700s and 1800s, a time when flirting in public it was not accepted. Depending on the colour or how a handkerchief was worn or held, a message was conveyed.
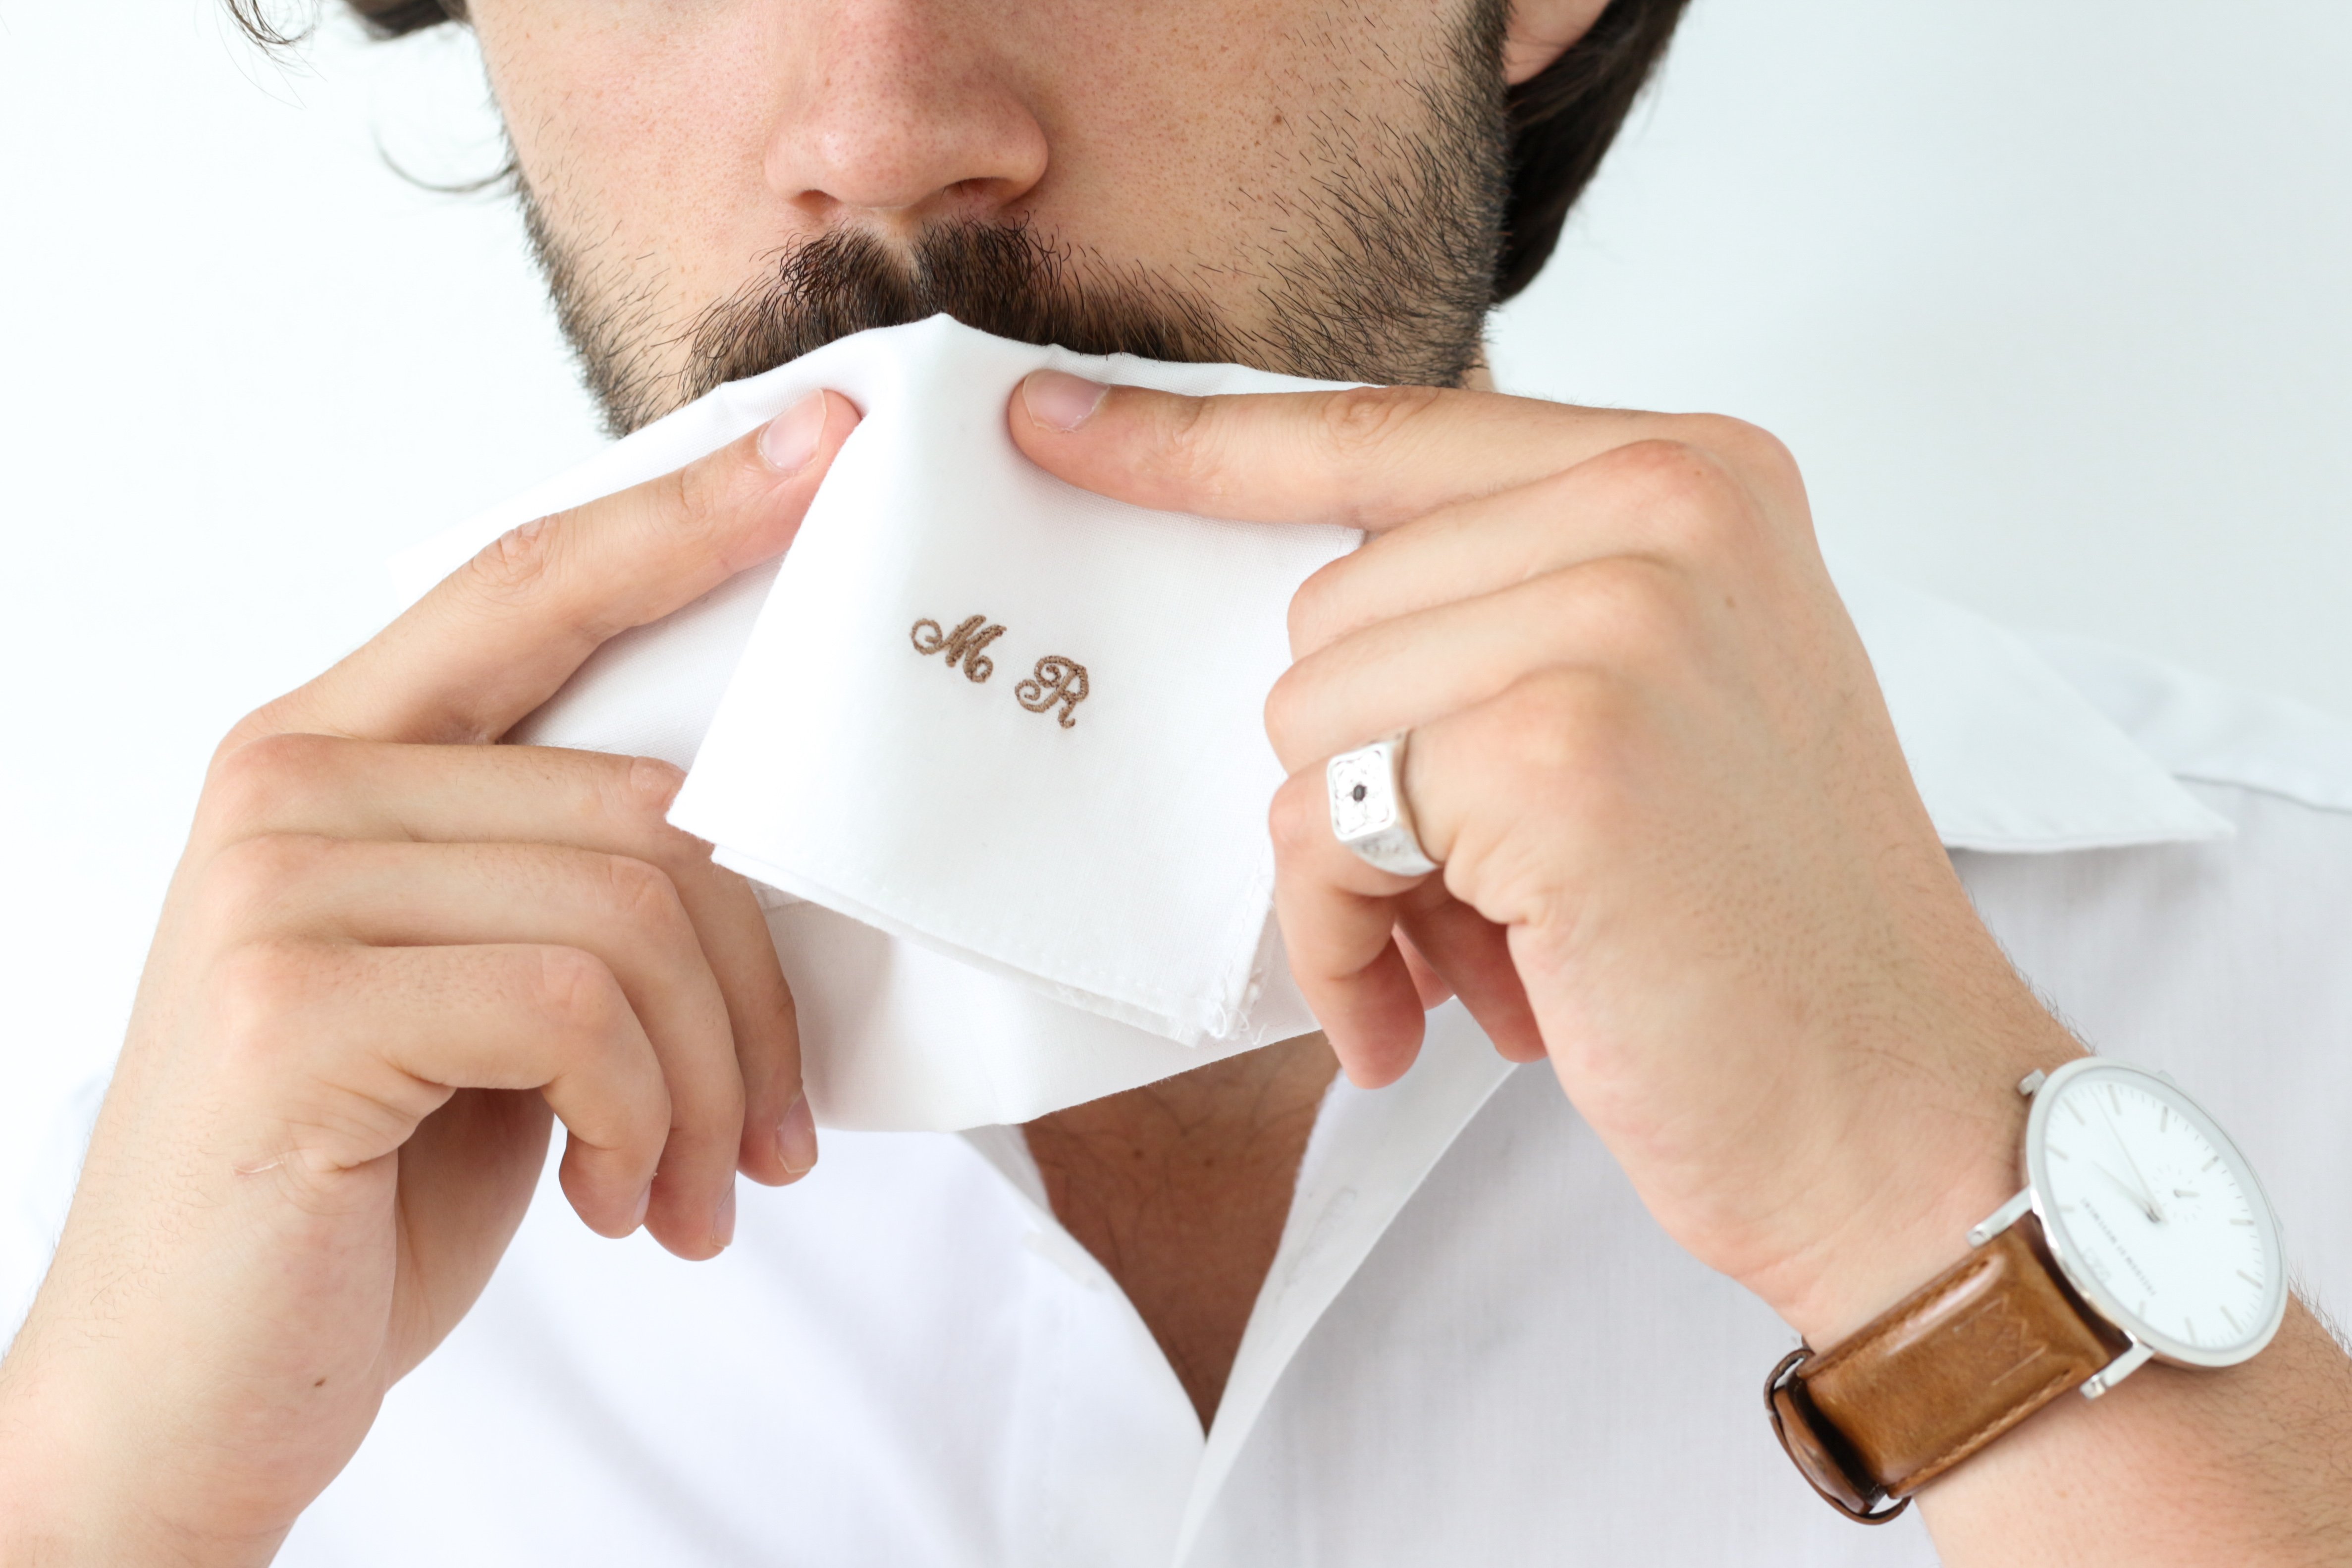
A white handkerchief apparently meant “I love you” as did the gesture of drawing the hanky across one’s cheek.
Often women would send their suitors handkerchiefs they made with special hand sewn embroideries. Chivalrous men would also gift their hankies to the women they fancied, often in a time of vulnerability. Sometimes they were scented with one’s signature perfume or cologne.
Knights and Soldiers would often keep a handkerchief from their lady in their helmets for good luck.
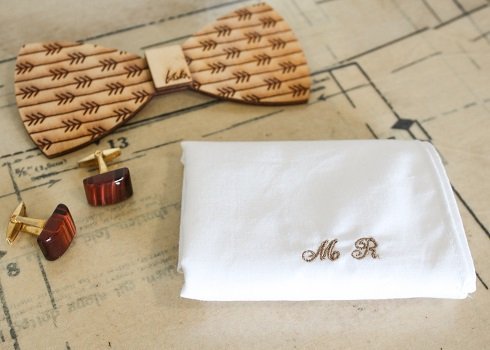
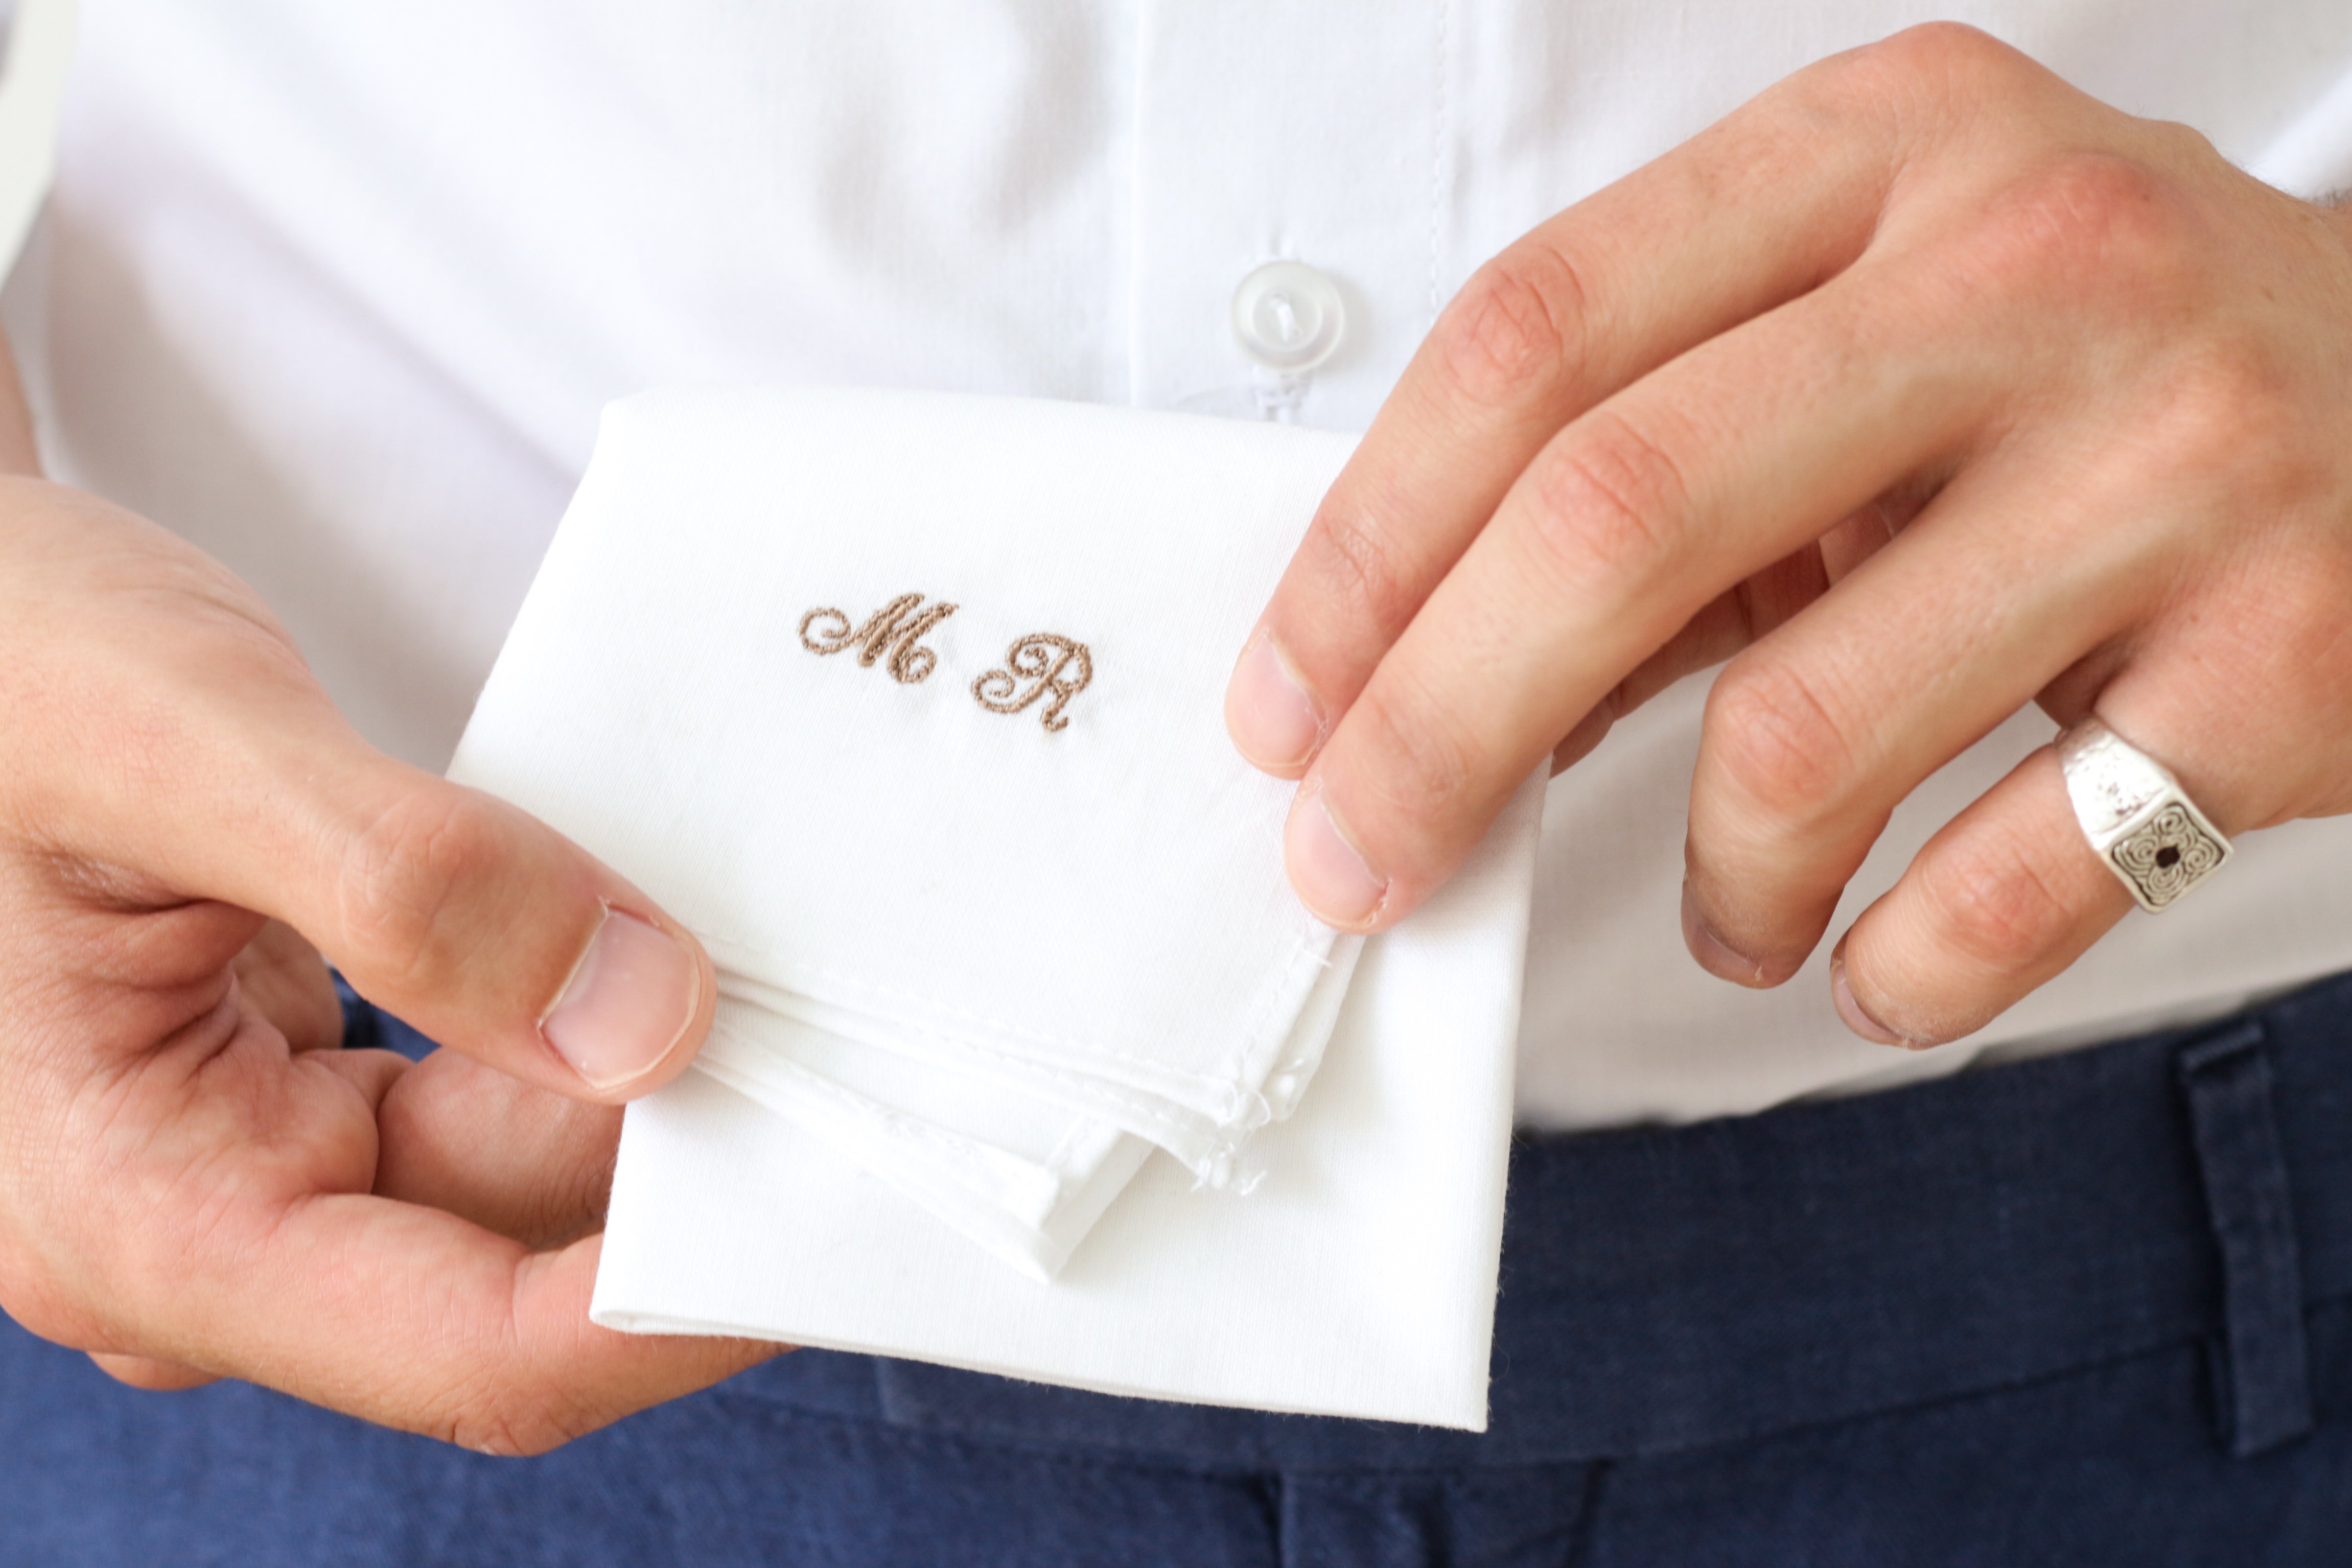
So this Valentine’s Day I wanted to keep up the tradition and whipped up a personalized hanky for my boyfriend. Personal homemade gifts are always so special and luckily with the help of our machines, a hanky doesn’t have to take as long to make as the hand sewn ones from centuries ago.
And bonus: handkerchiefs are more environmentally friendly than tissues as they are reusable and can be made from left over fabric!
What will be needed:
- Optional: Rolled Hem Foot (#61-69)
- Embroidery Module
- Medium Hoop (if you have a small one you may use it)
- Tear-away Stabilizer
- 35cm x35cm (14 x 14inches) piece of fabric
- Embroidery Thread
- Sewing Thread to match your fabric
Steps
I recommend prewashing the fabric to prevent shrinkage and to soften the fabric.
Use your signature fabric softener or washing detergent to create a familiar scent.
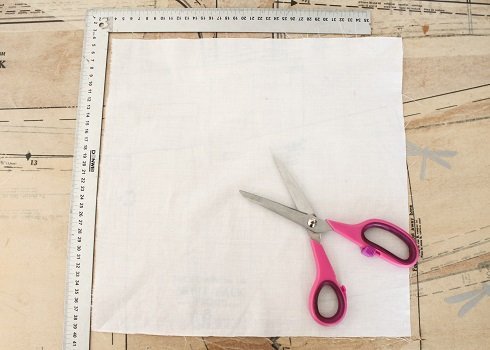
- Cut a square.
A 35cm x 35cm square makes for a good size.
However, you may be interested to know that King Loius XVI made it law in 1785 that all handkerchiefs be 10 x 10inches (25.4 x 25.4cm) or 11.5 x 11.5 inches (29.21 x 29.21cm).
Prior to that handkerchiefs could be any size or shape!
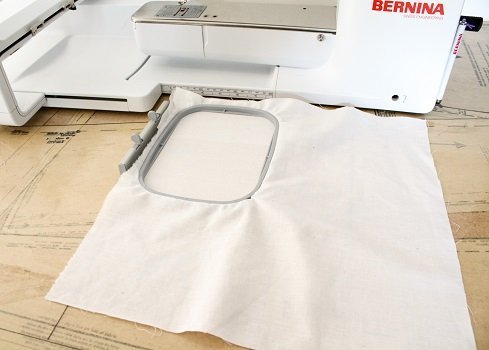
- Place a corner of the fabric in the embroidery hoop with the tear-away stabilizer below.
Place the hoop as close to the edge of fabric as possible.
Even though I want the design in the bottom right corner, I placed the fabric in the top left corner of the hoop as the fabric would be taught. If I used the bottom right corner of the hoop, the fabric may pucker slightly or not be as taught due to the join of the hoop frame and tightening screw.
As we are working with such a small design so close to the edge, we need the fabric to be as taught as possible.
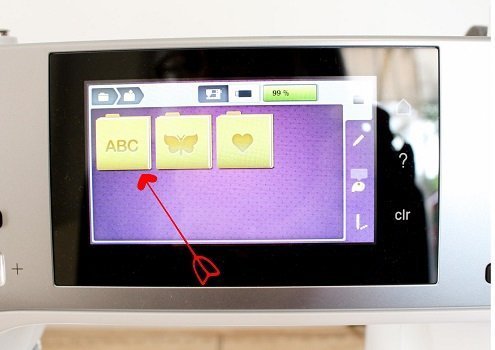
- Go to the font folder.
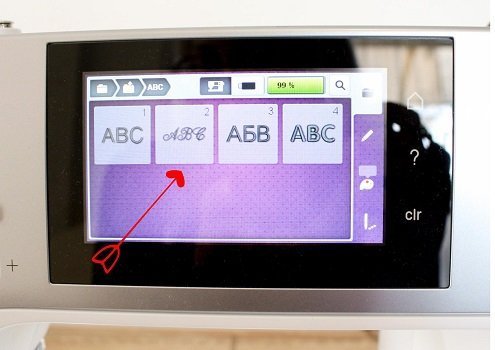
- Choose a font. I selected the cursive font which is saved to my machine.
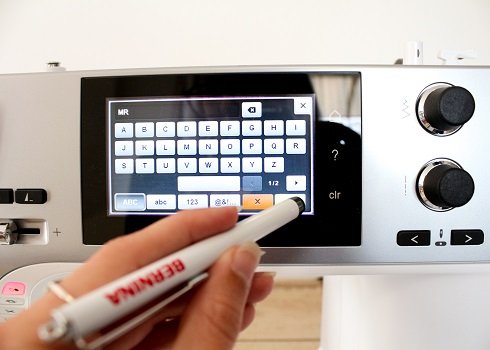
- Type in your loved one’s initials or name.
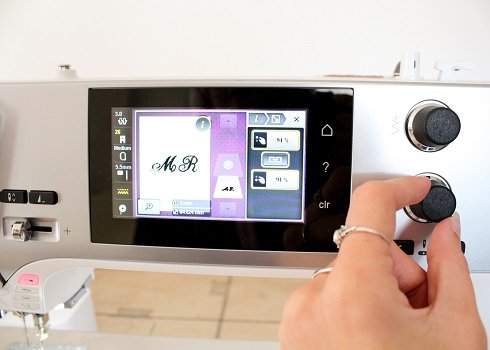
- Adjust the size. I made my design 25mm x 9mm.
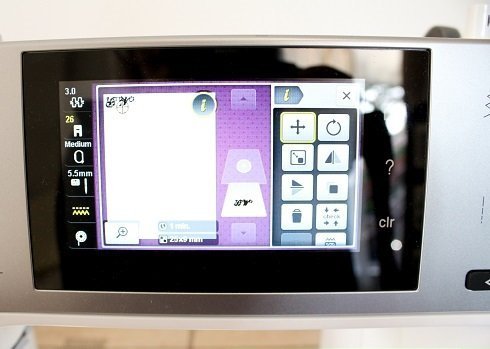
- Place the design in the corner of the fabric.
I rotated my design so that it be in the bottom right corner of the hanky.
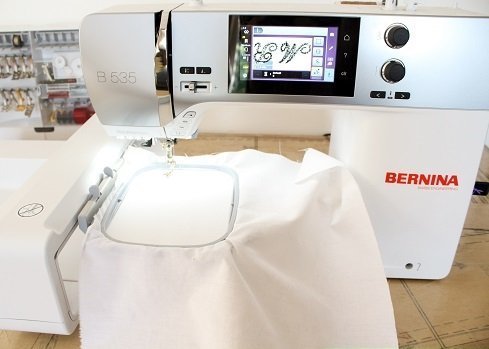
- Place the hoop in the embroidery machine, thread in the embroidery thread and press start.
Once the embroidery is finished, remove the fabric from the hoop and tearaway the stabiliser.
If you don’t have a hemmer foot, skip to the next step where I show you how to use foot #1.
Rolled hem foot (#61-69)
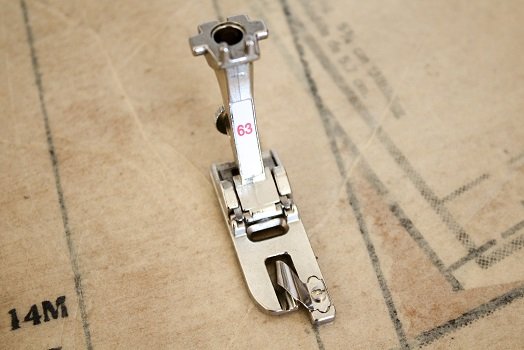
You can use any of the hemmer feet (#61-69).
I used the zig-zag hemmer #63 as that is the one I have.
Even though it is called a zigzag foot, you can still straight stitch with it.
It creates a 3mm wide hem (uses a 6mm hem allowance)
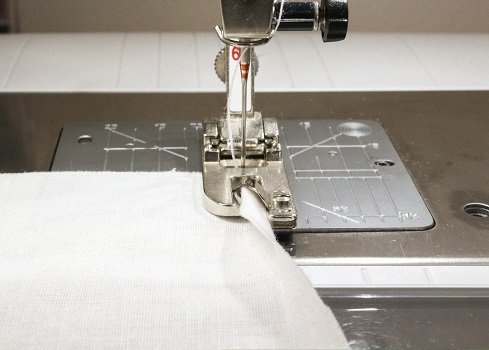
For the following steps you will need to work with the Wrong side of the hanky facing up.
Start with hemming 2 opposite sides.
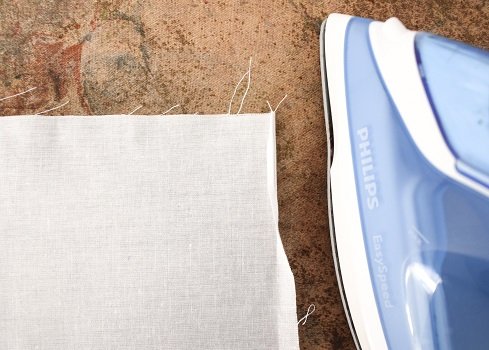
- Iron a slight fold at the corners to help the fabric feed through the foot.
- Feed the fabric through the foot and sew.
Do not trim the excess thread as they will help you when sewing the other edges.

- Press the sewn edges.
Iron folds at the corners of the other edges, feed them through the foot and sew in place.
Use the excess thread to help feed the fabric through the foot.
Normal Reverse-Pattern Foot (#1)
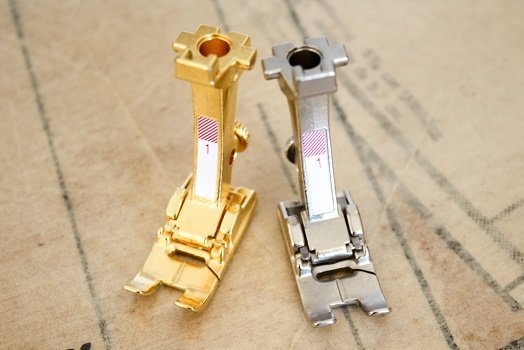
I used the Limited Edition Gold-Plated Presser foot #1 which works the same as the as the general presser foot that comes with your machine (Reverse-Pattern Foot #1)
For the following steps you will need to work with the Wrong side of the hanky facing up.
Start with hemming 2 opposite sides.
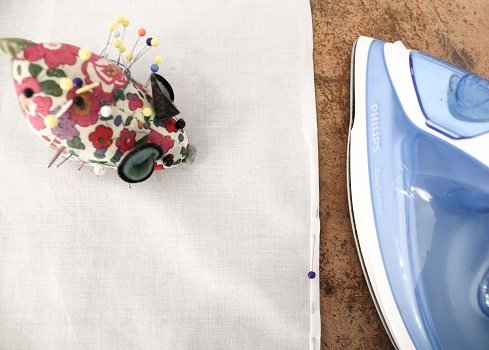
- Fold the edge twice, 3mm each time (you can do up to 5mm) and set with an iron.
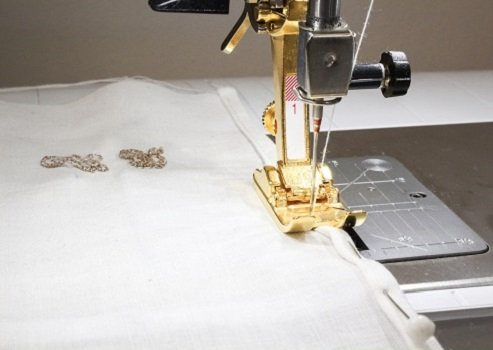
- Straight stitch close to the inner fold.
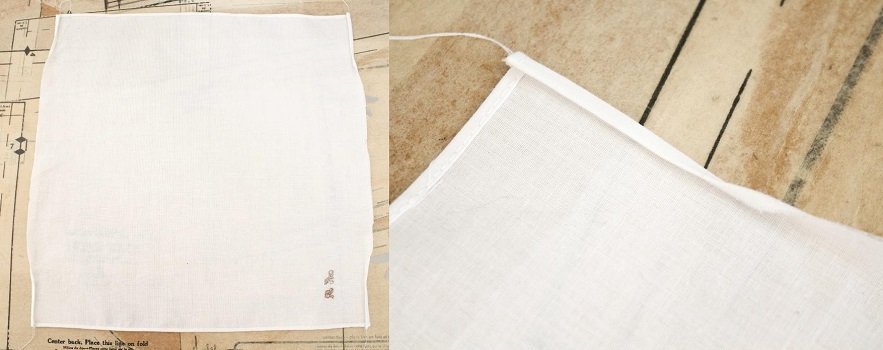
- Press the sewn edges and repeat the same steps for the other edges.
Finishing off

- Trim all excess threads.
Fold the hanky in half (top to bottom) and press along the fold.
Fold in half again so that the embroidery is on top and press again.

- If you would like to further enhance your scent, lightly spray a small amount of your signature perfume/cologne on the embroidered corner. Keep in mind not to overpower the hanky with smells as we don’t want to cause unnecessary sneezing when it is used!

Tips
- If possible, use 100% cotton as the fabric will soften over time and is more comfortable on the nose.
- To make a Pocket Square (a decorative version of a hanky to be worn in a jacket’s breast pocket) follow the same steps but use a satin or silk type fabric.
Also, make the square 25cm x 25cm. - You could use up some of your fabric scraps with this project.
- You could embroider a little design instead of initials.
- For a more feminine look, sew a delicate cotton lace trim on the edges or sew along the edges with a decorative stitch.
I would love to see your personalized hanky, please feel free to share with me!
Instagram
Facebook
-Hannah-Rose


0 Responses