Have you ever tried textured yarn with your serger? No? Well – you should! Today I’m going to give you some tips and tricks for sewing with textured yarn and show you how to sew a simple baby bib using textured yarn for the edge.
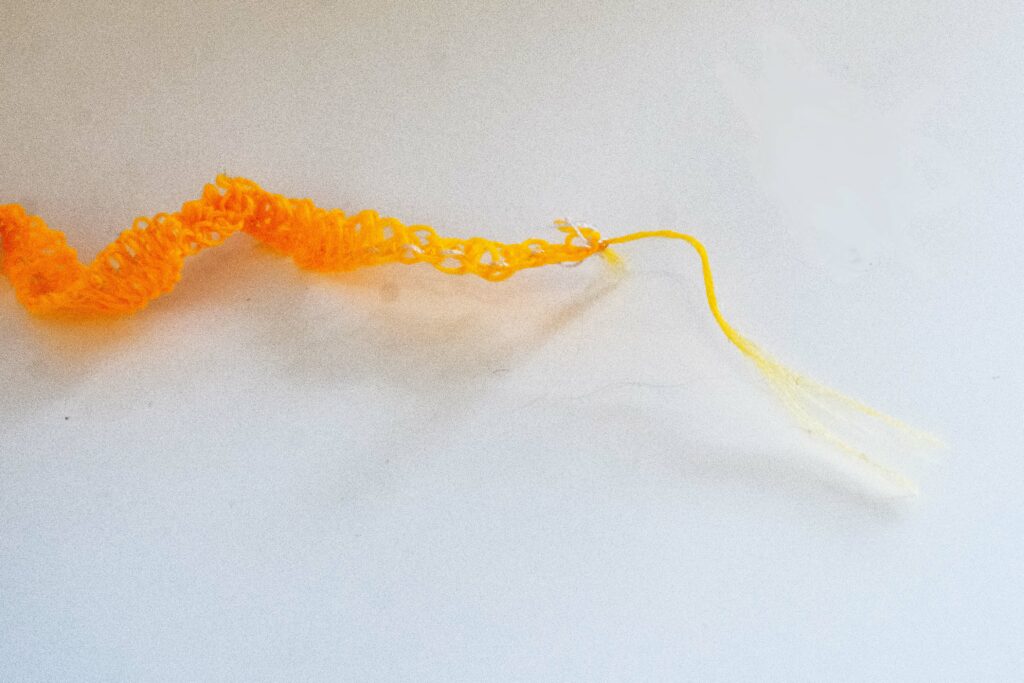
So – what’s textured yarn? It’s a special thread for your serger – it’s thicker, very soft, has a “wooly” feel to it and it consists of several very fine threads. You can clearly see how the end of the thread separates into many finer and woolier threads.
Textured yarn is used in the loopers of your serger (not for the needles!) and it makes the serger seam thicker and softer. It’s often used for rolled hems, for flatlock seams or to create an especially pretty serged edge. You could also choose using textured yarn when sewing children’s garments, since the serged edges are softer than edges serged with regular serger thread.
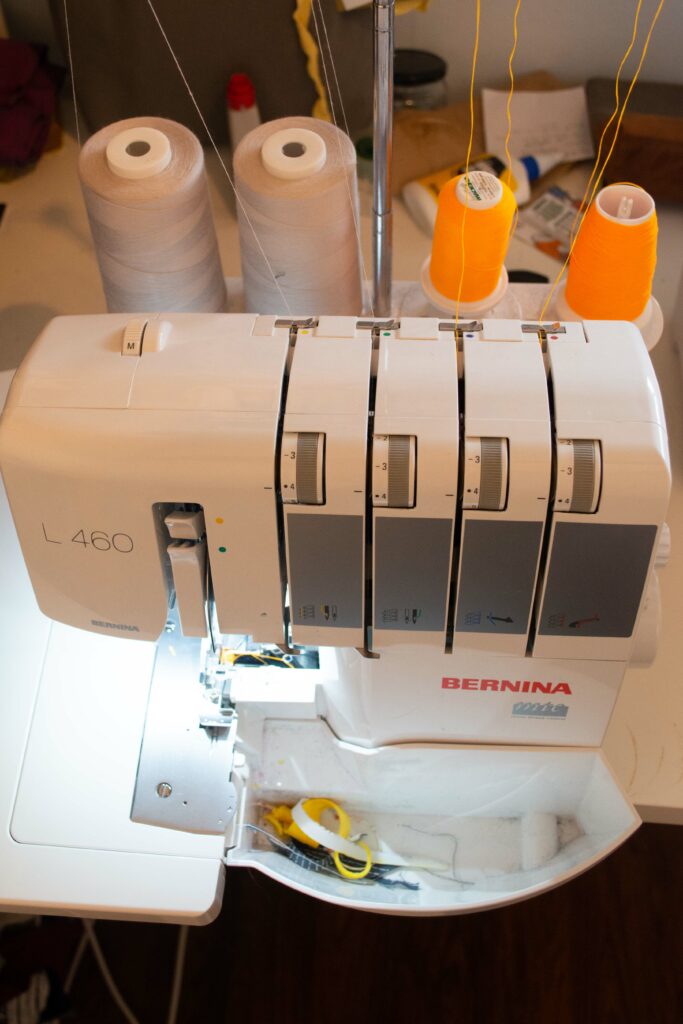
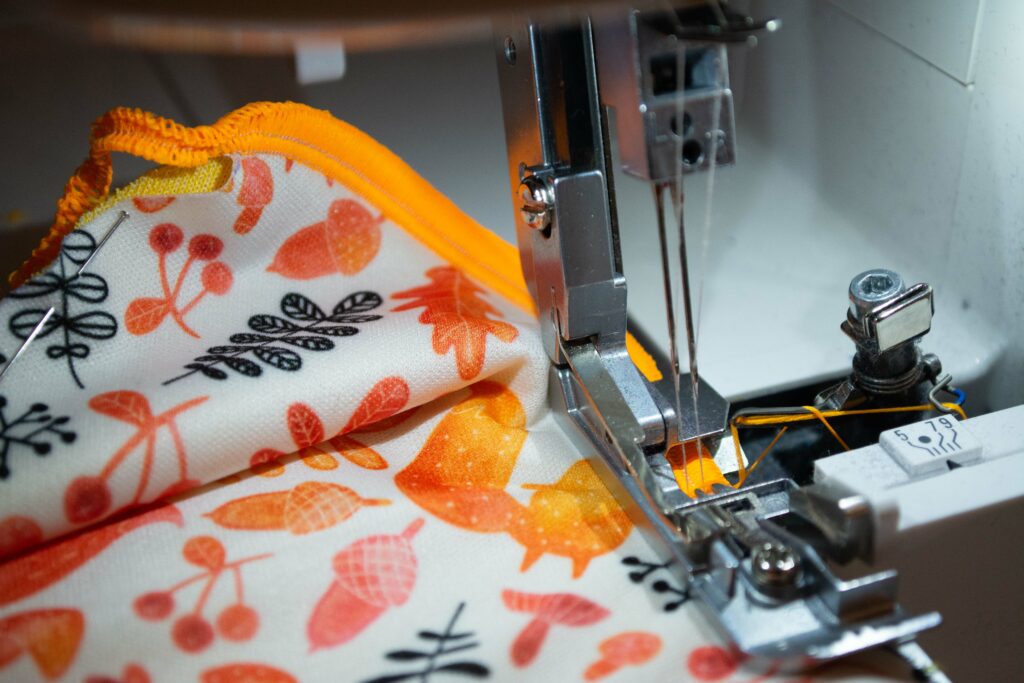
Threading your serger with textured yarn can be a little fiddly, but here are some tips to make it very easy: The easiest way I know to thread your serger with textured yarn is to simply cut off the threads of your two cones for the loopers (the two cones on the right), to exchange the regular cones with two cones with textured yarn and to knot the new yarn to the old threads. Now you can simply sew a bit with your serger and it will automatically get threaded with the textured yarn. Just make sure to sew slowly when the knots get close to the loopers to make sure they pass without any troubles. Another possibility is to thread your serger as usual, using the textured yarn for the loopers. Threading the textured yarn through the loopers can be close to impossible, but you can knot the textured yarn to a regular thread and use the regular thread as a guide for the textured yarn. By the way: I only bought one cone of textured yarn and spooled a bit of it over on an empty serger thread cone. I don’t use textured yarn that often, so buying only one cone saves quite some money.
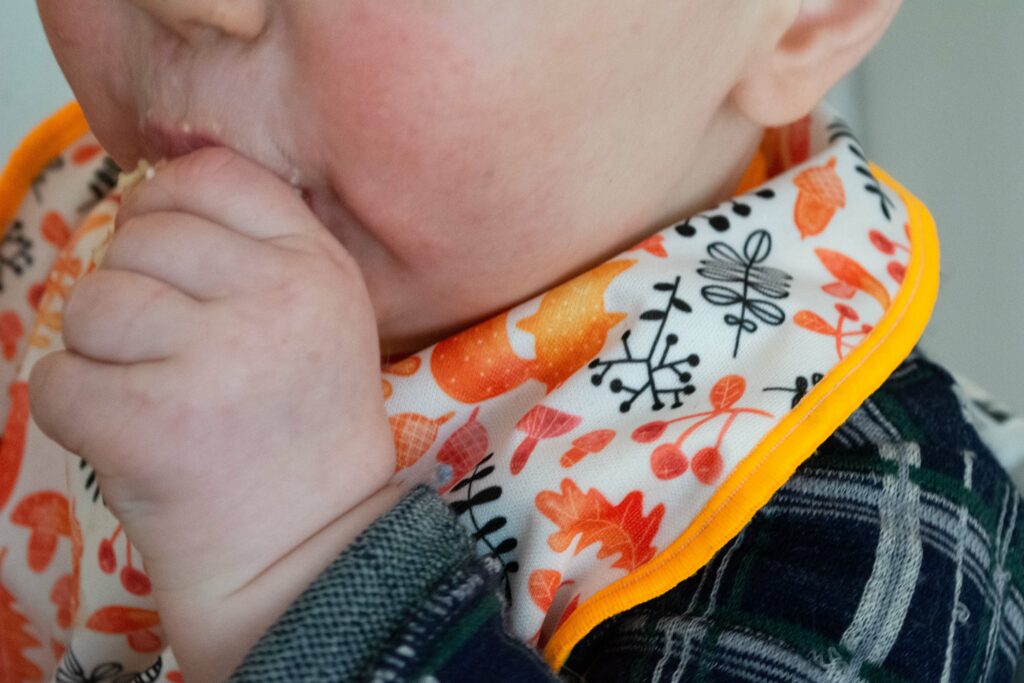
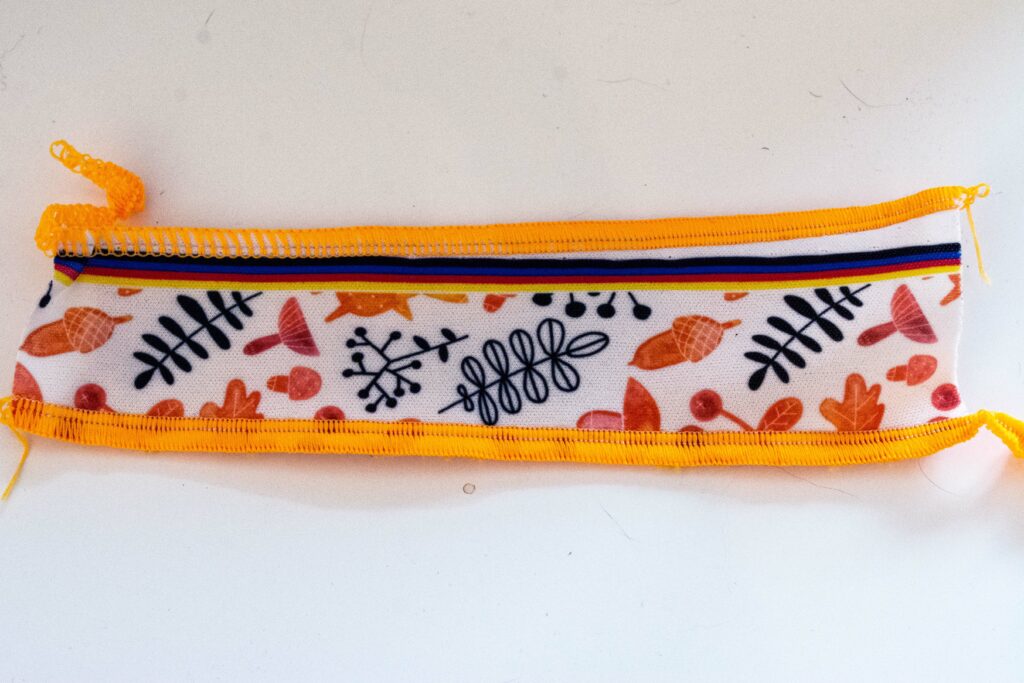
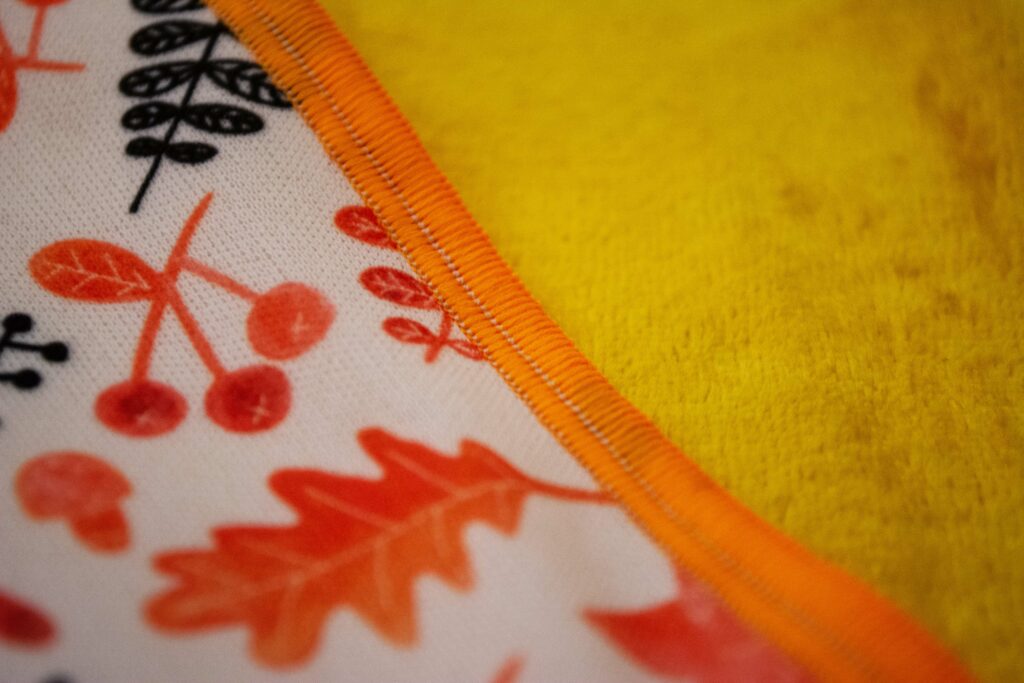
Now that your serger is threaded correctly, it’s time to sew a bit to test how your seam looks and to make adjustments. The next picture shows how the look of the serged edge changes through adjusting the length of the stitches: The seam is sewn with a regular stitch length on the left side, with a shorter stitch length in the middle and with the shortest stitch length possible on the right side. How you would like your seam to look is up to you. If your intention is a softer seam on the inside of a garment, a seam sewn with a regular stitch length might be enough. If you would like to sew a visible serged edge that covers the whole edge, you might want to go for the shortest stitch length.
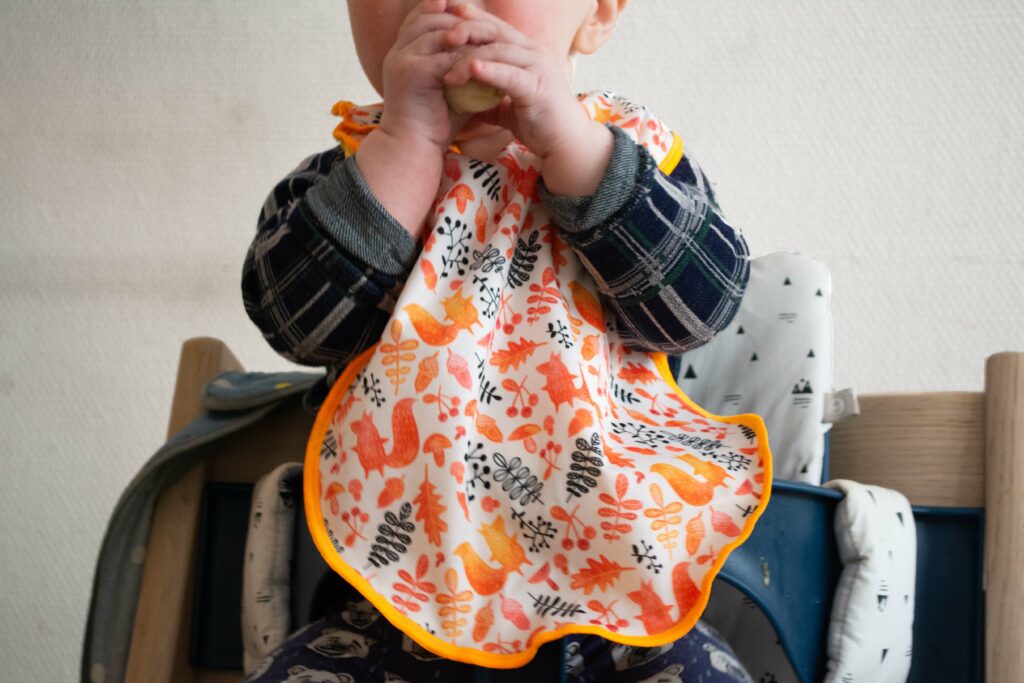
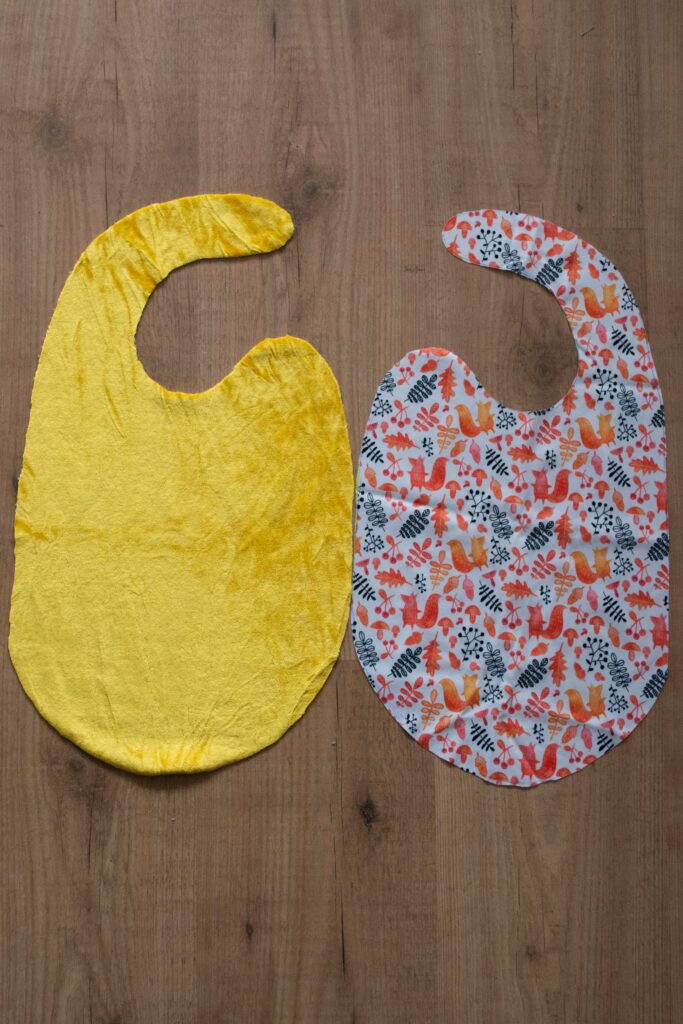
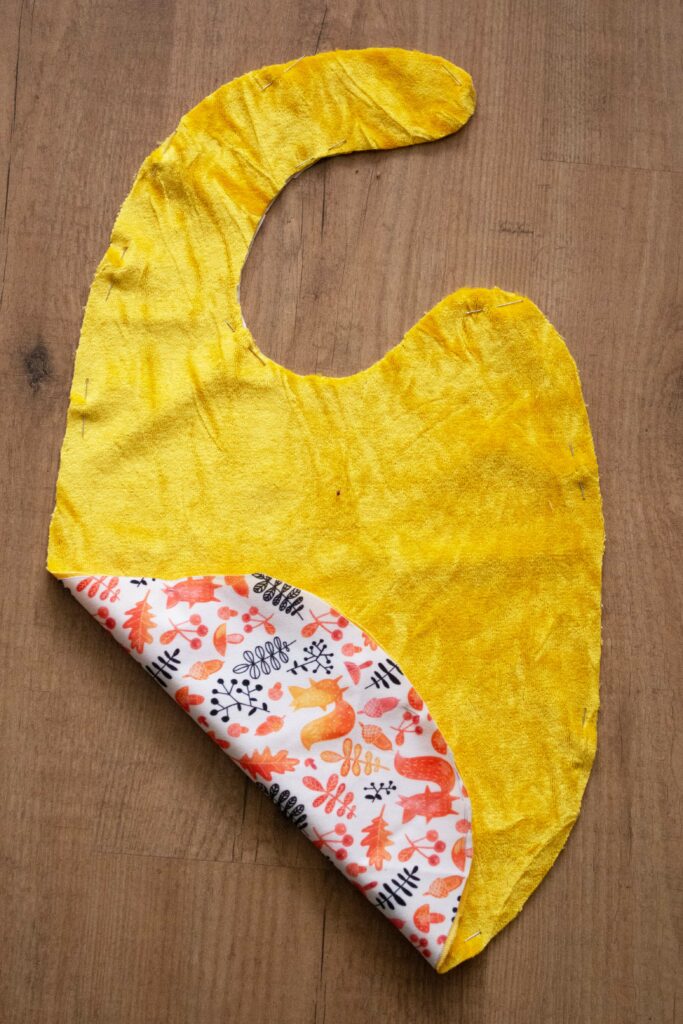
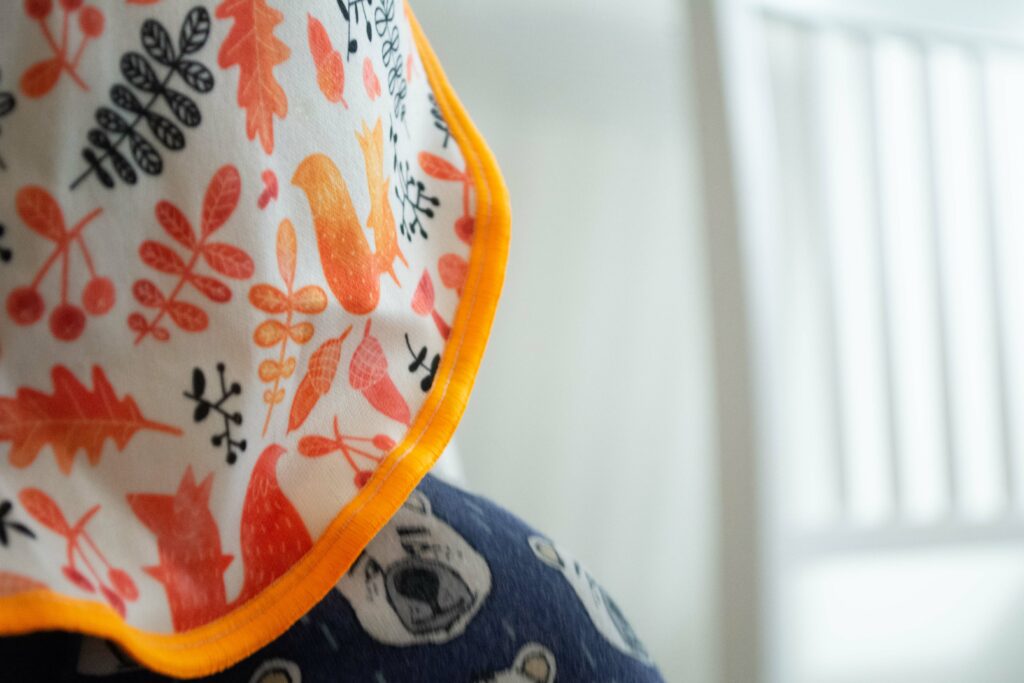
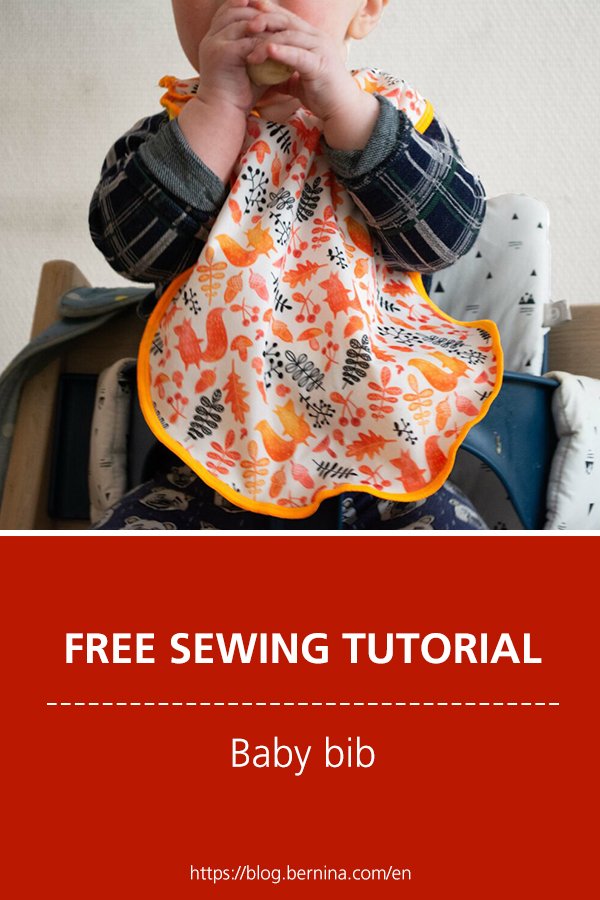
On to today’s project: My son eats a lot these days, and he wants to hold everything himself, which means that we can’t have too many bibs in the house. A bib is such a quick project and a great present for baby showers and the like, too. There are endless possibilities regarding the shape of a bib and the fabrics used. I chose to copy the shape of a bib we own and like. As fabrics I chose a soft and thin PUL fabric as outer layer and a soft organic bamboo velvet as inner layer.
The PUL fabric is water resistant and easy to clean, the velvet soft against the skin and has quite some absorbance, too. Other fabric options are waxed fabrics, thicker terry fabrics or whatever is in your stash that either repels liquids or has a high absorbance. I simply laid our existing bib on top of the PUL fabric, drew around it and cut it out. I then used this piece to cut the same shape out of my velvet. Make sure to cut a mirrored piece of your first pattern piece!
Pin the two pattern pieces together, wrong sides facing. PUL fabric can get small holes when using pins, so make sure to pin within your seam allowance. Now all you have to do is to sew entirely around your whole bib. Be careful when sewing around the curved edges! I wasn’t careful enough and the seam around the thin curved tip of the bib didn’t look nice – I actually had to serge the edge once more, which explains the slightly wonky looking seam. Mistakes happen – but most things can be fixed! After serging around your bib you need to secure the end of your serger thread. I prefer to feed the thread chain back into the serged seam, using a needle with a big needle eye. To make sure that the thread stays in place, you can secure it with a couple of stitches with your sewing machine or with a drop of fray check.
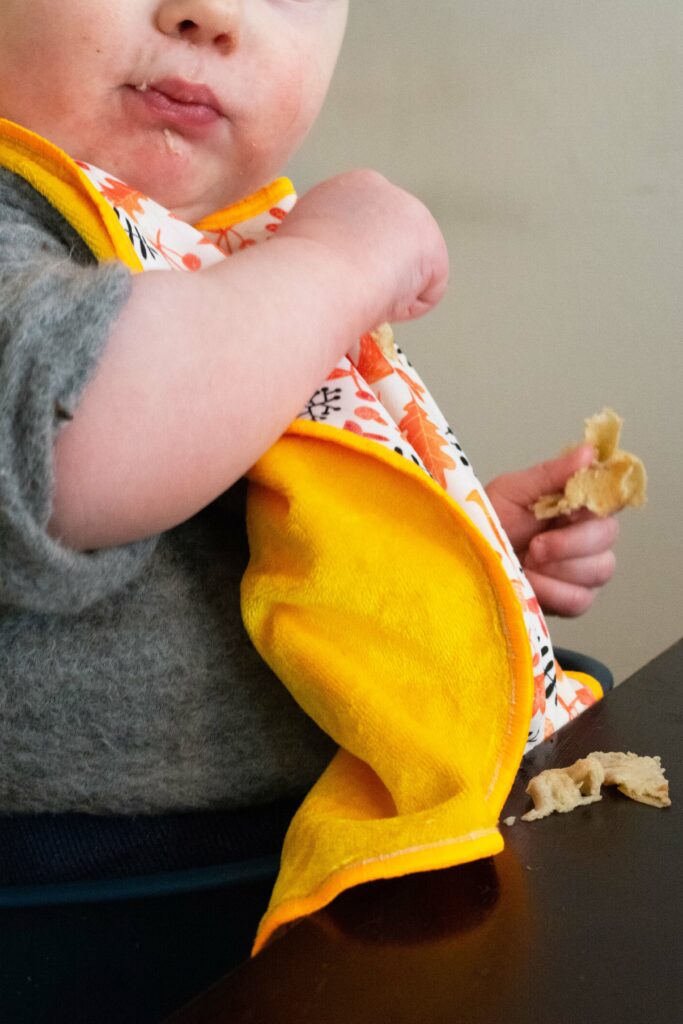
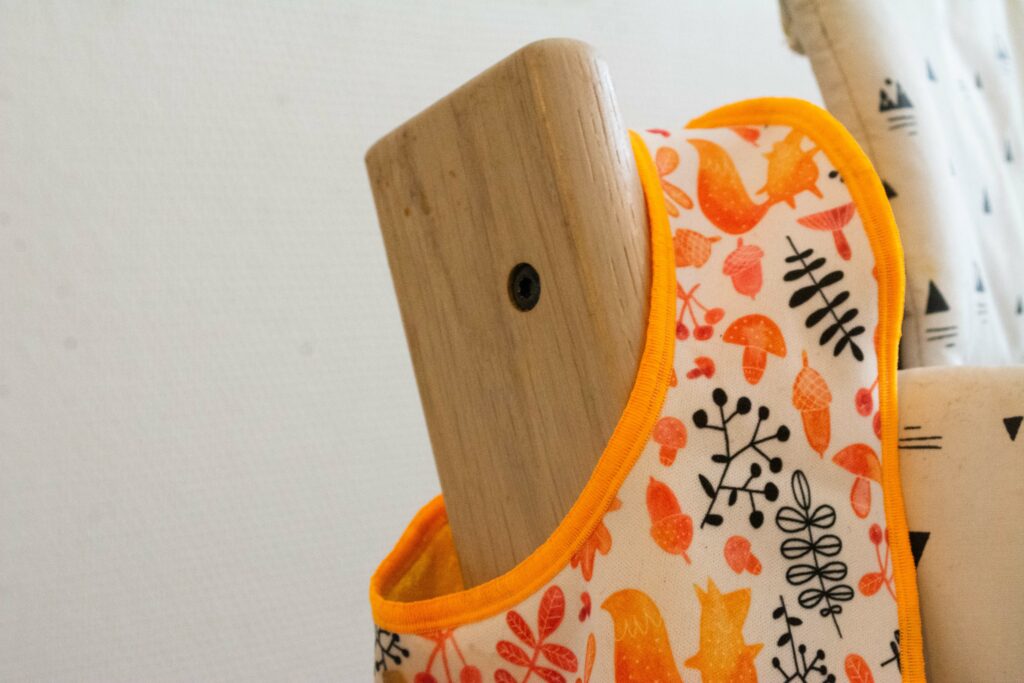
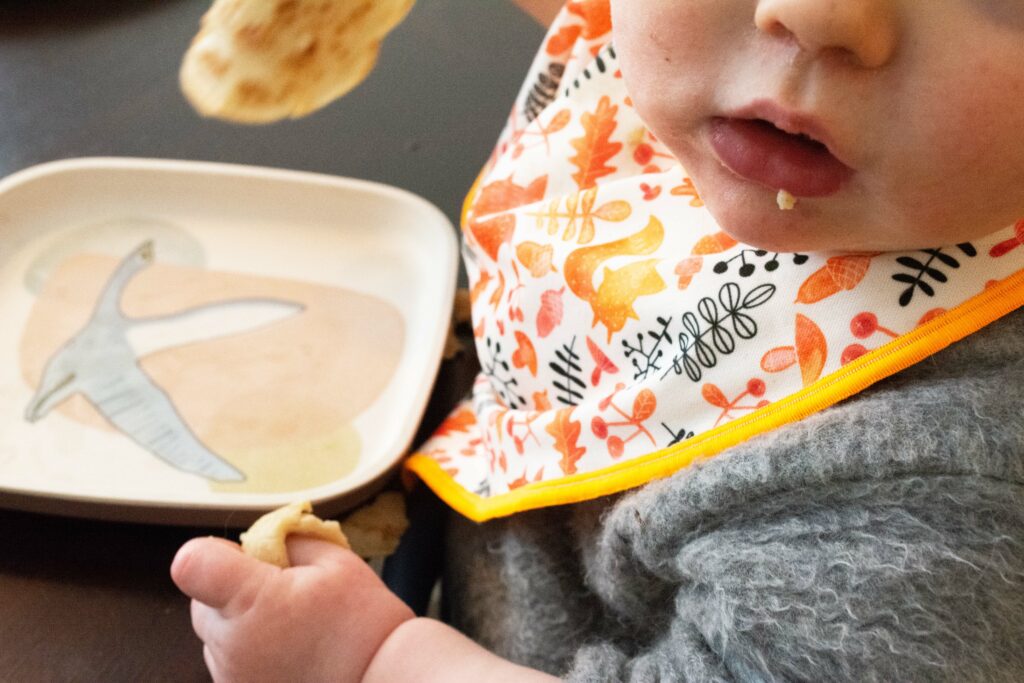
Now you need to add a closure to your bib. I chose to add a sew-on snap, but regular snaps, velcro or two short bands to make a tie are all equally good options. That’s all! My son couldn’t have cared less about his new bib, but I loved seeing him eat with his new mom-made bib and I am happy to report that the bib both stayed on and kept his clothes clean!
 BERNINA Corporate Blog -




0 Responses