 BERNINA Corporate Blog -
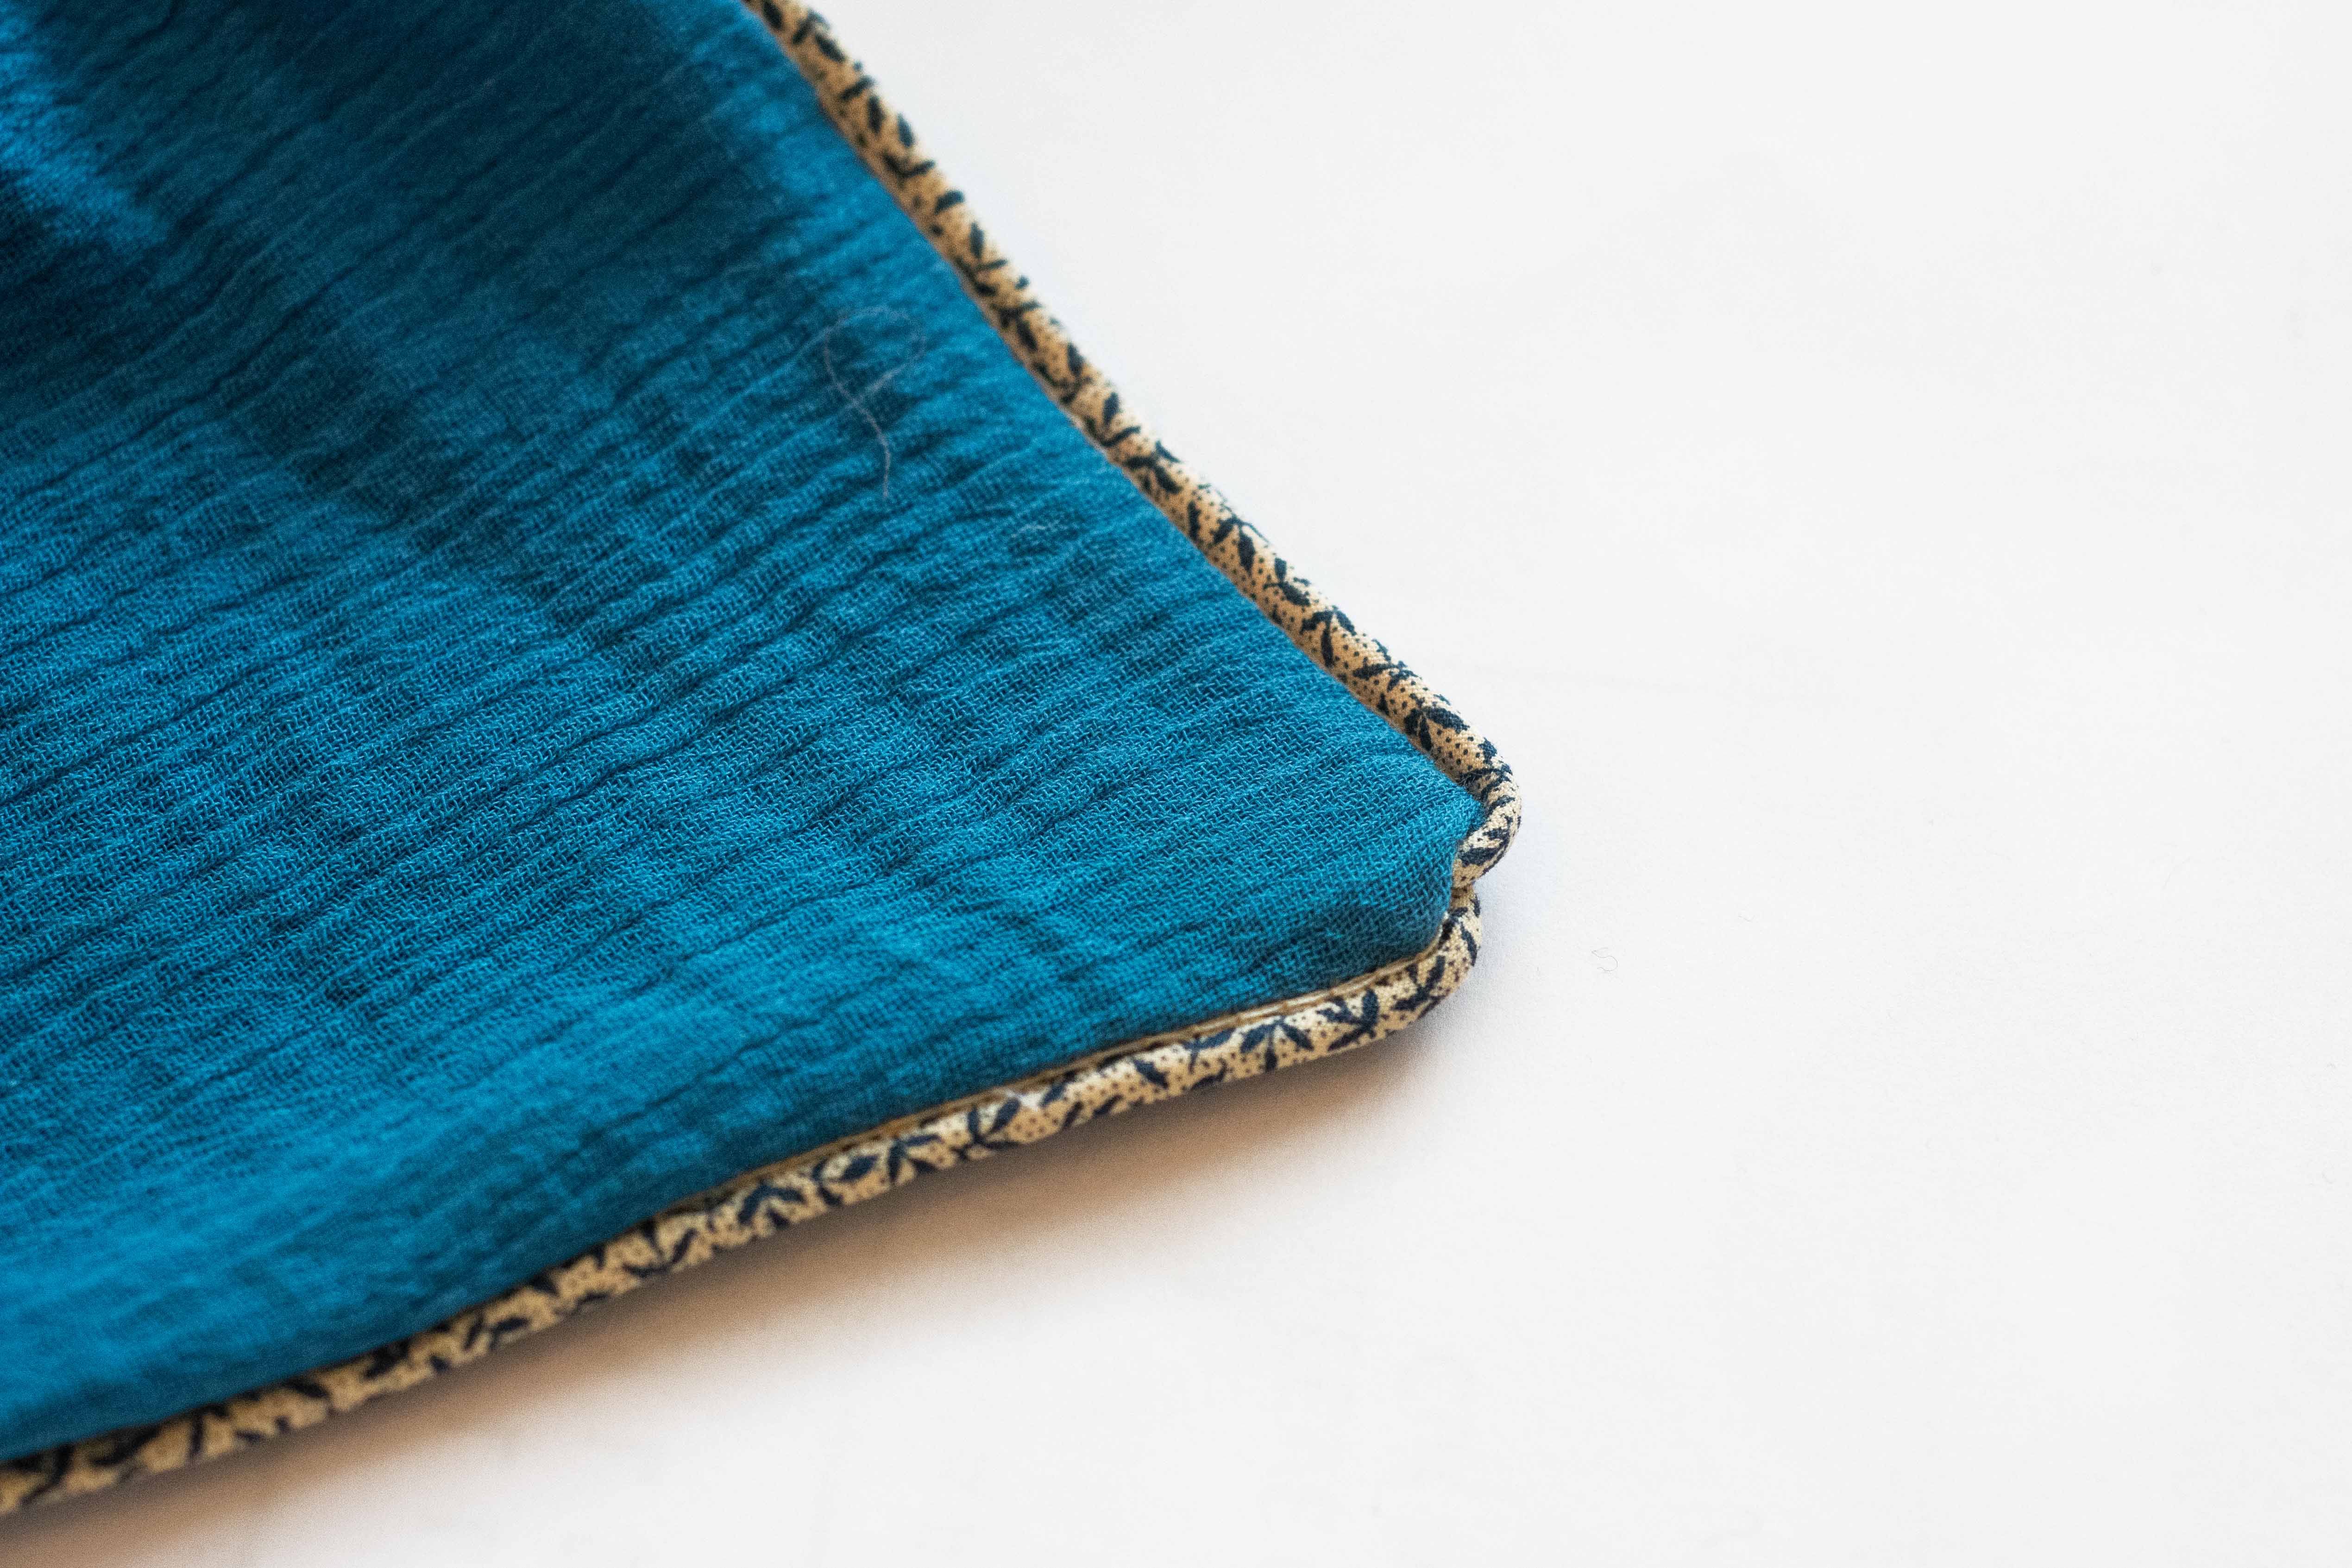
Being able to switch presser feet on your sewing machine is a commonly known and regularly practised thing. The ability to attach different presser feet to your serger is a little less known – but actually a very handy feature!
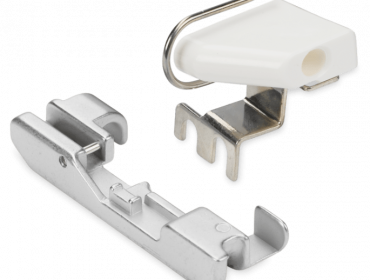
I sew with the Bernina L460 serger and there are several different feet available for this machine. One is the blindstitch foot, which I tested in my last post (click here). This time, I show you two different ways of using the Multi-purpose foot with guide , which can be used to make piping, attach piping, sew on beads, sew a corded rolled hem and more. Piping is a great way of making an otherwise simple project more special!

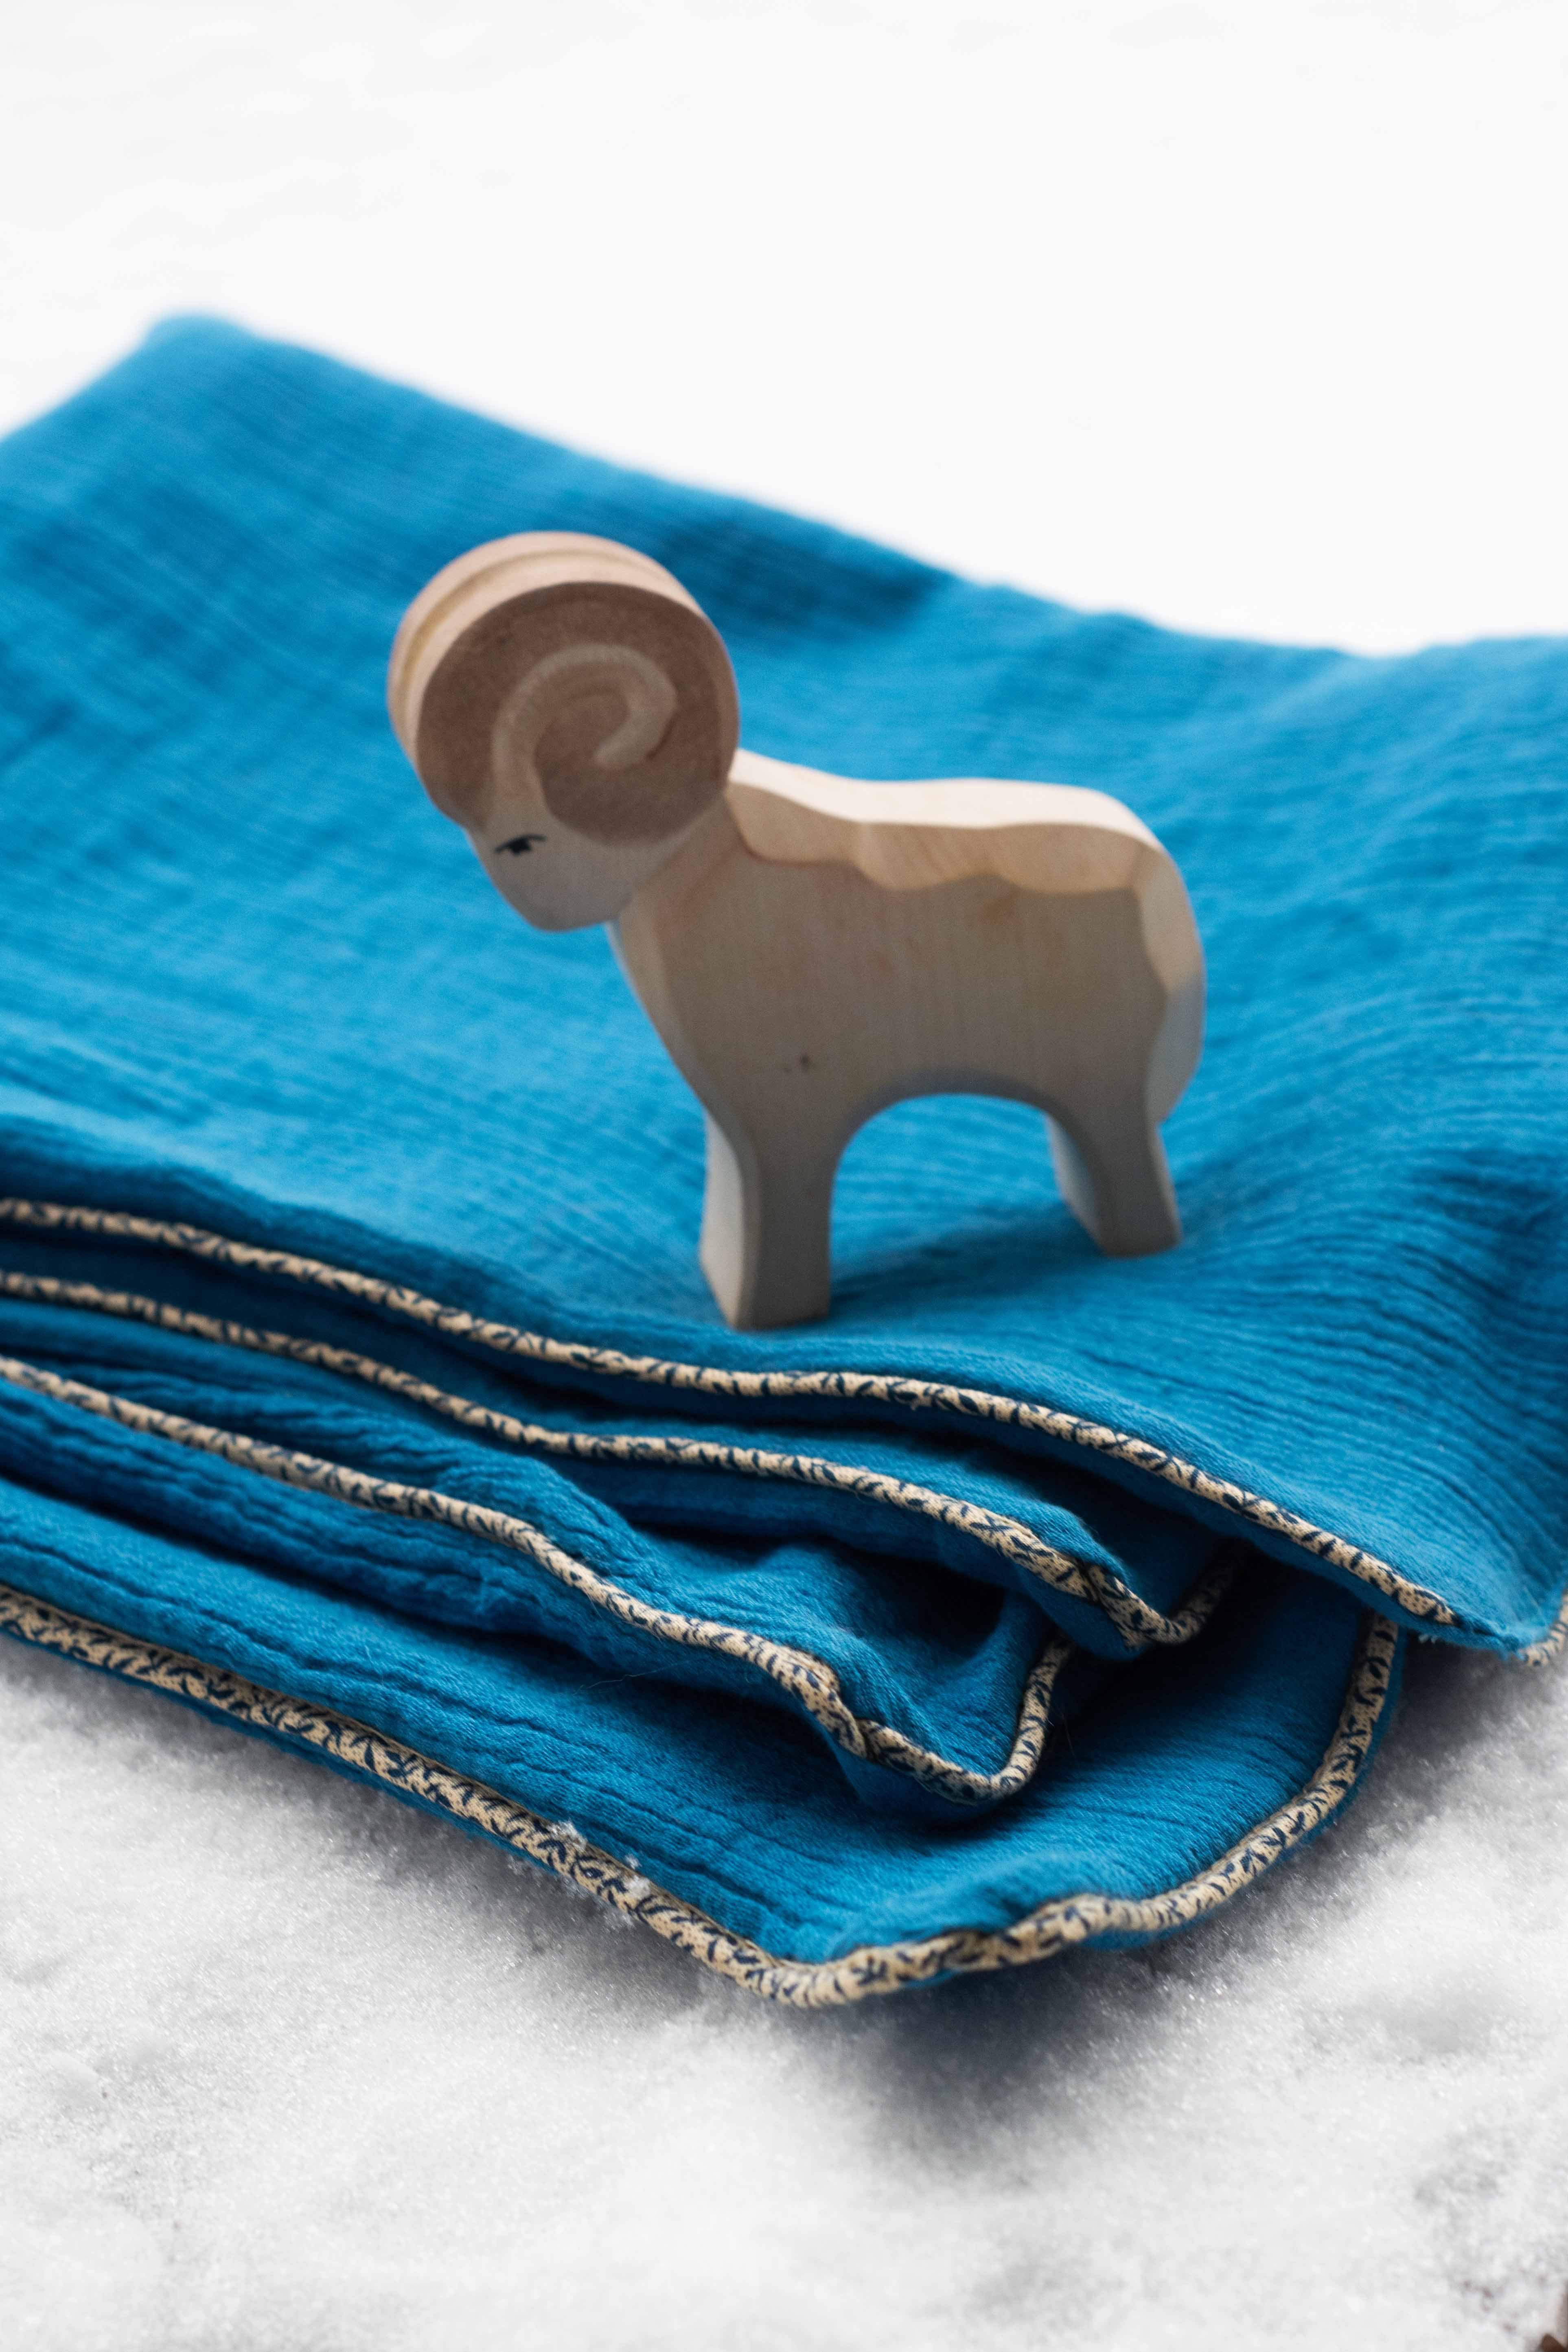
I needed a new double gauze blanket for my son, but simply sewing two layers of fabric together seemed a little too simple. Adding piping to the edge seemed like a great (and easy) way to make the blanket a little more special. Blankets like these are great baby gifts, too! Today I will show you how to use this foot to make your own piping and how to use it to easily add store-bought or home-made piping while sewing with your serger.
In order to make your own piping, you need a thin cord and either pre-made bias tape or a long strip of fabric – preferably cut on the bias, since the piping will be more durable that way. Today I am going to use this bias tape, cord and pre-made piping from Stoff & Stil. To make your own piping, you simply need to wrap your fabric around the cord and feed the fabric-wrapped cord through the multi-purpose foot. Make sure to drag a little when you start sewing to make sure the fabric doesn’t get bunched up at the beginning of the cord.
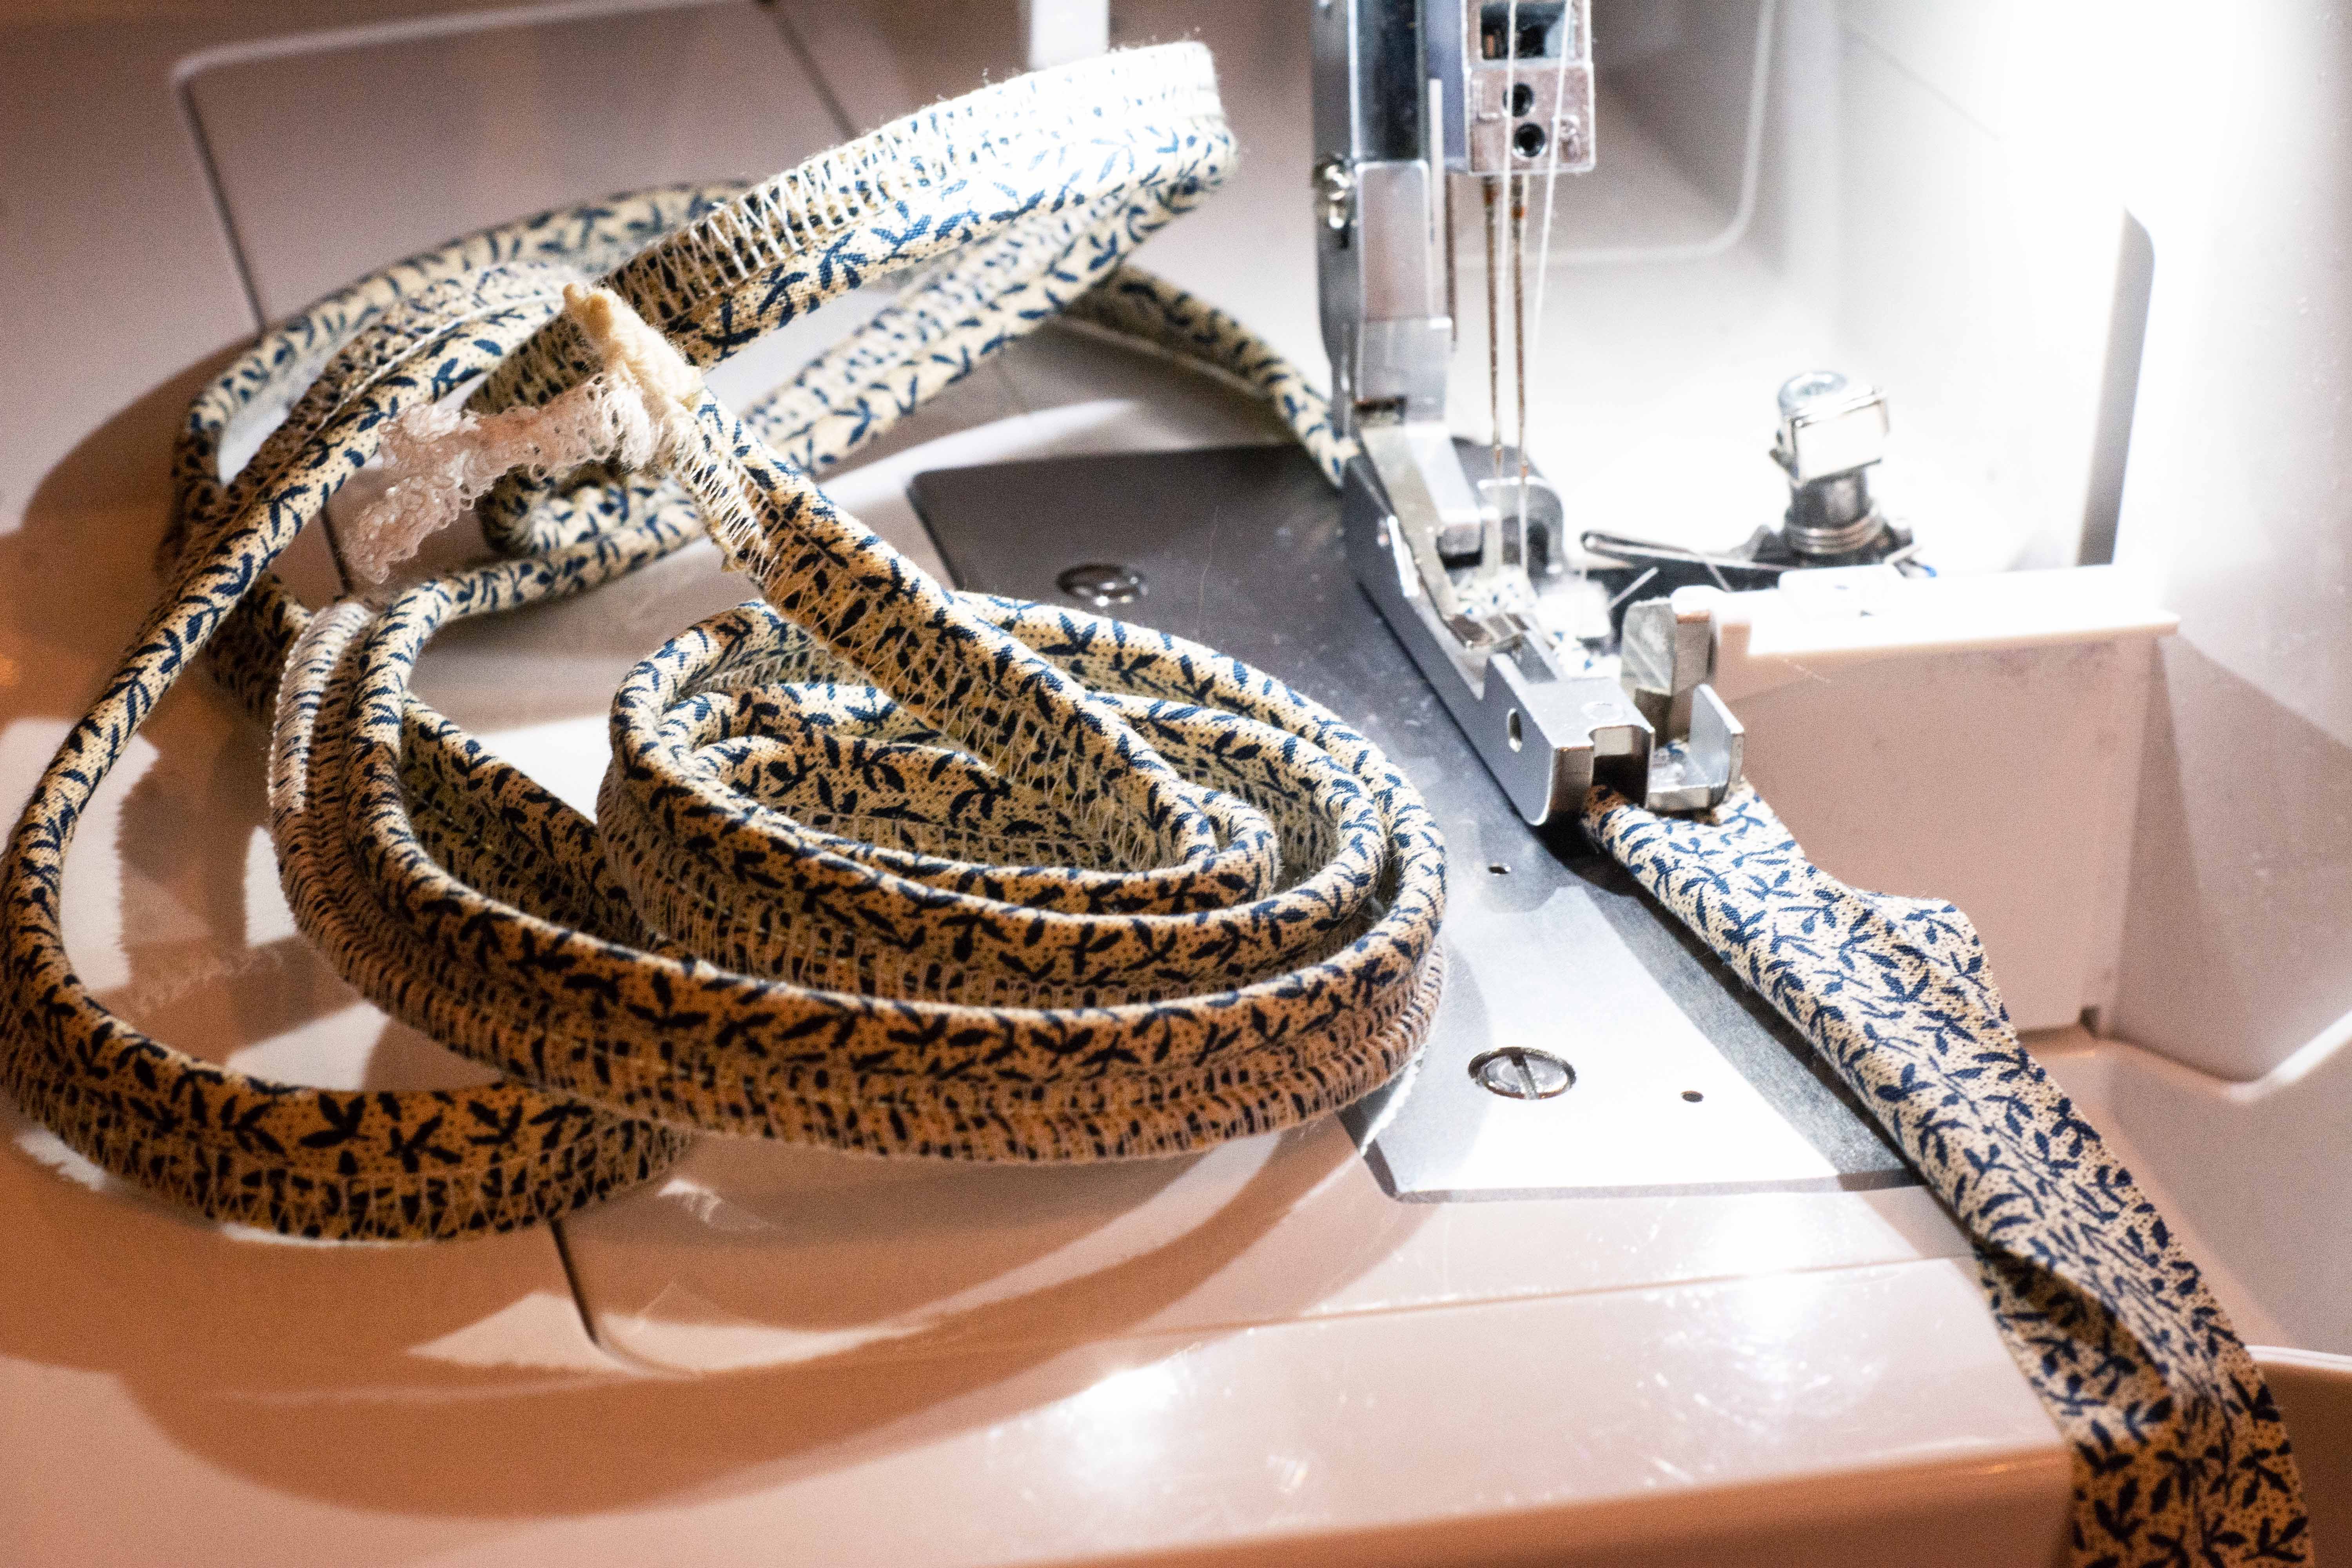
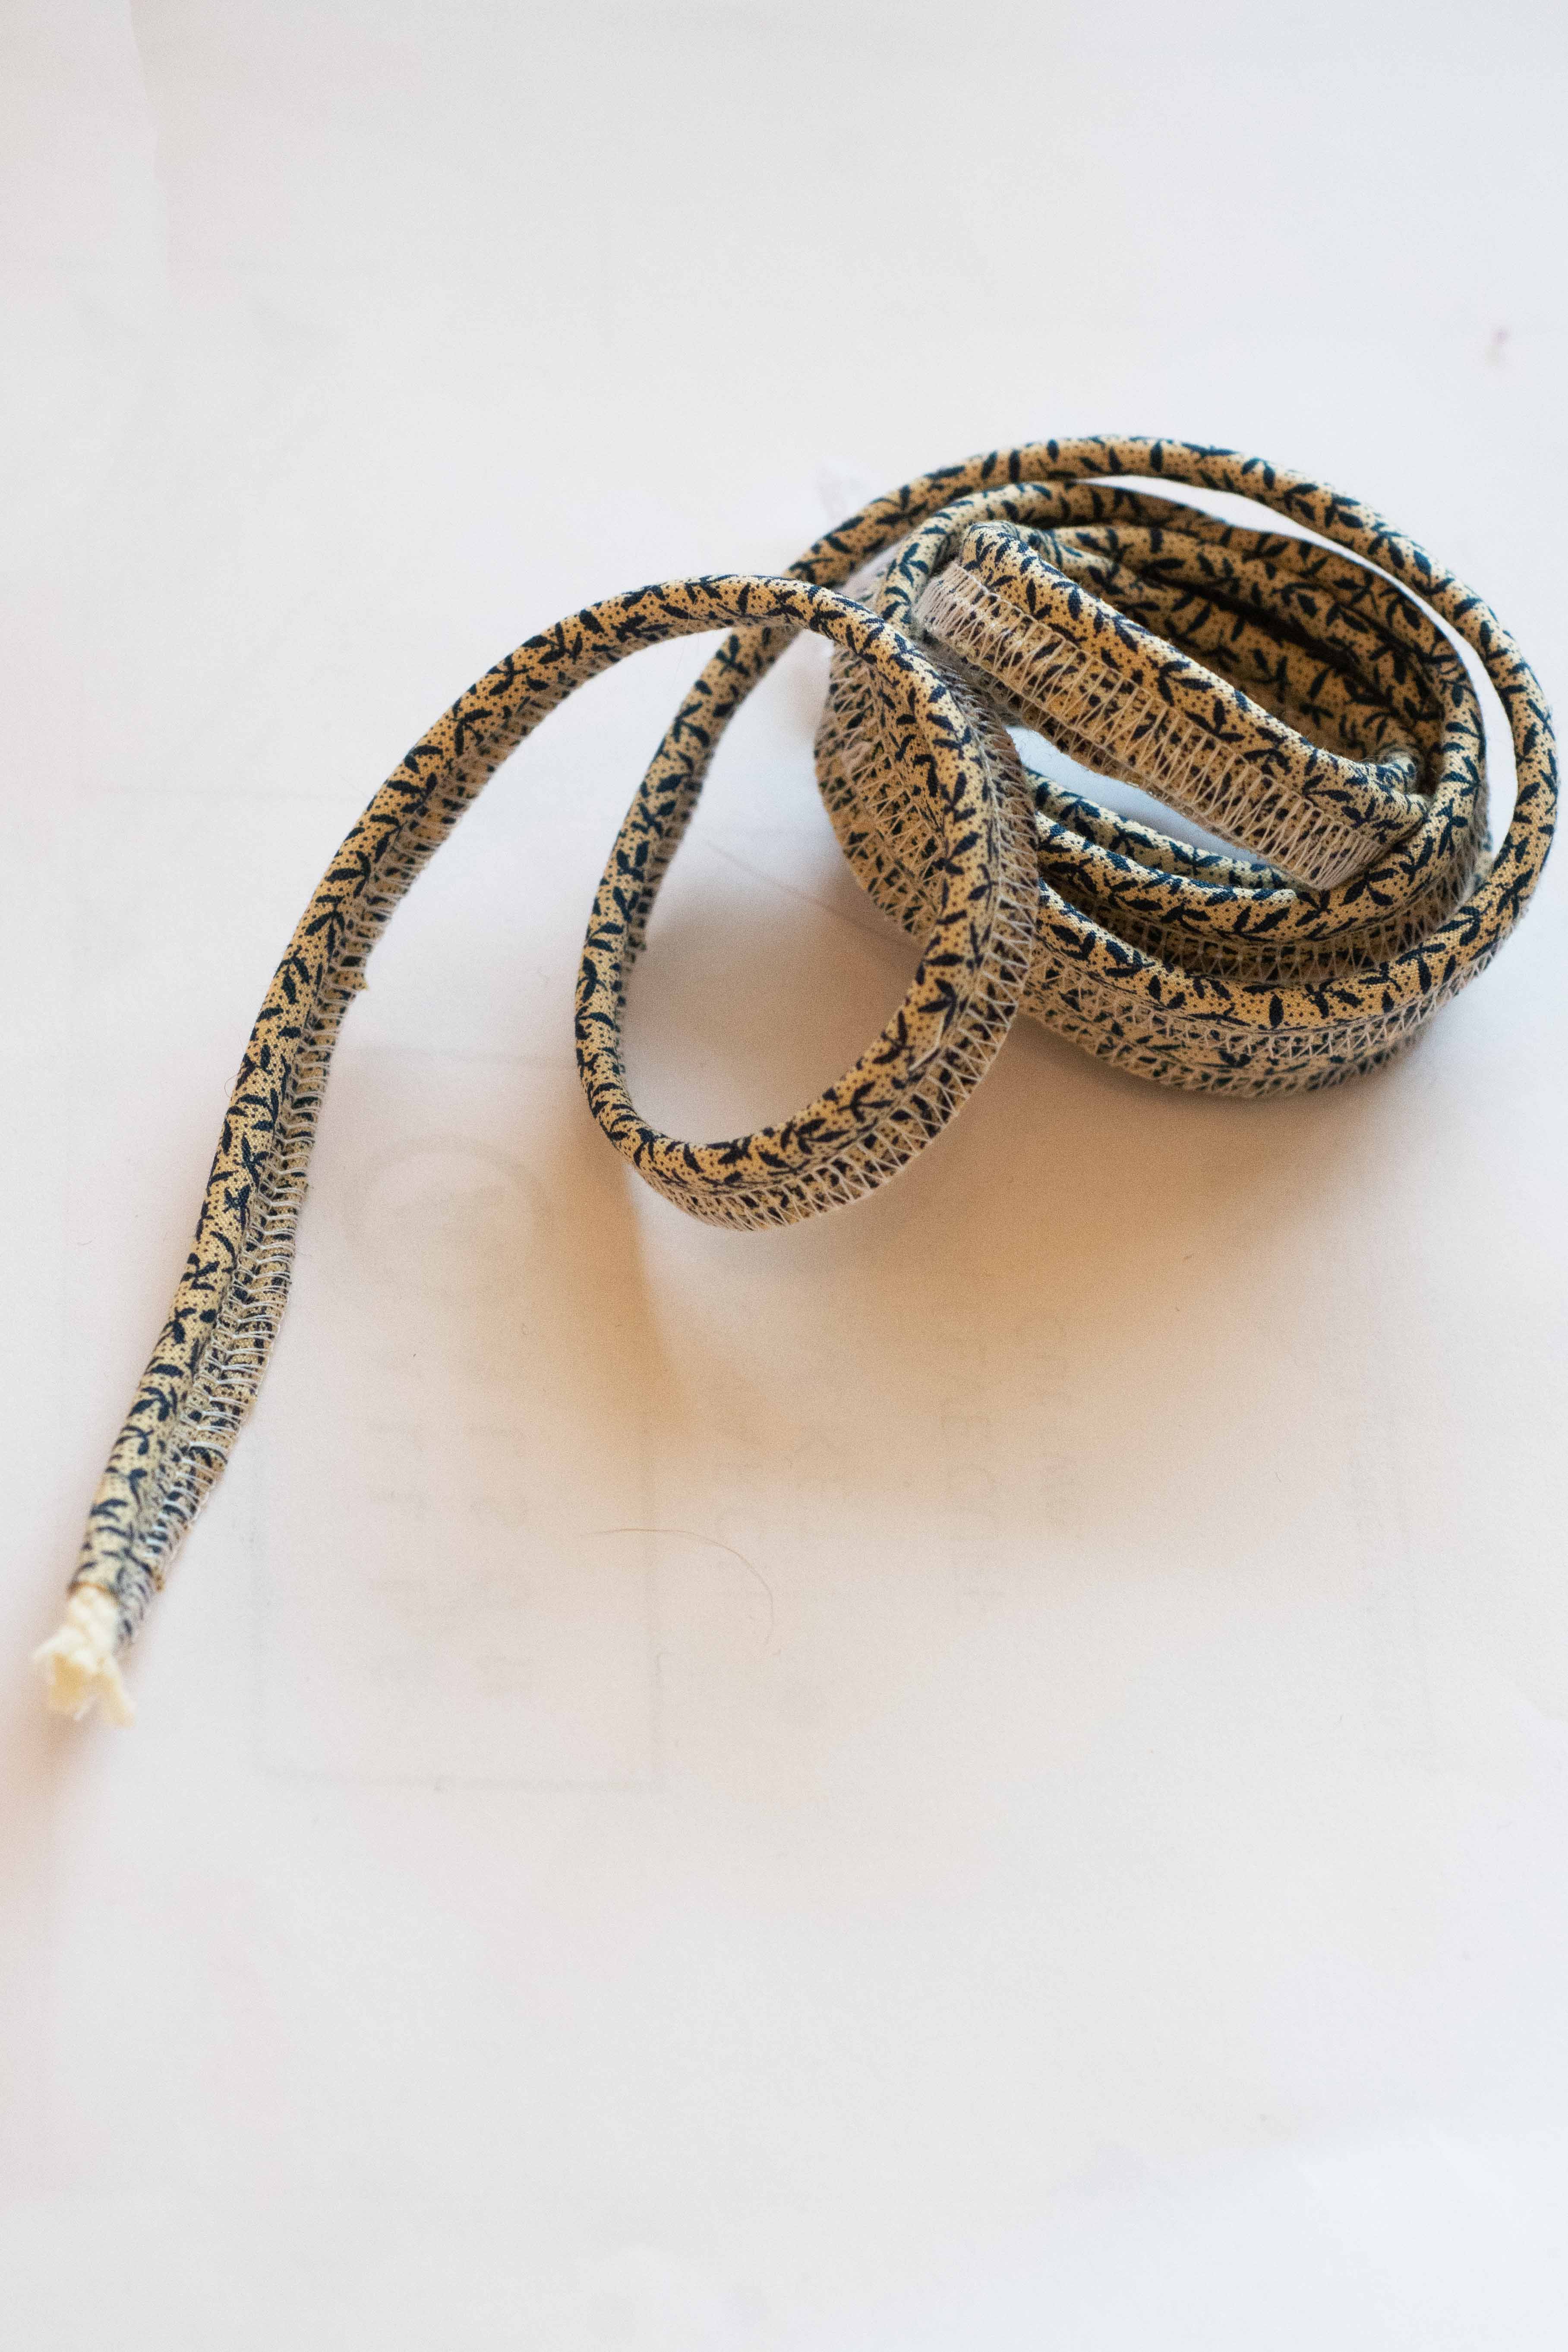
That’s it! Now you can continue until either your strip of fabric or your cord ends. You can do this easily on your sewing machine, too, if you own a multi-purpose foot. However, if you want to store your piping for later and are working with a fraying fabric, serging the edges of the fabric instead of sewing a simple straight seam can be very useful. Another good tip is not to serge too close to the edge of the cord while making piping. Otherwise it might be hard to hide the serger thread when adding the piping to your project. If you give yourself a little more room while making the piping and sew very close to the cord when sewing the piping to your project, you can make sure that the serged seam won’t show at all.
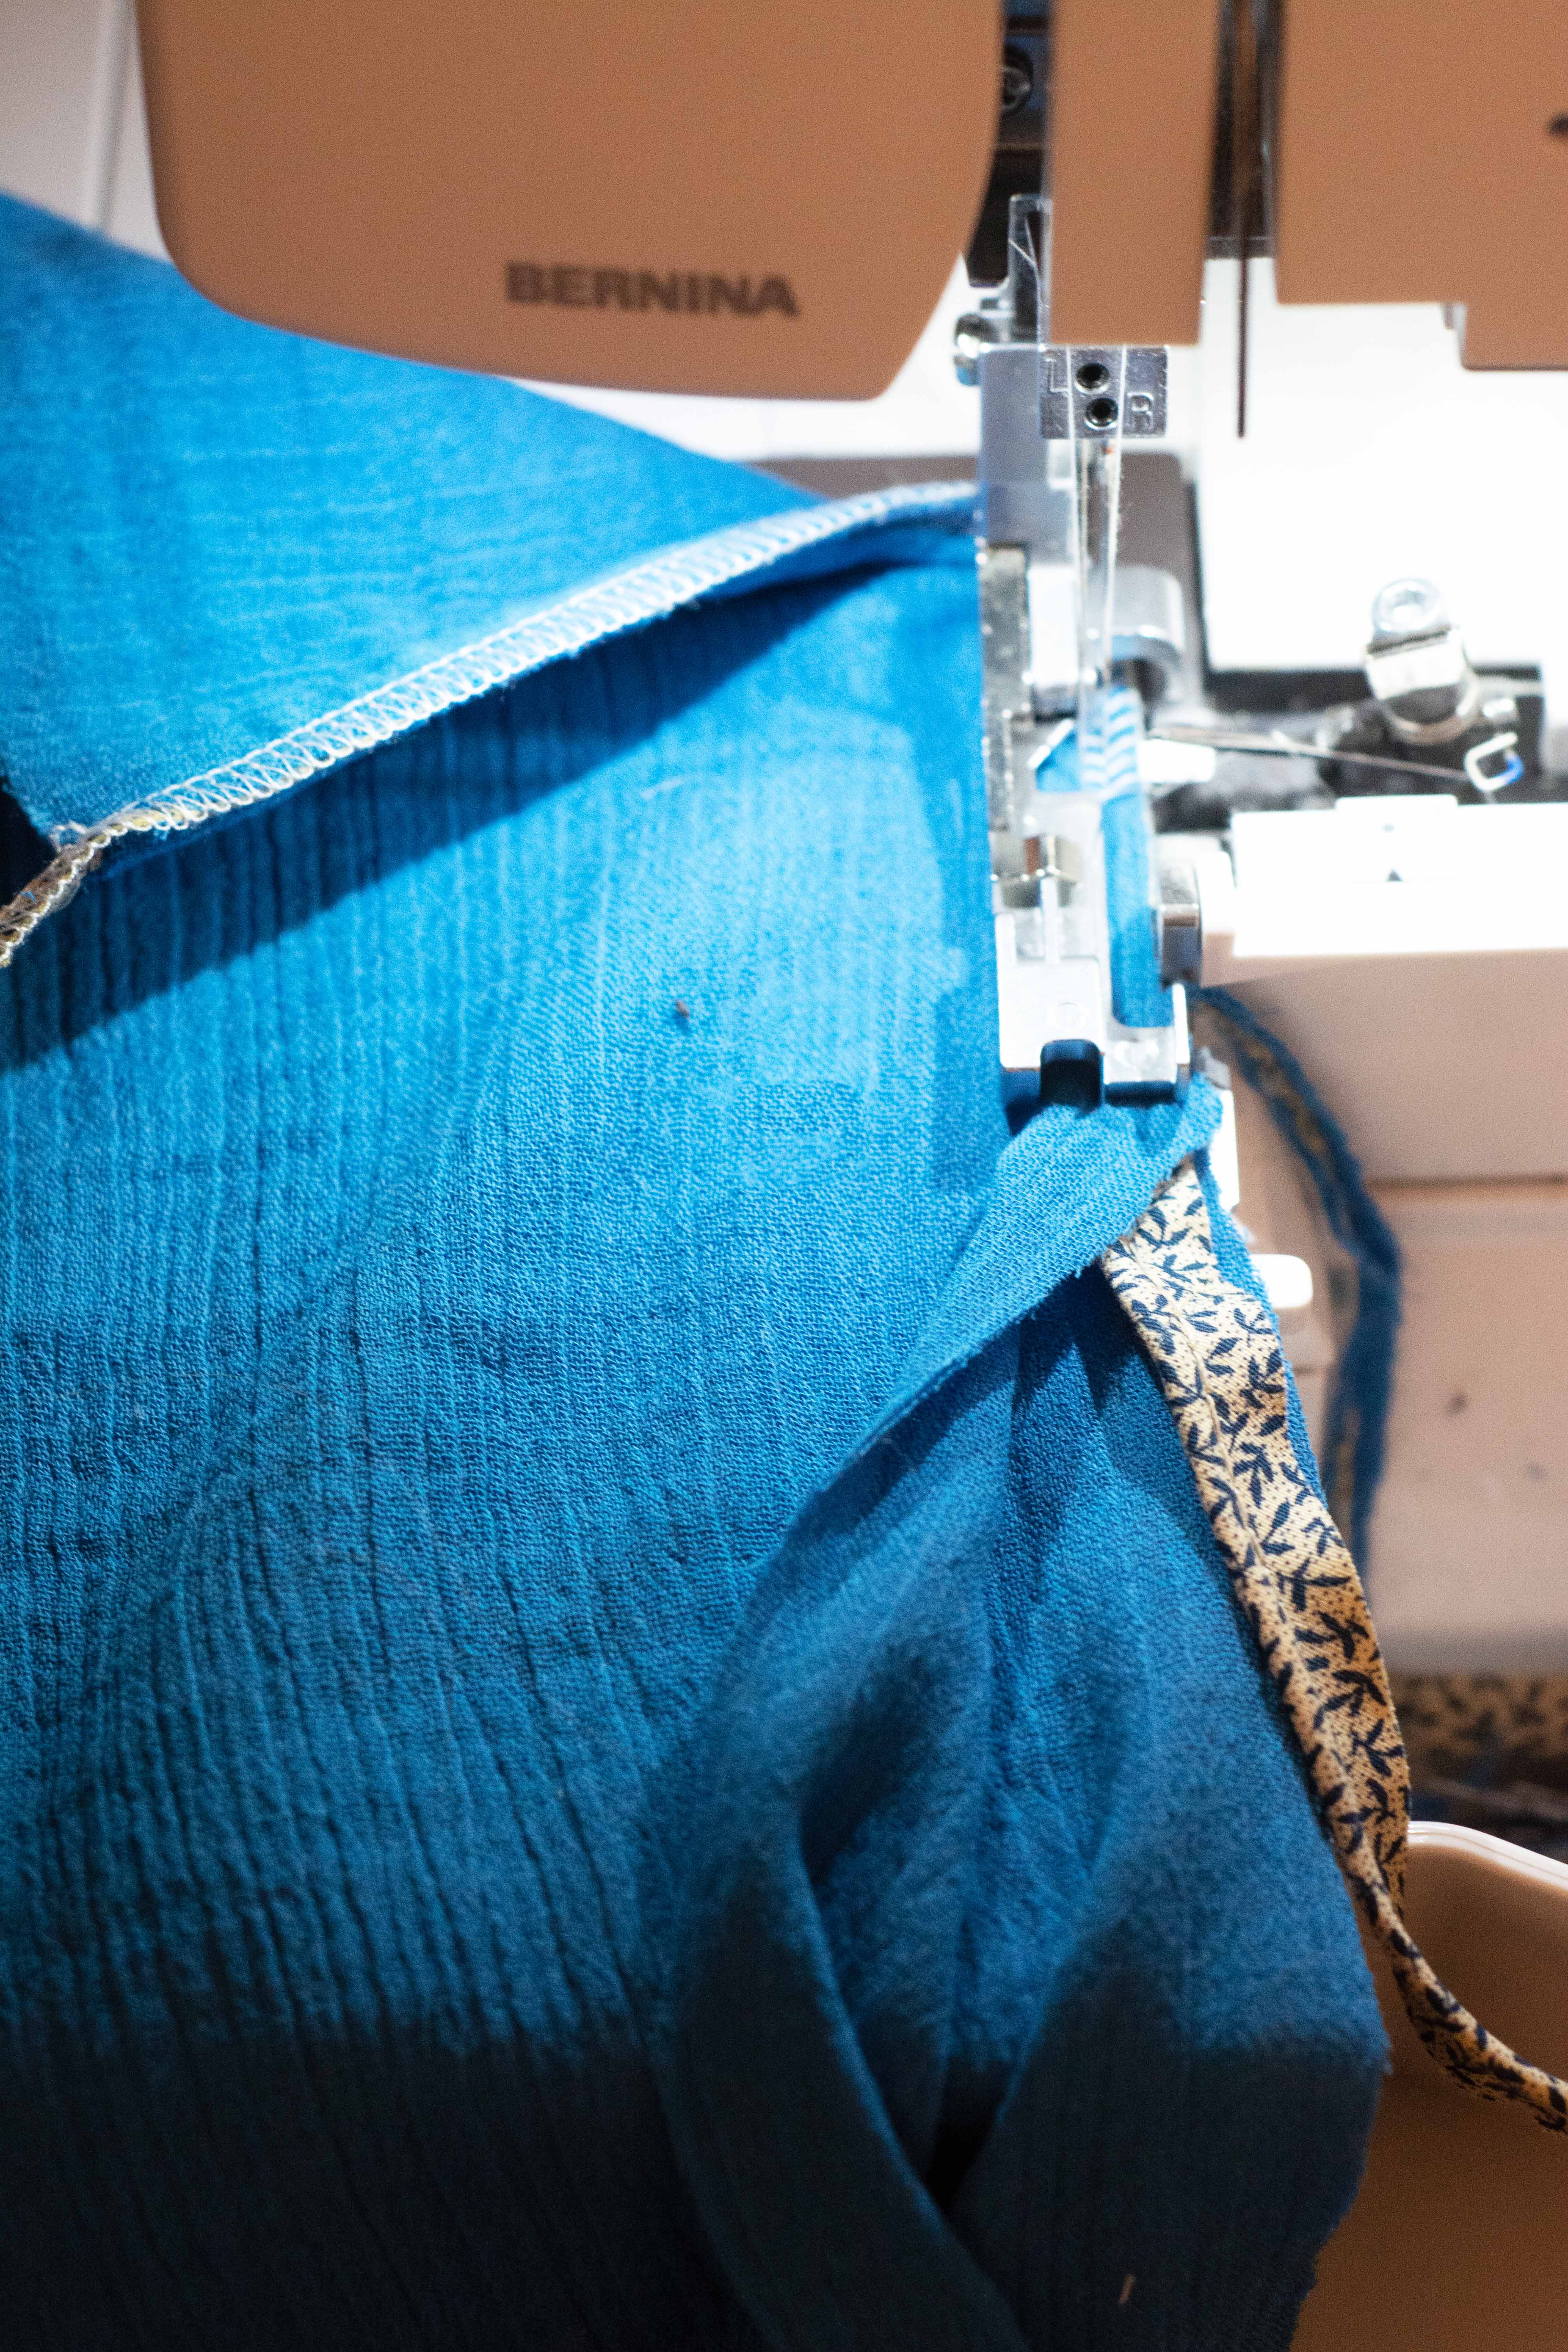
Now on to adding piping to a sewing project! I decided to use my store-bought piping for the blanket and to save the rest of the bias tape for another project. To add piping to a project using the multi-purpose foot, you need to place the piping in between your two layers of fabric, aligning the raw edge of the piping with the raw edge of your fabric. Place the fabric under the multi-purpose foot, making sure that the cord is placed in the “rail” that’s supposed to lead the cord. Make sure to serge as close as possible to the cord – that way the piping is going to look nice and clean once you’re done.
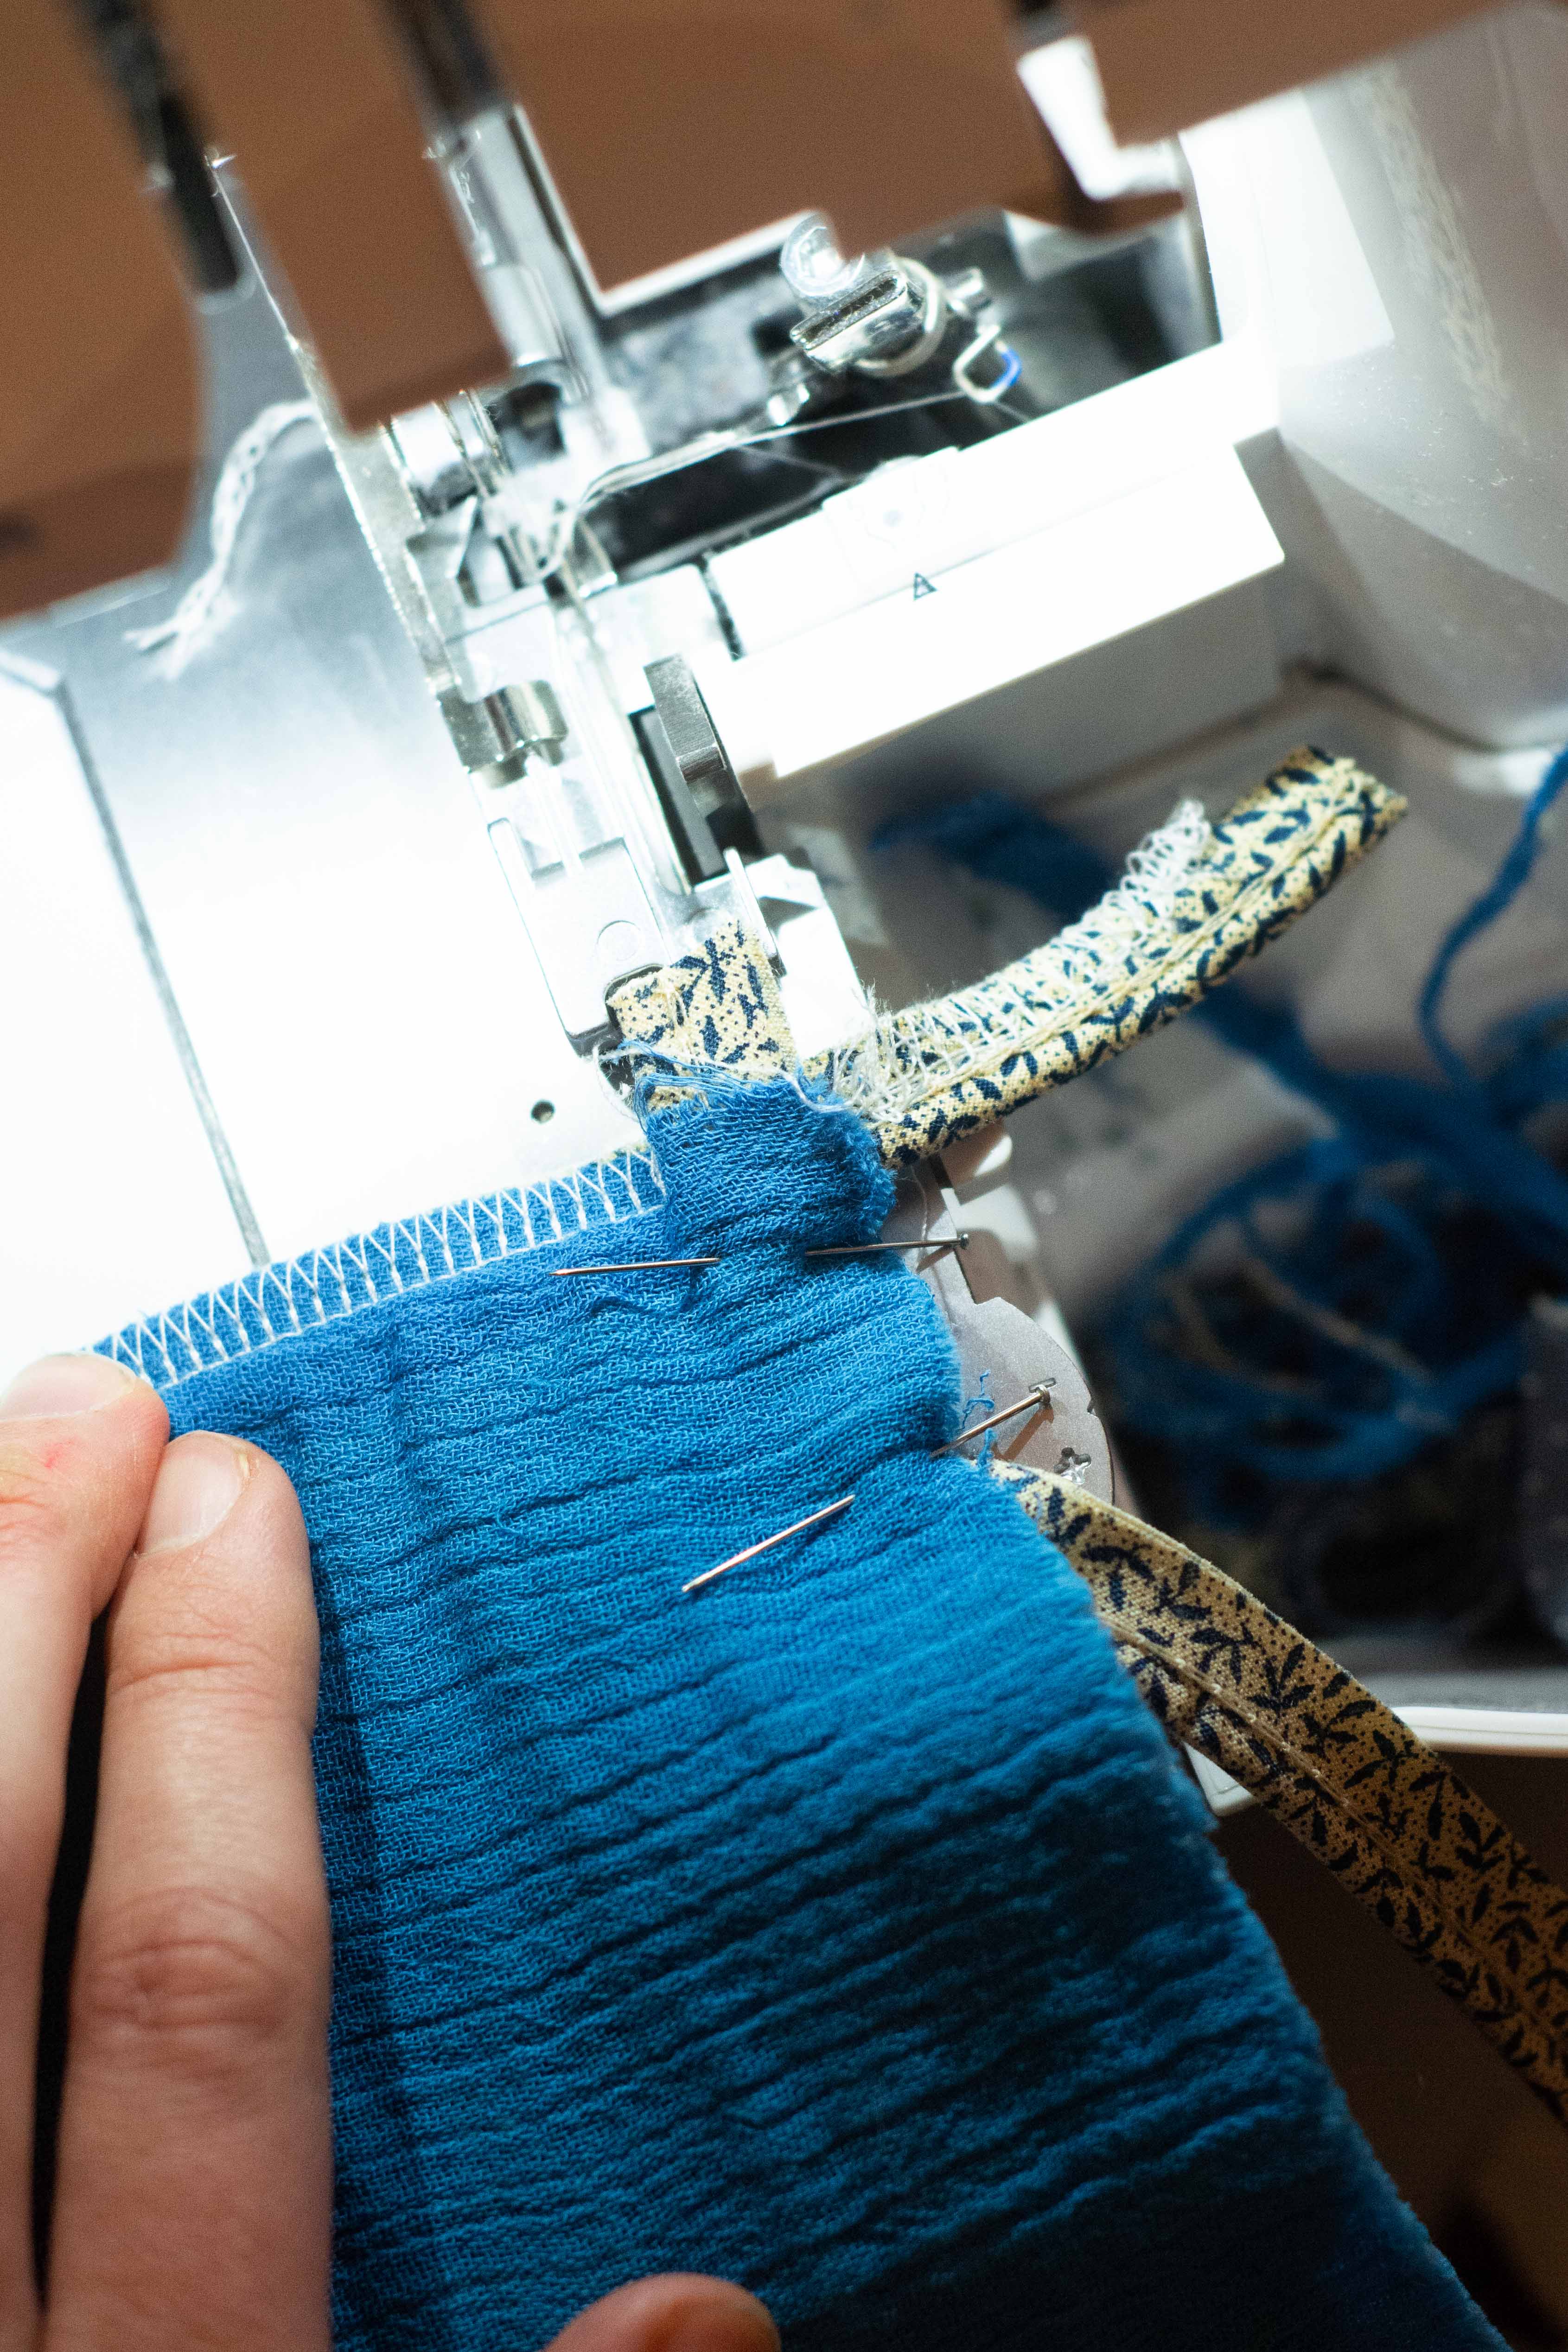
The multi-purpose foot makes it impossible to sew around a corner, but you have two possibilities: One of them is to sew wide round corners instead of sharp corners. The other possibility – and that’s what I did – is to cut the piping at each corner, turn the fabric and start again with another piece of piping. The corners won’t be perfect, but it’s easy and doesn’t look bad.
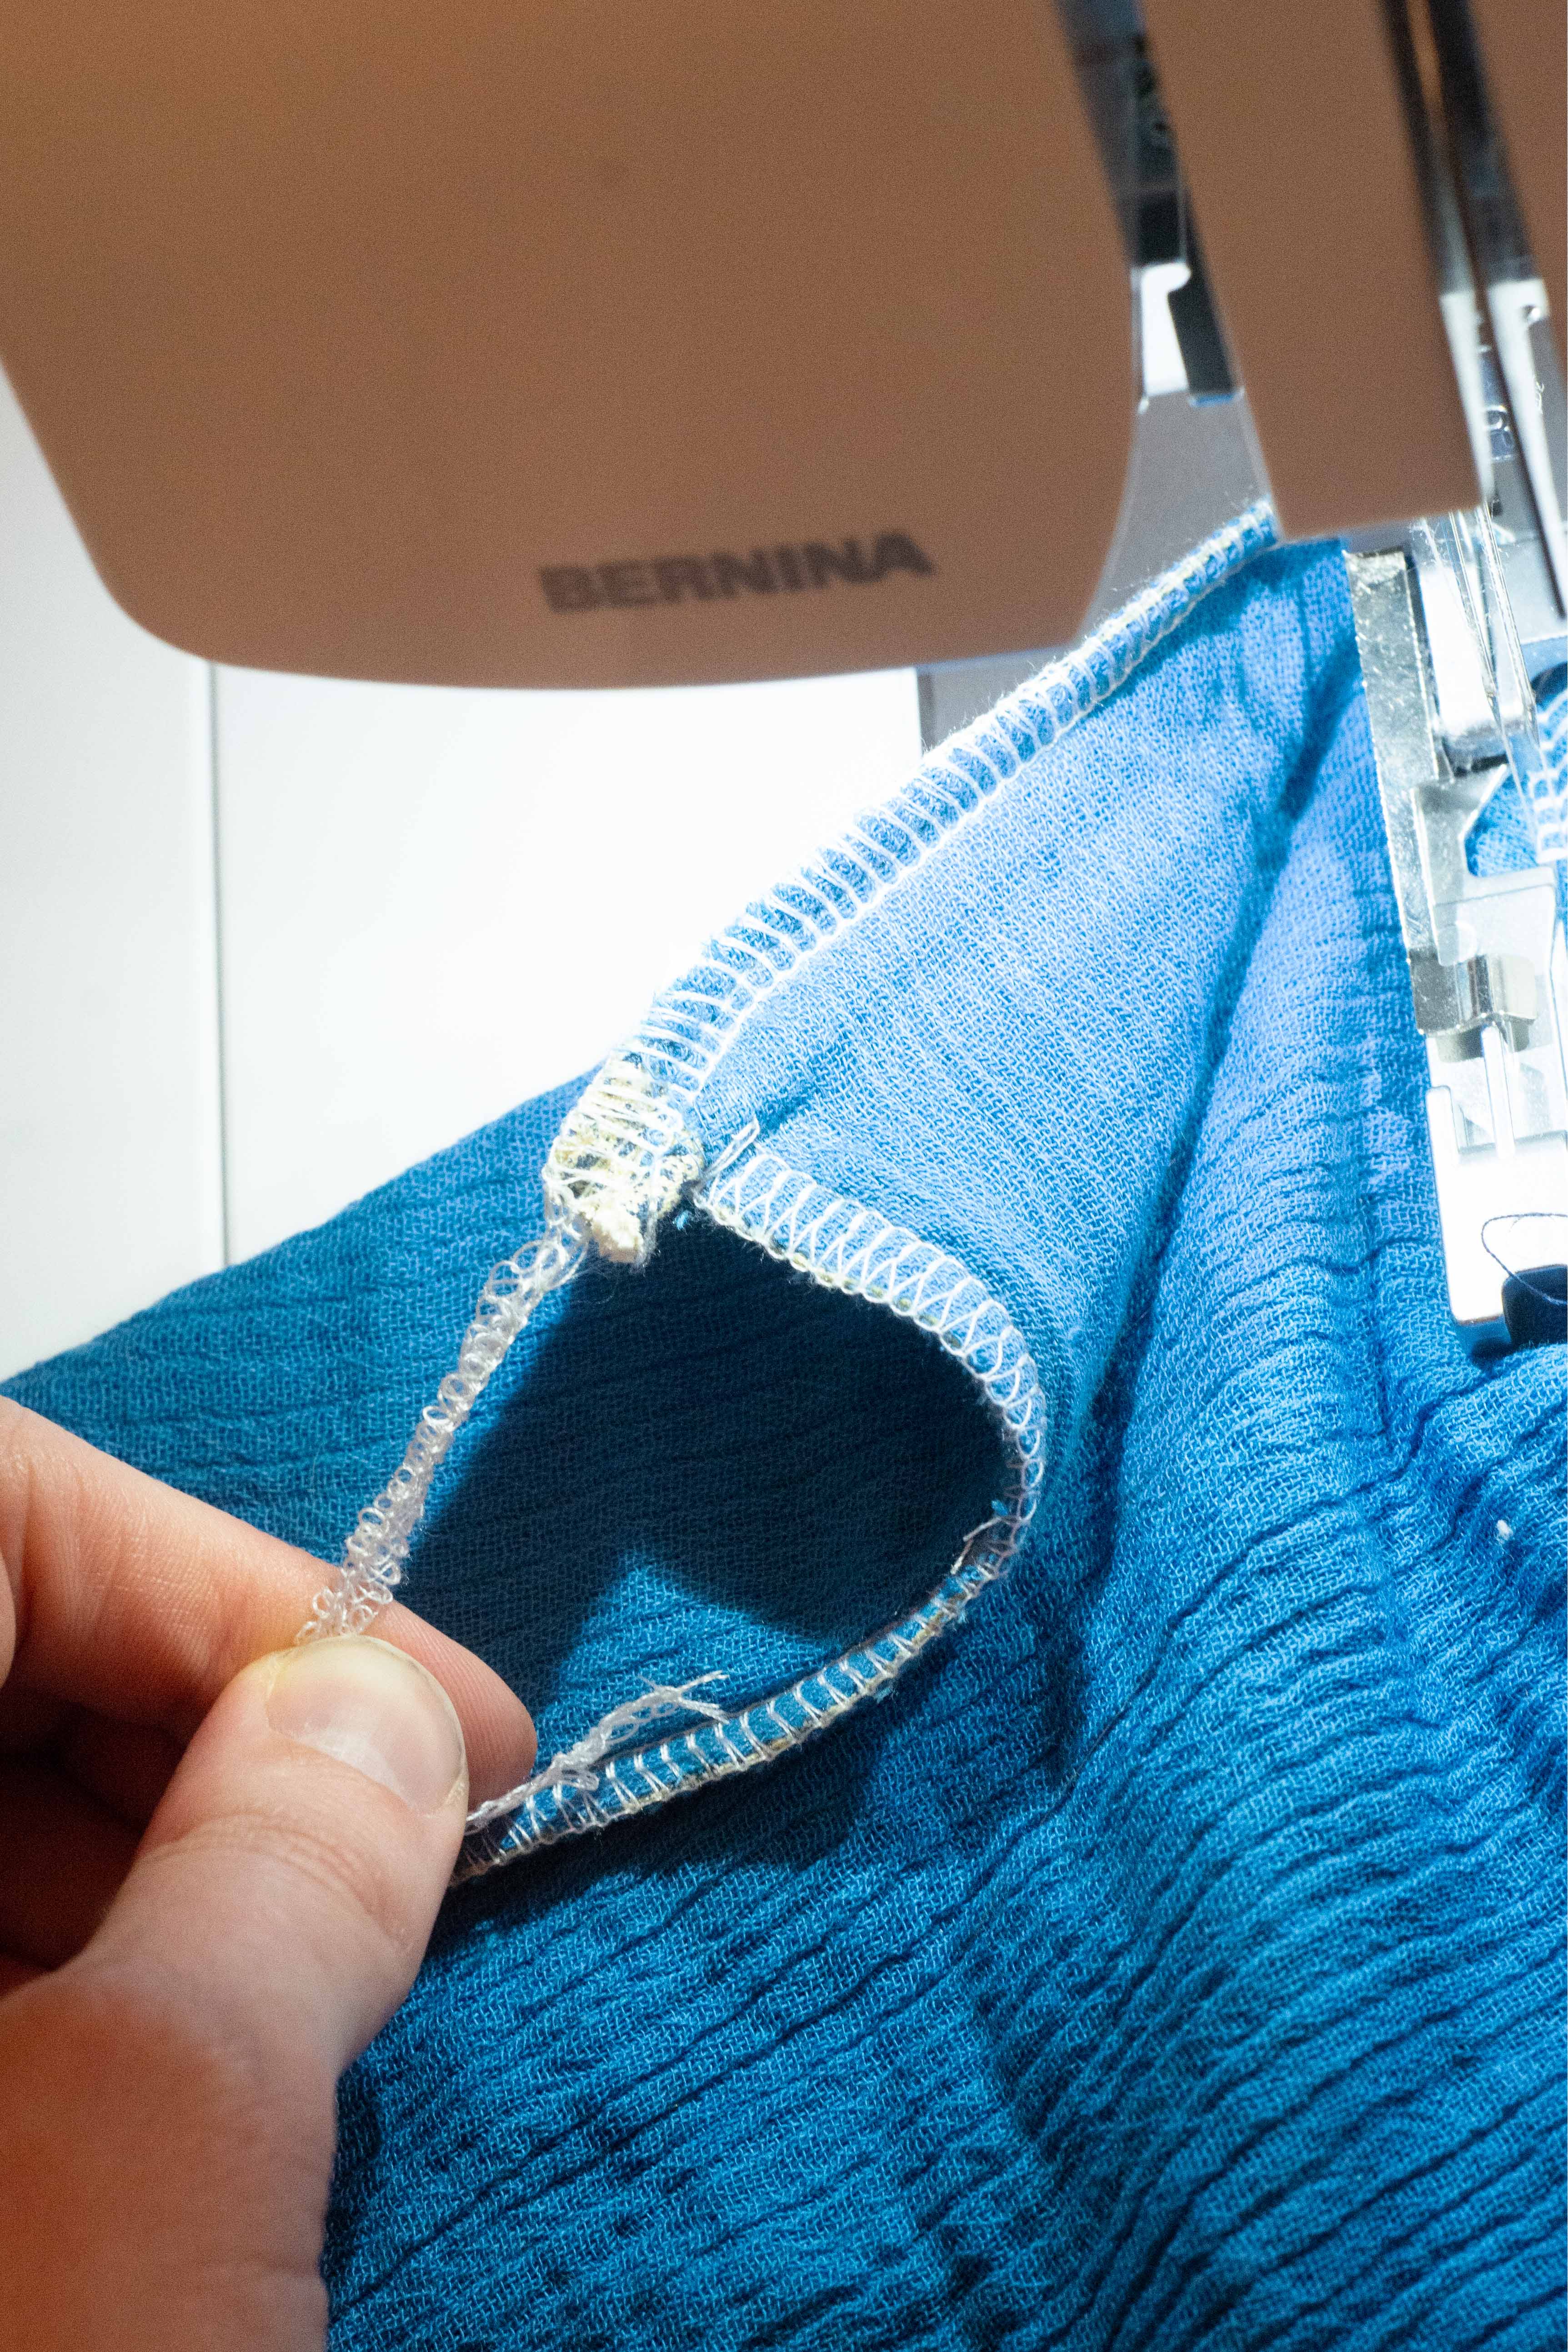
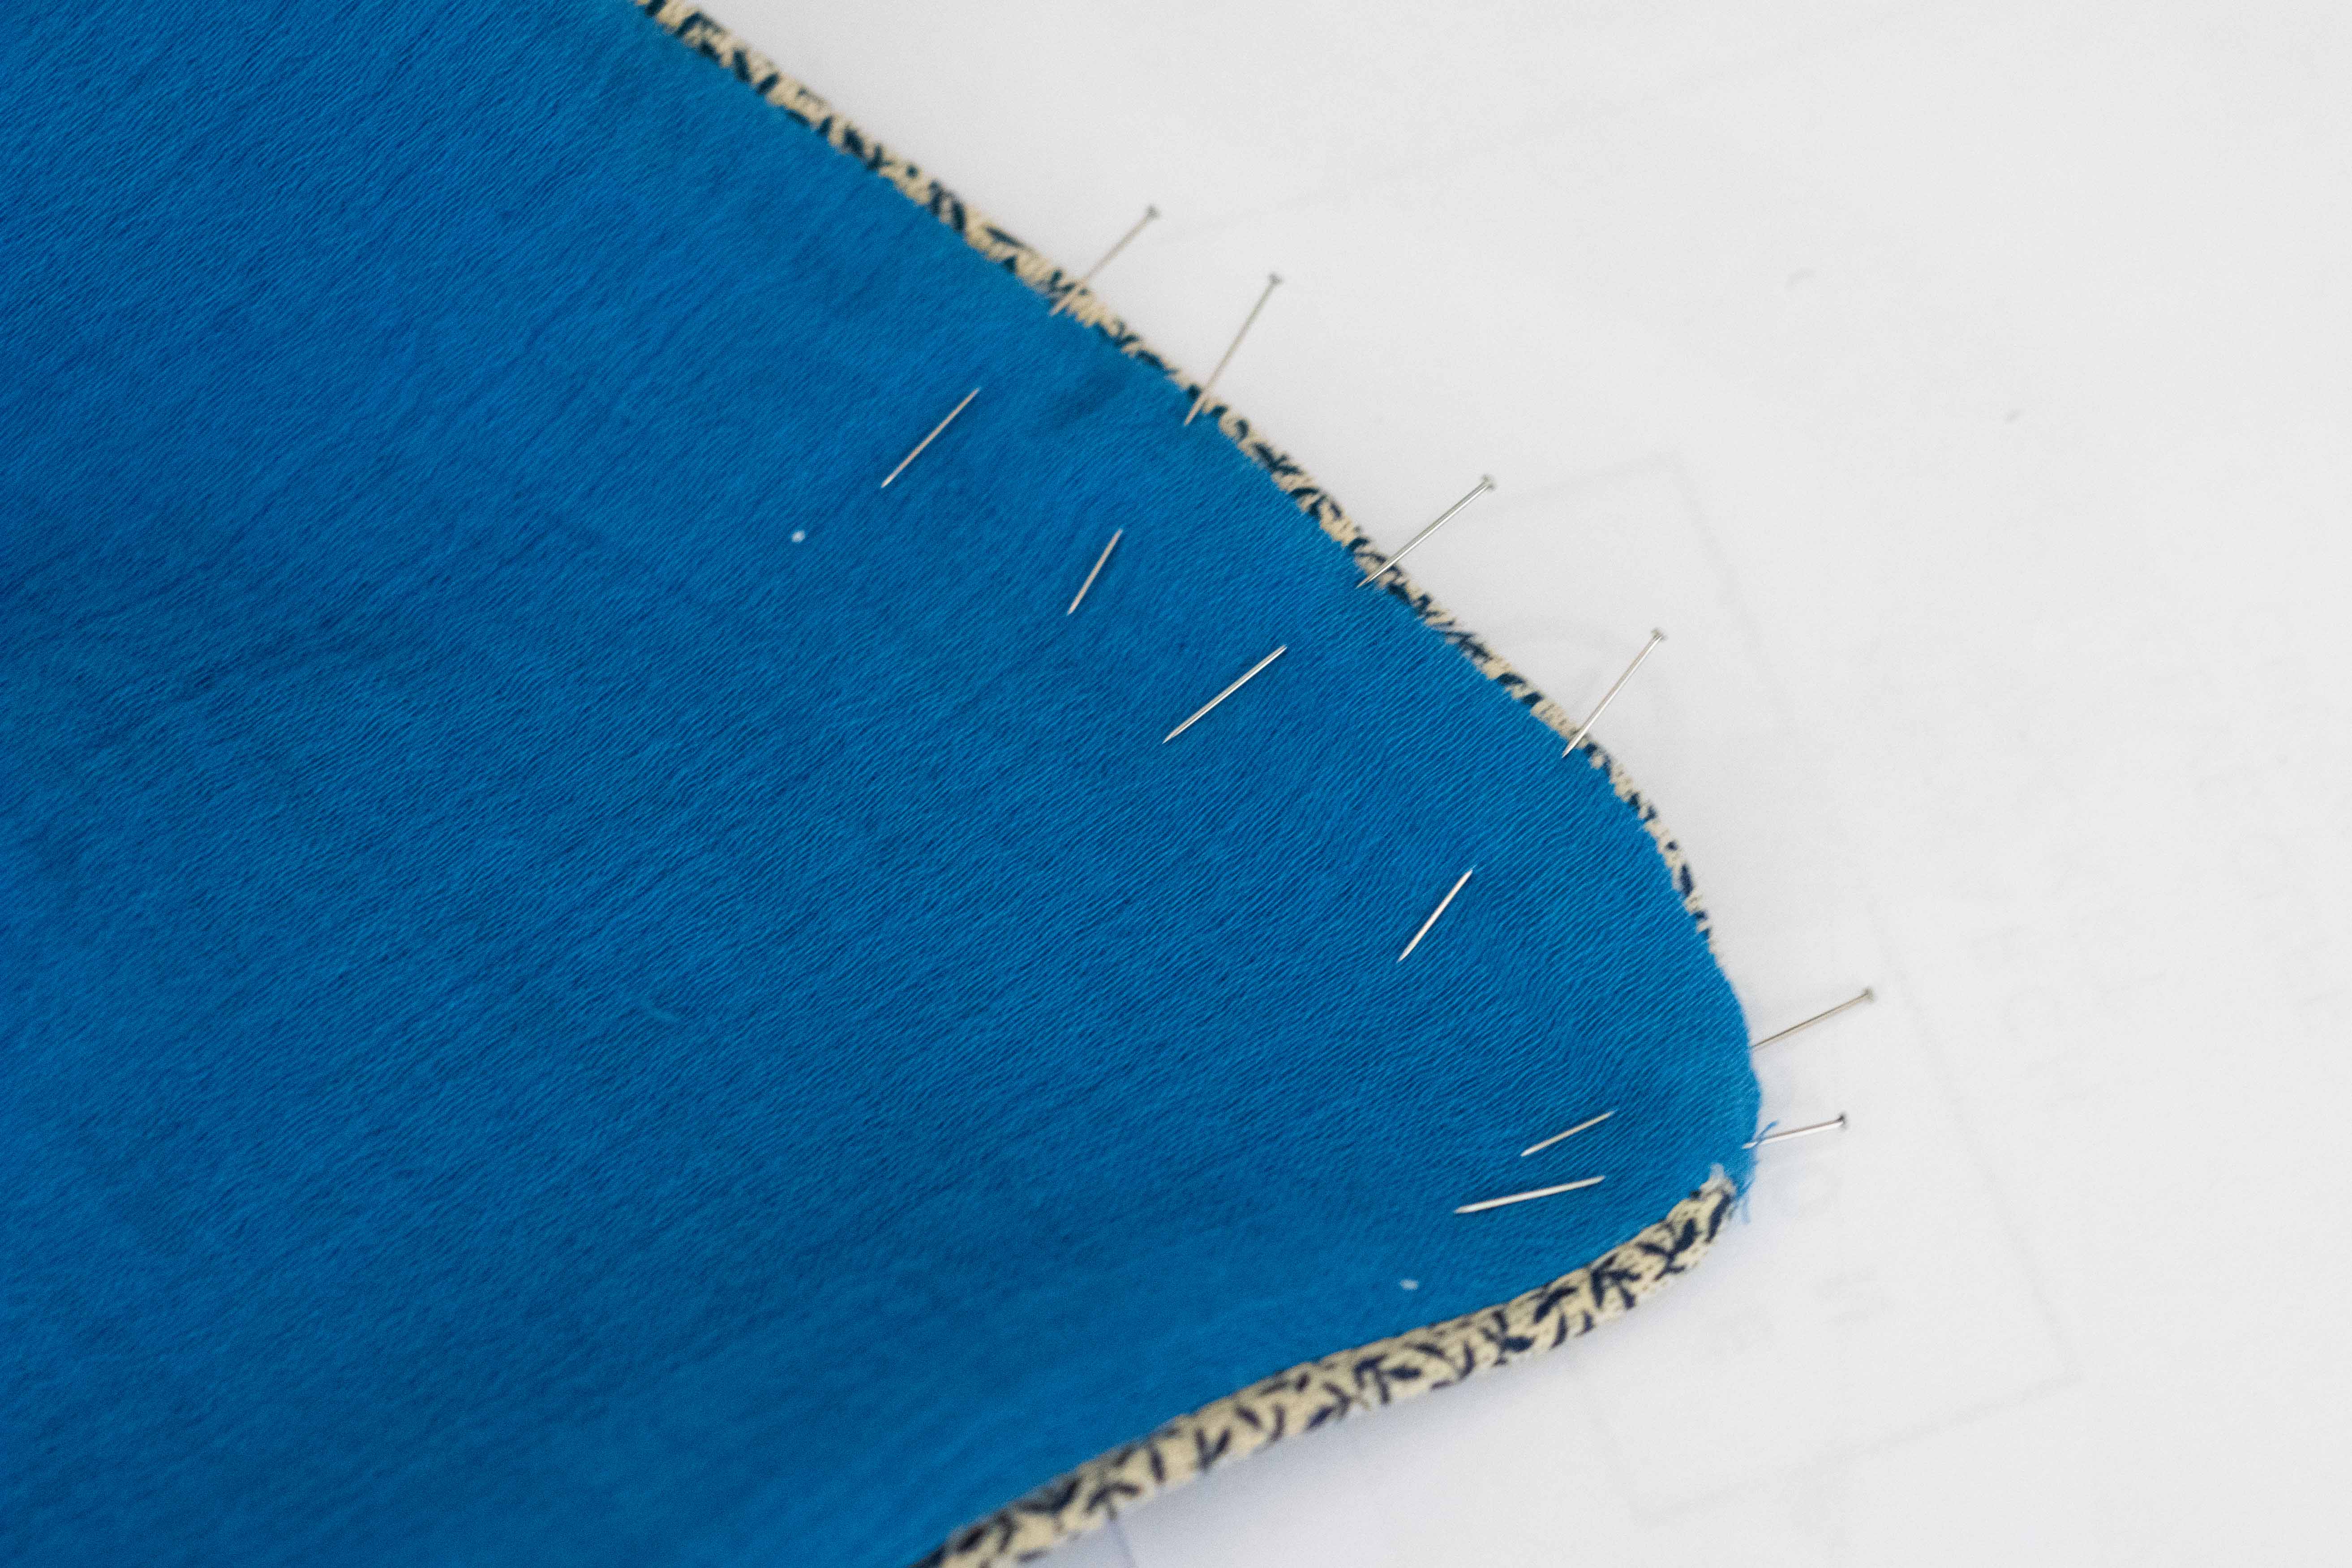
You need to be able to turn the blanket right sides out. To be able to do that you need to leave a hole that is big enough to turn the blanket. Once you stop serging, turn your blanket right sides out and cut the piping. It has to be long enough to go all the way to the corner of your blanket! Press the raw edges of the blanket towards the inside and place the piping in between both layers of fabric. Make sure that the end of your piping is hidden inside the blanket and pin everything in place. Topstitch the turning hole closed, making sure that the piping is neatly placed in between your layers of fabric.
That’s it! Now you have a simple, but yet special baby blanket. Other ideas to make a simple blanket like this more special are to embroider it or to bind the whole blanket with bias tape instead of adding piping. Happy sewing!
This post has been shared in a Bernina serger group… to avoid confusion, please, consider editing this post: the foot used and shown in this post is the multi-purpose foot, whereas the cording foot is used and looks differently!
Dear Mamadaya,
Thank you for spotting this, I will edit the post accordingly since the author is not active anymore.
Kind regards, Ramona from BERNINA International