 BERNINA Corporate Blog -
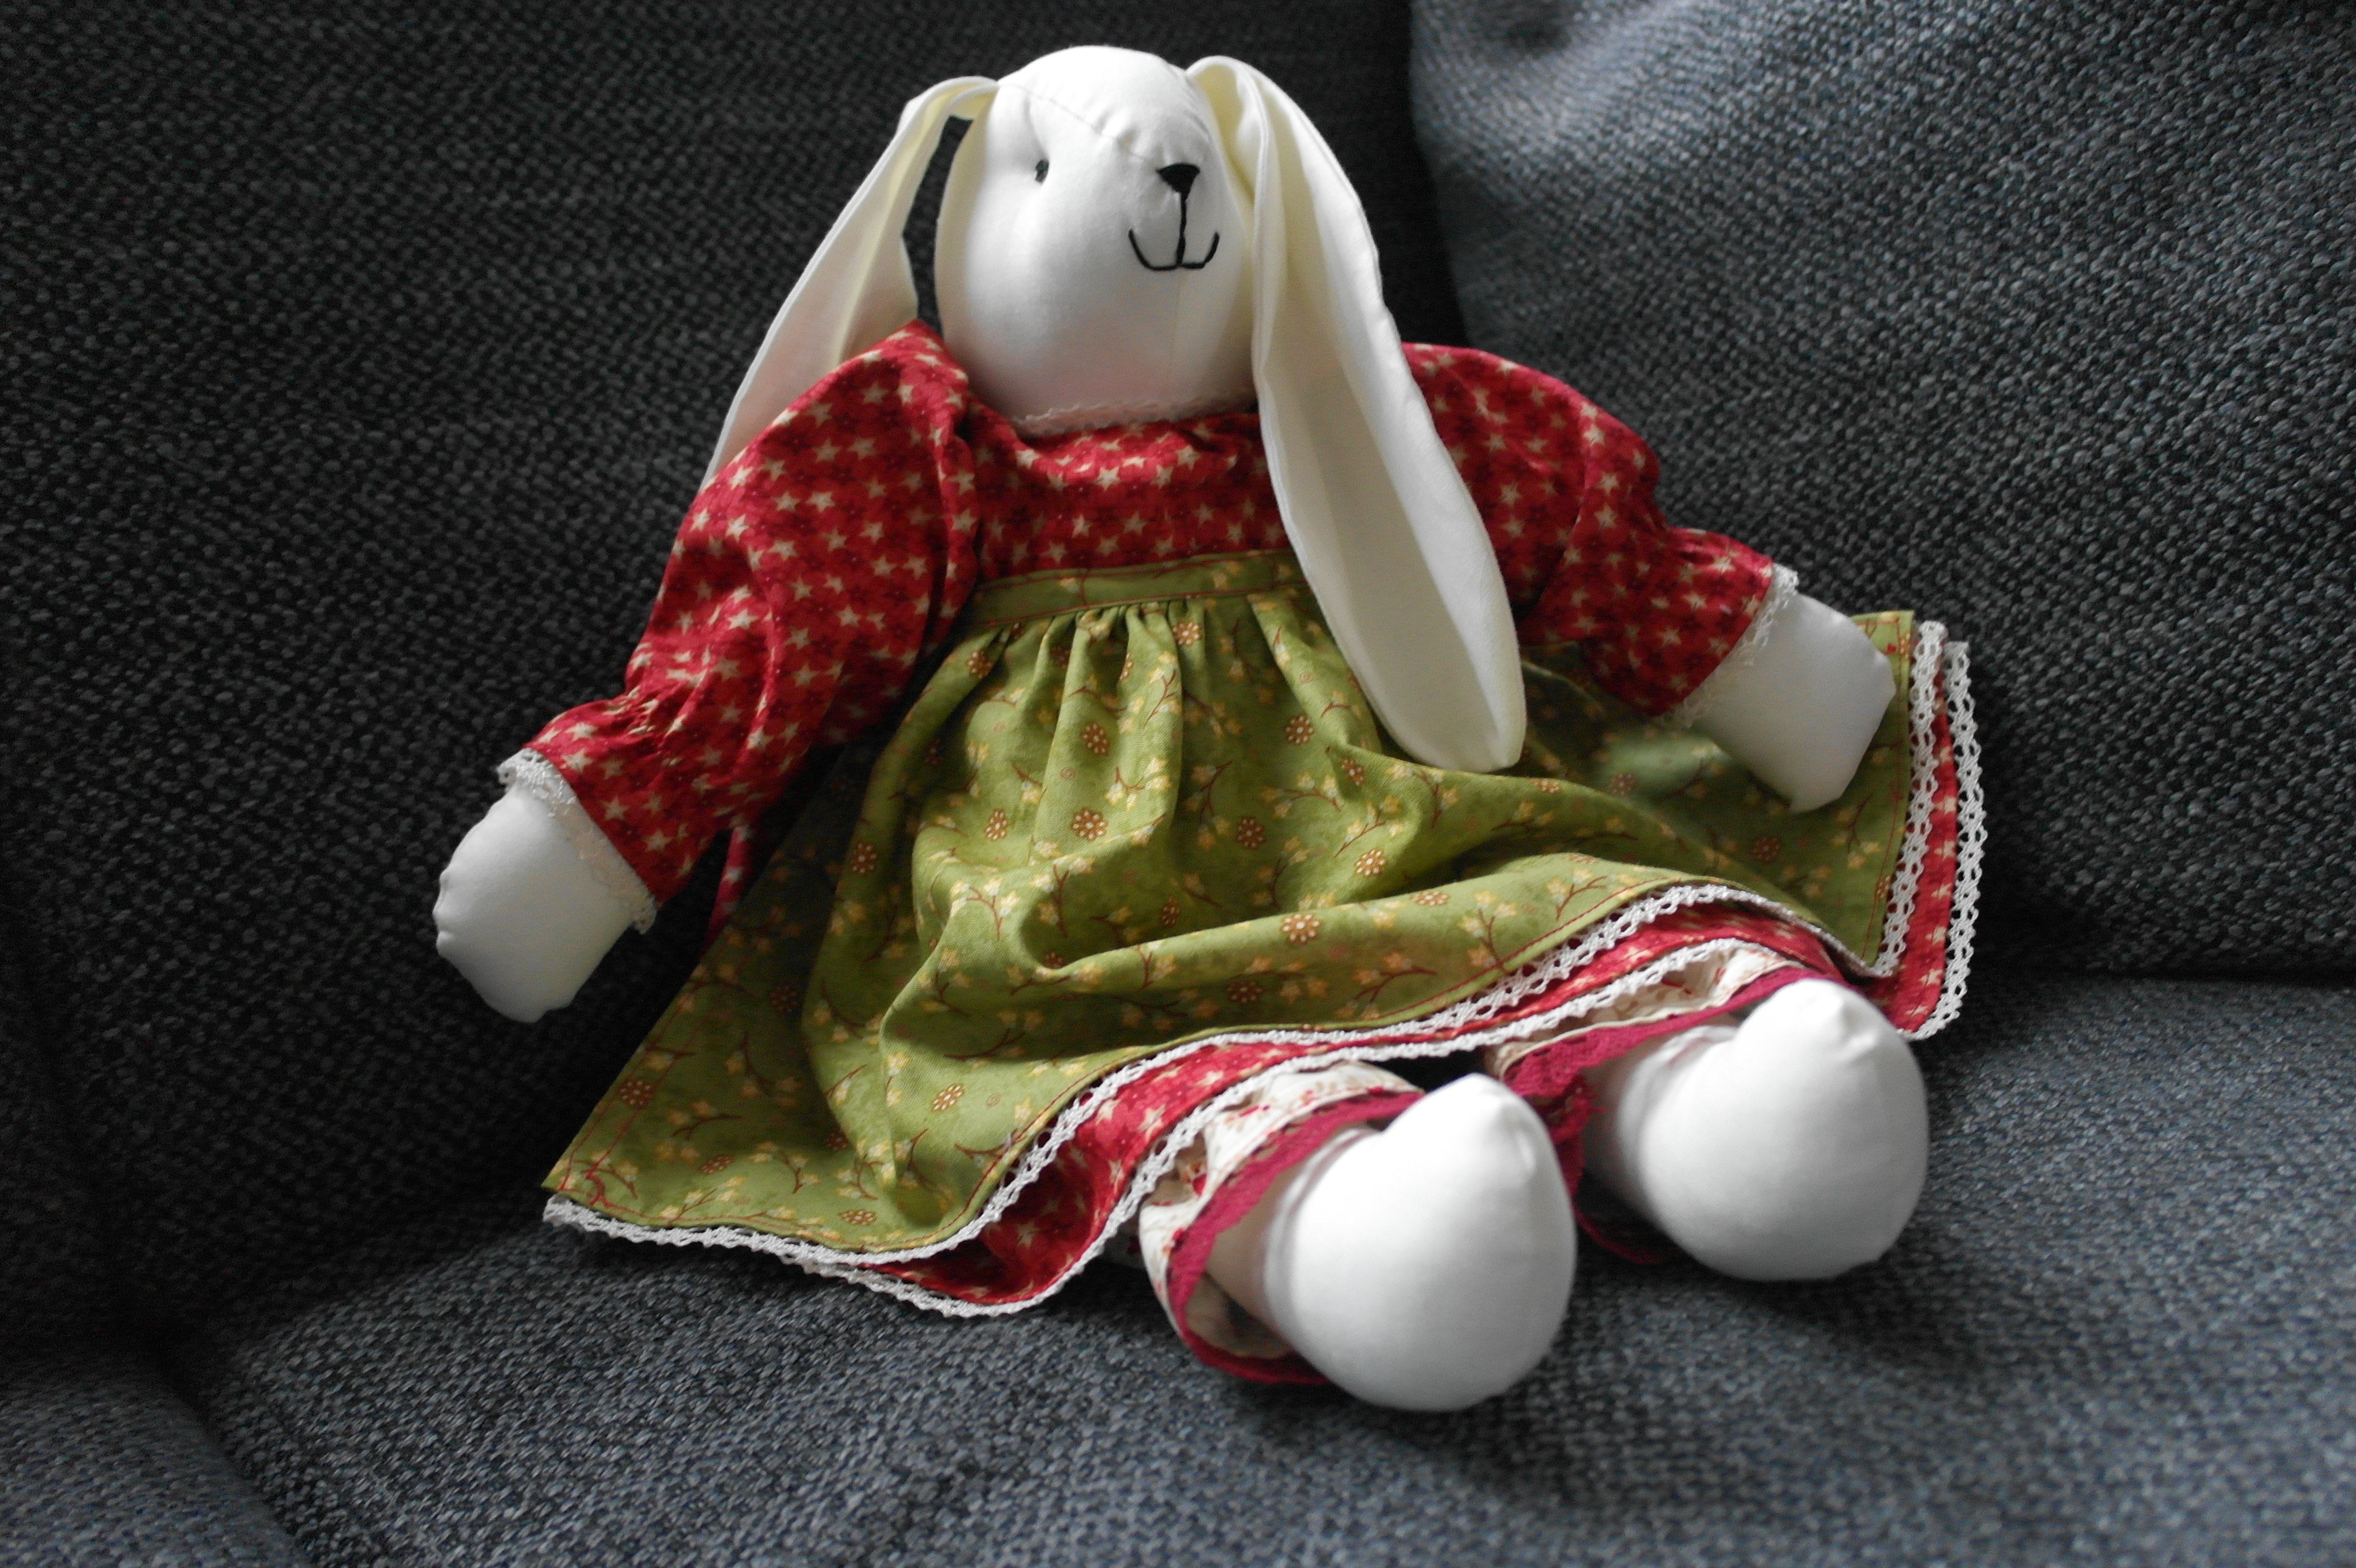
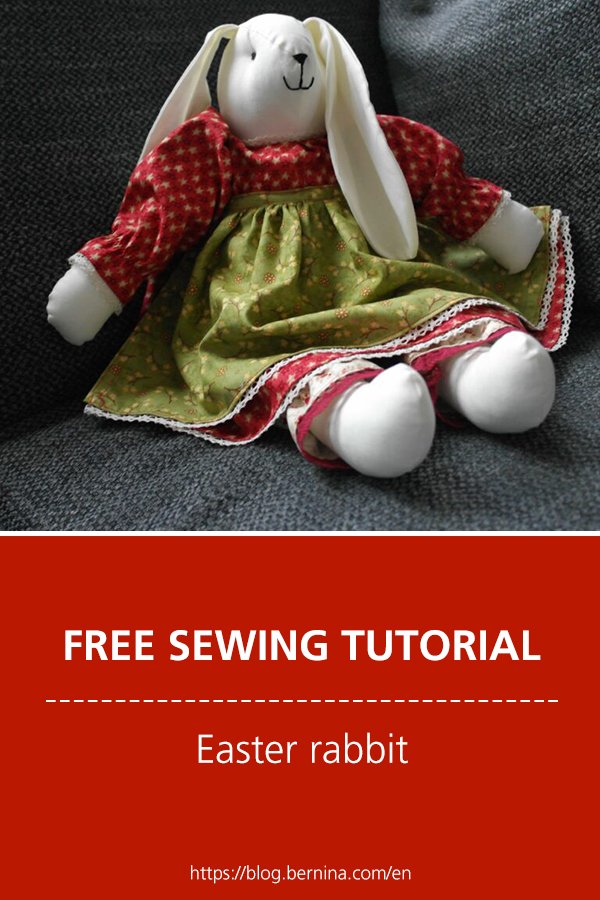
I know: a rabbit is not a bunny, but Ruby Rabbit is such a nice rabbit. Make her now, so she can sit at your Easter table. The body is made from off-white fabric, and her clothes can be made in any color, also spring colors.
You can order a basic kit HERE with the pattern for making her body and dress, apron and trousers, off-white fabric included = 0.60×1.10m, 2 buttons for her eyes, (black) floss for nose, round elastic for clothes and granulate for weighting of her body. Other necessities, like fabrics for dress, apron and trousers and also lace can be ordered HERE if you want to, or use your own fabric stash.
If you want to order the pattern, basic kit and/or clothes kit from my website, but have trouble reading Dutch, please email me via [email protected], and I will send you details.

Making Ruby’s body via the (also) English directions begins with drawing templates on pattern paper, cutting them out and placing them on the off-white fabric. Follow the step by step directions, place all templates onto the fabric to see how to cut them, and be sure see to place them straight of grain or crossgrain, whenindicated. So check for grain lines.
 Why is the grain of fabric when making dolls and stuffed animals so important?? Because the shape of body, head, arms and legs will change if the parts are placed in the wrong direction. A body of a stuffed animal should be long, therefore the template should be placed at the length of the fabric (warp direction, along the selvage). When placed on the width of the fabric (weft direction), the fabric will stretch when fillilng the body, which will make the body thicker and not longer. When placed on the bias grain, the fabric will stretch even more, distorting the whole body.
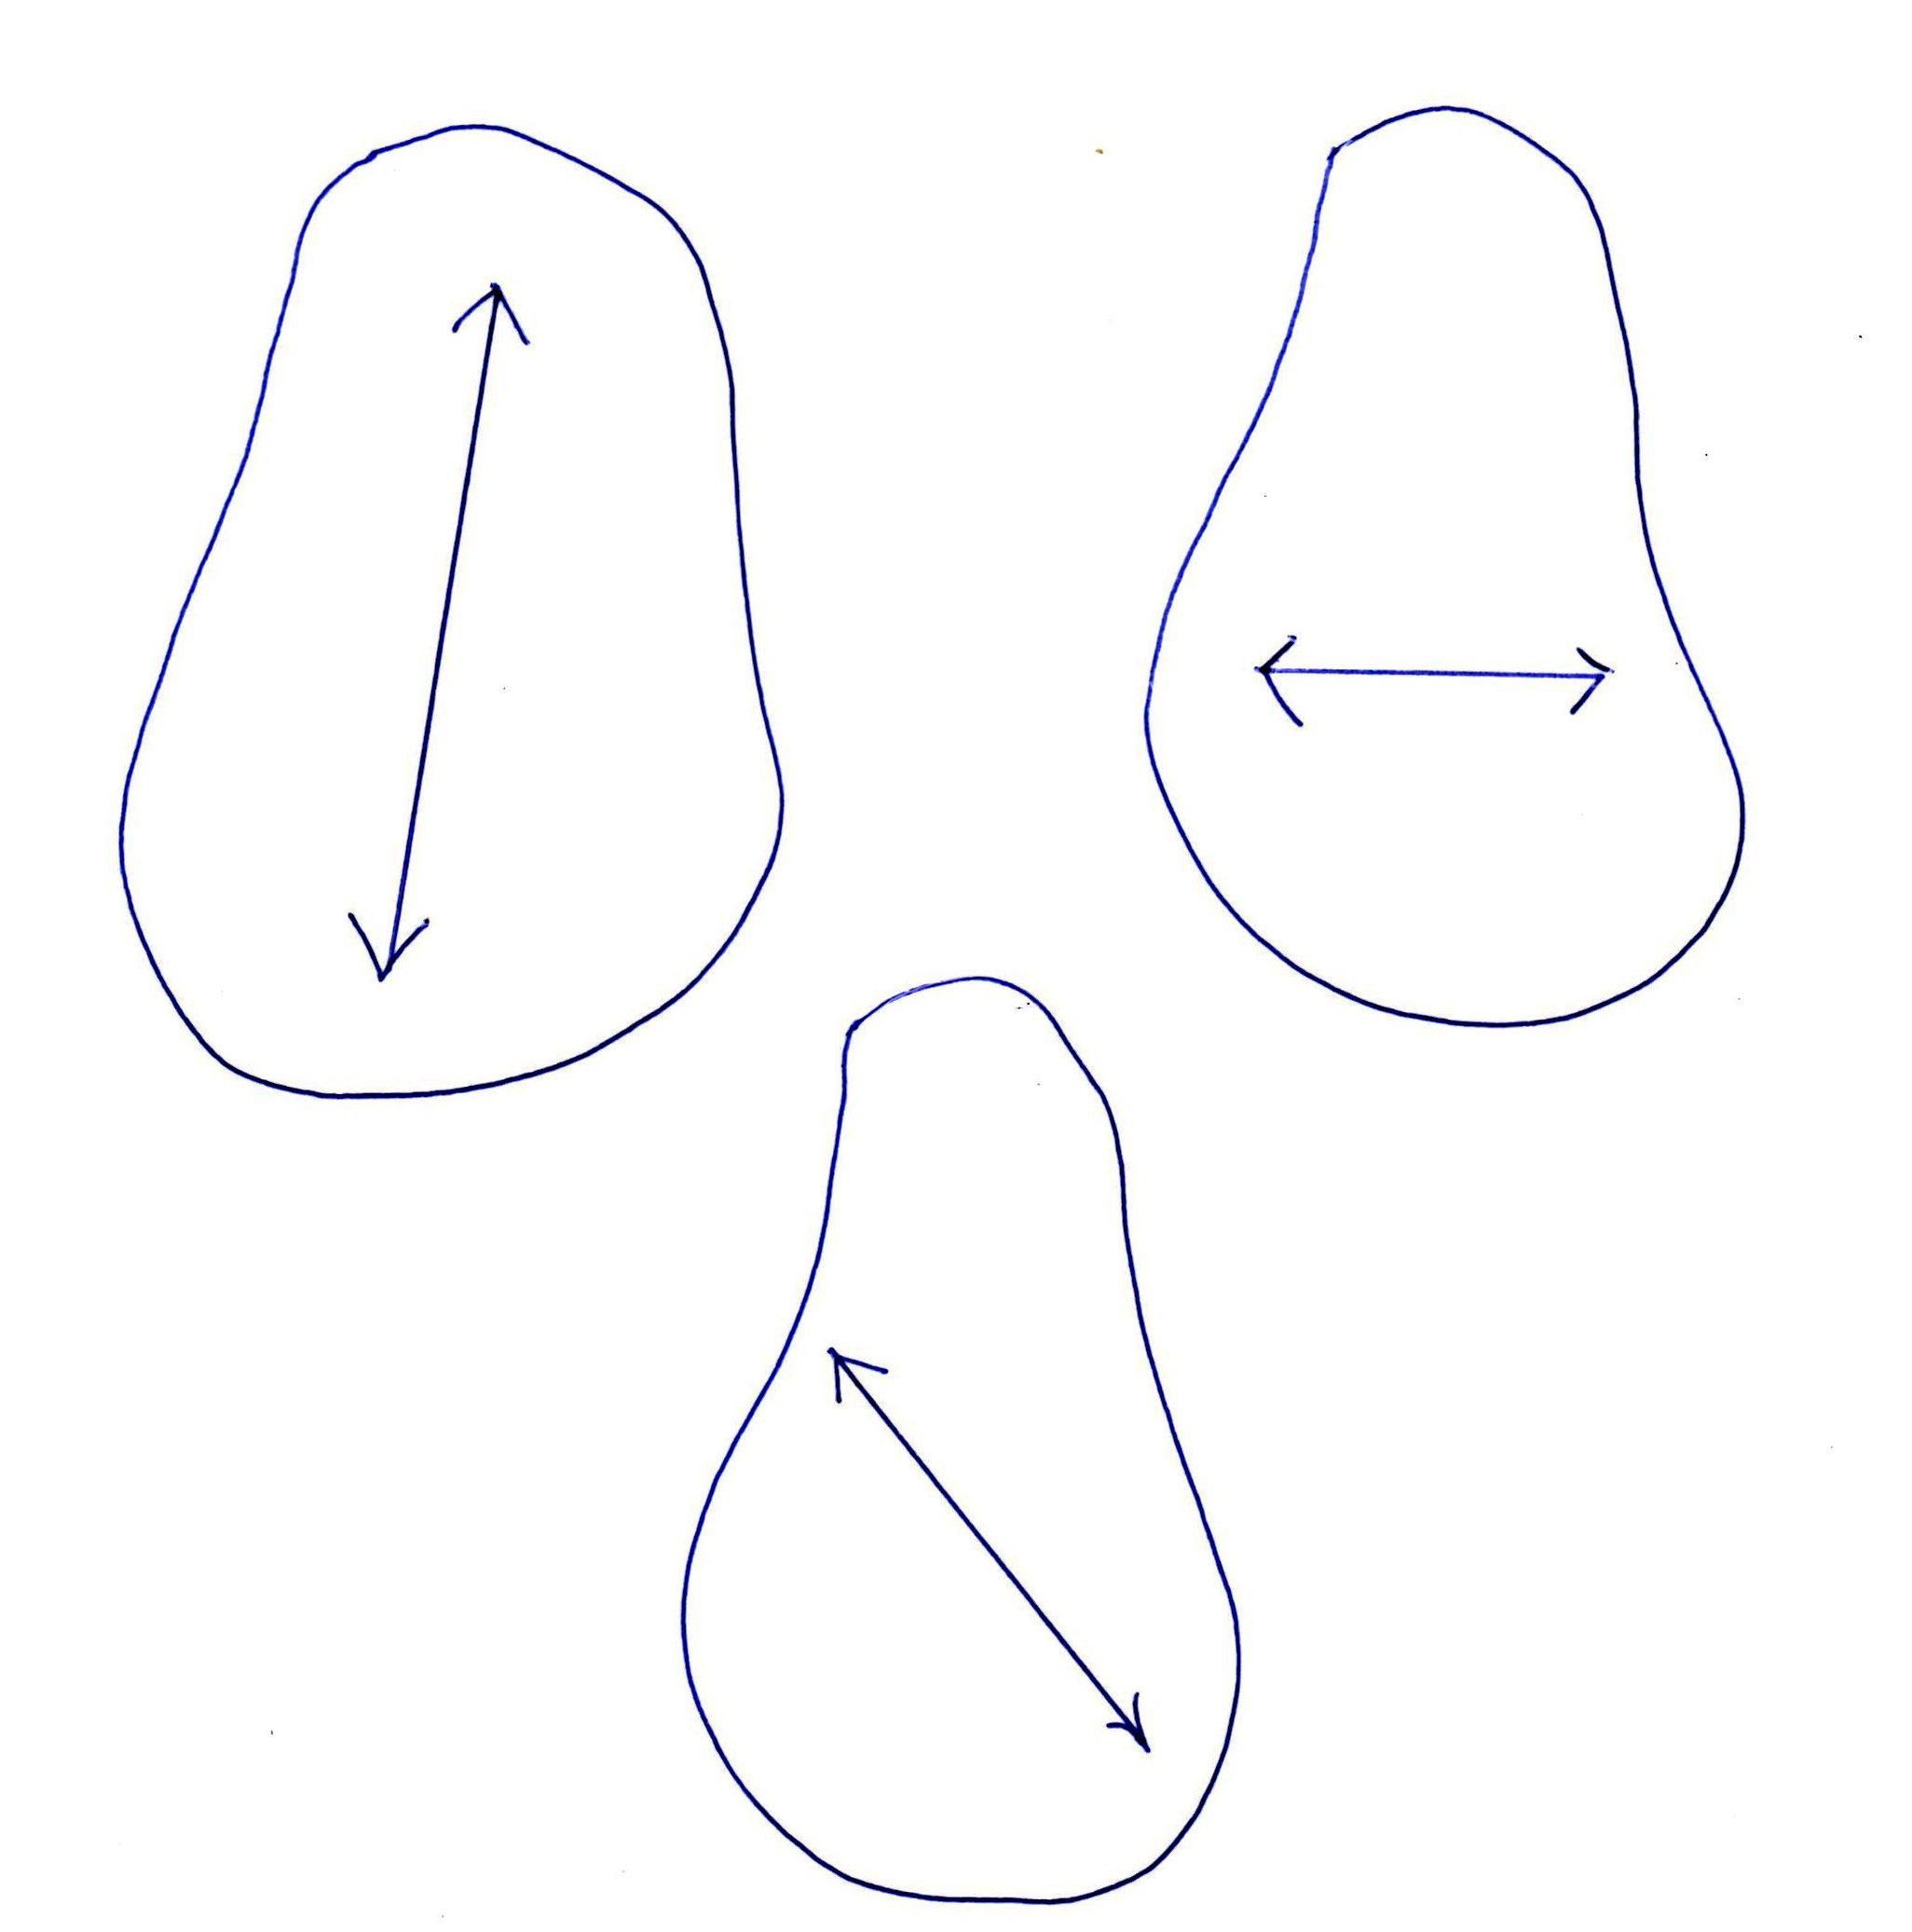 *When the size of the doll should be the same as the templates, even after filling, be sure to place the templates straight of grain. Otherwise the doll will be shorter and thicker.
*Placing the template on the bias grain, will distort the body, making it shapeless.
*Check for grainlines = long arrow, on the template. Place the templates along the selvage = warp direction. If you cannot find such an arrow, think about how the doll should look, and draw an arrow yourself to be sure it will be placed in the right direction.
*Sometimes – not often – you will find an arrow, indiaction the template should be placed on the bias grain. You will know that you HAVE to do that, because the designer wants the fabric to stretch in a certain way.

Here you an see that Ruby Rabbit’s body is ready for filling (at this point she is still rather flat): head, ears, body, arms and legs, sewn on my BERNINA 770QE. Using long quilting pins and Bohin Glue pen to secure seams, and sewing with a matching color, a rabbit is made. Here she is not filled yet…

but after filling, sewing the eyes and making the nose and mouth, letting her smile, Ruby gets her character. She can sit up (because of the granulate), and has ‘movable’ arms and legs, which are tightly bound. Ruby doesn’t mind….
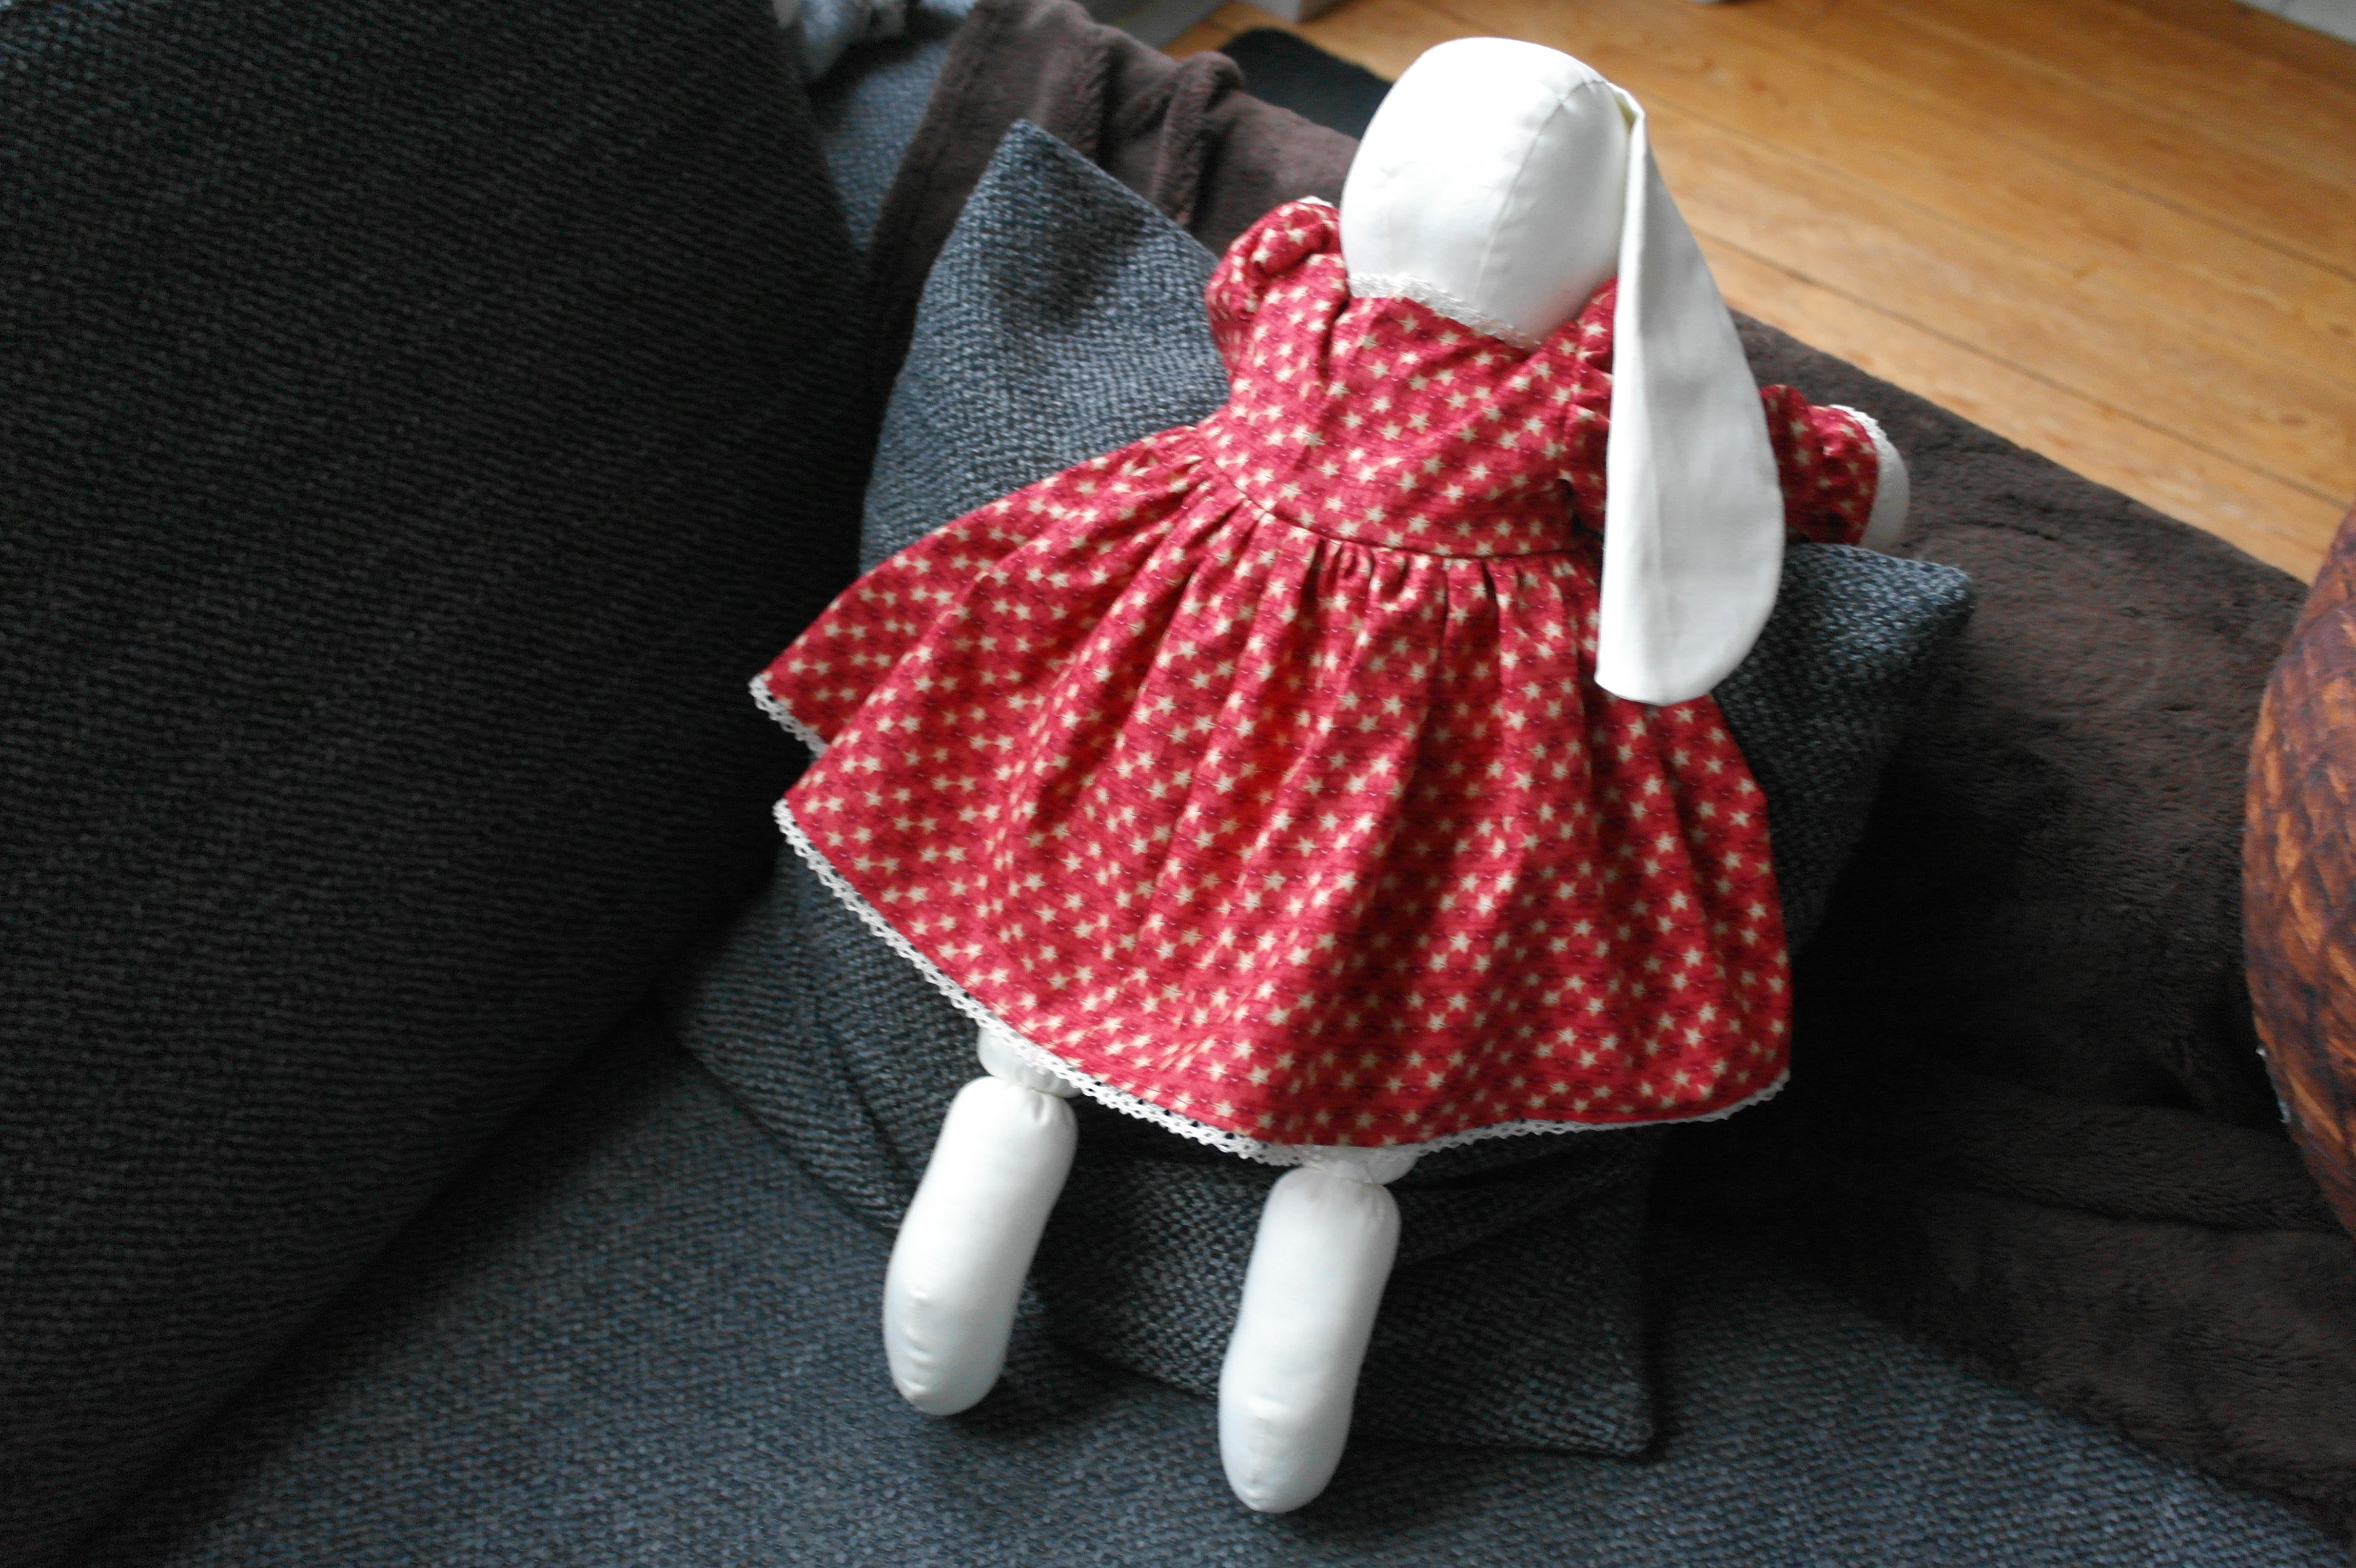
Her dress, apron and trousers are made with cotton fabrics, in the color of your choice. Adding lace gives her clothes a special look. Ruby shows her dress here, made from a red quiltfabric with stars.
The extra templates are included for making the clothes. You can make multiple sets, changing her appearance now and then.
Making her by machine, she is solid rabbit, suitable for children to play with. Be sure to sew the eyes properly, or use special stuffed animal eyes.
TIP: I have changed the stitch plate of my B770QE often: using a straight stitch plate when making straight stitches, prevents the fabric from wanting to dissapear into the groove of the zigzag plate. But be sure to change it back, when making zigzag stitches, which are done when securing the round elastic to sleaves and upper part of the trousers.
Have fun making Ruby Rabbit
Sylvia Kaptein
Sylvia’s Art Quilts Studio


I am looking for the pattern for the above post. ( Ruby Rabbit)I lost my pattern years ago. I am willing to pay for this.
Dear Linda,
Sylvia might not see this message, since this article is already a few years old. I do not know if her email adress is still active, but try writing her an email to: sylvia (at) sylviasartquilts.nl or maybe reach out to her on social Media.
Kind regards, Ramona
I’d like the kit to make the rabbit, dress, apron and trousers but I do not know Dutch can you please assist me.
Hi Paula, the kit for making the Rabbit with just the base fabrics are still available, the rest is discontinued. Please use this link to go to the Rabbit with base fabrics/pattern: https://www.sylviasartquilts.nl/ecommerce/product/ruby-rabbit-patroon-met-basis/
Hi Sharon,
Can you please email me via [email protected]? I will send you details for ordering.
Regards Sylvia
I am trying to order the bunny pattern i have managed to get a translation on the page but i keep getting an error message which is not in English so i don’t understand and can’t complete the order. how do i order the pattern in english regards Sharon
Hi D.F.Stowell, you can email me via [email protected] for details, but we dó ship to the UK. The website is indeed in Dutch, but I can translate if that’s more convenient.
Please let me know, Sylvia Kaptein
how can I obtain this rabbit pattern and the fabric kits, I am in the UK and the web site is in dutch (I think) and doesn’t seem to ship to UK
thank you