 BERNINA Corporate Blog -
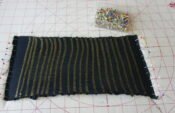
Beautiful rainbow colored, long-pile Plush, fun to work with but wow…. what a fuzz! After cutting the Plush, I carefully shook it to remove excess fuzz.
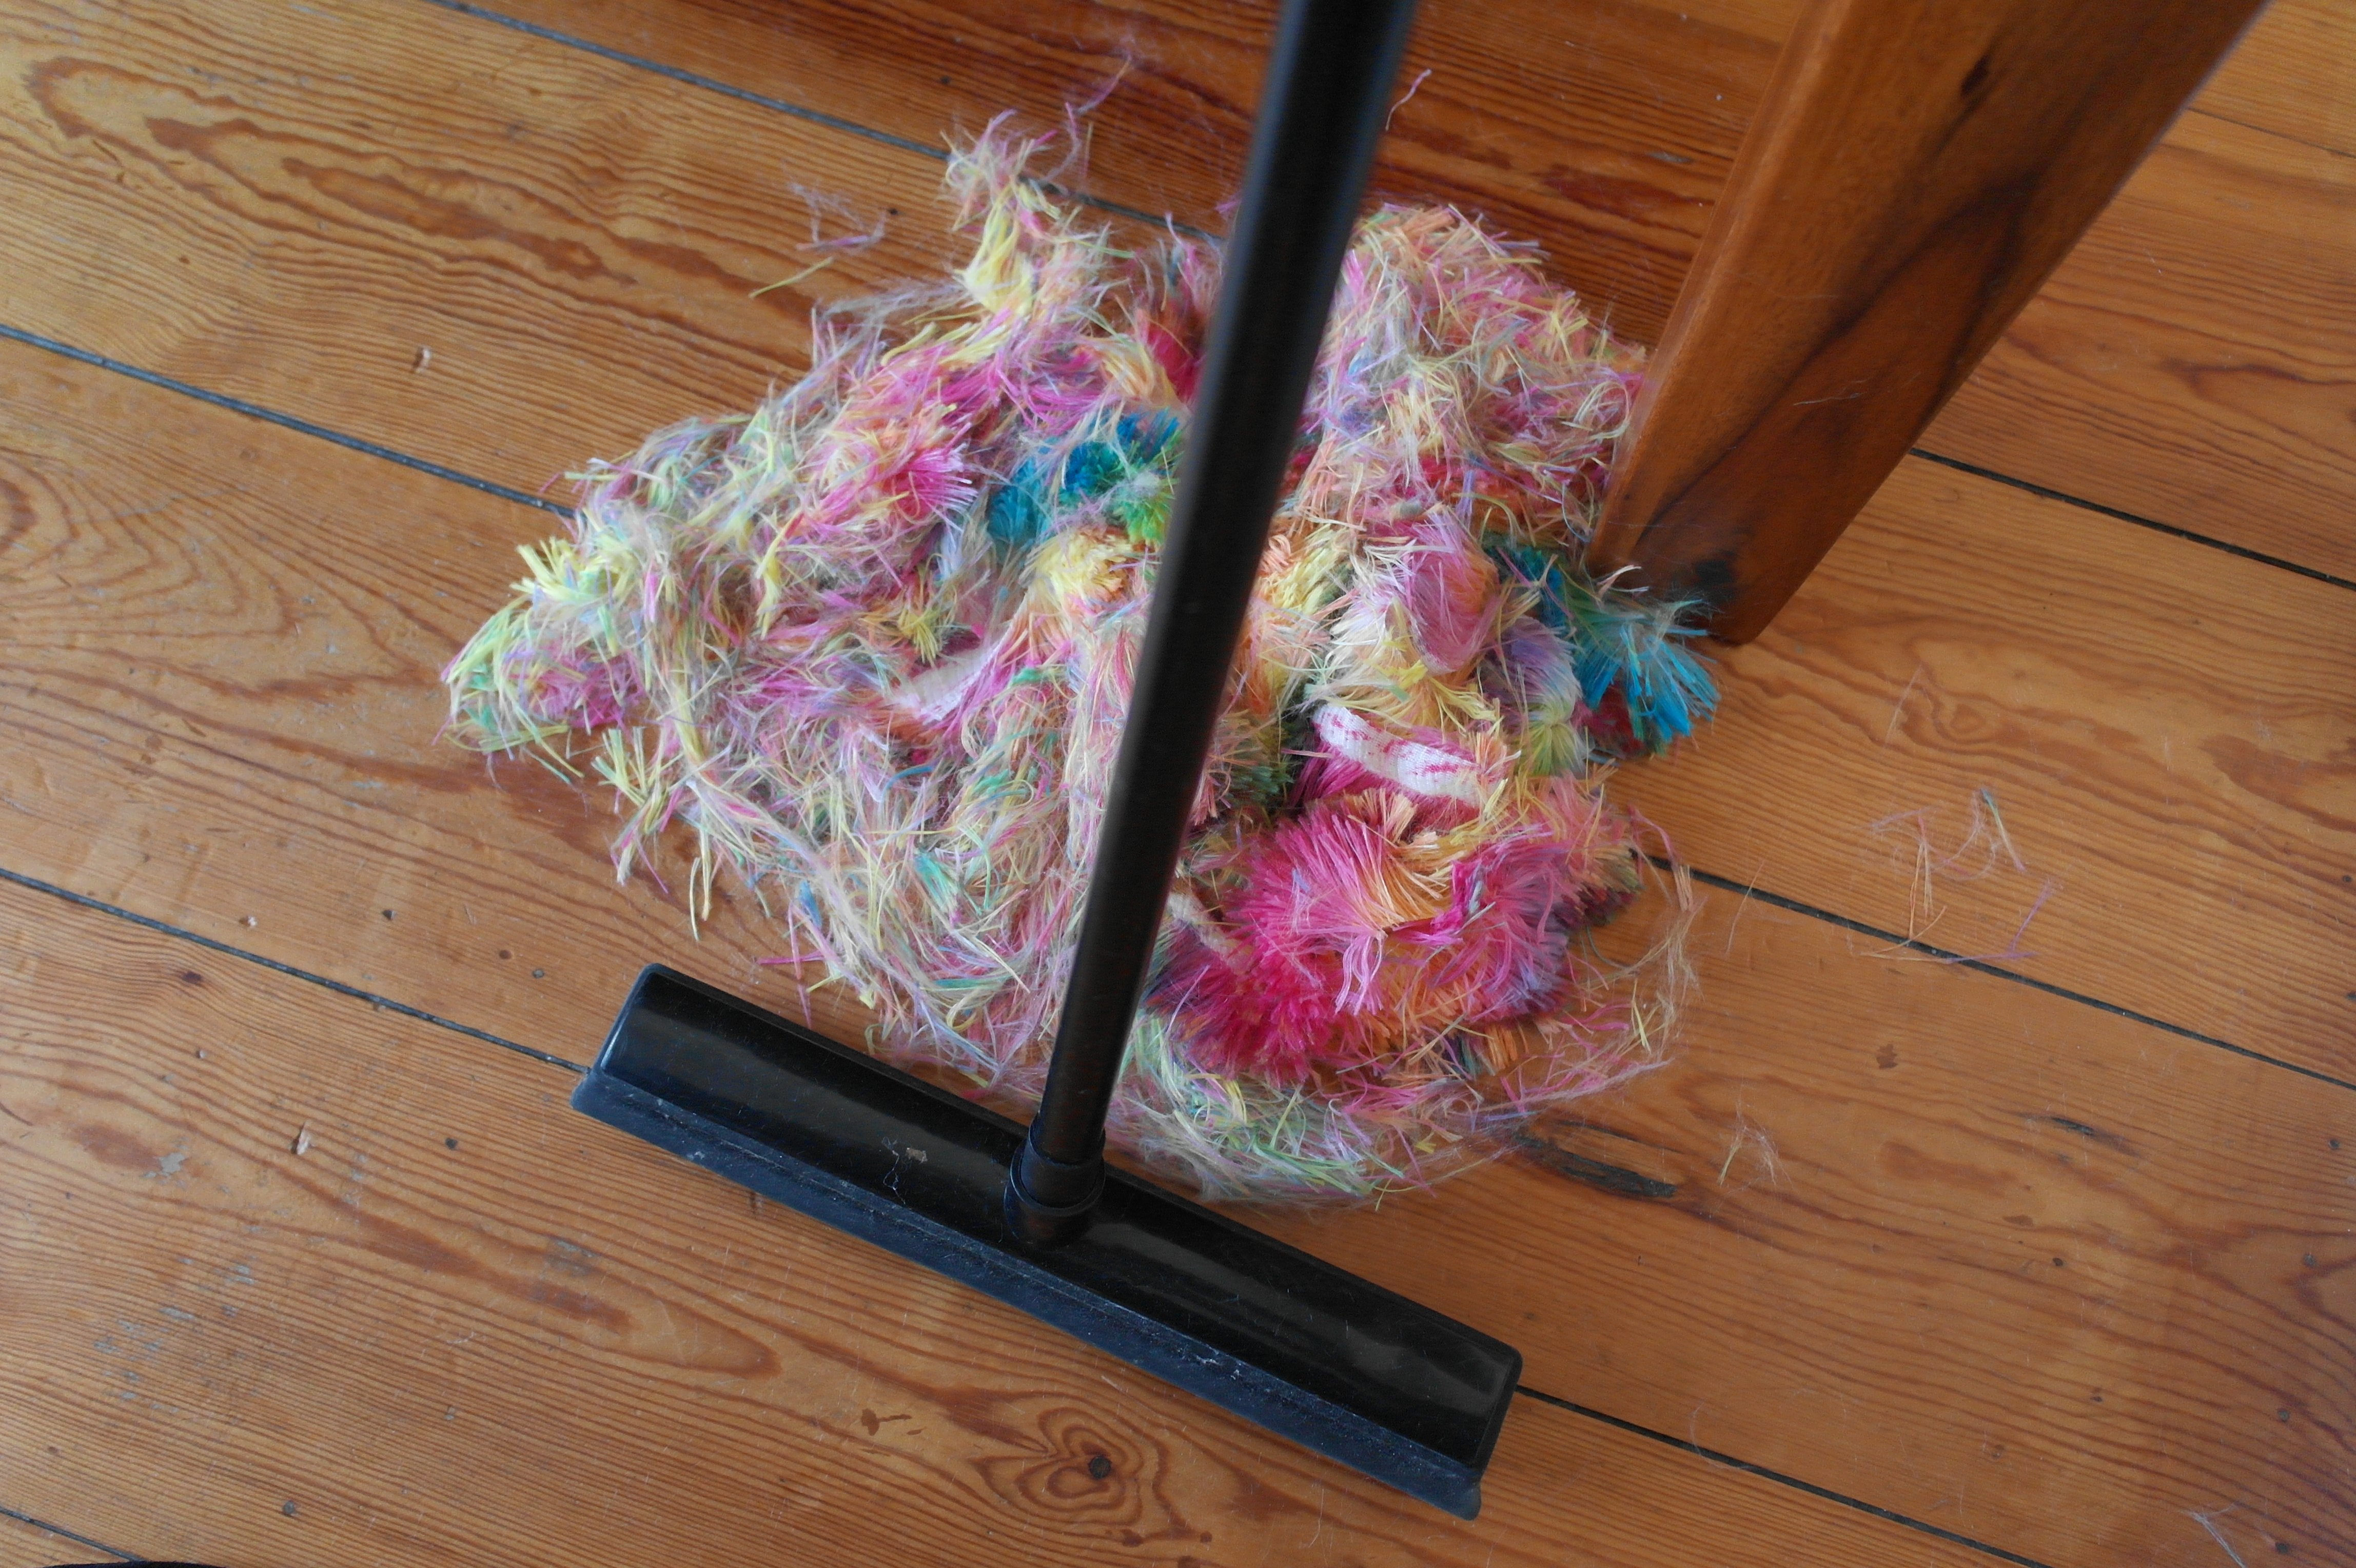
I’ve swept it to one corner with a rubber broom: this can be thrown in the trash.
Because of all the excess fuzz, I haven’t cut three pieces to make a pillow case, but just one long piece. I will make a pillowcase with overlap on the back. Less cutting means less fuzz, and less seams, so the long piles will look much nicer.
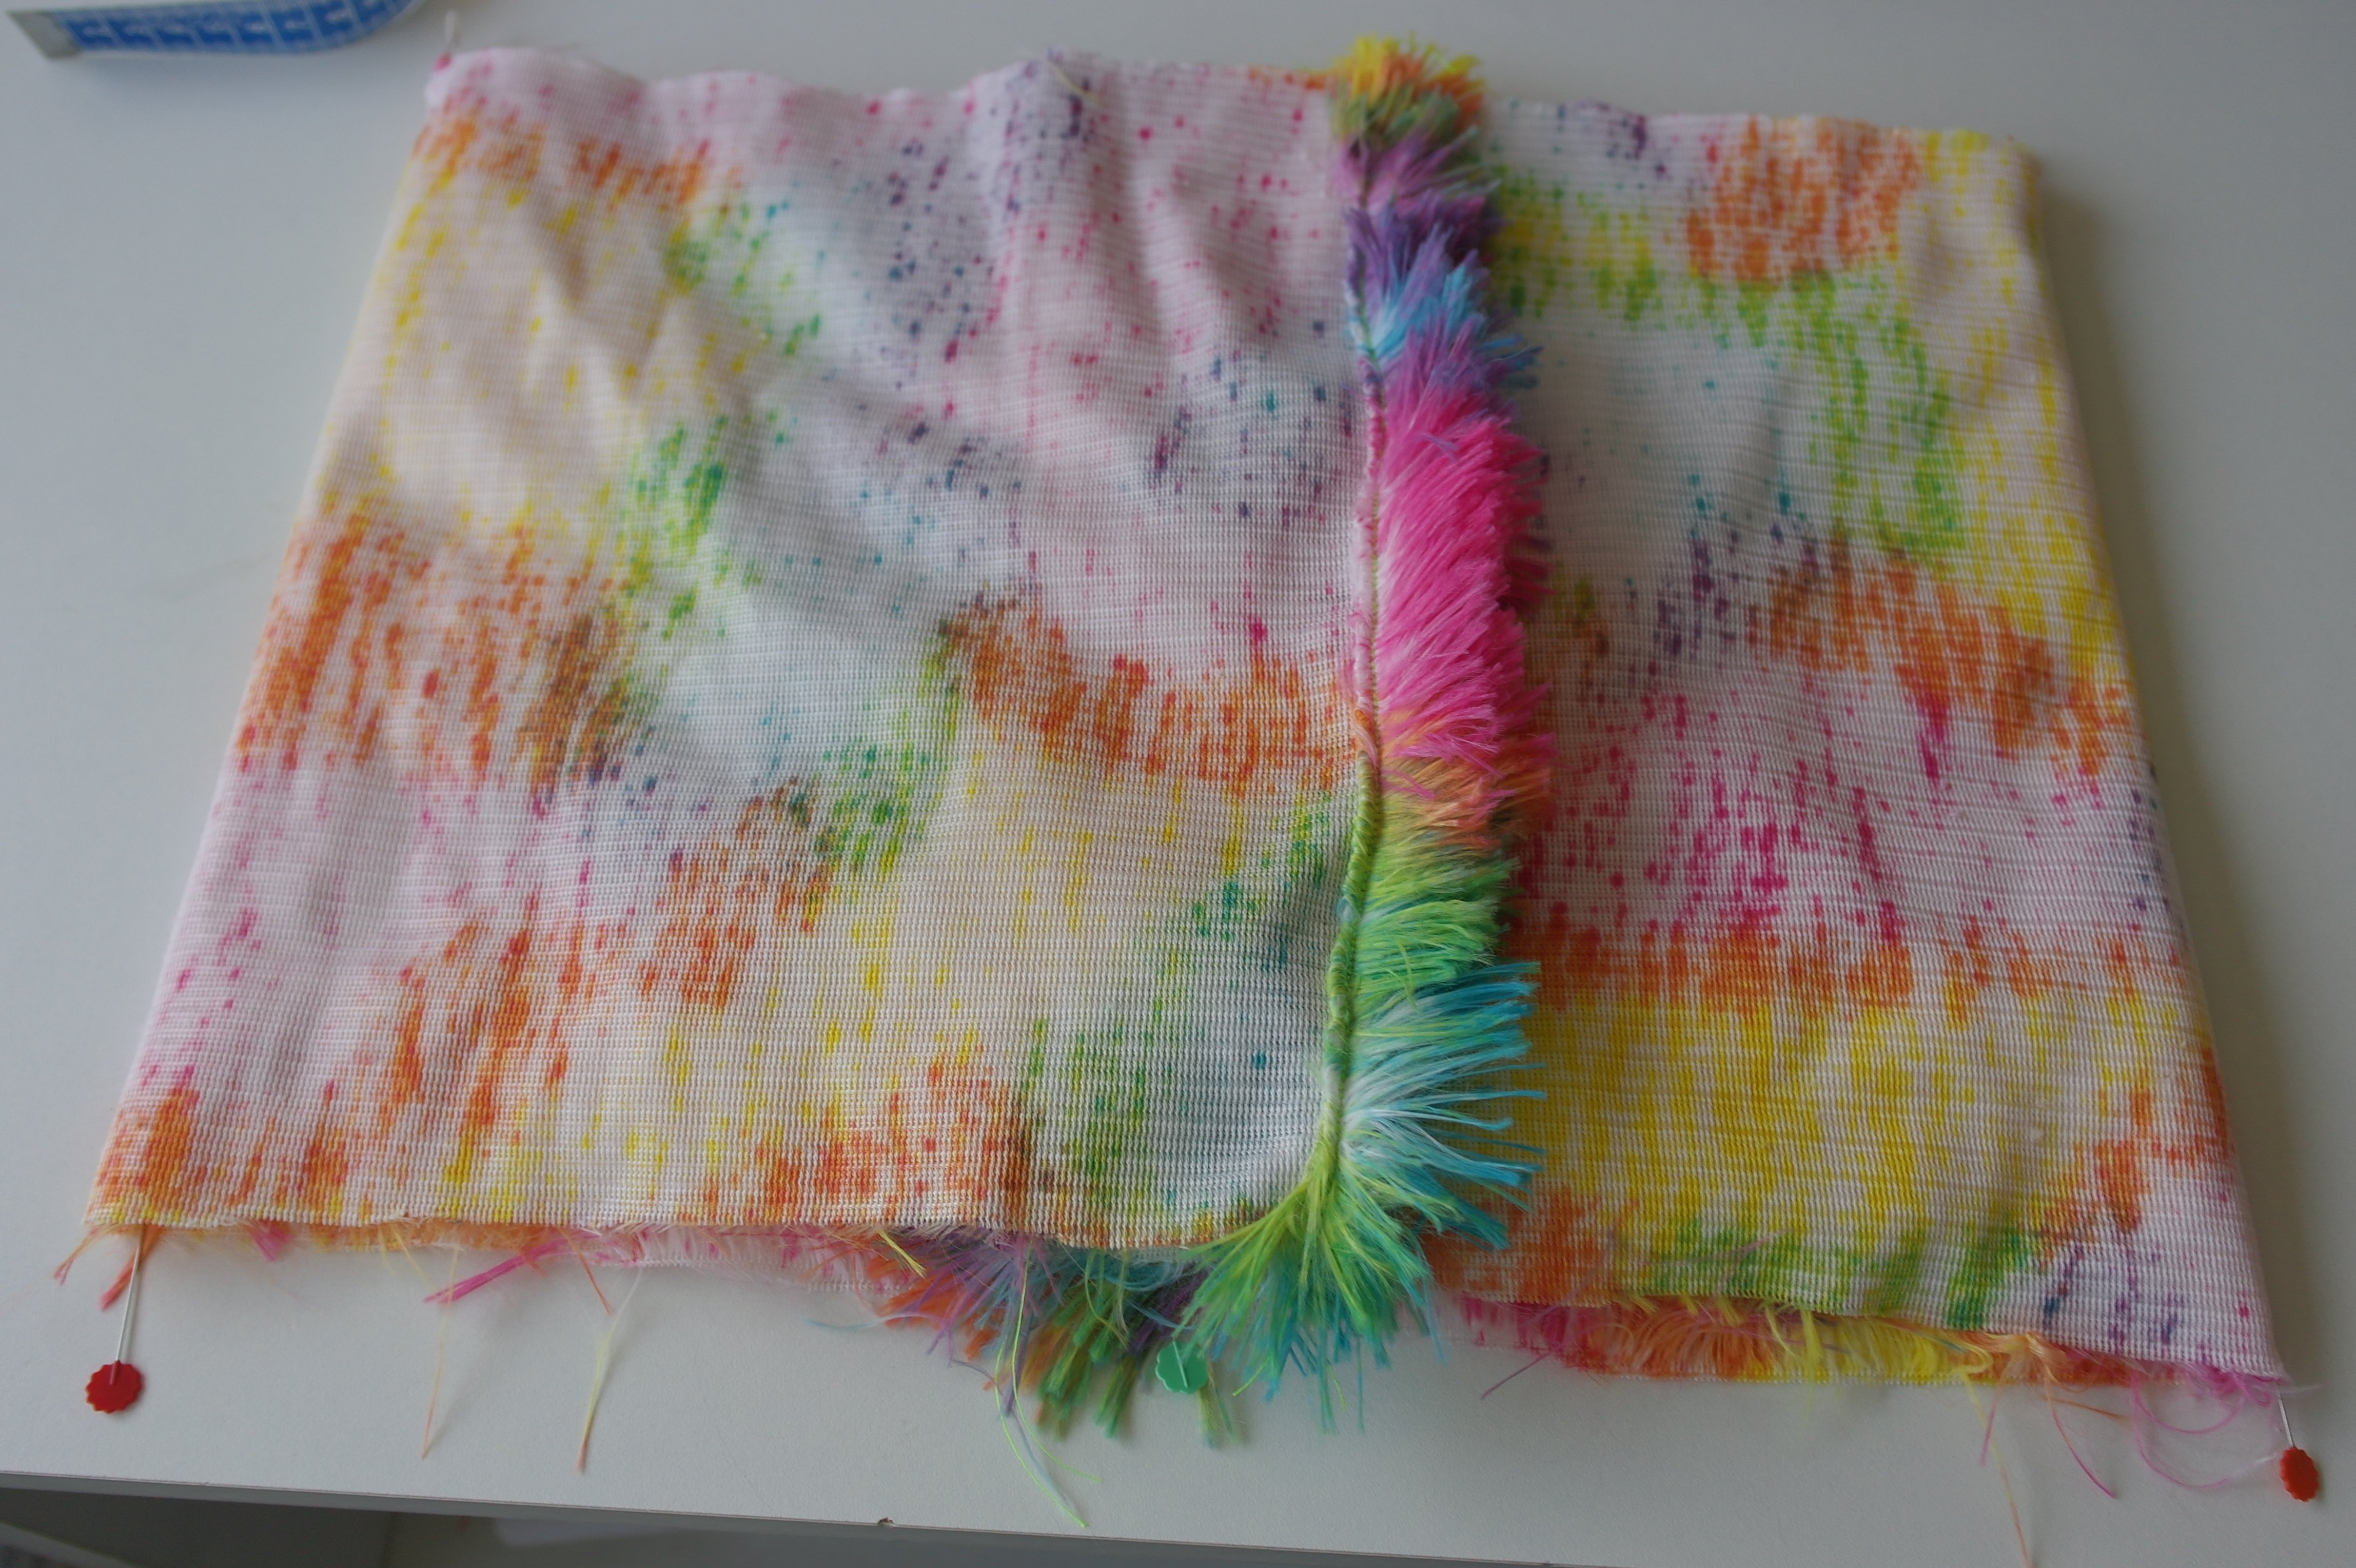
Folding the Plush inside out and pinning it for sewing (pushing the fuzz to the inside, as much as possible)

This is the overlap on the back: the easiest way to make an opening in a pillow case. No zippers or buttons necessary.
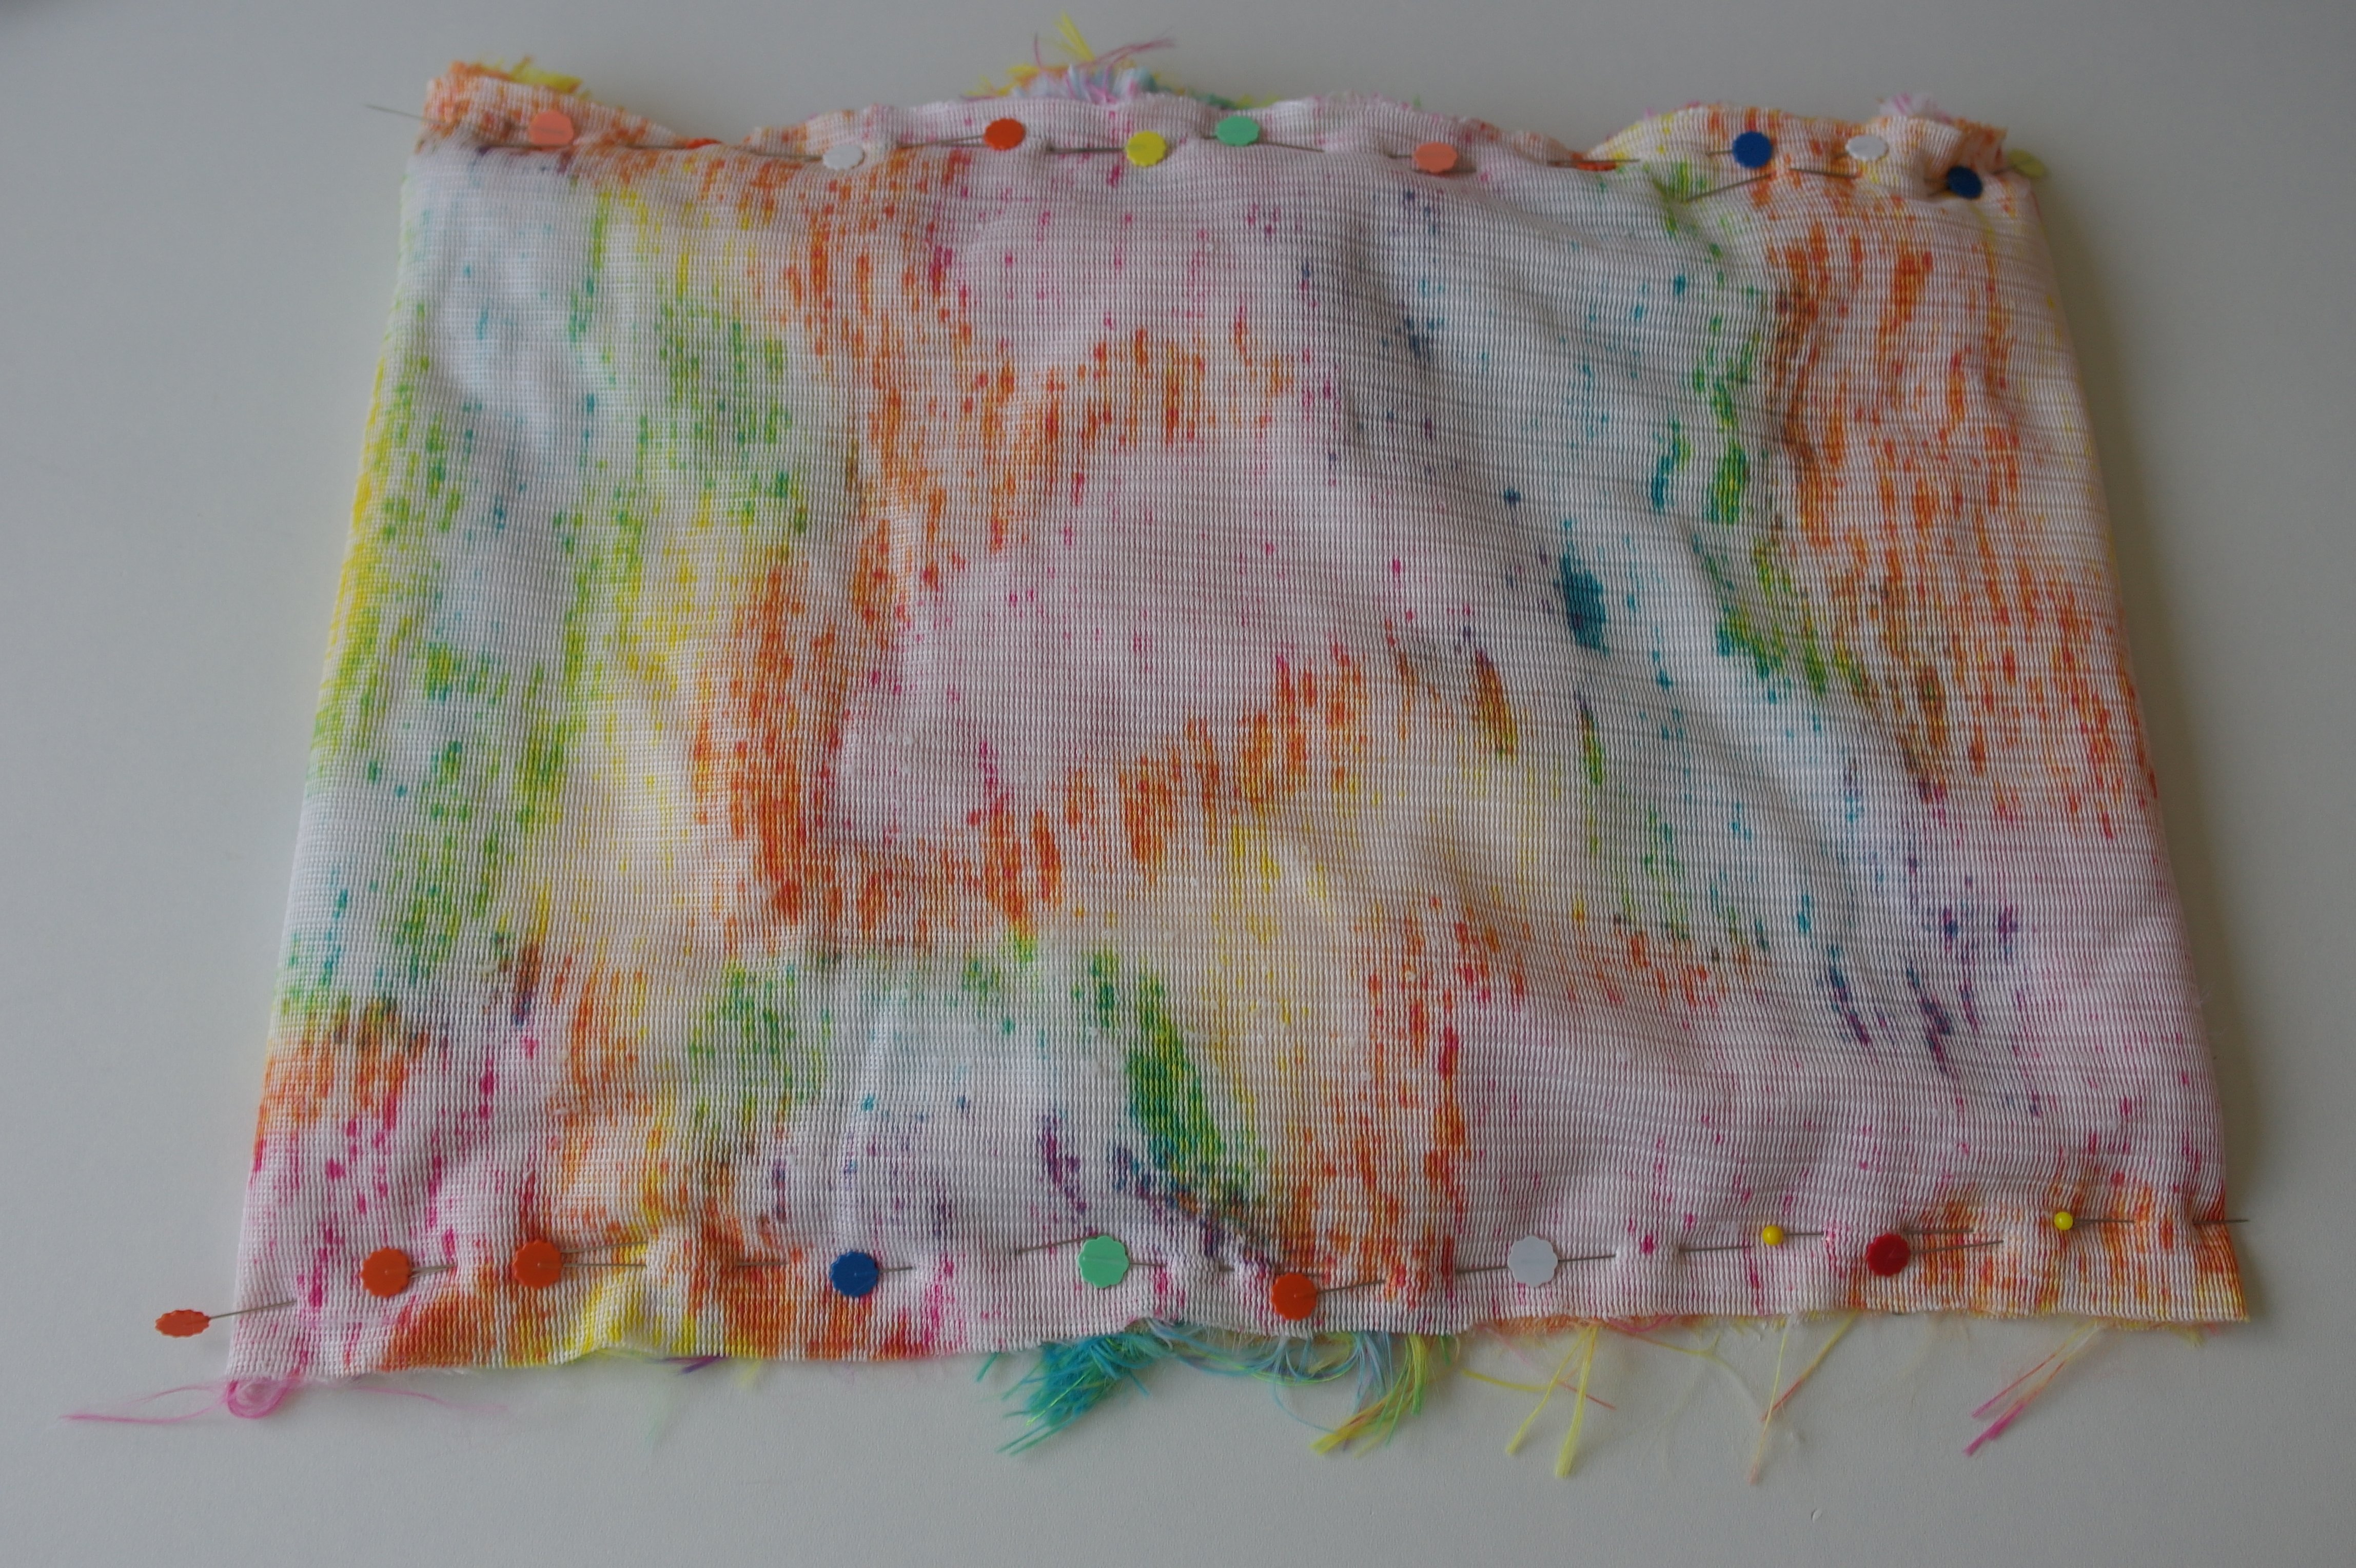
Pinning in two directions, always with the point towards the presser foot.

Sewing with a straight stitch on my B770QE = aprox. 1 cm from the sides. Now to my serger to lock the seams: this pillow case needs to be washed from time to time, and there is nothing worse then a washing machine full of fuzz….
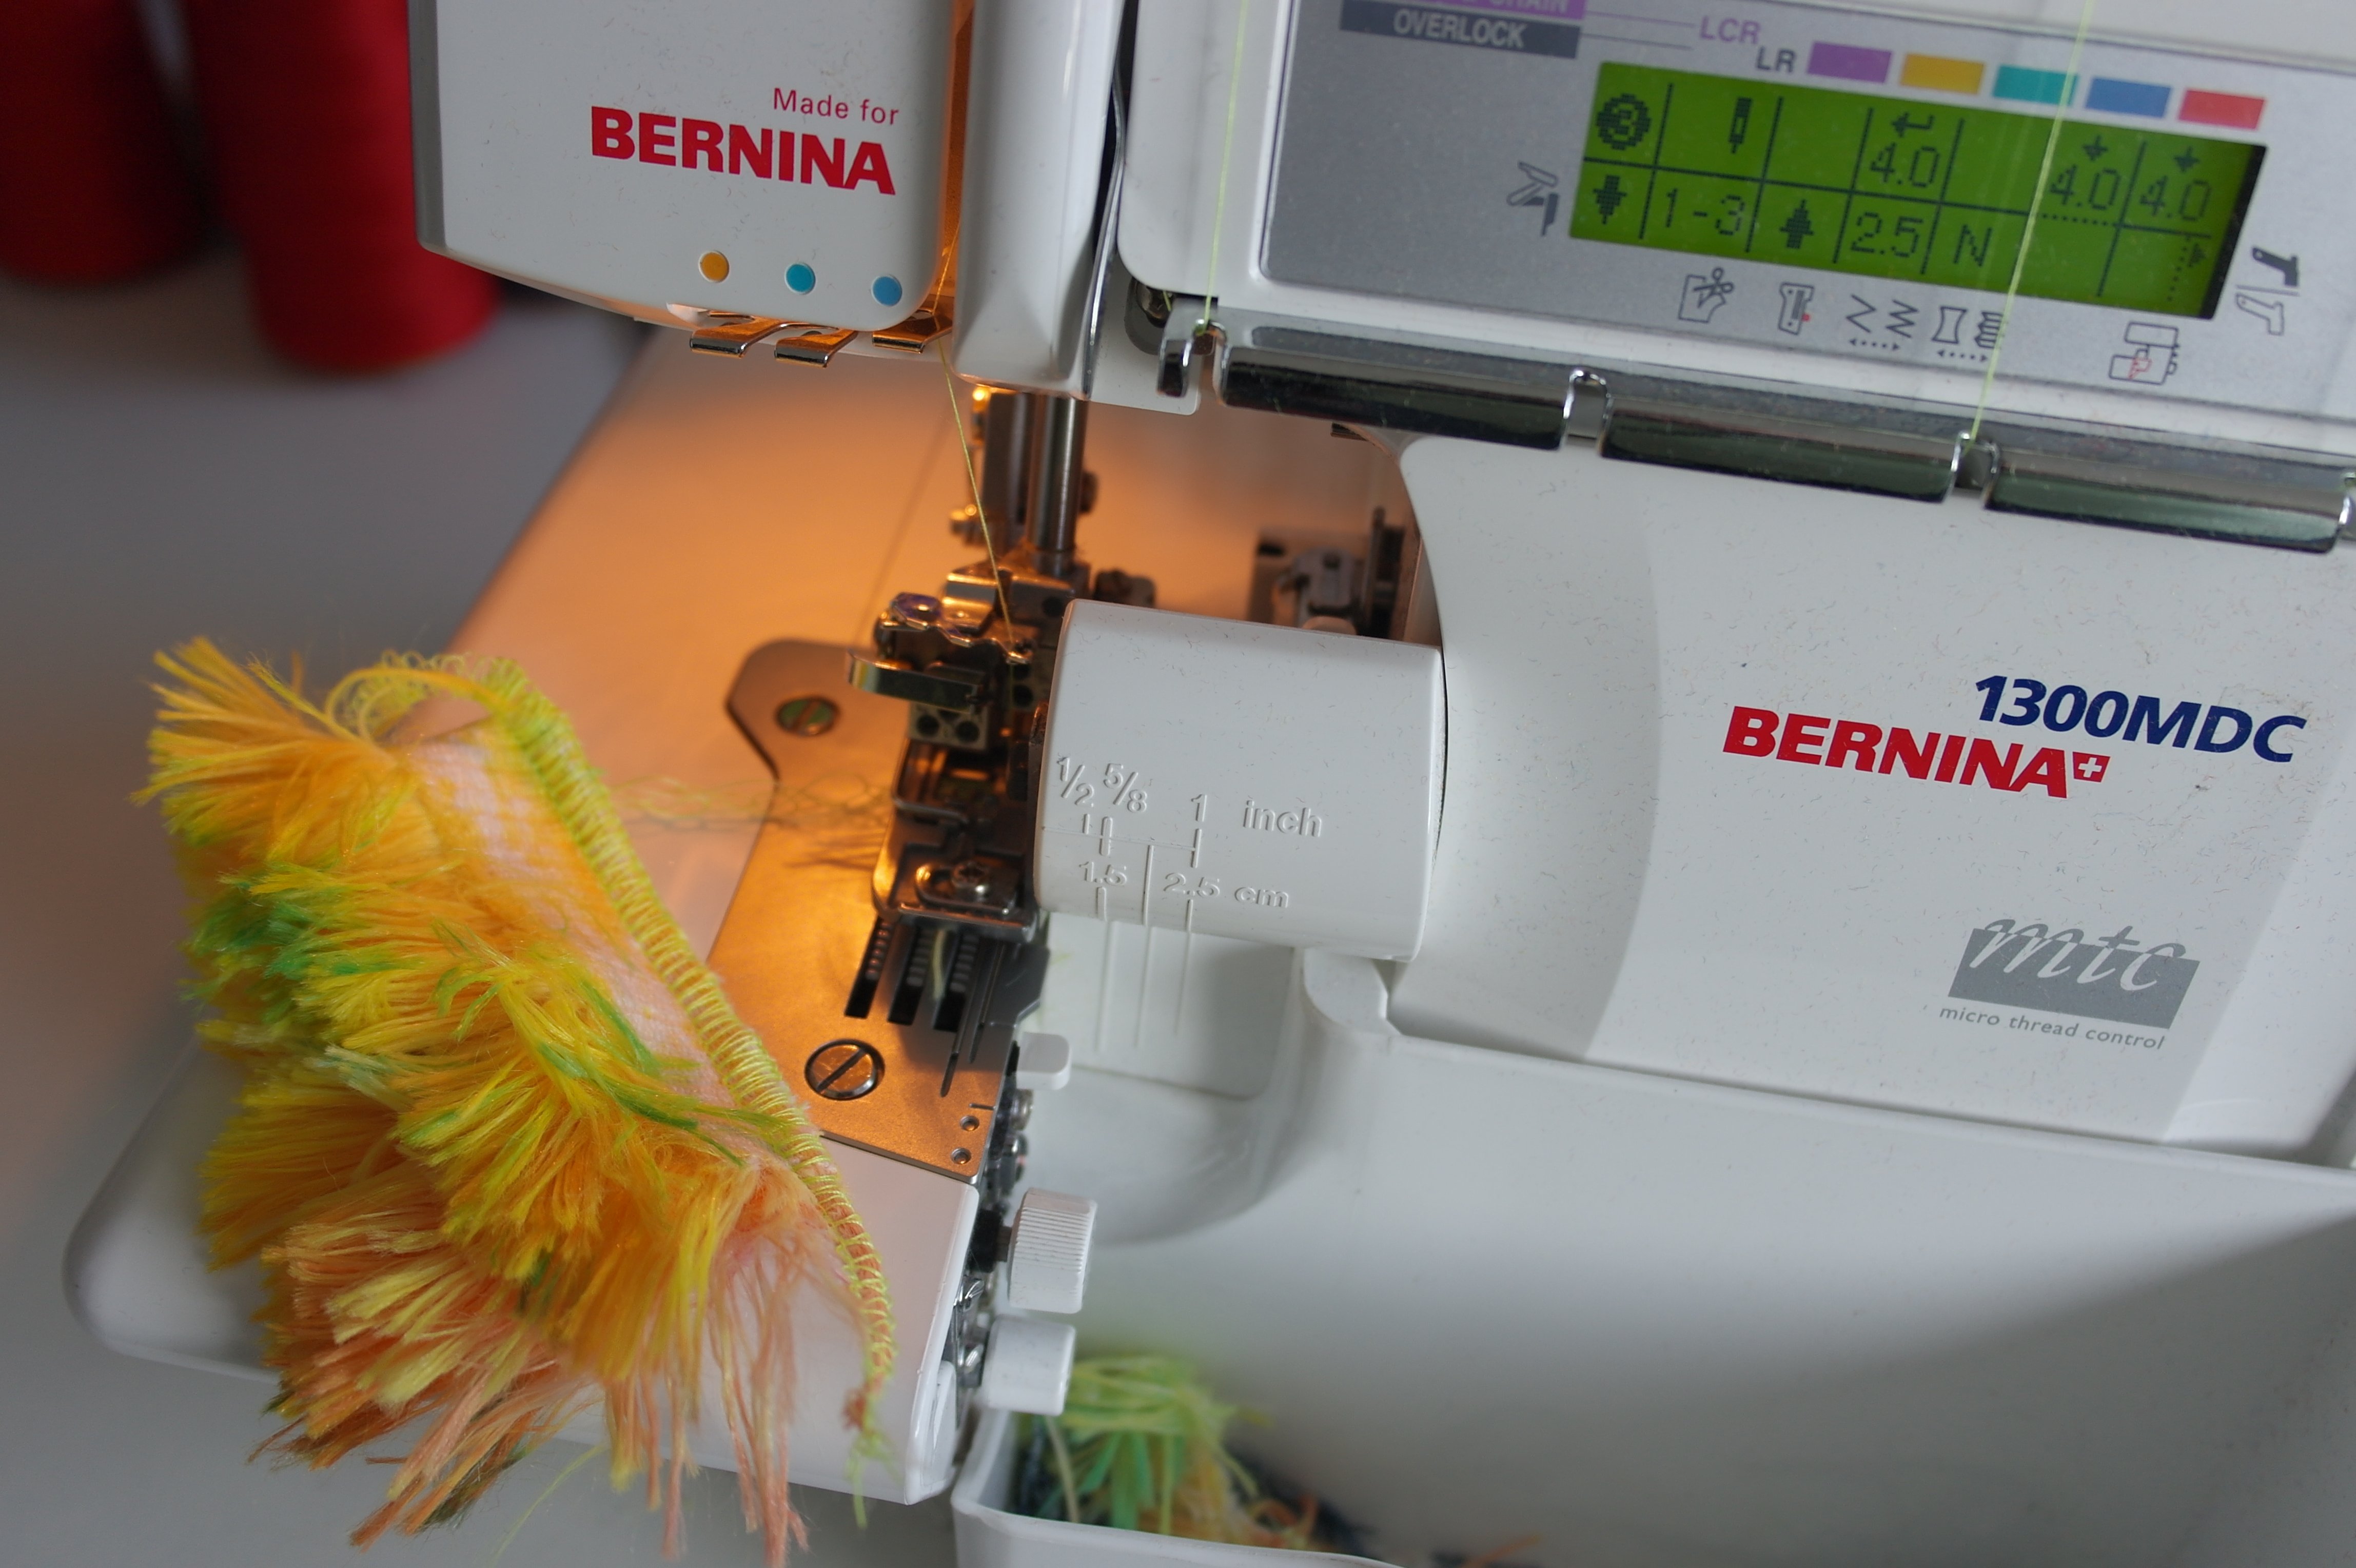
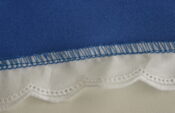
Here is where my BERNINA 1300MDC comes in: maken a sample to see if it works. And it did its job just fine: even with three layers, this is no problem for this machine.
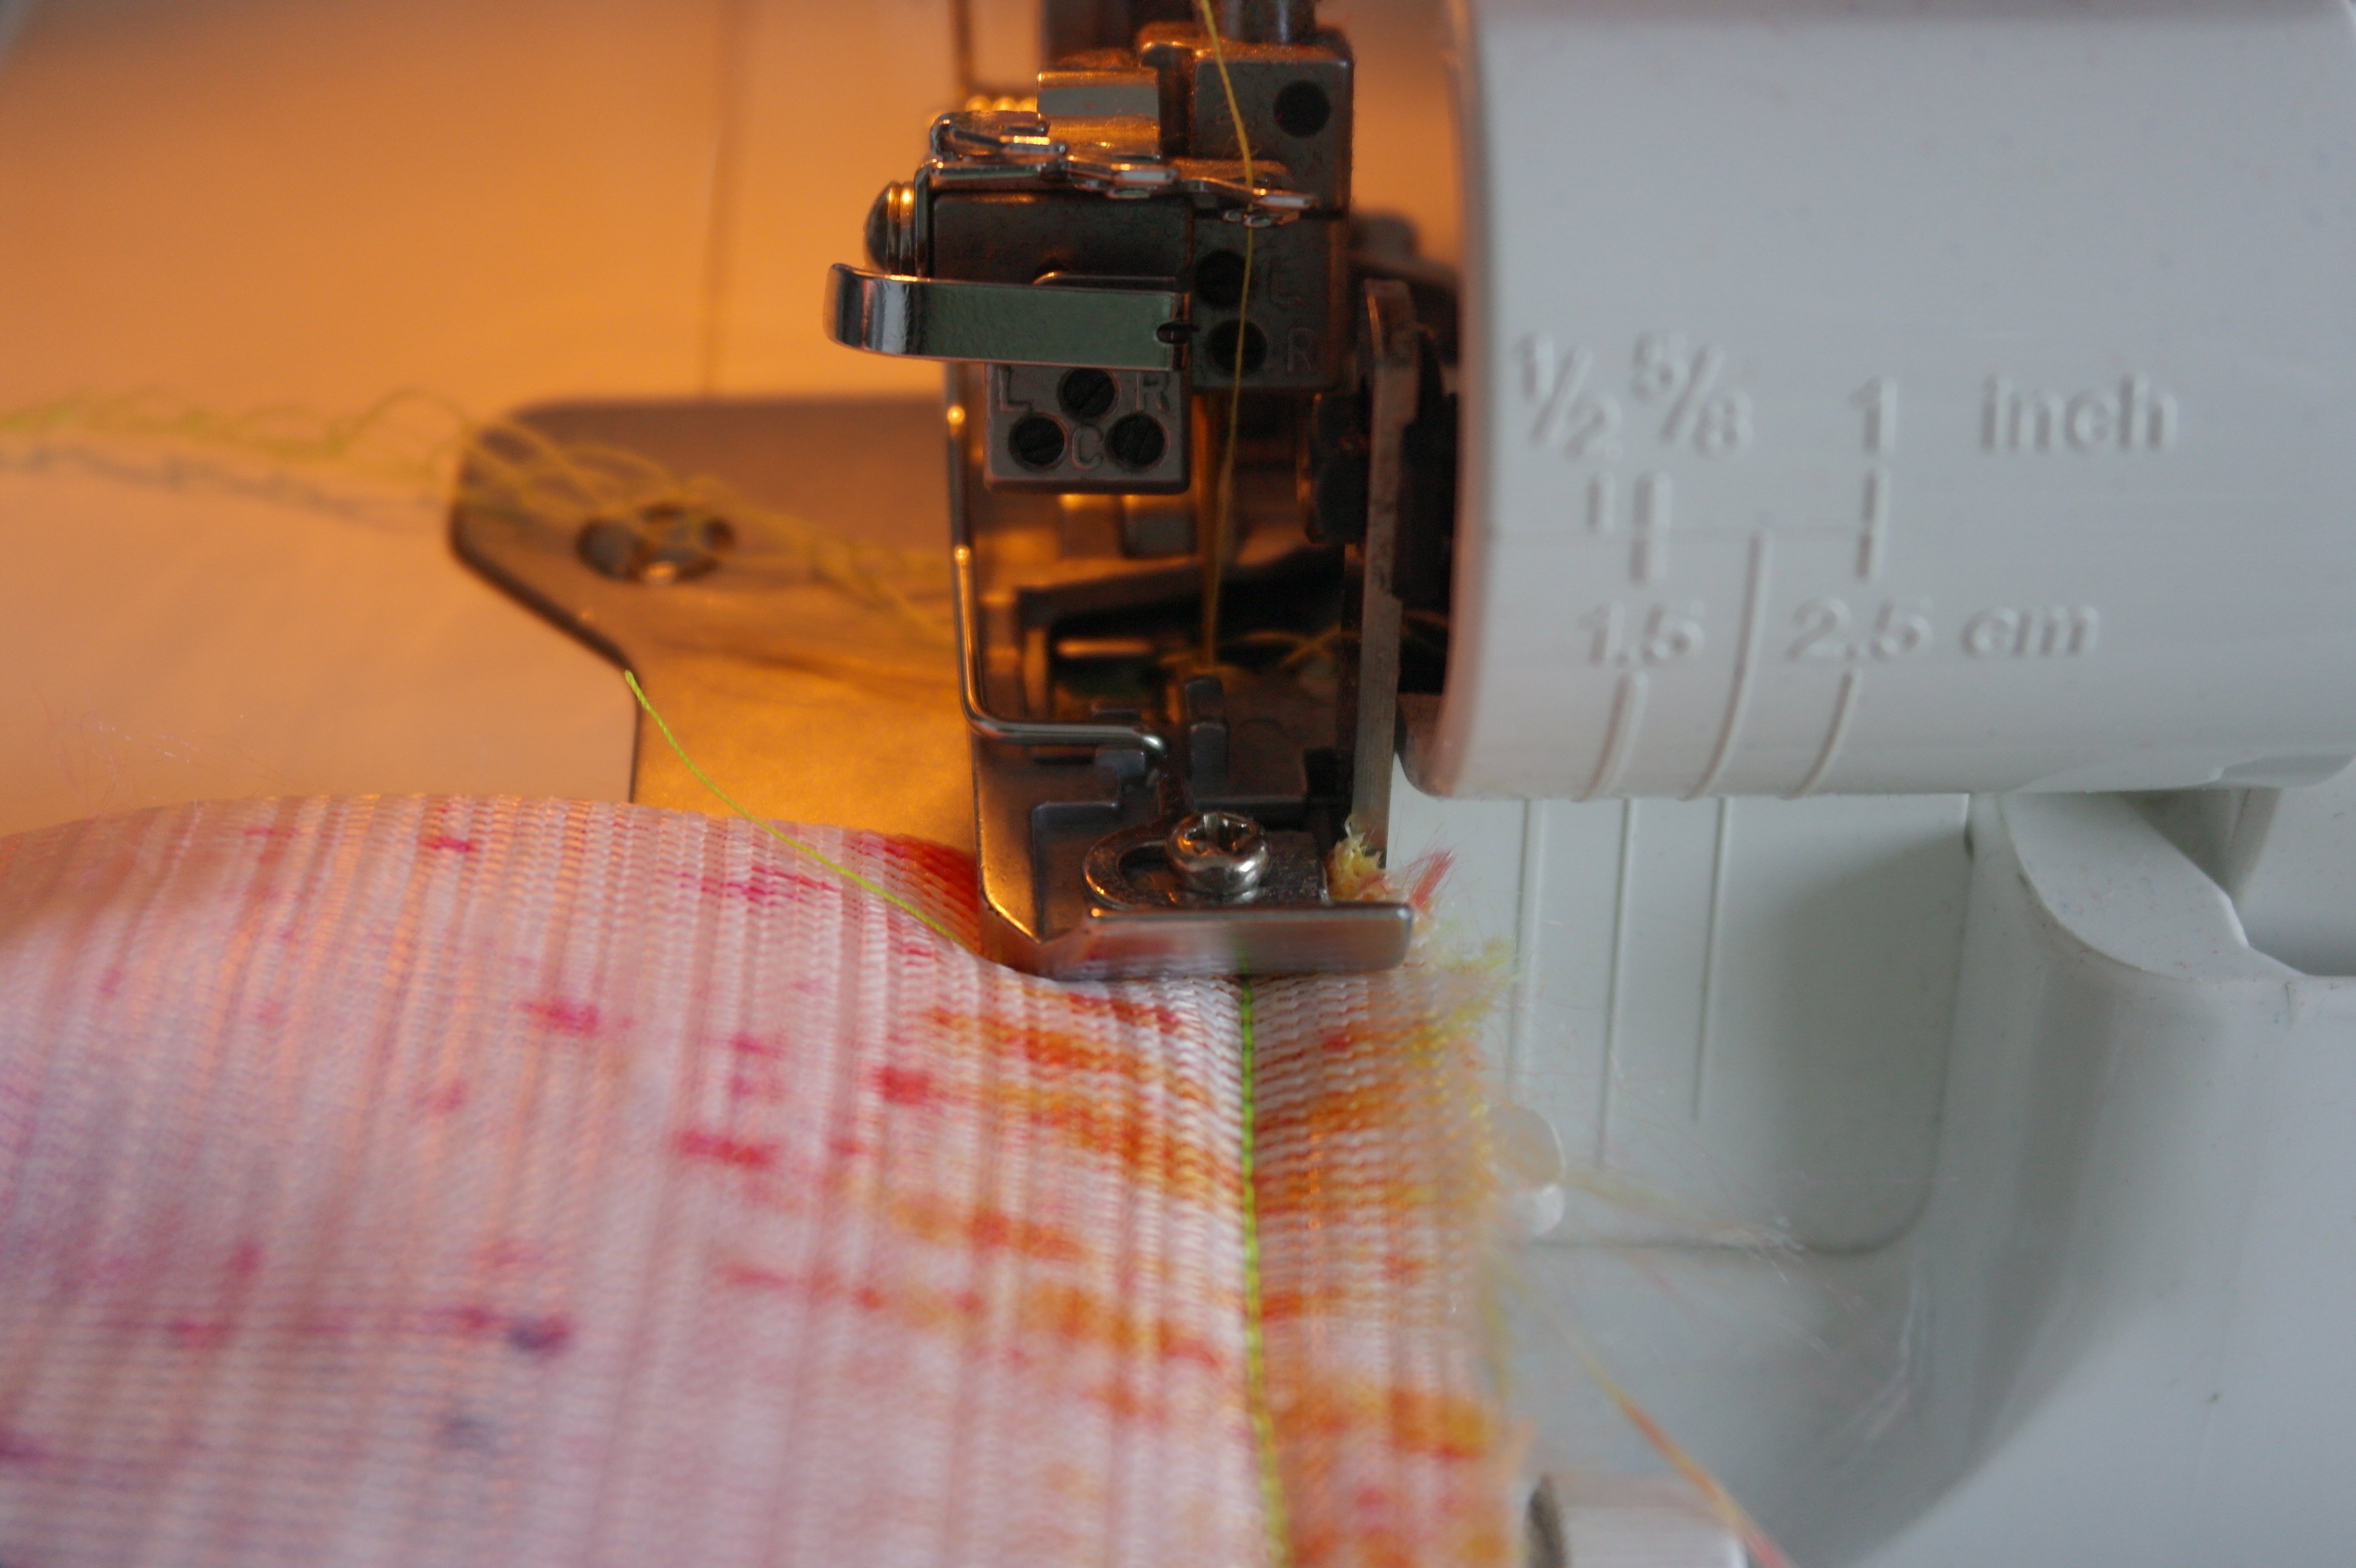
All is cut along the edges: the knife is really sharp. I have used the line of stitches as a guideline, placing the needle above these stitches so the right side is cut properly. The reason I’ve stitched the layers first by B770QE is, that this prevents the fabrics from shifting while serging. Also the first line of stitches makes the seams much stronger.
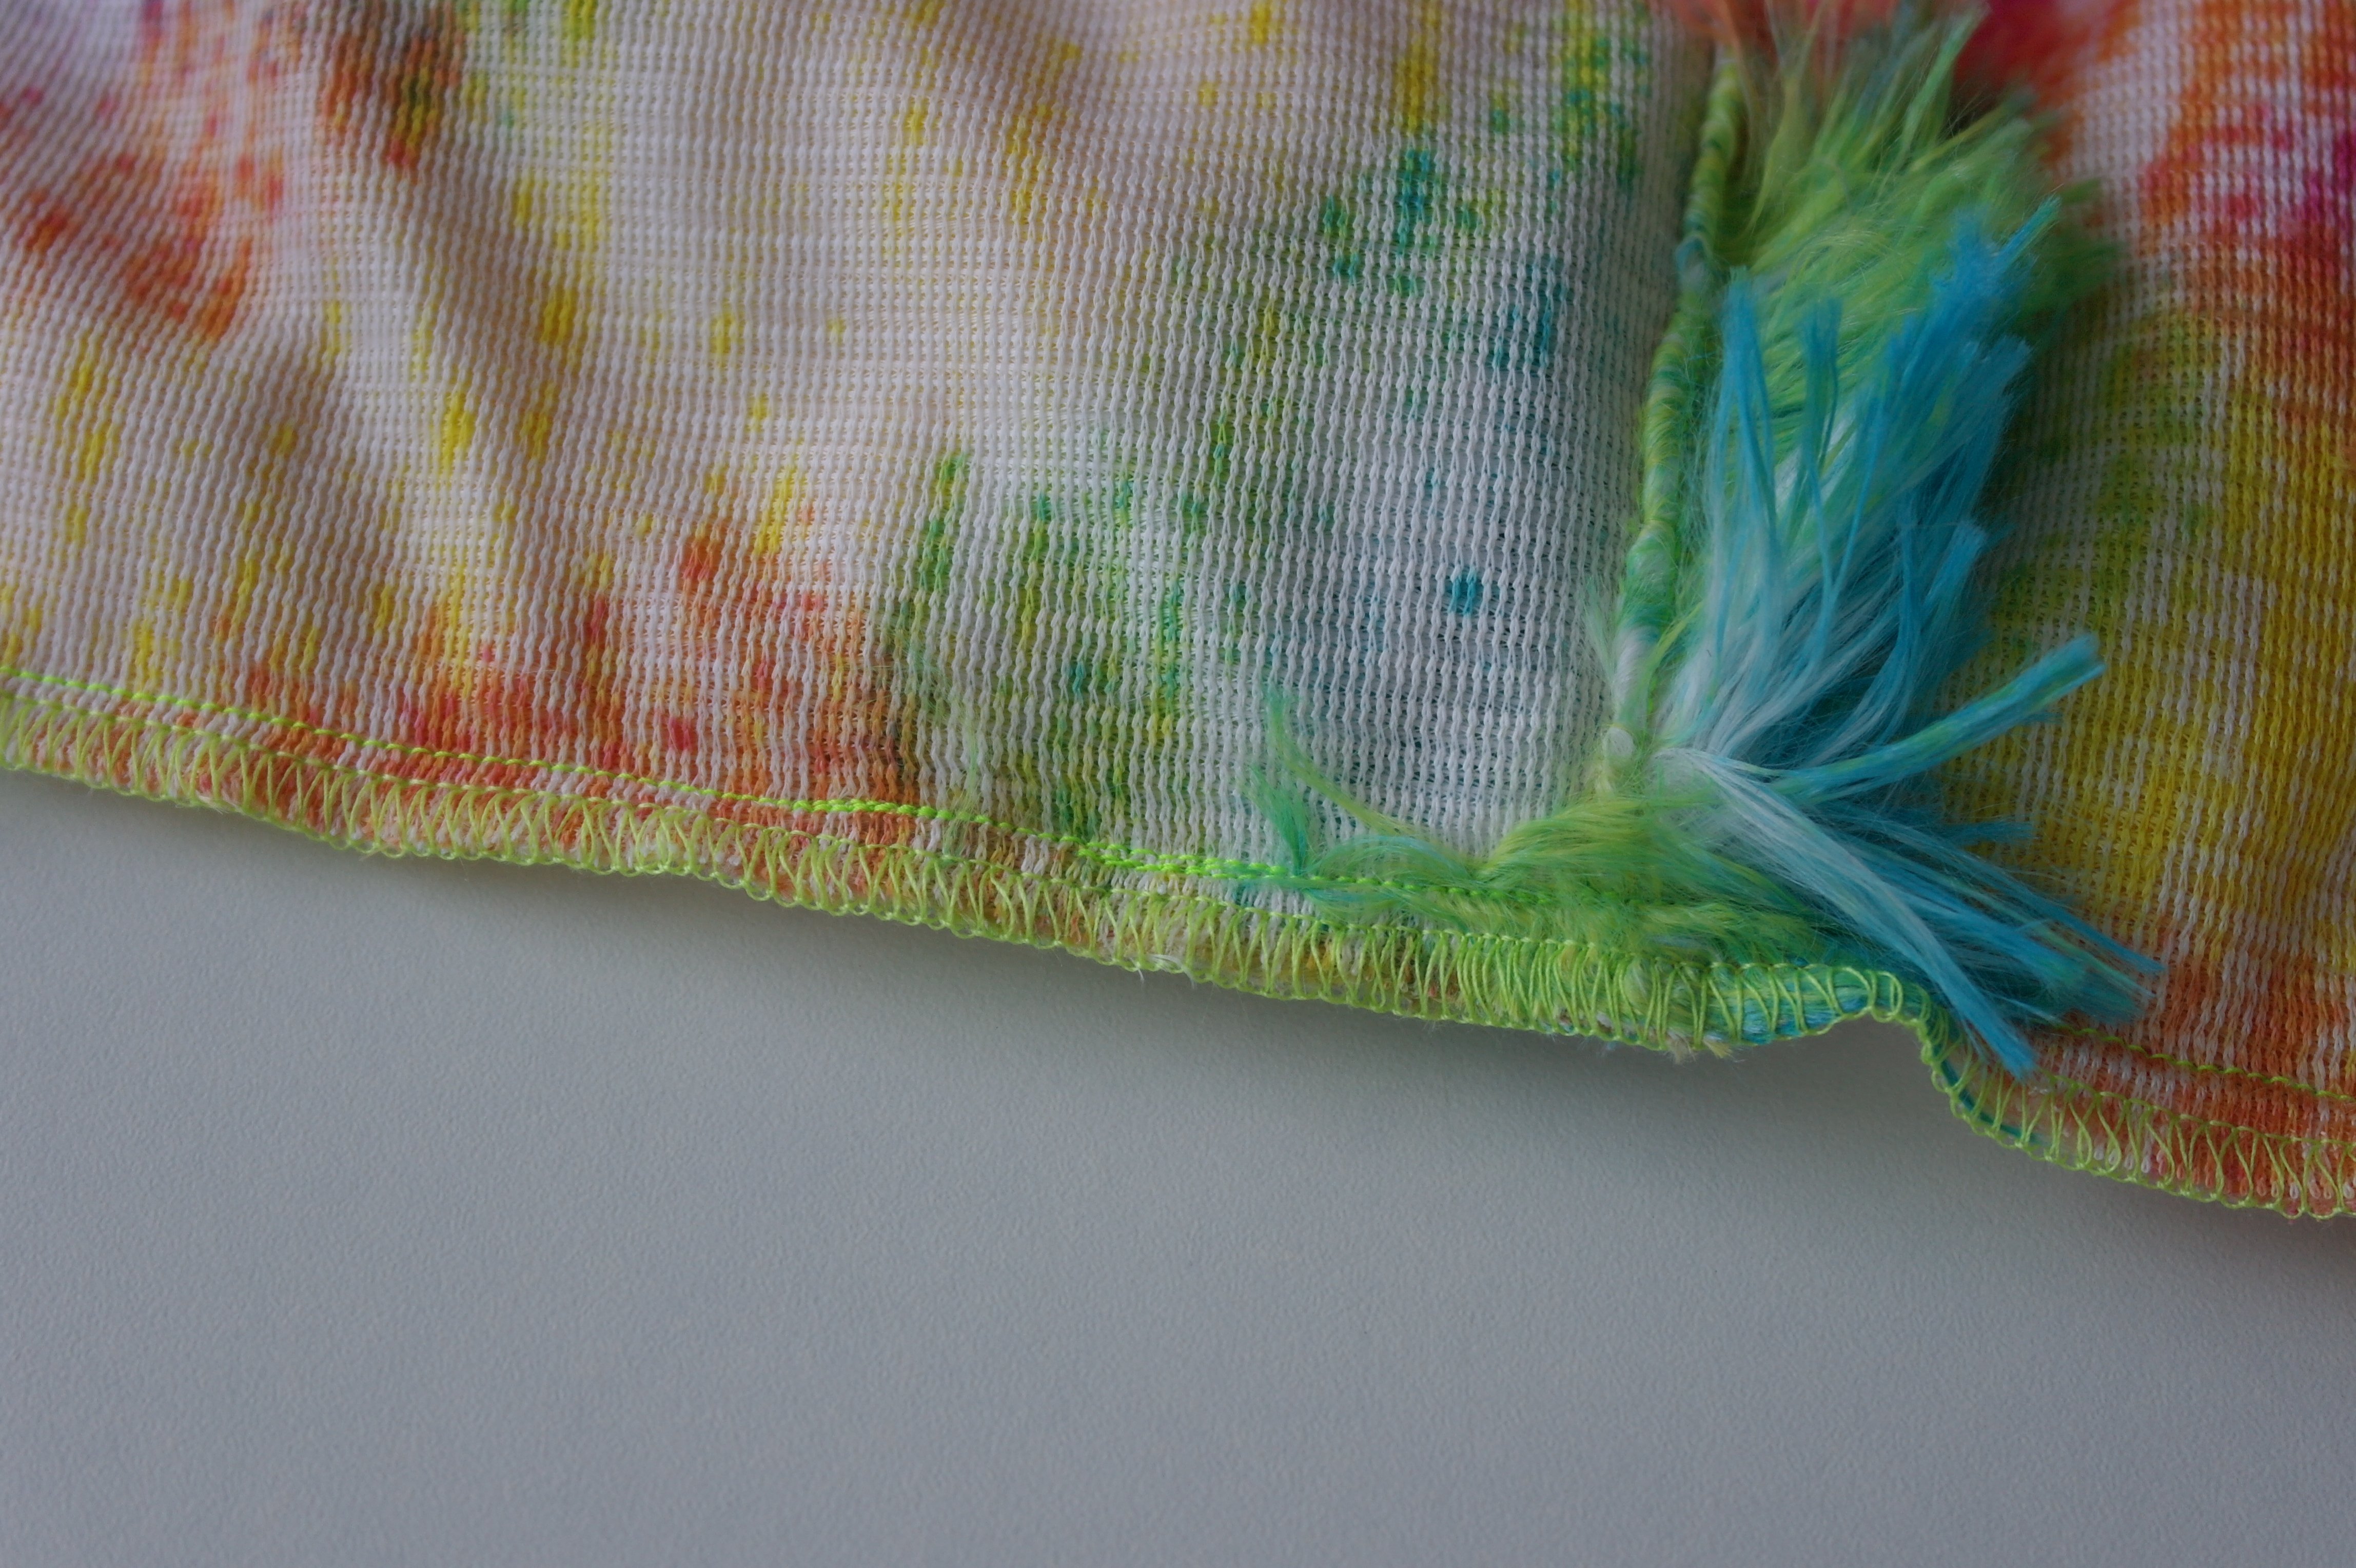
There it is: neatly finished. I can turn the pillow case and place the inner pillow inside. Another work done, thanks to my two BERNINA machines!
Happy stitching from my (now) fuzz-free studio,
Sylvia Kaptein
Sylvia’s Art Quilts Studio

0 Responses