 BERNINA Corporate Blog -
Hello everyone I am back again. I hope after the 5 tips for better sewing you are ready for my latest adventure. I made a Deer and Doe Datura Blouse.
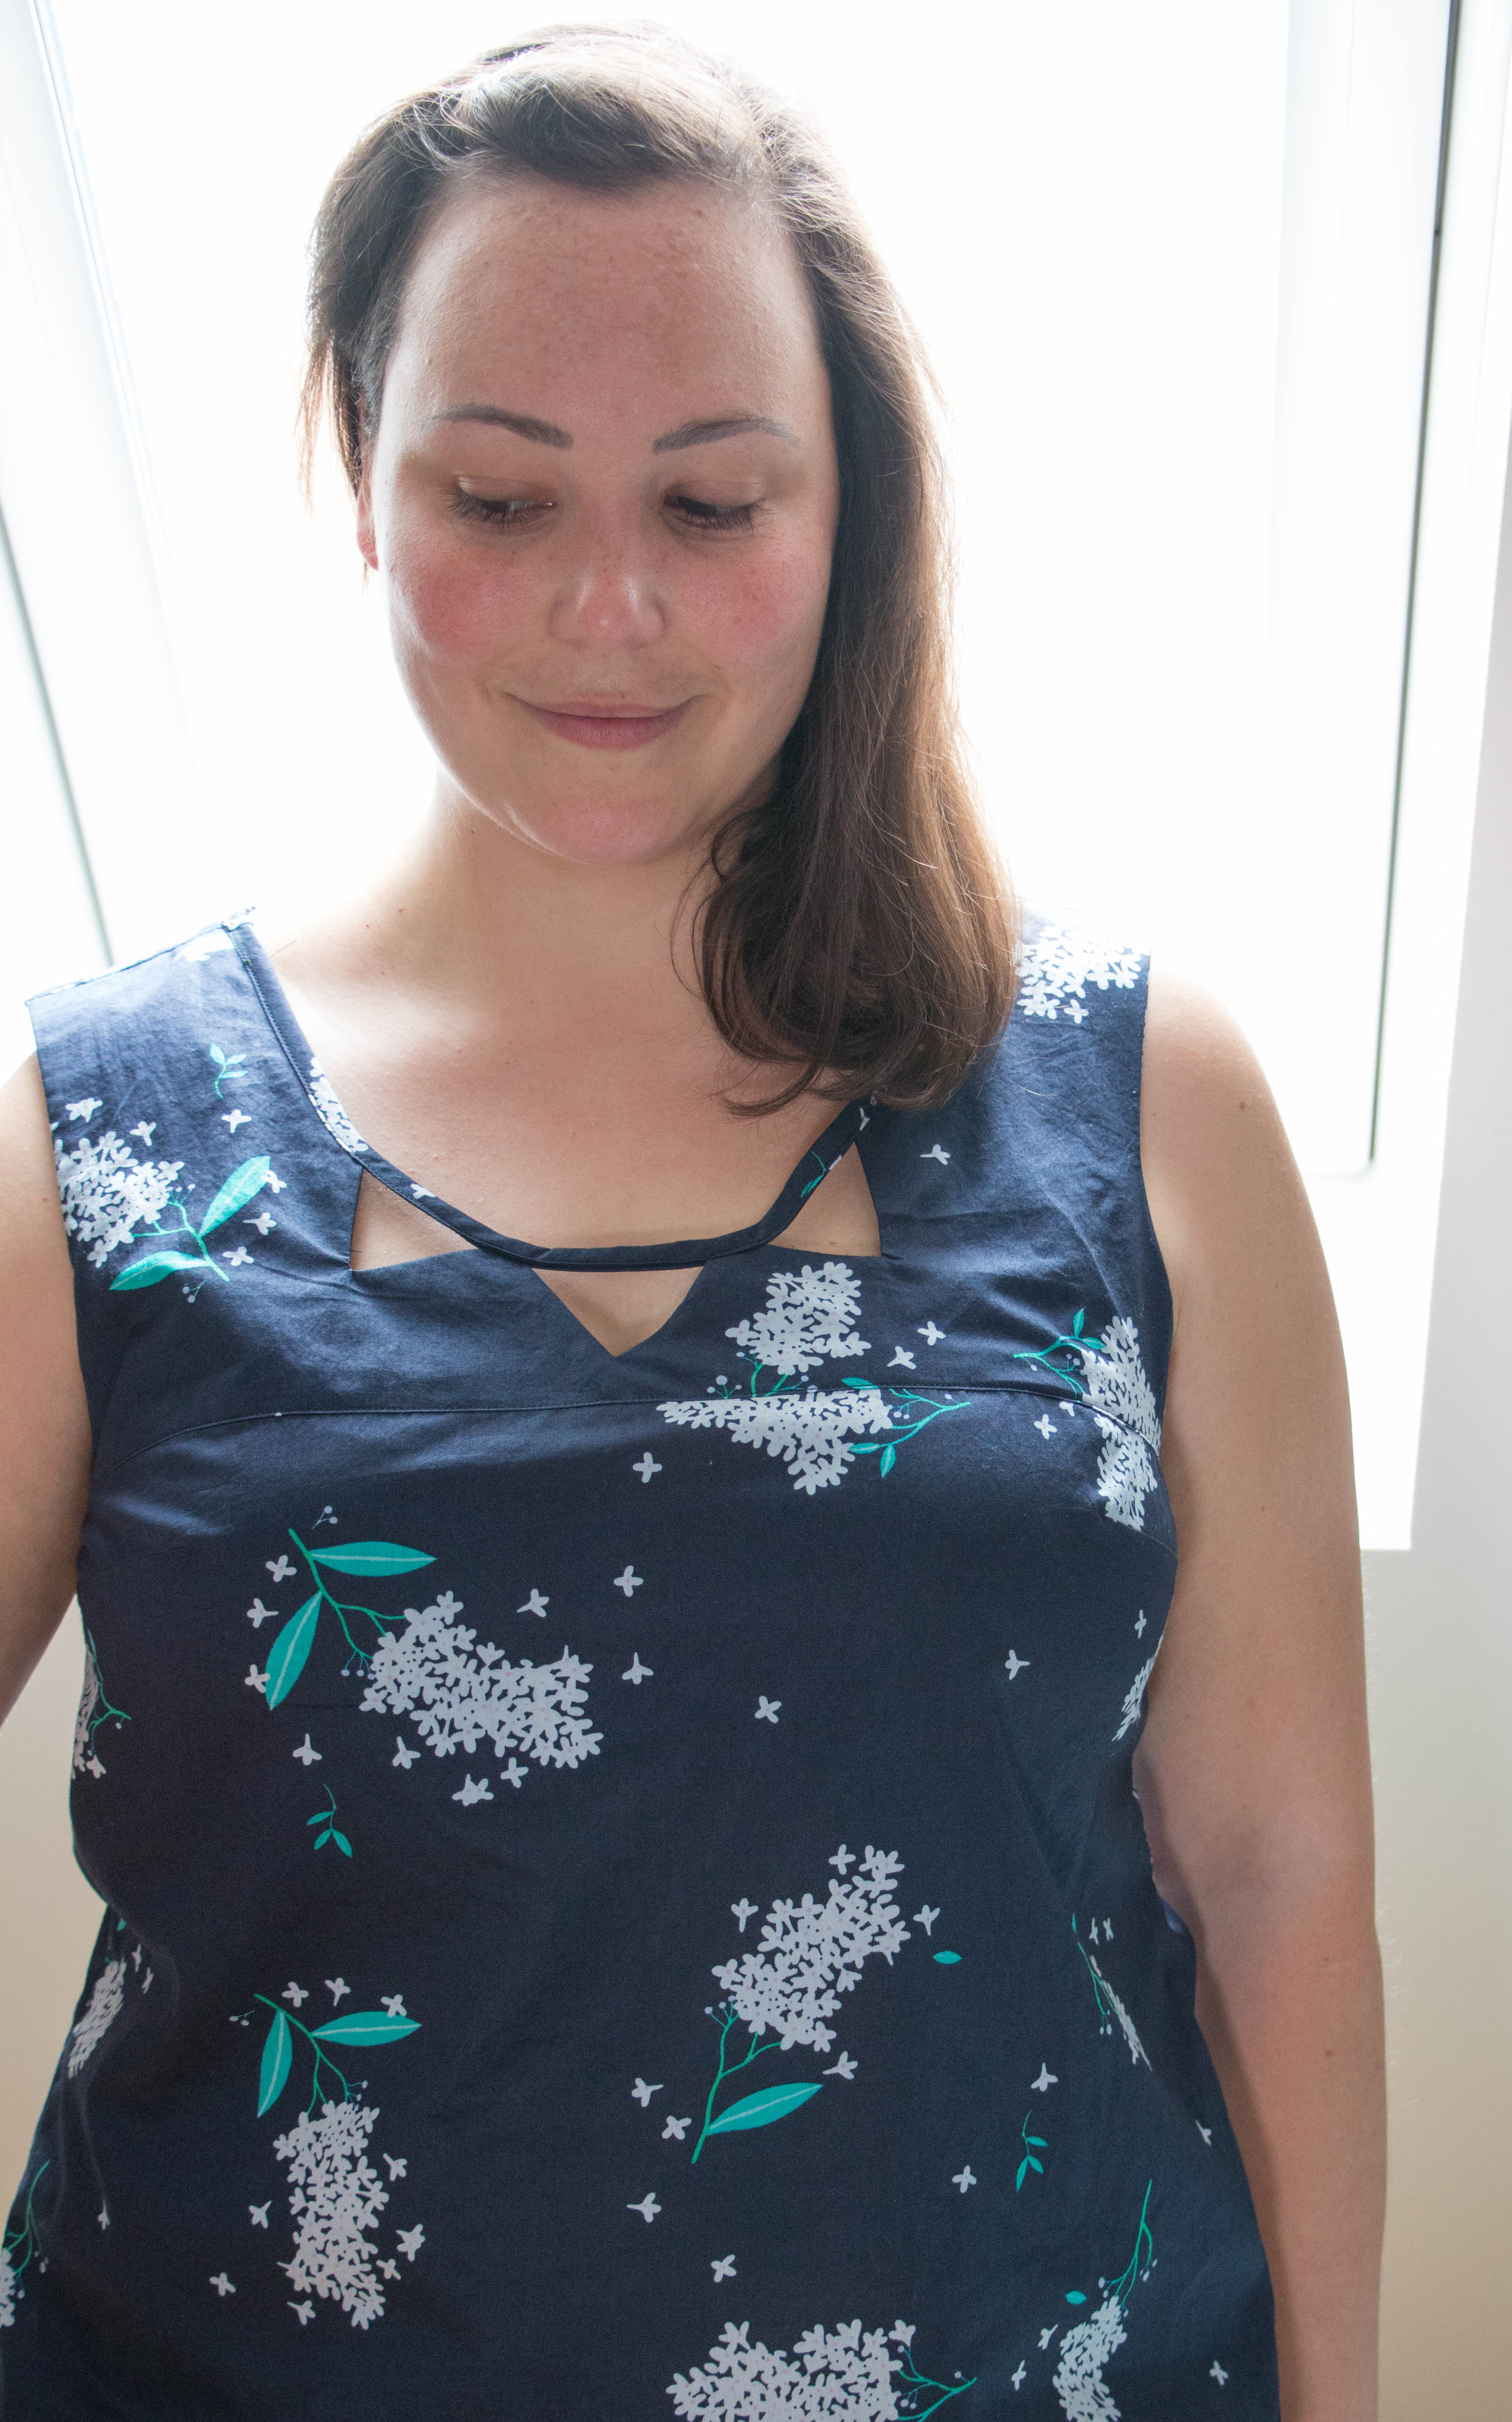
The Datura is a simple woven top with either triangular cutouts at the neckline, a regular neckline or a pan collar. What it lacks – and I plan on remedying that in future versions – is a sleeve option.
The fabric I chose is the Lisa Comfort Elderflower Print fabric you can find here. Back in November I was in London and had the opportunity to visit Sew Over It in Islington. There I could feel the fabric firsthand and it actually is one of the softest lightest cottons I have ever felt (and worn).
But let’s get down to business, shall we?
First, you need to make your own bias binding. Cut out some strips with your pattern piece and join them together like so:
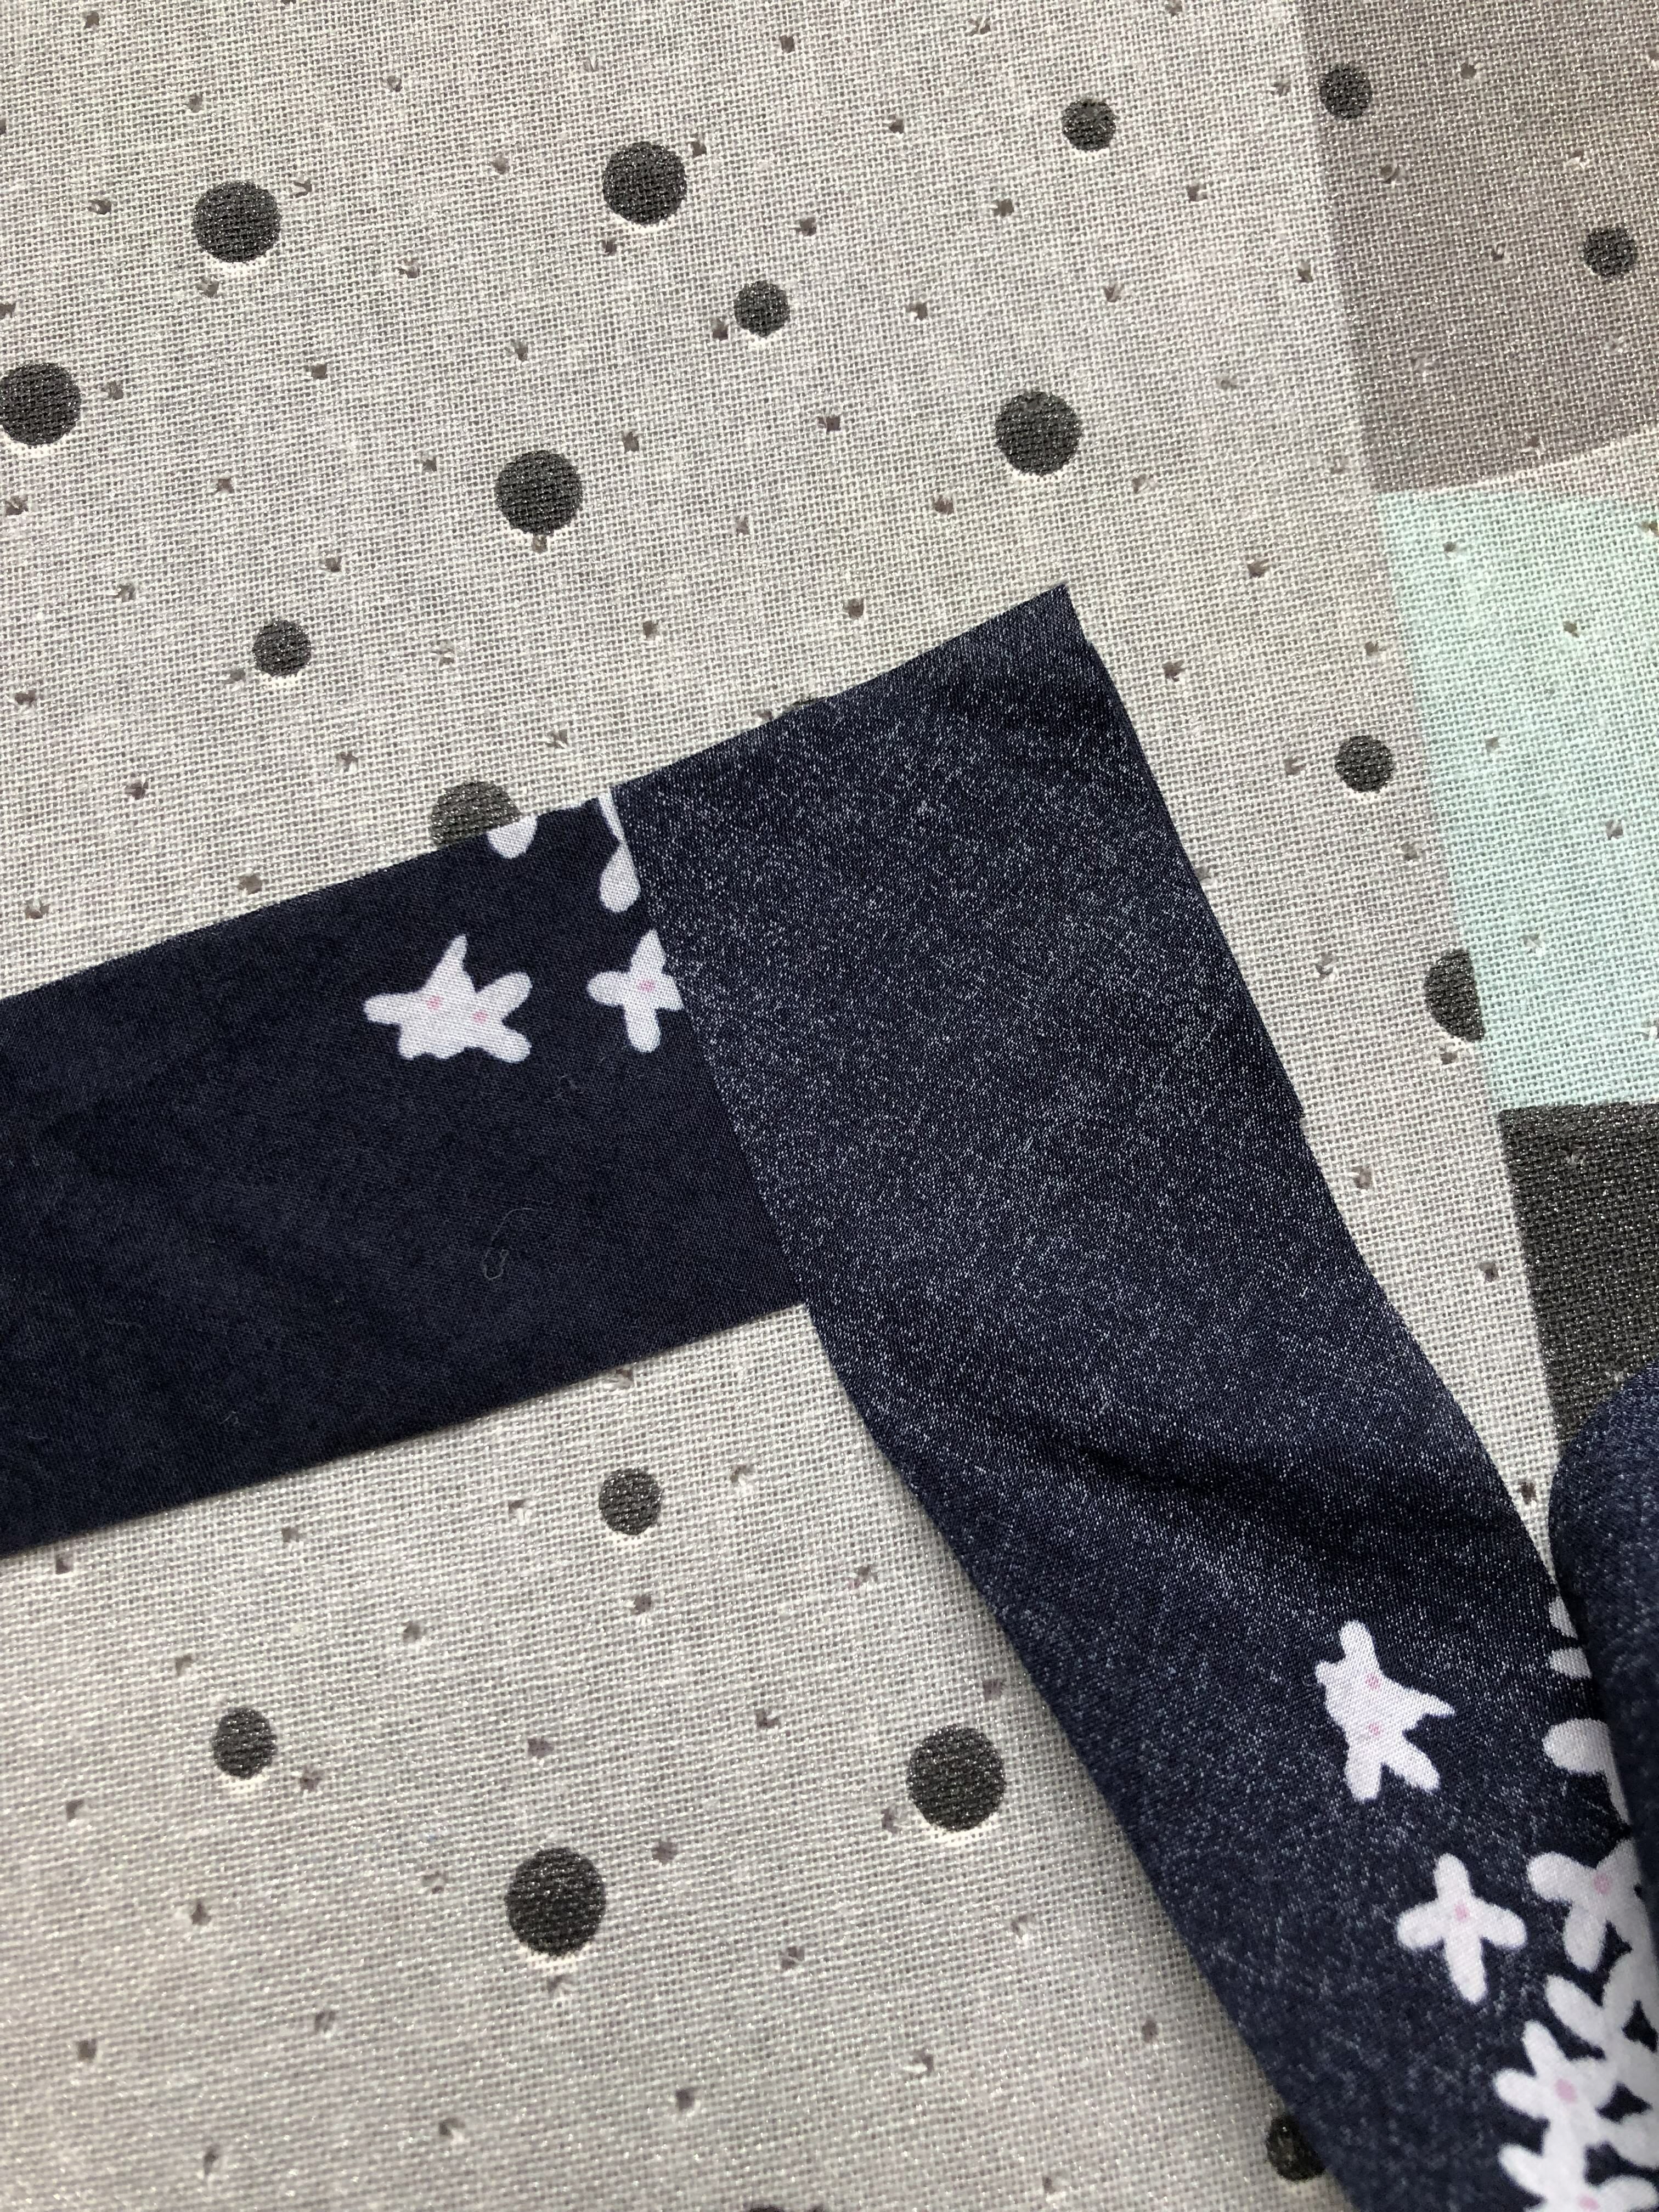
Step one put the fabric strips on top of each other (perpendicular)
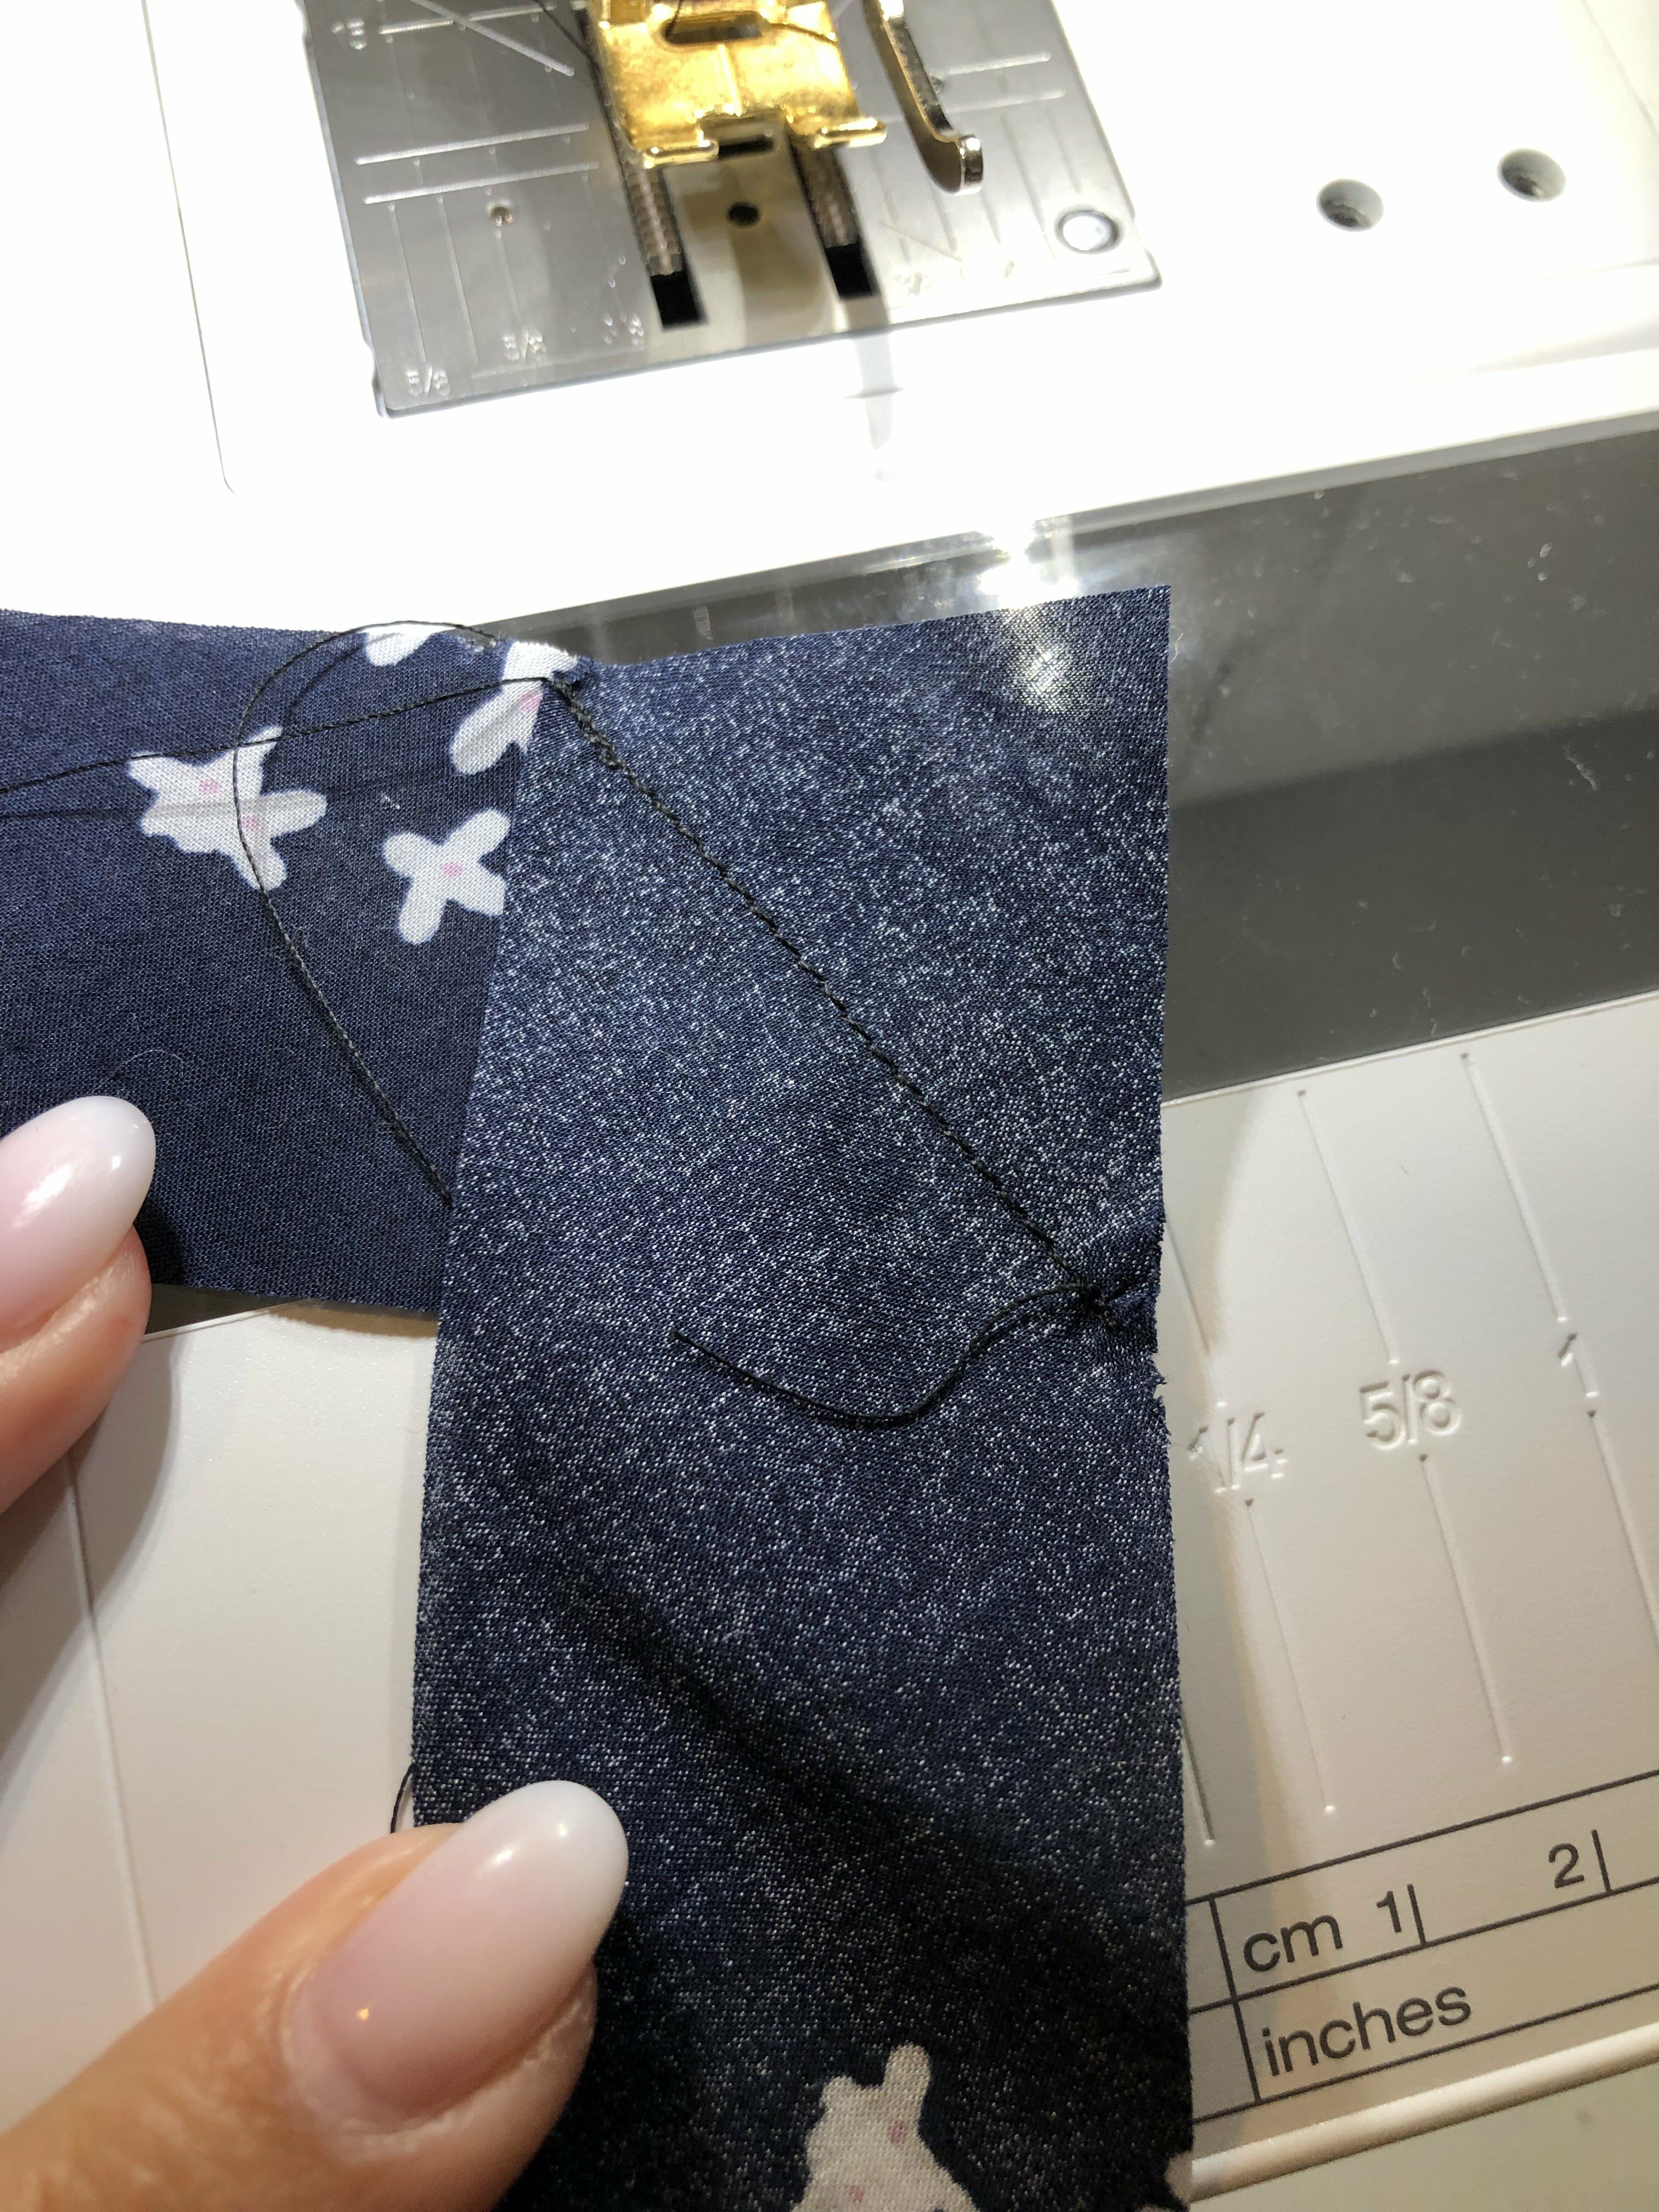
Sew diagonally over them with a stitch length of 1.2
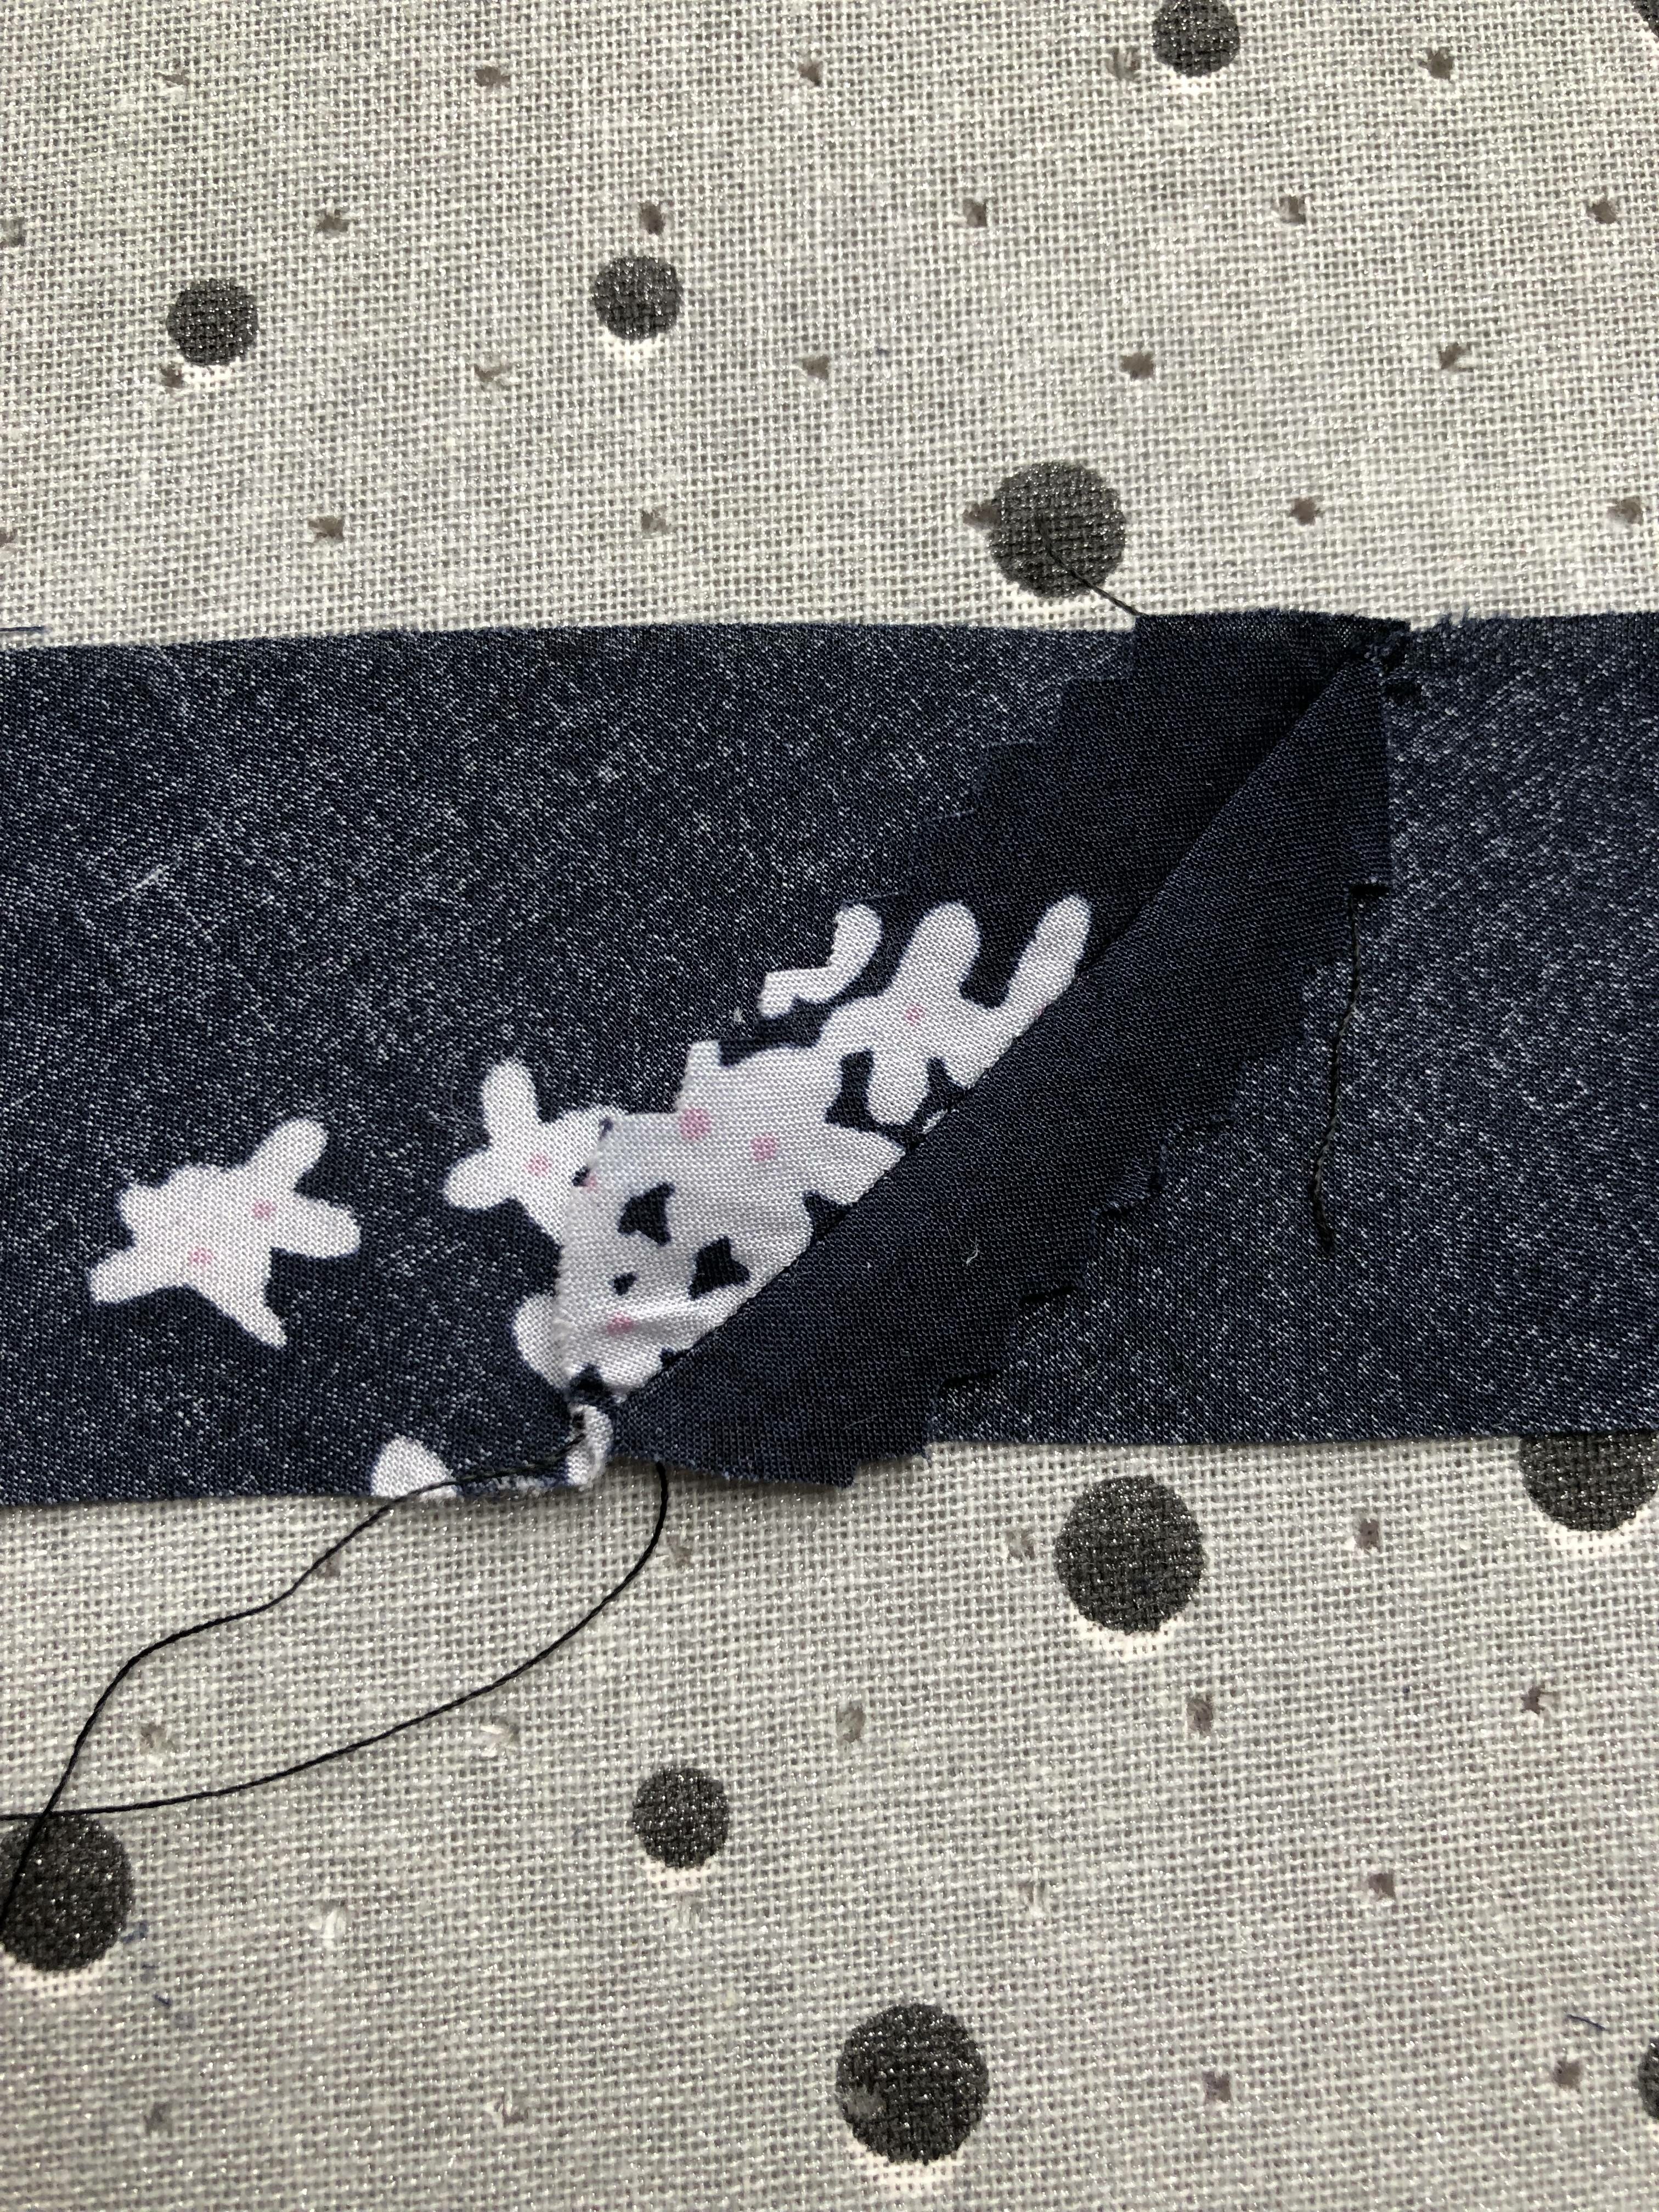
Press open and cut the excess fabric away.
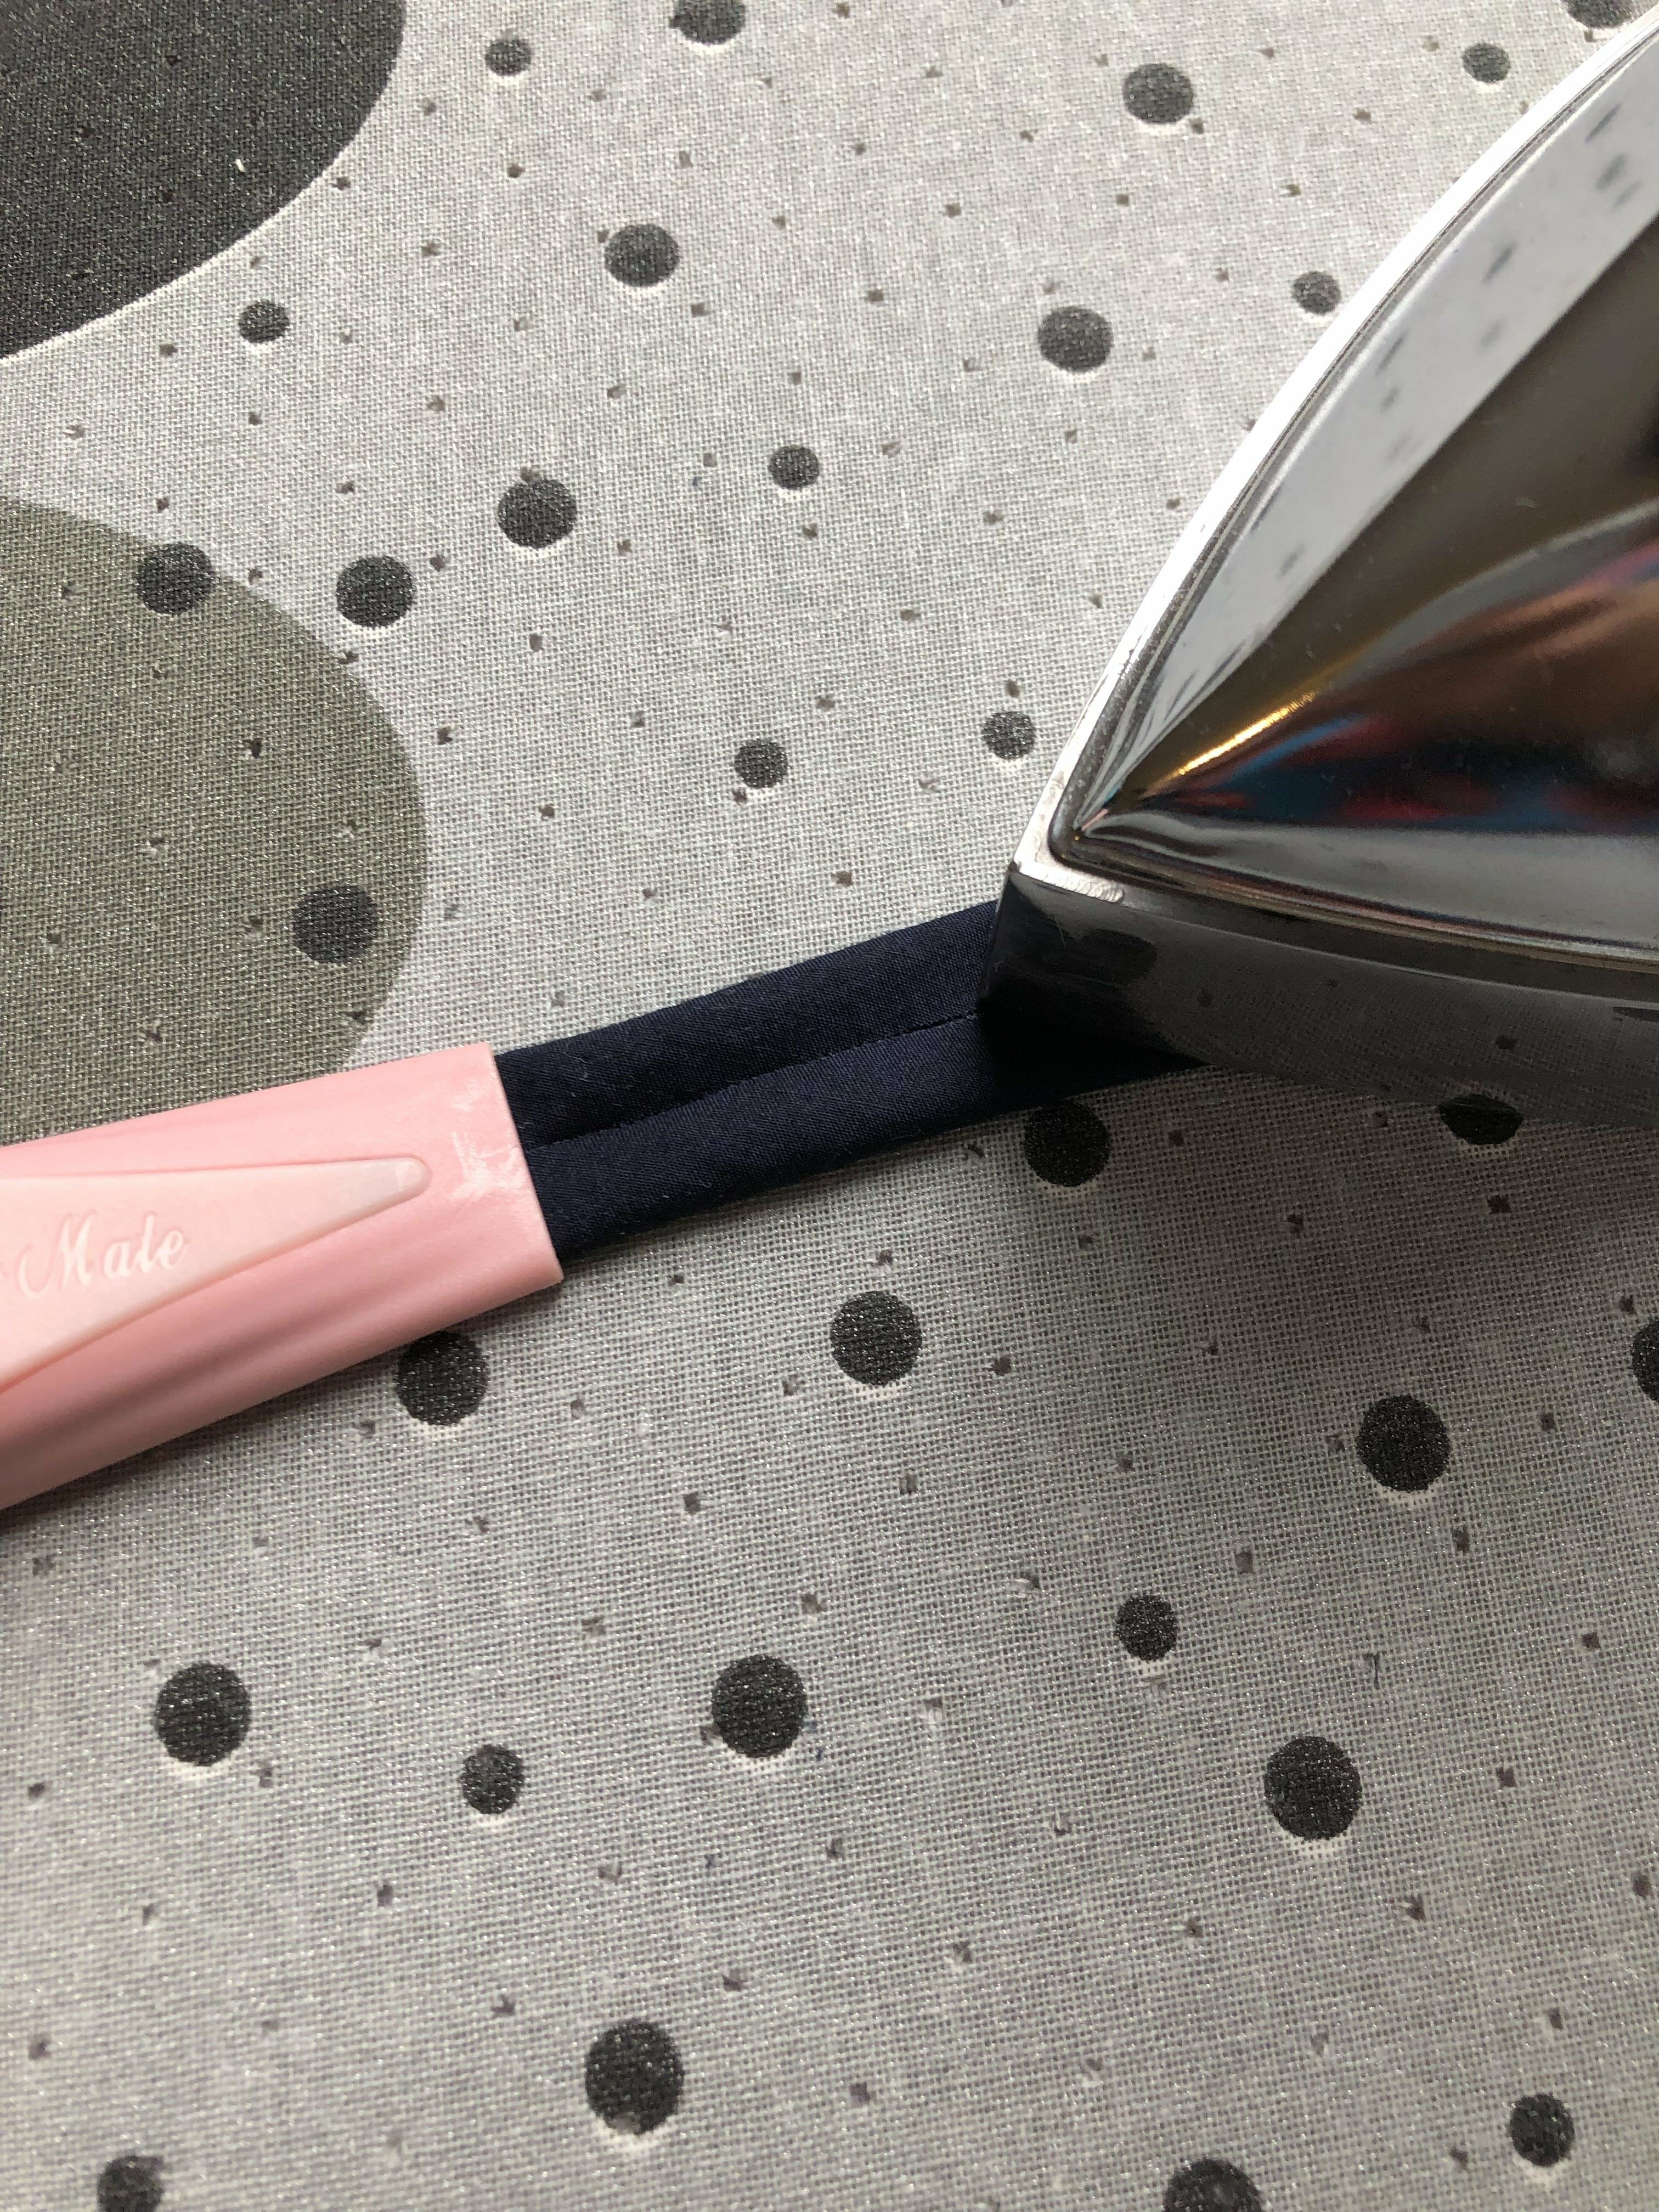
Use a binding maker and press your binding into shape…

Voilà!
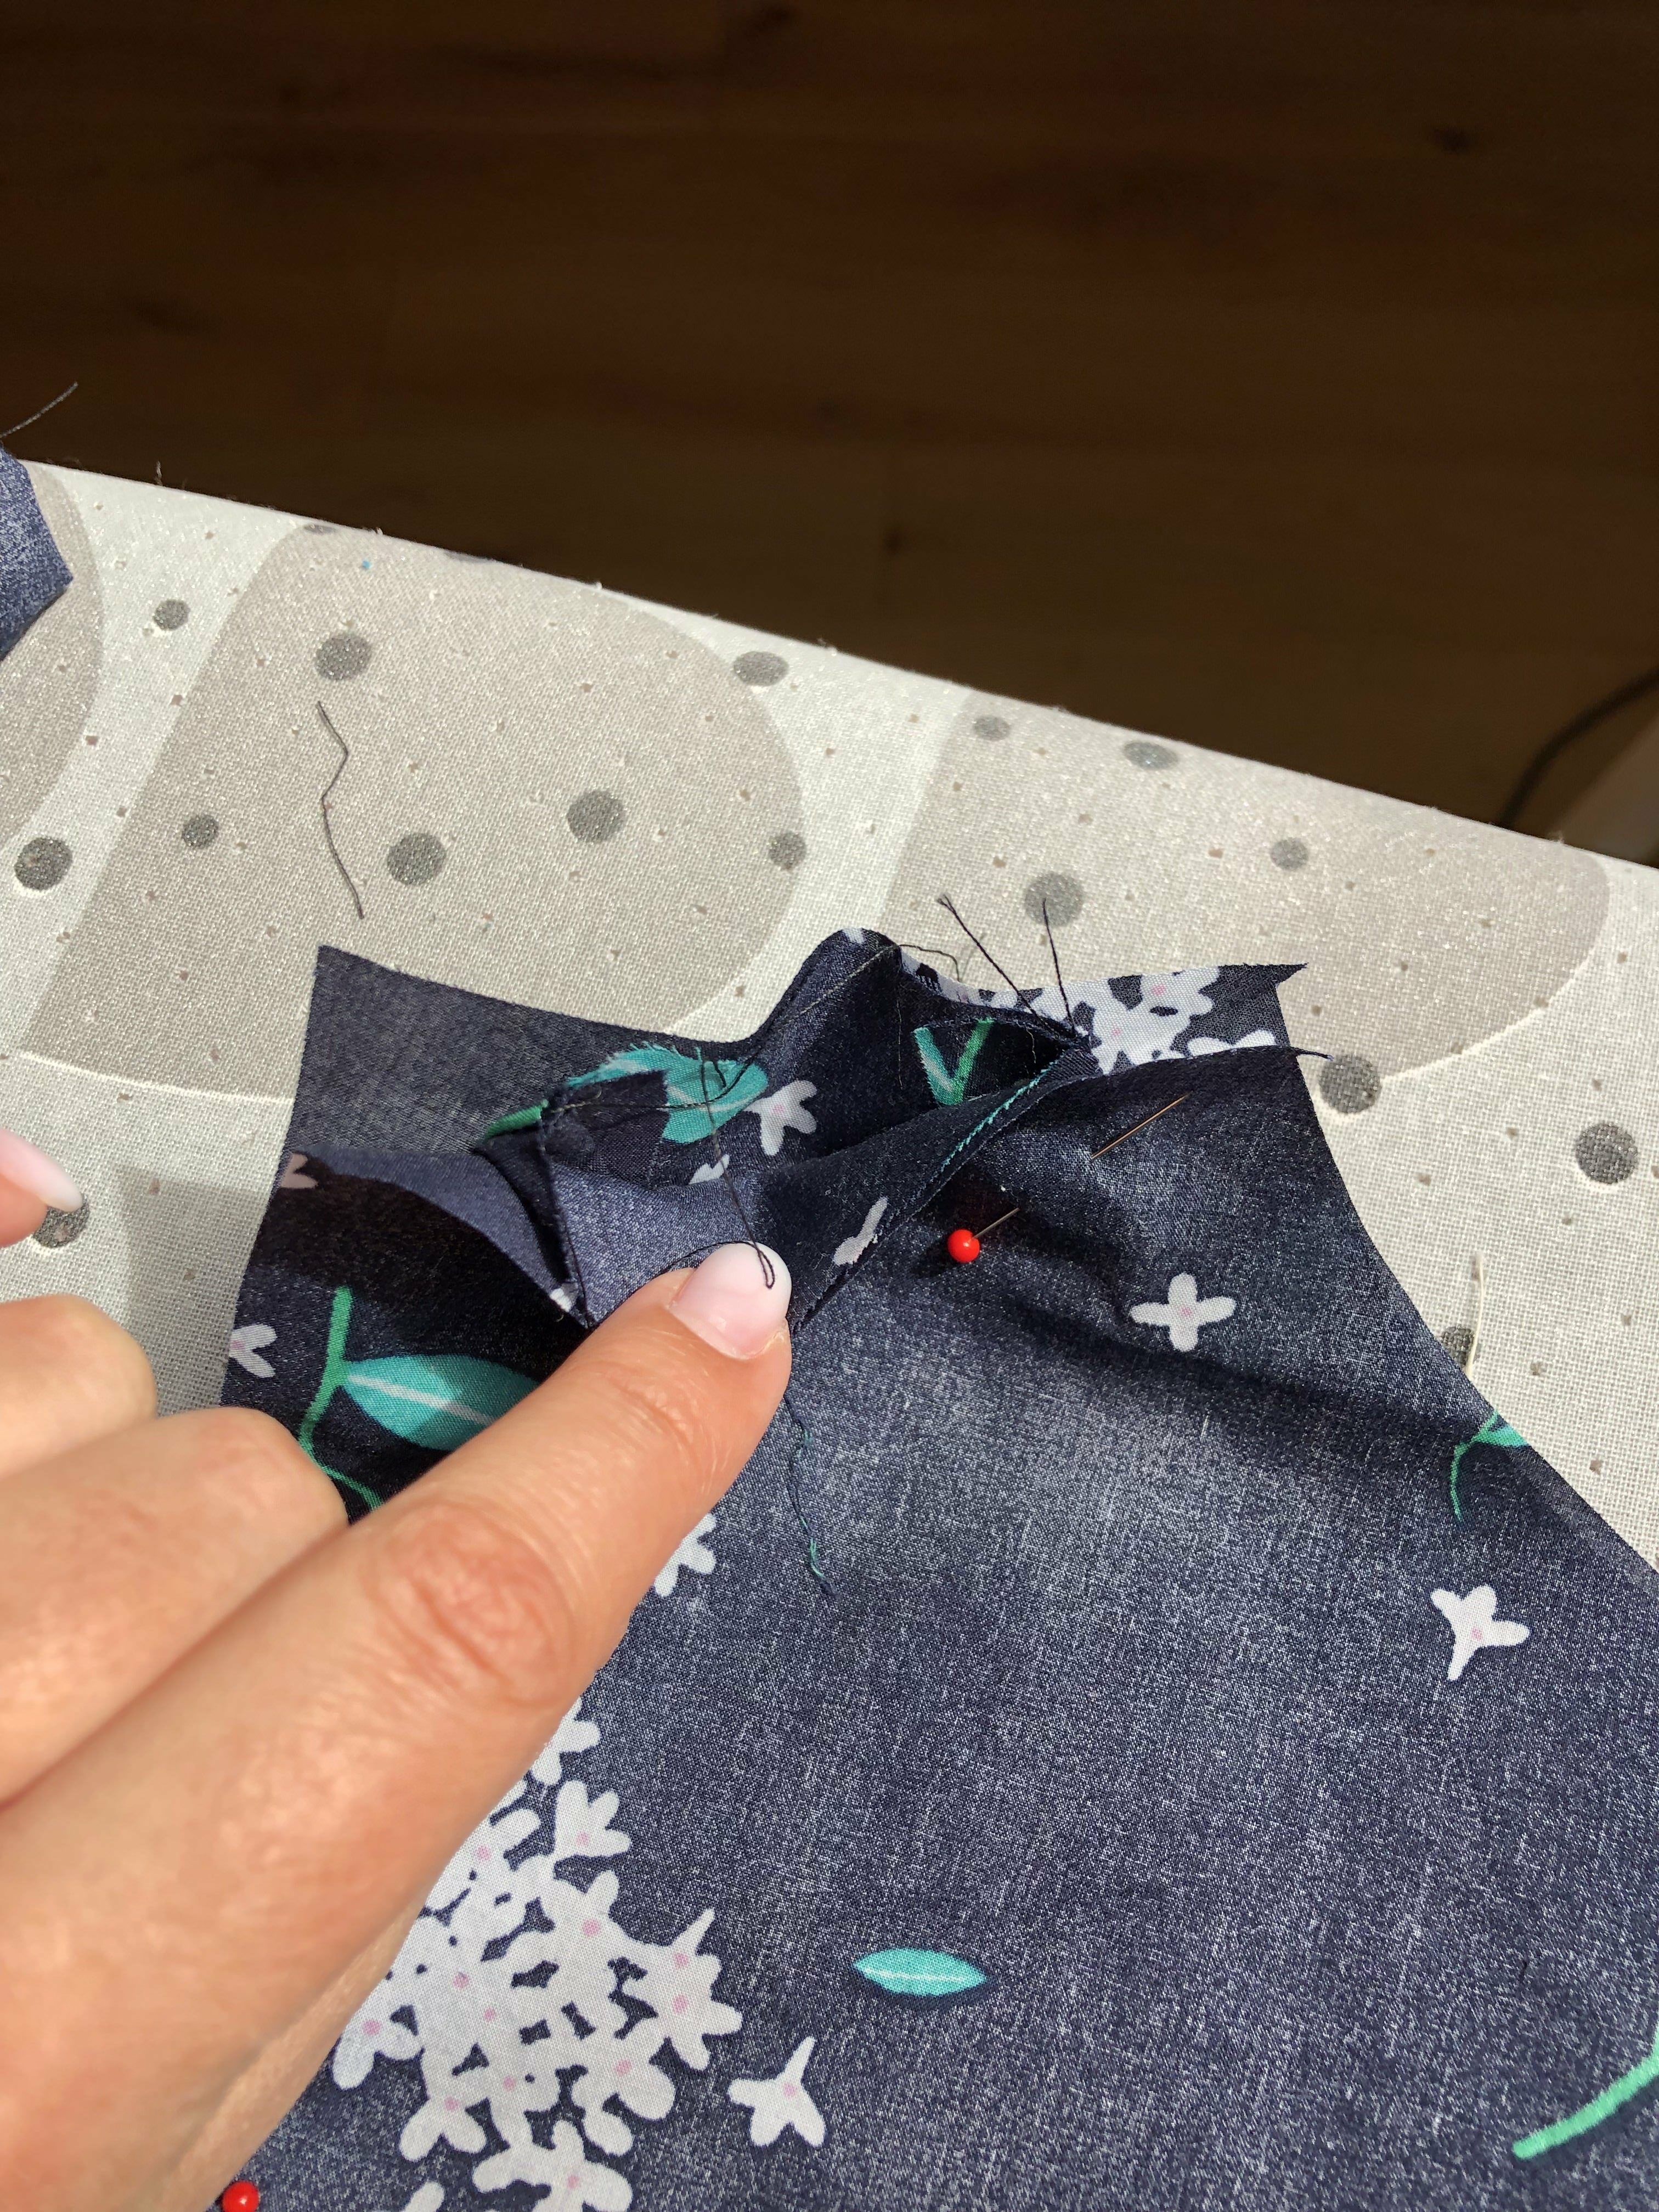
Then it’s time to make the top part of the blouse. On the front and on the back with rights sides together stitch the arm- and neckline.
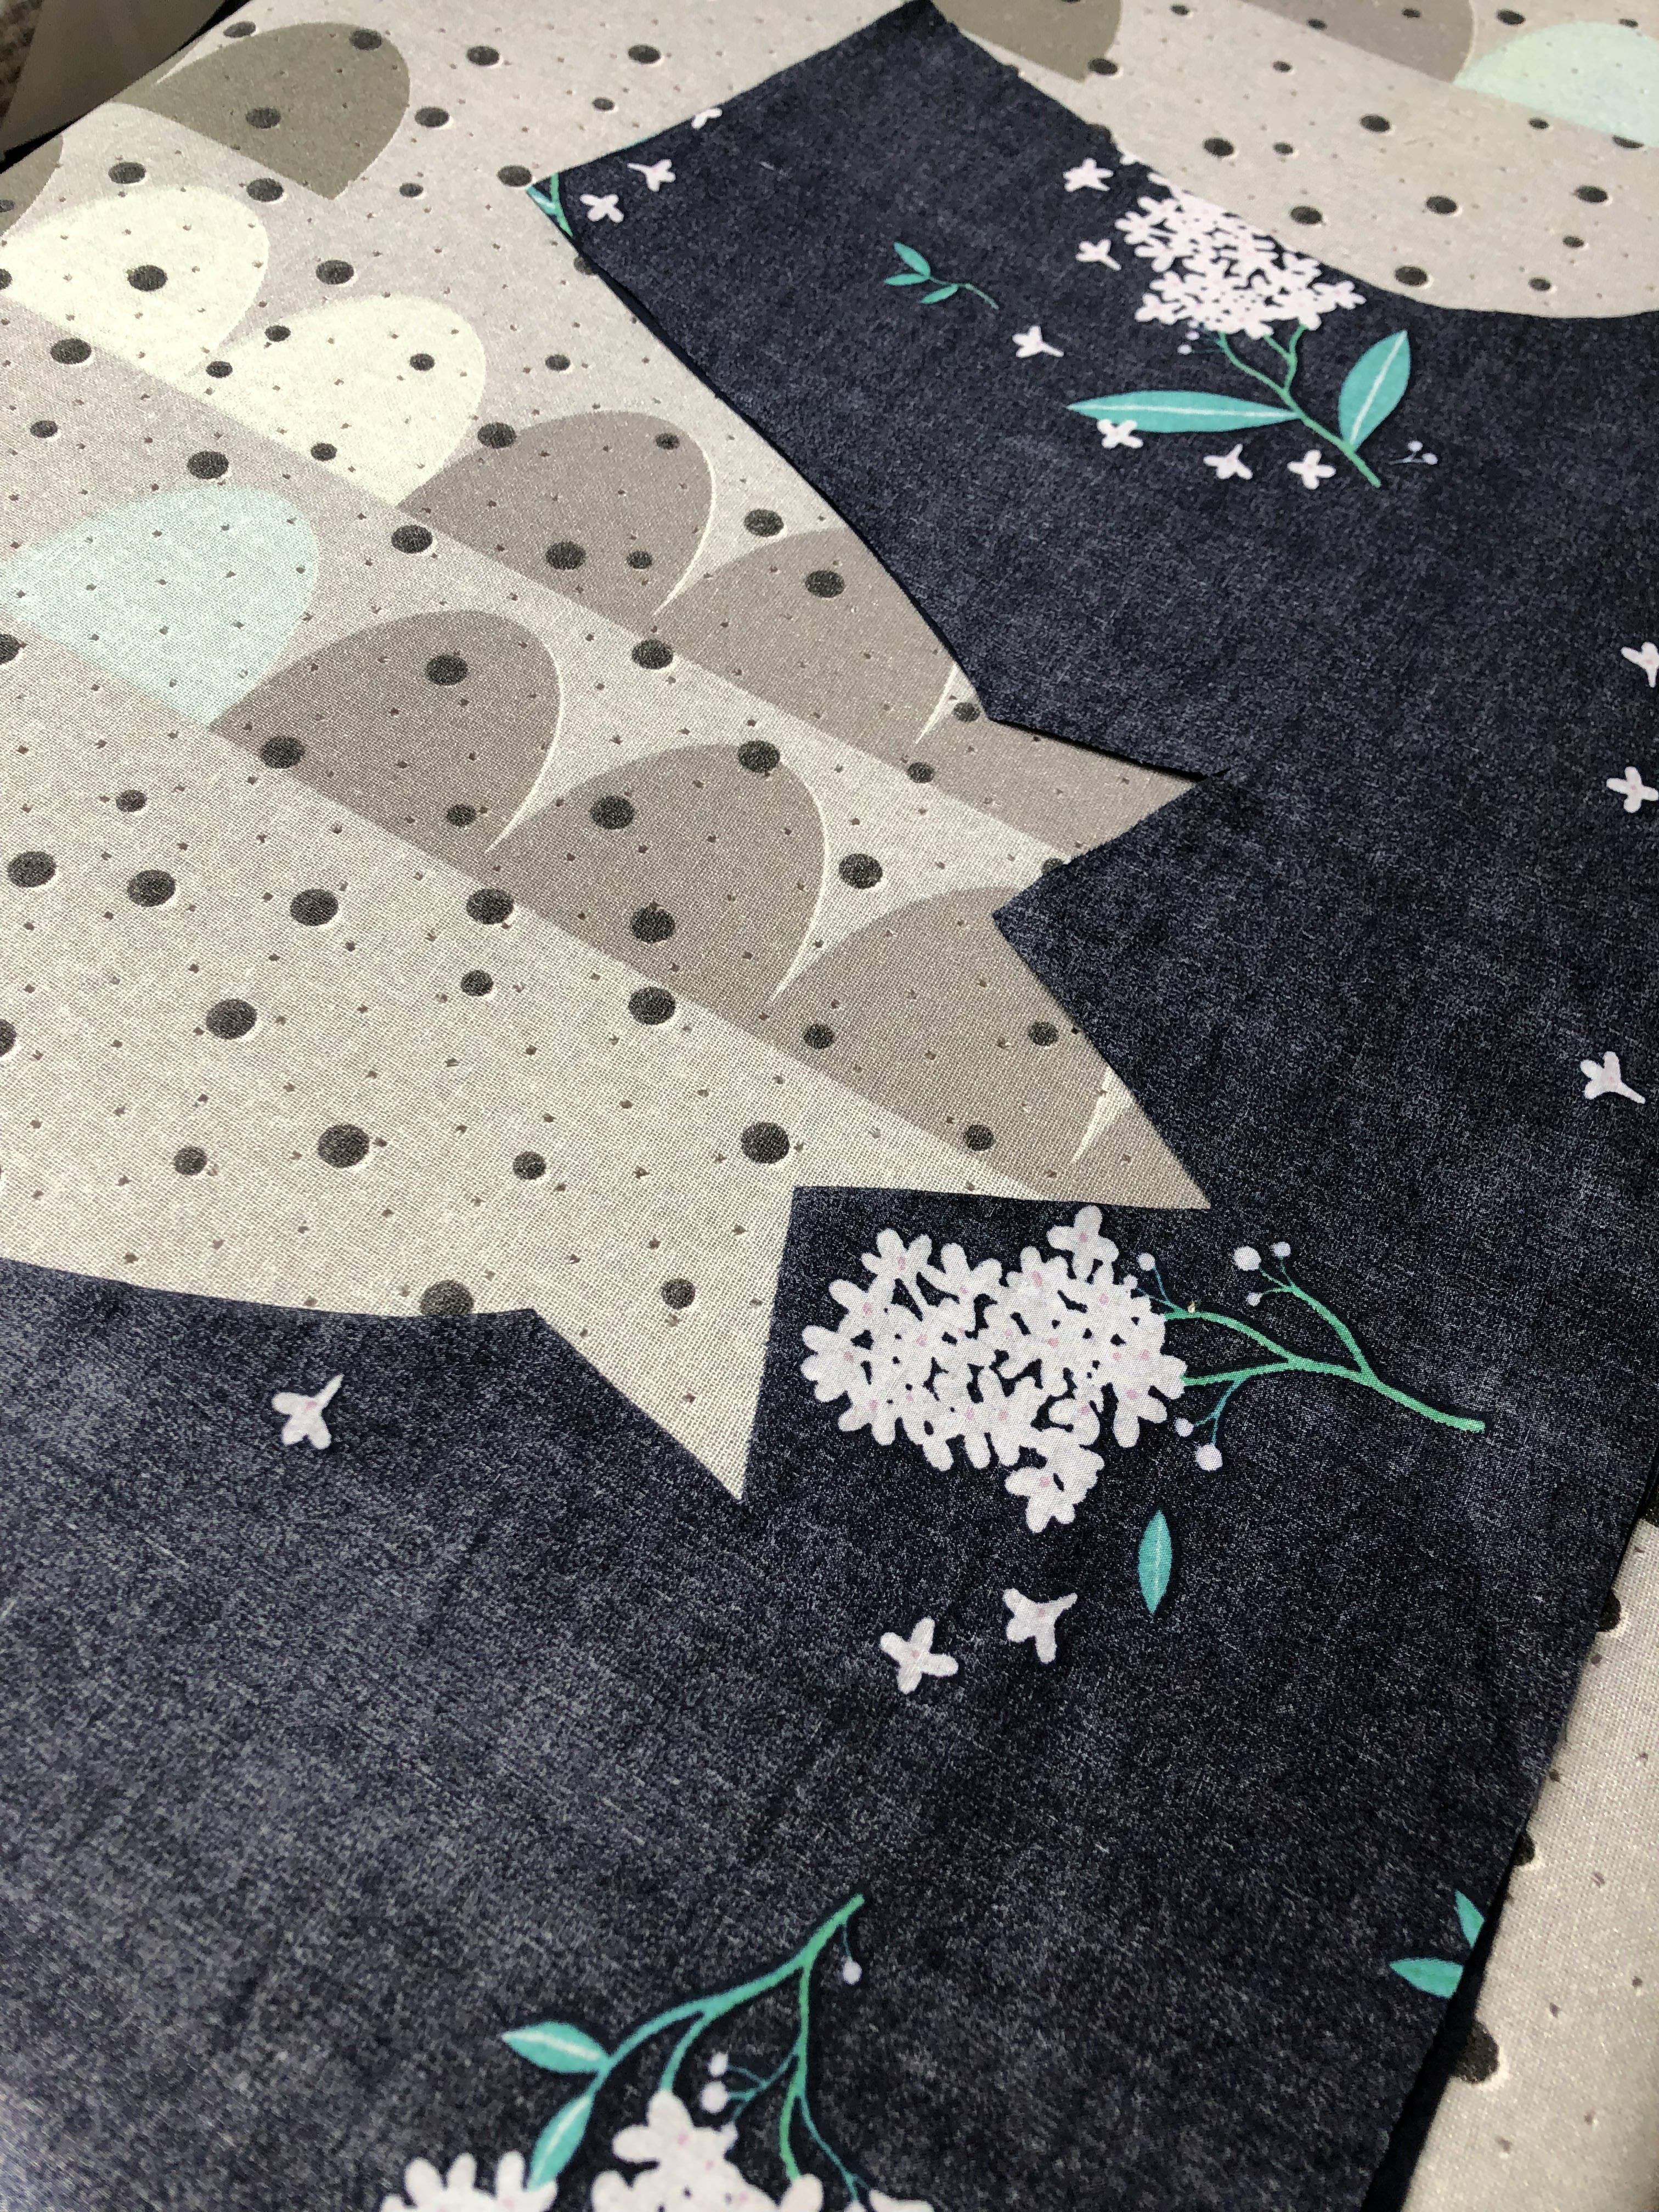
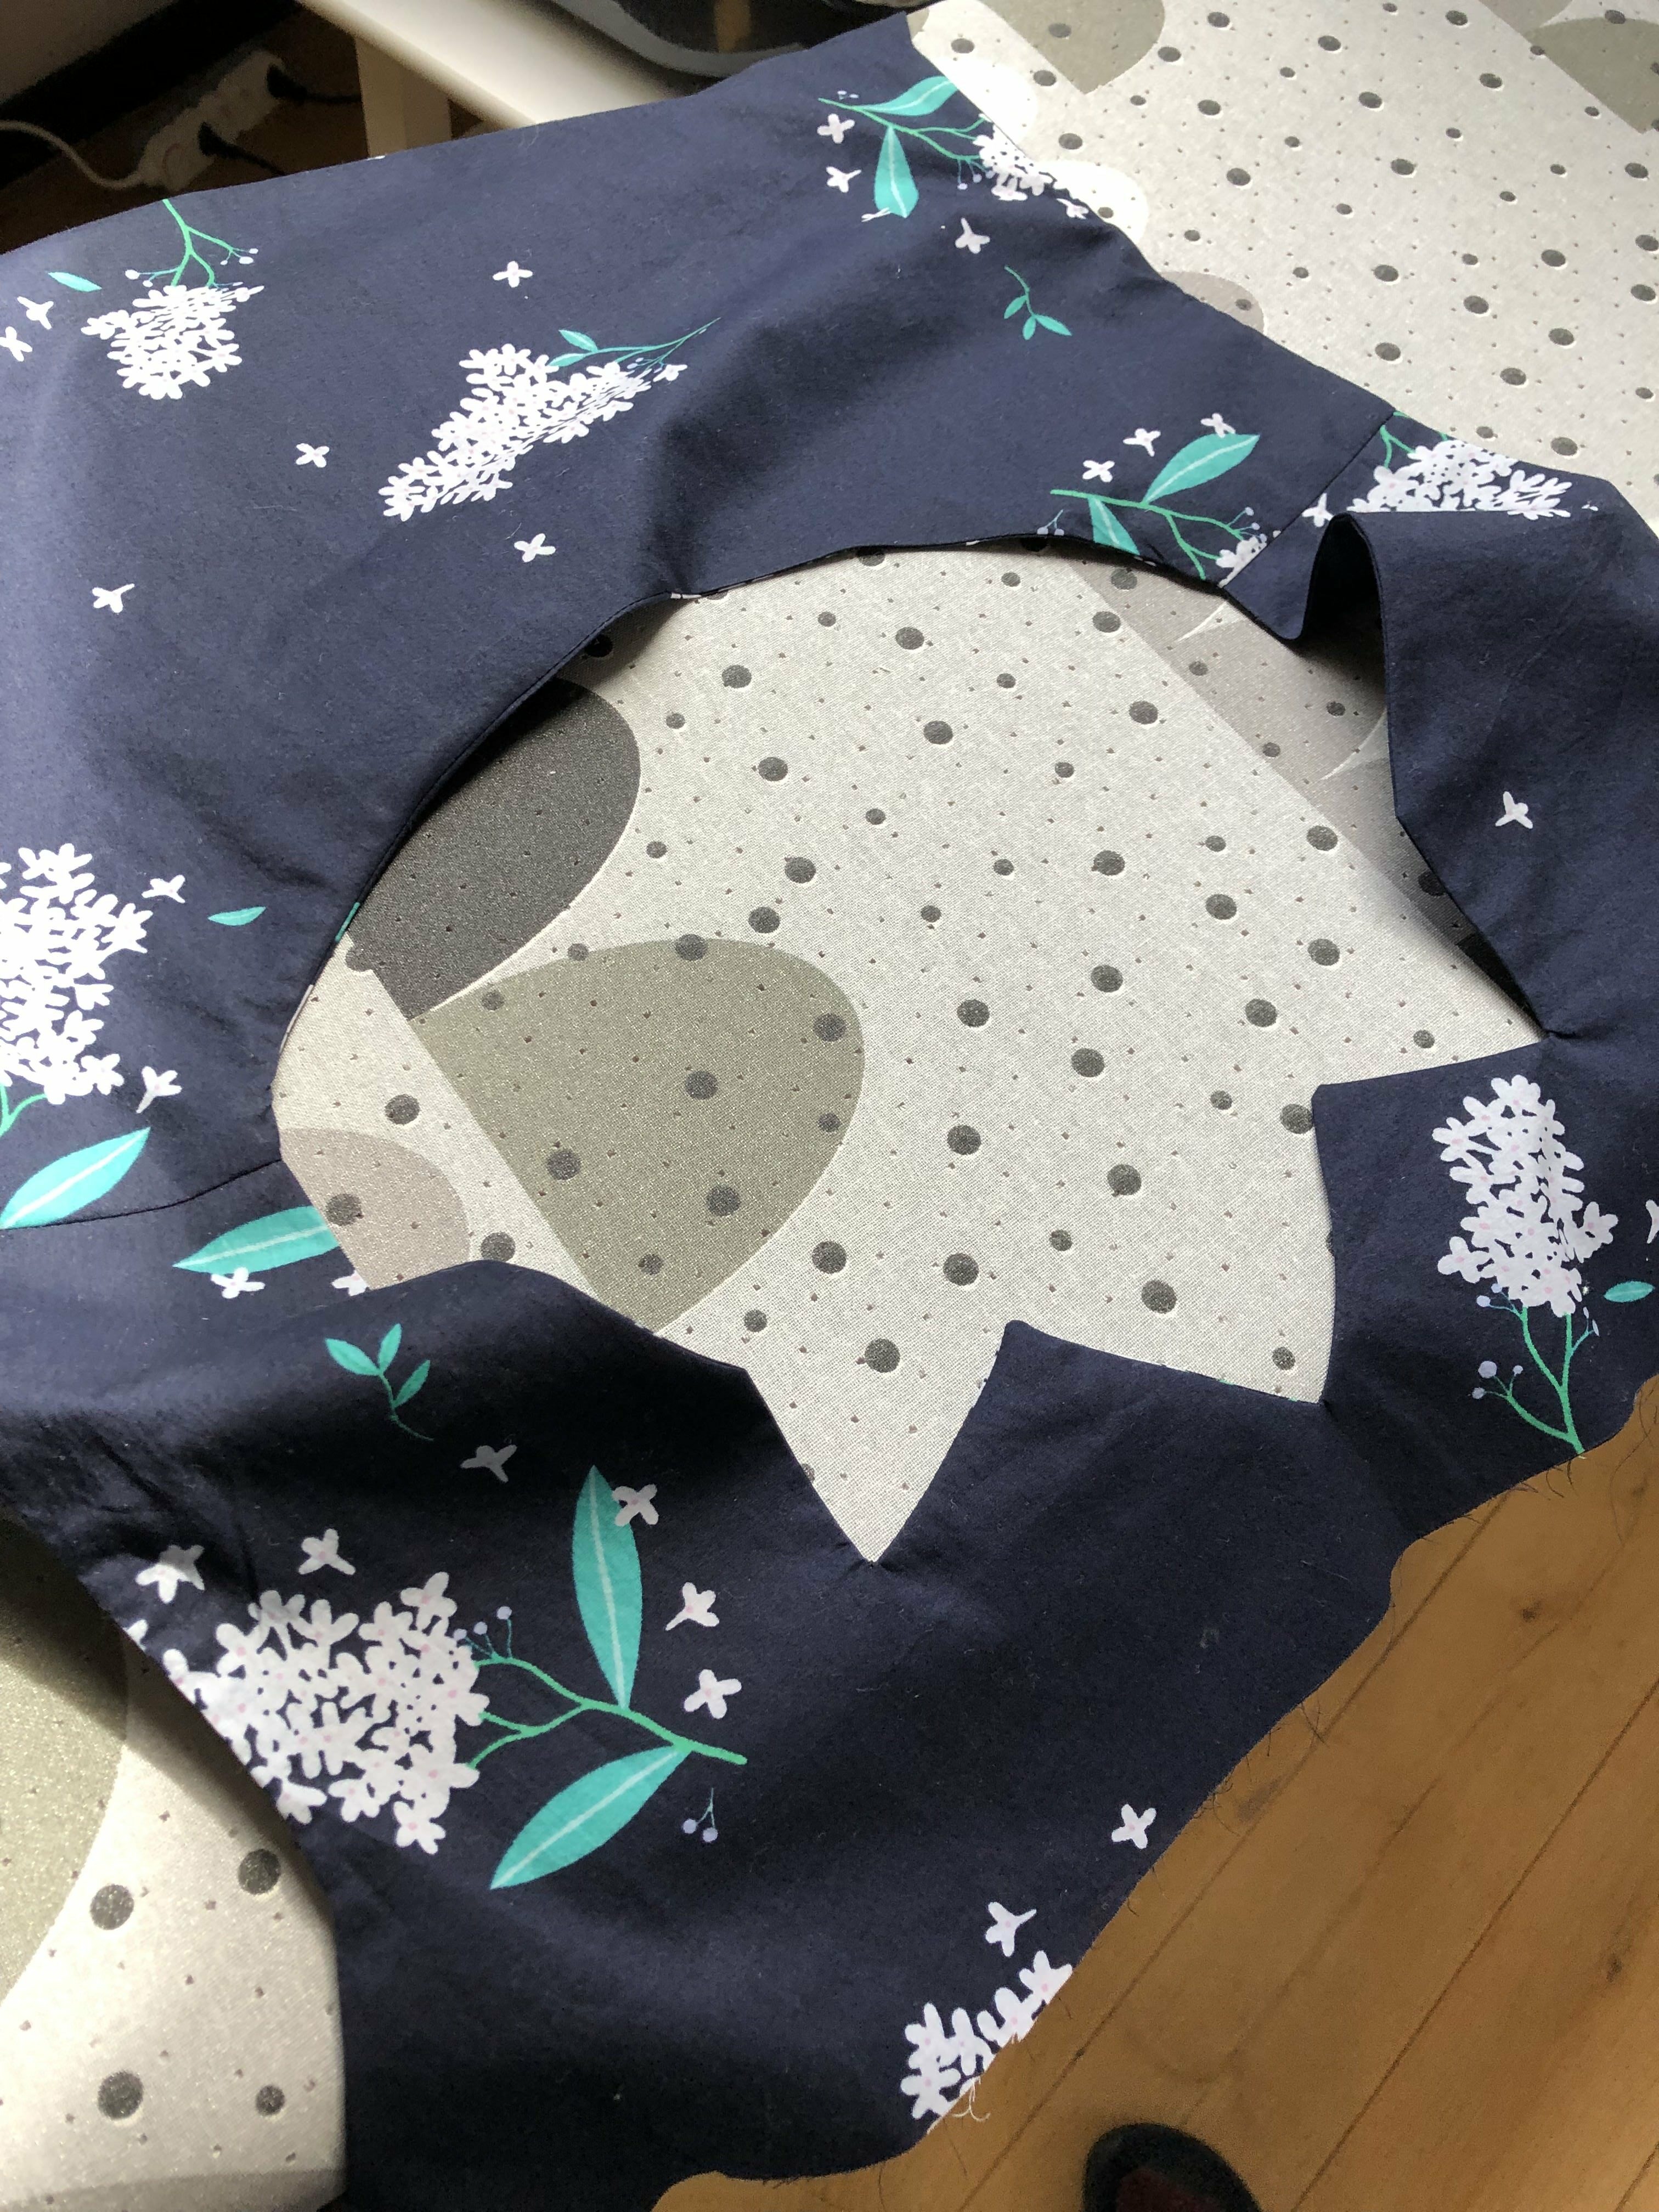
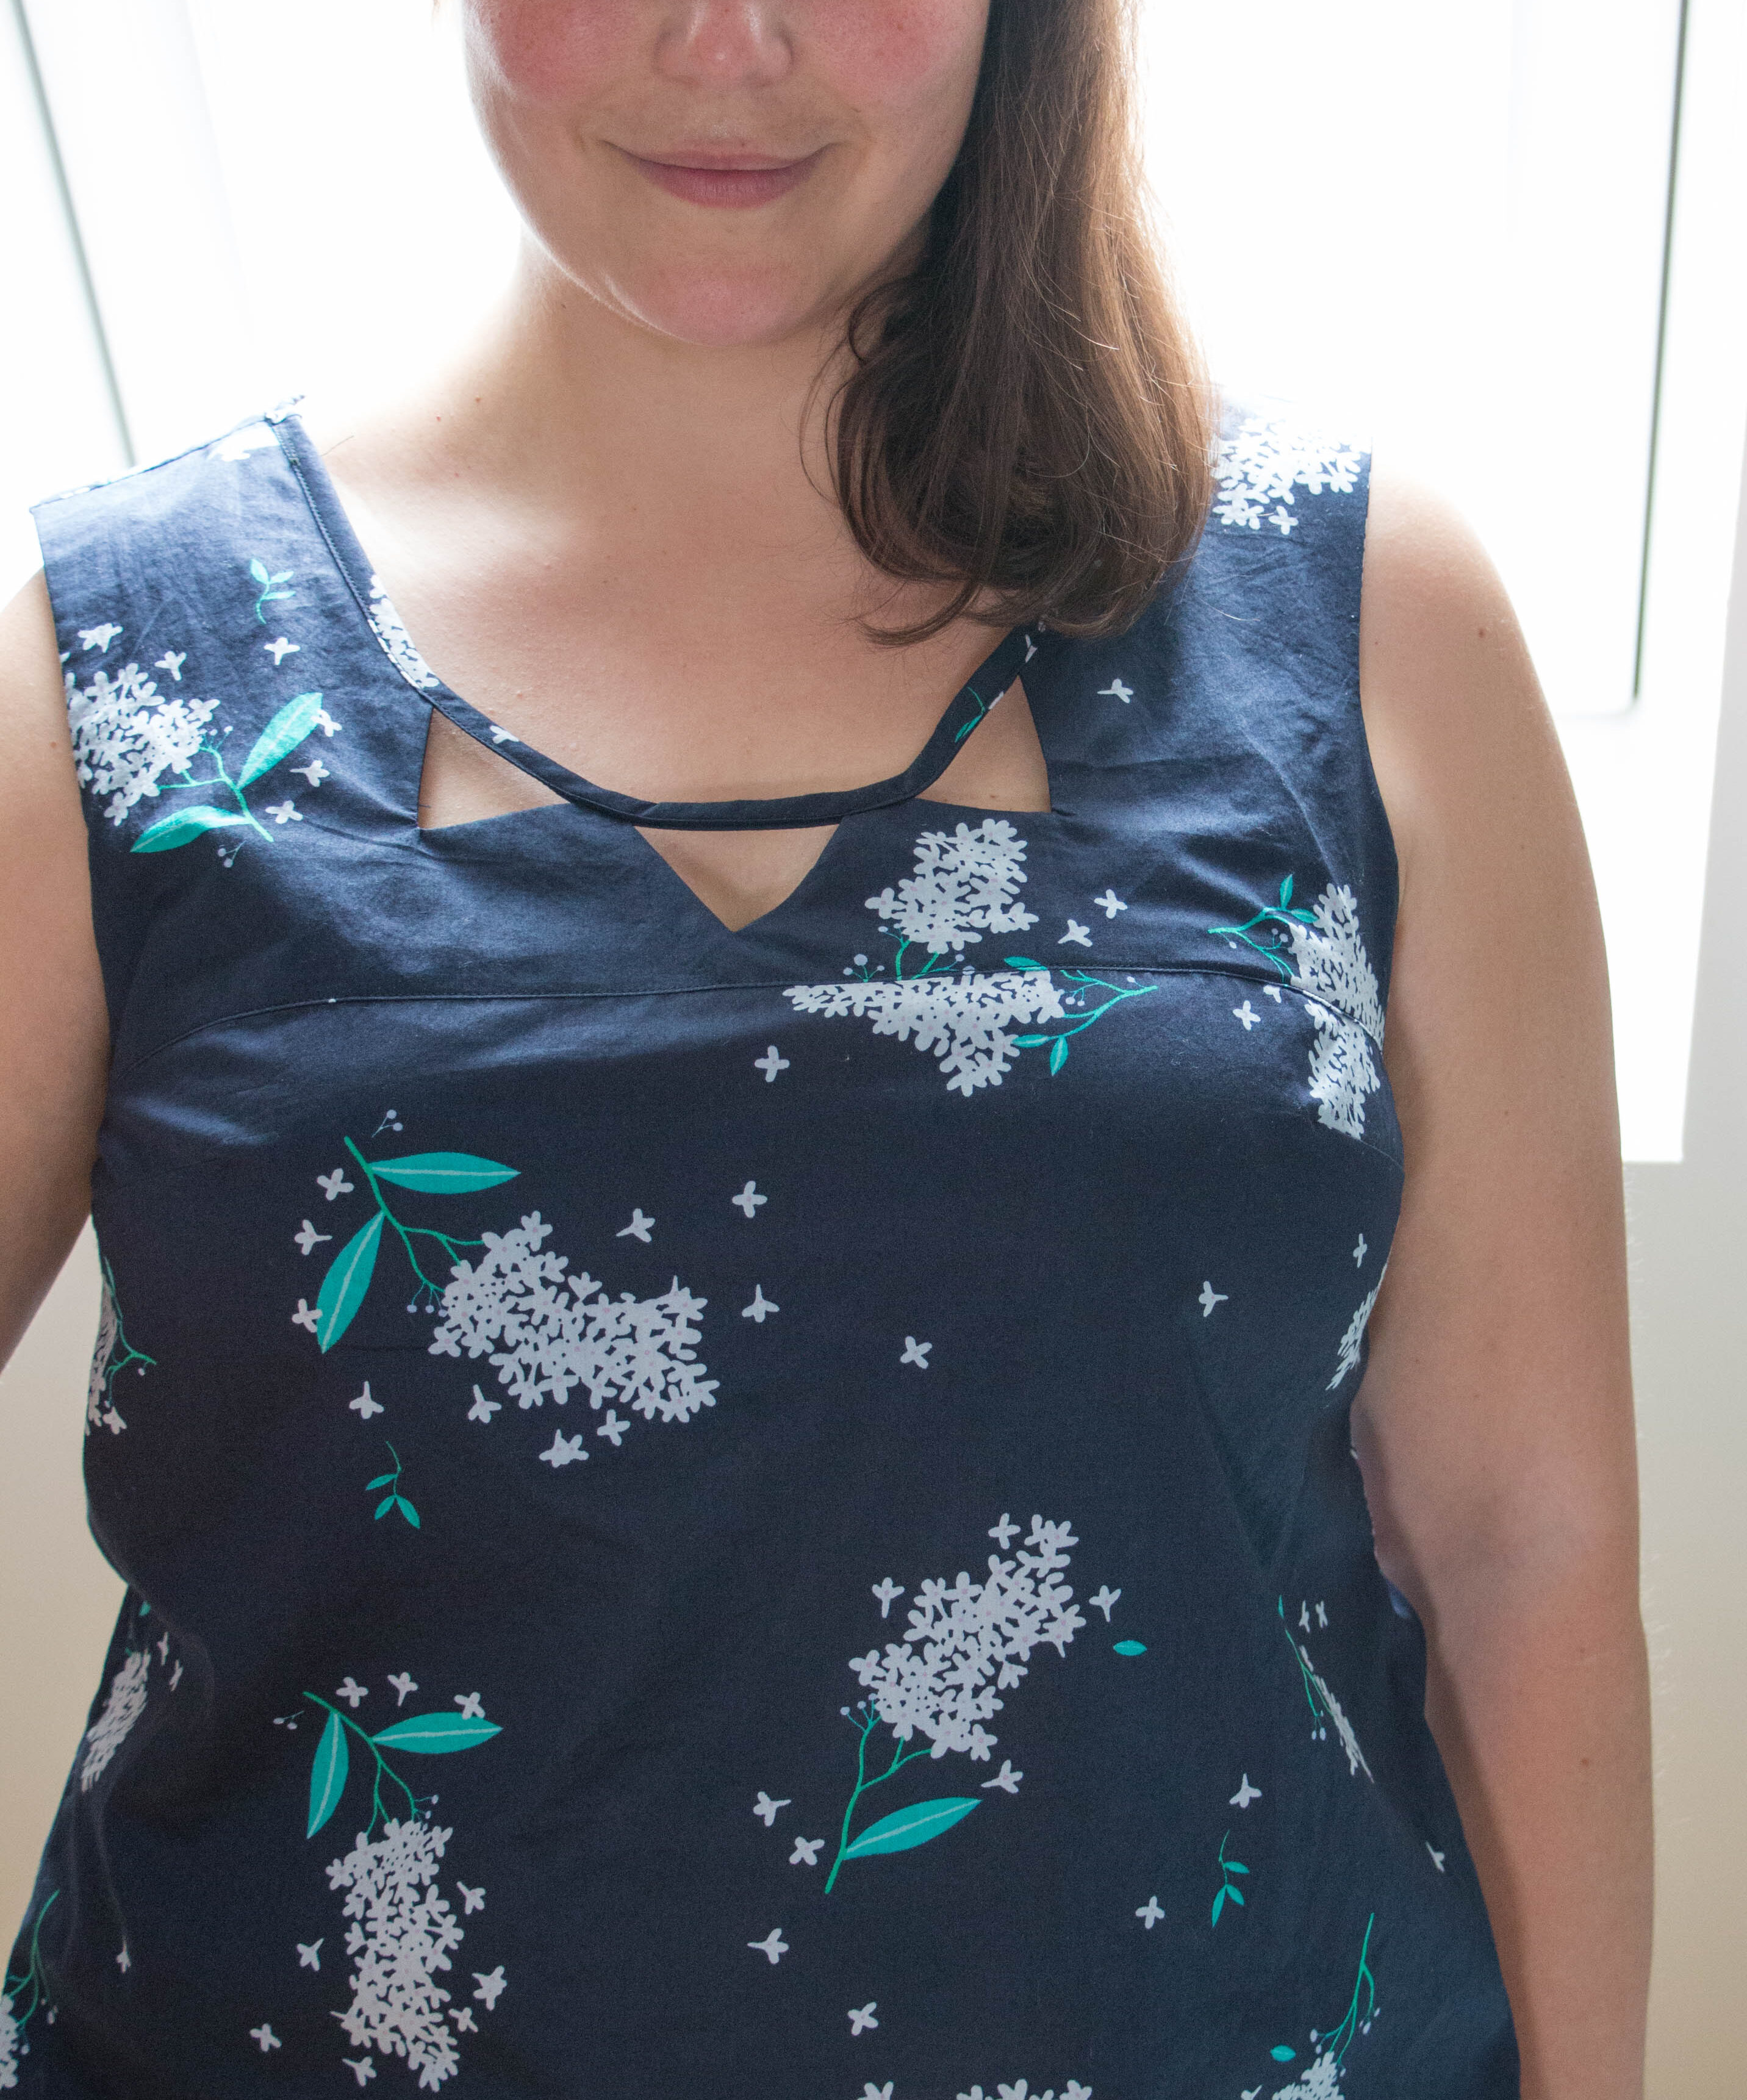
I chose the view with the cutouts…
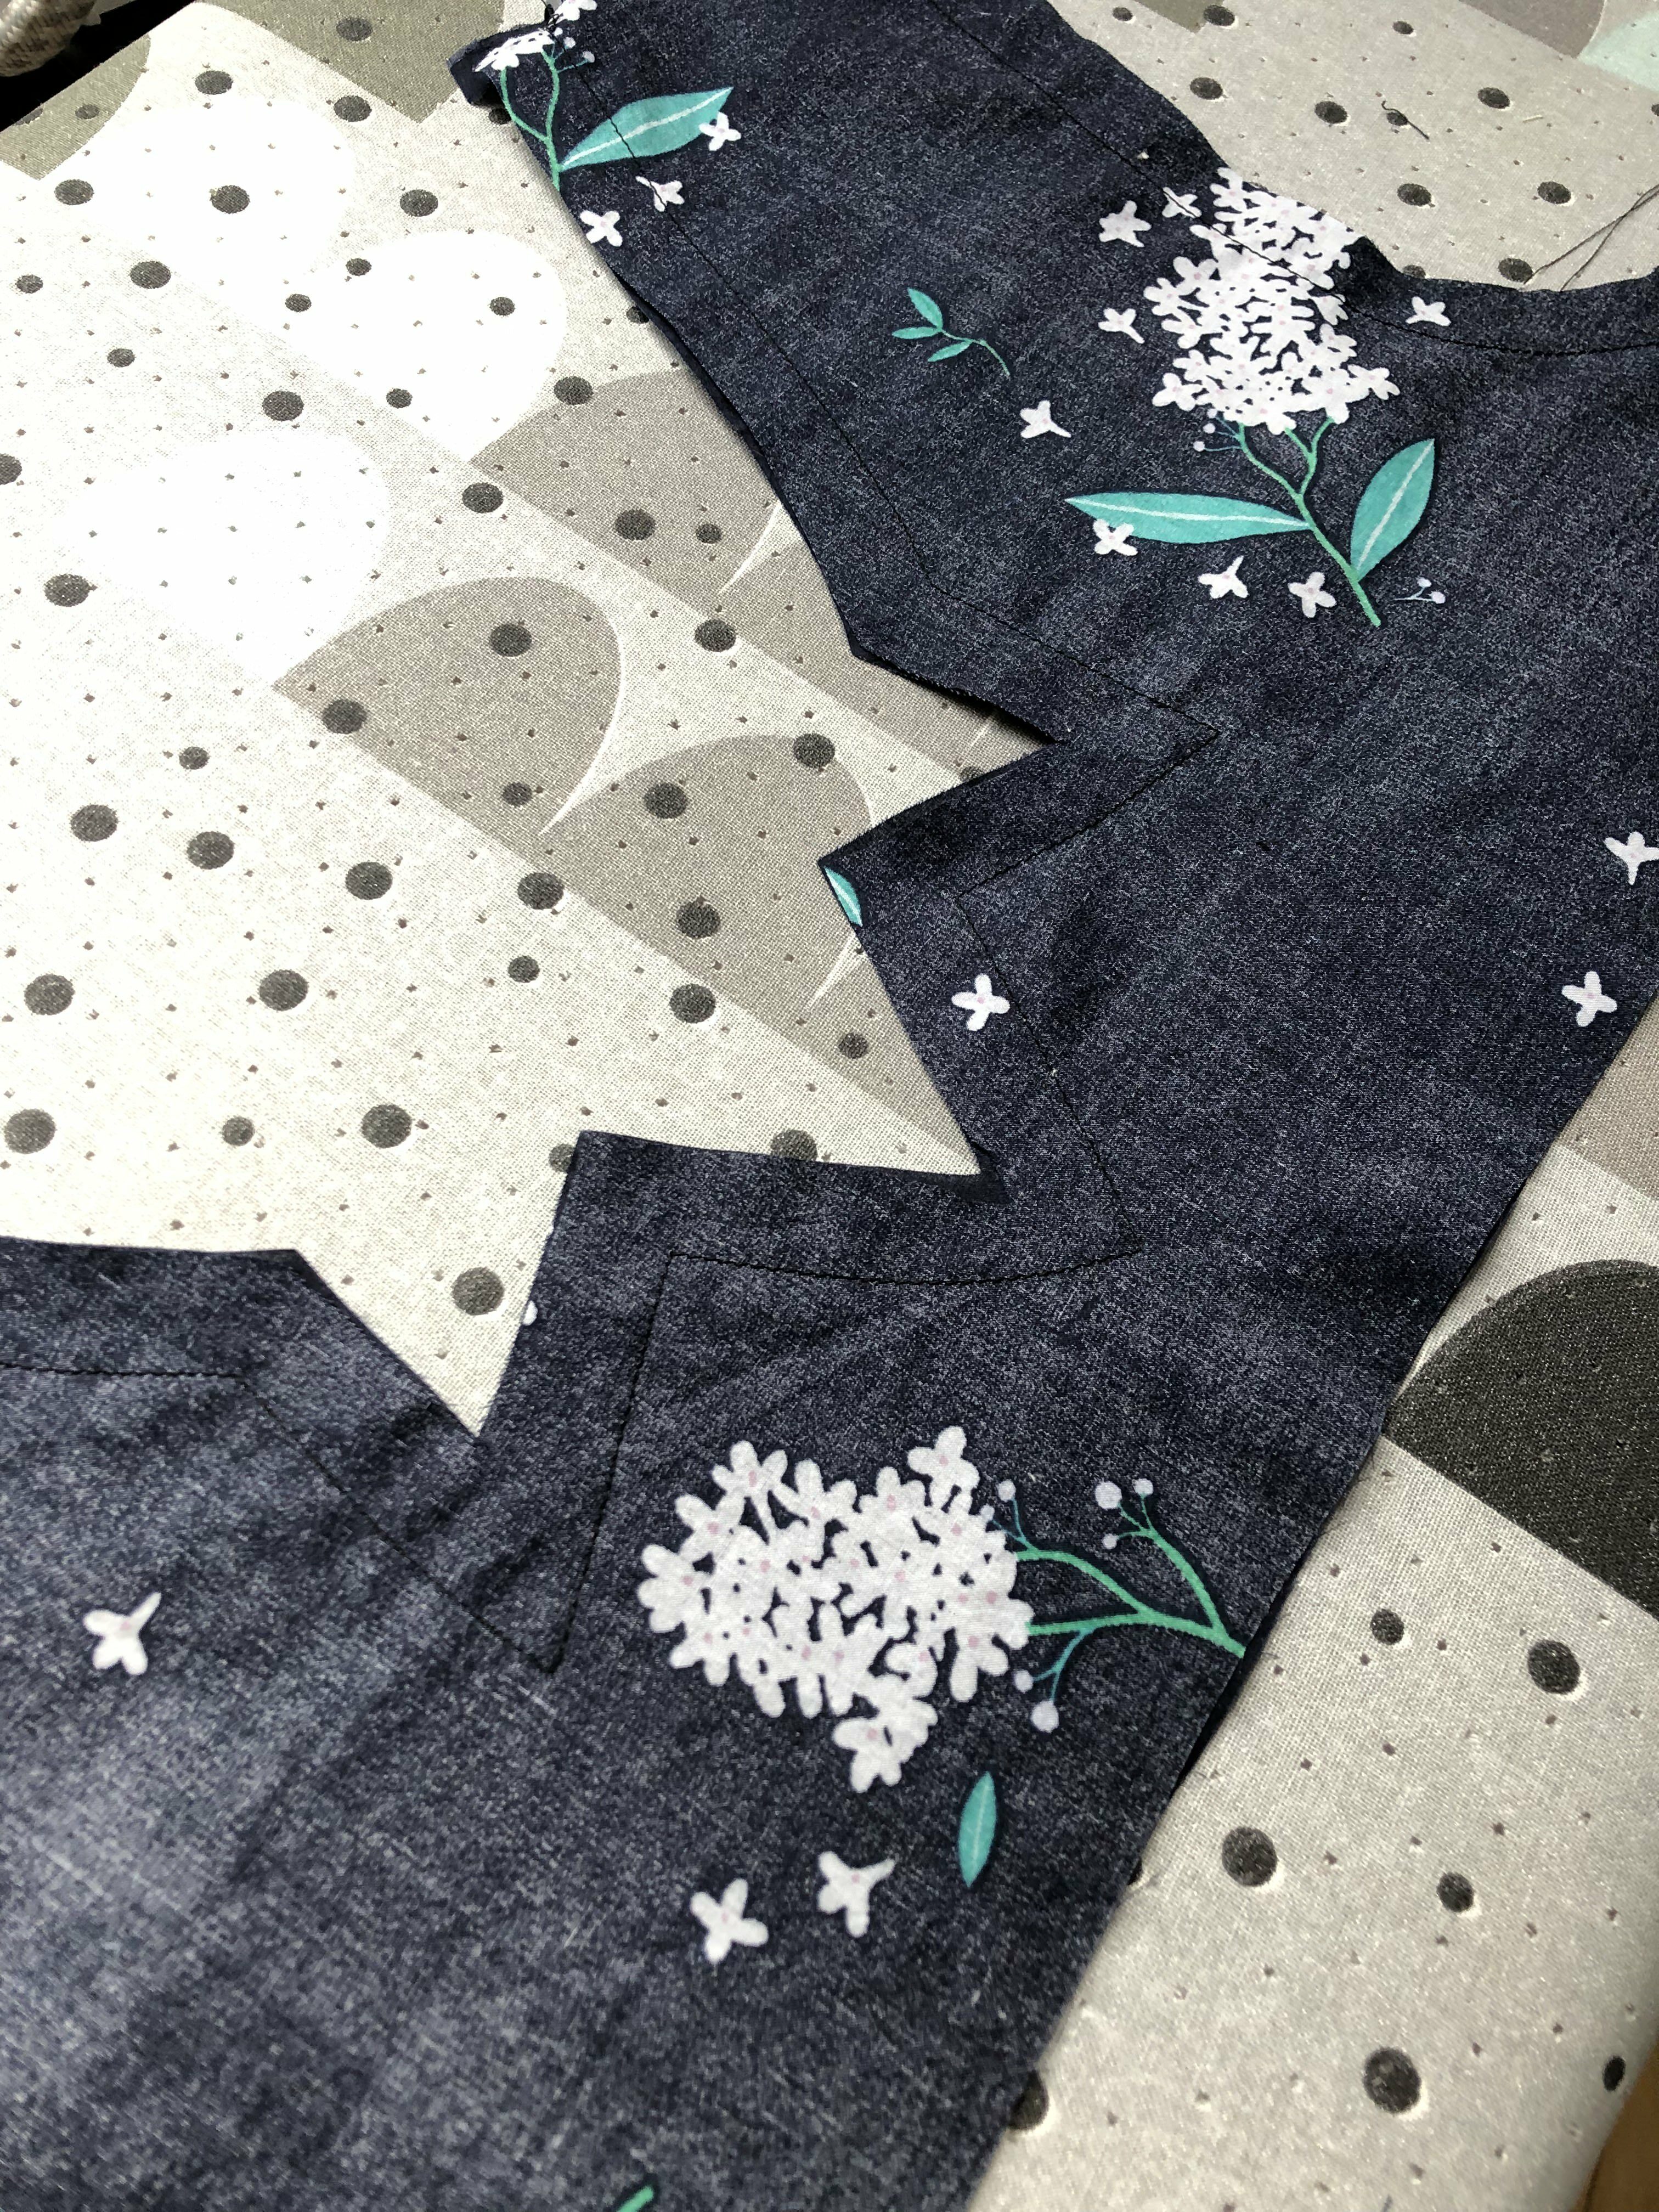
Stitch along the neckline…
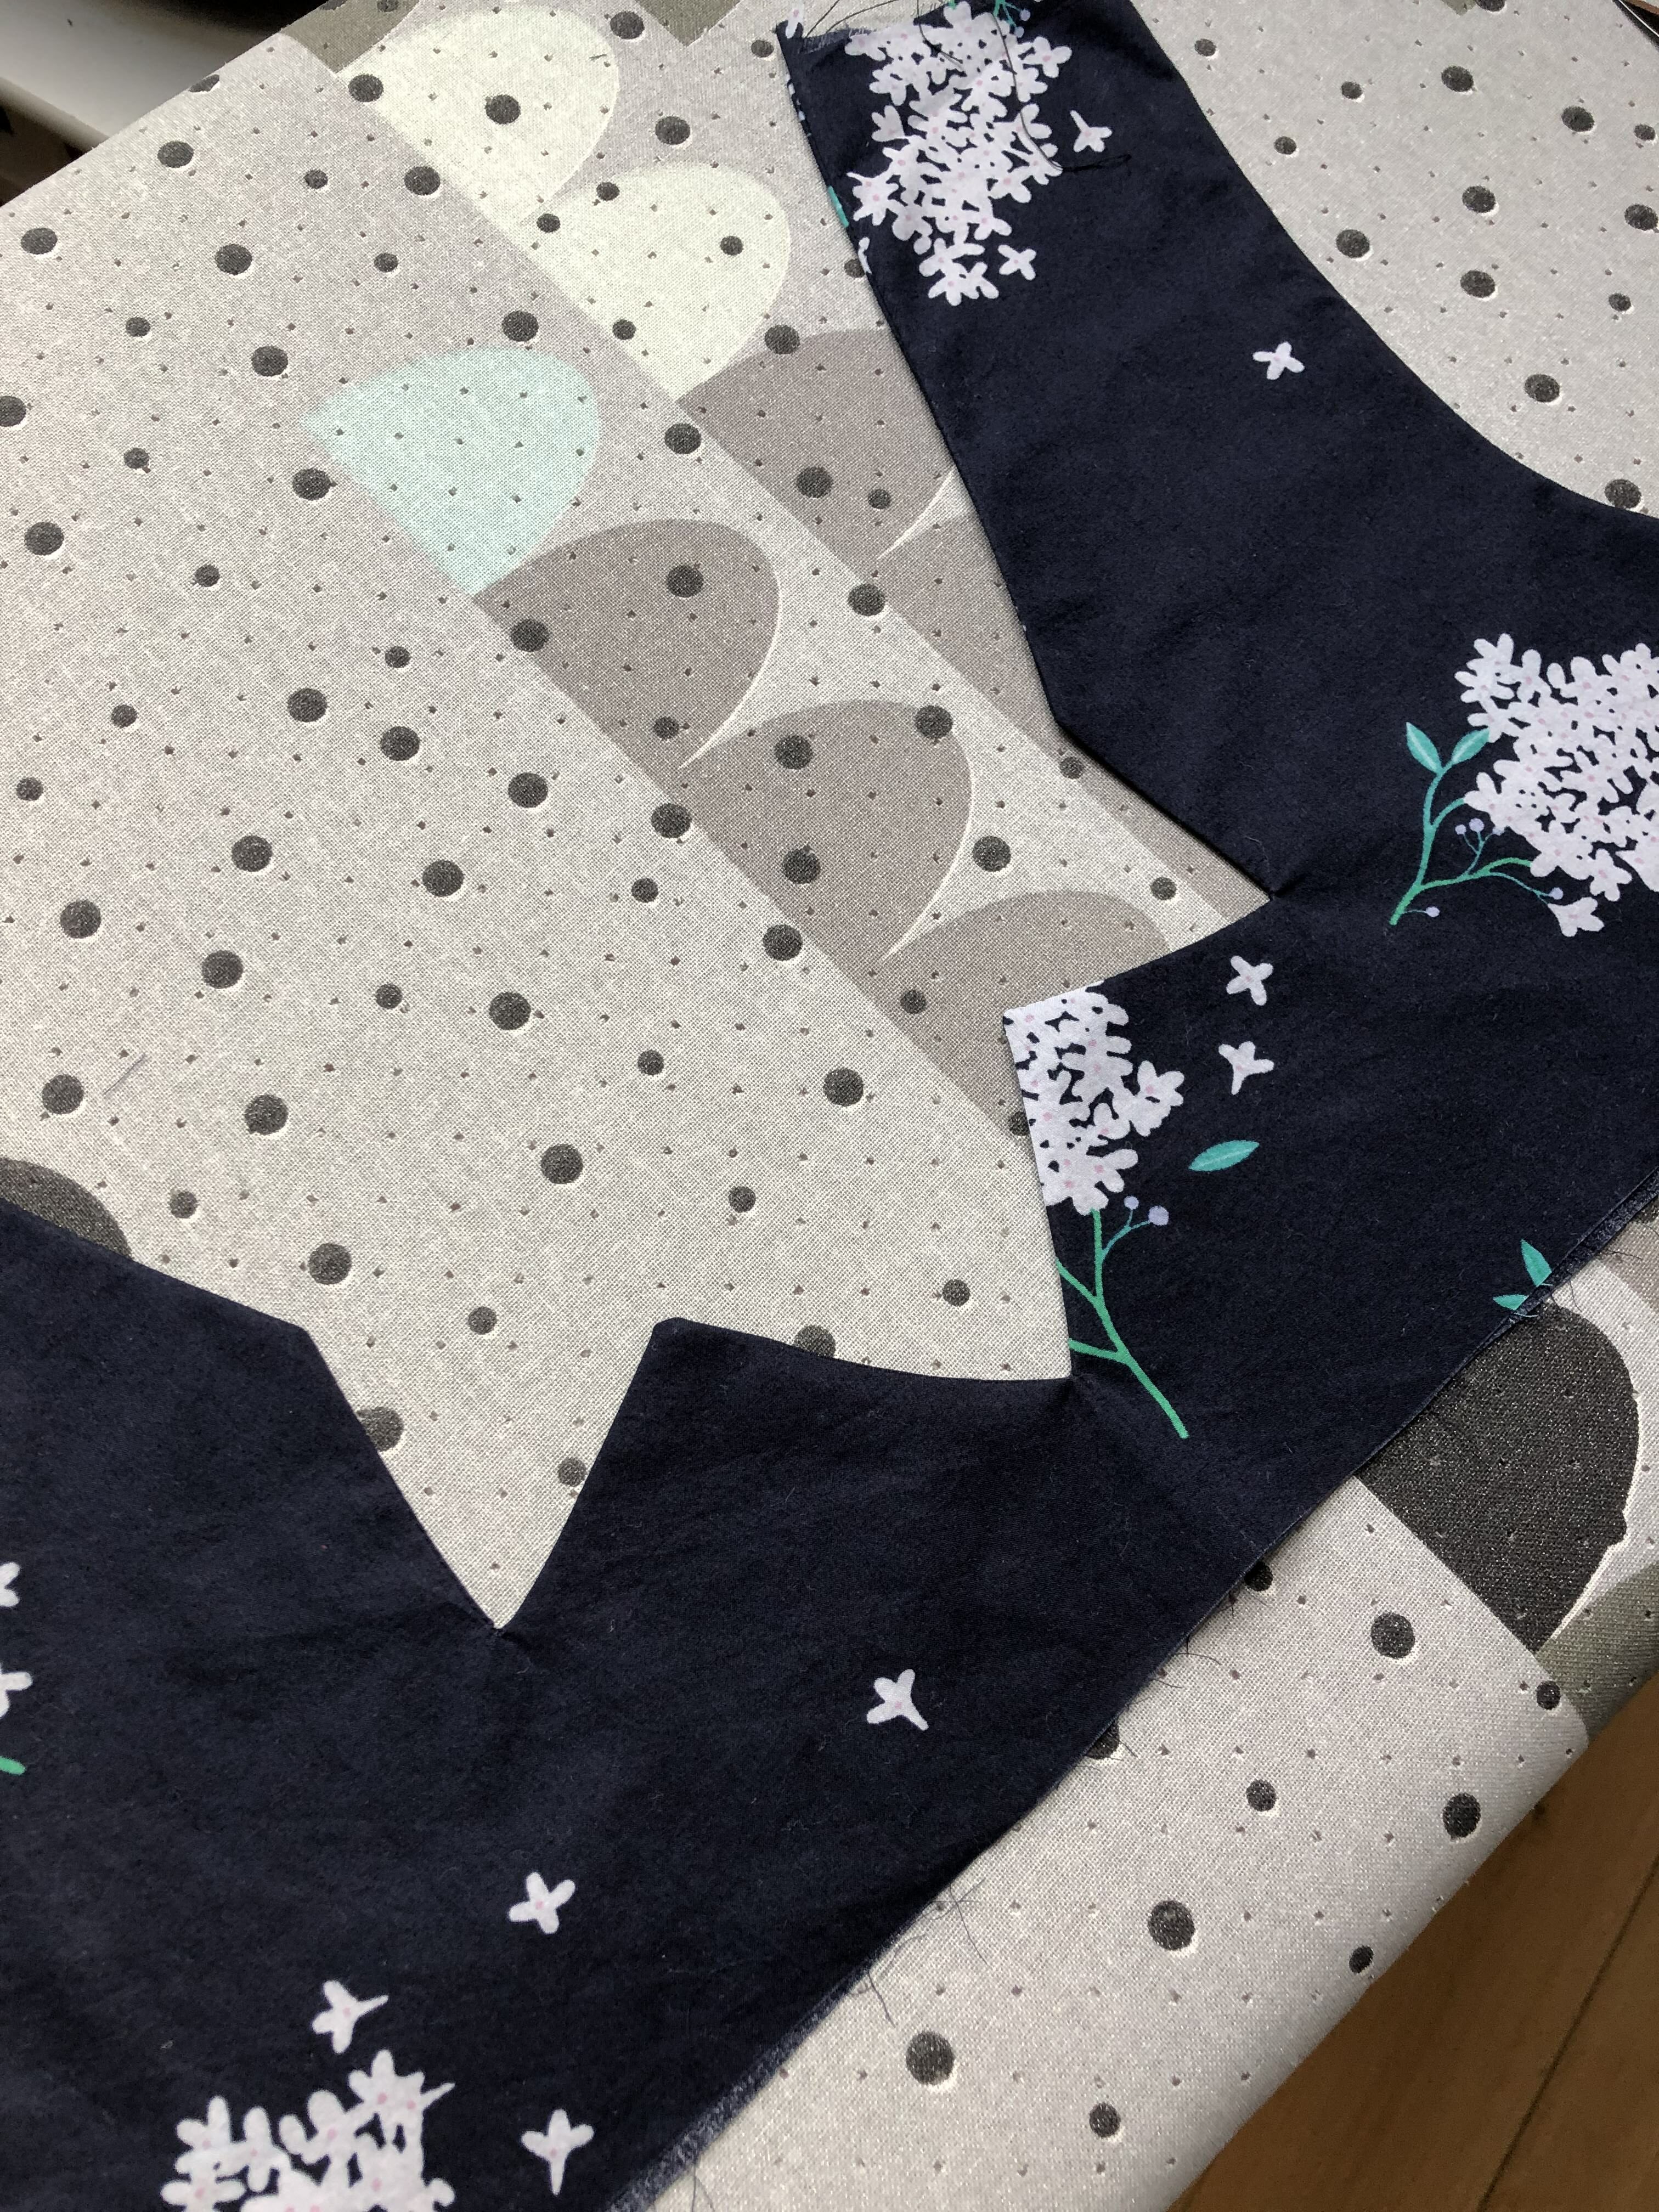
… turn inside out and press well.
To attach the front to the back put the front into the back and stitch the straps together.
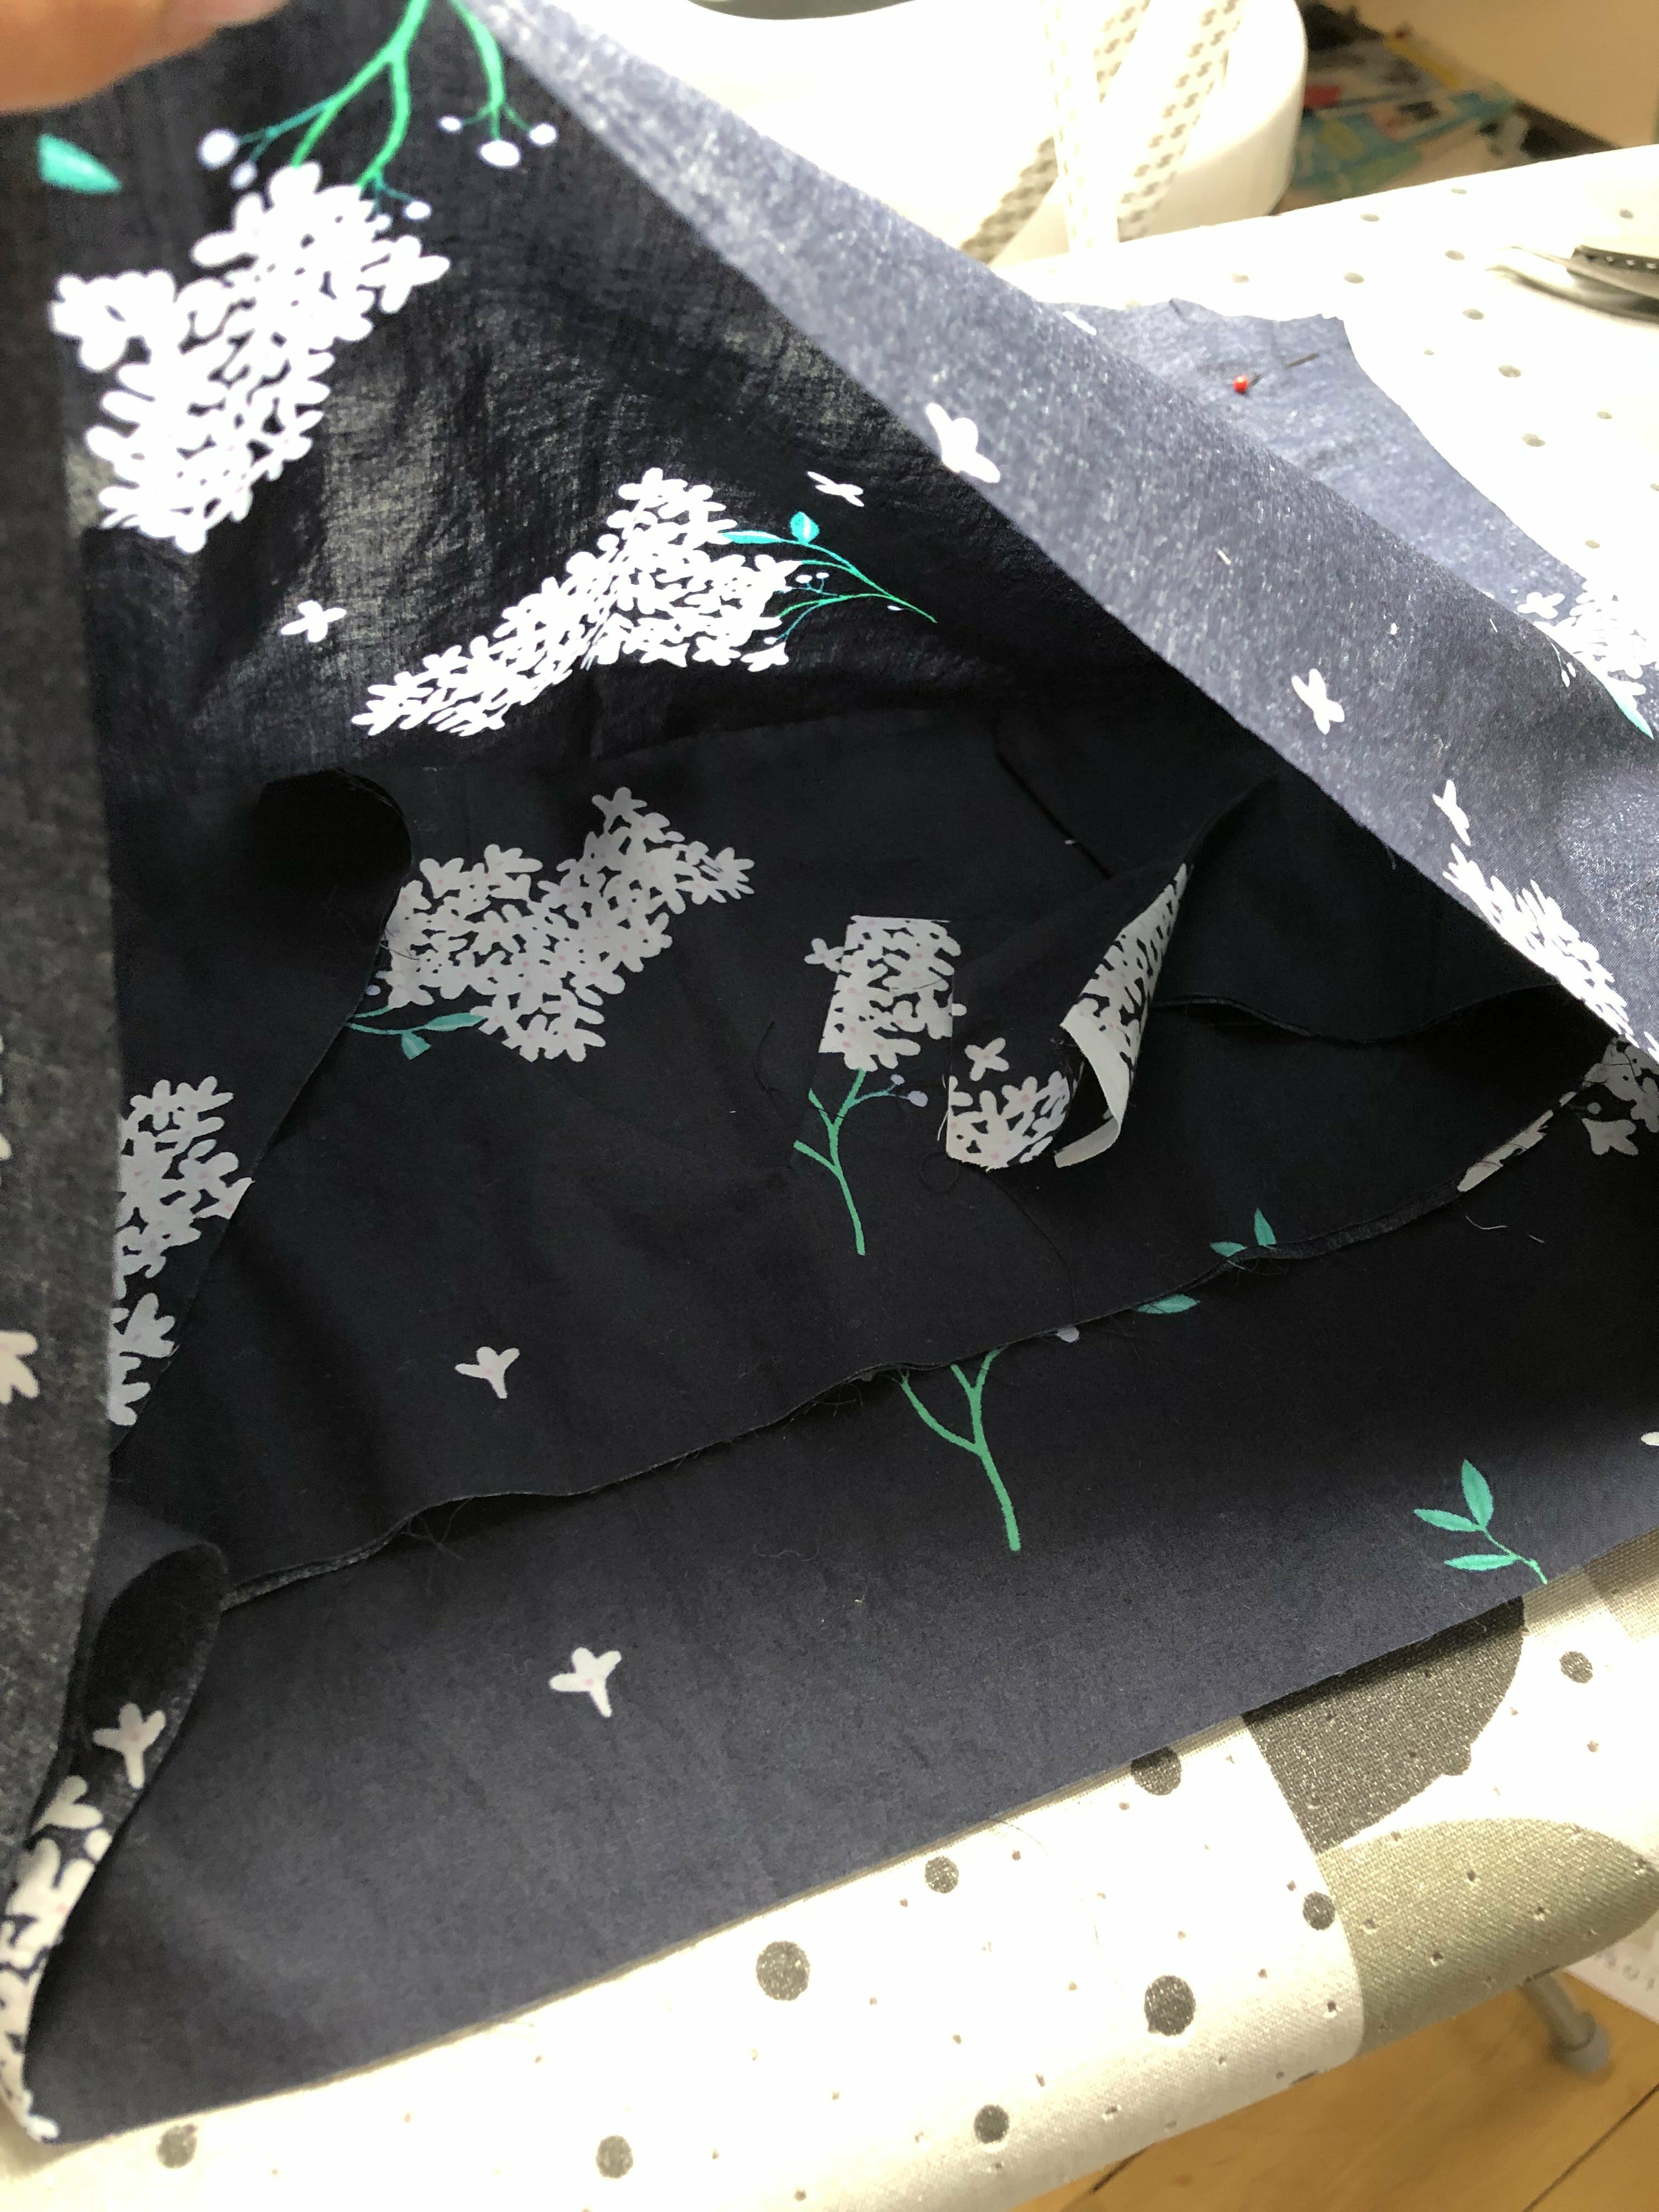
Turn this indside out and press again.

To make the back, fold the edge twice ant topstitch in place.
Sew the darts on the front piece and attach it to the top part (top fabric only). Fold the edge of the lining and topstitch in place to give a nice finish to the inside.

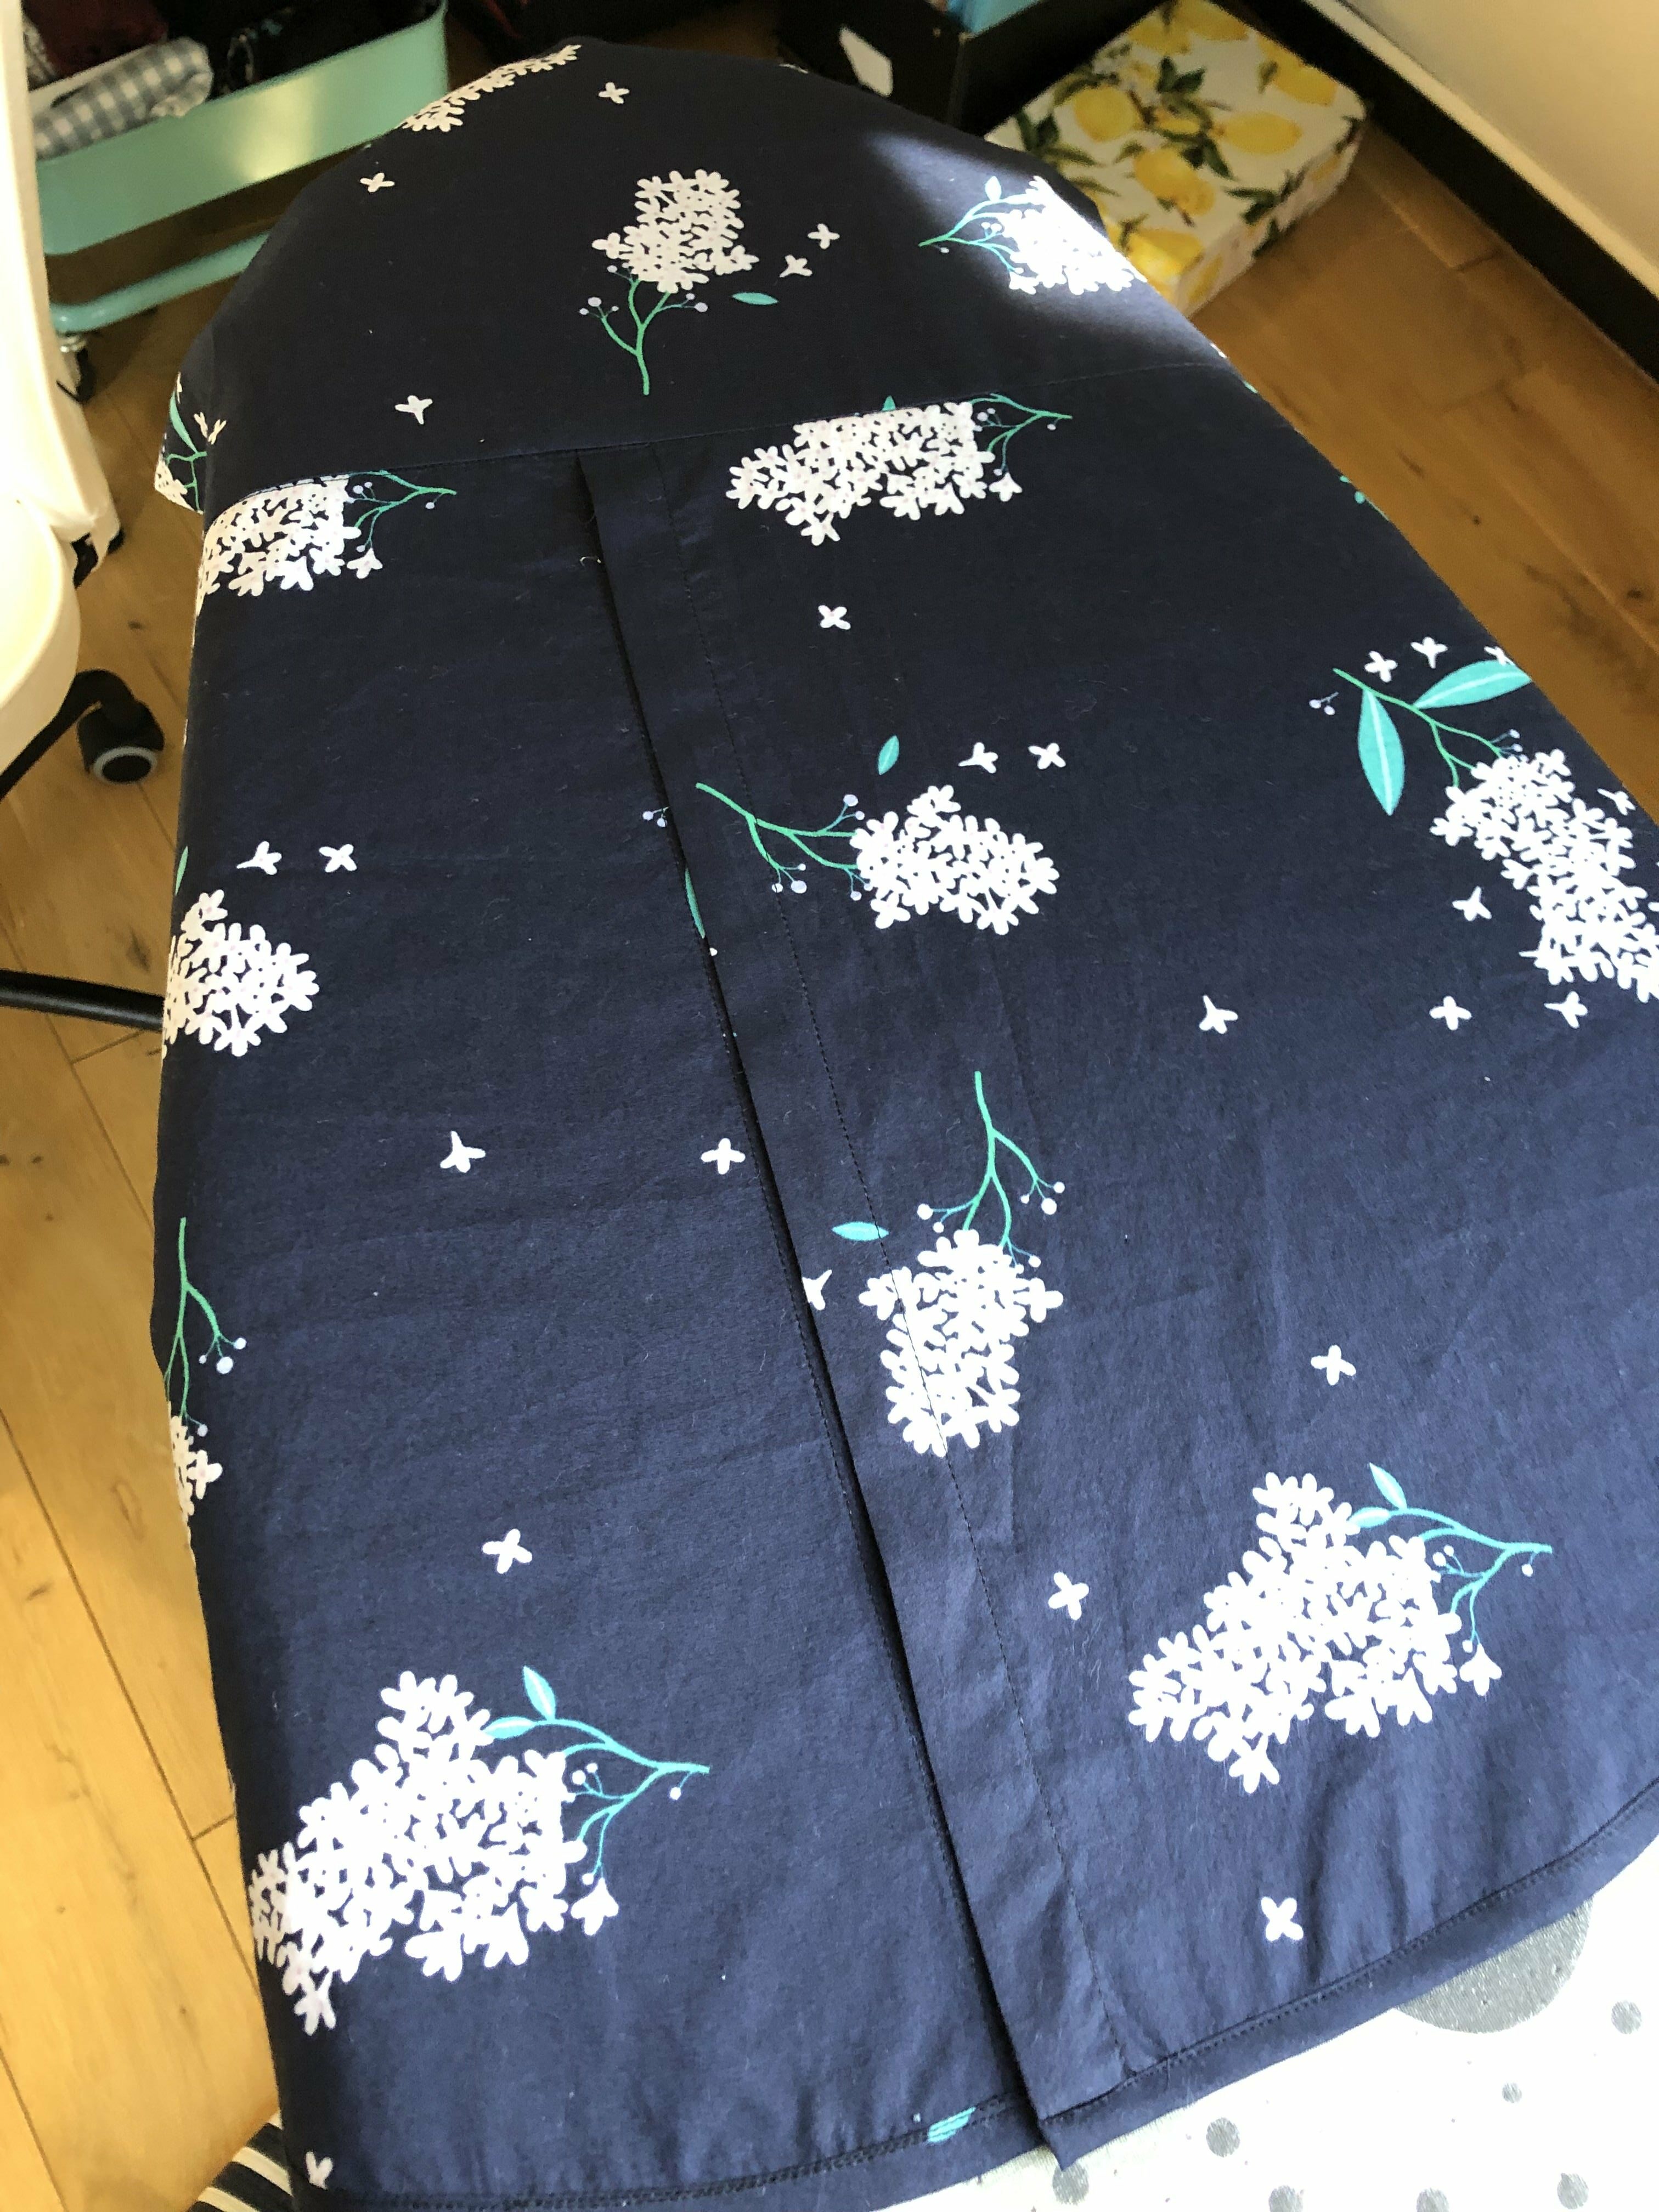
Back view without the buttons
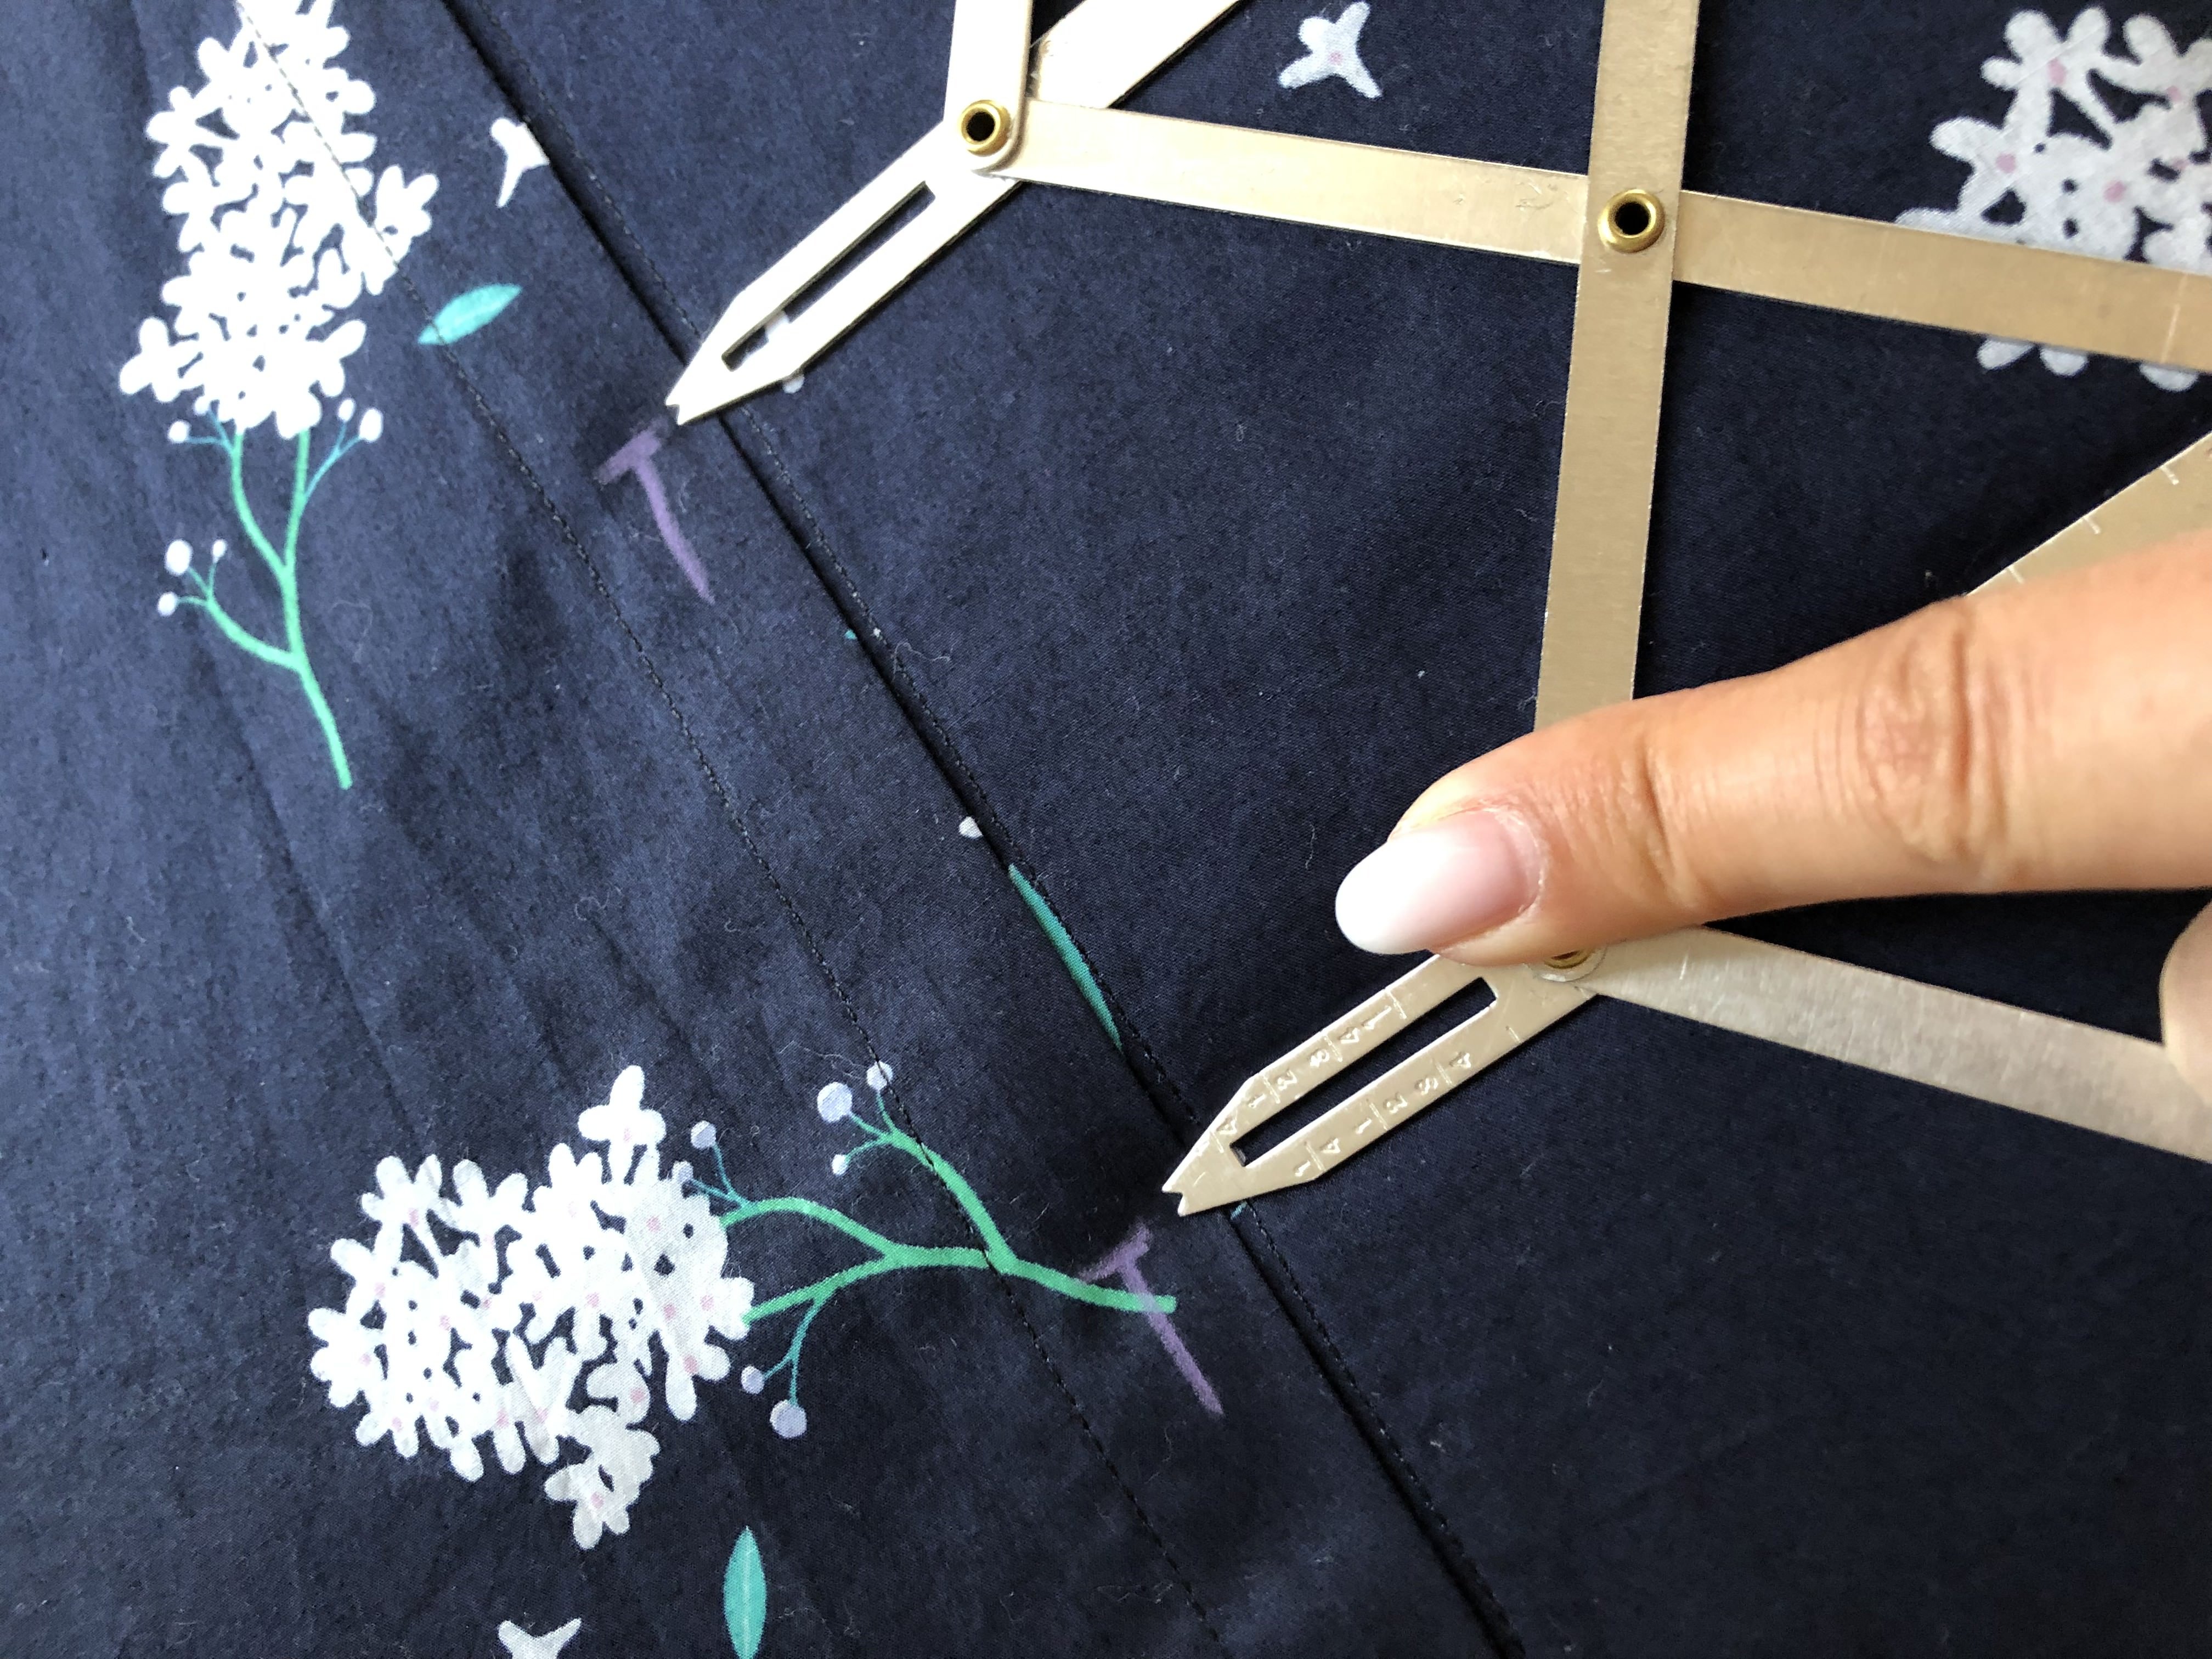
Here is where I made a mistake. I evenly spaced the buttons along the back when I should have just transferred the original placement. You’ll see in the finished piece that the blouse could profit if the buttons were placed higher
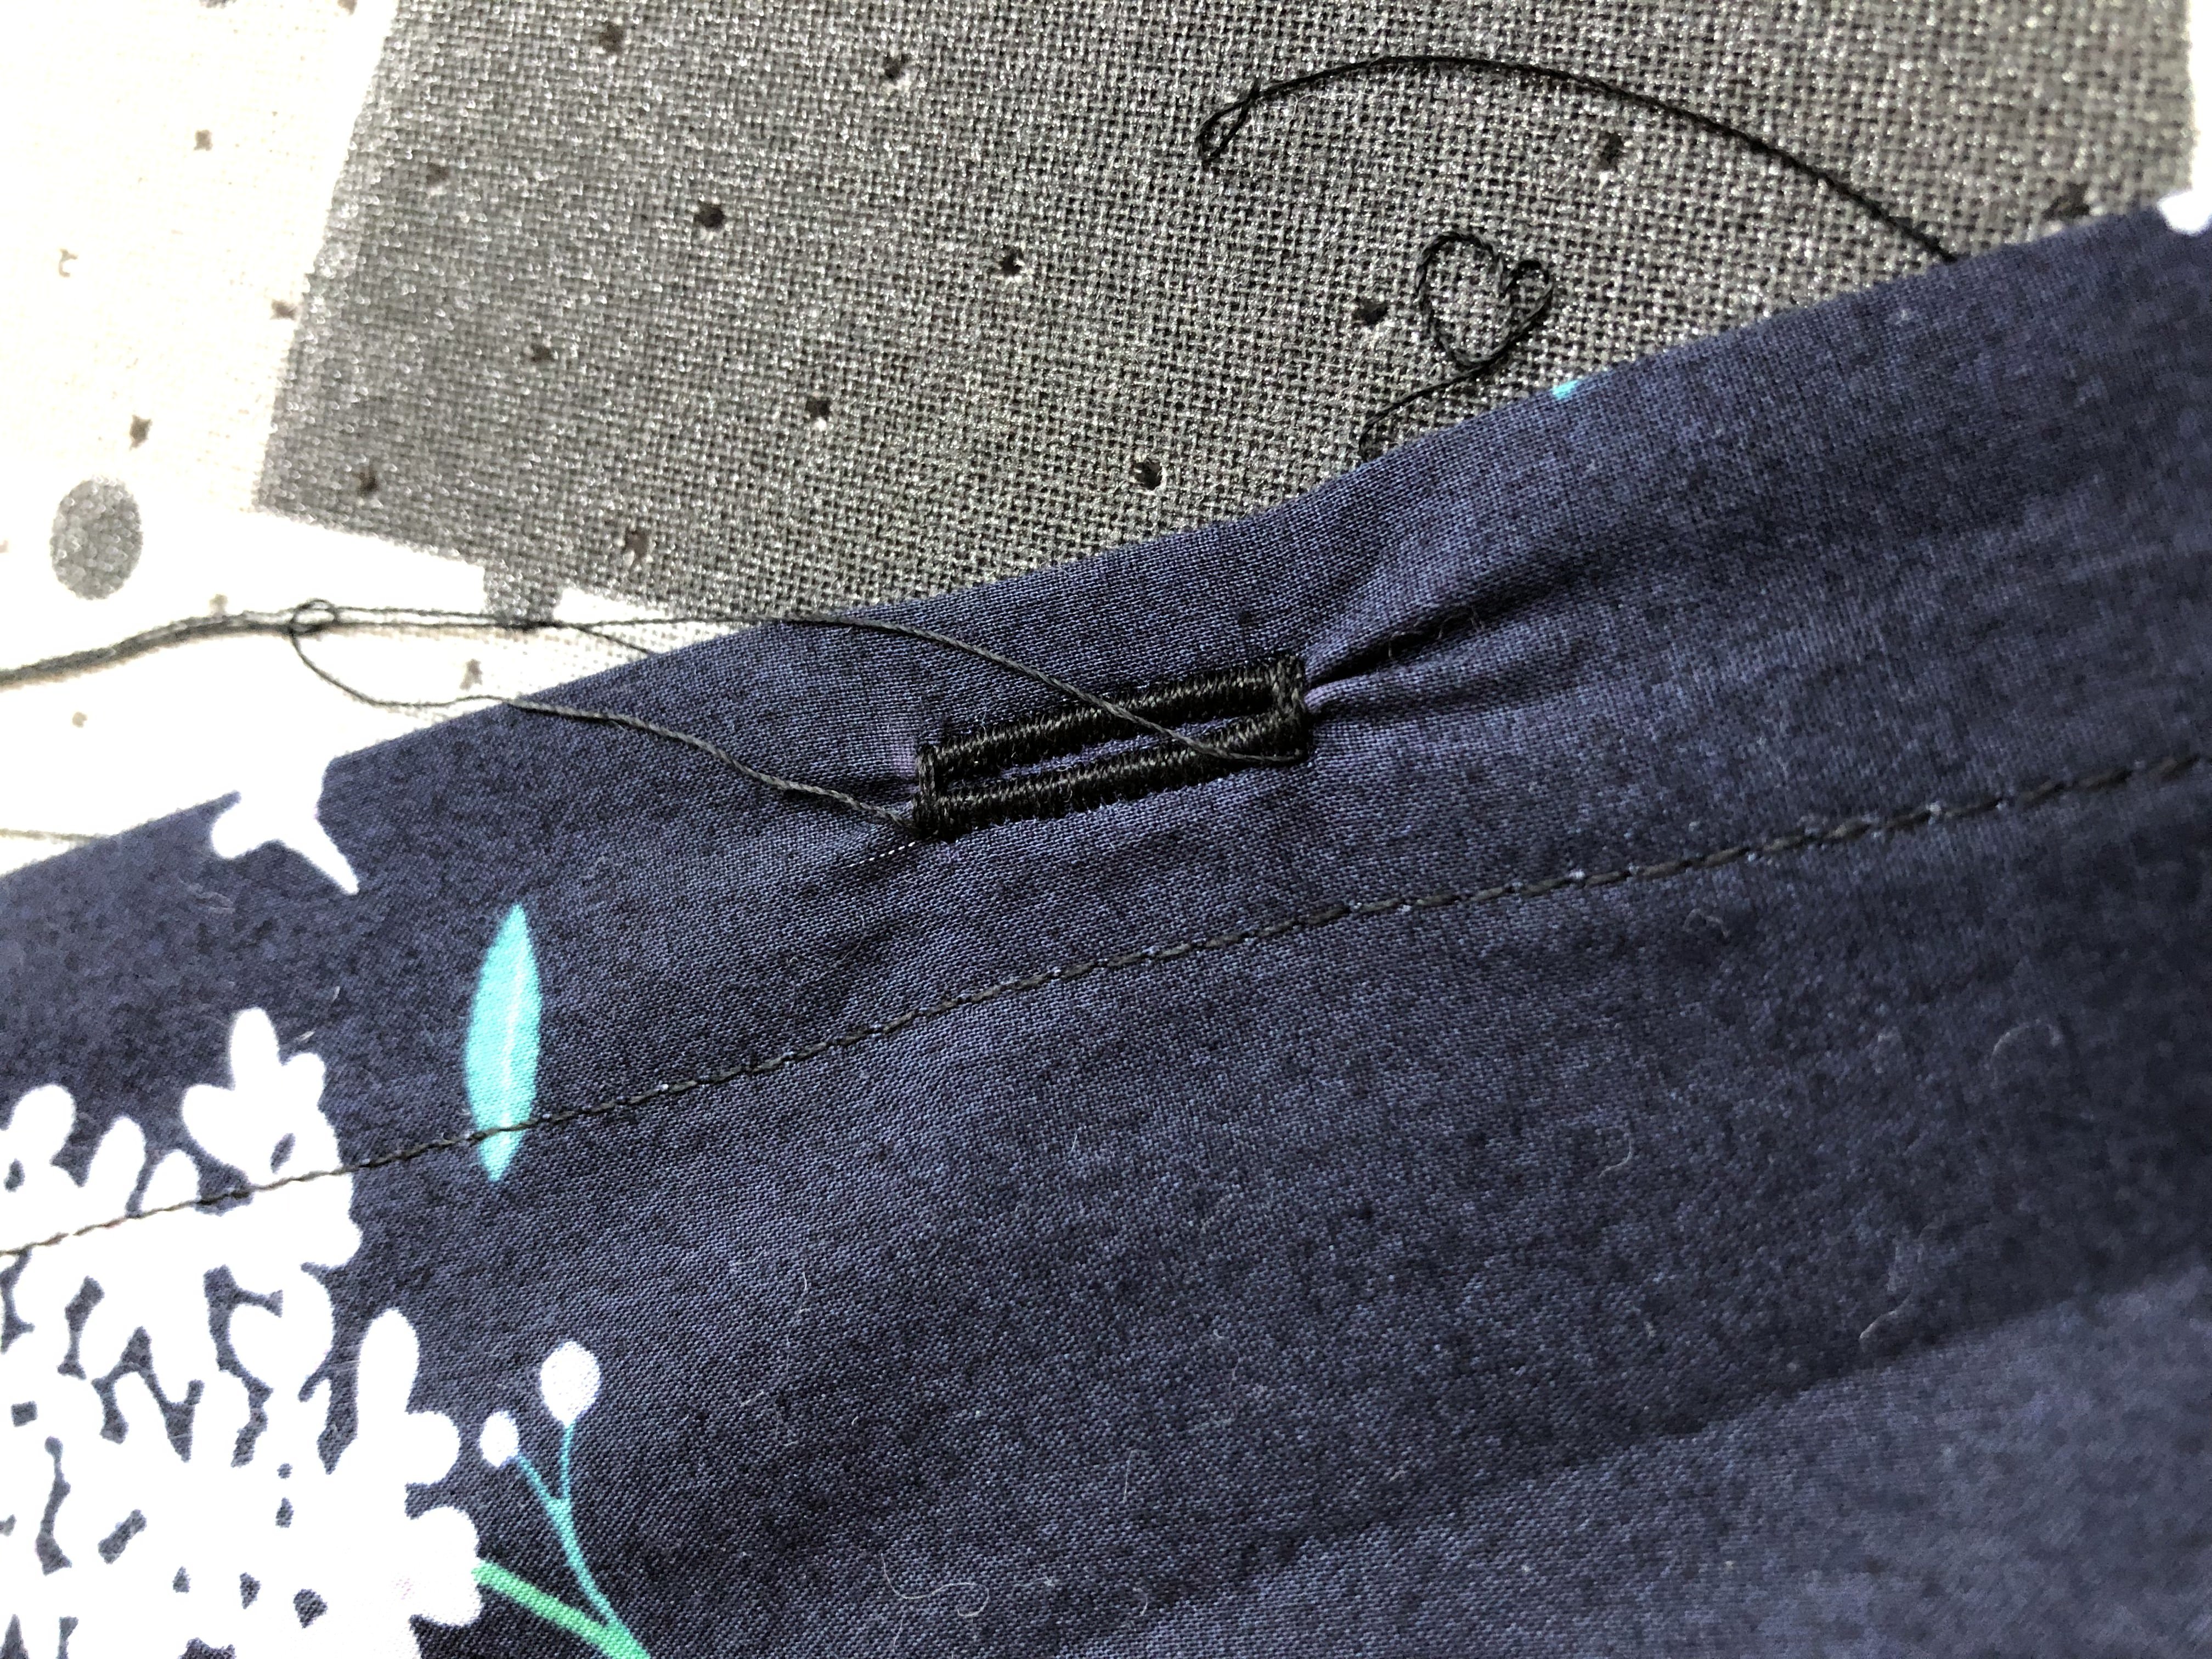
And another tip that, sadly, was not included in the instructions. Stabilize your buttonholes. My fabric was so lightweight that the buttonholes practically pulled it together.

You can clearly see what I described before with the buttons.
Apart from the little issue at the back (will need to do a slight swayback adjustment in the future) I love love love the Datura Blouse. It fits me nicely and the fabric is so lightweight that it feels like I am not wearing anything at all. I will definitely make more and try different versions too.
Even the cutouts turned out nicely!
Oh, and before I forget: I made the recommended size for my measurements without a FBA and it was perfectly fine.
That’s it. Happy Sewing!
Nadine

Lovely blouse. Thank you for the heads up on the buttonhole stabilising. Please can you tell me what size bias binding maker you used please? Thank you x