 BERNINA Corporate Blog -
In this lesson we will take a look at the General Toolbar. There are many tools; each with their own properties.
![]()
They vary from opening and outputting designs, accessing them to closing (docker windows). When opening V8, some options are grayed-out, which means they are not active at that moment. Once editing and selecting objects etc., they will be active.
Some tools are similar to other software: many are universal, but I will explain the functions of each tool for your convenience, starting from left to right.
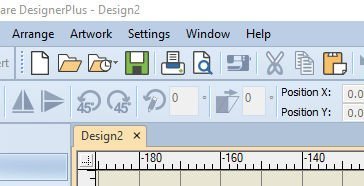
1) New blank design – Ctrl+N = to open/create a new design, is a tab on your workspace. The picture above shows ‘Design2’, because I have deleted ‘Design1’. Every time you click on this tool, a new designsheet is added, showing a tab with the next number; ‘Design3’, ‘Design4’, etc.
Ctrl+N is a keyboard shortcut for this function. (While holding down the Control Key, press the N to open/create a new design. This combination of holding down the key and press the required letter applies to all shortcuts listed below)
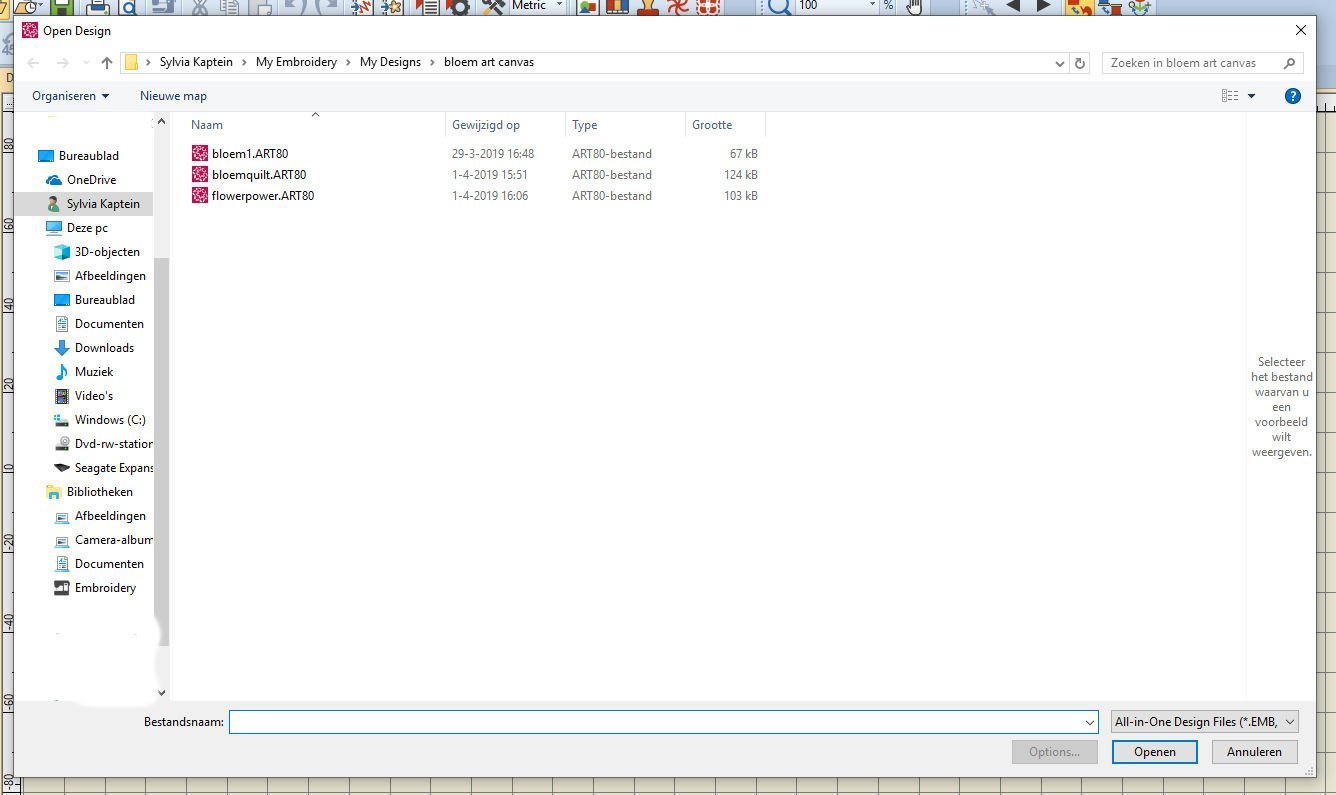
2) Open design – Ctrl+O = to open an existing design. You can browse through your own (purchased or designed) files, or the BERNINA library with the ready-to-stitch designs. Travel through the folders until you find the design, double click on this design to open it in V8, or click and use the command button ‘Open’.
Ctrl+O is a keyboard shortcut for this function.

3) Open recent designs = opens the last couple of designs (six) you have been working on. This is very convenient if you are out of time and want to proceed another day: just save your designs, open the next time and click on the one you want to edit.

4) Save Design – Ctrl+S = save the current design. You can choose where, by finding the folder of your choice. Each V8-design is saved as .ART80 by default. Be sure to change the name of the file only, not of the extension.
Ctrl+S is a keyboard shortcut for this function.
5) Print = Print active designs using current settings: a shortcut. Or use Ctrl+P, again a keyboard shortcut for this function, but is not indicated with the tool.
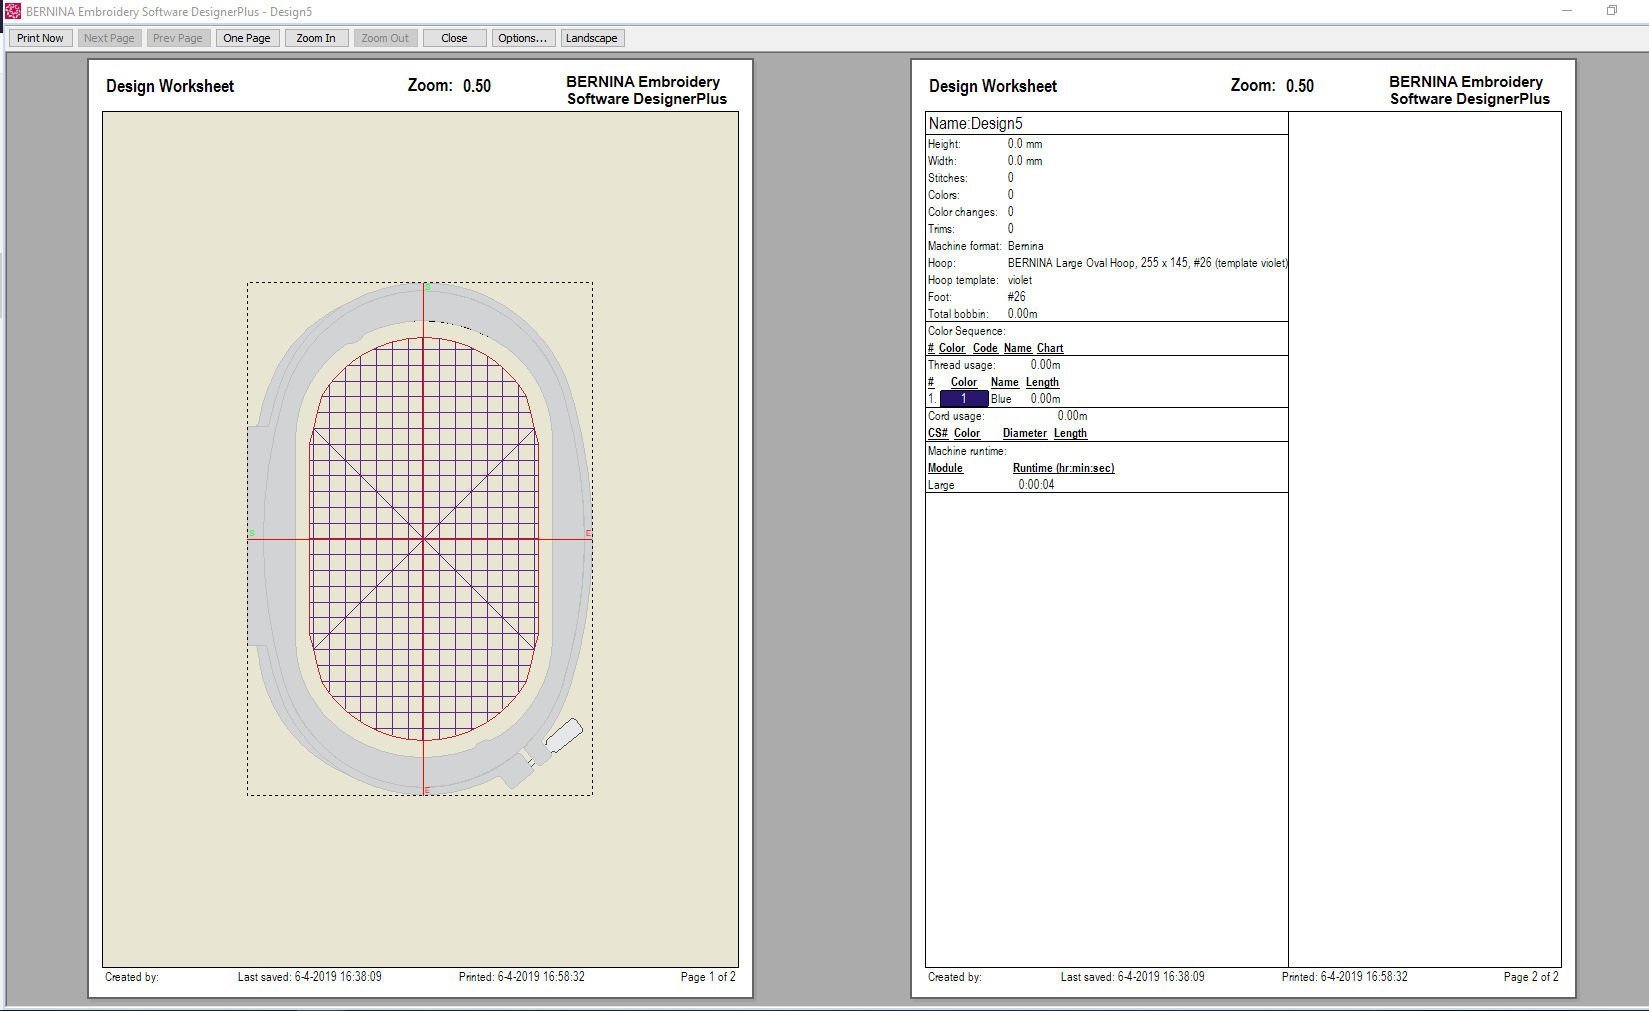
6) Print preview = This shows you your design worksheet, with all the information for embroidery. After saving your design, this is the first thing to check. At this point you can see if all is right, you can ‘Close’ this sheet to go back to your design and edit it, saving it again etc.
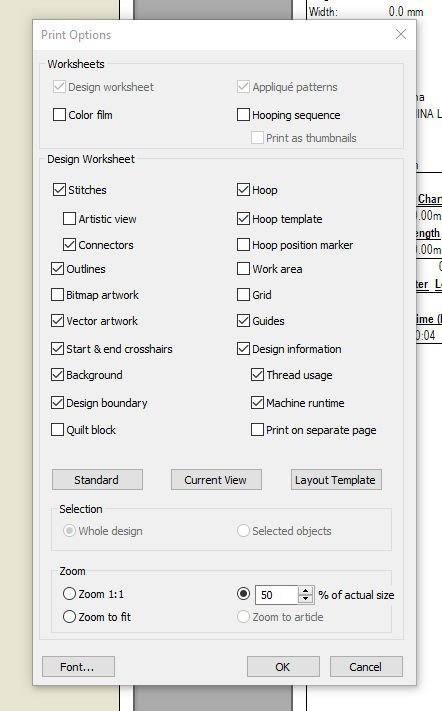
If you want to, you can change the settings with print preview by clicking on ‘options’, and click on boxes for options to specify the settings of the printout. You can zoom, to get a 1:1 printout, letting you check the actual size of the design before even bringing it to the machine, or you can change the design information which will appear on the printout. If you are ready changing options, click on OK, and ‘Print Now’ to actually print this preview.

7) Write to card/machine = If your workspace is empty, this option is grayed-out. It will be activated after selecting an object/embroidery motif on your workspace.
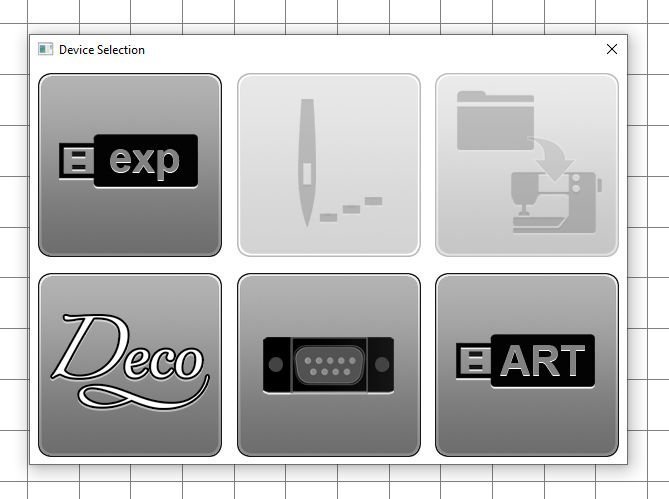
Click on the icon, then on EXP for writing your embroidery motif to your BERNINA machine for .EXP files, or choose another option if you own another brand of machine.
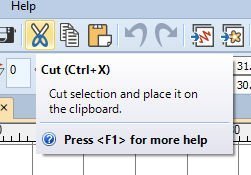
8) Cut – Ctrl+X – Activated when selecting an embroidery motif on your workspace. You can select an object and cut it. It will be placed on the MS Windows® Clipboard*: a temporary storage (somewhere in Cyberspace…). You can paste the selection as much as you want, either within the same design, or another, until replaced on the Clipboard. After clicking on this tool, the selected section dissapears from your workspace. You can either click on the workspace again to see it reappear, or click on ‘File’, ‘New’ to place it on a new tab.
Ctrl+X is a keyboard shortcut for this function.
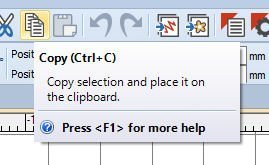
9) Copy – Ctrl+C – Similar function as 8). Activated after selecting (a piece of) an object. It will be placed on the MS Windows® Clipboard*: a temporary storage. You can paste the selection as much as you want, either within the same design, or another, until replaced on the Clipboard. After clicking on this tool, the selected section is still visible on your workspace. You can either click on the workspace again, where it is placed on top of the original (then drag and place it somewhere else on the same workspace), or click on ‘File’, ‘New’ to place it on a new tab.
Ctrl+C is a keyboard shortcut for this function.
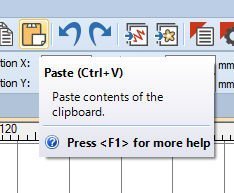
10) Paste – Ctrl+V – Placing the cut or copied section/object on a new/the same workspace. Use this tool after clicking on 8) or 9). Use it as much as you want: there will be a clone or duplicate with each click. Notice: if you want to copy the same object 2 or more times, click for the first copy, then click and drag it to another section of your workplace. Click again for the 2nd copy, and move that too etc. You cannot paste 2 or 3 at once, just click them one at the time, and repeat.
Ctrl+V is a keyboard shortcut for this function.

11) Undo Delete – Ctrl+Z – One step back. Made a mistake? This is the fastest way to undo. Want to undo more? Keep clicking….
Ctrl+Z is a keyboard shortcut for this function.
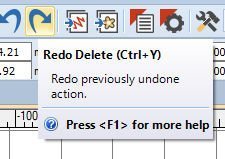
12) Redo Delete – Ctrl+Y – One step forward. Something undone? You can get it back by clicking on this tool. There must be something on your worksheet, or at least some actions before, or this option is grayed-out. Makes sense, right?
Ctrl+Y is a keyboard shortcut for this function.
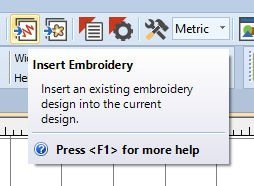
13) Insert Embroidery – Inserting an existing embroidery design into the current design.
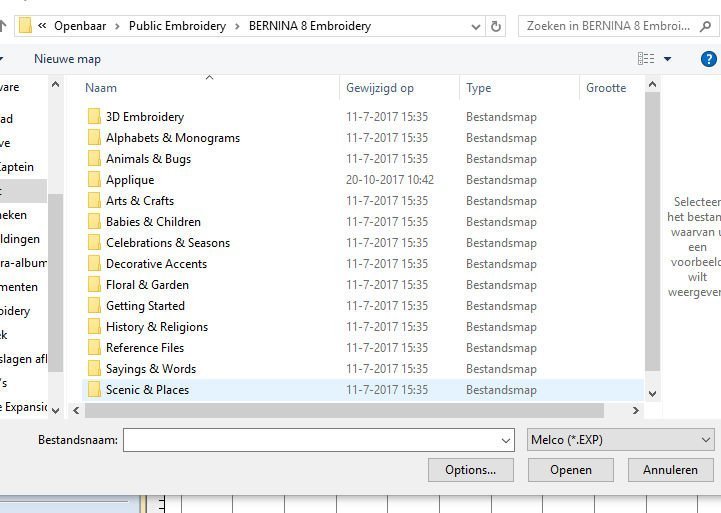
Click on this tool: it opens the BERNINA Library, or you can browse through your own files. You can type the filename and click on ‘Open’ (I keep seeing Dutch texts, but hopefully you will only see English). The embroidery motif is placed on your workspace.
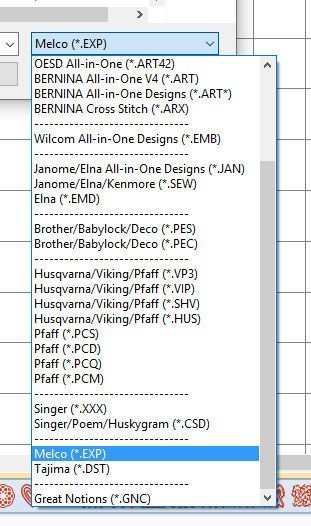 Bottom right shows ‘Melco (*.EXP), and an arrow. That means at this time it opens only files with this format. Click on the arrow for much more formats, for embroidery motifs of many other types of machines. How great is that?
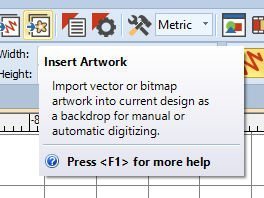
14) Insert Artwork – Import vector or bitmap artwork into current design as a backdrop for manual or automatic digitizing. Getting images from your files, like pictures, Clipart etc, after saving them in the BERNINA Library.
BEWARE of the fact that you cannot directly import all Clipart which is available in CorelDRAW anymore (after Update 8.0 – 1). To do so, you will have to to launch ‘CorelDRAW Connect’ – which is available on your desktop. Find the vector images or .bmp, click and save it in the BERNINA Library. After this action, you can import it directly from the BERNINA Library.
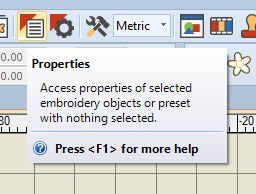
15) Properties – this will give you access to the properties of selected embroidery objects or preset with nothing selected.
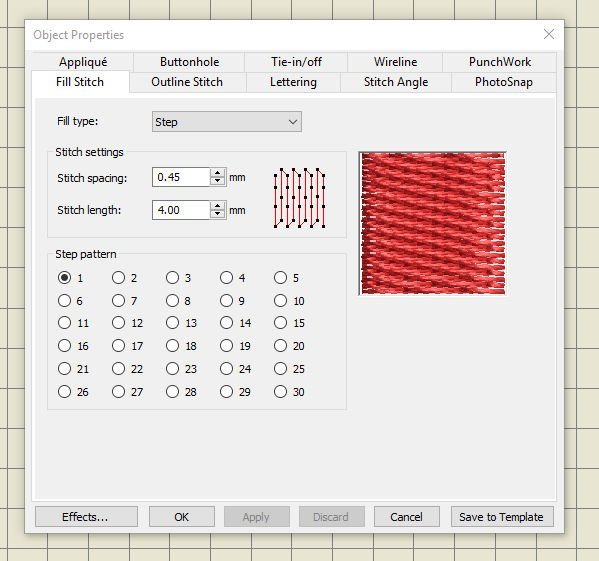
By default (with nothing selected) the ‘Fill Stitch’ tab opens, but you can click on any tab, from Appliqué, Buttonhole, Tie-in/off, Wireline, PunchWork, Outline Stitch, Lettering, Stitch Angle and PhotoSnap.

16) Effects – used to apply stitch effects to selected embroidery objects or preset with nothing selected.
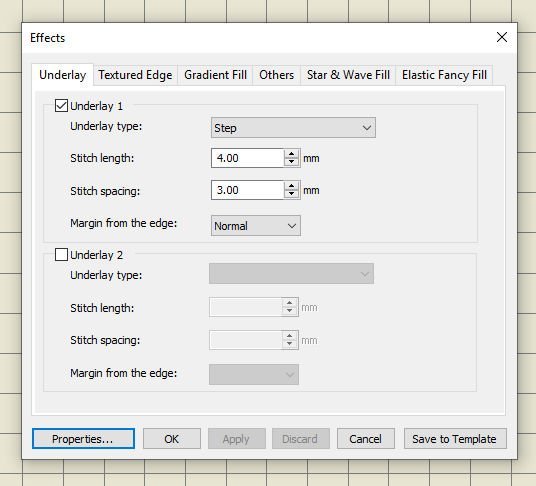
Six tabs are available, each with their own properties: Underlay (opened by default), Textured Edge, Gradient Fill, Others, Star & Wave Fill and Elastic Fanci Fill.
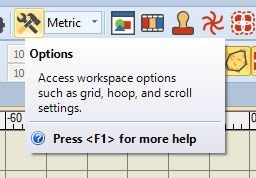
17) Options – this gives you access to workspace options such as grid, hoop, and scroll settings.
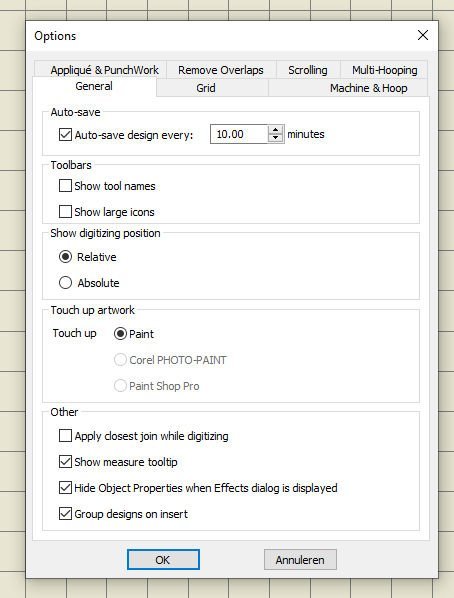
Seven tabs are available: Appliqué & Punchwork, Romove Overlaps, Scrolling, Multi-hooping, General (opened by default), Grid and Machine & Hoop.

For ‘Object Properties, Effects and Options, you can also click on the command button ‘Settings’ on the Menu bar, then ‘choose one of the buttons. The same icons are shown.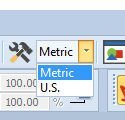
18) Measurement units – choose for Metric or US (inches). You can change this any time you want. It all depends if you work with patterns/projects in centimeters or meters, or with US patterns/projects, which are mostly in inches. Having this set to the proper measurement is easy, and enhances the accuracy of your project.
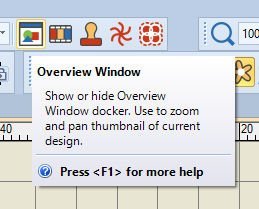 19) Overview Window – The first of the 5 icons for the ‘Dockers’: show or hide Overview Window docker: use to zoom and pan thumbnail of current design.
By default they can be found on the right of your workspace, but if they are removed, you can add them again by clicking on this icon. Dockers were already mentioned in Lesson 1.
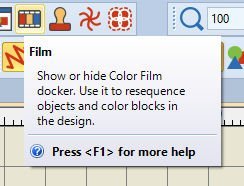
20) Film – The second of the 5 icons for the ‘Dockers’: Show or hide Color Film docker. Use it to resequence objects and color blocks in the design.

21) Stamp – The third of the 5 icons for the ‘Dockers: Show or hide Carving Stamp docker. Use preset or custom patterns to create a stitch pattern of needle penetrations.
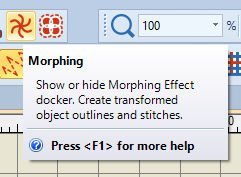
22) Morphing – The fourth of the 5 icons for the ‘Dockers’: Show or hide Morphing Effect docker. Create transformed object outlines and stitches.

23) CutWork – the fifth of the 5 icons for the ‘Dockers’: Show or hide CutWork Border docker. Use in conjunction with CutWork toolbox. You need this toolbox = straight stitch pate and CutWork tools in order to use this option: it has to be mounted on your sewing machine.
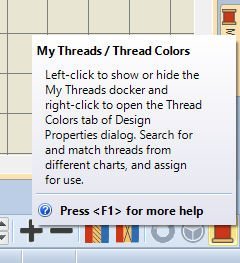
If you look carefully at all dockers available on the right of your workspace, you will see there is another/sixth docker: MyThreads. This docker can be added (if not present by default, or when removed) by clicking on the icon, bottom-right of your screen: the thead spool. This is for your personal threads/colors.

Dockers are placed on the right of your workspace, by clicking on their tab. They will fly-out and ar there for a while, but ‘withdraw’ after a short time.
To ‘set’ the docker, click on the pin: it is horizontal at the picture, but if you click on it, it will be vertical, i.e. pinned down.
To romove dockers (temporary) from you workspace: click on the cross, top right. You can always bring it back with icon 19 – 23 of the General Toolbar.
See you next time, when we will look at the properties of the View Toolbar!
Happy Stitching!
Sylvia Kaptein
Sylvia’s Art Quilts Studio
www.sylviasartquilts.nl
[email protected]
*MS Windows® Clipboard is is a special location in your computer’s memory that temporarily stores data that has been cut or copied from an embroidery motif in the BERNINA Software V8. It can be pasted to a new location.

The Bernina Artlink 8 is USELESS!!! I tried to create some text from alpha design I purchased and after several hours of pulling my hair out — I GIVE UP!!! This software is only good to open and see a design other than that it has NO VALUE!!! I will sharing that opinion with all of my FB, Instagram, Twitter, and sewing/quilting/embroidering friends — very disappointed!!!
Dear Flo,
Thank you for reaching out. As you say, the free BERNINA Artlink 8 Software does not offer a possibility to create your own designs. As communicated on the website (http://www.bernina.com/artlink8) Artlink 8 is for converting embroidery files into files for your machine, for example when you have purchased an embroidery design in a file format which can’t be used for your machine. Then you can open the design, select your machine & embroidery frame and to which format you want to convert it.
To create your own desings and use the functions described in this post, you would need to buy the full version of the BERNINA embroidery software. You can test its possibilities in a 30-days free trial if you first want to make sure if it can do what you are looking for. Please note that the free trial has restricted possibilities, as it is a free trial. You can find the free trial at the top and bottom of this website:
http://www.bernina.com/v8
Please let me know if you have further questions, or you can get in contact with a BERNINA dealer near you to ask more about the full version of the BERNINA embroidery software.
Kind regards,
Ramona from BERNINA International