 BERNINA Corporate Blog -
I am often asked: ‘How do you learn to make these beautiful Free Motion feathers? Despite workshops and demo’s quilters keep struggling with free motion feathers. To make them look ‘natural’, working in different directions without turning the sandwich/quilt underneath the needle of the machine is not as easy as it sounds.
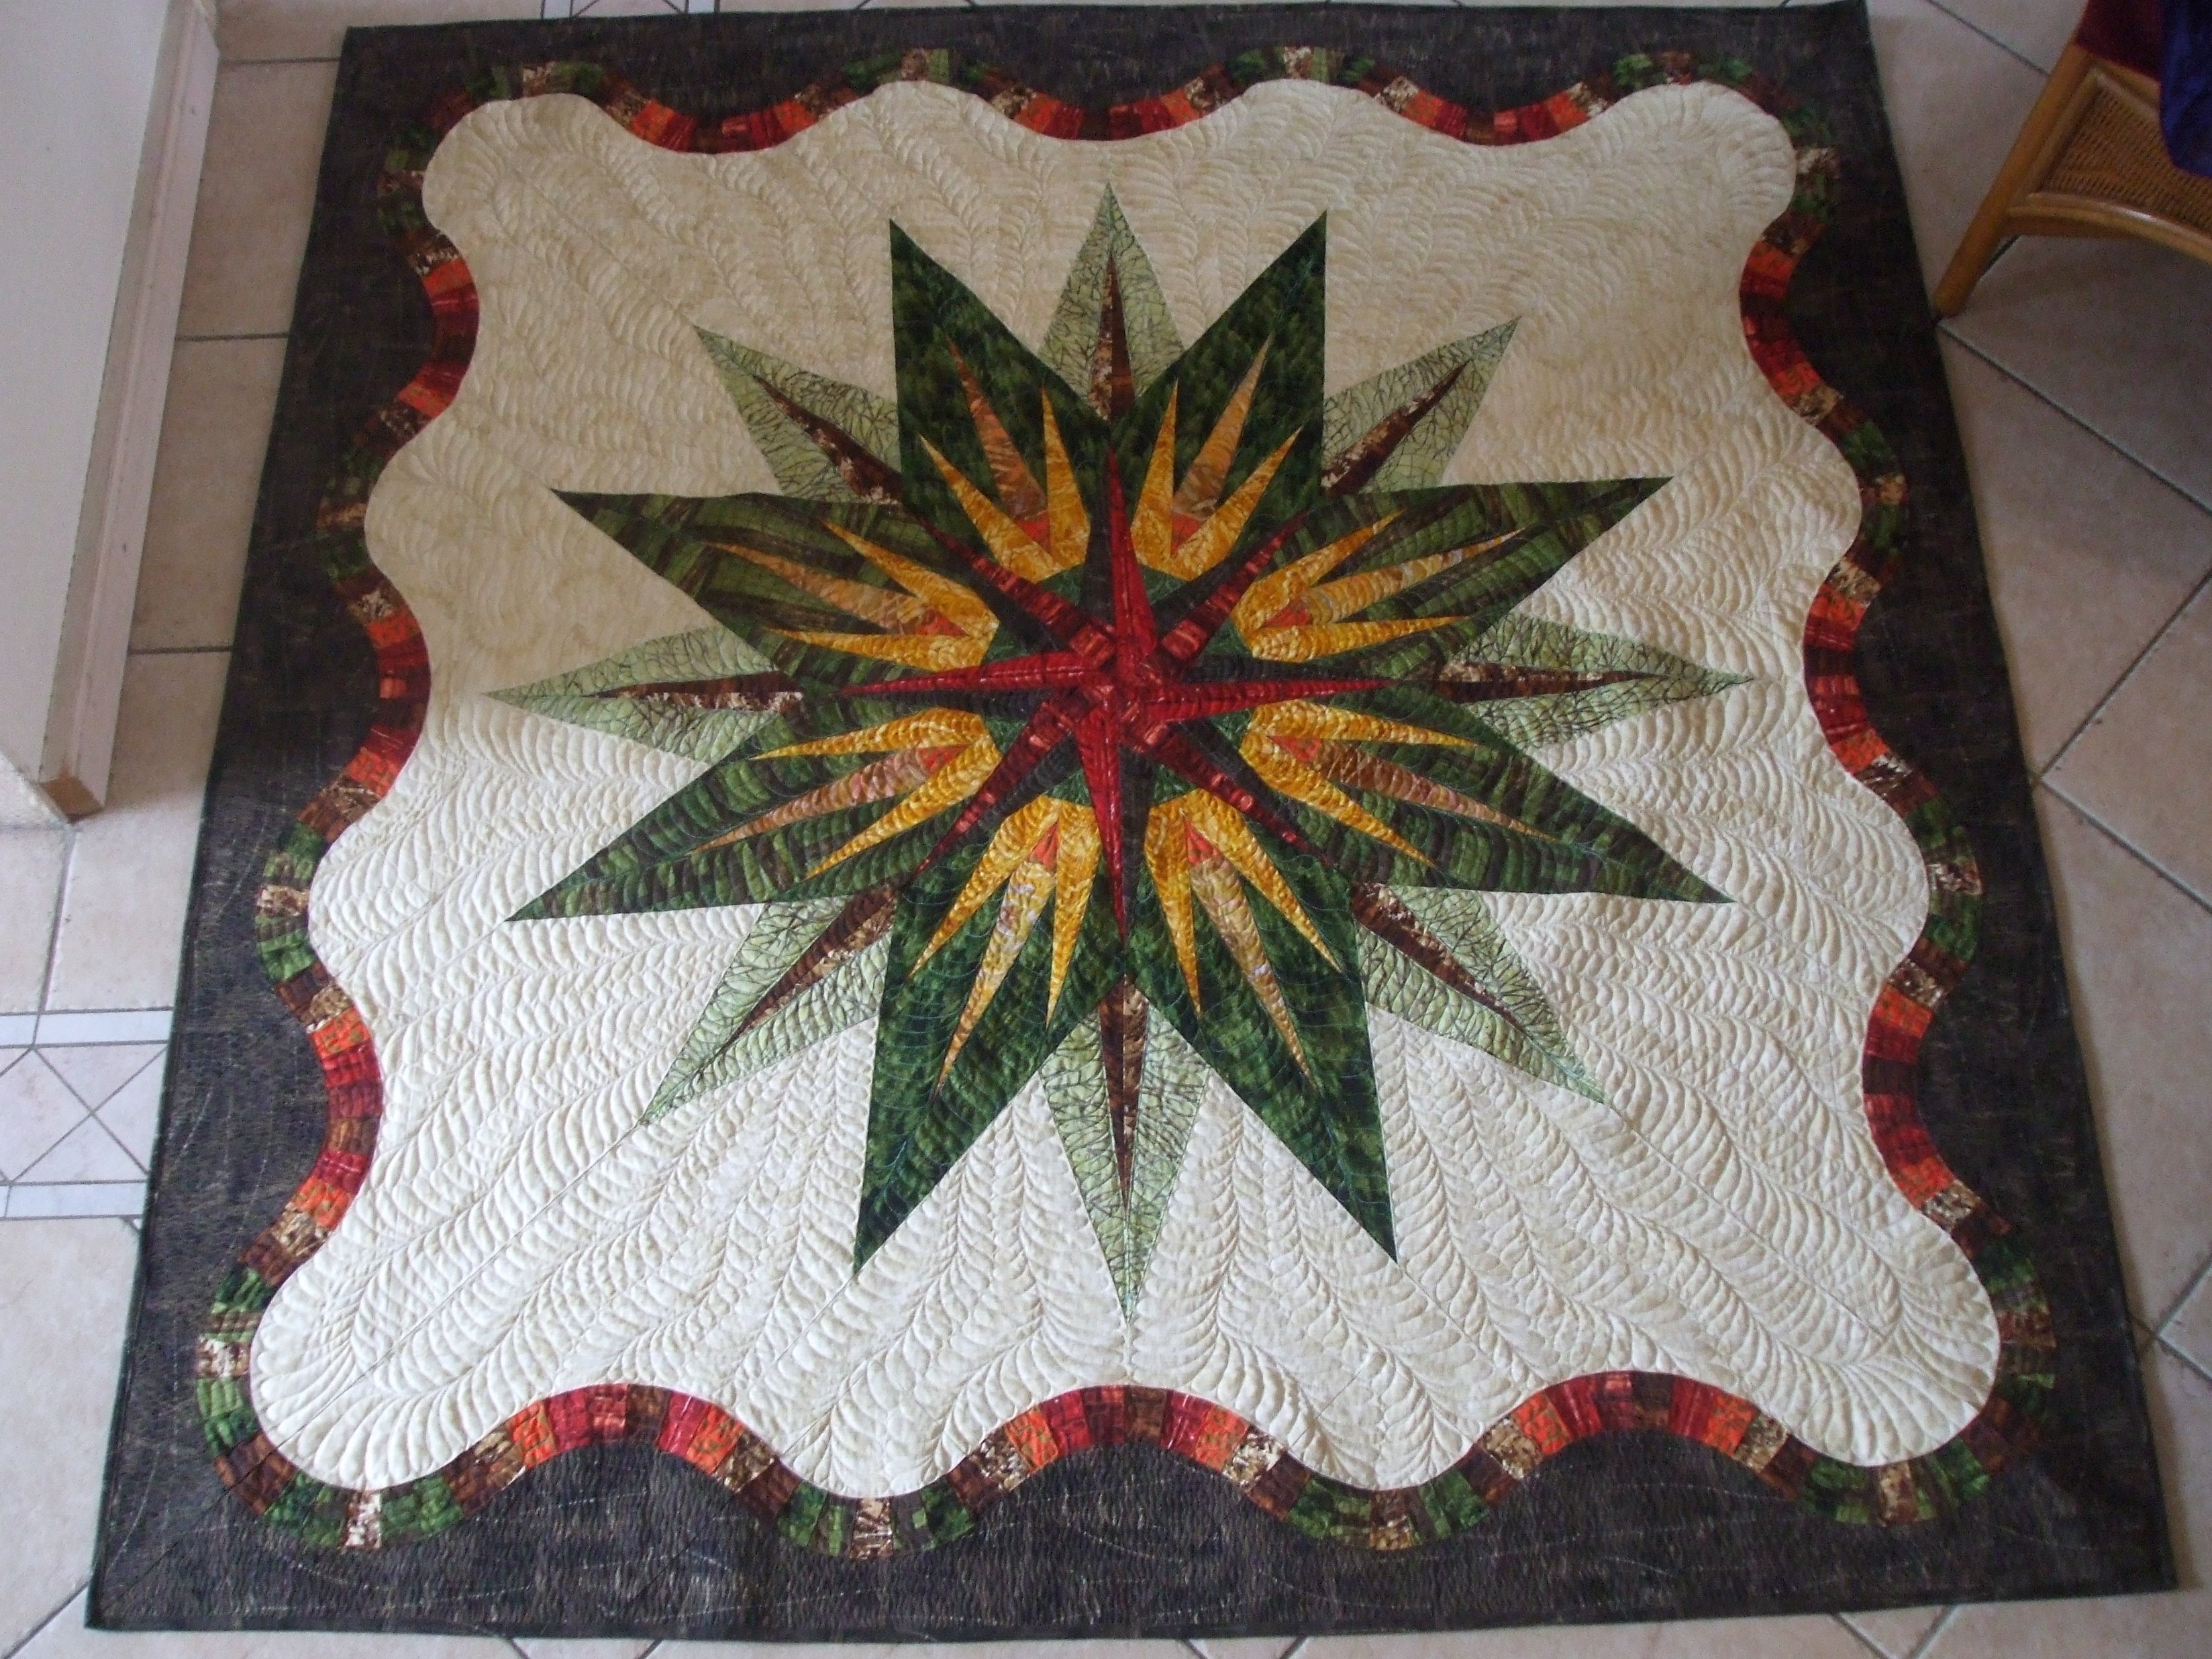
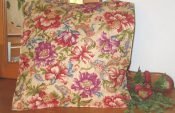
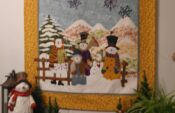
There is one thing you can do to improve your skills: practise, practise, practise. No matter how tedious this seems: it works. Making feathers free motion – simple or intricate – is learning to quilt in all directions, back and forth, sideways and diagonal. You will build the confidence to fill your quilts with feathers, the more you will practise. (The picture above shows one of my quilts, with feathers in the negative space: filling the light colored fabric. I have drawn the basic feather shapes only, and just counted all shapes of each feather along the base to be able to repeat them with a mirror image on the other side, because I wanted to get a symmetrical look, but that’s me! )

I your have mastered quilting feathers, and quilted them on a (larger) quilt, just look from a distance: are you happy with your work?. People often look up close, where irregularities always can be found, especially when you are searching for them. But the point is that the overall look should be ok. When looking at an oil painting, people step back to see the picture; not looking closer to see the paint strokes!
In the end, you are not a machine, although you will use one to quilt. There will be bumps and strange angles at first, but the more you make them the better you will become. In fact, it’s like drawing: the only difference is that you will move the sandwich/quilt and not your needle. Don’t be discouraged when things are not working the first time: your brains need to get used to the hand-eye coordination, and only time will improve your quilting skills.
Larger feathers are easier to quilt at first. The smaller the shapes of a feather, the more difficult it will be at first to master these quilting skills. Besides, your quilt will be stiffer and denser too. A beautiful feather is always an eye catcher, which makes people admire it. The smaller your feather, the less it will stand out. When working on a large quilt, keep the feathers proportionate. Big quilts, big feathers; smaller projects, smaller feathers.
But how to start? The best way is to draw feathers first, with pen and paper. A very simple method, without using your machine right away. Your brains have to get used to the hand-eye movement. No matter how you are drawing at first, the more the better.

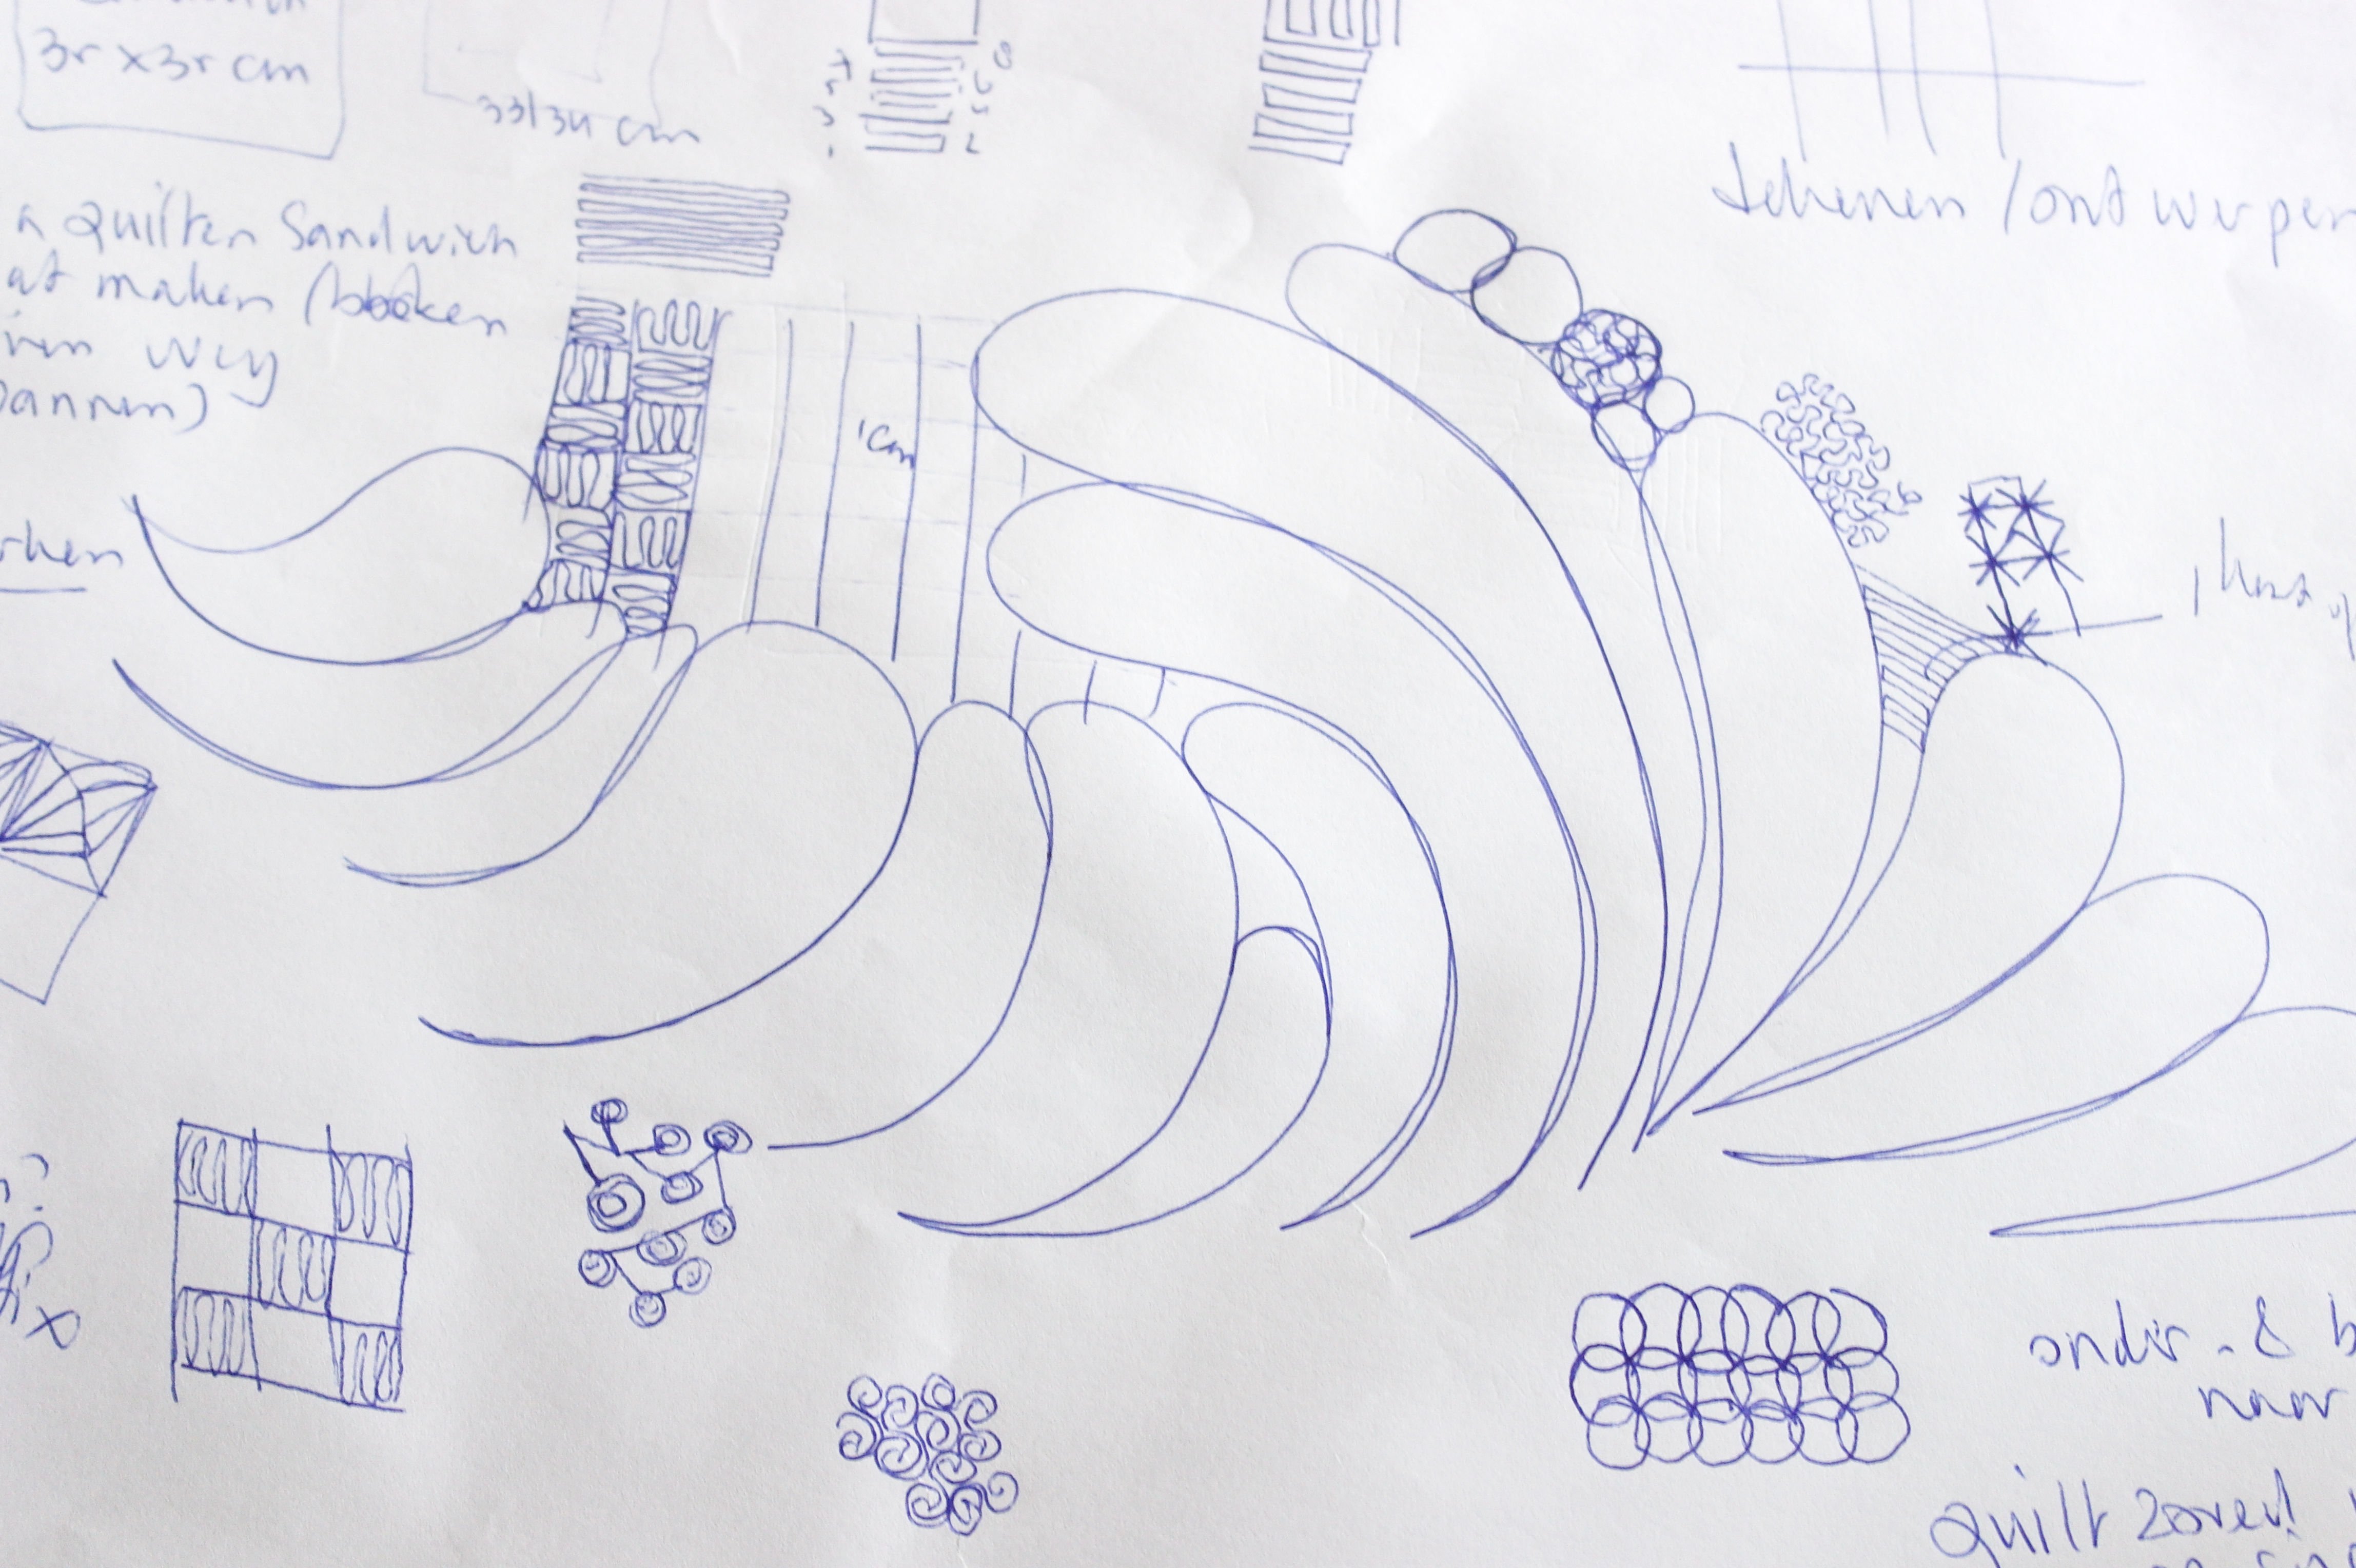
Before working on my sandwich, I have drawn many sampes of feathers. Making them simple or intricate, filling the negative spaces with small figures: just trying to see how it works. I am always keeping these doodles, no matter how ‘bad’ they are, because with this collection of test drawings I don’t have to look far for inspiration. I often draw on the right scale, to see if the feathers are suitable for my project. And finishing these exercises by hand, makes me ready for quilting with threads.

You can make basic feathers and custom feathers: keep them simple at first, but be creative. Be sure they are angled properly and make them round and plump, travel up to the next and stack them together. Extra curls, echoes, swirls, leaf shapes and double rows of feathers on top of each other are really fun to make. There are many variations possible: but learning the basic feather is essential.
I am also using the ‘negative’* space next to feathers, making small shapes. Drawing these figures by keeping my pen onto the paper, whatever direction I am drawing, to make a continuous line as will be done with the actual quilting. You simply cannot start and finish each shape of a feather, when quilting with your machine. There would be too many weak points after cutting threads.
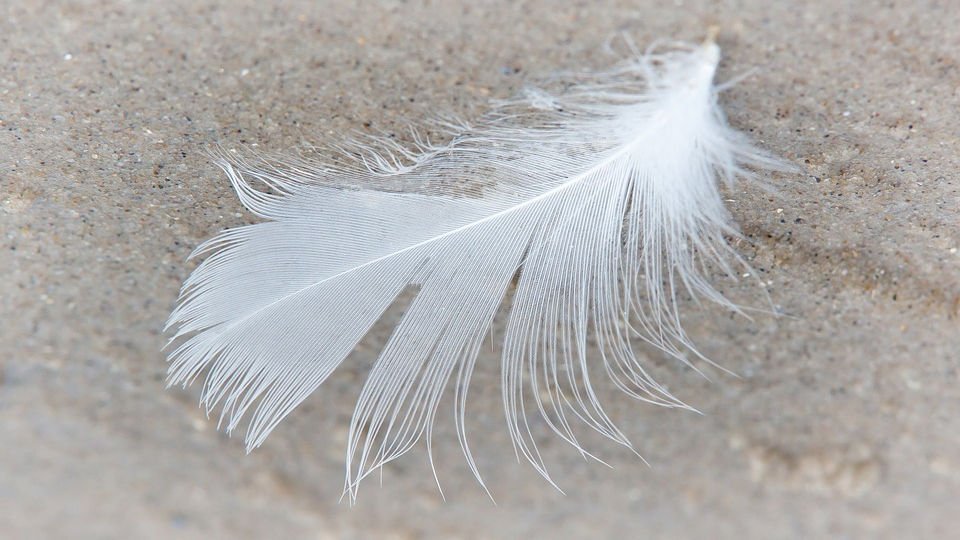
It is important to know what a natural vaned feather looks like: is it straight? No, always curved a little. Is it symmetrical? No, one side is often wider than the other side. Are all parts of the vane the same? No, the shaft itself can be thick at the bottom (sometimes covered with down) and really small at the end. Sometimes a feather is not smooth anymore (like the one in the picture above, because of wear), which means that if you look at such a feather as an example for your quilting, you can make smaller and larger shapes too. 
When seaching for a vector image (Clipart, beware of ©), something like this can be used to practice. You can download the drawing as a .pdf HERE .
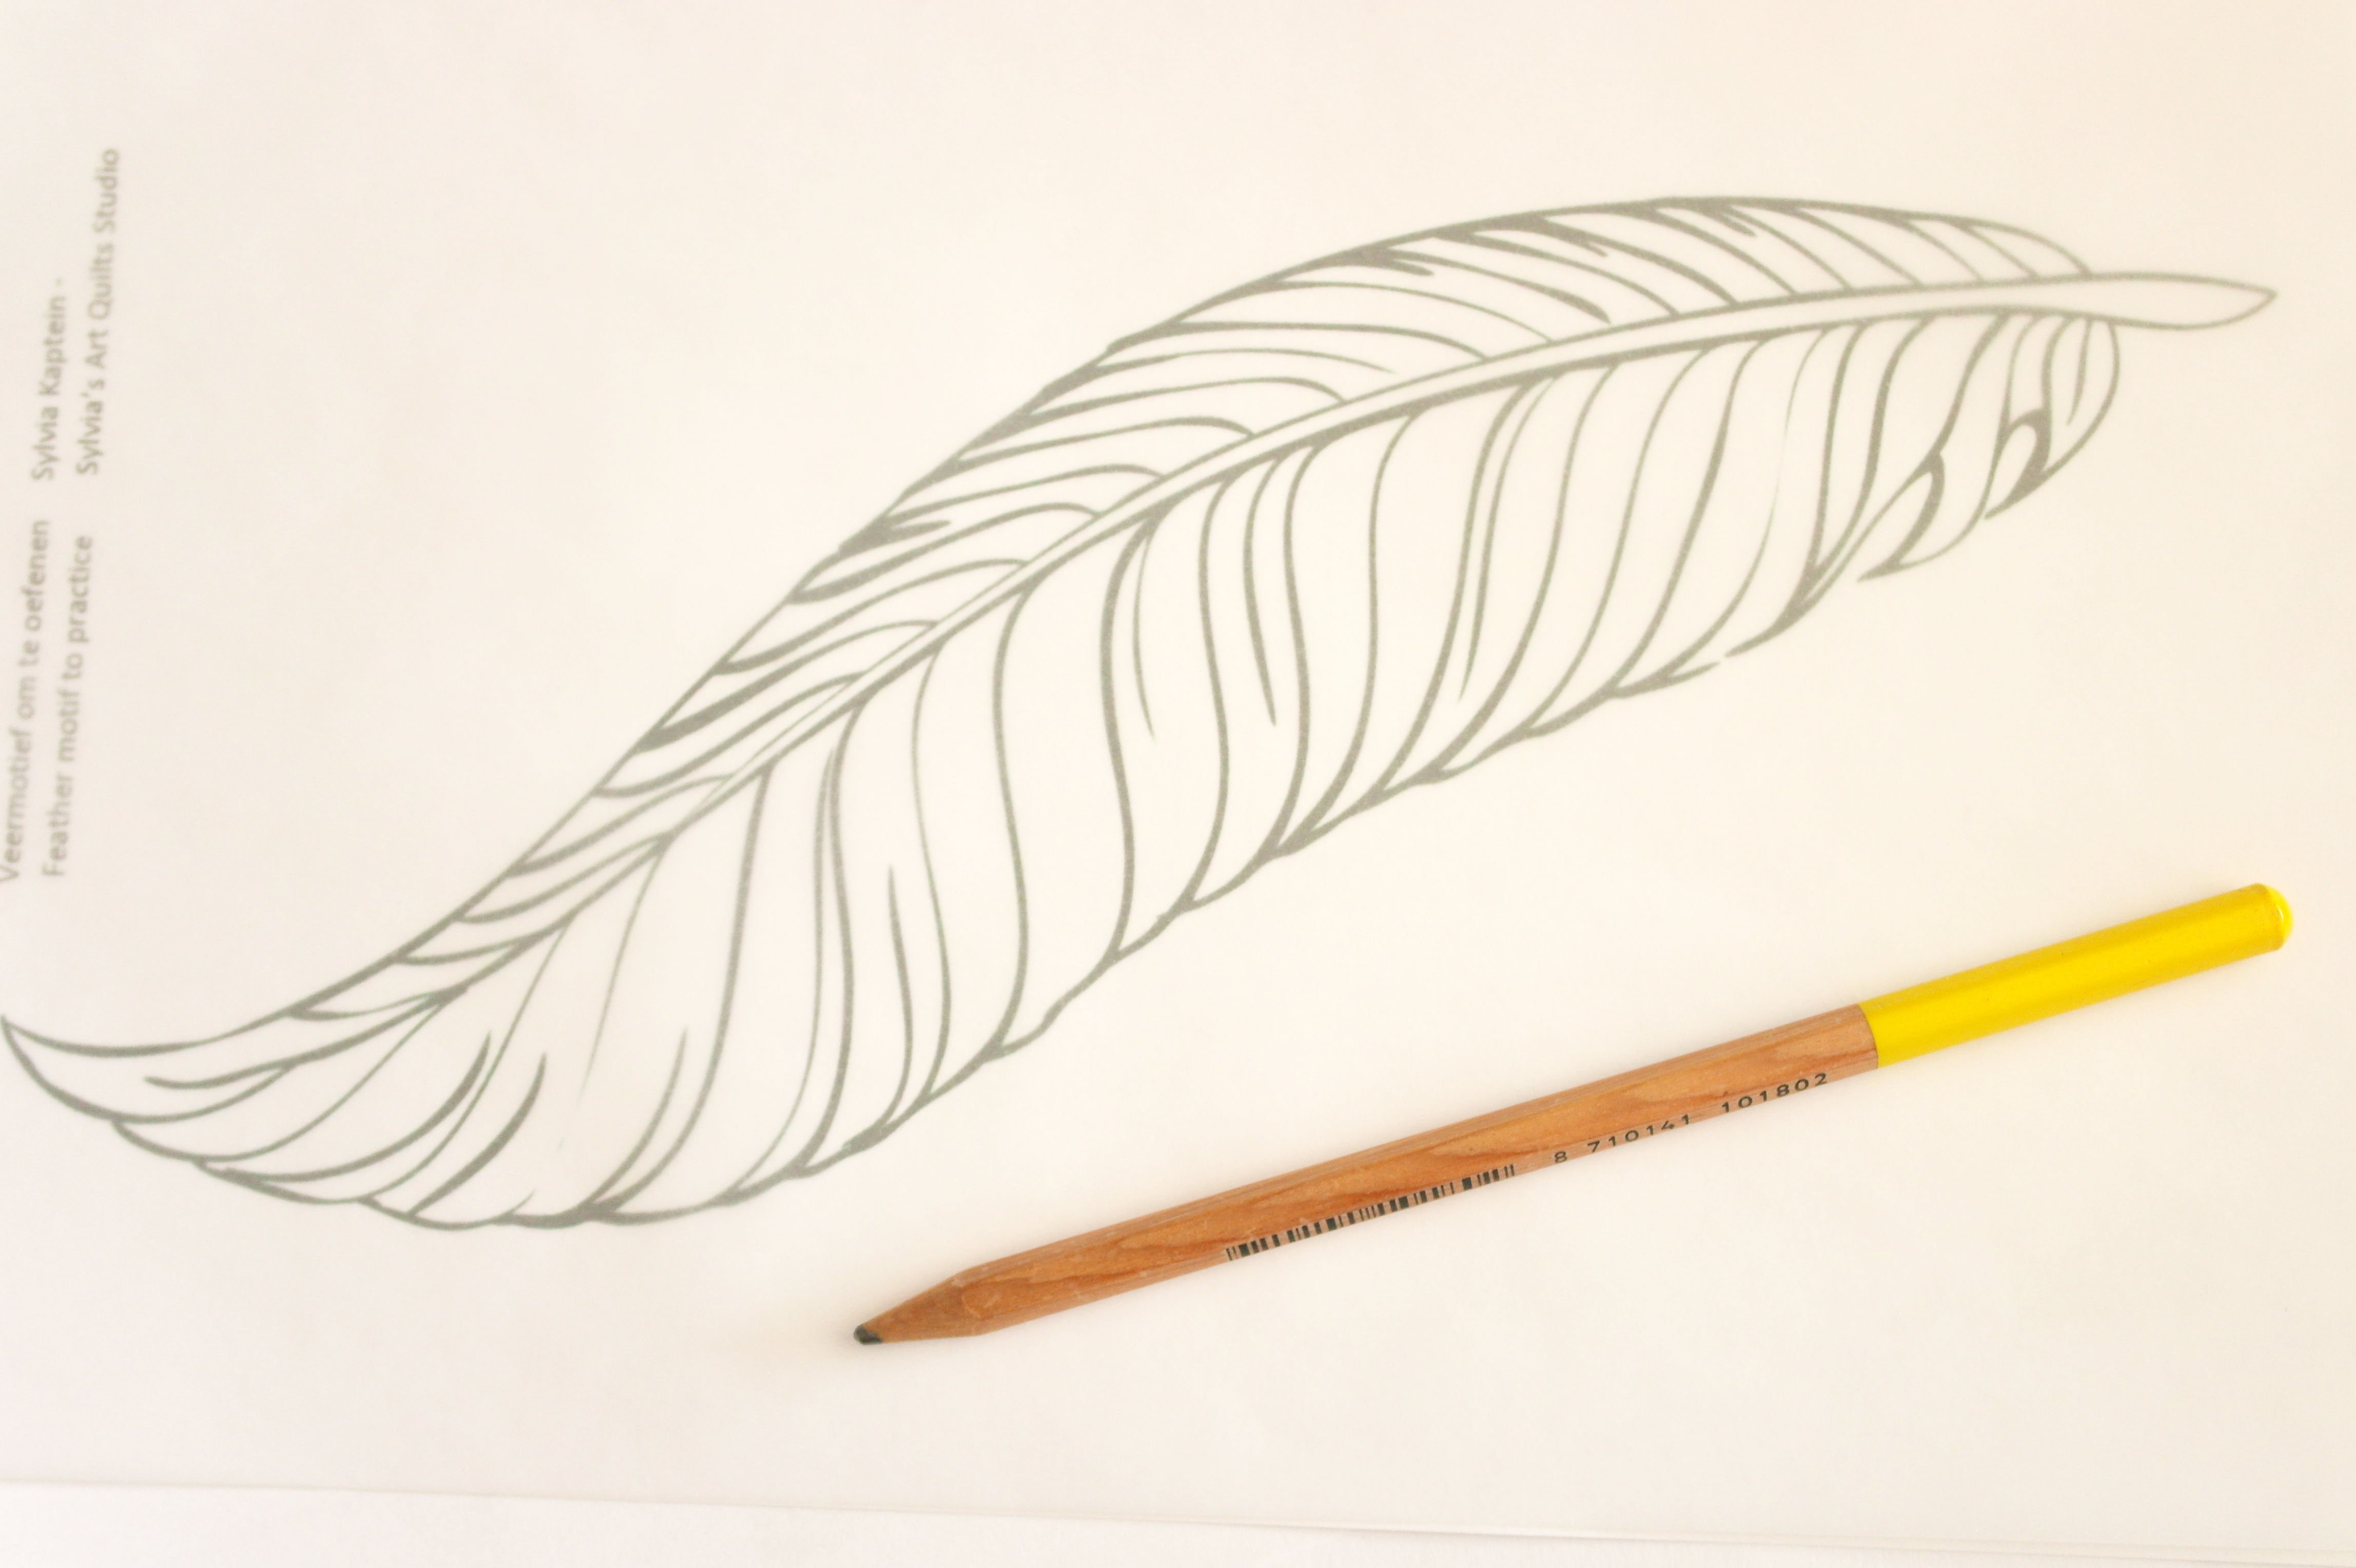
Print it on white paper, place a transparent piece of paper on top of it and trace the feather, as if you were quilting. Just use the basic shape and ‘travel’ with your pen without taking it off the paper. Use some lines but not all, to make shapes, roundings etc.
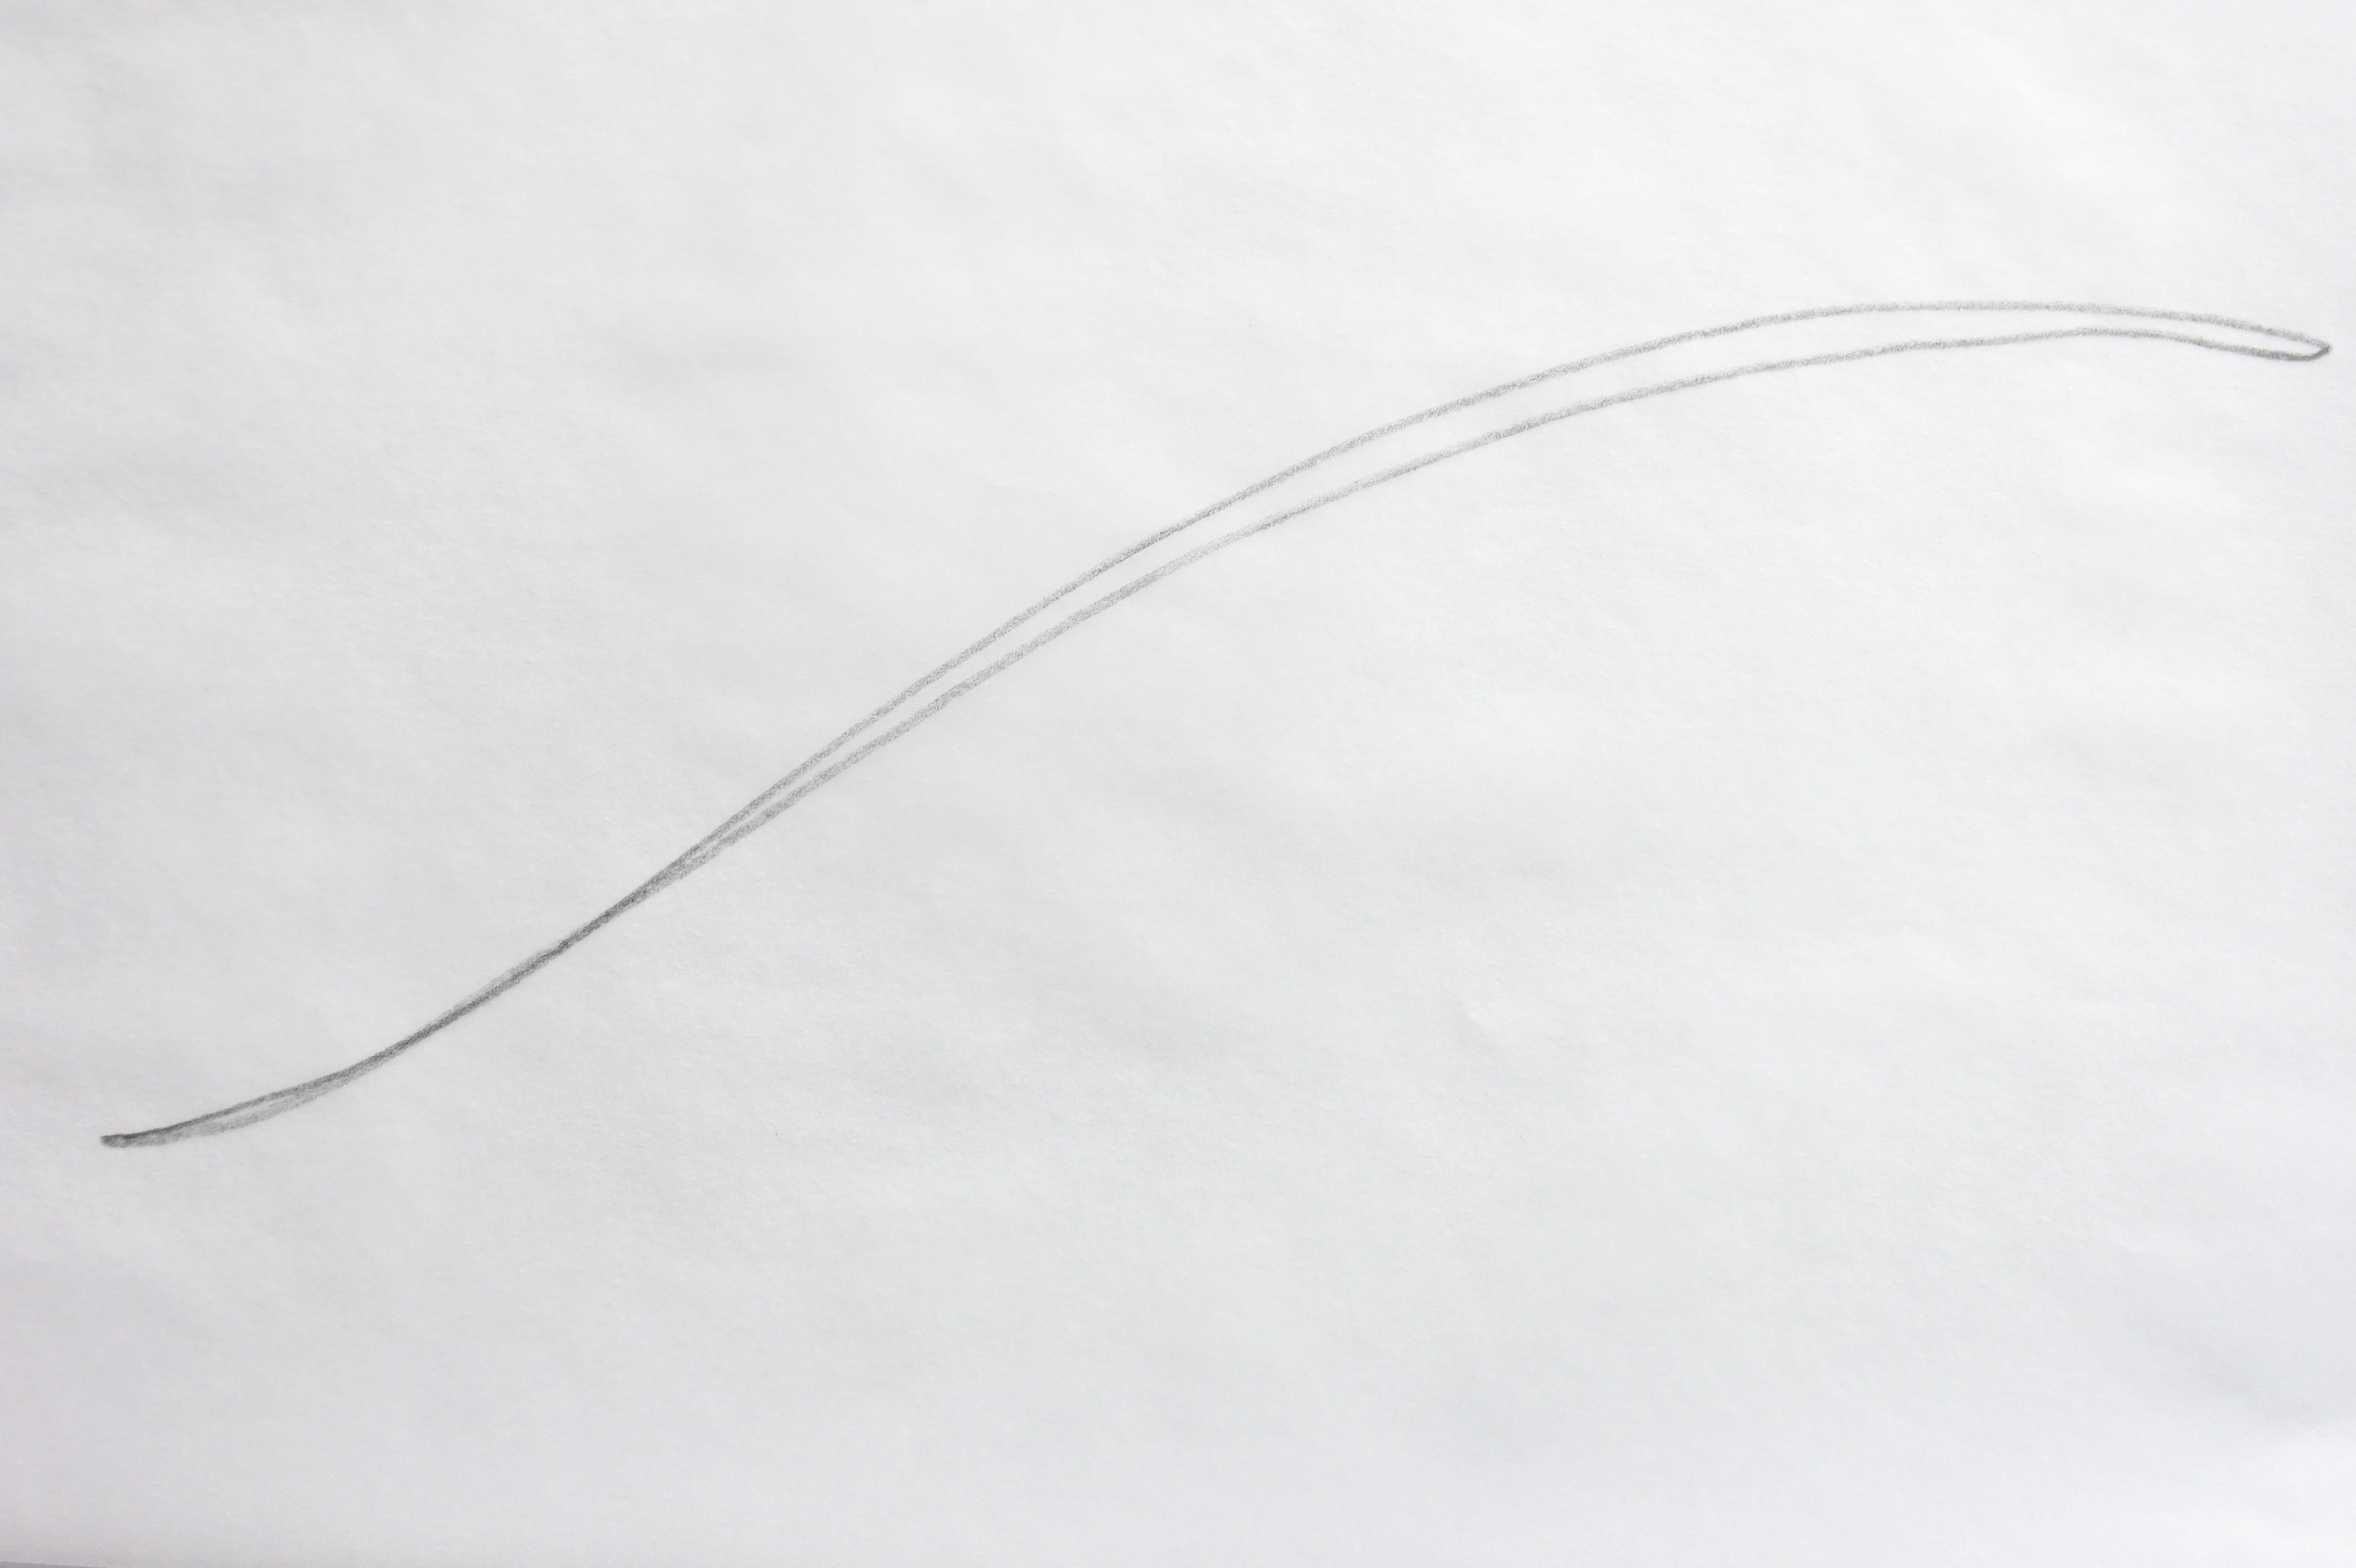
Always start with the shaft: working from bottom to top and back again on the other side.

Then draw shapes on one side of the shaft, following the base lines. Be sure the shapes are not straight or too much alike; again, make them look natural.

The shapes of a quilted feather are rounded and angled, to give it a more natural look. There are small shapes, to fill up spaces between larger shapes, which can give your feather a more interesting look. Some people find it harder to make the upper part of a feather, because it seems they are working backwards, which is true. Your brains have to calculate all steps in the beginning, but will get used to it when making more and more drawings.

The picture above shows various drawings: top left = too stiff, too straight. Middle left = better, but still too stiff. Bottom left = much better, drawing from the other direction seems to work. Drawing on the right: a full and properly rounded shape: started from the bottom/below the shaft, travelling to the top and back on the other side.
It is not important where you start, but sometimes it makes a difference, depending if you are left-handed or right-handed. Keep practicing untill you are satisfied.
When I give a workshop ‘Free motion feathers’, I teach my students to work in the following order :
1) Draw feathers untill you can do it in your sleep.
2) Perforate your drawing(s) with the empty needle of your machine by tracing the lines. Remove any thread from top and bobbin. Turn on the machine and follow the lines as closely as possible. This ressembles actual quilting. Be sure to travel as much as possible in a continuous line. Travelling back and forth on the same line is ok: sometimes you need to do this to cross over to another section.
TIP: some machines will not allow you to work without threads. Just sewing with top- and bobbin threads, onto the paper is fine too.
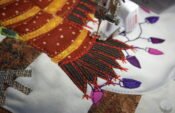
3) Start off by making practice samples: use the same materials fas your larger quilt, just draw the shaft with water soluble pen to make a base. Use the same thread on top and bobbin, quilt the shaft first, then work ‘from memory’ with the feathers themselves (not drawn). If you want to, you can draw the feathers too, but it is much easier to work freehand without having to follow lines.
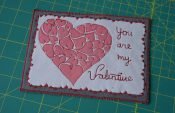
4) Is all going well? Now you can quilt on your project, preferably on a pillow or small quilt. Draw the shaft with water soluble pen to make the base, but try to freehand quilt the shapes of the feather. Try to fill a block or certain area.
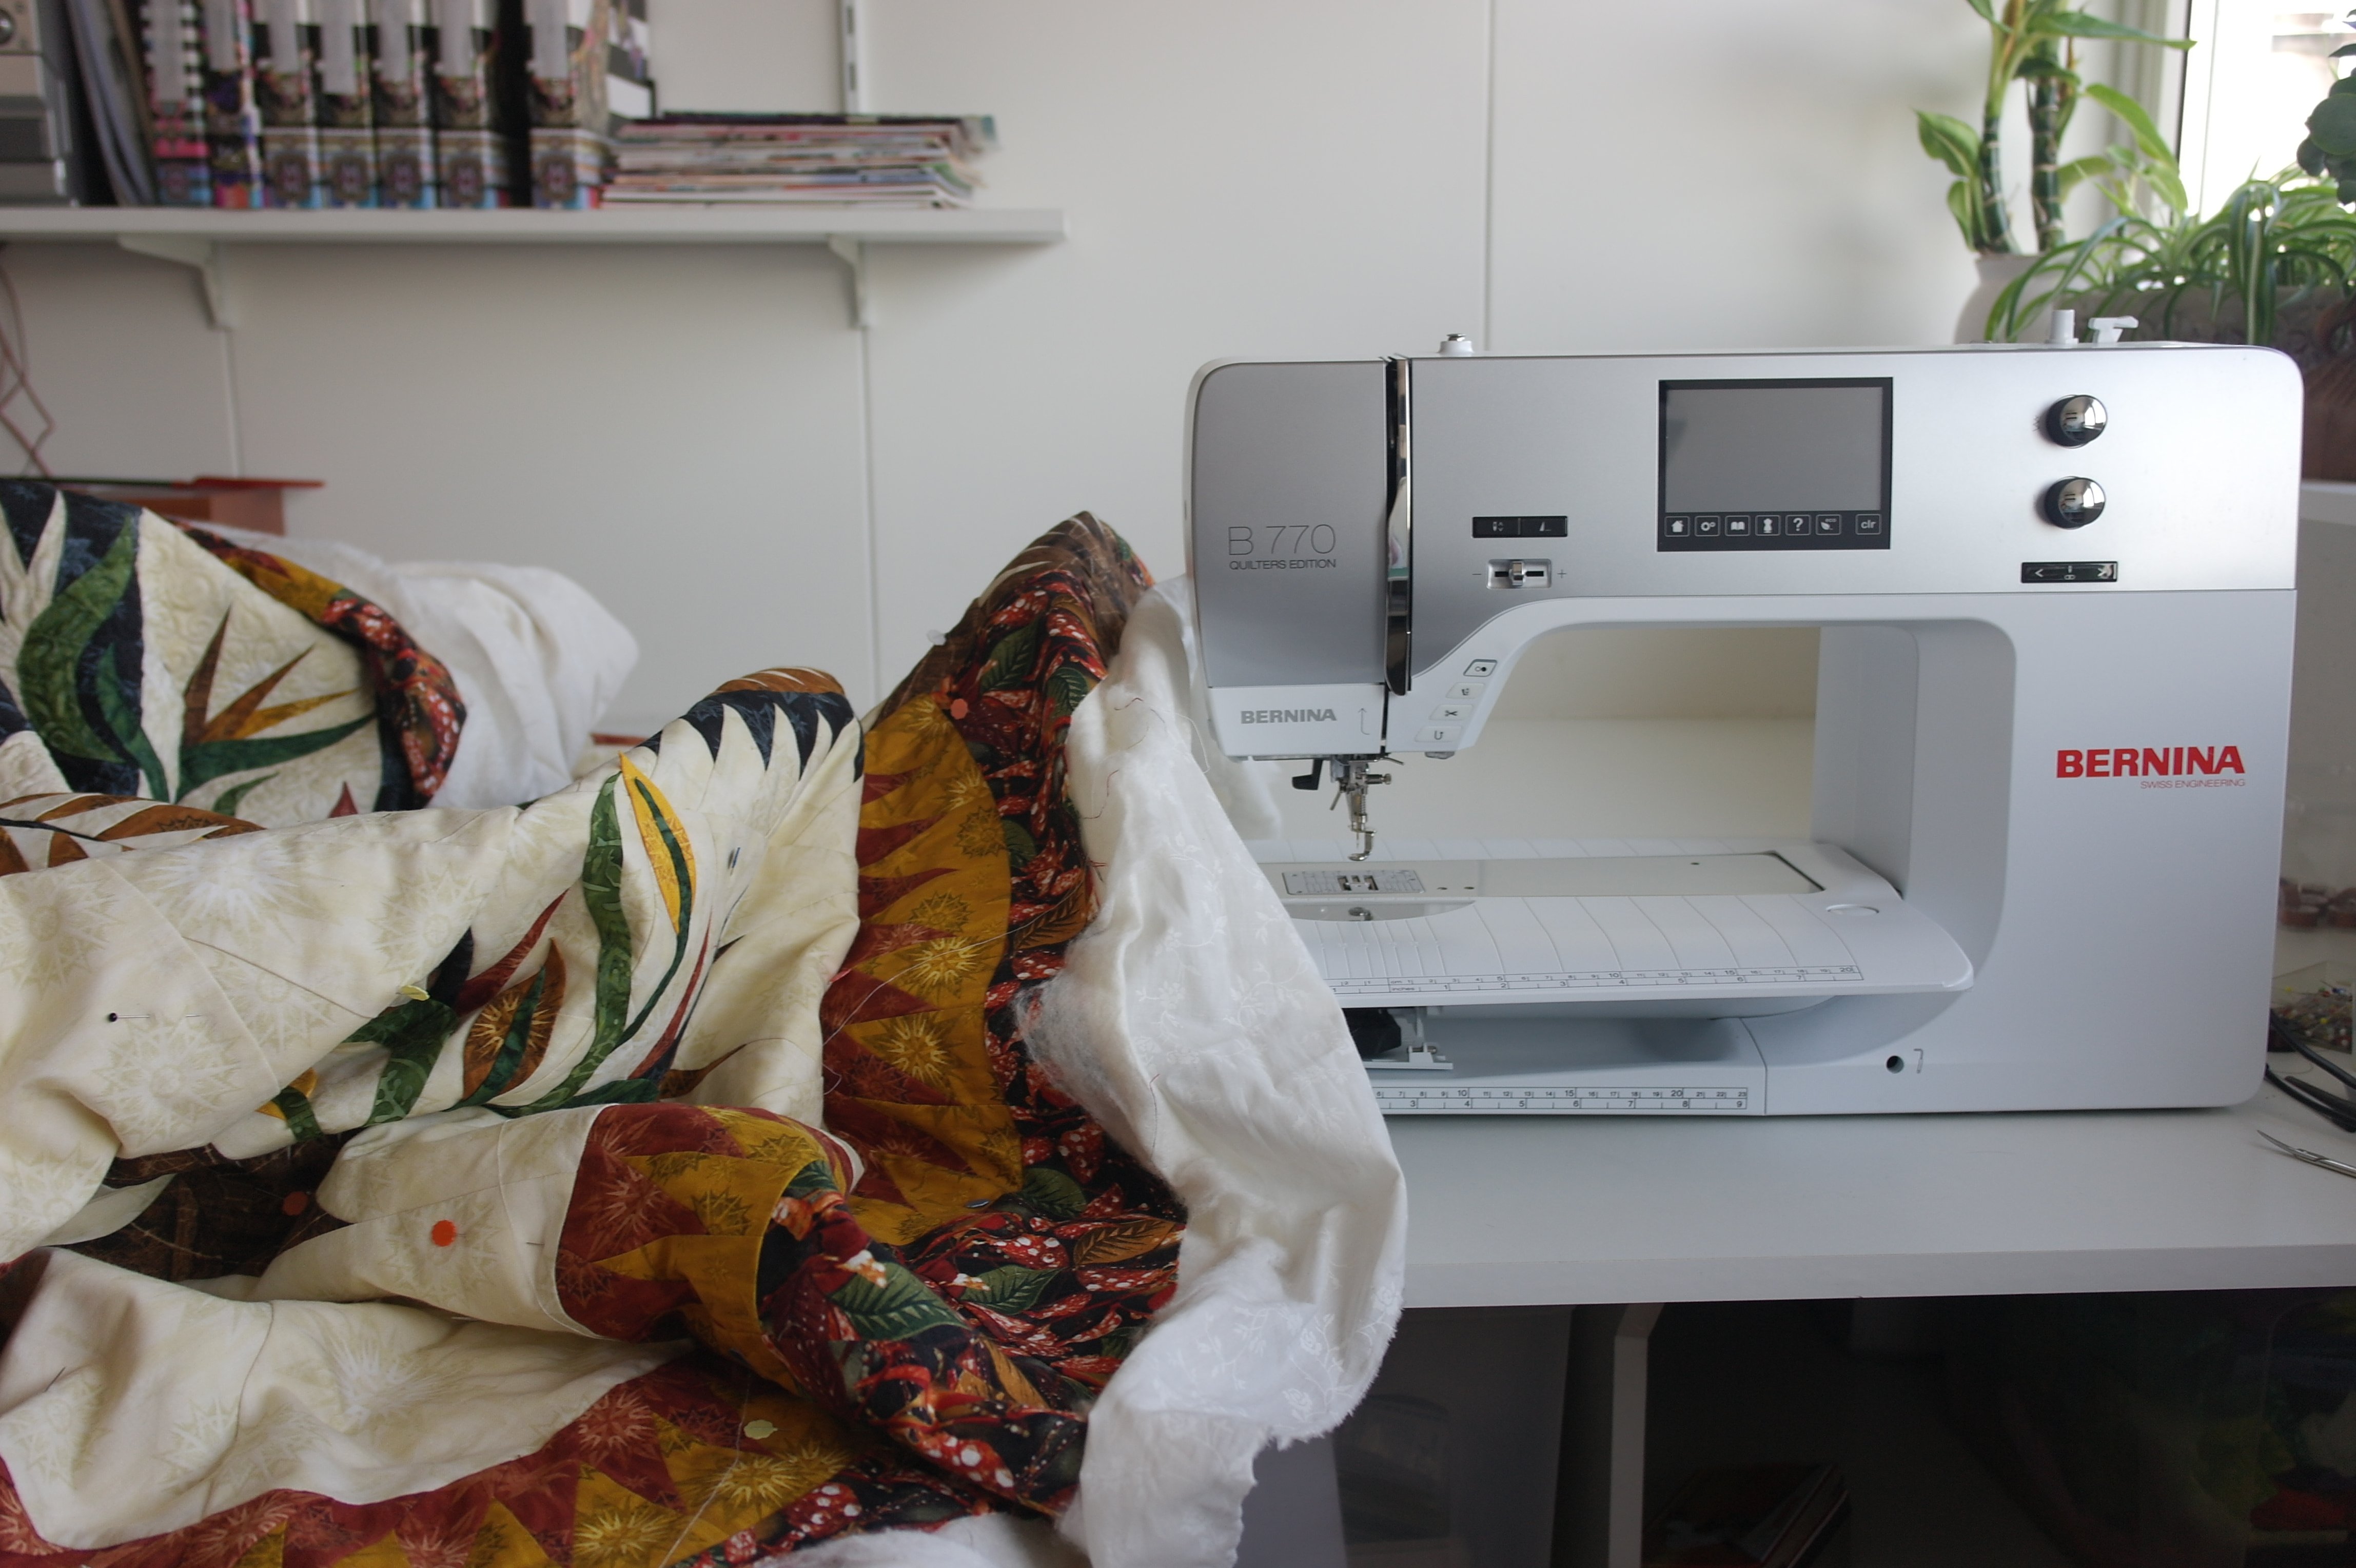
5) Practice more and often; not just drawing but also the actual quilting. The more you will make feathers, the more fun they will be. Be sure to practice on a large quilt too, because that is more difficult to fit under your machine, which can change the appearance of your quilting.
Just try: draw, quilt and have fun. Remember: if a quilter shows you her/his wonderful quilt with intricate feathers, it took her/him also a lot of time too to get to this point. These skills have to be build up! But once you master this, you will be soooo proud!
Happy Quilting
Sylvia Kaptein
Sylvia’s Art Quilts Studio:
*Negatieve space is the background space of a quilt. Often appliqué, patchwork and quilting out, which leaves these sometimes large pieces of fabric uncovered. You can quilt them with grids, but also with smaller shapes.
I have mastered the making of a star w diamonds but my problem is trying to figure out how to make it a block.
Can I do this with my Bernina 330? I’m new to quilting but this looks fabulous
Hi Eve,
You can quilt with ANY type of machine, as long as you build up the skills yourself. The Bernina 330 has smaller space, but it will be fine for quilting smaller quilts, or quilt-as-you-go (quilting blocks and sewing these together after quilting).
Just try and have fun!
Sylvia