 BERNINA Corporate Blog -
Want to make a quick and easy gift, surprising your Mother? Our Mothers Day is May 12th, and that day is the perfect reason to let mom know just how special she is. For us this gift will be made just in time (I know Mother’s Day it not celebrated the same date everywhere, but you can make this gift any time for your Mother!).
My idea was to make a plant cover to decorate an (old) gardening pot. Using two fabrics will make the cover reversible. I have chosen two bright fabrics: blue with flowers and yellow.
What do you need?
(Old) Gardening pot, medium size (and perhaps a plant?)
Pattern paper
Pencil
Scissors for paper and fabric
2 Bright cotton fabrics, contrasting colors: blue flower fabric and yellow fabric (you can order them by clicking on the red link)
Sewing Thread
Piece of string
Label

Place to marks on the gardening pot, using a ruler for reference – one on top and one at the bottom will do.
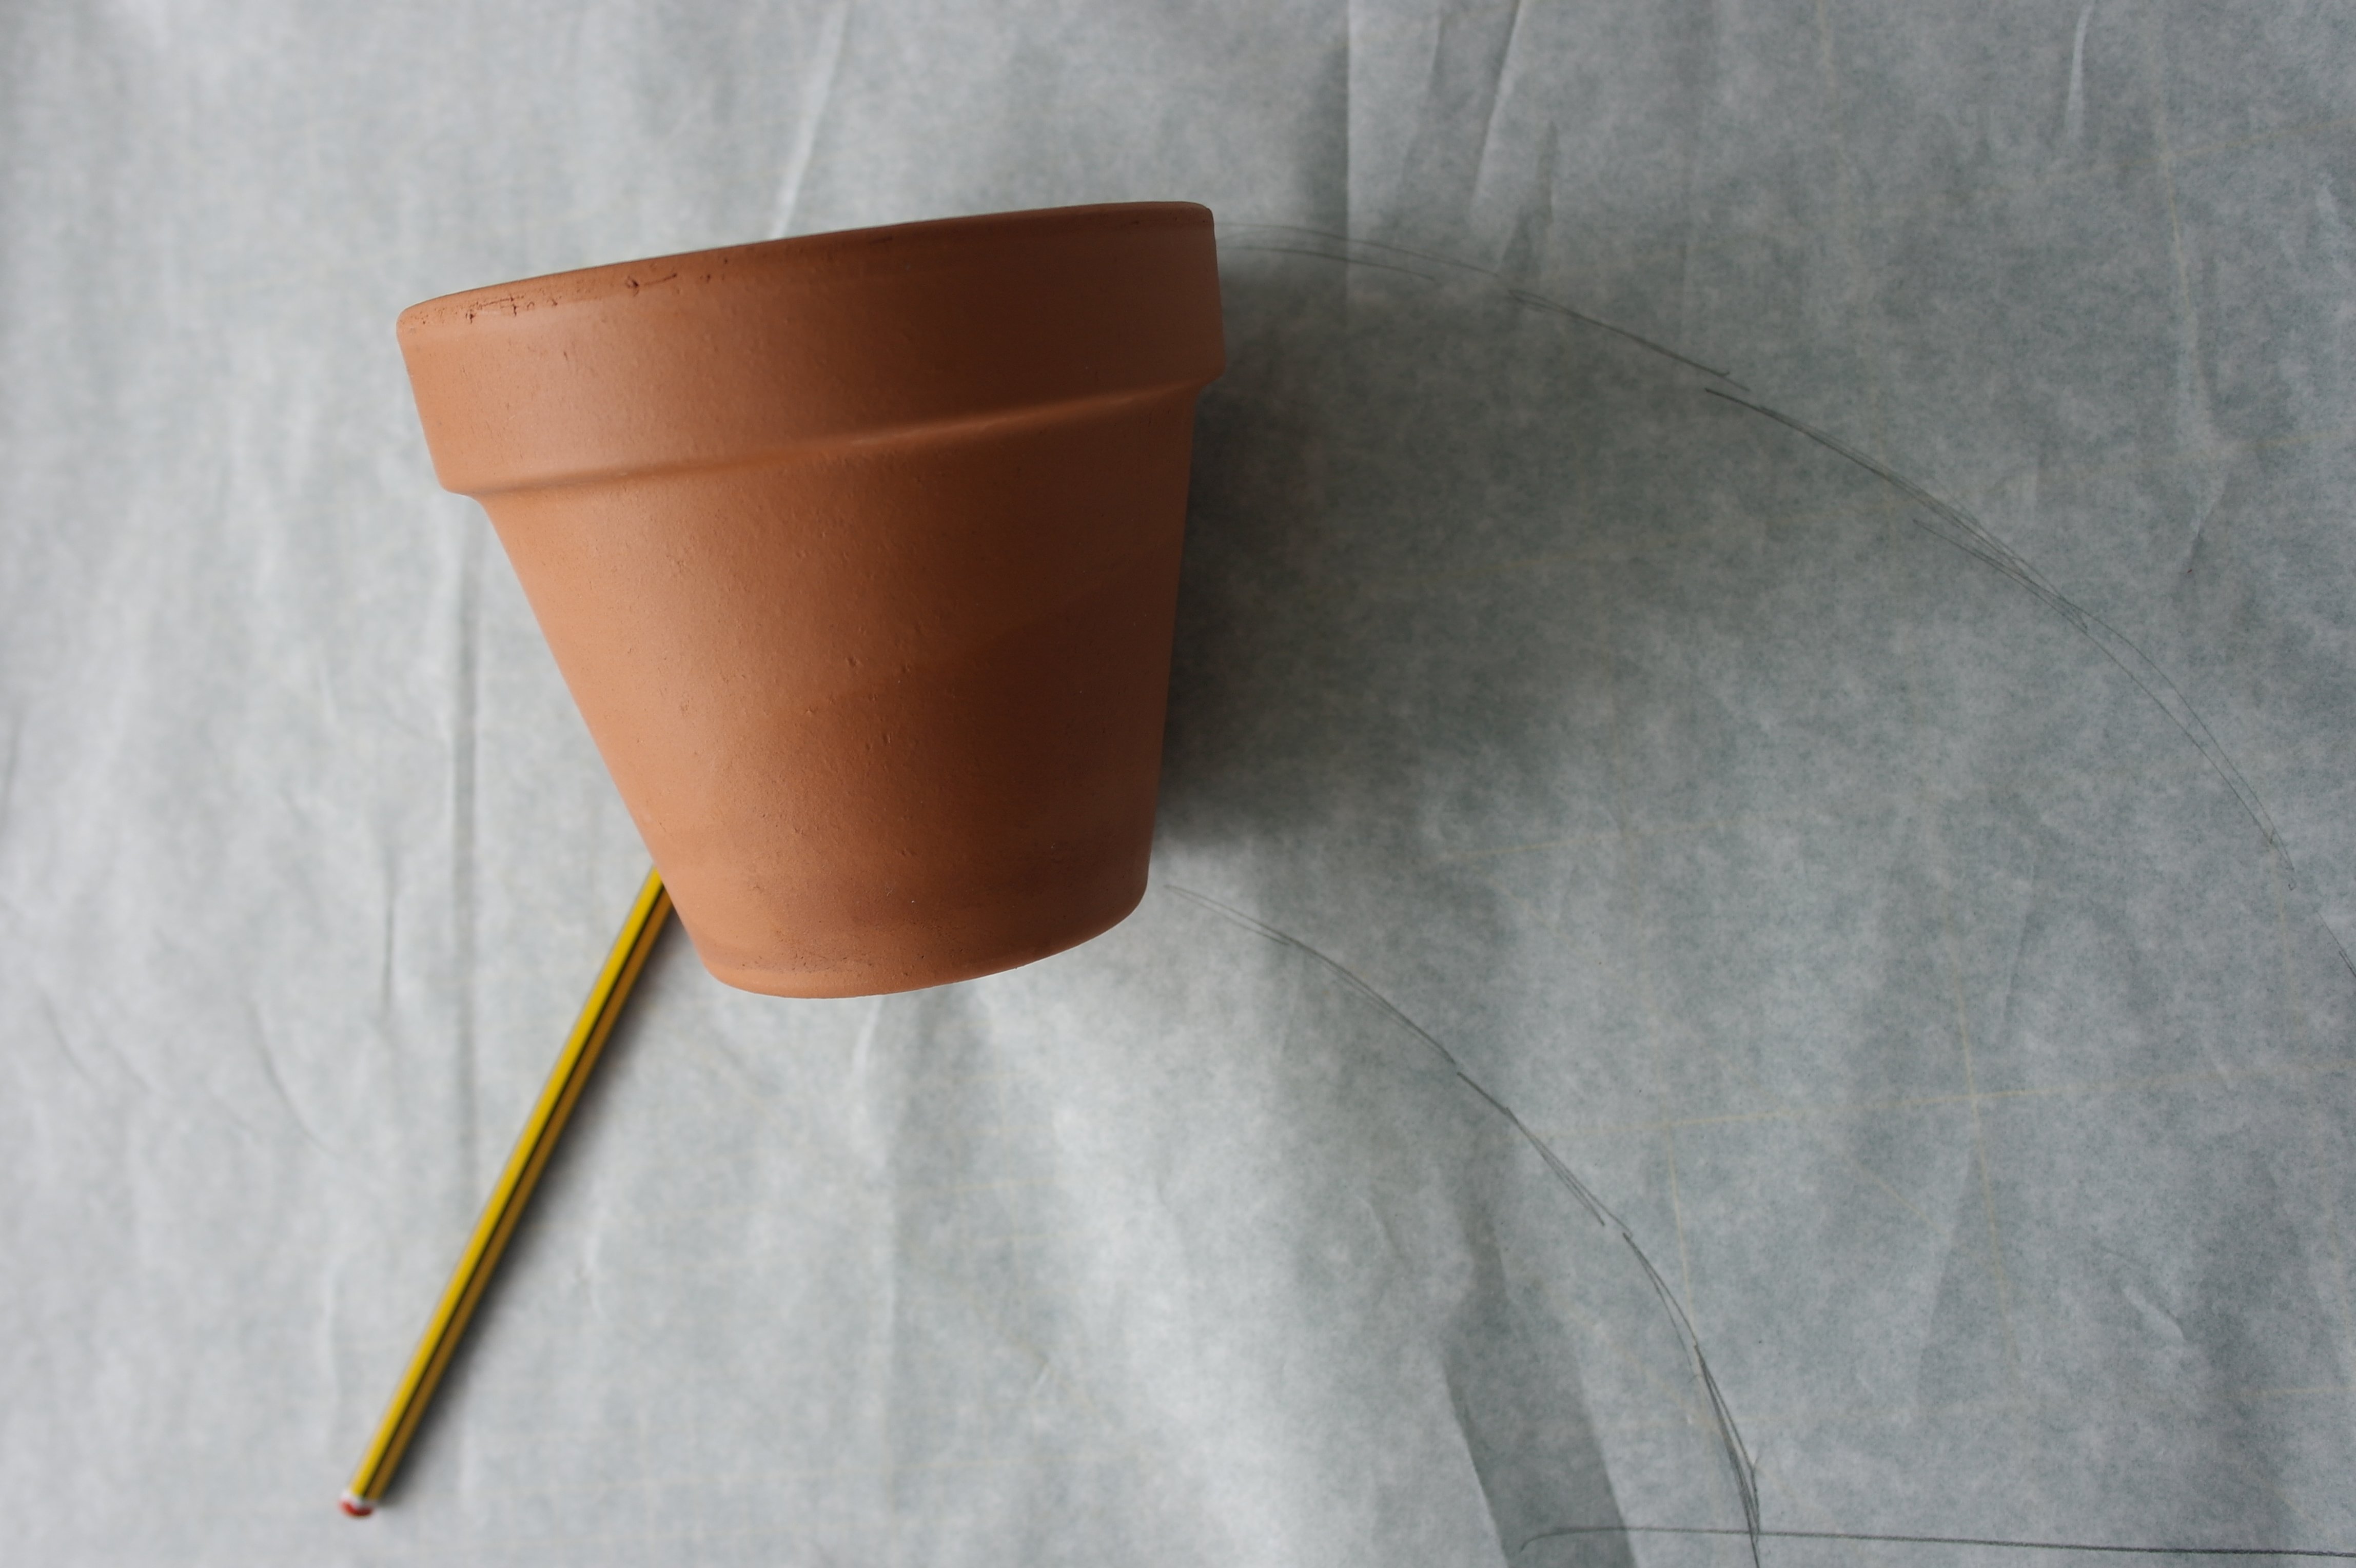
Draw a straight line – slightly larger than the height of the pot – onto the pattern paper (you can just see this line bottom-right of the picture). Roll the pot to the left (or right) and draw lines from the top and bottom onto the pattern paper, to mark the curves.
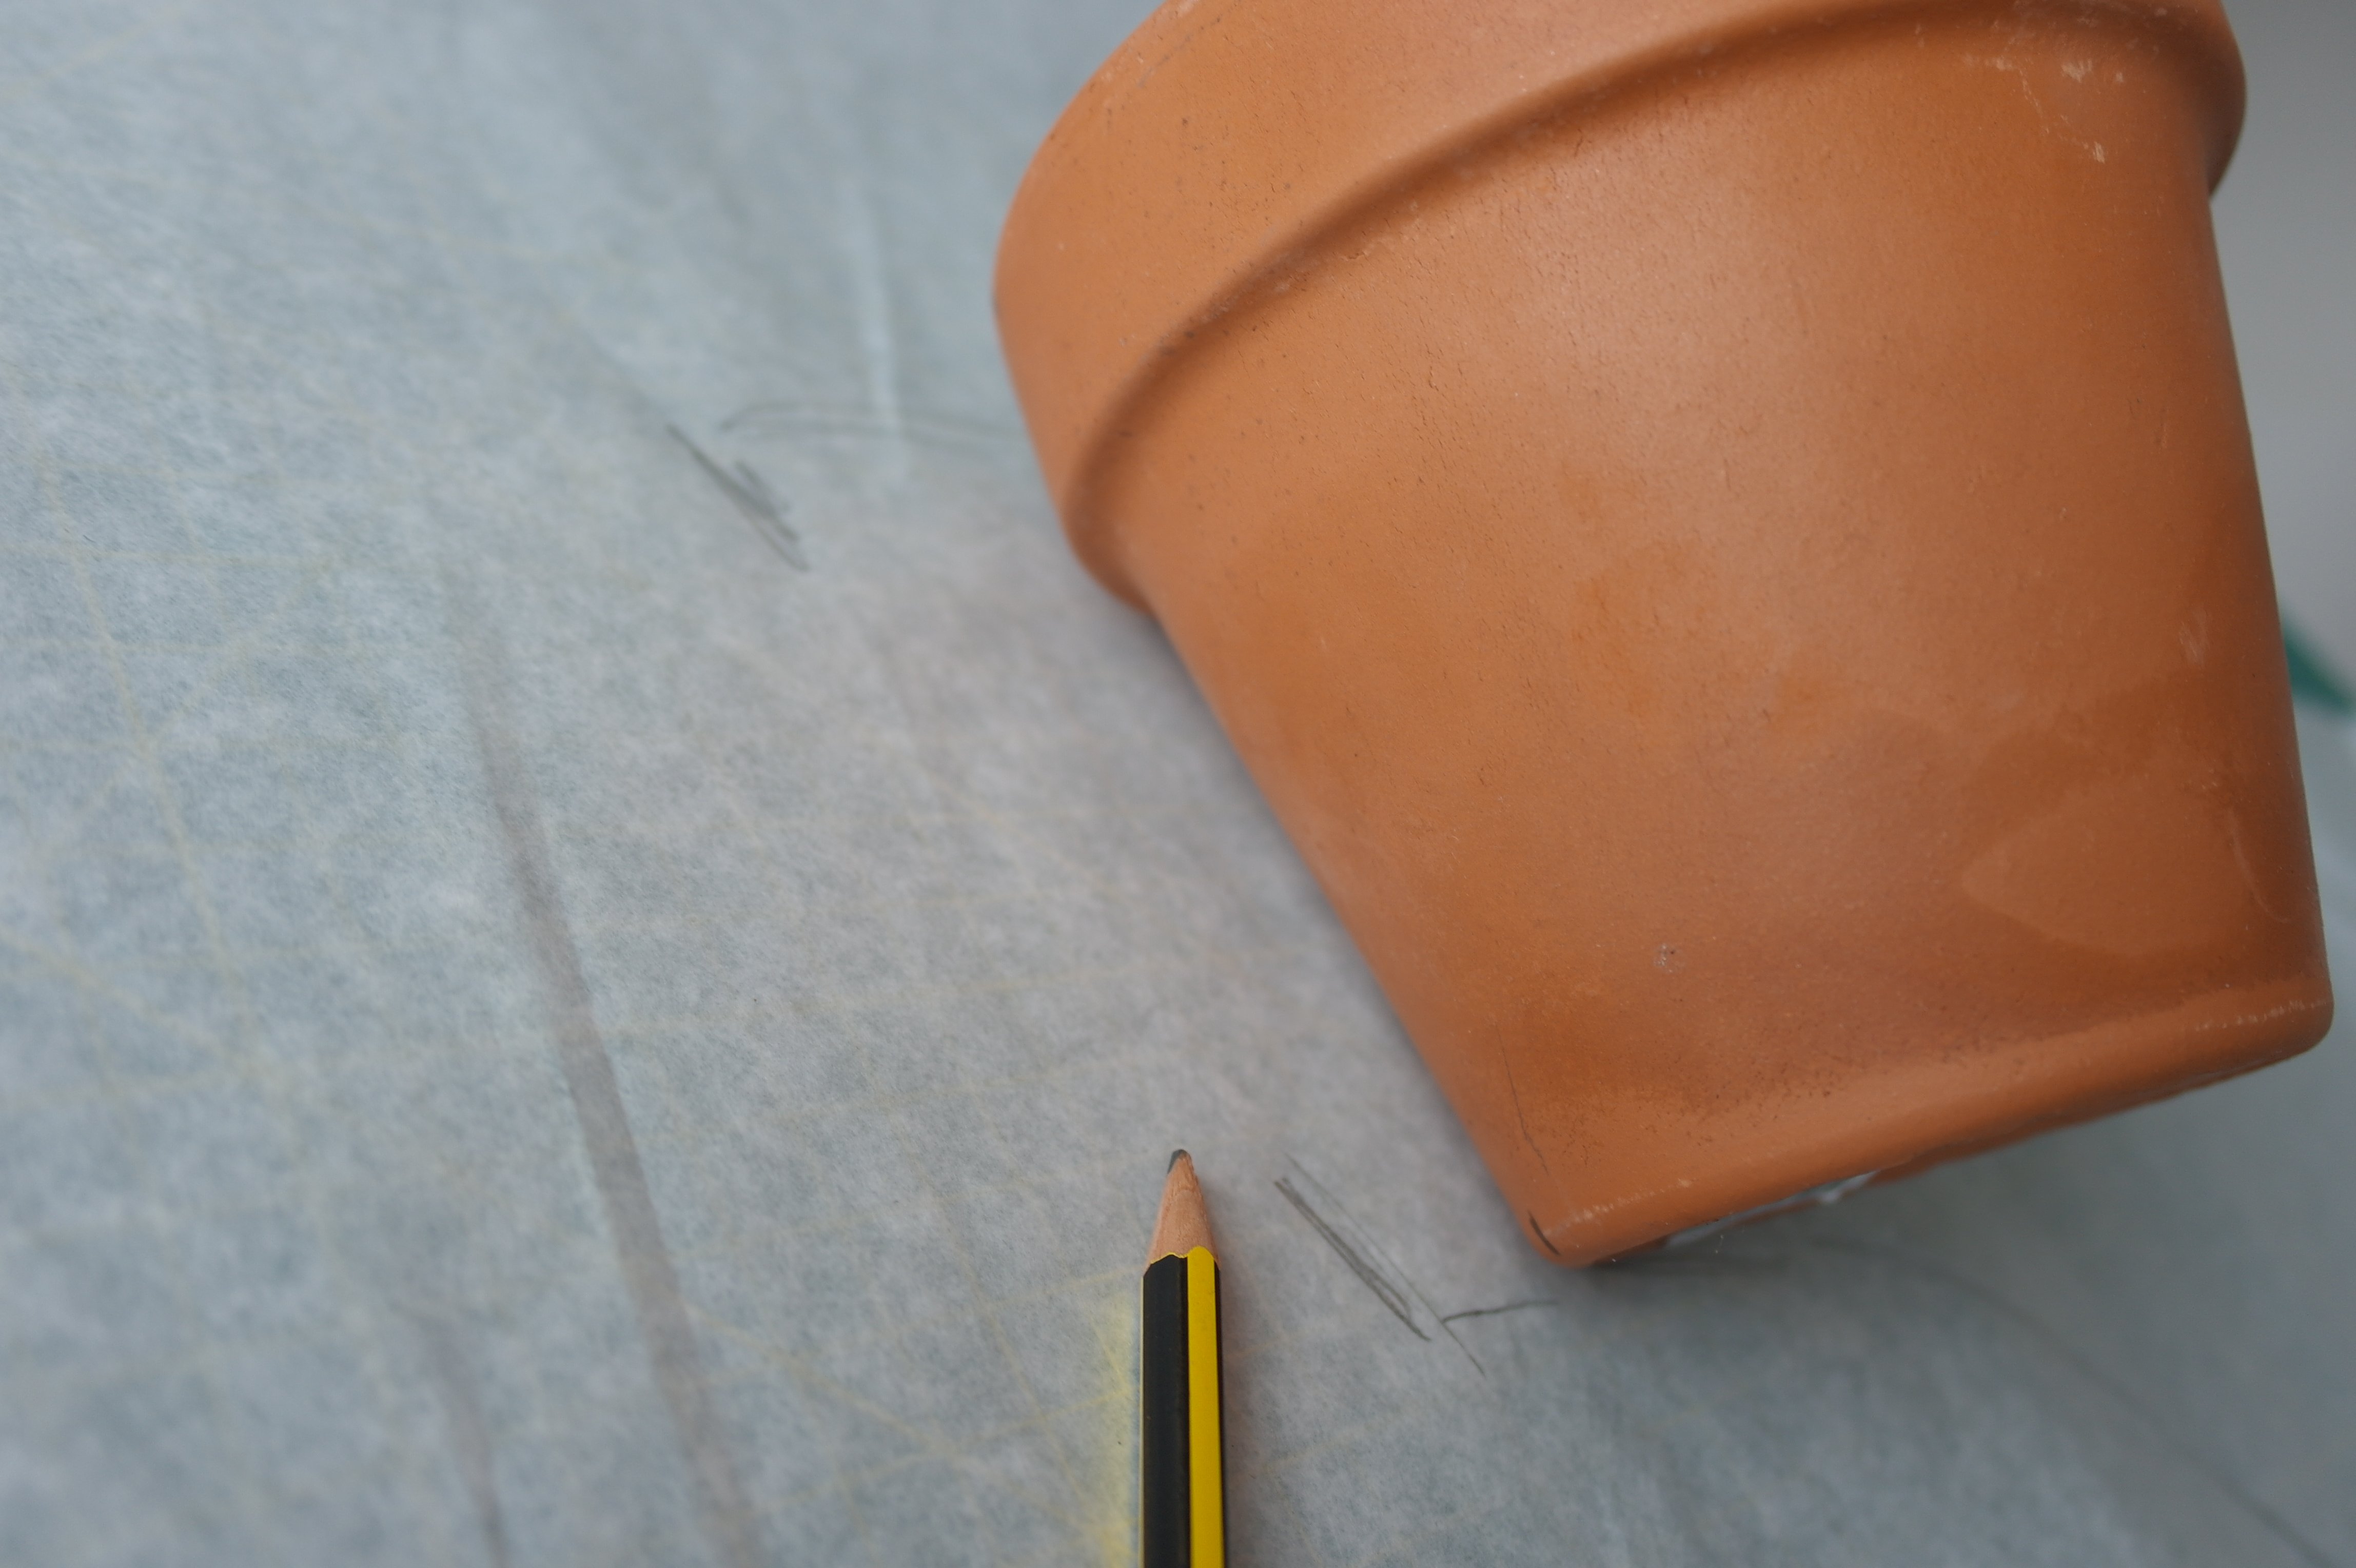
Reaching the end where the markers are, mark this on the paper by drawing a straight line again.
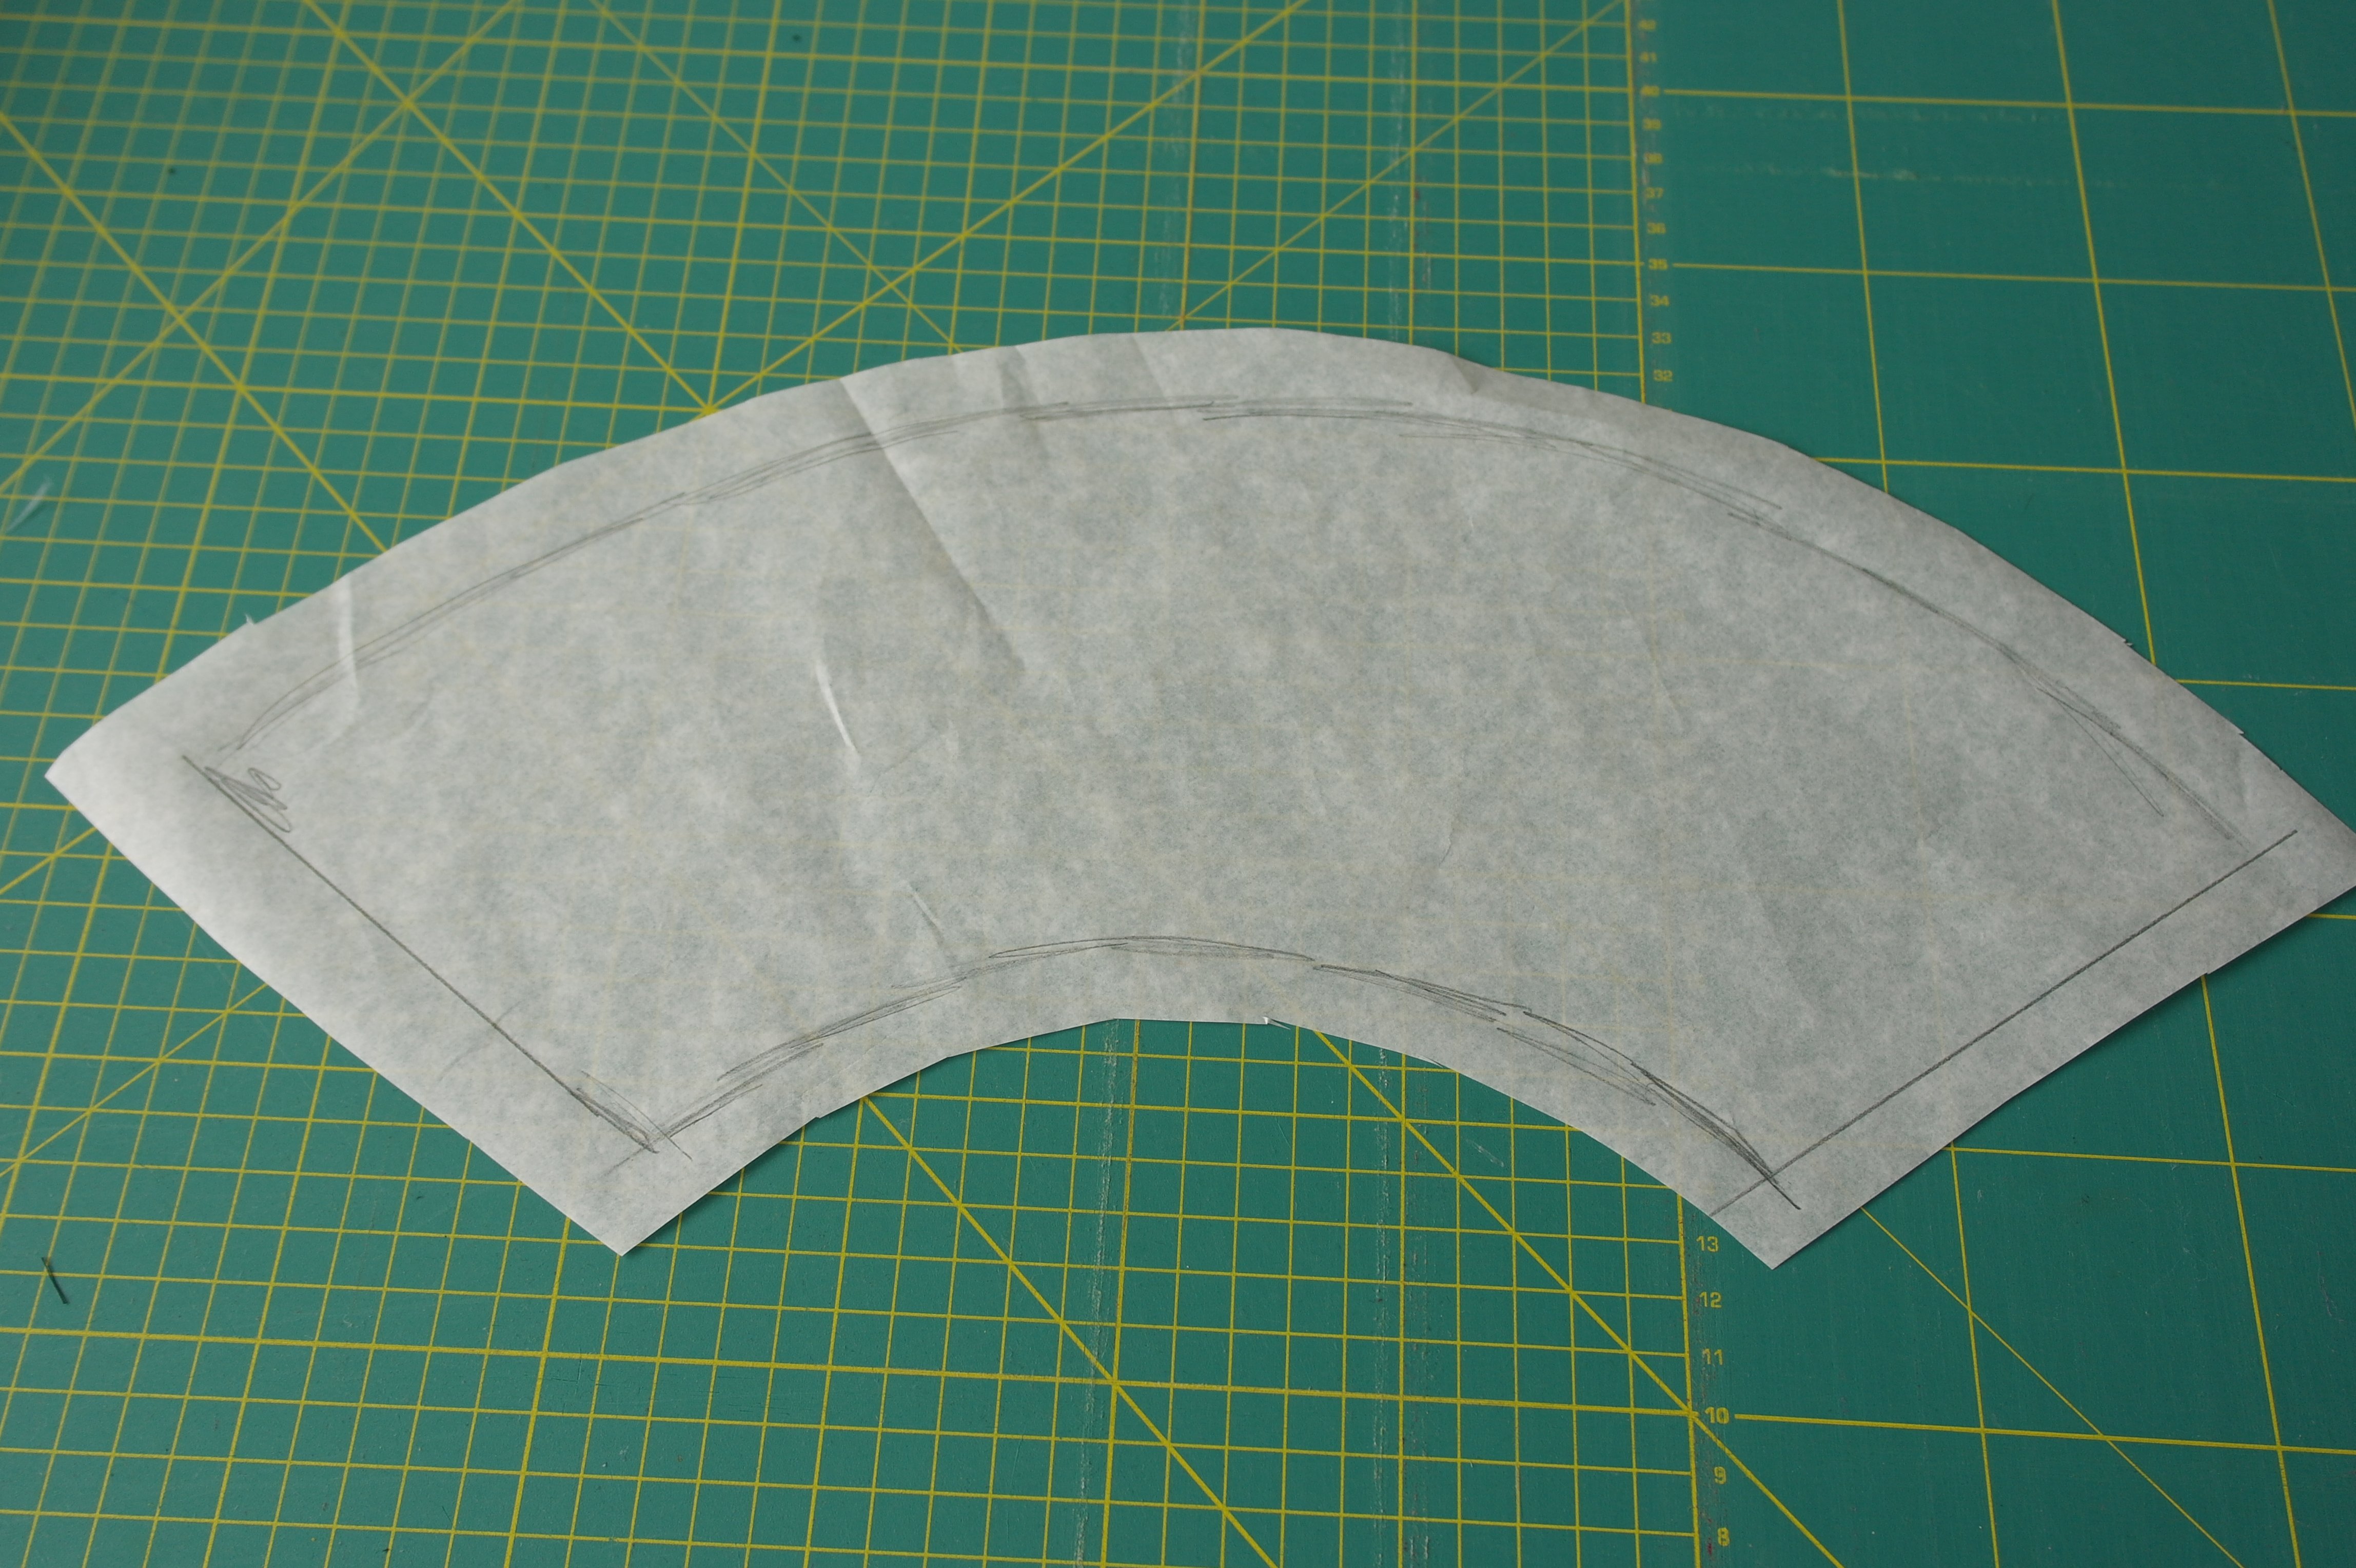
Now you have made a template. Cut this with at least 2 cm seam allowance on all sizes (bottom side aprox. 1 – 1 1/2 cm): this way the seam allowances are included with the template.

Fold the pattern around the gardening pot to see if you have extra fabric with the seam allowances. You will need this extra because the cover must be larger than the circumference of the pot.
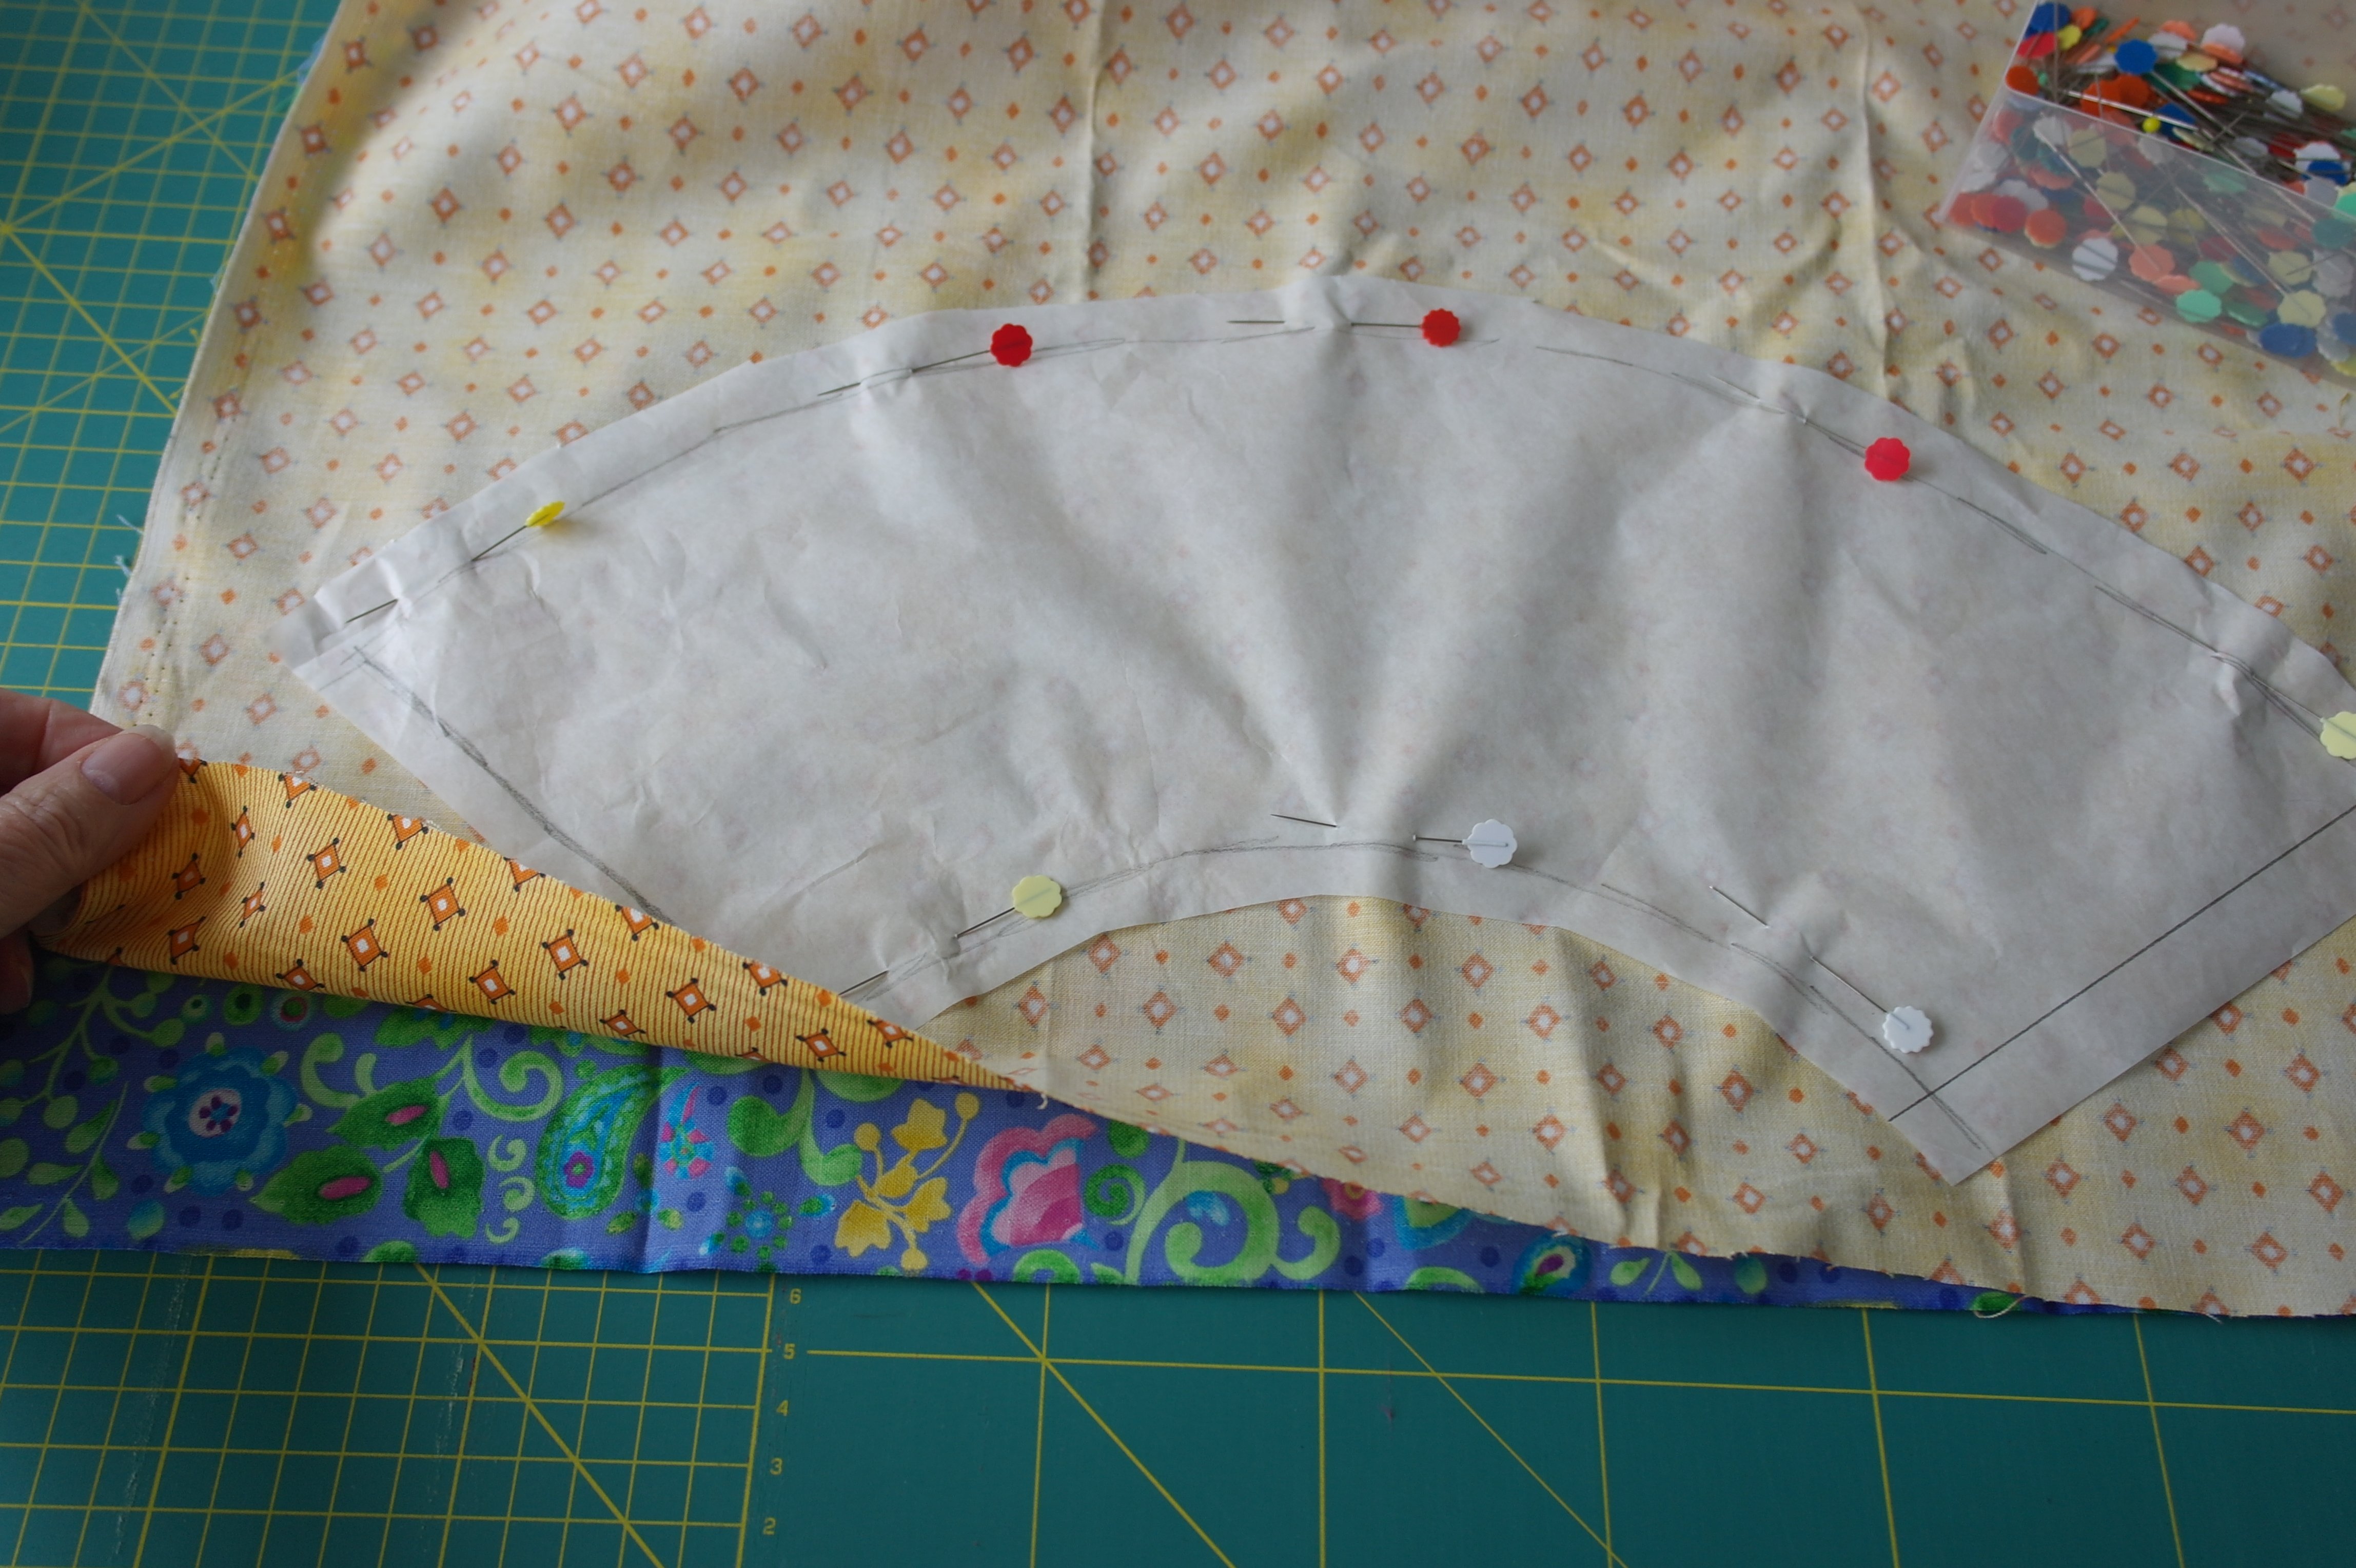
Place the fabric with flowers on a table, right side up. Place the yellow fabric = lining, right side down, on top of the first fabric. Pin the template in place. Cut both fabrics along the edges of the template.
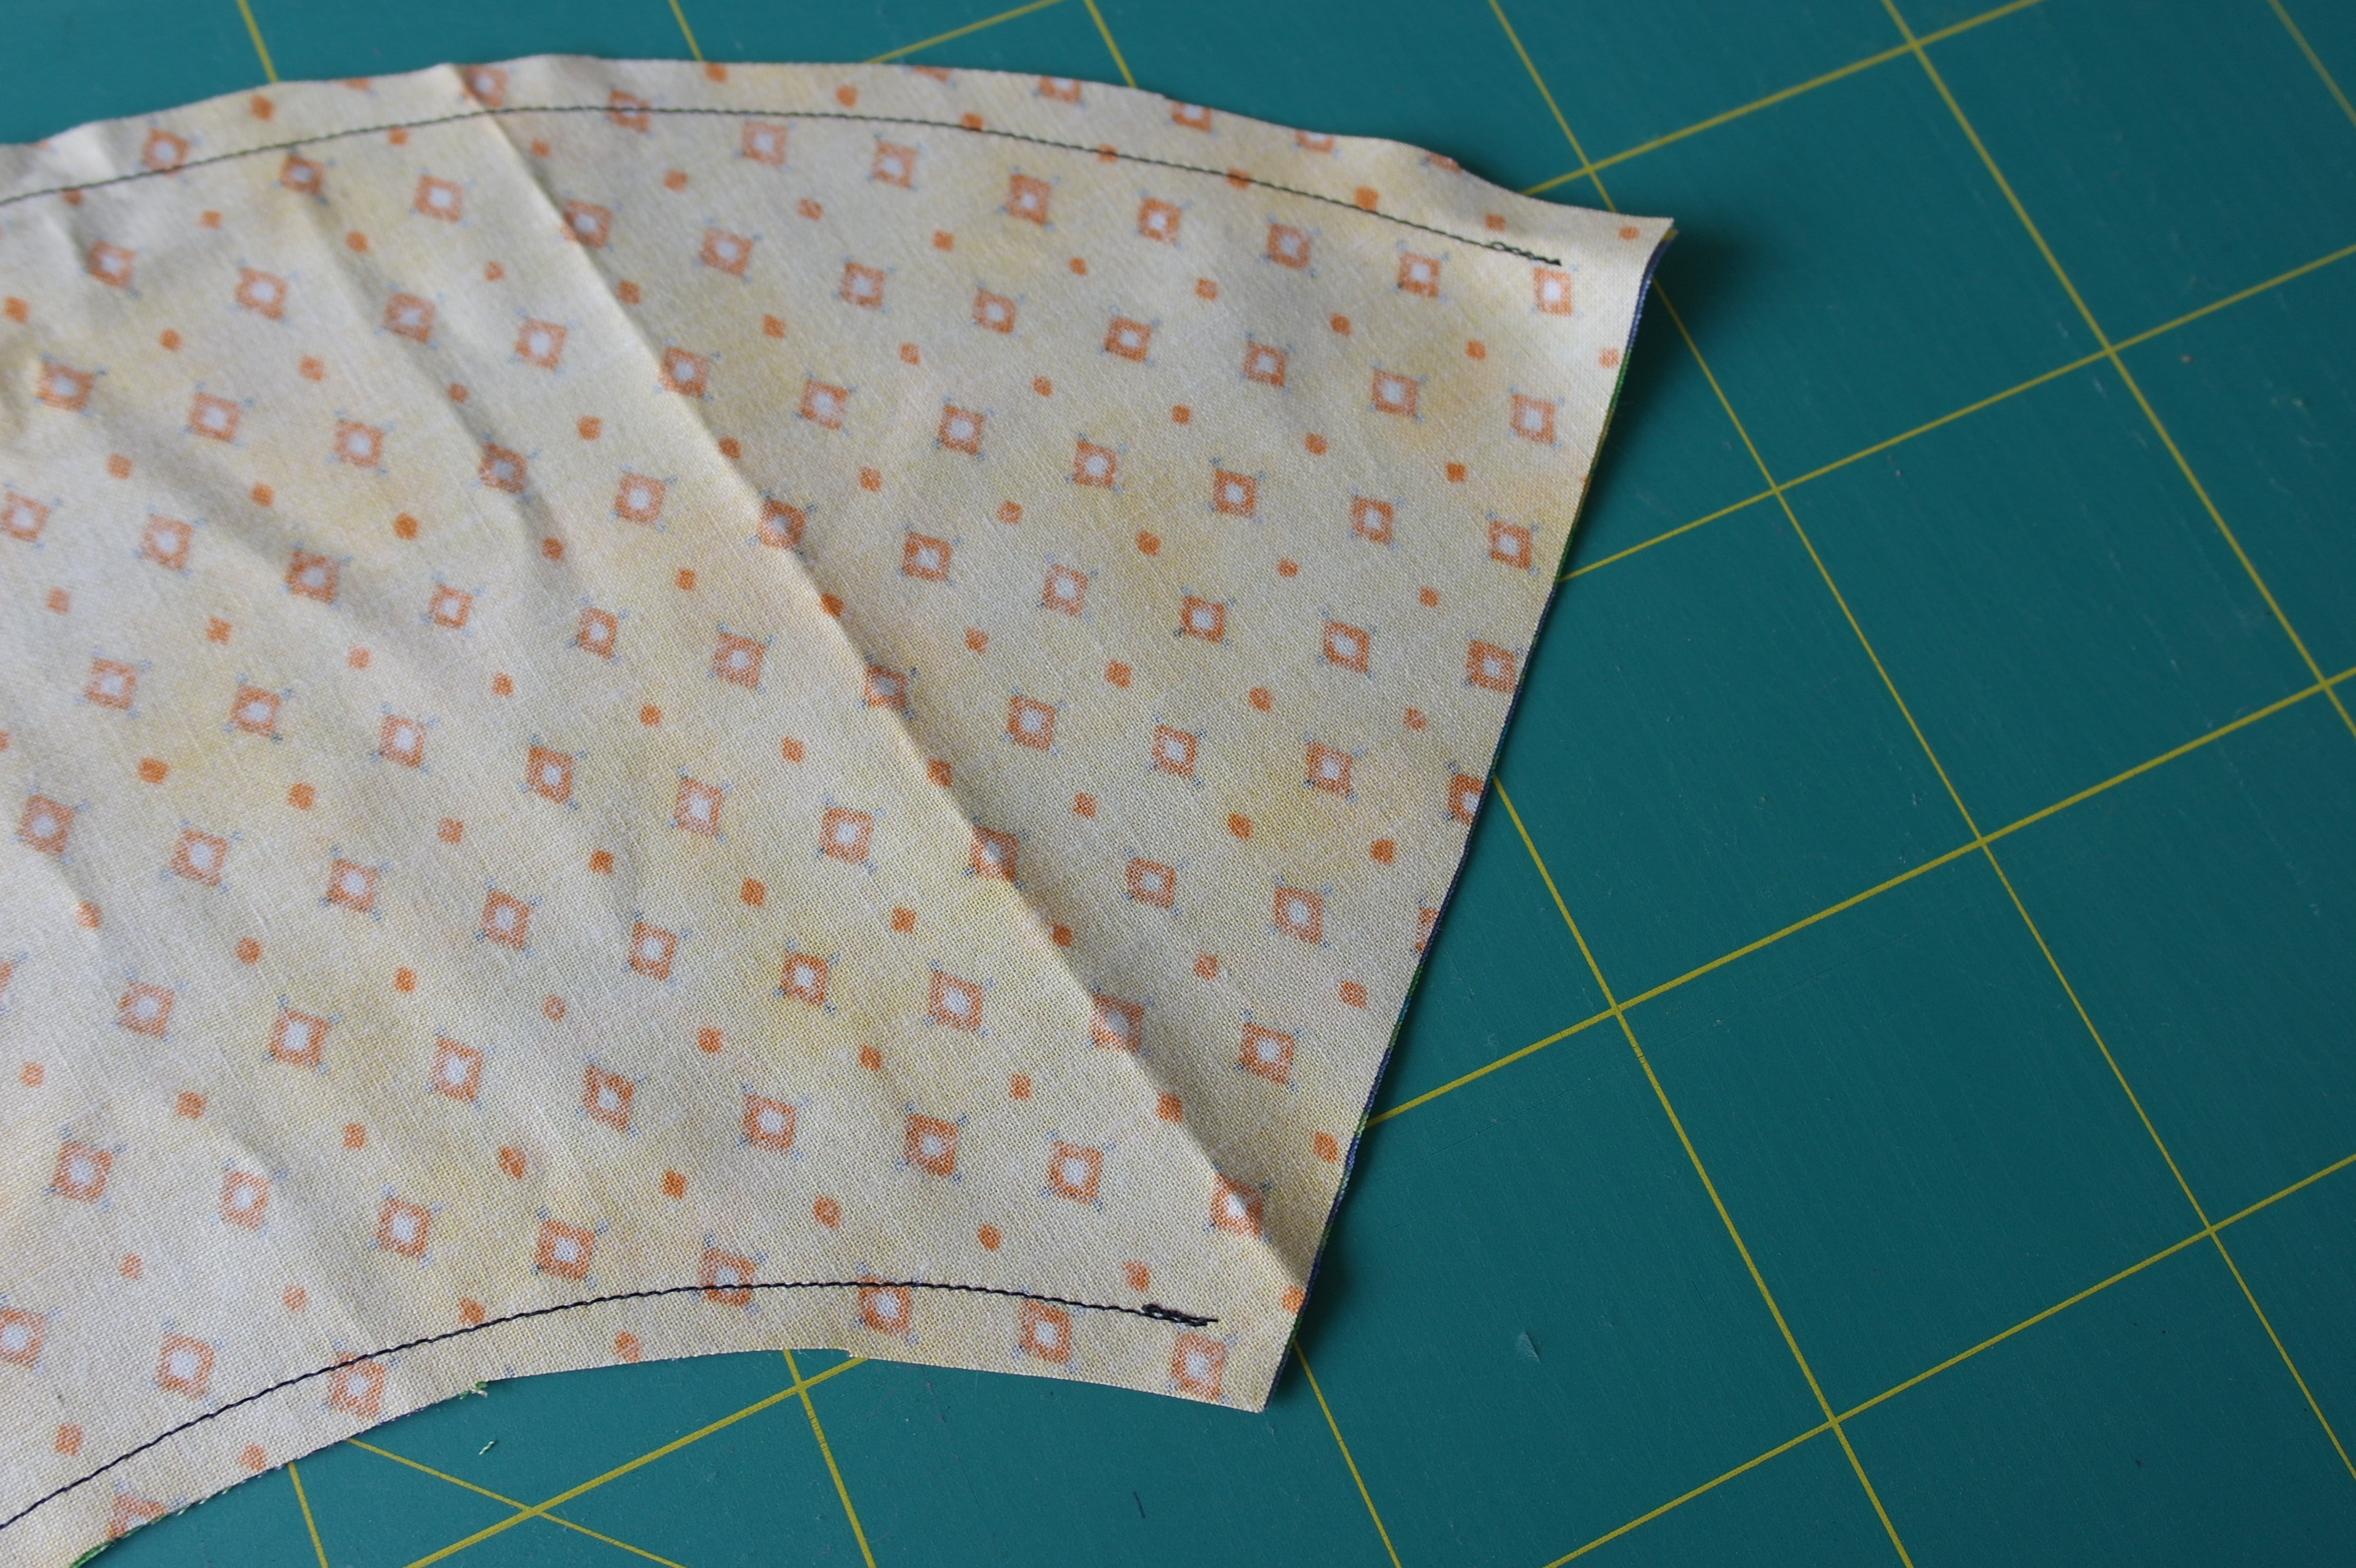
Because the fabrics are matched up already, you can directly sew the curved sides. START and FINISH aprox. 1 cm from the sides. Leave this unstitched. You have made a sleeve.

Cut little V’s/notches in the seam allowance, up to the stitching line, but not too far. This concave curve must be cut this way, to make everything lay flat.
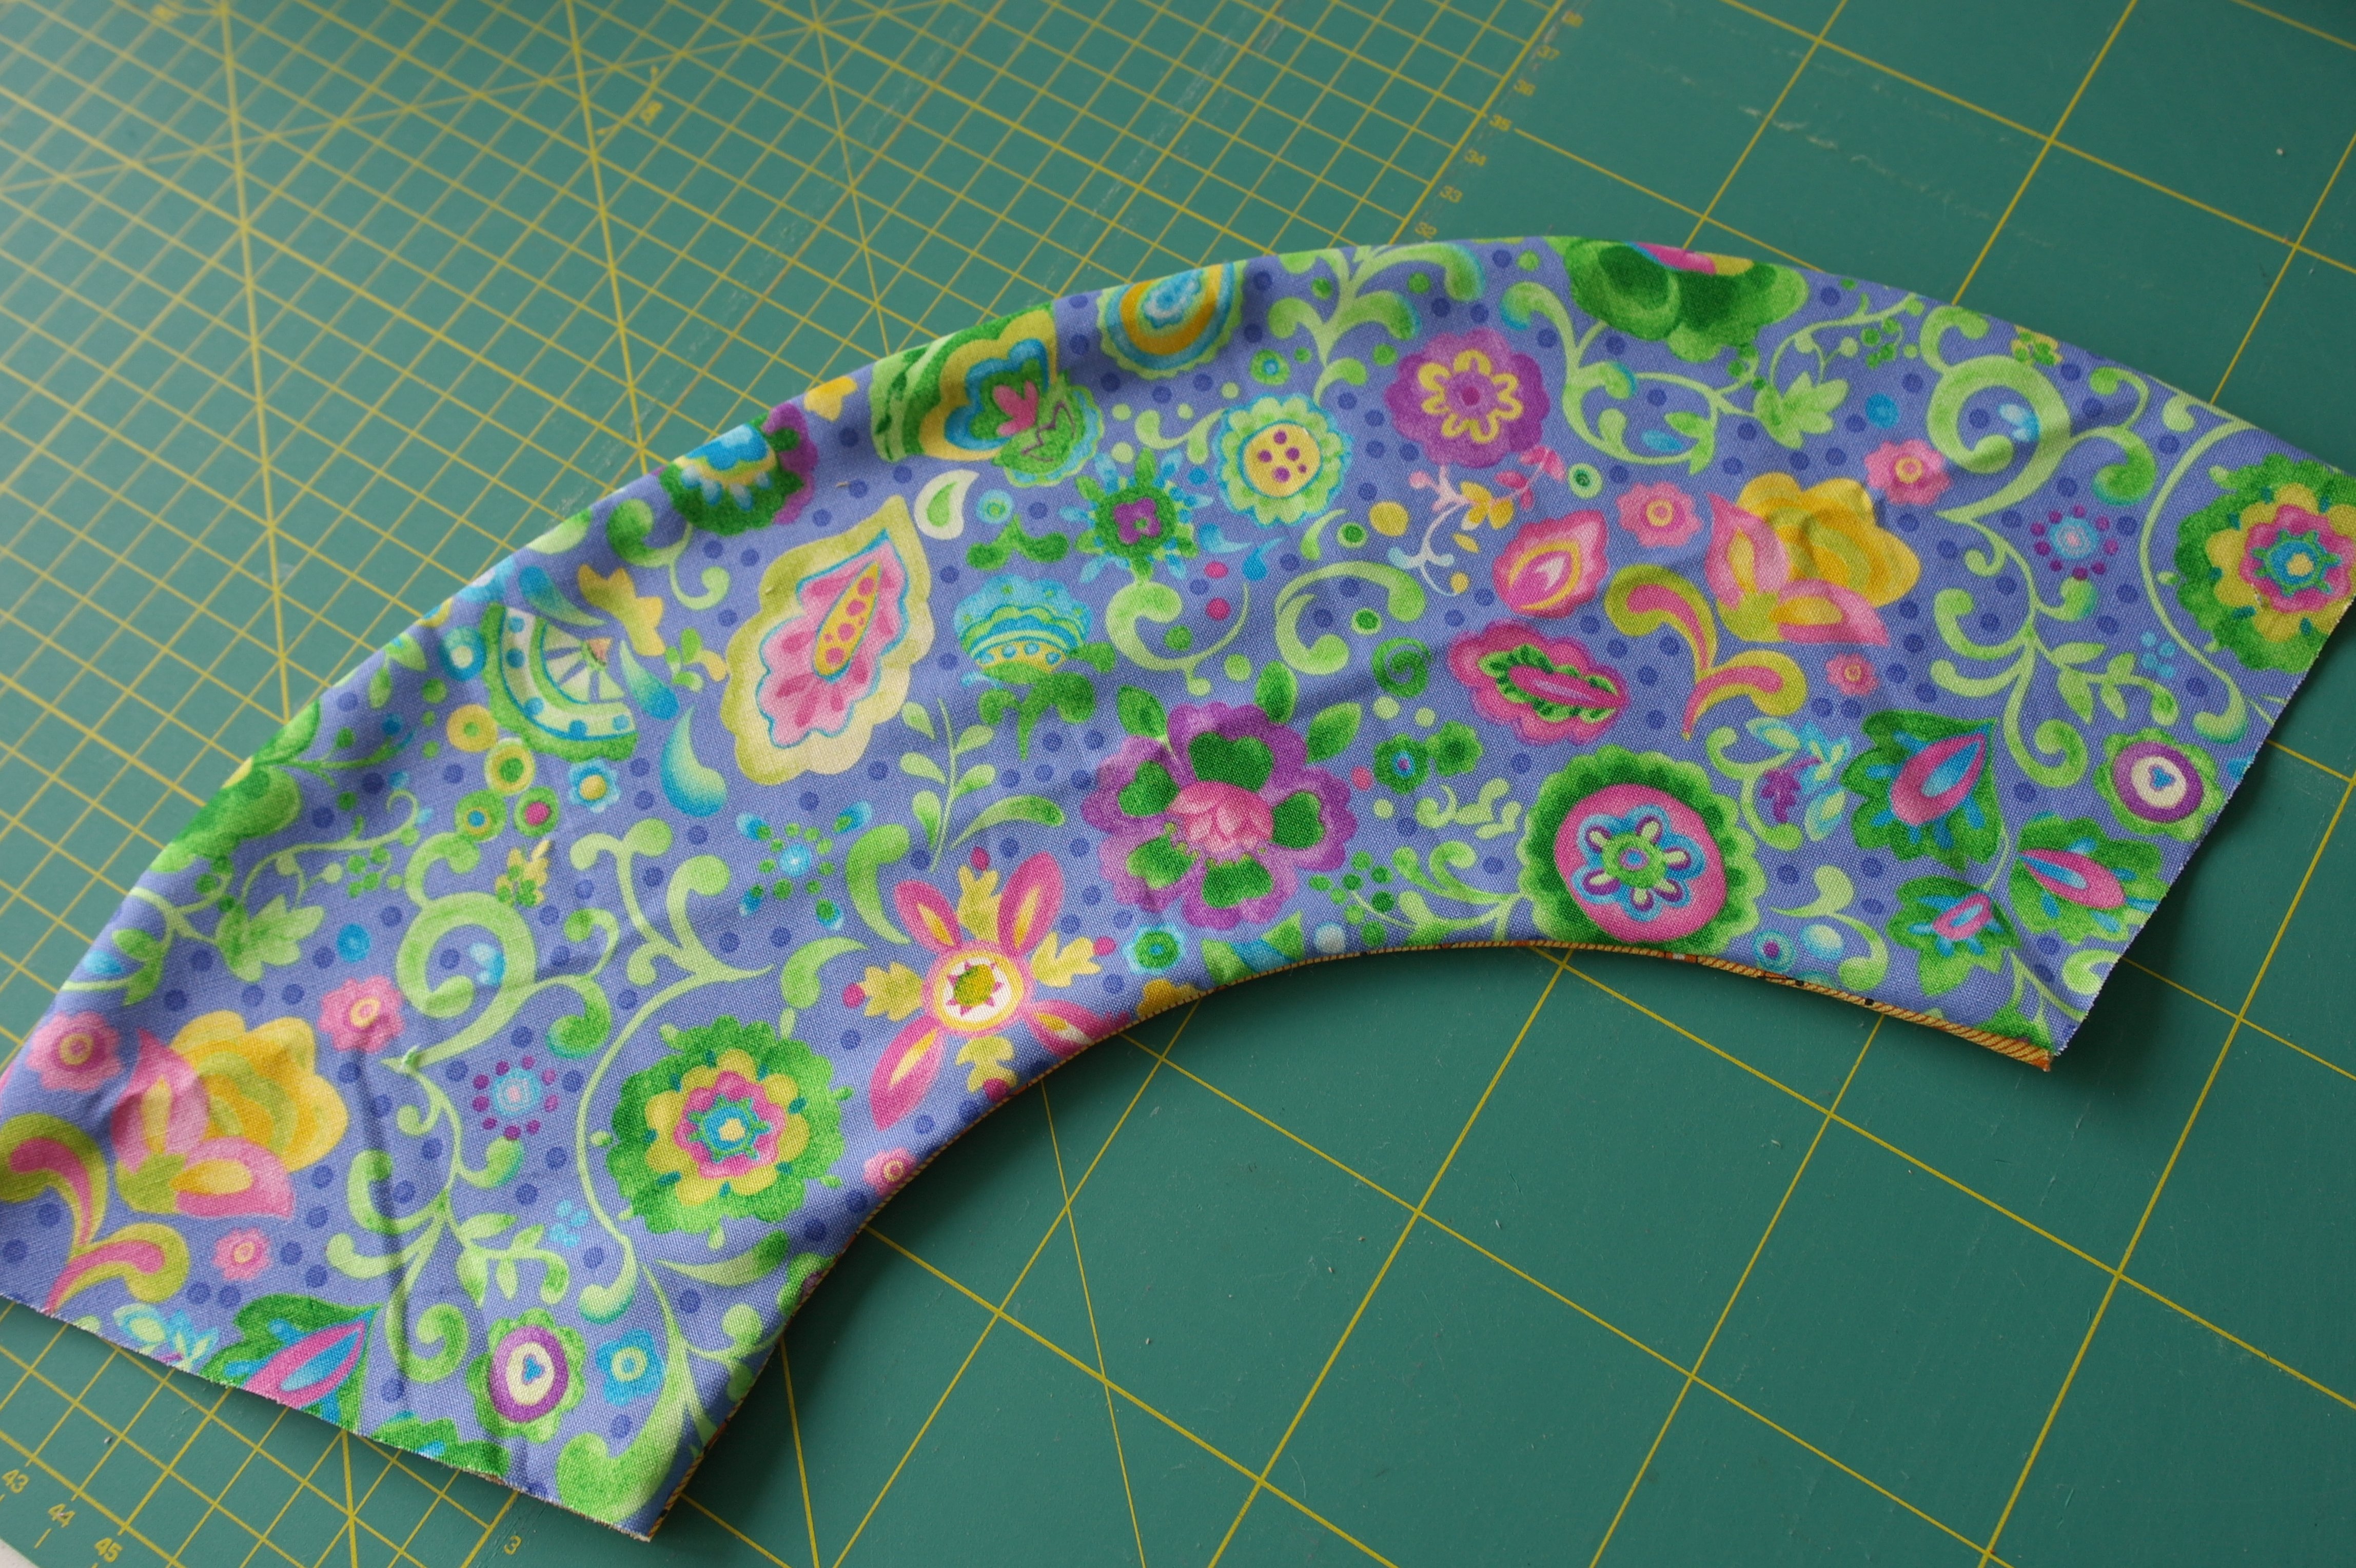
Turn the sleeve, push the seams out/flat: you can iron at this point.
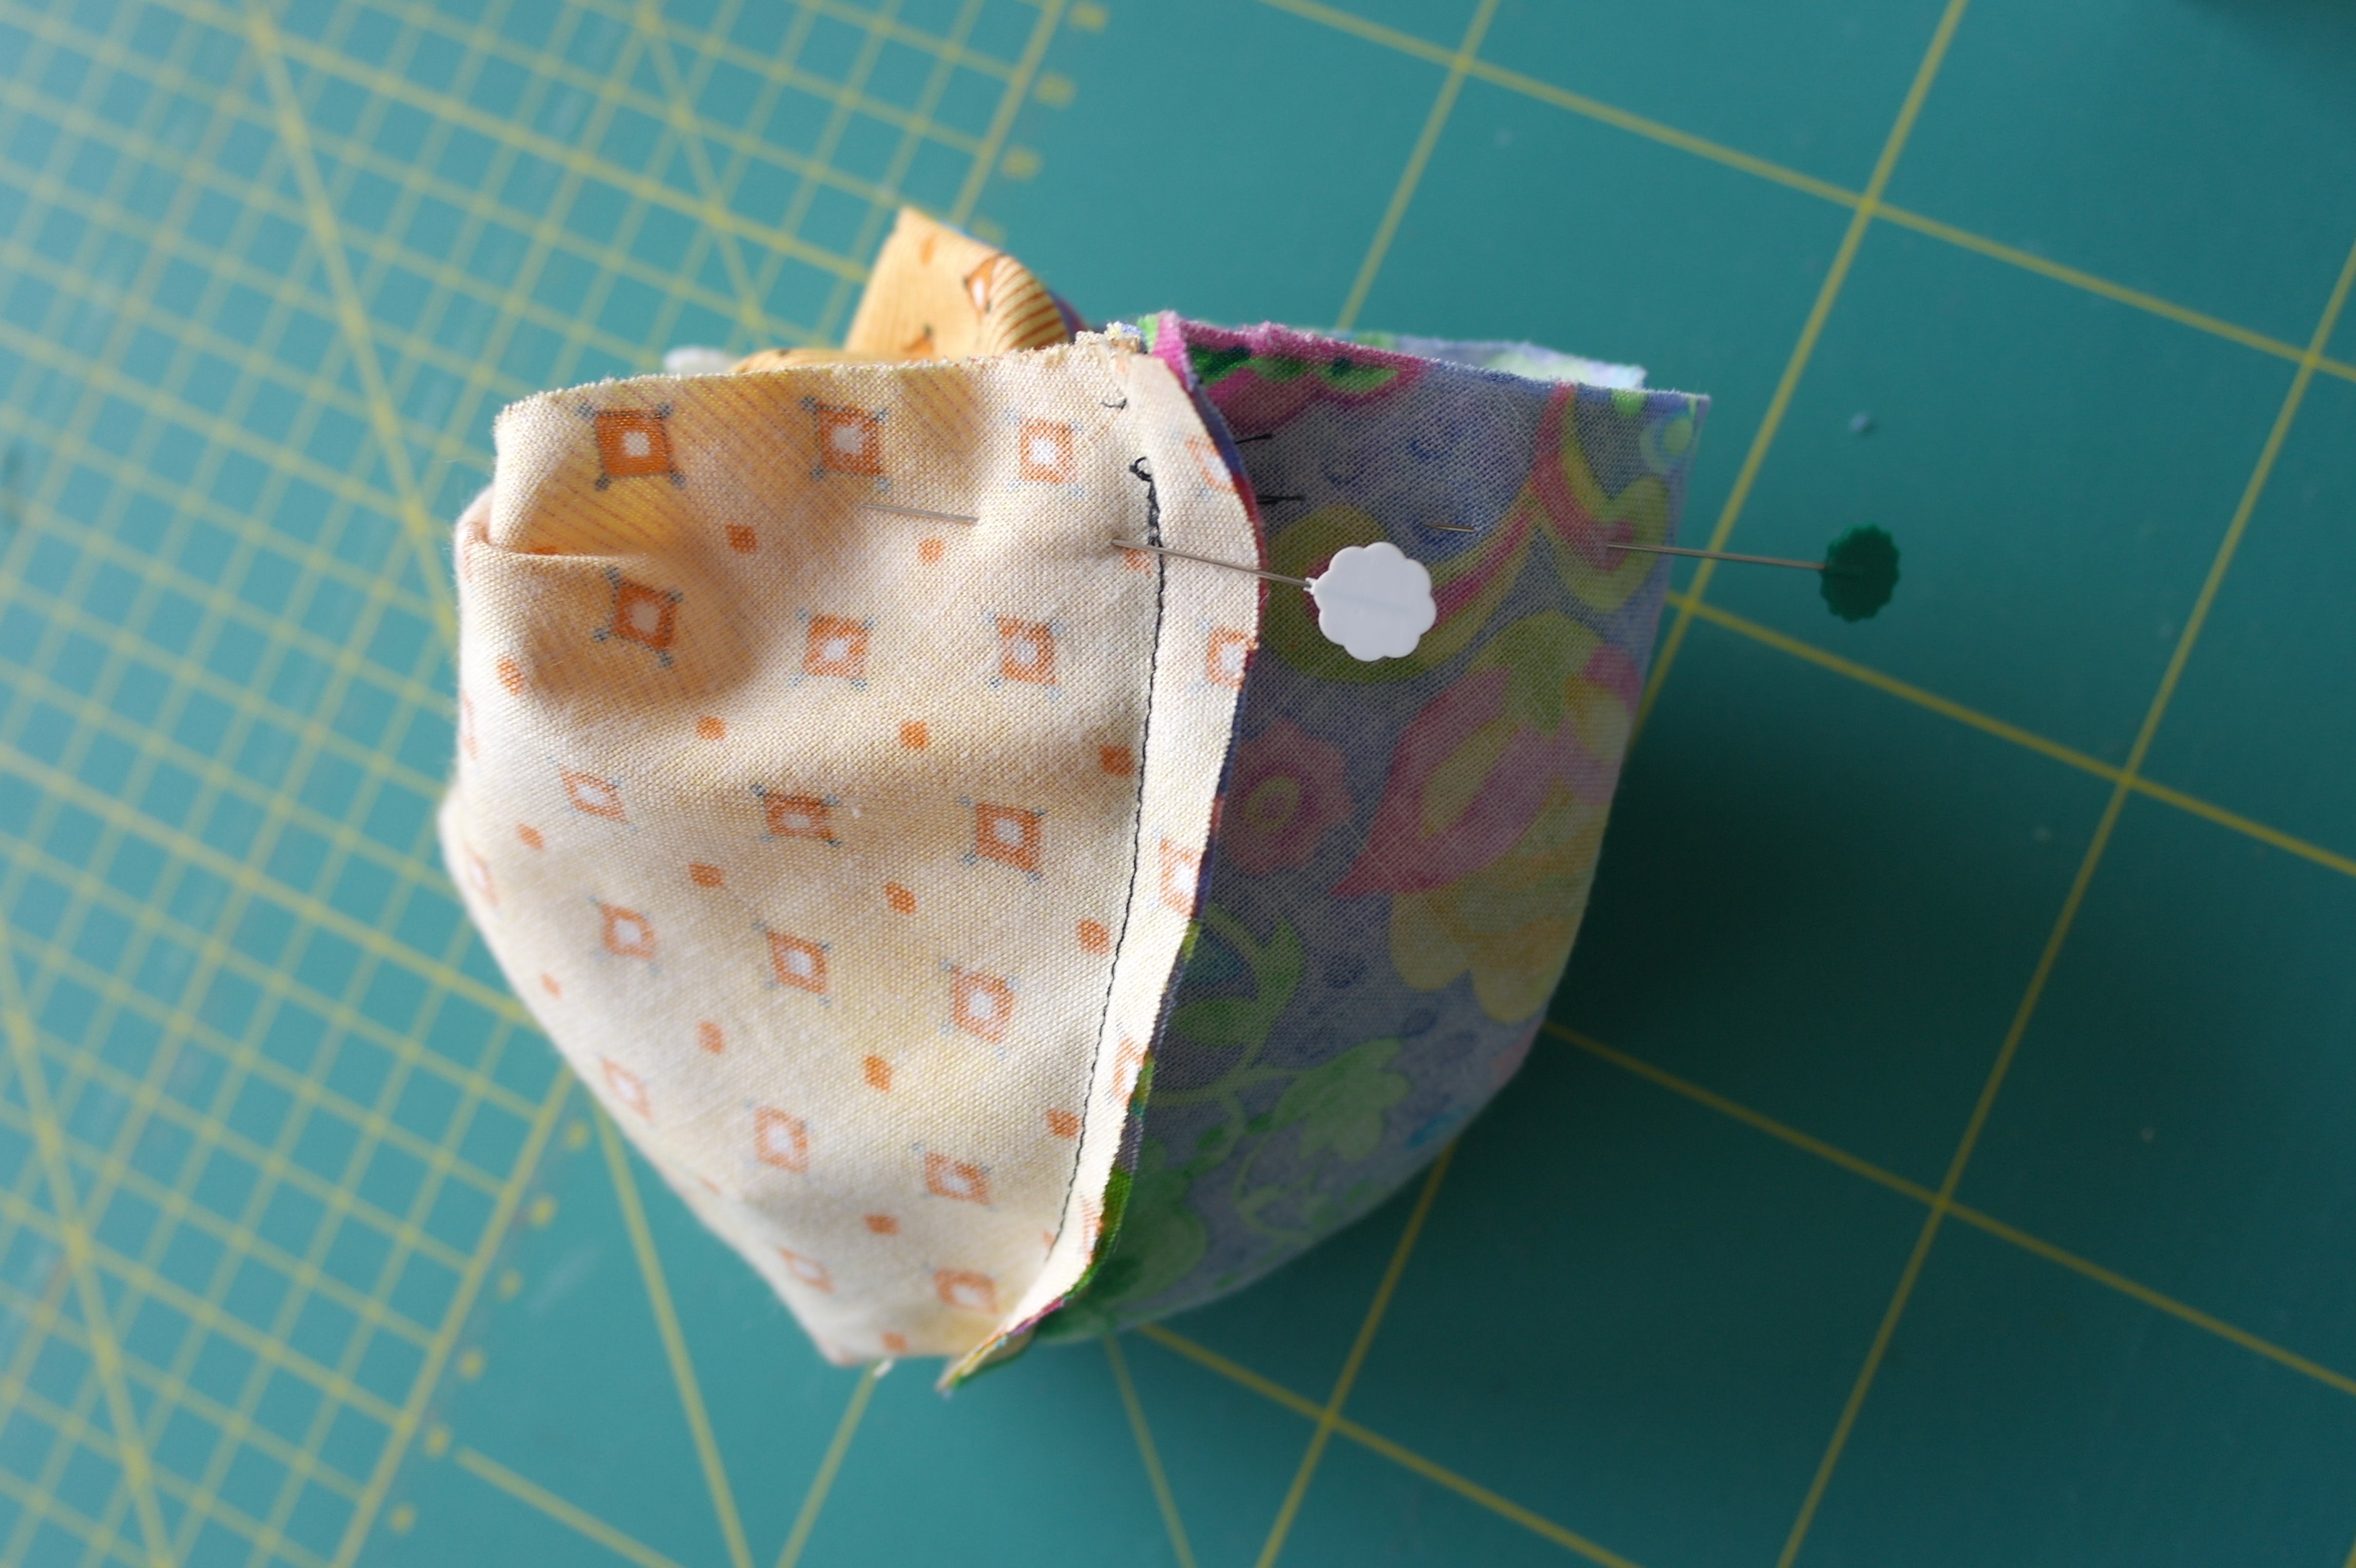
Line the side edges up, and stitch them down, leave a small opening for turning. Start pinning 2 cm from the edge of the yellow fabric, pin the flower fabric and end pinning aprox. 2 cm. on the the other side of the yellow fabric. Sew the pinned edges down.
I’ve secured the start and end stitches, by going back and forth.
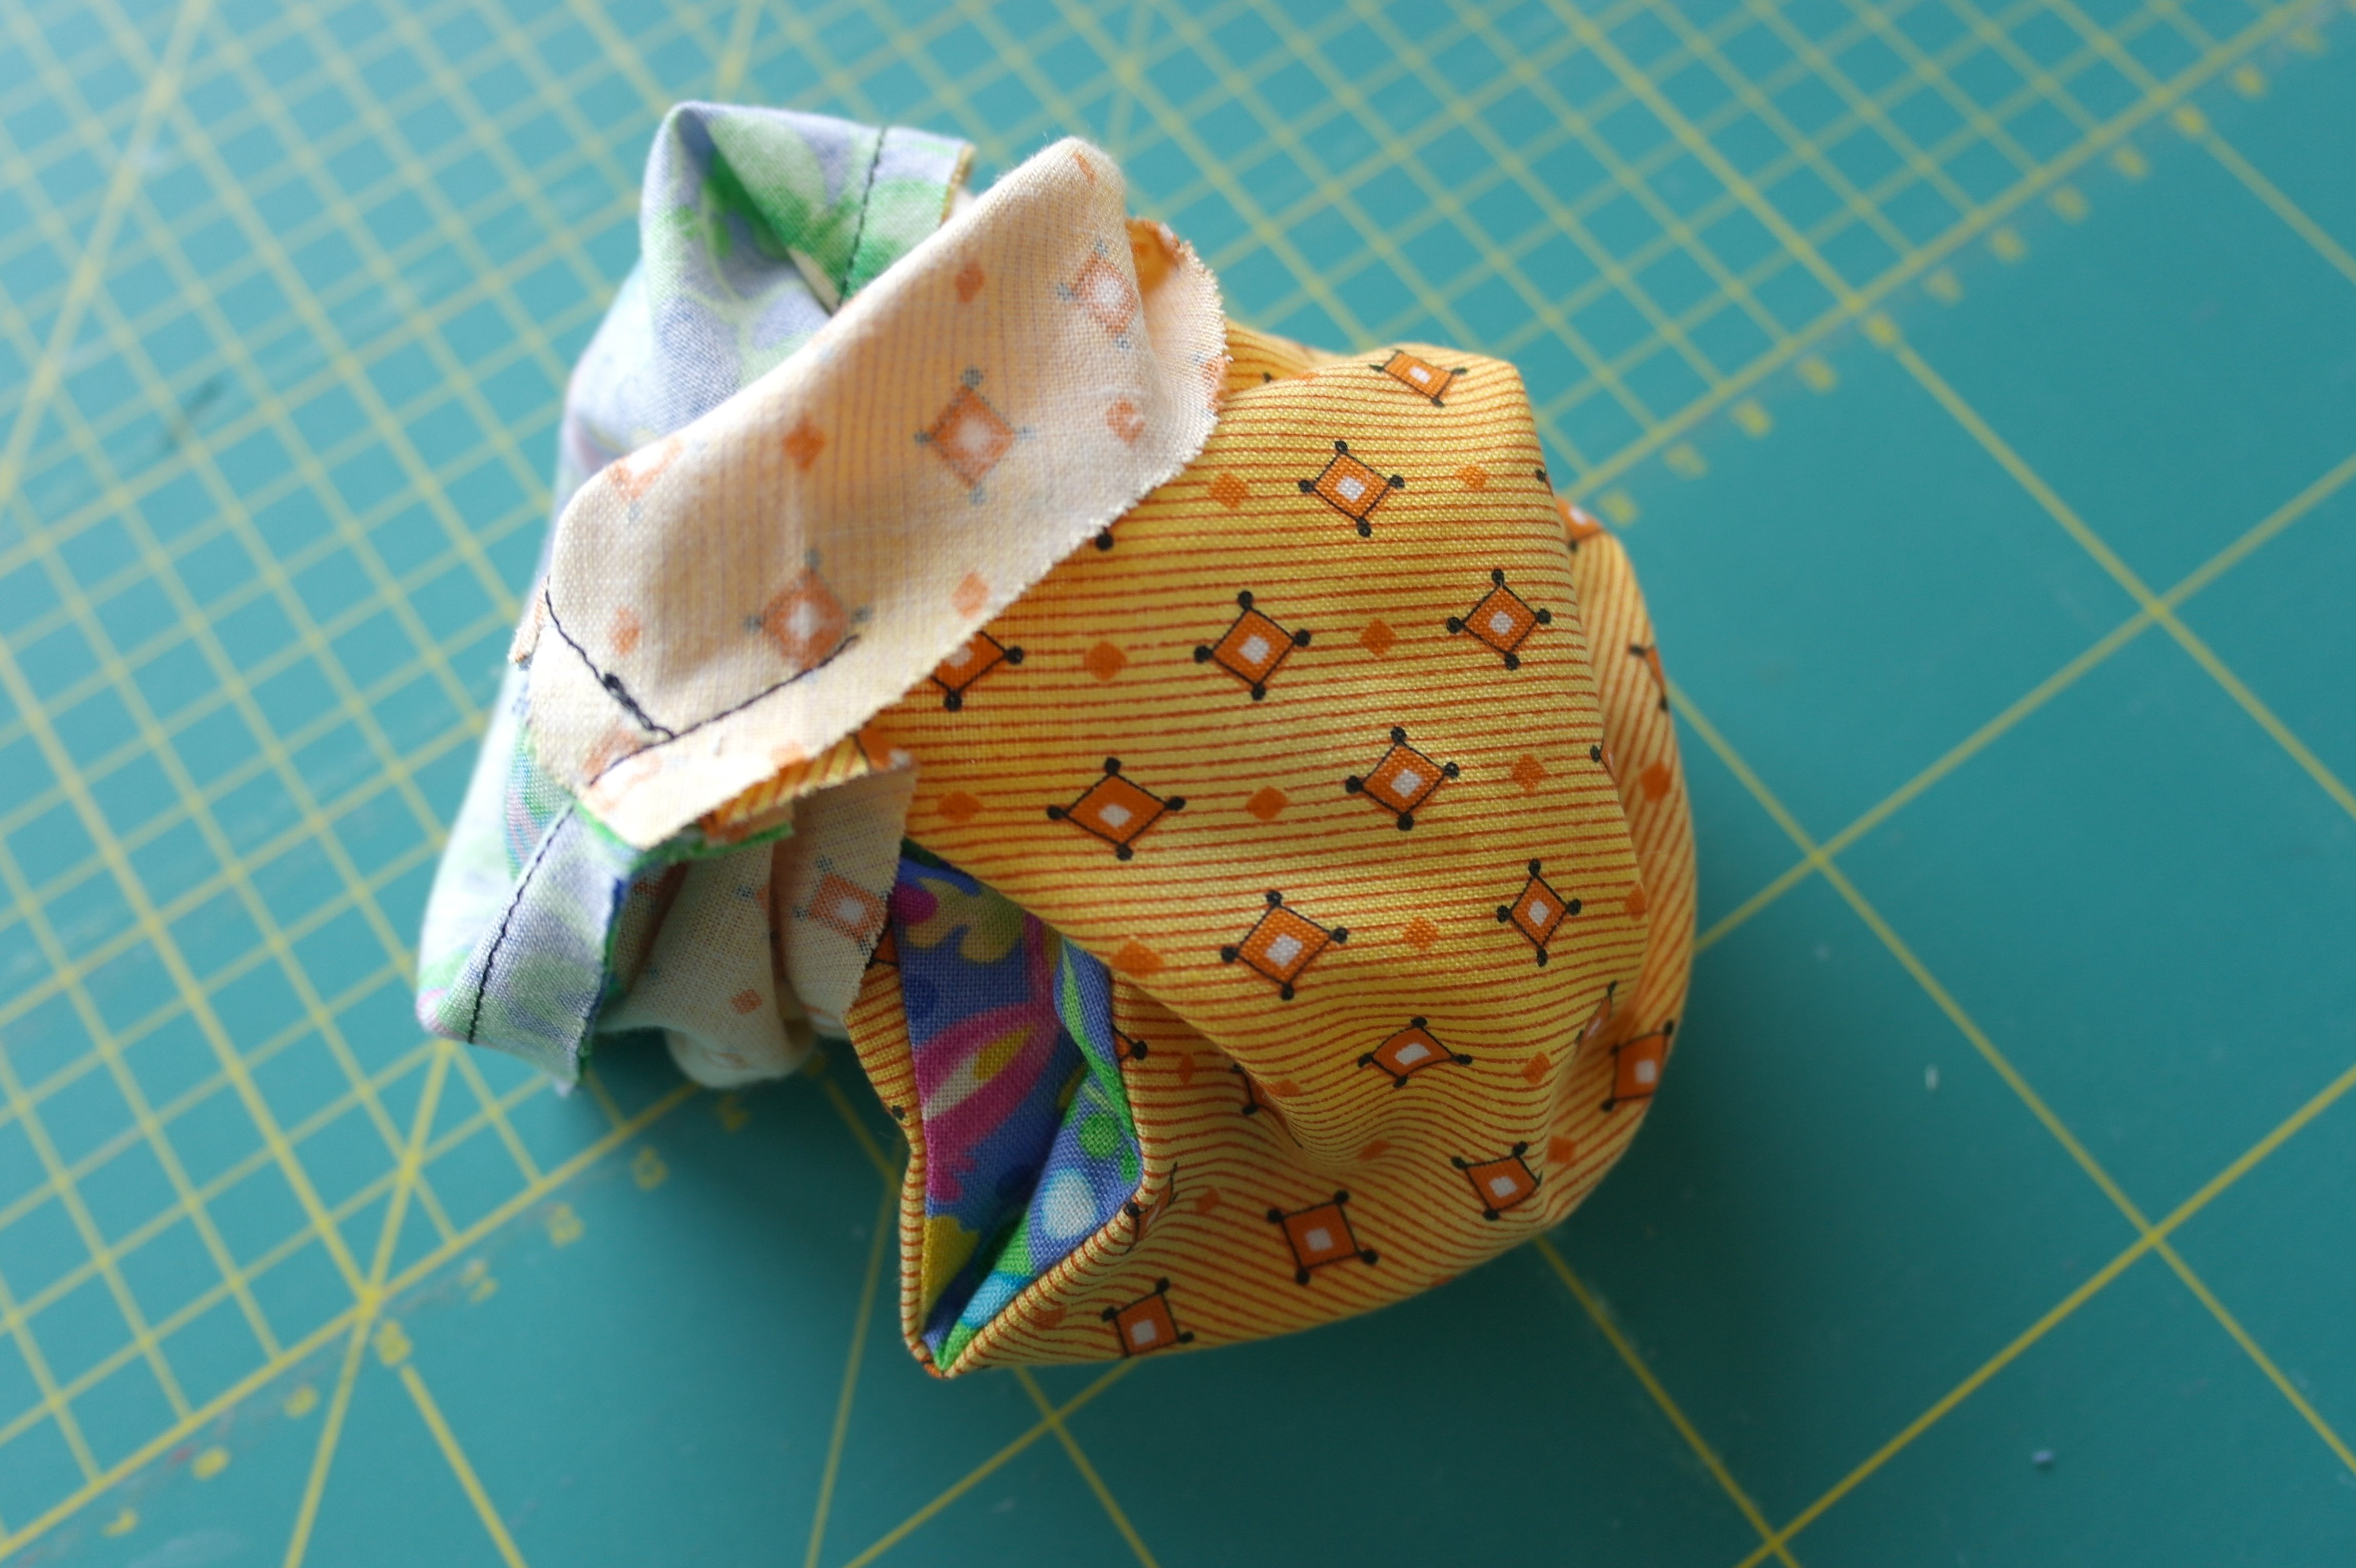
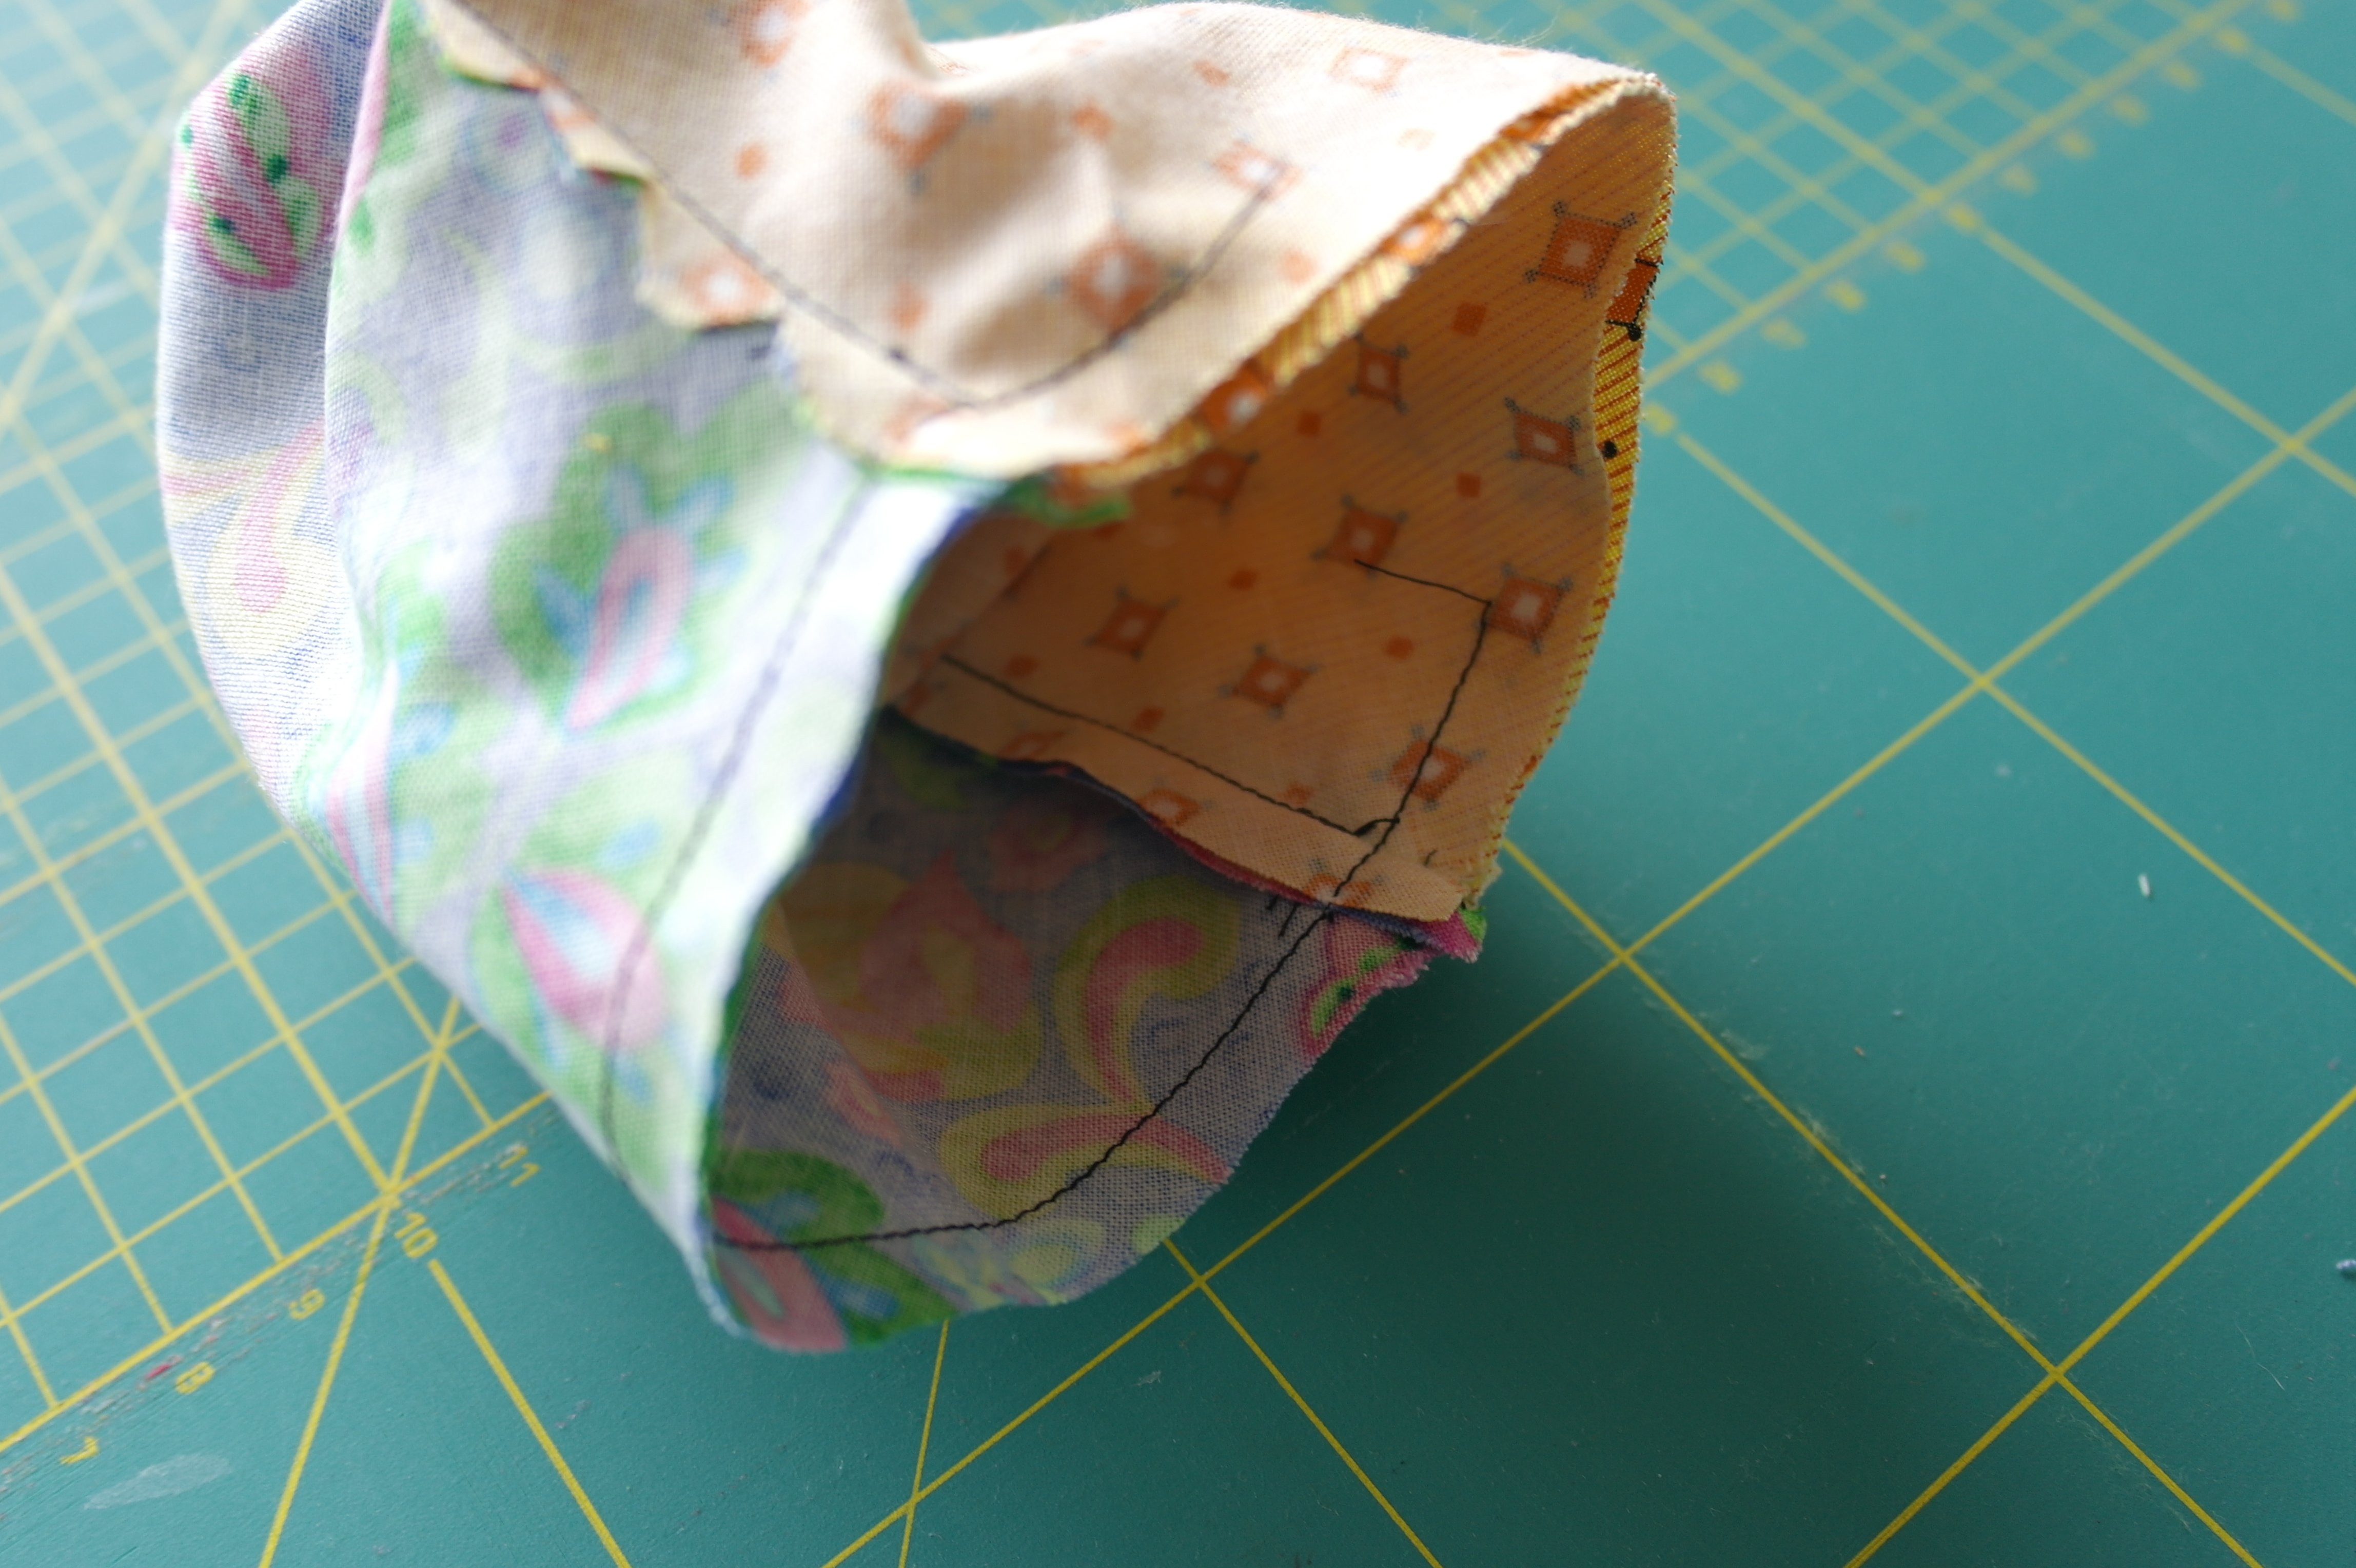
Turning the sleeve inside out, make sure everything is flat again. Pushing the seams out and ironing again if necessary. Hand close the opening, make sure your hand stitches are as invisible as possible, so you can reverse the cover.
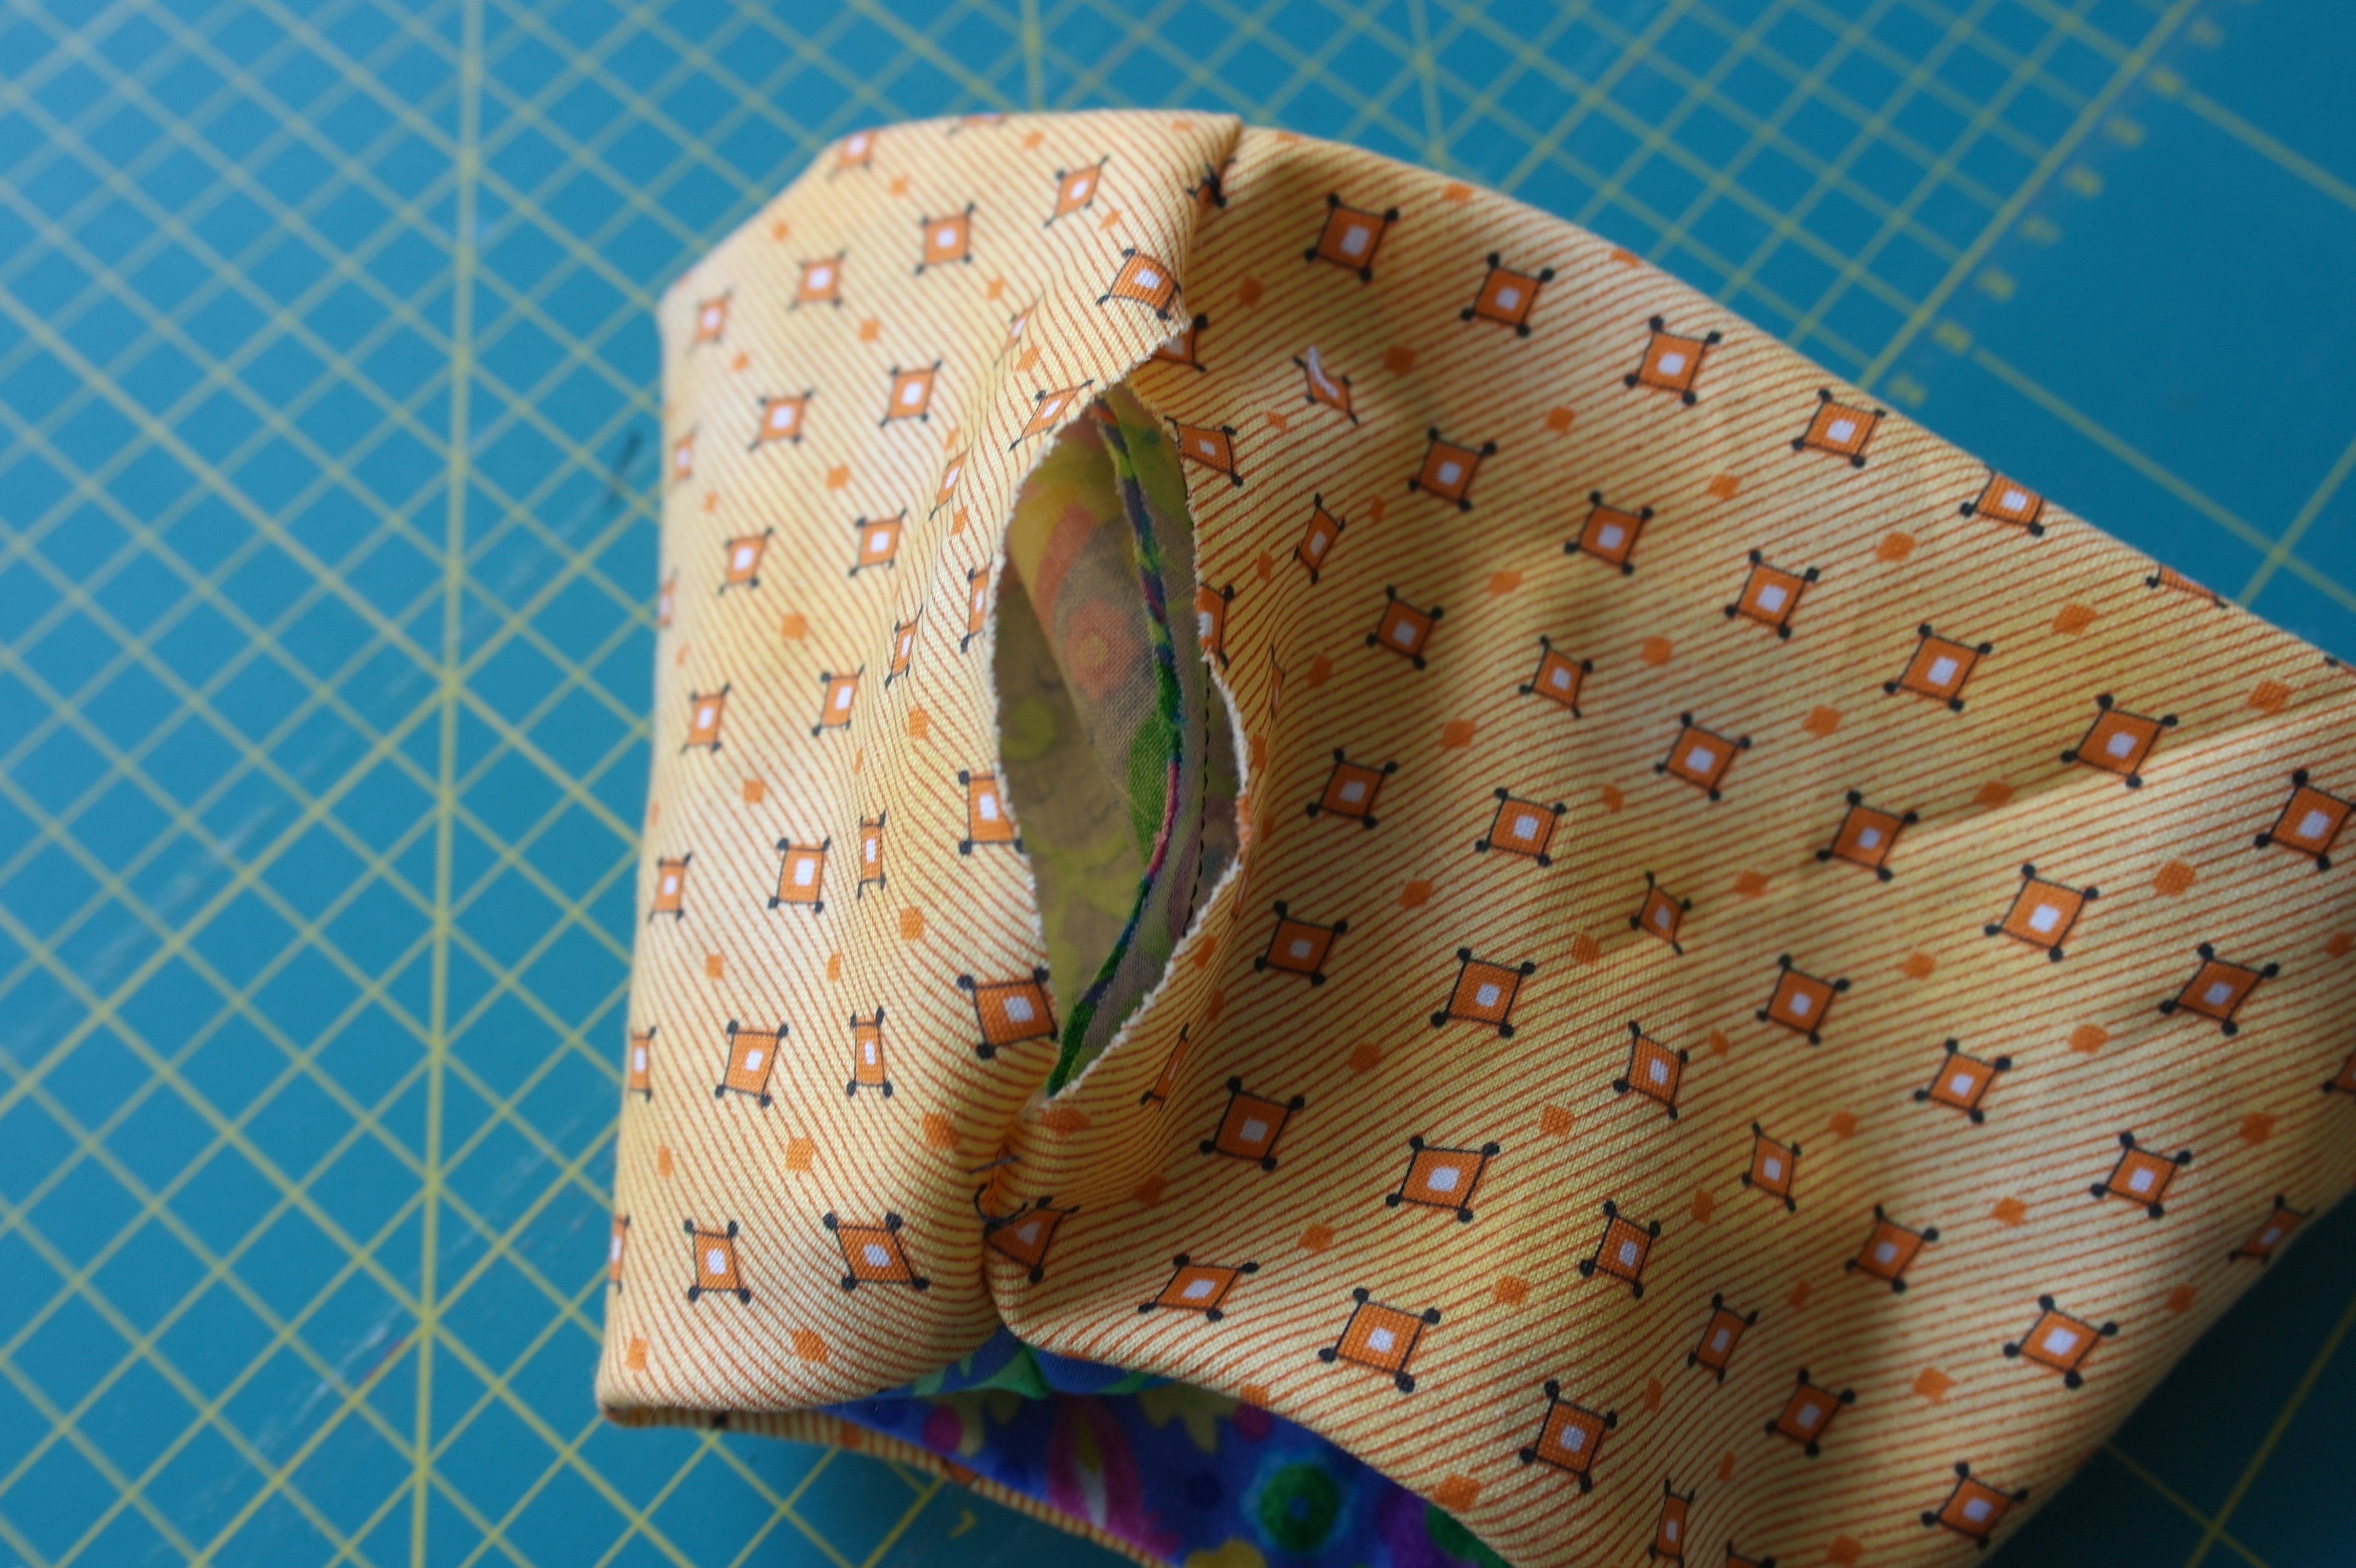
This is the opening: the yellow fabric will be on the inside, but it will look great on the outside too.

It is very important at this point to make sure the seam allowance with the yellow fabric, at the opening is folded over and finger pressed very crisply. Slipstitch the opening closed with yellow thread.
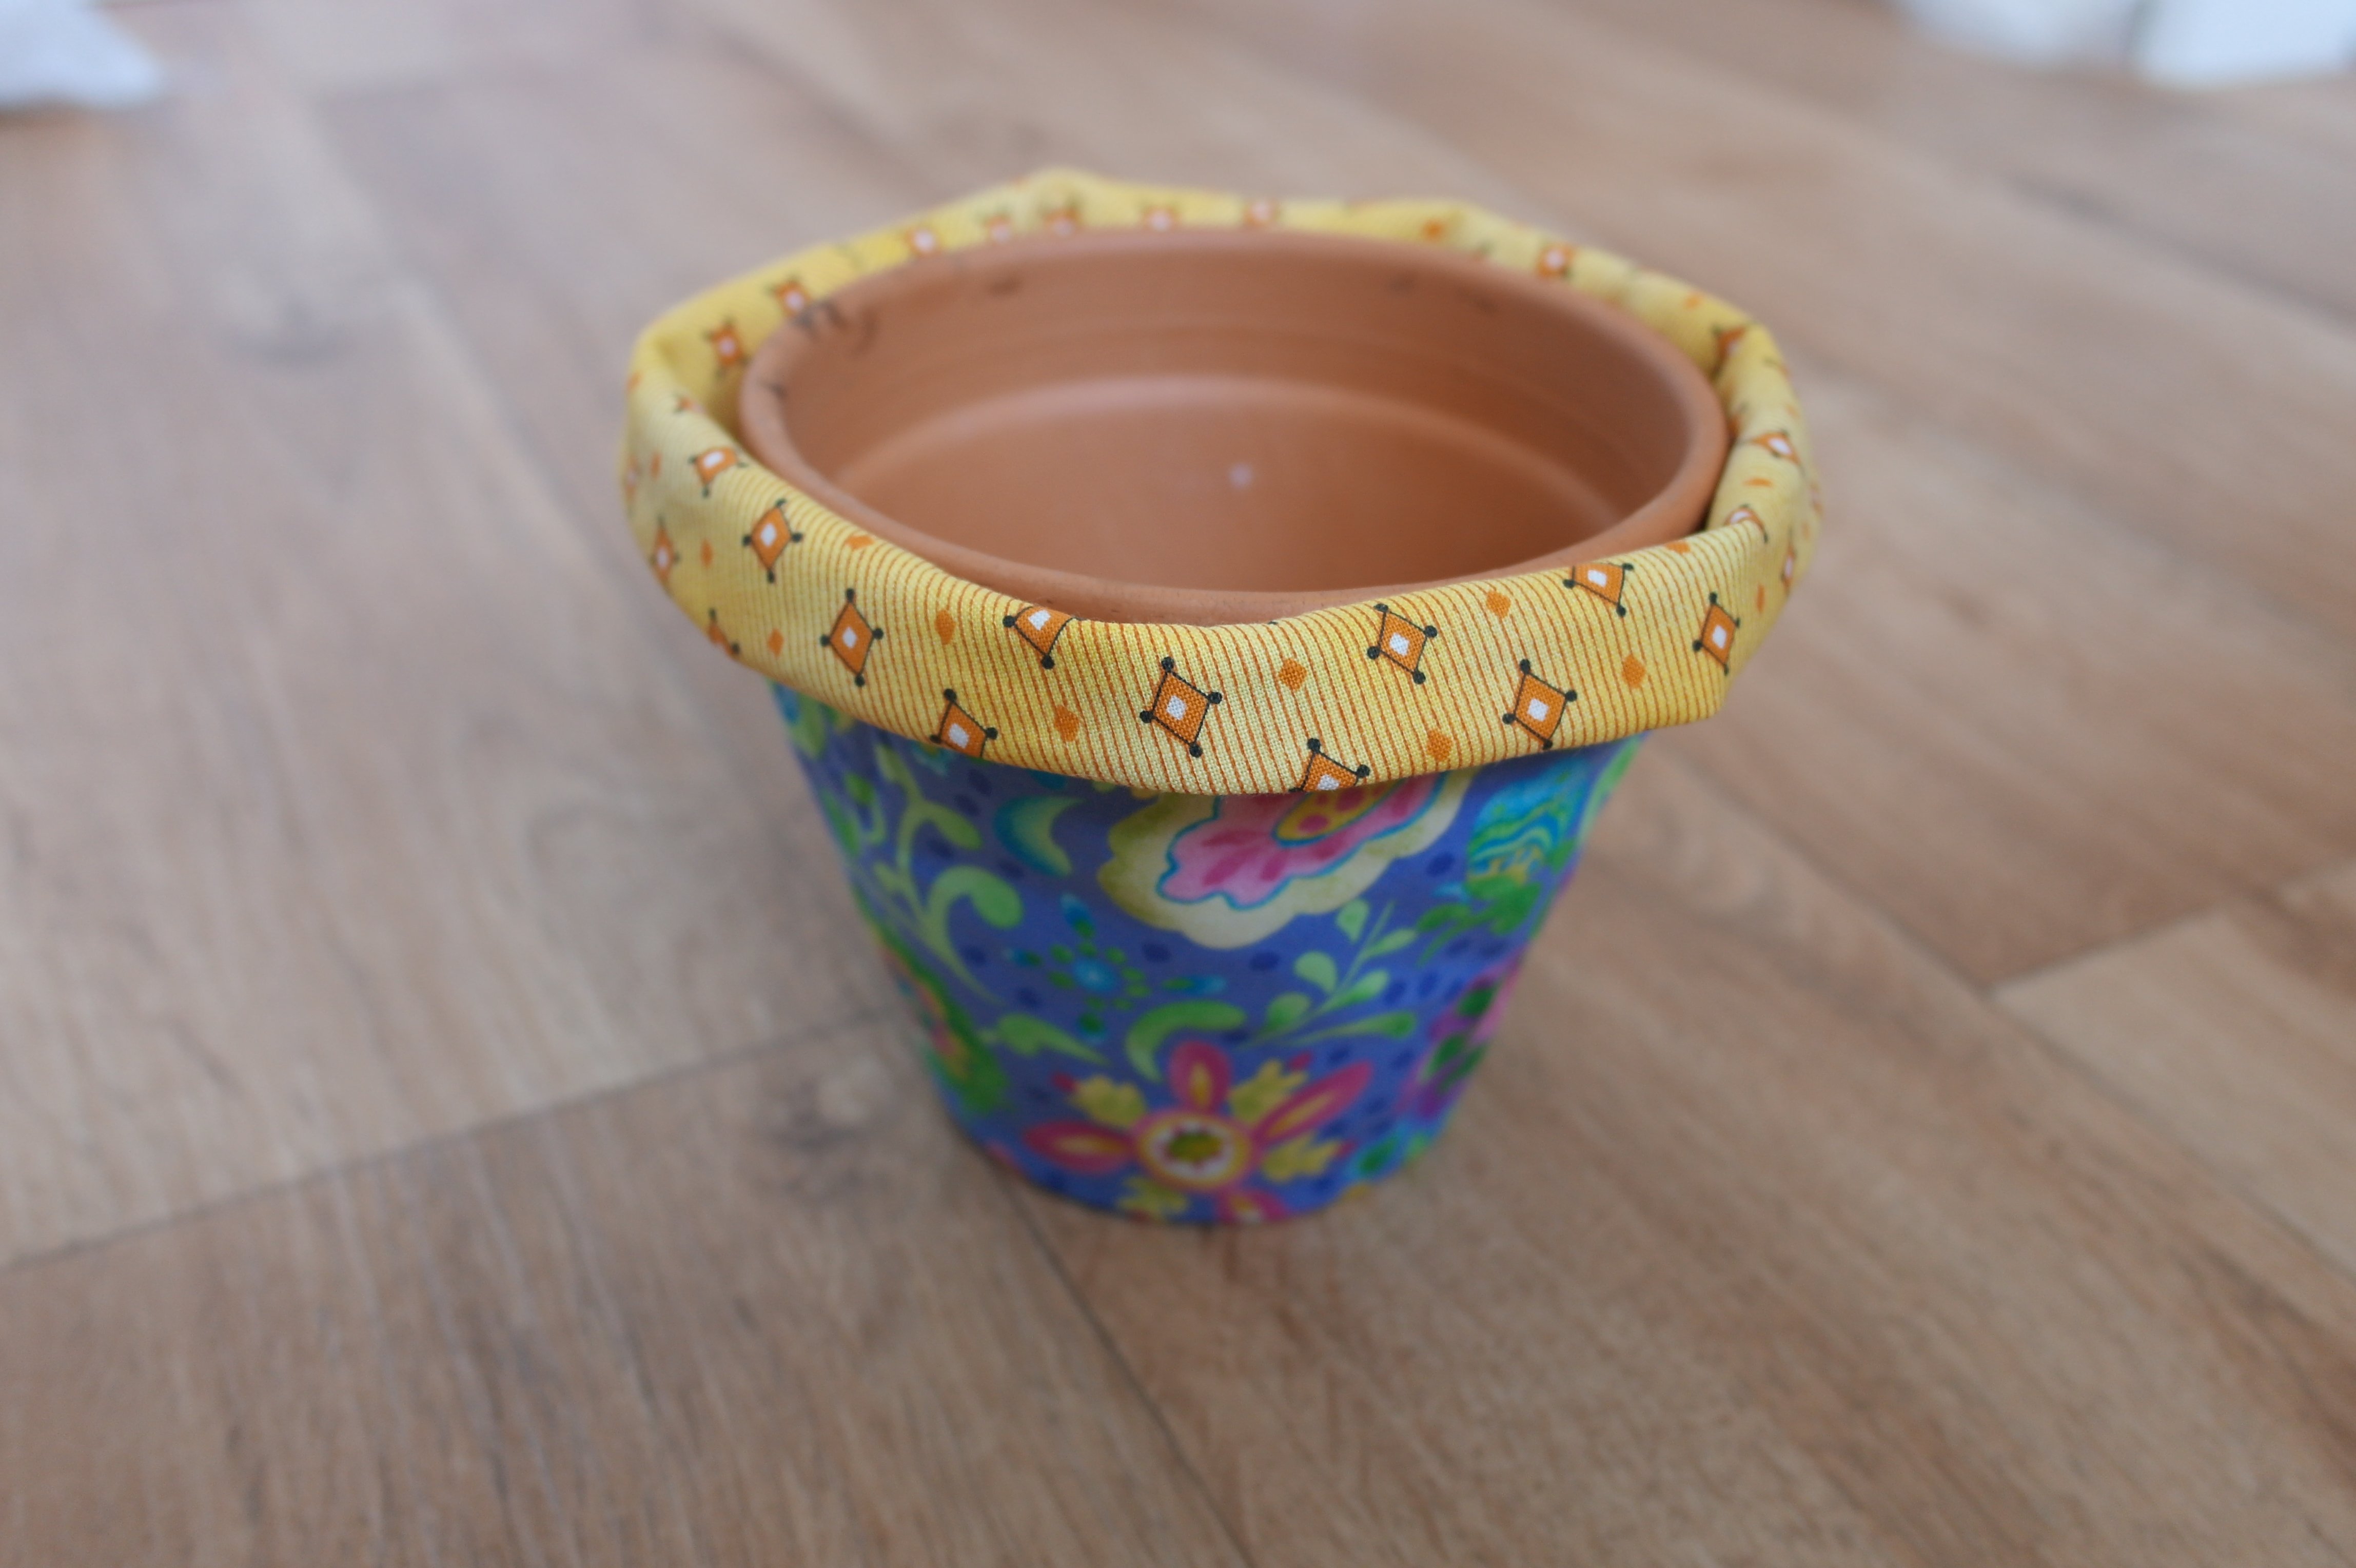
I’ve placed the gardening pot inside the cover: it fits! I’ve folded the top outward, forming a decorative edge. Because there is a hole in the gardening pot for drainage, I have left the bottom uncovered.
If your cover fits ok, just wrap the string around it once, the ends wrapped in a bow. If your cover is a bit too large, just wrap a larger piece of string multiple times around it and tighten the ends so the cover will fit.
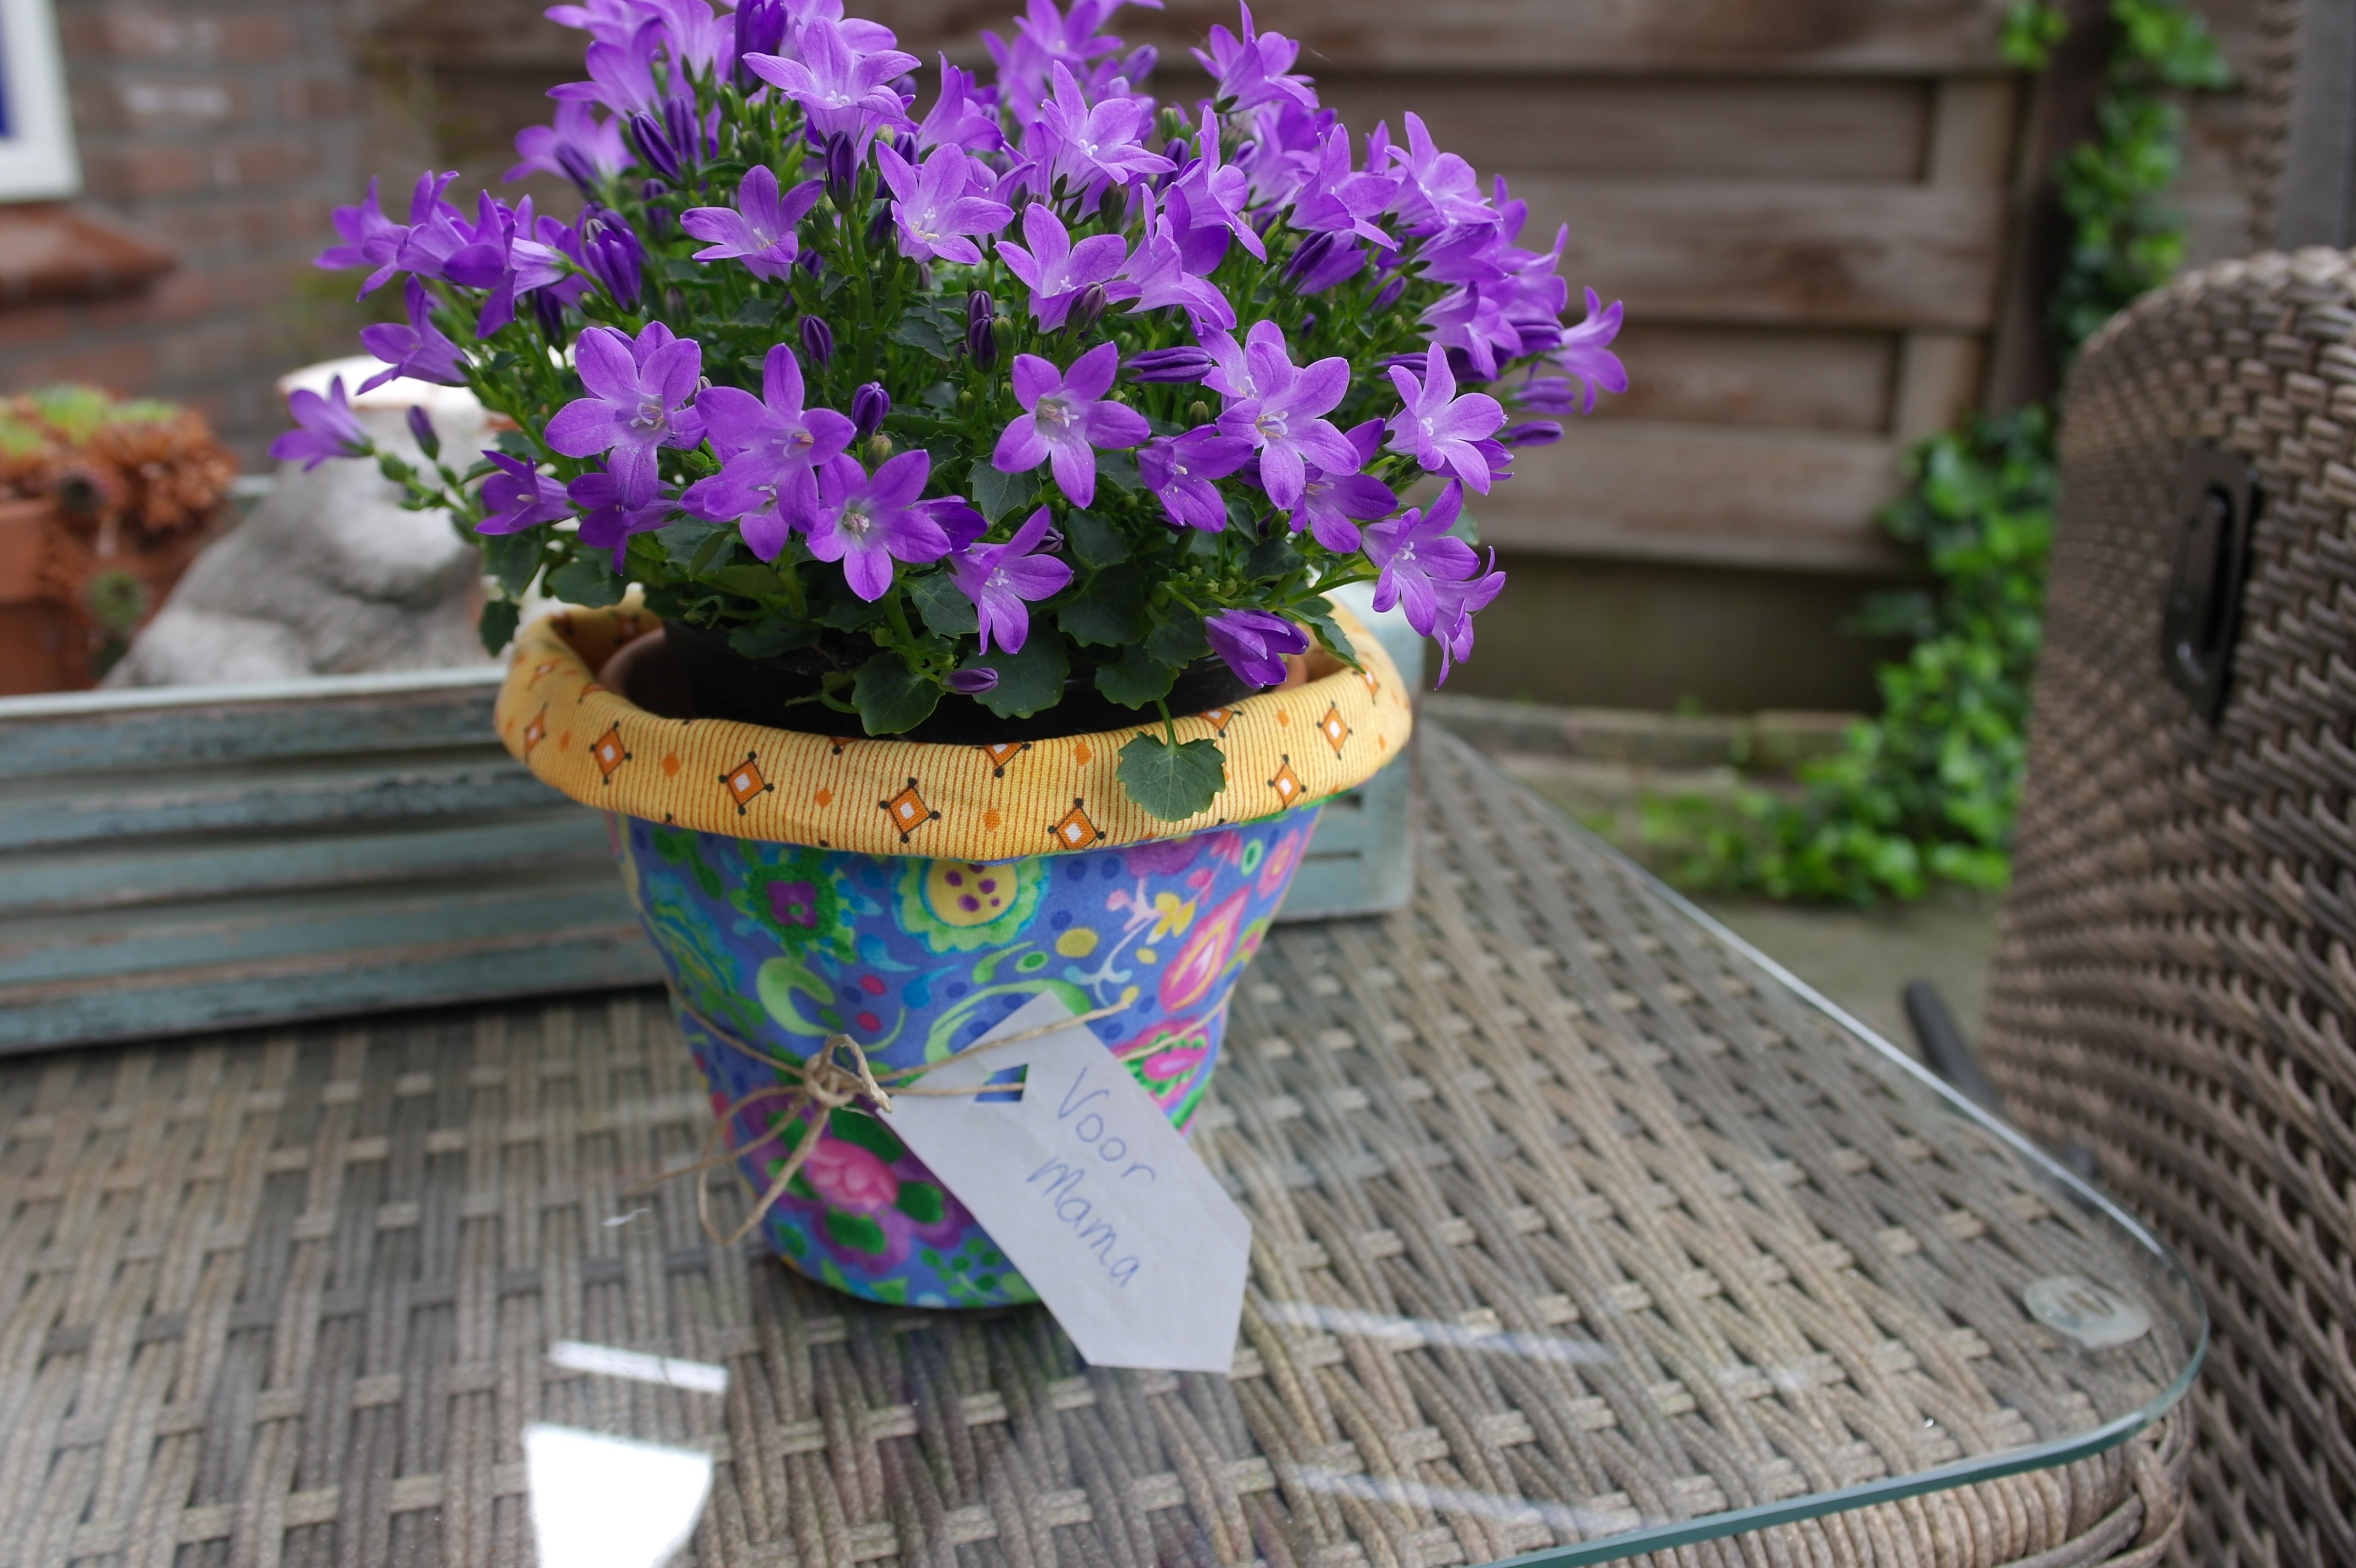
Before making the bow, you can place a gift label on one end of the string, to make this a ‘Homemade Gift for yourMother’. This cover is easy and fun to make, also with child(ren), so they can make this gift for their Grandmother. After all, she’s a mother too.
Have fun!
Sylvia Kaptein
Sylvia’s Art Quilts Studio
BOTH FABRICS ARE AVAILABLE FOR ORDERING VIA MY WEBSITE, OR MAIL ME: [email protected] for info
0 Responses